


The Official Tamiya TA05 Thread

 03-15-2011, 10:07 PM
#677
Banned
Join Date: Sep 2010
Location: Northampton,
MA
Posts: 1,766
Likes: 0
Received 0 Likes
on
0 Posts
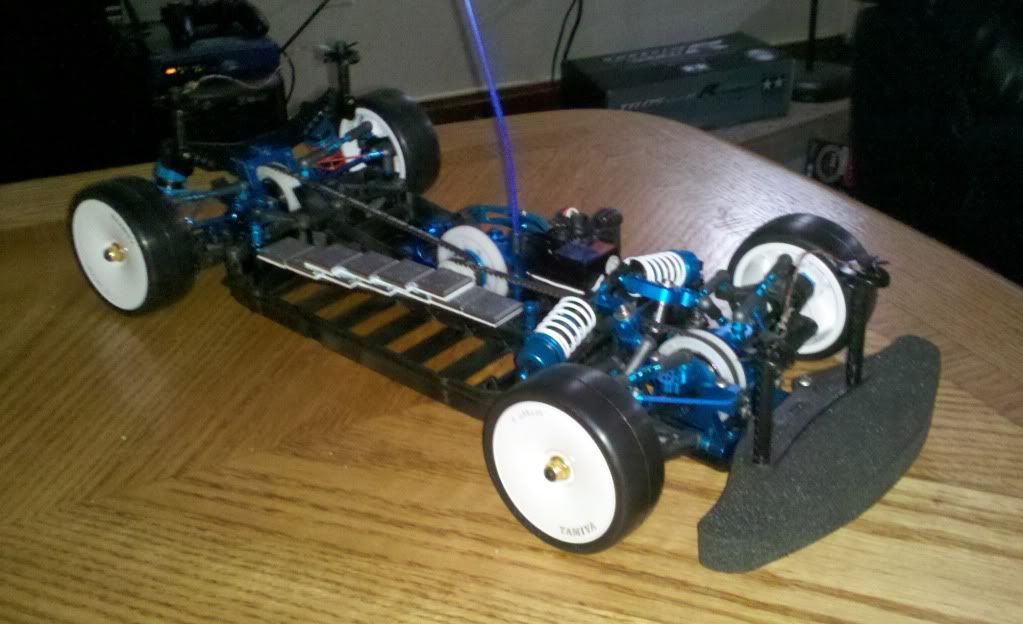
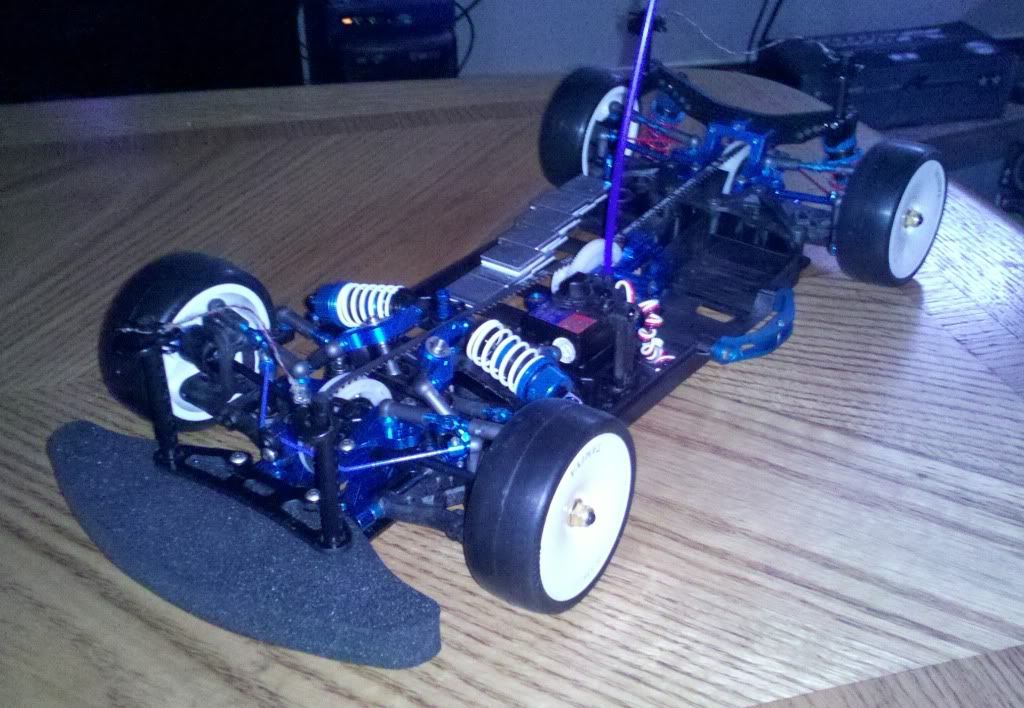
ORIGINAL: Haddi Taha
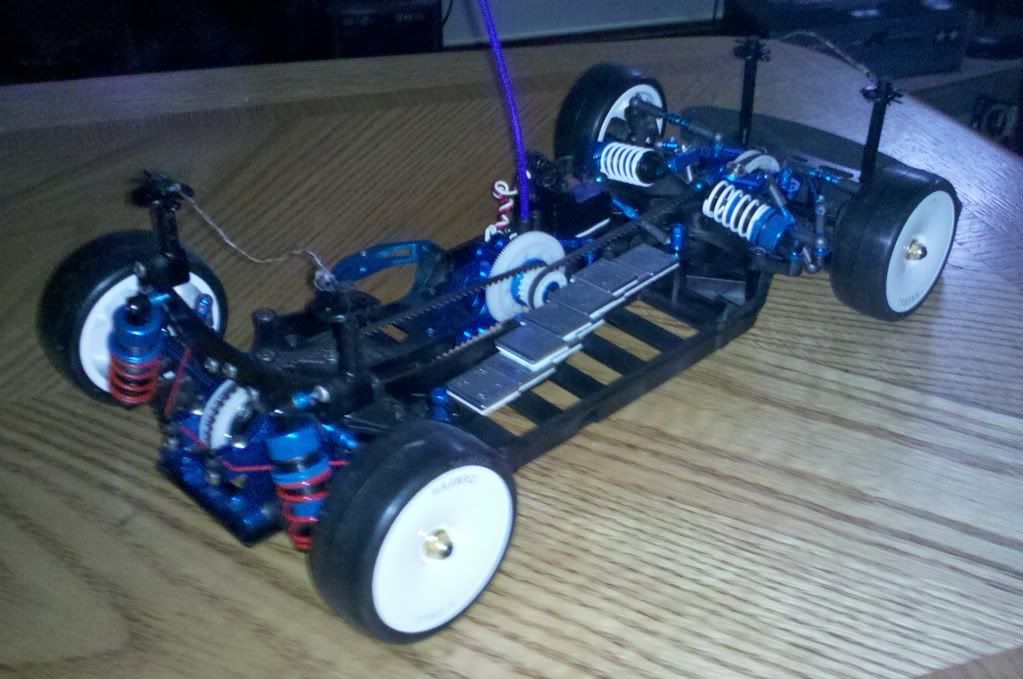
i looked again at your car, can you put those lead weights under the battery for better center of gravity?
i looked again at your car, can you put those lead weights under the battery for better center of gravity?
03-17-2011, 11:19 PM
#679

Join Date: Feb 2007
Location: Owensboro, KY
Posts: 5,527
Likes: 0
Received 0 Likes
on
0 Posts
I lowered my 501x to make it an onroad buggy.
Next purchase is some dirt hawgs, my inside jobs didnt last long on this white pavement.[&o]
2 pack runs and they are practically bald.
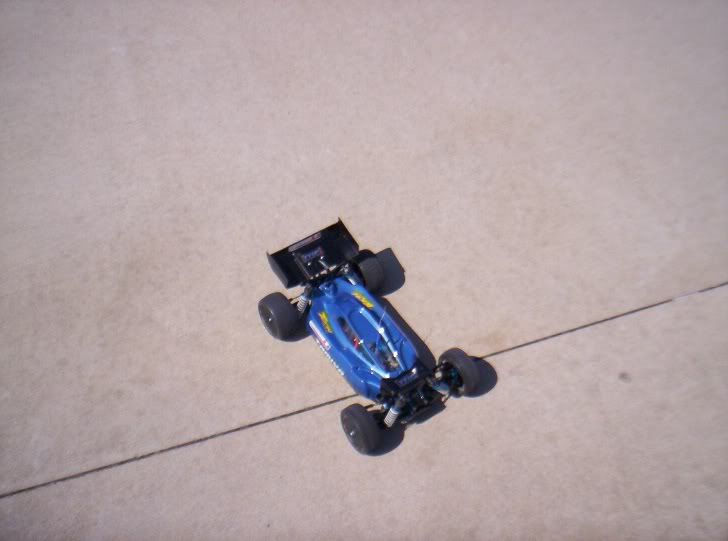
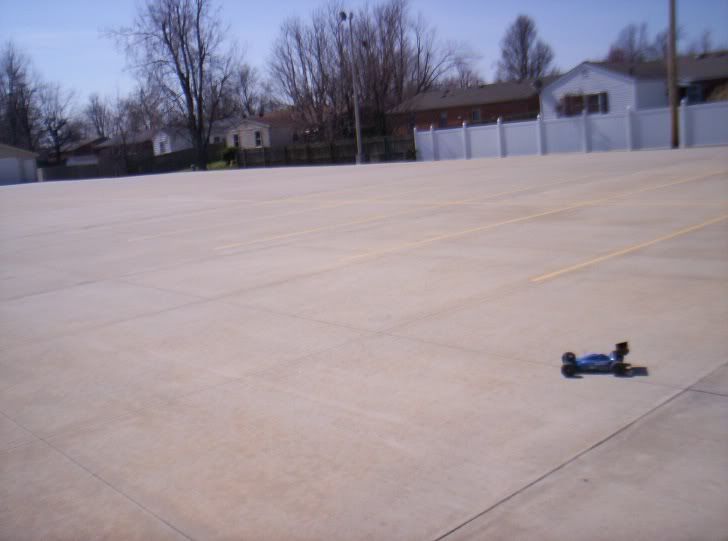
What alot of people dont know about the 501x, it's based on the TA05.
Next purchase is some dirt hawgs, my inside jobs didnt last long on this white pavement.[&o]
2 pack runs and they are practically bald.
What alot of people dont know about the 501x, it's based on the TA05.
03-18-2011, 12:14 AM
#680
Banned
Join Date: Sep 2010
Location: Northampton,
MA
Posts: 1,766
Likes: 0
Received 0 Likes
on
0 Posts
ORIGINAL: Haddi Taha
why don't they come off?
why don't they come off?
It's just double-sided tape. Just knowing where to put them to balance it out is all
 03-18-2011, 12:15 AM
#681
Banned
Join Date: Sep 2010
Location: Northampton,
MA
Posts: 1,766
Likes: 0
Received 0 Likes
on
0 Posts
ORIGINAL: ElectricGuy007
I lowered my 501x to make it an onroad buggy.
Next purchase is some dirt hawgs, my inside jobs didnt last long on this white pavement.[&o]
2 pack runs and they are practically bald.
What alot of people dont know about the 501x, it's based on the TA05.
I lowered my 501x to make it an onroad buggy.
Next purchase is some dirt hawgs, my inside jobs didnt last long on this white pavement.[&o]
2 pack runs and they are practically bald.
What alot of people dont know about the 501x, it's based on the TA05.
03-22-2011, 05:30 PM
#682
Senior Member
Join Date: Aug 2010
Location: hillsboro,
OH
Posts: 113
Likes: 0
Received 0 Likes
on
0 Posts
dragnse7en, few questions. i looked around and what exactly is the significance of the 'Evo IV (V)????
is that a another version, like the TRFs???
what was that about stocking up the belts and center pully?
also, what dampeners r u using?
please excuse my ignorance, and i unfortunately have extreemely tight restrictions on my spending....
so, thanks.
is that a another version, like the TRFs???
what was that about stocking up the belts and center pully?
also, what dampeners r u using?
please excuse my ignorance, and i unfortunately have extreemely tight restrictions on my spending....
so, thanks.
03-22-2011, 07:02 PM
#684
Banned
Join Date: Sep 2010
Location: Northampton,
MA
Posts: 1,766
Likes: 0
Received 0 Likes
on
0 Posts
The EVOIVand V refers to TB Evolution series. Yep, another version.
For the three plus years I've had my older TA05-R, the center pulleys and teetth on the belts would be the first thing (and typically the only thing) that wears out first, not including tires. You might wear out tires before that happens.
For the three plus years I've had my older TA05-R, the center pulleys and teetth on the belts would be the first thing (and typically the only thing) that wears out first, not including tires. You might wear out tires before that happens.

 03-25-2011, 12:35 PM
#686
Senior Member
Join Date: Aug 2010
Location: hillsboro,
OH
Posts: 113
Likes: 0
Received 0 Likes
on
0 Posts
k, cause i havent found that version...
my teeth on the pulleys have some wear, though no inner damage, even though my diff was tight.
and i've gone through a few aramid belts already, though the belts were also damaged on the top/flat part, too..
what exaclty happened to u?
my teeth on the pulleys have some wear, though no inner damage, even though my diff was tight.
and i've gone through a few aramid belts already, though the belts were also damaged on the top/flat part, too..
what exaclty happened to u?
03-25-2011, 04:27 PM
#687
Banned
Join Date: Sep 2010
Location: Northampton,
MA
Posts: 1,766
Likes: 0
Received 0 Likes
on
0 Posts
ORIGINAL: gundermanm
k, cause i havent found that version...
my teeth on the pulleys have some wear, though no inner damage, even though my diff was tight.
and i've gone through a few aramid belts already, though the belts were also damaged on the top/flat part, too..
what exaclty happened to u?
k, cause i havent found that version...
my teeth on the pulleys have some wear, though no inner damage, even though my diff was tight.
and i've gone through a few aramid belts already, though the belts were also damaged on the top/flat part, too..
what exaclty happened to u?
04-04-2011, 01:55 PM
#689
Banned
Join Date: Sep 2010
Location: Northampton,
MA
Posts: 1,766
Likes: 0
Received 0 Likes
on
0 Posts
ORIGINAL: gundermanm
The Evos
The Evos
RC TB Evolution IV MS - TBEVOIV
Item #49353RC TB Evolution V MS - Chassis Kit
RC TB Evolution IV - TBEVOIV
Item #58331RC TB Evolution V Chassis - TBEVOV
Item #58371 They're all shaft-driven 4WD TCs, but share parts between itself and the TRF belt-driven TCs., Damper stays, Dampers, turnbuckles, suspension arms, universal swing shafts, ball connecters and other hardware, and so on. Tamiya took full advantage of the term "interchangeable parts".
I would link those, but from what I understand, TamiyaUSA gets very upset when people do that.
04-10-2011, 07:17 PM
#690
Senior Member

The tb evo V will be the best buy because it shares alot of parts with the tb03 which partswill readily available for since it only came out in 2008
 04-12-2011, 05:11 PM
#692
Senior Member
Join Date: Aug 2010
Location: hillsboro,
OH
Posts: 113
Likes: 0
Received 0 Likes
on
0 Posts
k.
when u said to get the reversible arms, did u mean the full set with all the extra stuff (#54083), or just the arms (#53928)???
when u said to get the reversible arms, did u mean the full set with all the extra stuff (#54083), or just the arms (#53928)???
04-16-2011, 01:38 PM
#695
Banned
Join Date: Sep 2010
Location: Northampton,
MA
Posts: 1,766
Likes: 0
Received 0 Likes
on
0 Posts
ORIGINAL: gundermanm
k, thought so.
and does anyone know the best way to solder and attach an EC3 connector?????
k, thought so.
and does anyone know the best way to solder and attach an EC3 connector?????
Step 1. Gather your tools. You will need pliers, wire strippers, a rubber band (elastic), and a 40 watt Soldiering Iron with the soldier.
Step 2. Cut about 2-3mm of insulation off the end of the wires. NOTE: DO ONE WIRE AT A TIME, TO AVOID AN ELECTRICAL SHORT (BATTERY ONLY). At this point, add the heat shink tubing at the desired length and slide it down to the battery or esc, if necessary. Repeat steps 2 thru 5 for the other wire.
Step 3. Tin the end of wire with the Iron. Tinning with soldier is melting an even thin layer throughout the enitre surface of an area that is to have a soldier connection. Use the pliers with a rubber band on the handle to act as a third hand if you have trouble juggling a wire, soldier, and the Iron all at once. Fit the wire into your "third hand" for easier operation. Be sure to tin the strands of the wire so that they suck in the soldier evenly, and all the way down to the insulation. Be sure that you apply enough heat to both the soldier AND the wire so that you won't get a Cold Soldier. That's just shop talk for an inadequate and crappy soldier job (not enough heat applied evenly to both soldier and metal).
Step 4. Take the connector barrel , and fit into into your "third hand", with the end where you are going to attach the wire pointed UP. Repeat the tinning operation, making sure not to use too much soldier. The trick is to pre-heat the metal first, and then add the soldier. Make a circular motion with the Iron's tip around the edge of the barrel while you apply the soldier.
Step 5. With the "third hand" still holding the barrel, insert the tinned tip of the wire into the barrel, and then re-apply heat all around. This operation is called a Reflow. Take your time applying heat all around the barrel to ensure a good reflow, unless you have x-ray vision and can see if it's a good connection. While the new connecttion is still warm, fit the barrel into the plug's housing. Please be sure to check the polarity on the wire before installing it into the housing. Use a small flat blade screwdriver to assist the barrel into the plug's housing. Once you feel it pop, it's firmly seated.
Repeat step 2 thru 5 for the other wire, and you're good to go! If you needed to use heat shrink tubing, slide it back up to cover any exposed connection(s) with a cigarette lighter. Clean any burnt smoke off with a cotton swab and rubbing alcohol - it will look professional!!! Got a heat gun? Go for it; too much time, too much to lug out, gotta wait for it to heat up, bah. My way is faster - just remember to pull out the rubbing alcohol AFTER you've shrunken the pieces
Hope this helps - repost here and let us know how you did 8)
04-17-2011, 09:35 AM
#696
Senior Member
Join Date: Aug 2010
Location: hillsboro,
OH
Posts: 113
Likes: 0
Received 0 Likes
on
0 Posts
well my main issue is pushing the barrel and connector into the plastic part of the plug....
i can't get in.
i was wondering if it would have worked better to push the wire thru first, then pull it back.
see, i soldered it a while ago but i couldn't get it in enough so i was losing conection, so the power would cut out.
i can't get in.
i was wondering if it would have worked better to push the wire thru first, then pull it back.
see, i soldered it a while ago but i couldn't get it in enough so i was losing conection, so the power would cut out.
04-17-2011, 10:36 AM
#698
Banned
Join Date: Sep 2010
Location: Northampton,
MA
Posts: 1,766
Likes: 0
Received 0 Likes
on
0 Posts
ORIGINAL: gundermanm
well my main issue is pushing the barrel and connector into the plastic part of the plug....
i can't get in.
i was wondering if it would have worked better to push the wire thru first, then pull it back.
see, i soldered it a while ago but i couldn't get it in enoughso i was losing conection, so the power would cut out.
04-17-2011, 10:37 AM
#699
Banned
Join Date: Sep 2010
Location: Northampton,
MA
Posts: 1,766
Likes: 0
Received 0 Likes
on
0 Posts
ORIGINAL: gundermanm
oh, and about the arms, what is the spike shaft???
-can't find it
oh, and about the arms, what is the spike shaft???
-can't find it
04-17-2011, 12:17 PM
#700
Member

Join Date: Oct 2009
Location: Tg Mures, ROMANIA
Posts: 31
Likes: 0
Received 0 Likes
on
0 Posts
ORIGINAL: gundermanm
k, thought so.
and does anyone know the best way to solder and attach an EC3 connector?????
k, thought so.
and does anyone know the best way to solder and attach an EC3 connector?????
[youtube]http://www.youtube.com/watch?v=u8aF3-4uBkQ&feature=related[/youtube]