


Yeti xxl hybrid
 02-18-2015, 06:32 PM
#1
Senior Member
Thread Starter

Join Date: Apr 2008
Location: Coulee Dam, WA
Posts: 812
Likes: 0
Received 0 Likes
on
0 Posts
[HR][/HR]So I like doing things a little different. I also like to build large scale lately. This build is no different. I using Traxxas 3.3 Revo parts, Summit parts, HPI Baja parts, Hitec 1/5 servo and a custom frame of my own design. Money is tight at the moment so this build will be a little slow. I do have a lot of the parts already so it shouldn't be to bad. The Axial Yeti cage will be about the only thing that has anything to do with the Yeti XL but it will look like one when it's done, sort of.
Here are some of the parts being used
Hitec HS-5755MG steering servo
Summit 2 speed transmission
Summit front locking diff.
2 Traxxas 2065 micro servos
RPM revo arms
Traxxas aluminum hop up parts
1/5 Proline trenchers/RC4WD Dune Reapers
Traxxas Rear diff spool
3.3 Traxxas aluminum chassis
HPI Vorza Motor mount
Leopard 4075 brushless motor
Axial Yeti XL roll cage
Rampage XT front bumper
Summit shifting links and mounts
HPI style 1/5 bead lock rims
SkyRC 150 amp 6s speed control
And a hole bunch of custom parts.
Rubbing is Racing.
__________________
RC4WD TEAM DRIVER
 02-18-2015, 06:32 PM
#2
Senior Member
Thread Starter
Join Date: Apr 2008
Location: Coulee Dam, WA
Posts: 812
Likes: 0
Received 0 Likes
on
0 Posts
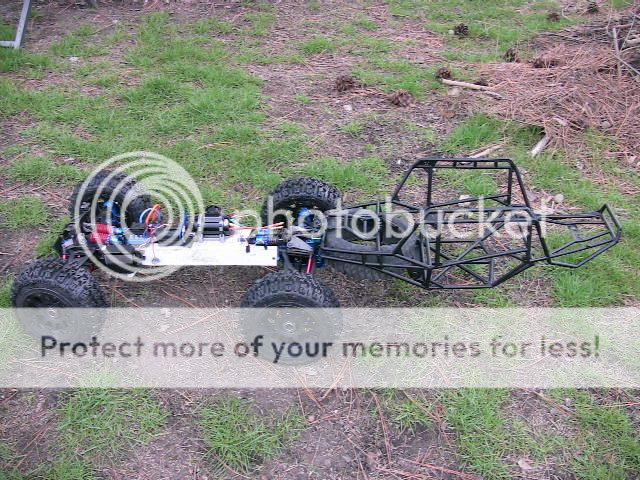
This is the roller that I picked up off of ebay years ago to do a build like this. The funny thing is that I did't really know what I was going to do with it untill the Yeti XL came out a few months back.
I think I won the bid around $100.00 just as you see it here.
I think I won the bid around $100.00 just as you see it here.
 02-18-2015, 06:33 PM
#3
Senior Member
Thread Starter
Join Date: Apr 2008
Location: Coulee Dam, WA
Posts: 812
Likes: 0
Received 0 Likes
on
0 Posts
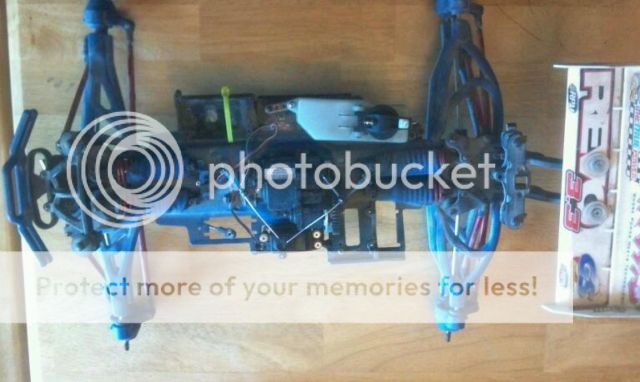
I just ordered the micro servos as well as the Roll cage today. The Revo rear wing mount, I ordered 2 days ago. so I do have some parts on the way. The custom frame is cut already and I made the custom drive shafts also. I have the chassis as a roller and when the Roll cage gets mounted I will build the Custom lipo trays so that they fit as they should. I will mount them with the weight forward so that it is a great climber.


The picture above shows the HPI Savage 24mm wheel hex adapters that are needed to use the 1/5 scale rims. They work slick. I have tall narrow tires that will set this build apart!
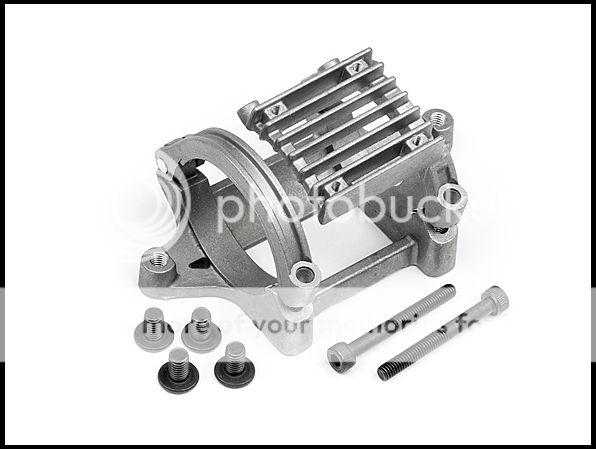
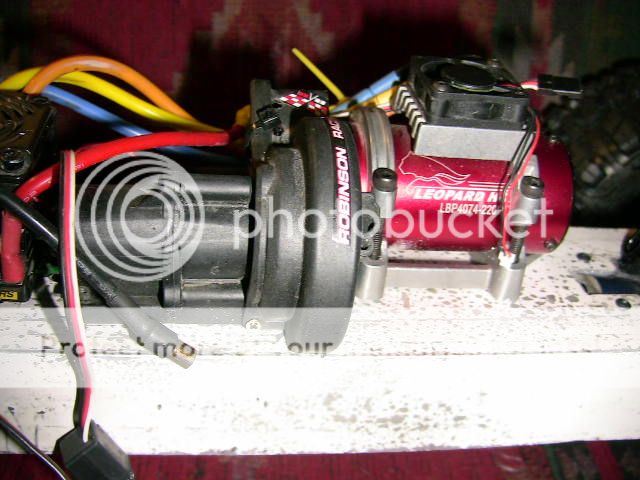
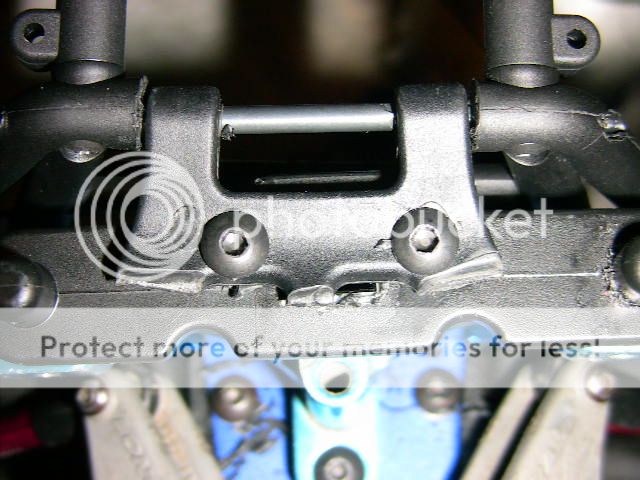
This is the bomb proof motor mount that will be in this build. it lays the motor on the chassis, so the weight is as low as possible.


The picture above shows the HPI Savage 24mm wheel hex adapters that are needed to use the 1/5 scale rims. They work slick. I have tall narrow tires that will set this build apart!
This is the bomb proof motor mount that will be in this build. it lays the motor on the chassis, so the weight is as low as possible.
 02-18-2015, 06:34 PM
#4
Senior Member
Thread Starter
Join Date: Apr 2008
Location: Coulee Dam, WA
Posts: 812
Likes: 0
Received 0 Likes
on
0 Posts
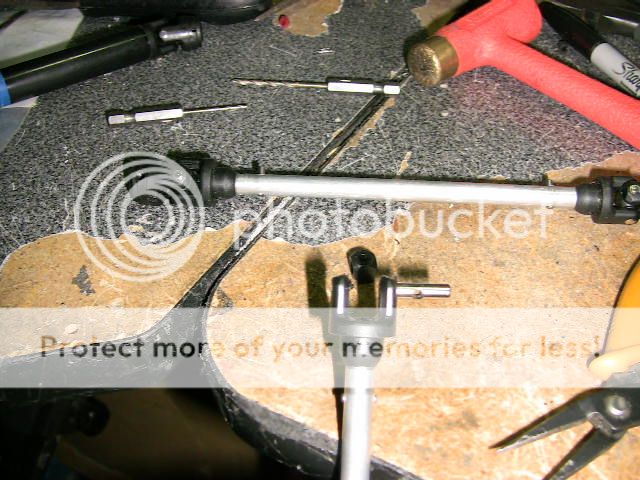
This picture shows a frame that I used to mach up the wheel base and lay-out.
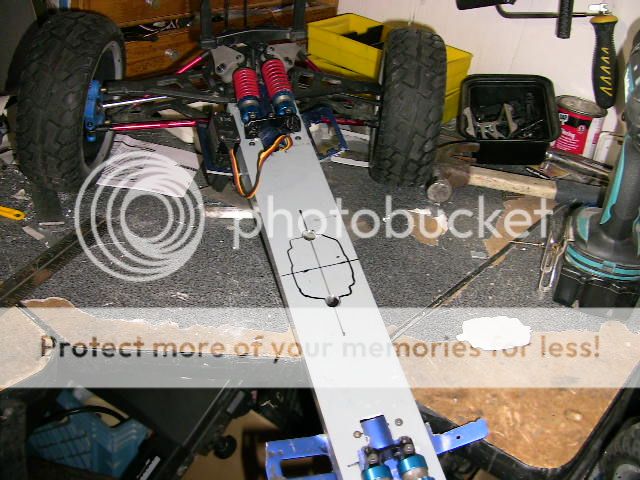

Here are some drive lines I'm playing with. because of the custom length I needed to make some.
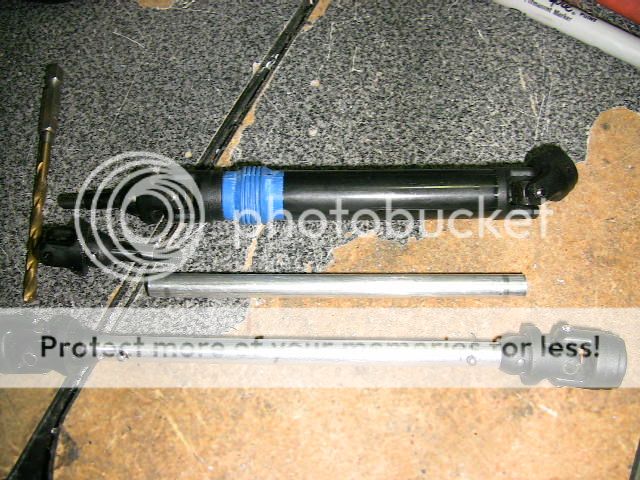
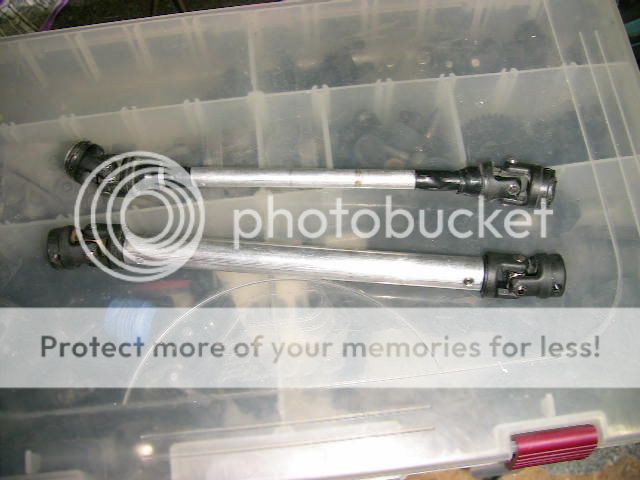
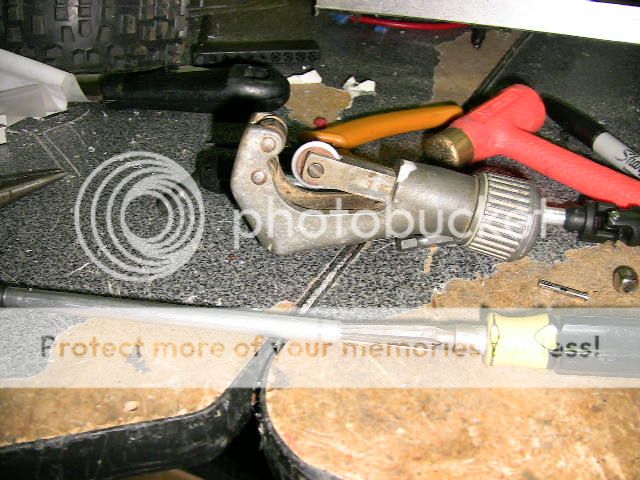


Here are some drive lines I'm playing with. because of the custom length I needed to make some.


 02-18-2015, 06:34 PM
#5
Senior Member
Thread Starter
Join Date: Apr 2008
Location: Coulee Dam, WA
Posts: 812
Likes: 0
Received 0 Likes
on
0 Posts
I tried this chassis out and it worked fine, but I wasn't happy with the twist flex that it had. So I went to the scrap yard and bought some RV awening legs to build the frame from. It is important that I have on flex between the motor and the transmission.


 02-18-2015, 06:36 PM
#8
Senior Member
Thread Starter
Join Date: Apr 2008
Location: Coulee Dam, WA
Posts: 812
Likes: 0
Received 0 Likes
on
0 Posts
Here is the mount that I will use to shift the front diff and the trans.

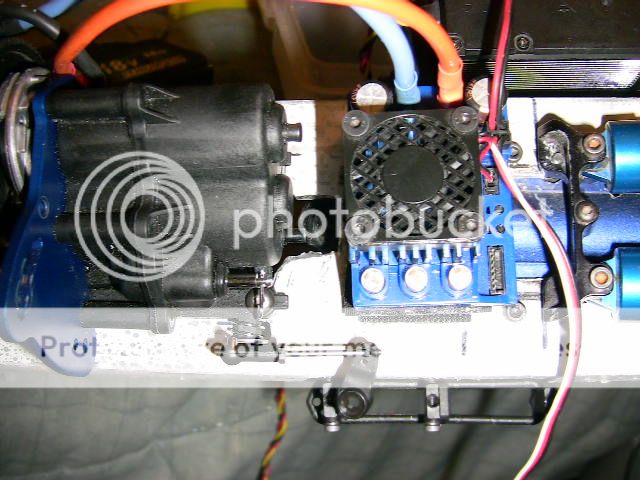
The micro servo came in today. That is fast! I live in wasinton state and thes came in from JK Hobby in N. Chelmford MA.


The micro servo came in today. That is fast! I live in wasinton state and thes came in from JK Hobby in N. Chelmford MA.

 02-18-2015, 06:37 PM
#9
Senior Member
Thread Starter
Join Date: Apr 2008
Location: Coulee Dam, WA
Posts: 812
Likes: 0
Received 0 Likes
on
0 Posts
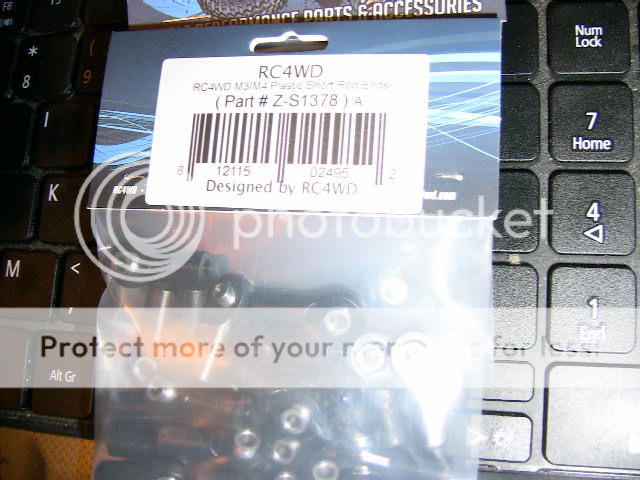
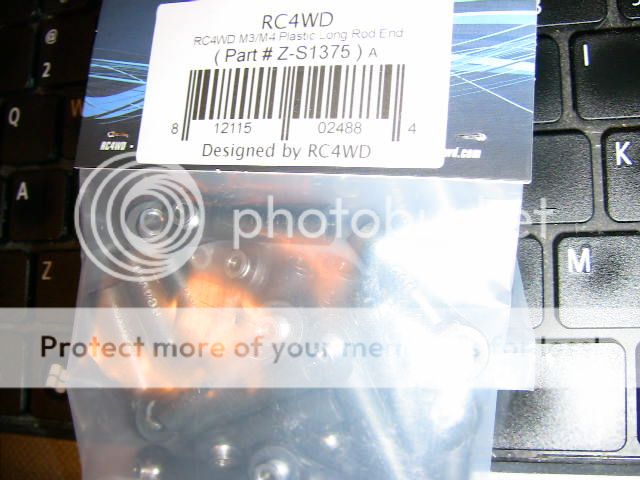
I'll be using the RC4WD Rod ends both long and short on this build and also in other up comming Builds. I like them. they seem to be well built. I will givee a full review as soom as this build is done.

 02-18-2015, 06:38 PM
#10
Senior Member
Thread Starter
Join Date: Apr 2008
Location: Coulee Dam, WA
Posts: 812
Likes: 0
Received 0 Likes
on
0 Posts
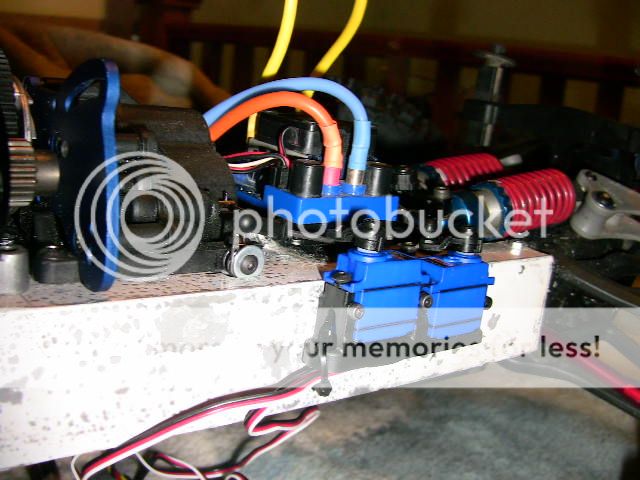
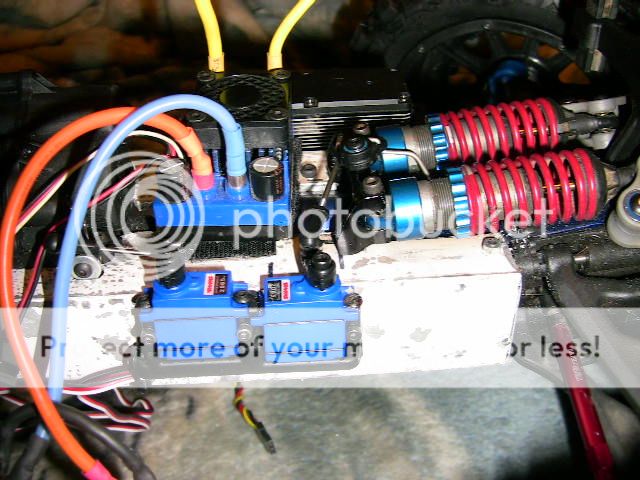
You can see the difference in the size of a normal servo to the larger 1/5 scale servo in this picture.


Last edited by twissted; 02-19-2015 at 12:18 AM.
 02-19-2015, 01:55 PM
#12
Senior Member
Thread Starter
Join Date: Apr 2008
Location: Coulee Dam, WA
Posts: 812
Likes: 0
Received 0 Likes
on
0 Posts
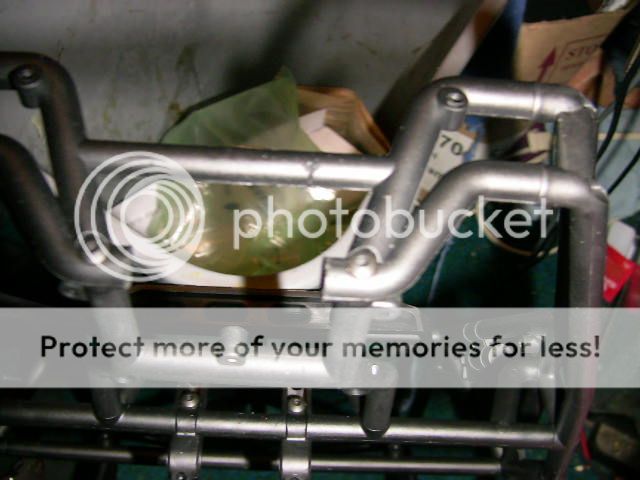
It took me 1/2 hour to figure out how to mount the back of the cage to the body post of the revo mounts on the chassis. I'm using a broken drill bit as the hing pin for now. So it works and it doesn't stand out. All good things in my book. I took some pictures of the Desert Buggy with the Yeti to give you a idea as th how big it is going to be.


 02-19-2015, 04:22 PM
#13
Senior Member
Thread Starter
Join Date: Apr 2008
Location: Coulee Dam, WA
Posts: 812
Likes: 0
Received 0 Likes
on
0 Posts
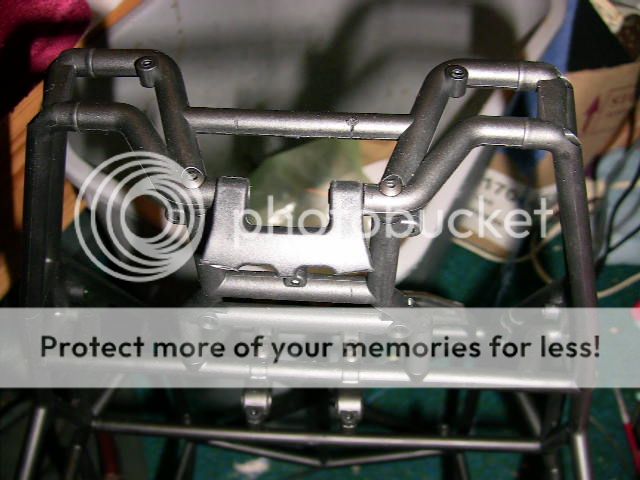
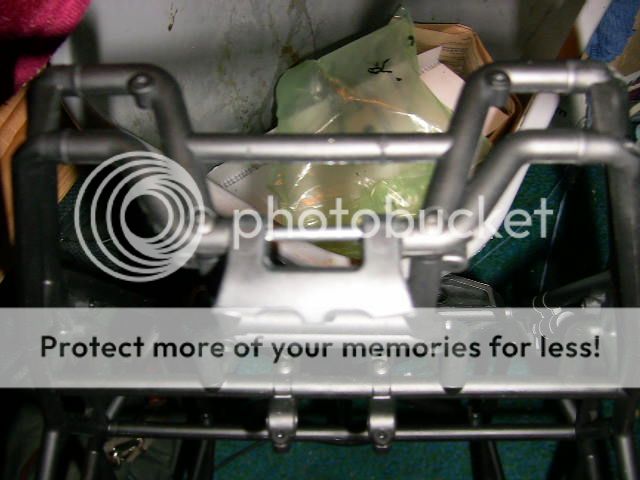
I have improved on the way it opens compared to the Axial design. Notice that mine opens all the way so that it is easy to work on with out it falling down or getting in the way.

 02-19-2015, 04:36 PM
#15
Senior Member
Thread Starter
Join Date: Apr 2008
Location: Coulee Dam, WA
Posts: 812
Likes: 0
Received 0 Likes
on
0 Posts
I ordered 2 sets of the HPI wheelyking battery and radio box. I will be using the 2 battery holders to run 4s and 6s on this Buggy The raido box is a nice touch, and I will use one them also.
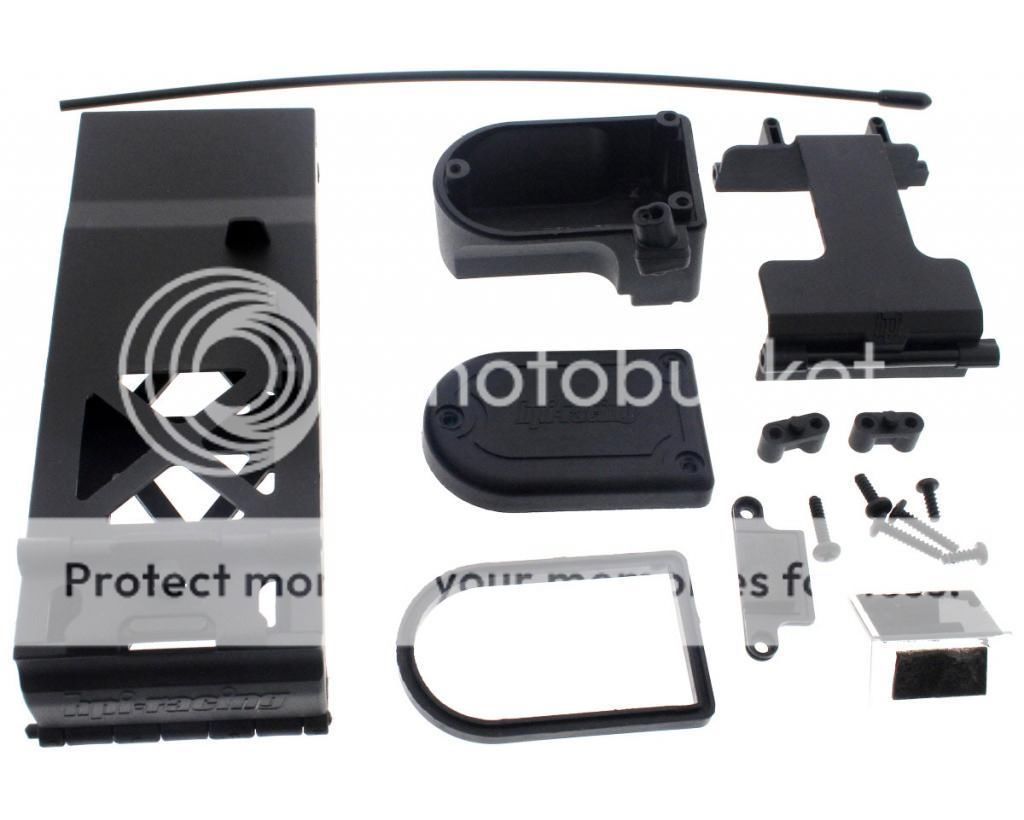
dollarhobbyz is a great place on ebay to find parts.

dollarhobbyz is a great place on ebay to find parts.
 02-20-2015, 04:16 PM
#17
Senior Member
Thread Starter
Join Date: Apr 2008
Location: Coulee Dam, WA
Posts: 812
Likes: 0
Received 0 Likes
on
0 Posts

I made this spare tire carrier from a 23mm hex extension That I had no use for. I used a Zip tie to attach it to the cage.
Last edited by twissted; 02-27-2015 at 09:48 PM.

 02-20-2015, 06:03 PM
#20
Senior Member
Thread Starter
Join Date: Apr 2008
Location: Coulee Dam, WA
Posts: 812
Likes: 0
Received 0 Likes
on
0 Posts
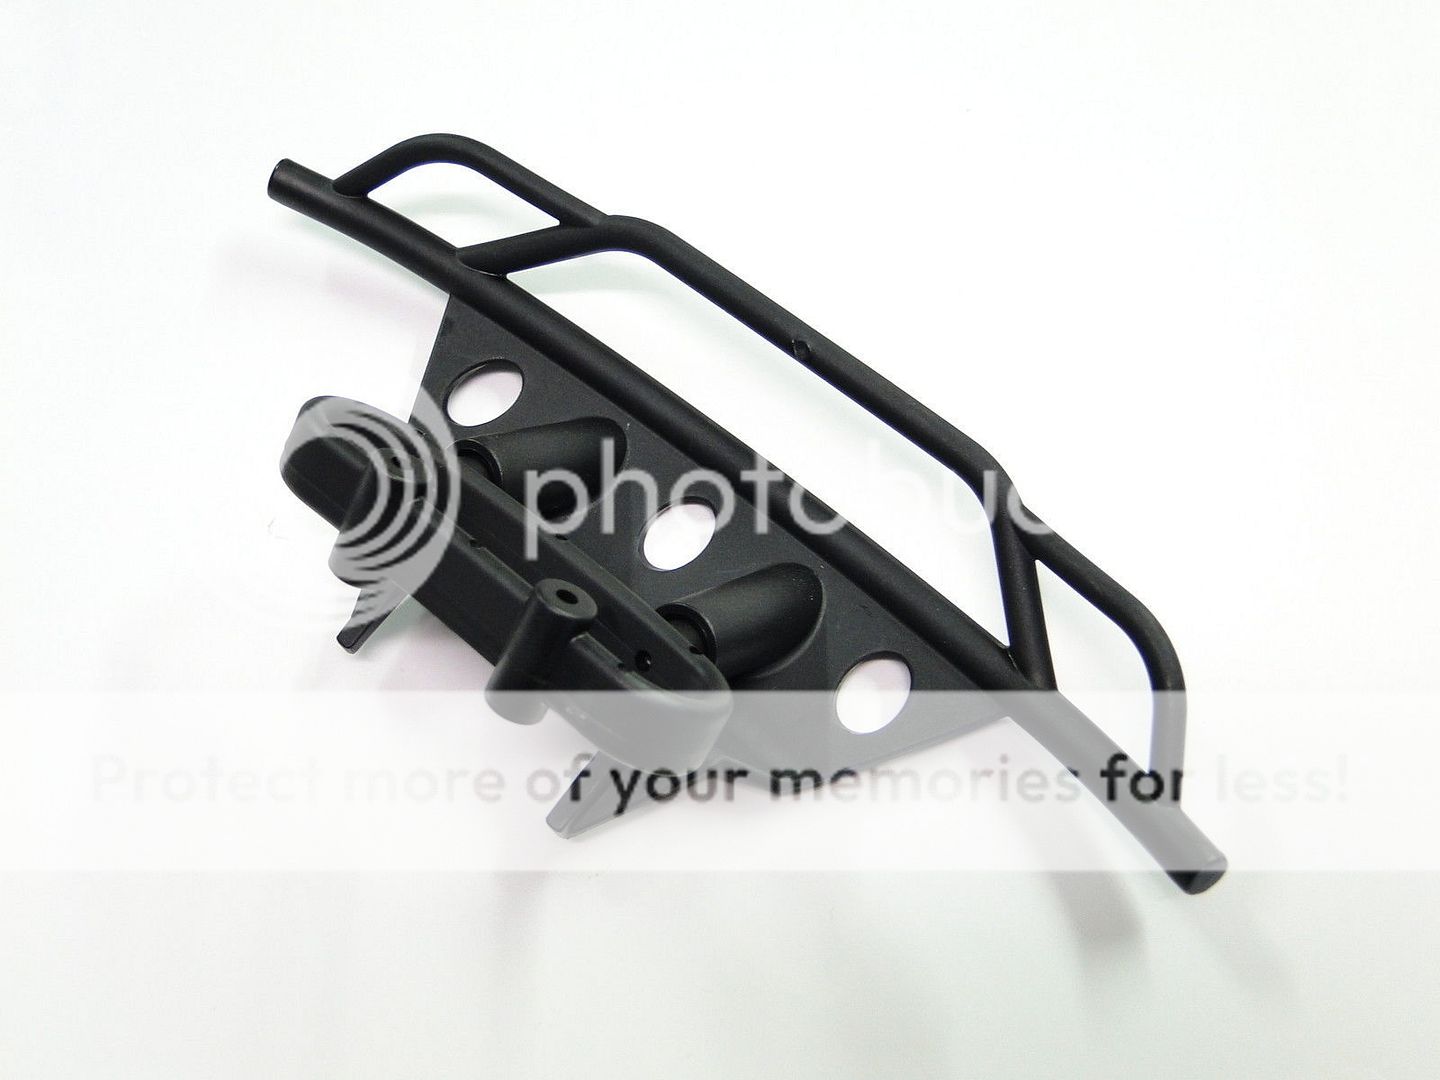
I'm going to stay with the stock Summit dumper for now so that I get it done in a timely fashion. I will do something custom later.
I will pull the lights out of the rear bumper and install them in the roll cage rear light bar.
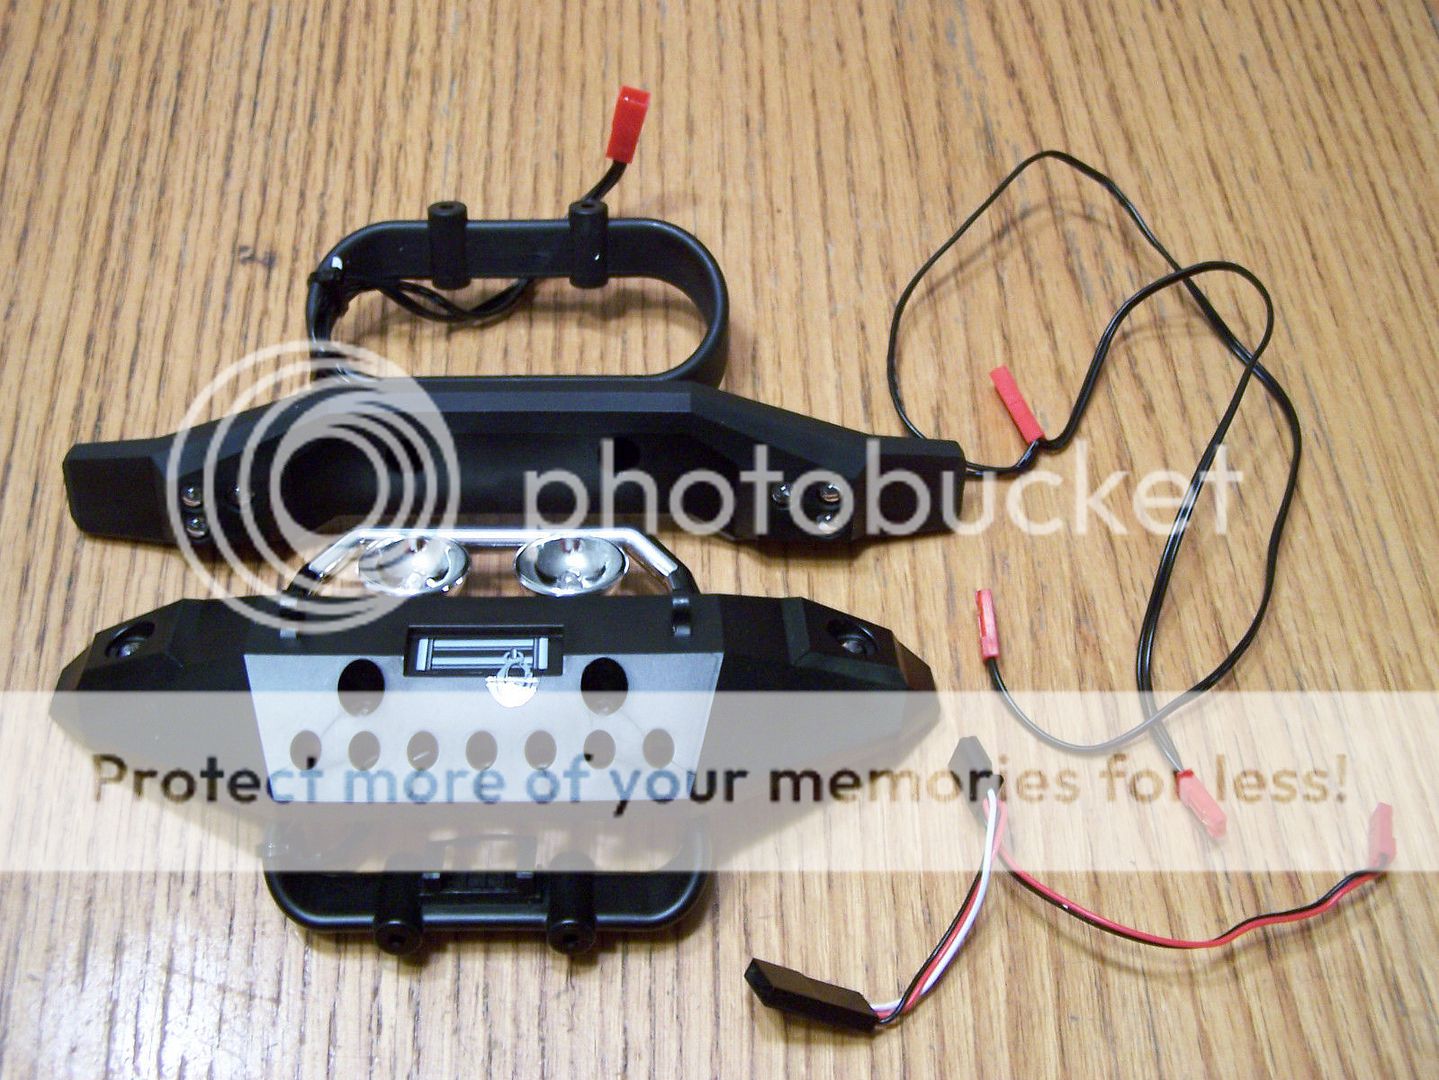
I also have the Slayer Pro bumper on the way in case I like it better
I will pull the lights out of the rear bumper and install them in the roll cage rear light bar.

I also have the Slayer Pro bumper on the way in case I like it better

Last edited by twissted; 02-22-2015 at 11:27 PM.
02-21-2015, 10:38 AM
#21
Senior Member
Thread Starter
Join Date: Apr 2008
Location: Coulee Dam, WA
Posts: 812
Likes: 0
Received 0 Likes
on
0 Posts
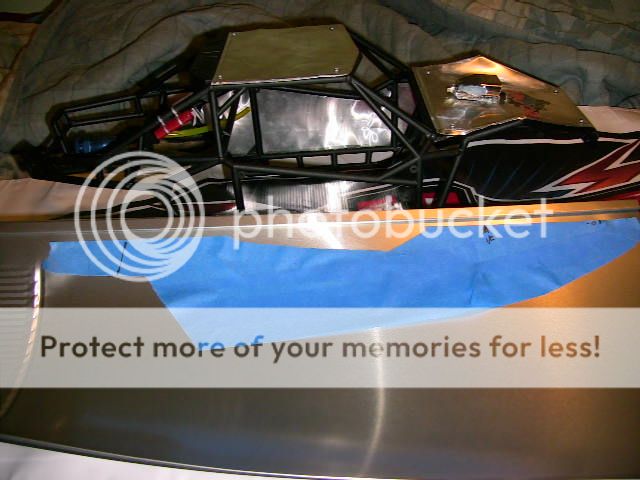
I got the drivers side panel made.


The snorkel is just put in place. It is getting a blower put under it.


The snorkel is just put in place. It is getting a blower put under it.
Last edited by twissted; 02-27-2015 at 09:50 PM.

 02-23-2015, 06:09 AM
#23
Senior Member
Thread Starter
Join Date: Apr 2008
Location: Coulee Dam, WA
Posts: 812
Likes: 0
Received 0 Likes
on
0 Posts
How I made the panel. I used painters tape and masked the area that I wanted to make the panel for. I peeled and pasted to a sheet of aluminum that I bought at Home Depot. It is a dryer vent. $3.88
 02-23-2015, 04:54 PM
#24
Senior Member
Thread Starter
Join Date: Apr 2008
Location: Coulee Dam, WA
Posts: 812
Likes: 0
Received 0 Likes
on
0 Posts
Last edited by twissted; 02-24-2015 at 03:09 PM.
02-24-2015, 03:05 PM
#25
Senior Member
Thread Starter
Join Date: Apr 2008
Location: Coulee Dam, WA
Posts: 812
Likes: 0
Received 0 Likes
on
0 Posts
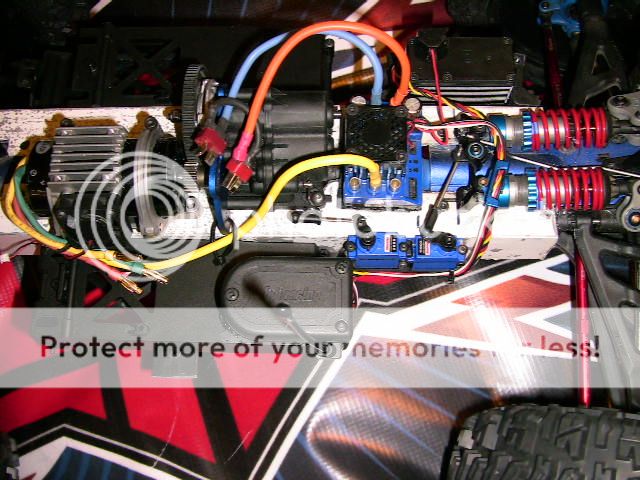
I was working on getting the wire cleaned up. This is how it is going to look other than the light harness that will also find it's way into this build.
Here is the difference in the two builds side by side.


Here is the difference in the two builds side by side.

Last edited by twissted; 02-27-2015 at 09:56 PM.