


Sig Riser 100 electric Build


 08-15-2016, 08:32 PM
#103
Senior Member
My Feedback: (1)
Join Date: Oct 2004
Location: La Vista, NE
Posts: 238
Likes: 0
Received 0 Likes
on
0 Posts
Wing tips are all sanded, the right one was a will pain. Took longer, it was a harder density of balsa. And the tail section is all done. The elevator is hooked up to push rod and centered.
The rudder is hooked up and centered.
What do you guys think?
And what is in the jug is cherry drink.


The rudder is hooked up and centered.
What do you guys think?
And what is in the jug is cherry drink.
Last edited by Aquila1954; 08-15-2016 at 11:11 PM.
08-15-2016, 11:47 PM
#104
Senior Member
My Feedback: (1)
Join Date: Oct 2004
Location: La Vista, NE
Posts: 238
Likes: 0
Received 0 Likes
on
0 Posts
You know, I think when I do the next 100 this winter. I am going to move the push rods farther back, somewhere in the Red Area of the picture. I just don't like having the push rods that are in the black area, so far back from the control horns.

08-16-2016, 05:41 AM
#105
Balsa was a little hard on the tips? That is the reason I have several razor planes but if the going gets tough I get one these out:
http://www.greatplanes.com/discontinued/gpmr4030.html
The blade is more of a wood rasp than a plane blade but for taking a lot of wood off to rough out a shape it works pretty good. Alast, Great Planes discontinued it so you have to do what I did and search the used market.
http://www.greatplanes.com/discontinued/gpmr4030.html
The blade is more of a wood rasp than a plane blade but for taking a lot of wood off to rough out a shape it works pretty good. Alast, Great Planes discontinued it so you have to do what I did and search the used market.
08-16-2016, 07:51 AM
#106
Senior Member
My Feedback: (1)
Join Date: Oct 2004
Location: La Vista, NE
Posts: 238
Likes: 0
Received 0 Likes
on
0 Posts
Yea to bad they make it anymore, didn't think about till now. I should've broke out dremal tool with the sanding disk on it. But when I use that thing, I get a little happy with it.
08-17-2016, 03:25 AM
#107
Senior Member
My Feedback: (1)
Join Date: Oct 2004
Location: La Vista, NE
Posts: 238
Likes: 0
Received 0 Likes
on
0 Posts
I have changed my control rods a bit. I think it bows to much. So, I put wire into the control rods. Now I have to find those ez- connectors. I had 2 somewhere in a vitamin bottle in this house.
Oh boy, now you all know what I look like.")
Pork Chop, you might want to consider this route.

Oh boy, now you all know what I look like.
Pork Chop, you might want to consider this route.
Last edited by Aquila1954; 08-17-2016 at 04:31 AM.
08-17-2016, 10:14 AM
#108
I have changed my control rods a bit. I think it bows to much. So, I put wire into the control rods. Now I have to find those ez- connectors. I had 2 somewhere in a vitamin bottle in this house.
Oh boy, now you all know what I look like.
Pork Chop, you might want to consider this route.
Oh boy, now you all know what I look like.
Pork Chop, you might want to consider this route.
08-17-2016, 07:46 PM
#109
Senior Member
My Feedback: (1)
Join Date: Oct 2004
Location: La Vista, NE
Posts: 238
Likes: 0
Received 0 Likes
on
0 Posts
It doesn't bind, it moves great with the wires now. It doesn't bow at all now. I was thinking about that before I started to put things together back there. Well, I thought if Sig planned it that way, should've known better.
08-18-2016, 04:35 AM
#110
Senior Member
My Feedback: (1)
Join Date: Oct 2004
Location: La Vista, NE
Posts: 238
Likes: 0
Received 0 Likes
on
0 Posts
I finally found the snap keepers in the house and put them on, and put on heat shrink to make sure they stay there too. I guess the correct term is E/Z links. https://www.hobbytown.com/e-z-link-4...-dub855/p29368.
On RCgroups.com a person told me I should have smiled. In this picture, I did this time.

On RCgroups.com a person told me I should have smiled. In this picture, I did this time.
08-18-2016, 12:33 PM
#113

Thread Starter
My Feedback: (5)

Join Date: Nov 2007
Location: Vacaville,
CA
Posts: 275
Likes: 0
Received 0 Likes
on
0 Posts
Very nice.
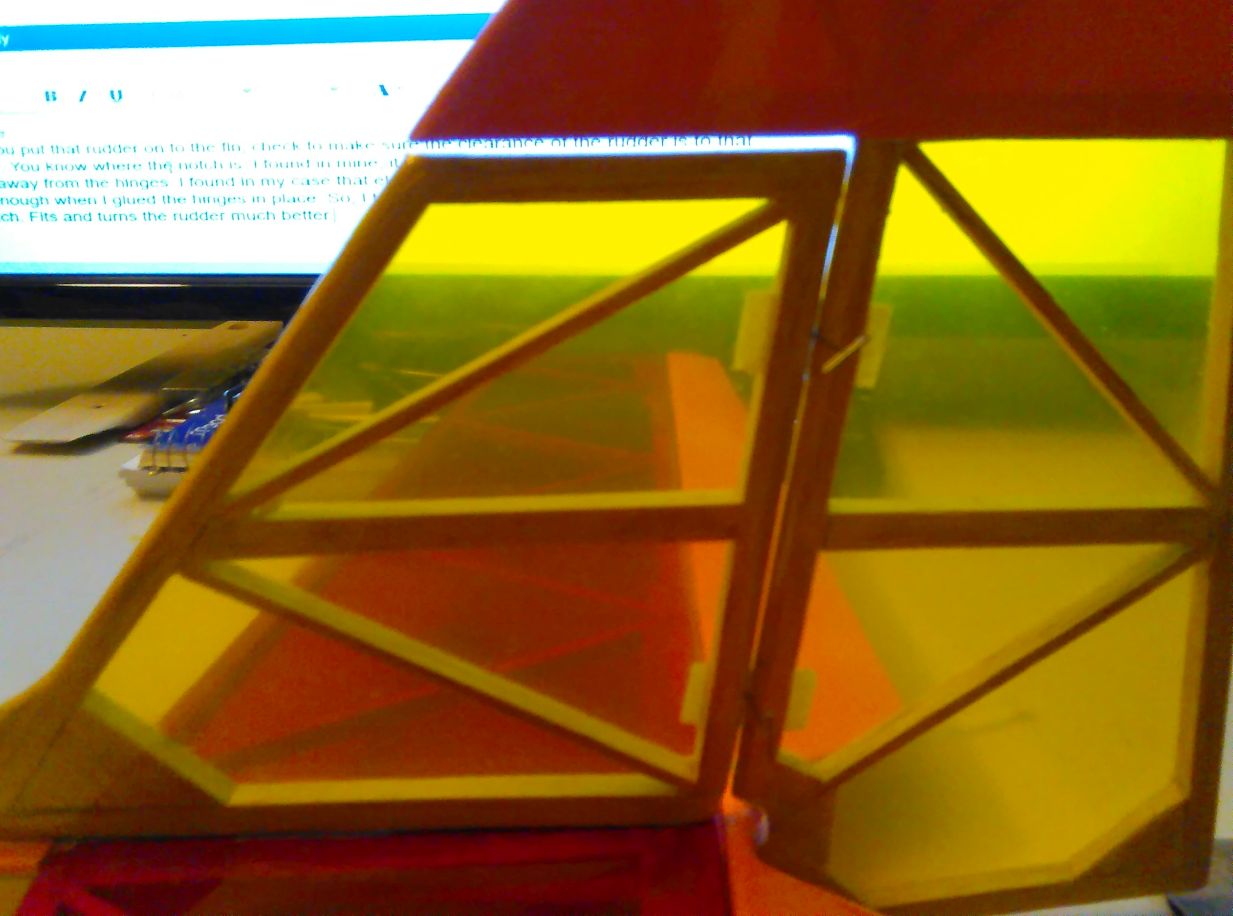
When you put that rudder on to the fin, check to make sure the clearance of the rudder is to that elevator. You know where the notch is. I found in mine, it was not getting enough clearance to move without pulling away from the hinges. I found in my case that elevator at the center where the dowel is was not close enough when I glued the hinges in place. So, I took out my trusty dremal and sanded out more of the notch. (Picture 1). Fits and turns the rudder much better. The rudder hinges are not yet glued.
The pins in my rudder hinges was for, so when I pushed the rudder on. The hinges wouldn't go to far into the fin in picture 2.

Okay, on your plane.
What battery size and ESC are you using.
Is this your first time at Electric or have you done this before. This is my second one with E-Power.
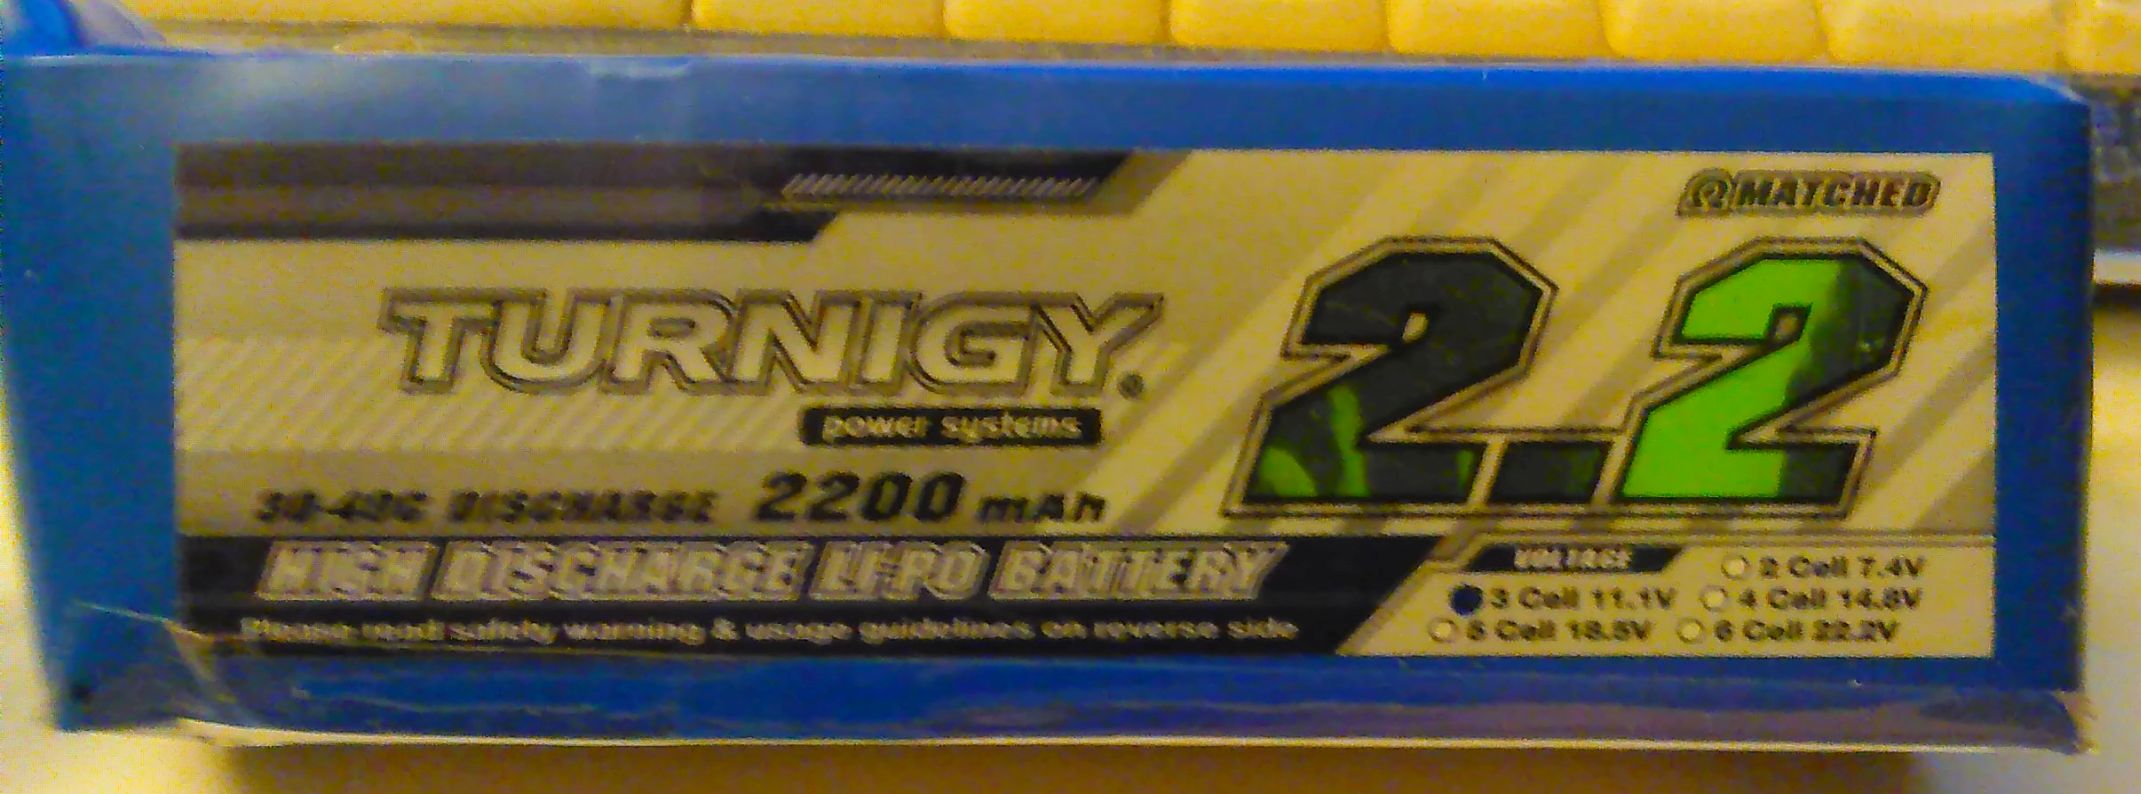
My batteries are Turnigy 2200 30C 3S Lipos's. And my ESC is a Turnigy Plush 40A /with 5A bec. Kind of funny, the "green" where the 2.2 number is a reflection from my cell phone case.
When you put that rudder on to the fin, check to make sure the clearance of the rudder is to that elevator. You know where the notch is. I found in mine, it was not getting enough clearance to move without pulling away from the hinges. I found in my case that elevator at the center where the dowel is was not close enough when I glued the hinges in place. So, I took out my trusty dremal and sanded out more of the notch. (Picture 1). Fits and turns the rudder much better. The rudder hinges are not yet glued.
The pins in my rudder hinges was for, so when I pushed the rudder on. The hinges wouldn't go to far into the fin in picture 2.
Okay, on your plane.
What battery size and ESC are you using.
Is this your first time at Electric or have you done this before. This is my second one with E-Power.
My batteries are Turnigy 2200 30C 3S Lipos's. And my ESC is a Turnigy Plush 40A /with 5A bec. Kind of funny, the "green" where the 2.2 number is a reflection from my cell phone case.
08-18-2016, 12:42 PM
#114
Thread Starter
My Feedback: (5)
Join Date: Nov 2007
Location: Vacaville,
CA
Posts: 275
Likes: 0
Received 0 Likes
on
0 Posts
I think your wing tips turned out awesome and I didn't notice that the control rods exits so far forward I'll look when I get home tonight. That said I think I would agree and will most likely do the same and use a longer rod between the clevis and plastic control rod.
08-18-2016, 02:33 PM
#115
Senior Member
My Feedback: (1)
Join Date: Oct 2004
Location: La Vista, NE
Posts: 238
Likes: 0
Received 0 Likes
on
0 Posts
Pork Chop;
I have a problem "Houston", I see why you sister that rib in now. Between the inner and outer panels. Getting ready to epoxy them together, maybe next week sometime. In the picture there is a gap, I have nearer the gap some though since the picture was taken. I have been working on it, I have a piece of 1/16 bass wood that is going in there when I glue it together,, second picture shows the basswood.
So, this is a dry run.
08-18-2016, 03:14 PM
#116
Senior Member
My Feedback: (1)
Join Date: Oct 2004
Location: La Vista, NE
Posts: 238
Likes: 0
Received 0 Likes
on
0 Posts
Just trying out my movements of my tail feathers. My radio is set for 60% throws on my rudder and elevator.
https://youtu.be/ncB4Wmh5yX4
https://youtu.be/ncB4Wmh5yX4
Last edited by Aquila1954; 08-18-2016 at 03:23 PM.
08-21-2016, 10:42 AM
#117
Thread Starter
My Feedback: (5)
Join Date: Nov 2007
Location: Vacaville,
CA
Posts: 275
Likes: 0
Received 0 Likes
on
0 Posts
Have you put the inner and outer panels together over the plan? I pin the inner panel over the plan and prop the outer panel up and make sure not only the joint looks good but that the outer panel is in position using a square from the plan up to the leading edge, make sense? You can get away with sanding the center joint quite a bit
08-21-2016, 01:23 PM
#118
Senior Member
My Feedback: (1)
Join Date: Oct 2004
Location: La Vista, NE
Posts: 238
Likes: 0
Received 0 Likes
on
0 Posts
I moved my wings back in the second bedroom where I was building it all. And the port wing plan is still attached to to build platform. Probably going to do the left tonight. I am a little wore out, finally after 2.5 months of no flying. I went out this morning and flew the Spectra for a couple of hours. The last flight was my longest of about 40 minutes. Kept hitting good thermals.
08-22-2016, 11:40 AM
#119
Senior Member
My Feedback: (1)
Join Date: Oct 2004
Location: La Vista, NE
Posts: 238
Likes: 0
Received 0 Likes
on
0 Posts
Well, I epoxied my left wing panels together today. I still have to epoxy a brace in between the two panels. I do the right wing tomorrow sometime. Getting it done, hope to fly it 2nd or 3rd Week of September. I have to order my folding props and some screws (bolts). I hate nylon screws (bolts), especially bolts that to have a flat head screw driver. Maybe if I can find some that are Hex head.
Cellphone could get so much into a picture.


Cellphone could get so much into a picture.
08-25-2016, 10:41 AM
#120
Senior Member
My Feedback: (1)
Join Date: Oct 2004
Location: La Vista, NE
Posts: 238
Likes: 0
Received 0 Likes
on
0 Posts
Okay, I haven't posted a while.
Got the Polyhedral panels glued on and getting ready to sand and align the center section. I checked for balance at this point and it is off. Left wing is heavier. I put 4 cents on the right wing to balance it. Will re-check when it is ready to be covered.
I took my dremal to the center section and gotten closer to fitting the panels better.
Still working on that part.
If I have to put those pennies into the wing, I going to name the plane "4 Cents".
That will make everyone at the field wonder why the plane is named that way.
I know, I had some oops. Well, I hope the second riser this winter will be better, since I will be making that one with a rubber band hold down for wing.
08-26-2016, 10:24 AM
#121
Thread Starter
My Feedback: (5)
Join Date: Nov 2007
Location: Vacaville,
CA
Posts: 275
Likes: 0
Received 0 Likes
on
0 Posts
If you put the weight out on the wing tip it might require fewer pennies possibly but probably not enough overall weight savings to be a big deal. Your making good headway Aquila1954, I moved my Riser indoors this week. My wife cleared out our loft and I put the card table up there along with all the covering tools and MANY rolls of covering! My plan is to finish covering the rudder, epoxy it up and servo hook up on the elevator/rudder by Sunday night. This will leave final sanding and covering of the wings, I'm not sure how to cover the spoiler area because doing the final hookup after it's covered will be very difficult to say the least.
08-26-2016, 01:17 PM
#122
Senior Member
My Feedback: (1)
Join Date: Oct 2004
Location: La Vista, NE
Posts: 238
Likes: 0
Received 0 Likes
on
0 Posts
If you put the weight out on the wing tip it might require fewer pennies possibly but probably not enough overall weight savings to be a big deal. Your making good headway Aquila1954, I moved my Riser indoors this week. My wife cleared out our loft and I put the card table up there along with all the covering tools and MANY rolls of covering! My plan is to finish covering the rudder, epoxy it up and servo hook up on the elevator/rudder by Sunday night. This will leave final sanding and covering of the wings, I'm not sure how to cover the spoiler area because doing the final hookup after it's covered will be very difficult to say the least.
So, your colors are going to be white and blue?
08-27-2016, 07:36 AM
#123
Senior Member
My Feedback: (1)
Join Date: Oct 2004
Location: La Vista, NE
Posts: 238
Likes: 0
Received 0 Likes
on
0 Posts
Well, getting close to the end. I need to do the right wing with the strips and then the final sanding before covering. I have learned a lot on this build. And I am writing the new mods down in "Word" for the next Riser 100 Build this Winter.
Also writing down or I should say typing into "Word". The mistakes that I have made, and try not to do the same thing over again.
I want to Thank everyone for their help and advice on this build.


Also writing down or I should say typing into "Word". The mistakes that I have made, and try not to do the same thing over again.
I want to Thank everyone for their help and advice on this build.
08-29-2016, 10:05 AM
#125
Thread Starter
My Feedback: (5)
Join Date: Nov 2007
Location: Vacaville,
CA
Posts: 275
Likes: 0
Received 0 Likes
on
0 Posts
My colors are white and transparent blue. I have a little more final sanding and final spoiler hook up on the left wing which hopefully will be done this week then cover the wings. I still need to glue the vertical fin on and final servo hook ups.

