


CJM F-4D Conversion and Build

 12-27-2013, 08:56 AM
#77

Thread Starter
Join Date: Nov 2005
Location: Woodstock,
GA
Posts: 393
Likes: 0
Received 0 Likes
on
0 Posts
A few updates, the wing is done and fits pretty good, I have primed them and ready for sanding and filling, here is a few photos...
12-27-2013, 09:05 AM
#78
Thread Starter
Join Date: Nov 2005
Location: Woodstock,
GA
Posts: 393
Likes: 0
Received 0 Likes
on
0 Posts
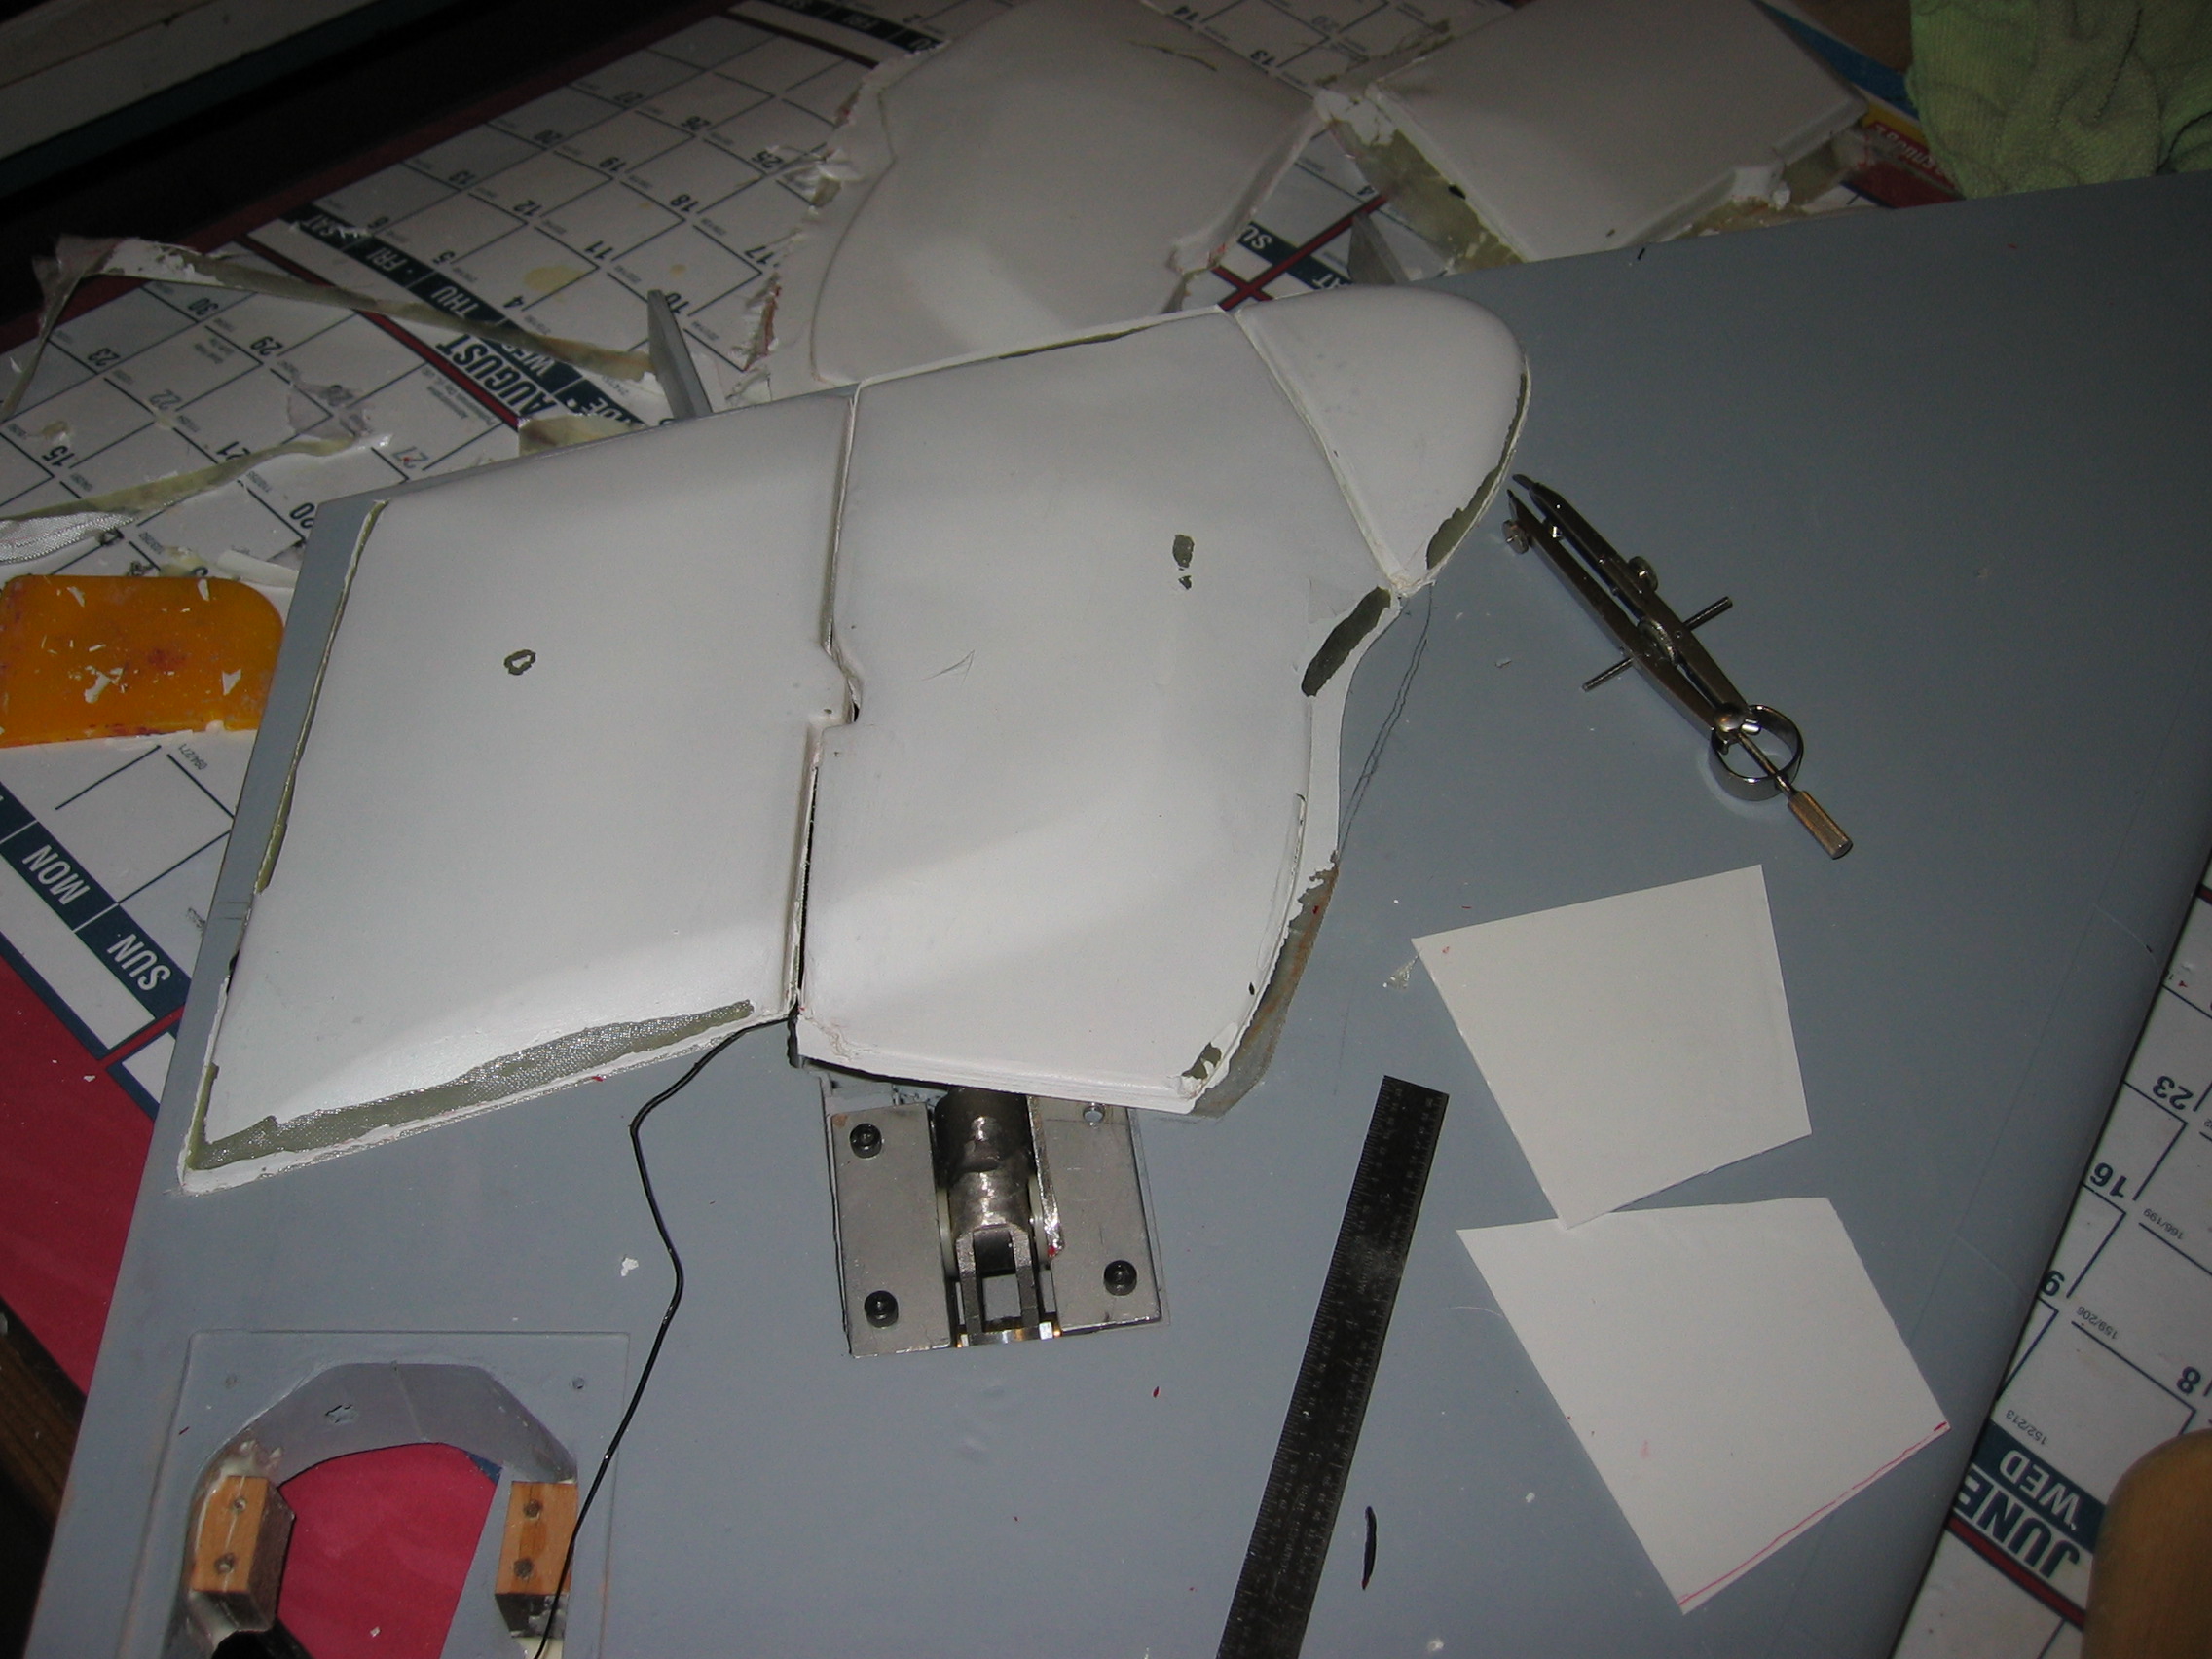
I am working on he nose wheel and doors, frankly I need some advise as how to attache the front nose wheel door to the retract. I remember seeing a few posts about that but can not find them. Here is a few photos, I have installed the hinges, the doors will come off later to install a layer of white styrene for looks. Any help and tip is appreciated.
12-27-2013, 09:29 AM
#79

I am working on he nose wheel and doors, frankly I need some advise as how to attache the front nose wheel door to the retract. I remember seeing a few posts about that but can not find them. Here is a few photos, I have installed the hinges, the doors will come off later to install a layer of white styrene for looks. Any help and tip is appreciated.
I had the one piece wing CJ F-4. I flew it with an airstart Olympus. It was a beast!
 12-27-2013, 10:39 AM
#80
Thread Starter
Join Date: Nov 2005
Location: Woodstock,
GA
Posts: 393
Likes: 0
Received 0 Likes
on
0 Posts
Hi Ravill,
Yes that would work when you deploy the gear but when it is retracted, the door needs to be pulled in. I could use a spring to pull the door in. Your F4 looks great, do you still fly it?
Yes that would work when you deploy the gear but when it is retracted, the door needs to be pulled in. I could use a spring to pull the door in. Your F4 looks great, do you still fly it?
Last edited by USSCAT; 12-27-2013 at 10:42 AM.
12-28-2013, 04:31 PM
#82

I am working on he nose wheel and doors, frankly I need some advise as how to attache the front nose wheel door to the retract. I remember seeing a few posts about that but can not find them. Here is a few photos, I have installed the hinges, the doors will come off later to install a layer of white styrene for looks. Any help and tip is appreciated.
CJM has a nylon door attachment that clips around the strut. A combination of one of these and a short piece of brass tube attached to the door span wise with a U shaped wire going through the brass tube and attached to the nylon block should work. Lets you hook up the door mechanically and still have steering. Just a thought.
12-28-2013, 09:06 PM
#83
Thread Starter
Join Date: Nov 2005
Location: Woodstock,
GA
Posts: 393
Likes: 0
Received 0 Likes
on
0 Posts
Hi Ronnie,
I think this is what you are referring to.....
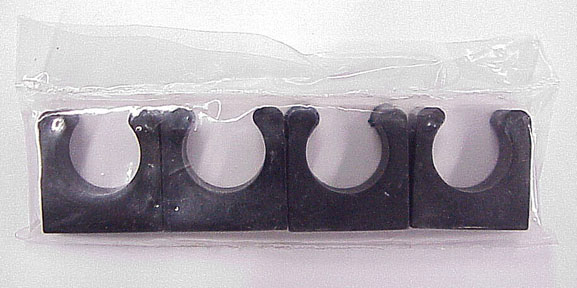
This should work, the problem is that since the door and the retract are on different planes, when nose wheel is retracted the cord may rip off the brass tubing and if it is adjusted just right then the the door may not get pushed out in the open position properly.
It may have to be a swivel arm which would scissor (collapse) when the gear is extended out and then straighten when the gear is pulled in. I am pretty sure i will still need the mounts that you mentioned above. Thank you....
I think this is what you are referring to.....
This should work, the problem is that since the door and the retract are on different planes, when nose wheel is retracted the cord may rip off the brass tubing and if it is adjusted just right then the the door may not get pushed out in the open position properly.
It may have to be a swivel arm which would scissor (collapse) when the gear is extended out and then straighten when the gear is pulled in. I am pretty sure i will still need the mounts that you mentioned above. Thank you....
12-29-2013, 12:23 PM
#84
Thread Starter
Join Date: Nov 2005
Location: Woodstock,
GA
Posts: 393
Likes: 0
Received 0 Likes
on
0 Posts
Ok, taking Ronnie's and Ravill's suggestions, i think I have the problem licked. I used a piece of Teflon stock and drilled to the ole diameter with a slight opening to get it in and out. Then modified a robart large hinge by cutting it to size on one side and drilling a small hole on the other side for pivot. the teflon block rides freely on the ole shaft. Here are a few pictures.....
12-30-2013, 04:11 AM
#85
Mike,
Not exactly what I had in mind with my suggestion. The nylon block is doing just what I expected, changing position on the strut as the gear retracts. However, on the door side I was thinking along the lines of a simplified version of the links that attach from the strut to the door as in this photo using the brass tube and U shaped wire I spoke of. This should accomplish the same thing and be more scale looking. Noticed the position of your scissor links. Is there anyway to turn the strut so that the links are at a scale angle and still be low enough when the gear is retracted for the door to fully close ?
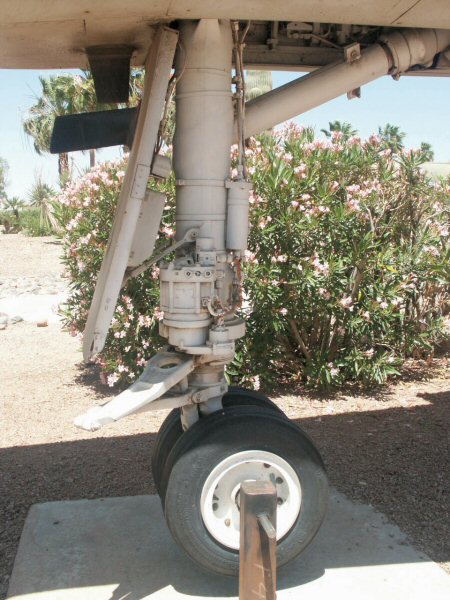
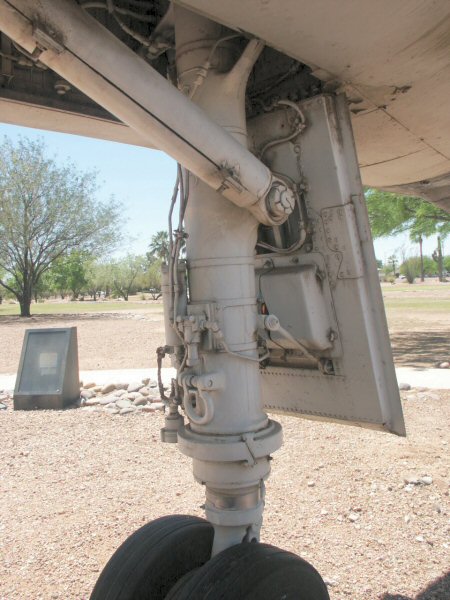
Not exactly what I had in mind with my suggestion. The nylon block is doing just what I expected, changing position on the strut as the gear retracts. However, on the door side I was thinking along the lines of a simplified version of the links that attach from the strut to the door as in this photo using the brass tube and U shaped wire I spoke of. This should accomplish the same thing and be more scale looking. Noticed the position of your scissor links. Is there anyway to turn the strut so that the links are at a scale angle and still be low enough when the gear is retracted for the door to fully close ?
12-30-2013, 06:49 AM
#86
Thread Starter
Join Date: Nov 2005
Location: Woodstock,
GA
Posts: 393
Likes: 0
Received 0 Likes
on
0 Posts
Hi Ronnie,
I had to cut the other end of the hinge down to a stub to fit it so that the door would close and not pop open when the retract is pulled in. I see your point, the pictures are good, let me try that and see how it works. Thanks.
I had to cut the other end of the hinge down to a stub to fit it so that the door would close and not pop open when the retract is pulled in. I see your point, the pictures are good, let me try that and see how it works. Thanks.
12-30-2013, 09:40 AM
#88
Trick solution!
On all of my recent builds, I started putting small carbon fiber "skids" on the wing tips and nose, just in case.
It has already saved the nose of the Ultra once. On my (skymaster), the nose unit of my last one was notorious for getting stuck, so I absolutely placed one on the nose. I haven't needed it yet! Knock on wood!
Great looking build! Thanks for posting so much detail!!


Last edited by ravill; 12-30-2013 at 09:43 AM.
12-30-2013, 09:45 AM
#89
Thread Starter
Join Date: Nov 2005
Location: Woodstock,
GA
Posts: 393
Likes: 0
Received 0 Likes
on
0 Posts
1ricasrdo,
Thank you, this is work in progress
Ronnie,
The first two pictures are from the original approach, the later ones are per your suggestion, I used a piece of paperclip wire to attache the new block to the plywood on the door. I like the later......
Thank you, this is work in progress
Ronnie,
The first two pictures are from the original approach, the later ones are per your suggestion, I used a piece of paperclip wire to attache the new block to the plywood on the door. I like the later......
12-30-2013, 12:21 PM
#90
Member
My Feedback: (25)
Join Date: Jun 2004
Location: fort Lauderdale,
FL
Posts: 97
Likes: 0
Received 0 Likes
on
0 Posts
Hi Mike,
Here�s a video you may like!
This CJM F4 is from a friend of mine and we start to build it then he send to Miguel Alvarez, great professional builder and even a greater person, to finish it, we really did made so much, but i remember we did not put any carbon on the wings panel, or add any kind of spar reinforcement, nothing!
We just fiber glassed the wing panels and all the other surfaces with hobbico 3/4 oz fiberglass and some finishing resin, LOL
The airplane is flying with a jet cat P70
https://www.youtube.com/watch?v=d3BcI5dQ2xQ
Regards
Ricardo
01-24-2017, 06:21 PM
#92
Thread Starter
Join Date: Nov 2005
Location: Woodstock,
GA
Posts: 393
Likes: 0
Received 0 Likes
on
0 Posts
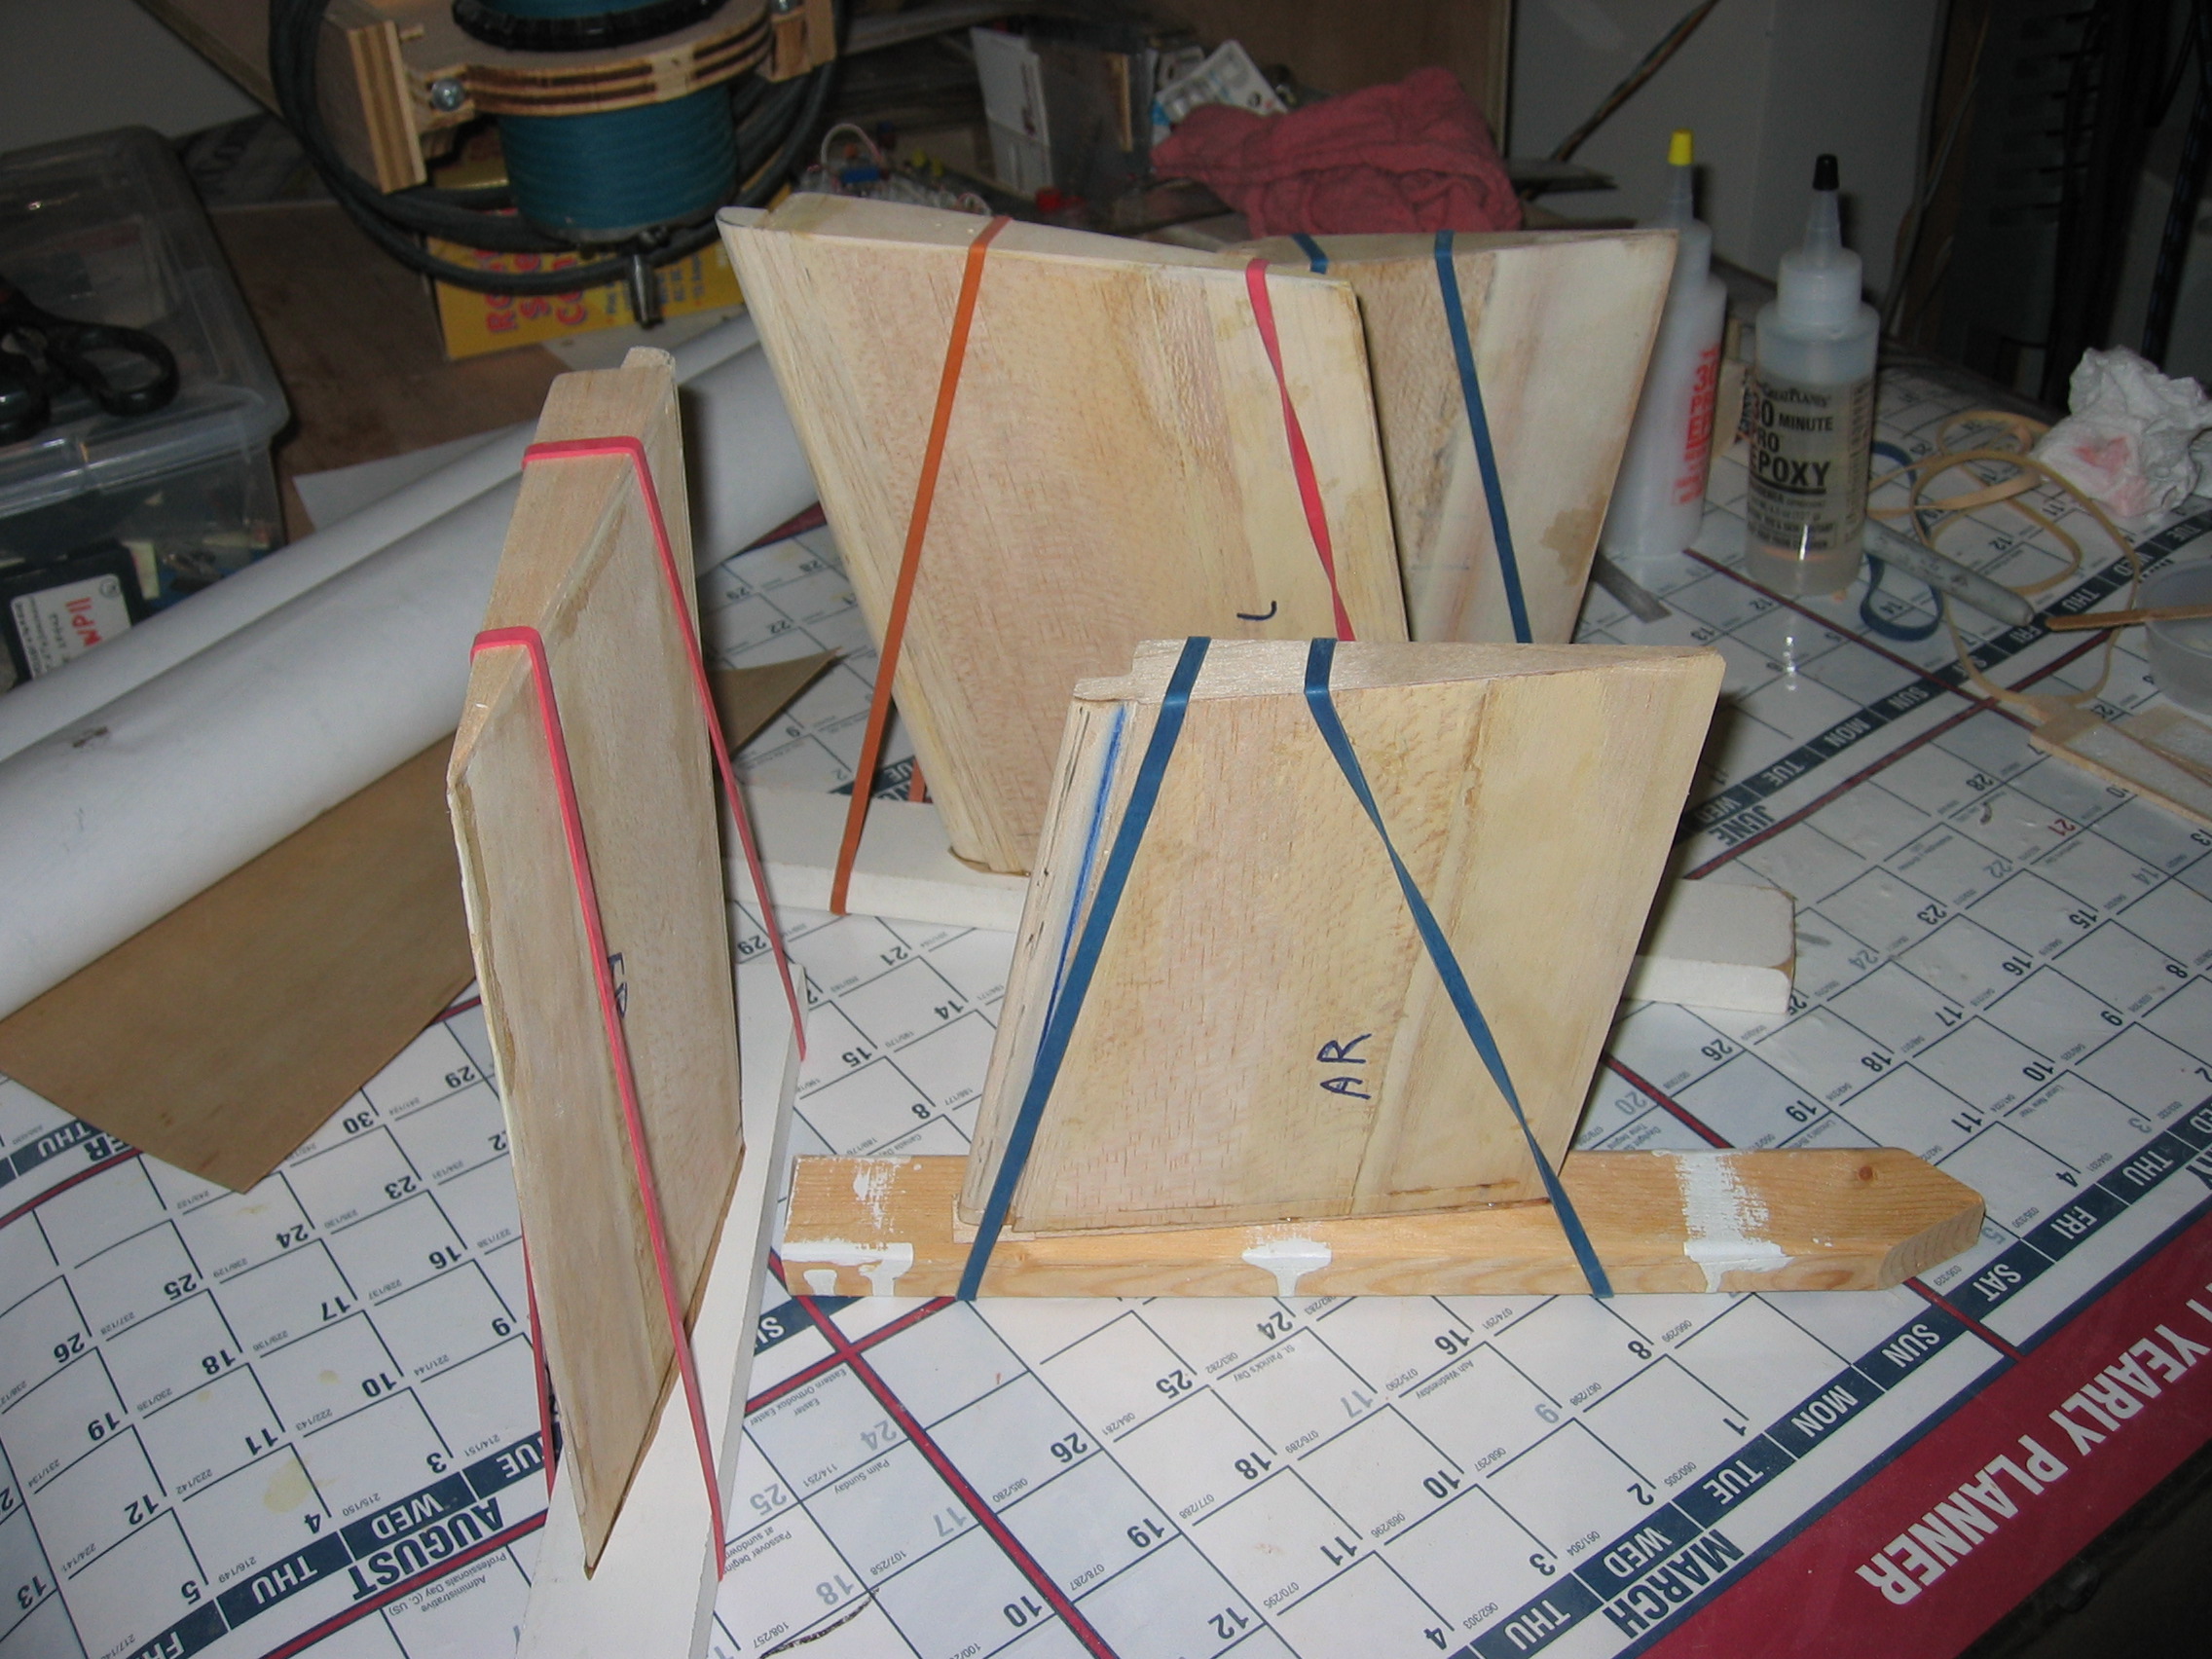
I know it has been a while sine my last post..... I have been working on and off for a while ....
The Ailerons and Flaps have been capped. Made a few carbon Fiber control horns.
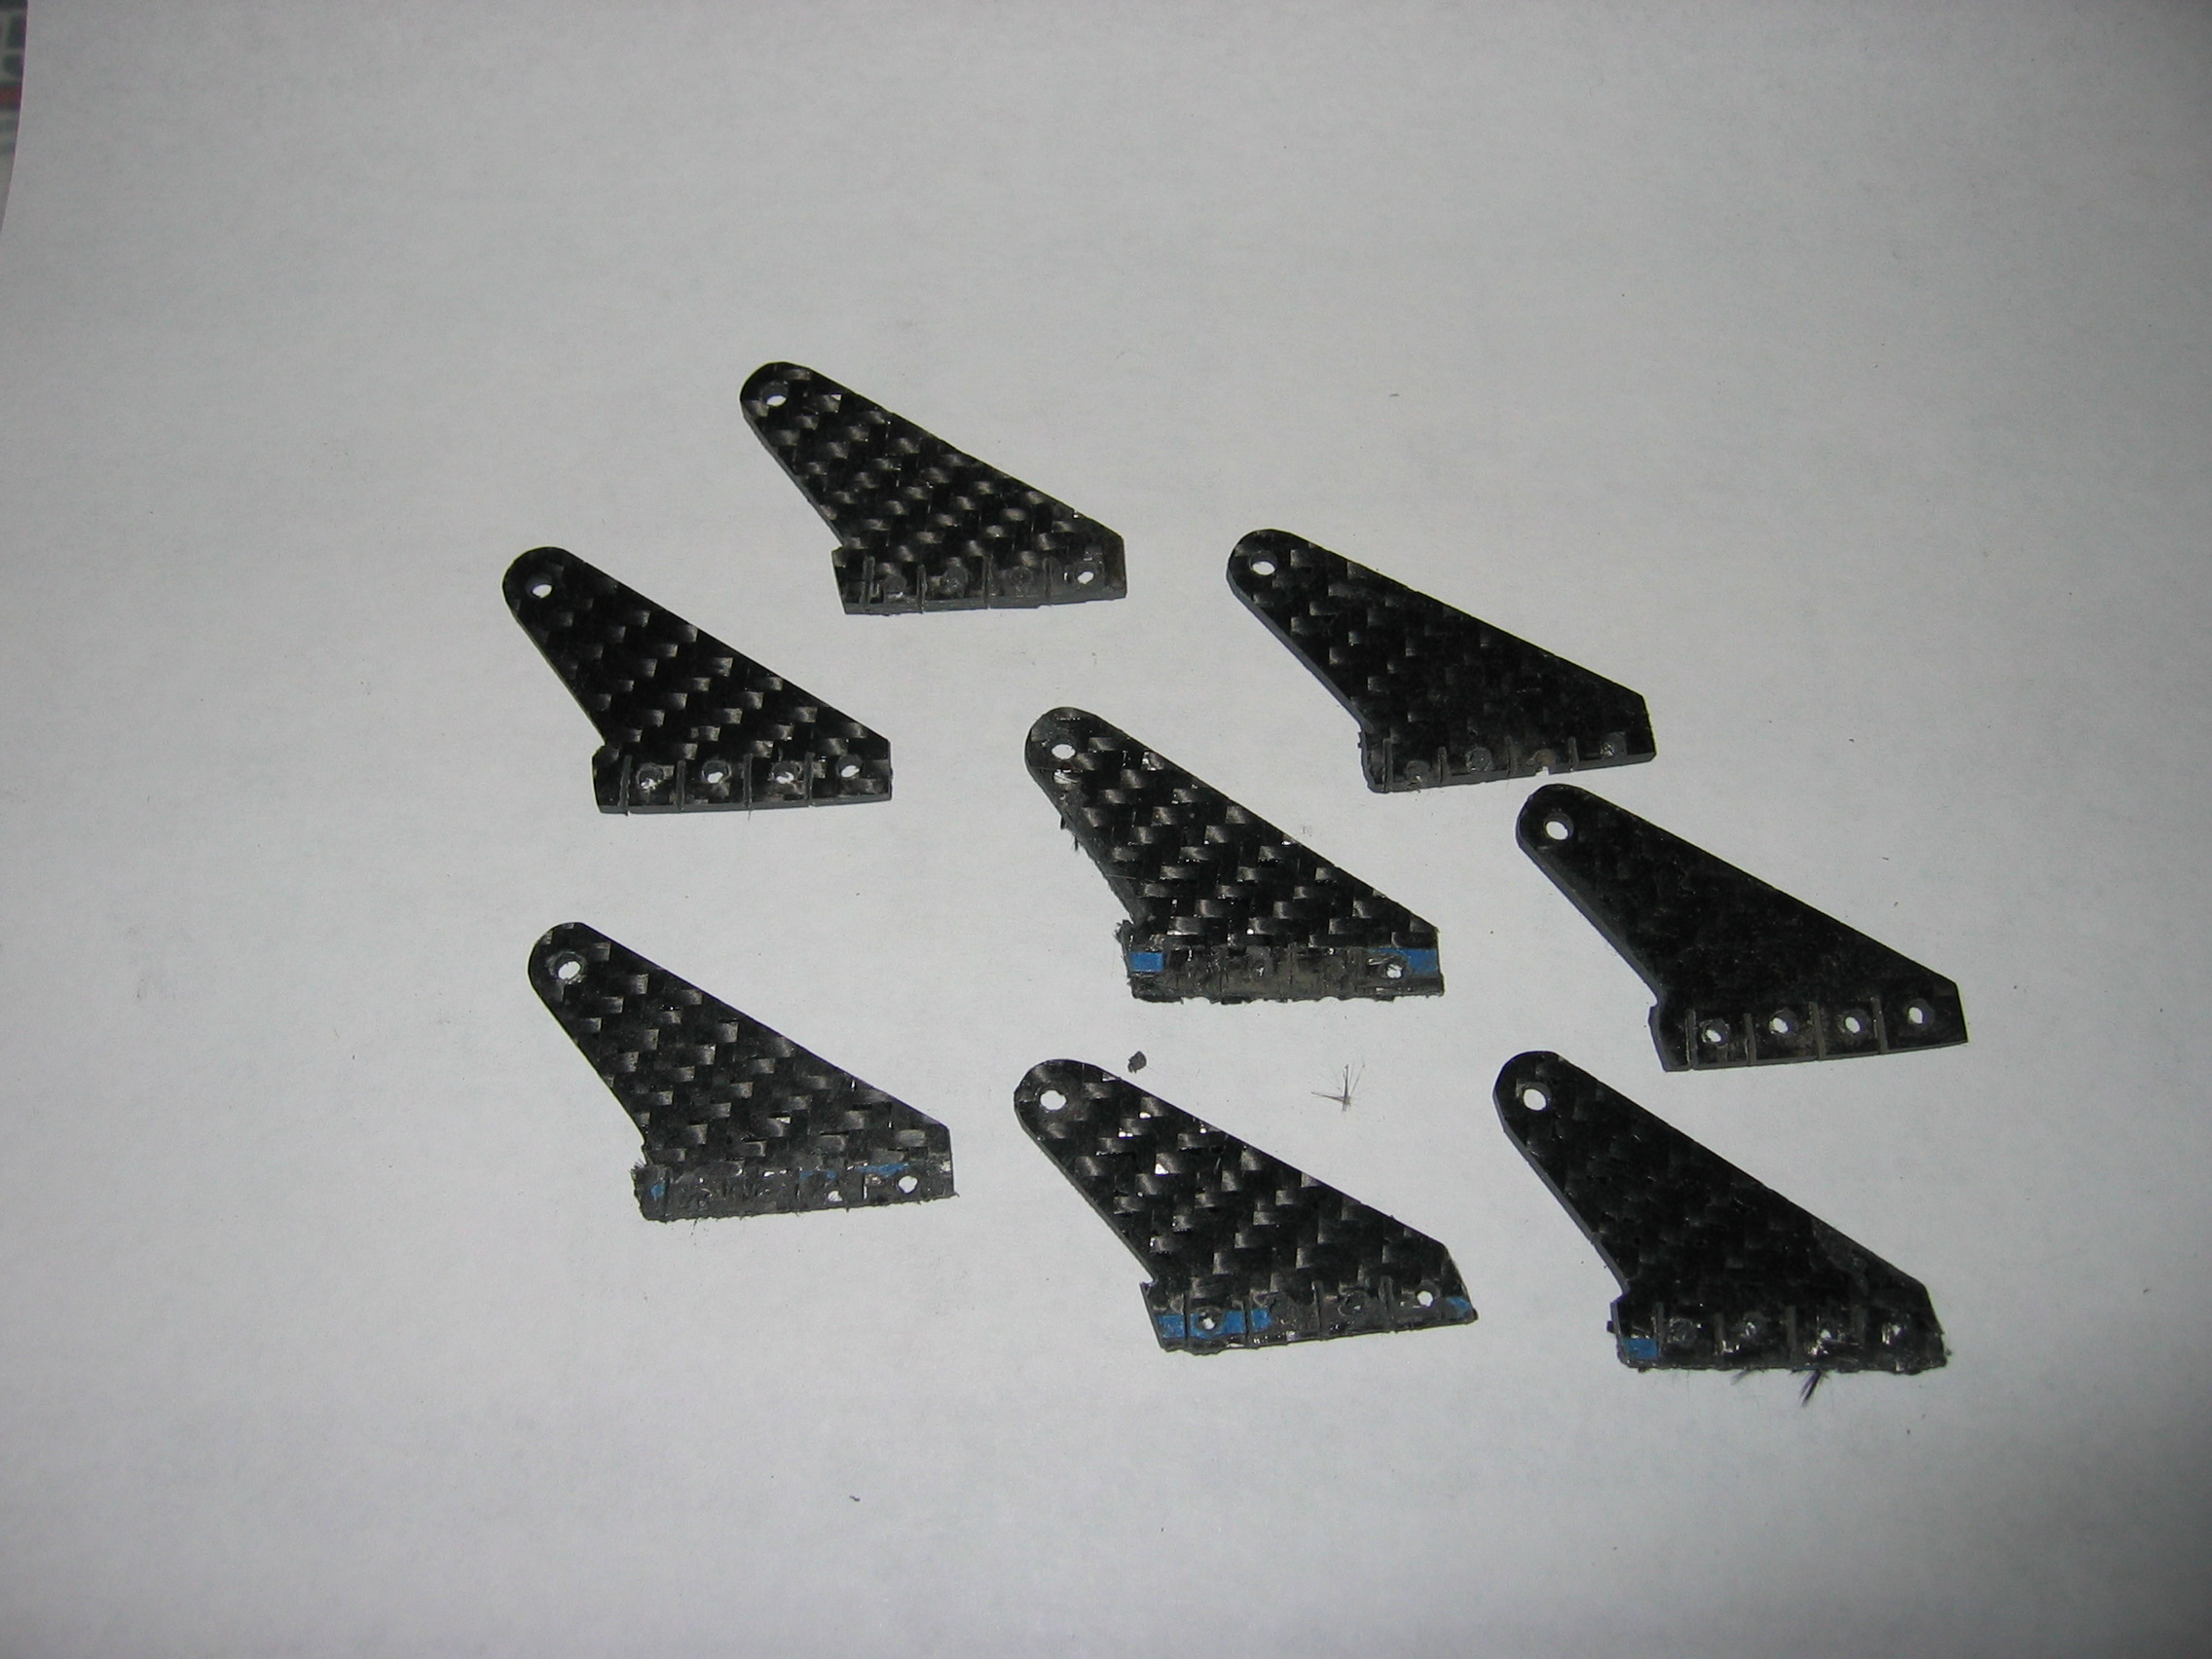
The Ailerons and Flaps have been capped. Made a few carbon Fiber control horns.
01-24-2017, 06:32 PM
#95
Thread Starter
Join Date: Nov 2005
Location: Woodstock,
GA
Posts: 393
Likes: 0
Received 0 Likes
on
0 Posts
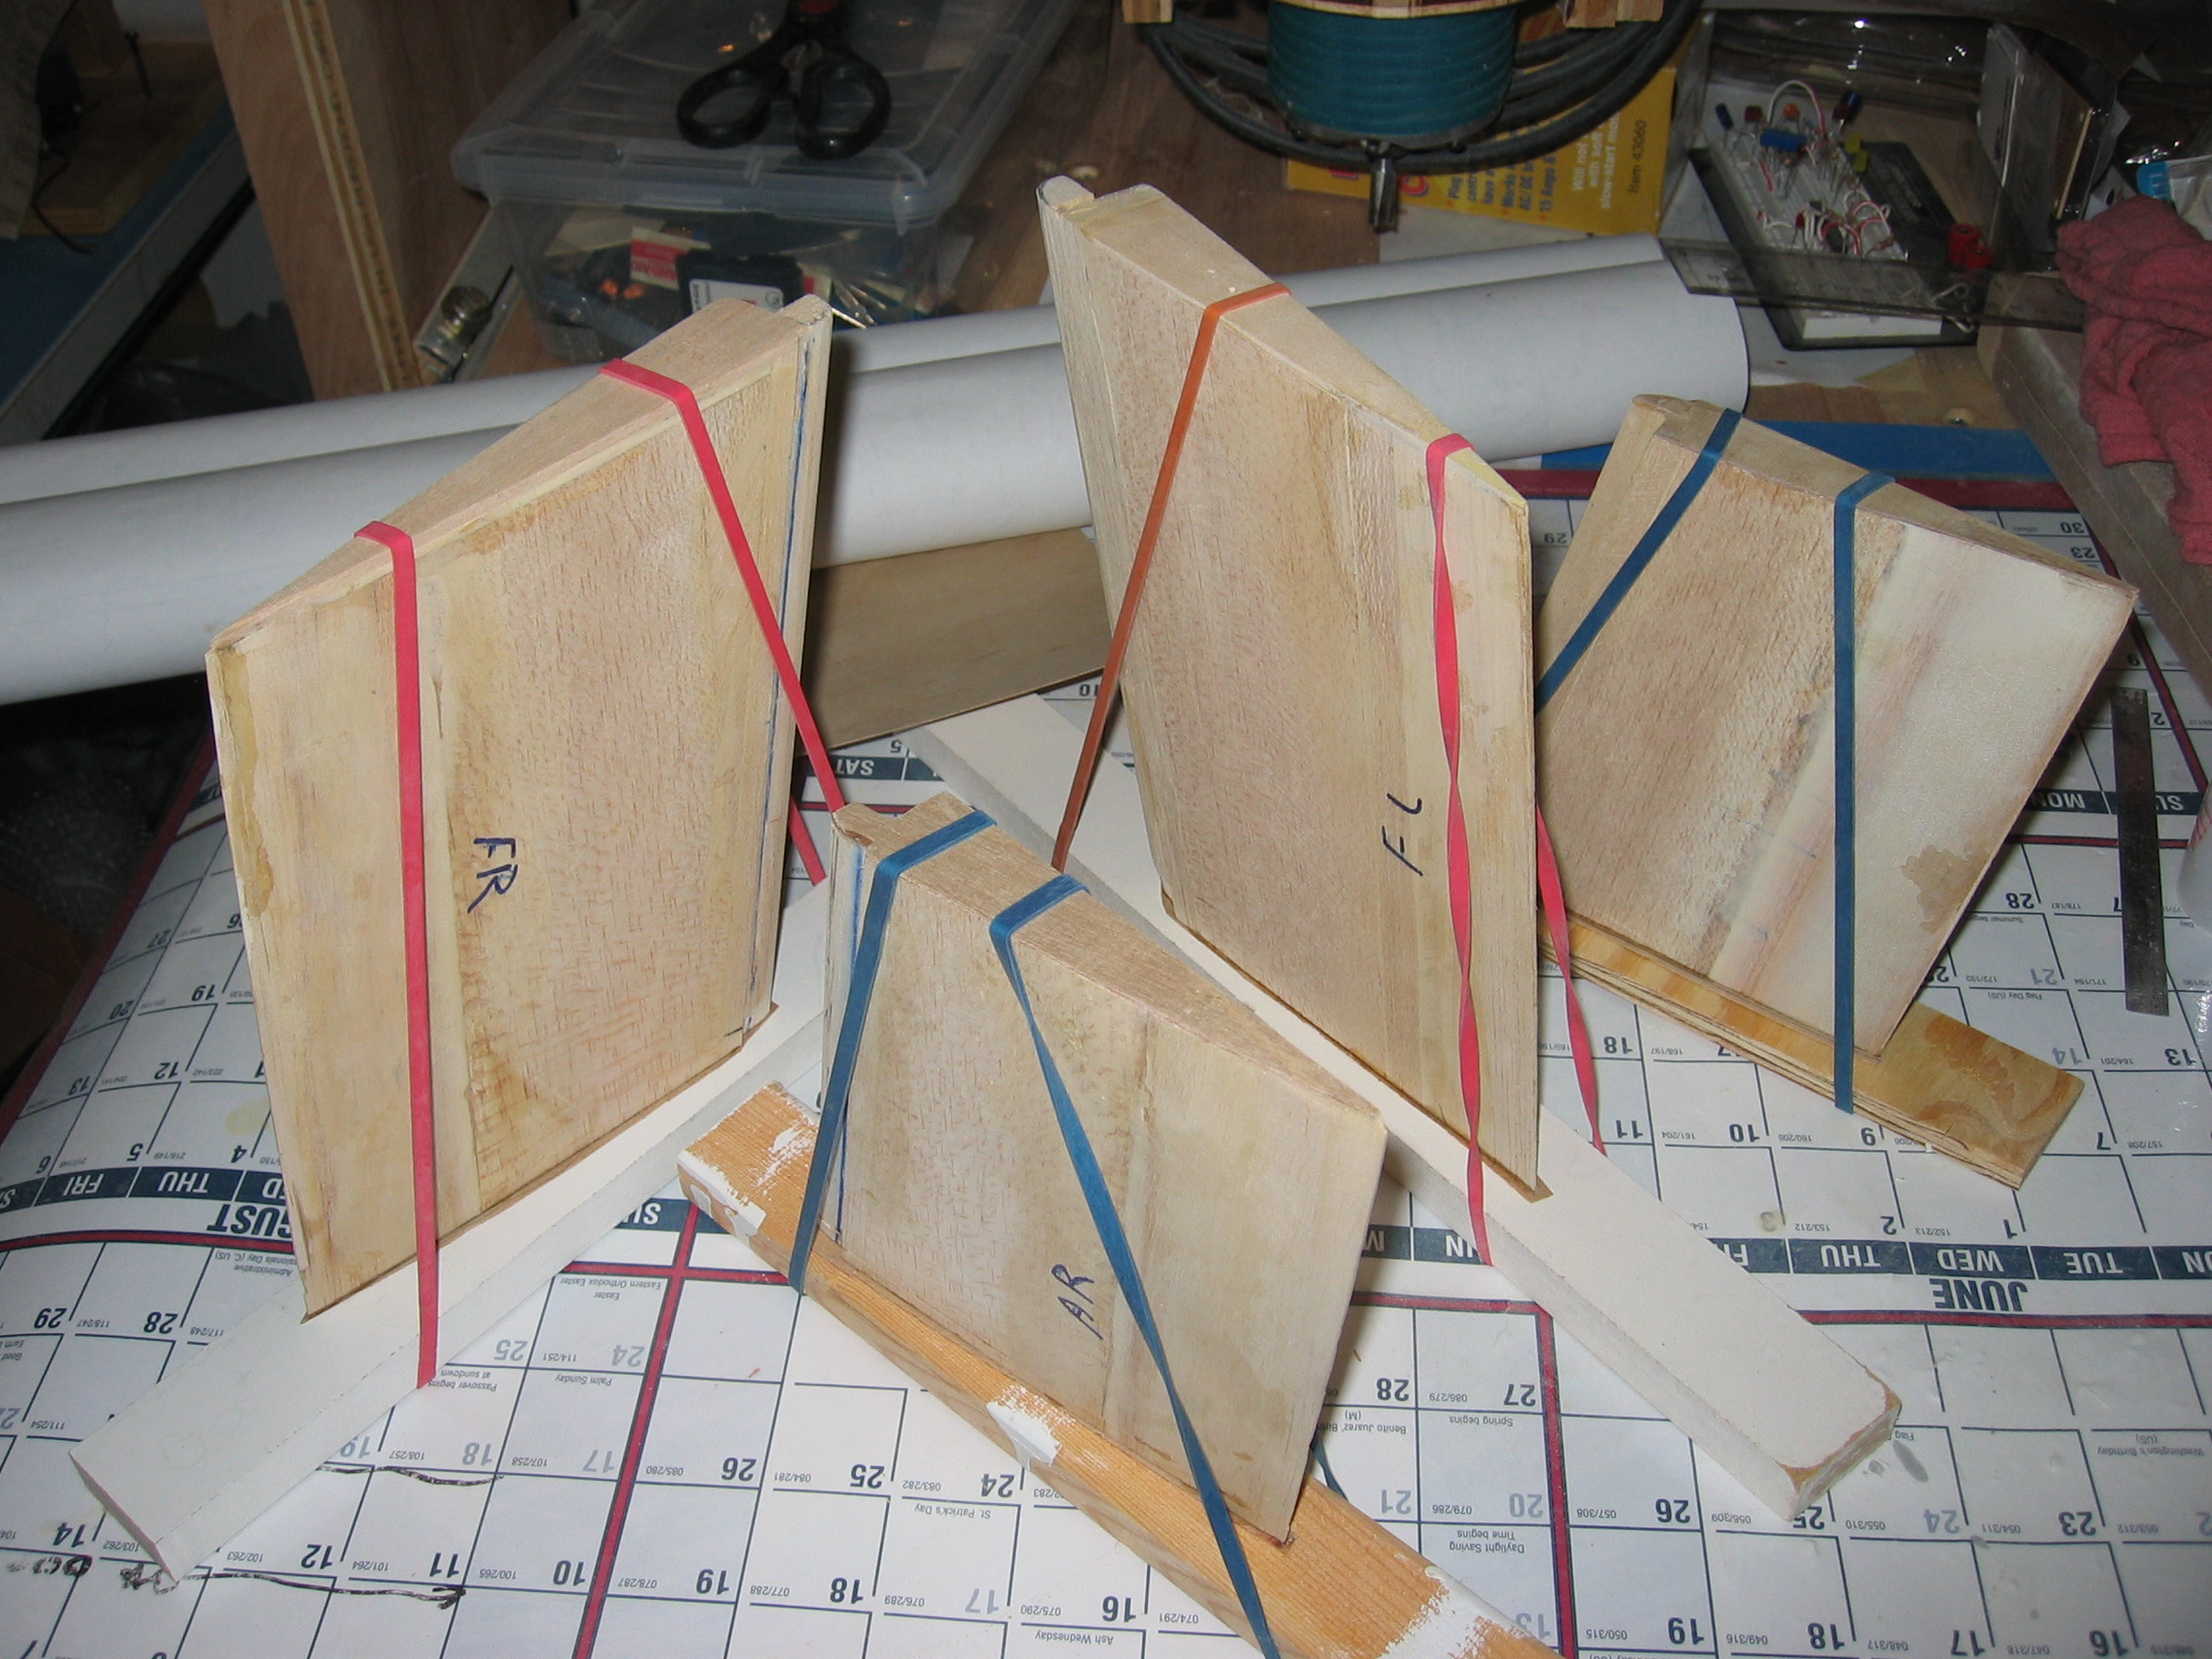
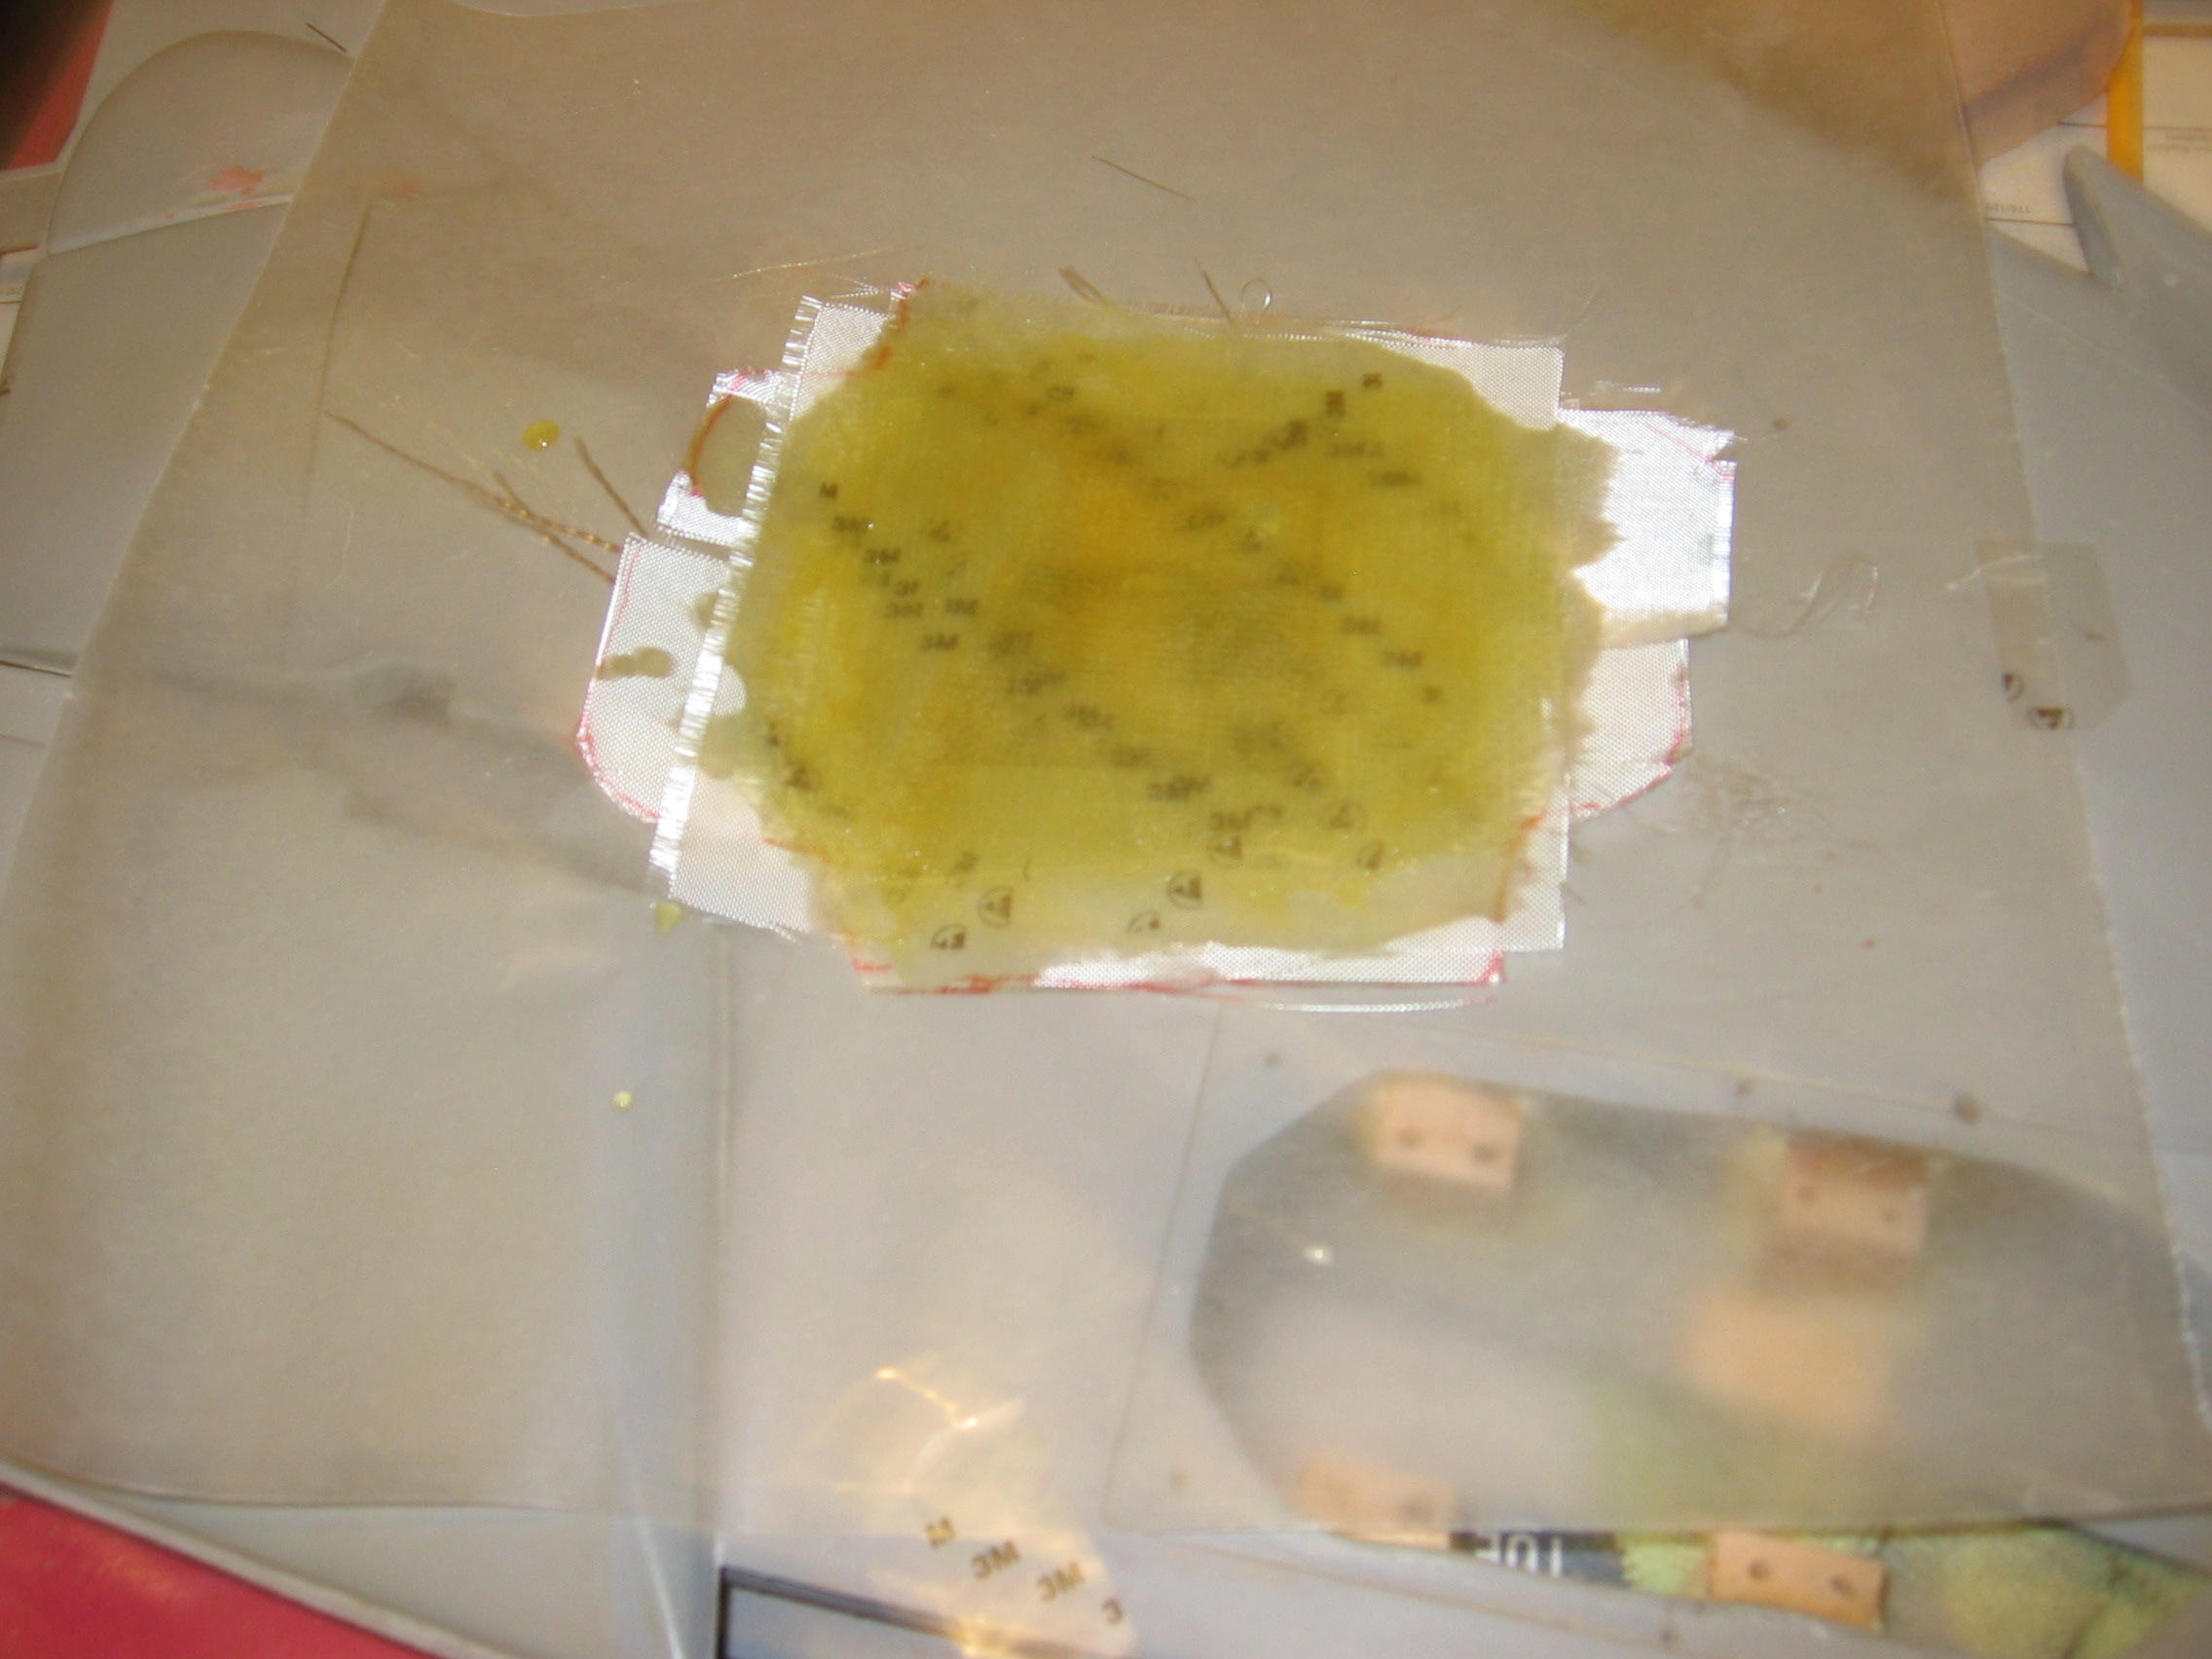
The Gear doors material is ABS.....
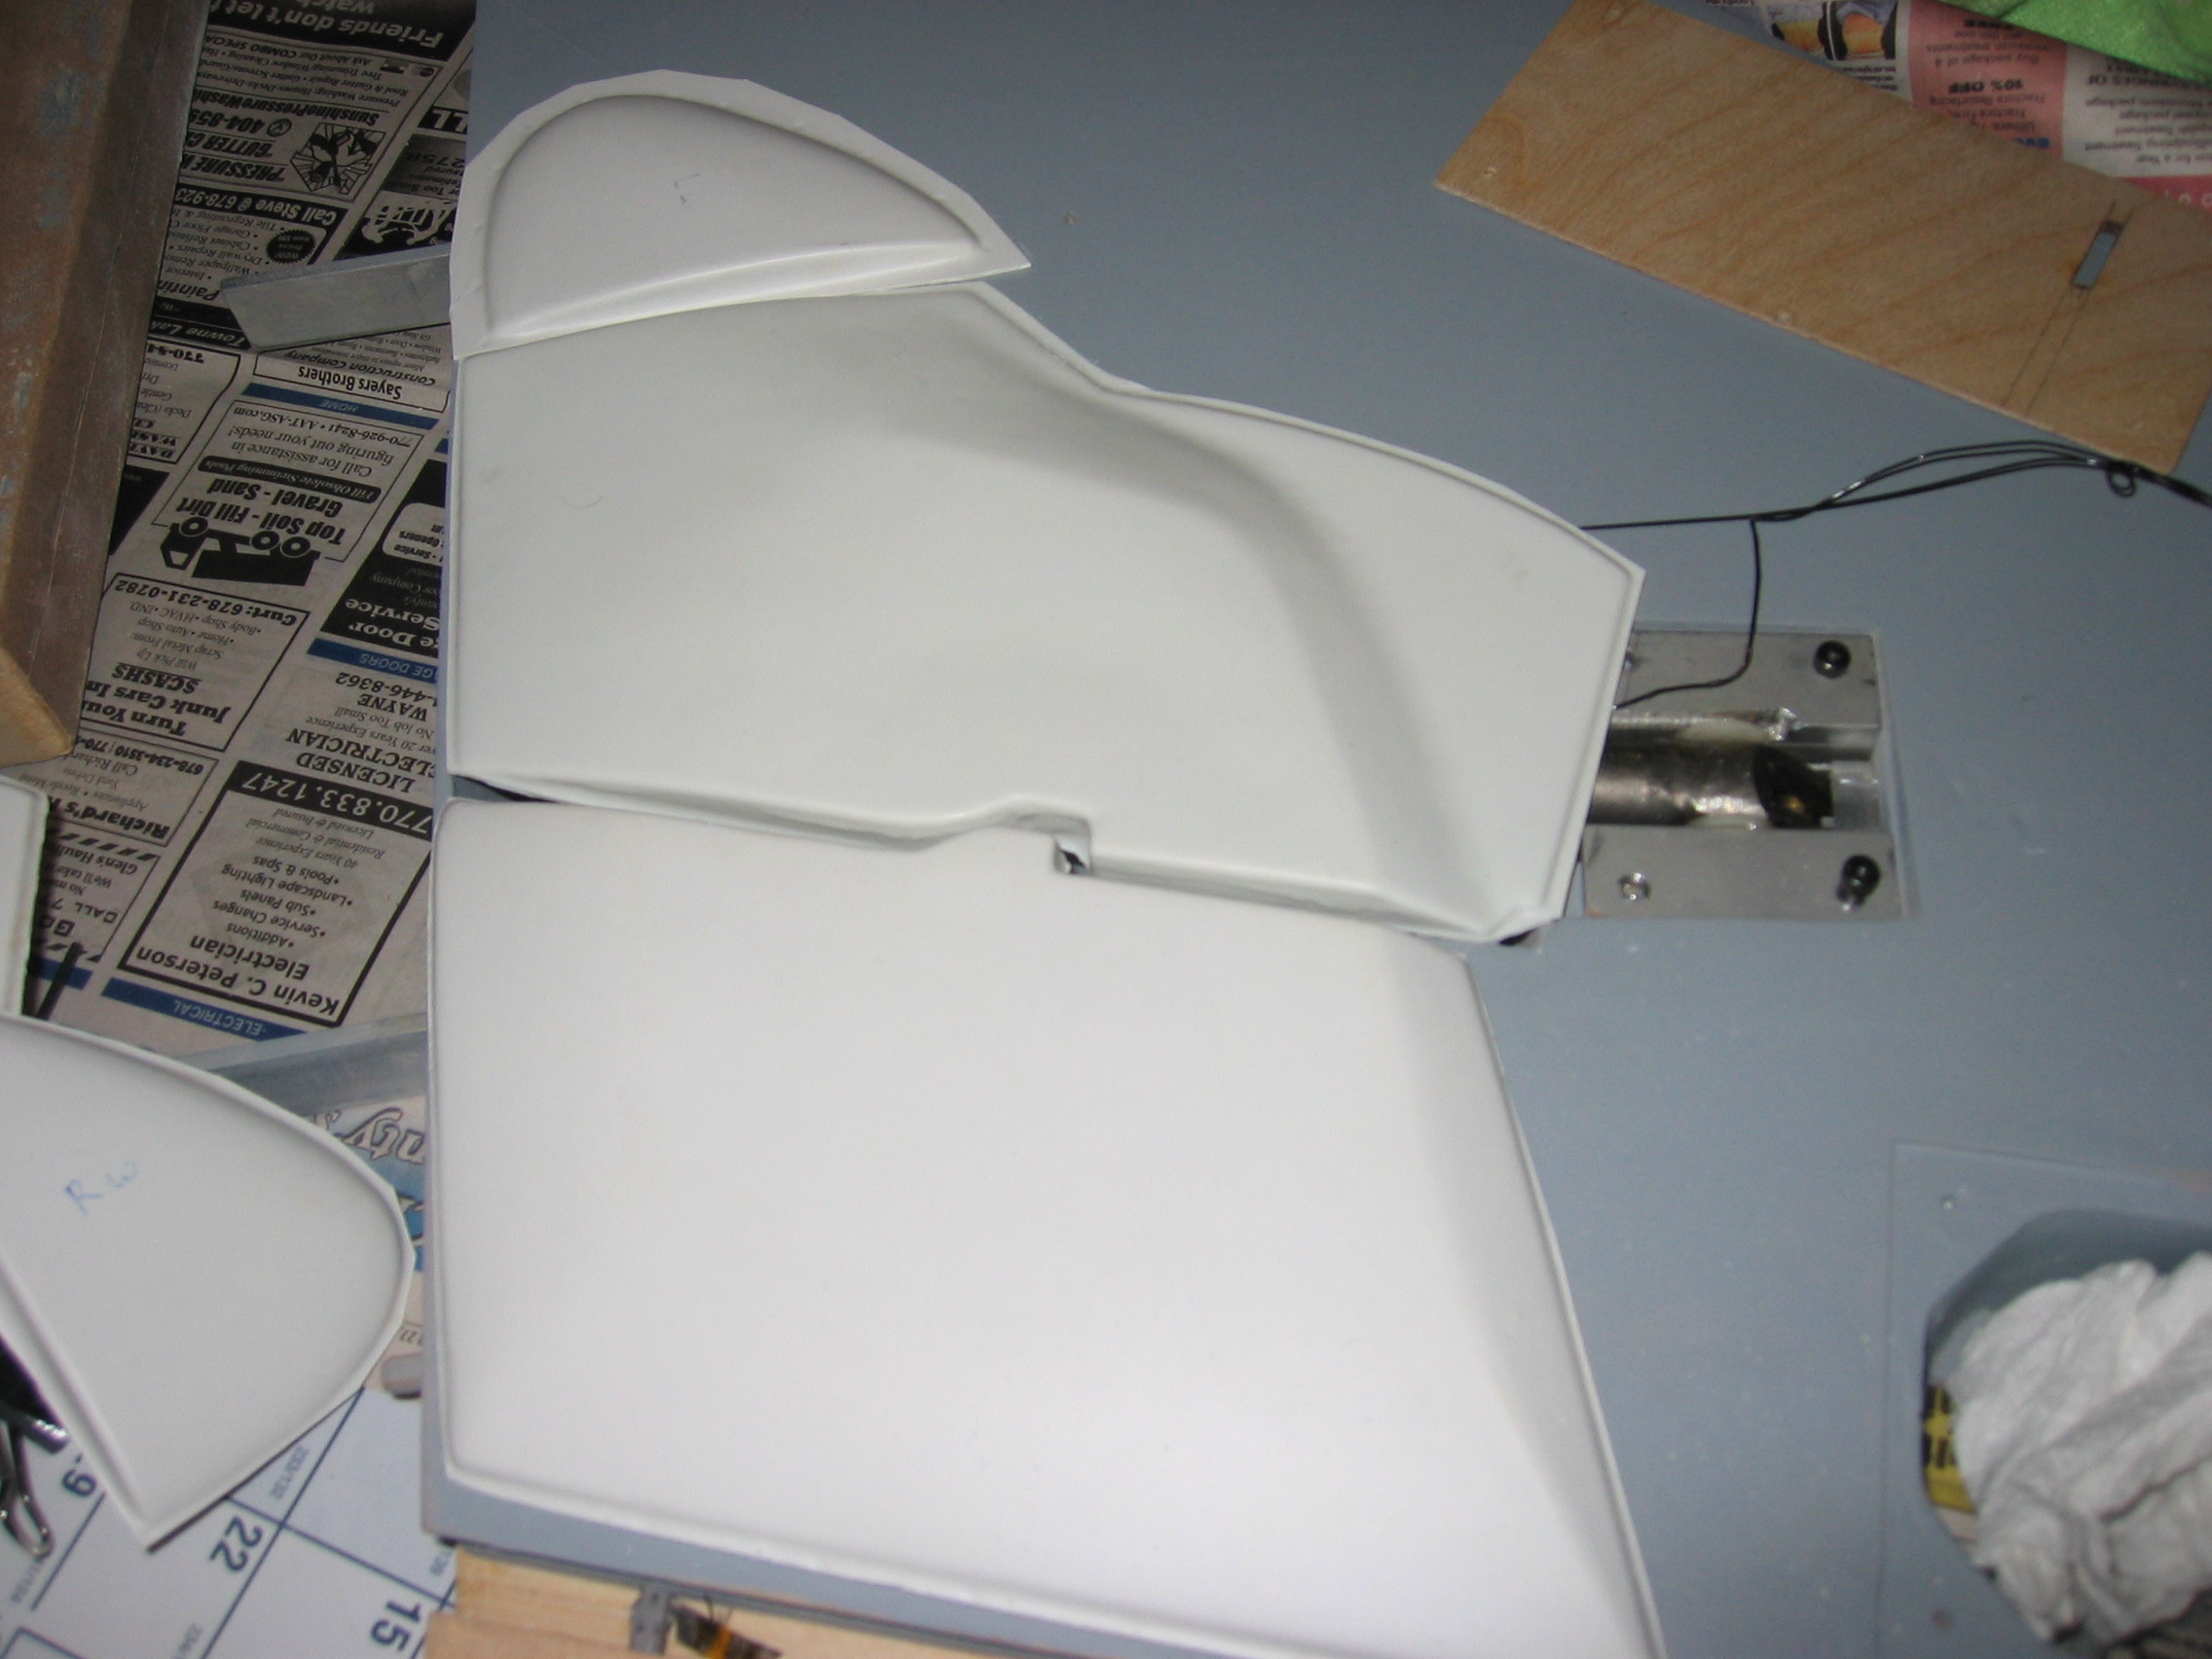
so here goes some molding pulling parts....
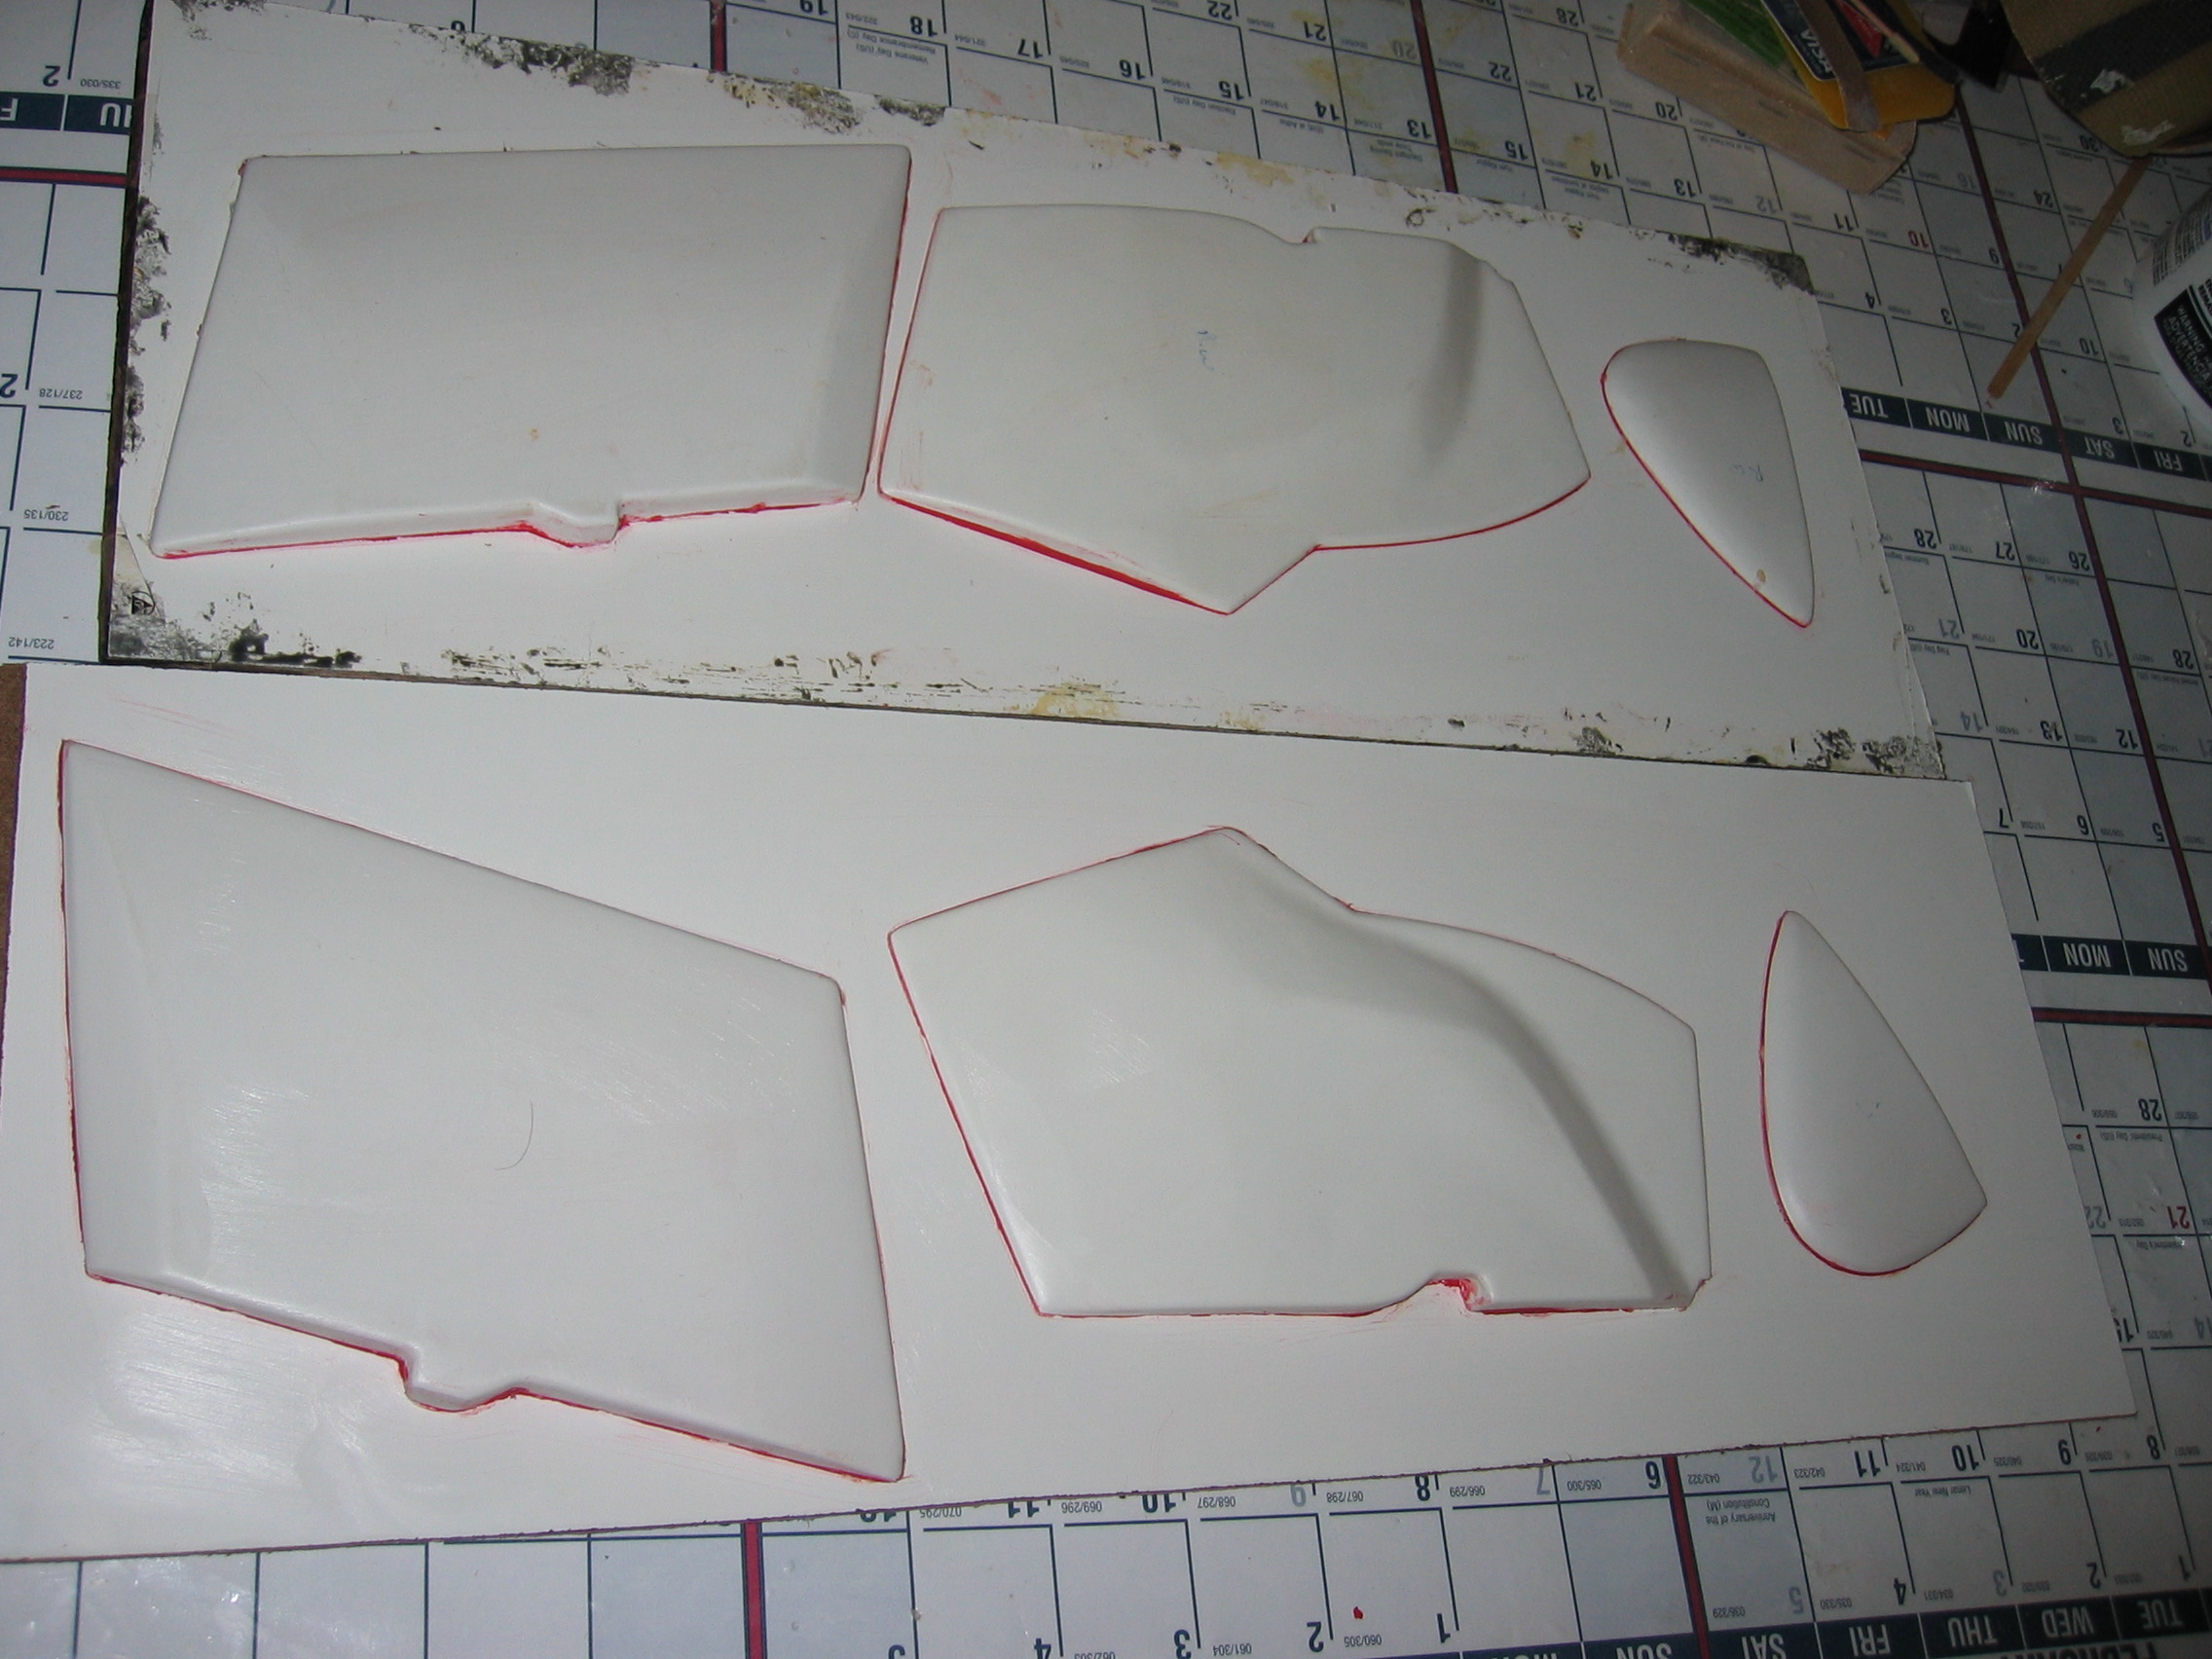

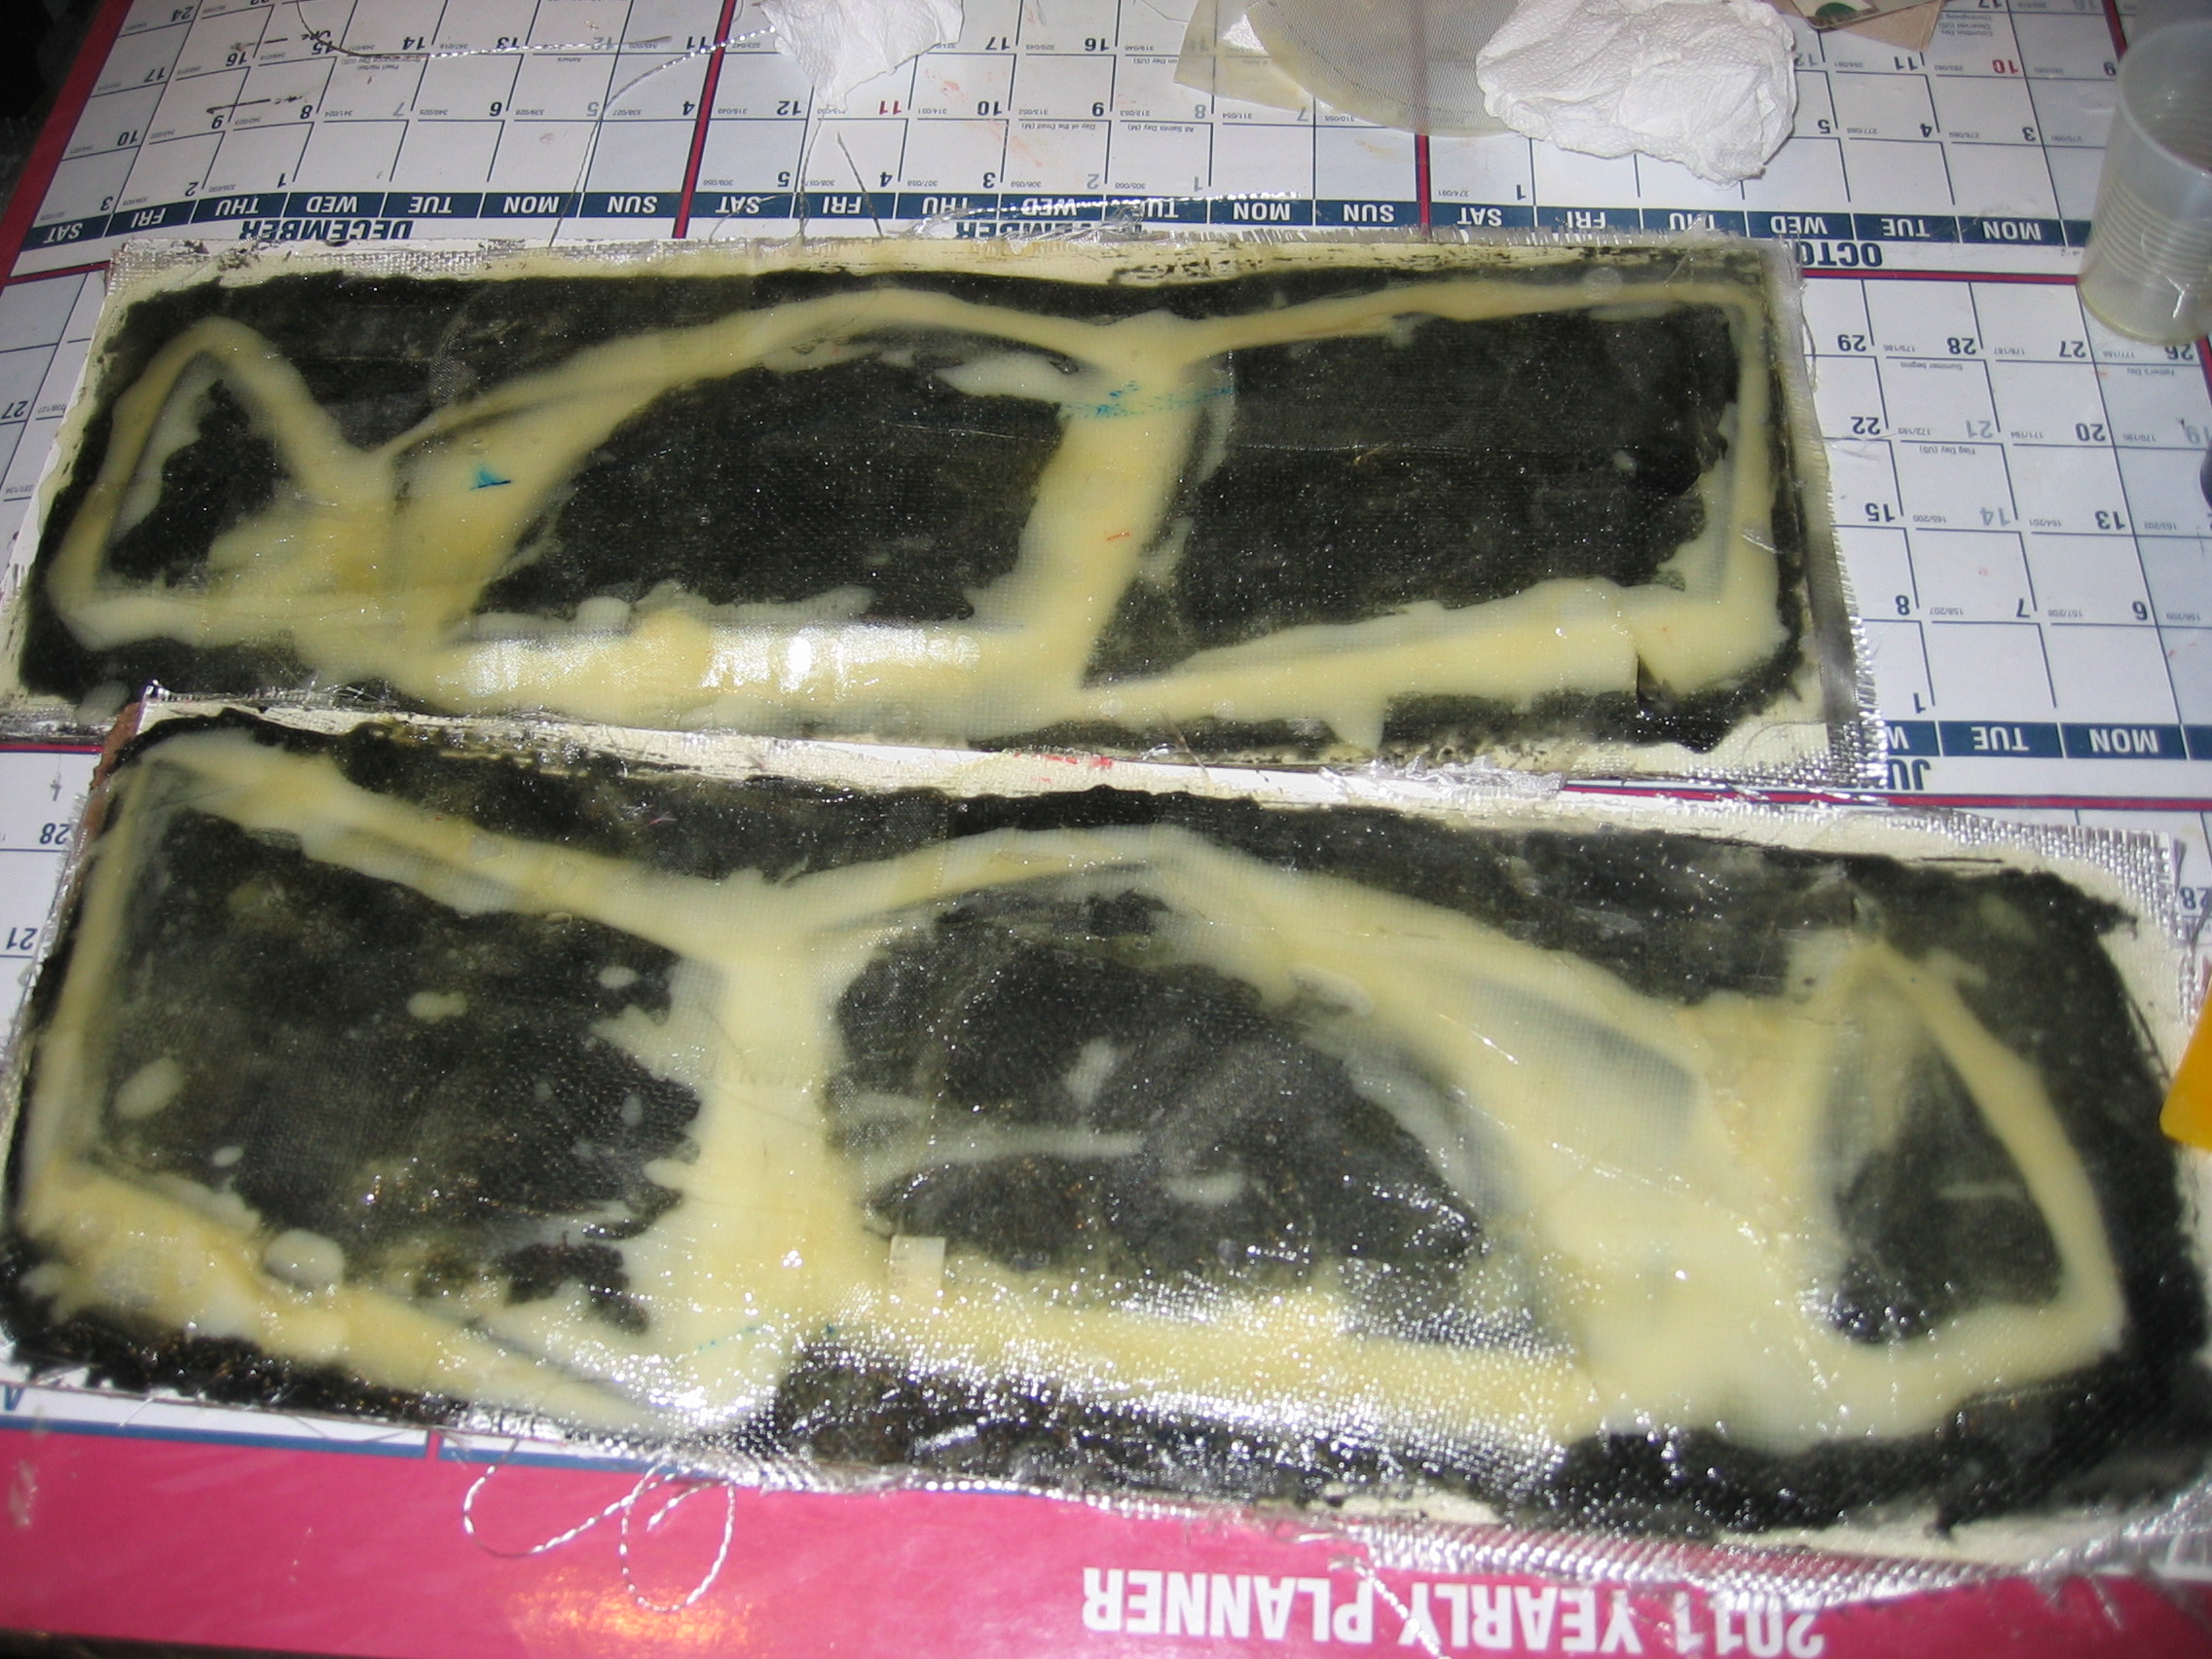
The smaller Gear door had to be made on the wing, did not have the ABS version....
so here goes some molding pulling parts....
The smaller Gear door had to be made on the wing, did not have the ABS version....
Last edited by USSCAT; 01-24-2017 at 06:35 PM.
01-24-2017, 06:49 PM
#98
Thread Starter
Join Date: Nov 2005
Location: Woodstock,
GA
Posts: 393
Likes: 0
Received 0 Likes
on
0 Posts
planned to just screw the tail hook on but it interferes with the access door to the stab area so i am making a functional tail hook.... 

Last edited by USSCAT; 01-30-2017 at 07:54 PM.
