Galeb G2 - new jet made in Serbia
#226

Thread Starter
Thank you Andre on kind words... Teacher, he, he...
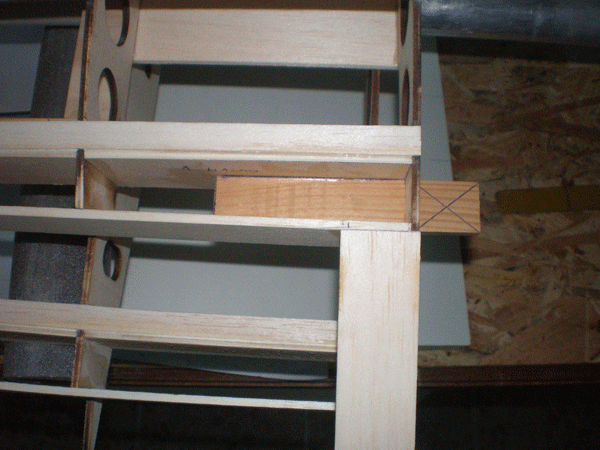
Let me continued with elevator. Servos for moving parts are on place...
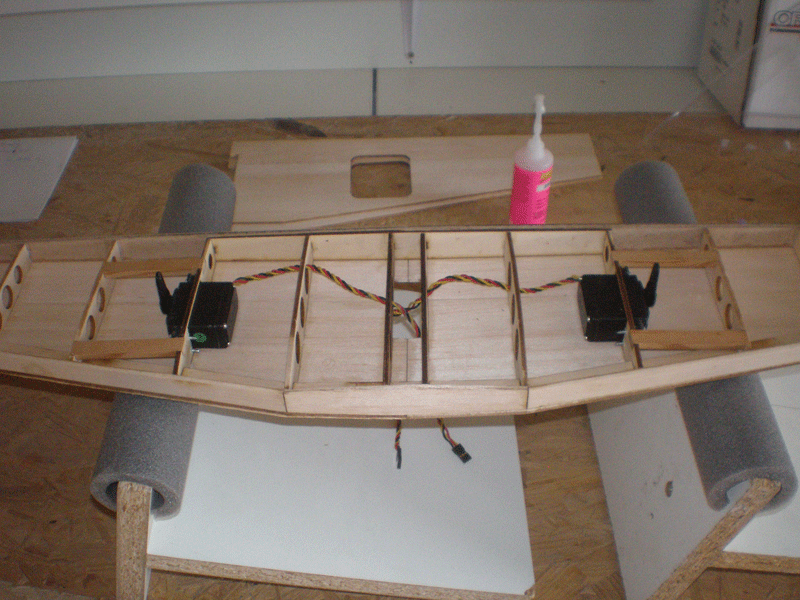
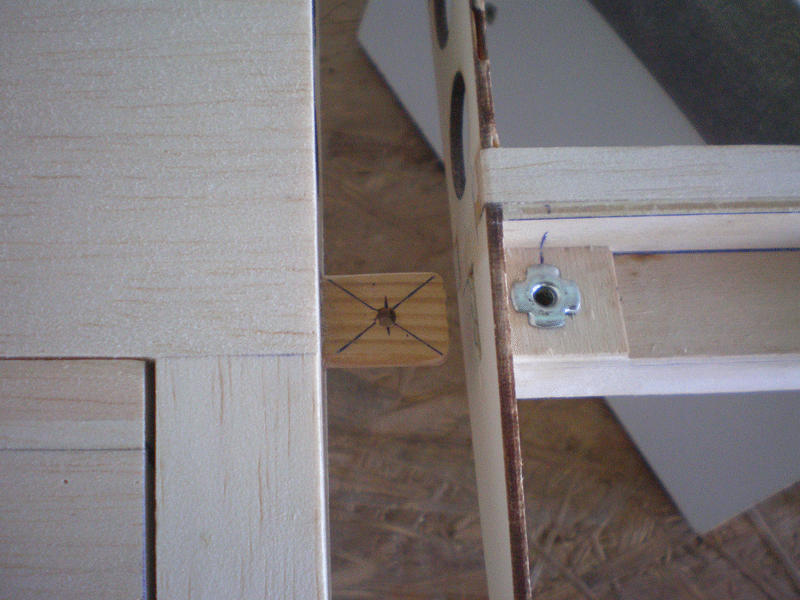
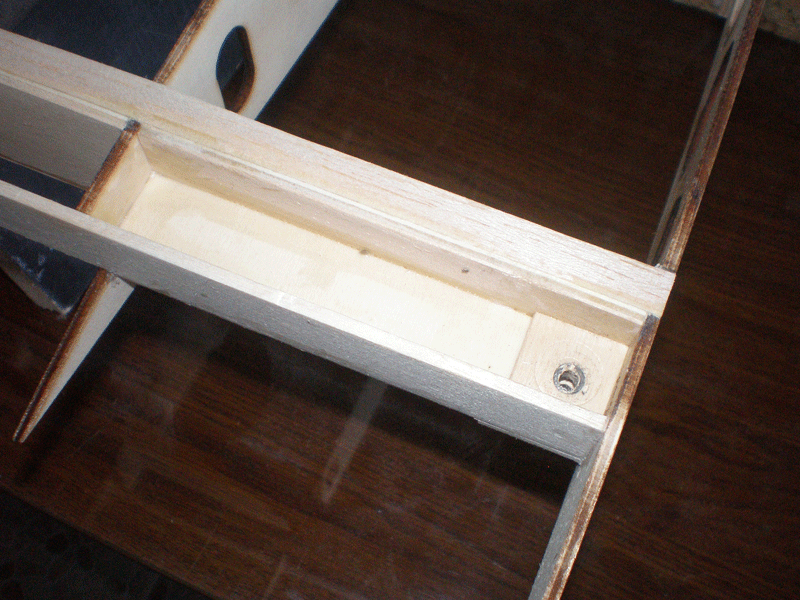
Than I add wooden plates into which will be later twist screws of the servo covers...

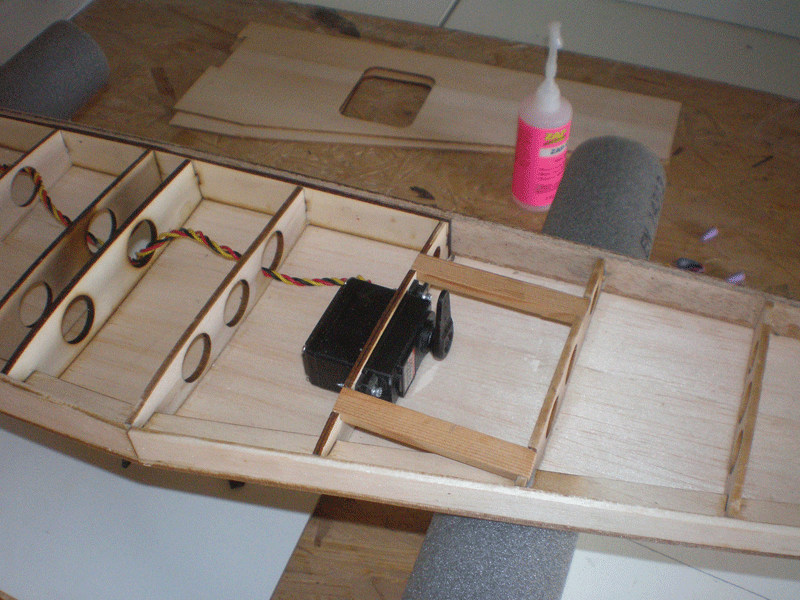
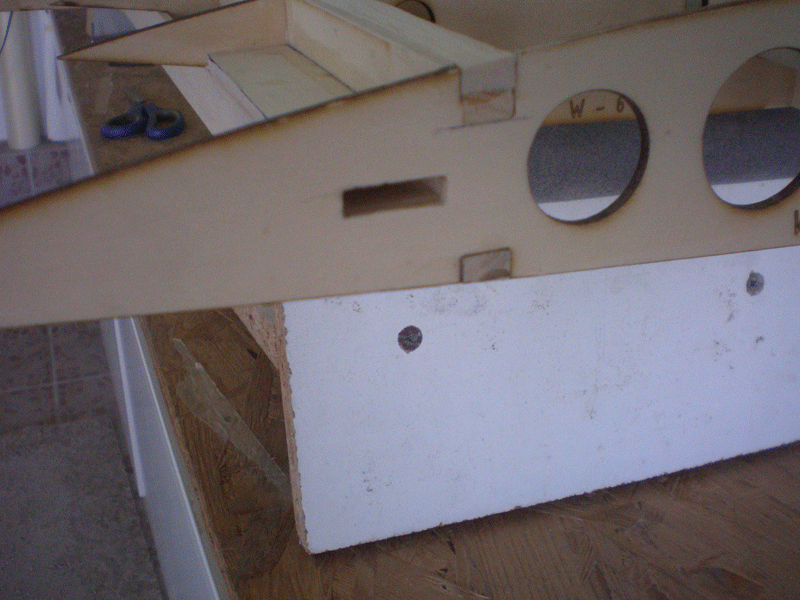
Next step will be adding balsa blocks for hinges in both side of the elevator...
Regards...

Let me continued with elevator. Servos for moving parts are on place...

Than I add wooden plates into which will be later twist screws of the servo covers...


Next step will be adding balsa blocks for hinges in both side of the elevator...
Regards...
Last edited by mirce; 08-23-2015 at 07:34 AM.
#227

Thread Starter
I start working on wing of the bigger G2.
Building is almost same like on wing of smaller one, but in few steps I made some changes.
Wing is only part for which you need plan.
First step was to put on right place of the plan balsa blocks which are giving right angle for wing ribs. This is important because wing have washout on the outer tips...
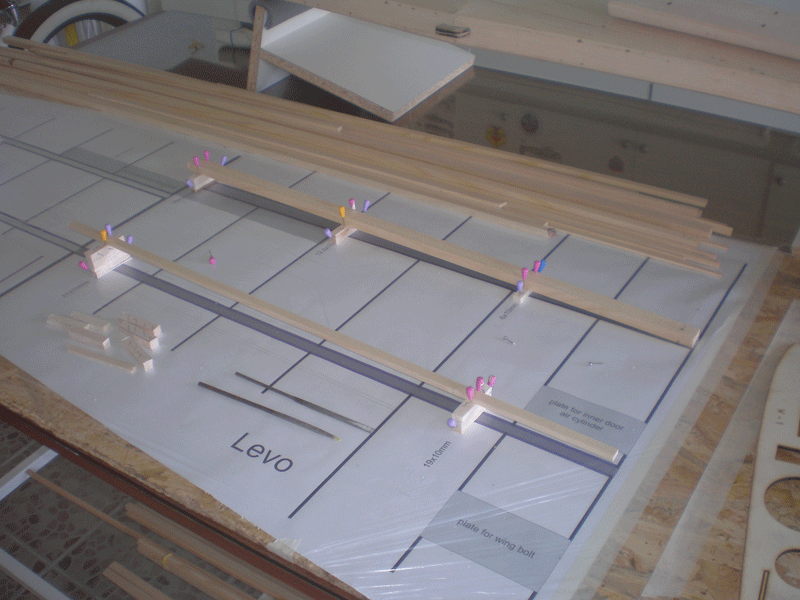
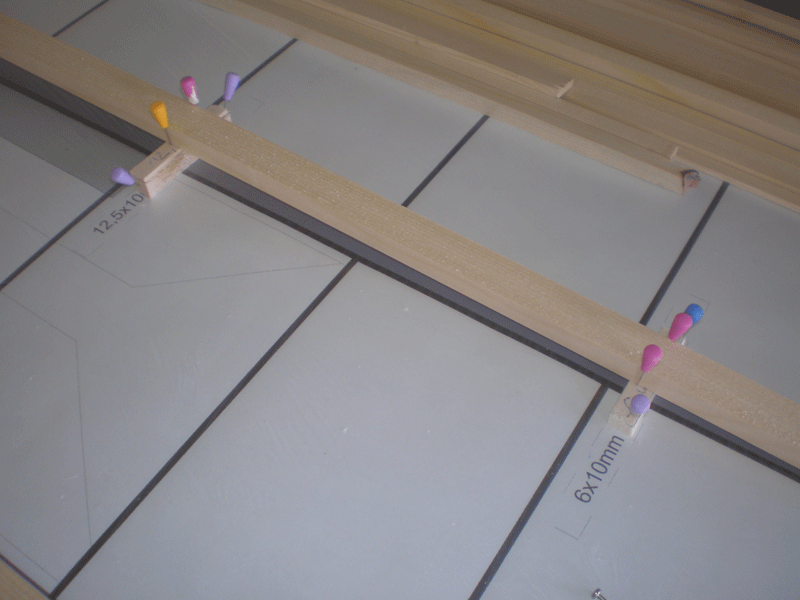
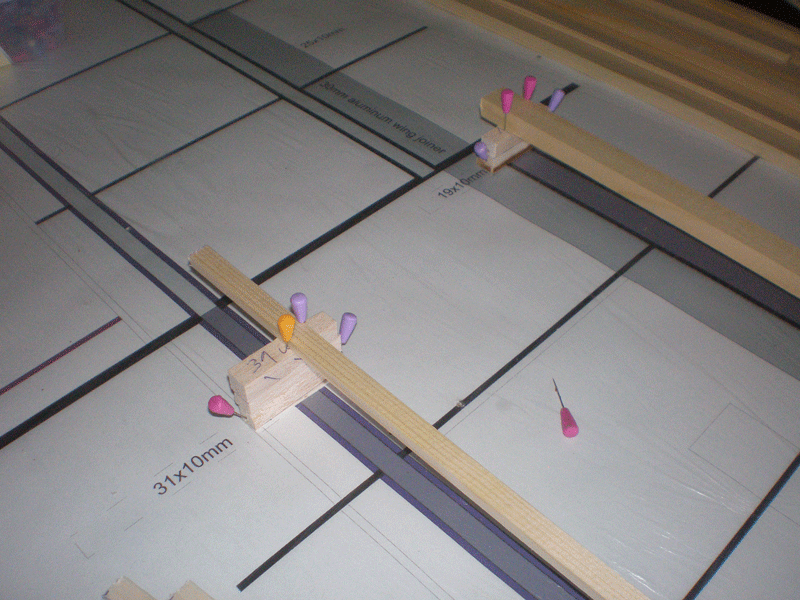
First I'll made wing center panel. It will be wide as wide as are flaps, about 1400mm. In center panel will be retracts, so you don't need to take it down from the fuselage in case that have enough wide vehicle.
Main bottom spar I fix to workbench with nail...
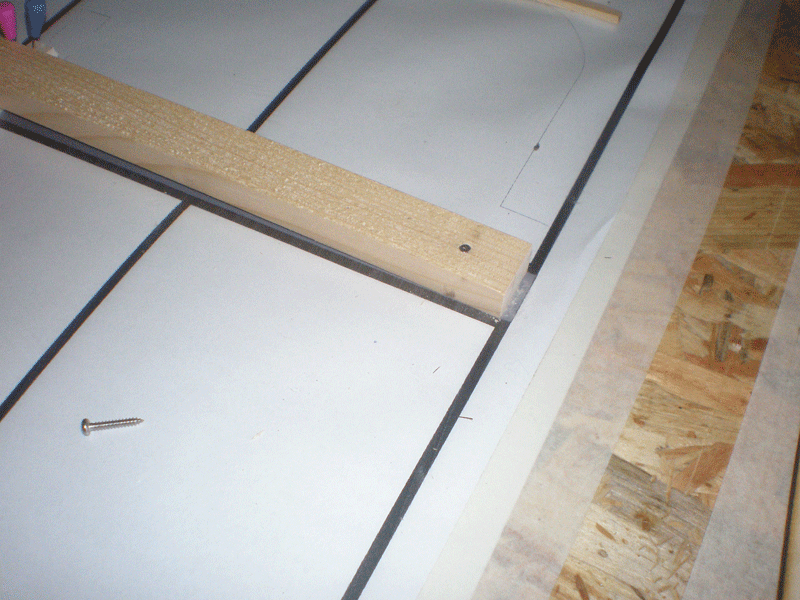
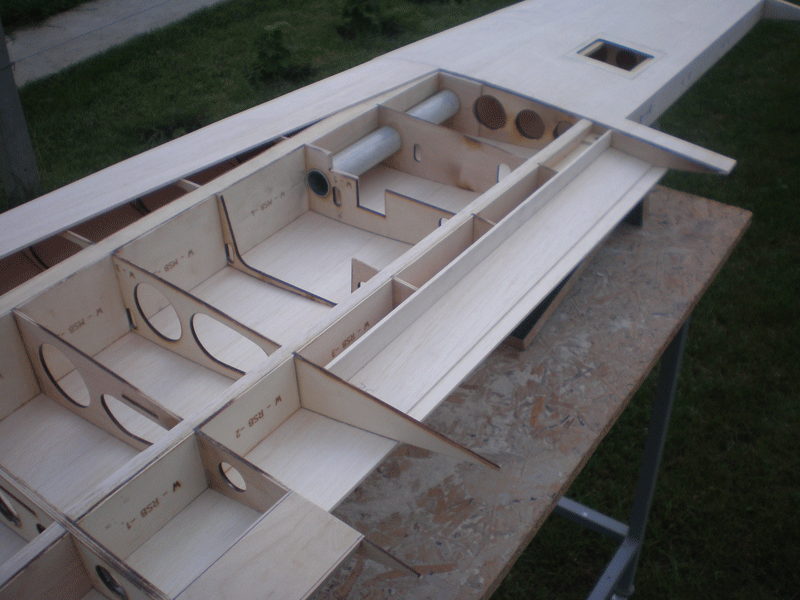
Center panel have 7 ribs. First I put all ribs without glue, just to see how they lay on bottom spar.
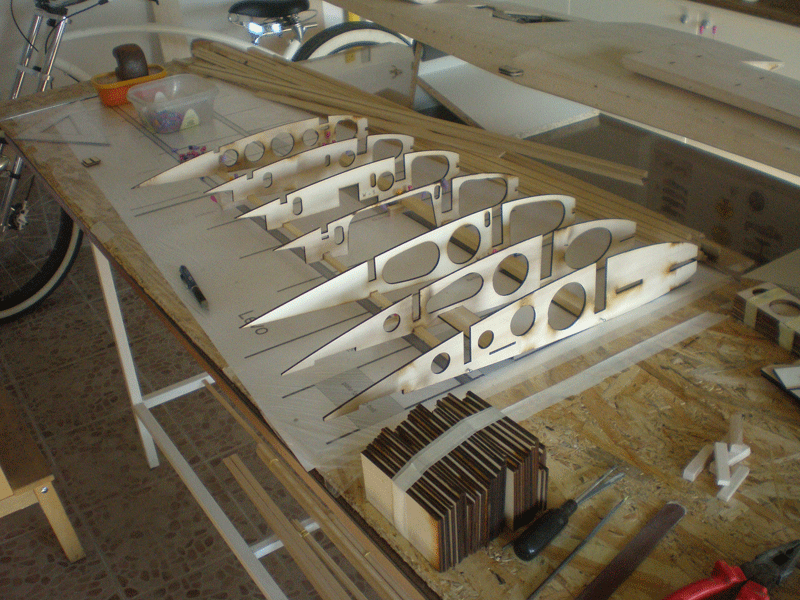
When saw that everything is all right, I start with sticking. First I glue end ribs - 1 & 7...
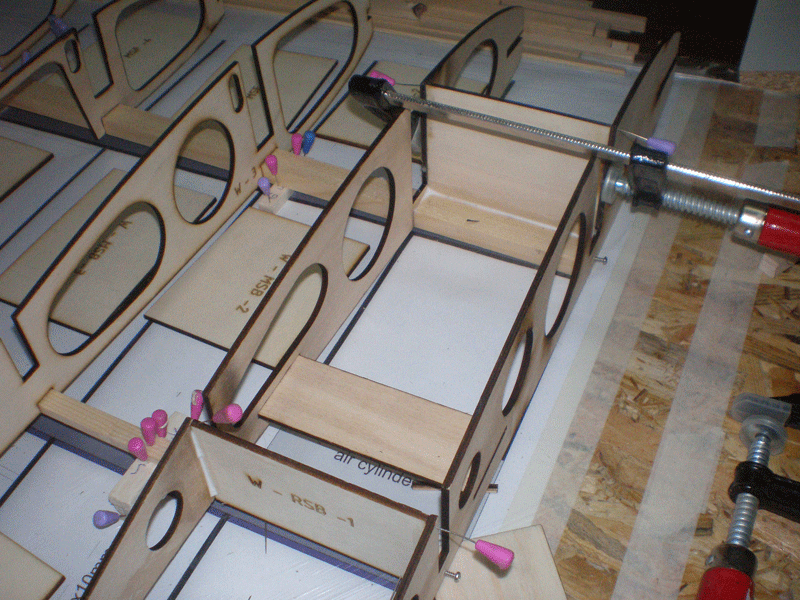
Now start difference in building in relation to the earlier wing build, because now ply parts which come between ribs are part of the Galeb kit. They give right distance between ribs...
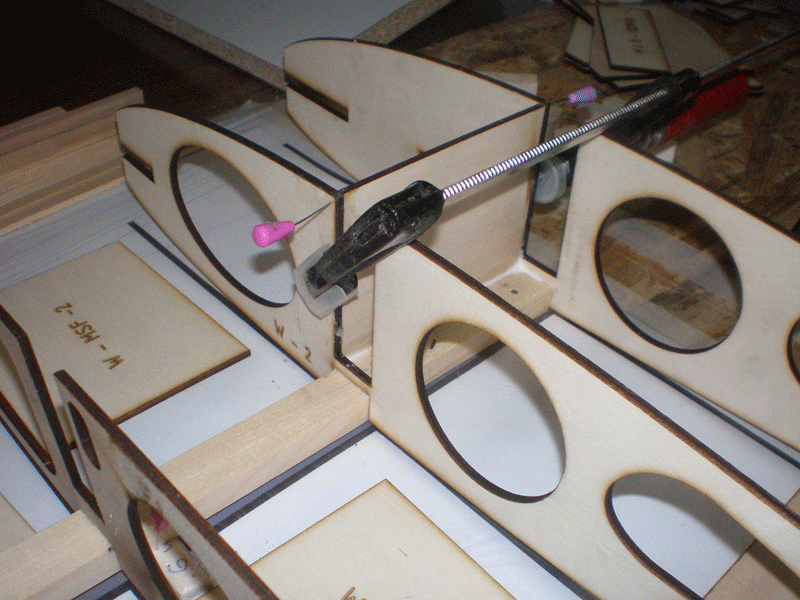
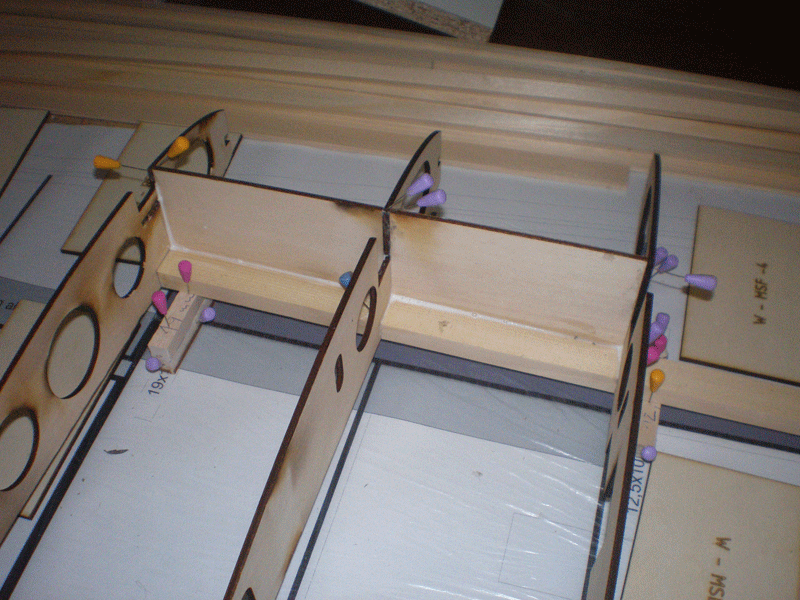
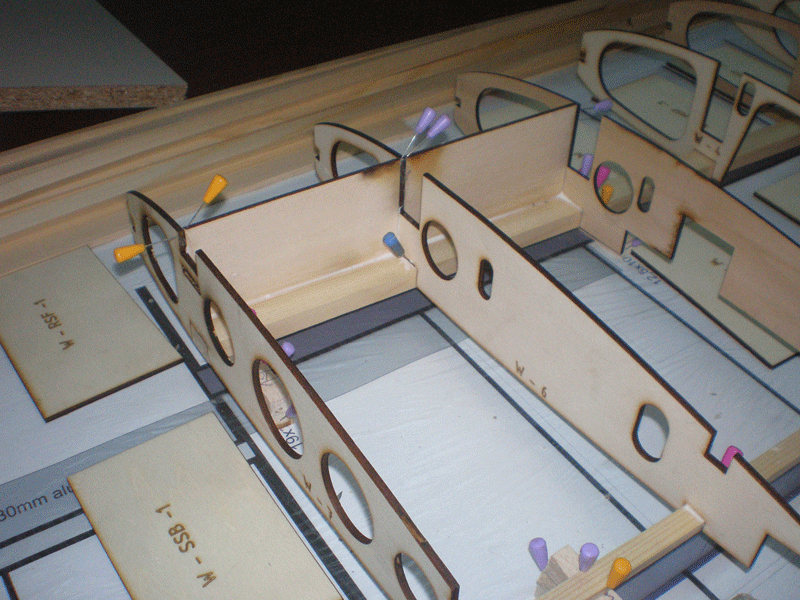
For this operation I use carpenter white glue. It give enough time to everything put on right position. As can be seen on pictures, I glued for now just front ply parts.
Next step was to install auxiliary spar for wooden wing joiner. Of course, first with out glue...

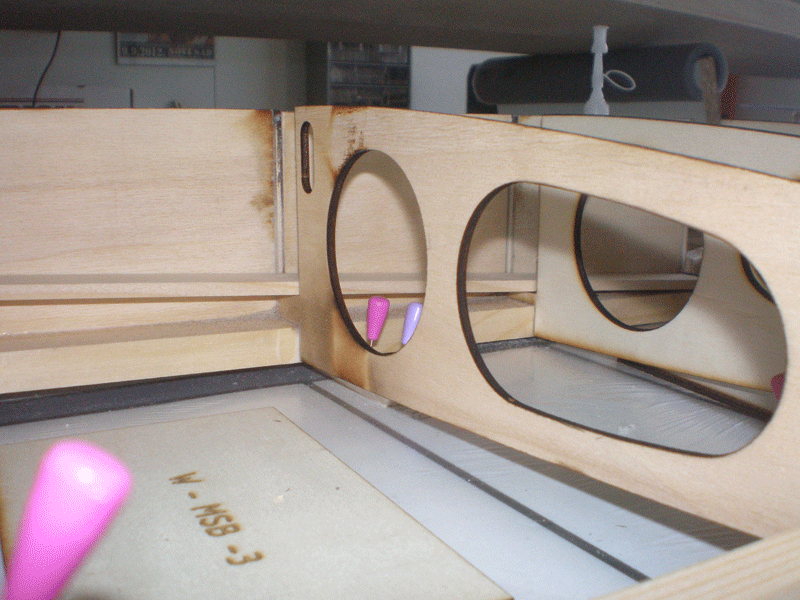
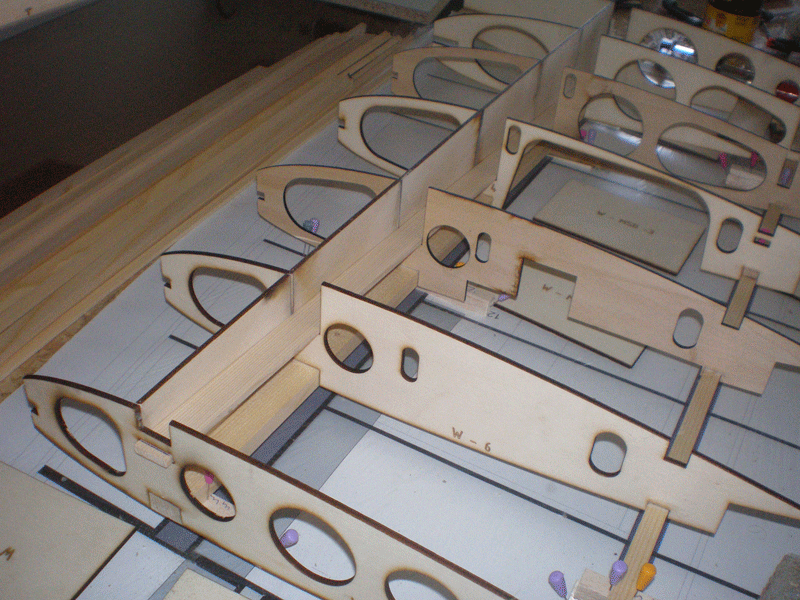
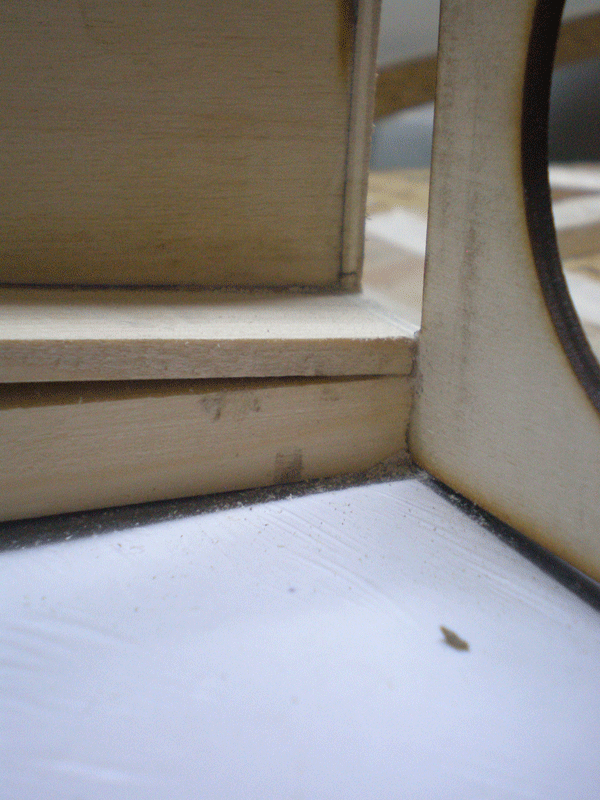
It takes a little sanded to spar a nice lie down on all ribs. Than I glued it...
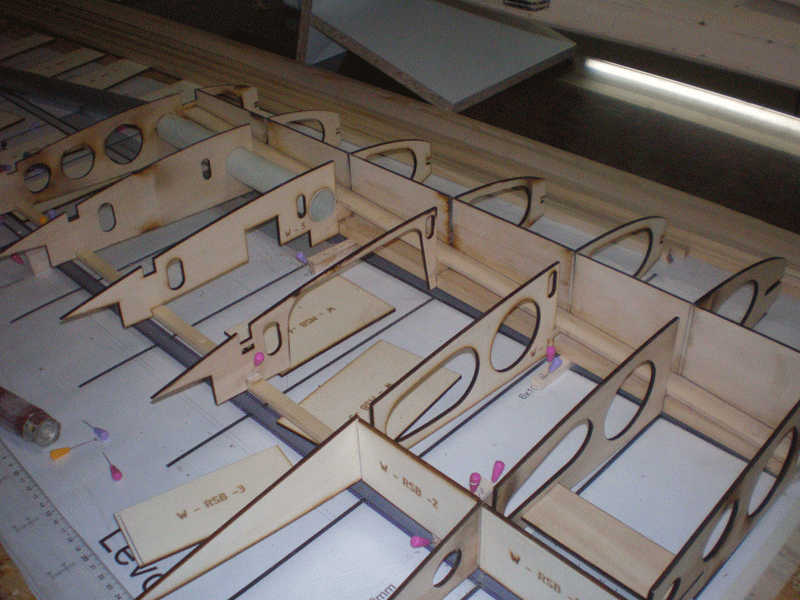
Without glue I install big wooden wing joiner.
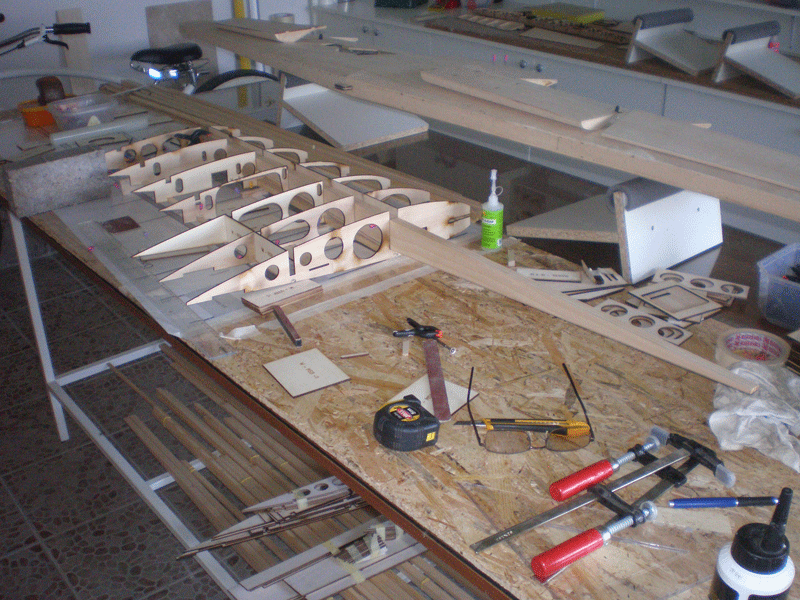
It lie like all other parts - great...
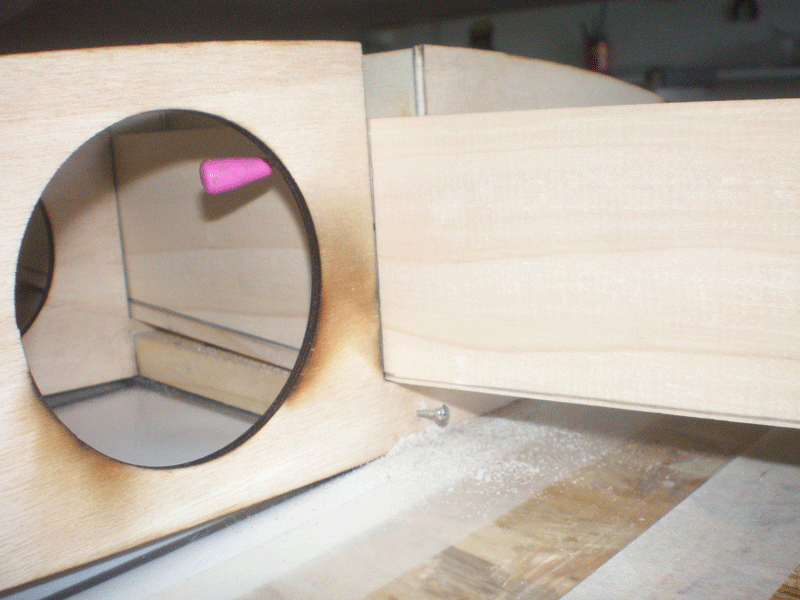
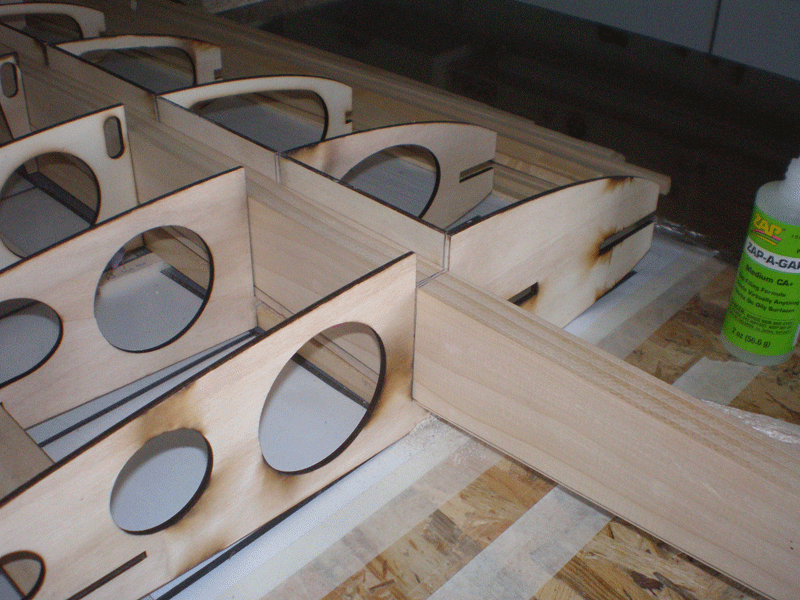

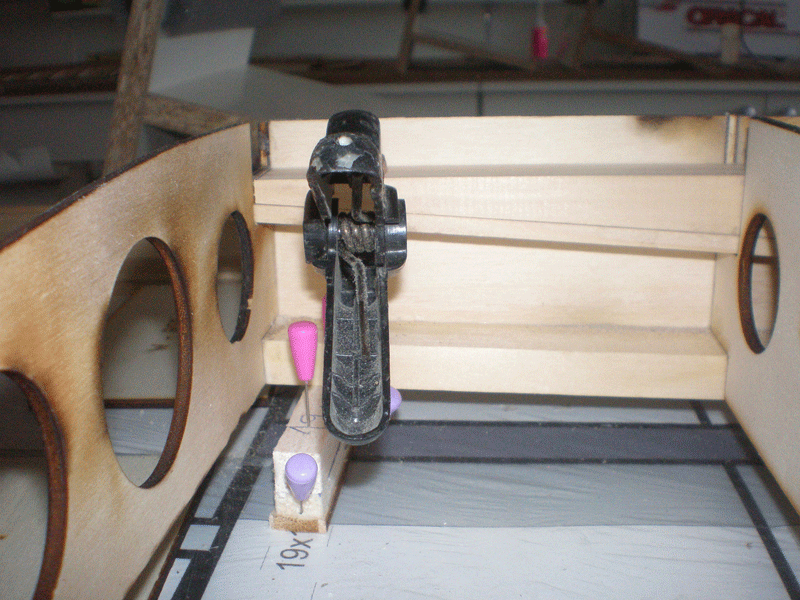
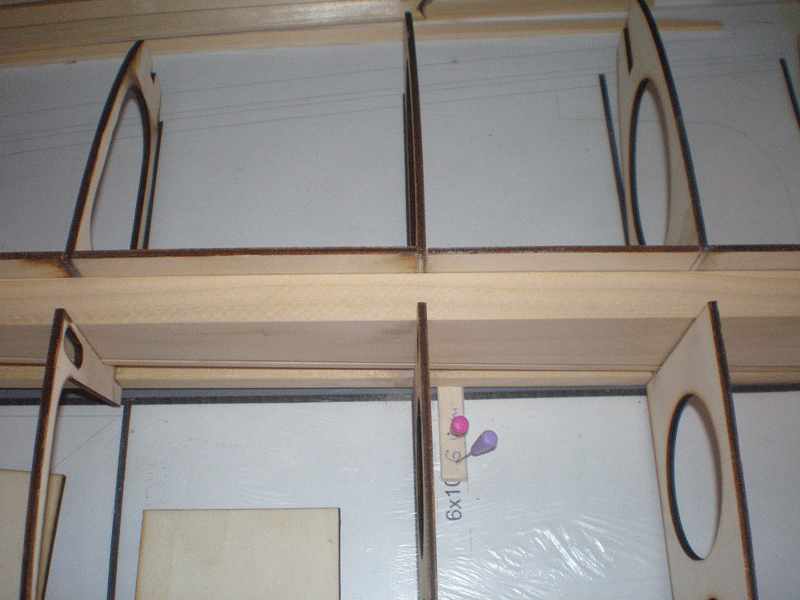
For now wing joiner are not glued...
Building is almost same like on wing of smaller one, but in few steps I made some changes.
Wing is only part for which you need plan.
First step was to put on right place of the plan balsa blocks which are giving right angle for wing ribs. This is important because wing have washout on the outer tips...


First I'll made wing center panel. It will be wide as wide as are flaps, about 1400mm. In center panel will be retracts, so you don't need to take it down from the fuselage in case that have enough wide vehicle.
Main bottom spar I fix to workbench with nail...

Center panel have 7 ribs. First I put all ribs without glue, just to see how they lay on bottom spar.

When saw that everything is all right, I start with sticking. First I glue end ribs - 1 & 7...

Now start difference in building in relation to the earlier wing build, because now ply parts which come between ribs are part of the Galeb kit. They give right distance between ribs...


For this operation I use carpenter white glue. It give enough time to everything put on right position. As can be seen on pictures, I glued for now just front ply parts.
Next step was to install auxiliary spar for wooden wing joiner. Of course, first with out glue...


It takes a little sanded to spar a nice lie down on all ribs. Than I glued it...

Without glue I install big wooden wing joiner.

It lie like all other parts - great...


For now wing joiner are not glued...
Last edited by mirce; 08-23-2015 at 07:43 AM.
#228

Thread Starter
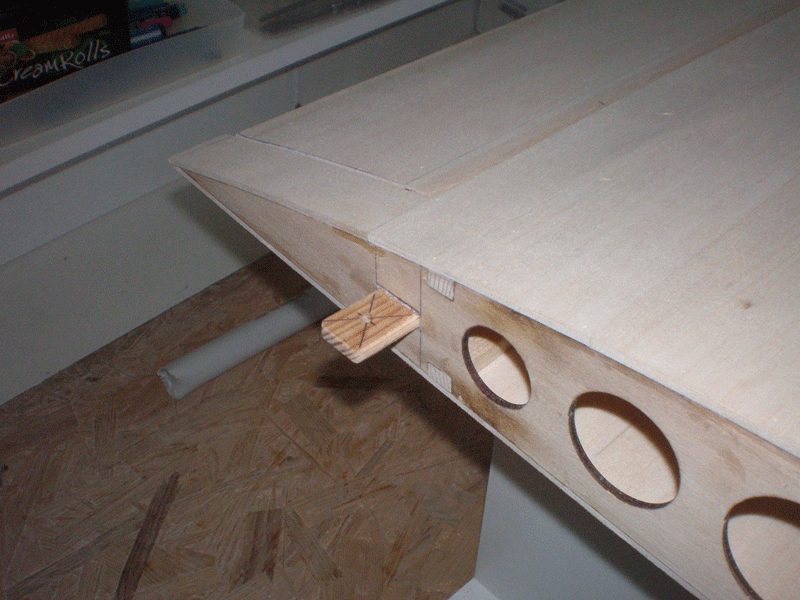
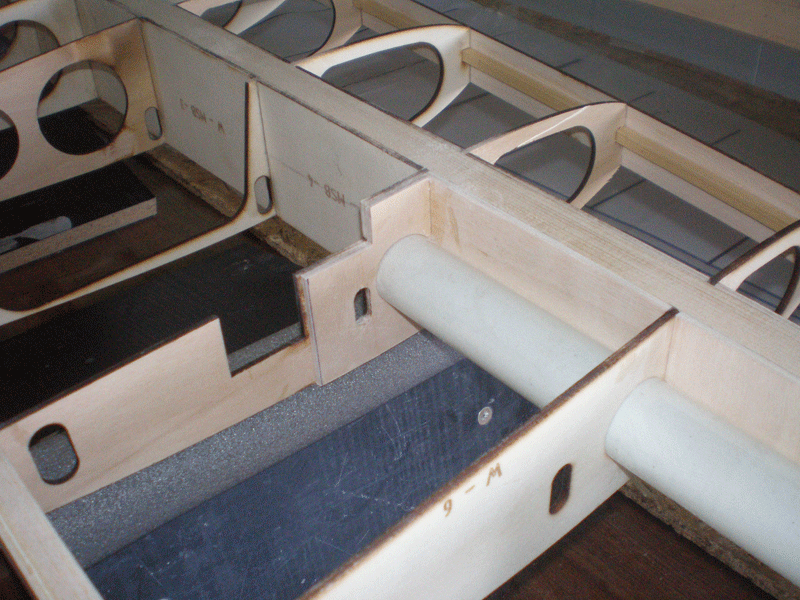
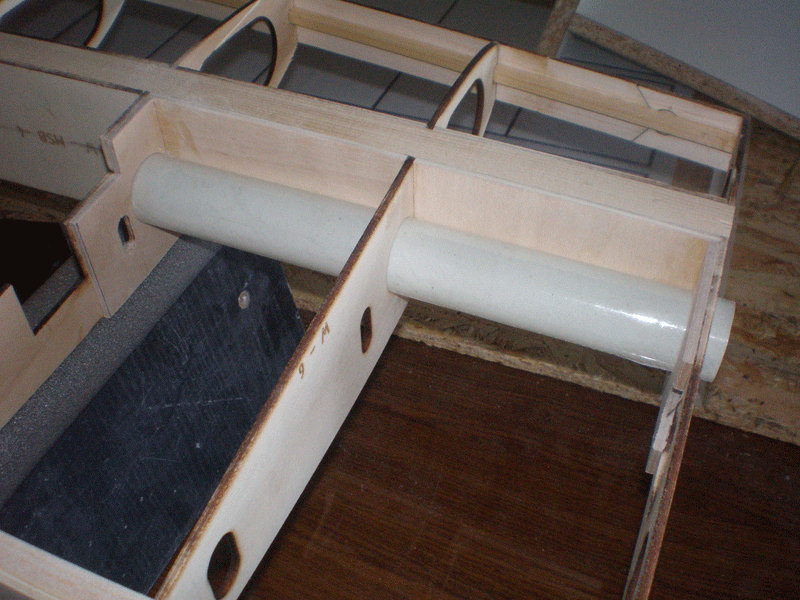
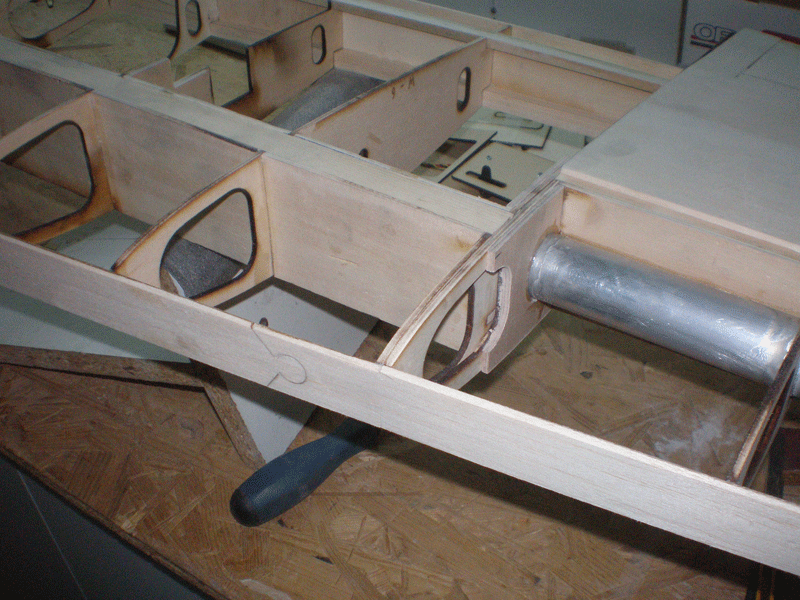
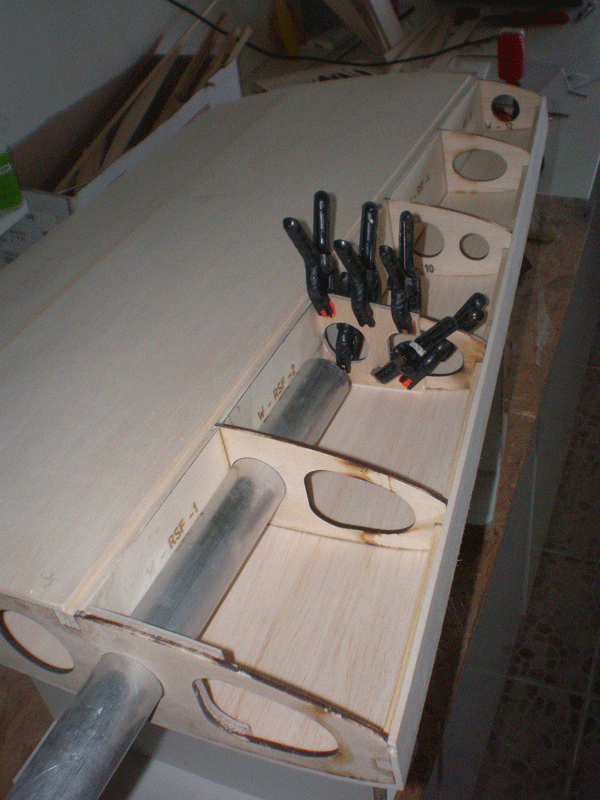
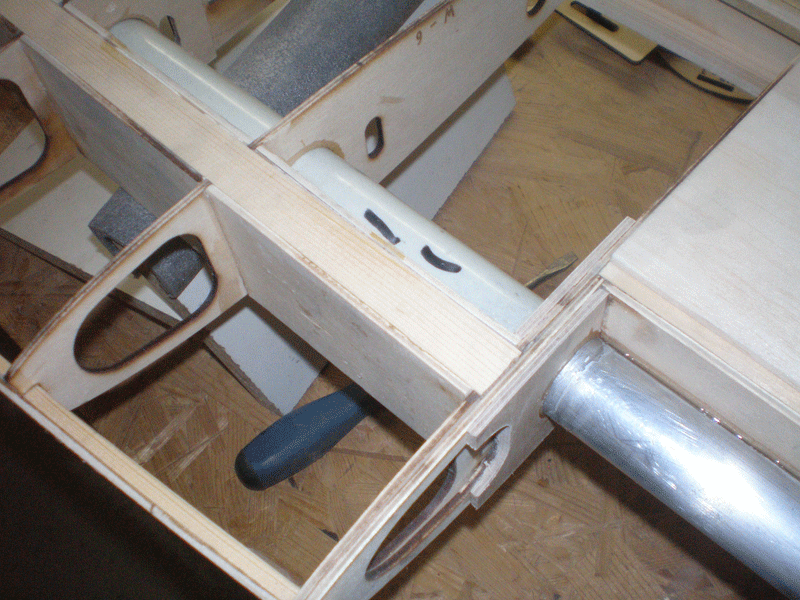
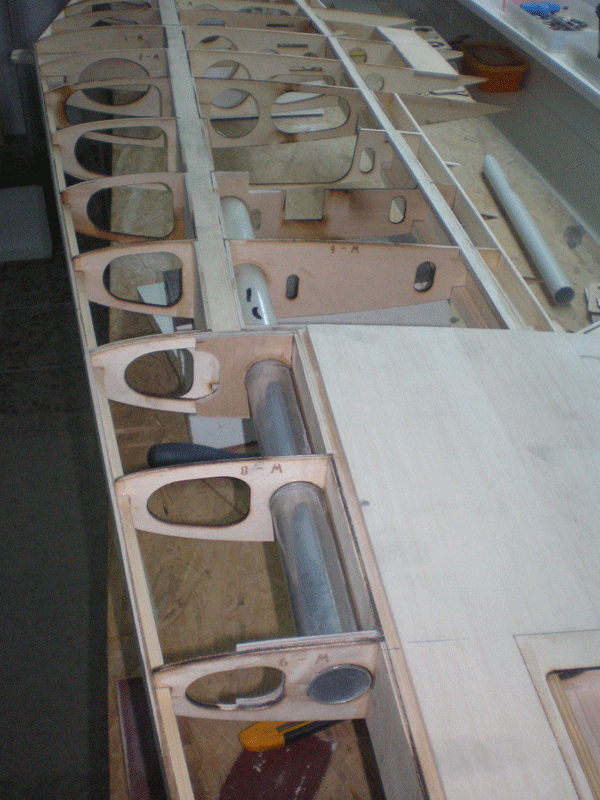
I was very curious how the epoxy tube go through the last three ribs. This tube made my friend Sava...

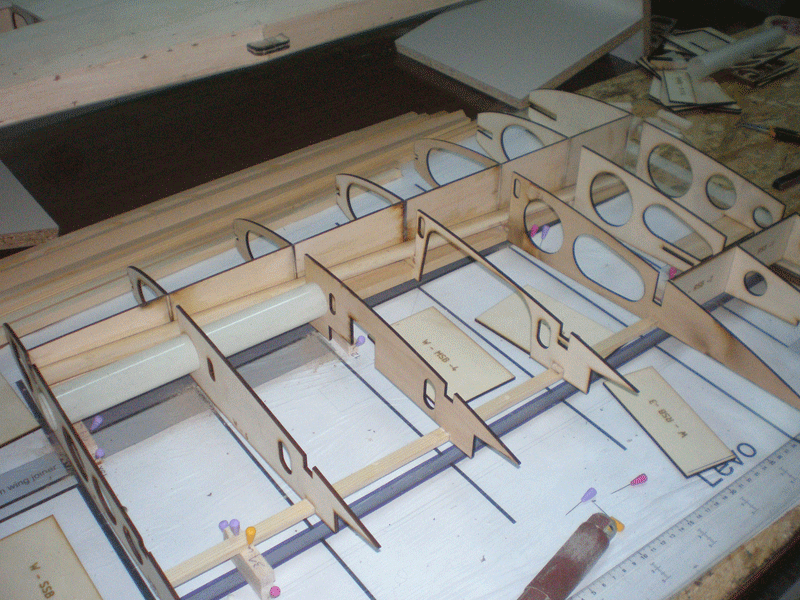
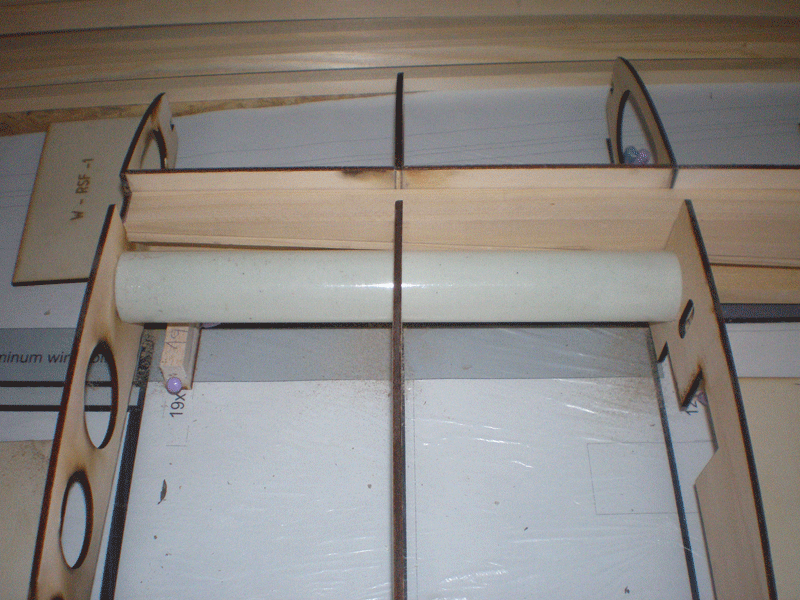
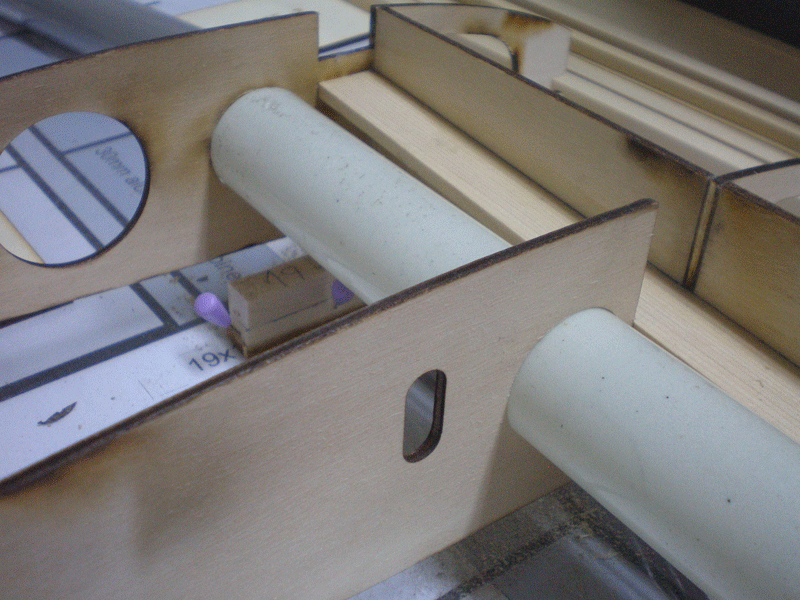
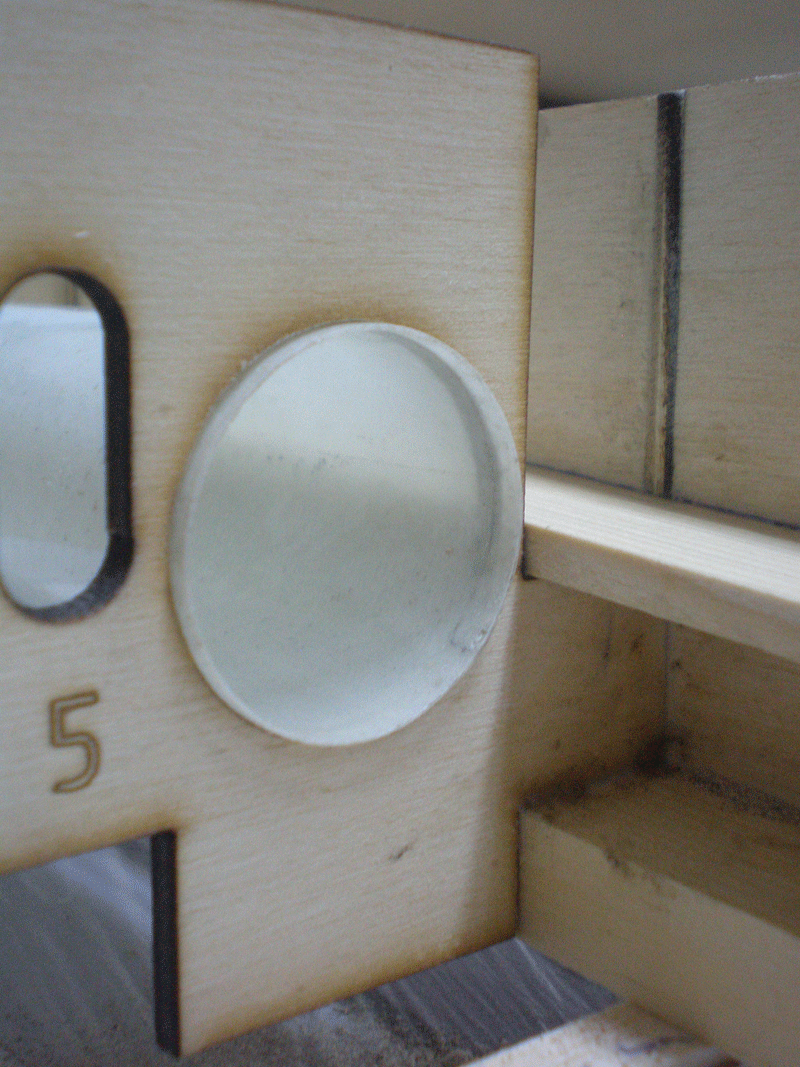
Gap on bottom picture is because there will come ply parts, same like in front of the spars.
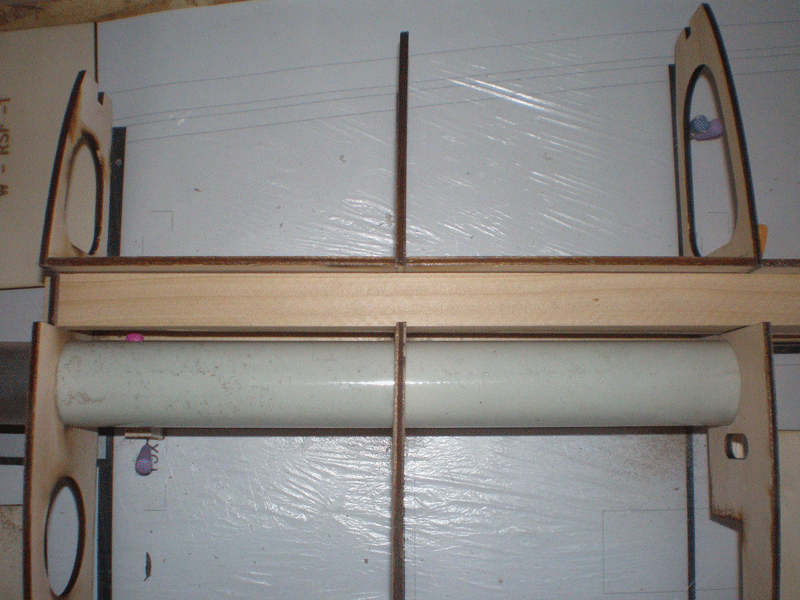
Aluminum wing joiner will come in outer wing part. It slide through very smooth...
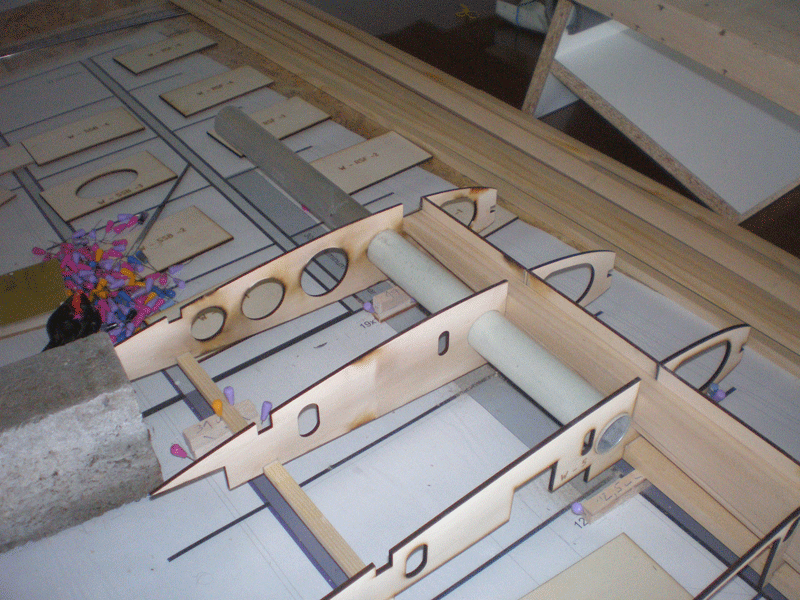
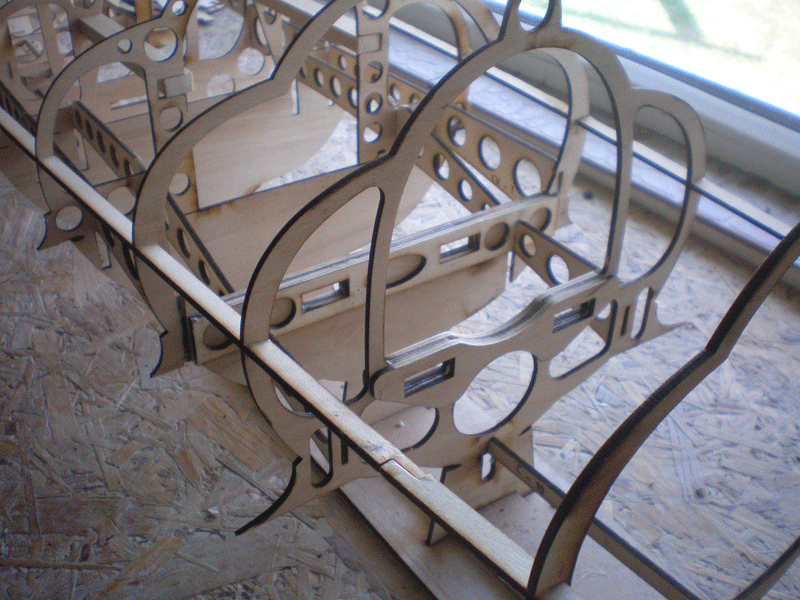
And for the end of today's writhing few picture of the fuselage...
Front and middle section are glued two days ago...
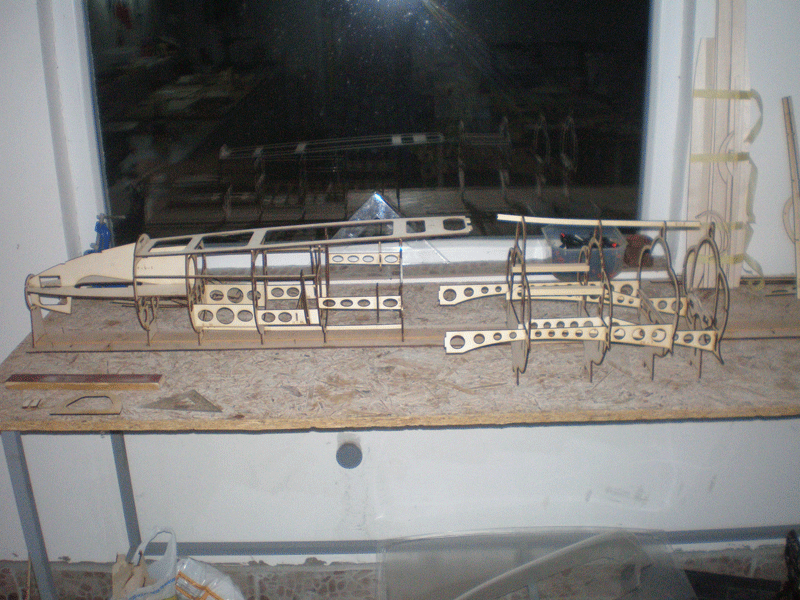

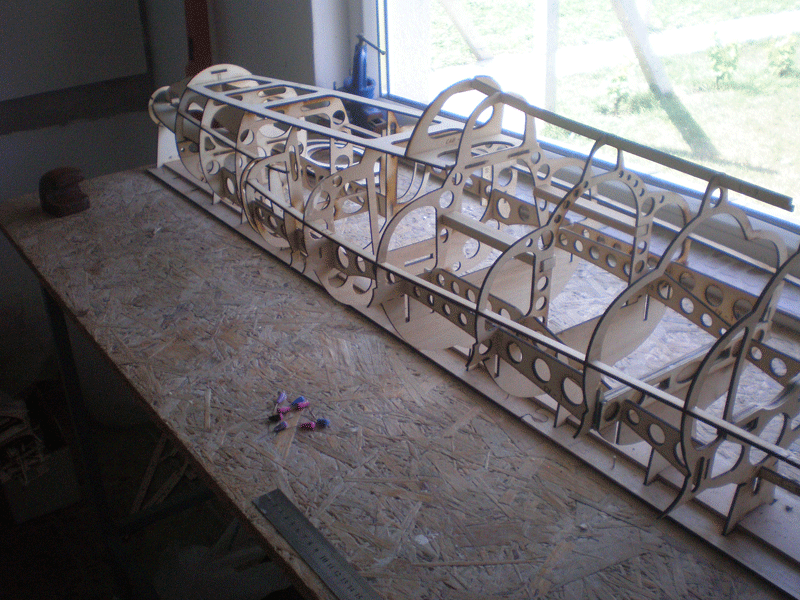
Now all other small parts are glued in that fuselage section...


Trough this holes will come hard wood for the wing nuts...
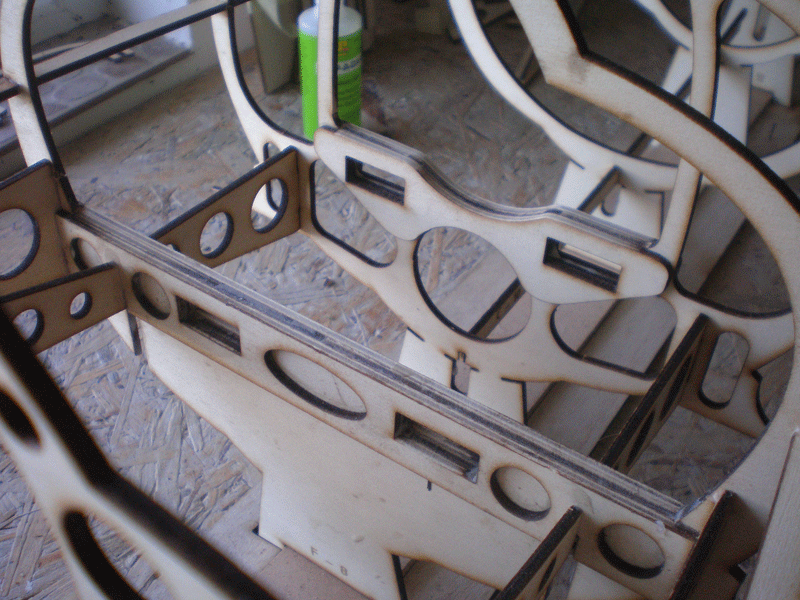
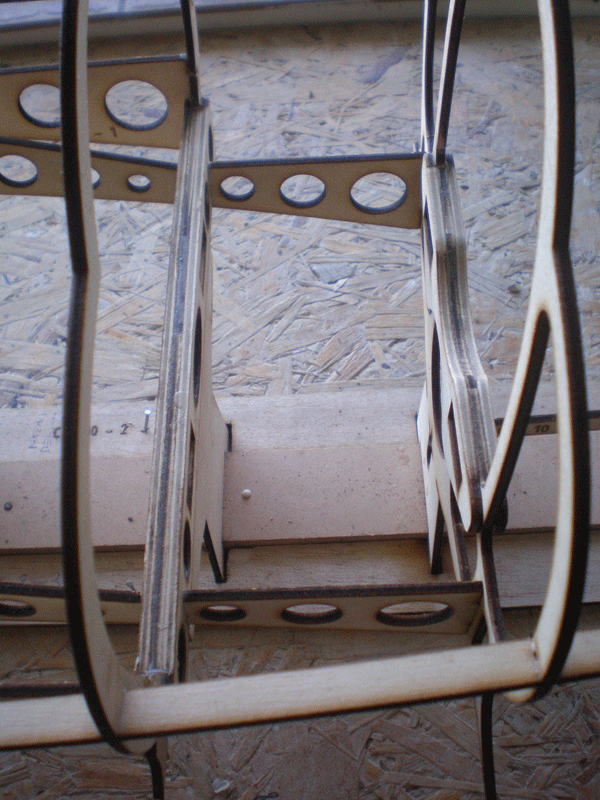
To be continued...


Gap on bottom picture is because there will come ply parts, same like in front of the spars.

Aluminum wing joiner will come in outer wing part. It slide through very smooth...

And for the end of today's writhing few picture of the fuselage...
Front and middle section are glued two days ago...


Now all other small parts are glued in that fuselage section...


Trough this holes will come hard wood for the wing nuts...


To be continued...
Last edited by mirce; 08-23-2015 at 07:45 AM.
#229

Thread Starter
I was worthy in the last few days in the workshop...
Fuselage can be cover with balsa... But before that, let me show you few "older" pictures...
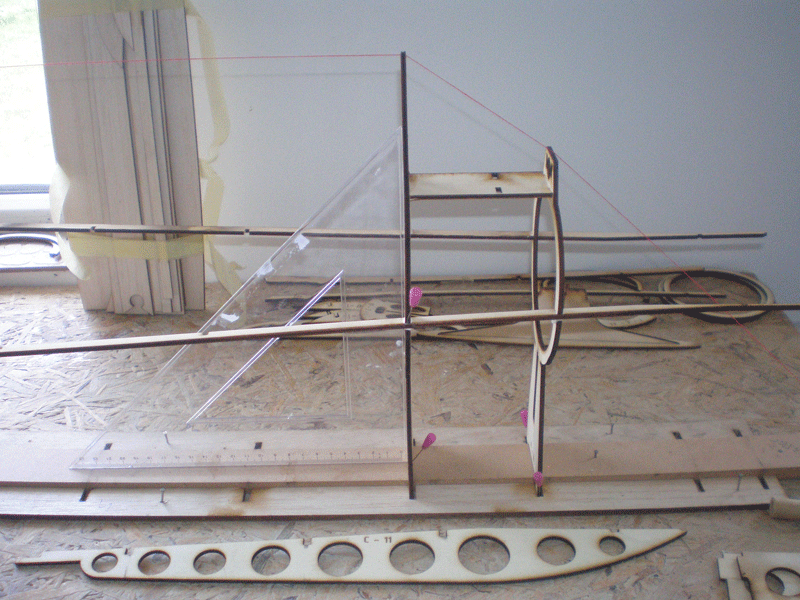
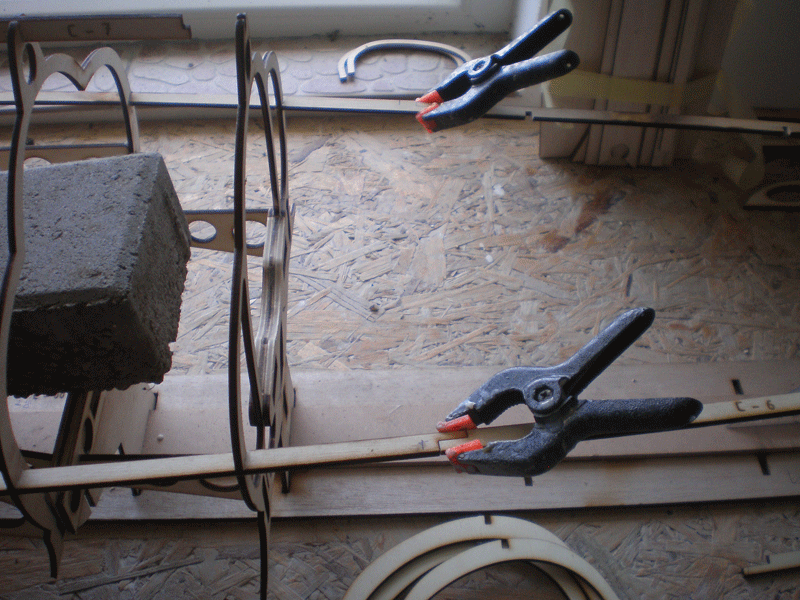
I prepare everything for rear part of the fuselage...
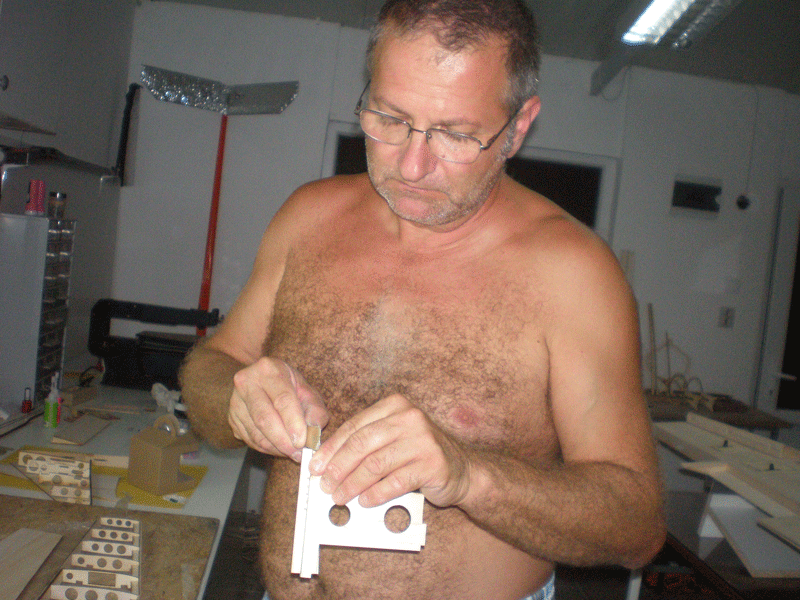
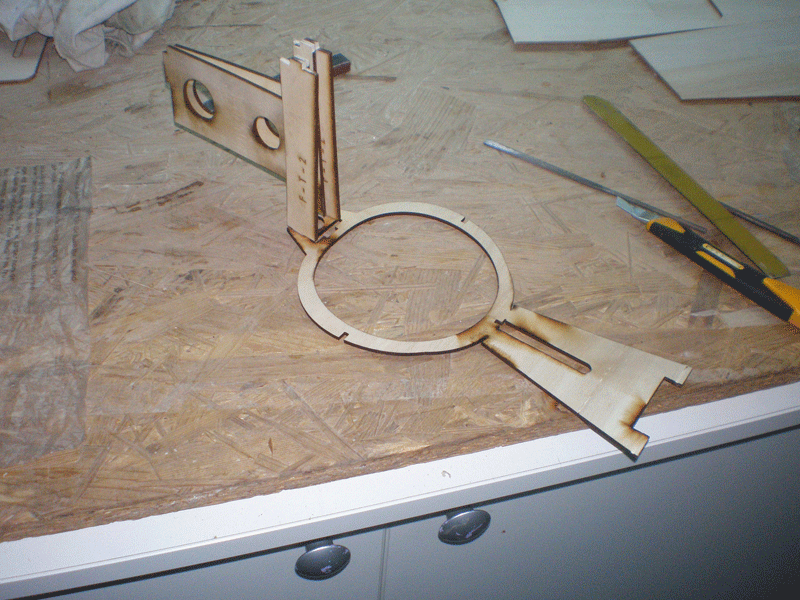
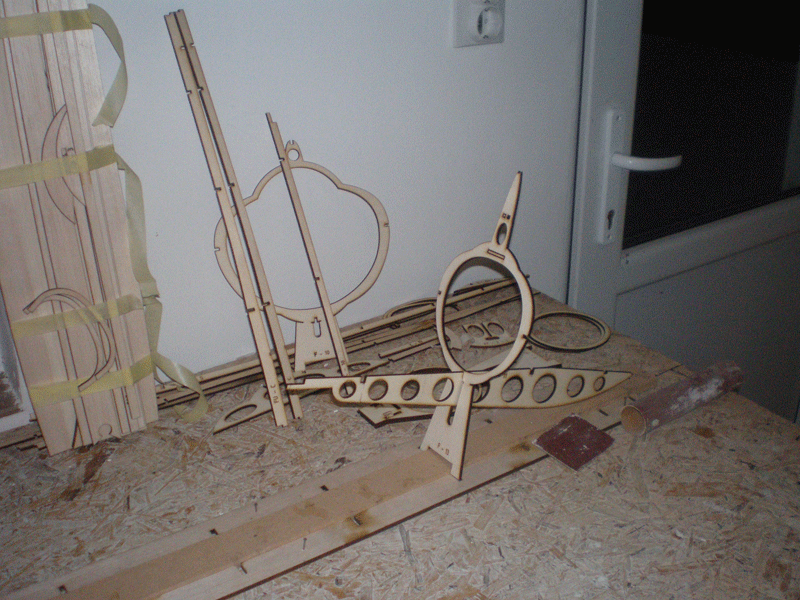
Then assembling...
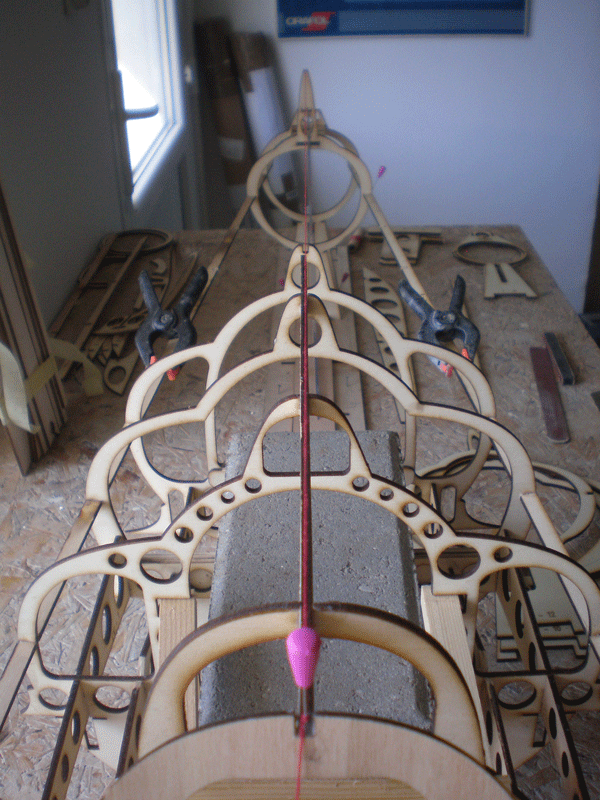
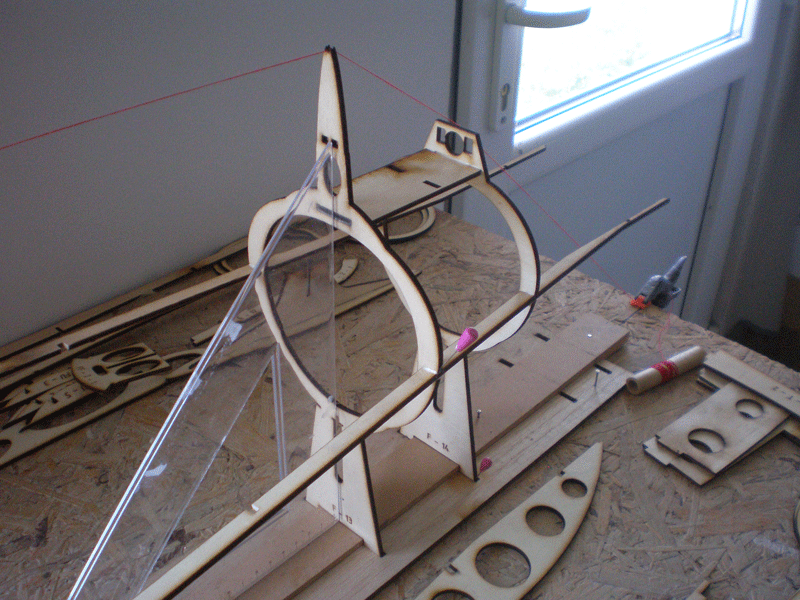
Rib by rib...


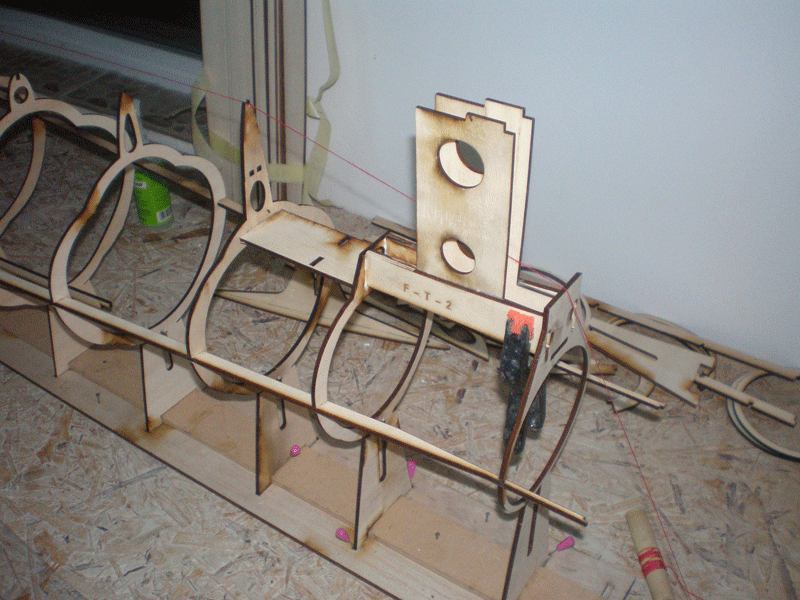
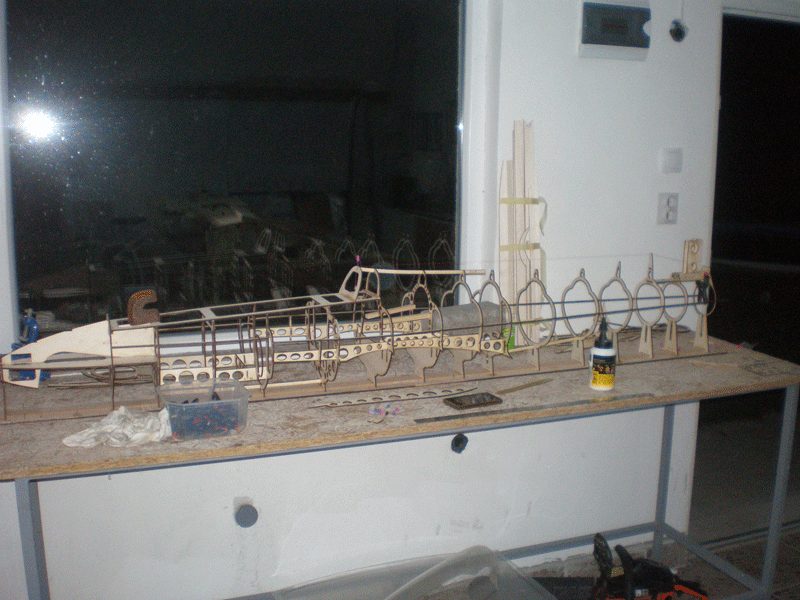
Some small parts are added...


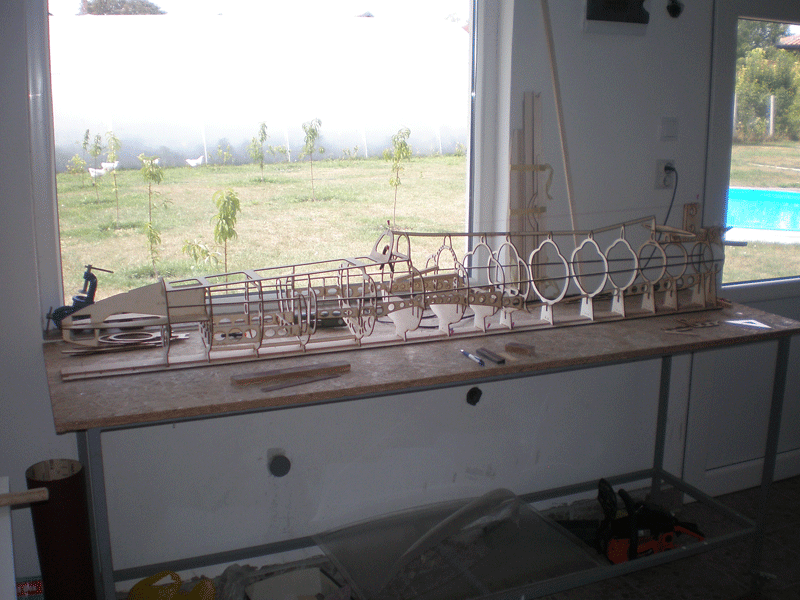
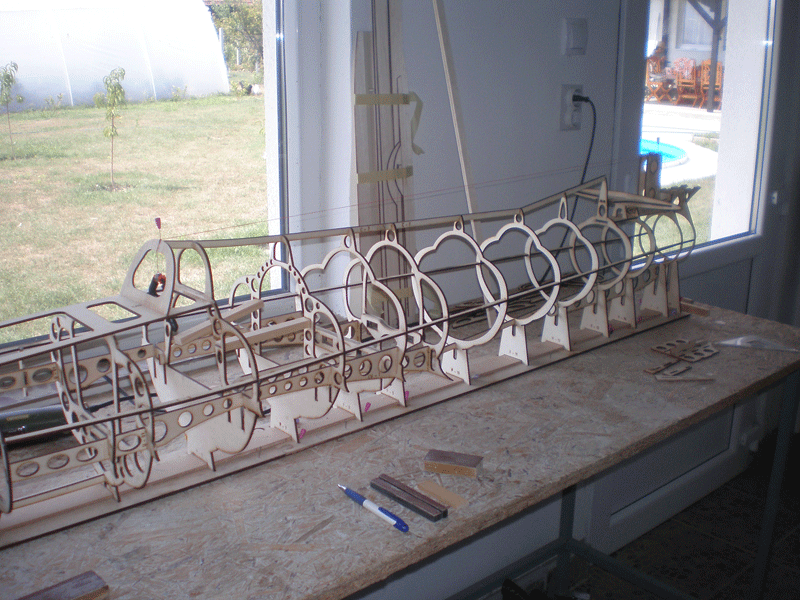
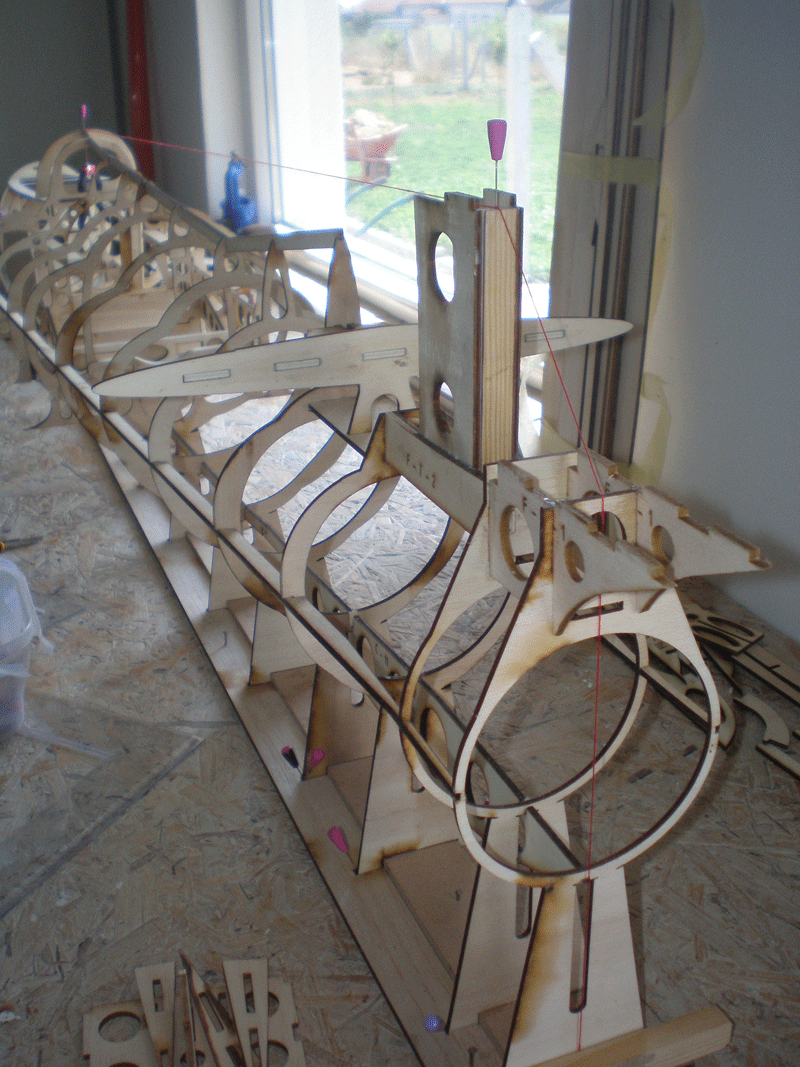
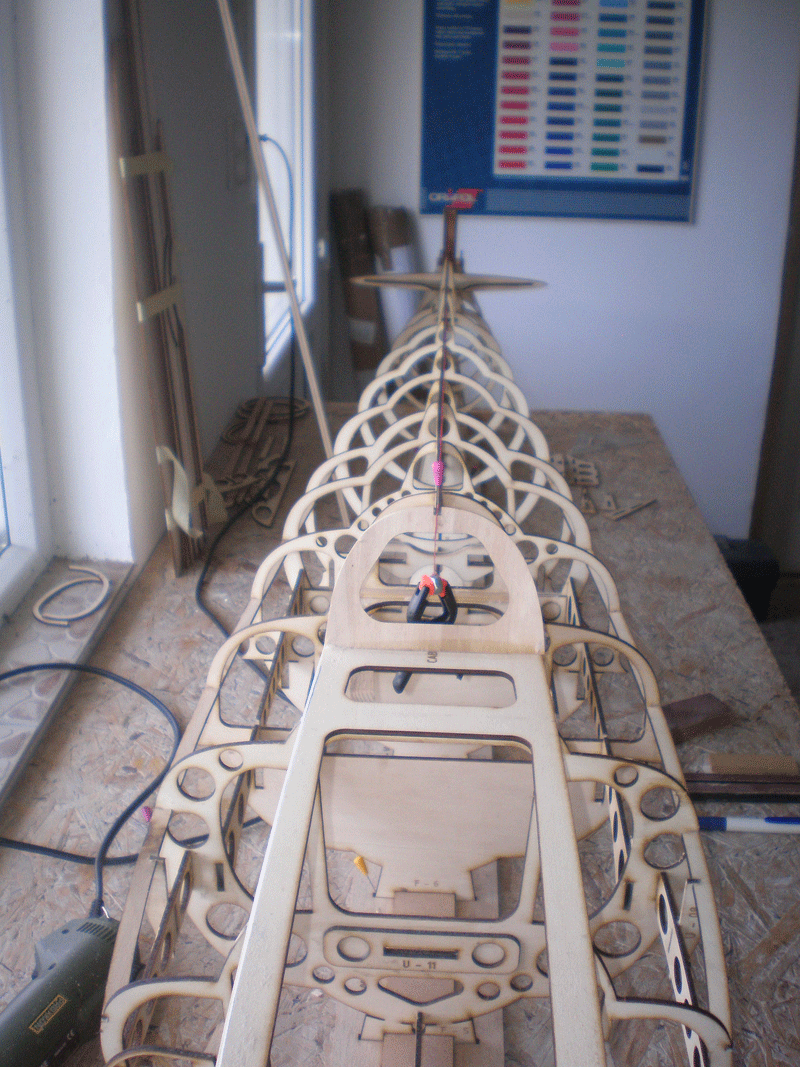
Fuselage can be cover with balsa... But before that, let me show you few "older" pictures...
I prepare everything for rear part of the fuselage...


Then assembling...


Rib by rib...


Some small parts are added...


Last edited by mirce; 08-23-2015 at 07:48 AM.
#230

Thread Starter
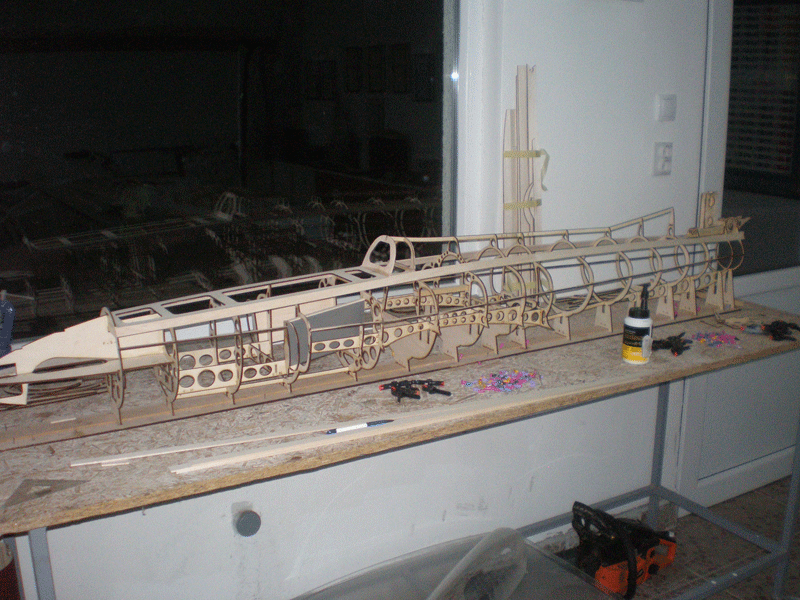
Next was work on intake channel. I made it same like on first G2 fuselage...
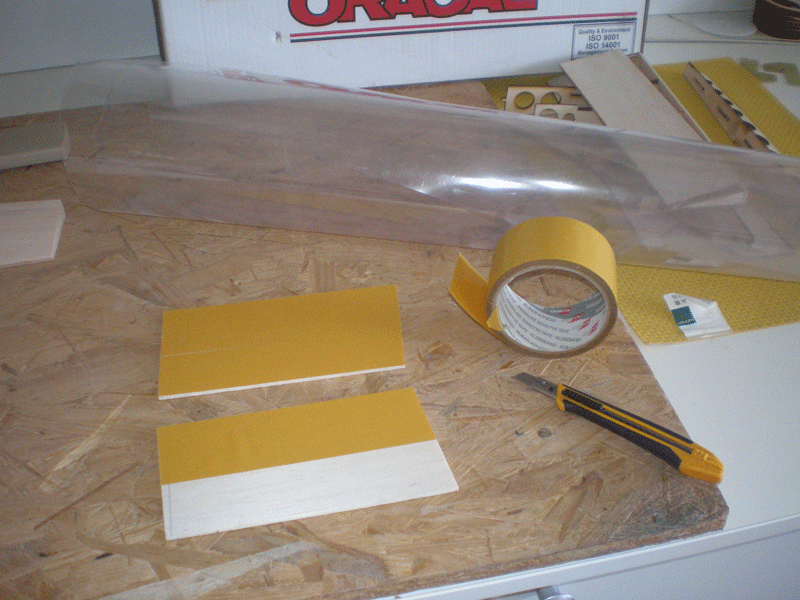
Vertical wall is 3mm balsa plate...
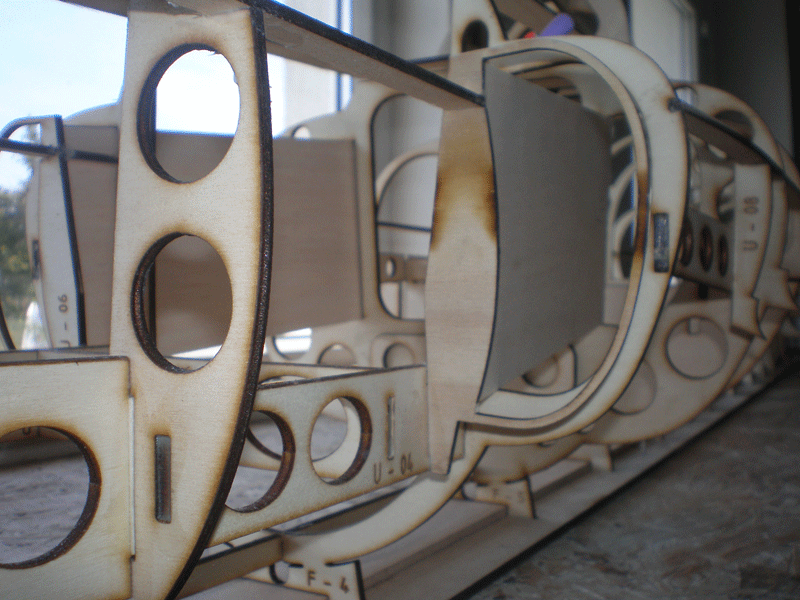
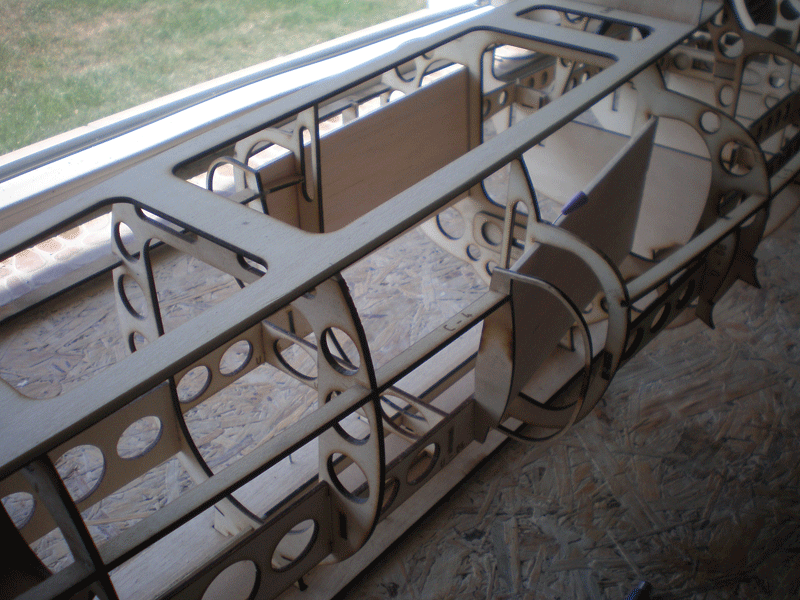
With double side adhesive tape I applied thin plastic. That give nice smooth surface...
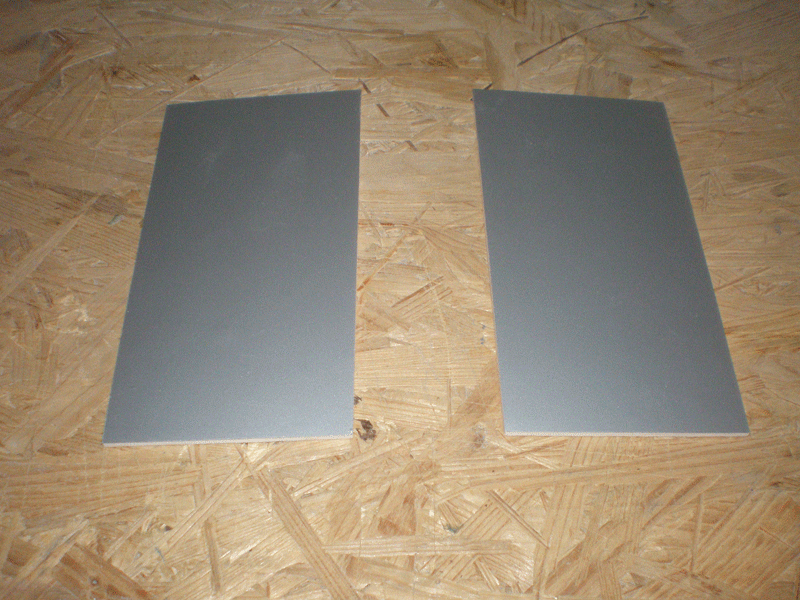
Finally, on plastic come silver foil...
With white (carpenter) glue I install it...
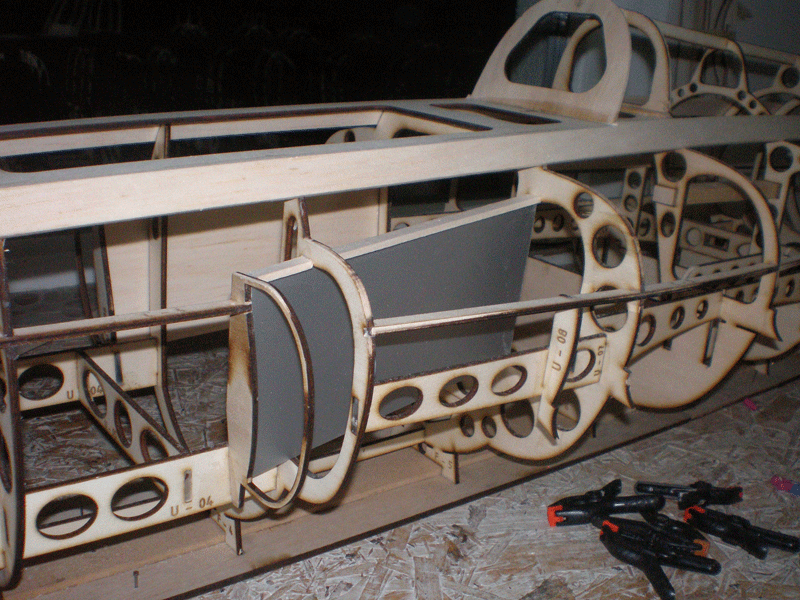
Main difference on this fuselage are thin ribs, so more air will go to the rear fuselage end...
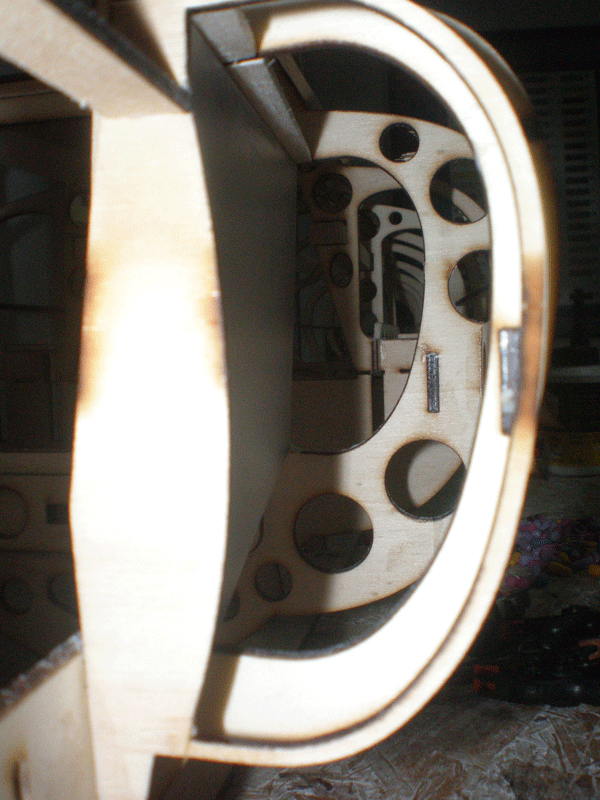
Before first balsa strip I prepare edges...
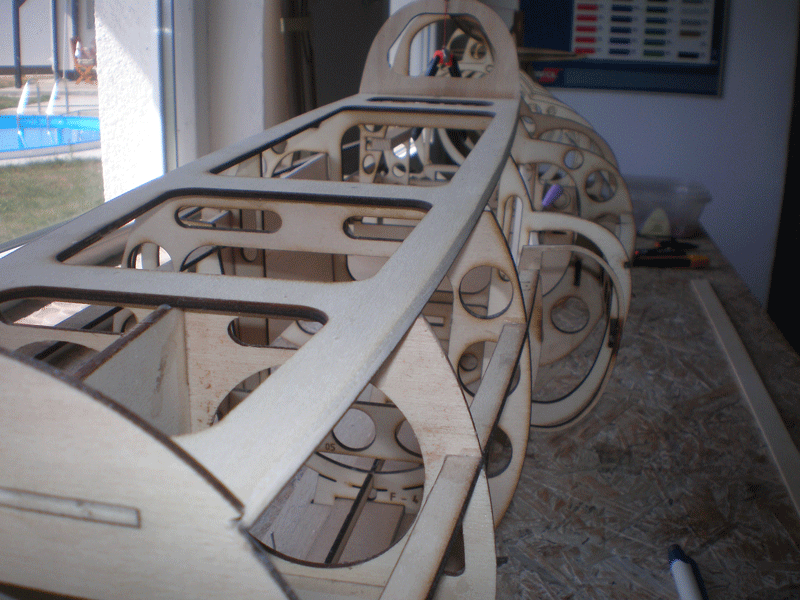
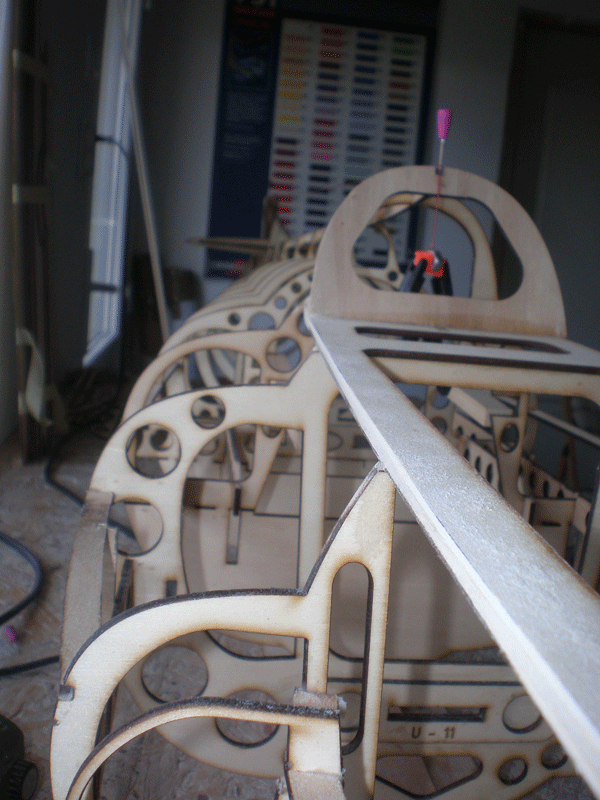
First balsa was on the cabin edge. That give good direction...
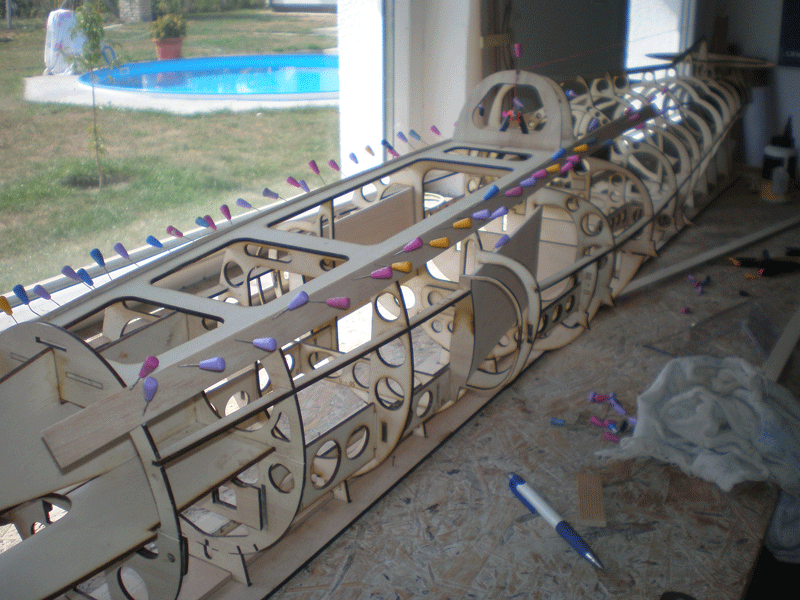
Next was behind...
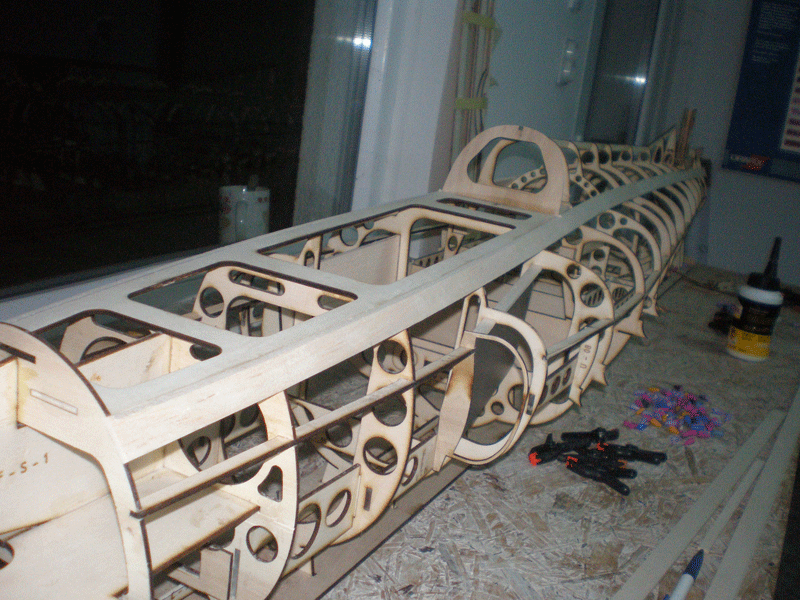
Balsa must be dampened with hot water for ease of bending and shaping.

Vertical wall is 3mm balsa plate...


With double side adhesive tape I applied thin plastic. That give nice smooth surface...

Finally, on plastic come silver foil...

With white (carpenter) glue I install it...

Main difference on this fuselage are thin ribs, so more air will go to the rear fuselage end...

Before first balsa strip I prepare edges...


First balsa was on the cabin edge. That give good direction...

Next was behind...


Balsa must be dampened with hot water for ease of bending and shaping.

Last edited by mirce; 08-23-2015 at 07:49 AM.
#231

Thread Starter
Elevator...
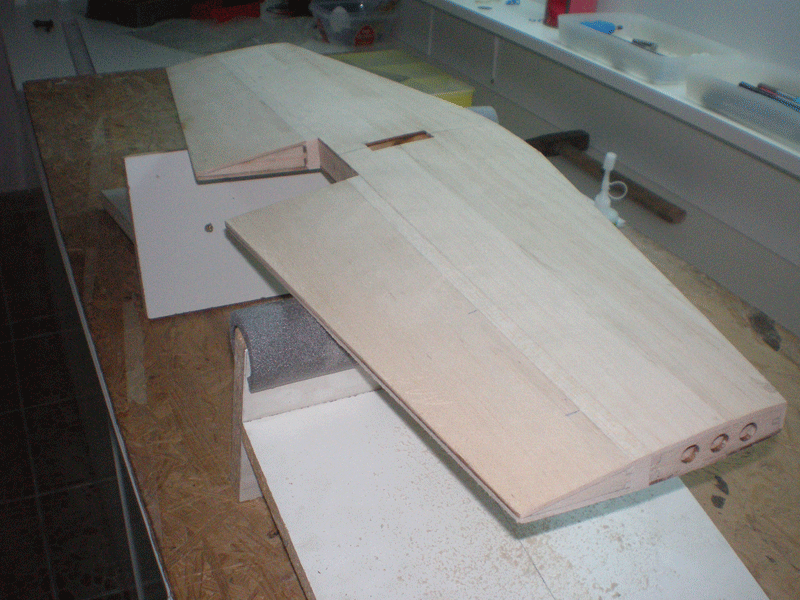
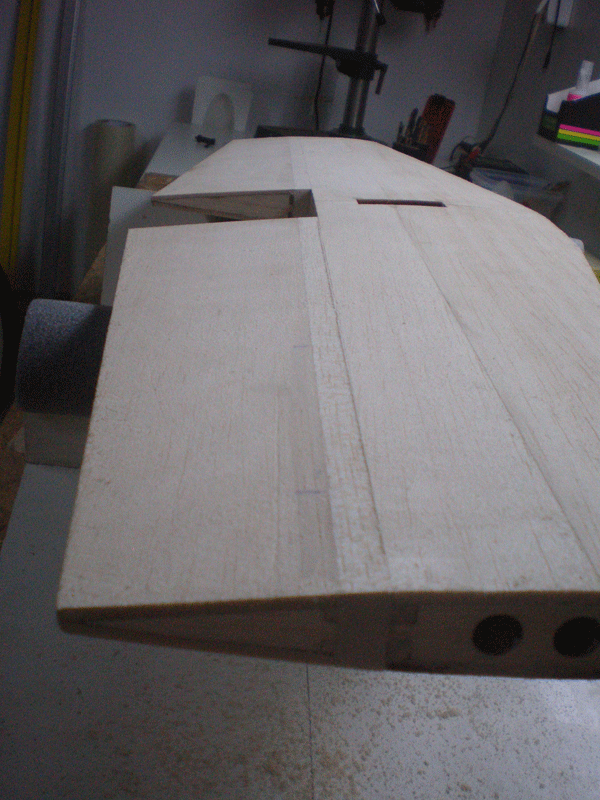
Before another balsa sheet, I install small blocks for hinges. Same like on first jet, I'll use classic hinges with shaft...

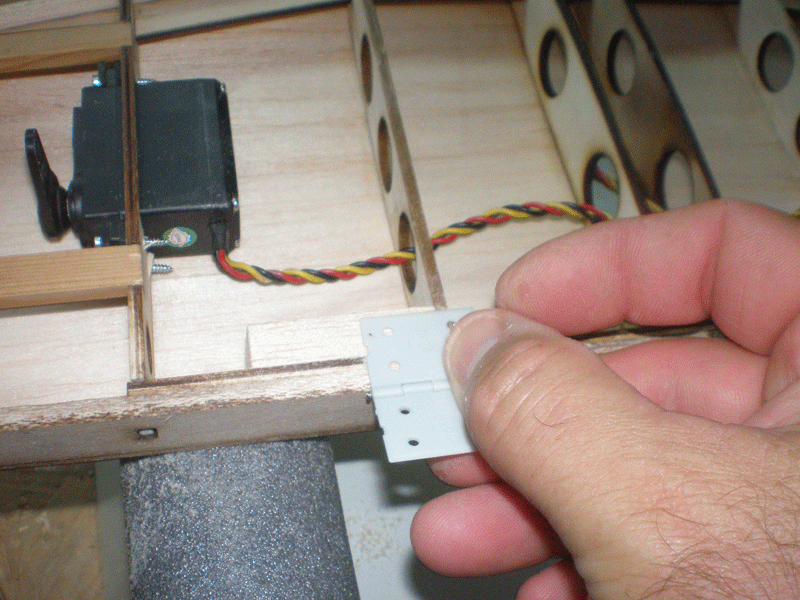
They will come in the middle of the rear side...
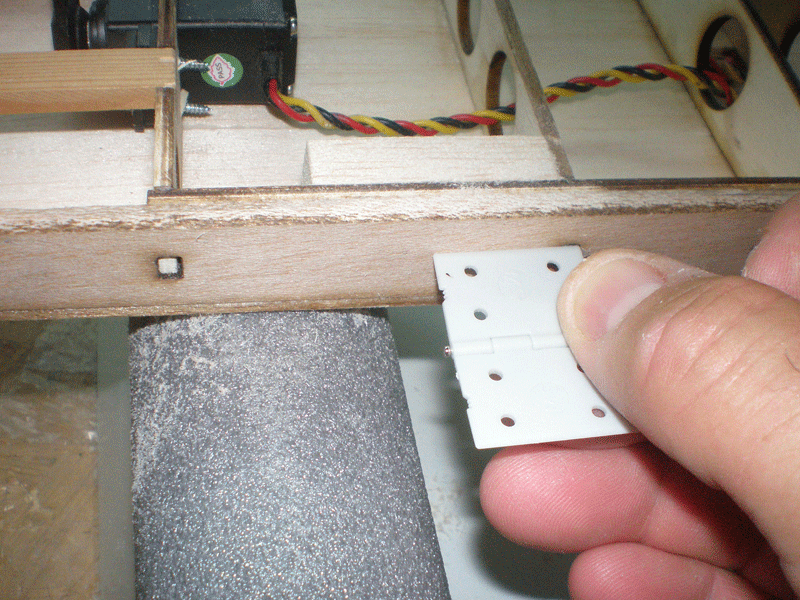
OK, than white glue and balsa plate...
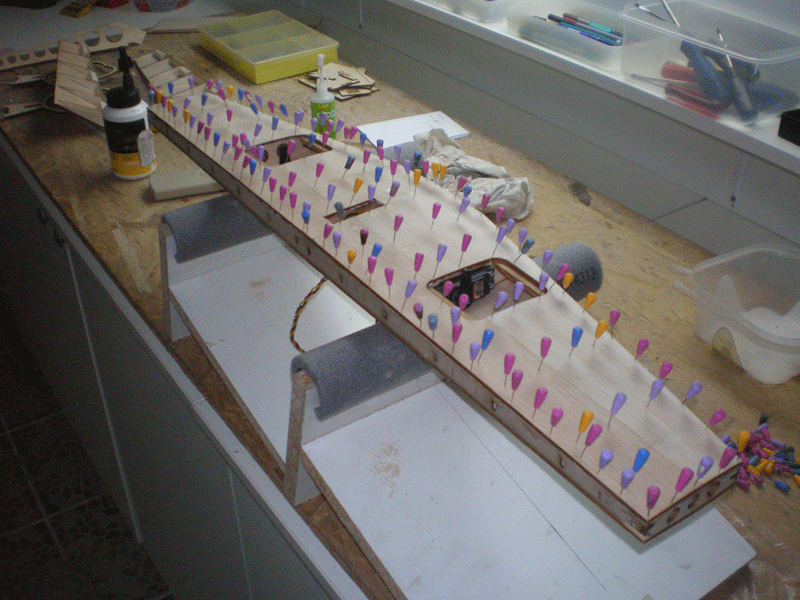
Same was made on moving elevator parts.
Next, 10 mm balsa which will be later shaped in triangle...
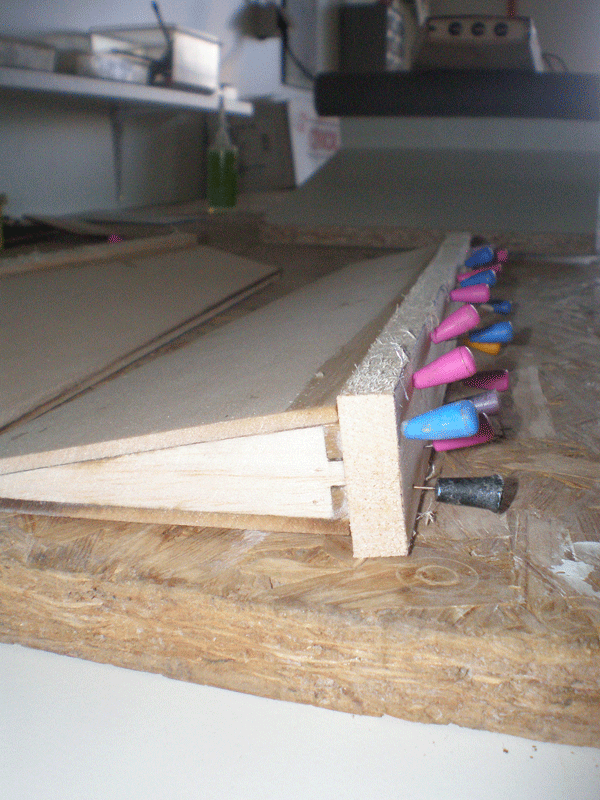
This balsa is intentionally left higher so that it can be sanded later...
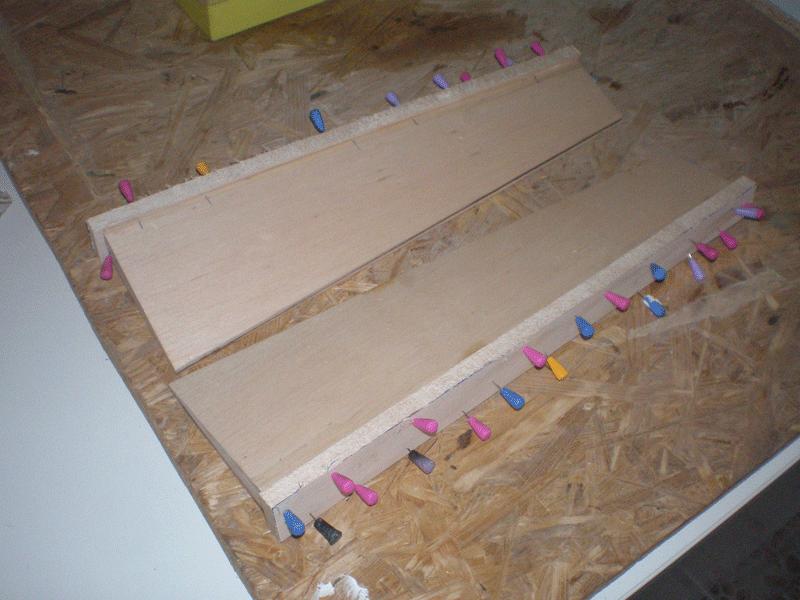

Same like always, with double adhesive tape I fix it on elevator.
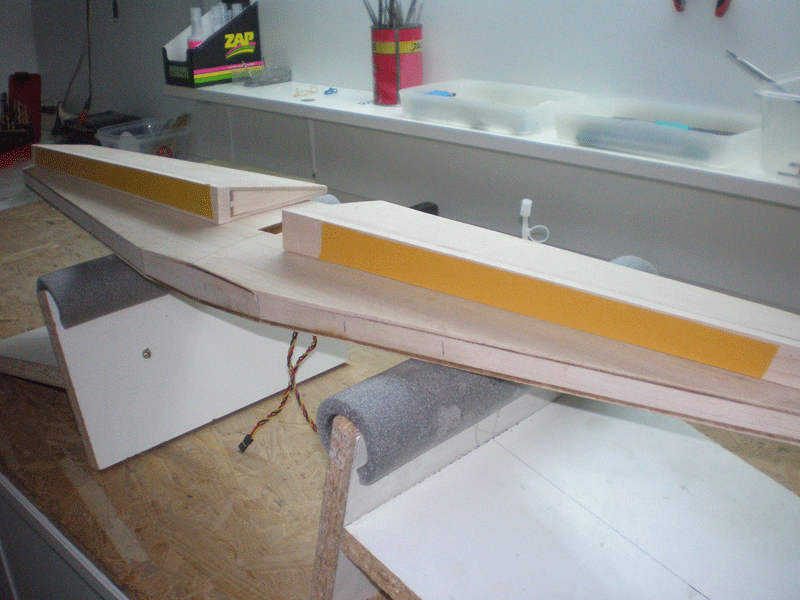
Moving parts are just a little higher...
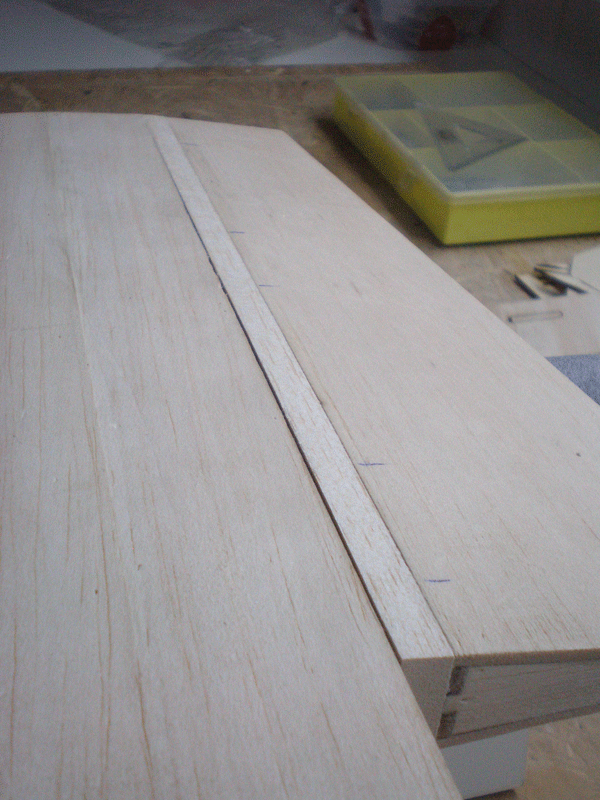
...but after light sanding they are like one surface...

Before another balsa sheet, I install small blocks for hinges. Same like on first jet, I'll use classic hinges with shaft...


They will come in the middle of the rear side...

OK, than white glue and balsa plate...

Same was made on moving elevator parts.
Next, 10 mm balsa which will be later shaped in triangle...

This balsa is intentionally left higher so that it can be sanded later...


Same like always, with double adhesive tape I fix it on elevator.

Moving parts are just a little higher...

...but after light sanding they are like one surface...


Last edited by mirce; 08-23-2015 at 07:51 AM.
#232

Thread Starter
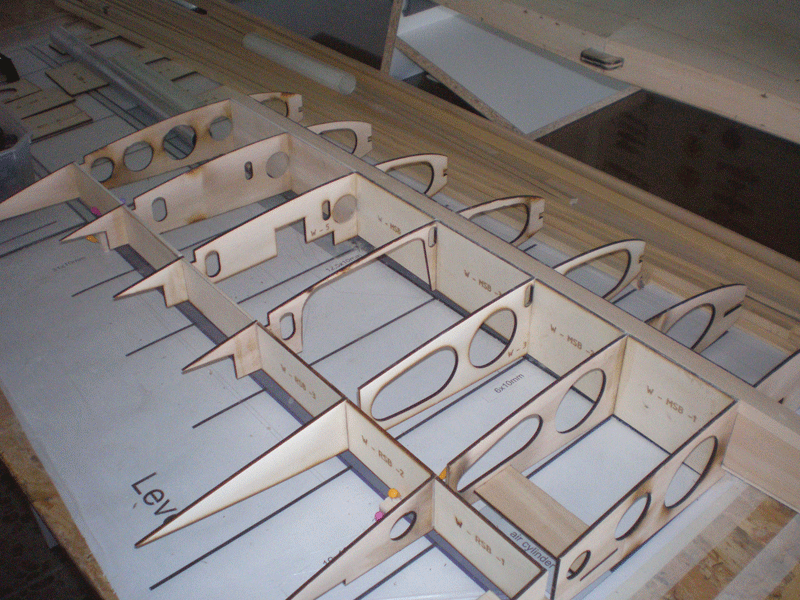
And last for today, wing for bigger (1/4 scale) Galeb G2...
Before bonding big wooden wing joiner I measure (for few times) high on left and right side...
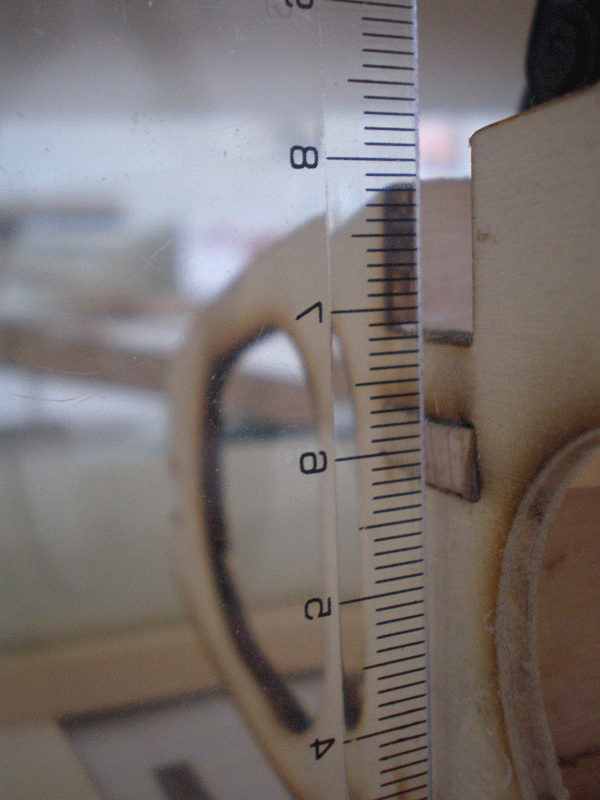

Than glue...
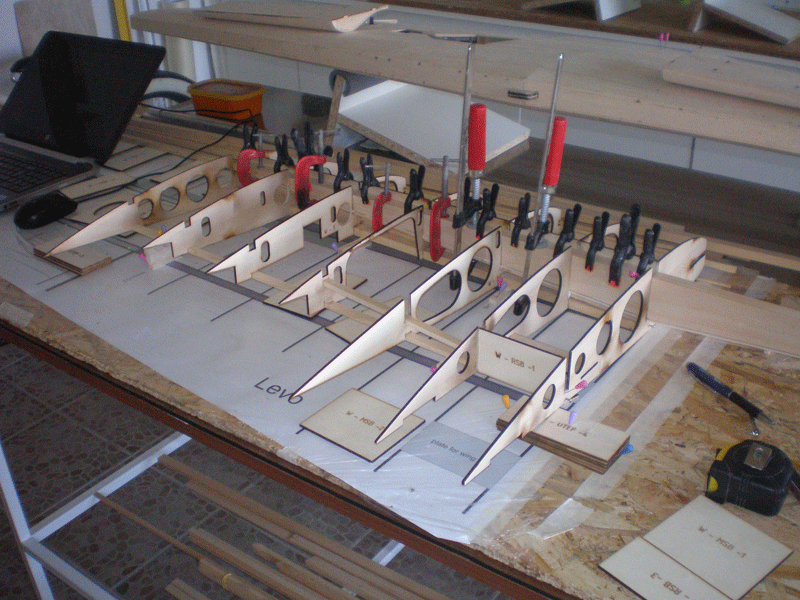
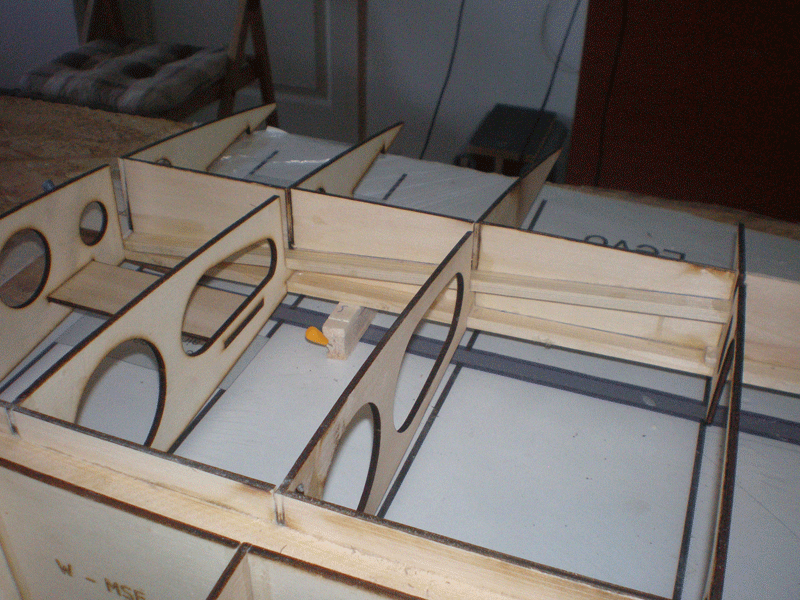
Next was to install ply plates behind wing joiner.
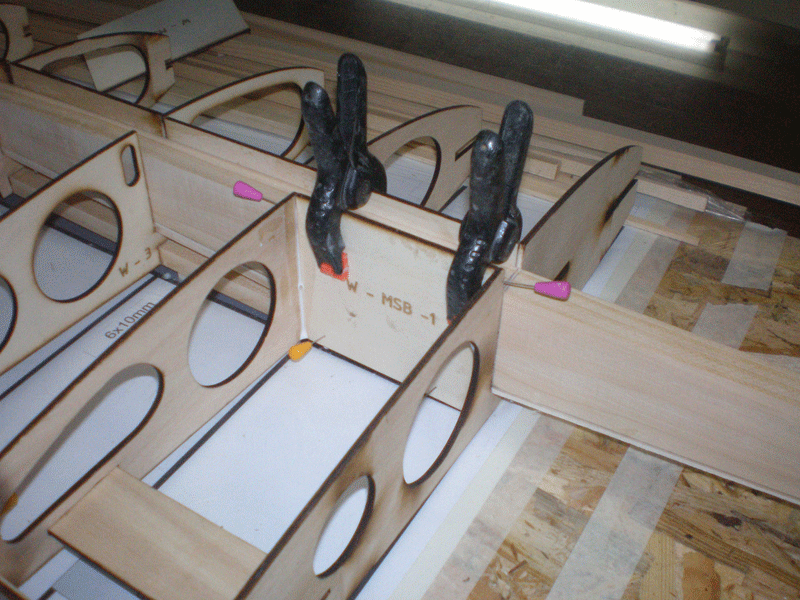
Same was done behind rear spar...
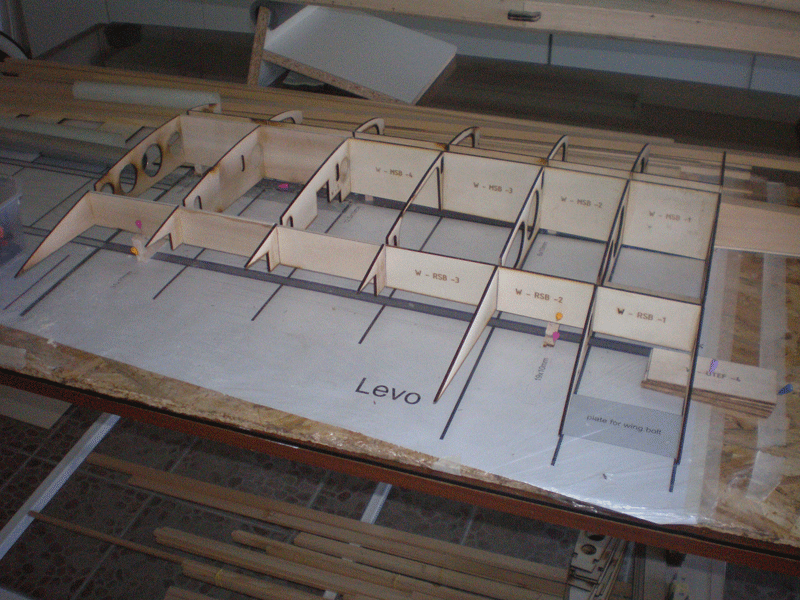
Now, wing have channel for upper spar. That spar will be bond later, because it is from one piece...
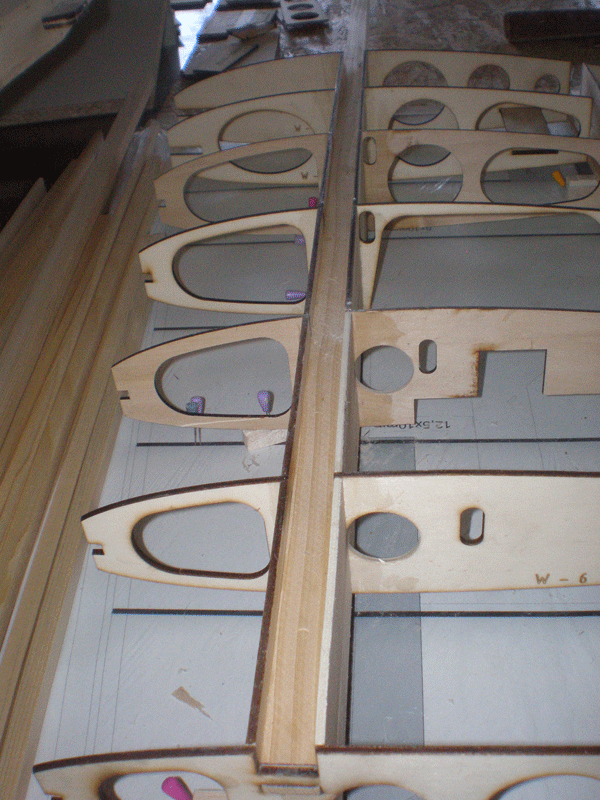

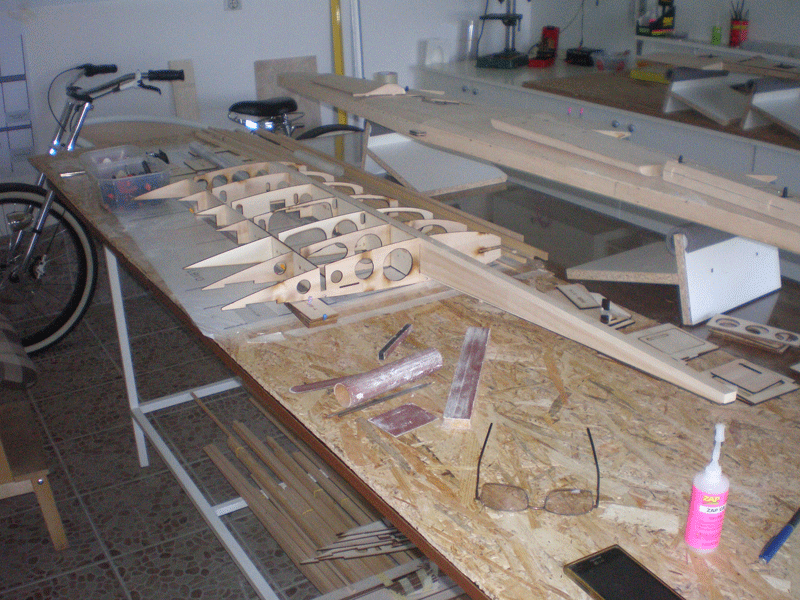

Like everything, just smooth sand will be enough for perfect alignment...
On the rear side, "story" is same, auxiliary spar for rear wooden wing joiner. Unfortunately I made mistake, give wrong measure to carpenter, so now I wait new wooden part...
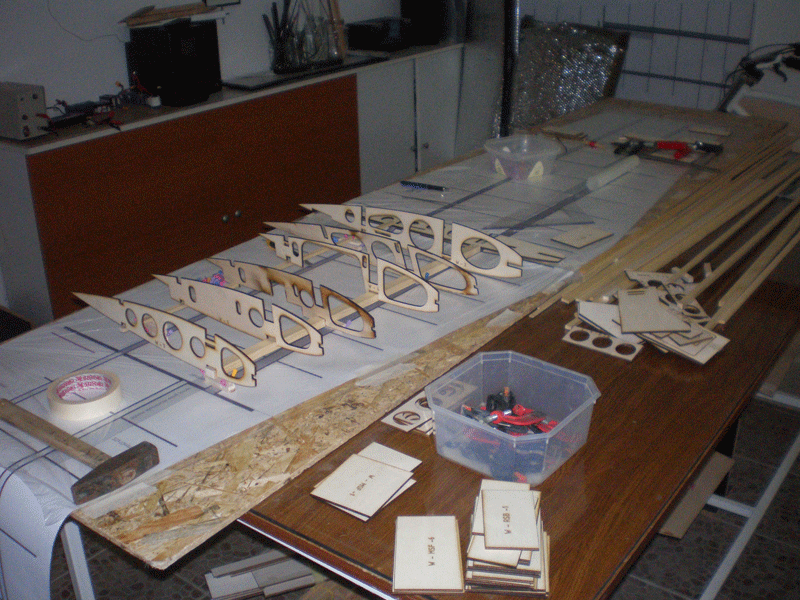
Then I move left center panel section and prepare everything for right side.
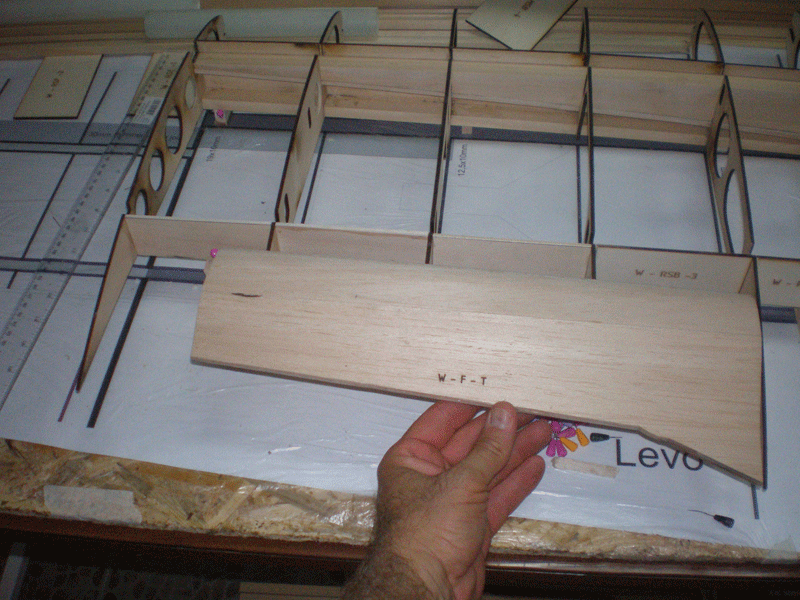
And last picture for today, difference in size... Flaps of 1/5 scale in space of the bigger wing...
Regards
Before bonding big wooden wing joiner I measure (for few times) high on left and right side...


Than glue...

Next was to install ply plates behind wing joiner.

Same was done behind rear spar...

Now, wing have channel for upper spar. That spar will be bond later, because it is from one piece...


Like everything, just smooth sand will be enough for perfect alignment...

On the rear side, "story" is same, auxiliary spar for rear wooden wing joiner. Unfortunately I made mistake, give wrong measure to carpenter, so now I wait new wooden part...

Then I move left center panel section and prepare everything for right side.

And last picture for today, difference in size... Flaps of 1/5 scale in space of the bigger wing...

Regards
#234

Thread Starter
As I promise, new update of building 1/5 & 1/4 scale Galeb G2.
Last time I finished with center panel of 1/4 scale G2. In meantime almost everything is finish in that model part. Now I need retracts and wheels to can continue working. Next week from German firm Behotec I'll order those parts...
Left side of the center panel was made same like right one.
Important was gluing those two sides together.
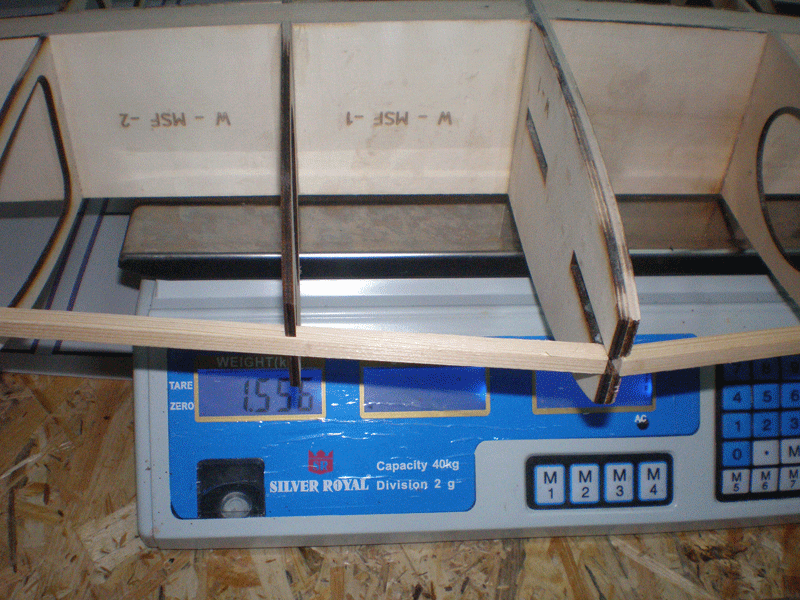
Without glue, I measure many times to be sure that everything have same high on left and right side. When I was 200% sure I compiled two halves.
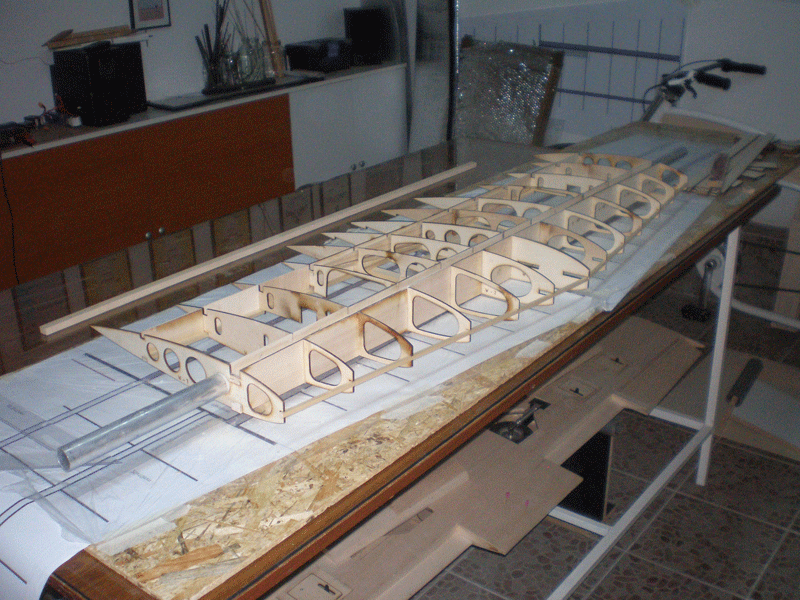
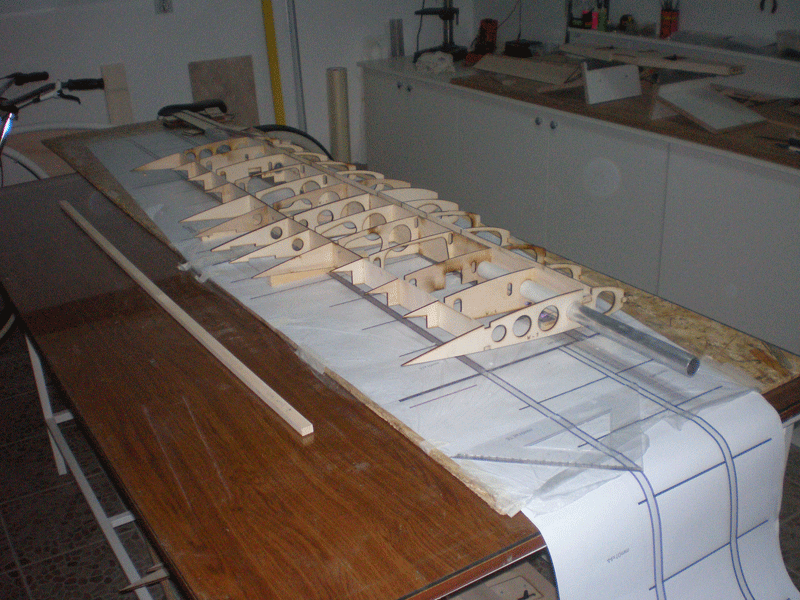
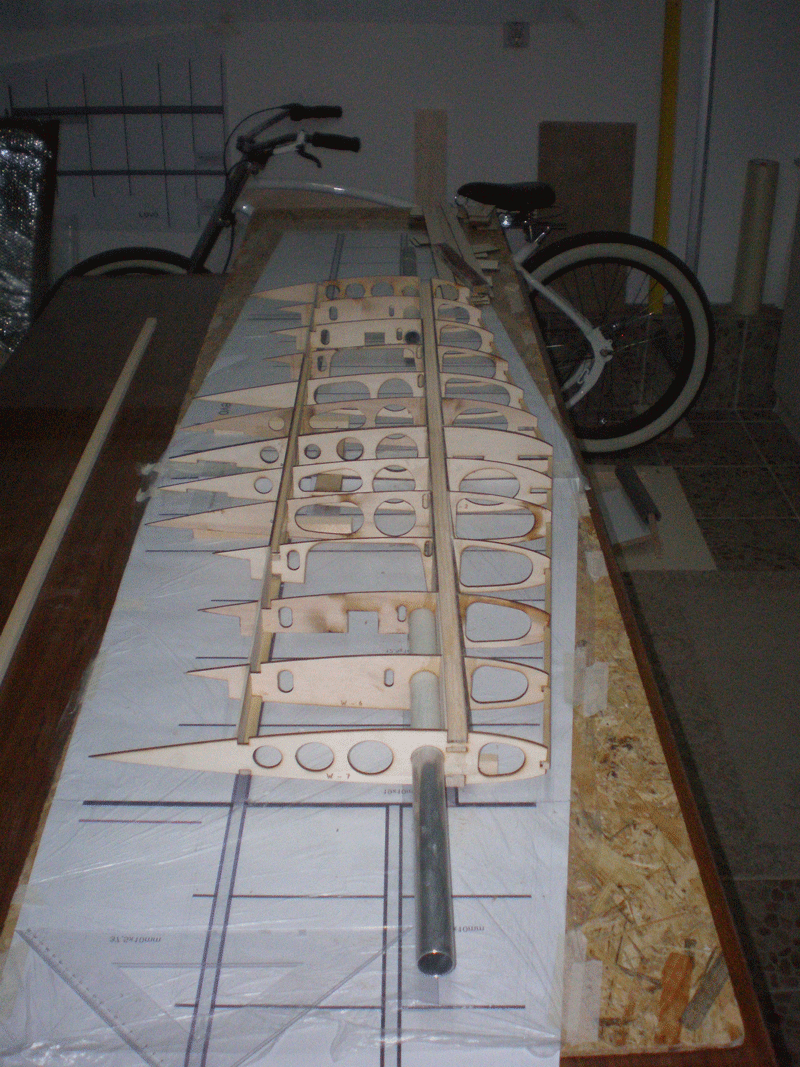
Center panel is big, so 1550 gr are not much for it in this phase...
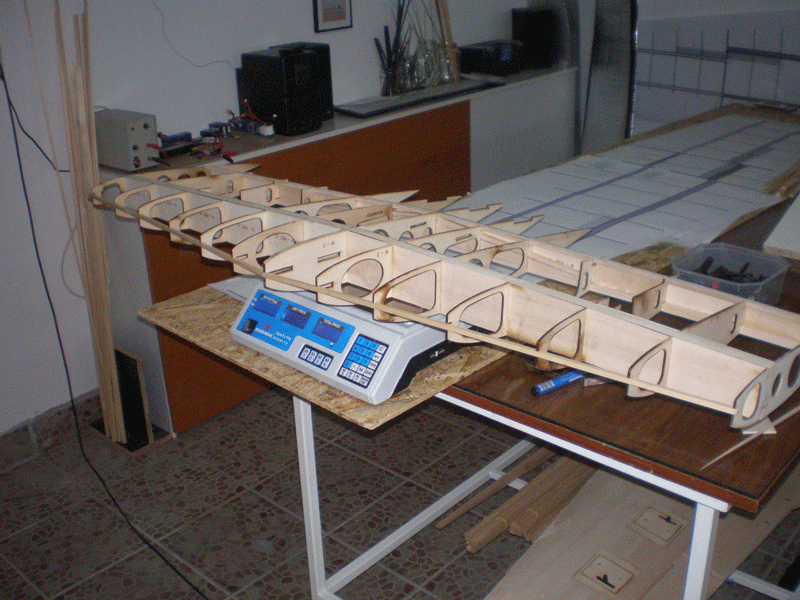
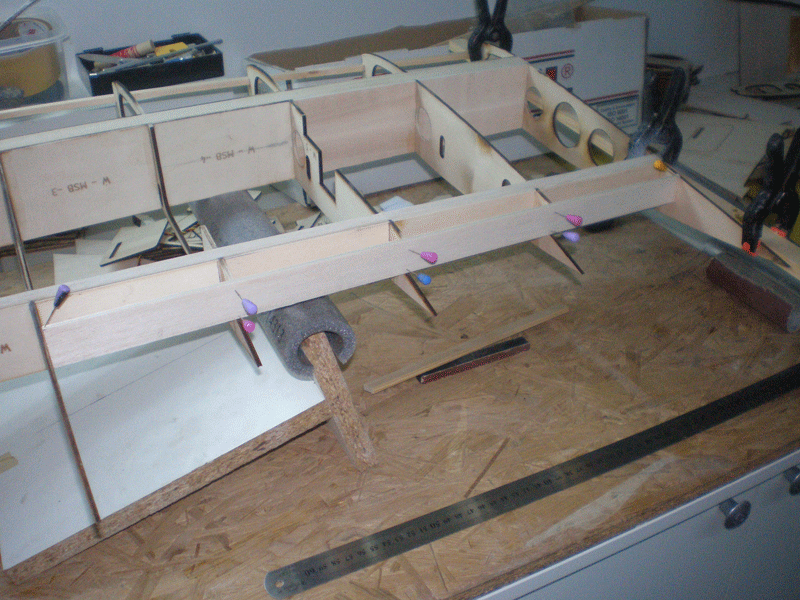
I added few more details on wing middle section...
To be sure that everything is aligned I use ruler and big wooden slat...
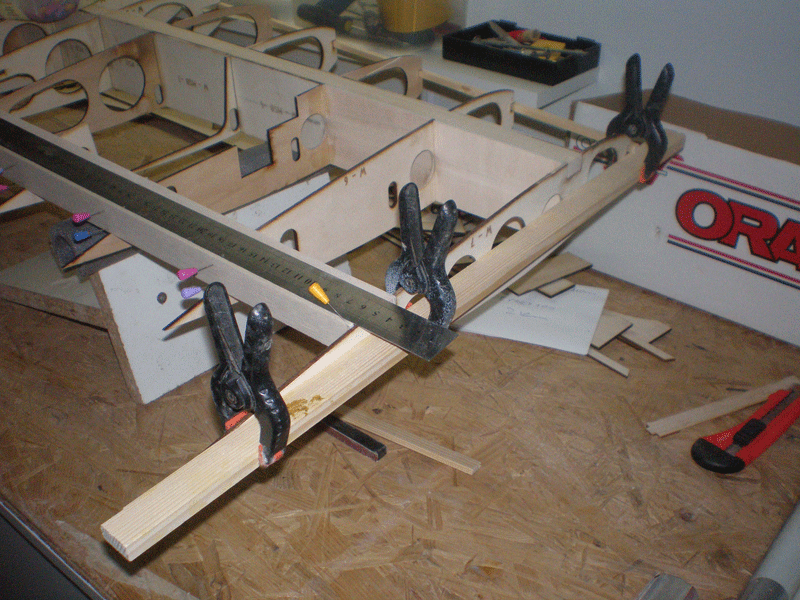
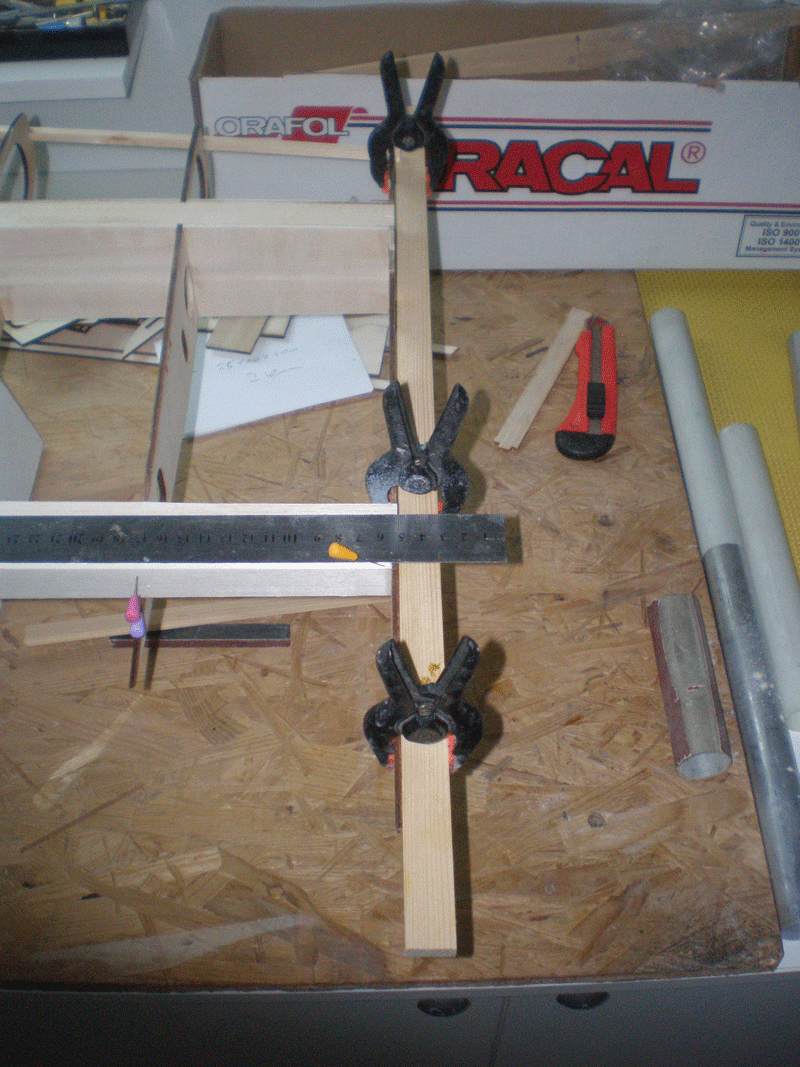

On the rear side from 6mm thick hard ply I made plates for wing screws...
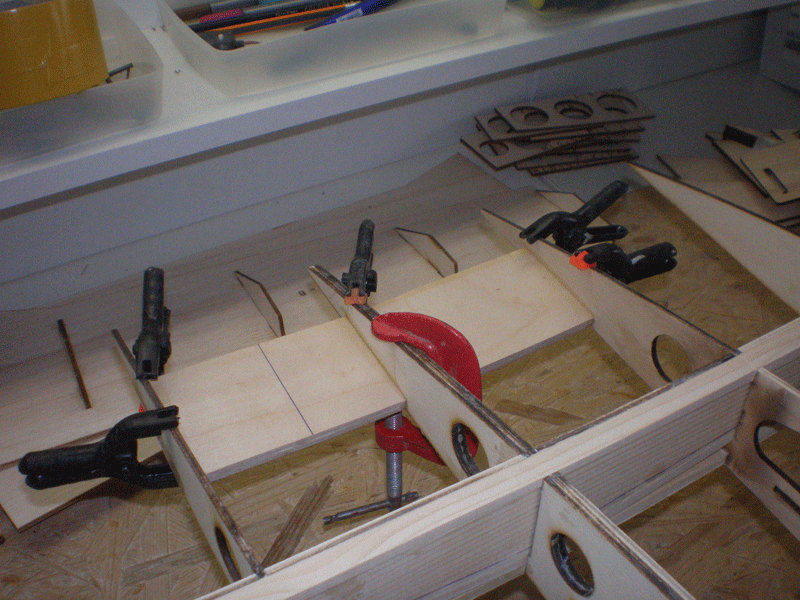
Same material was used for front pin...
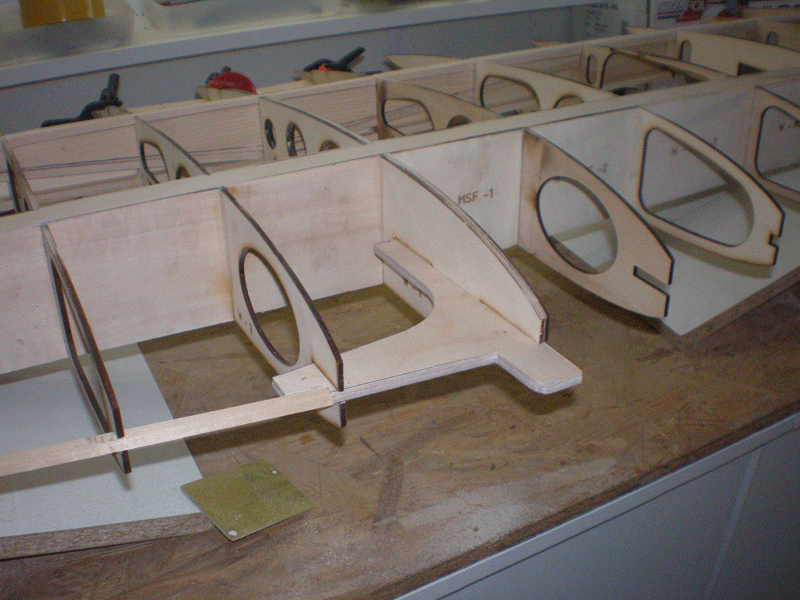
Last time I finished with center panel of 1/4 scale G2. In meantime almost everything is finish in that model part. Now I need retracts and wheels to can continue working. Next week from German firm Behotec I'll order those parts...
Left side of the center panel was made same like right one.
Important was gluing those two sides together.
Without glue, I measure many times to be sure that everything have same high on left and right side. When I was 200% sure I compiled two halves.


Center panel is big, so 1550 gr are not much for it in this phase...


I added few more details on wing middle section...

To be sure that everything is aligned I use ruler and big wooden slat...


On the rear side from 6mm thick hard ply I made plates for wing screws...

Same material was used for front pin...

#235

Thread Starter
Center panel is now moved aside and I start working on left and right outer wing panels.
Technique is same, first parts under lower spars, than front and rear spar.
I used my T holder to made right alignment for the first rib...

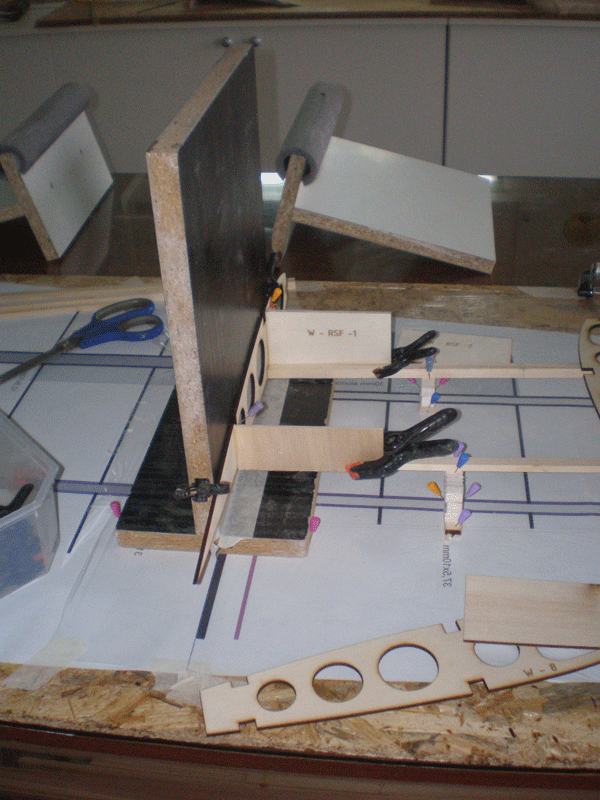

Parts between ribs are an integral part of Galeb kit and they give right distance from rib to rib. As you can see, I glued rib, than front and rear vertical ply part, next new rib and so on...
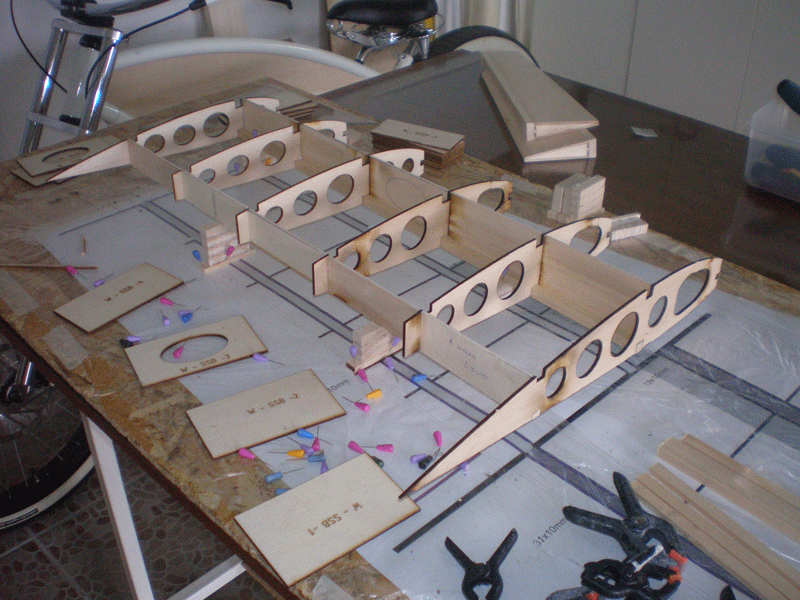
When all ribs are glued, I added upper spars. Than I sand everything and install all other parts, same as one balsa plank on top side...
Aluminum wing joiner is not glued yet...


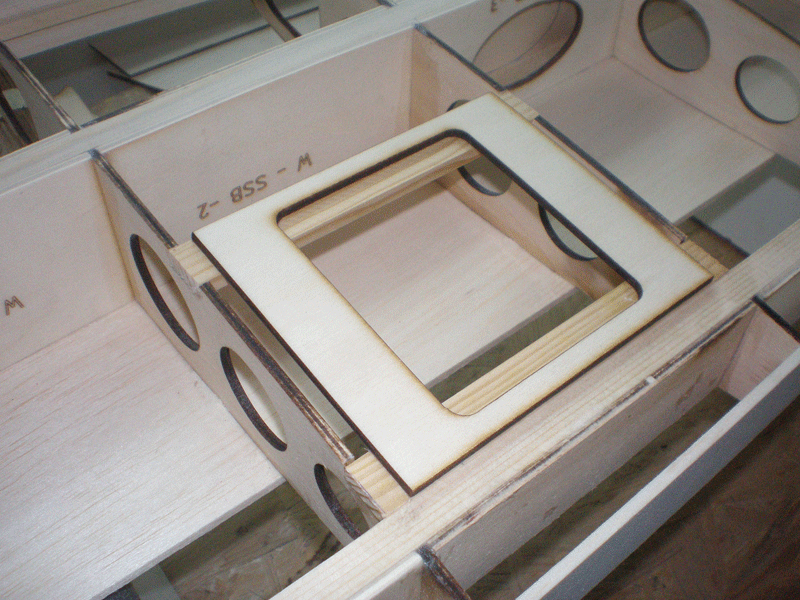
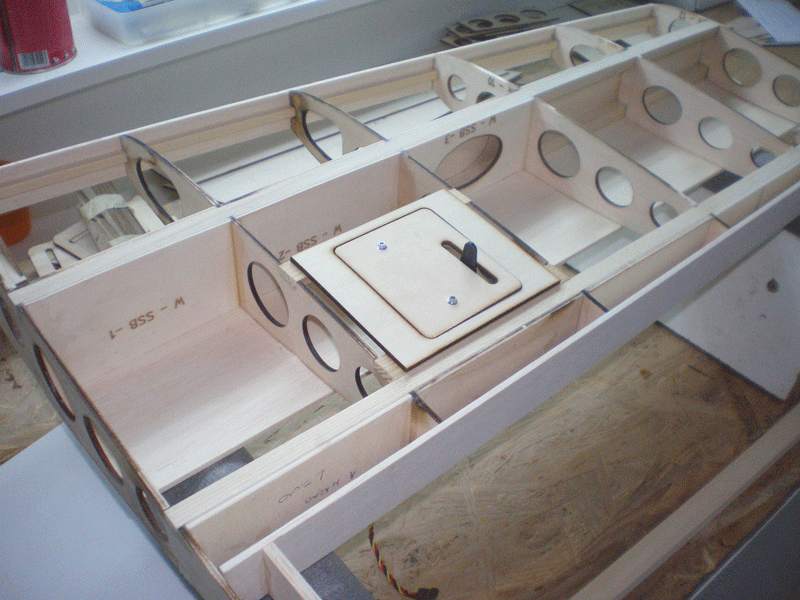
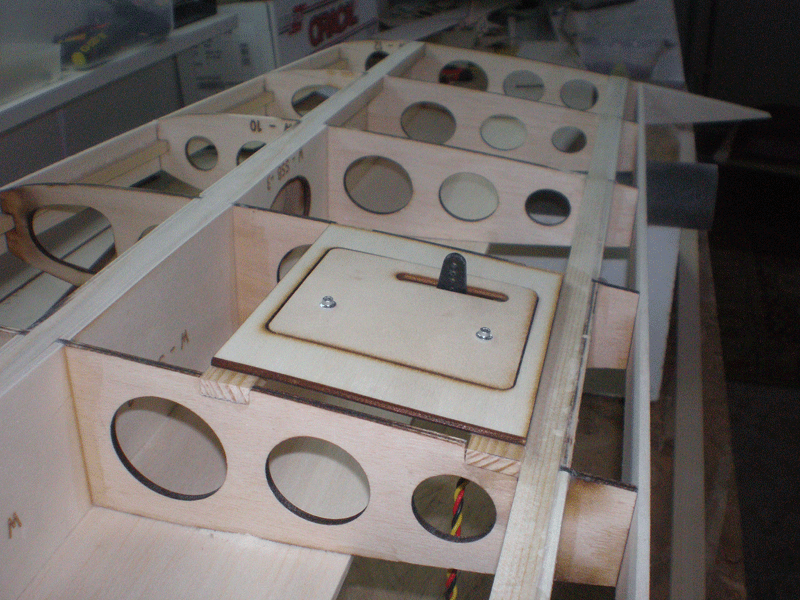
On rear upper spar I apply 1mm balsa to made better transit from rib to spar...

For now, scale show 336 gr... I think that is not bad...
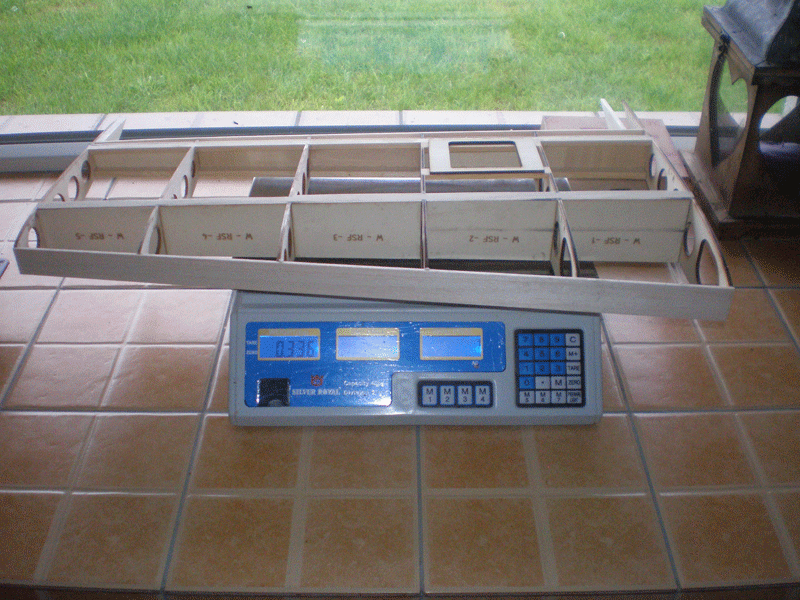
Finally outer part are connect on center panel...
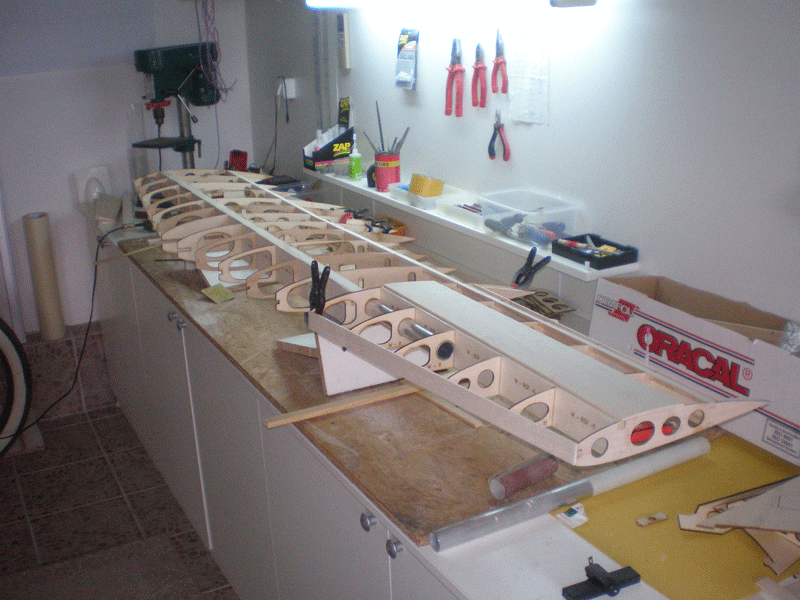
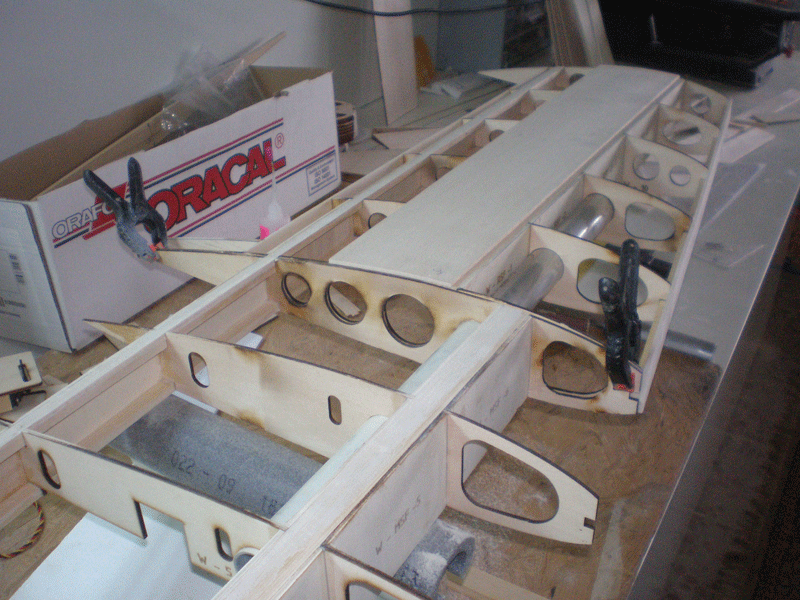
Technique is same, first parts under lower spars, than front and rear spar.
I used my T holder to made right alignment for the first rib...


Parts between ribs are an integral part of Galeb kit and they give right distance from rib to rib. As you can see, I glued rib, than front and rear vertical ply part, next new rib and so on...

When all ribs are glued, I added upper spars. Than I sand everything and install all other parts, same as one balsa plank on top side...
Aluminum wing joiner is not glued yet...


On rear upper spar I apply 1mm balsa to made better transit from rib to spar...

For now, scale show 336 gr... I think that is not bad...

Finally outer part are connect on center panel...


Last edited by mirce; 08-23-2015 at 09:07 AM.
#236

Thread Starter
And finally little about fuselage & elevator of smaller 1/5 scale G2...
On elevator I glued and made leading edge...
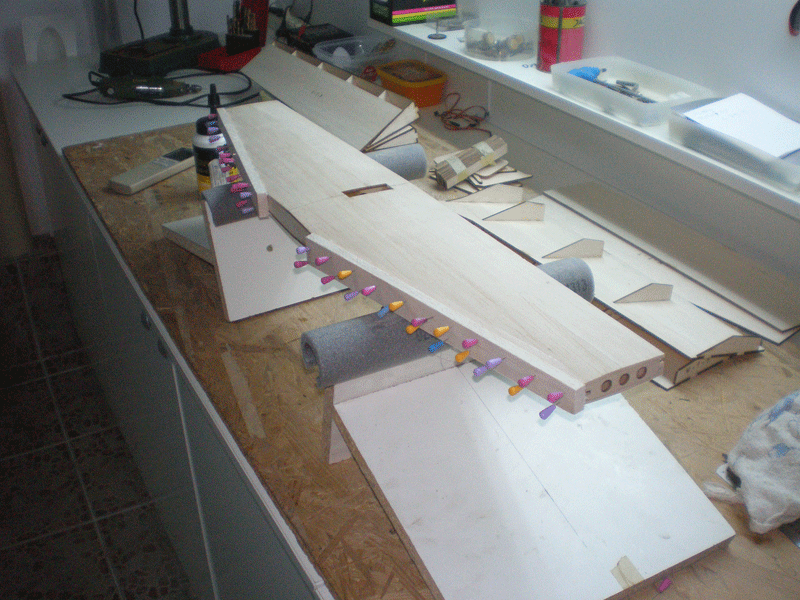
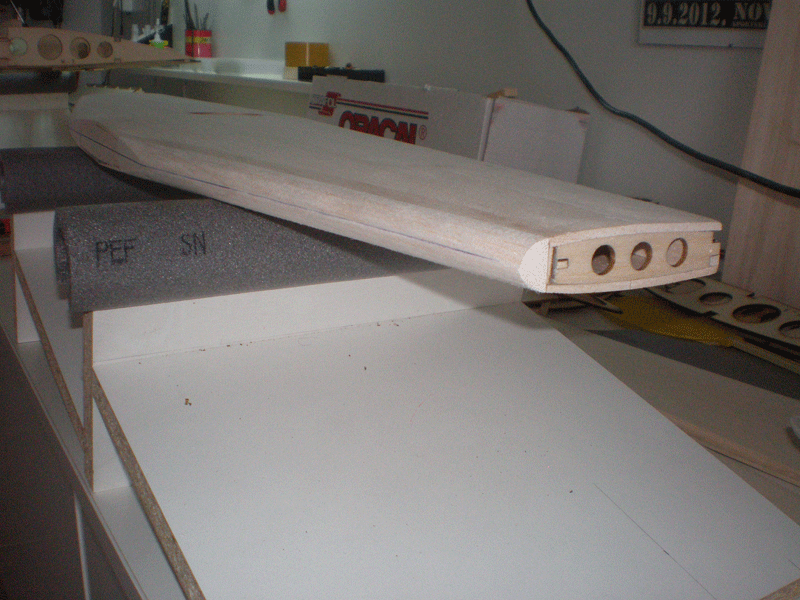
Than I put it on the fuselage. How elevator fits? Check pictures...
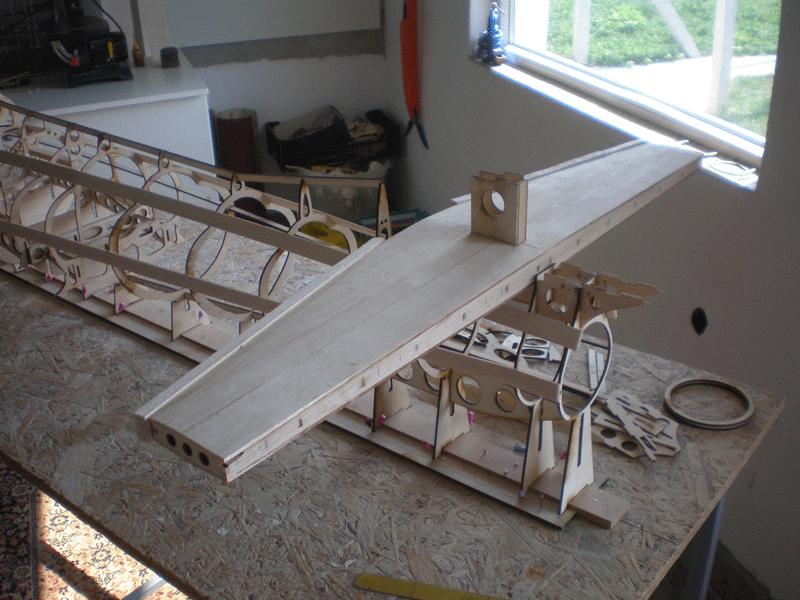
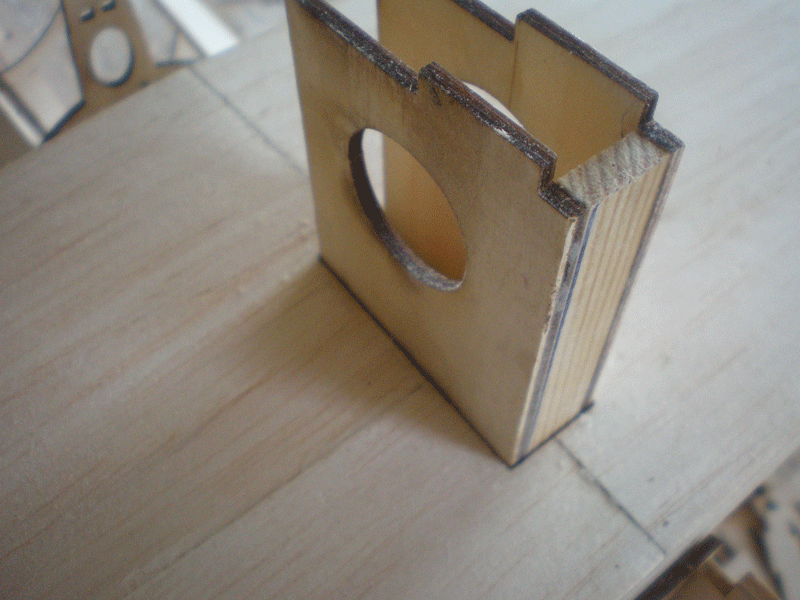
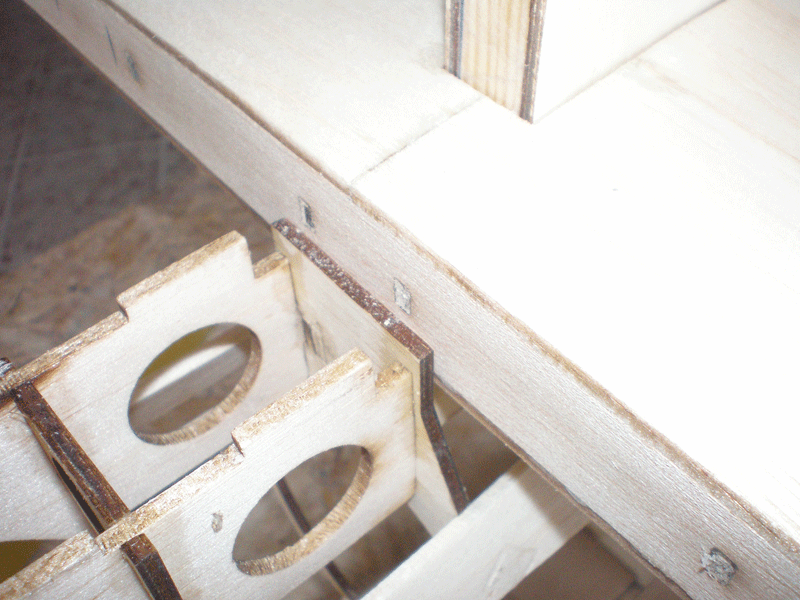
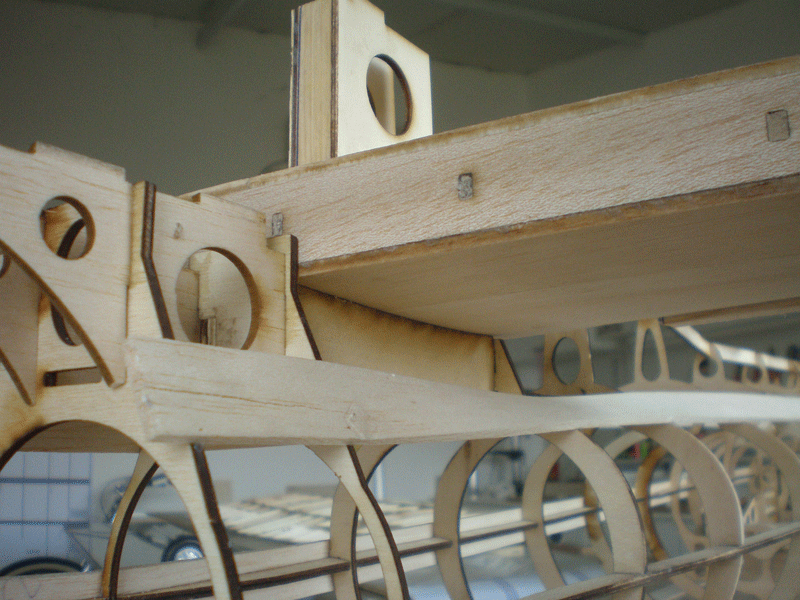

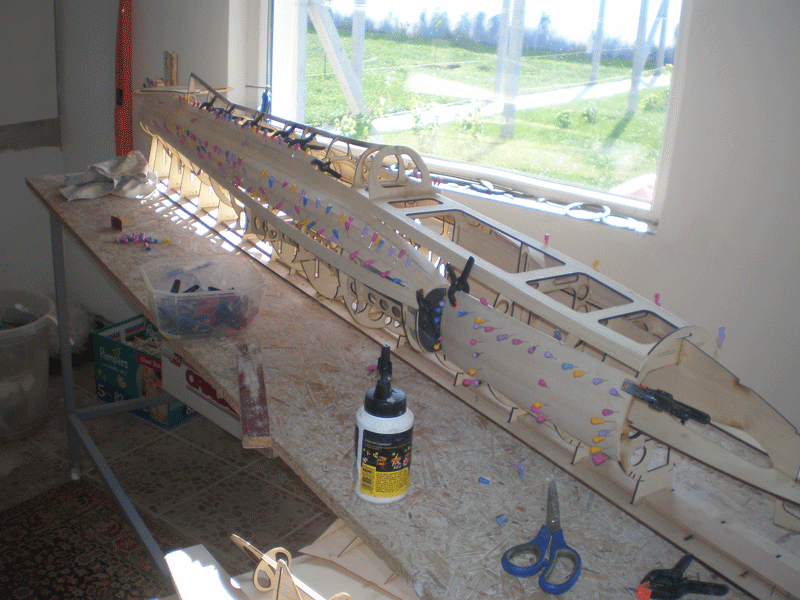
On fuselage I start to apply balsa strips. They are about 20mm wide and every must be put in hot water for easier torsion...


Applying this strips are boring and precise job, one - two parts and than pause until water and glue dried.
Only bigger part for now is one in front of the air channel...
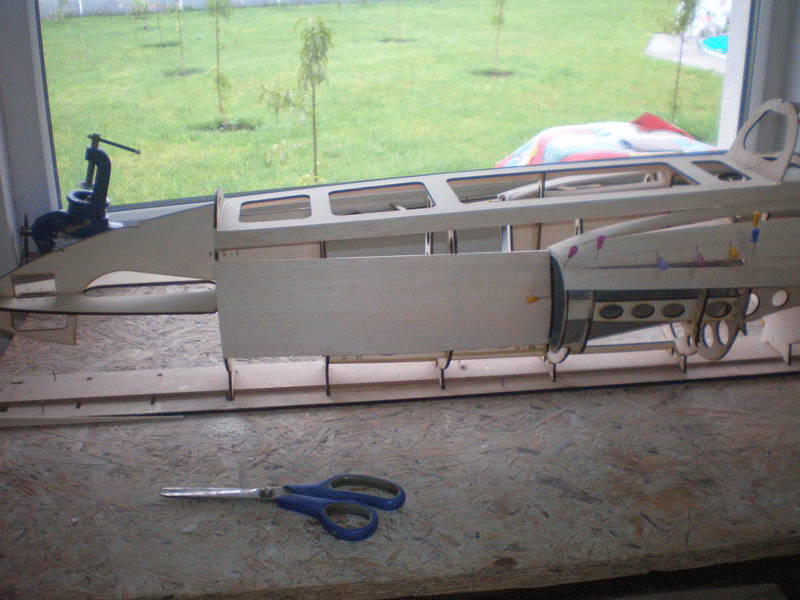
Yesterday I made first rough sanding...
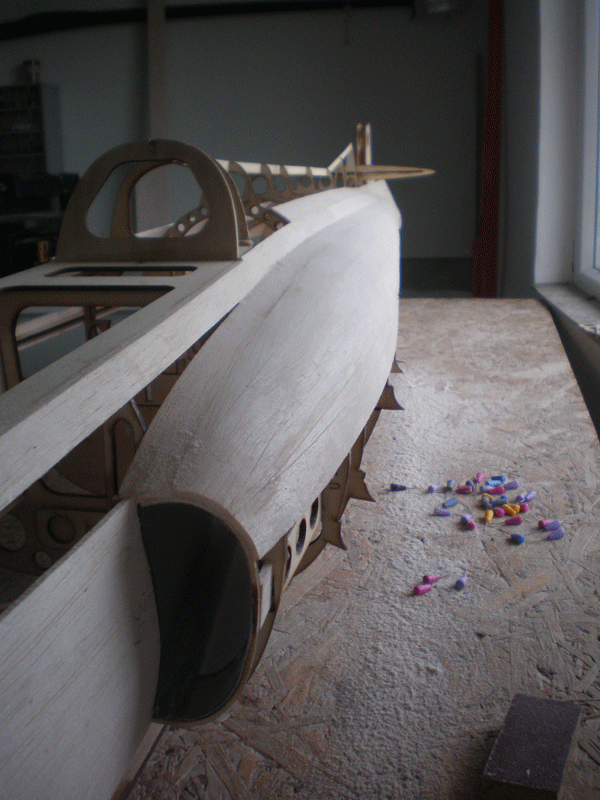
To be continued...
Regards from Senta, Serbia
Mirce
On elevator I glued and made leading edge...


Than I put it on the fuselage. How elevator fits? Check pictures...


On fuselage I start to apply balsa strips. They are about 20mm wide and every must be put in hot water for easier torsion...


Applying this strips are boring and precise job, one - two parts and than pause until water and glue dried.
Only bigger part for now is one in front of the air channel...

Yesterday I made first rough sanding...

To be continued...
Regards from Senta, Serbia
Mirce
#237

Thread Starter
#239

Thread Starter
#240

Thread Starter
Than I can cower complete outer panels...
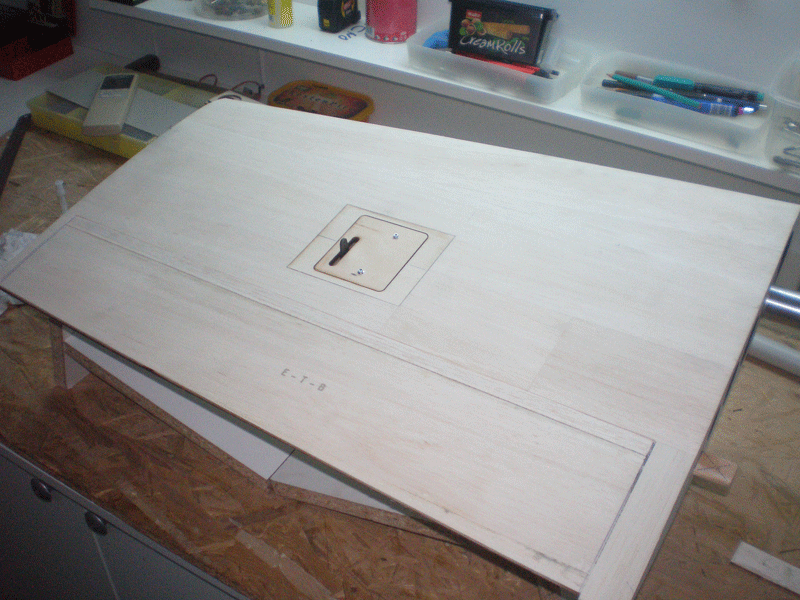

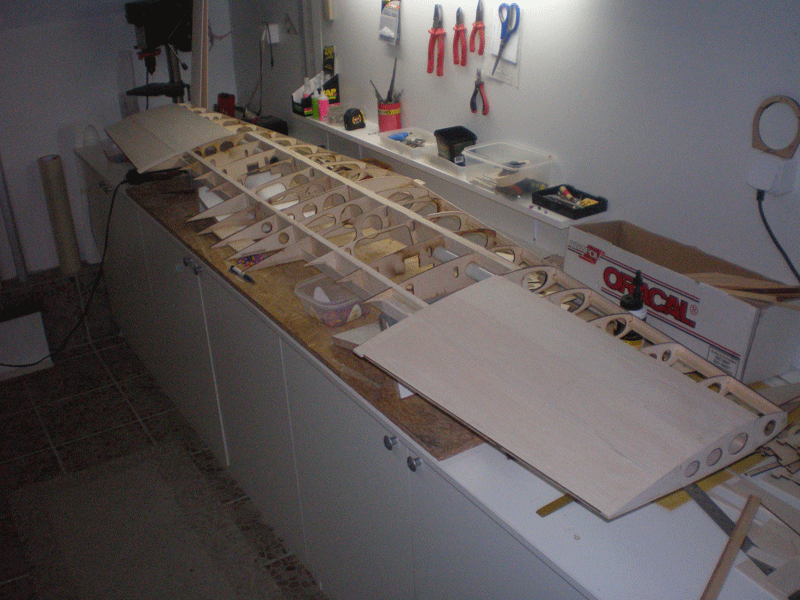
Working on center panel planking can be done on some areas. I haven't yet retracts, so without plates for retracts I can't planking down middle center panel section, but other can be done.
To made perfect transit from center panel to outer panel I work like this...
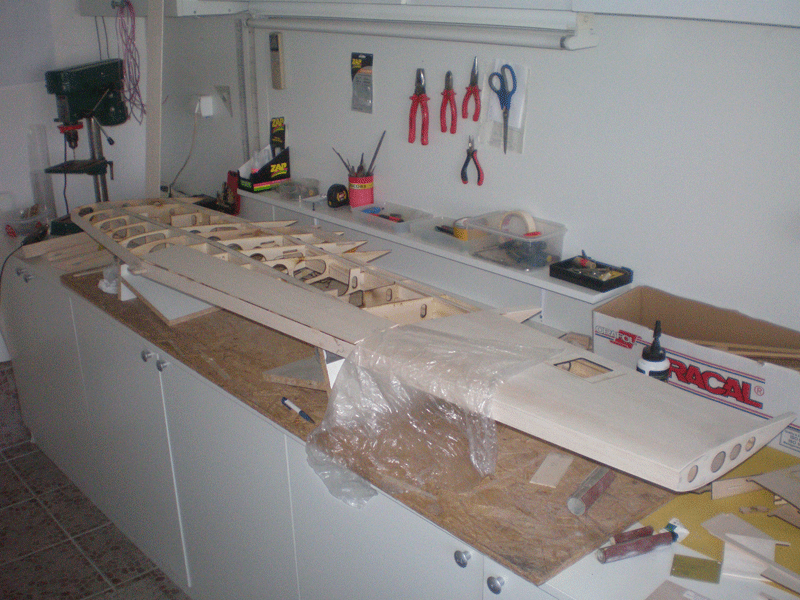

After gluing I separate panels... Plate after plate...
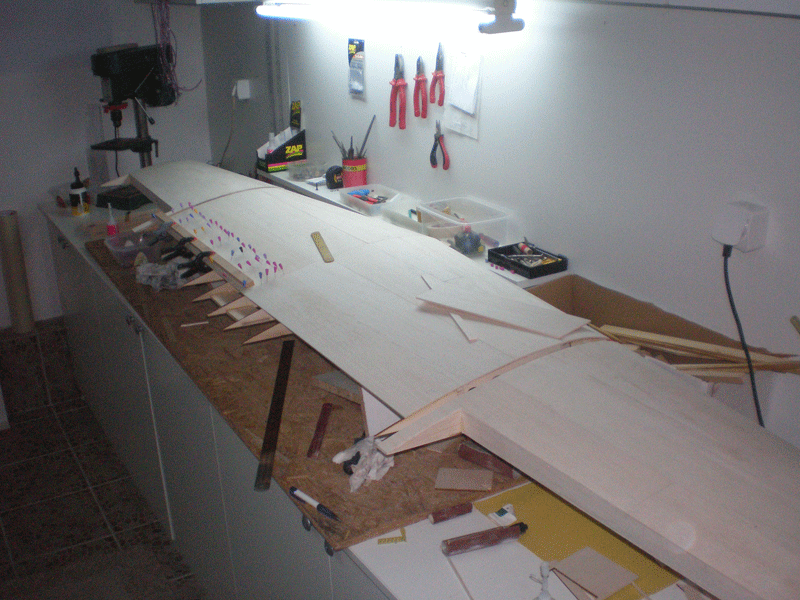
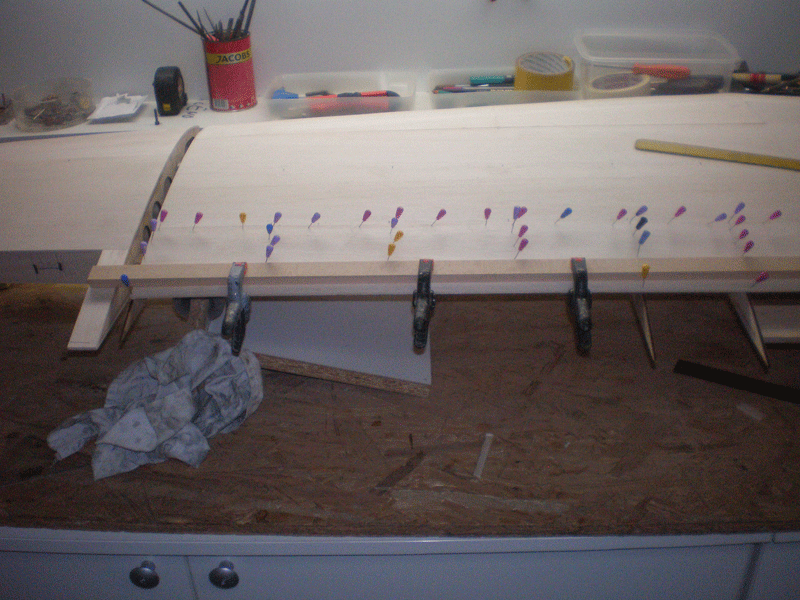
Finally, yesterday I sand upper wing side...

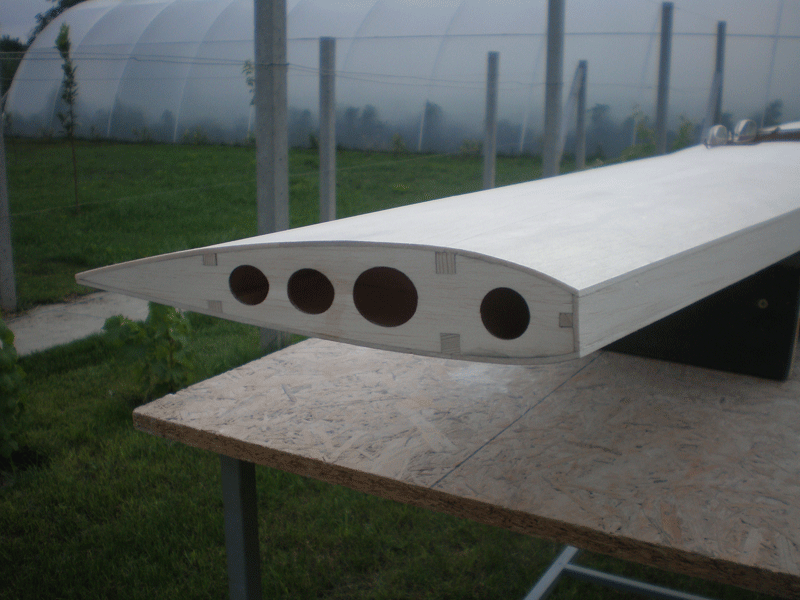
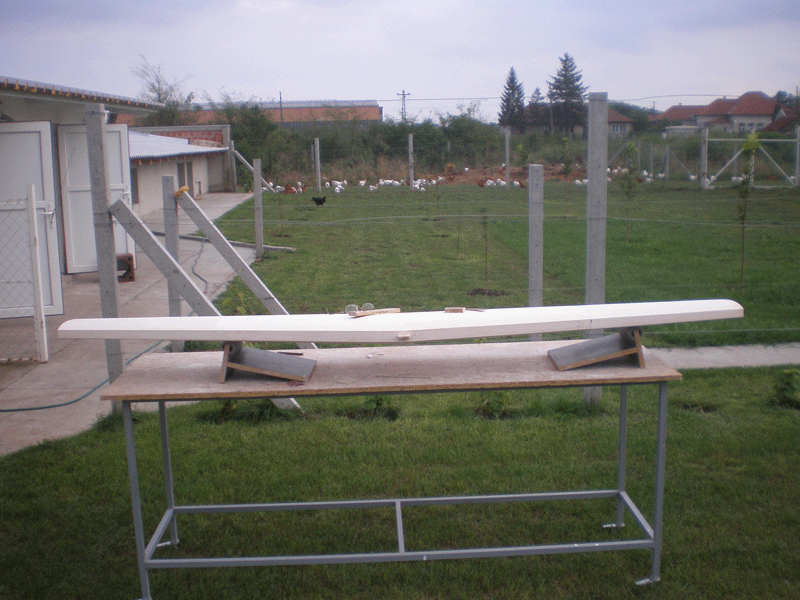
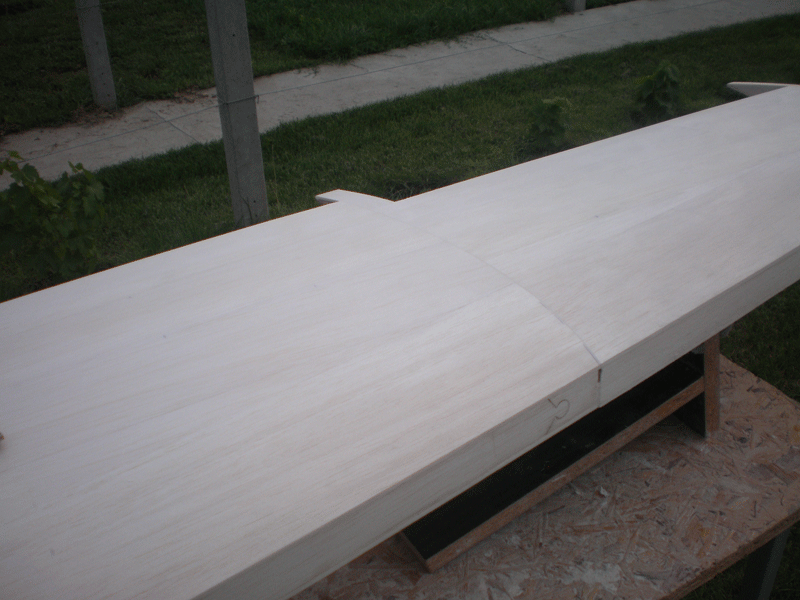
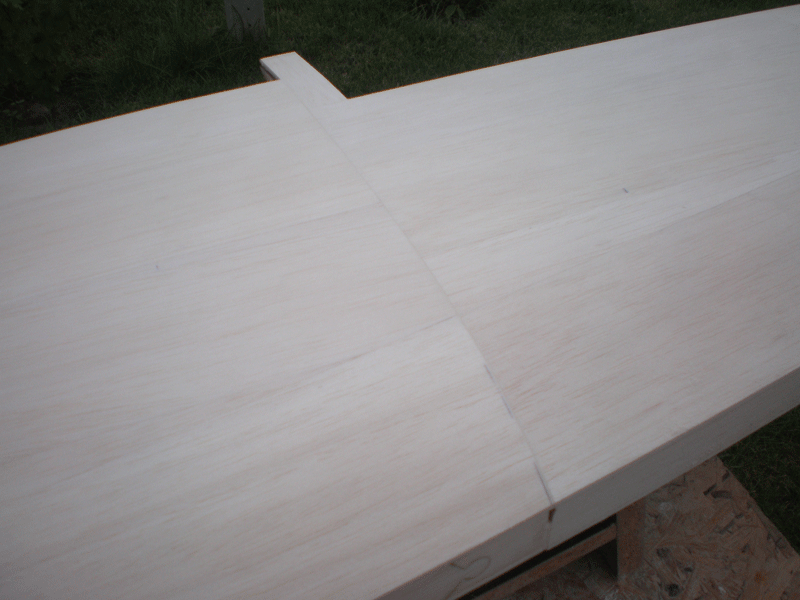
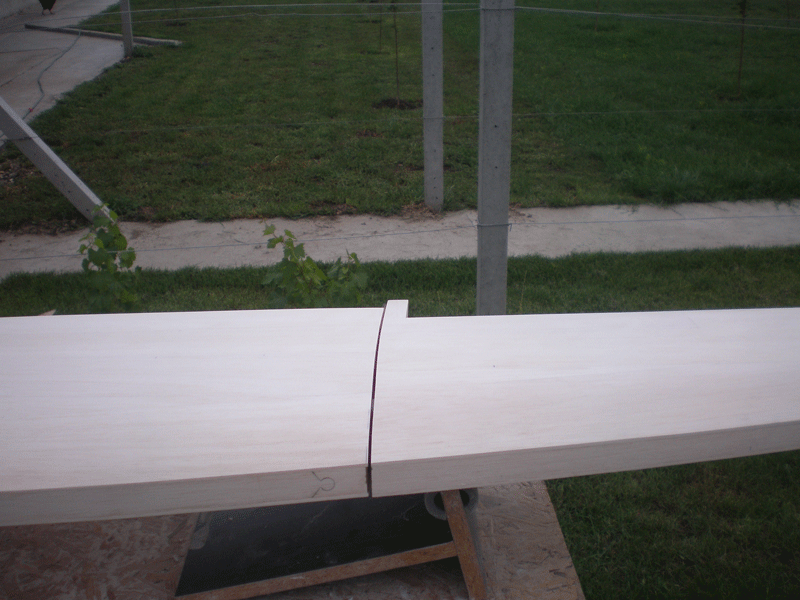
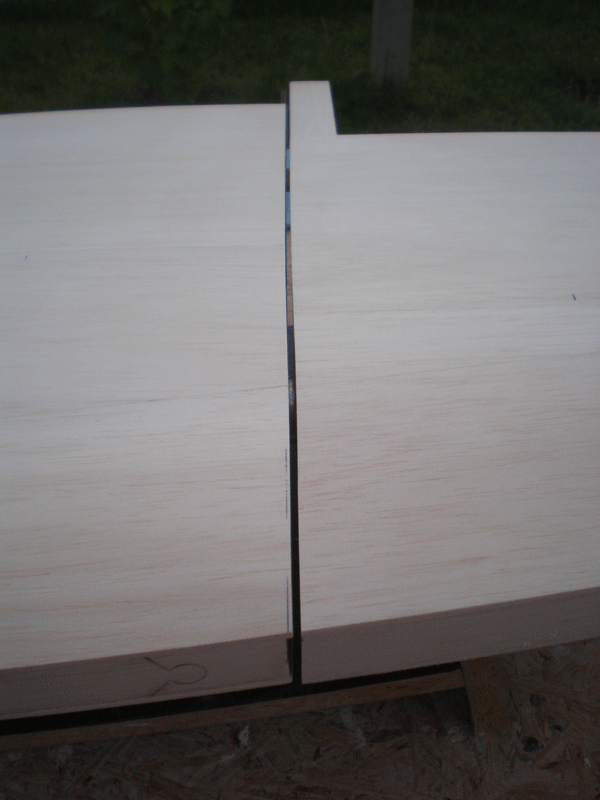
Conection on other side is the same...


Working on center panel planking can be done on some areas. I haven't yet retracts, so without plates for retracts I can't planking down middle center panel section, but other can be done.
To made perfect transit from center panel to outer panel I work like this...


After gluing I separate panels... Plate after plate...


Finally, yesterday I sand upper wing side...


Conection on other side is the same...
#241

Thread Starter
#243
Junior Member
Join Date: Aug 2007
Location: melbourne, AUSTRALIA
Posts: 2
Likes: 0
Received 0 Likes
on
0 Posts

Than I can cower complete outer panels...


Working on center panel planking can be done on some areas. I haven't yet retracts, so without plates for retracts I can't planking down middle center panel section, but other can be done.
To made perfect transit from center panel to outer panel I work like this...


After gluing I separate panels... Plate after plate...


Finally, yesterday I sand upper wing side...


Conection on other side is the same...


Working on center panel planking can be done on some areas. I haven't yet retracts, so without plates for retracts I can't planking down middle center panel section, but other can be done.
To made perfect transit from center panel to outer panel I work like this...


After gluing I separate panels... Plate after plate...


Finally, yesterday I sand upper wing side...


Conection on other side is the same...
#244

Great building thread, the G2 is beautiful, i have a TOPRC G4 under assemblying, the thread is http://www.rcuniverse.com/forum/rc-j...leb-g-4-a.html. i will update more pictures when i get chance.
#245

Thread Starter
Thanks for comments...
I saw G4 of Toprc and I think that is only Galeb G4 model on the market. It look nice...
OK, back to our building here, in meantime I cover wing center panel of bigger Galeb G2 with balsa plates.

Only part which was "open" is section where come retract plates, but good news is, right now I wait to post man bring me parcels with retracts and some other missing parts.
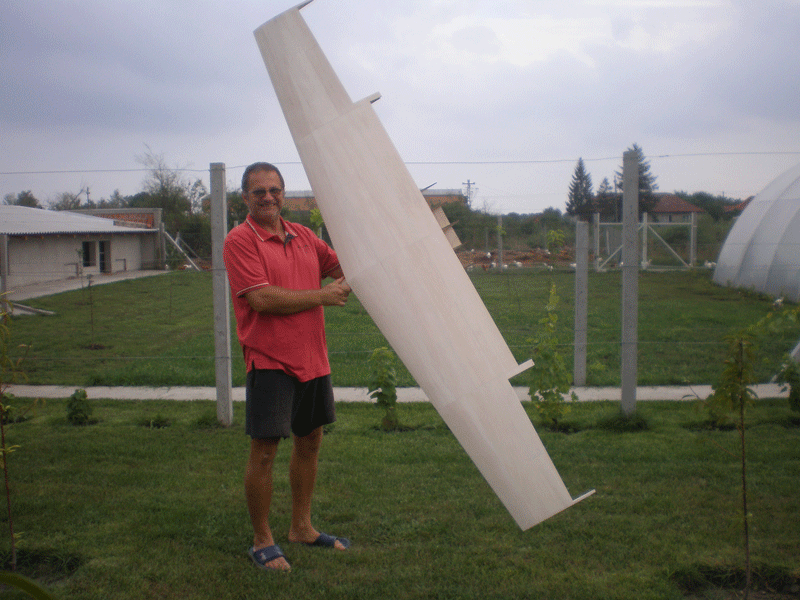
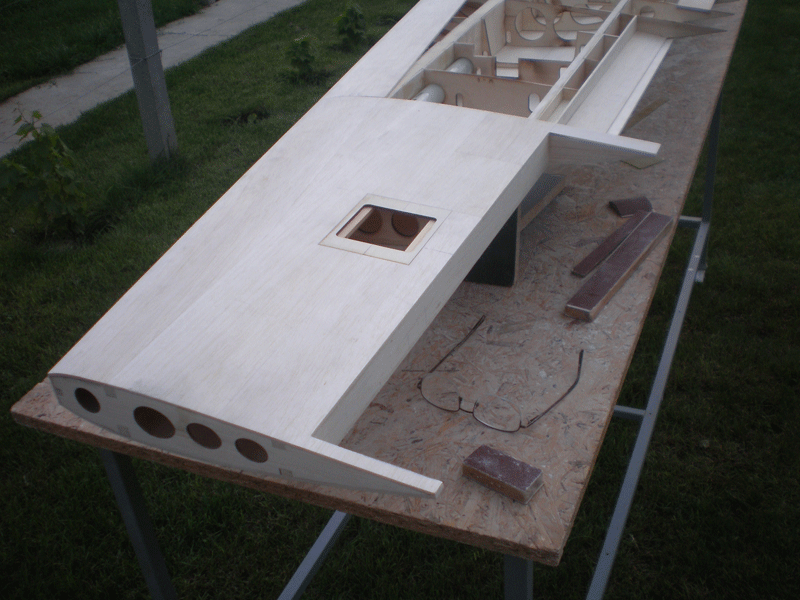
I finish area around flaps on centerpanel. As you can see, no more rear end of the last center panel rib...
Egde is sharp to lay perfect on flaps upper side...
Soon, flaps will be here...
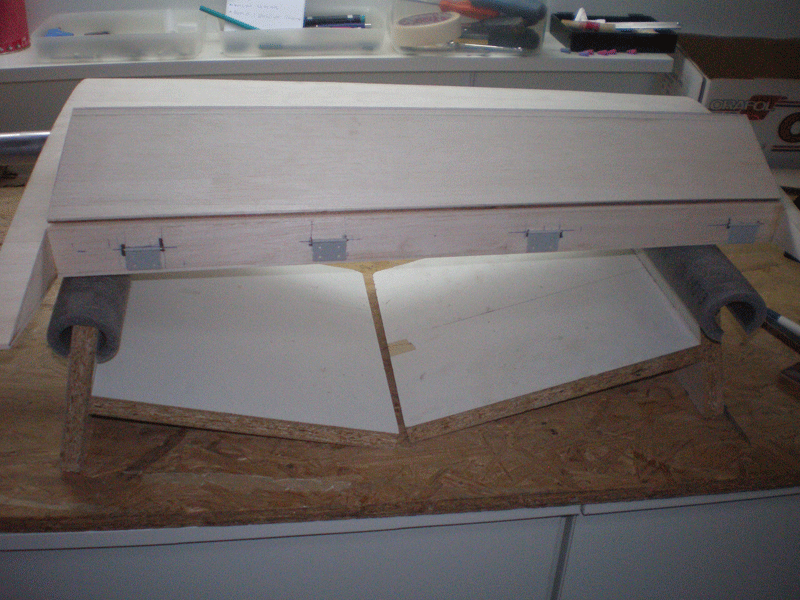
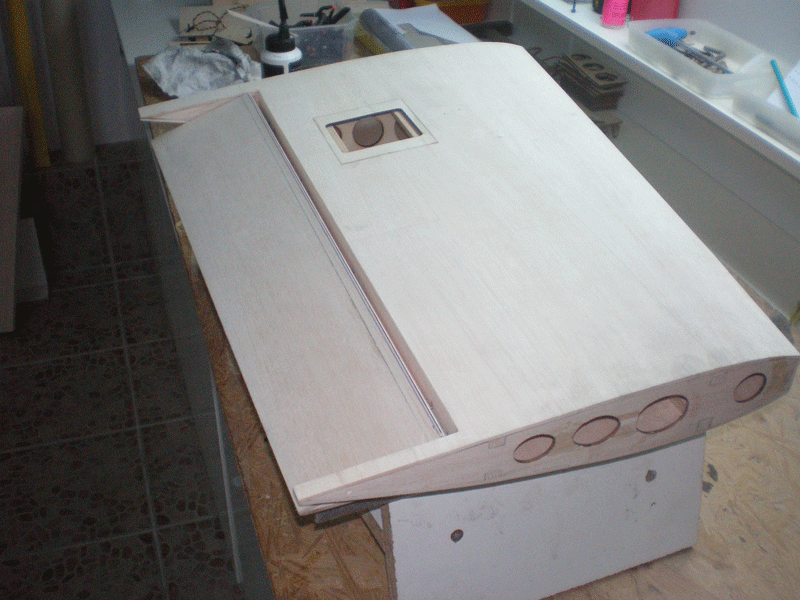
Few day ago I install ailerons on the outer panels. Four hinges are used for connection...

In few pictures, my system for command lever installation.
Lever is made from two G10 parts, 1,5mm thick. Balsa in the middle is wide same like ball link.
On surface I made "box" for lever...
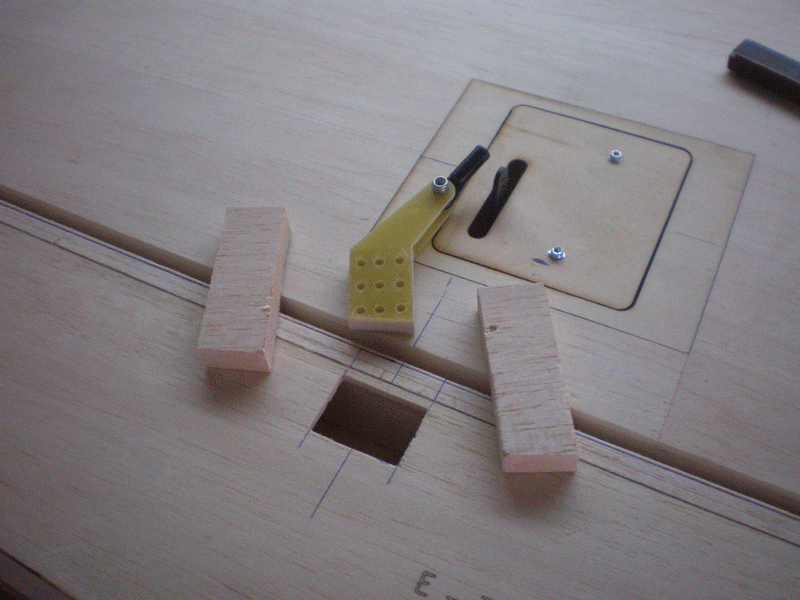
Than measure to lever be in 90 degrees angle...
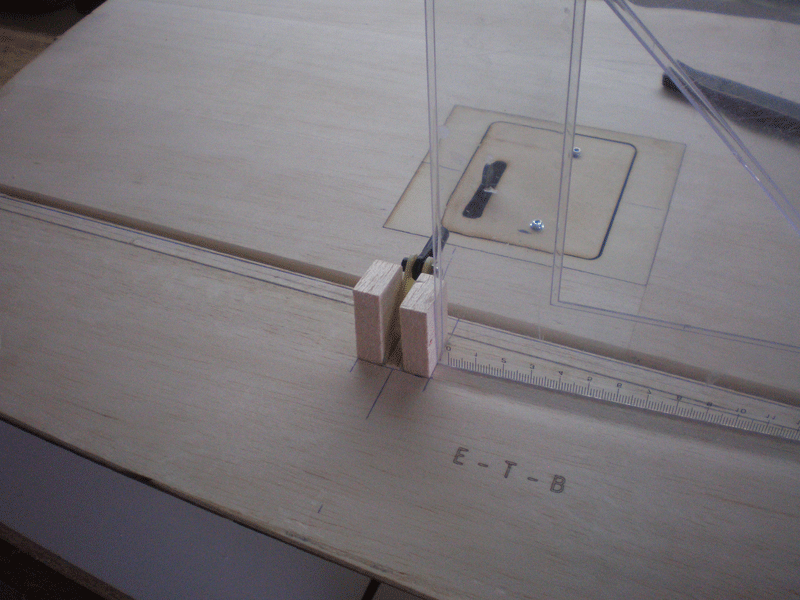
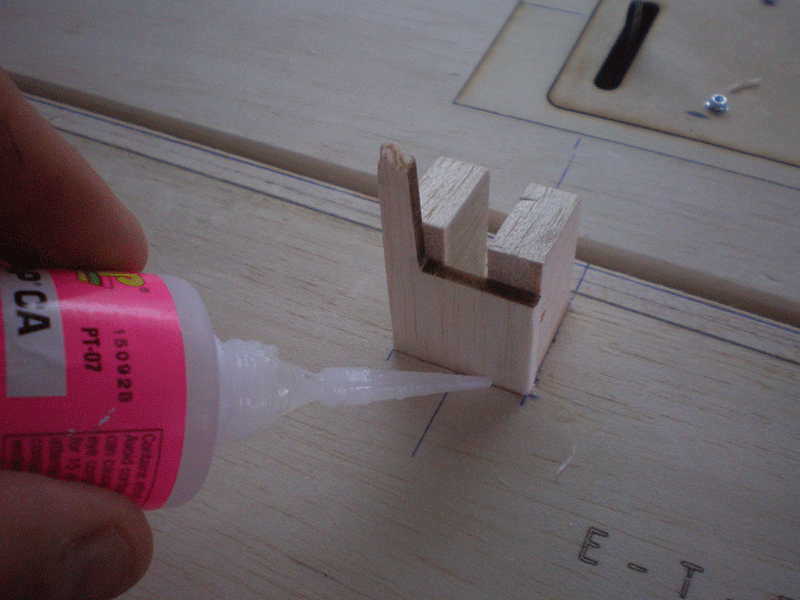
Just one small drop of glue to fix balsa blocks. Here is important not to glue lever!!!
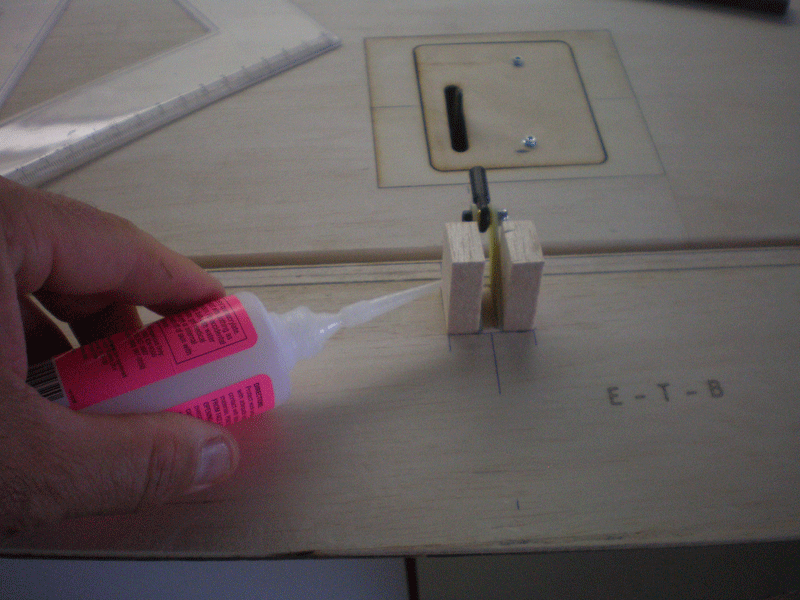
Then lever go out and with glue is pour around balsa blocks...
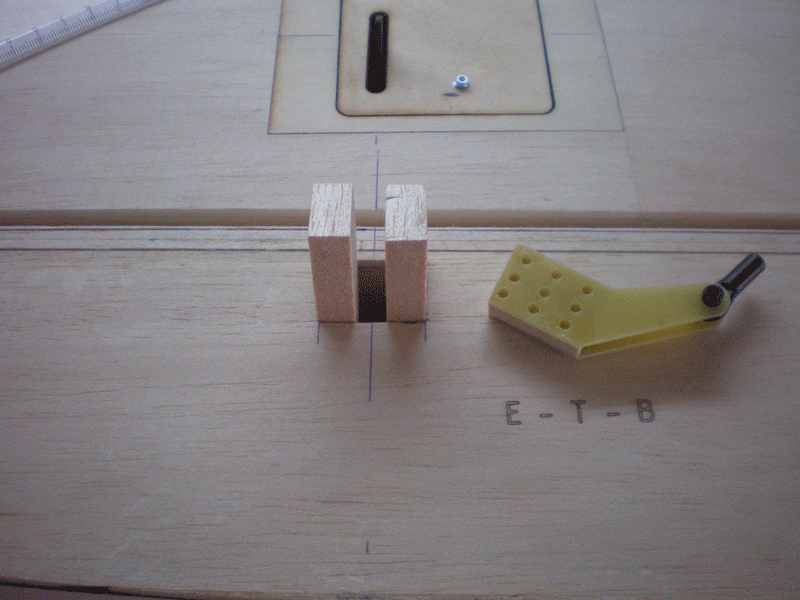
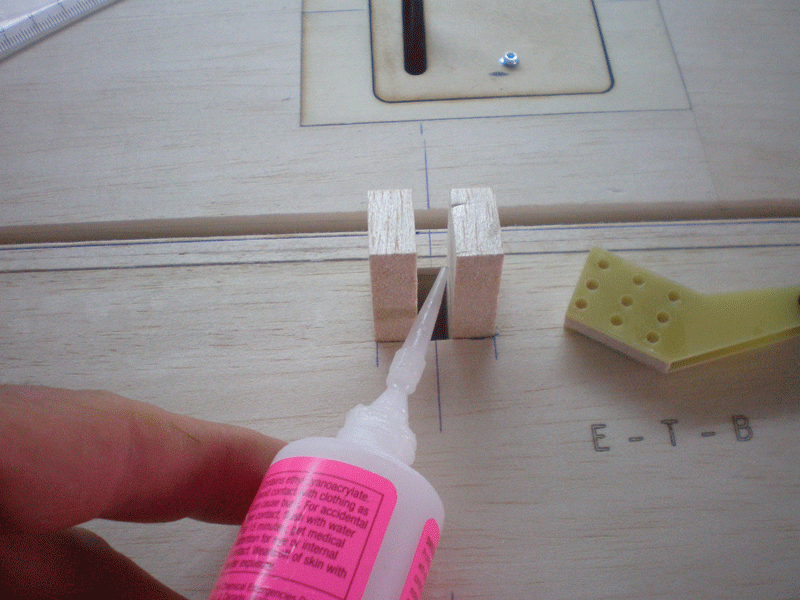
On rear side I add 3mm balsa plate. That part made box for lever...
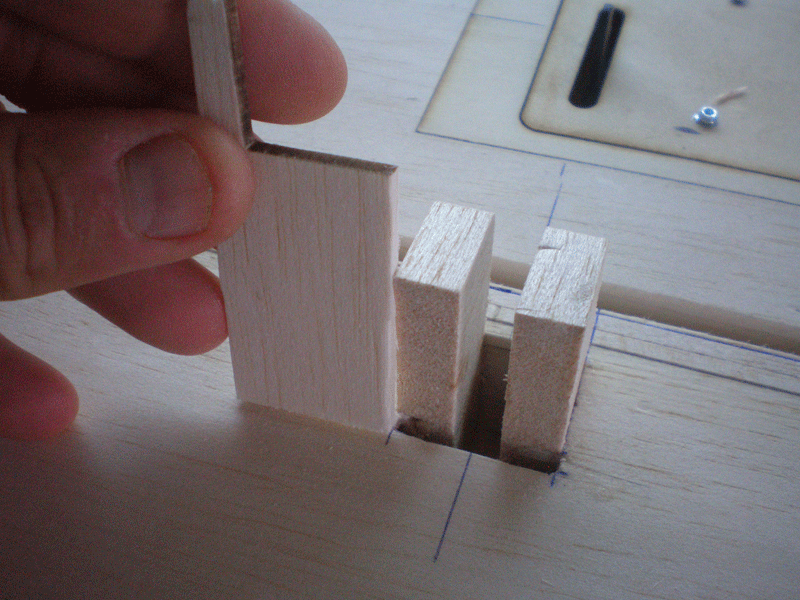
Glue again...
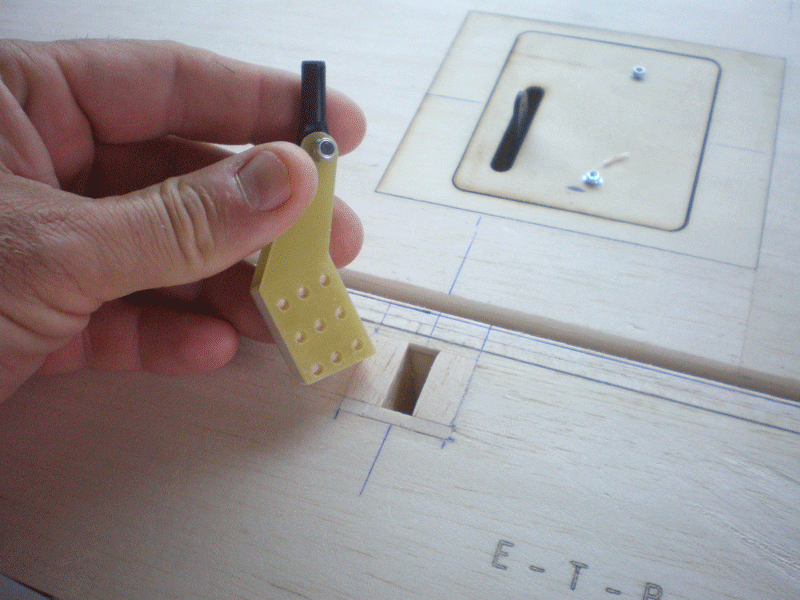
After sanding lever come perfect in the hole...
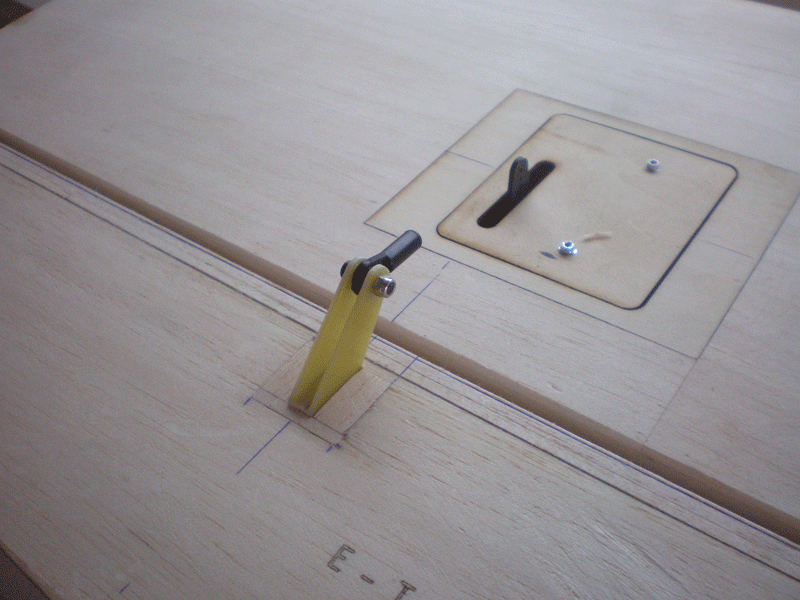
Lever will be later glued with epoxy glue...
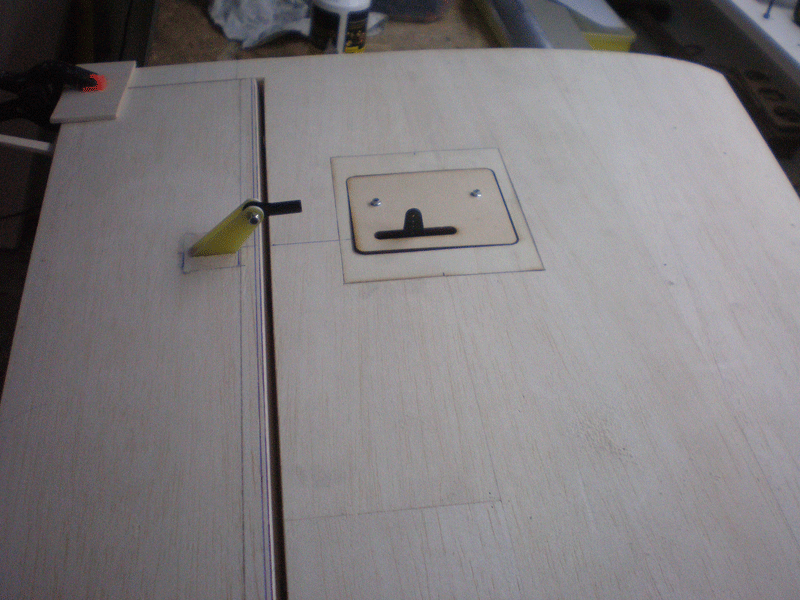
I saw G4 of Toprc and I think that is only Galeb G4 model on the market. It look nice...
OK, back to our building here, in meantime I cover wing center panel of bigger Galeb G2 with balsa plates.

Only part which was "open" is section where come retract plates, but good news is, right now I wait to post man bring me parcels with retracts and some other missing parts.
I finish area around flaps on centerpanel. As you can see, no more rear end of the last center panel rib...

Egde is sharp to lay perfect on flaps upper side...

Soon, flaps will be here...

Few day ago I install ailerons on the outer panels. Four hinges are used for connection...


In few pictures, my system for command lever installation.
Lever is made from two G10 parts, 1,5mm thick. Balsa in the middle is wide same like ball link.
On surface I made "box" for lever...

Than measure to lever be in 90 degrees angle...

Just one small drop of glue to fix balsa blocks. Here is important not to glue lever!!!

Then lever go out and with glue is pour around balsa blocks...


On rear side I add 3mm balsa plate. That part made box for lever...

Glue again...

After sanding lever come perfect in the hole...


Lever will be later glued with epoxy glue...

Last edited by mirce; 09-11-2015 at 11:44 PM.
#246

Thread Starter
On fuselage of the smaller Galeb G2 I cut off bottom ribs parts.

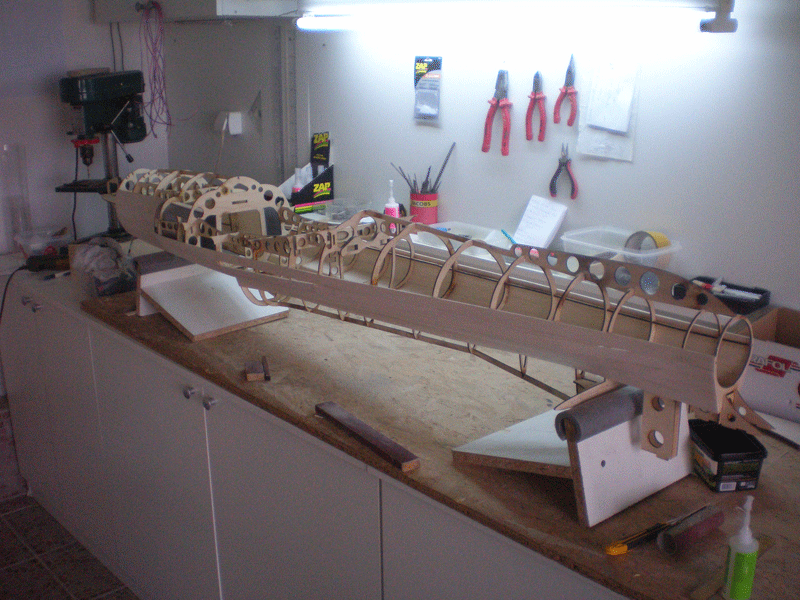
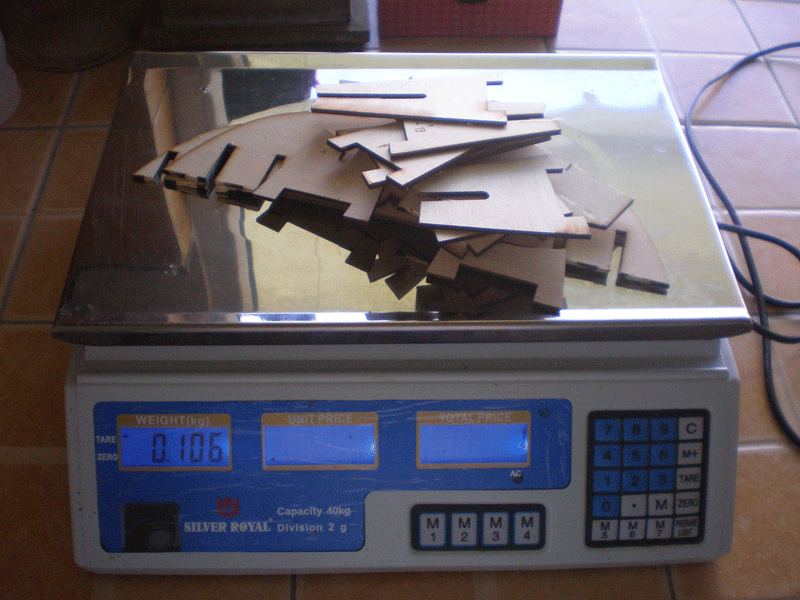
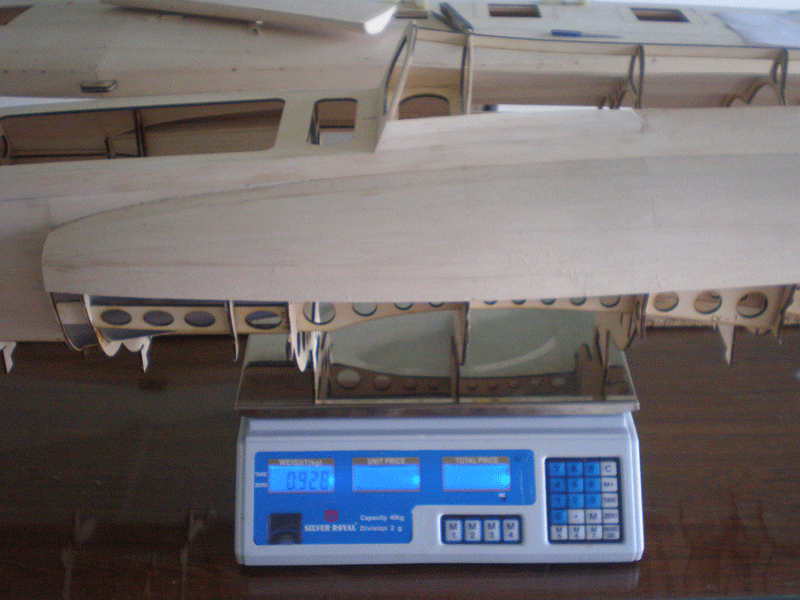
When now deduct that weight from fuselage I measured earlier, fuselage is just 820 gr heavy. First G2 fuselage, two years ago, was in this stage 1350 gr!!!


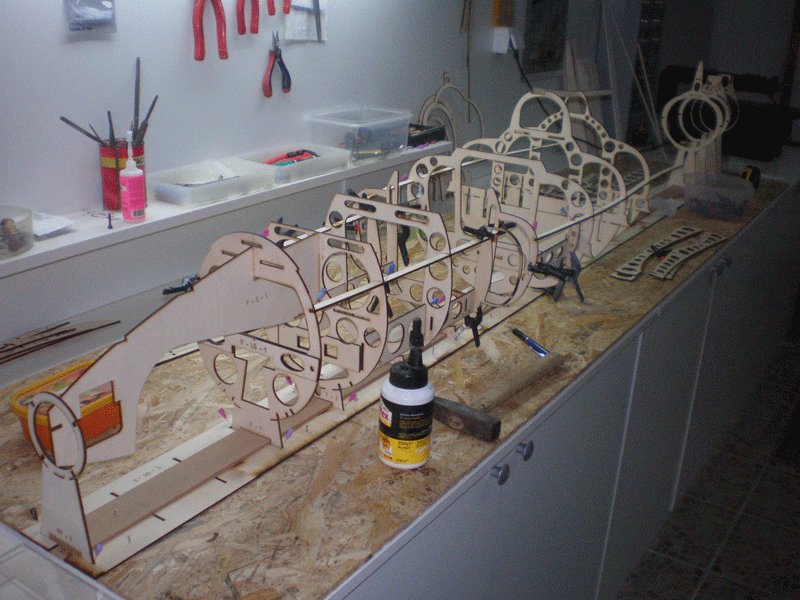
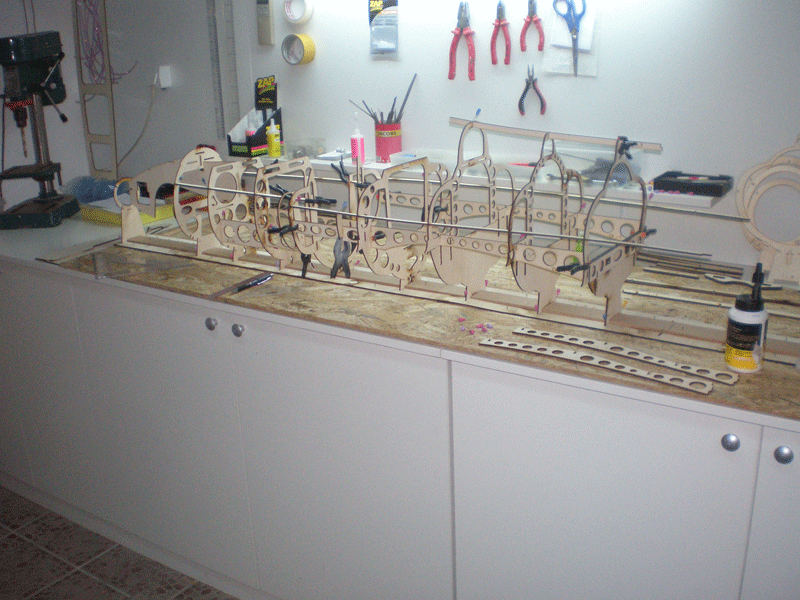
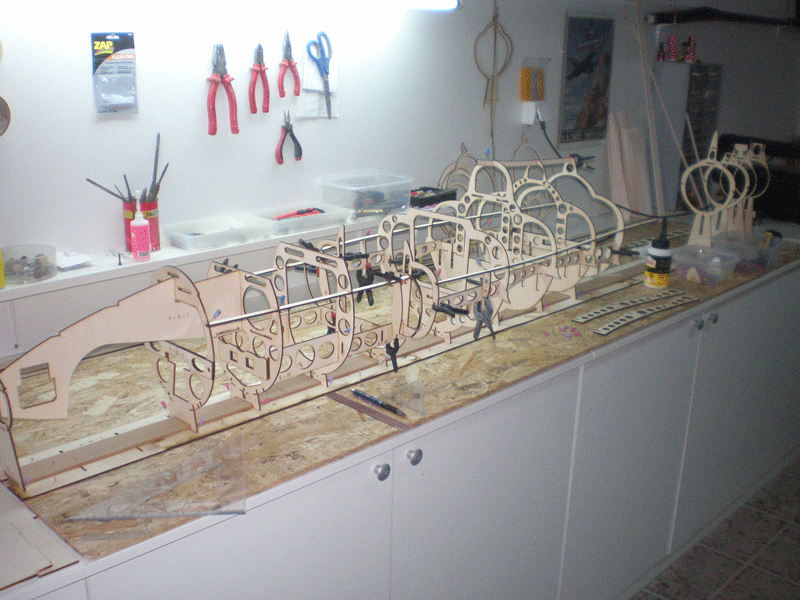
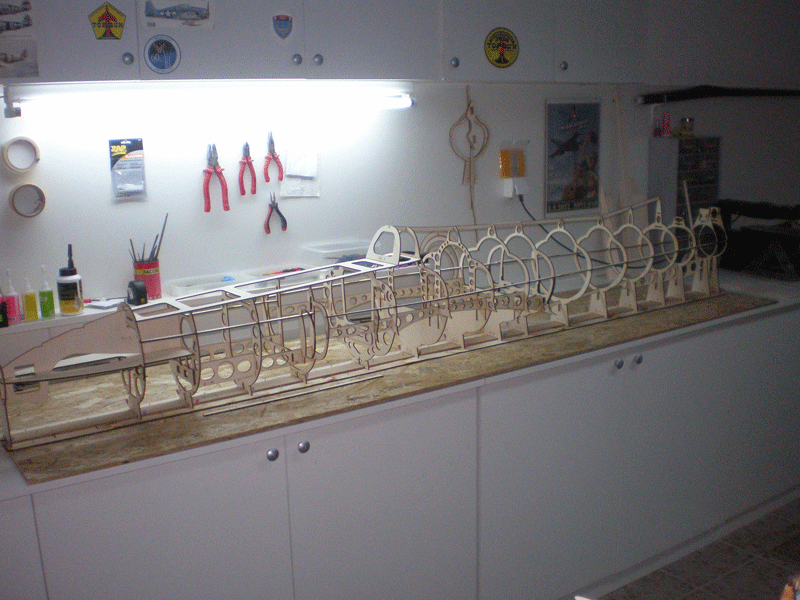
Few days ago come ribs for fuselage of the bigger G2 "brother". They are huge...
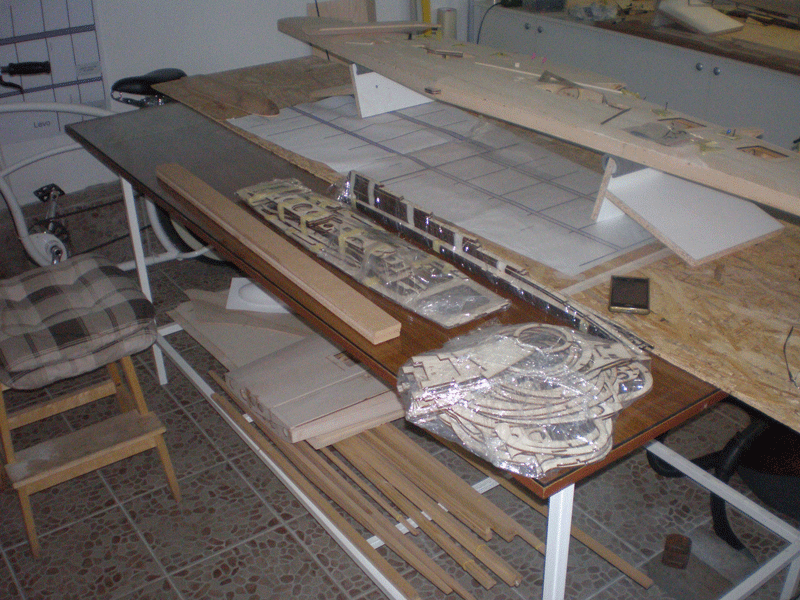
I star immediately to work on it. First I need to find so long working board. This wooden plate is 2,5 meter long and ribs fit exactly.
Same like on smaller fuse, first template, than all other...
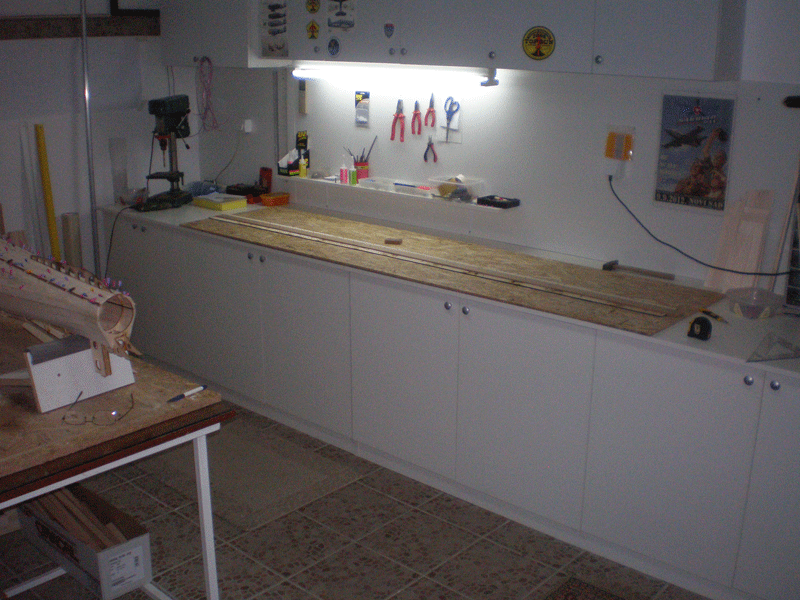
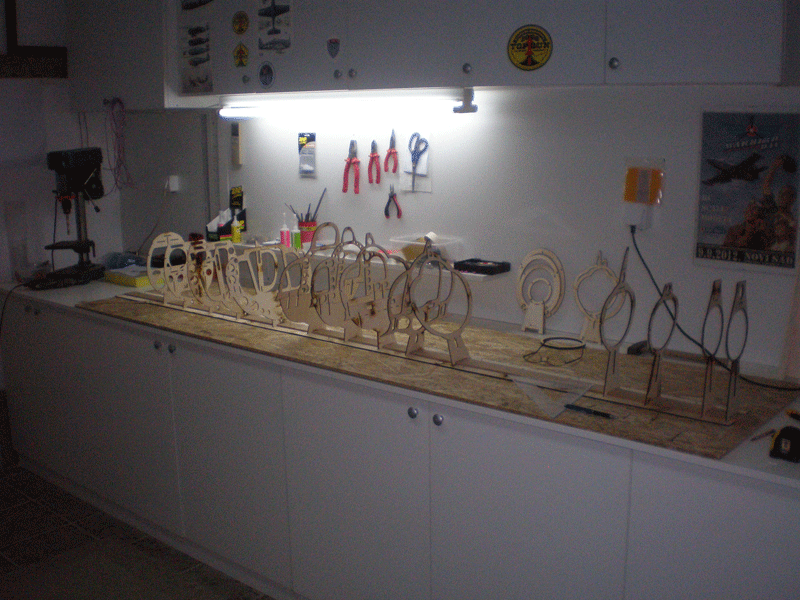
Last evening almost half fuselage was done...
Regards
Mirce


When now deduct that weight from fuselage I measured earlier, fuselage is just 820 gr heavy. First G2 fuselage, two years ago, was in this stage 1350 gr!!!


Few days ago come ribs for fuselage of the bigger G2 "brother". They are huge...

I star immediately to work on it. First I need to find so long working board. This wooden plate is 2,5 meter long and ribs fit exactly.
Same like on smaller fuse, first template, than all other...


Last evening almost half fuselage was done...


Regards
Mirce
#247

Thread Starter
Today will get elevator & rudder parts, so than I can finish work on rear fuselage part. For this bigger G2 I made as much as I can until now.
This model is huuuuuge...


I change design for rear holder of the wooden plate for wing screws...
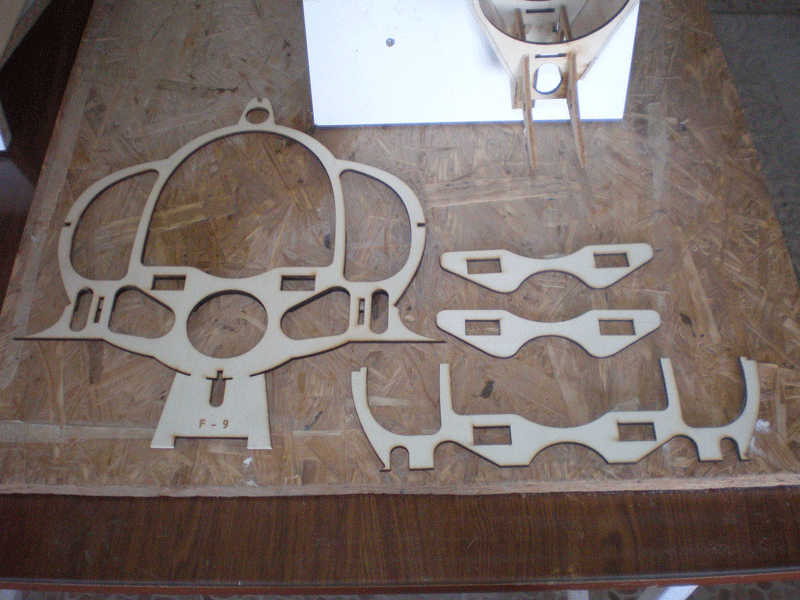
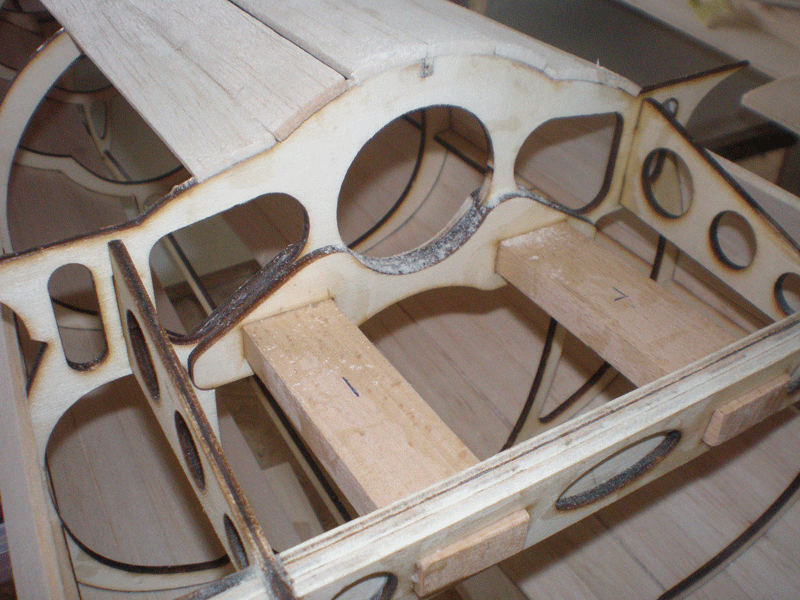
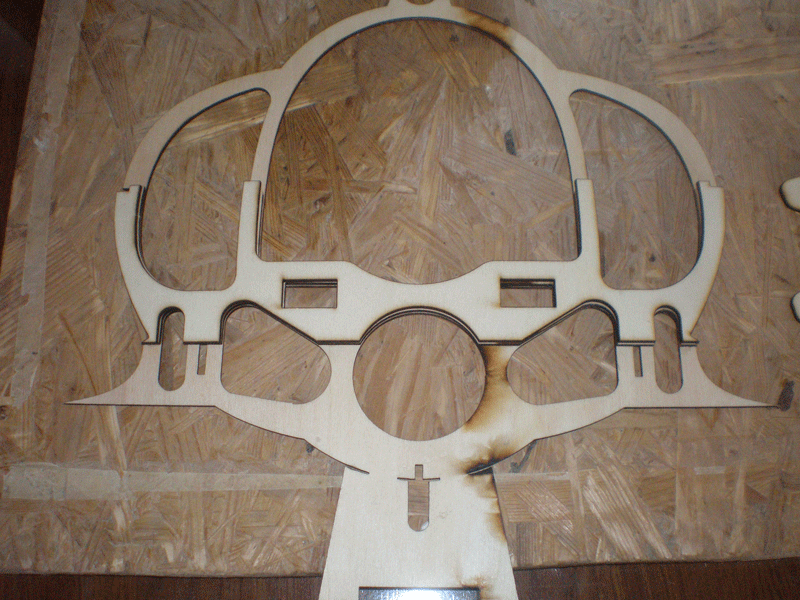
They have still three ply layers, but now reinforcement are from left to right fuselage side.
Few days ago post man bring few parcels. Balsa plates, 5mm ply for landing gear plate and retracts from Behotec.


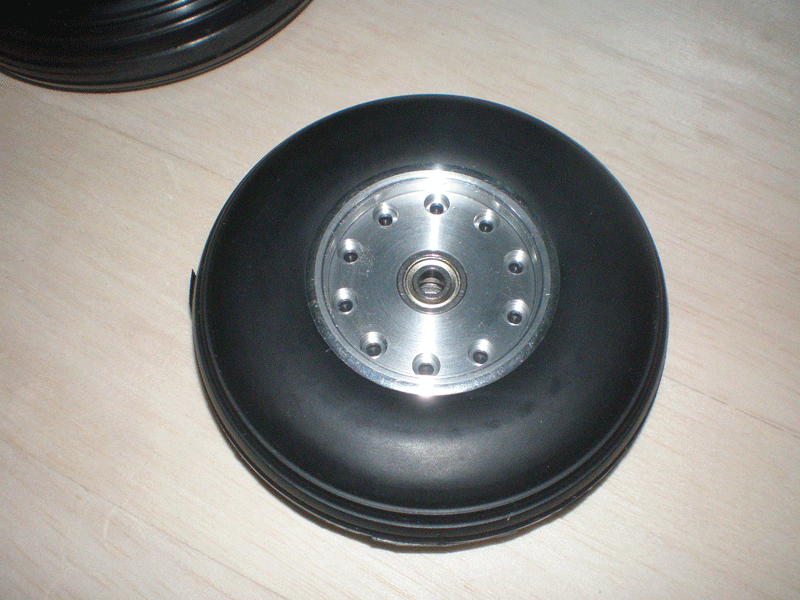
Oh man, retracts and wheels are art...
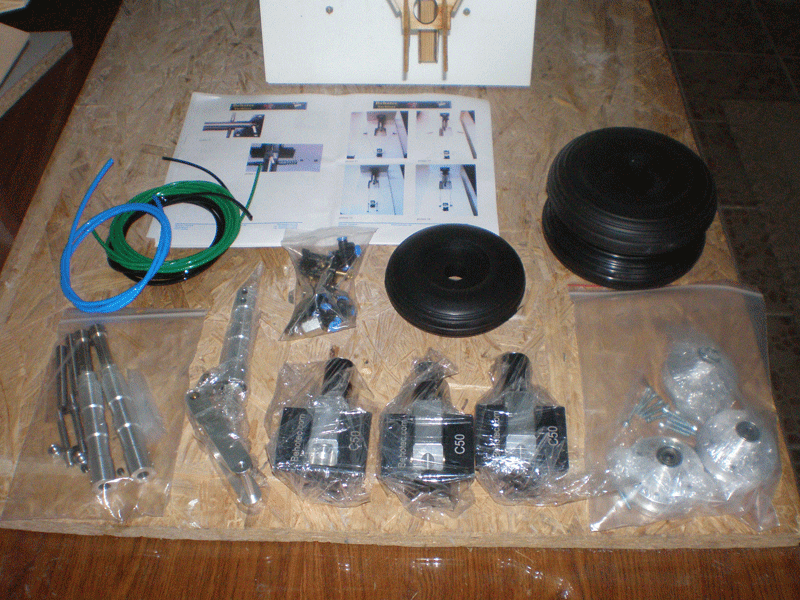
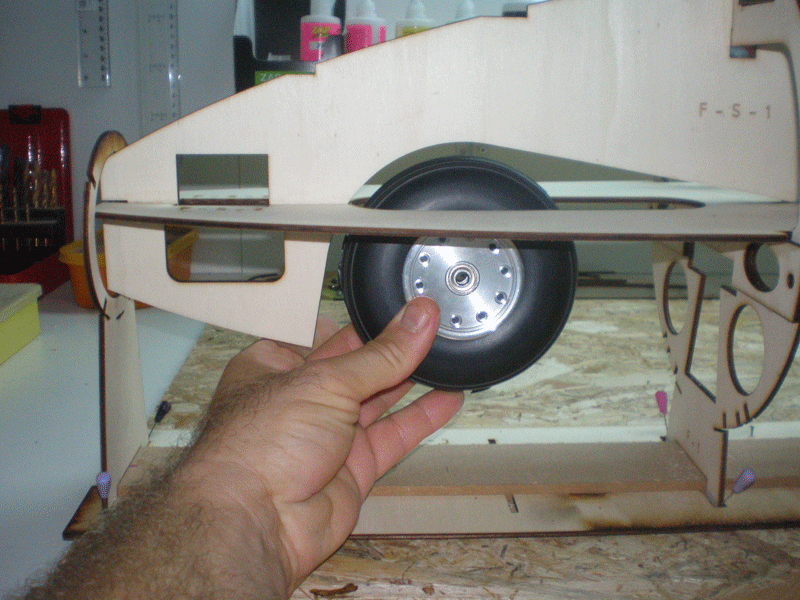
For bigger, 1/4 scale Galeb G2, I bought retracts again in German firm Behotec. But now, I take there wheels also.
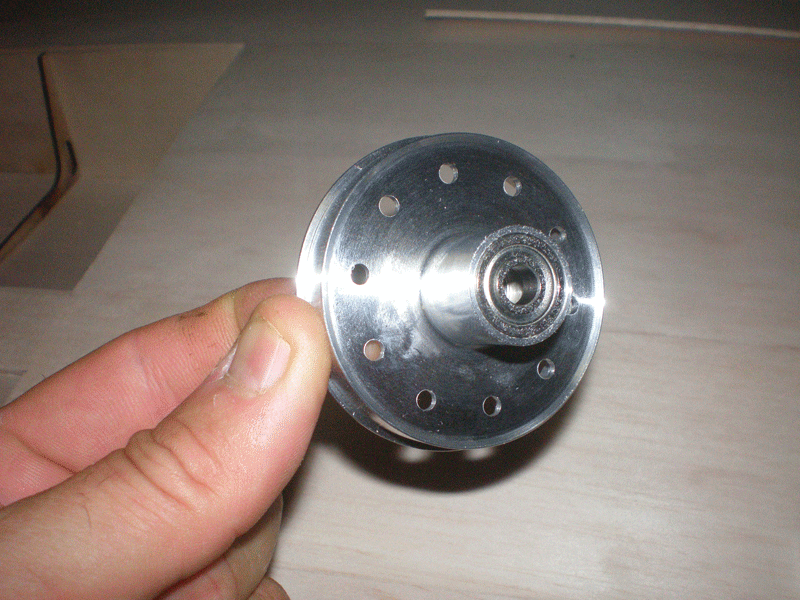
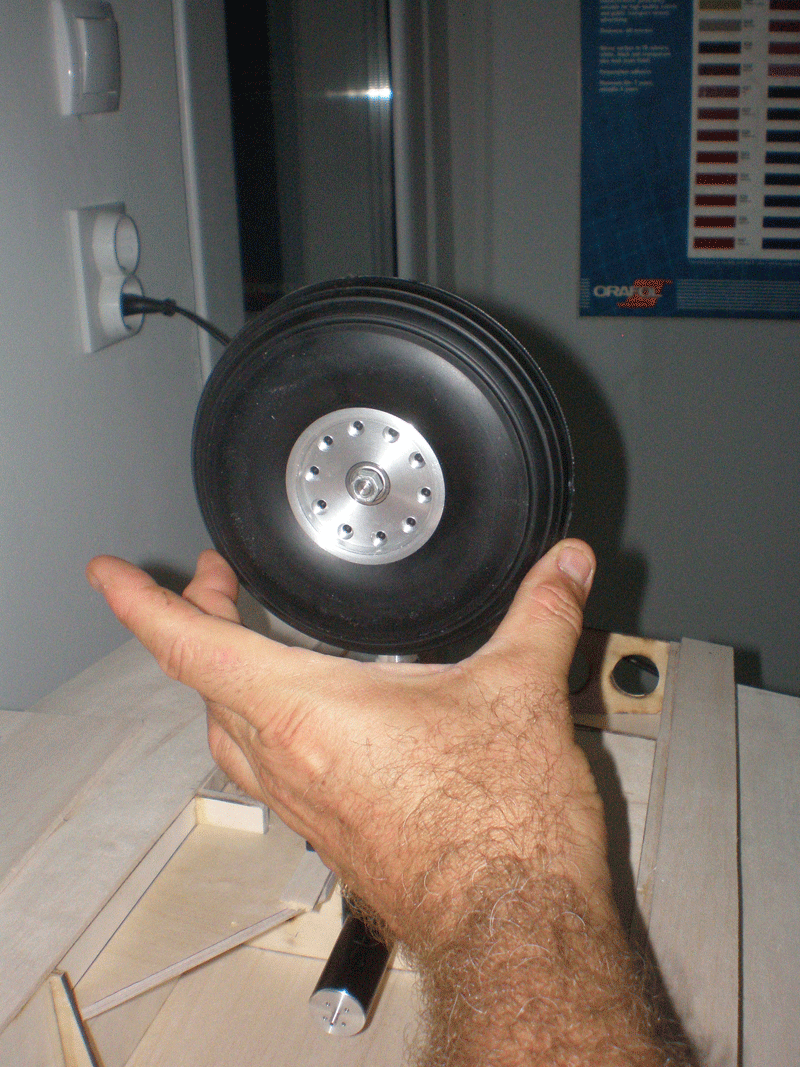
Aluminum hub is from two pieces with ball bearings...

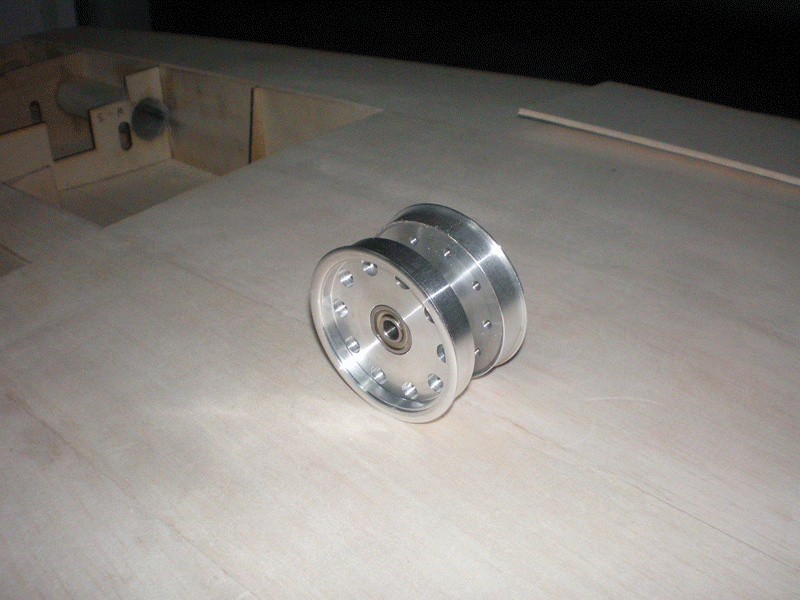
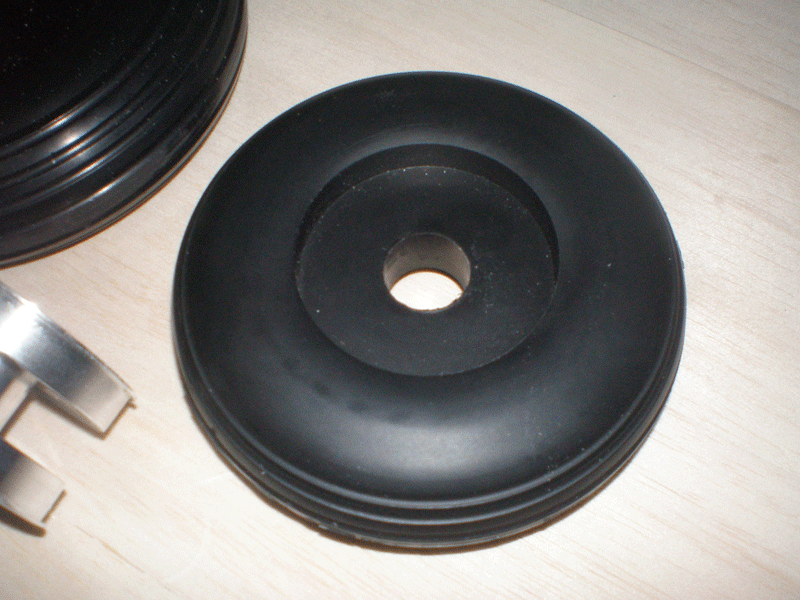
Wheel for main landing gear is 140mm in diameter...
This model is huuuuuge...


I change design for rear holder of the wooden plate for wing screws...


They have still three ply layers, but now reinforcement are from left to right fuselage side.
Few days ago post man bring few parcels. Balsa plates, 5mm ply for landing gear plate and retracts from Behotec.


Oh man, retracts and wheels are art...

For bigger, 1/4 scale Galeb G2, I bought retracts again in German firm Behotec. But now, I take there wheels also.
Aluminum hub is from two pieces with ball bearings...


Wheel for main landing gear is 140mm in diameter...


#248

Thread Starter
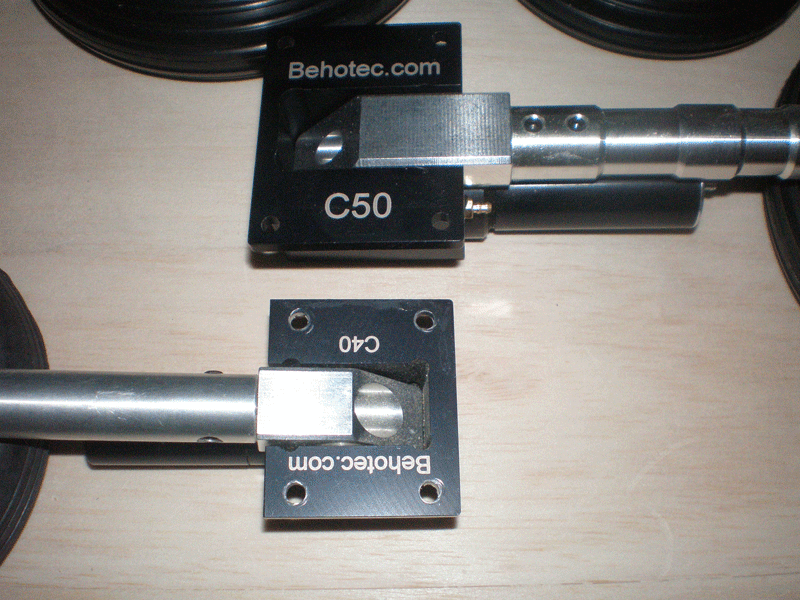
For smaller G2 ( 1/5 scale ) I use Behotec C 40 set and for bigger, as I told, set is C 50.
Bigger set is for models to 22 kg...
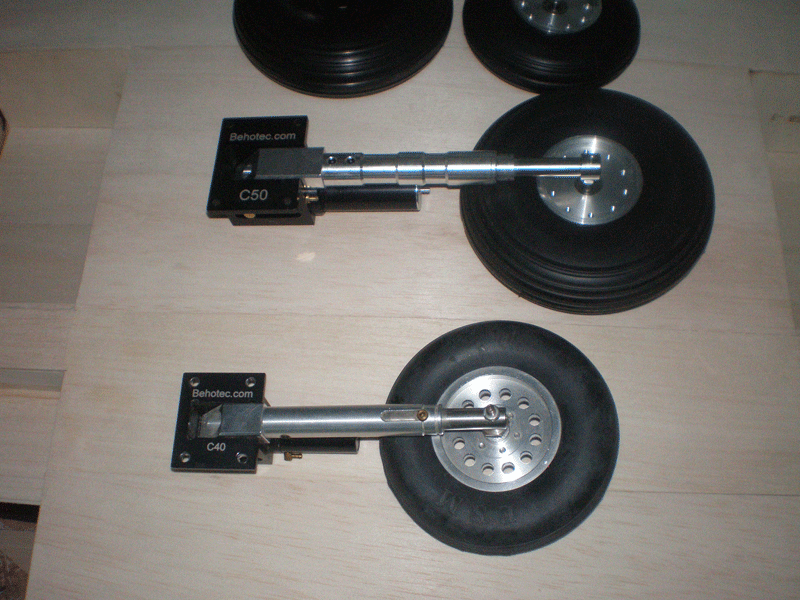
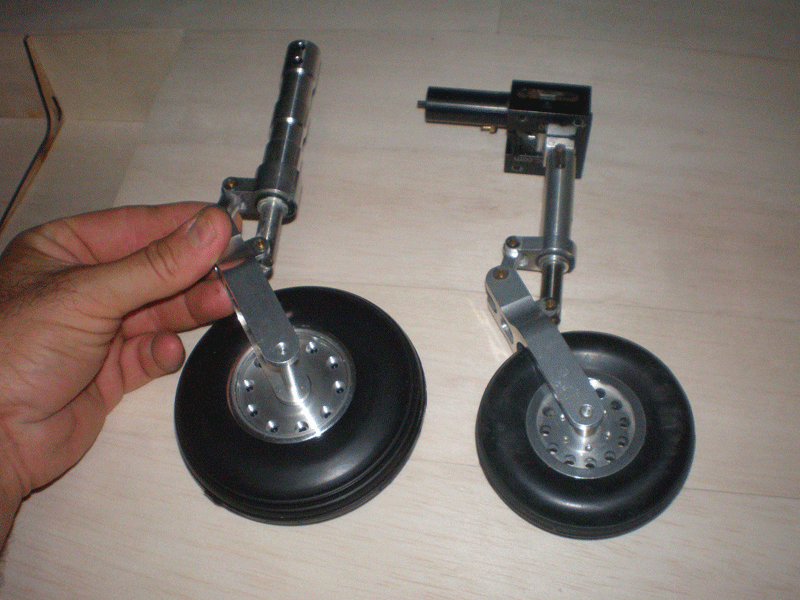
Different in size is obvious.
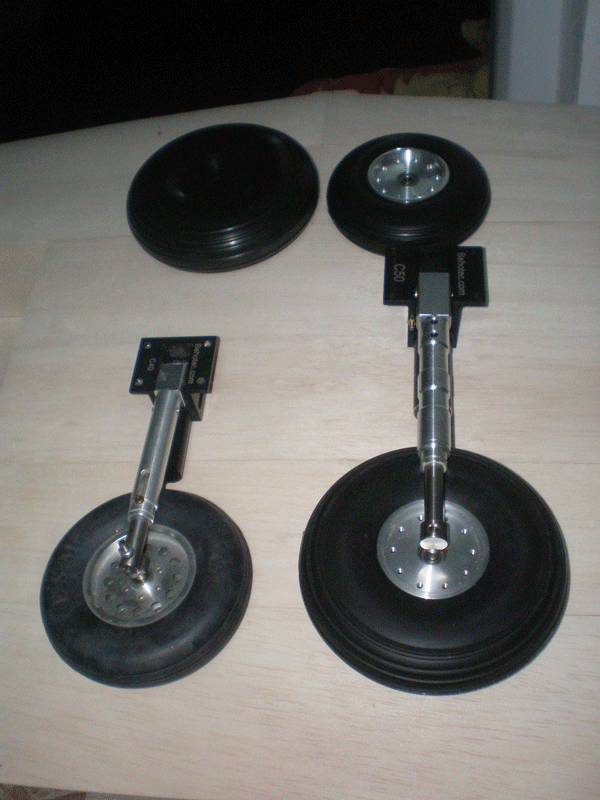
On front leg, story is same...
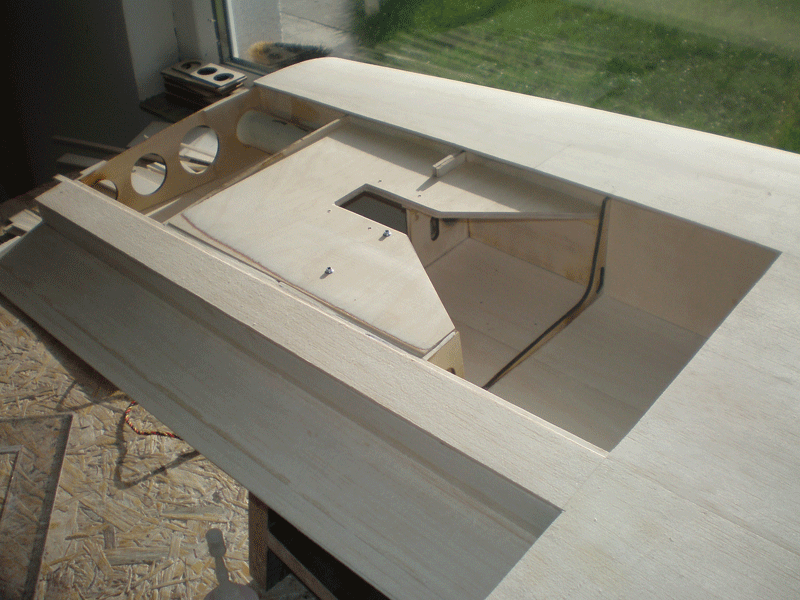
From strong 5mm thick ply I made landing gear plate...

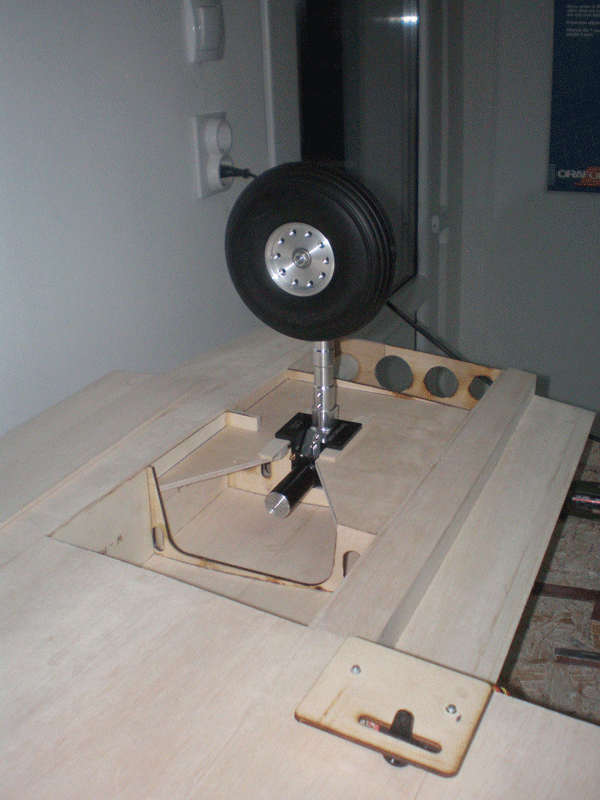
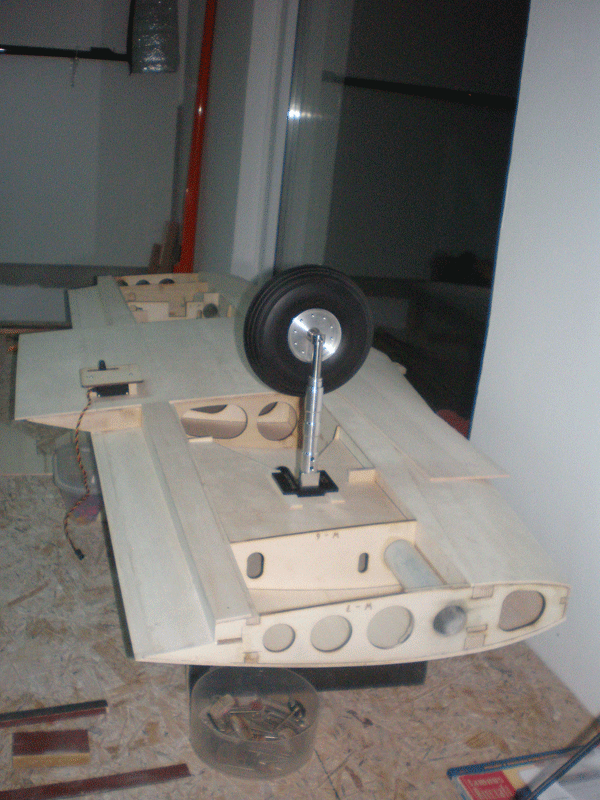
Pictures was made during work, no small plates between landing gears and ply plates at the end.
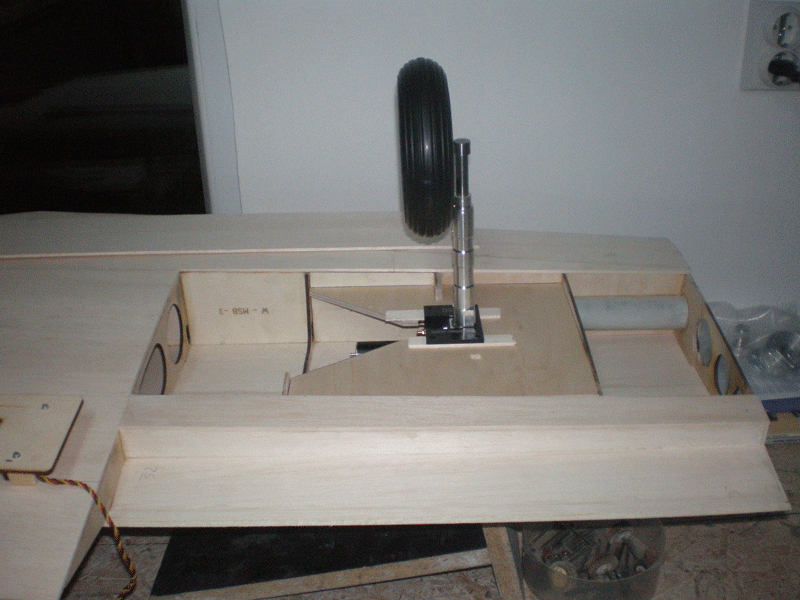
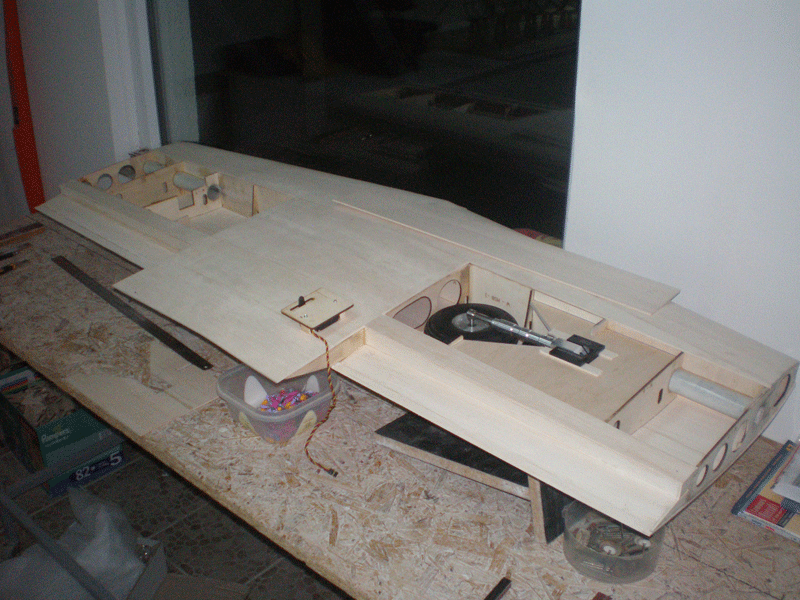
My idea is to hide linkage from flap servo to flaps, so servo will be on down side of the landing plate. It is nor final decision, but I think in that direction.
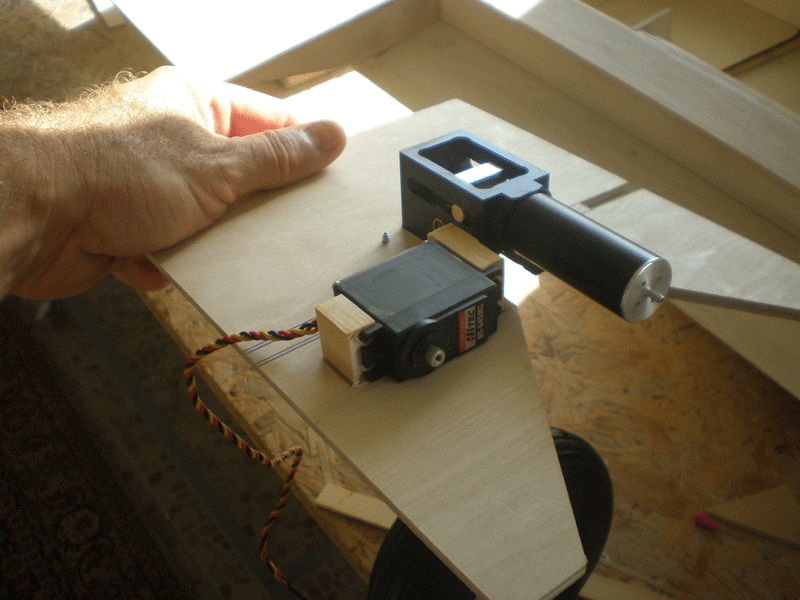
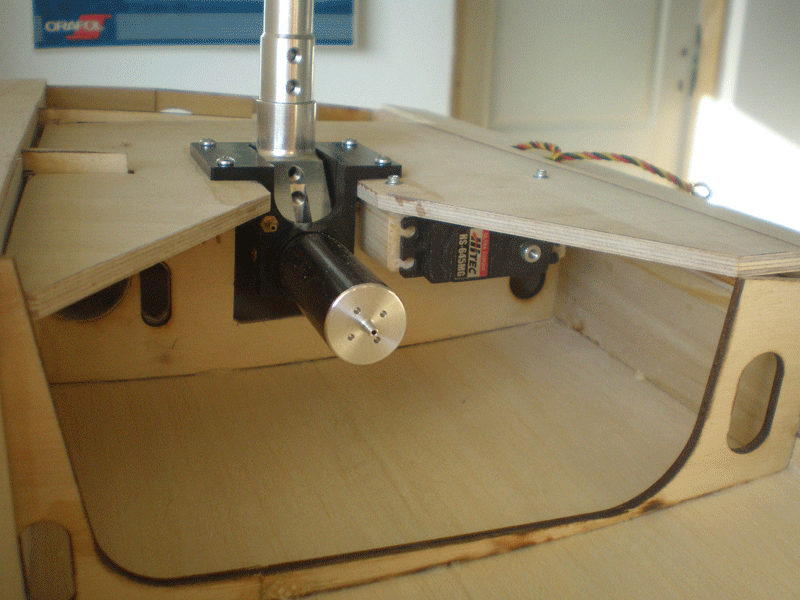
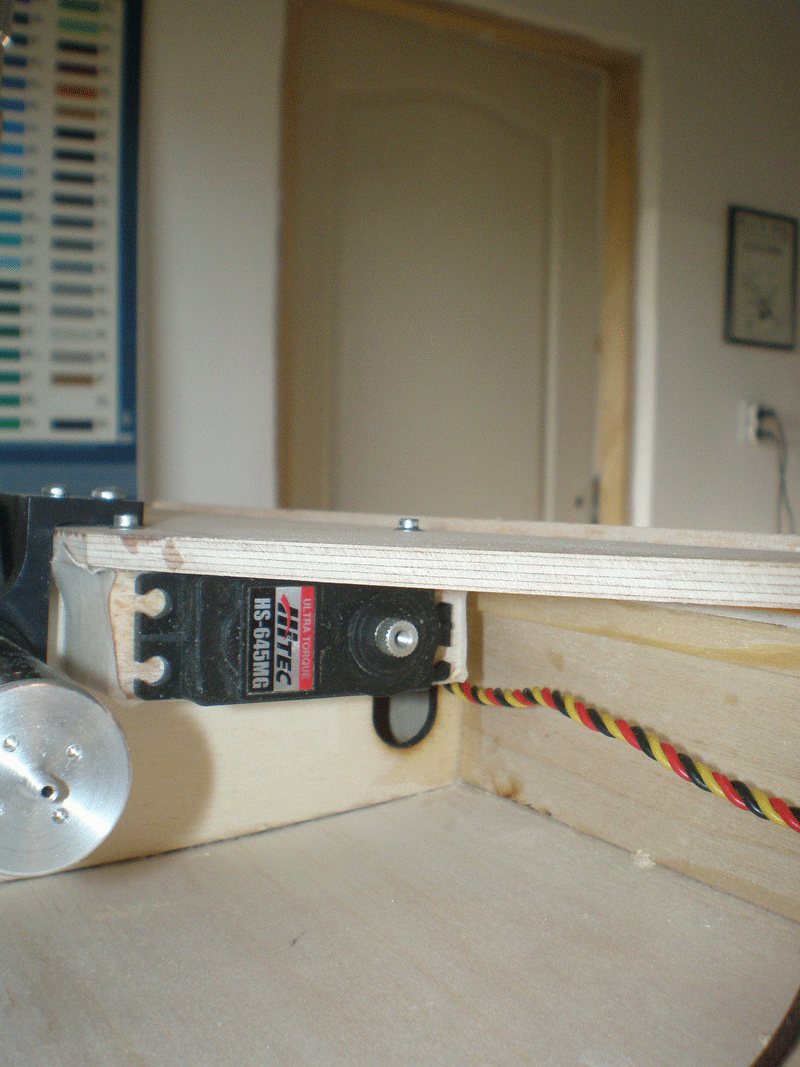
Because that, I start work on flap...

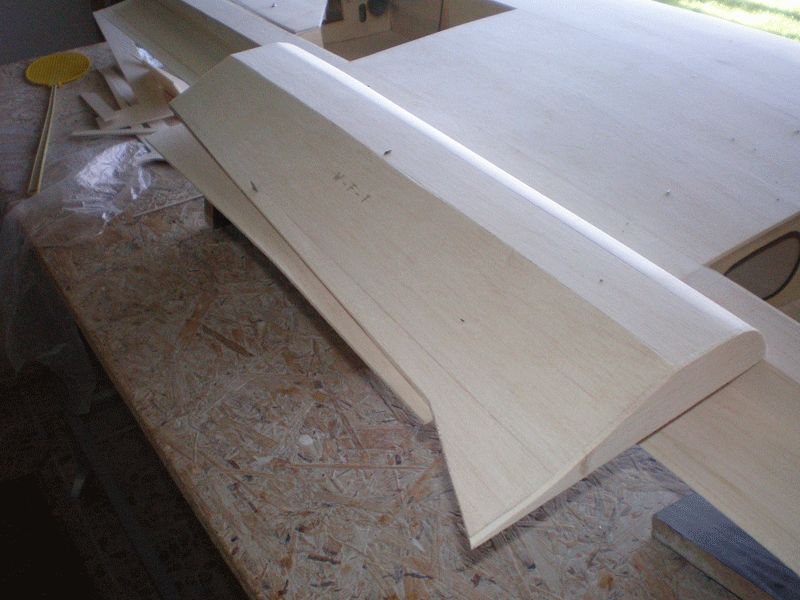
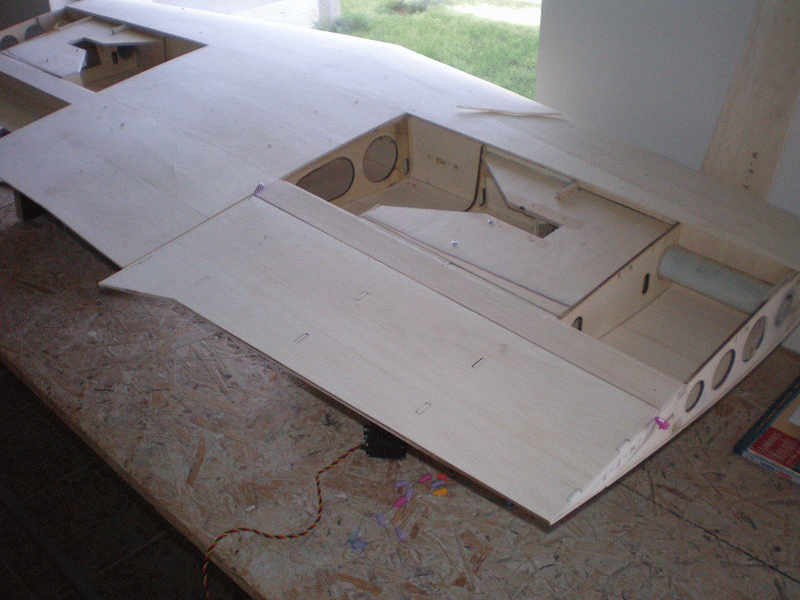
Wing is up side down... Transit from flap to the wing is perfect...
Bigger set is for models to 22 kg...

Different in size is obvious.


On front leg, story is same...

From strong 5mm thick ply I made landing gear plate...


Pictures was made during work, no small plates between landing gears and ply plates at the end.


My idea is to hide linkage from flap servo to flaps, so servo will be on down side of the landing plate. It is nor final decision, but I think in that direction.


Because that, I start work on flap...


Wing is up side down... Transit from flap to the wing is perfect...


Last edited by mirce; 09-18-2015 at 12:03 AM.
#249

Thread Starter
To see that I was worth, few more pictures...
Front wheel on bigger G2 is 110mm in diameter...
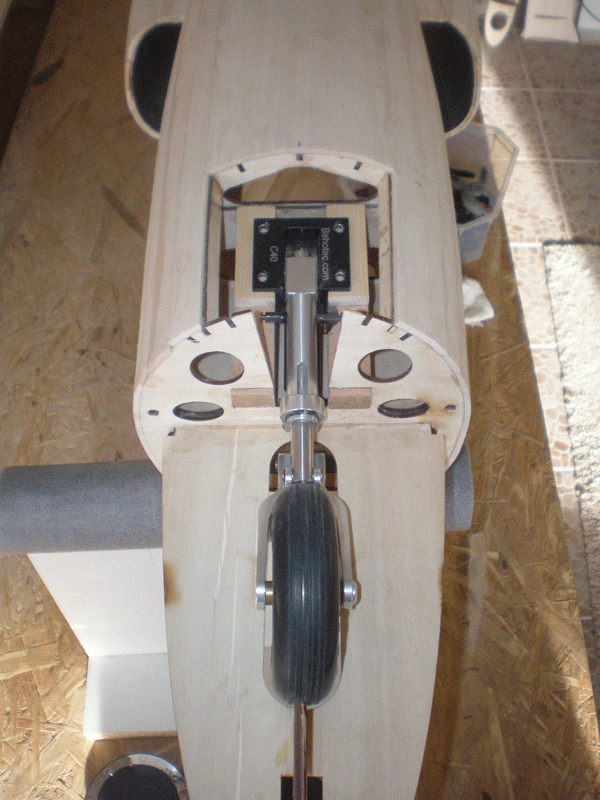
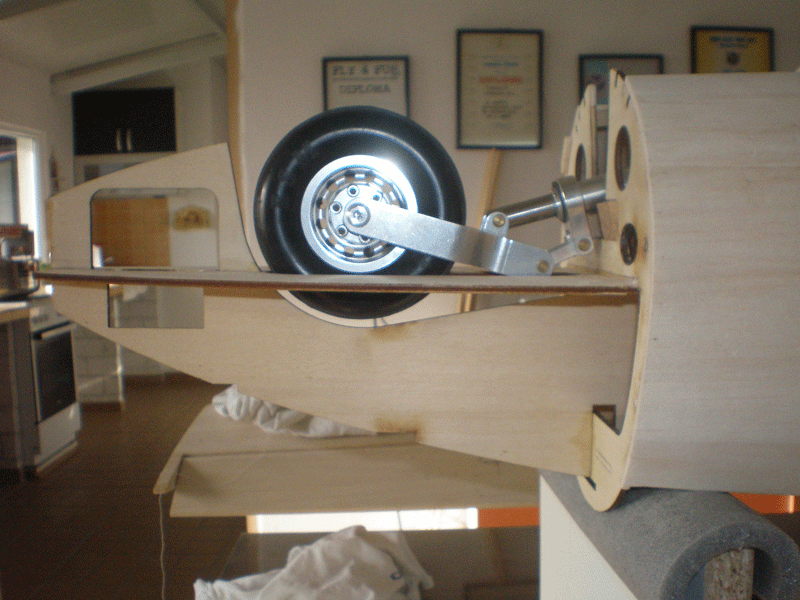
On smaller model front retract is install...

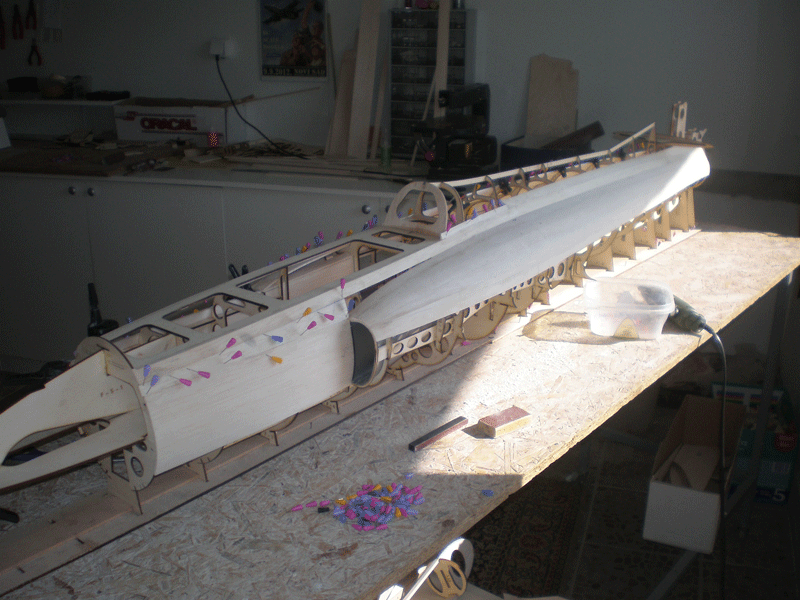
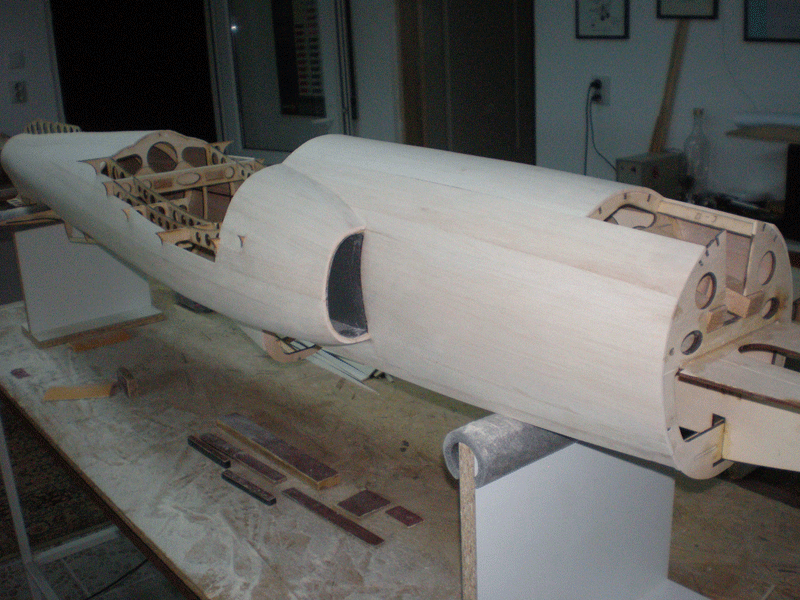
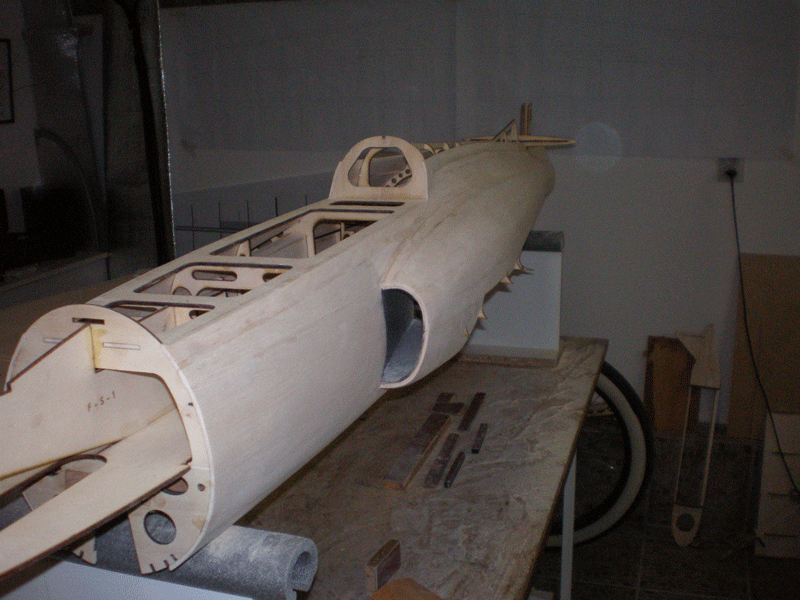
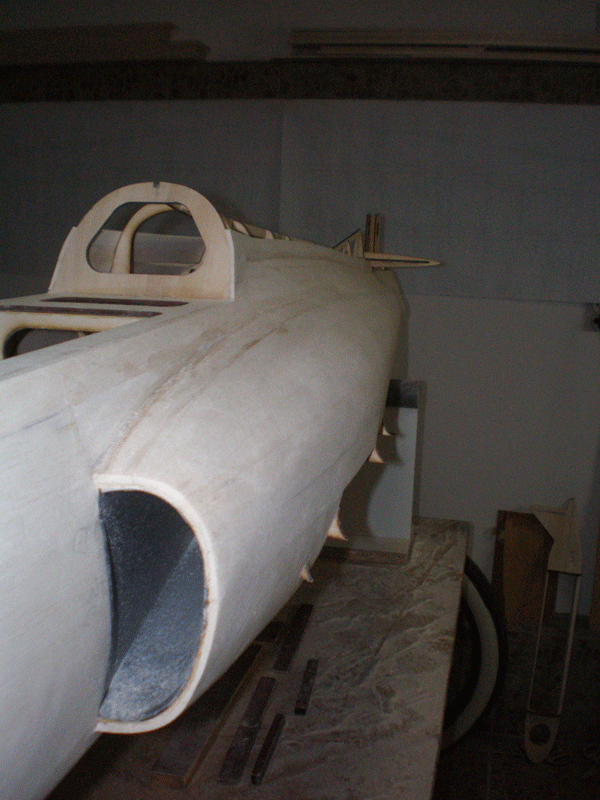
Smaller fuselage is almost complete cover. I was impatient, so start sending surface...

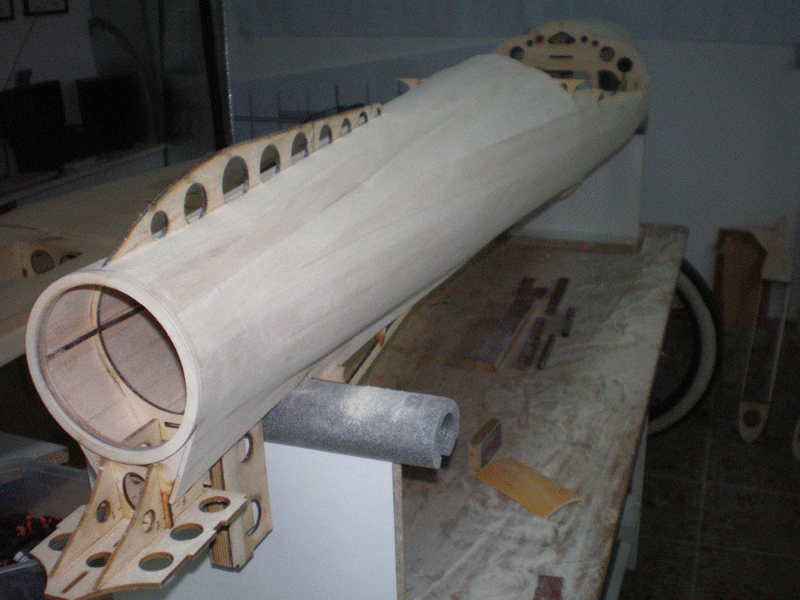

Ply ring for hole on the rear end...

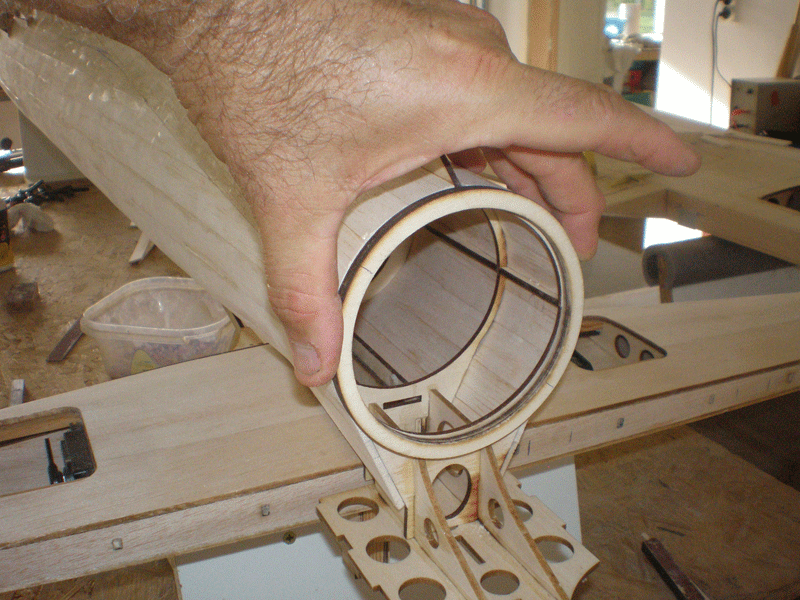
Front fuselage part...

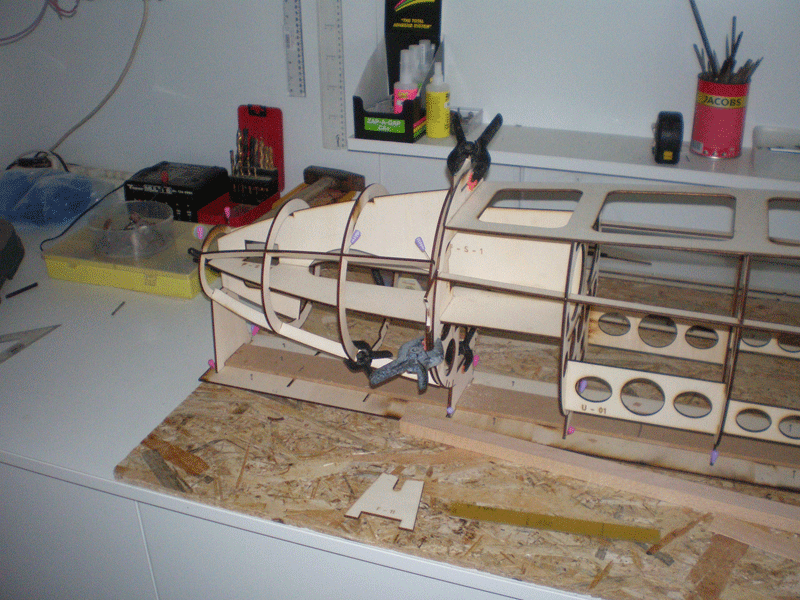
OK, that was "report" for today, work shop call me, so bye bye...
Front wheel on bigger G2 is 110mm in diameter...

On smaller model front retract is install...


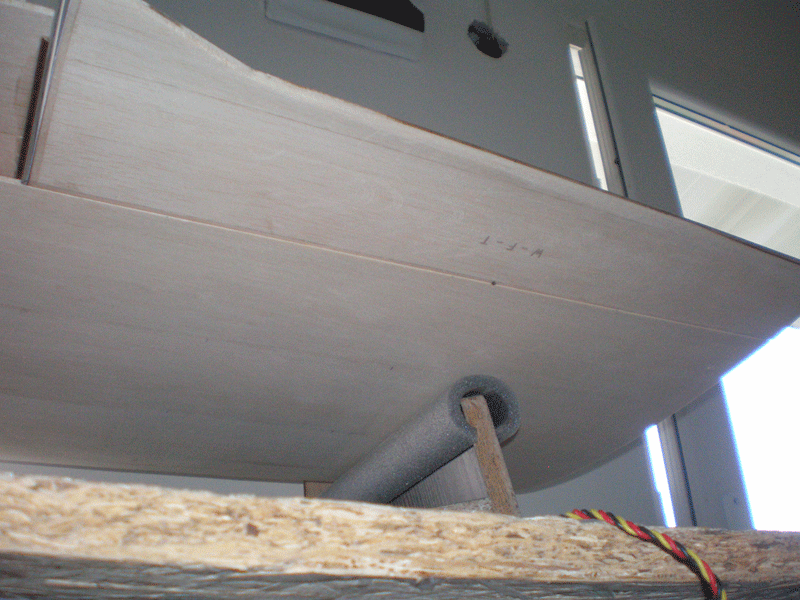
Smaller fuselage is almost complete cover. I was impatient, so start sending surface...


Ply ring for hole on the rear end...


Front fuselage part...


OK, that was "report" for today, work shop call me, so bye bye...
#250

Thread Starter
Almost two weeks since the last writing is behind us. I work every day, but many job requires precision, and therefore time.
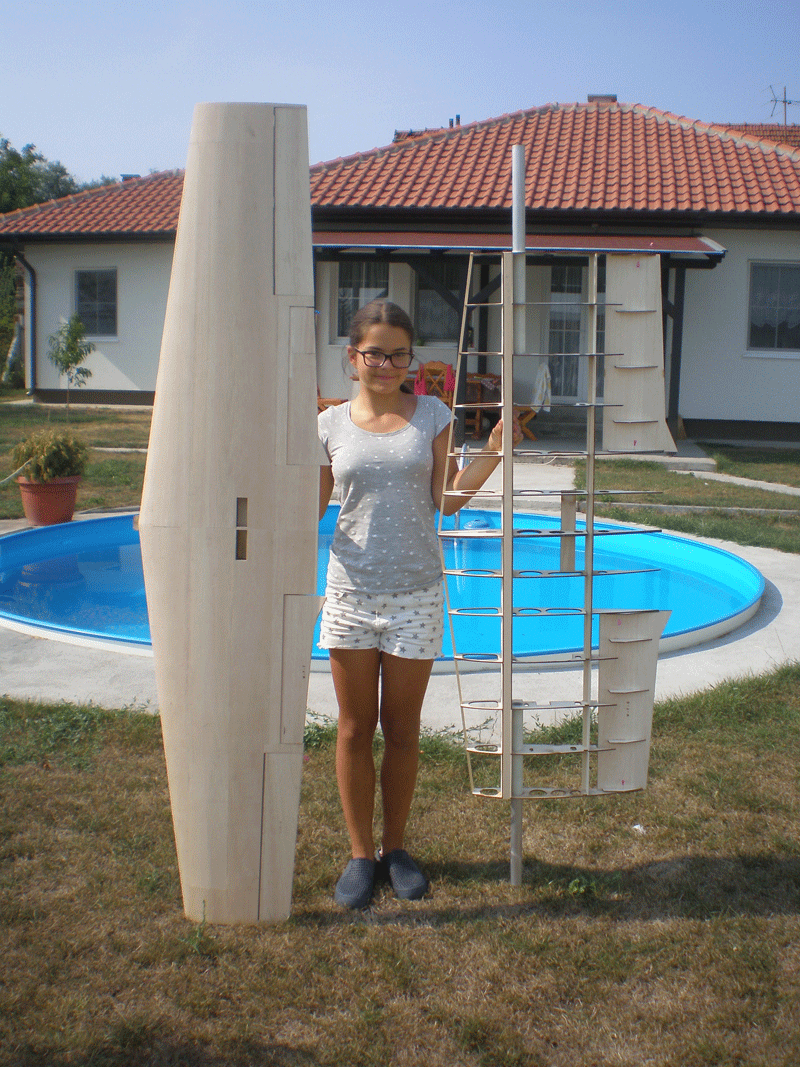
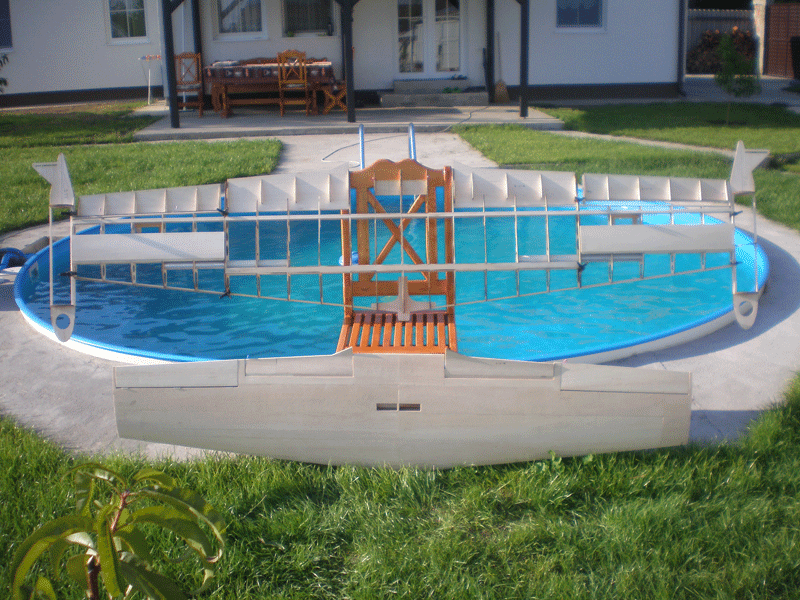
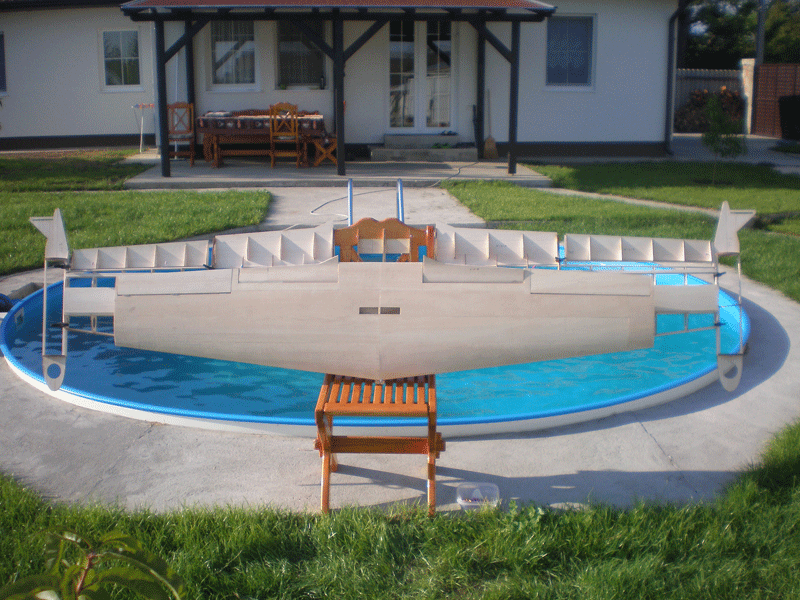
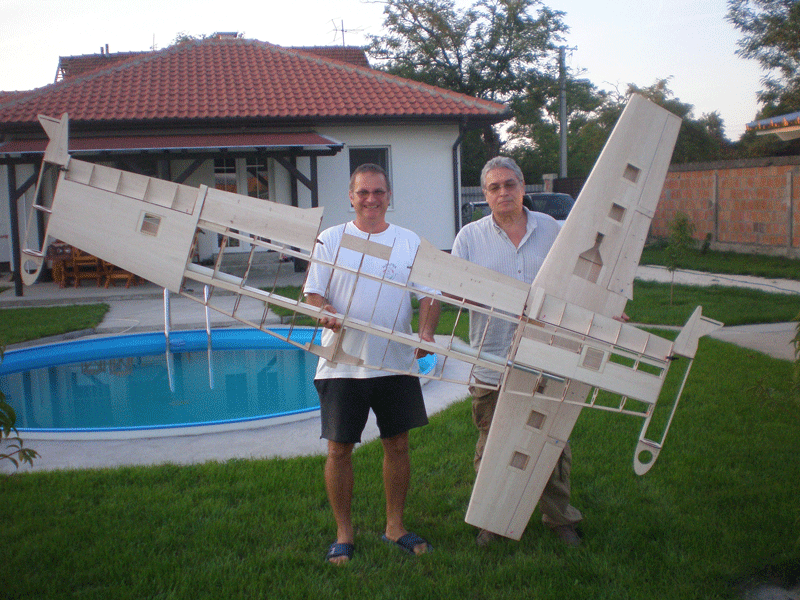
Dragan cut all parts for elevator and rudder for bigger G2. Elevator building technique was same like for smaller model...
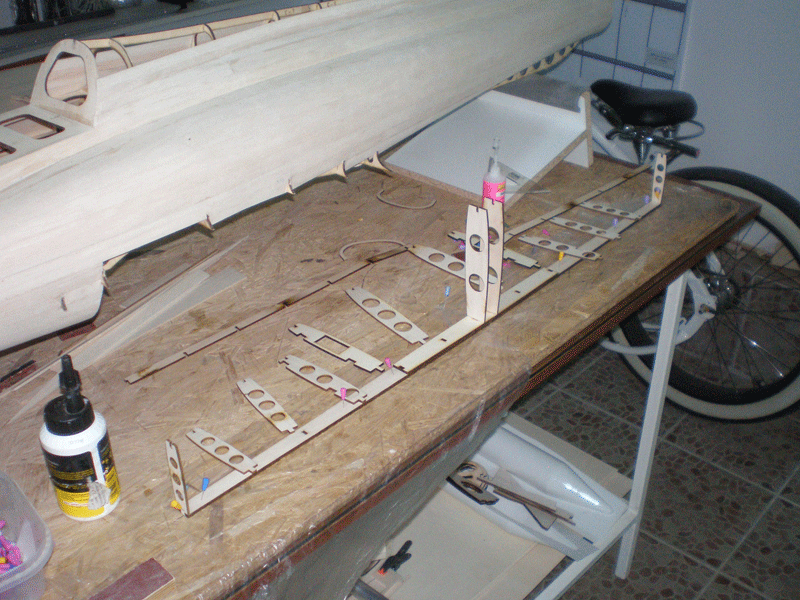
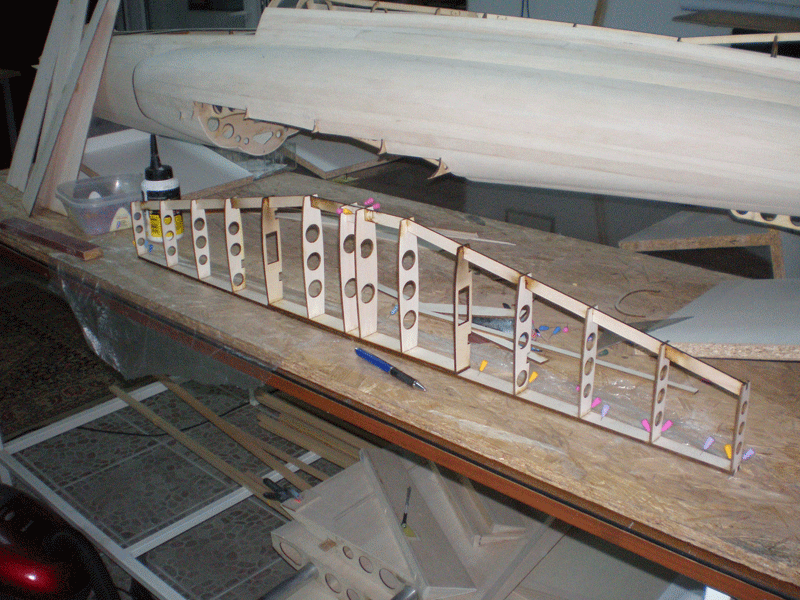
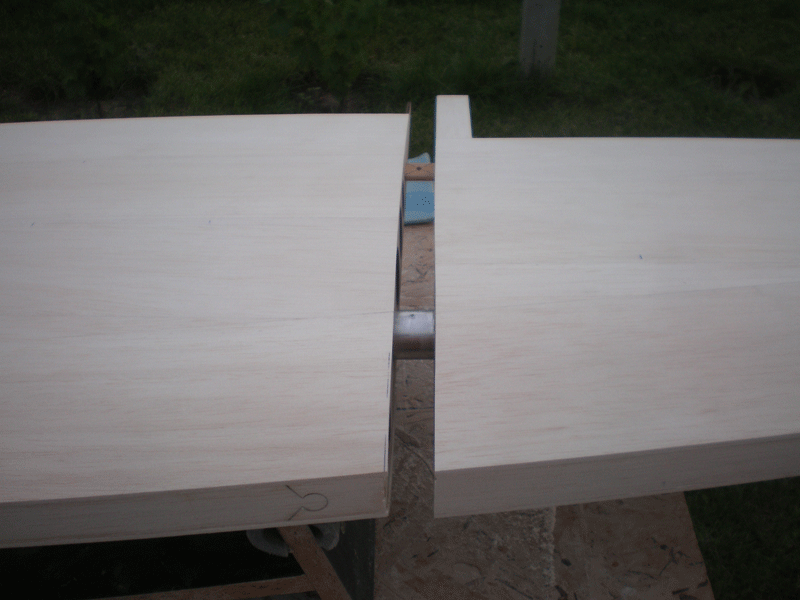
Because his laser cut machine is 900mm long and leading edge is more than 1000mm, we cut front part from two pieces. In the middle I add two small balsa parts...
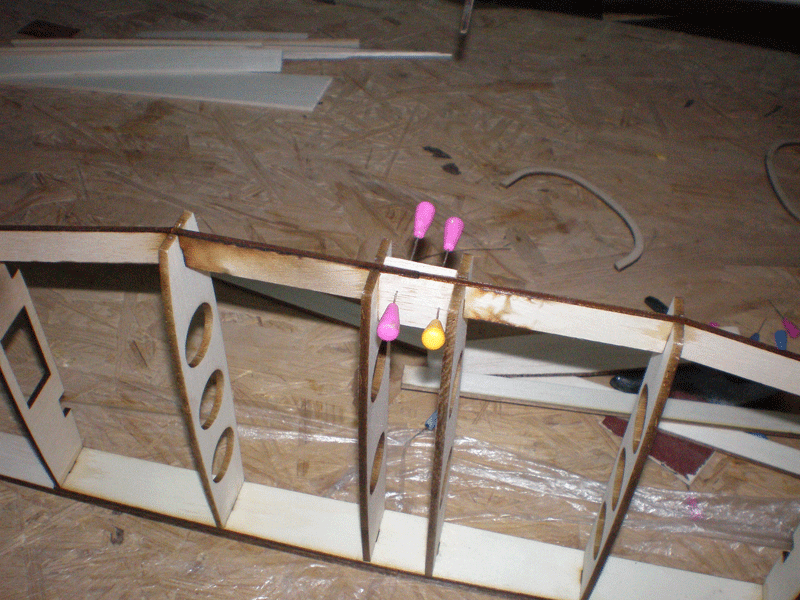
Next step, 3mm balsa for leading edge...
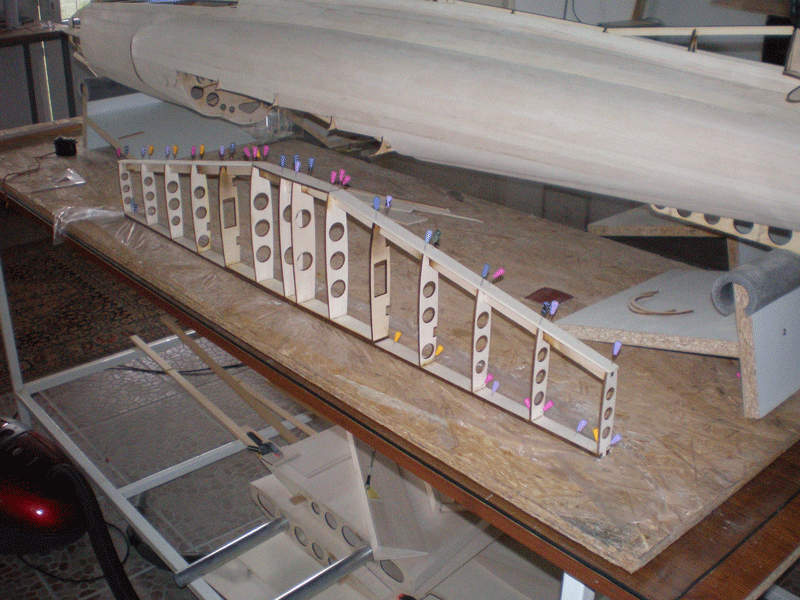
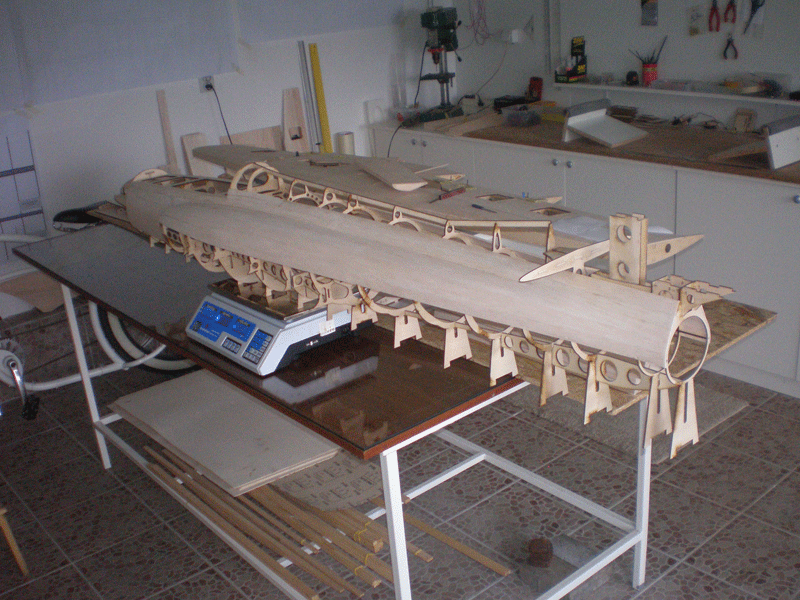
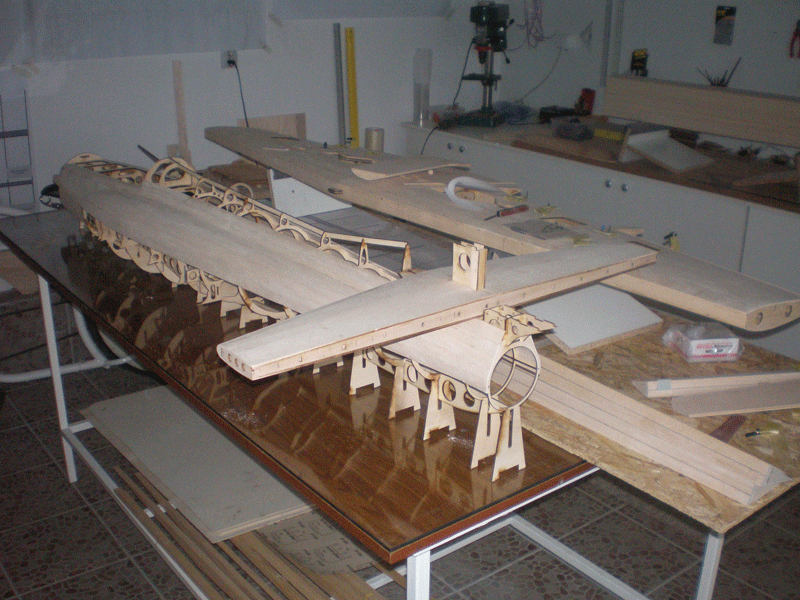
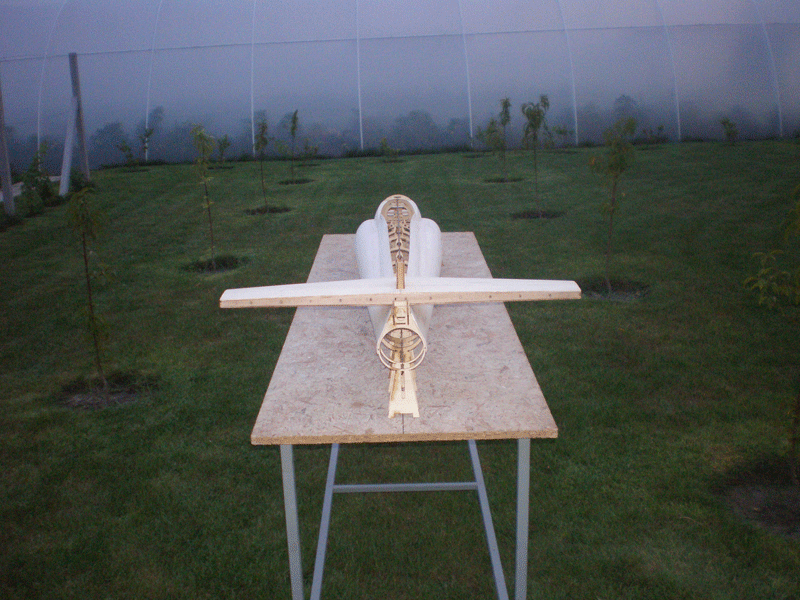
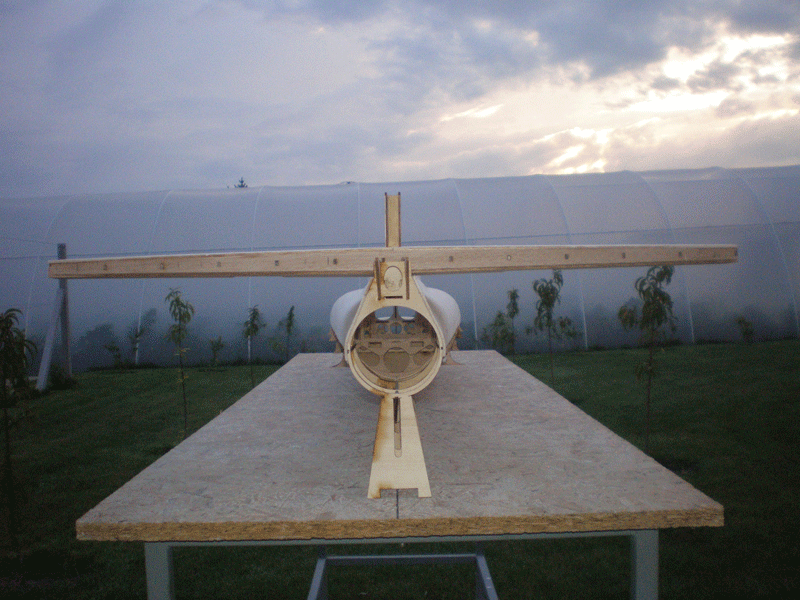
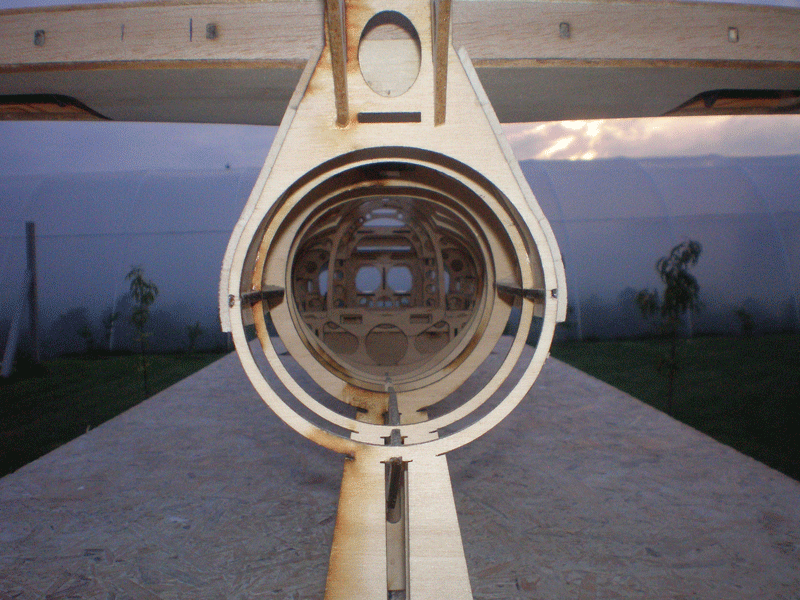
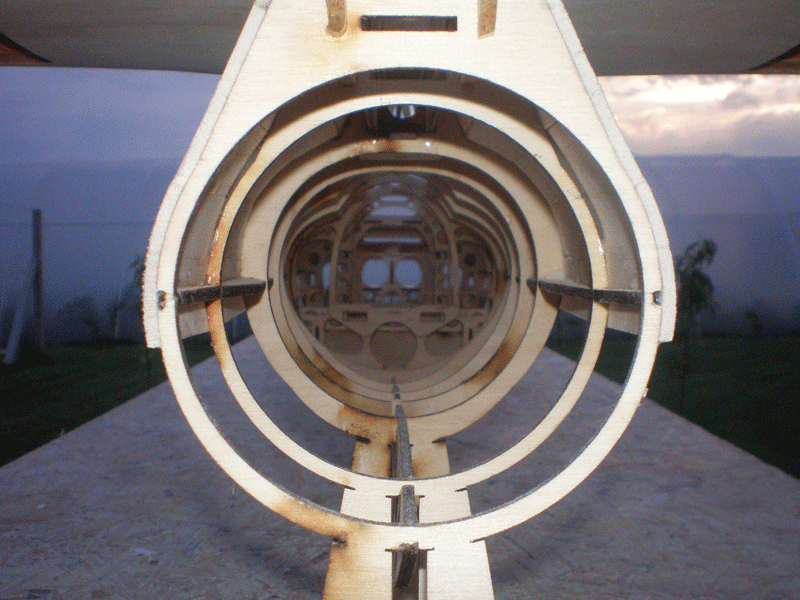
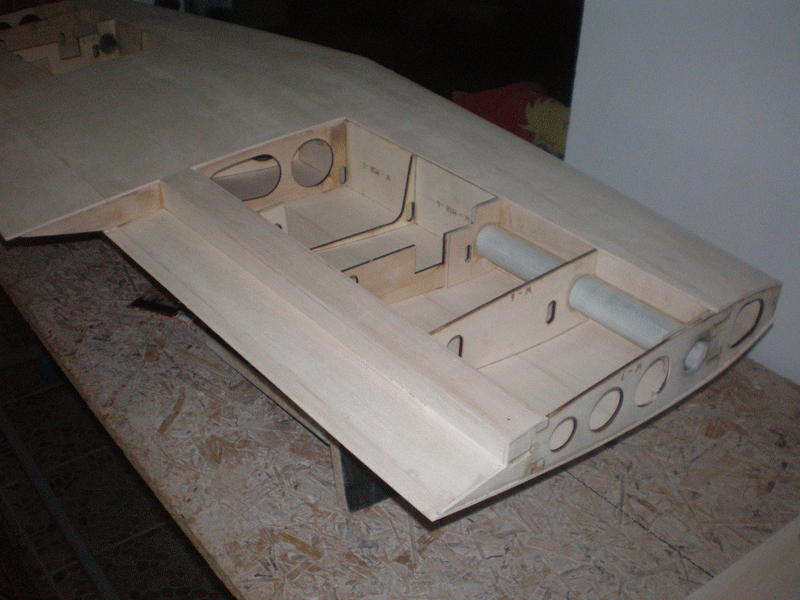
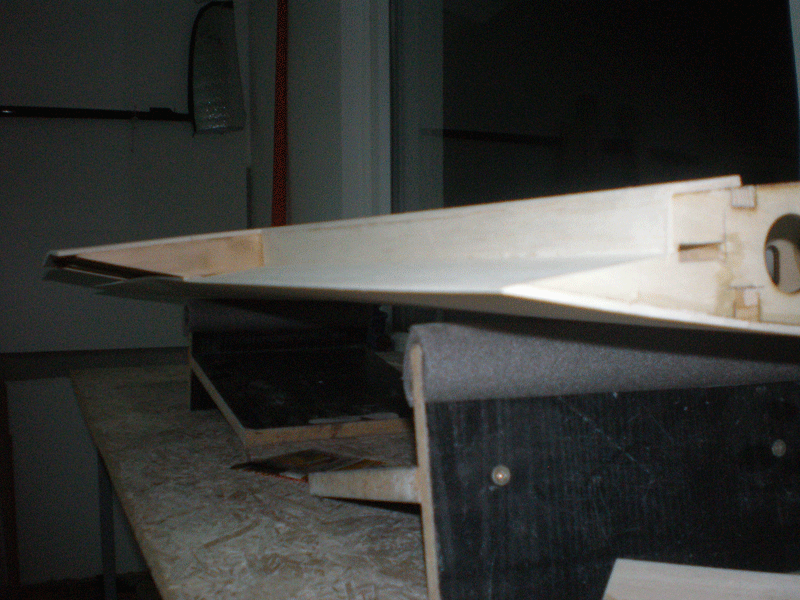
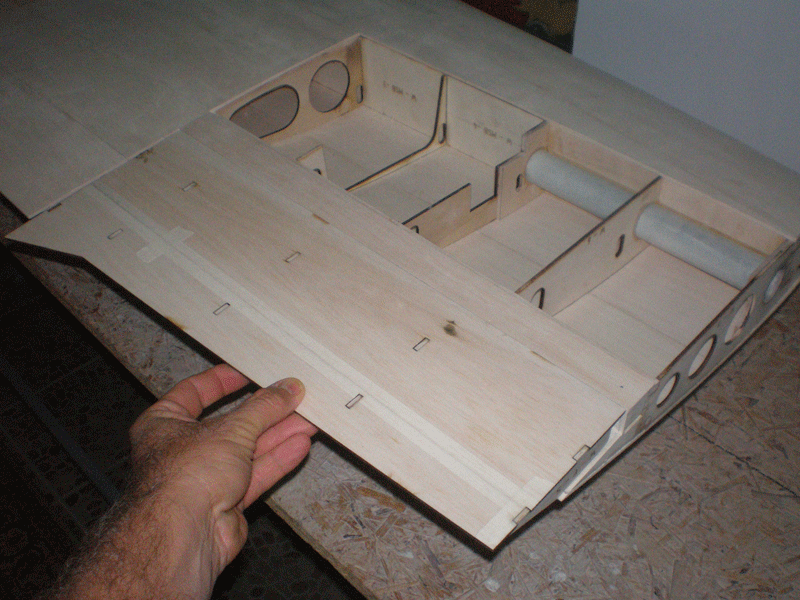
Then I put elevator on fuselage to check how it lying... Pictures all speeches...
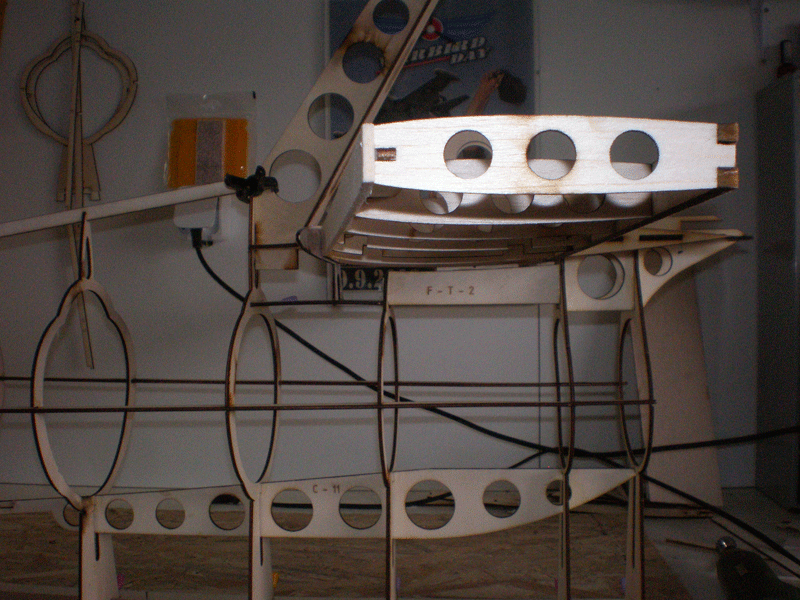
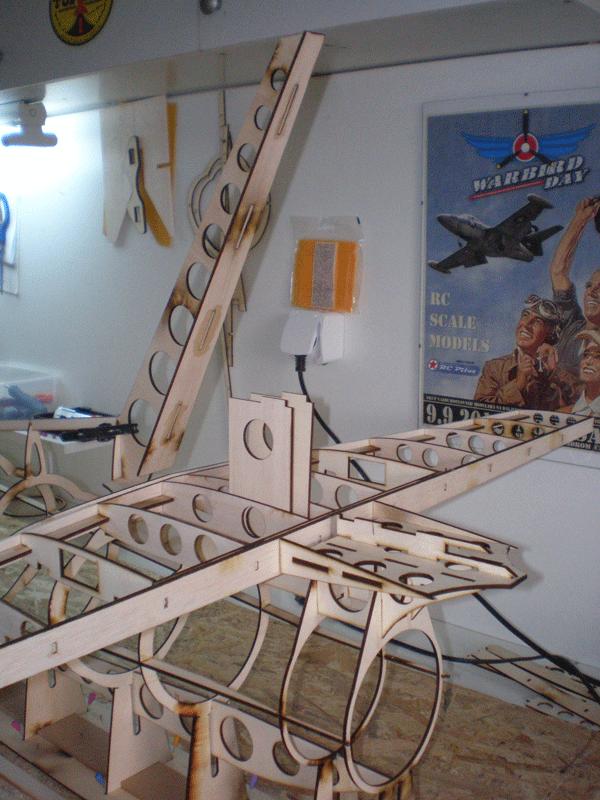
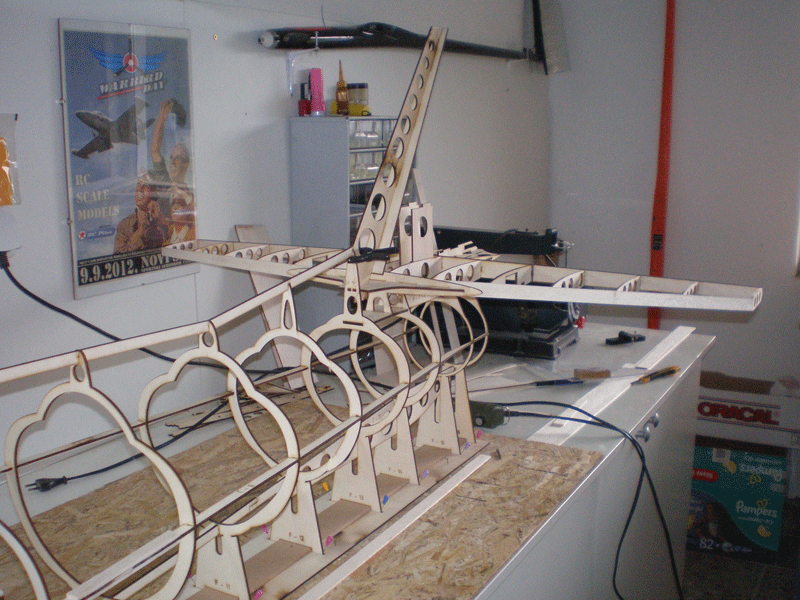
Check slot between elevator and FT2 part. There will come 3 mm balsa cover...
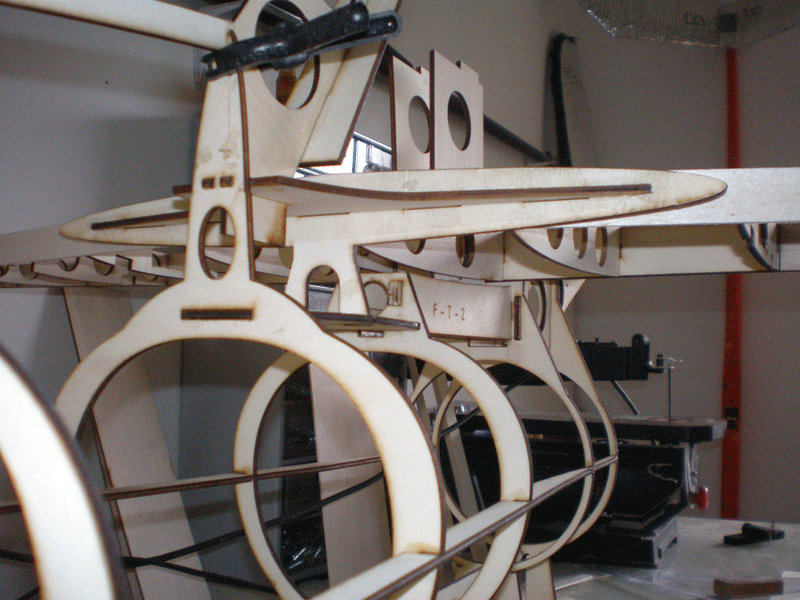
No any of that parts are sanding. Everything fit like Puzzle...
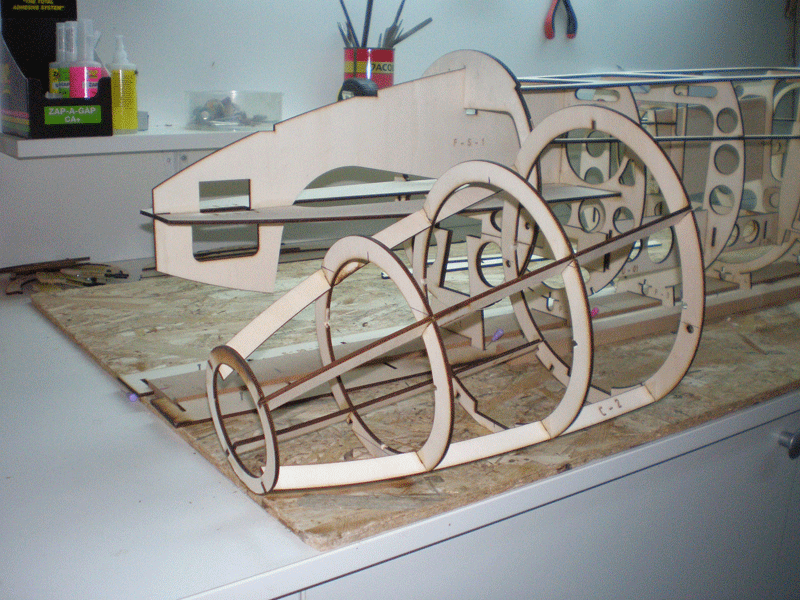
I made front fuselage pieces for both model...
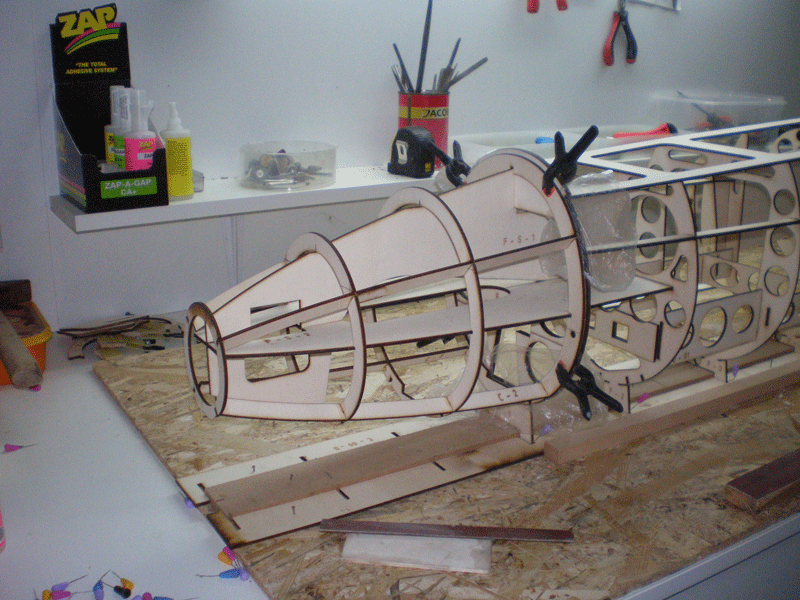
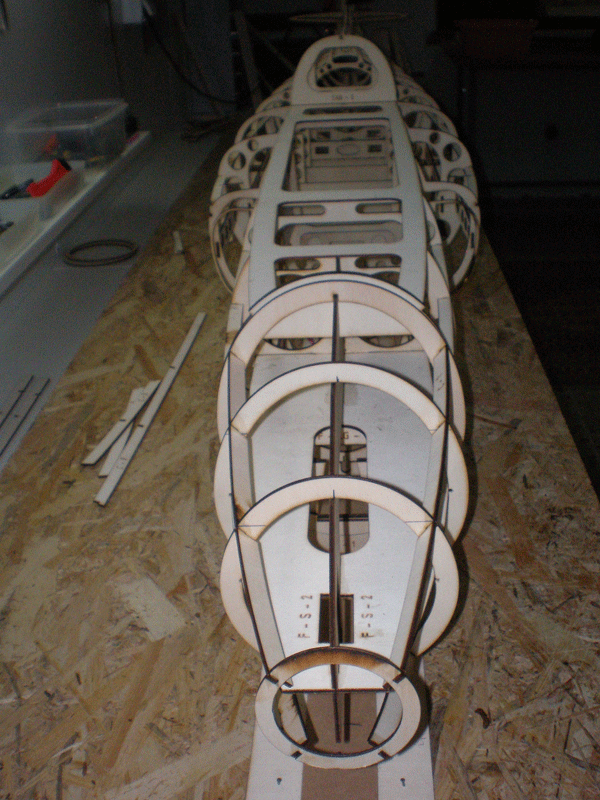

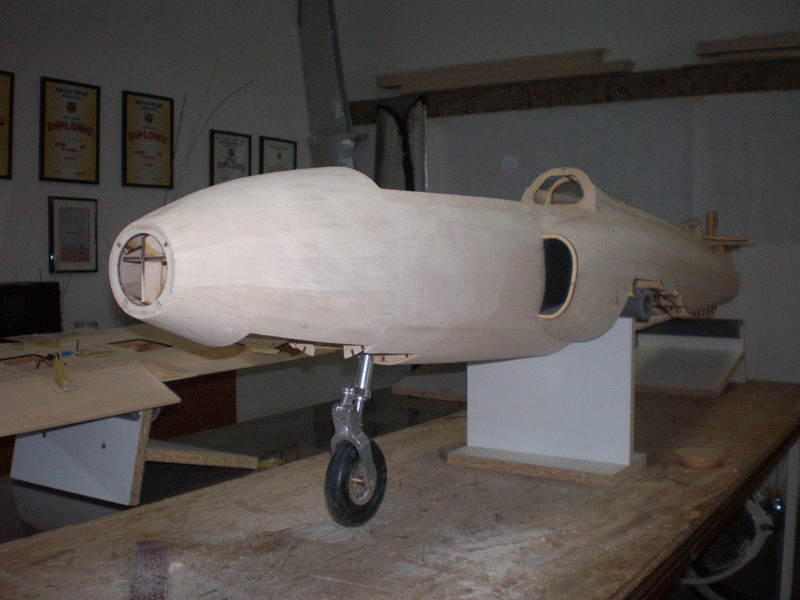
On smaller Galeb I slightly sand front fuselage side...
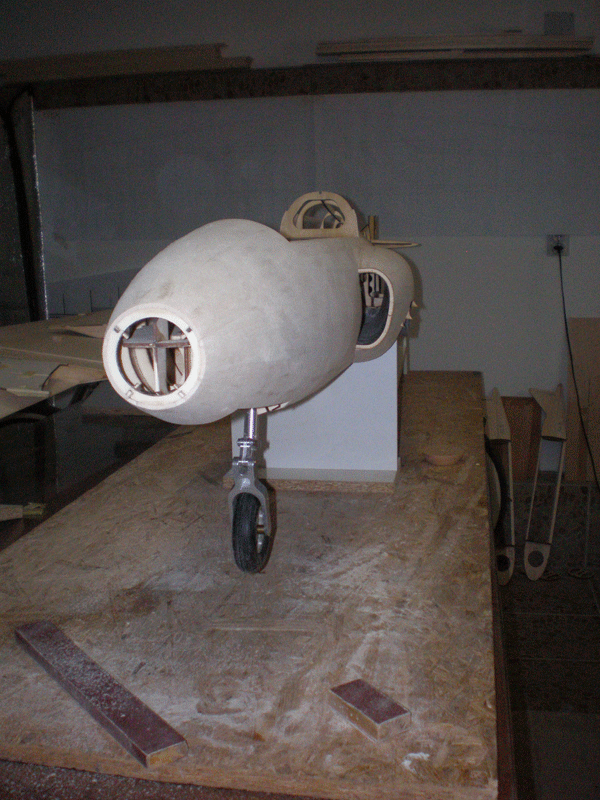
Dragan cut all parts for elevator and rudder for bigger G2. Elevator building technique was same like for smaller model...


Because his laser cut machine is 900mm long and leading edge is more than 1000mm, we cut front part from two pieces. In the middle I add two small balsa parts...

Next step, 3mm balsa for leading edge...

Then I put elevator on fuselage to check how it lying... Pictures all speeches...


Check slot between elevator and FT2 part. There will come 3 mm balsa cover...

No any of that parts are sanding. Everything fit like Puzzle...
I made front fuselage pieces for both model...


On smaller Galeb I slightly sand front fuselage side...


