Skygate C-ARF L39 build thread and virtual manual

 07-10-2019, 02:52 AM
#127


Join Date: Dec 2011
Location: burlingtonontario, CANADA
Posts: 403
Likes: 0
Received 0 Likes
on
0 Posts
The Mustang is one of the last made by Fischer.
Build thread here http://www.rcuniverse.com/forum/rc-w...-anyone-3.html
Build thread here http://www.rcuniverse.com/forum/rc-w...-anyone-3.html
 09-12-2019, 06:48 AM
#129
My Feedback: (1)

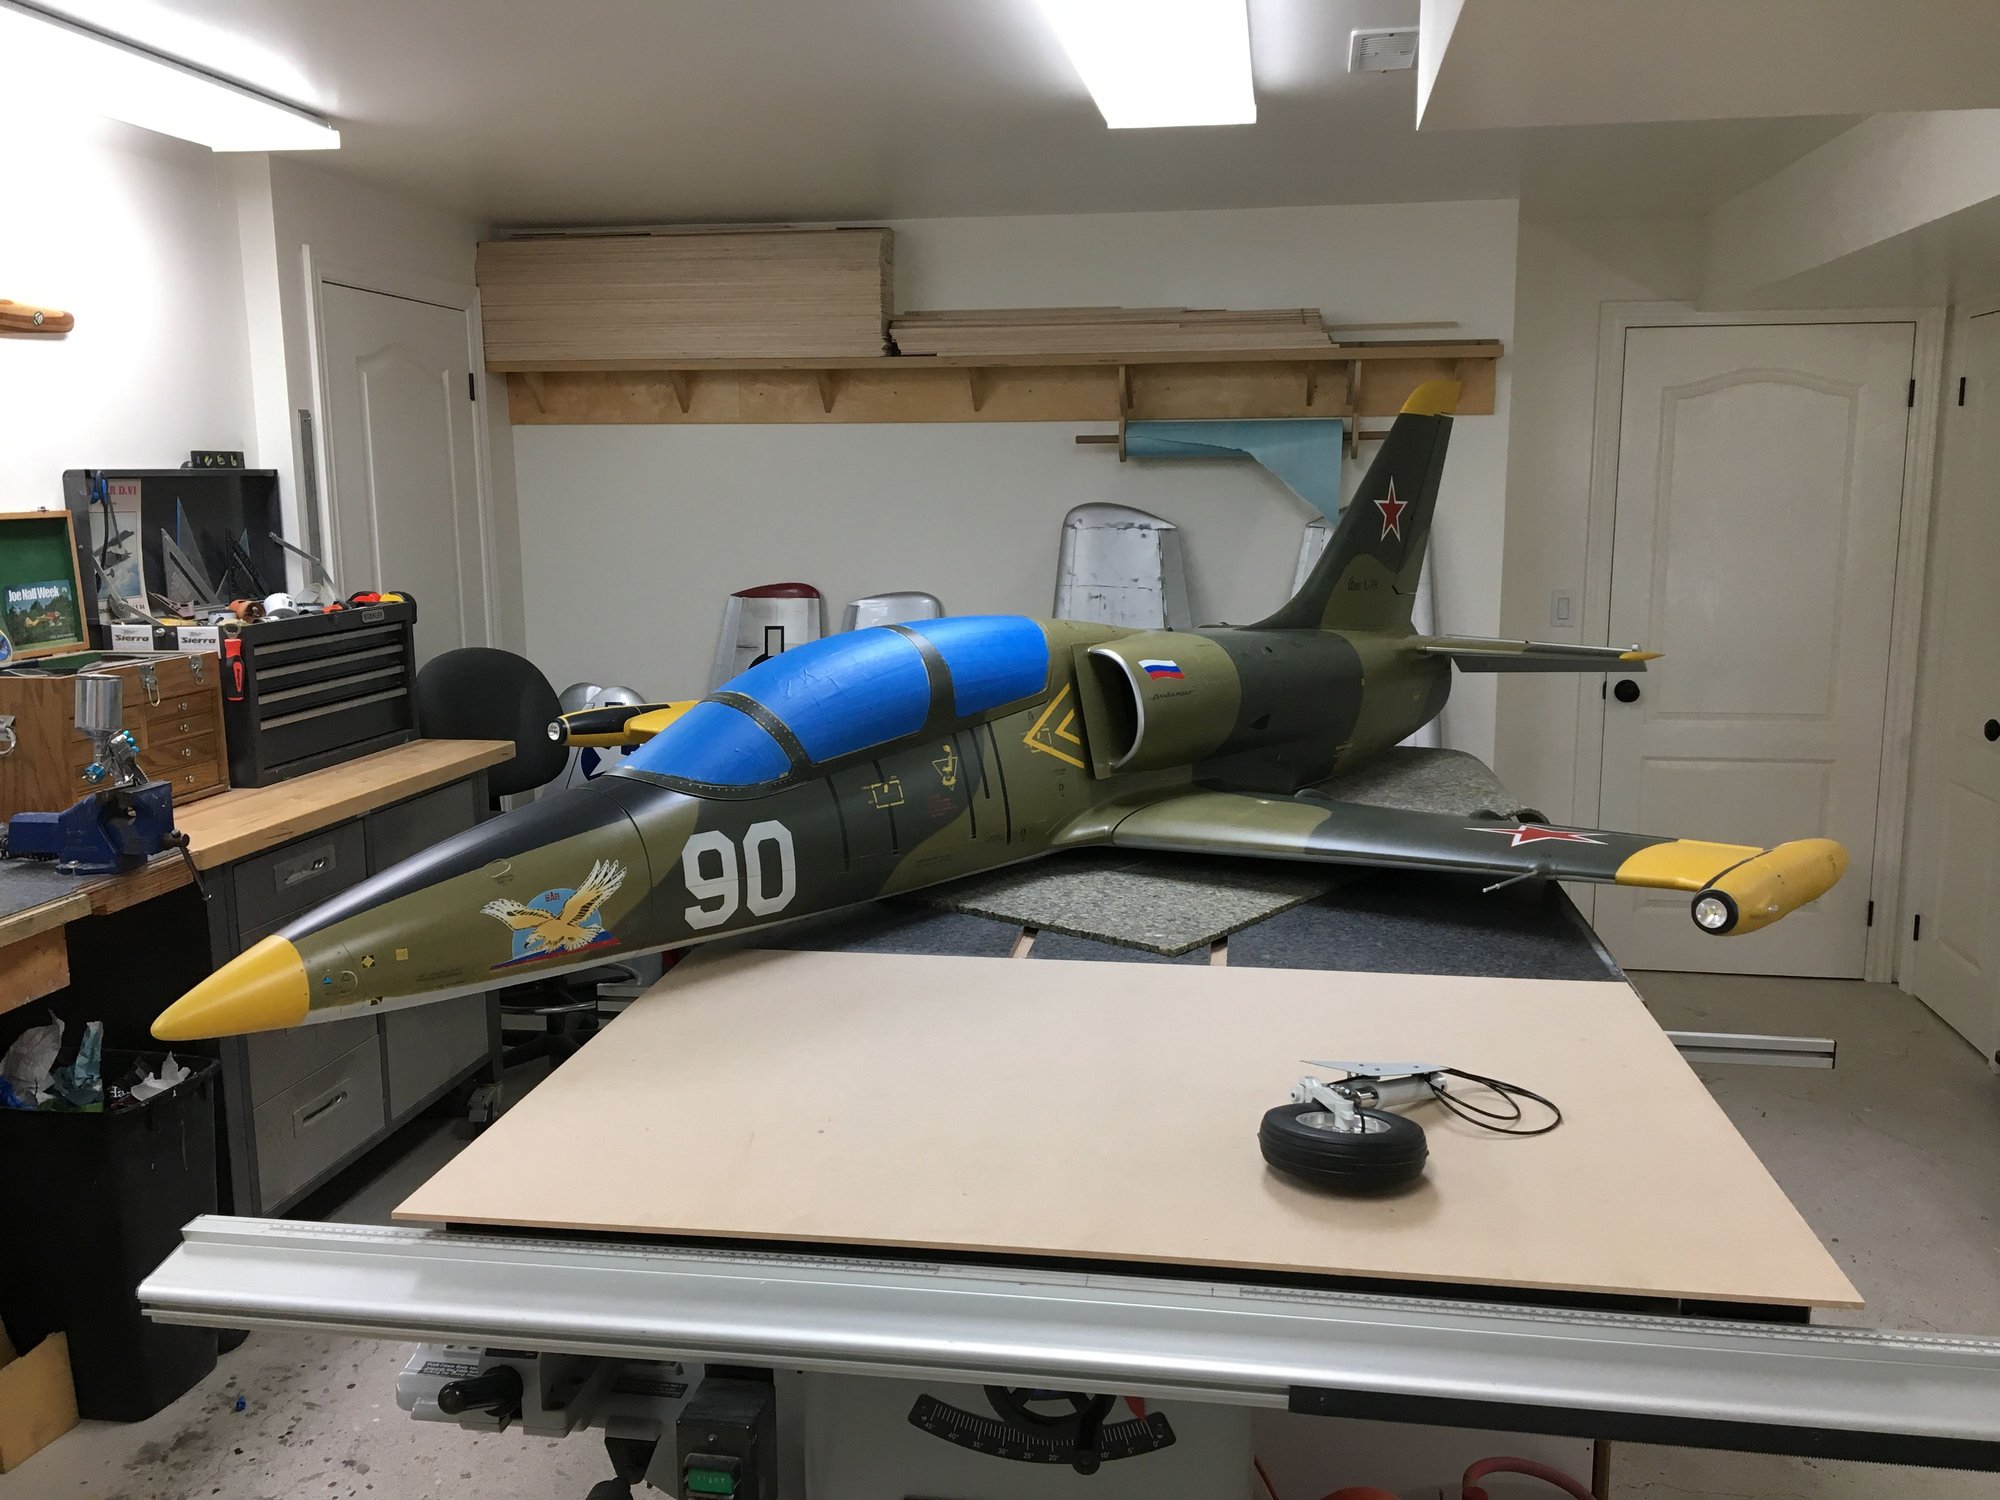
Hey All. Just received this beautiful plane this week.
Unfortunately it's not mine but I am building this for a friend.
Here is the unboxing video if your interested. It's long but there are lots of things to go through.
Looking forward to this build! I'll be posting more videos as the build progresses.
Unfortunately it's not mine but I am building this for a friend.
Here is the unboxing video if your interested. It's long but there are lots of things to go through.
Looking forward to this build! I'll be posting more videos as the build progresses.
Last edited by Canadian Man; 09-12-2019 at 06:52 AM.


 09-18-2019, 07:03 AM
#132
10-28-2019, 10:41 AM
#140
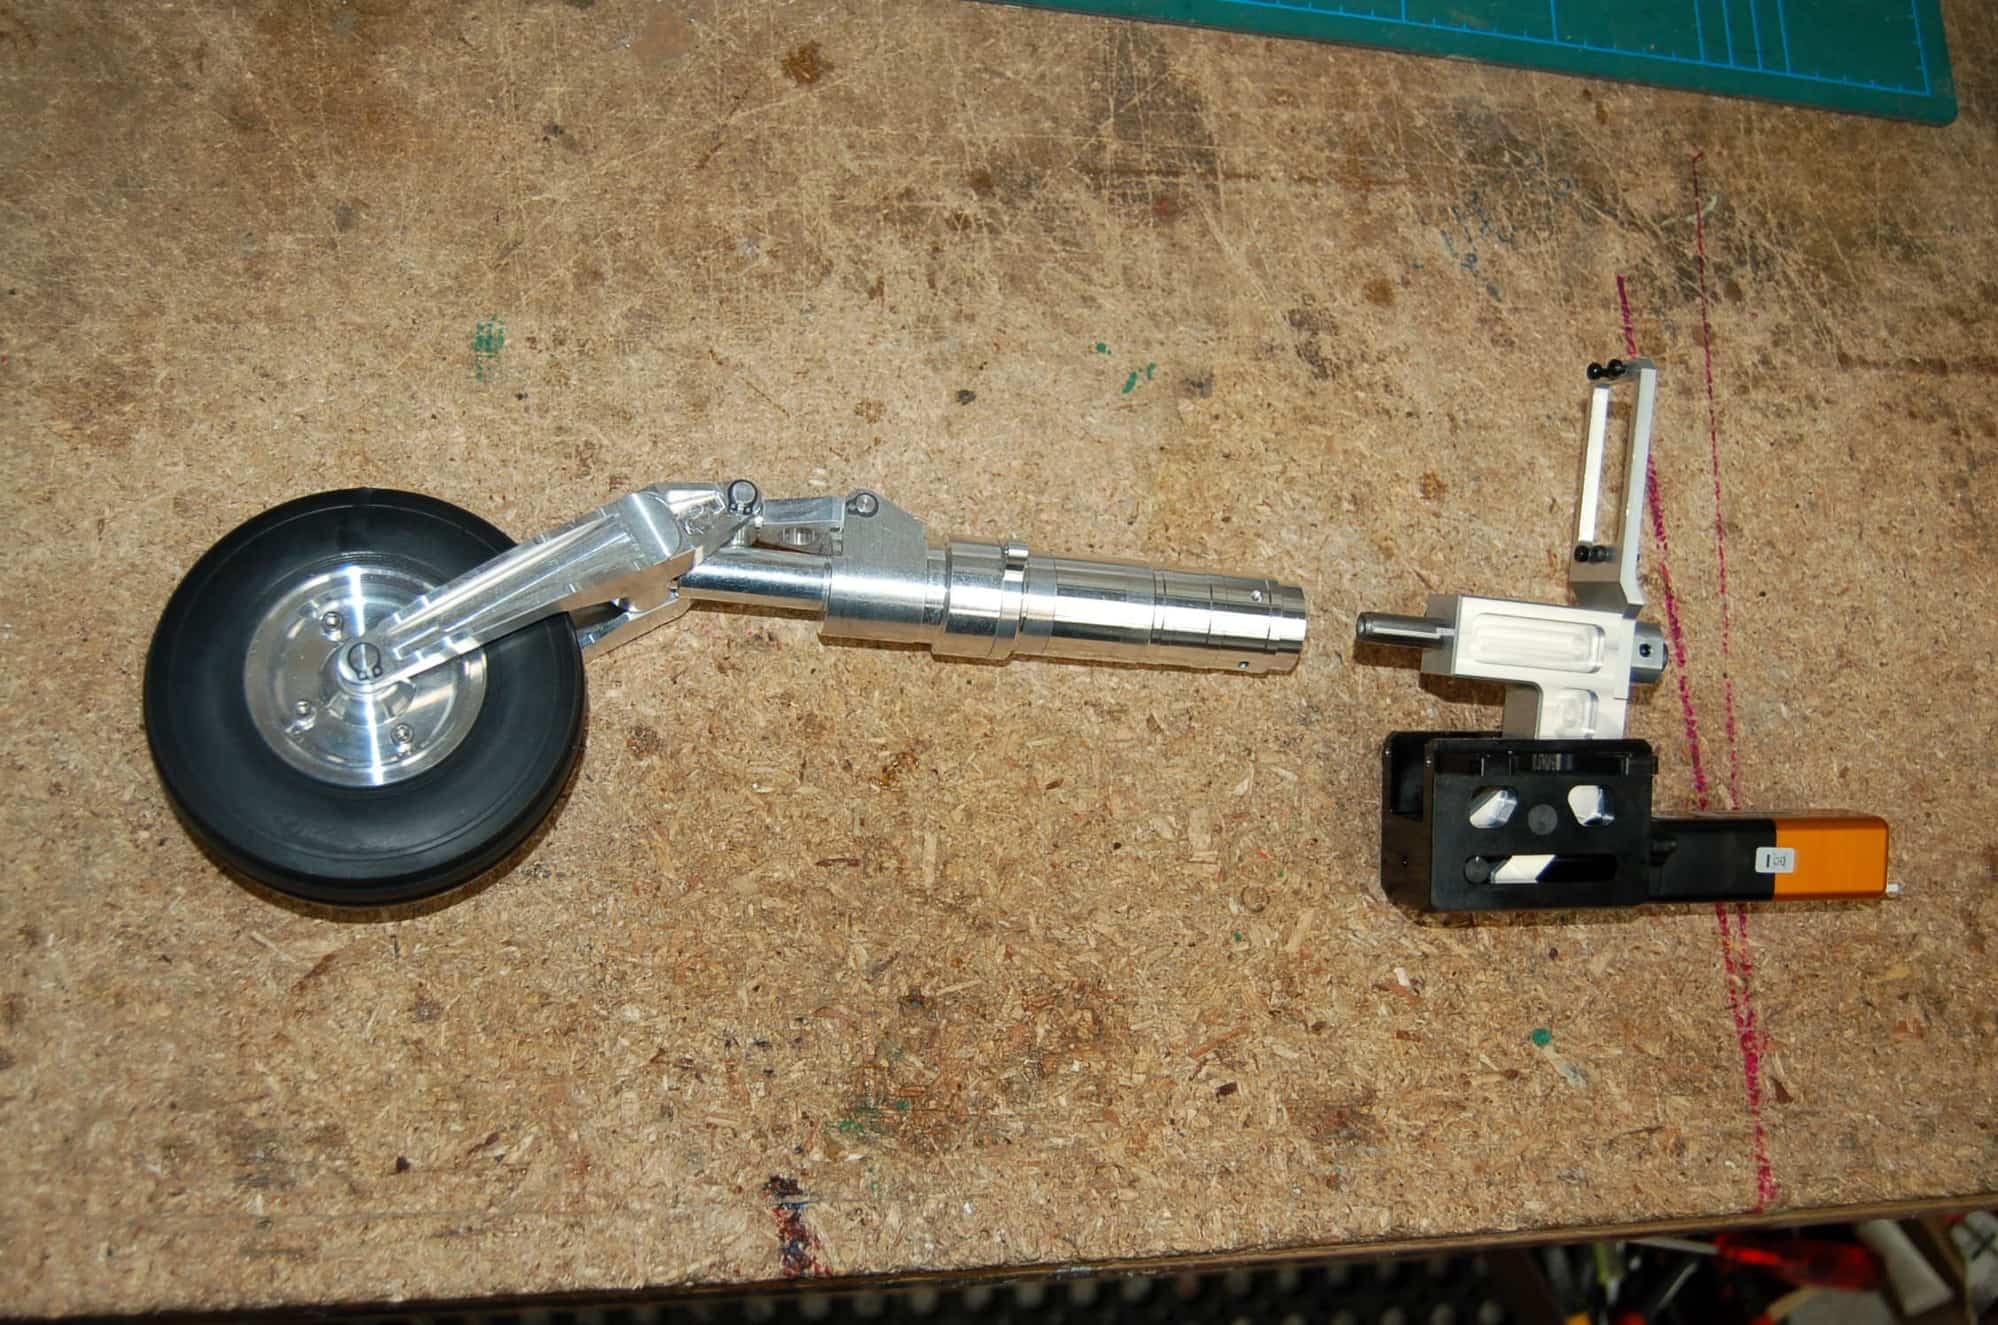
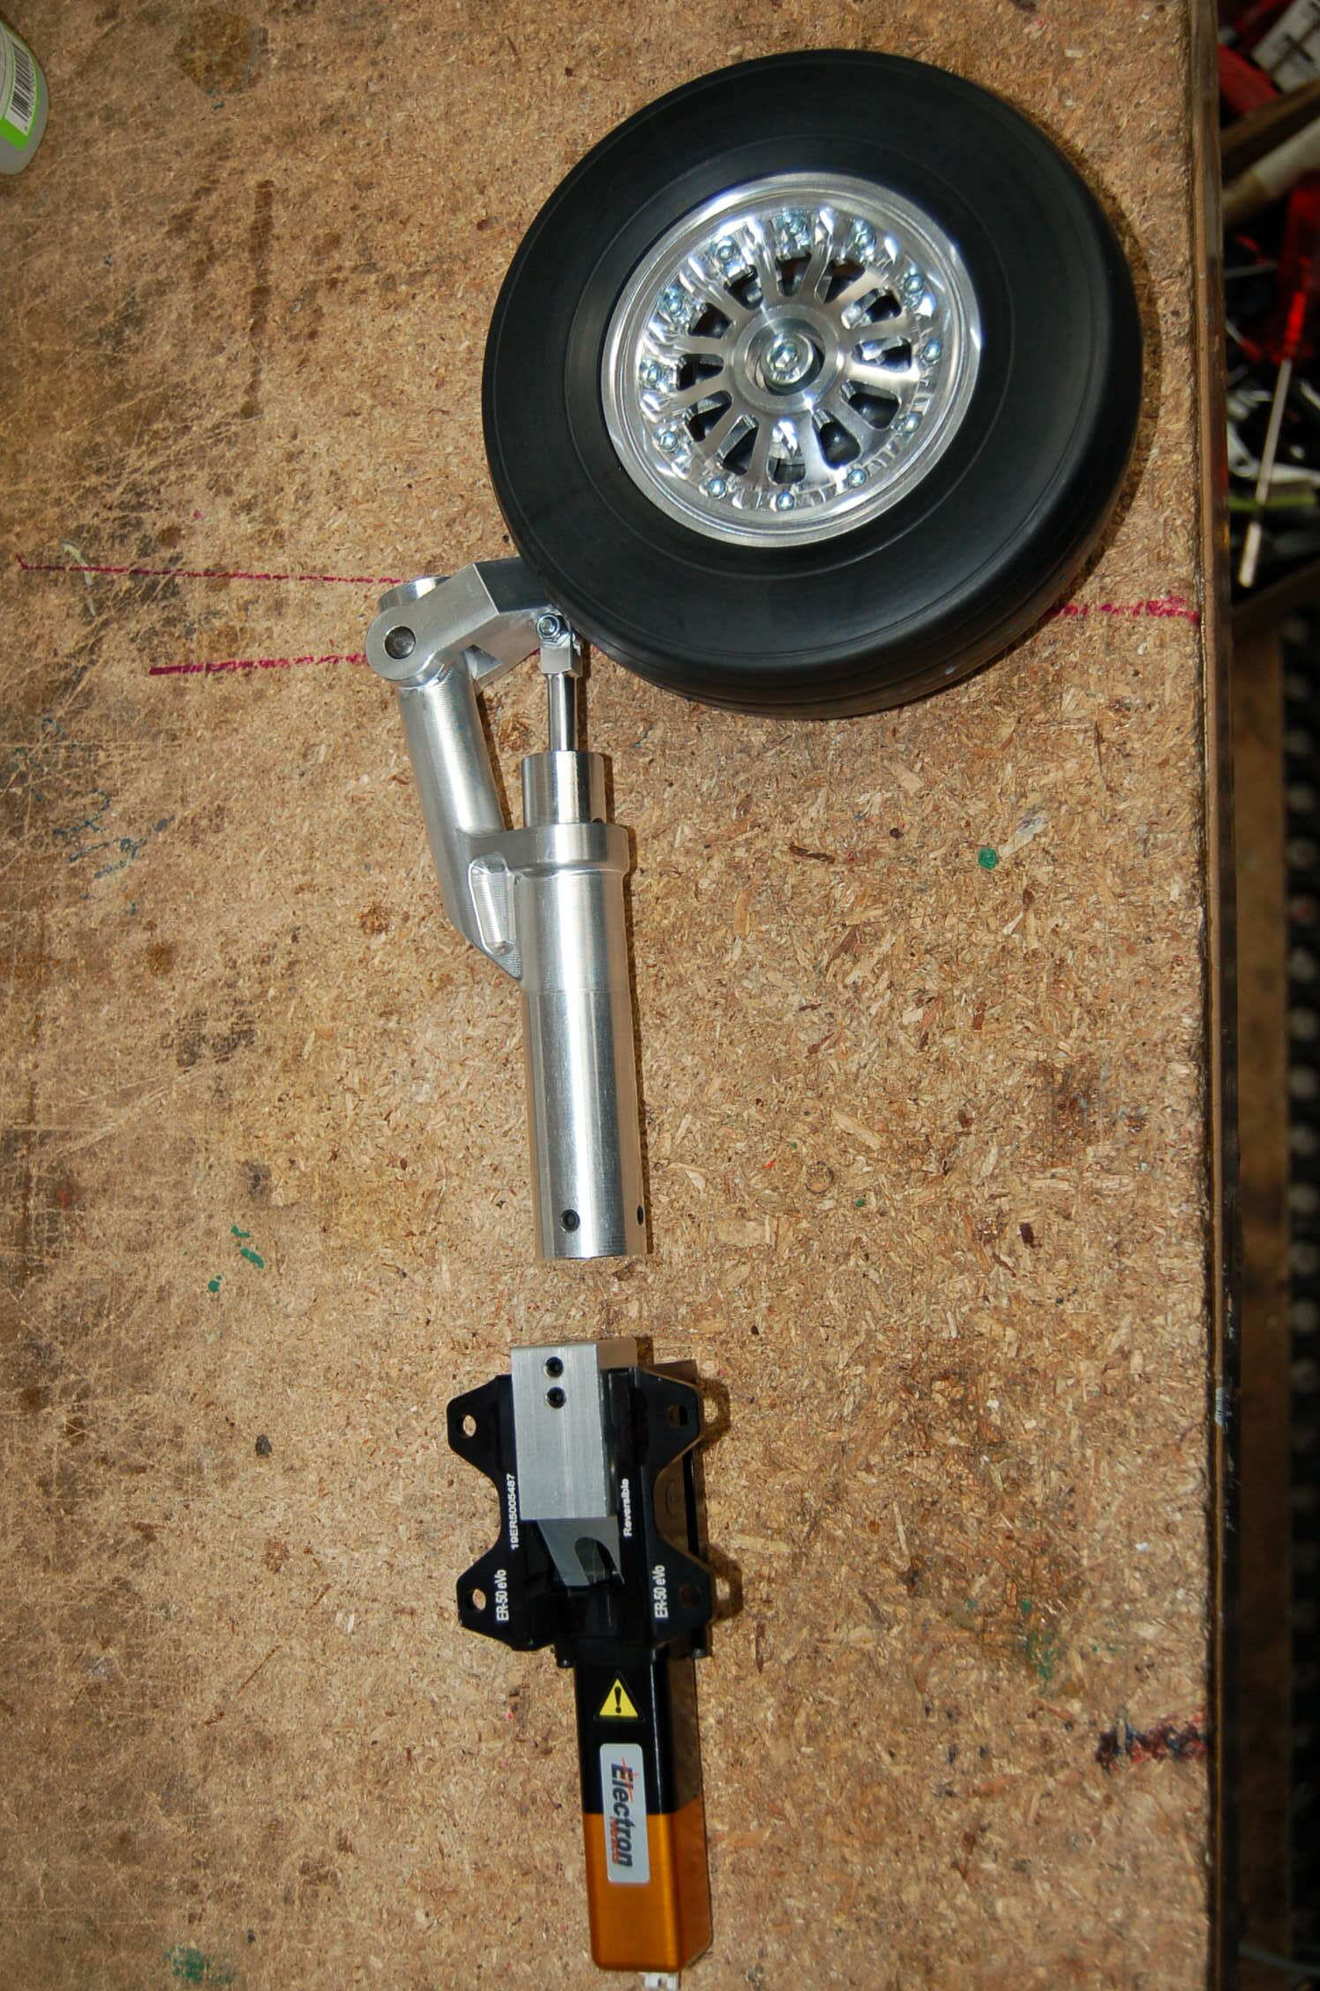
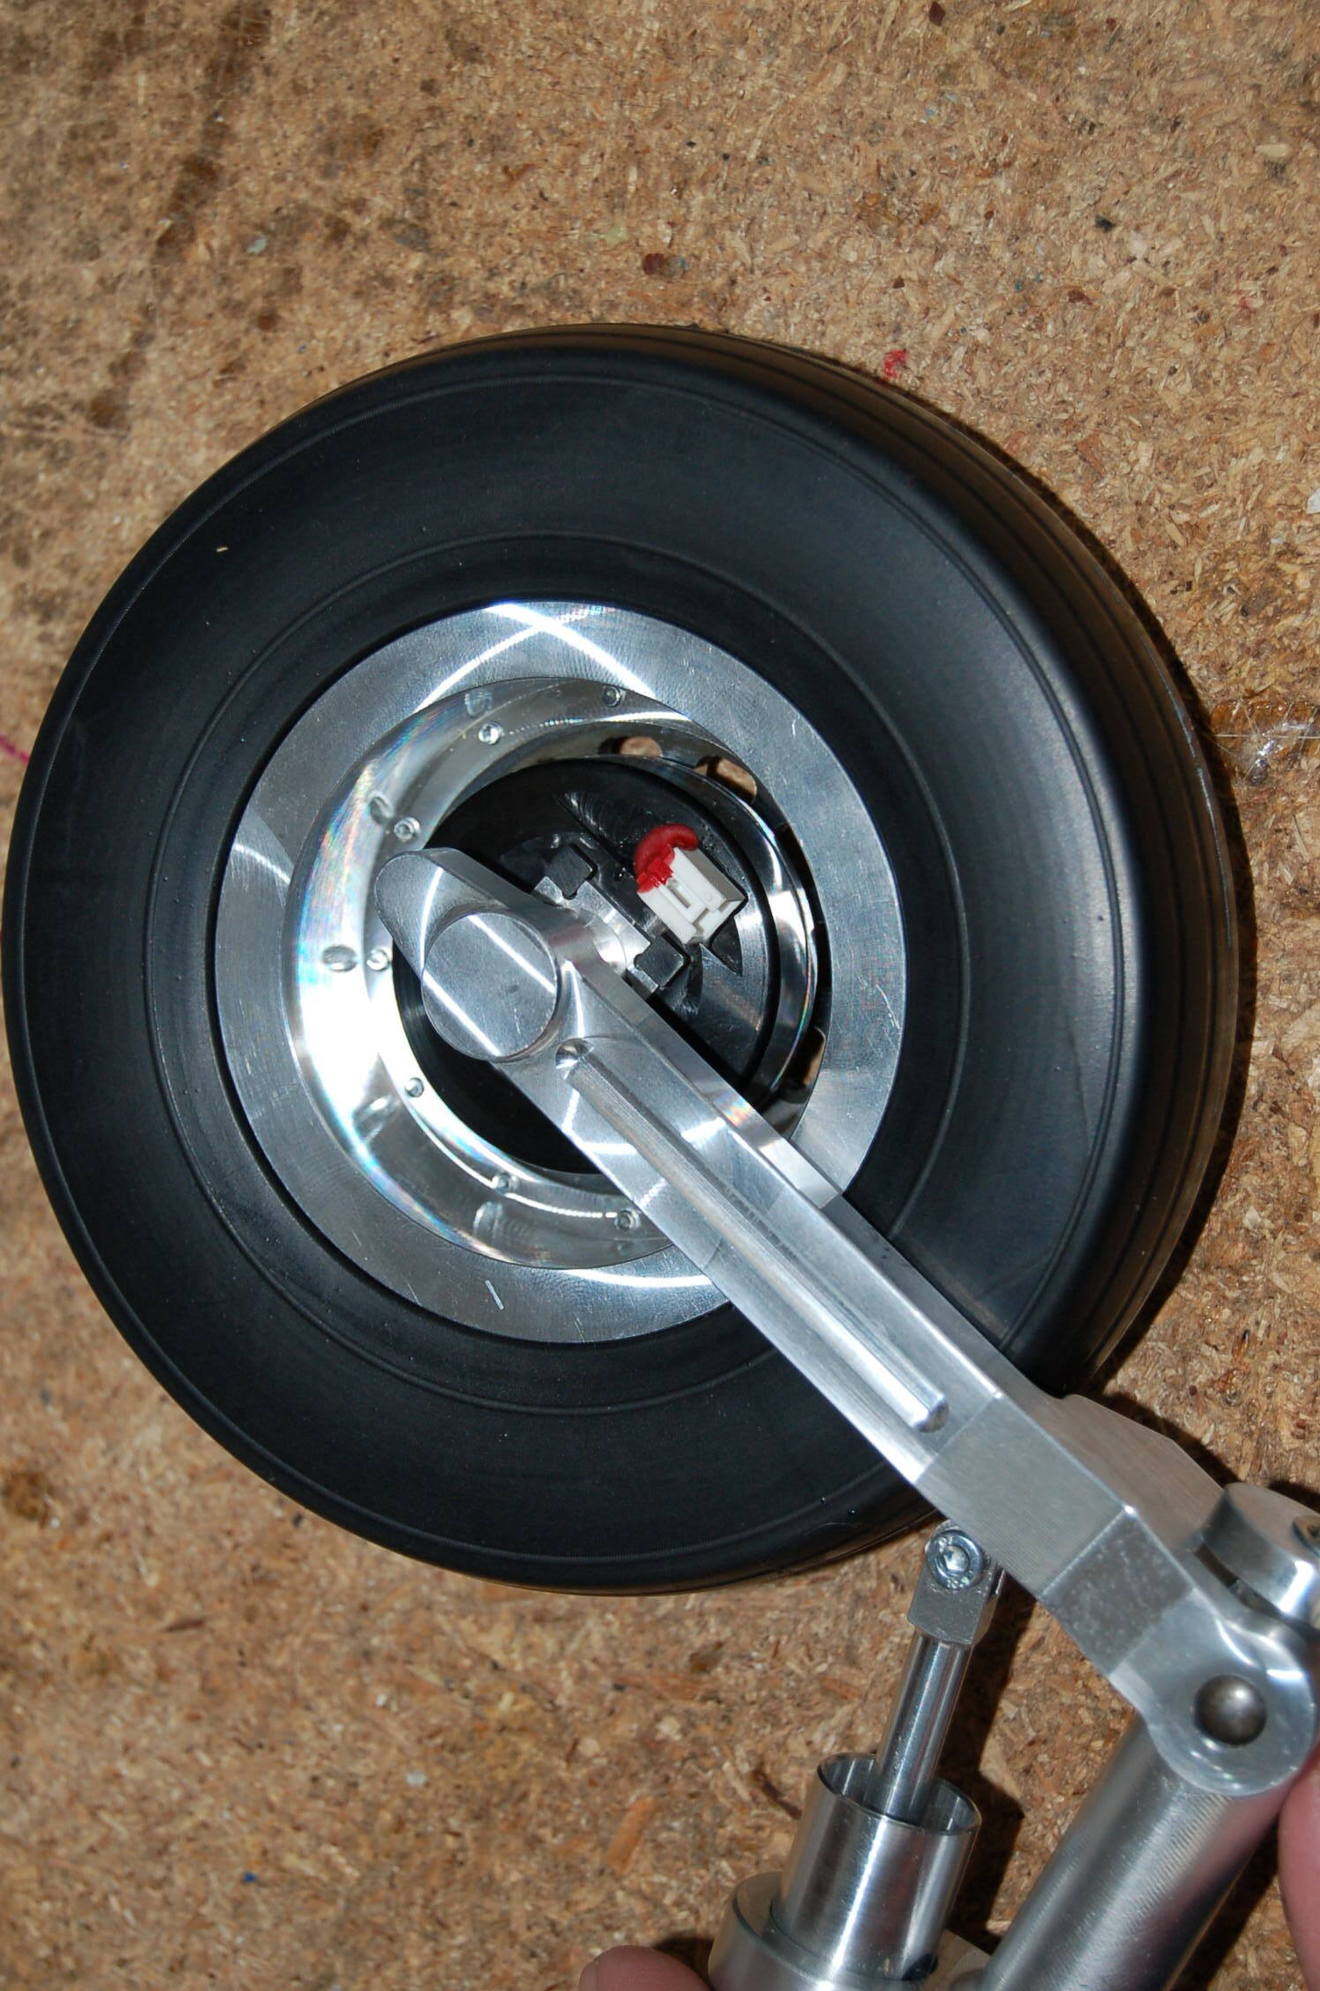
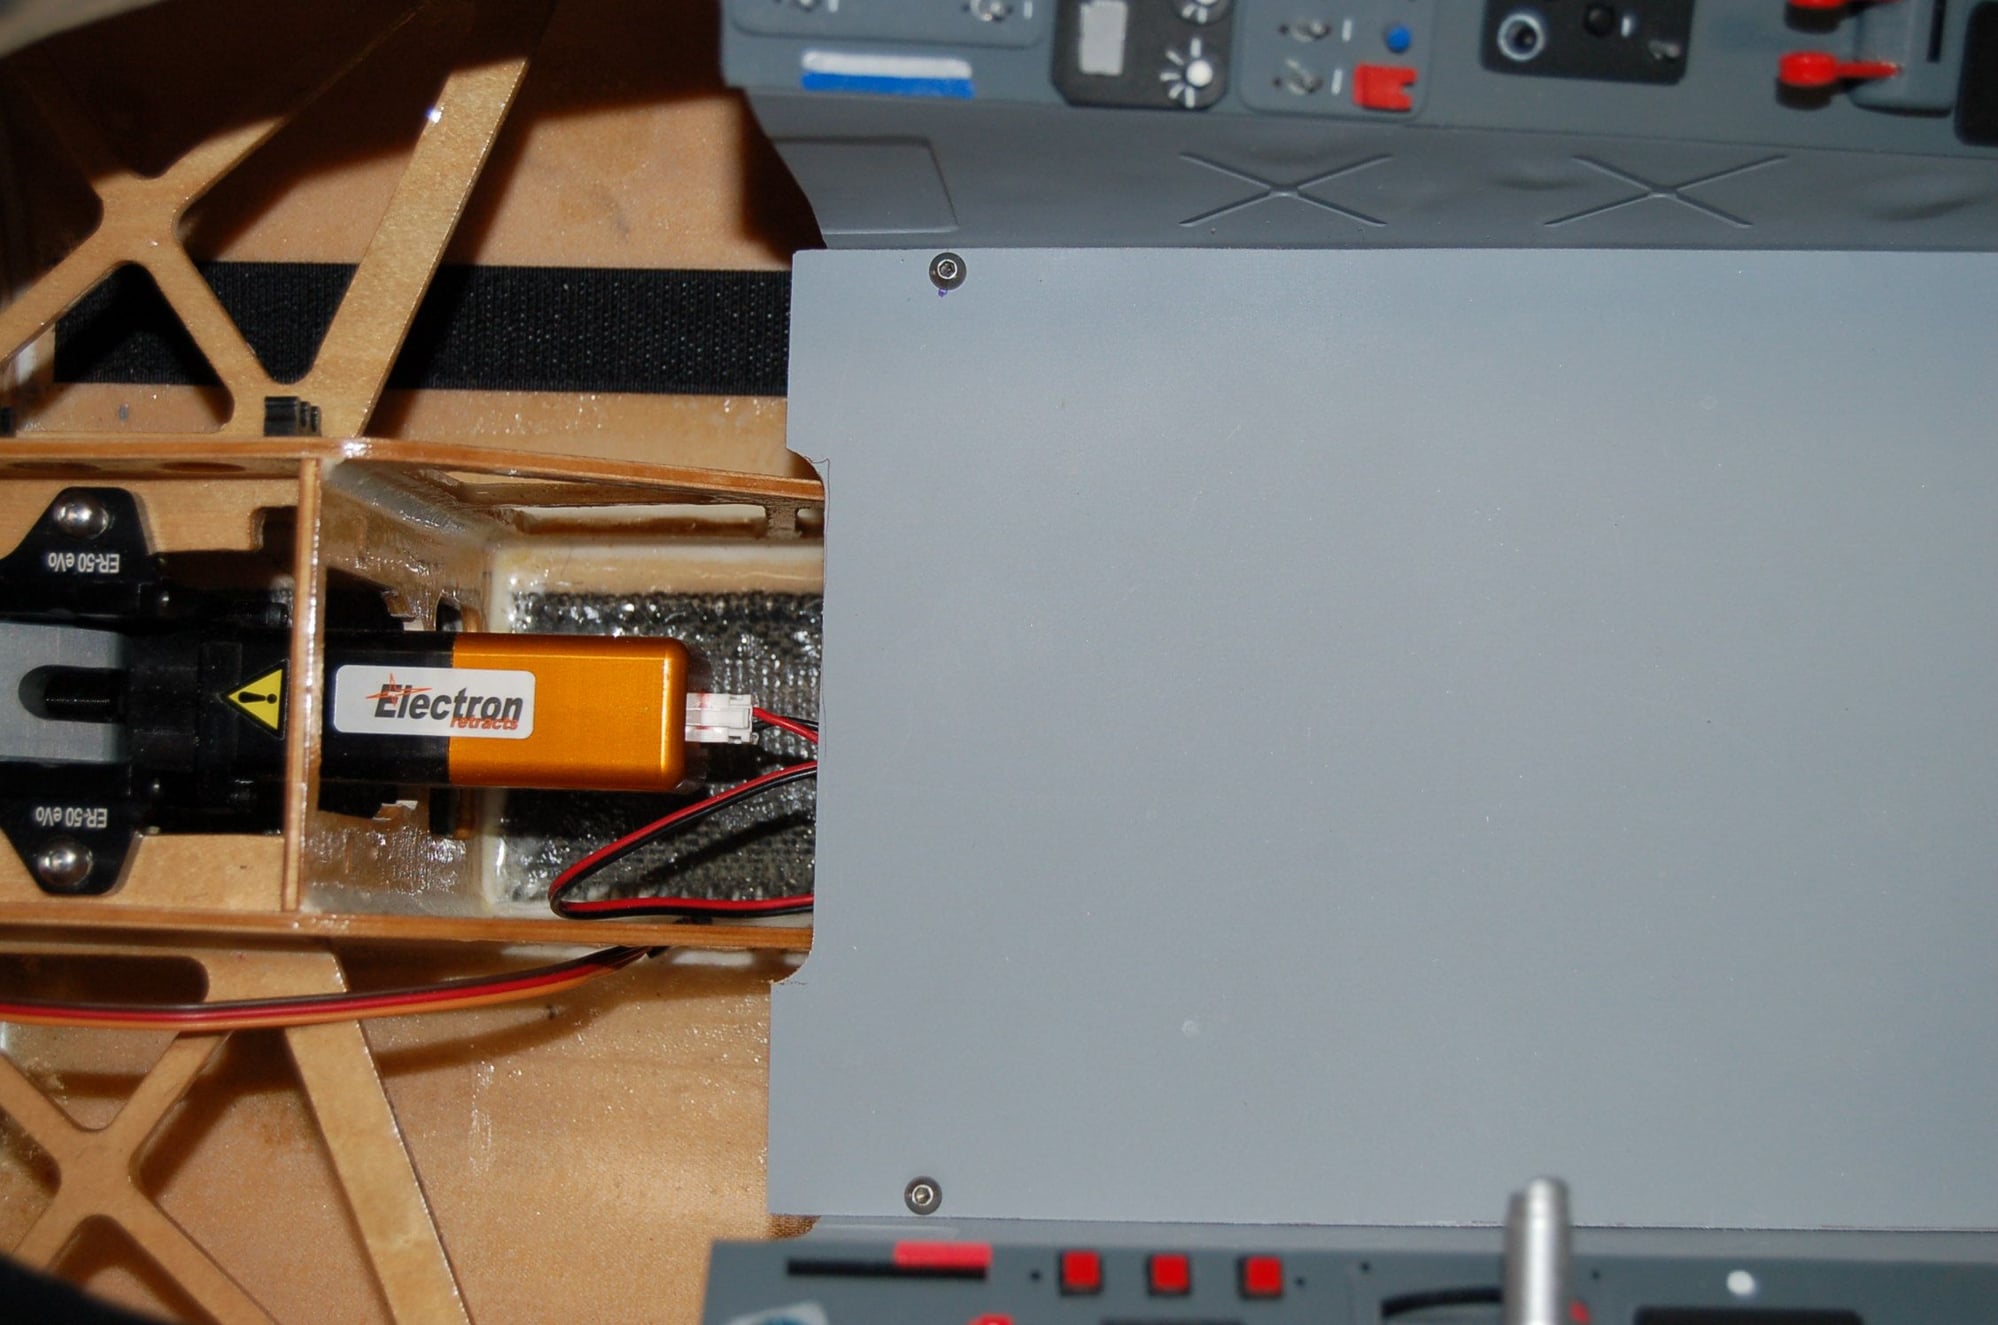
If you are waiting for the electric gear it will come with a GS200 Electron controller, use the sequencer in that and not the 28x. The time you have there is not long enough.
I always use PT-40 thinned with alcohol for the wood work.
I always use PT-40 thinned with alcohol for the wood work.
11-01-2019, 02:52 AM
#143
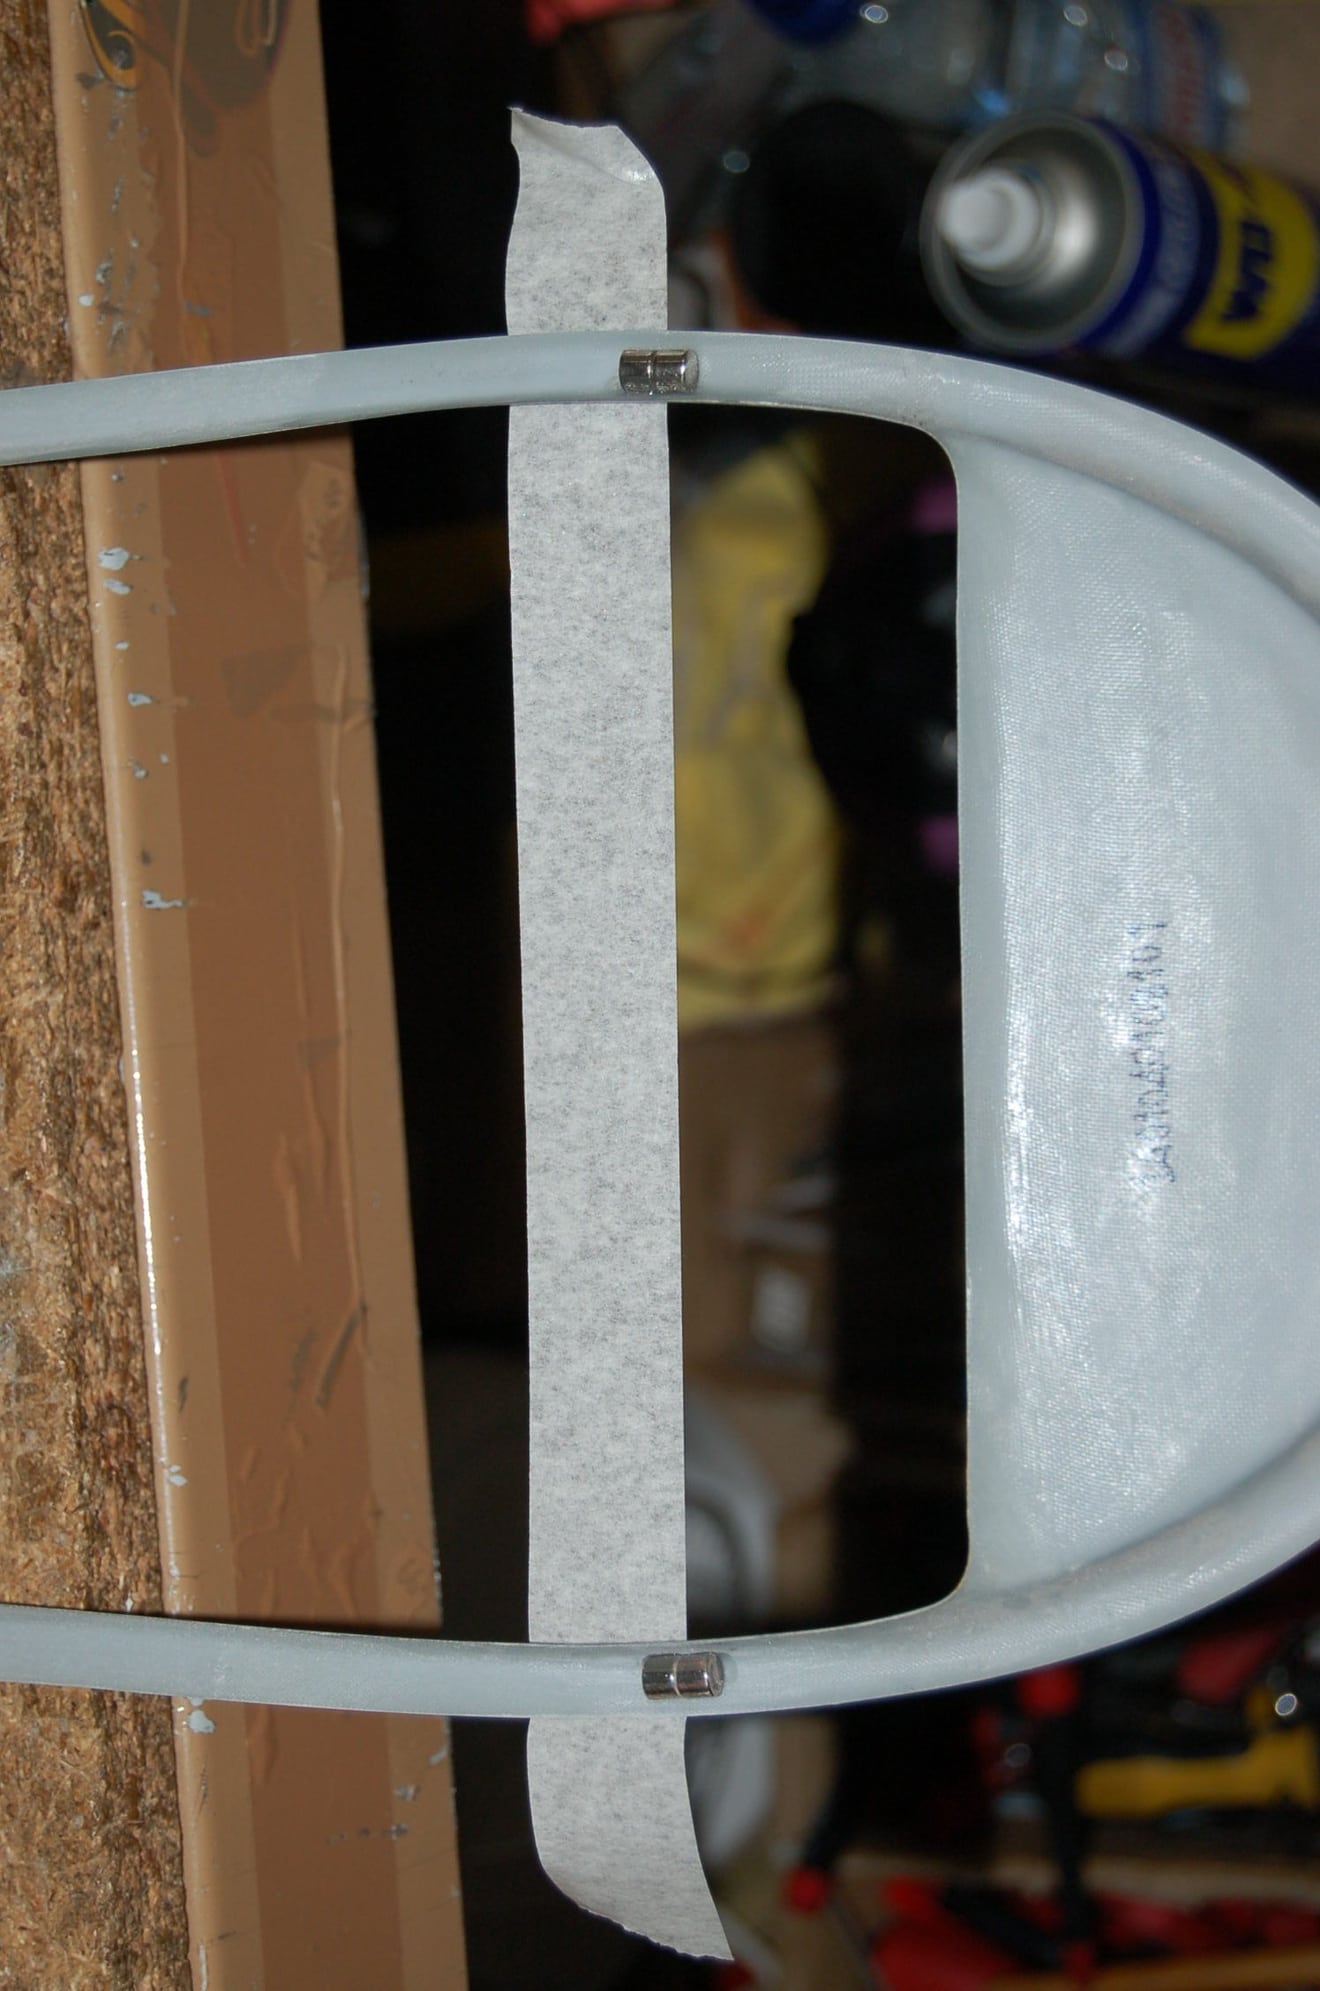
Just working on the cockpit of another Transformer L-39 and scratched my head on getting the canopy frame cover in with the glass fitted. Just cutting it in two and gluing it in position seemed a little too permanent, so I added magnets before cutting the frame. I can hold the frame at one end and it stays put!
This is it dry fitted.

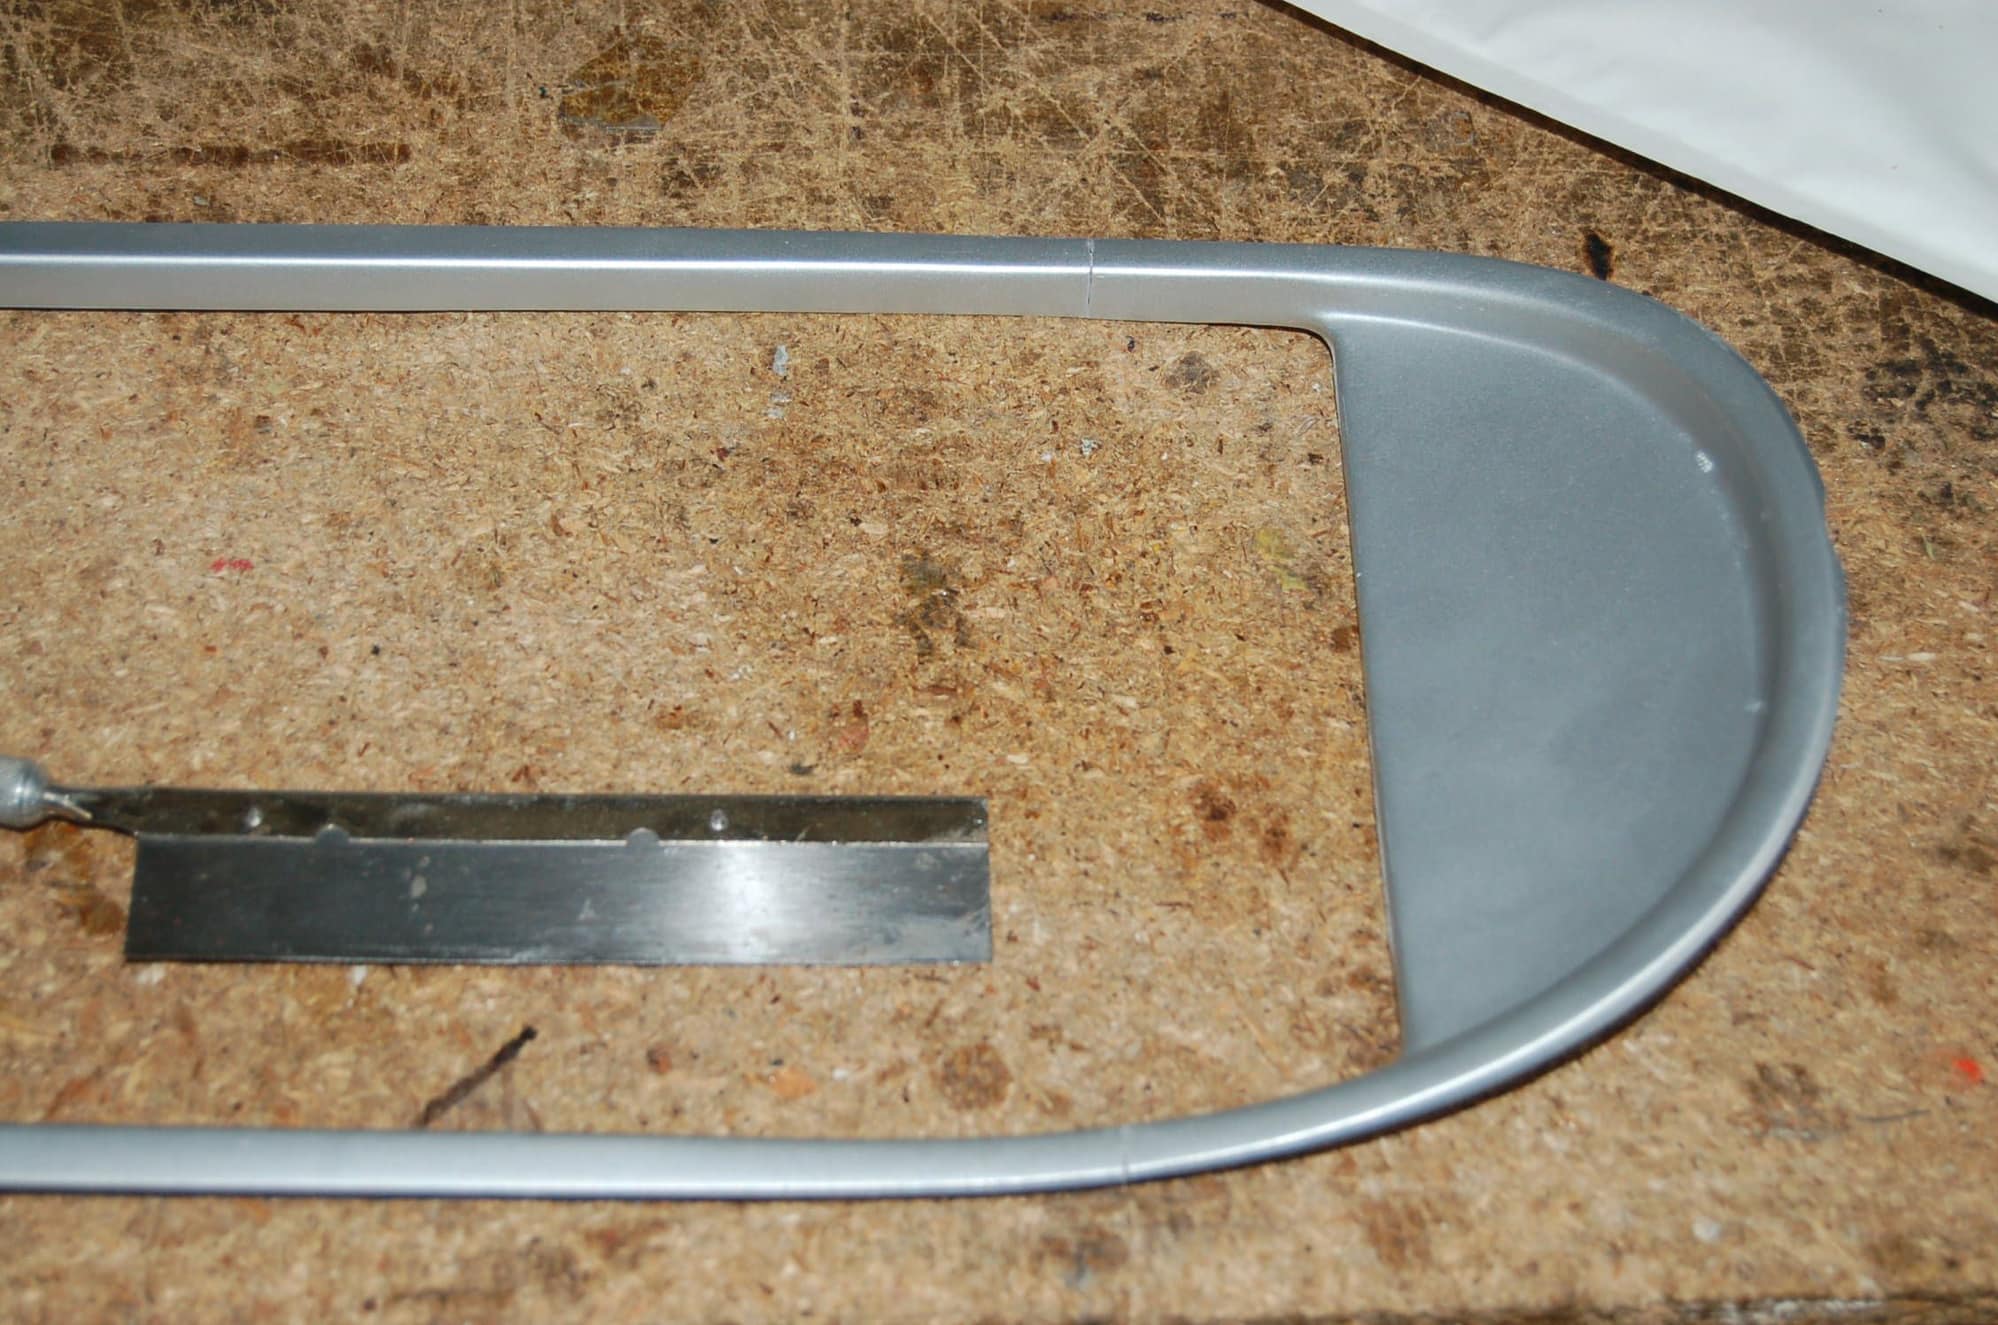
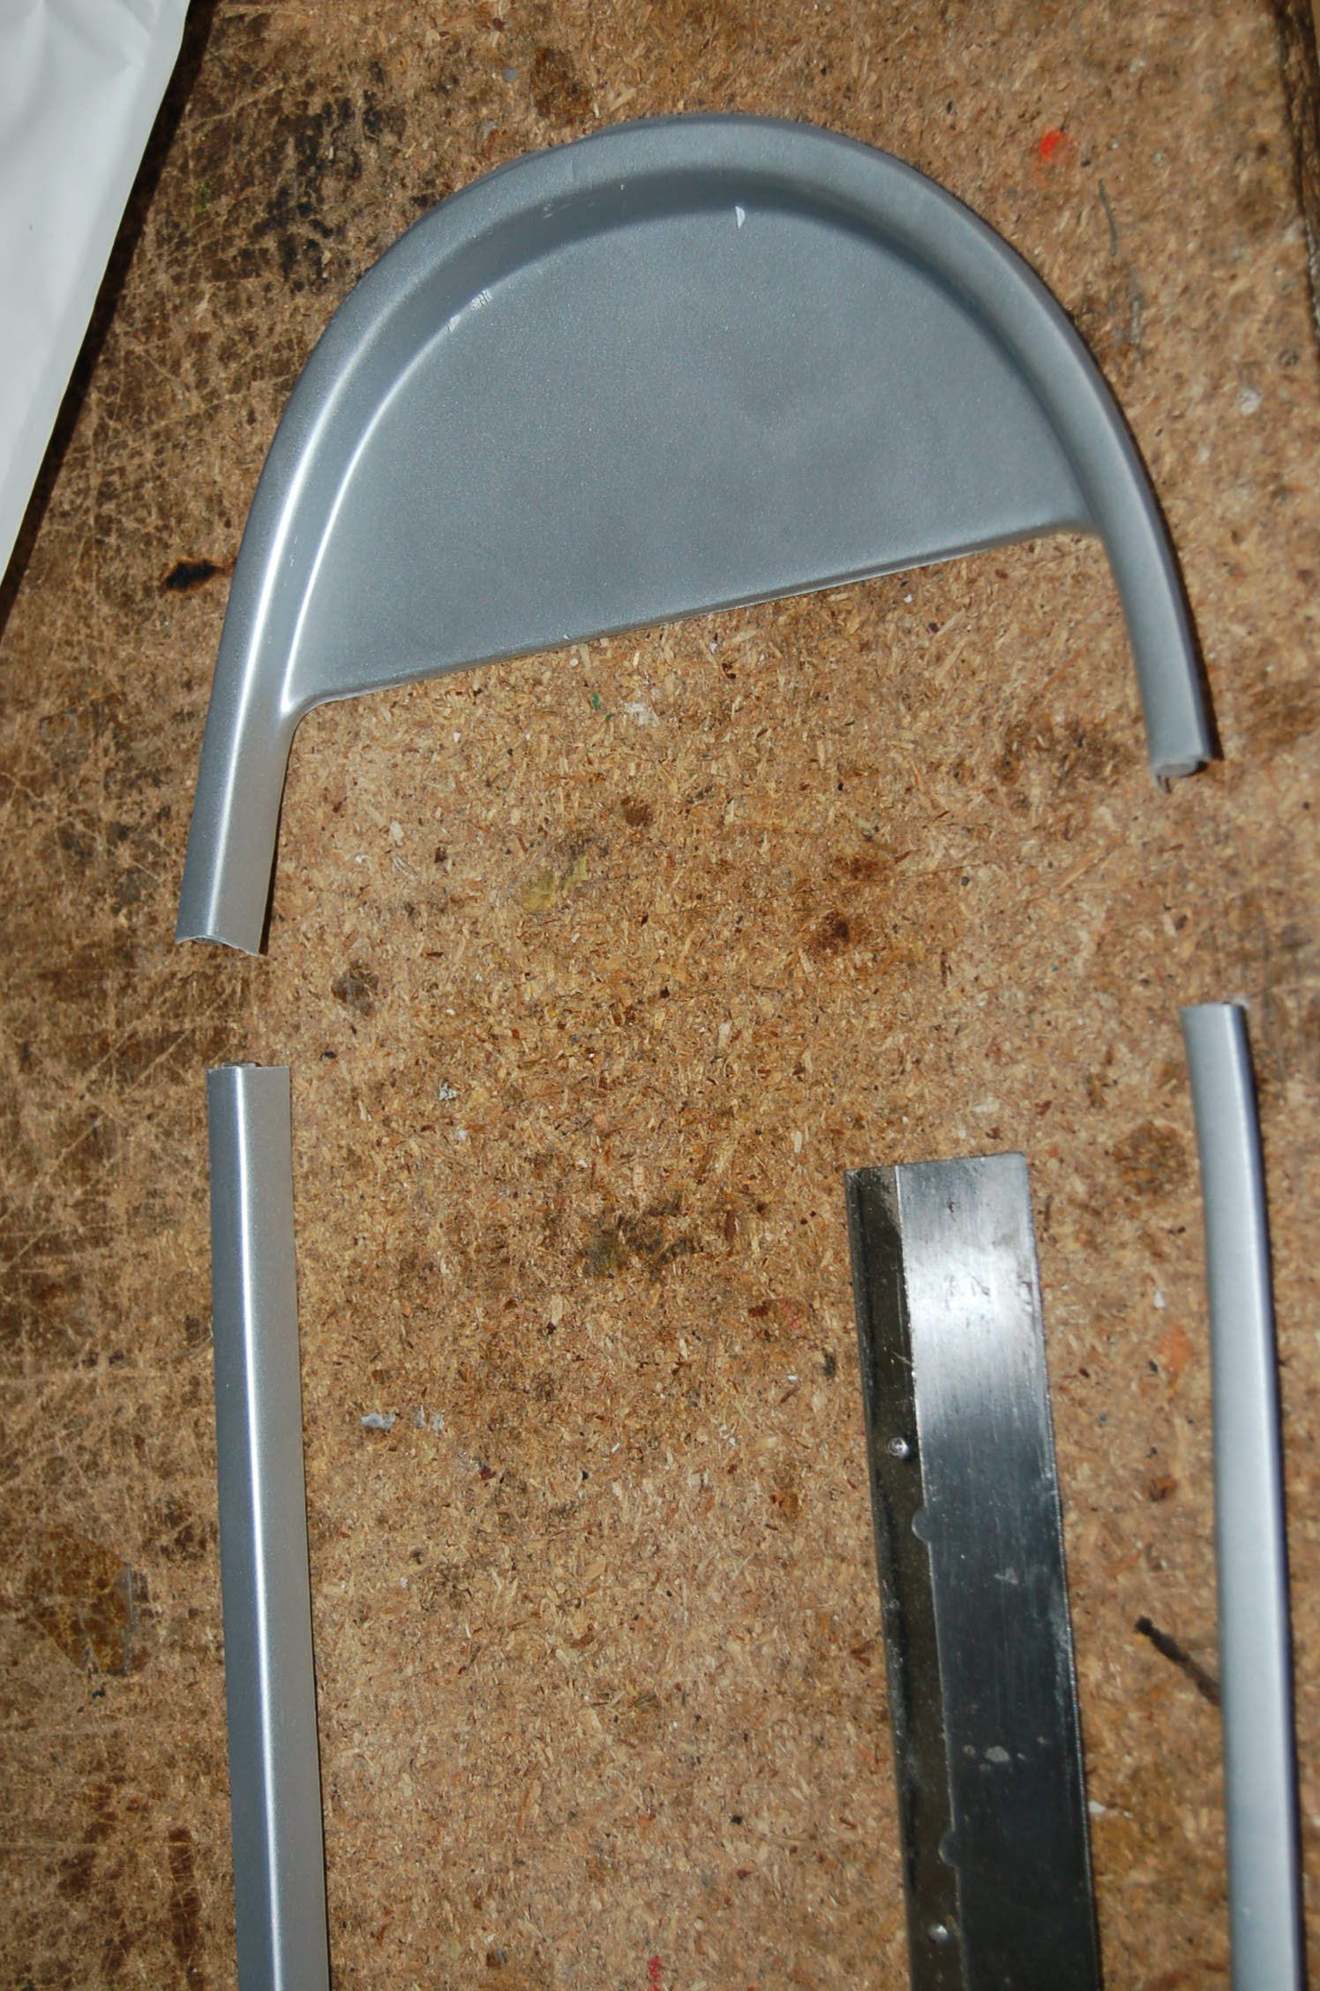
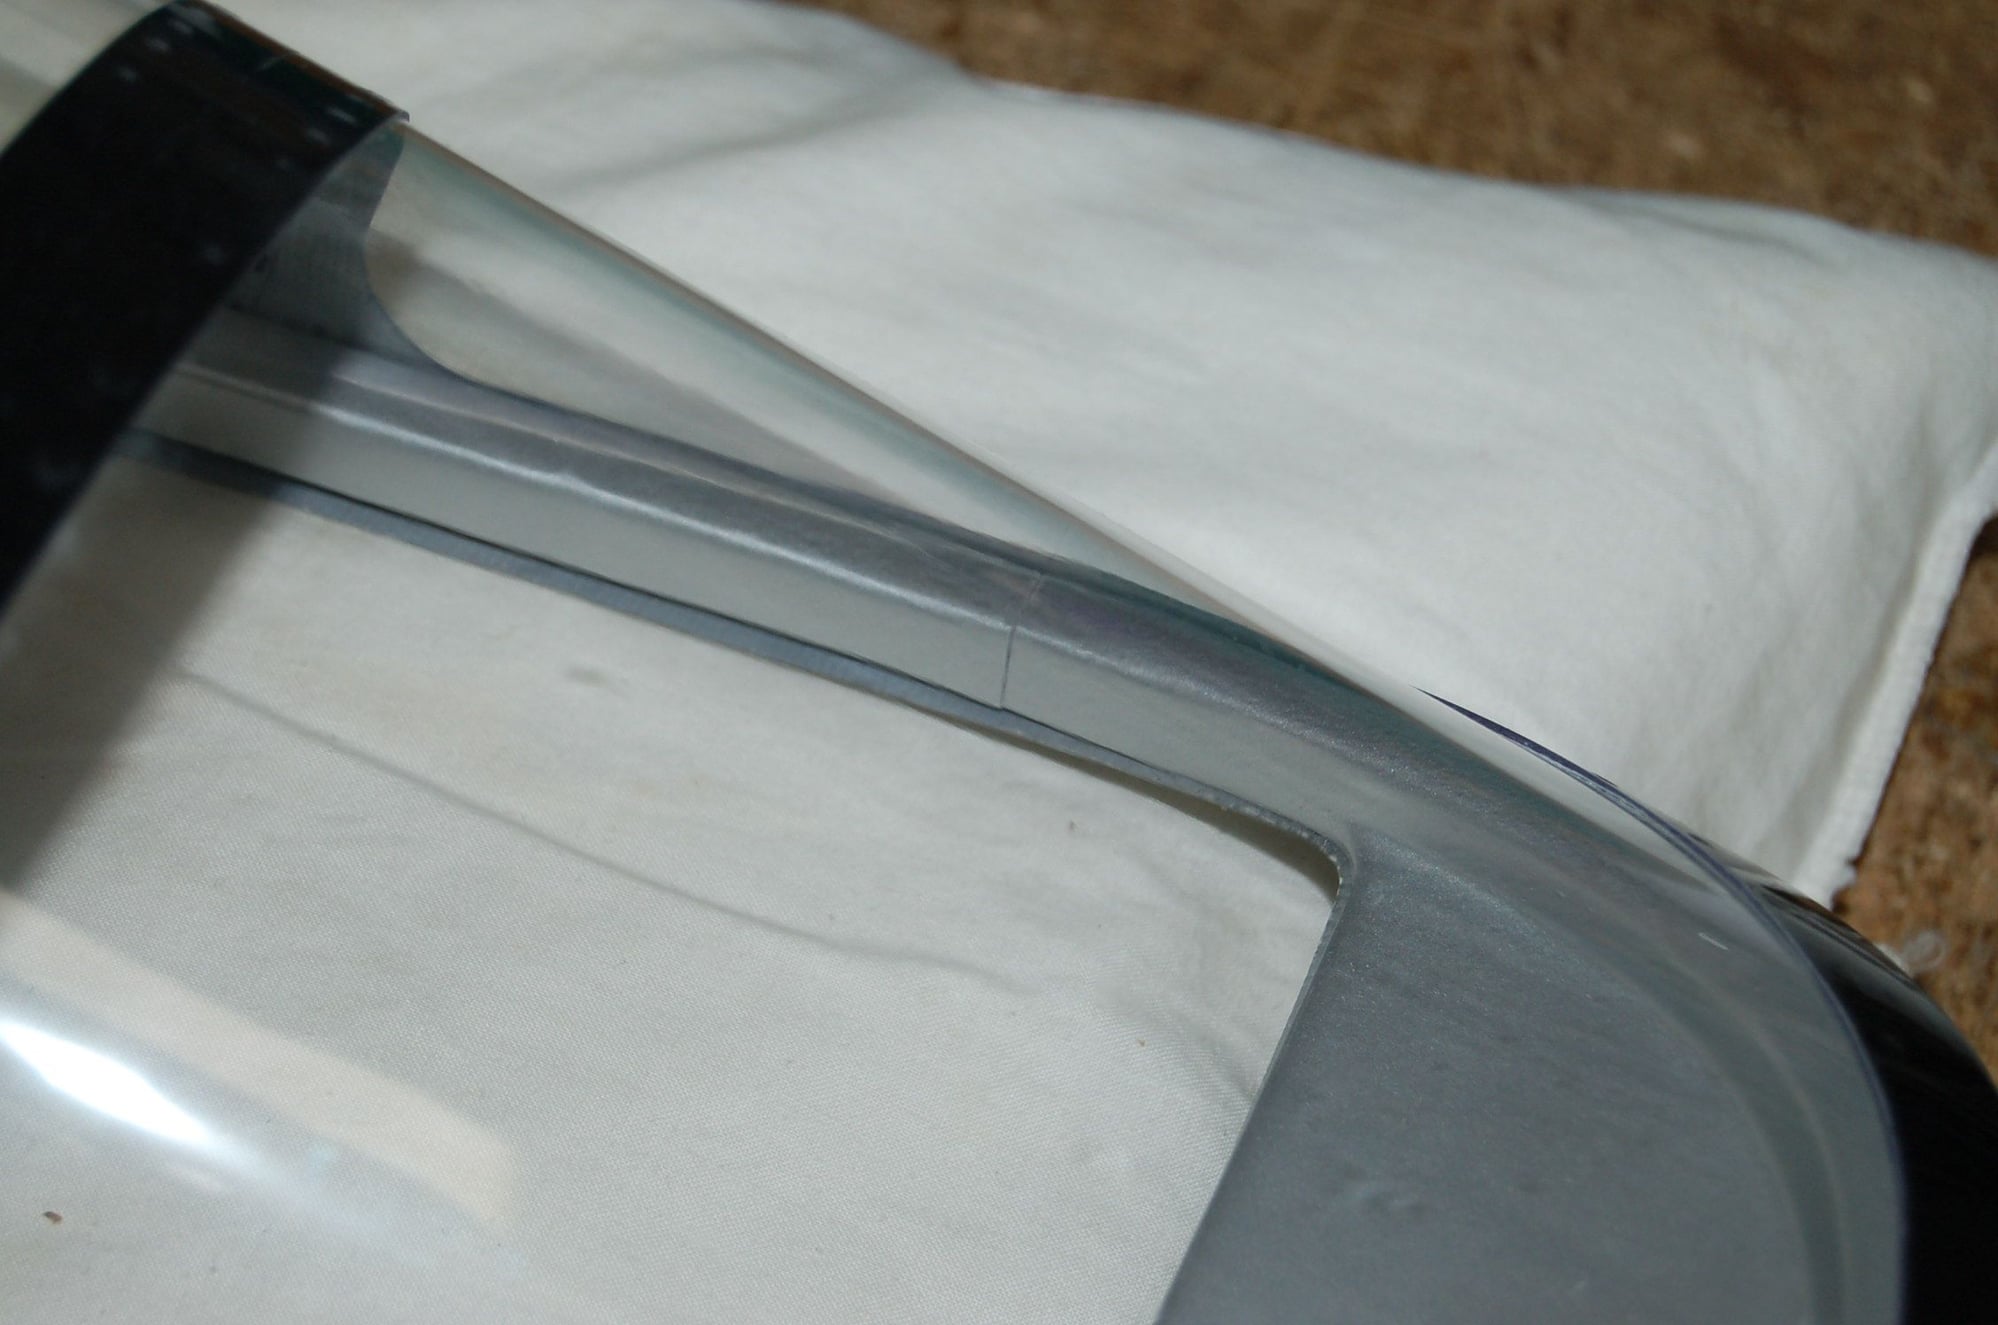
This is it dry fitted.
11-13-2019, 08:01 AM
#149
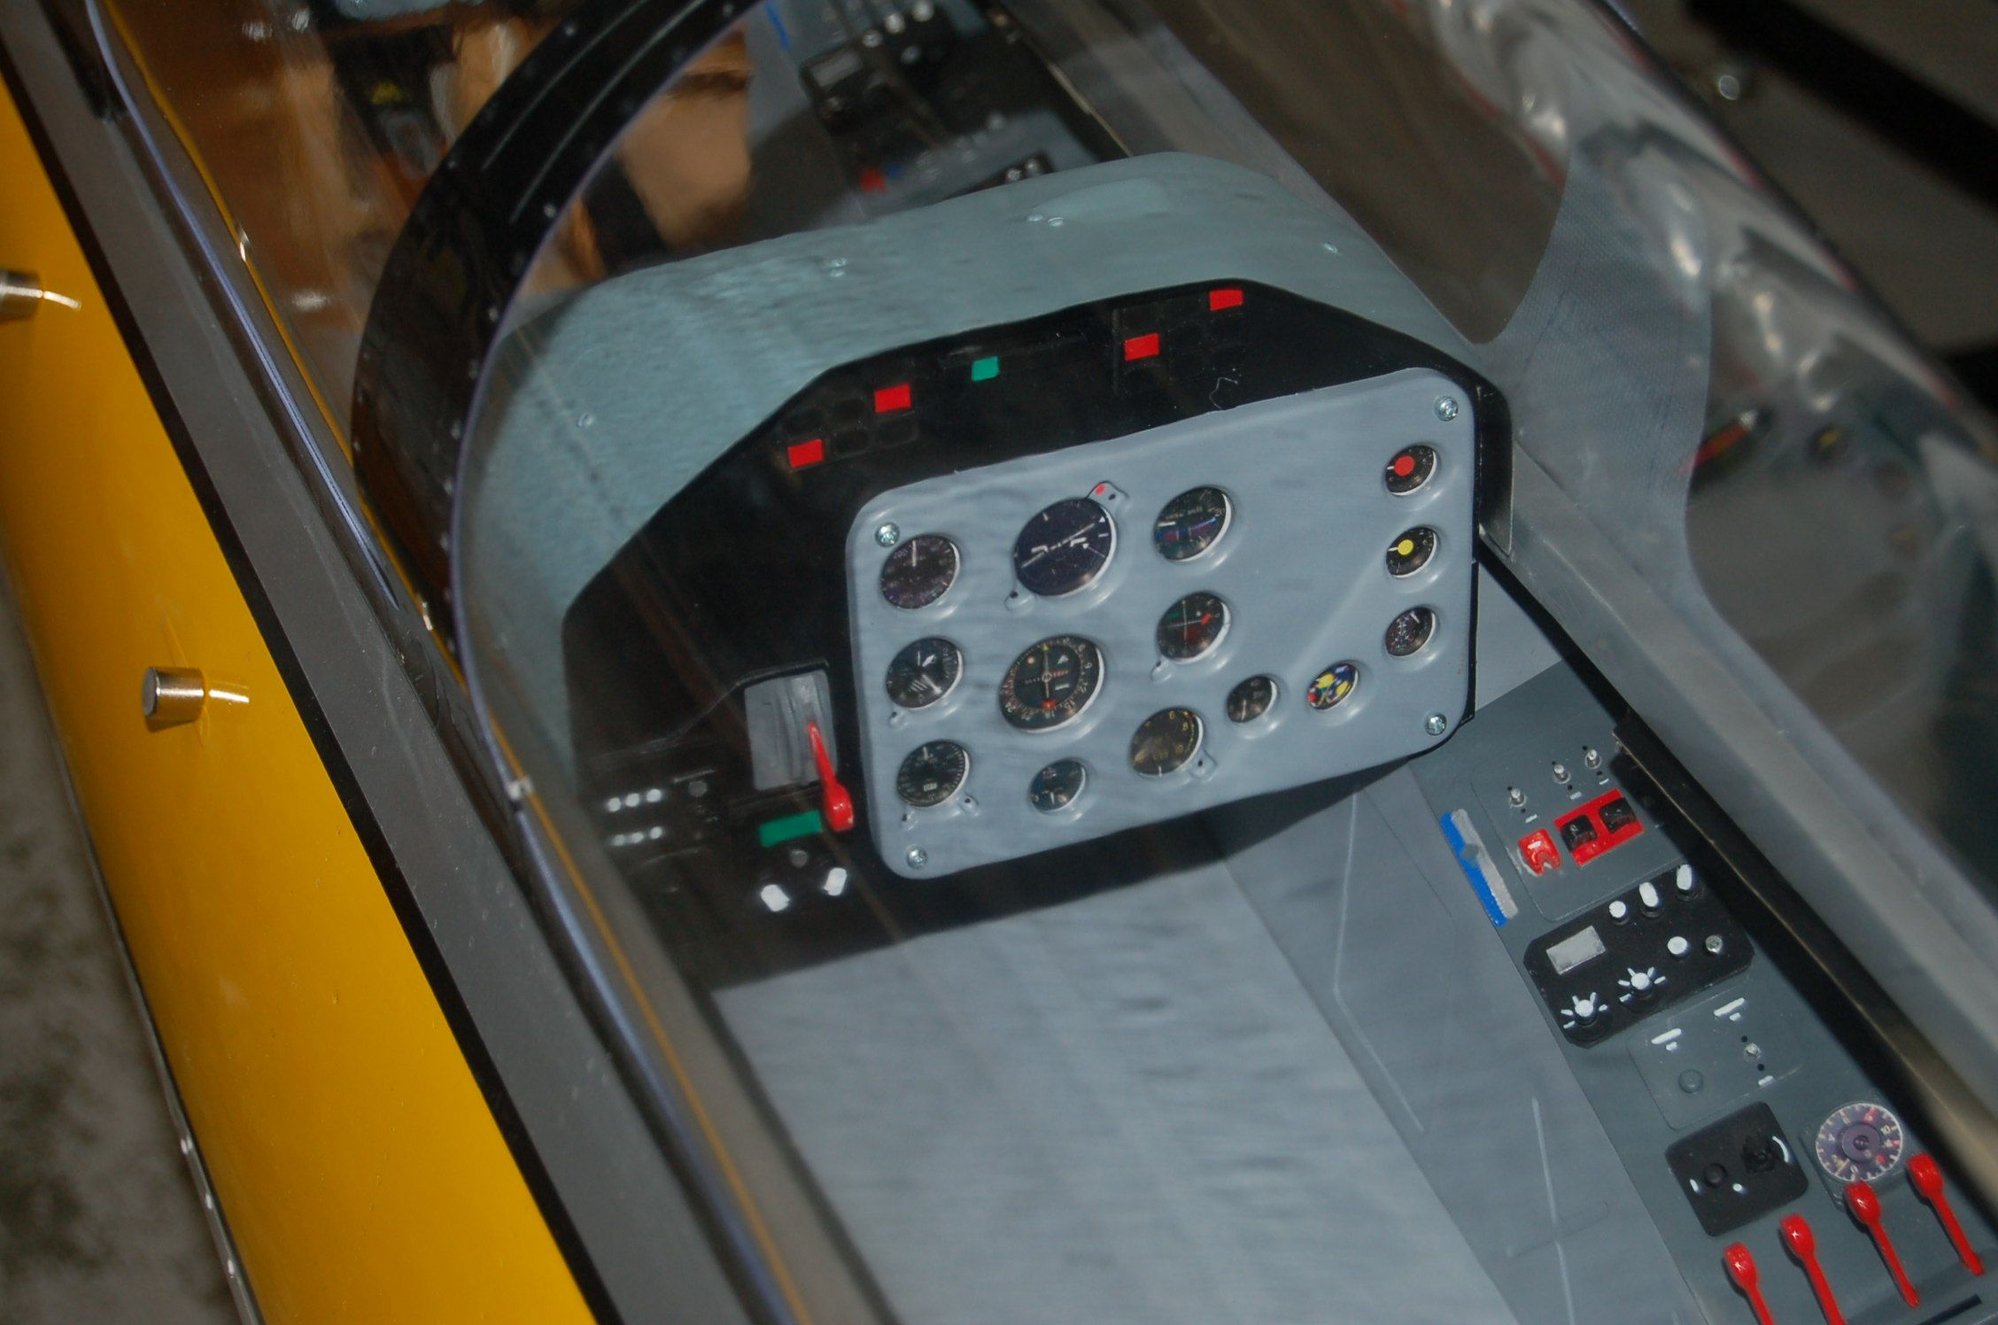
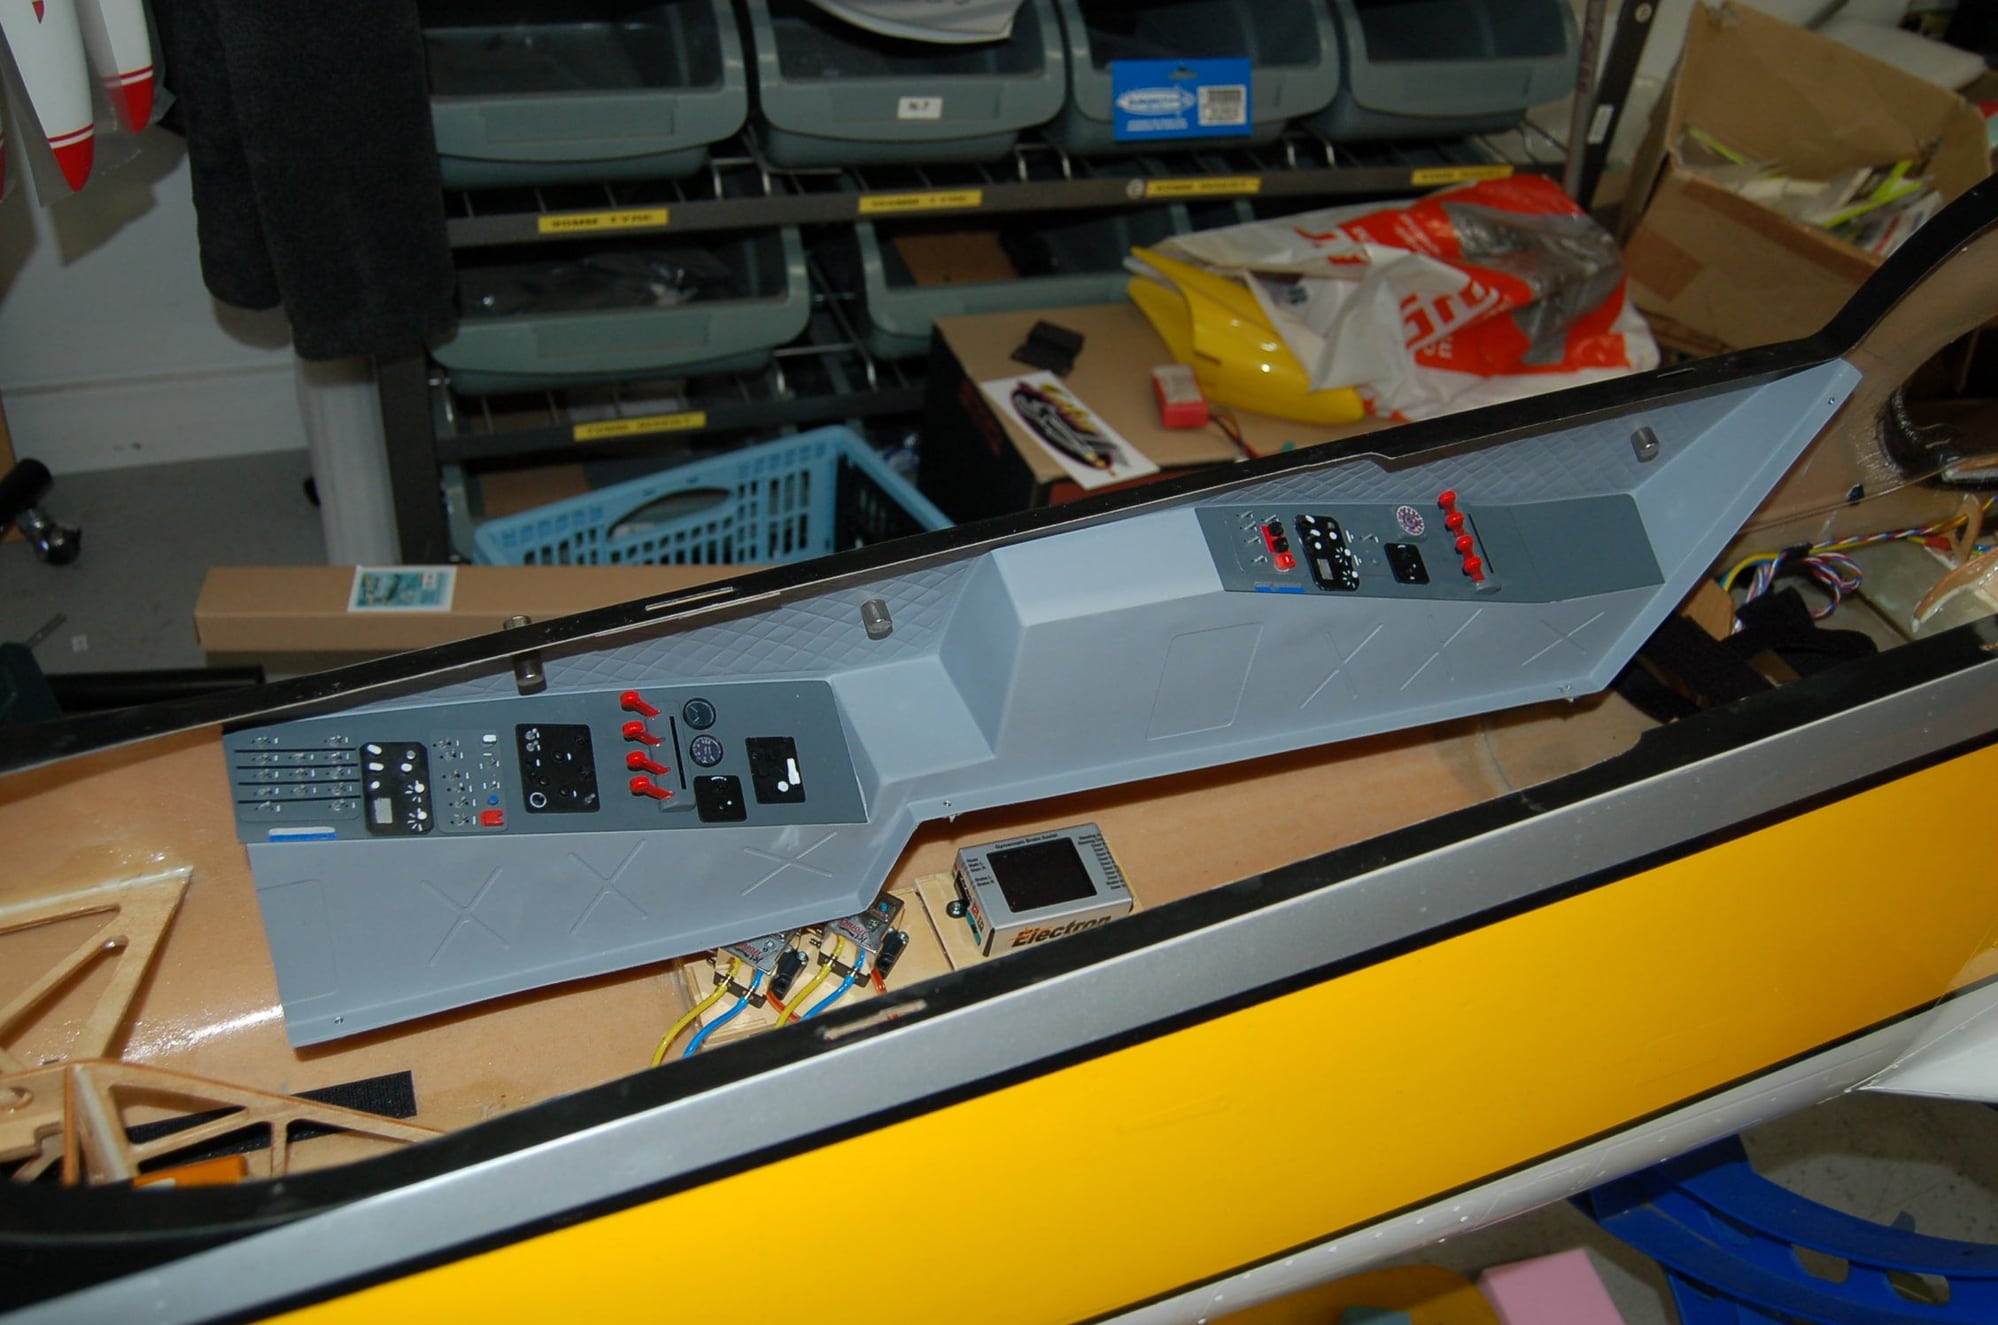
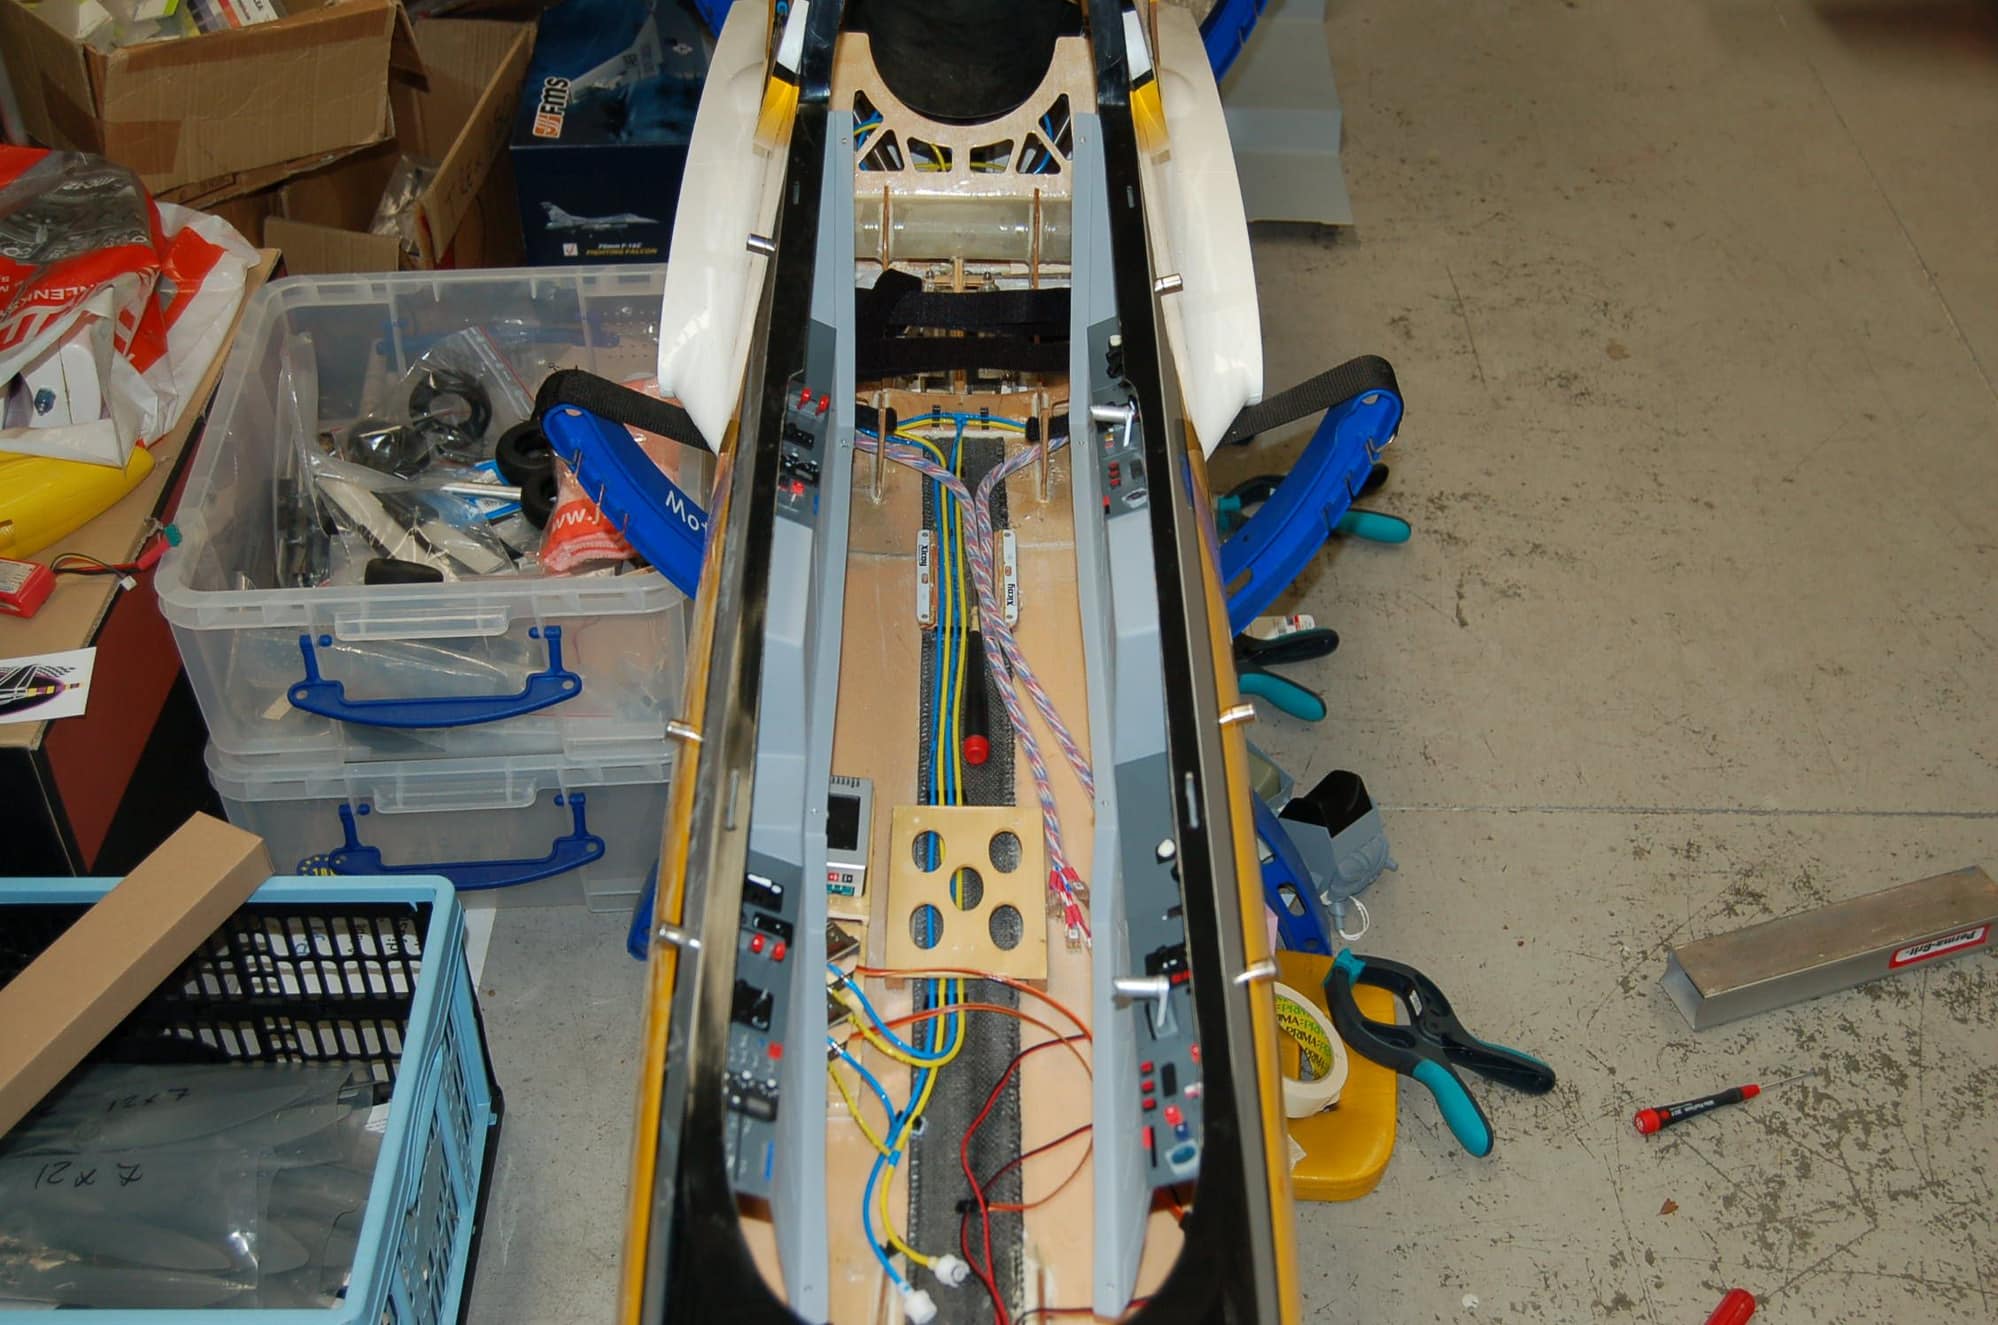
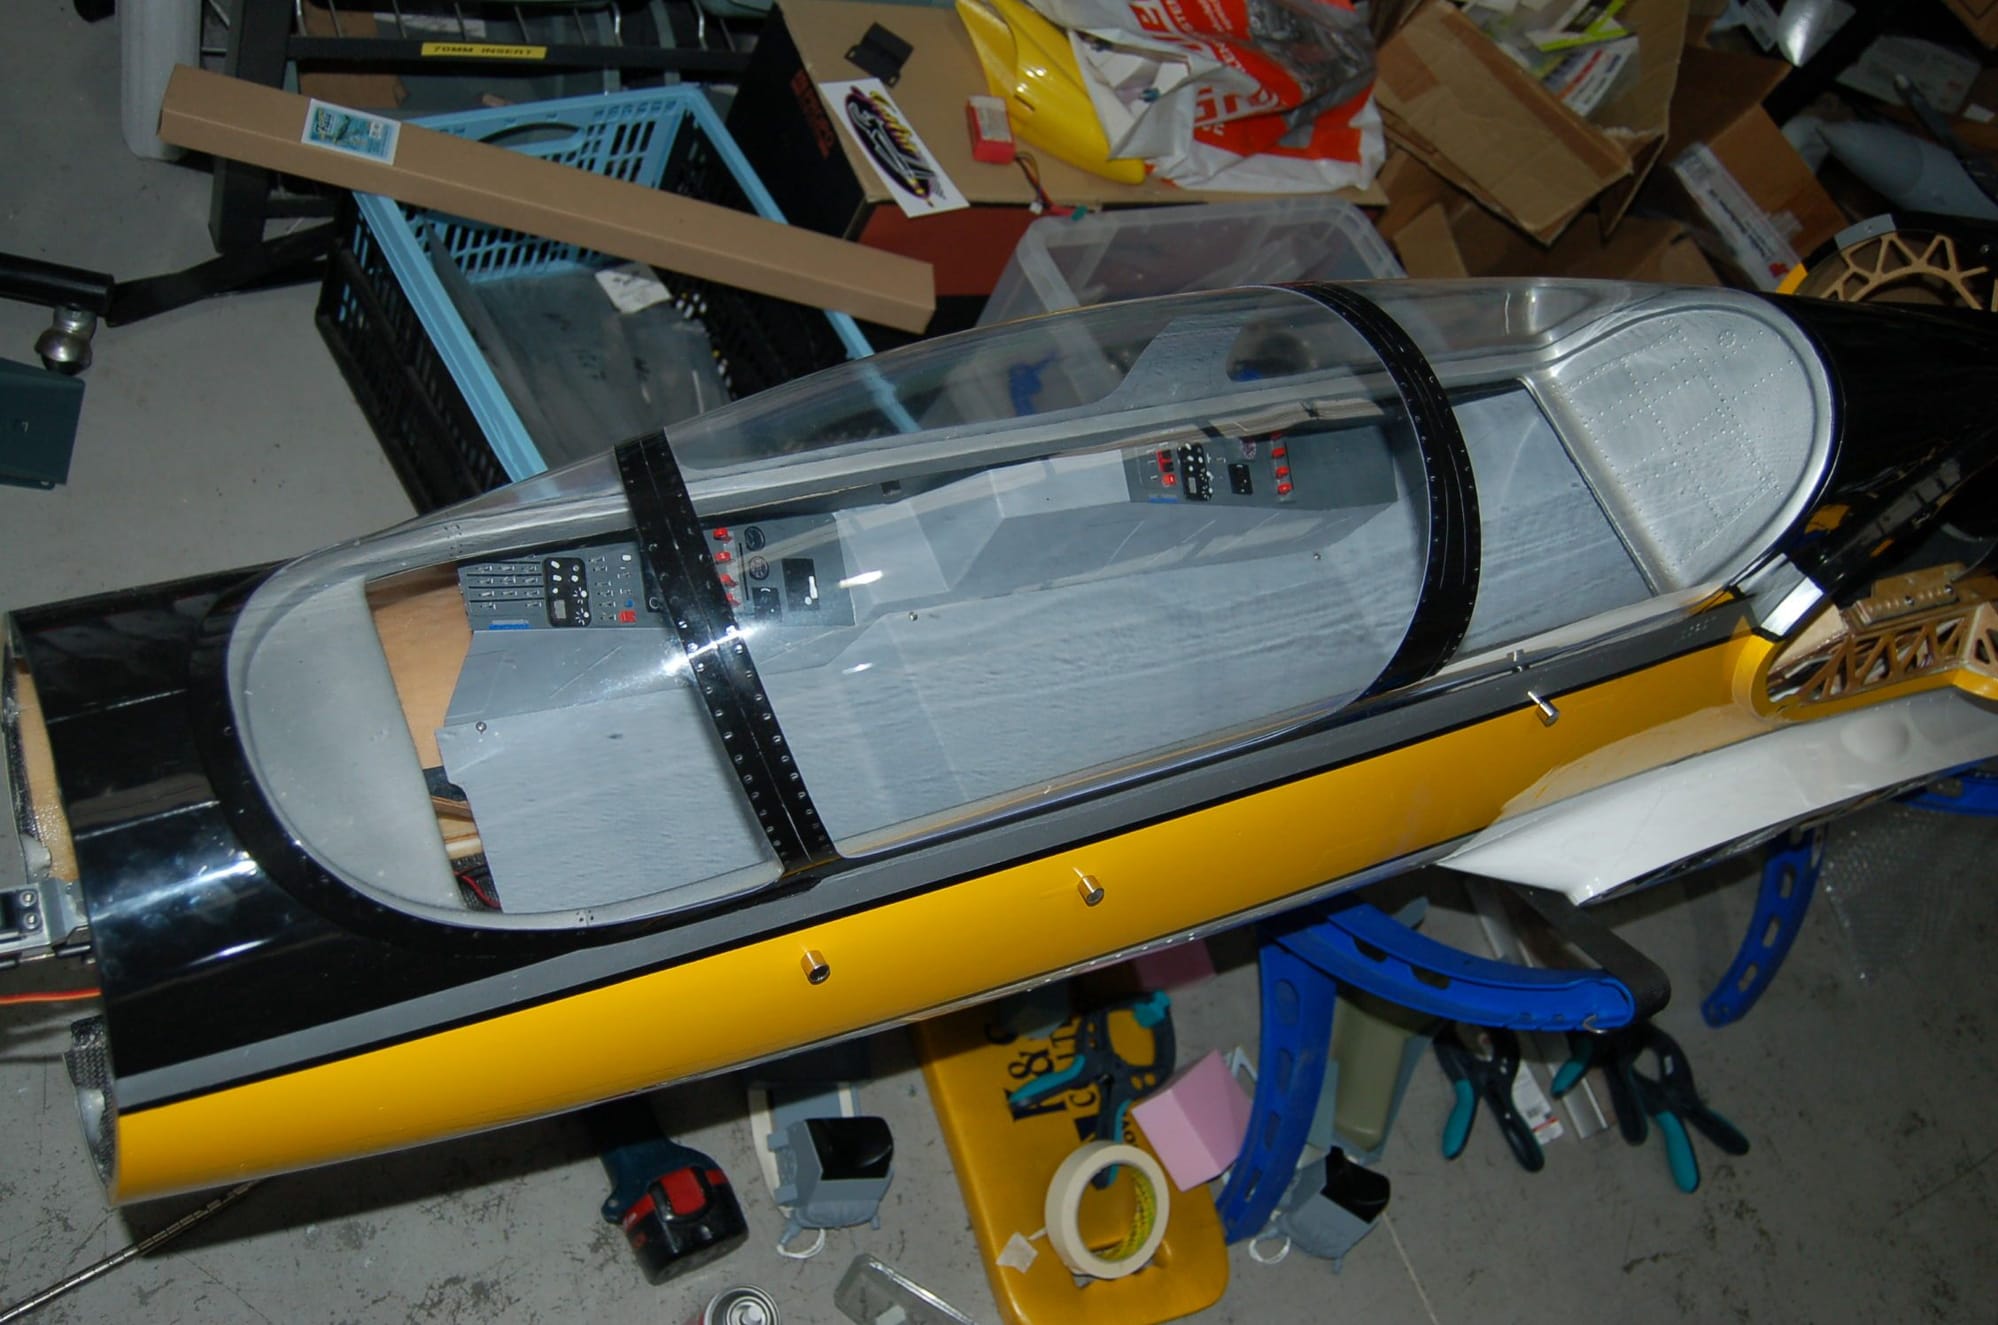
There does not seem to be any information on assembling the cockpit on this L-39. I've been working on this one for a friend-so he is what I have learnt!
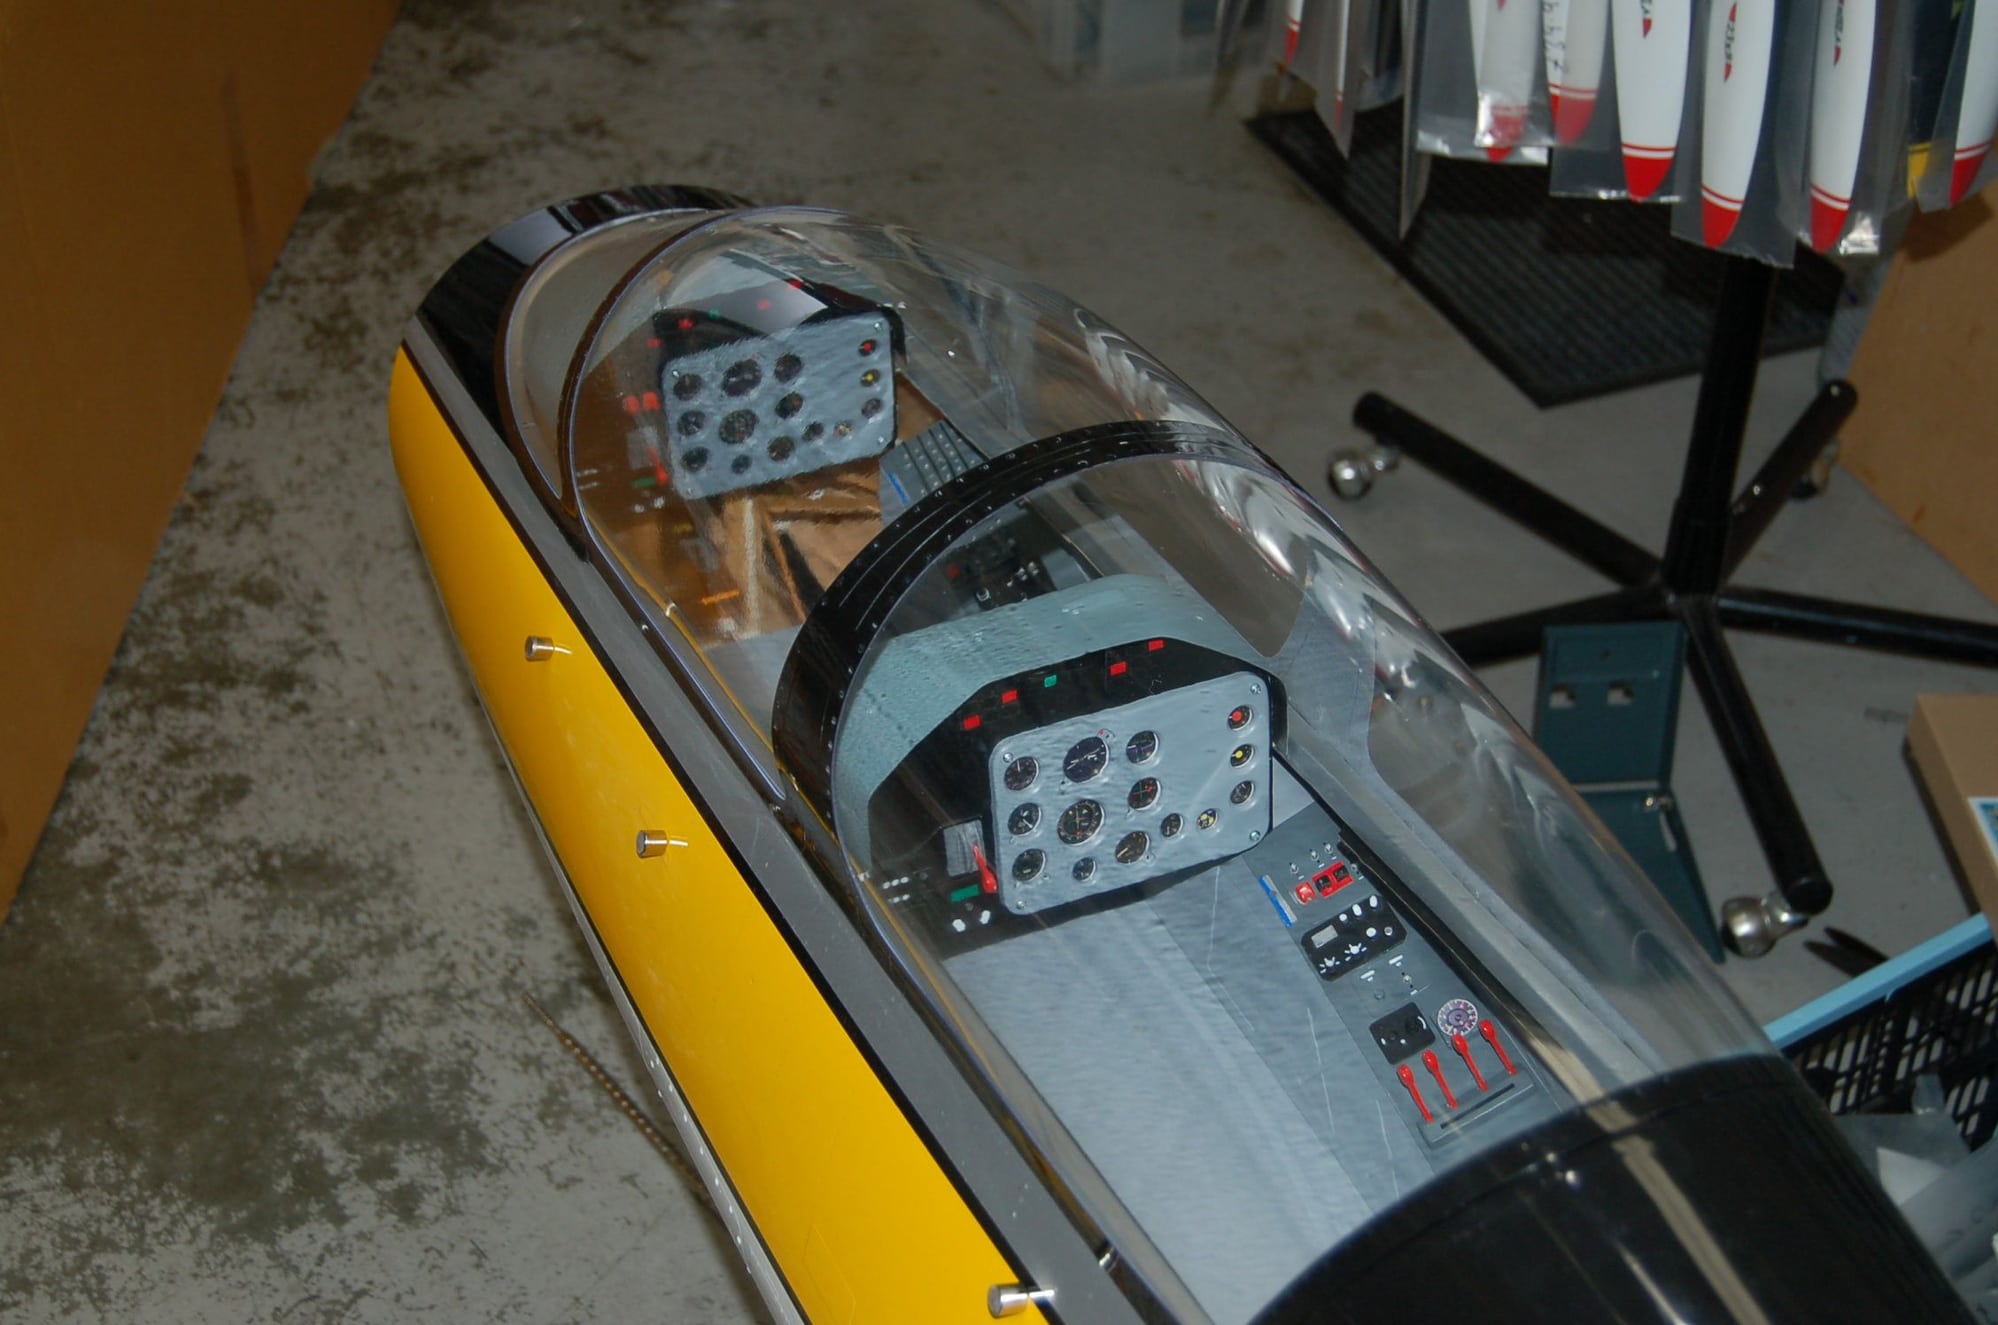
The sides will be held with velcro strips, just on the high side of the cockpit. Once the whole thing is assembled it only requires restraining from slipping down or fore-aft.
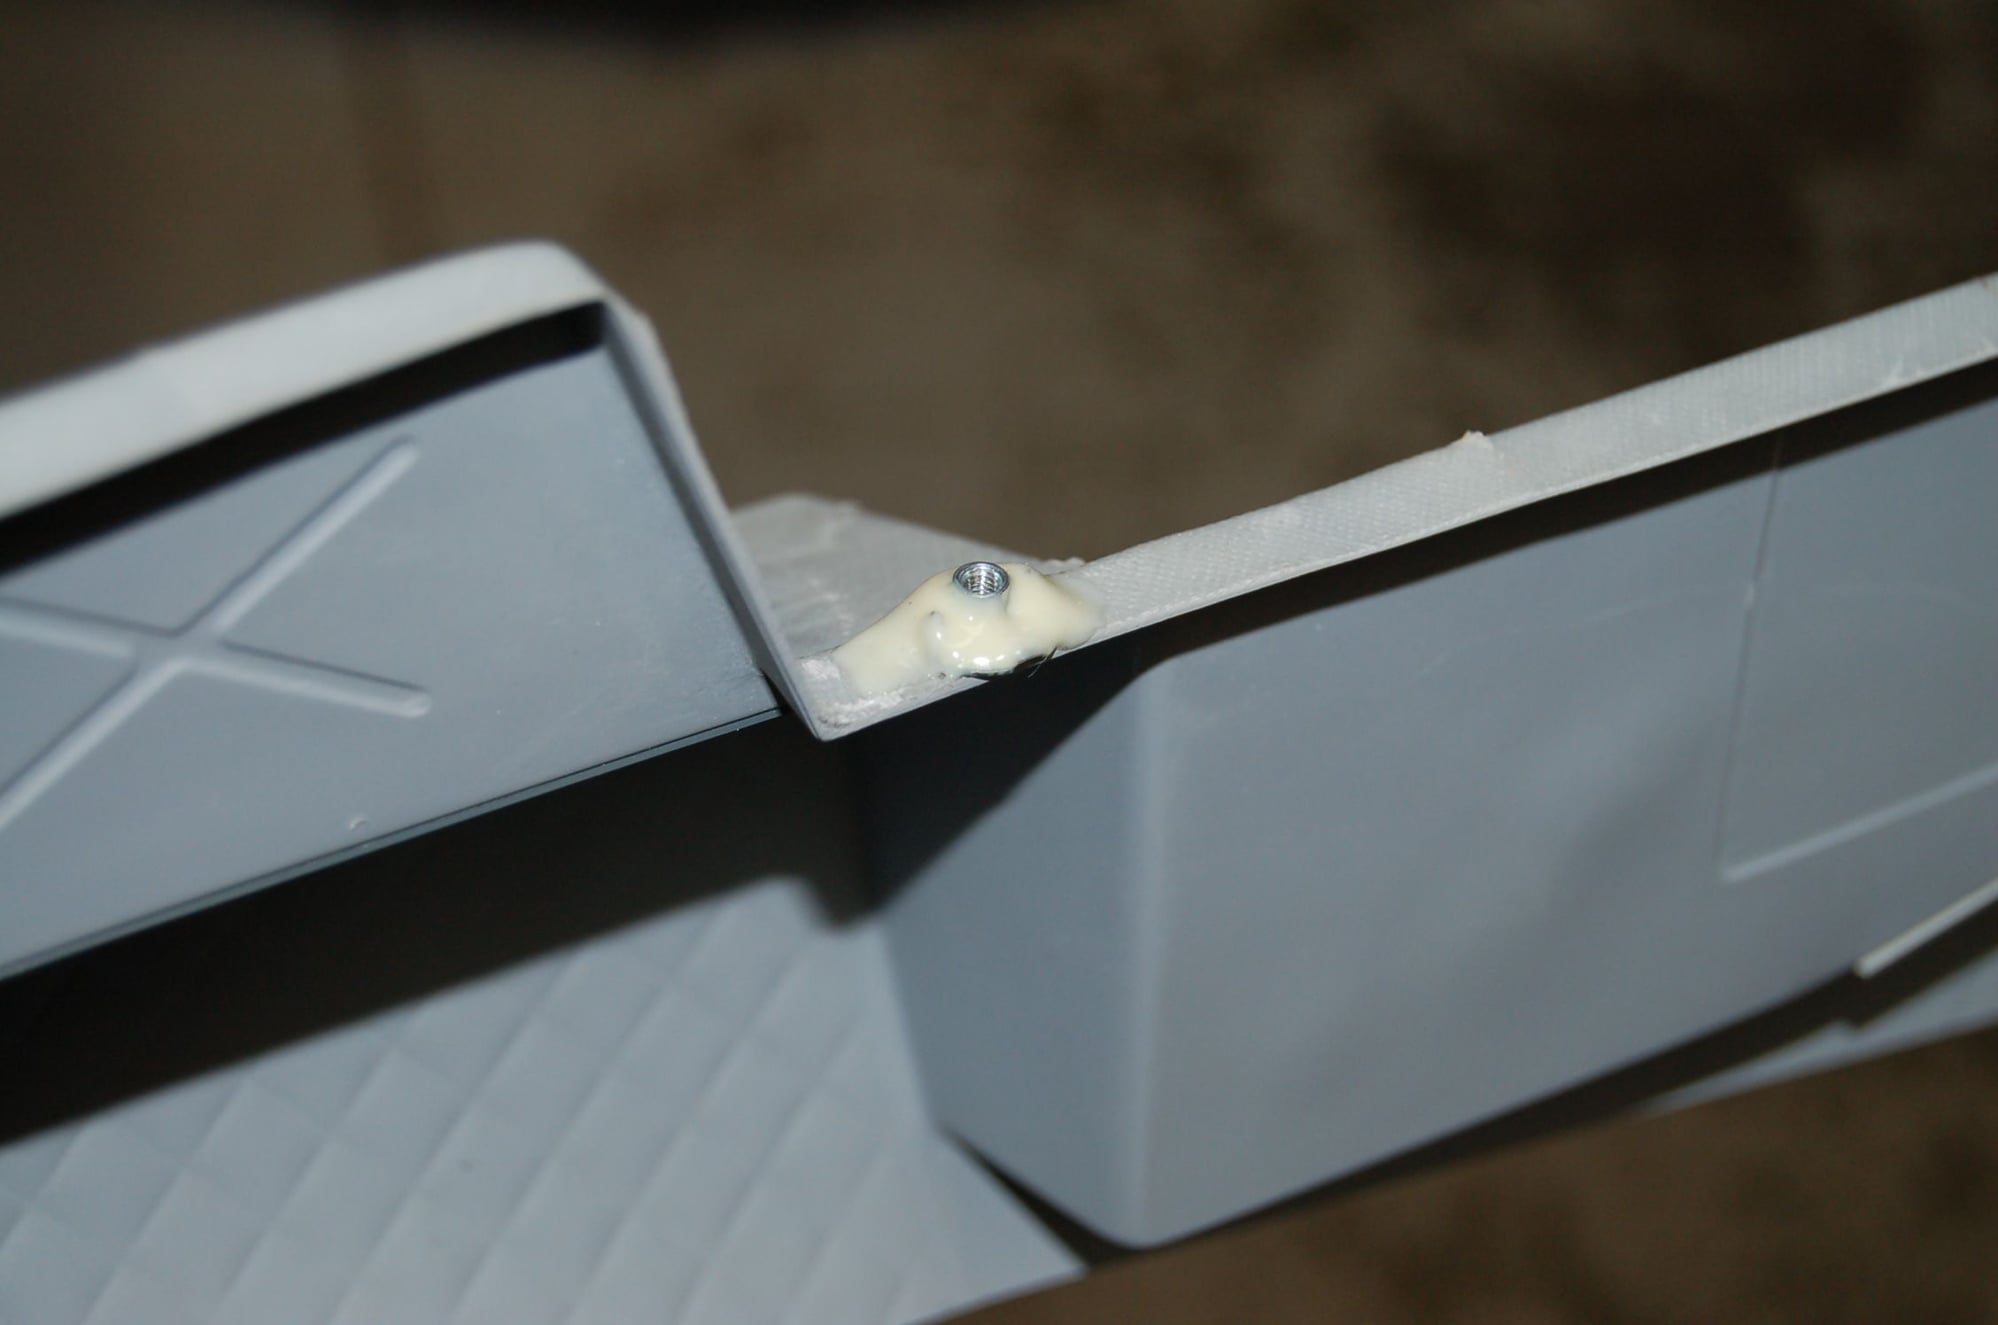
I decided since the tube has to have the centre tray removable for access I have epoxied 8 M3 spike nuts to the glass sides and will use M3 x 8 button head screws.
The the assembly testing I have used magnets to hold the side as it needs removing repeatedly!
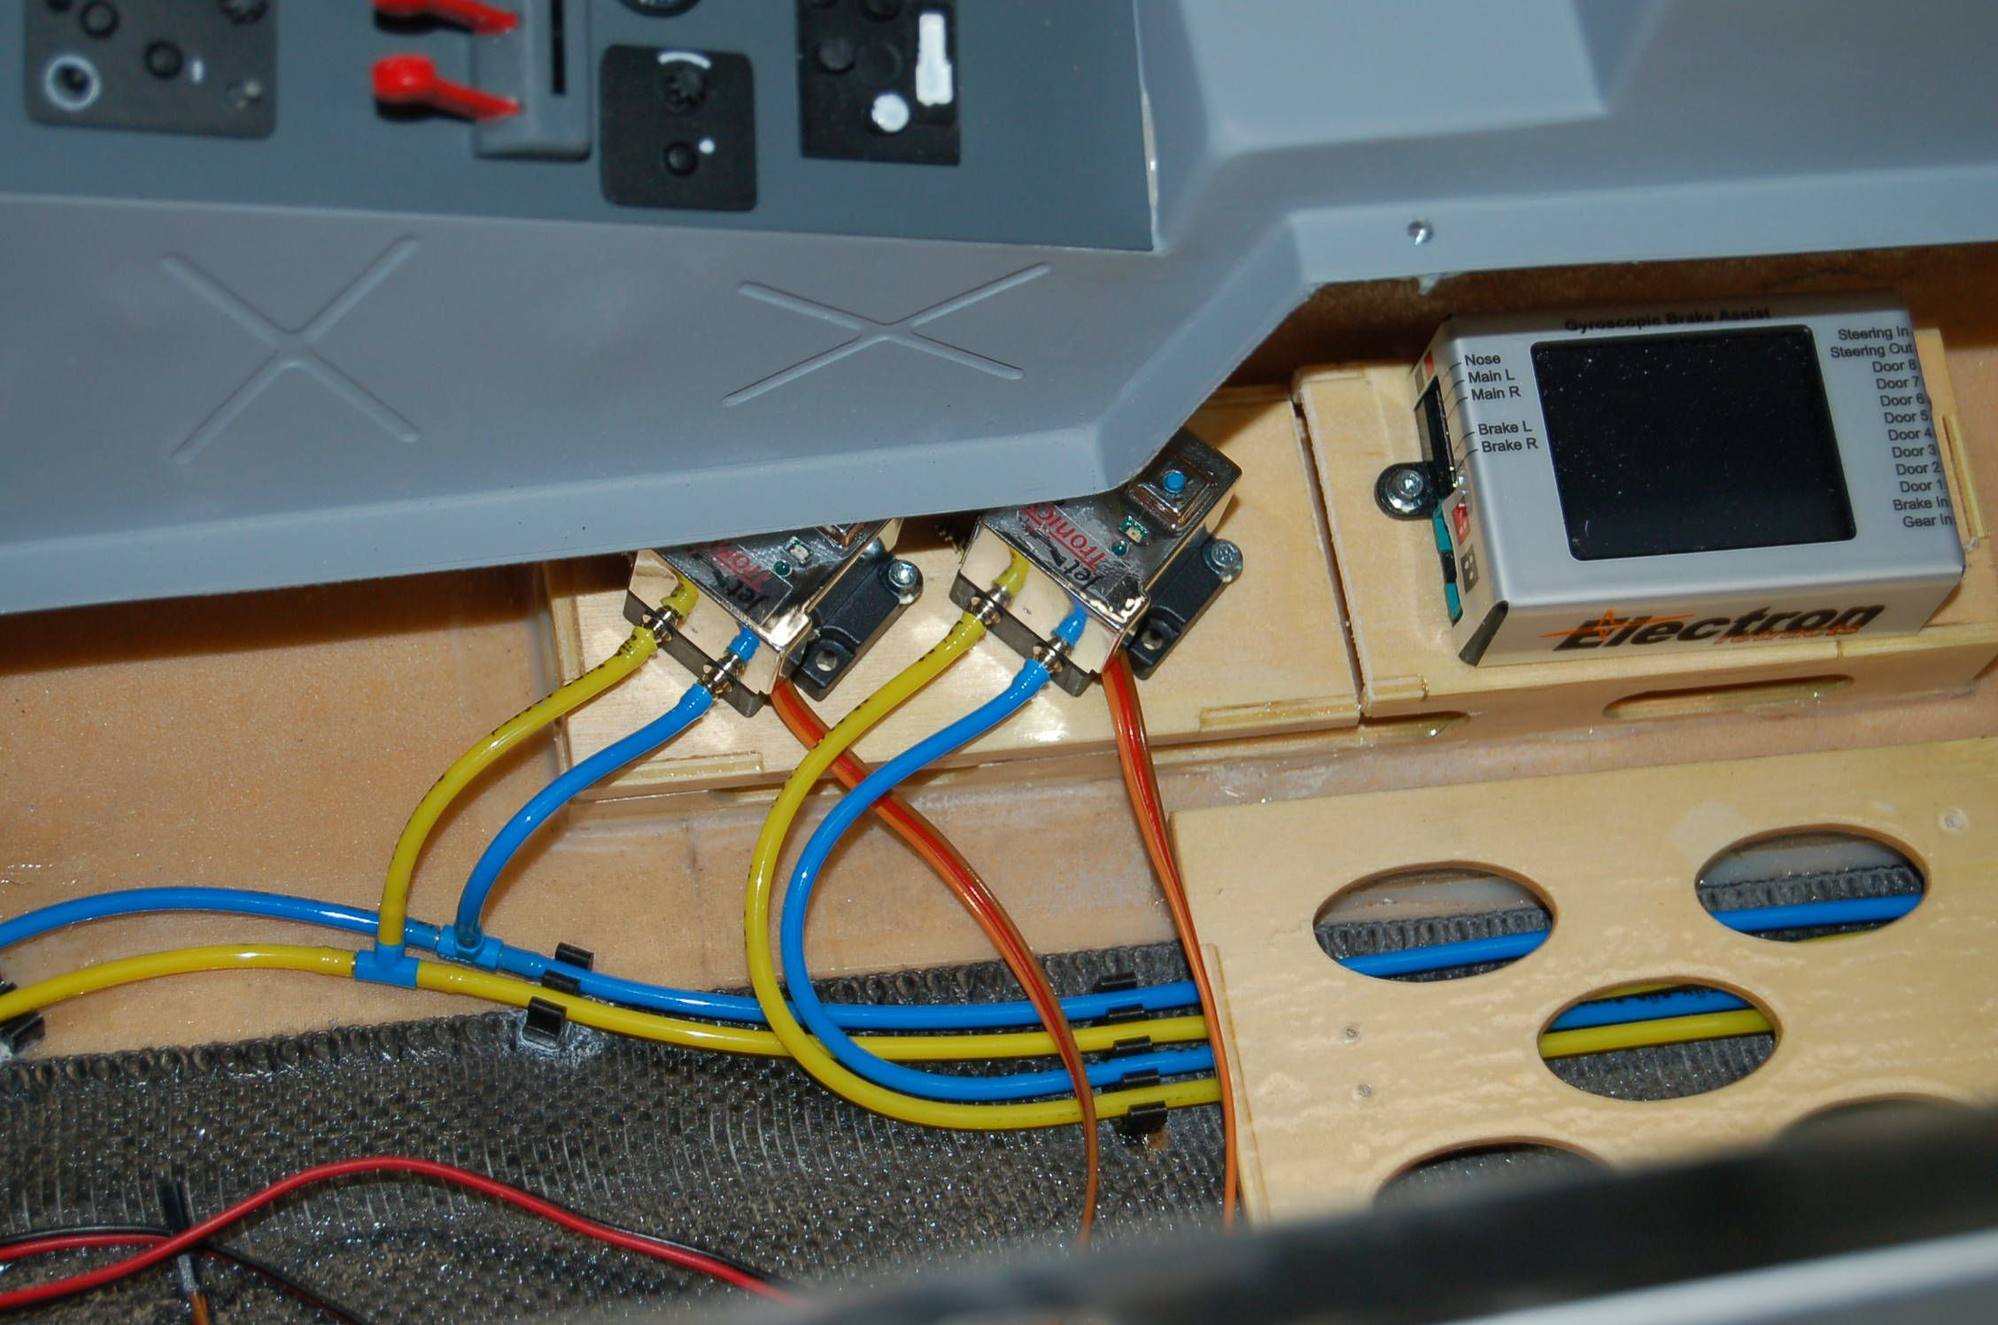
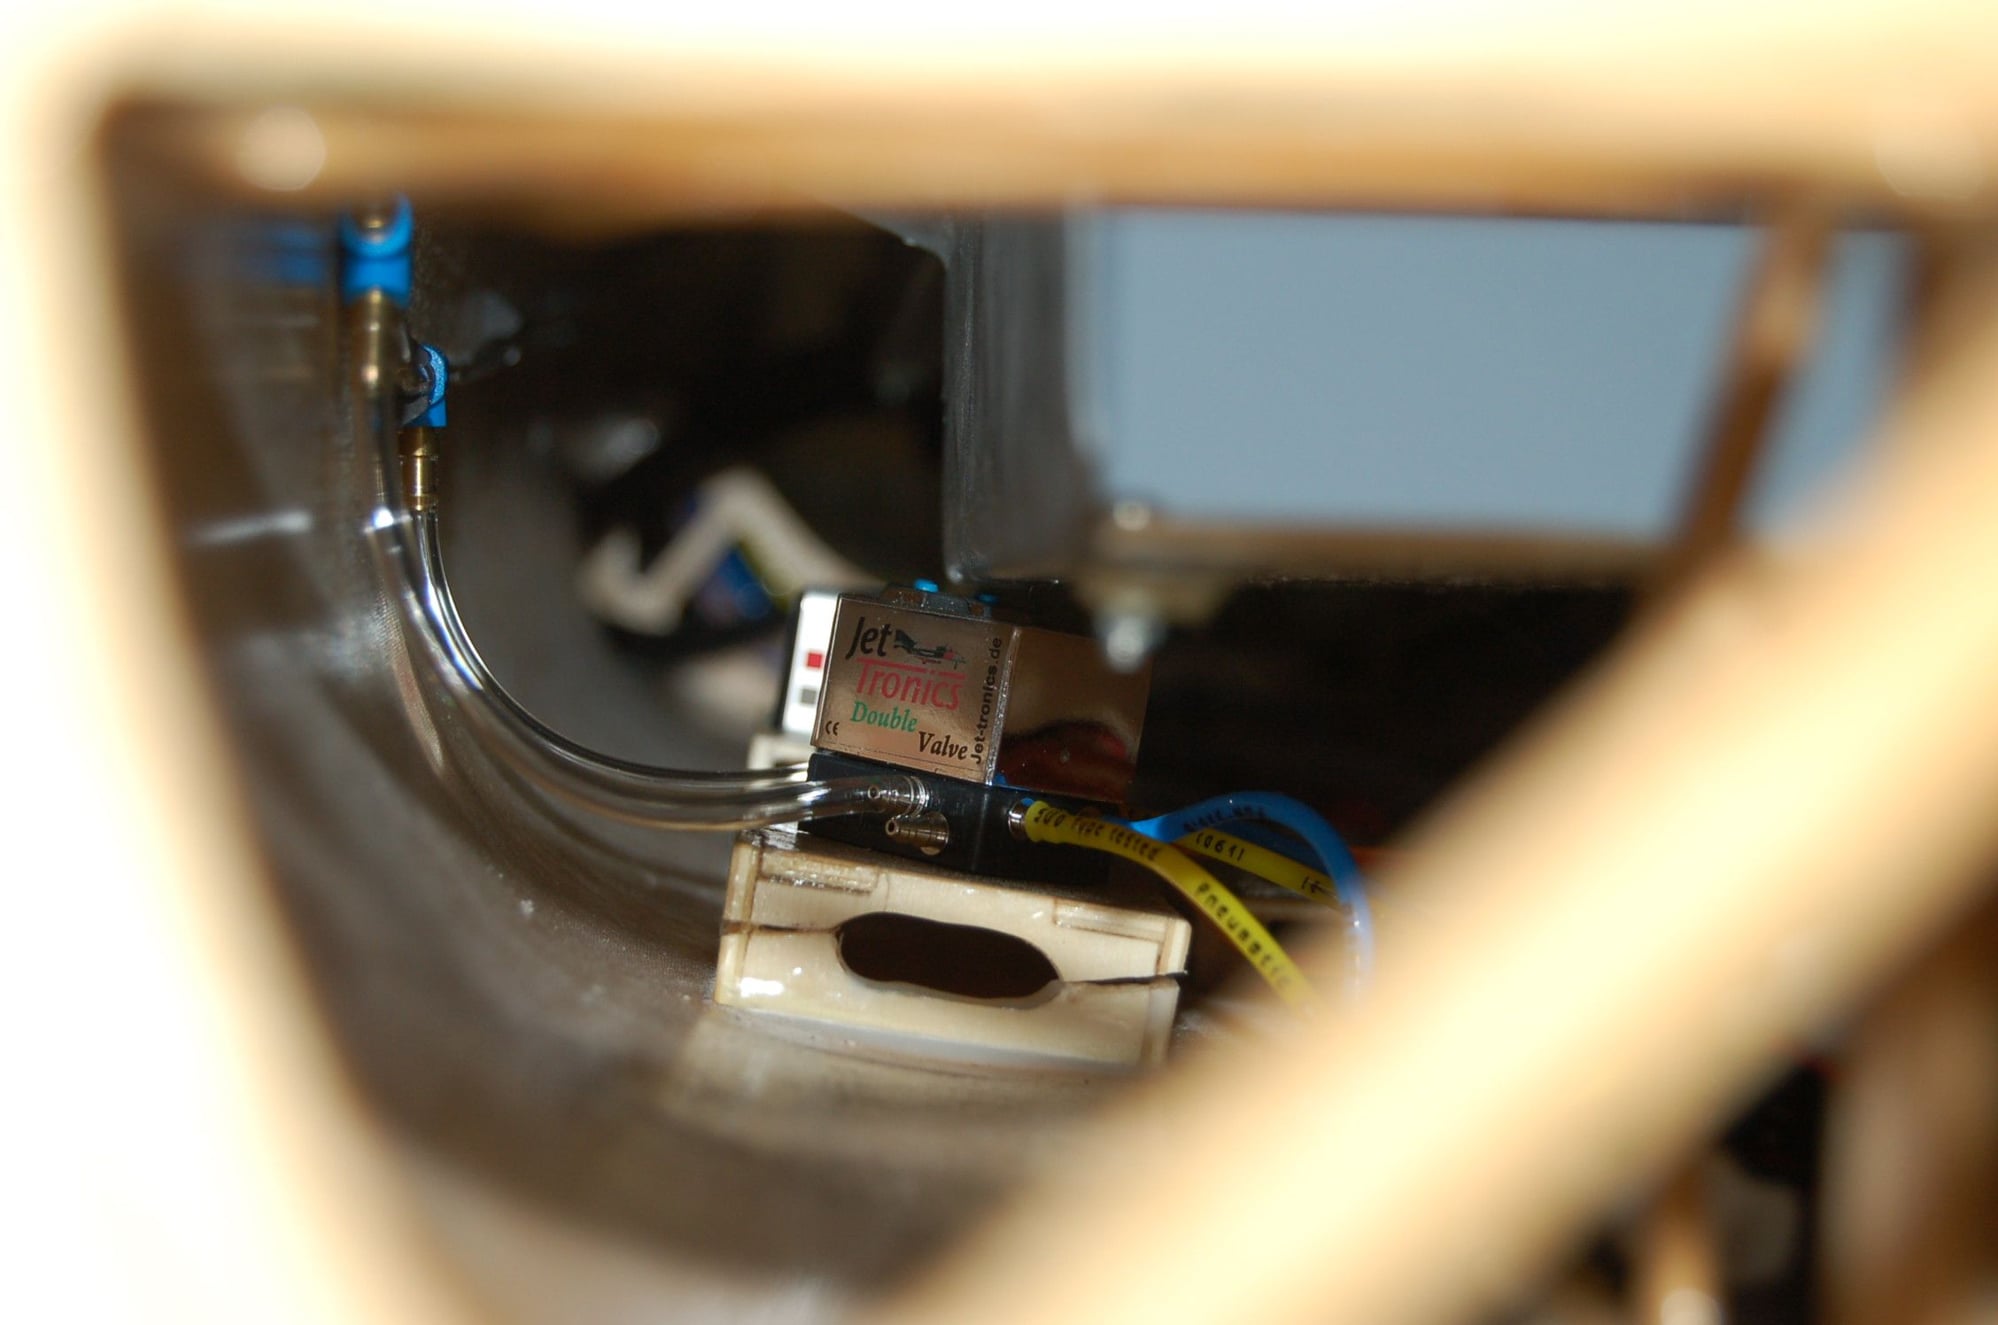
Care needs to be had on anything under the tray-the builder mounted the airvalves on a box and they were hitting the tub, so I razor sawed 5mm out of the valve plate. Yes we are using Air for the doors and Airbrakes.
Do not fit the instrument panels until the sides are complete....I guess there position and they hit the side plates-luckily I had tacked them in so they were easily removed!
More later


The sides will be held with velcro strips, just on the high side of the cockpit. Once the whole thing is assembled it only requires restraining from slipping down or fore-aft.
I decided since the tube has to have the centre tray removable for access I have epoxied 8 M3 spike nuts to the glass sides and will use M3 x 8 button head screws.
The the assembly testing I have used magnets to hold the side as it needs removing repeatedly!
Care needs to be had on anything under the tray-the builder mounted the airvalves on a box and they were hitting the tub, so I razor sawed 5mm out of the valve plate. Yes we are using Air for the doors and Airbrakes.
Do not fit the instrument panels until the sides are complete....I guess there position and they hit the side plates-luckily I had tacked them in so they were easily removed!
More later