


Building a Super Scout with Pulse Jet
 10-23-2019, 05:58 AM
#26

Join Date: Apr 2010
Location: ashington, UNITED KINGDOM
Posts: 38
Likes: 0
Received 0 Likes
on
0 Posts
Hi there, you mentioned that you are using a modern pulse jet. Are these any different in principle to the traditional ones? Are they quieter/safer/more reliable? I'm just curious as to what made AMA make them legal again.
ps. do modern PJ's still use those reed valves which wear out constantly?
ps. do modern PJ's still use those reed valves which wear out constantly?
 10-23-2019, 06:38 AM
#27

The old AMA rules limited a pulse jet to the old Red Head for size. This gave about 3 pounds of thrust, and there is no one in the world making them that small anymore.
The new regulations were heavily plagiarized from the turbine regulations, the new thrust limit is 25 lbs for single engine or 30 lbs total for multi engine. There are pulse jets in this size range that are being built today.
The new regulations are located in the Turbine section of the AMA documents. Turbine%20-%20510-Q.pdf
As for what made the AMA make them legal again. I asked them to, and spent a full year working with them and a few others and doing as much of the legwork as possible, to get a workable set of regs
In principle Pulse jets have not changed, The newer ones will use an electric fuel pump so the fuel air mixture is much better controlled and therefore break reeds a bit less often, providing you have the correct F/A mix. The old ones had a needle valve and the height of the fuel level to the needle was very critical. This would mean that it was rich at the beginning of the flight and would lean out as the fuel level dropped. To rich or to lean will both burn out reed valves. The electric fuel pump keeps a constant fuel flow regardless of tank position or fuel level or aircraft attitude, this is what makes the reeds last longer. The modern technology has also improved the thrust to weight ratios. I still bought a bunch of spare reeds.
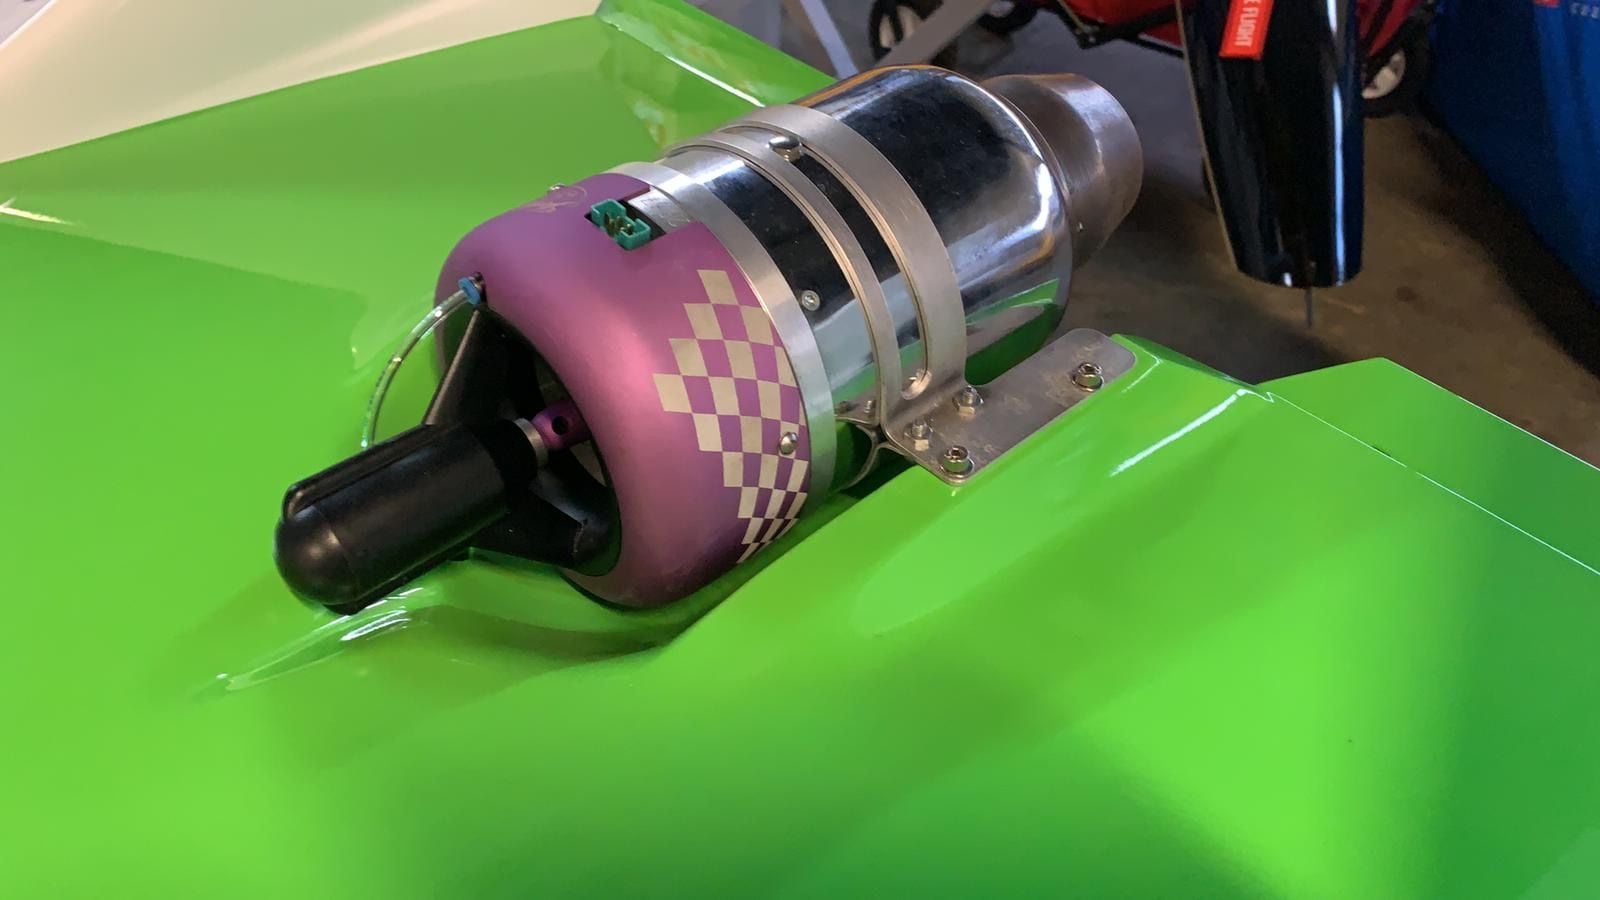
The PJ that I am using is around 18 lbs of thrust.
The new regulations were heavily plagiarized from the turbine regulations, the new thrust limit is 25 lbs for single engine or 30 lbs total for multi engine. There are pulse jets in this size range that are being built today.
The new regulations are located in the Turbine section of the AMA documents. Turbine%20-%20510-Q.pdf
As for what made the AMA make them legal again. I asked them to, and spent a full year working with them and a few others and doing as much of the legwork as possible, to get a workable set of regs
In principle Pulse jets have not changed, The newer ones will use an electric fuel pump so the fuel air mixture is much better controlled and therefore break reeds a bit less often, providing you have the correct F/A mix. The old ones had a needle valve and the height of the fuel level to the needle was very critical. This would mean that it was rich at the beginning of the flight and would lean out as the fuel level dropped. To rich or to lean will both burn out reed valves. The electric fuel pump keeps a constant fuel flow regardless of tank position or fuel level or aircraft attitude, this is what makes the reeds last longer. The modern technology has also improved the thrust to weight ratios. I still bought a bunch of spare reeds.
The PJ that I am using is around 18 lbs of thrust.
10-30-2019, 10:22 AM
#28
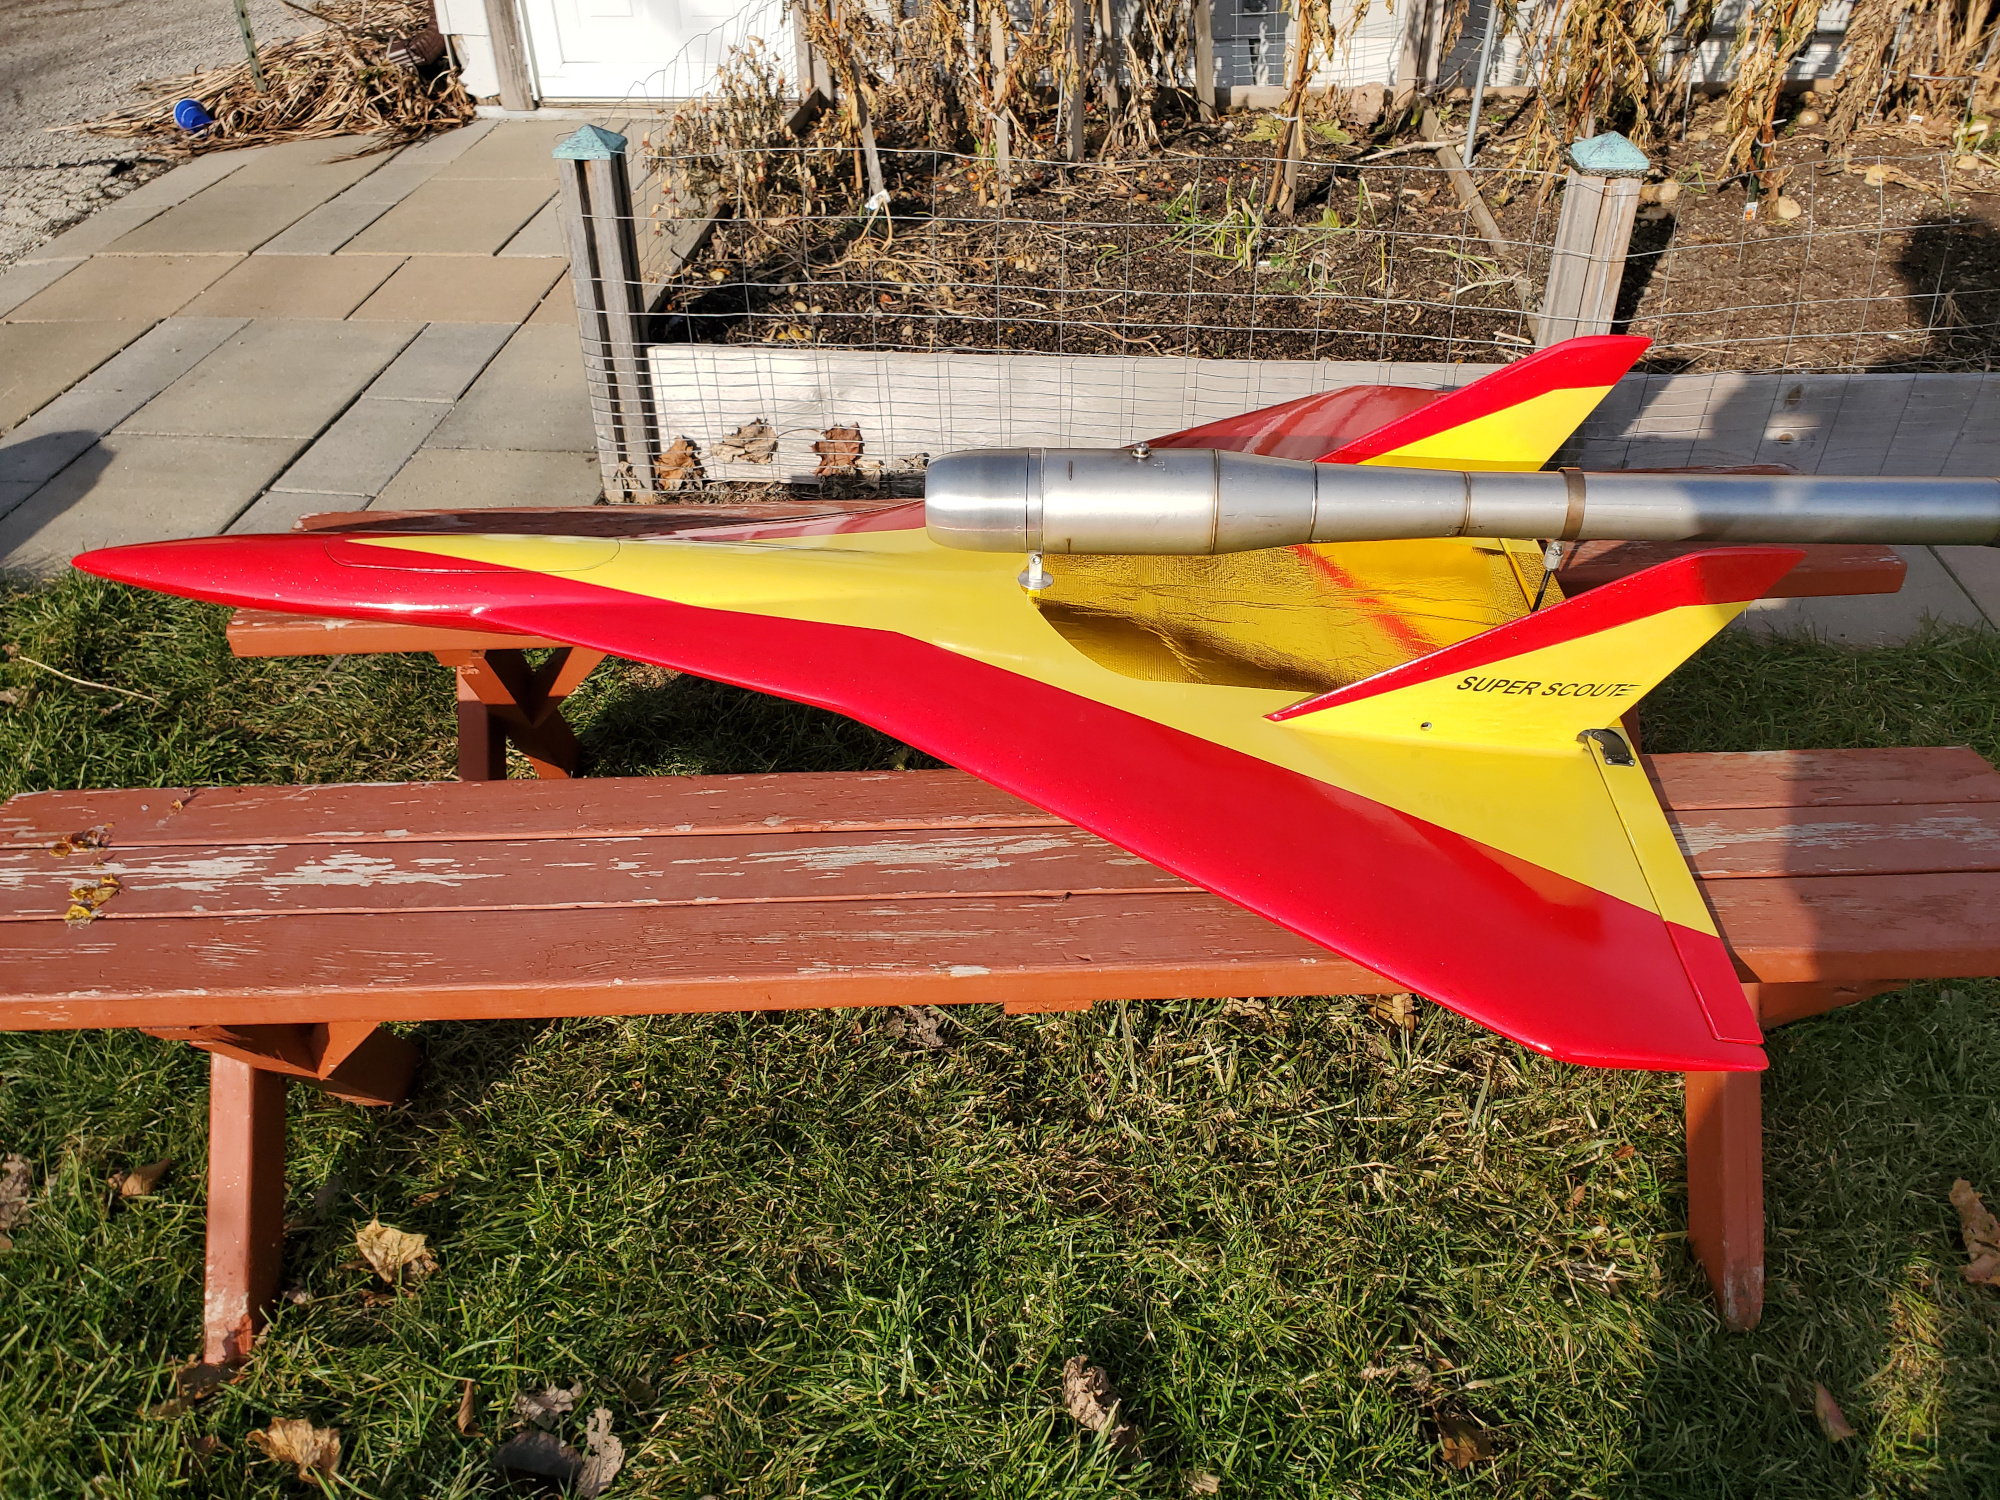
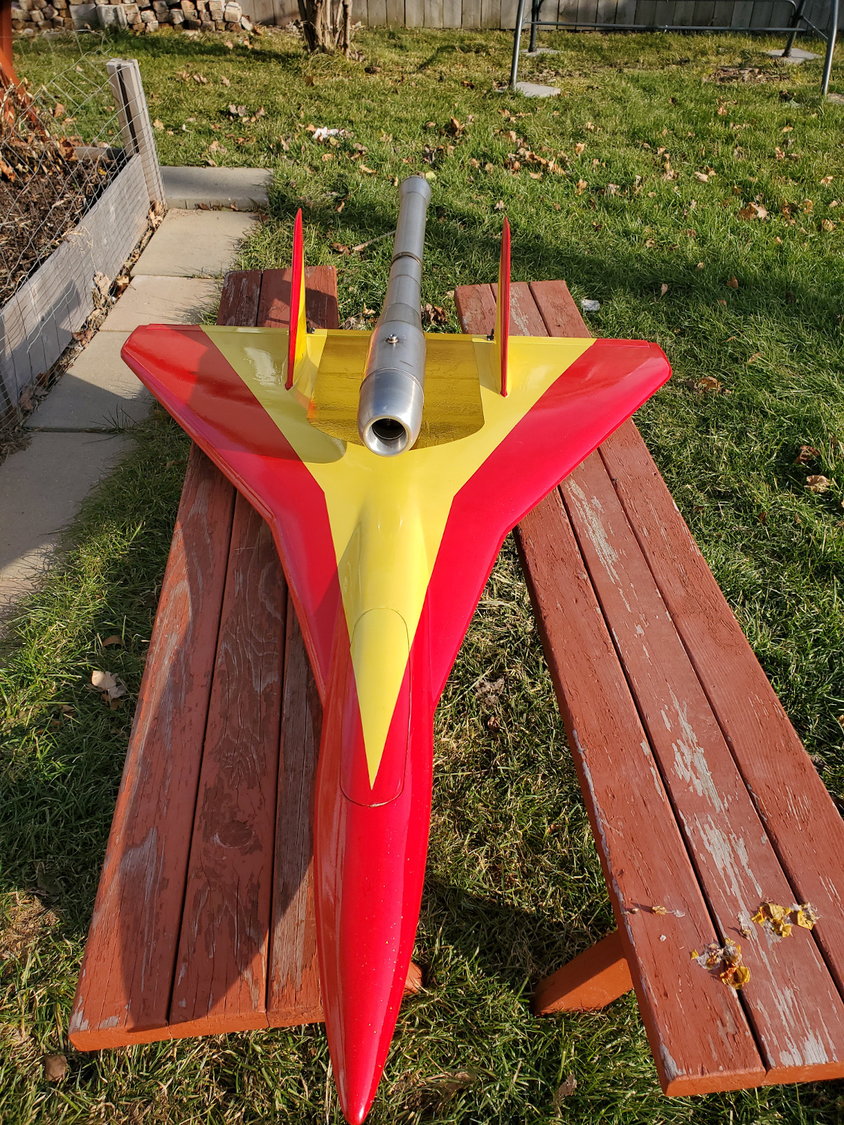
I have finally decided on a color scheme for this beast. The computer does not do the colors justice.The yellow will be the very bright Corvette Yellow, The red is a very bright GM Fire Red (same as my truck) and the darker red along the leading edges will be a bright Metal Flake Red. In the top view the gold area in the center will be a gold heat reflective material. The same gold stuff that NASA uses to protect spacecraft from heat. On the bottom it is just a very bright white and black stripes with the same Metal Flake Red wrapping around from the top. All of the priming is now done. it is in white primer so that the colors will be brighter. I am now in the process of accumulating all of the painting supplies that I will need to get the whole thing done. 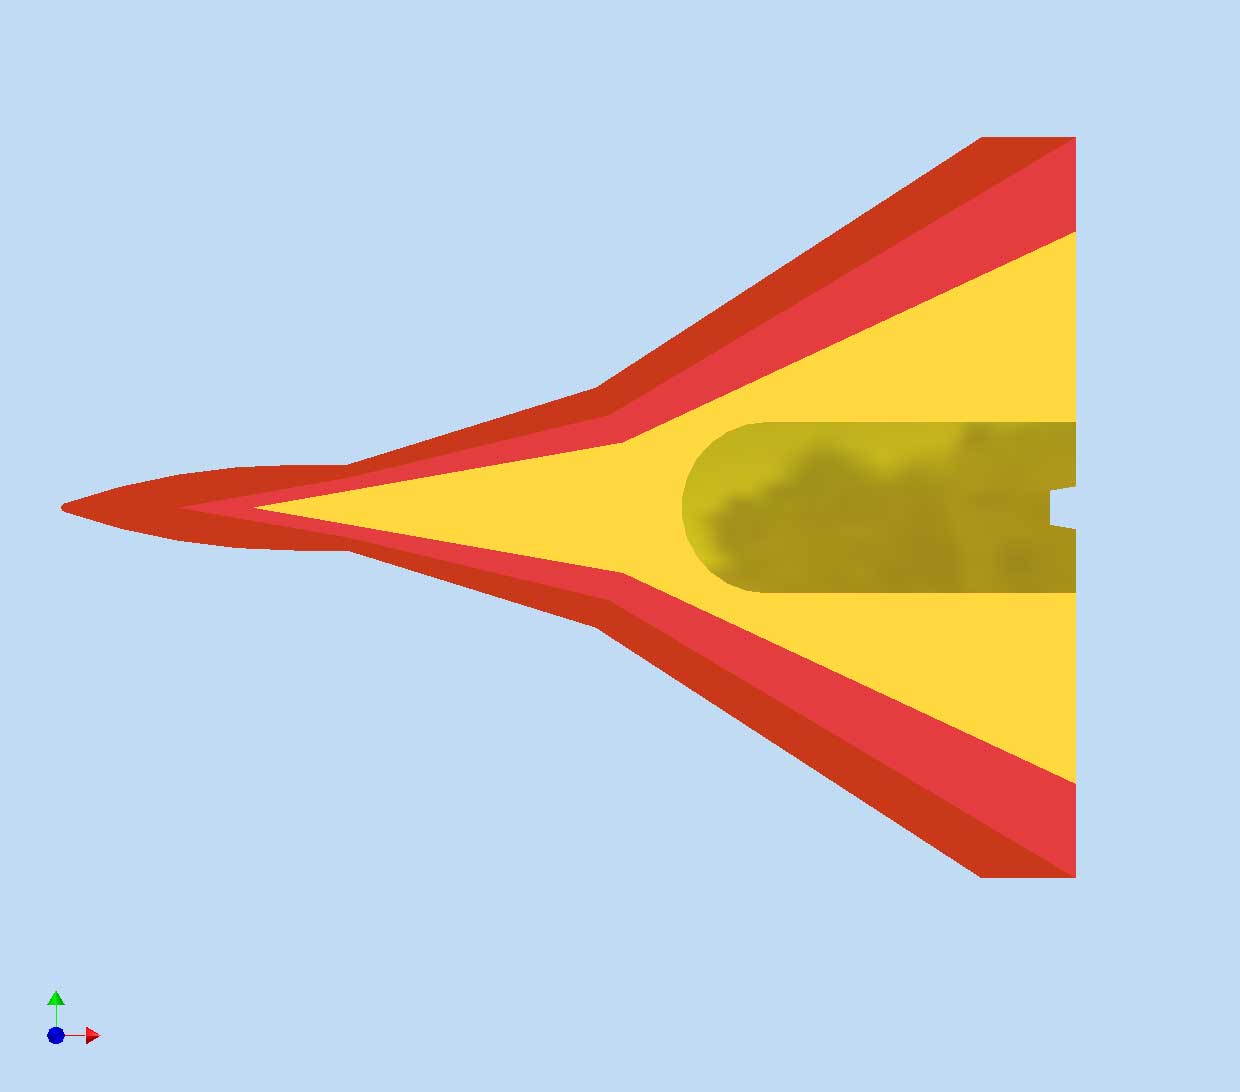
TOP VIEW

BOTTOM VIEW

SIDE VIEW
TOP VIEW
BOTTOM VIEW
SIDE VIEW
11-29-2019, 06:26 PM
#29
Well I been masking and paintin like crazy. I never realized just how much masking this paint scheme required. A painter I am not, and never will be. I just squirted on the final coat of color, Now I just need to cut and apply the vinyl graphics then clear the whole thing, then apply the final heat shields and trim tape anf the finish will be done.
It does not look anywhere near as good as what most of you do. There are a lot more bumps and divots than there should be, but at 250MPH, no one will notice.
I just put the last color down a few minutes ago and will unmask it to see for the very first time tomorrow. Hoping to get to the clear coat this weekend.
I did order some Titanium bars to remake the engine mounts. I was concerned that the aluminum will be to close to some very hot parts and did not want to risk it softening while near red hot stainless steel. The other option was to make the parts out of steel but they are mounted right at the trailing edge of the wing and weight added to the tail has to be avoided, I an anticipating having to add a ton of nose weight. The TI will save some weight over the steel and be more than adequate to handle the temperatures. Hopefully I will soon have some pics out in the sun (IF the sun EVER comes out here again)

 12-08-2019, 06:22 PM
#34
And now for the drum roll please................,...,
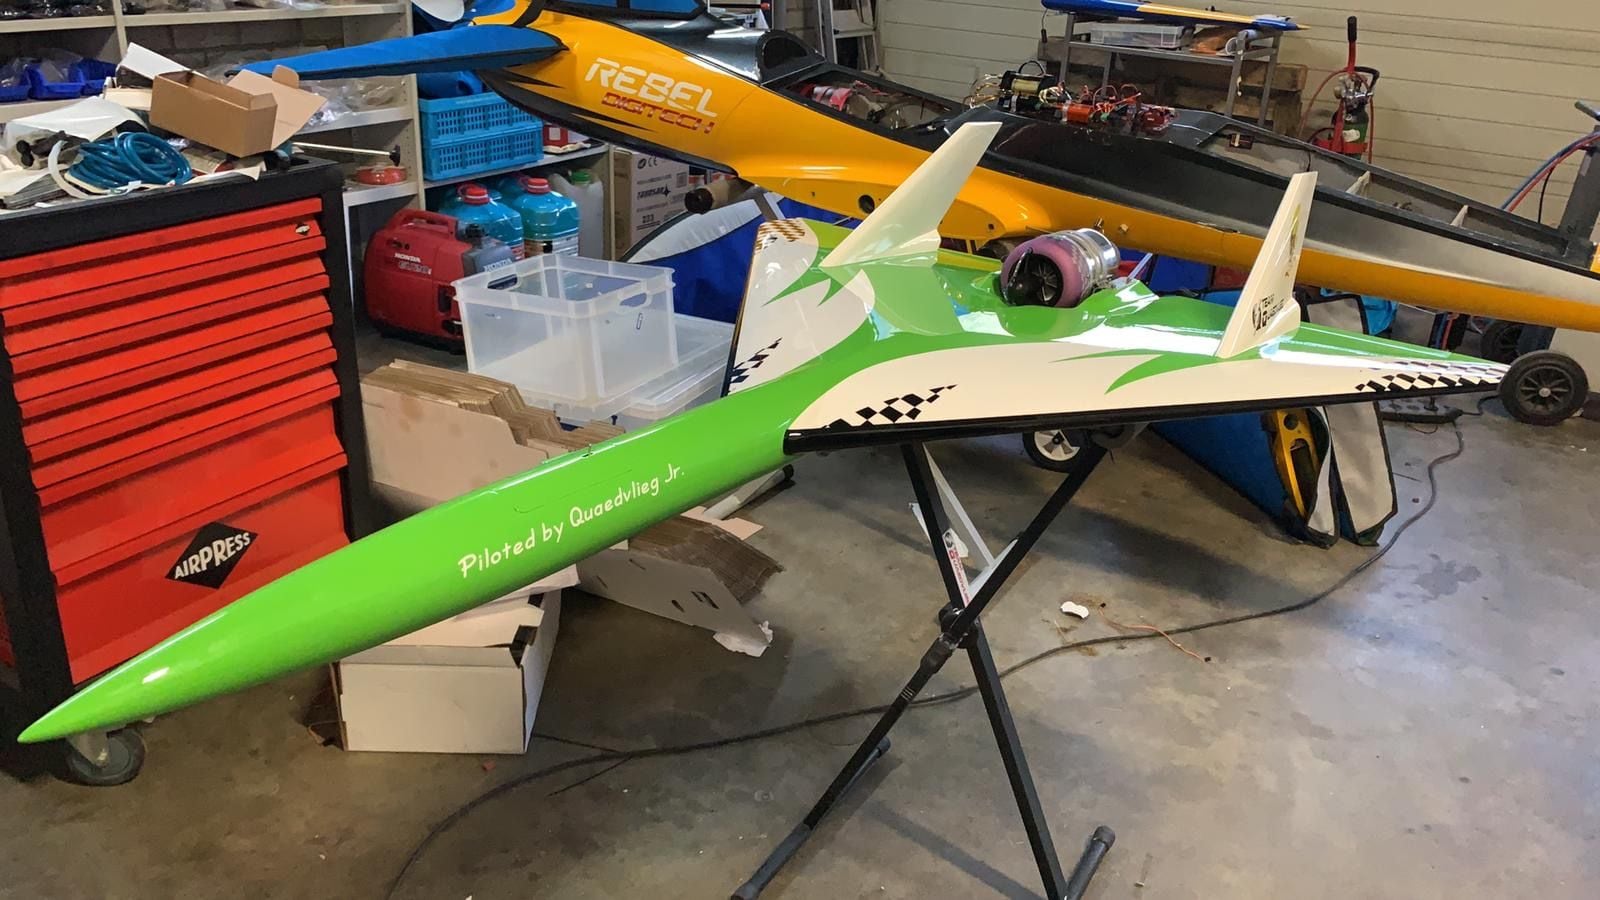
The pics of the paint job you have been waiting for......................
This was the first time the sun came out since I painted it.
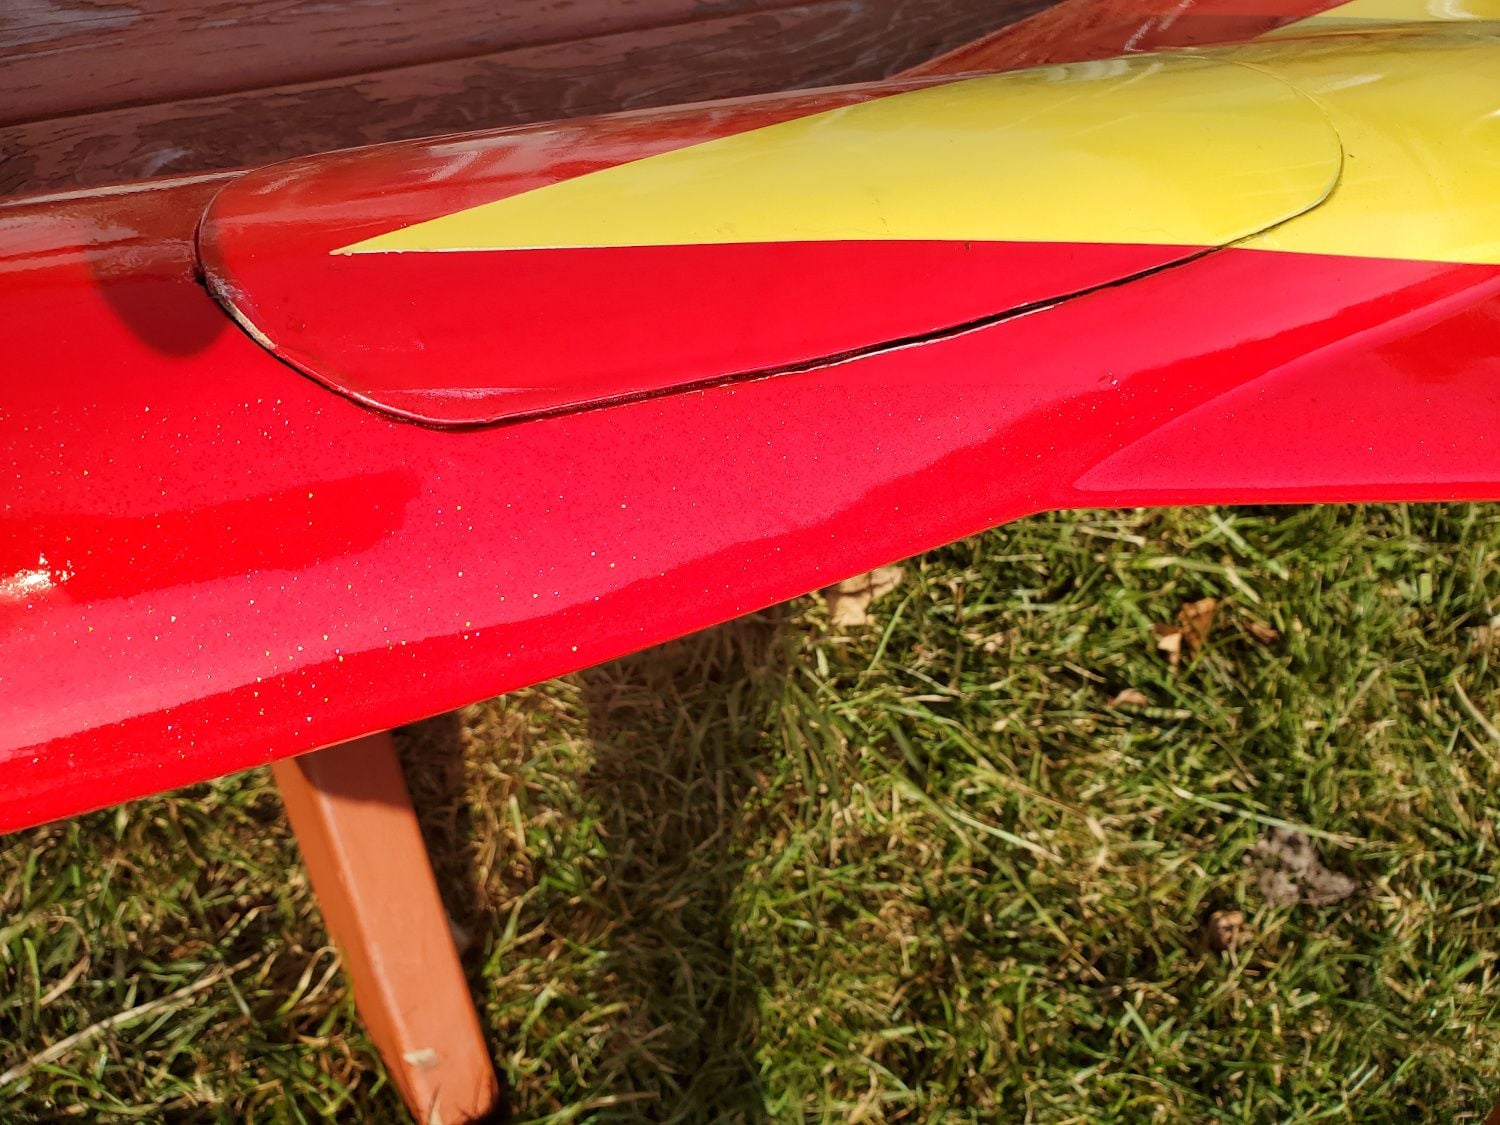
It looks good as long as you don't look closely at it anywhere.
The camera did not capture the metal flake in the red very well, that part looks better in person.


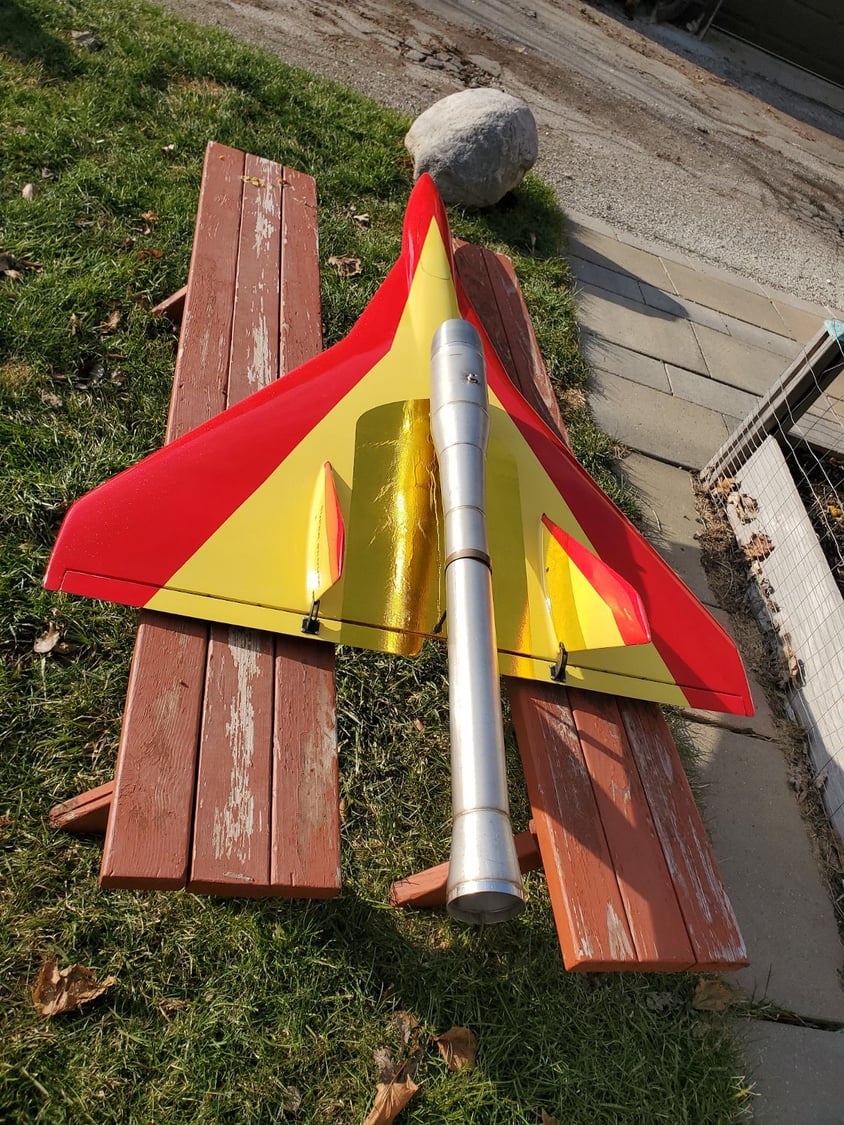
Bottom View
The pics of the paint job you have been waiting for......................
This was the first time the sun came out since I painted it.
It looks good as long as you don't look closely at it anywhere.
The camera did not capture the metal flake in the red very well, that part looks better in person.
Bottom View
09-07-2020, 12:01 PM
#35
OK it has been a while since I posted.
Not much happening with COVID doing its thing.
But I did get all of the TI parts made. It was a learning experience.
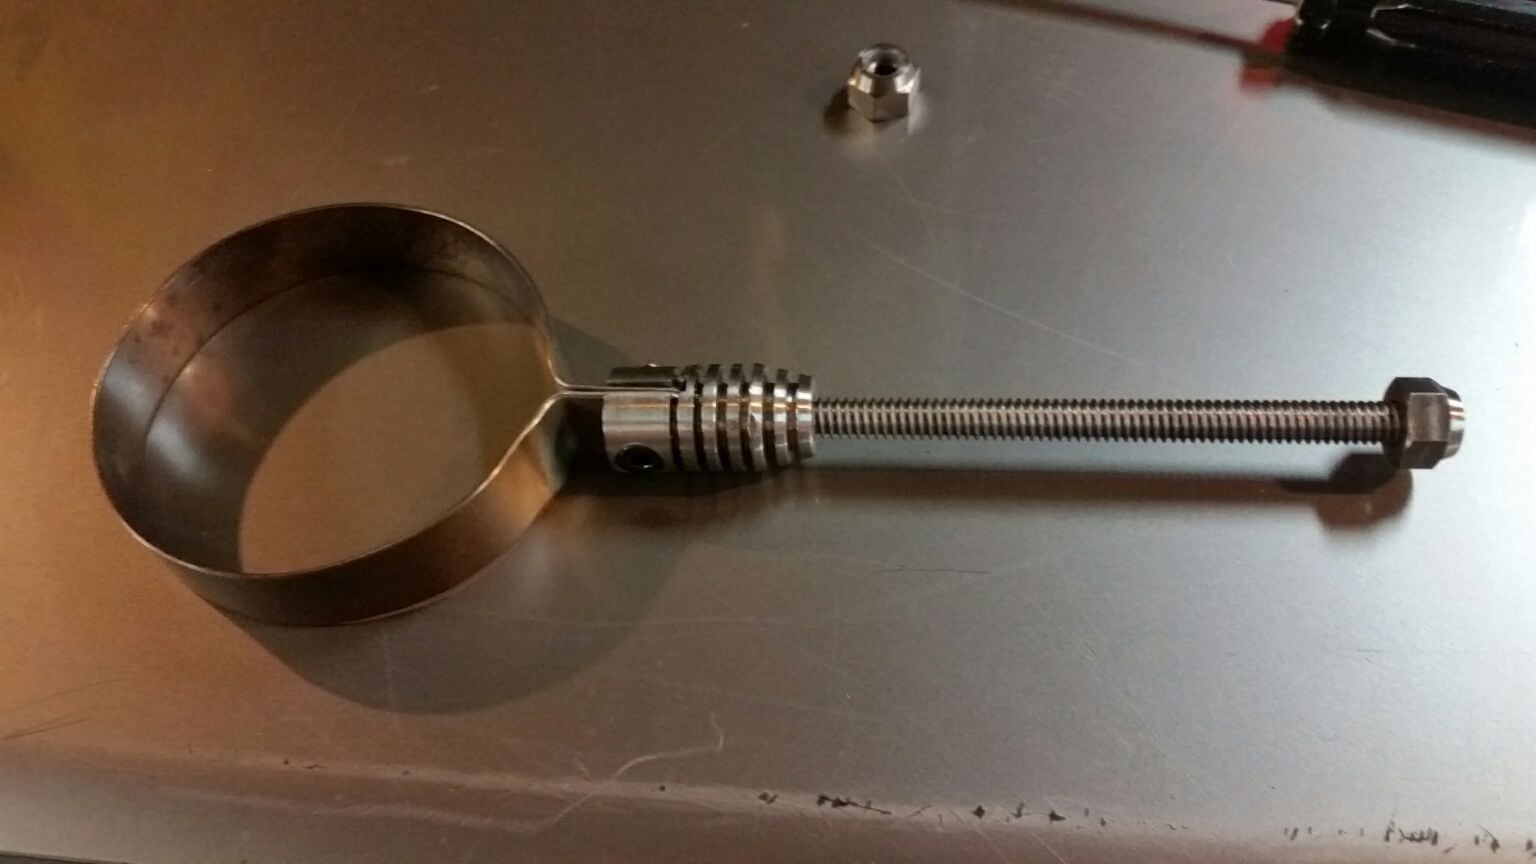
The only parts that are not TI are the sheet metal band (321 Stainless) and the black screw that is mounting the band (Steel).
All of the small parts came out of that initial bar of 16mm, Grade 2, I bought. The washer and the flat strap are out of a small piece of 2mm thick sheet, grade 5. I did a lot of cleaning up swarf along the way, putting small batches in separate bags so as to not risk anything exciting. It is now all safely at the dump and buried.
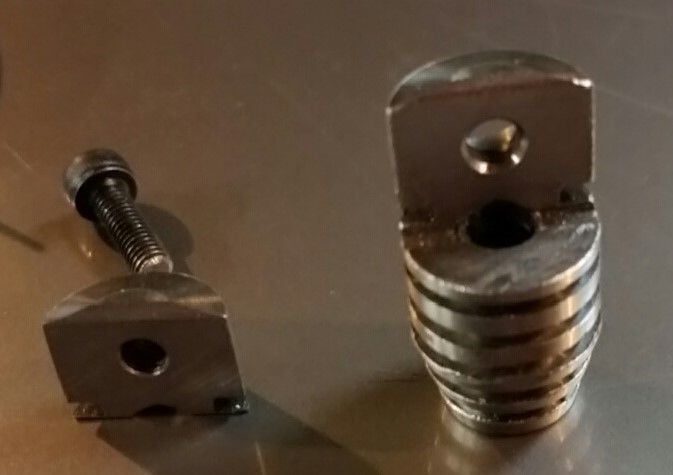
This is the rear motor mount.
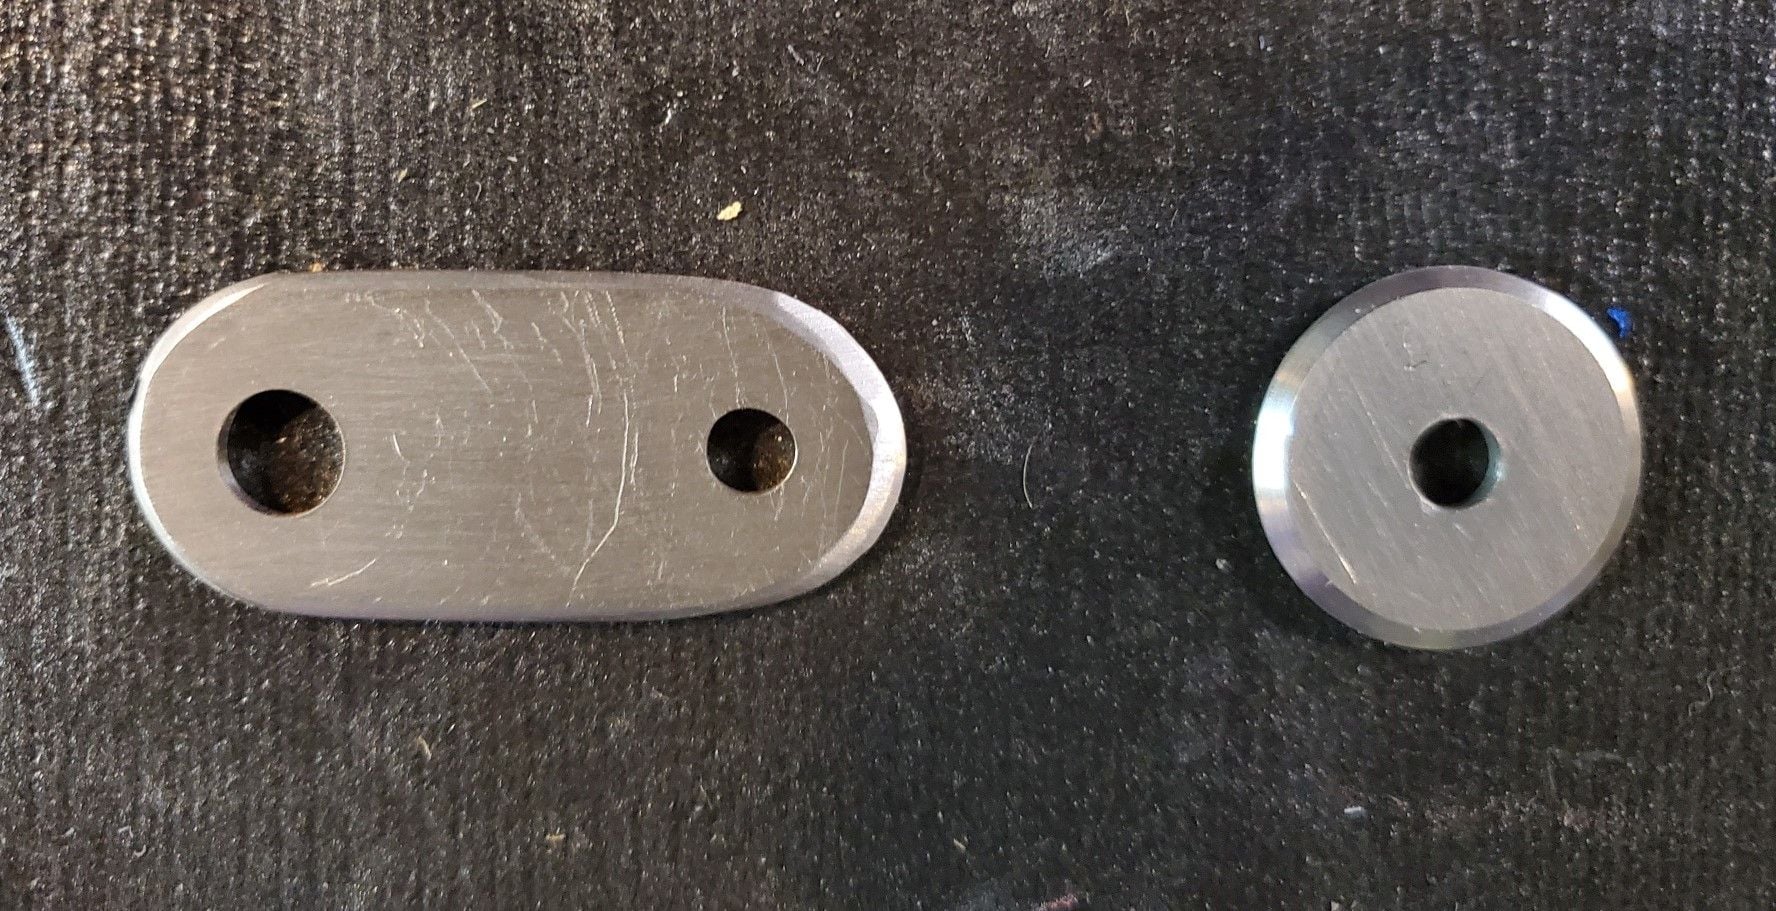
This is the washer and catapult release that will mount with the rear mount on the trailing edge of the wing.
This is the front mount for the PJ

I am now deep into building the test stand, With some luck It will be done by the end of next week and I can see if I can actually get this monster to light up. I will try to get some video of this. It may be exciting, I have never set up or run any kind of pulse jet before, I am betting I will start some fires before I get it working right and figure out the correct fuel flow rate.
Not much happening with COVID doing its thing.
But I did get all of the TI parts made. It was a learning experience.
The only parts that are not TI are the sheet metal band (321 Stainless) and the black screw that is mounting the band (Steel).
All of the small parts came out of that initial bar of 16mm, Grade 2, I bought. The washer and the flat strap are out of a small piece of 2mm thick sheet, grade 5. I did a lot of cleaning up swarf along the way, putting small batches in separate bags so as to not risk anything exciting. It is now all safely at the dump and buried.
This is the rear motor mount.
This is the washer and catapult release that will mount with the rear mount on the trailing edge of the wing.
This is the front mount for the PJ
I am now deep into building the test stand, With some luck It will be done by the end of next week and I can see if I can actually get this monster to light up. I will try to get some video of this. It may be exciting, I have never set up or run any kind of pulse jet before, I am betting I will start some fires before I get it working right and figure out the correct fuel flow rate.
09-07-2020, 03:12 PM
#36


Cool project still! I want one of these still. I've been breaking 300mph for a few years. I'd like to go faster.... even the website link you posted up at the beginning doesn't really show much and has broken links in it. I wish there was a website with these airplanes on them.
09-08-2020, 04:59 PM
#37
Thanks LGM Graphix , With your paint skills just don't look to close at my mess.........lol
I have never seen a website specifically for these airplanes or the pulse Jets.
Looking at your tag line, This is the first airplane I have BUILT in 15 years.
I have never seen a website specifically for these airplanes or the pulse Jets.
Looking at your tag line, This is the first airplane I have BUILT in 15 years.
07-17-2021, 05:36 PM
#38
Well I did get it out to try to light it up today. I got a bunch of pops a few farts and a couple of really loud BANGS. The longest it ran was about 2 seconds. It was like it was just burning off the prime, I can tell it was getting fuel by watching the level in the tank go down.
I have no clue as to just what flow rate I should be using, so this is all trial and a lot of error. All of the batteries are charging now so I may give it another try tomorrow with a different fuel mix and see what happens.
I have no clue as to just what flow rate I should be using, so this is all trial and a lot of error. All of the batteries are charging now so I may give it another try tomorrow with a different fuel mix and see what happens.
