


FB Viper build!!!!


 06-07-2016, 12:55 PM
#103

Thread Starter
lol What are they? I am working with Anton and John for some custom work done on the A10. I have to wait until Oct time frame. "Reenlistment Bonus" will be paying for it haha. I am also going to paint it myself. I have the Peanut colors down and pretty sure they are a direct match off the information I have found. I know that there are a few documents with the FS numbers on there but found that the colors used were Saudi Color: FS30475 (Light color), Earth Yellow: FS30257 (Yellow/Brown), and Field Drab: FS30118. This project will take me some time to complete but the end result will be outstanding "At least I hope' haha
06-07-2016, 03:05 PM
#105
Thread Starter
I was also thinking that. The only issue is with the Mibo is that it doesn't have the speed brakes. I wonder how hard it would be to do that? The stuff that I was trying to get done is the ailerons, Speedbrakes and Elevators. I will be removing the live hinging, and making it look like this in the video: https://www.youtube.com/watch?v=eIarSEZevCQ. If I can get the ailerons and speedbrakes like that in the Mibo then I might reconsider.
06-07-2016, 10:45 PM
#106
Thread Starter
Here is another video of starting up the viper. I did get a little bit of the equipment tray in there as well. https://youtu.be/RMilfc7G5S4
06-28-2016, 07:56 PM
#107
Thread Starter
Here are a few more pictures. I recently added the Cortex Gryo and have it programmed. This passed Sunday was going to be the maiden but I had a servo wire break on me. I can say that the powerbox premium servo wire is very easy to break if not careful. So I fixed that and now I am hopping that this Sunday is nice and we are able to fly. If so we will put the first flight on this Viper!
07-04-2016, 12:15 AM
#108
Thread Starter
So today was a great day! We got the maiden on the Viper. Now as the flight was very nice, I once again ran into some issues that I wish didn't happen. The first thing was my cortex gyro stopped working. It worked find the night before and that morning before loading up to head to the field. I get to the field turn the viper on and no movement on the controls. I waited for the 6 sec and went to move the sticks but nothing. I did that process 3 times and nothing. unplugged the gyro and put my control surface back on the CB200. Worked like it should have. The next issue that I had was that my retracts didn't want to retract. I am still trying to figure that one out. The air maybe bypassing the o-rings in the air cylinder. I will have to pull them out and check them. So the flight went with no gryo and landing gear down. A little bit below half throttle and pretty strong winds. I felt that that it flew nicely and cant wait to get these issue fixed to open her up. I want to give a big thanks to Duke from our club for conducting the maiden on for me and checking this thing out. Here is a video of the flight. It was taken on the phone so please forgive me if its not top quality.
https://www.youtube.com/watch?v=rFYu_yvbO4M
https://www.youtube.com/watch?v=rFYu_yvbO4M
07-04-2016, 03:07 AM
#109

Join Date: Dec 2010
Location: Victoria, AUSTRALIA
Posts: 105
Likes: 0
Received 0 Likes
on
0 Posts
Glad to hear your maiden went well enough.
frustrating about the technical issues but I'm sure you'll sort it out.
my build is finished just waiting for turbine to return from repairs, hopefully get airborn within the month.
nice video.
frustrating about the technical issues but I'm sure you'll sort it out.
my build is finished just waiting for turbine to return from repairs, hopefully get airborn within the month.
nice video.
07-04-2016, 04:19 AM
#110
Thread Starter
 . I need to get a better camera. My phone is just not cutting it.
07-17-2016, 02:28 AM
. I need to get a better camera. My phone is just not cutting it.
07-17-2016, 02:28 AM
#111
Join Date: Dec 2010
Location: Victoria, AUSTRALIA
Posts: 105
Likes: 0
Received 0 Likes
on
0 Posts
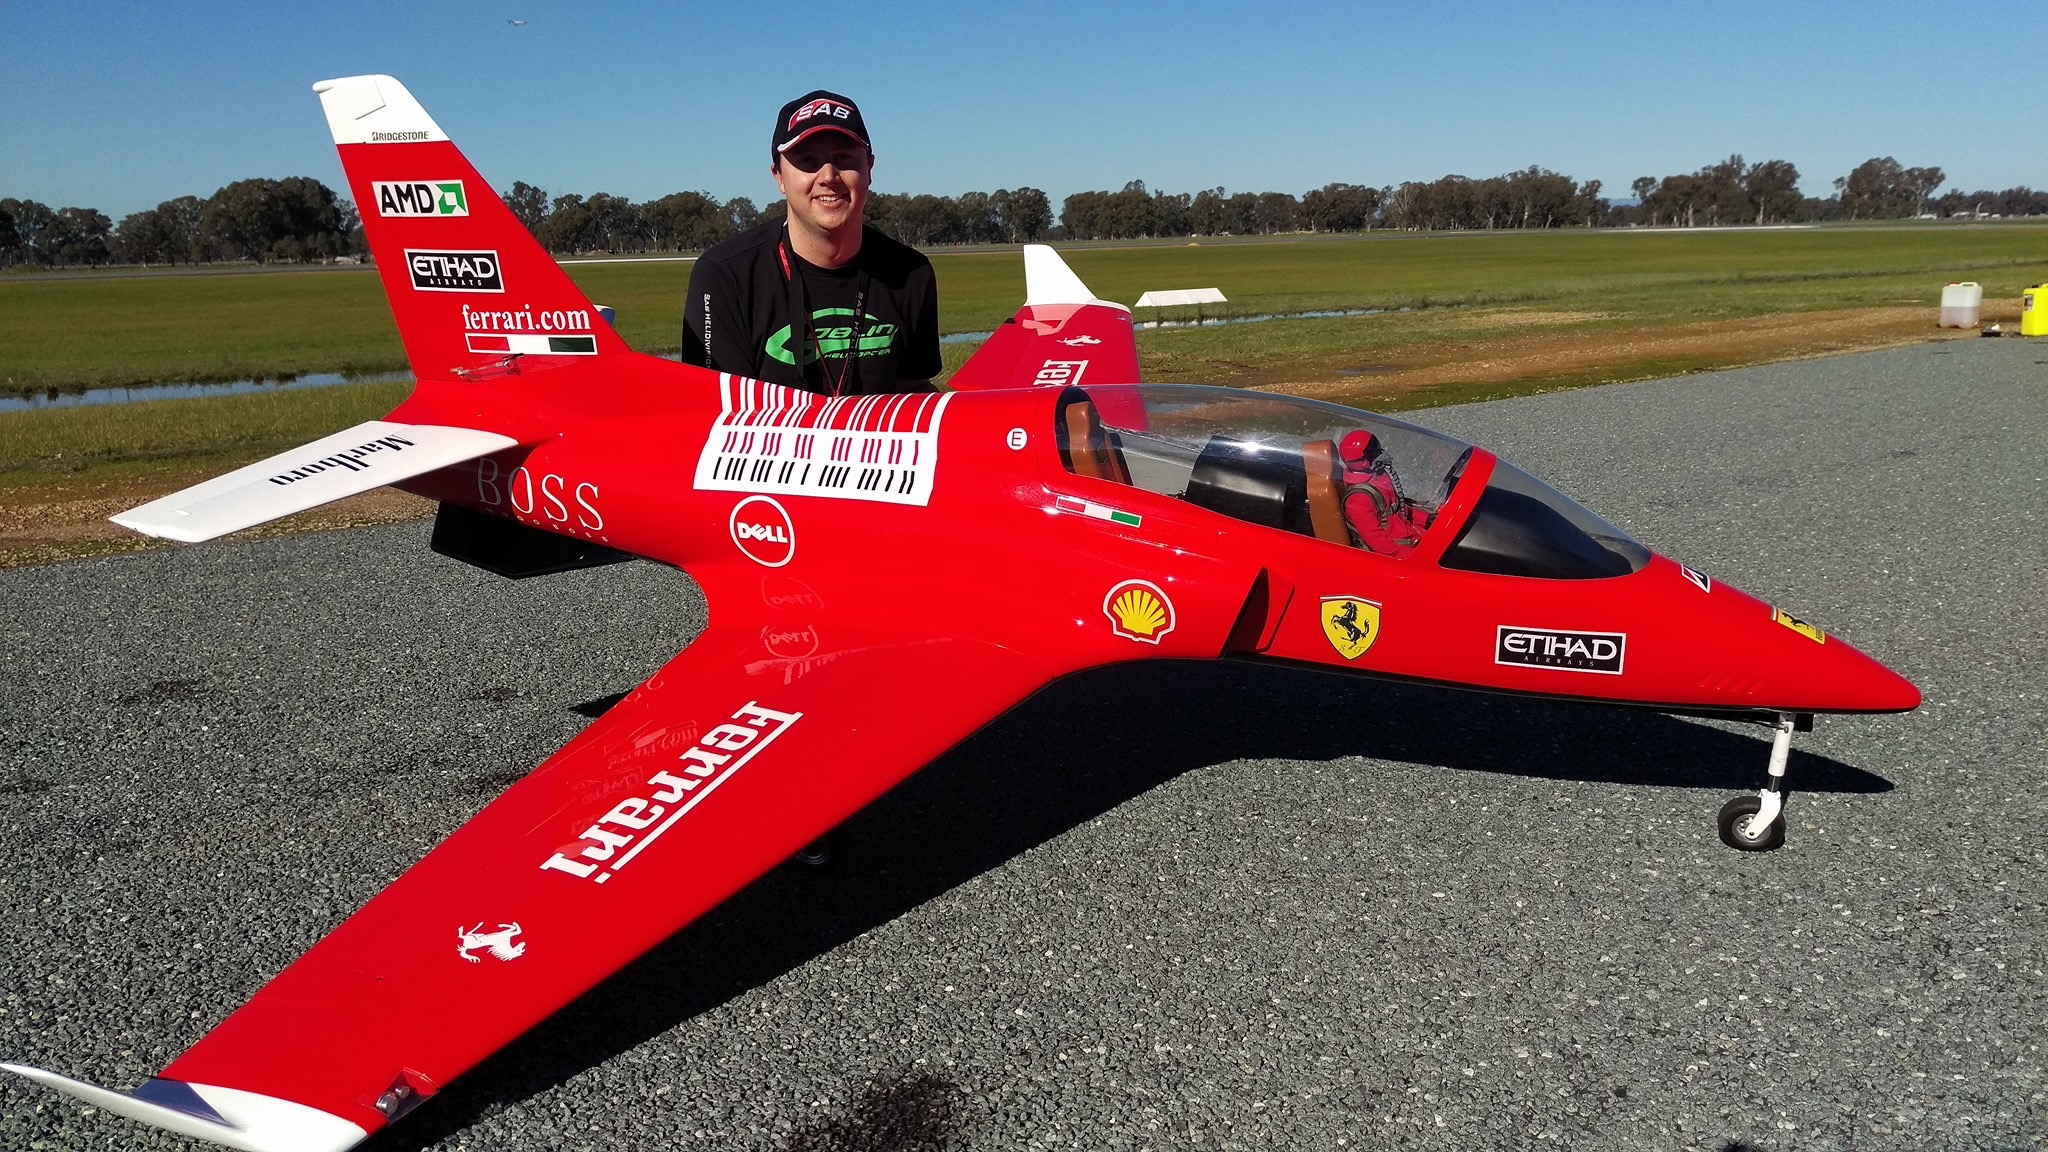
Well turbine arrived back on Thursday, and there was a jet meet on today so I've been working mad to finish her off for today. Weather conditions were perfect and the Viper performed flawlessly. Only had time for two flights and I had a minor strut door issue also but very quick fix
needed only a few clicks of trim, great looking on the floor and sky. Didn't manage to get any pics or video flying unfortunately. Will need to get a few more flights on her as it was very calm and with the k210 she hauled ass.
needed only a few clicks of trim, great looking on the floor and sky. Didn't manage to get any pics or video flying unfortunately. Will need to get a few more flights on her as it was very calm and with the k210 she hauled ass.
09-18-2016, 11:01 PM
#112
Thread Starter
Well turbine arrived back on Thursday, and there was a jet meet on today so I've been working mad to finish her off for today. Weather conditions were perfect and the Viper performed flawlessly. Only had time for two flights and I had a minor strut door issue also but very quick fix
needed only a few clicks of trim, great looking on the floor and sky. Didn't manage to get any pics or video flying unfortunately. Will need to get a few more flights on her as it was very calm and with the k210 she hauled ass.
needed only a few clicks of trim, great looking on the floor and sky. Didn't manage to get any pics or video flying unfortunately. Will need to get a few more flights on her as it was very calm and with the k210 she hauled ass.
09-18-2016, 11:07 PM
#113
Thread Starter
I got my light kit installed and working. I did a mix of Unilight and Booma RC lights. The landing lights in the wings are Booma RC which are Nice and big. I like the way they looked. The issue with Booma lights is that they must be used with a 3s battery. So I soldiered on the resisters on the Unilights to use a 3s battery. The only light that I have left to get is the bottom ACL light. Basically I installed the Unilight Viper 2.5m Sport package minus the wing landing lights. It was just cheaper to get the Booma landing lights for the wings. Here is a video of it working. Please disregard the wire mess. I later fixed that mess and put the tray back in which covers up all that lol
https://www.youtube.com/watch?v=njex8kavb1I
https://www.youtube.com/watch?v=njex8kavb1I
Last edited by JoeJr1485; 09-22-2016 at 10:03 PM.
09-22-2016, 10:07 PM
#114
Thread Starter
I got the bottom light in and installed. Man does it look nice all lit up. I am very impressed will the Unilights as well as the Booma RC 18 mm Landing Lights. Both work well together and I should have no problem seeing it when it comes in for a landing. Now that the light kit is in, I guess I can say that this jet is 100% complete.
09-23-2016, 02:00 AM
#115
Join Date: Dec 2010
Location: Victoria, AUSTRALIA
Posts: 105
Likes: 0
Received 0 Likes
on
0 Posts
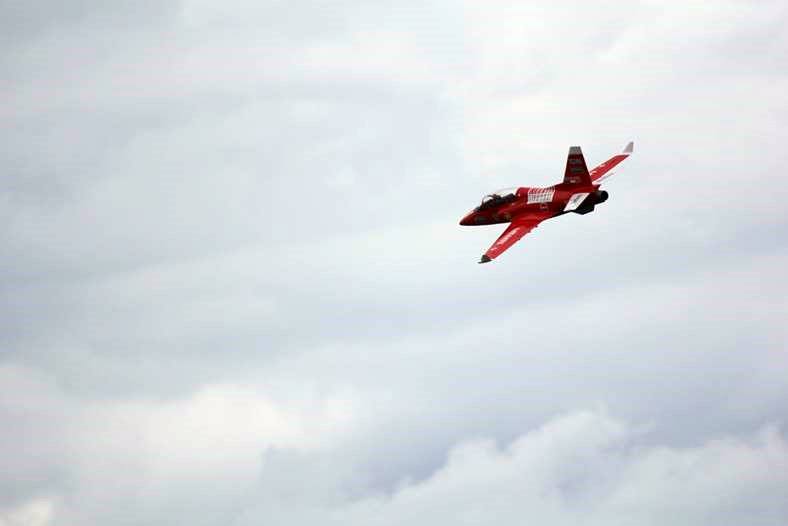
JoeJr, is she's a beast with a 210 installed. Has taken a few flights to wrangle that power under control.
Clocked it at 418kph on the powerbox royal, but i am somewhat suspicious of that reading. I'll reset the max speed it next time i go for a burn and see what it comes in at again.
Pic was from her second outing.
Just keep an eye on your landing gear mounts, specifically where it's adhered to top skin of the wing (U shape area in former). I've had some minor separation ill be bulking up.
09-23-2016, 04:29 PM
#116
Thread Starter
JoeJr, is she's a beast with a 210 installed. Has taken a few flights to wrangle that power under control.
Clocked it at 418kph on the powerbox royal, but i am somewhat suspicious of that reading. I'll reset the max speed it next time i go for a burn and see what it comes in at again.
Pic was from her second outing.
Just keep an eye on your landing gear mounts, specifically where it's adhered to top skin of the wing (U shape area in former). I've had some minor separation ill be bulking up.
Clocked it at 418kph on the powerbox royal, but i am somewhat suspicious of that reading. I'll reset the max speed it next time i go for a burn and see what it comes in at again.
Pic was from her second outing.
Just keep an eye on your landing gear mounts, specifically where it's adhered to top skin of the wing (U shape area in former). I've had some minor separation ill be bulking up.
09-24-2016, 01:52 AM
#117
Join Date: Dec 2010
Location: Victoria, AUSTRALIA
Posts: 105
Likes: 0
Received 0 Likes
on
0 Posts
This is the area in question. You can't see it in the pic but it the former has lifted from the top wing skin.
If you apply pressure it's easily visible. If yours hasn't come off yet I would strengthen with some additional ply.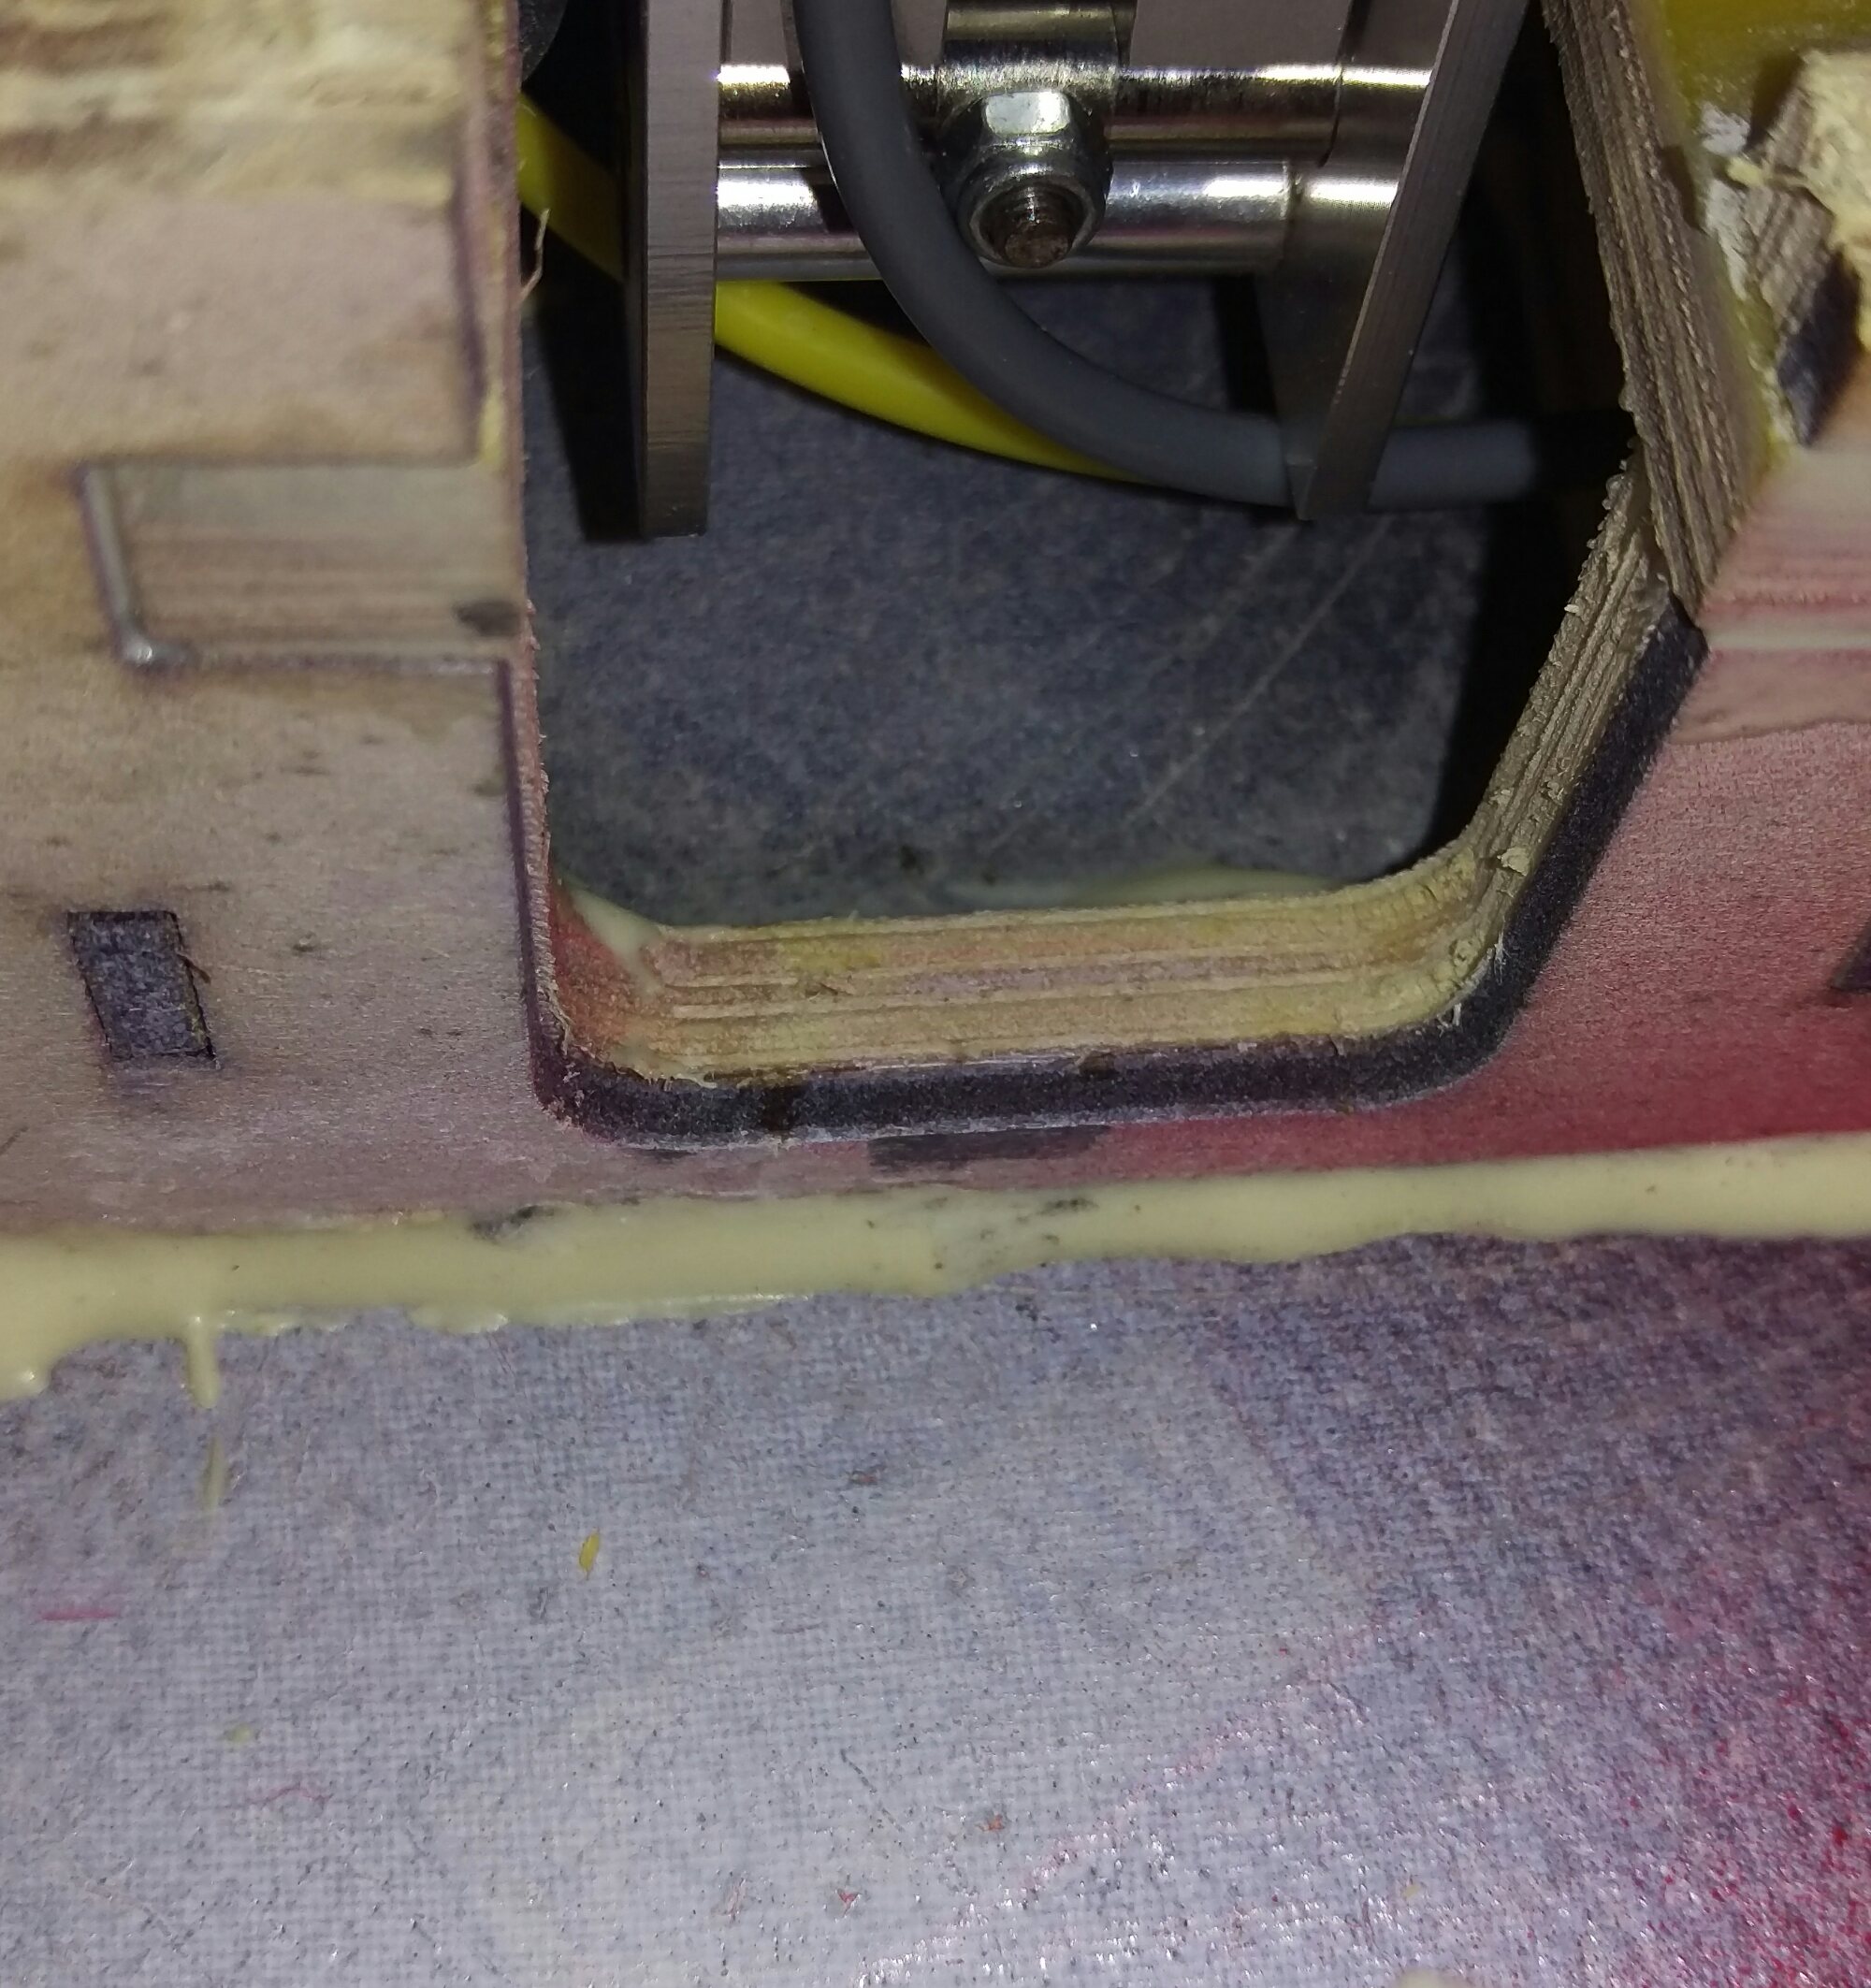
If you apply pressure it's easily visible. If yours hasn't come off yet I would strengthen with some additional ply.
