


Skymaster T-33 Build


 01-23-2017, 05:35 PM
#27

Thread Starter
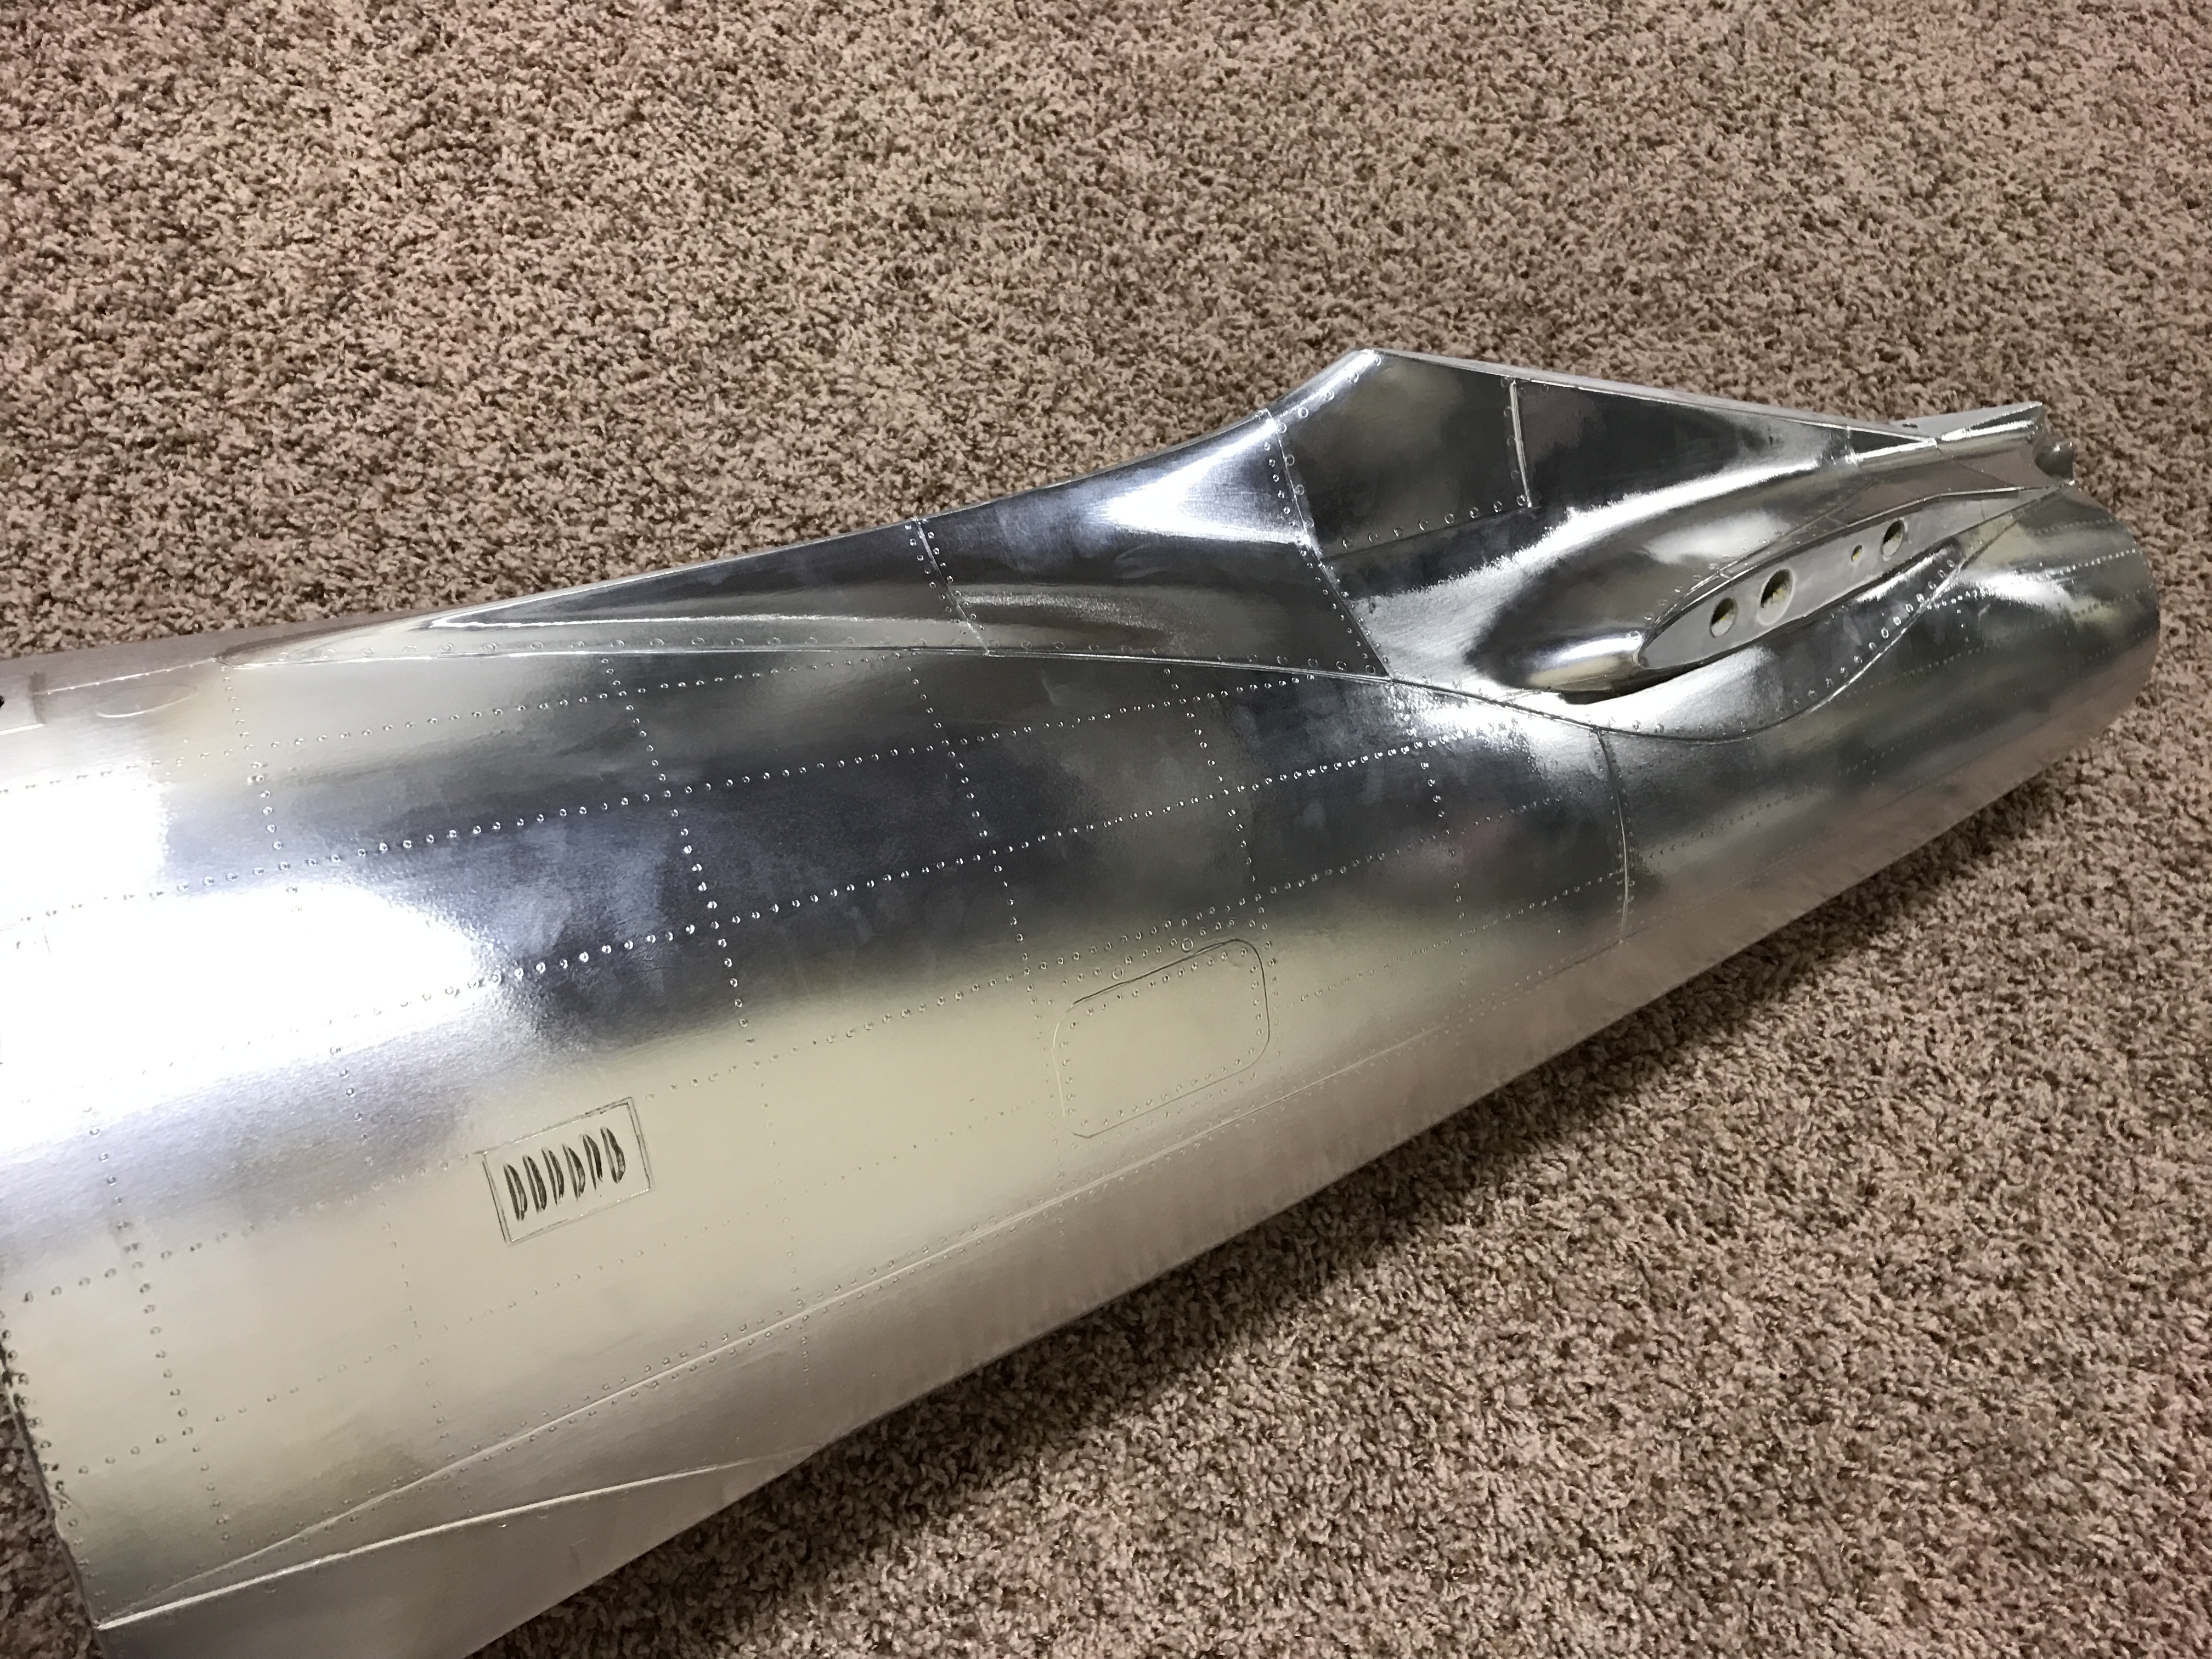
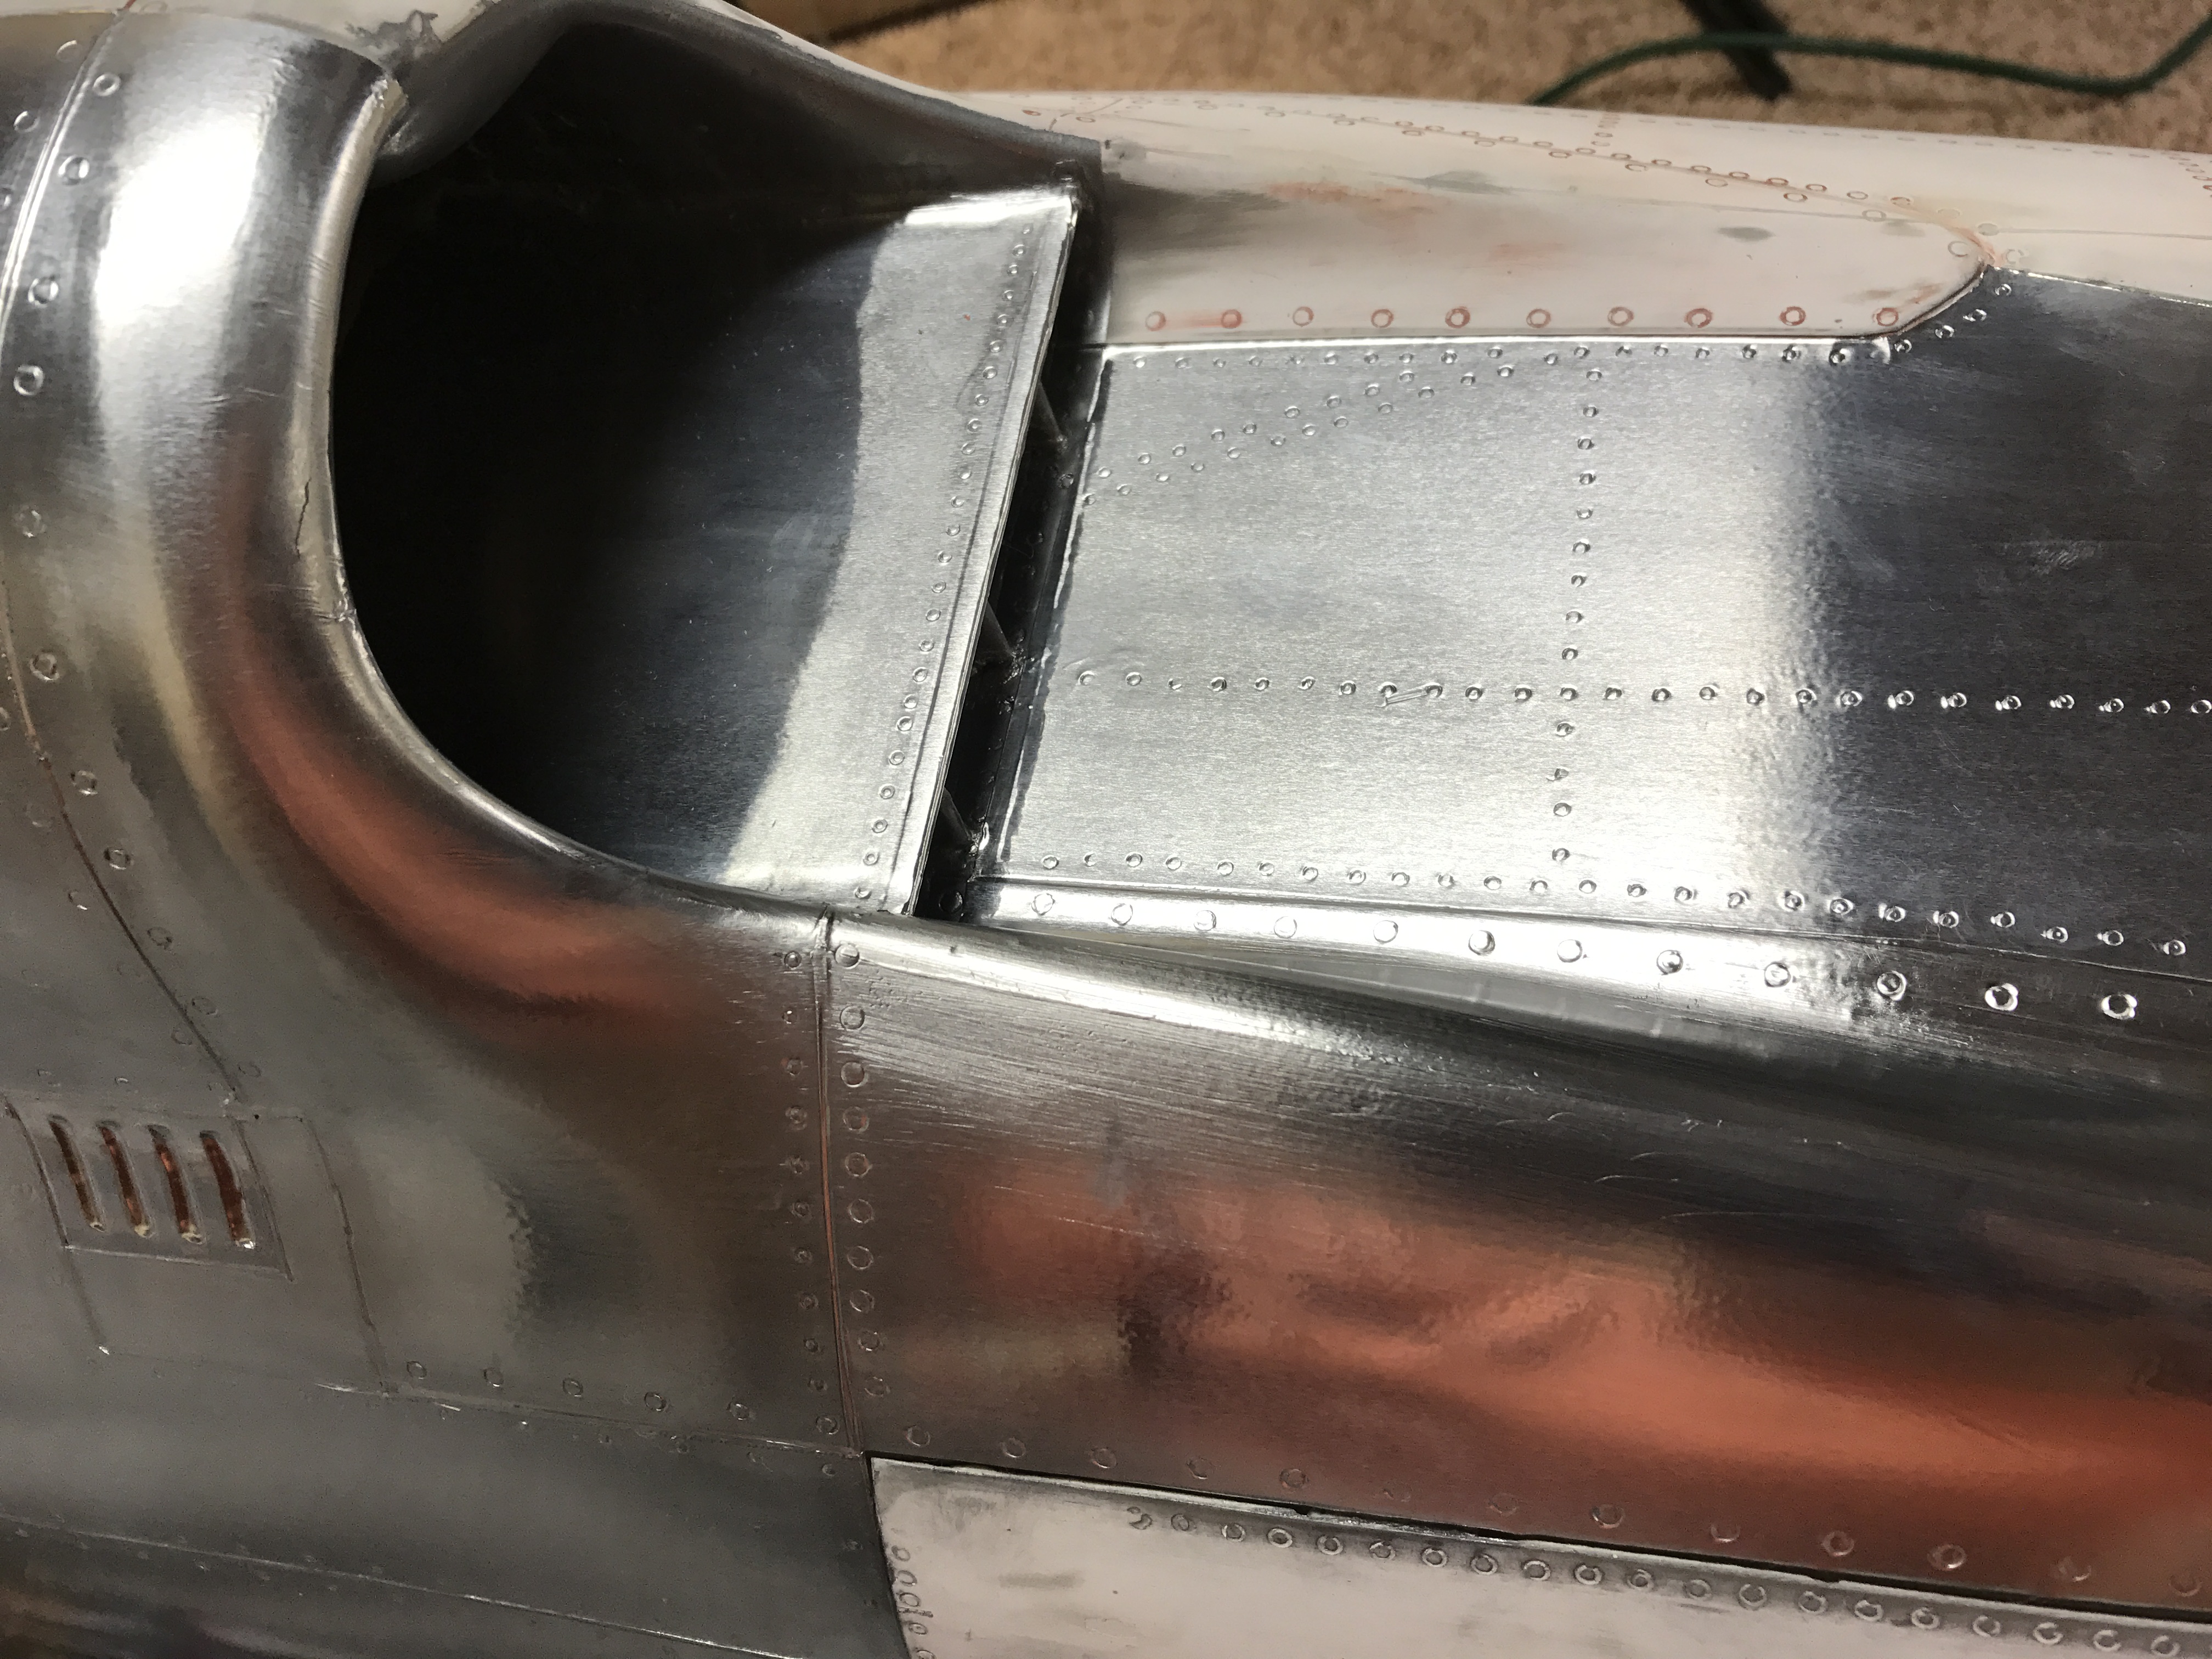
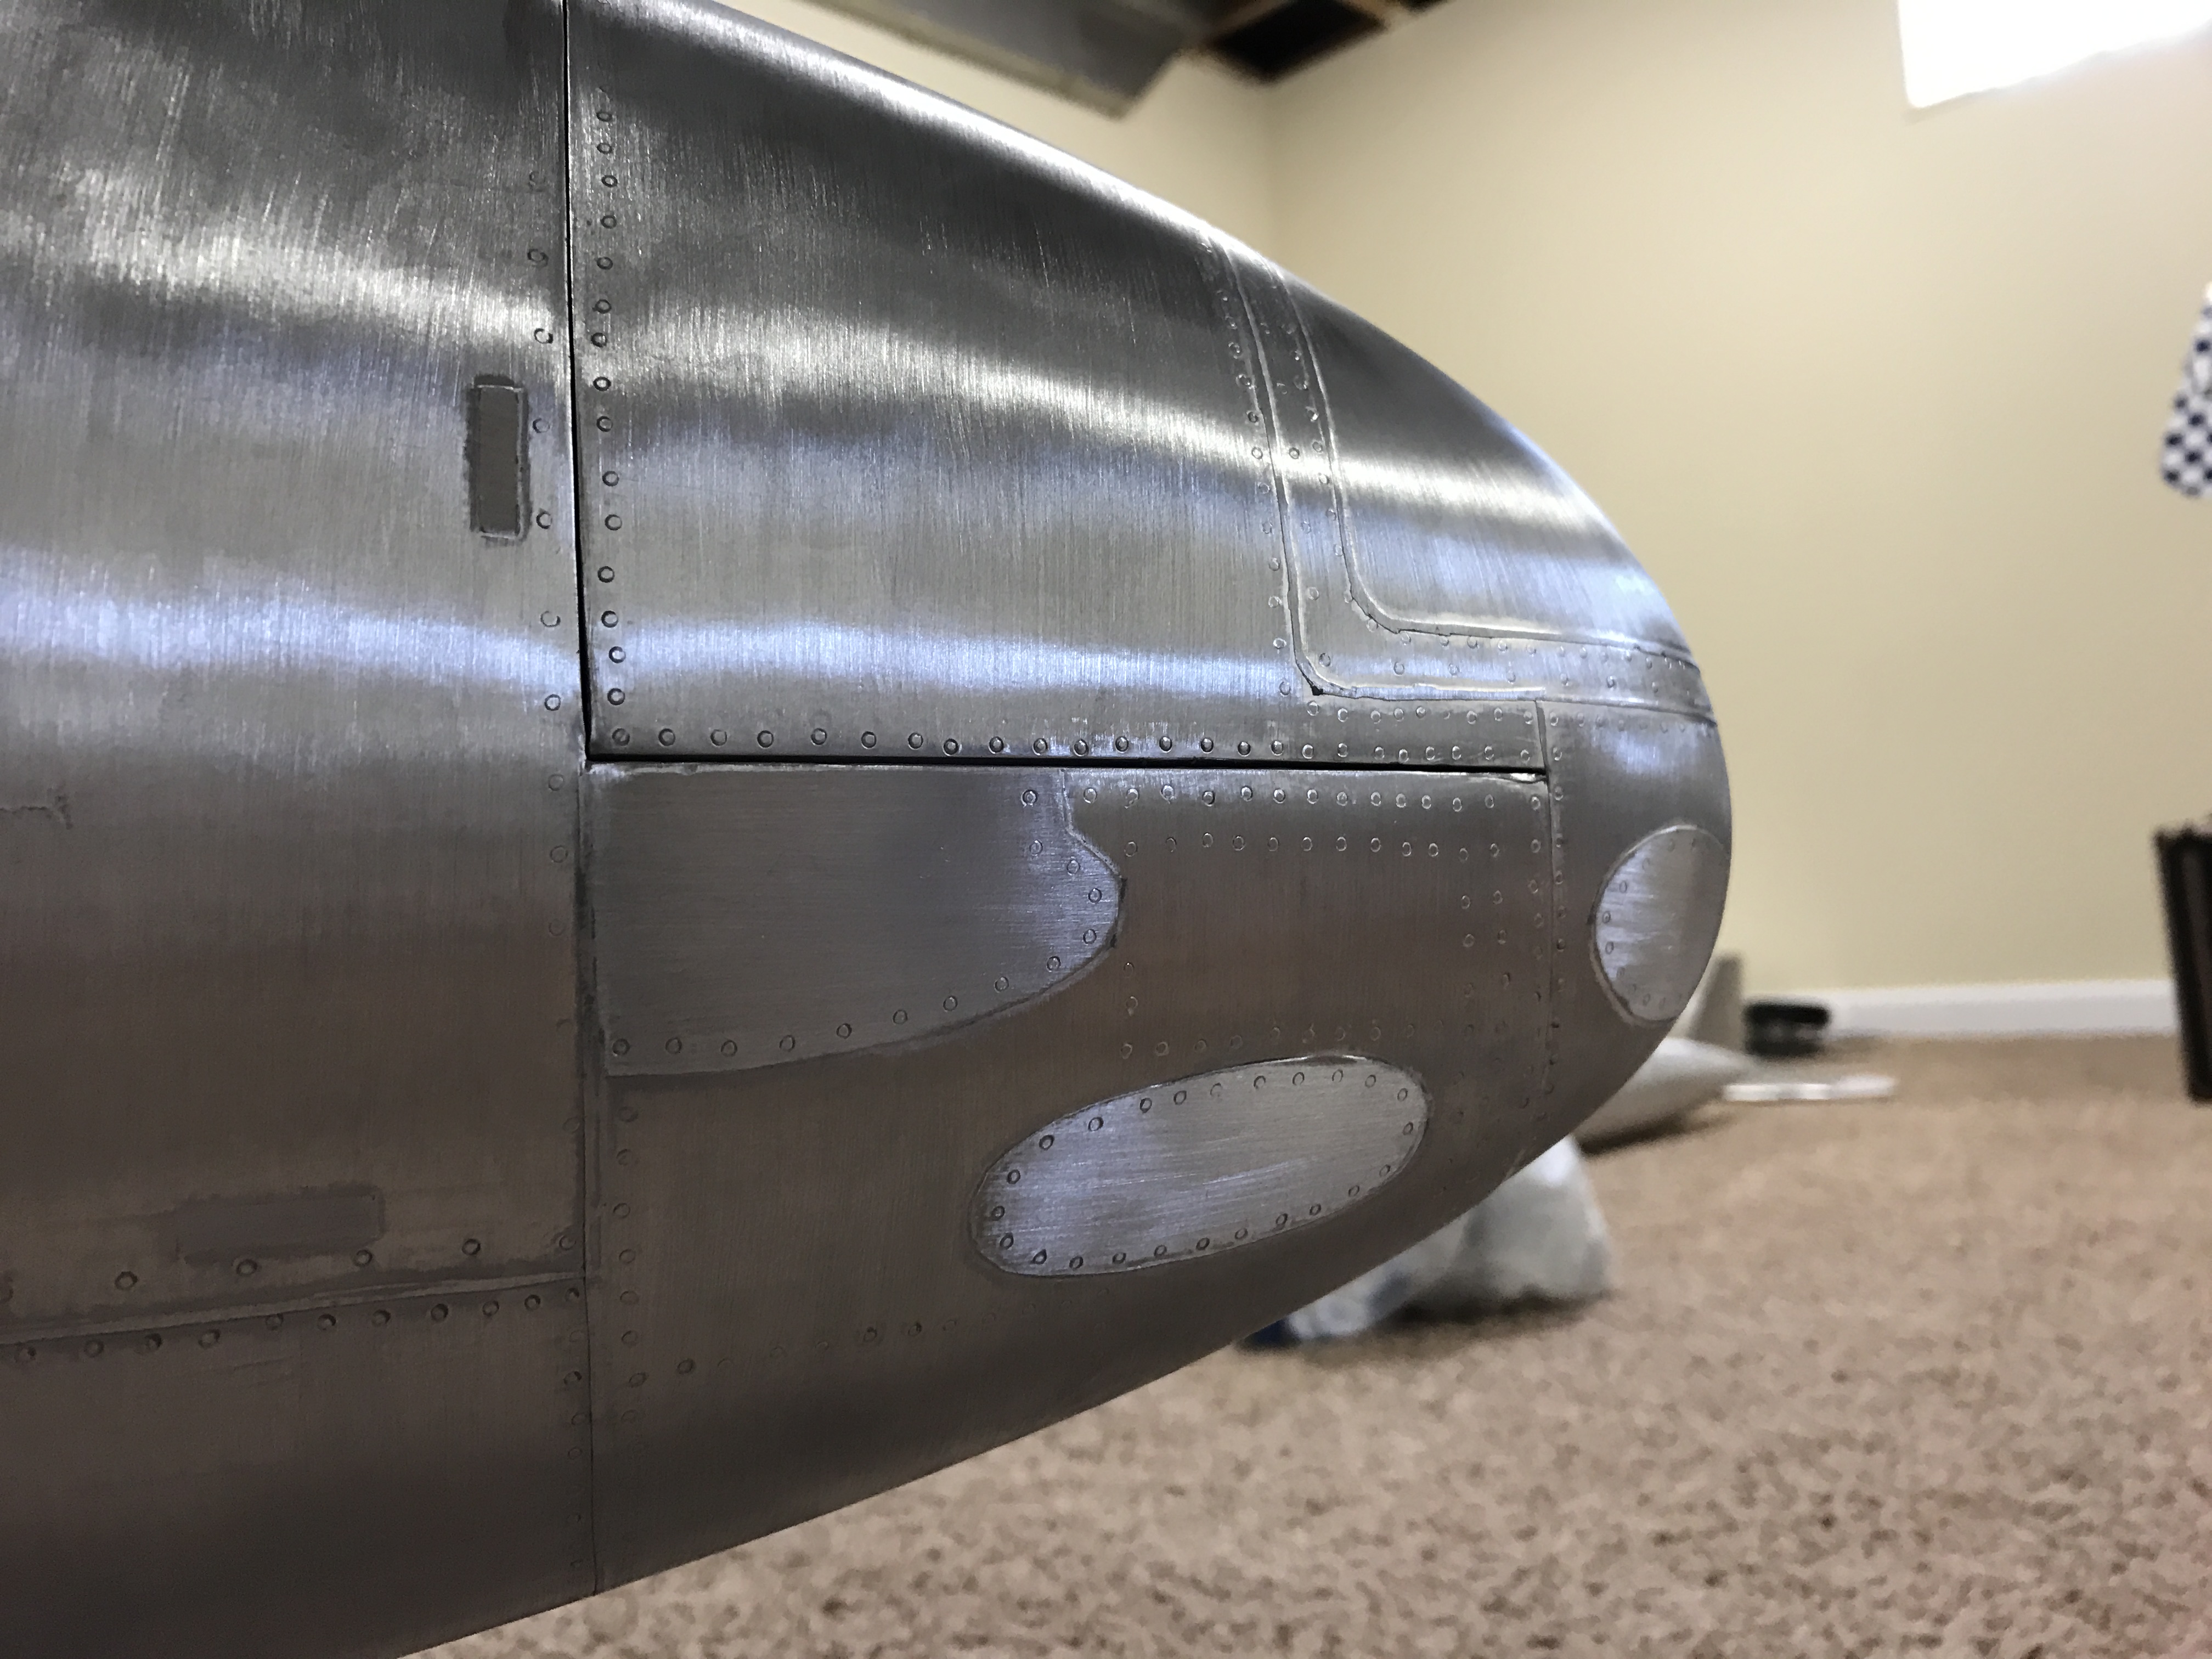
Progress has been slower on the front end of the fuse- there are a lot of complex panels to do and I haven't been home to do them. Also, apparently there are far fewer rivets there than on the rest of the plane.
Total rivets: 23,793
Total rivets: 23,793
 01-25-2017, 10:37 AM
#30

Back several years ago the CaANG had a TBird at Fresno. All polished aluminum. You didnt walk on the wings, drag you boots on it etc. The same CMSGT crewed the airplane that accepted new as a brand crew chief many years ago. It was his baby! Polished aluminum looks great!
02-04-2017, 05:13 PM
#32
Thread Starter
I finished up the tail and tanks in the last week.
Total Rivets: 32,376 - I still have to do the small gear doors and aileron covers, but this is a much larger number than I would've guessed before starting out.
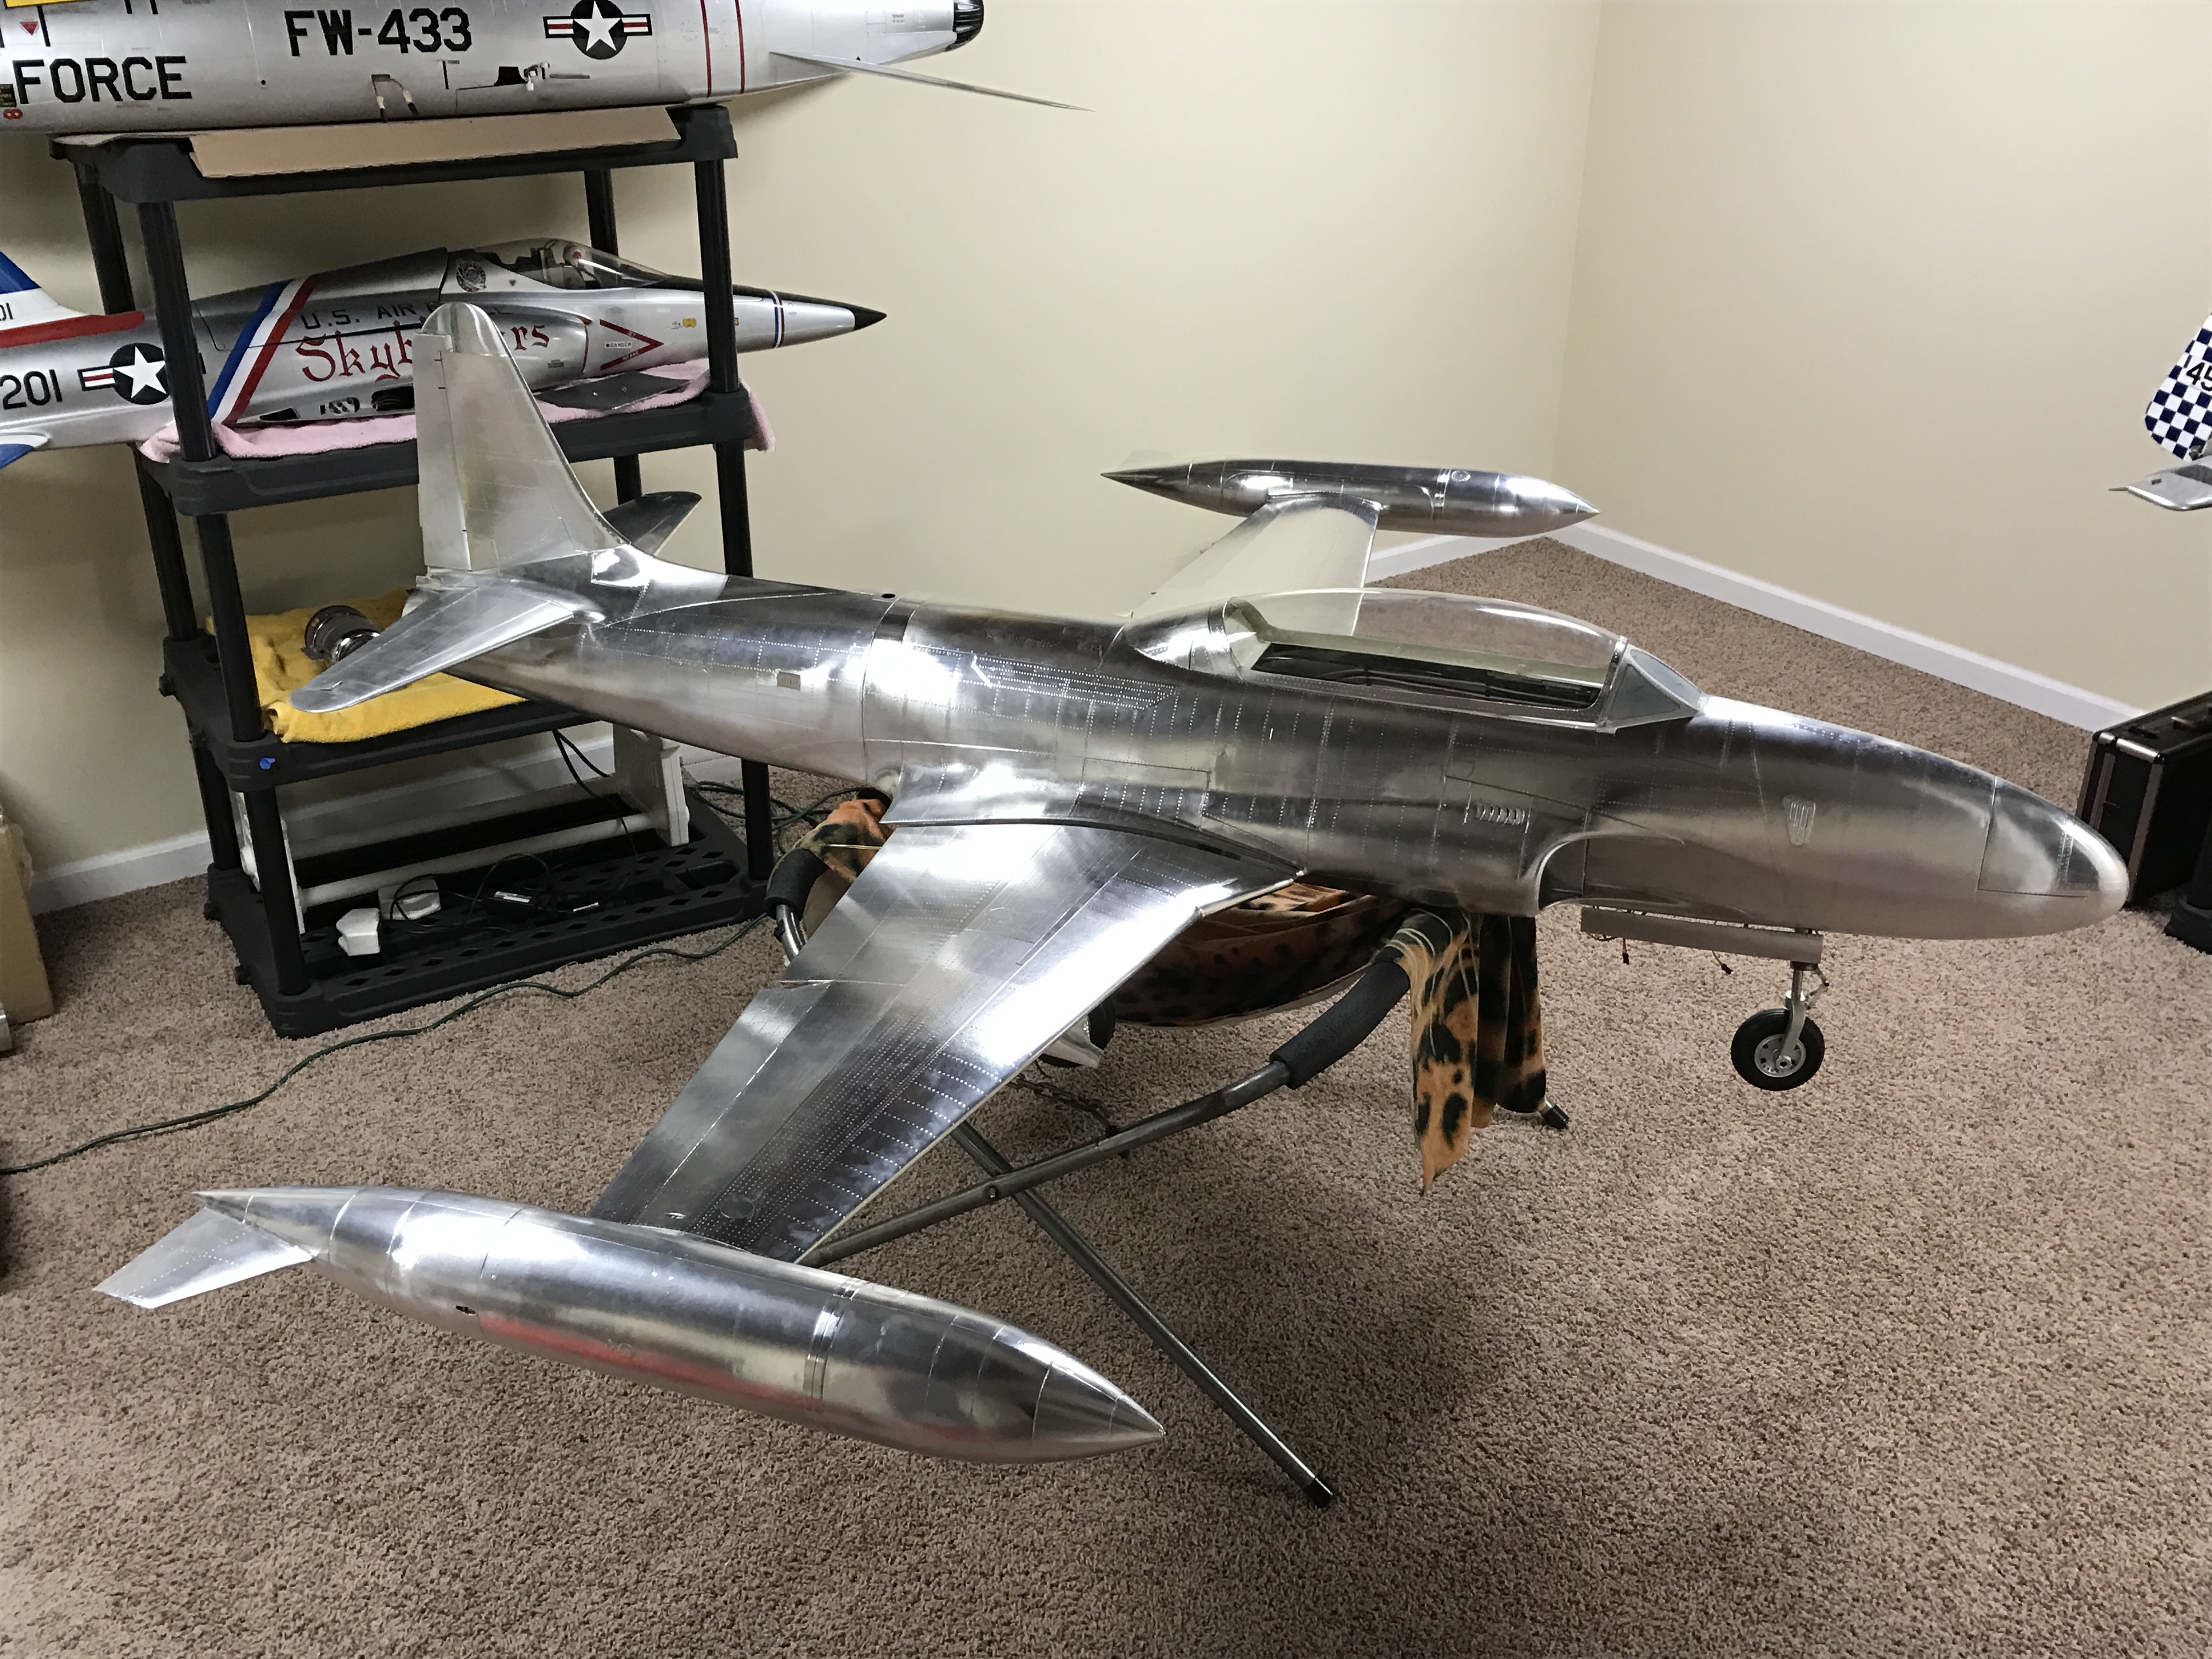
Next up is sanding everything, followed by a good cleaning and paint
Total Rivets: 32,376 - I still have to do the small gear doors and aileron covers, but this is a much larger number than I would've guessed before starting out.
Next up is sanding everything, followed by a good cleaning and paint
02-09-2017, 05:49 PM
#36
Thread Starter
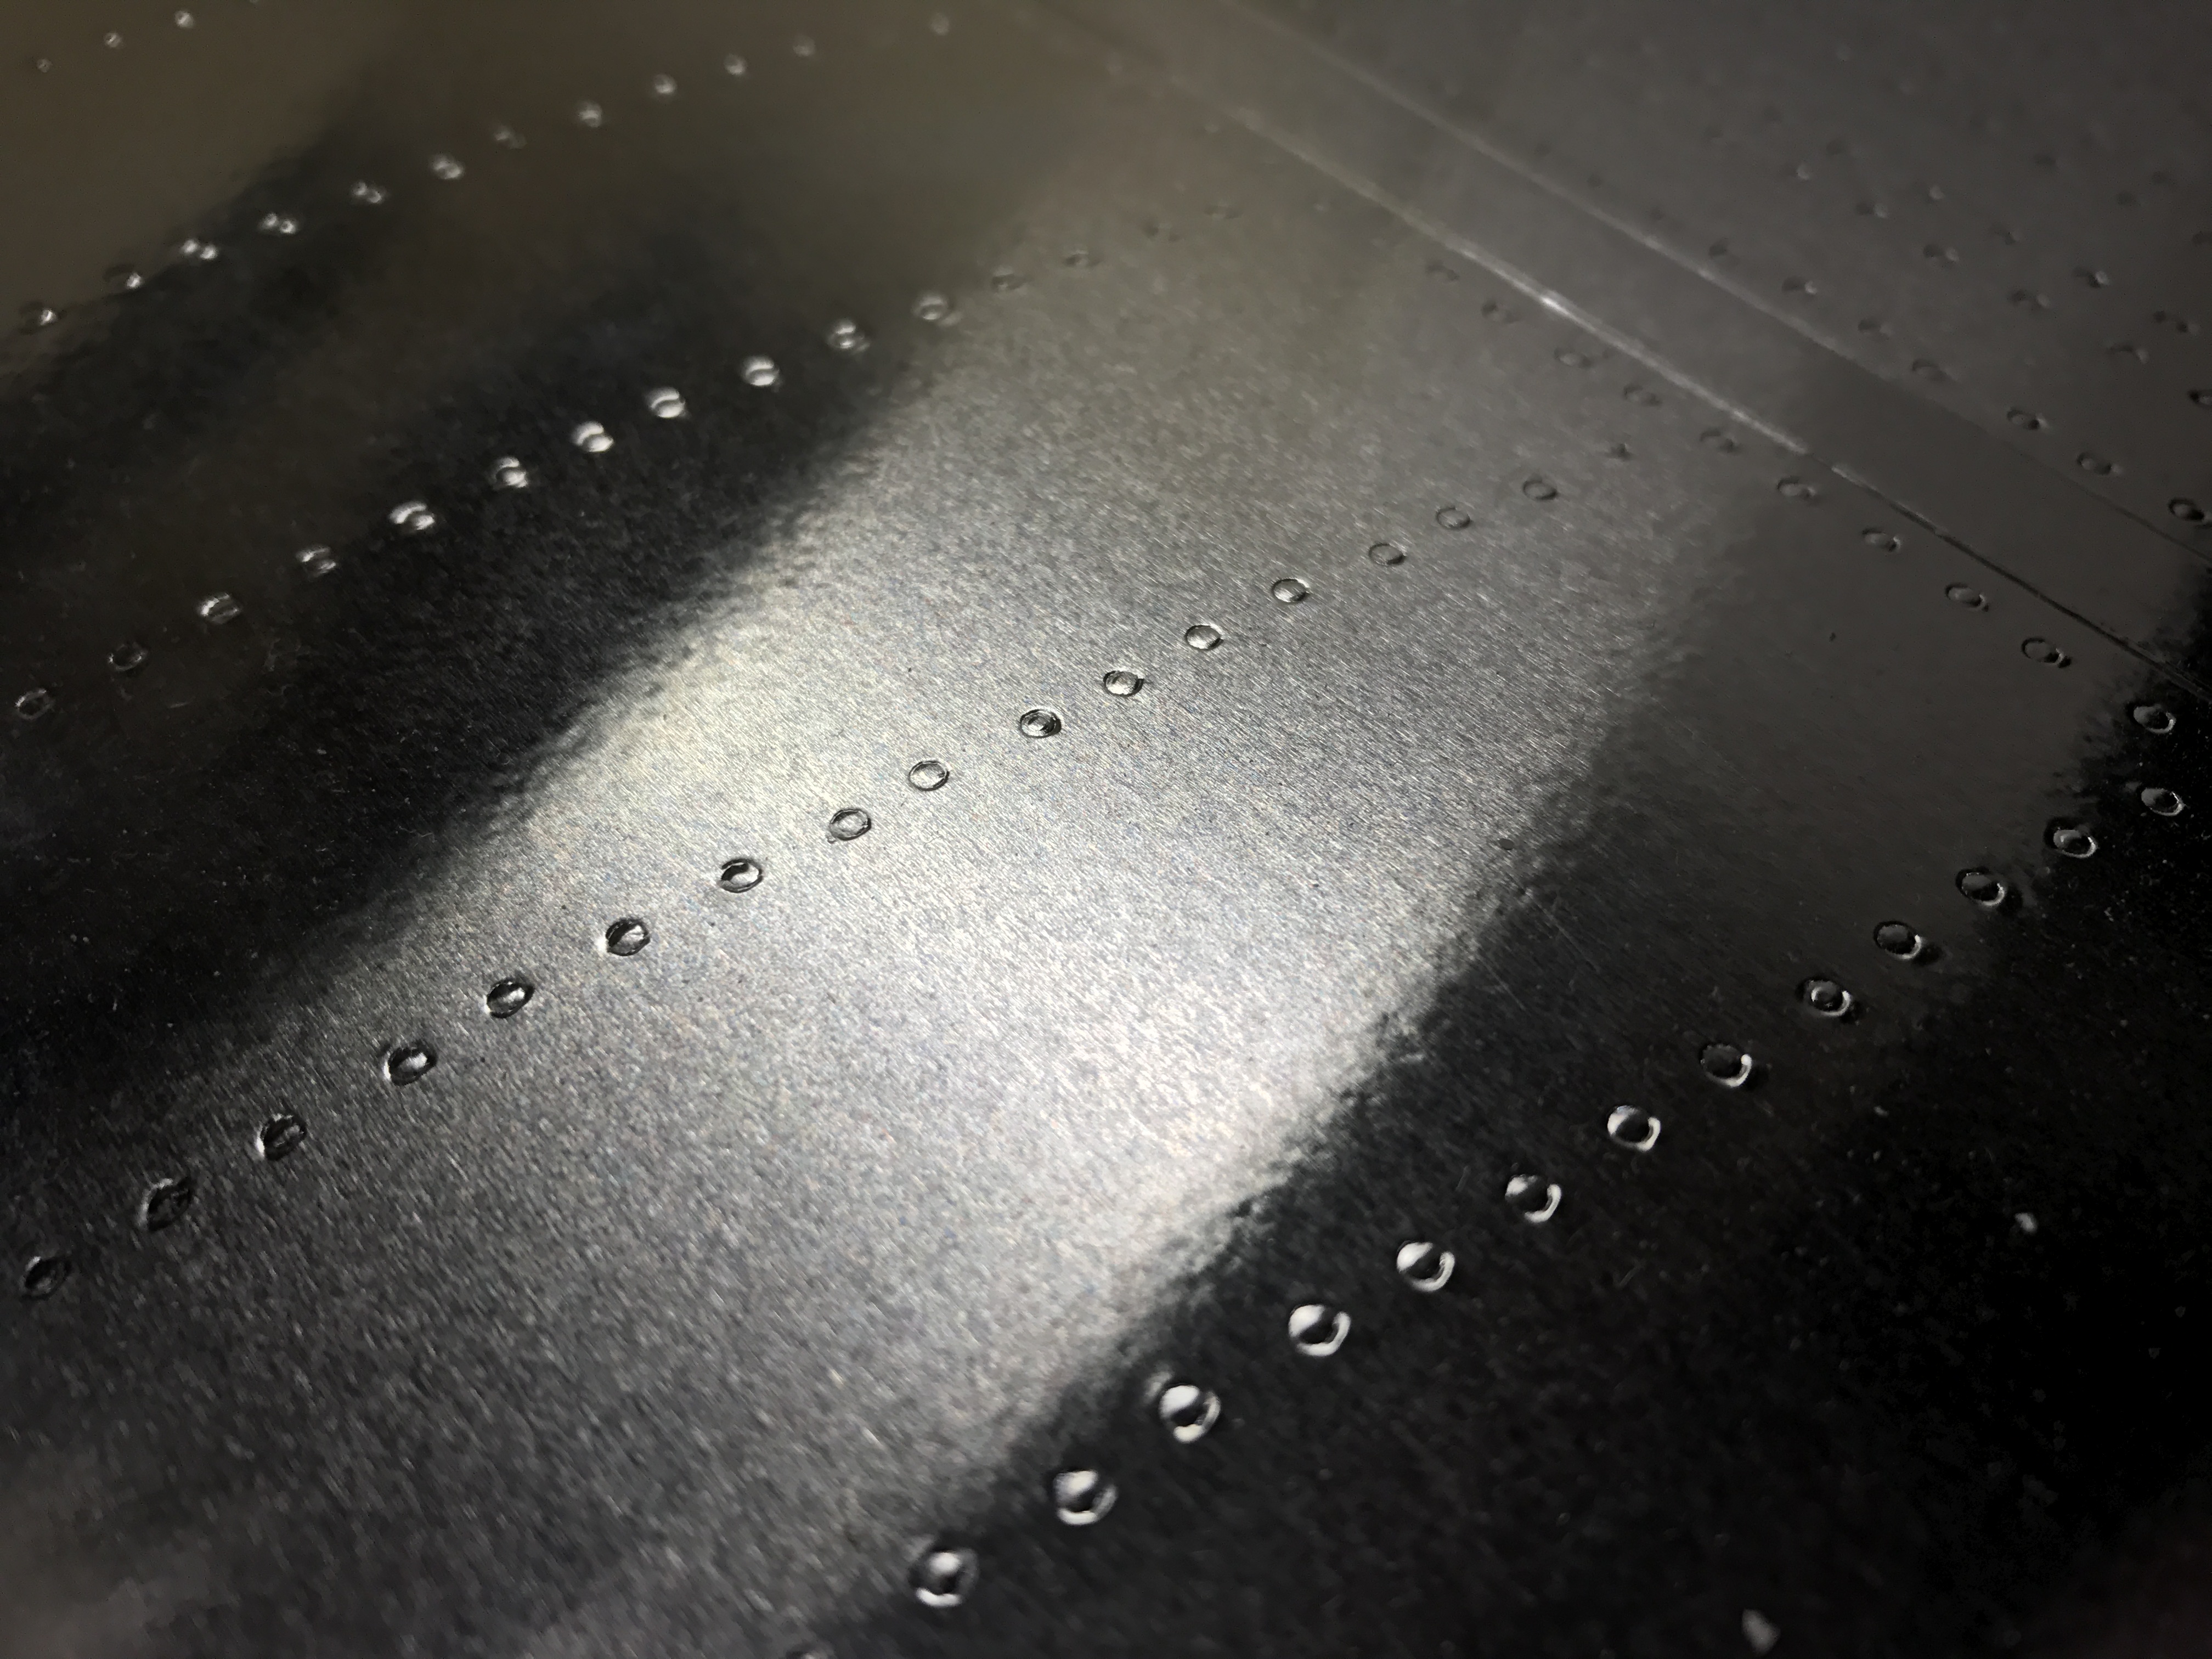
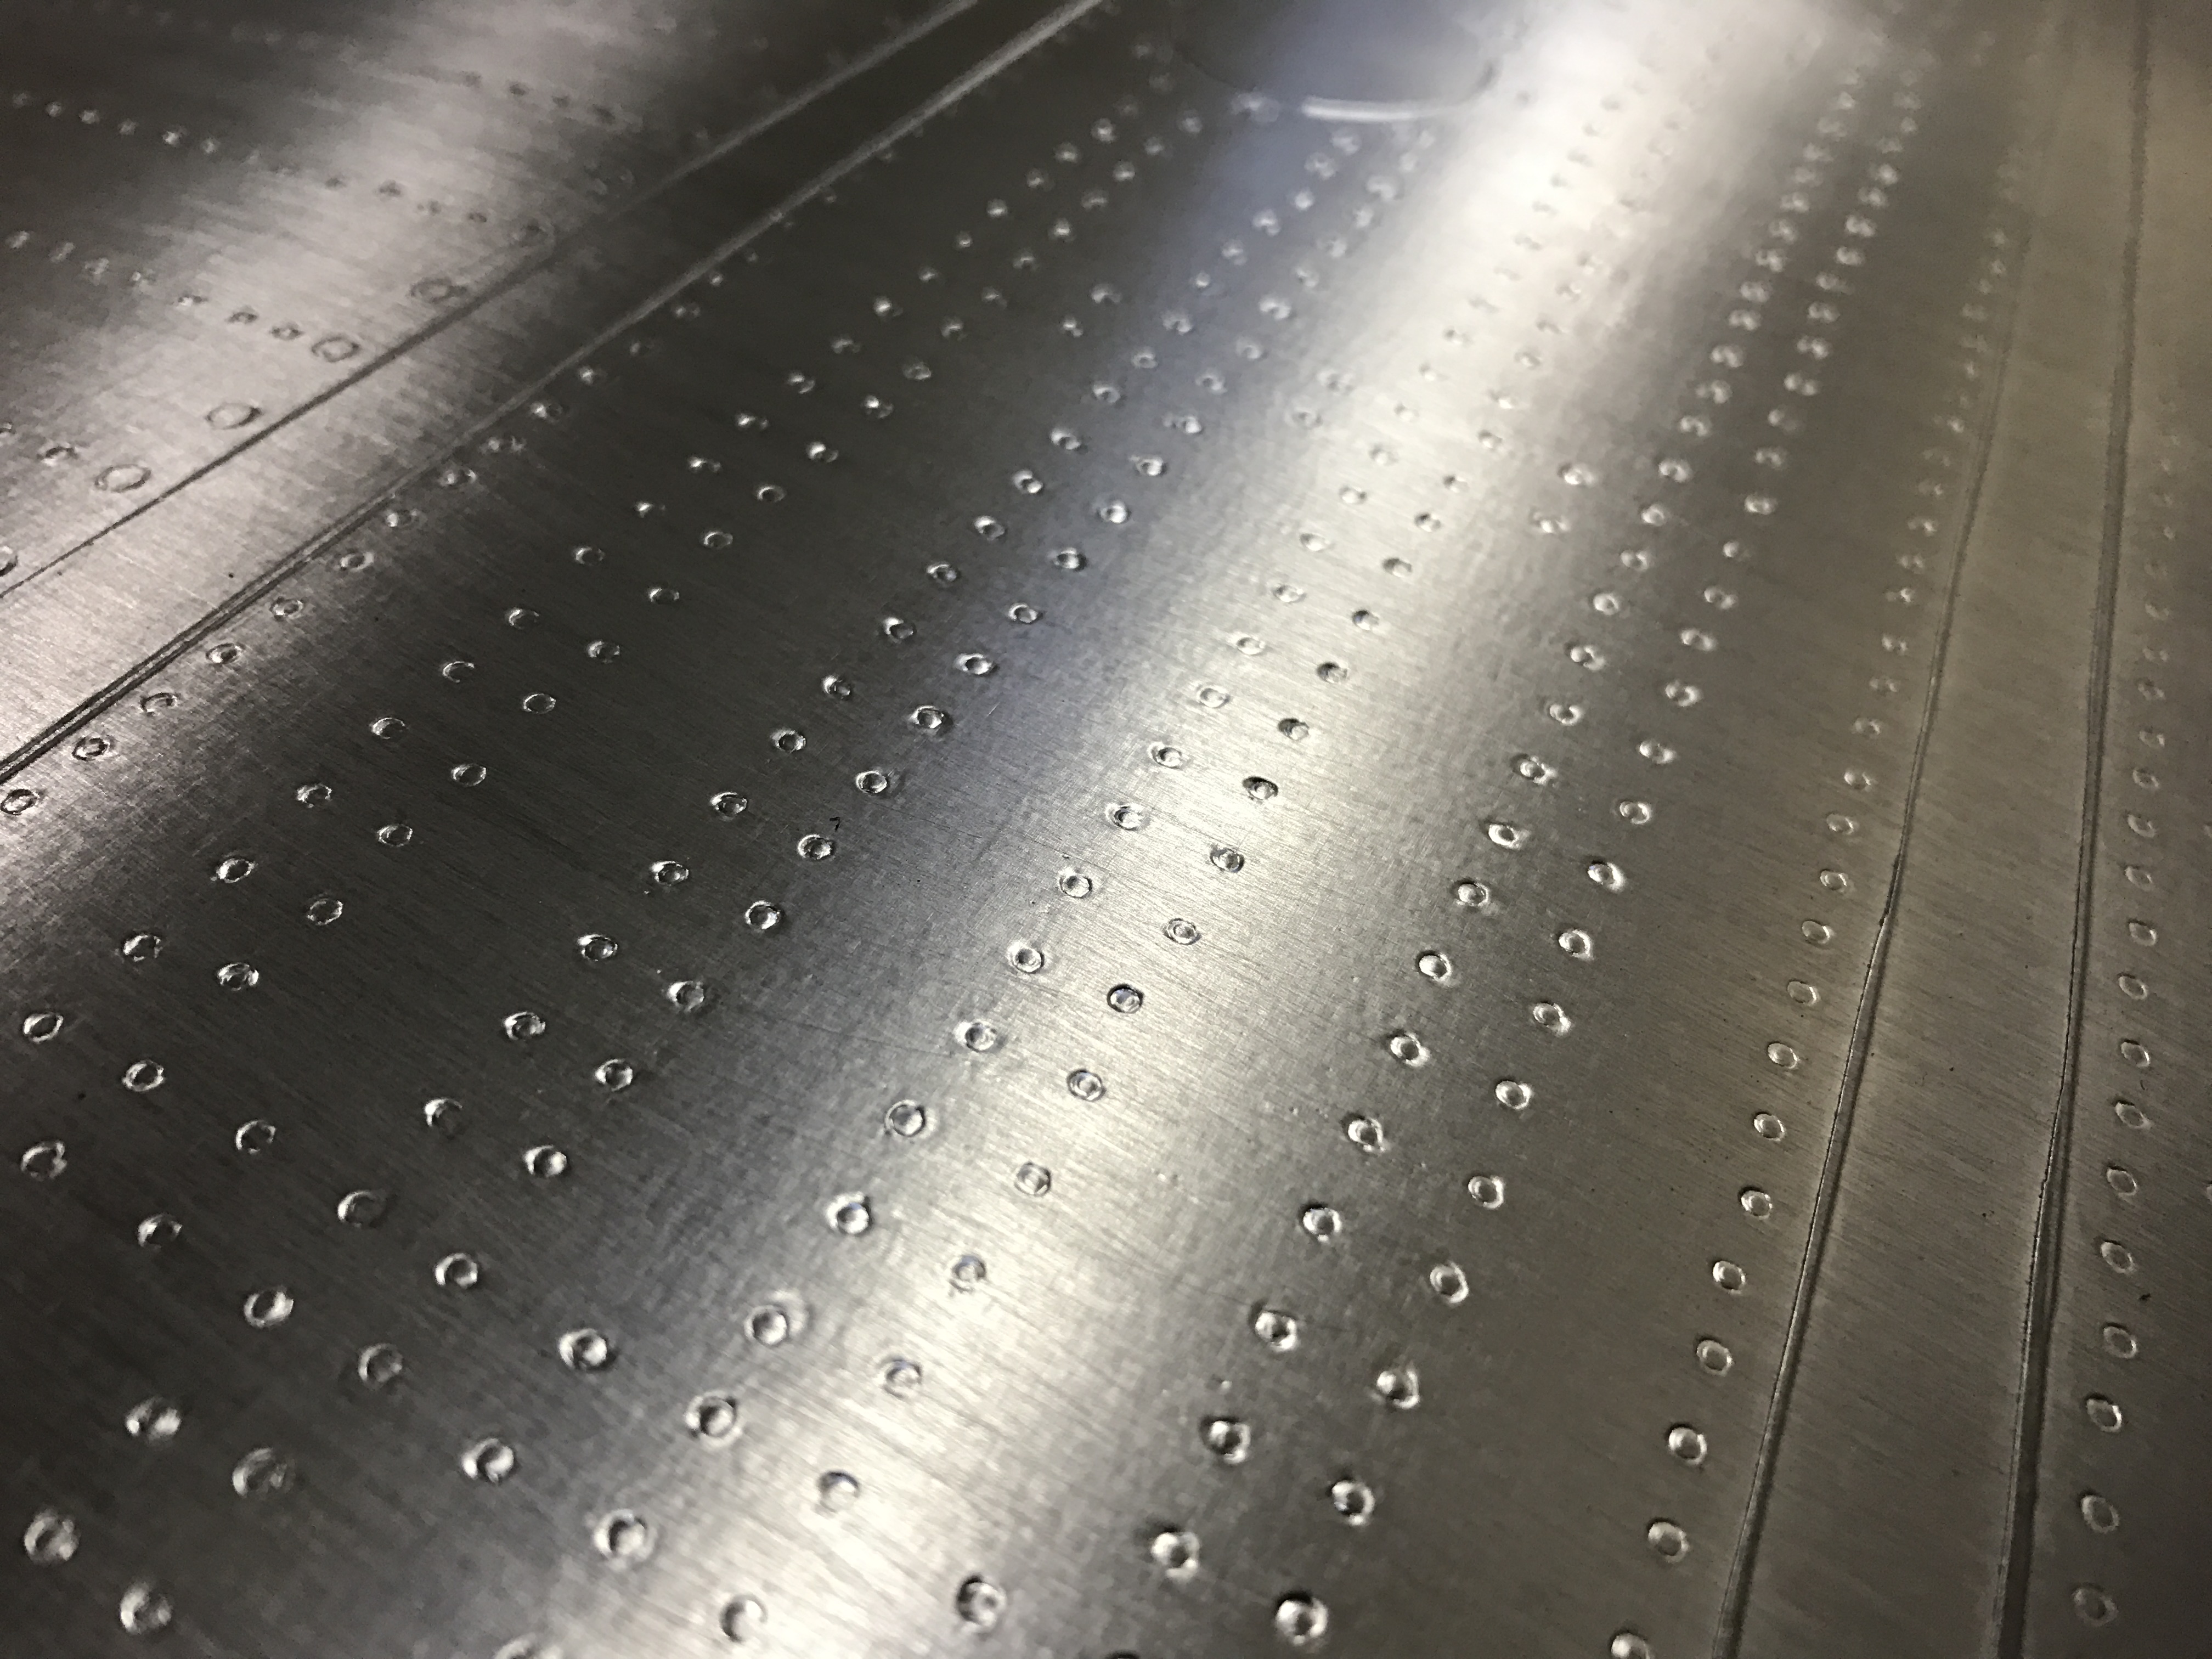
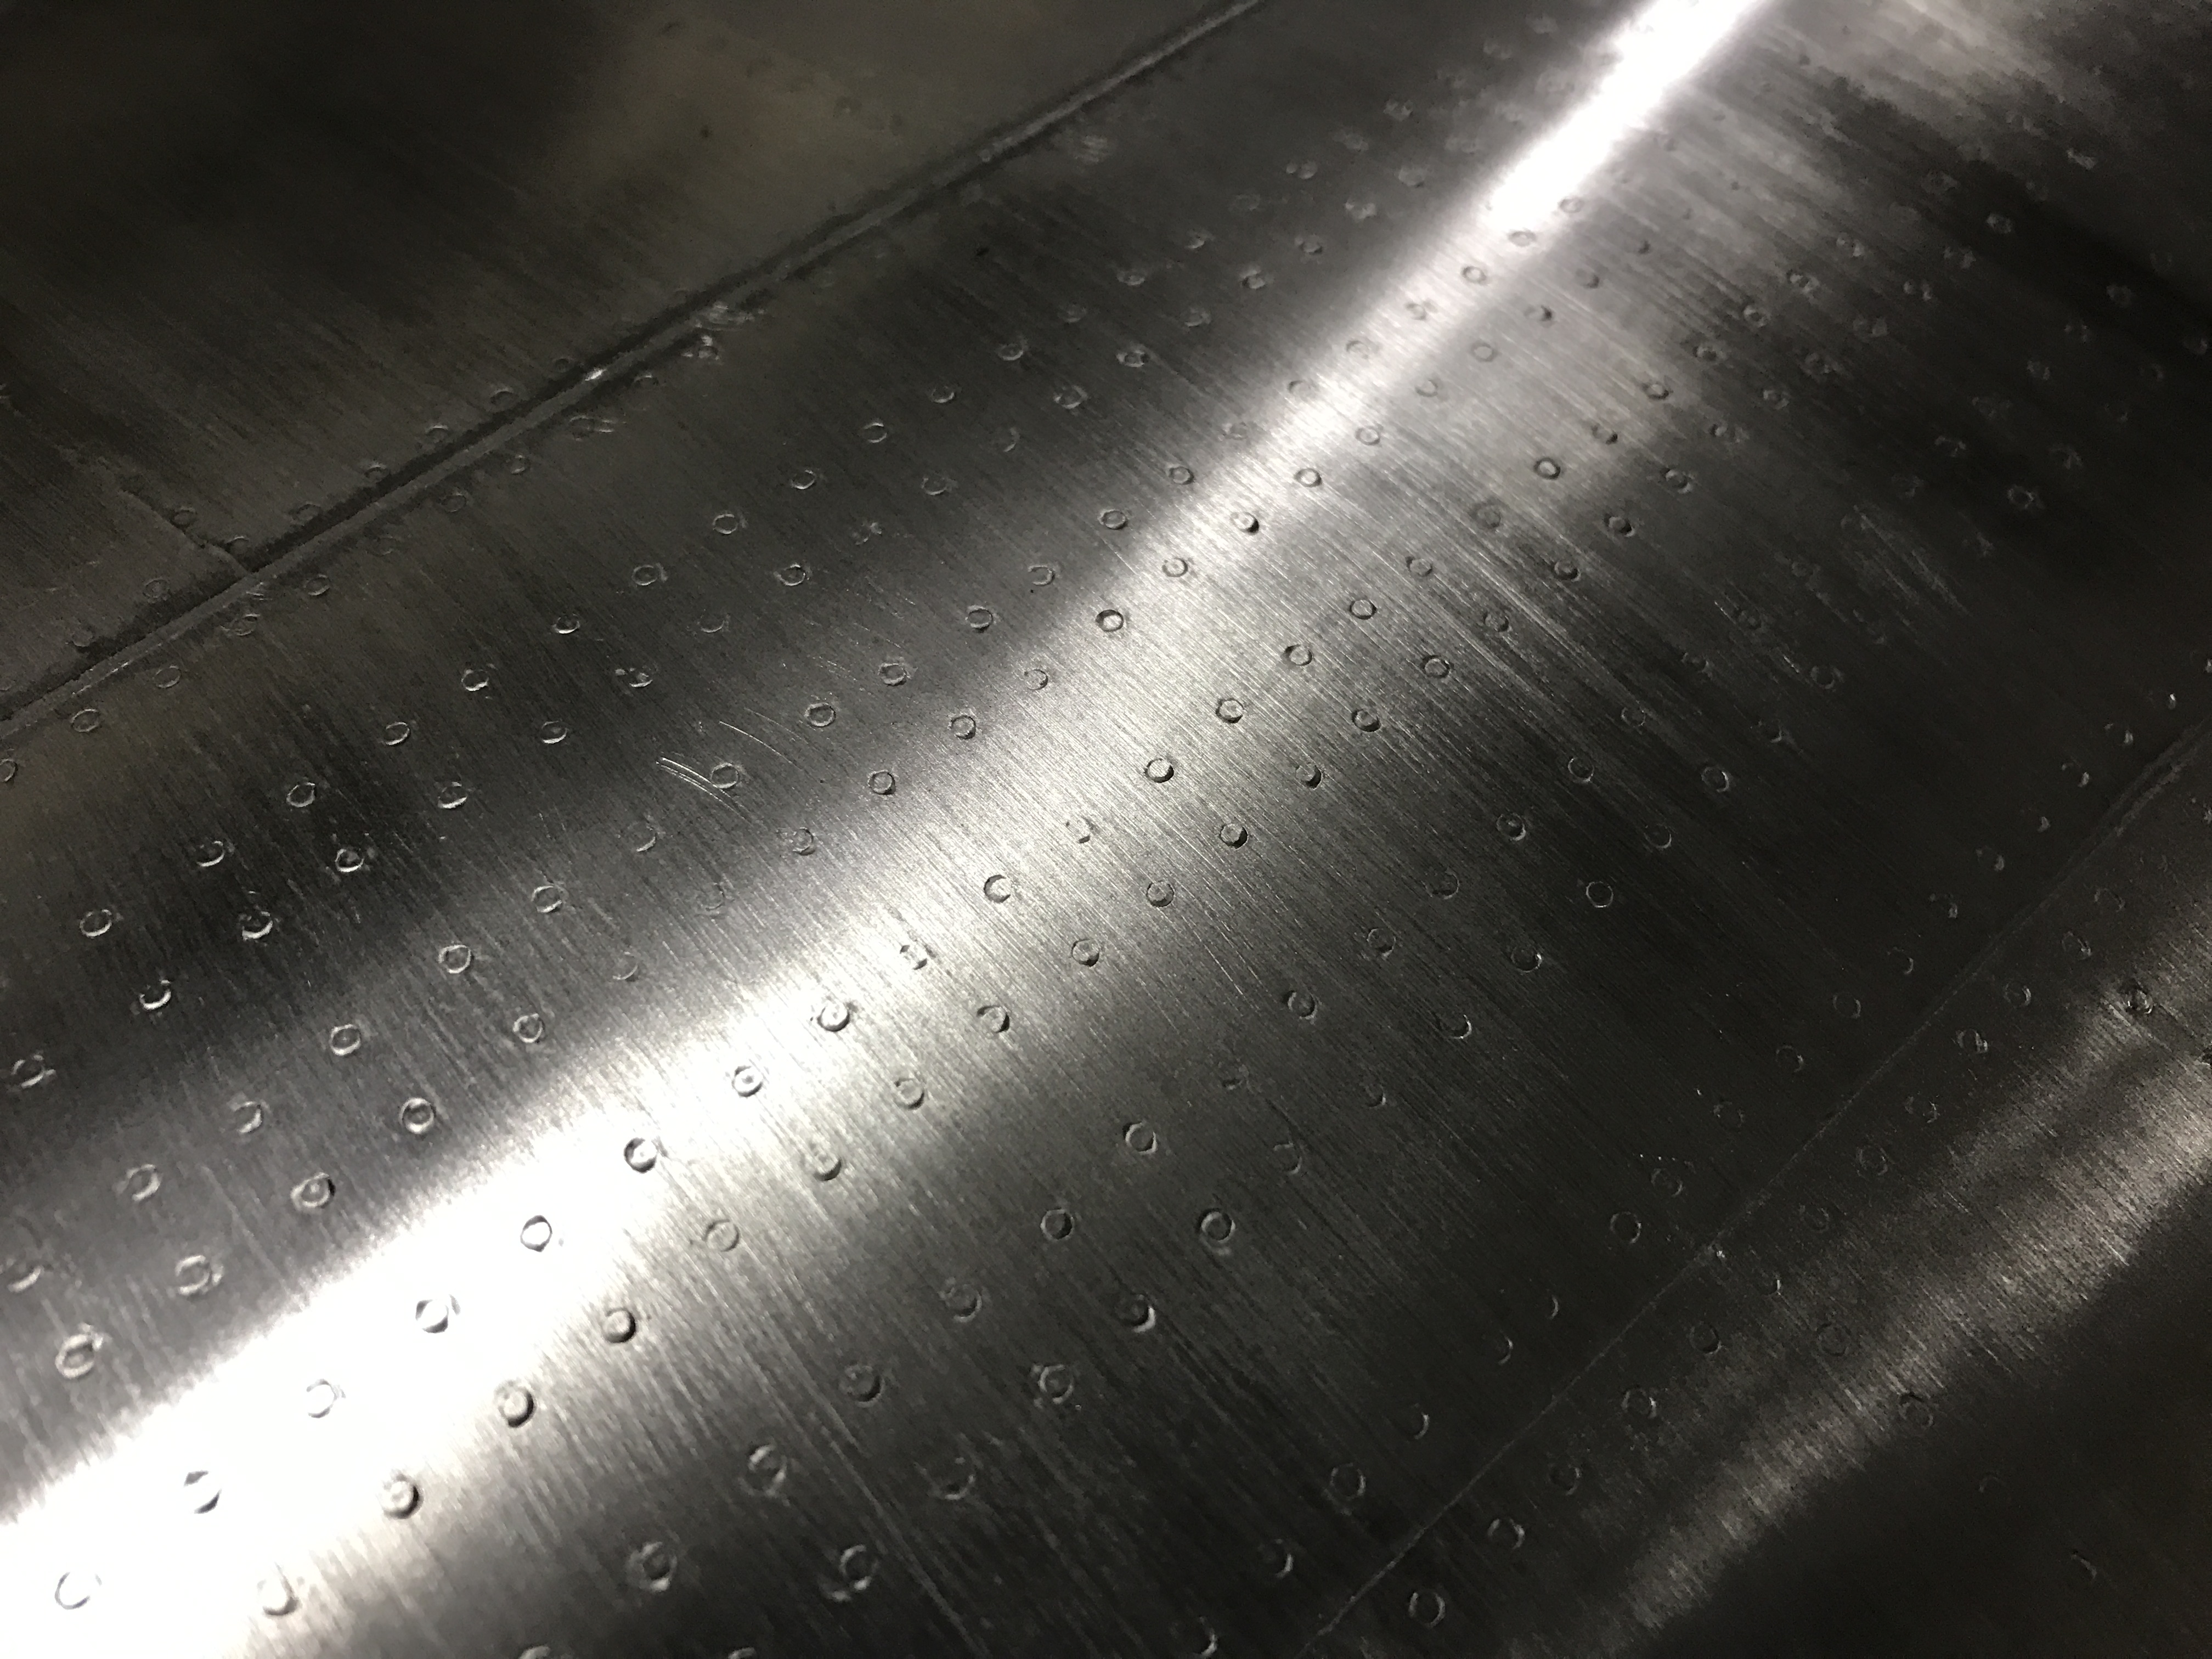
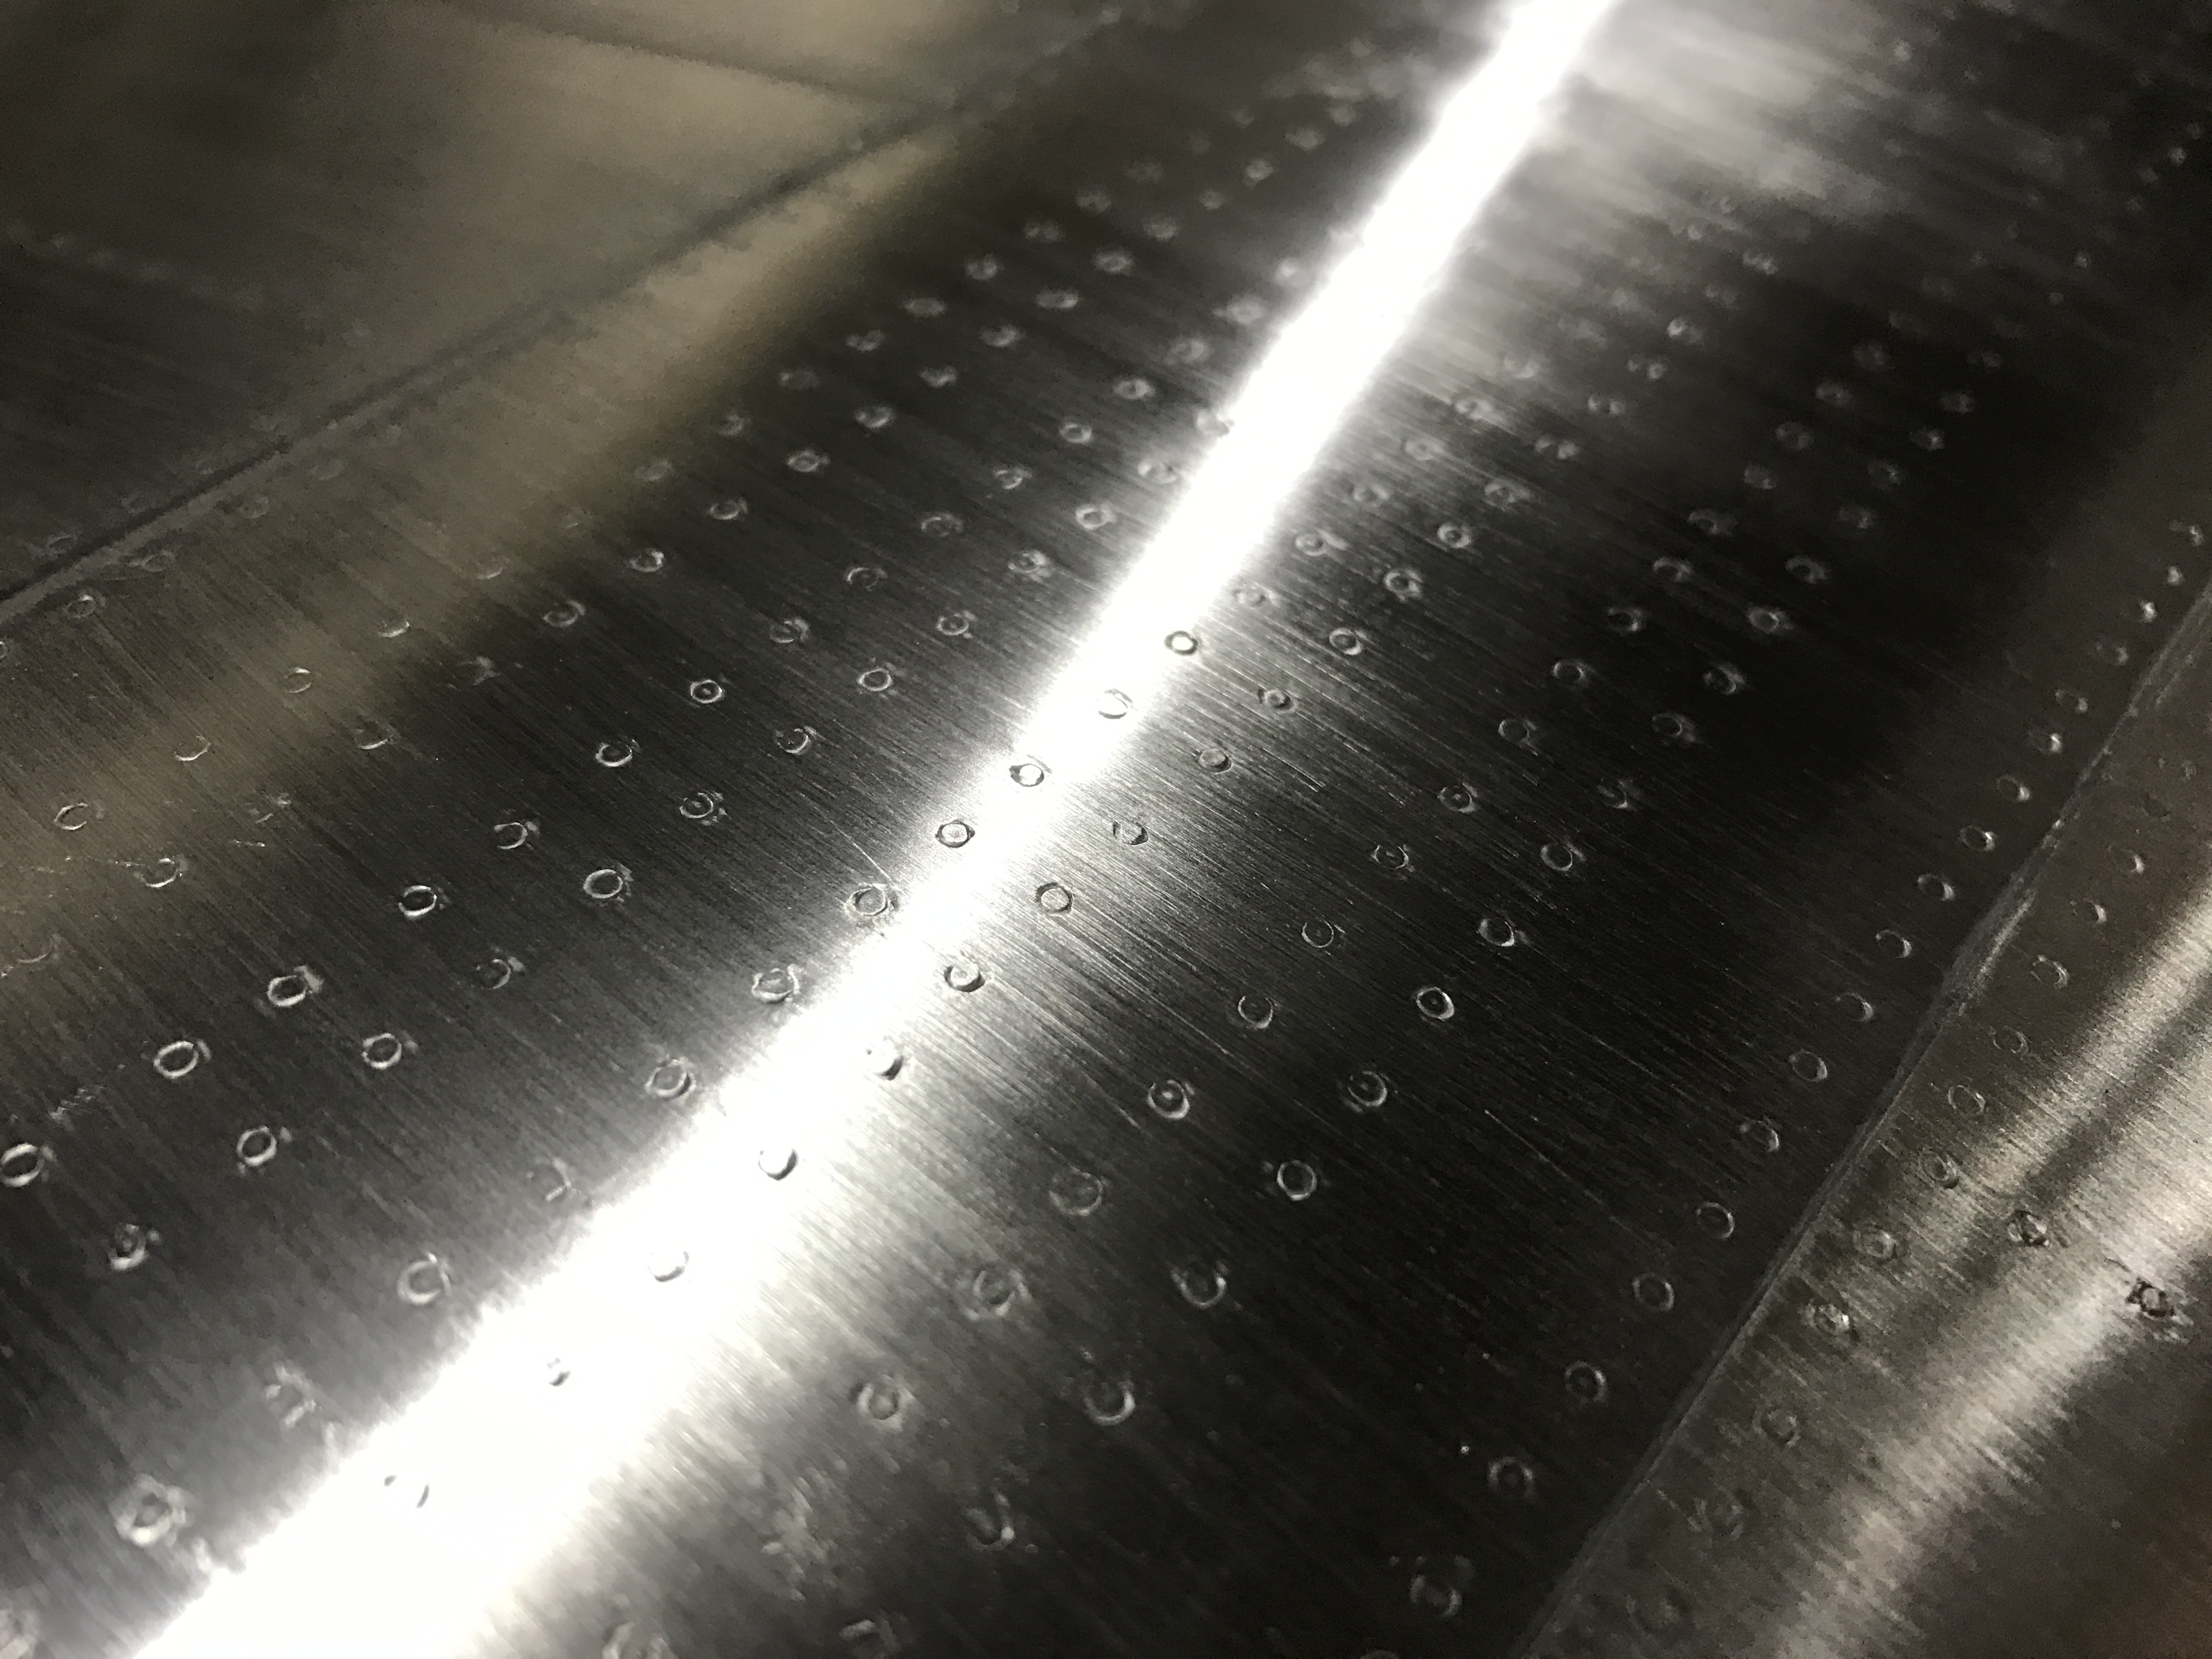
I've been sanding the last few days, and still have a lot more to go. Although it takes a lot of time/effort, it's pretty incredible what a difference it makes! Pictures are: 1) Flite Metal as applied- not sanded, 2) sanded with Scotch Brite pad- brings out an "orange peel" effect from the glue backing, 3) 320 grit sandpaper- starting to remove the orange peel, 4) 400 grit sandpaper- bringing out a nice shine. The surface needs to be cleaned really well before painting, and will be polished when everything else is finished to stop (slow) the oxidation
03-05-2017, 05:06 PM
#38
Thread Starter
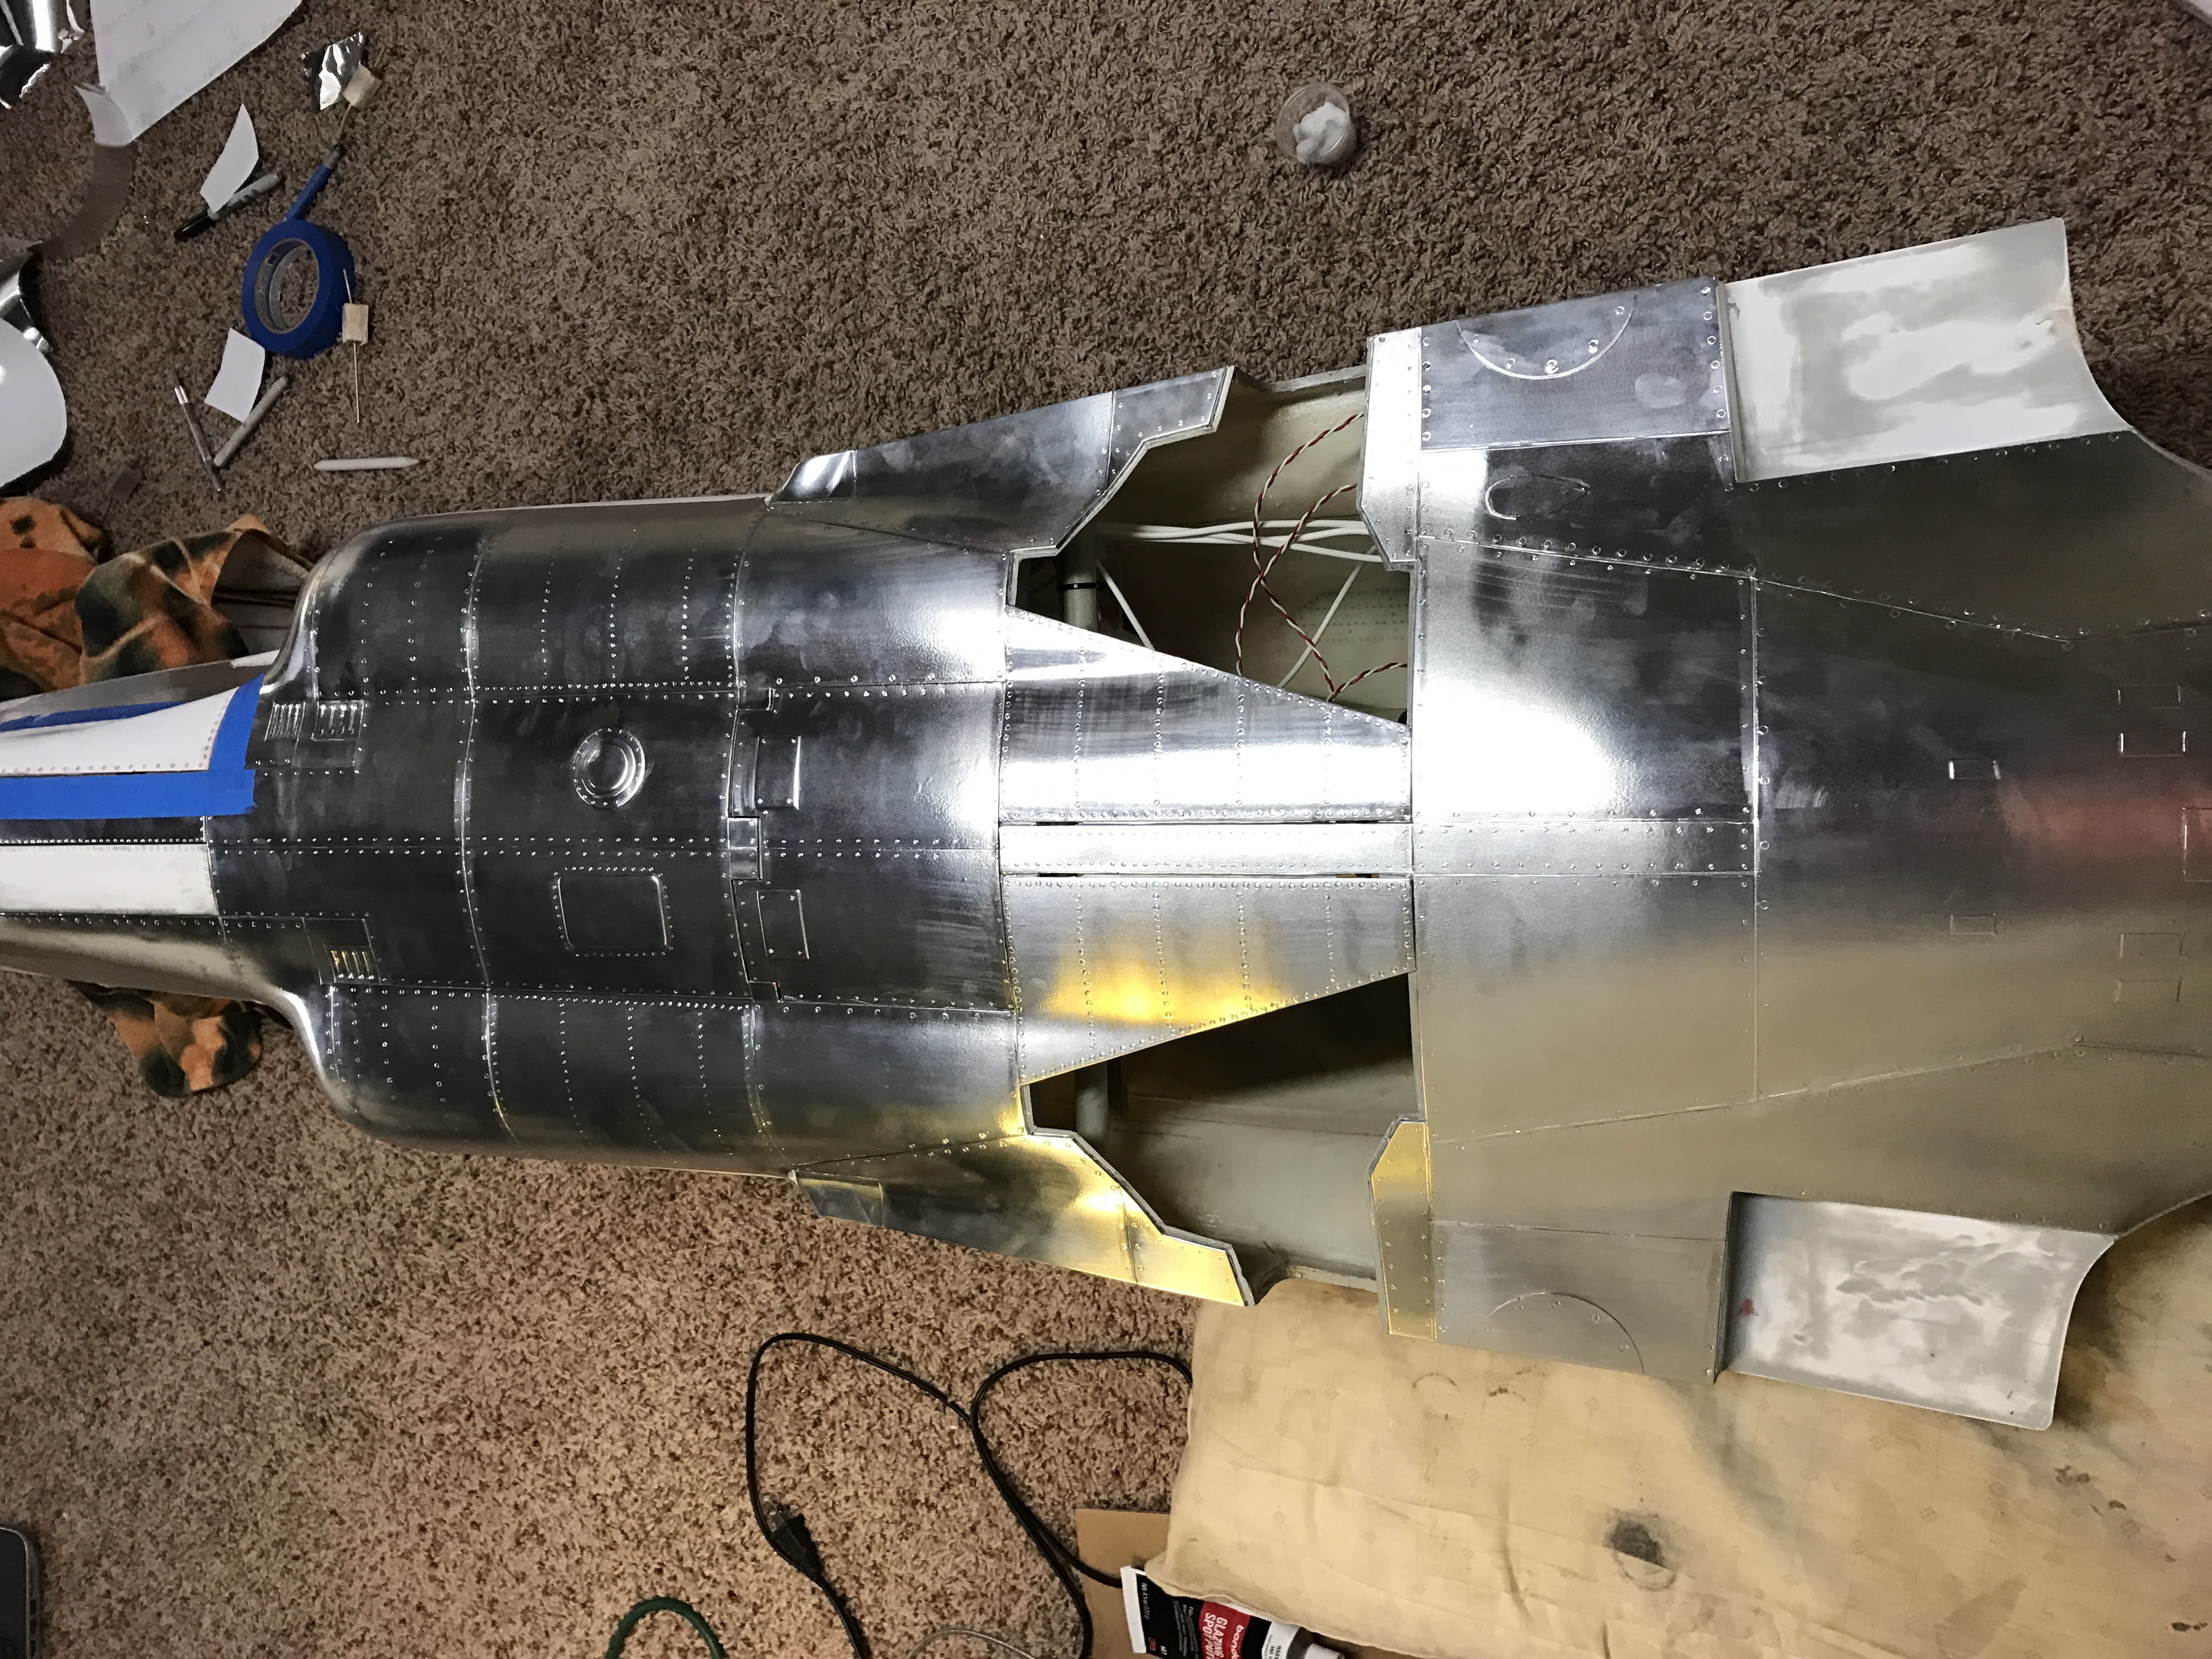
Sanding the flite metal took a long time, but I finally got it finished. All the 3D panels on the plane were sanded the opposite direction so they stand out more.
Paint booth is booked for this week, so I should get it painted soon!
Paint booth is booked for this week, so I should get it painted soon!


 03-06-2017, 03:25 PM
#43
I've been sanding the last few days, and still have a lot more to go. Although it takes a lot of time/effort, it's pretty incredible what a difference it makes! Pictures are: 1) Flite Metal as applied- not sanded, 2) sanded with Scotch Brite pad- brings out an "orange peel" effect from the glue backing, 3) 320 grit sandpaper- starting to remove the orange peel, 4) 400 grit sandpaper- bringing out a nice shine. The surface needs to be cleaned really well before painting, and will be polished when everything else is finished to stop (slow) the oxidation
