New Sport Jet: T-One Models Mini Fortune / Mini T1
 12-11-2019, 02:51 PM
#1276

My Feedback: (53)

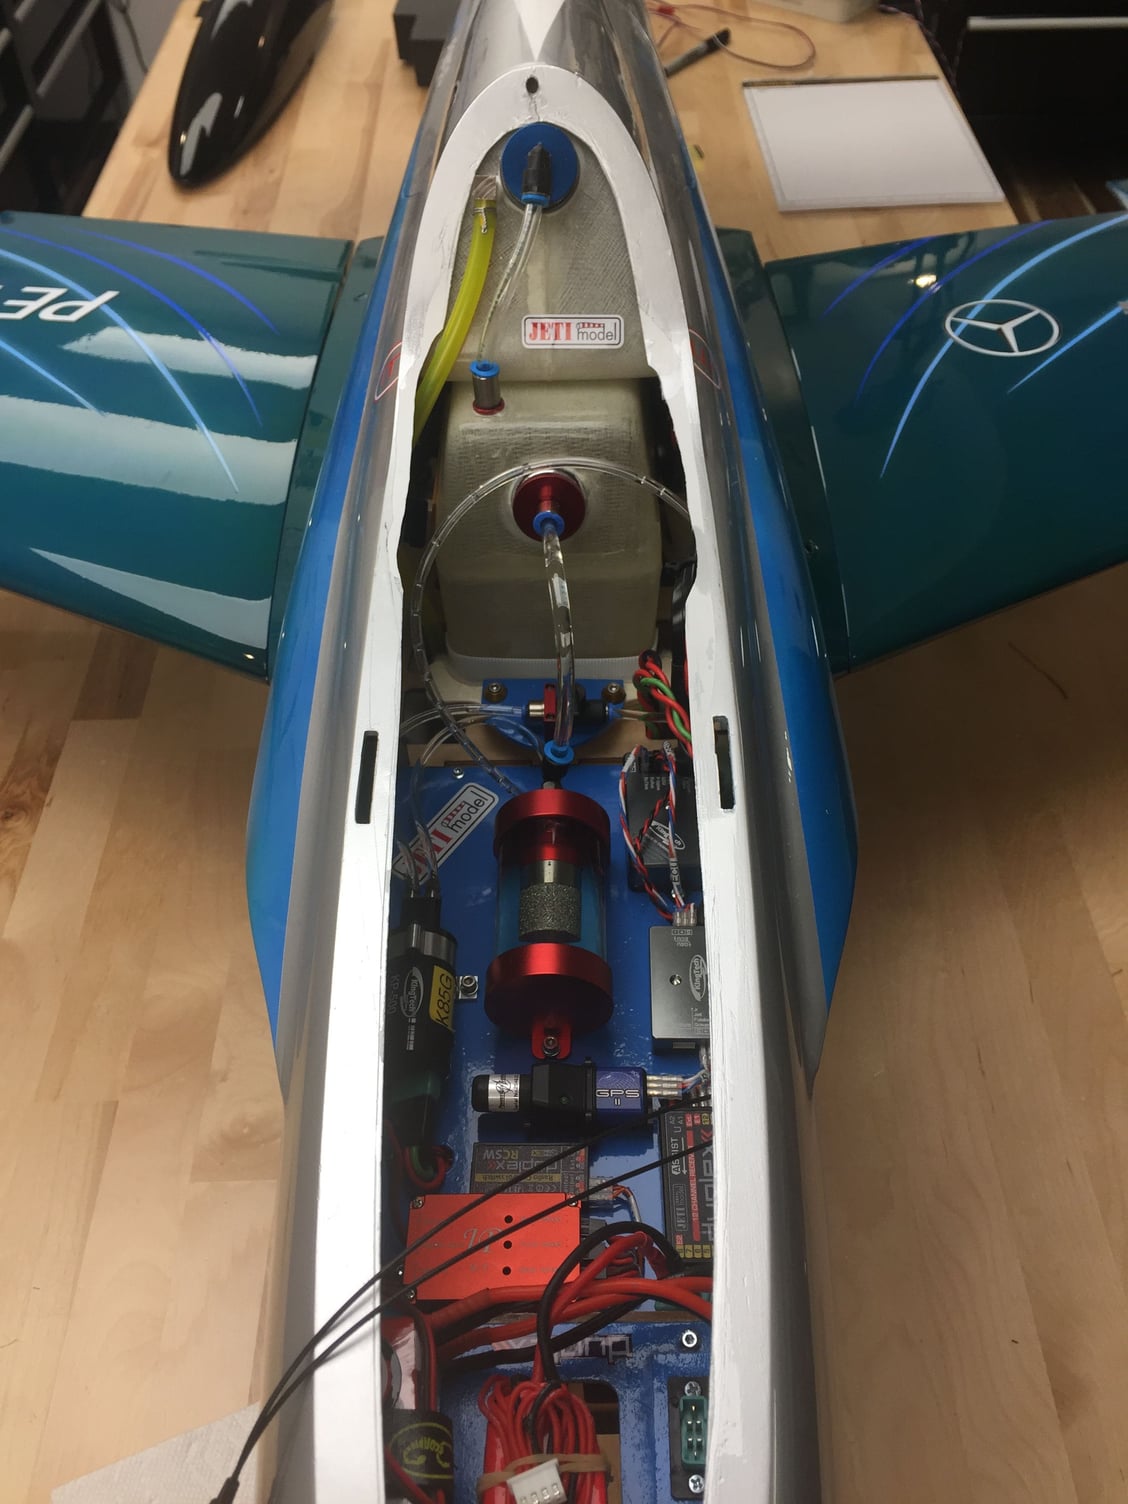
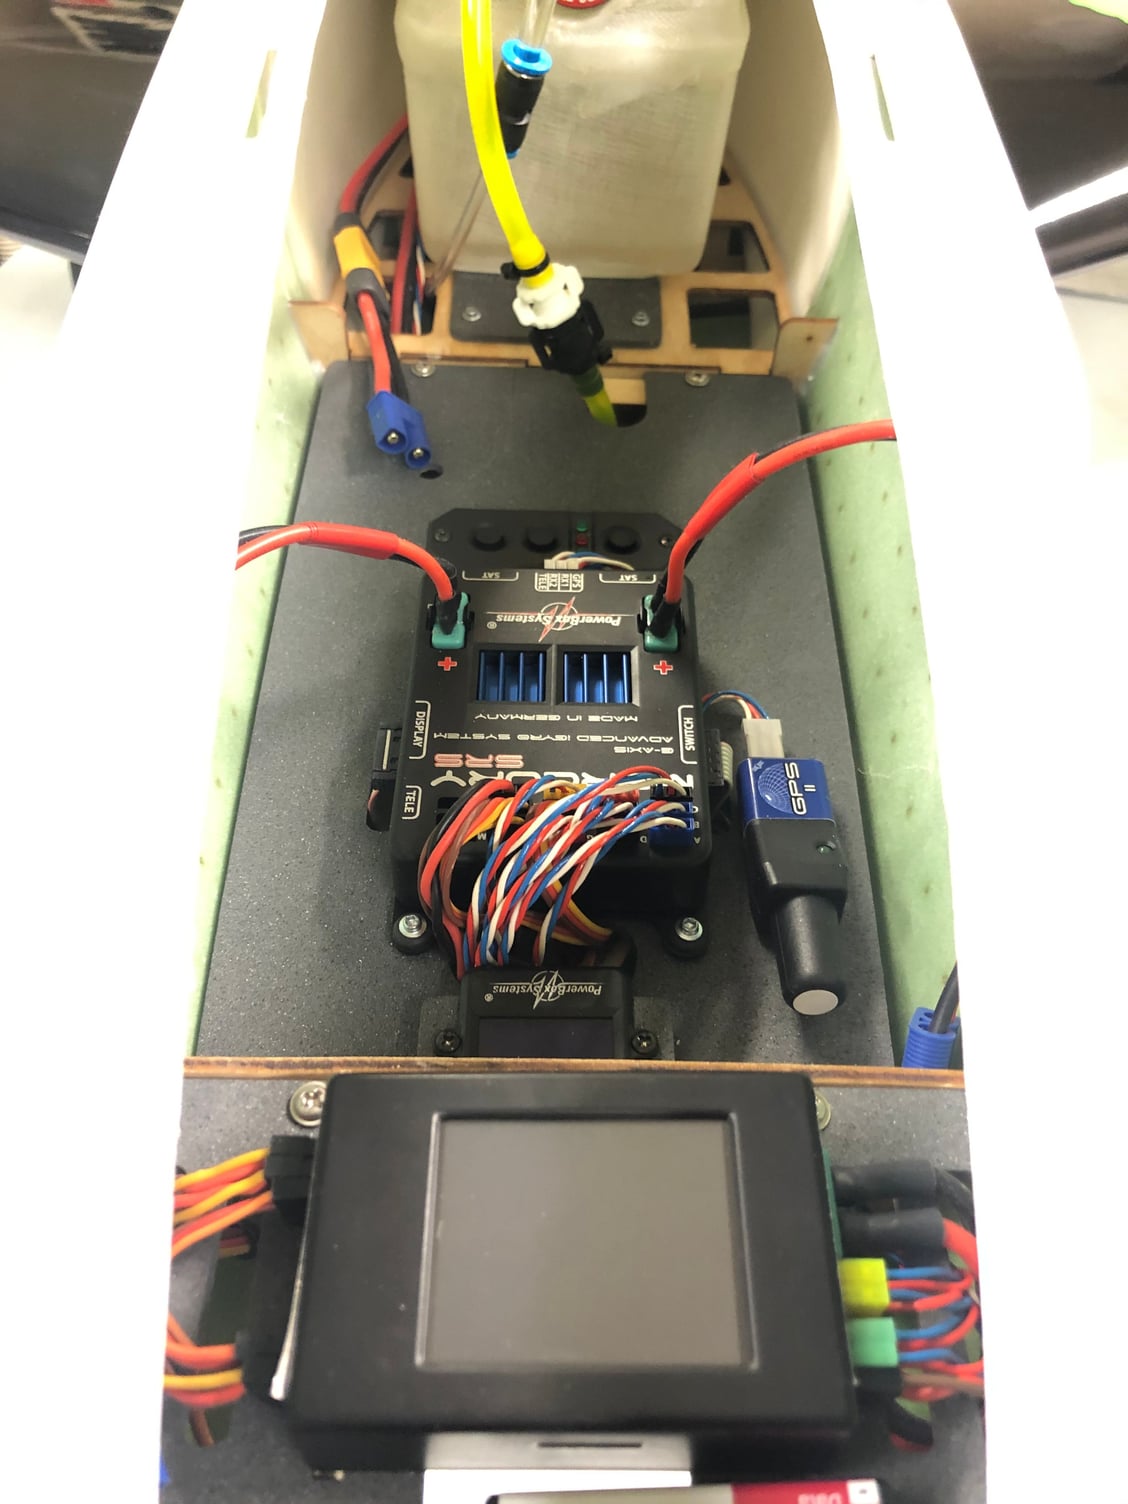
This is such a small jet that fly very well, more then one guy said they were ordering one after seeing mine fly, I choose to build mine lighter I guess, just a 12ch RX with a backup RX, wireless switch, Cortex gyro.....used both tank for fuel...LG15 (no gyro on steering)
My C&G is pretty far back....I can make it high speed snap at will not that I do that often, but I have done it to show, that it�s not too hard to recover from that....just Center the stick and your pretty much out just recover....in other words nothing to be afraid of....High wing loading...well my Boomerang, Xcalibur or Ventrix were not any better LOL
My C&G is pretty far back....I can make it high speed snap at will
not that I do that often, but I have done it to show, that it�s not too hard to recover from that....just Center the stick and your pretty much out just recover....in other words nothing to be afraid of....High wing loading...well my Boomerang, Xcalibur or Ventrix were not any better LOL
 12-12-2019, 02:46 AM
#1278
My Feedback: (53)
Mine is not attached....it just slip fit in there with a small brace at the back...
These photo�s are a little old during the build, I no longer have the GSU connection.....using the CTU now days
No more assist, or KingTech telemetry...or JP controller
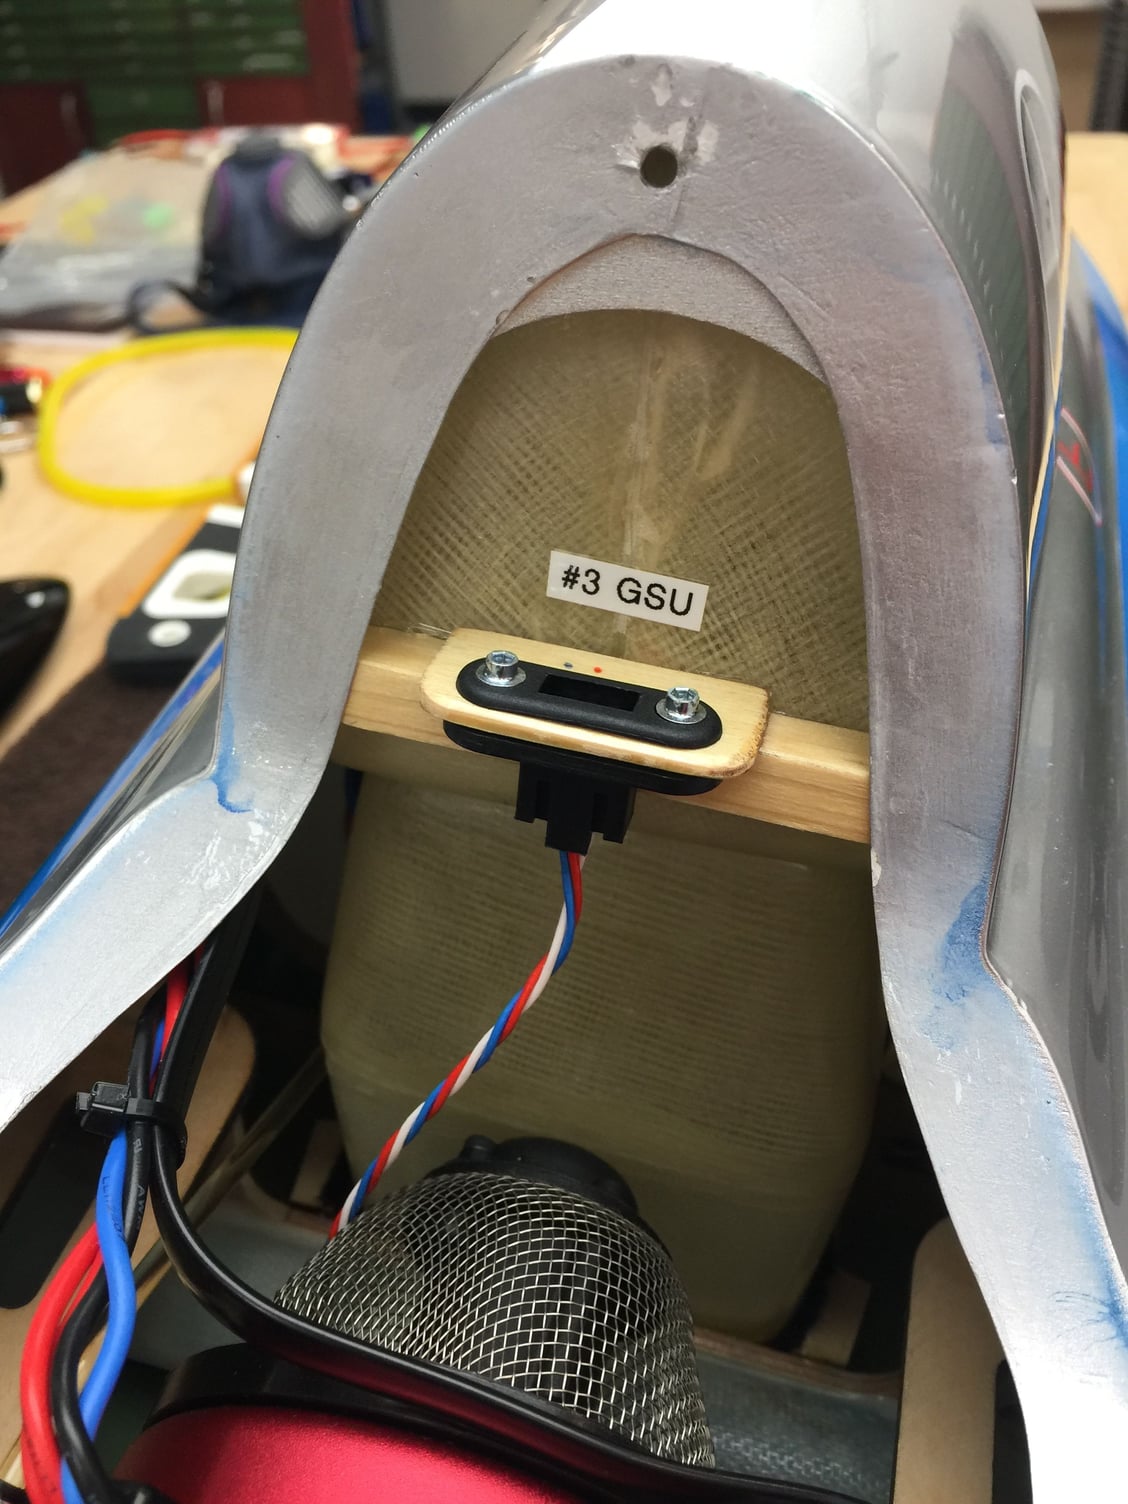
These photo�s are a little old during the build, I no longer have the GSU connection.....using the CTU now days
No more assist, or KingTech telemetry...or JP controller
12-12-2019, 04:30 AM
#1279

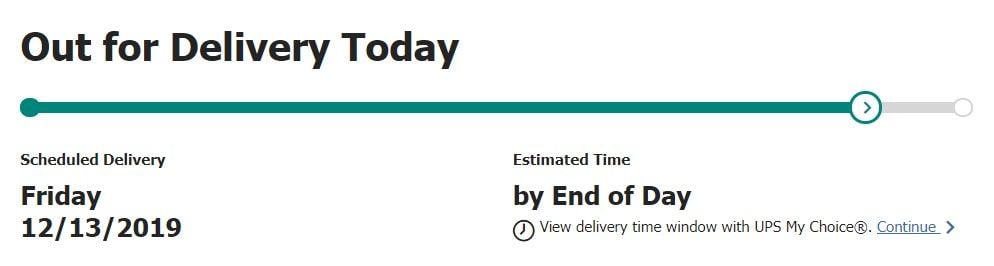
Update: Now UPS says Tuesday the 17th. If it's here before Christmas, I'll be happy. I really want to get it in the air before the new year.
 12-12-2019, 06:20 AM
#1280
My Feedback: (53)
I'll be doing smoke on my new one. I'm curious as well, but I would think that it will be impossible (or extremely difficult) to get them in and out if they're affixed to each other.
Update: Now UPS says Tuesday the 17th. If it's here before Christmas, I'll be happy. I really want to get it in the air before the new year.
Update: Now UPS says Tuesday the 17th. If it's here before Christmas, I'll be happy. I really want to get it in the air before the new year.
You need to bring the top tank in first.....then slide the bottom one in....then the top can move slightly forward and aft....that�s why I put the small brace at the back.

 12-13-2019, 11:24 AM
#1283
 12-13-2019, 01:38 PM
#1287
Very nice, that's about a half a pound lighter than my mini also configured with a Mercury SRS, and I'm not running a smoke system, so I'm trying to figure out how I could be that much heavier, must be my batteries. What batteries are you using? Also, what UAT are you using? I'm running two small Jeti R3 receivers but they weigh almost nothing. -Tom
12-13-2019, 01:39 PM
#1288
12-13-2019, 01:56 PM
#1289

My Feedback: (16)
Very nice, that's about a half a pound lighter than my mini also configured with a Mercury SRS, and I'm not running a smoke system, so I'm trying to figure out how I could be that much heavier, must be my batteries. What batteries are you using? Also, what UAT are you using? I'm running two small Jeti R3 receivers but they weigh almost nothing. -Tom
Oh and forgot a Swiwin 80 i believe is lighter than a Kingtech 85
12-13-2019, 02:13 PM
#1290
12-13-2019, 03:08 PM
#1291
Well, not sure what wiring you are using, i made all my own with powerbox wire right to length needed. Using a BVM Uat, I'm running the Core so 2 small rx's about same as R3's. Two 2 cell 2000 mah lipos into Mercury and a 3 cell 2200 lipo for turbine. I made my own lead from Mercury supplying power to the retracts and brakes so not using a seperate battery for that. I did the same on my first Mini when using a Spektrum powersafe rx and never had any issue. I did not built my first Mini, it was the Red Bull scheme and i know he used the wiring kit from Pacific Rc Jets and there was alot of excess wire. It weighed 17.3 with a Kingtech 70. And of course there is always the painter who painted it and was a little heavy handed or not? lol. Anyways i have double check my xicoy scales against a accurate gram scale and they where right on.
Oh and forgot a Swiwin 80 i believe is lighter than a Kingtech 85
Oh and forgot a Swiwin 80 i believe is lighter than a Kingtech 85
-Tom
12-13-2019, 03:09 PM
#1292
I have several schemes I'm using for inspiration. I'm probably going to be doing some drawing tonight.
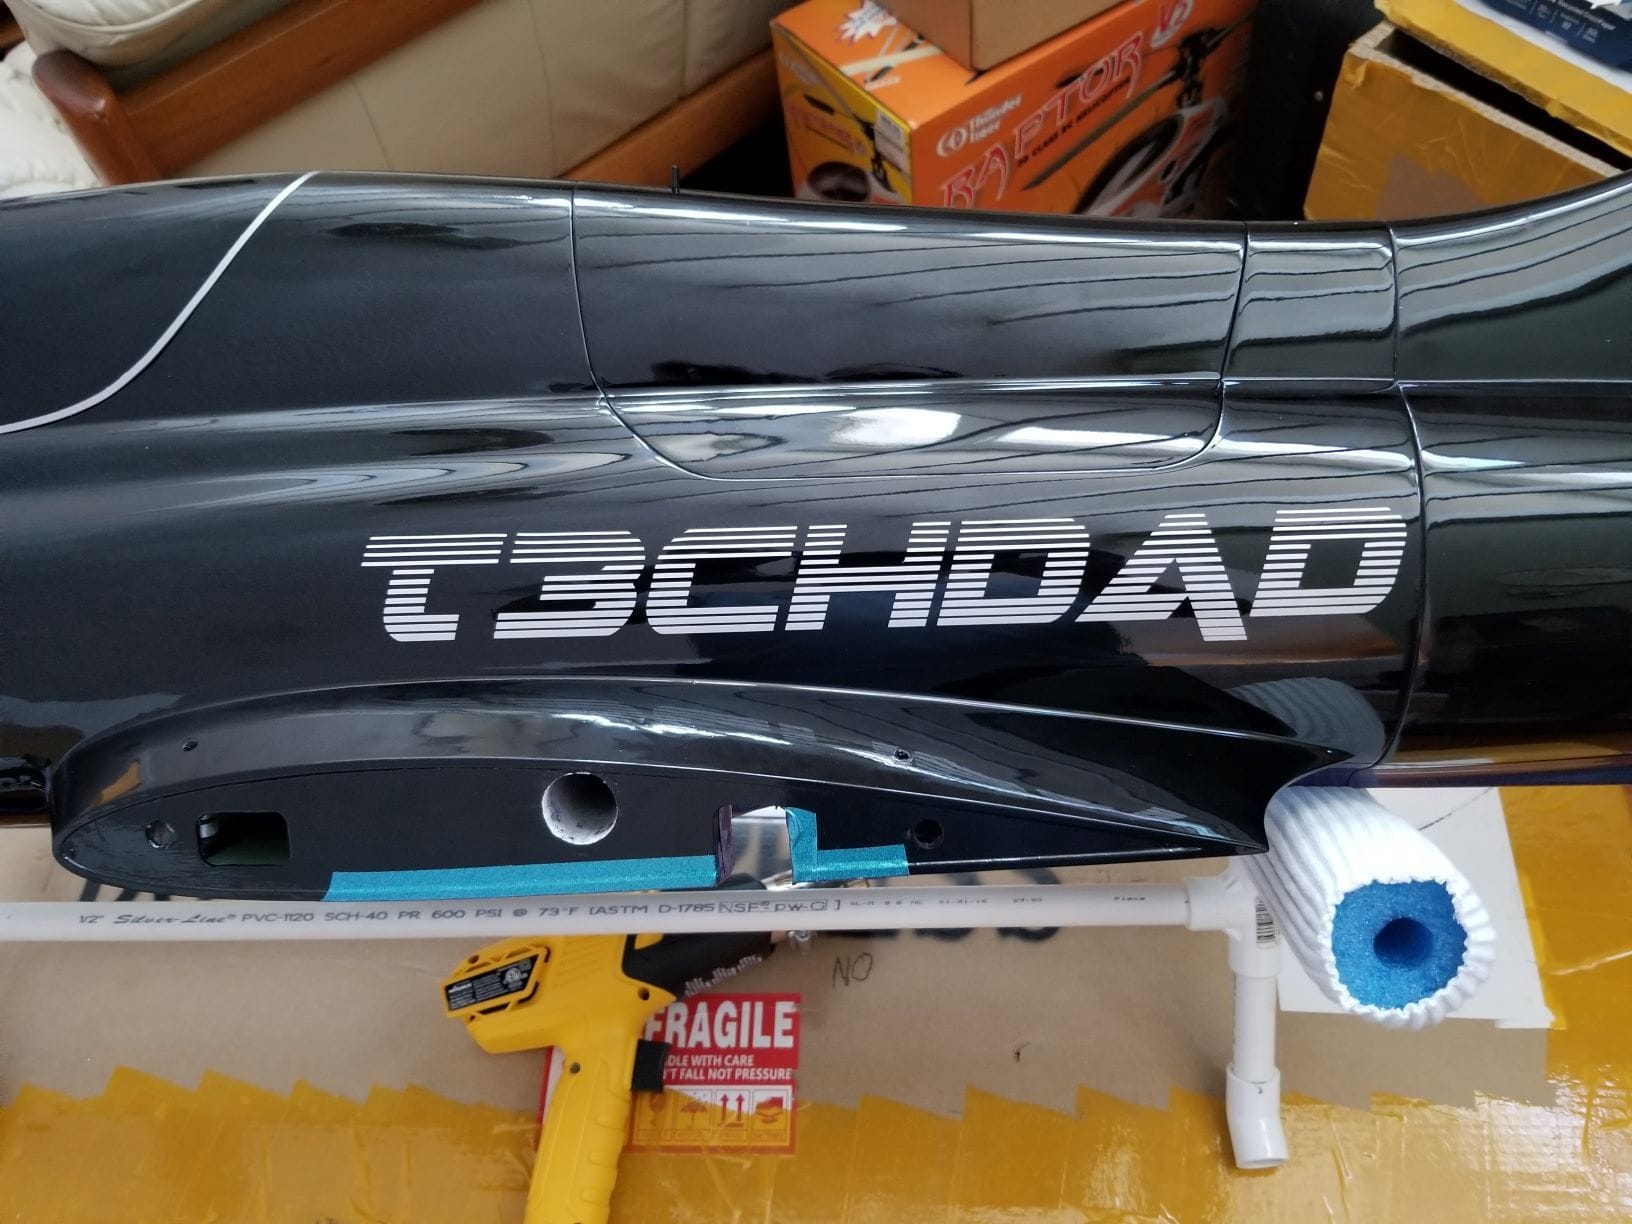
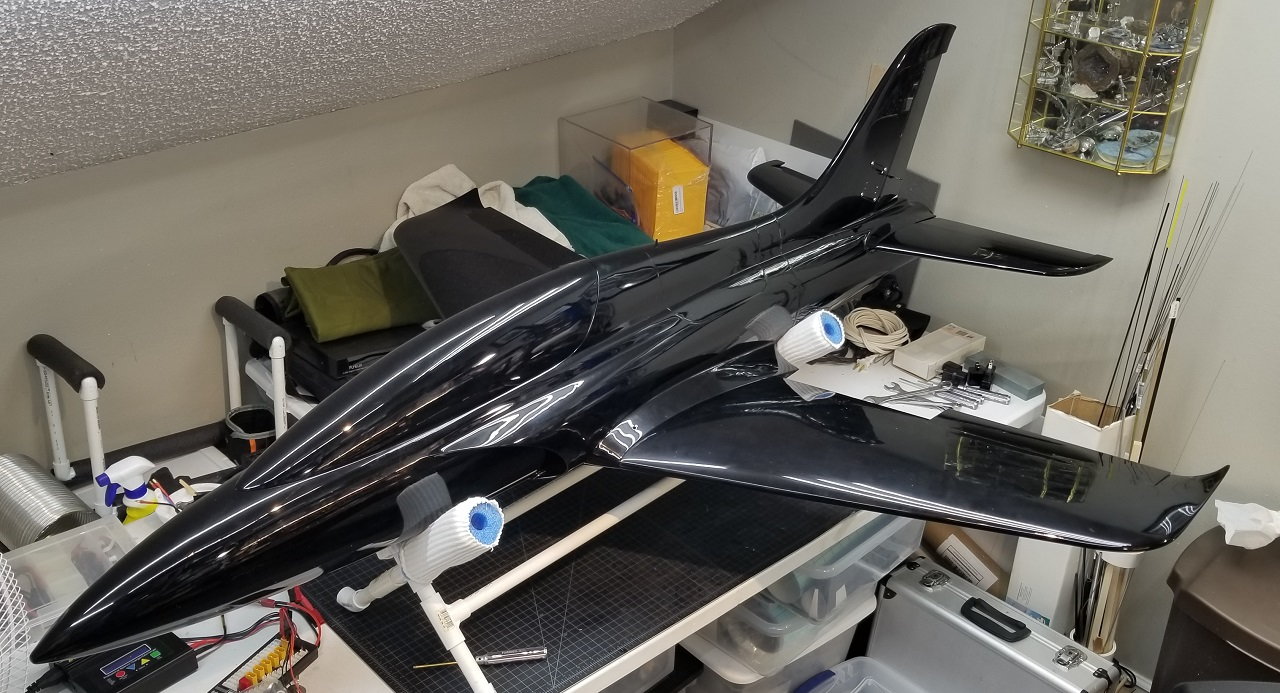
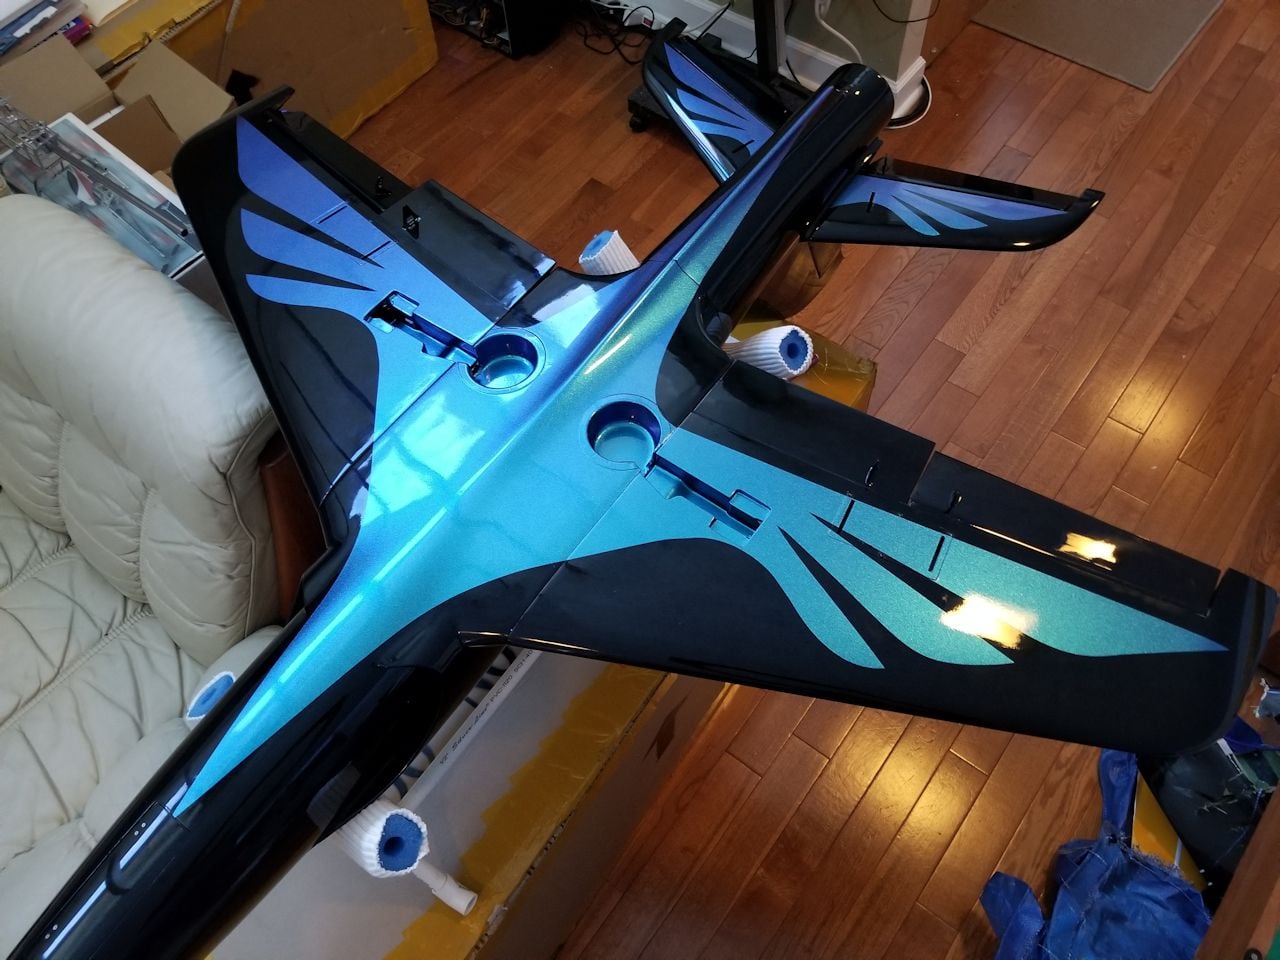
Not completely sure yet. The colors will be black (naturally), silver, and color shift teal-blue-purple. I'm using the same vinyl they use on cars. From the expirimentation I've done on the busted up airframe, I can completely change it up when or if I get tired of it.
Not completely sure yet. The colors will be black (naturally), silver, and color shift teal-blue-purple. I'm using the same vinyl they use on cars. From the expirimentation I've done on the busted up airframe, I can completely change it up when or if I get tired of it.
12-13-2019, 03:17 PM
#1293
My Feedback: (16)
im using the Prcj wire harnesses but I cut them to custom length. I�m using two Fromeco 2600 mah batteries for radio and retracts, 2100 3S LiFe for turbine, sounds like my batteries are slightly larger. Don�t know how much the extra paint might weight, mine are Both Red Bull scheme. Keep us posted on the maiden -Tom
-Tom . Started on my T1 so by time it warms up might have a double maiden day lol
12-13-2019, 03:27 PM
#1294
 12-17-2019, 08:58 AM
#1298
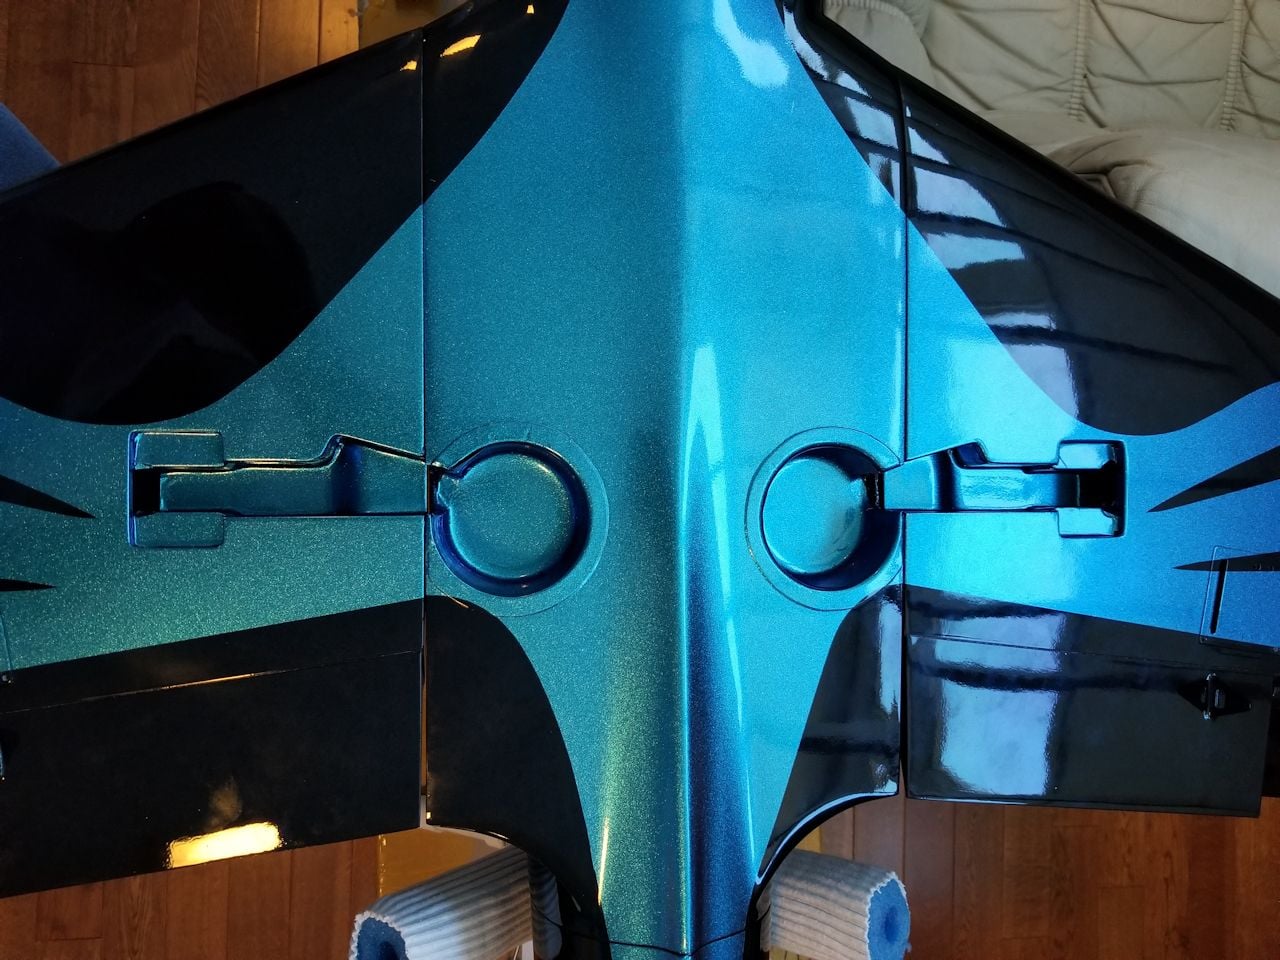
These graphics look amazing, I would really like to know more about how did this, e.g. where did you get the material, how did you cut them, how did you apply them etc. I'm especially impressed with the detail in the wheel wells, from the picture it really looks like it was painted on Perhaps we could start a new thread just on this subject? Dressing our jets in this manner opens up a lot of possibilities.
E.g. replacement parts. Right now it's really difficult to get replacement parts because every jet is hand painted and all of the paint lines are matched up at the factory. I ordered a replacement wing set for one of my minis and had to provide some detailed measurements so the factory could line up the paint lines, they did a pretty good job of lining everything up, but it still is not nearly as good as the original wings. If we ordered them painted in one color and dressed them ourselves we could just order another wing, stab, turbine hatch cover etc. and match the decals ourselves.
Perhaps we could start a new thread just on this subject? Dressing our jets in this manner opens up a lot of possibilities.E.g. replacement parts. Right now it's really difficult to get replacement parts because every jet is hand painted and all of the paint lines are matched up at the factory. I ordered a replacement wing set for one of my minis and had to provide some detailed measurements so the factory could line up the paint lines, they did a pretty good job of lining everything up, but it still is not nearly as good as the original wings. If we ordered them painted in one color and dressed them ourselves we could just order another wing, stab, turbine hatch cover etc. and match the decals ourselves.
12-17-2019, 09:58 AM
#1299
These graphics look amazing, I would really like to know more about how did this, e.g. where did you get the material, how did you cut them, how did you apply them etc. I'm especially impressed with the detail in the wheel wells, from the picture it really looks like it was painted on Perhaps we could start a new thread just on this subject? Dressing our jets in this manner opens up a lot of possibilities.
E.g. replacement parts. Right now it's really difficult to get replacement parts because every jet is hand painted and all of the paint lines are matched up at the factory. I ordered a replacement wing set for one of my minis and had to provide some detailed measurements so the factory could line up the paint lines, they did a pretty good job of lining everything up, but it still is not nearly as good as the original wings. If we ordered them painted in one color and dressed them ourselves we could just order another wing, stab, turbine hatch cover etc. and match the decals ourselves.
Perhaps we could start a new thread just on this subject? Dressing our jets in this manner opens up a lot of possibilities.E.g. replacement parts. Right now it's really difficult to get replacement parts because every jet is hand painted and all of the paint lines are matched up at the factory. I ordered a replacement wing set for one of my minis and had to provide some detailed measurements so the factory could line up the paint lines, they did a pretty good job of lining everything up, but it still is not nearly as good as the original wings. If we ordered them painted in one color and dressed them ourselves we could just order another wing, stab, turbine hatch cover etc. and match the decals ourselves.
The picture is being a little kind to the wheel wells. While they look great from the distance, and most certainly awesome with the gear retracted into them, that was the most difficult and time consuming part of the project so far. There are visible and tactile seams/creases/wrinkles in the wheel wells that I am able to live with. Their shape was just too complex and I didn't want to spend any more time on them. The wells took me as long as the entire rest of the bottom. I could have just let them be black and it would have been fine. So far, everything has been accomplished with consumer level stuff and really only takes patience and practice. I've watched so many videos on YouTube about vinyl wrapping and experimented so much with the busted airframe parts that I'm confident I could wrap a whole car at this point.
It does look great to me and I keep breaking out in spontaneous grins as I've been working on this. The only way you can tell it's not paint is by touch at an edge/seam...you cannot tell just by looking at it IMO. My goal is to have the outside done by the end of this weekend, followed immediately by the build and have it in the air before the new year.

Last edited by T3chDad; 12-17-2019 at 10:00 AM.