1/6 Scale F-18 Build
 12-11-2018, 04:54 PM
#101

Thread Starter


 12-11-2018, 04:57 PM
#102
Thread Starter
Gun I had to do a little trimming but not as bad if I would have put the horn in the orig recommended location. I hate Im only using 1/4-1/2 of my servo throw on both surfaces......


 12-11-2018, 06:09 PM
#109
Thread Starter
I do these to help people and maybe give them some ideas that will help their jet survive longer than it would with the stock setups. I enjoy the building but I cannot stand when im slowed due to the deer in the headlights issues I keep running into. I expect a few in every build but this thing is beating me down, kills motivation and bigger yet the enjoyment.
Hey Gun did your F-18 have anything to cover the back half of the wing hinges or just the front like the pictures above?
Last edited by FenderBean; 12-11-2018 at 06:22 PM.
12-12-2018, 03:45 AM
#110


With high blood pressure its my pleasure lol This was a very rushed jet design, SM needs to slow down and spend more time developing and refining instead of making larger models, but they will never listen because people keep buying.
I do these to help people and maybe give them some ideas that will help their jet survive longer than it would with the stock setups. I enjoy the building but I cannot stand when im slowed due to the deer in the headlights issues I keep running into. I expect a few in every build but this thing is beating me down, kills motivation and bigger yet the enjoyment.
Hey Gun did your F-18 have anything to cover the back half of the wing hinges or just the front like the pictures above?
 .
. 12-12-2018, 07:55 AM
#111
My Feedback: (1)

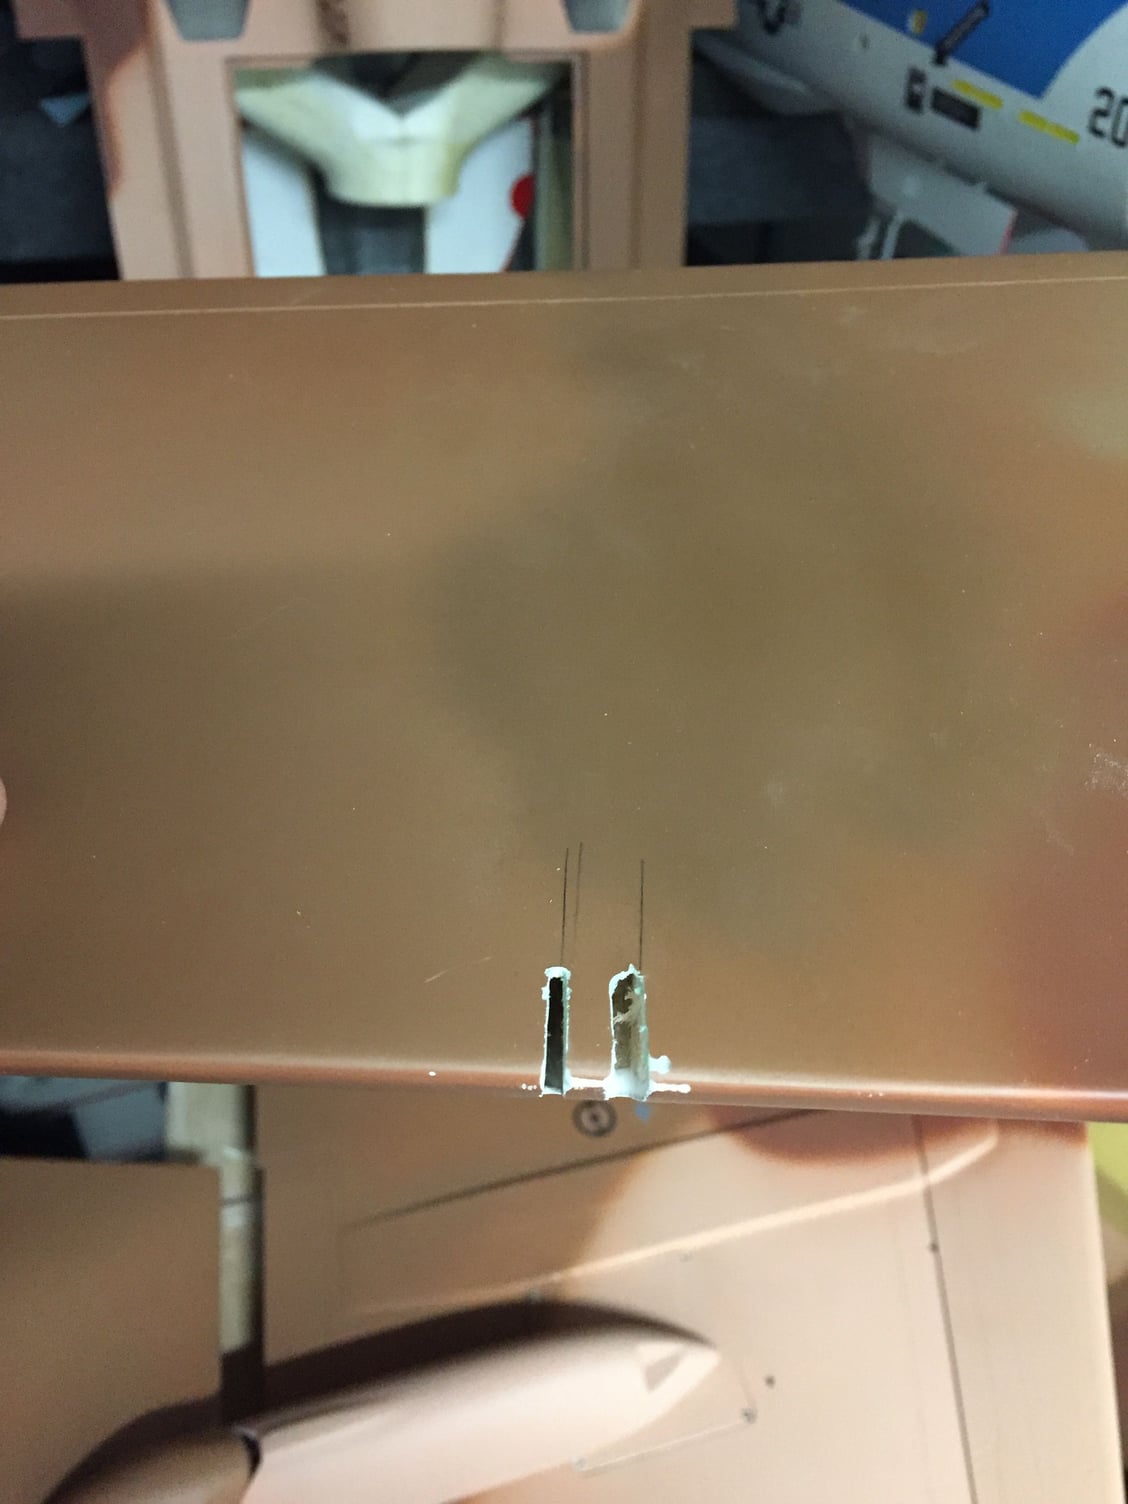
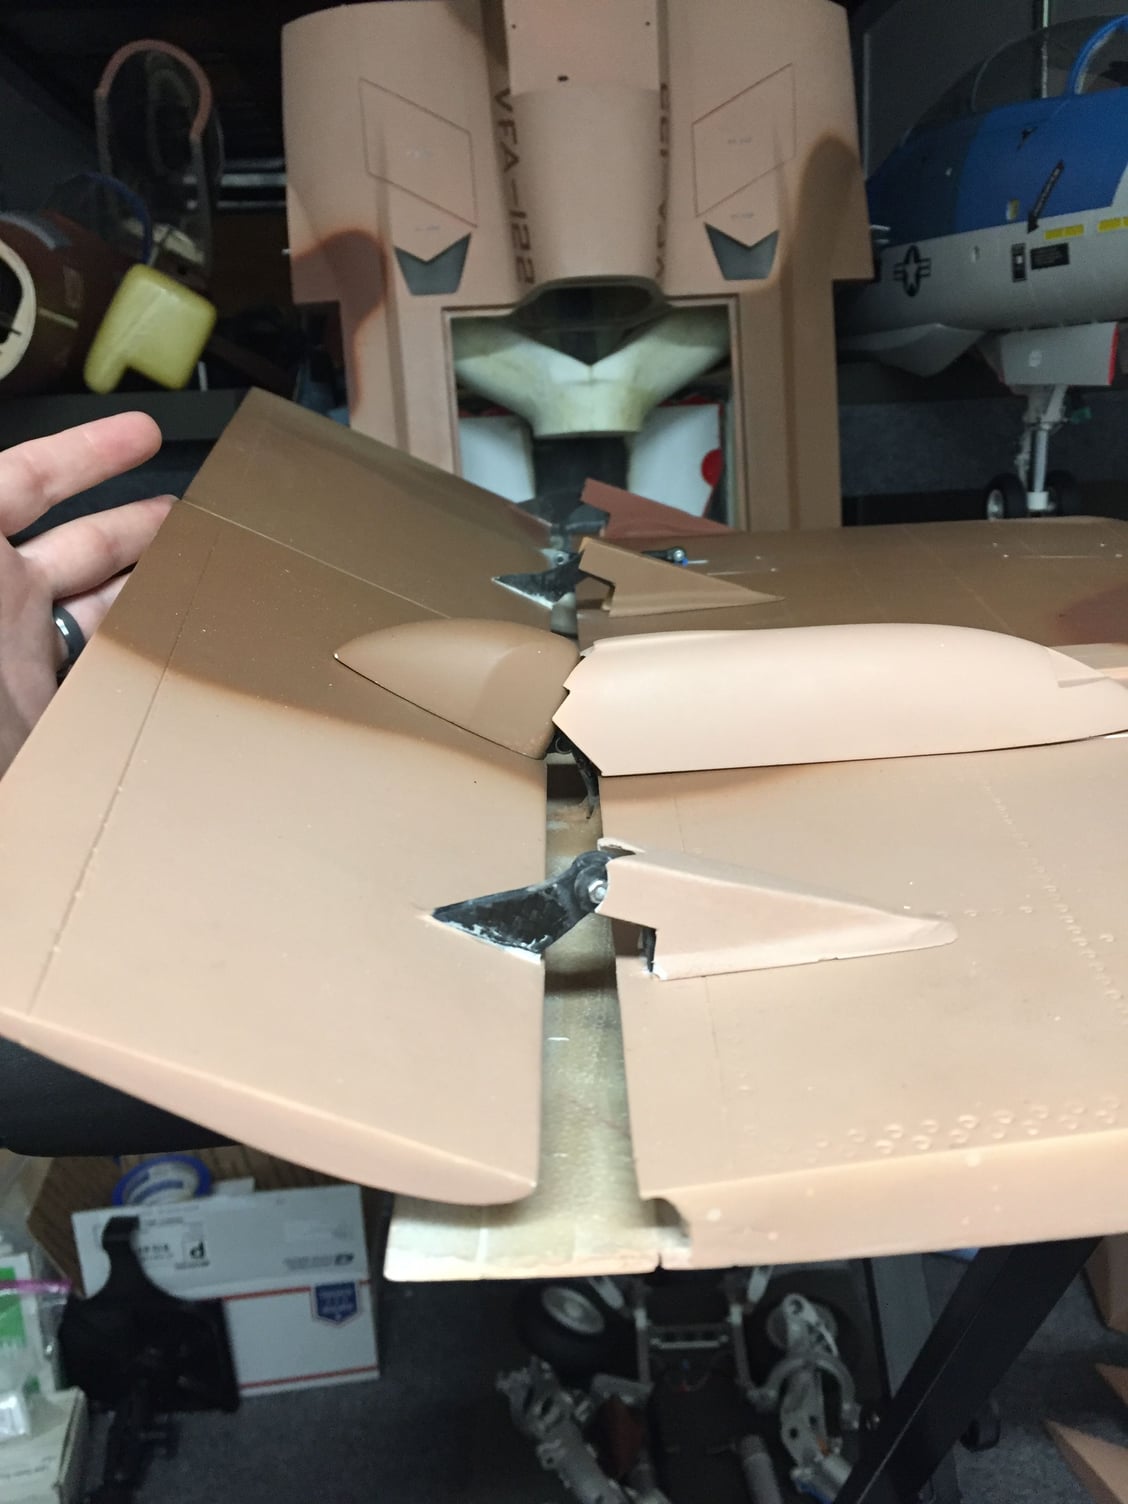
This is how the wings came modifed from Skymaster.
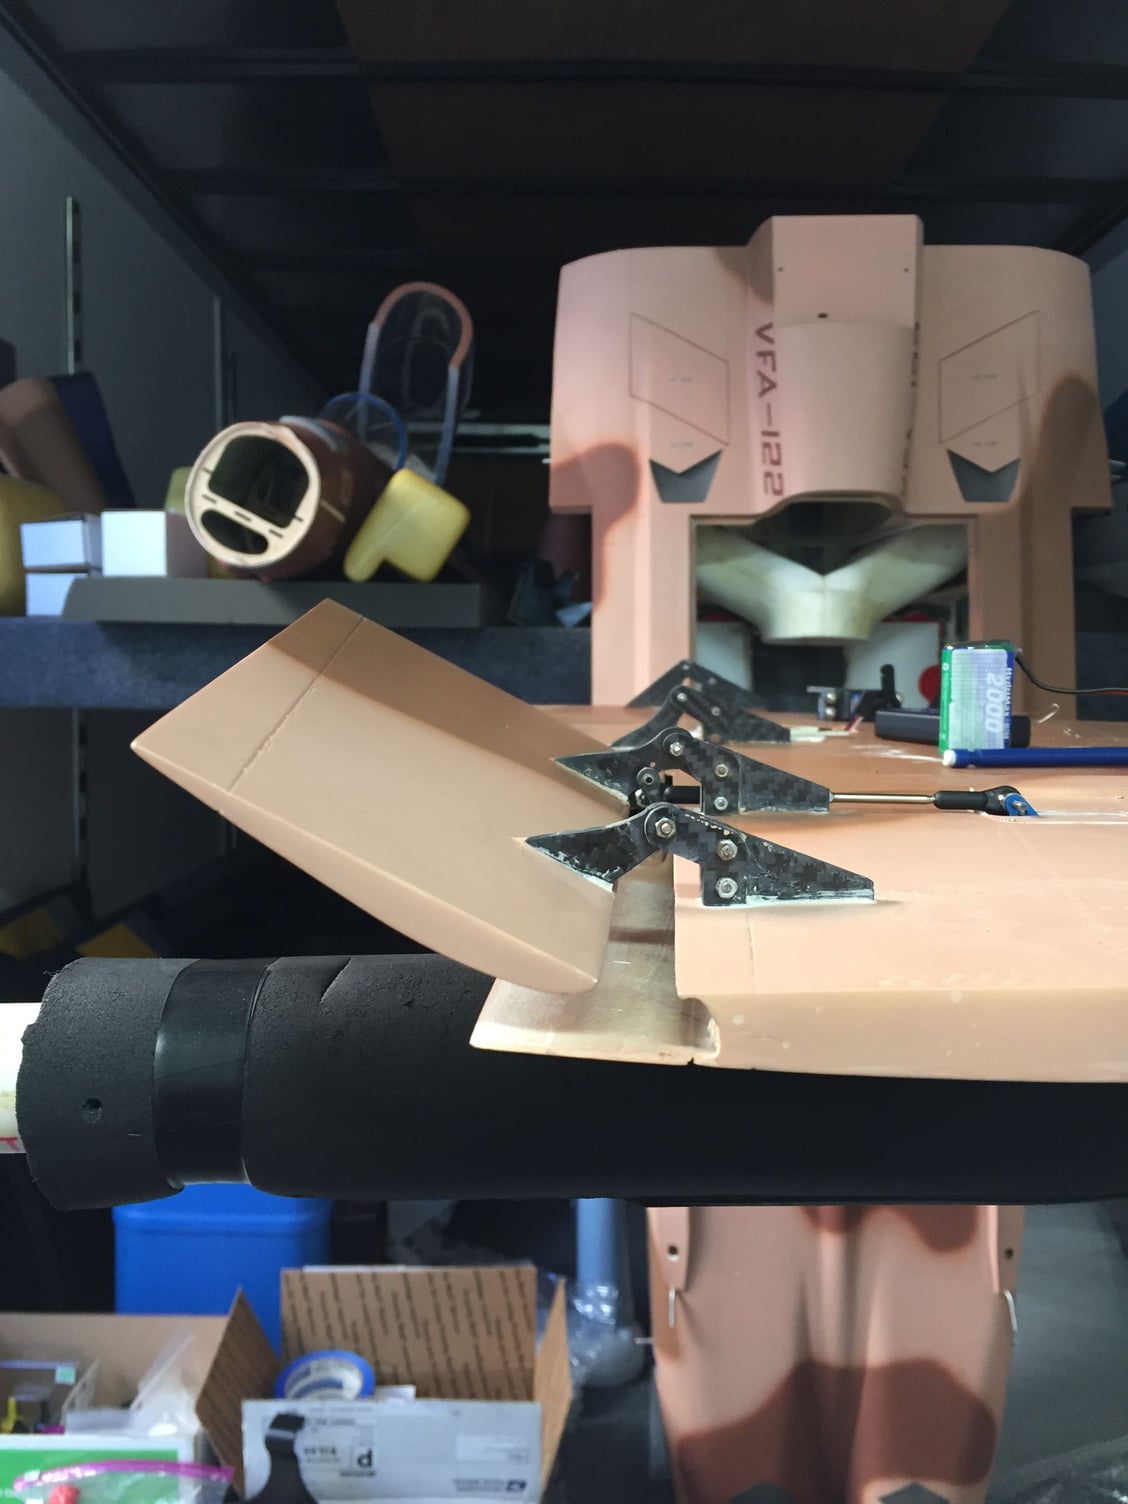
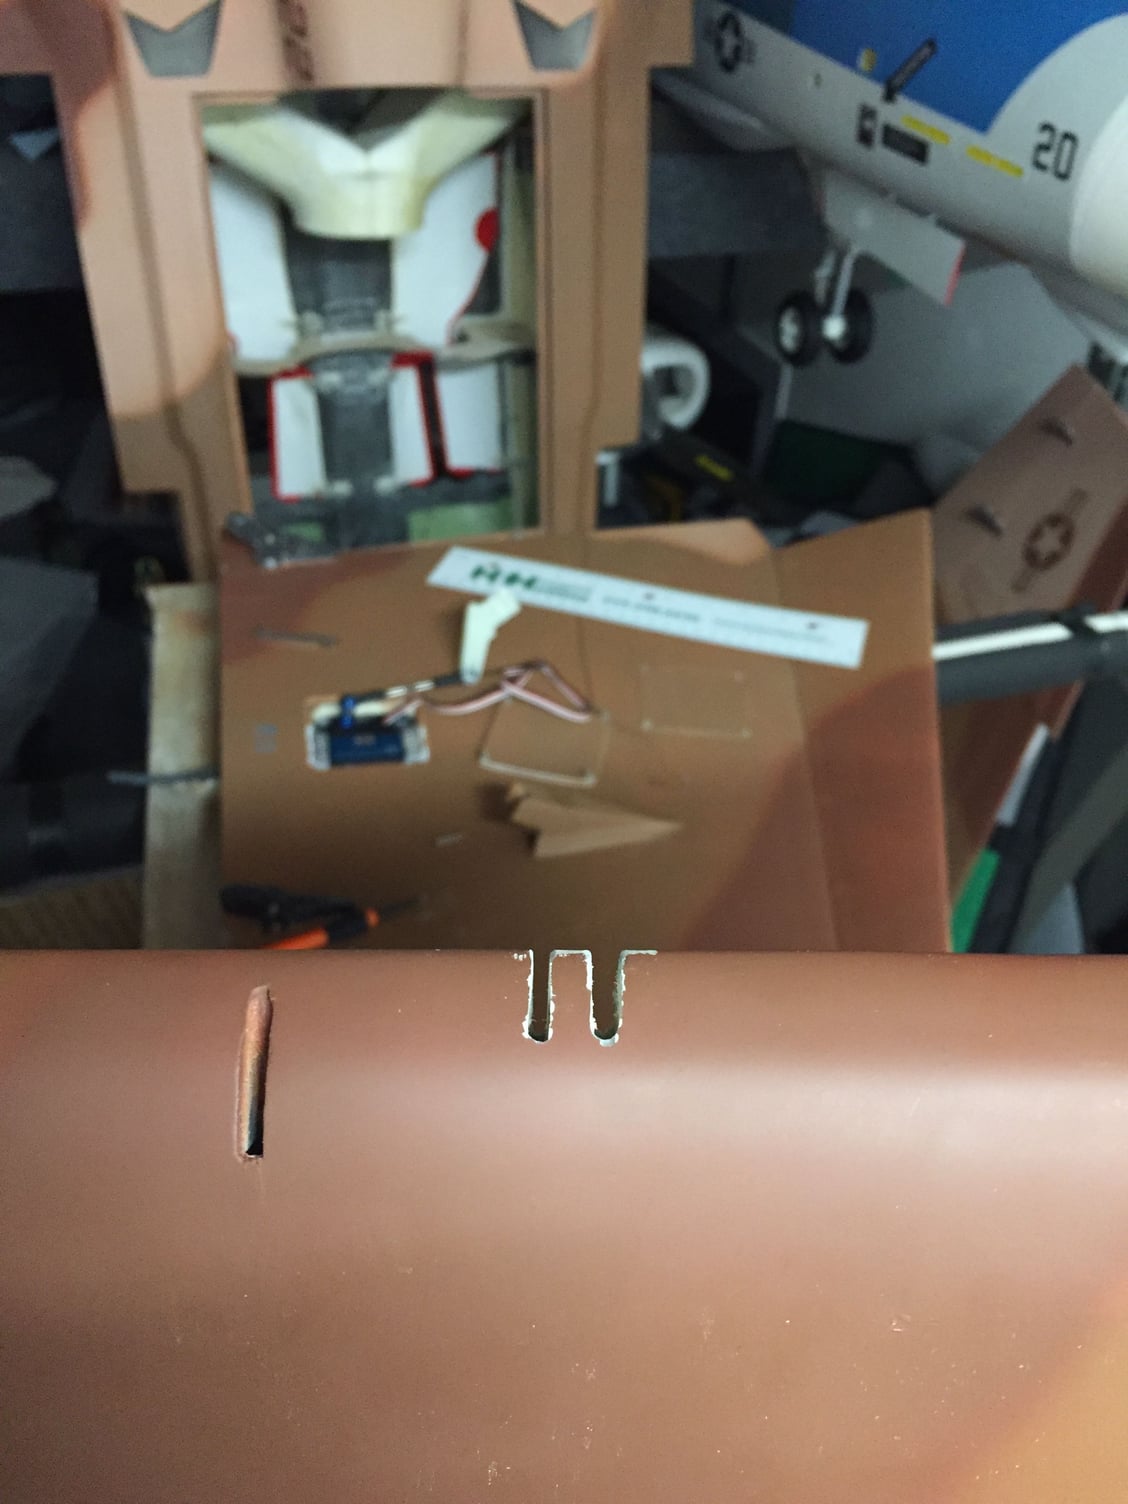
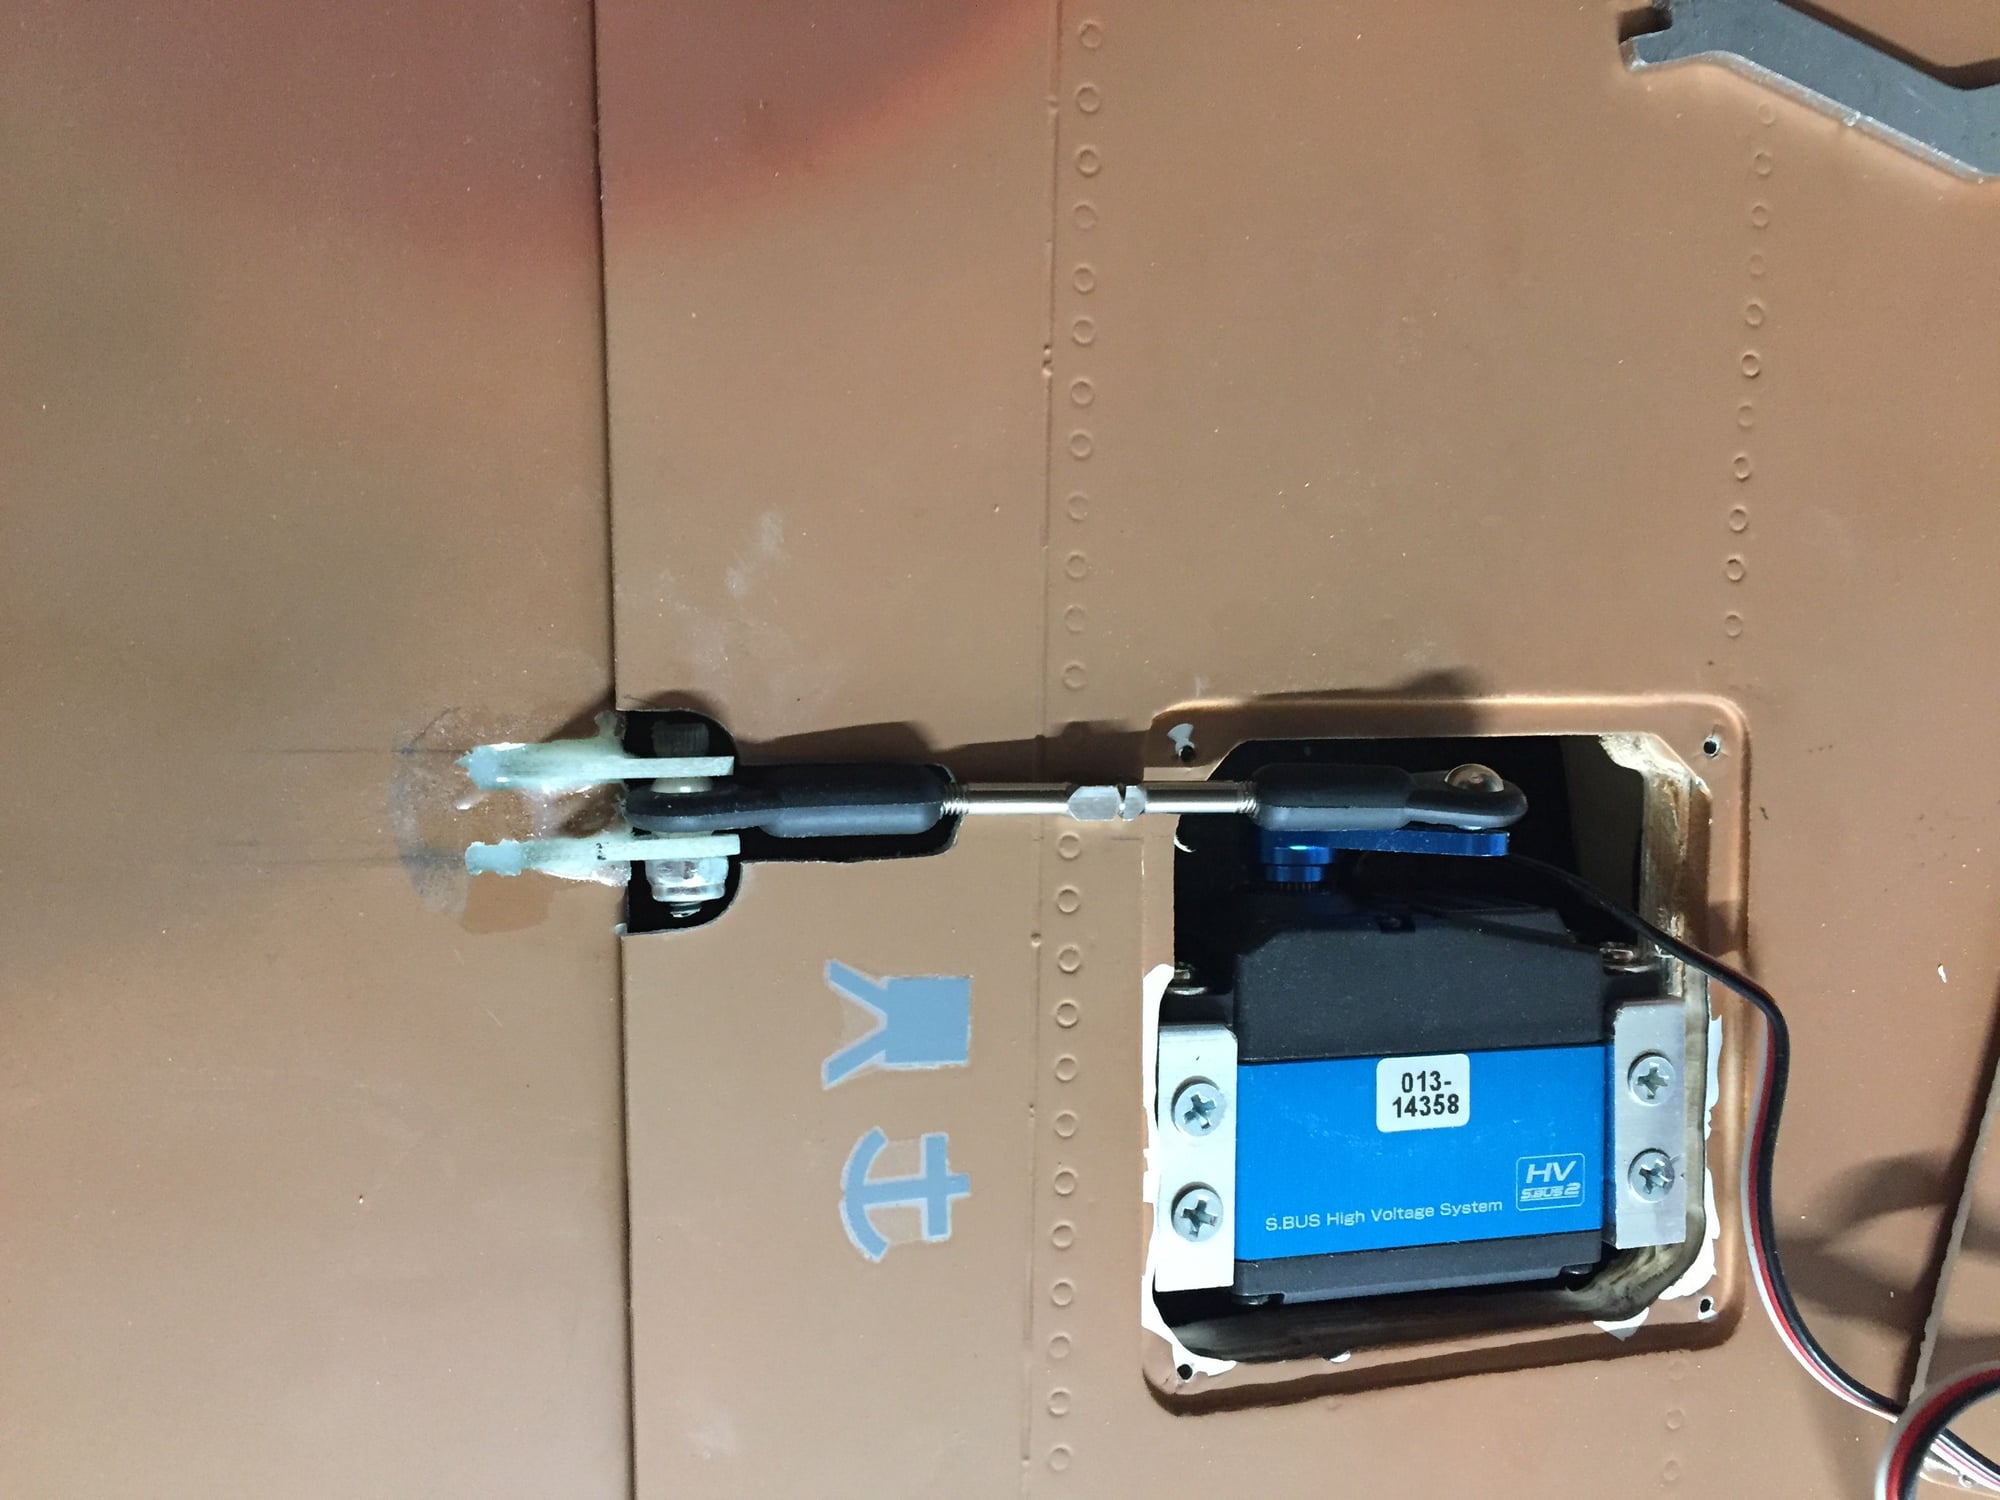
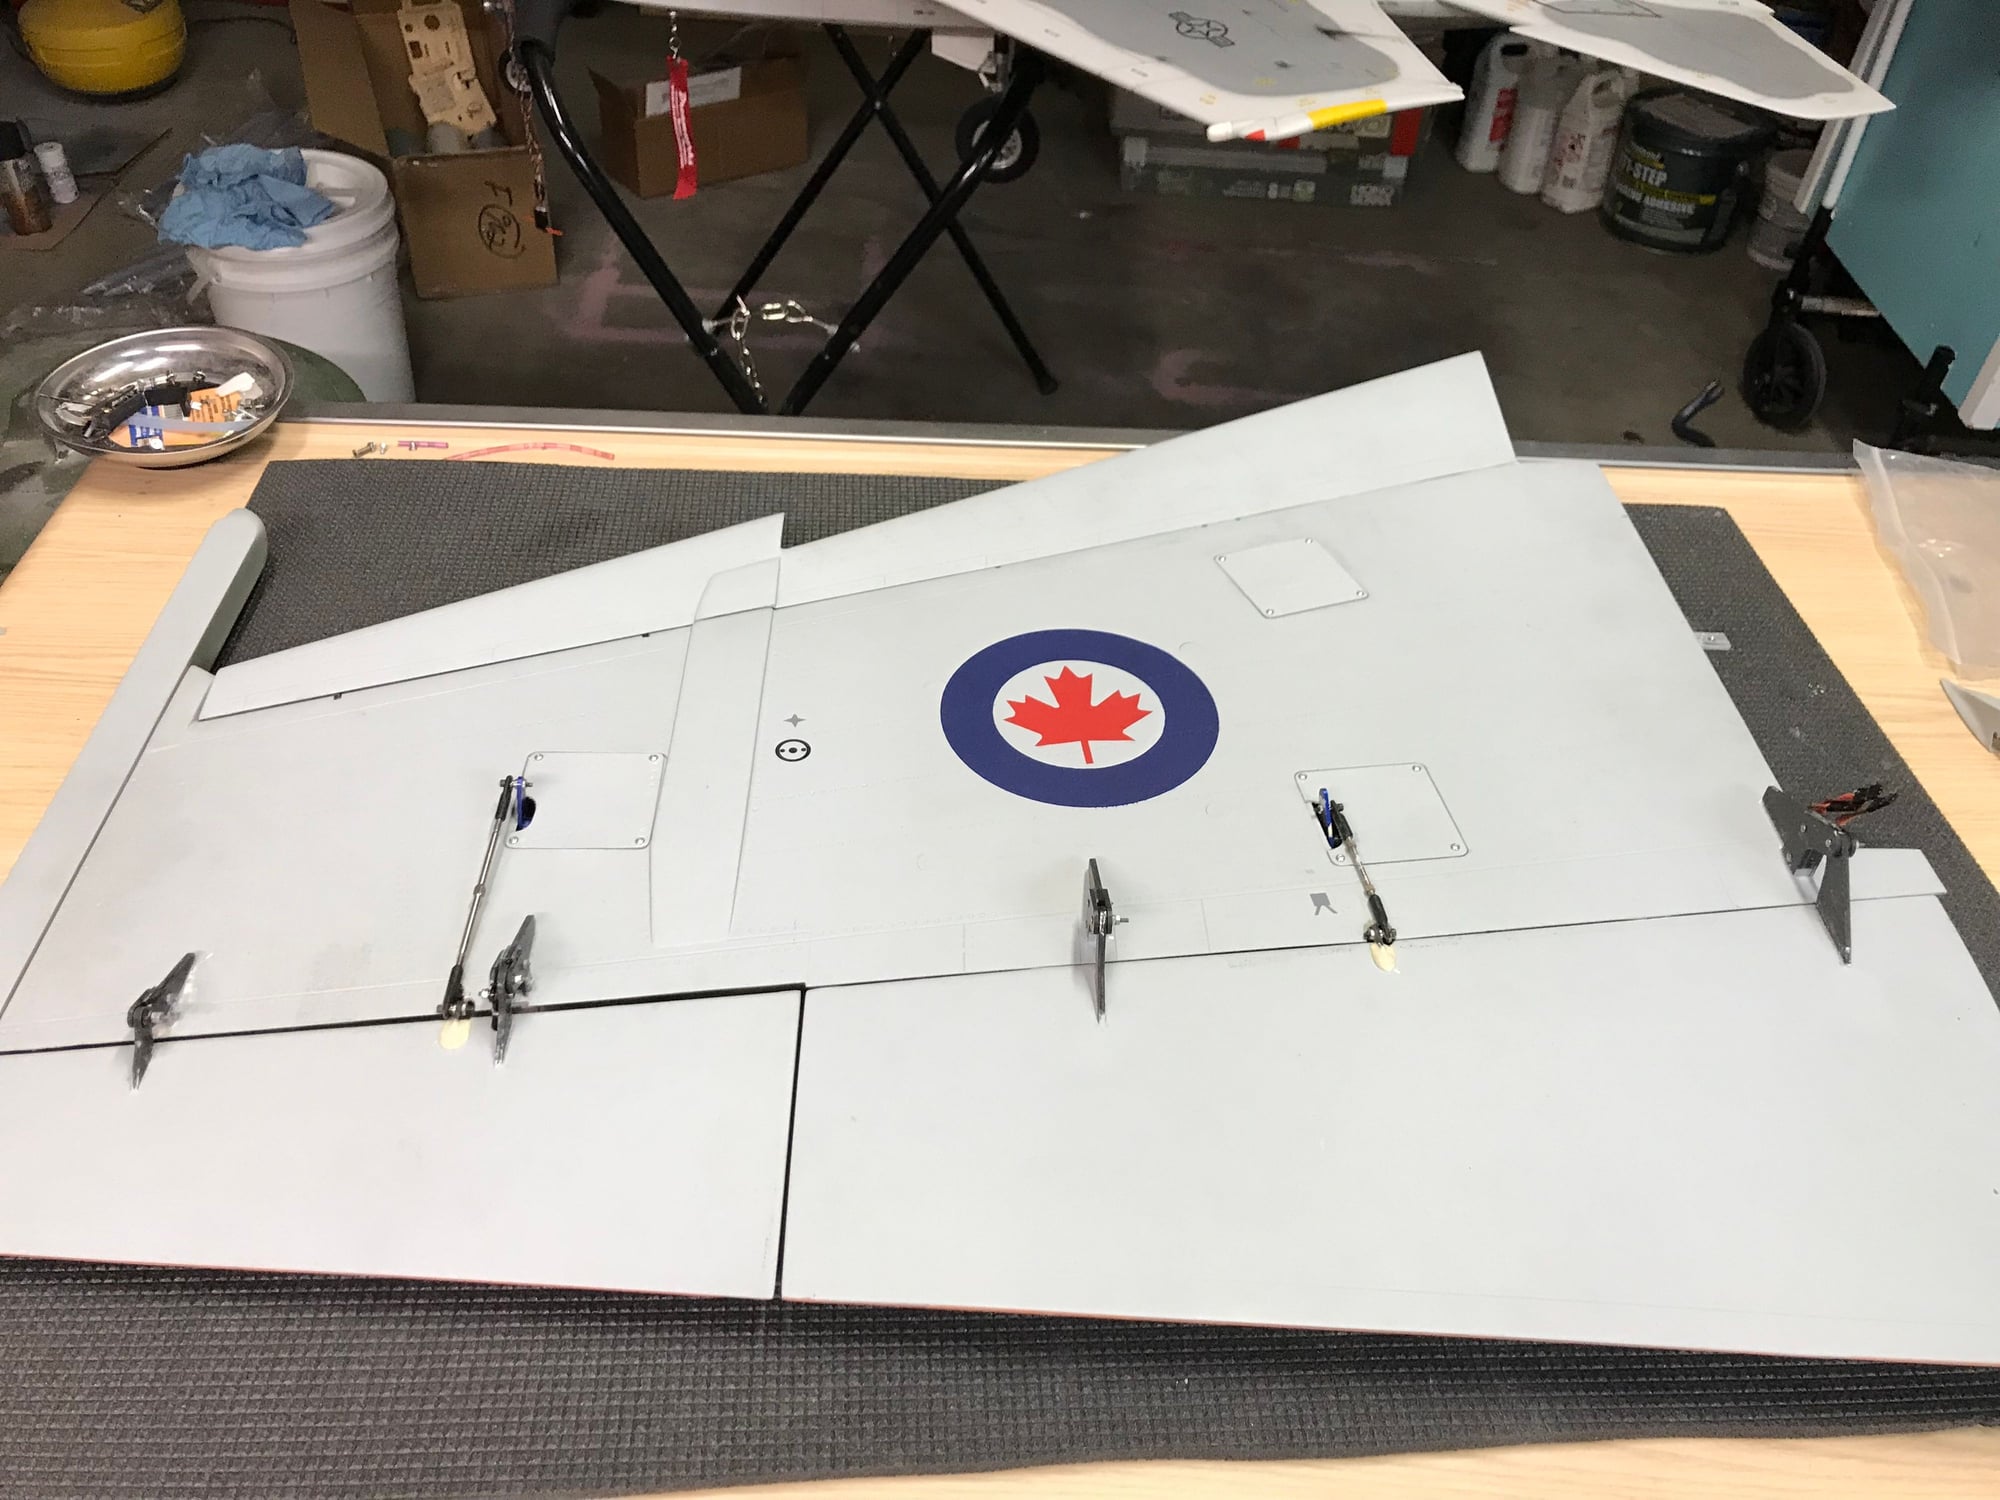
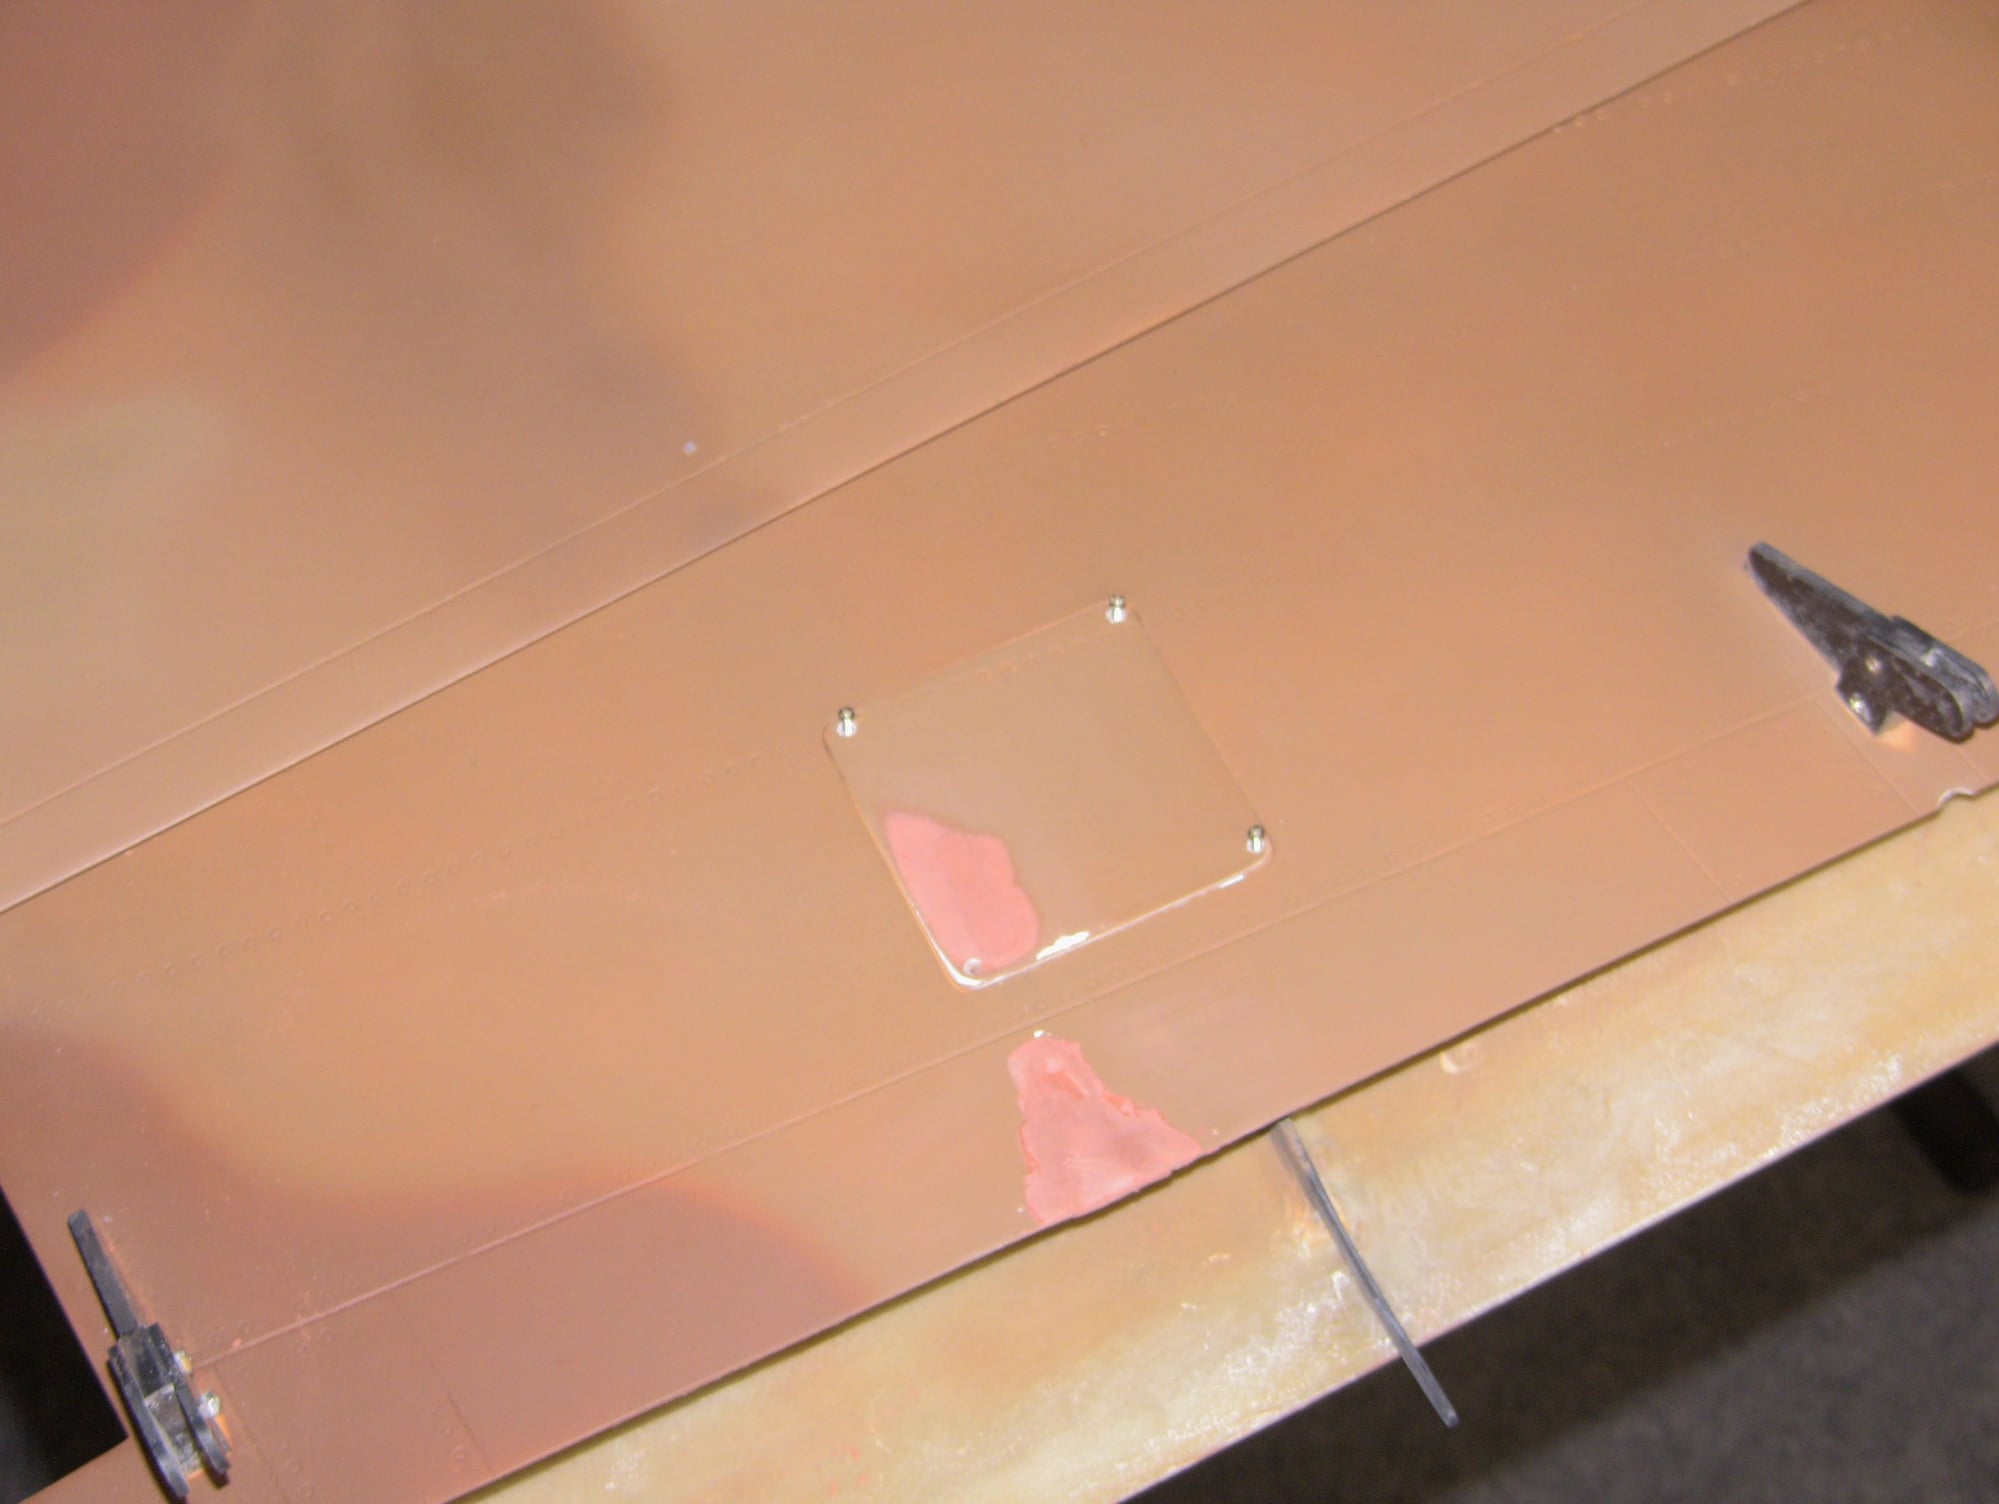
This is a final pic of Aileron linkage redone and external and flap done as a hidden linkage.

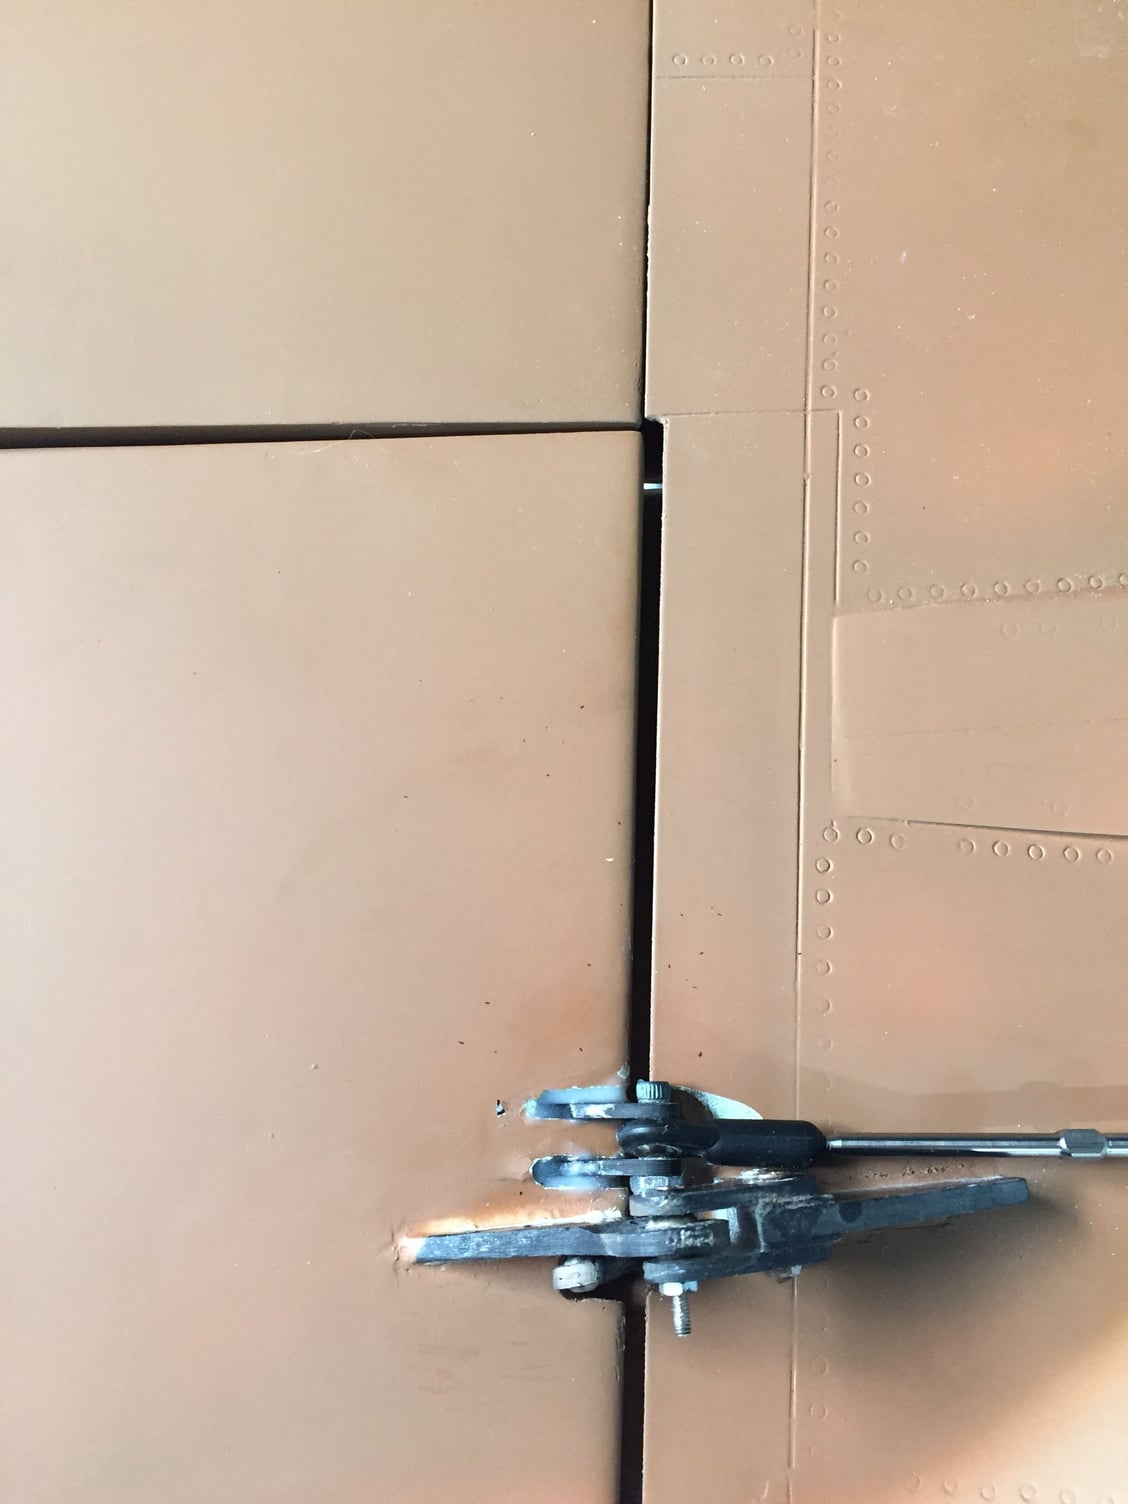
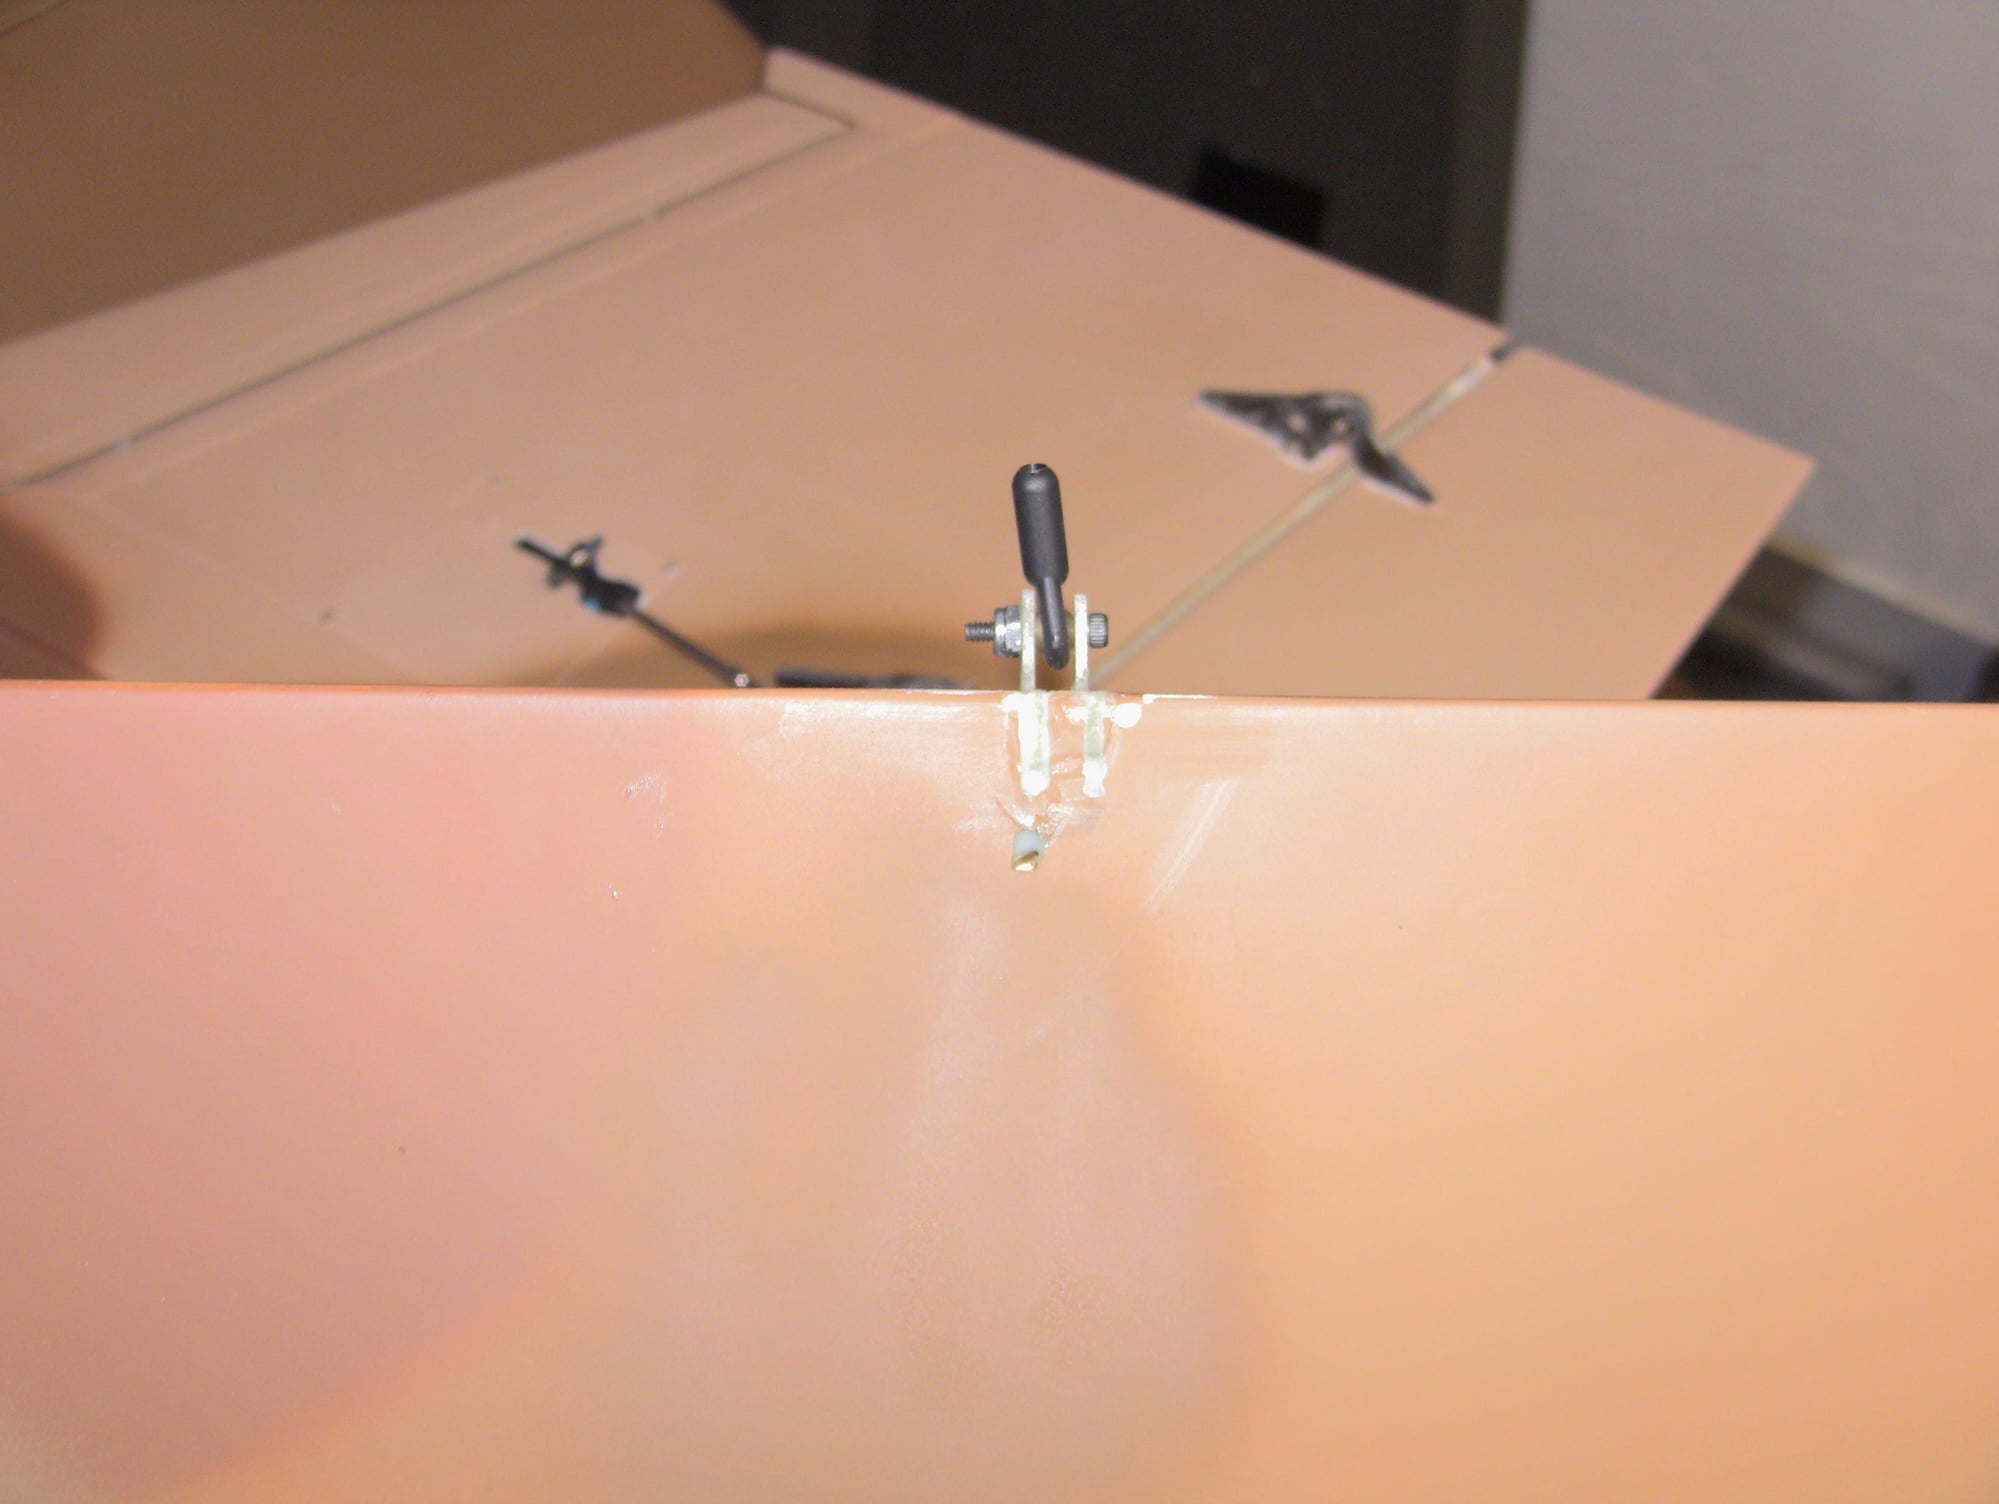
Stock setup. Brutally hacked into wing for clearance.
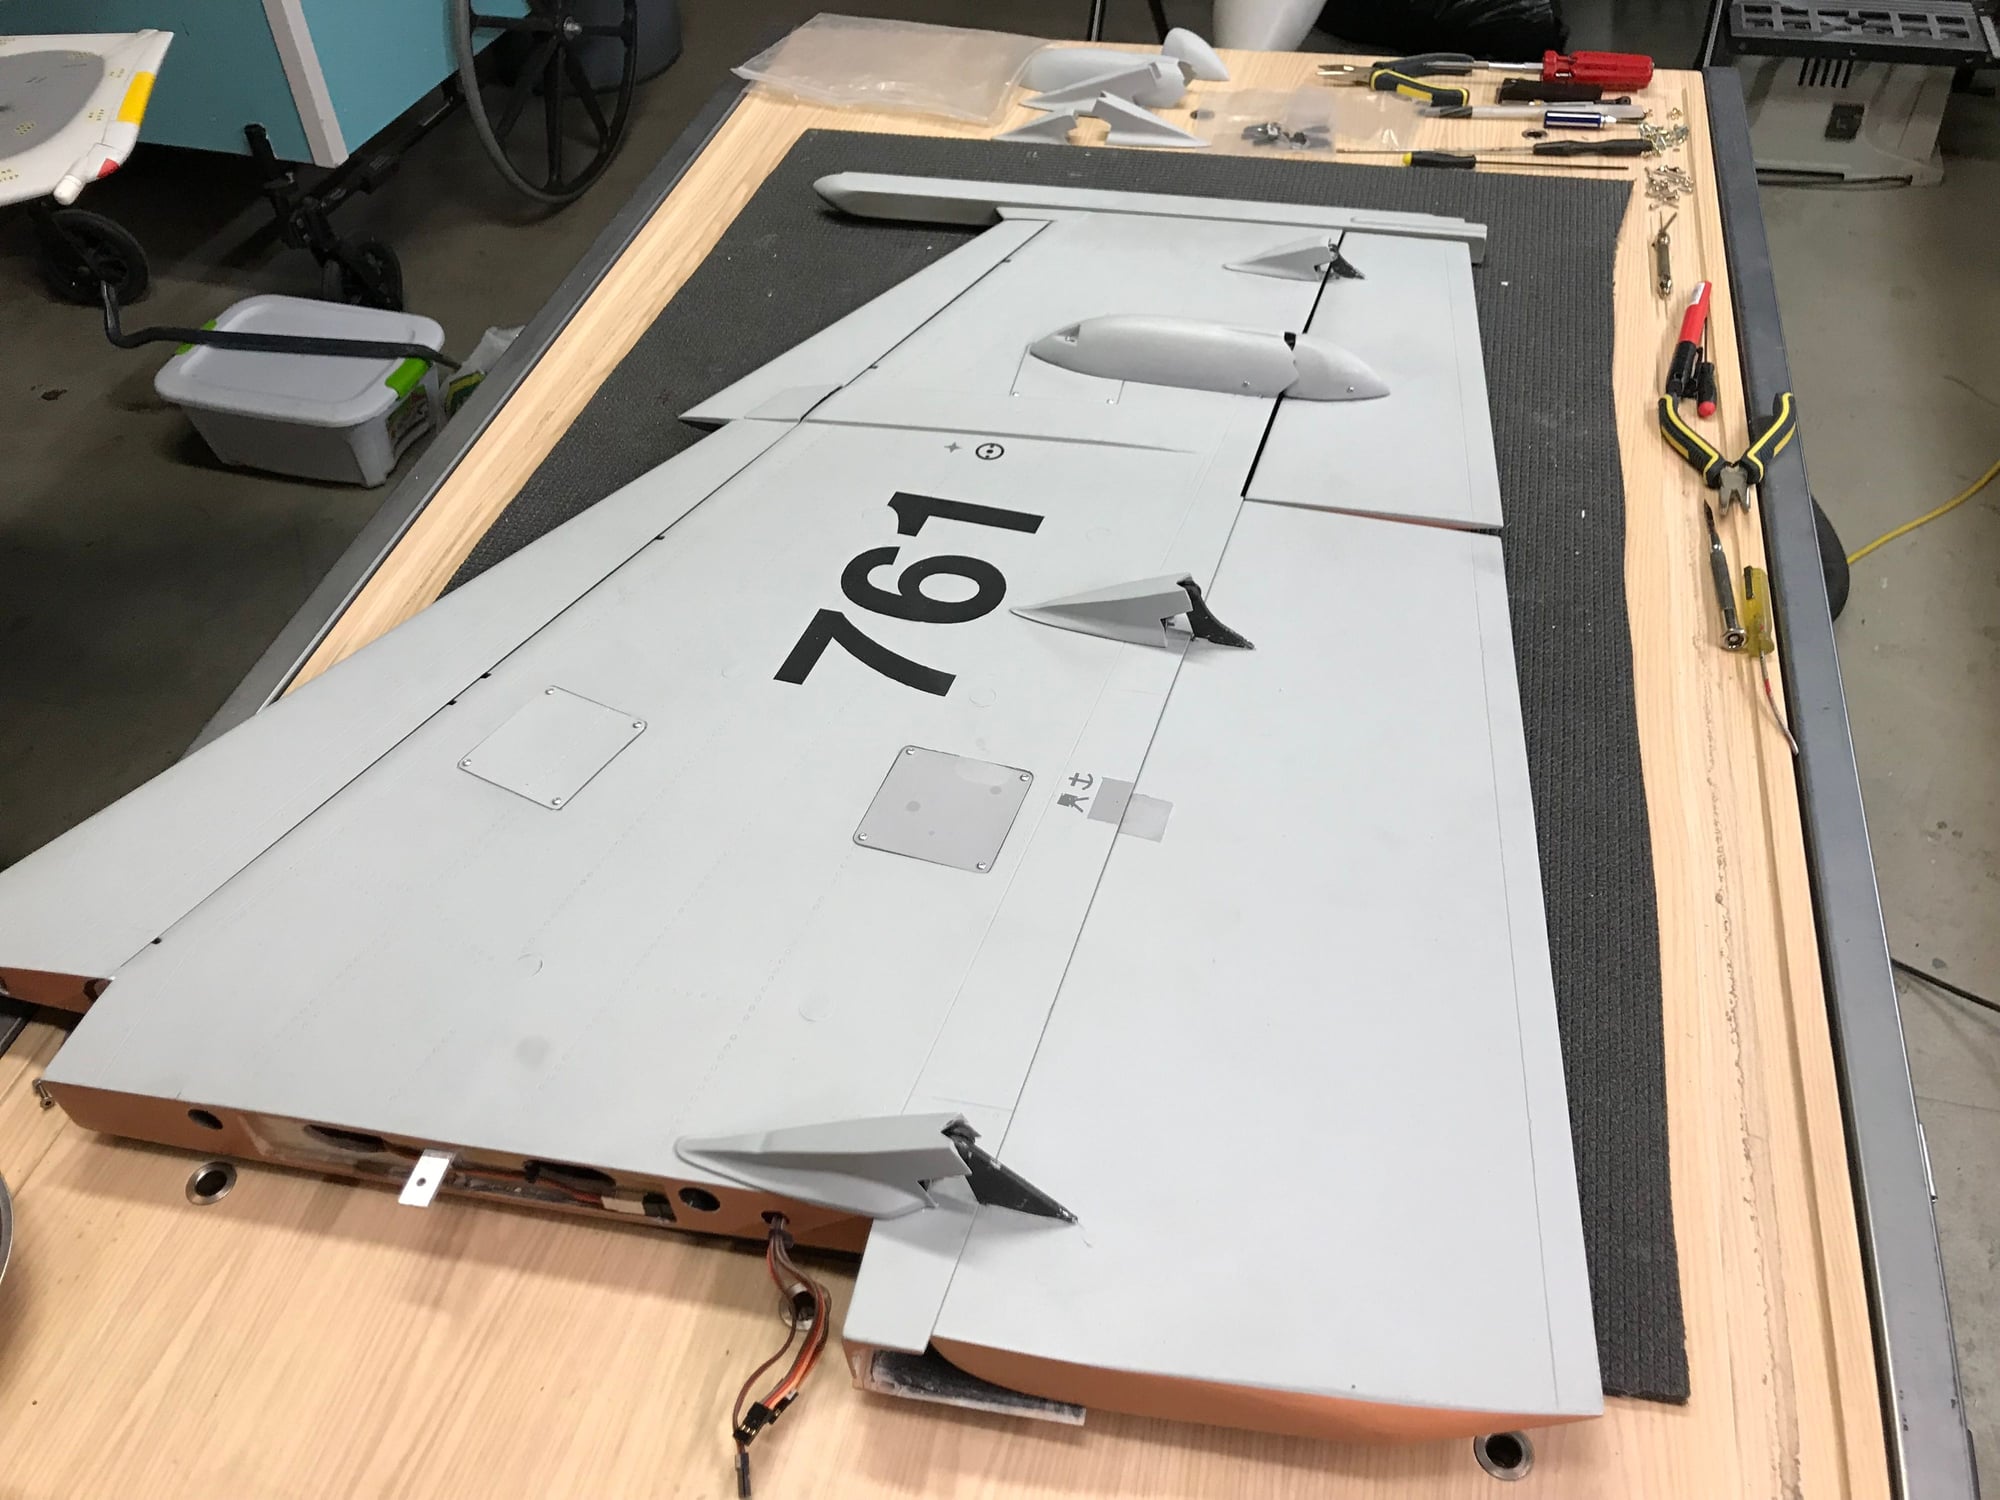
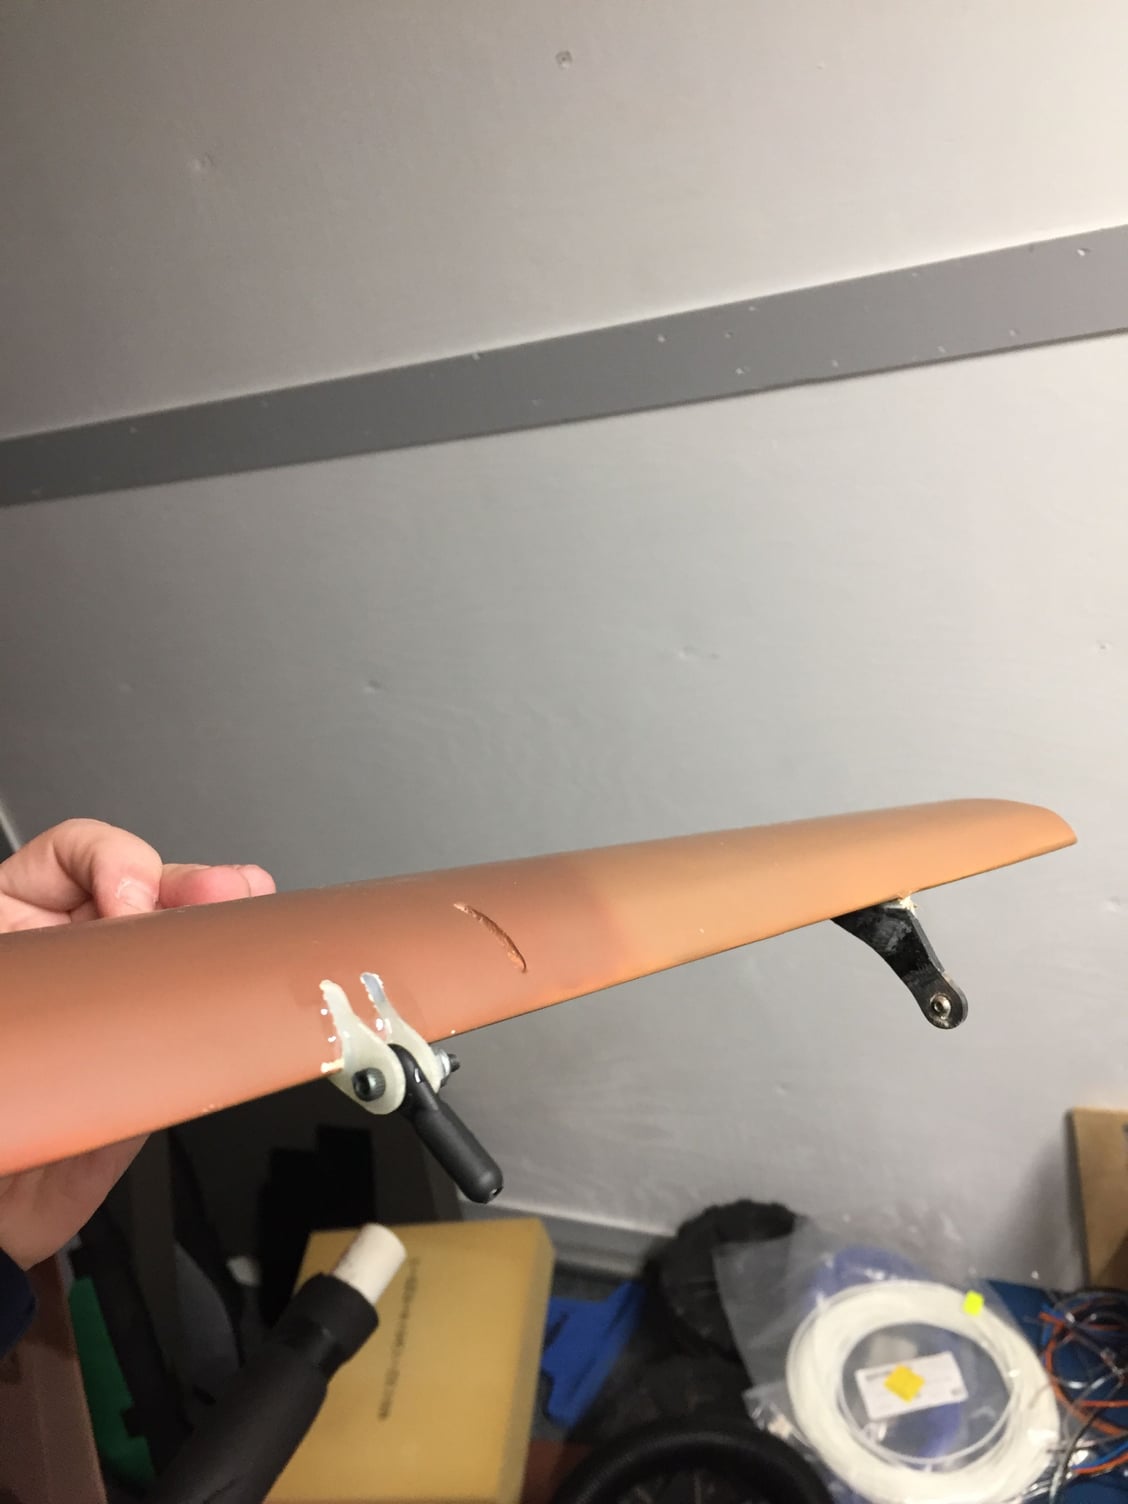
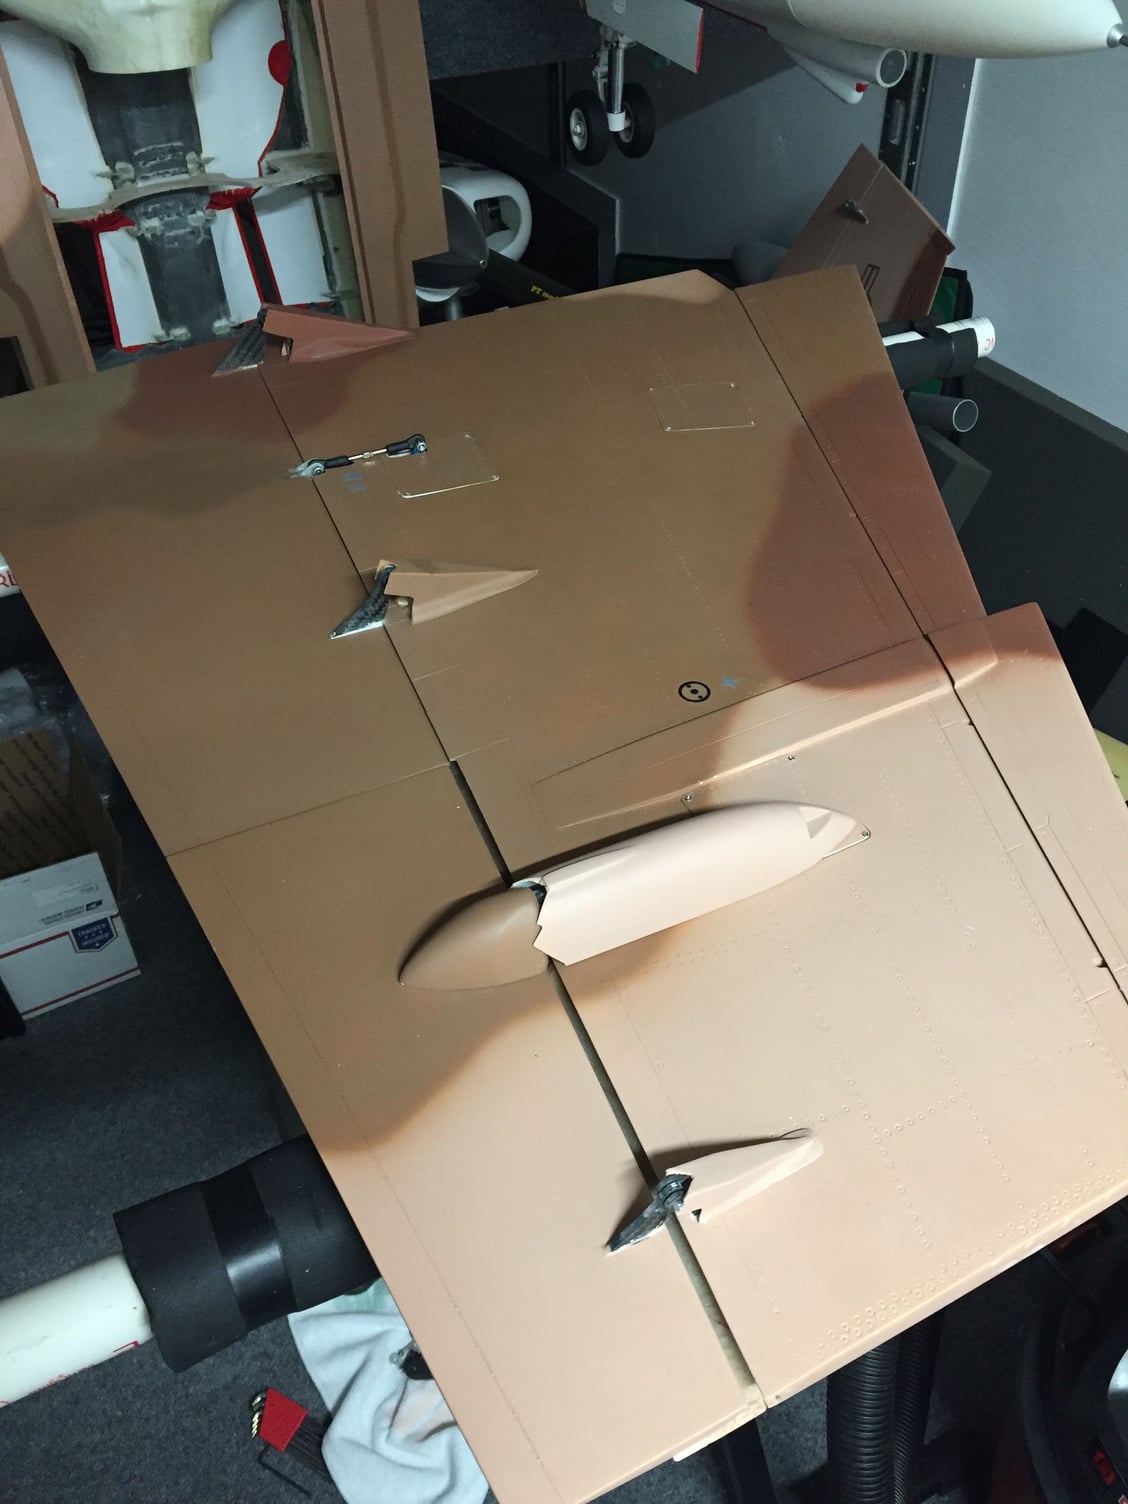
Picture of Completed Wing with internal flap linkage.
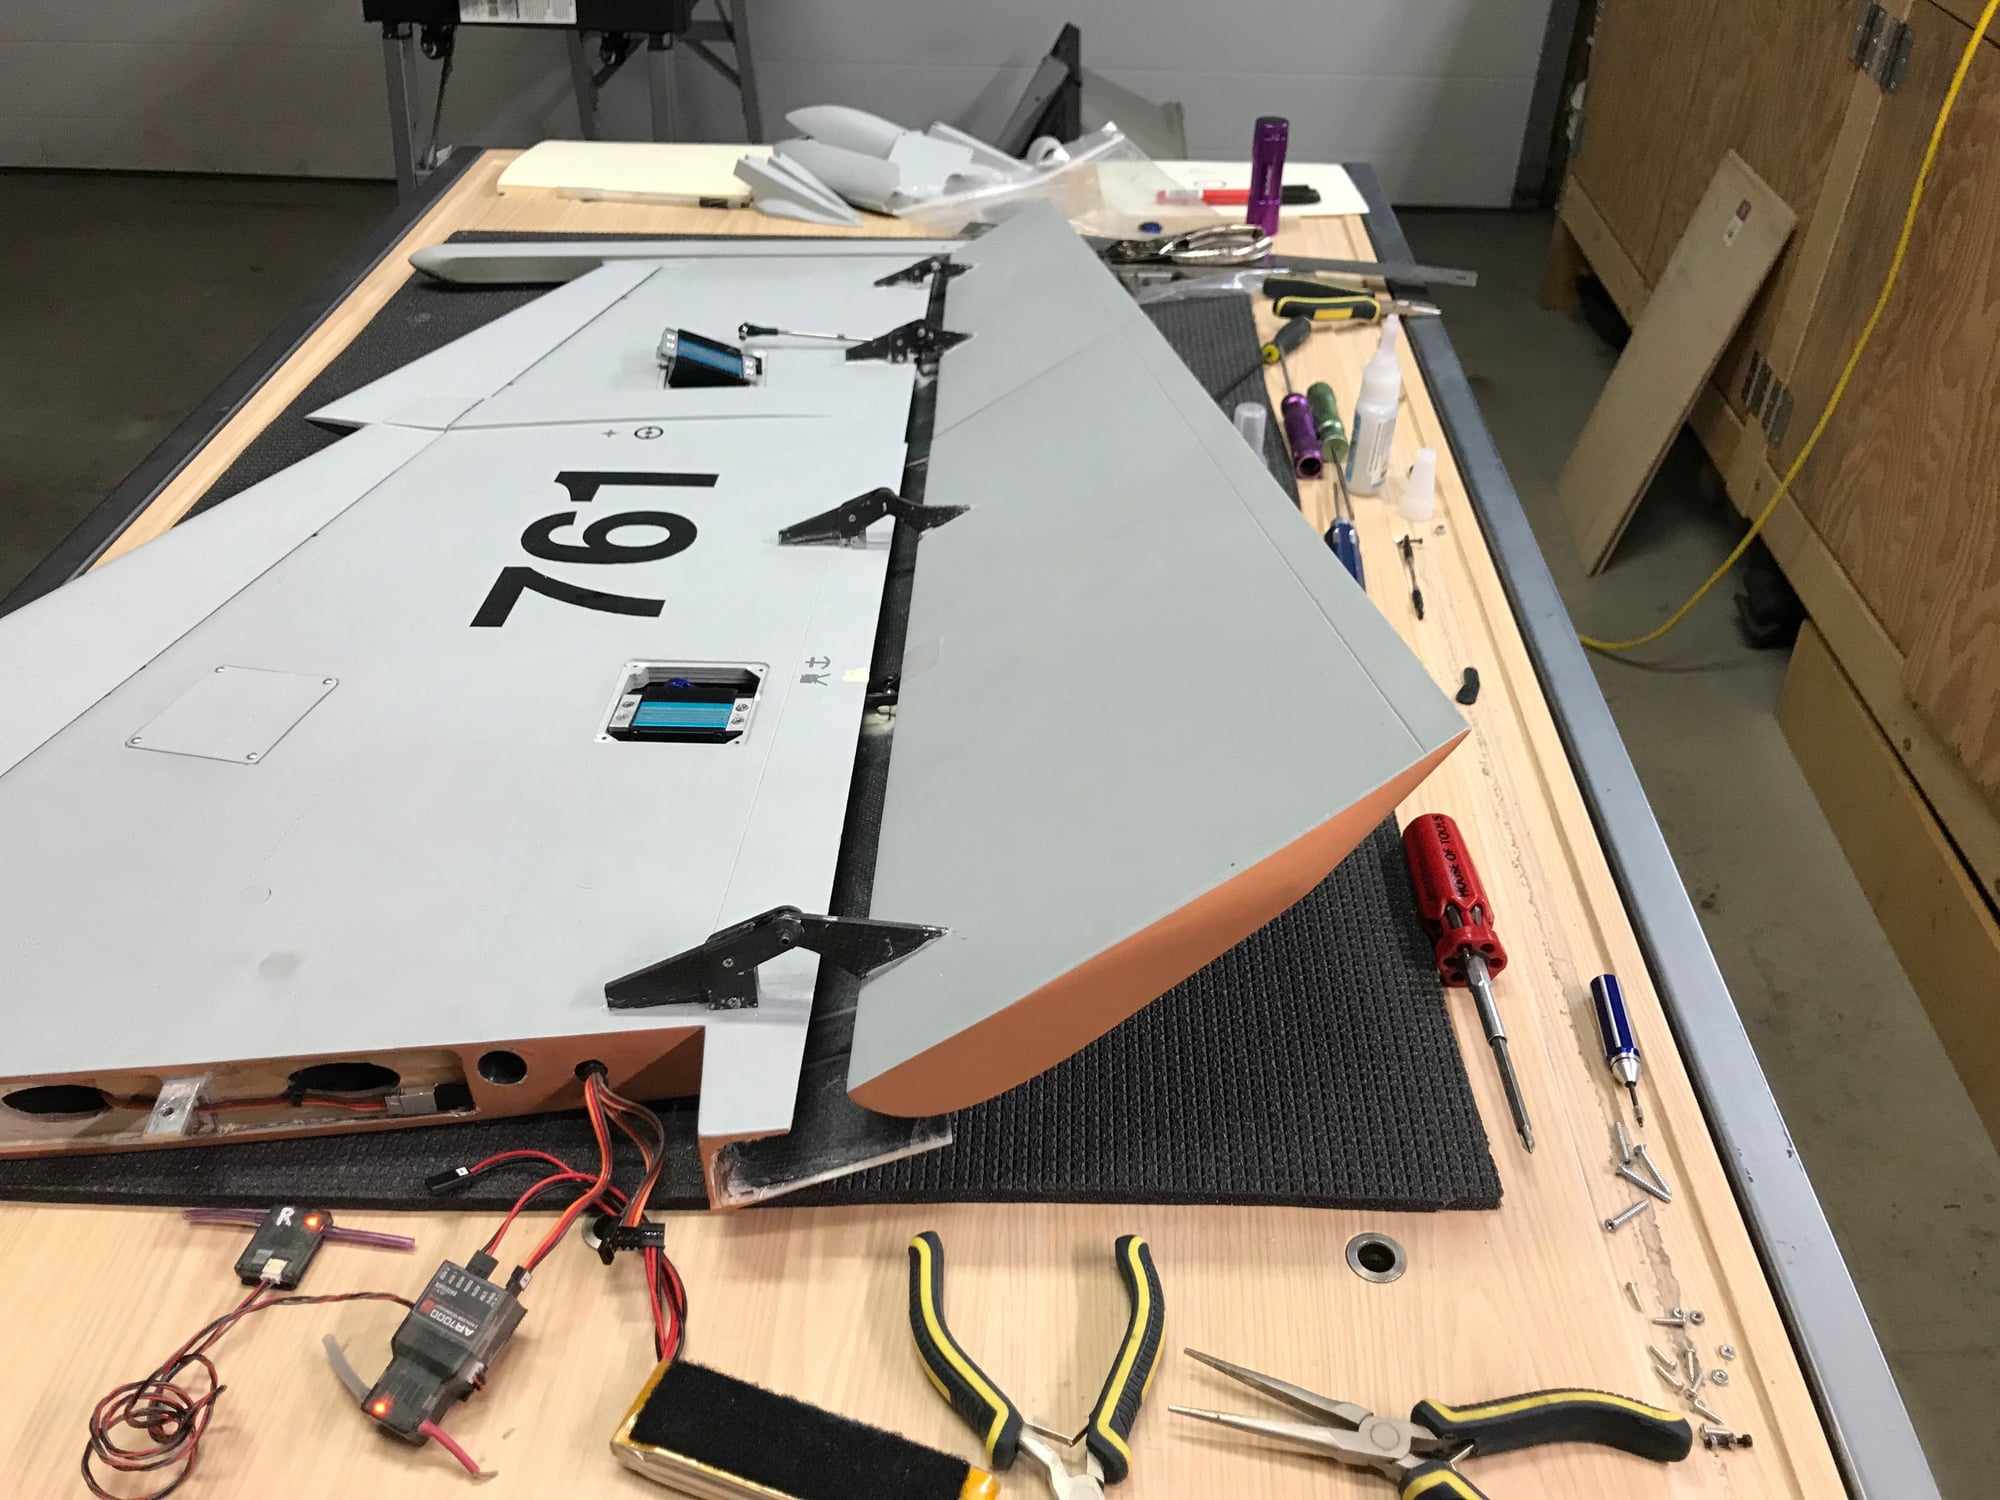
Flap movement matching down for aileron surface.
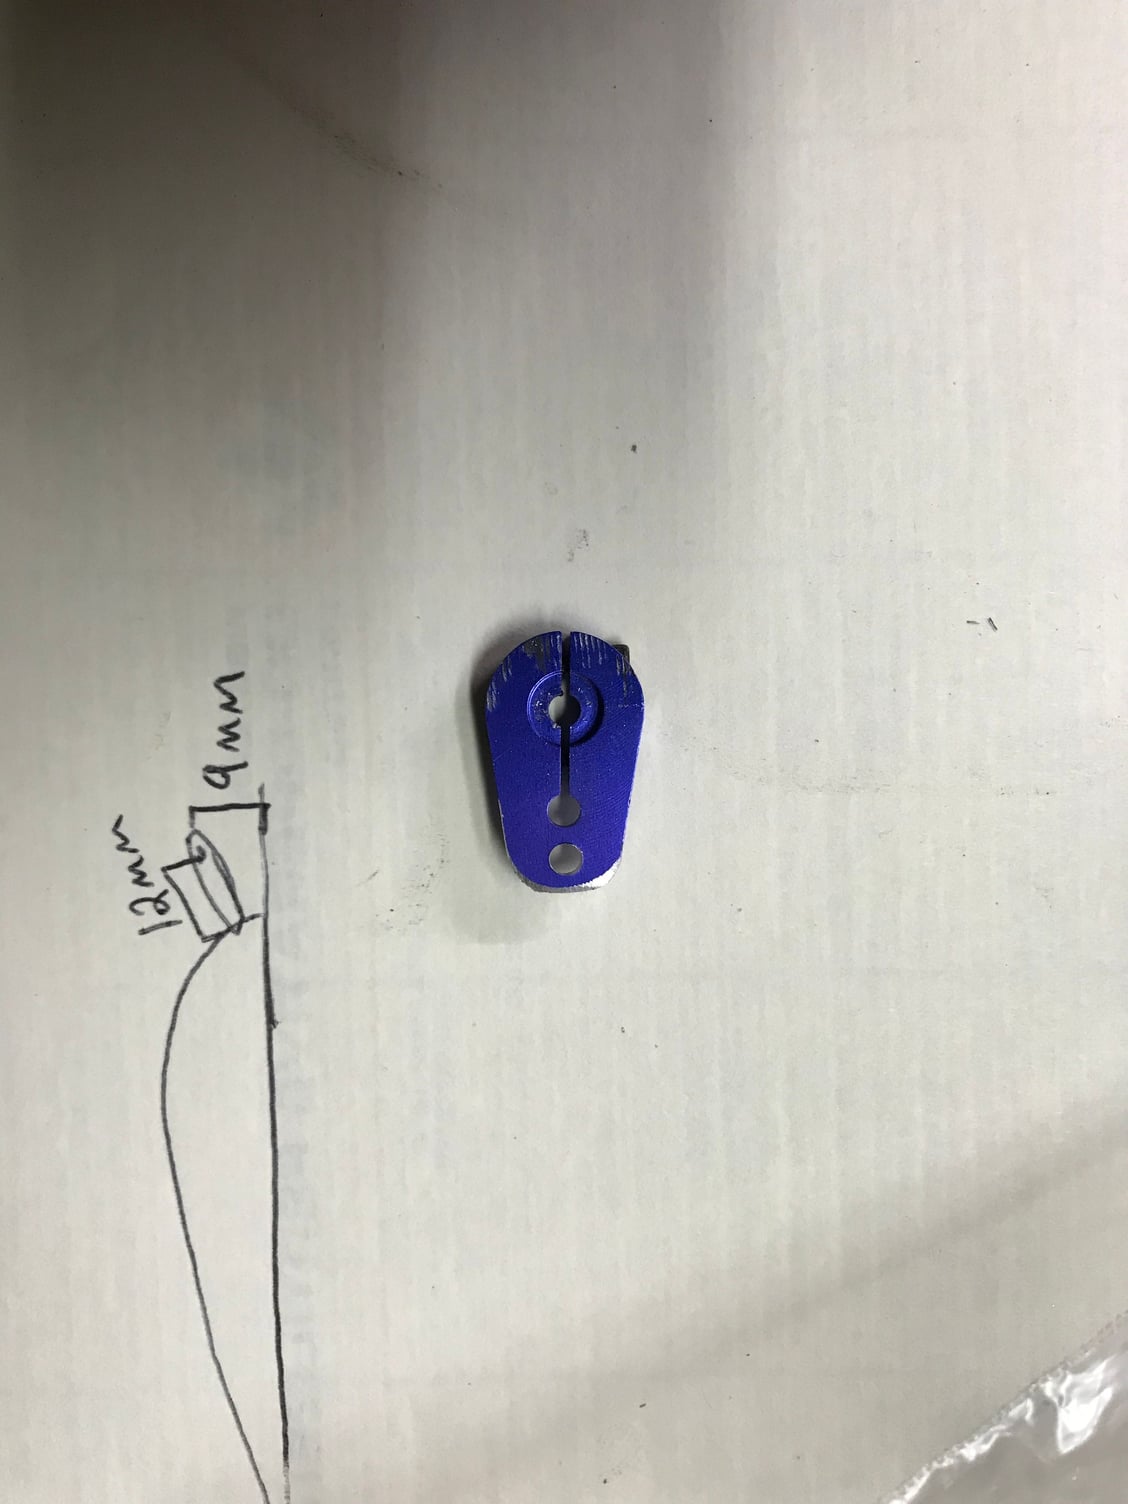
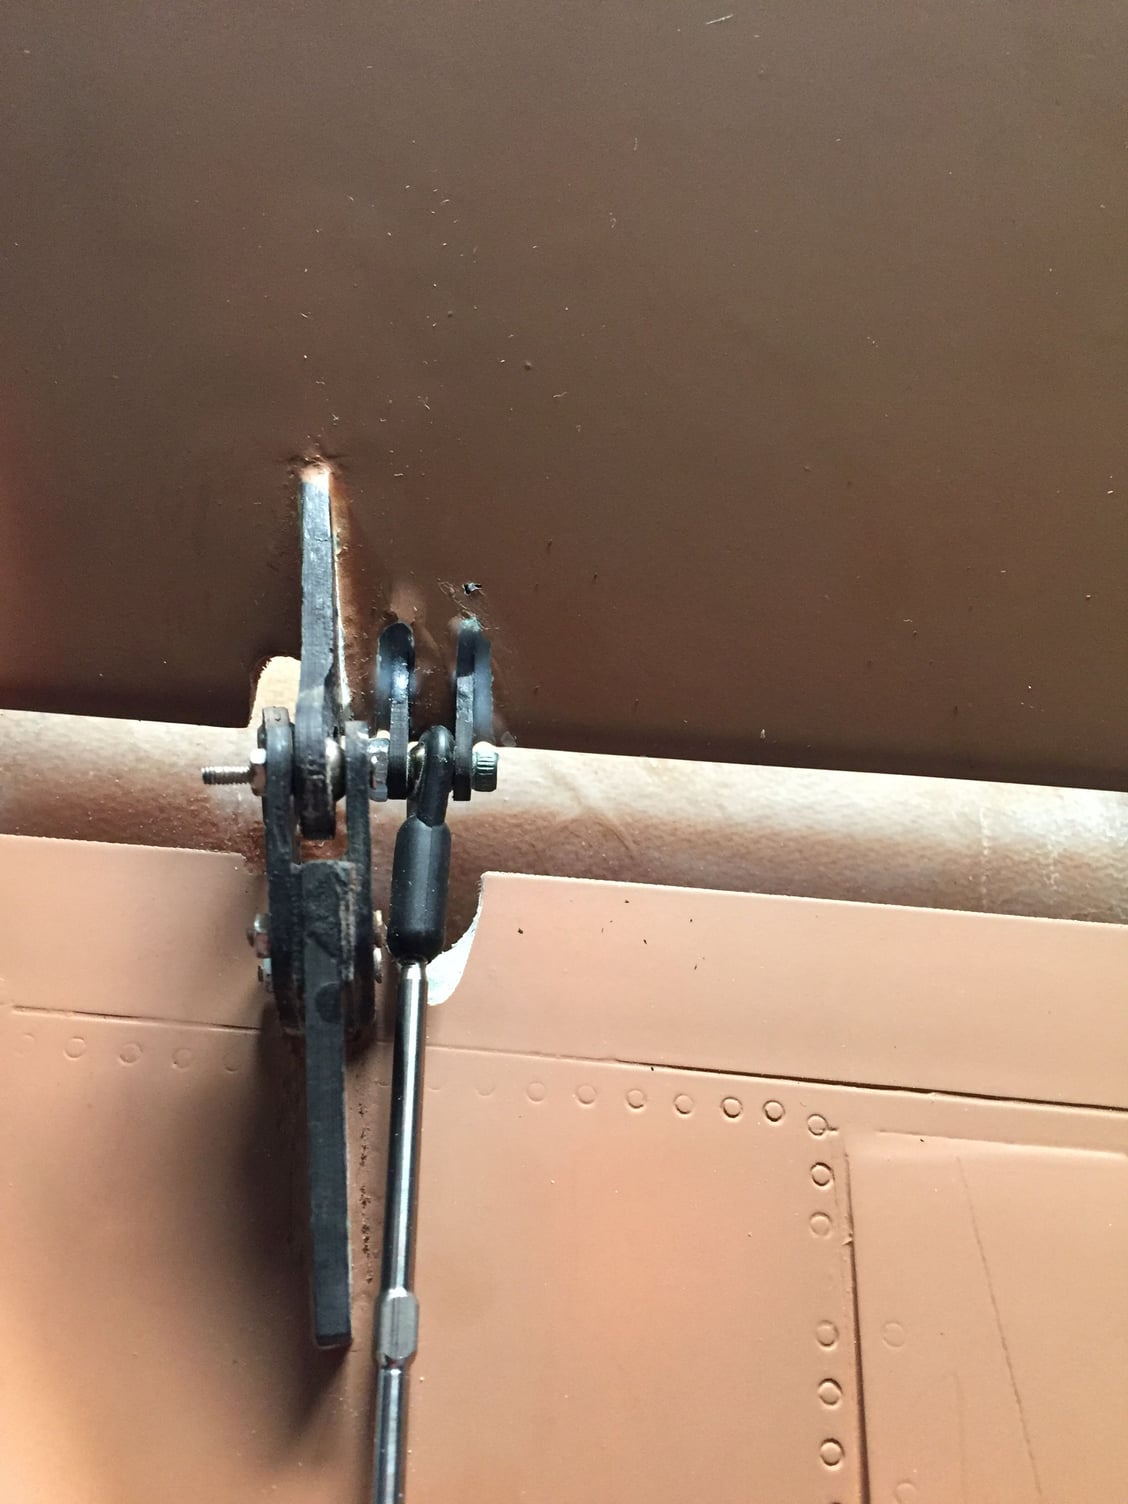
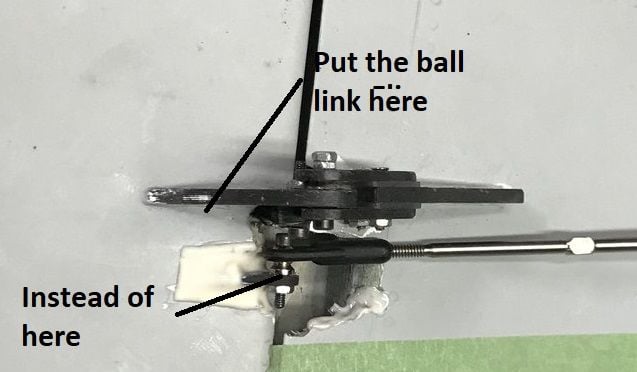
Modified servo horn allows full servo movement and enough clearance to not hit top surface of wing.
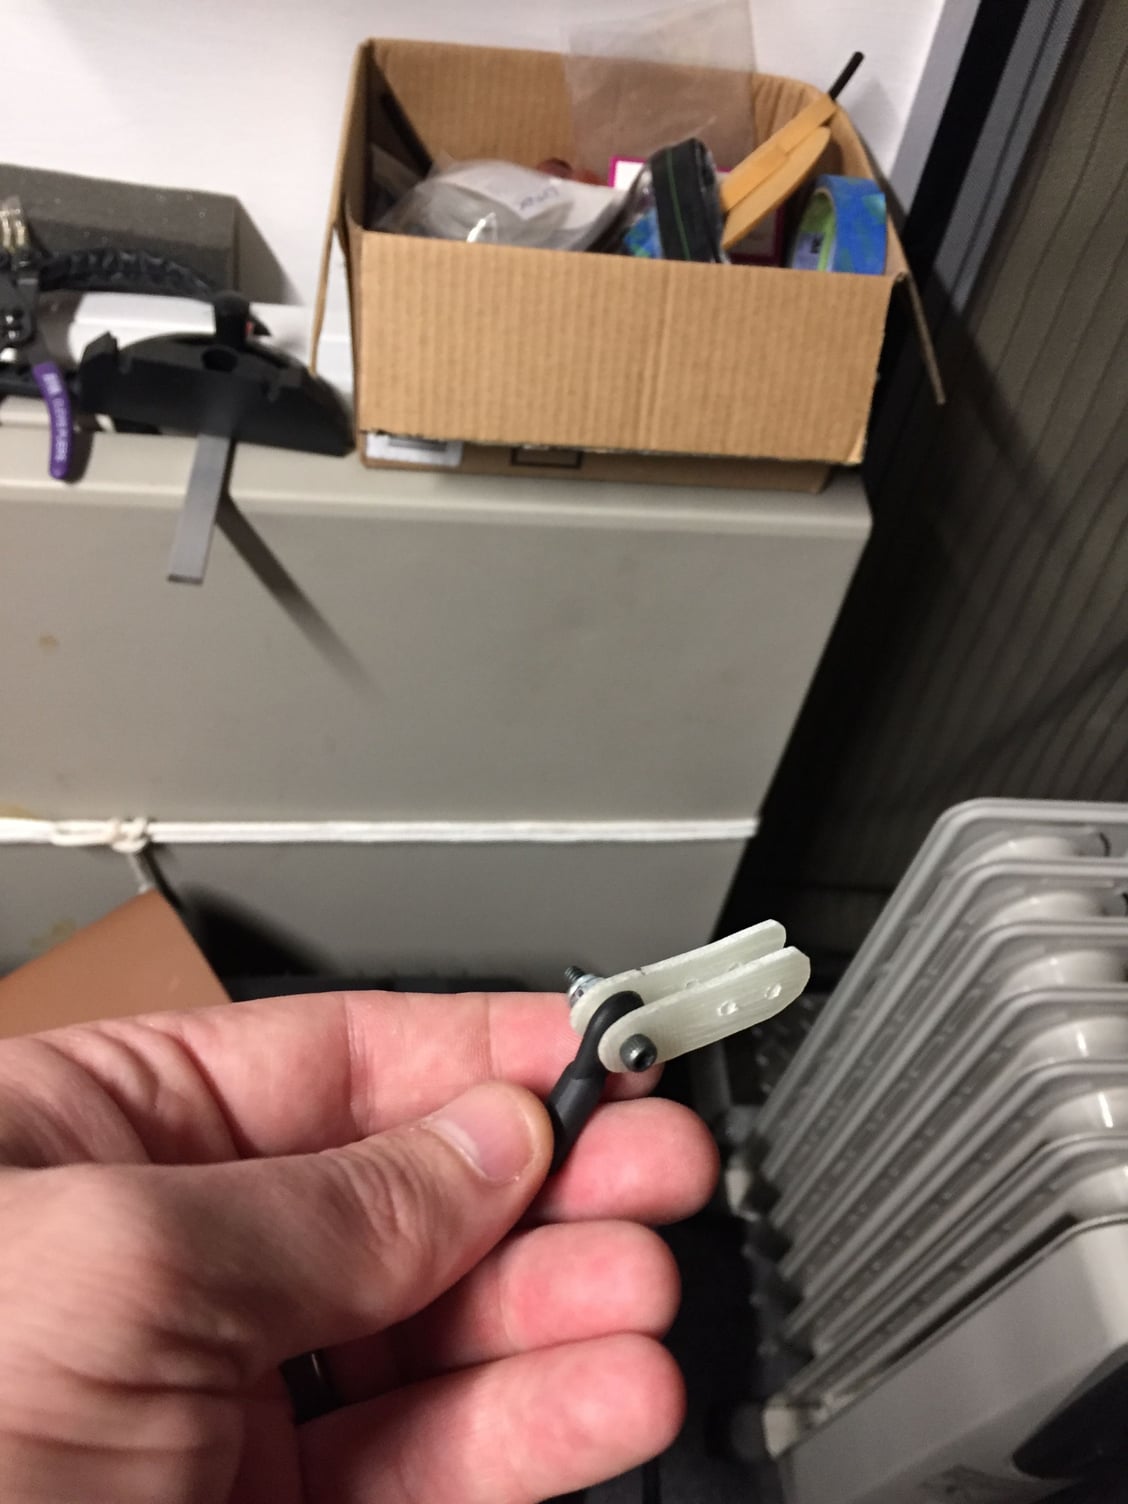
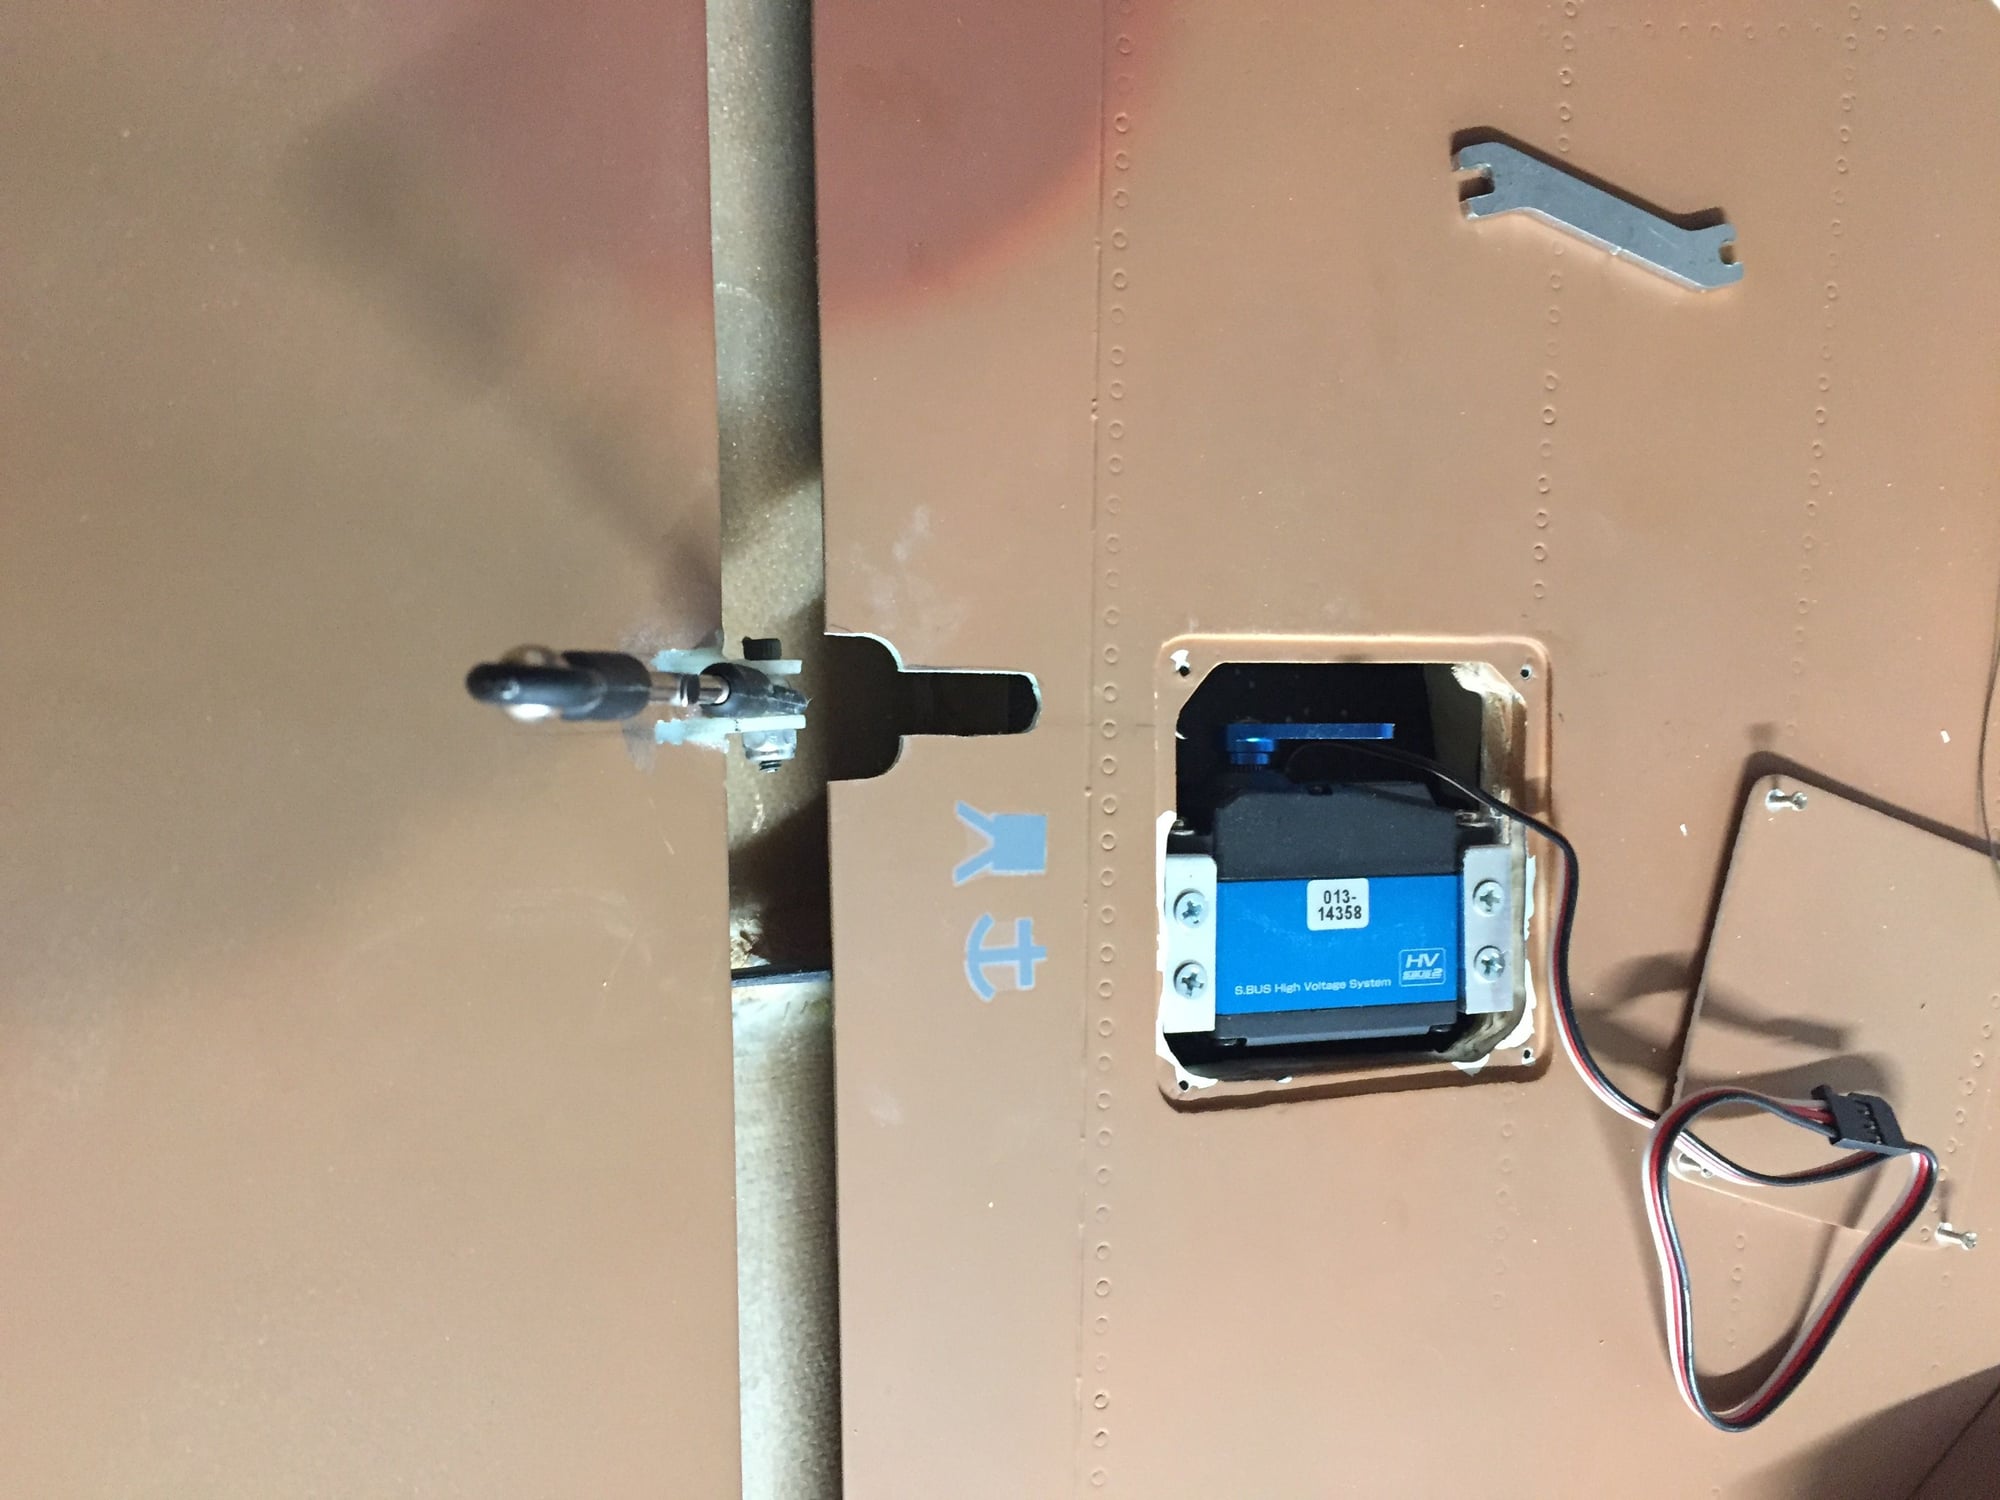
New Servo Setup.
This setup is not ideal as I would have liked to have another carbon mount on the other side of the ball but there was no structure in the wing to mount it to. I wanted to use a clevis but the owner of the plane wanted a ball link. It's a strong setup and has proved itself with lots of flights so far.
12-12-2018, 07:56 AM
#112
My Feedback: (1)
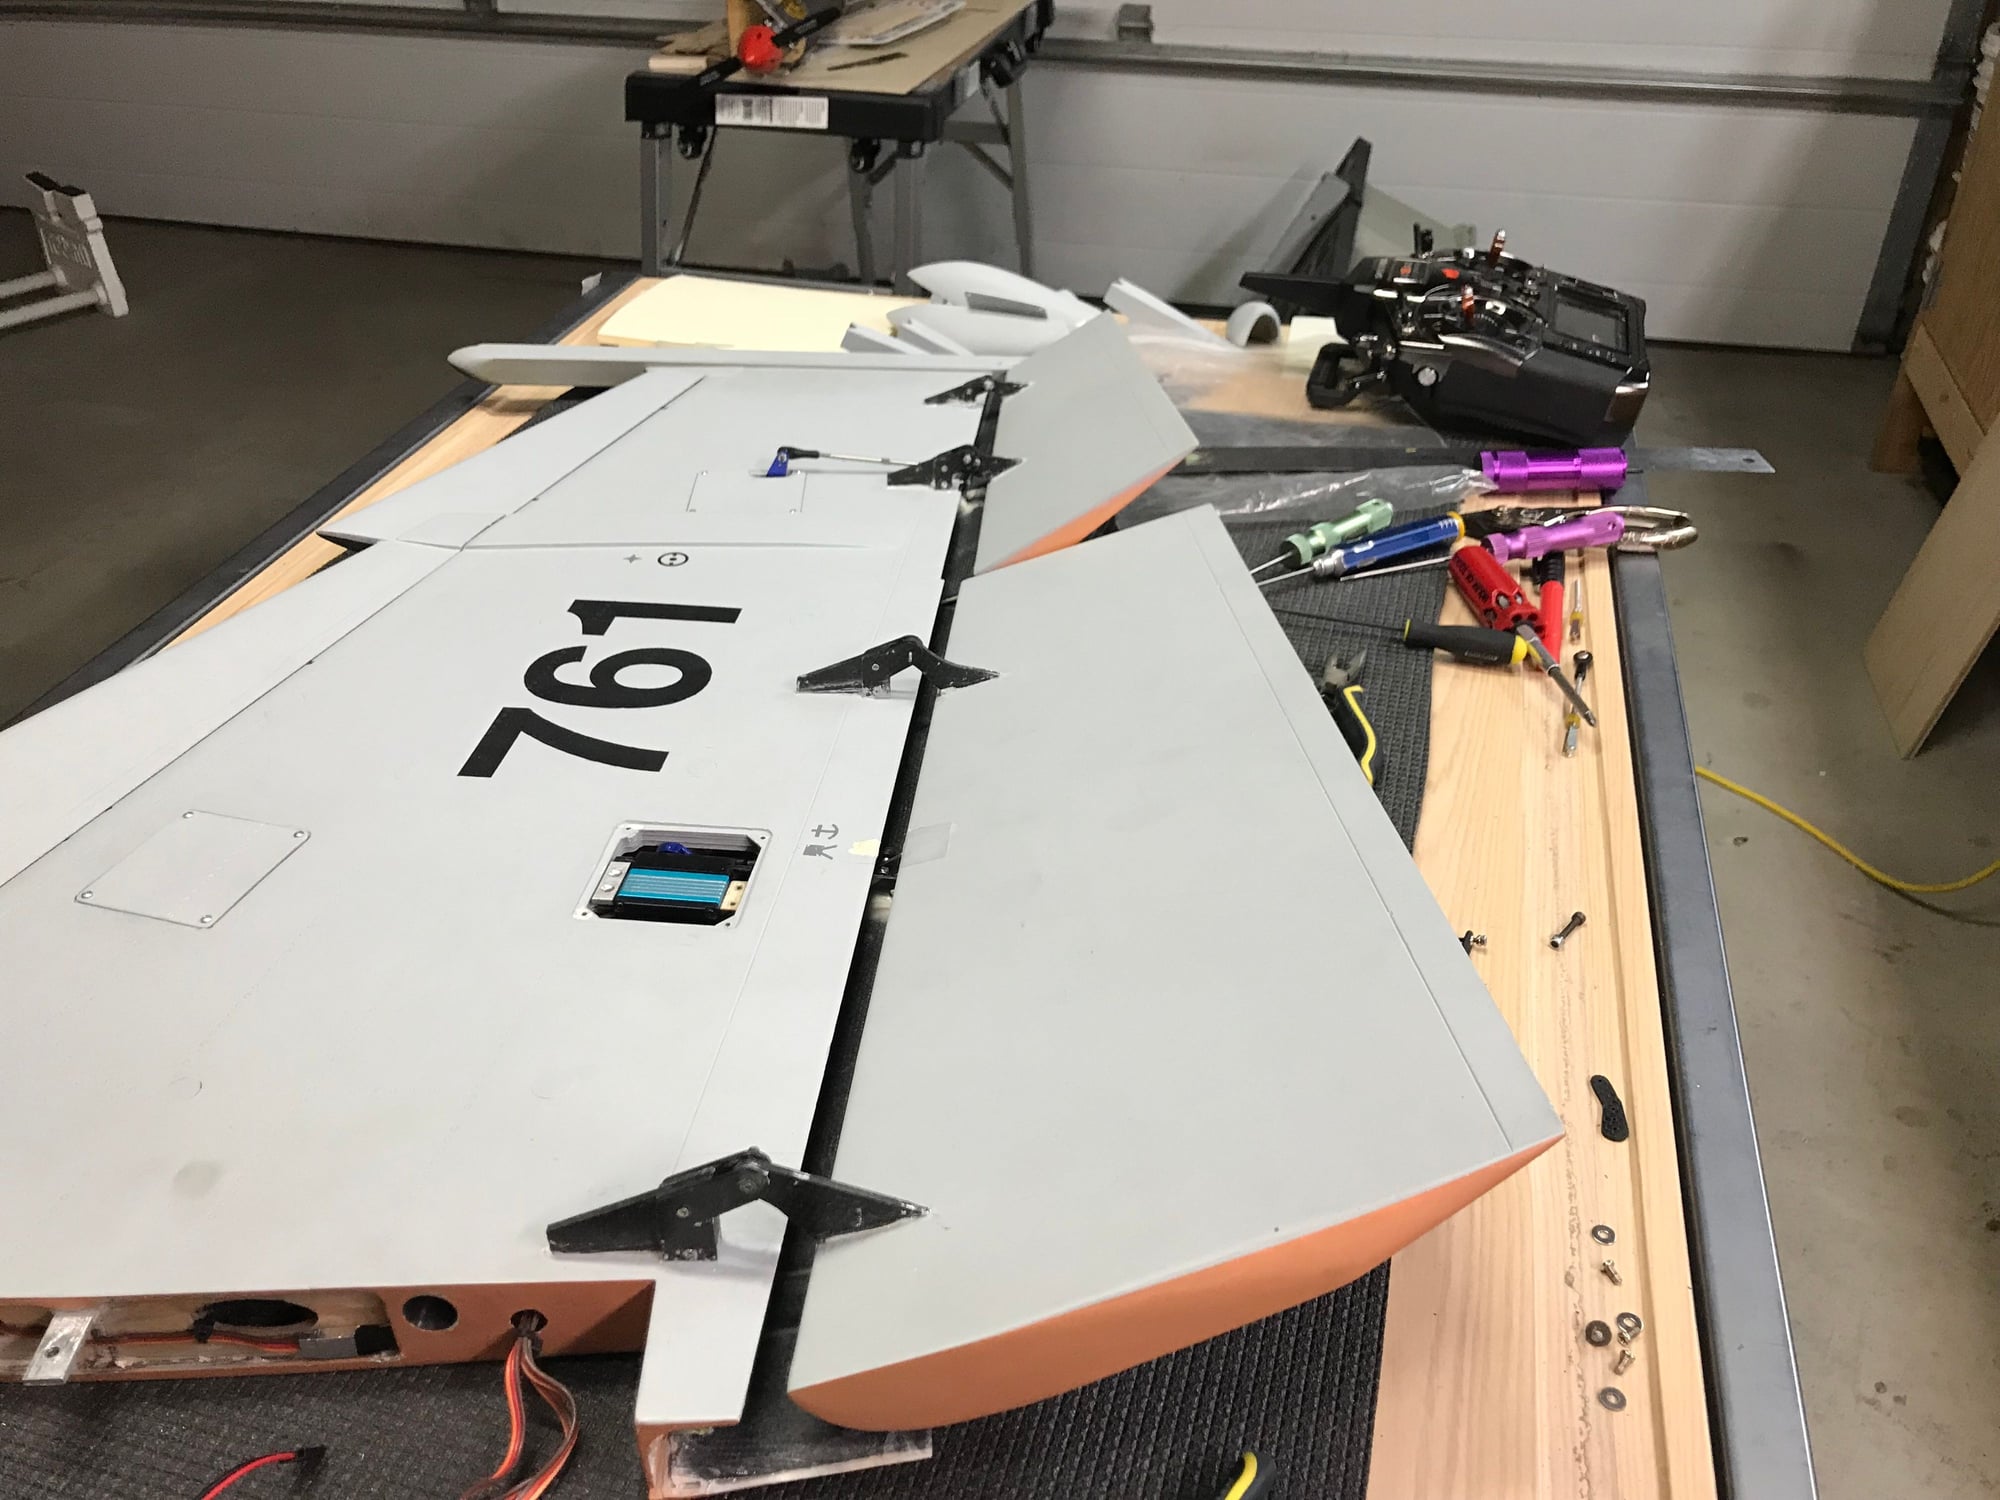
Fender, don't want to hijack your thread but just wanted to post some pictures from my friends wings I modified. Same plane, Same stock issue.
Hope your ok with me adding to your thread.
Thanks
Jonathan.
Hope your ok with me adding to your thread.
Thanks
Jonathan.
12-12-2018, 10:14 AM
#113

Did you think about driving the aileron hinge directly with a ball link (getting rid of the aileron horn completely)? I know you would have a cantilevered "twisting" moment on the hinge but it looks strong enough with that over engineered carbon
12-12-2018, 11:12 AM
#114
Thread Starter
I thought about doing the main flap like you did, didn’t I would have enough throw that way. Looks like I was wrong and since I have to repaint the jet I may redo mine.
12-12-2018, 01:17 PM
#115
My Feedback: (1)
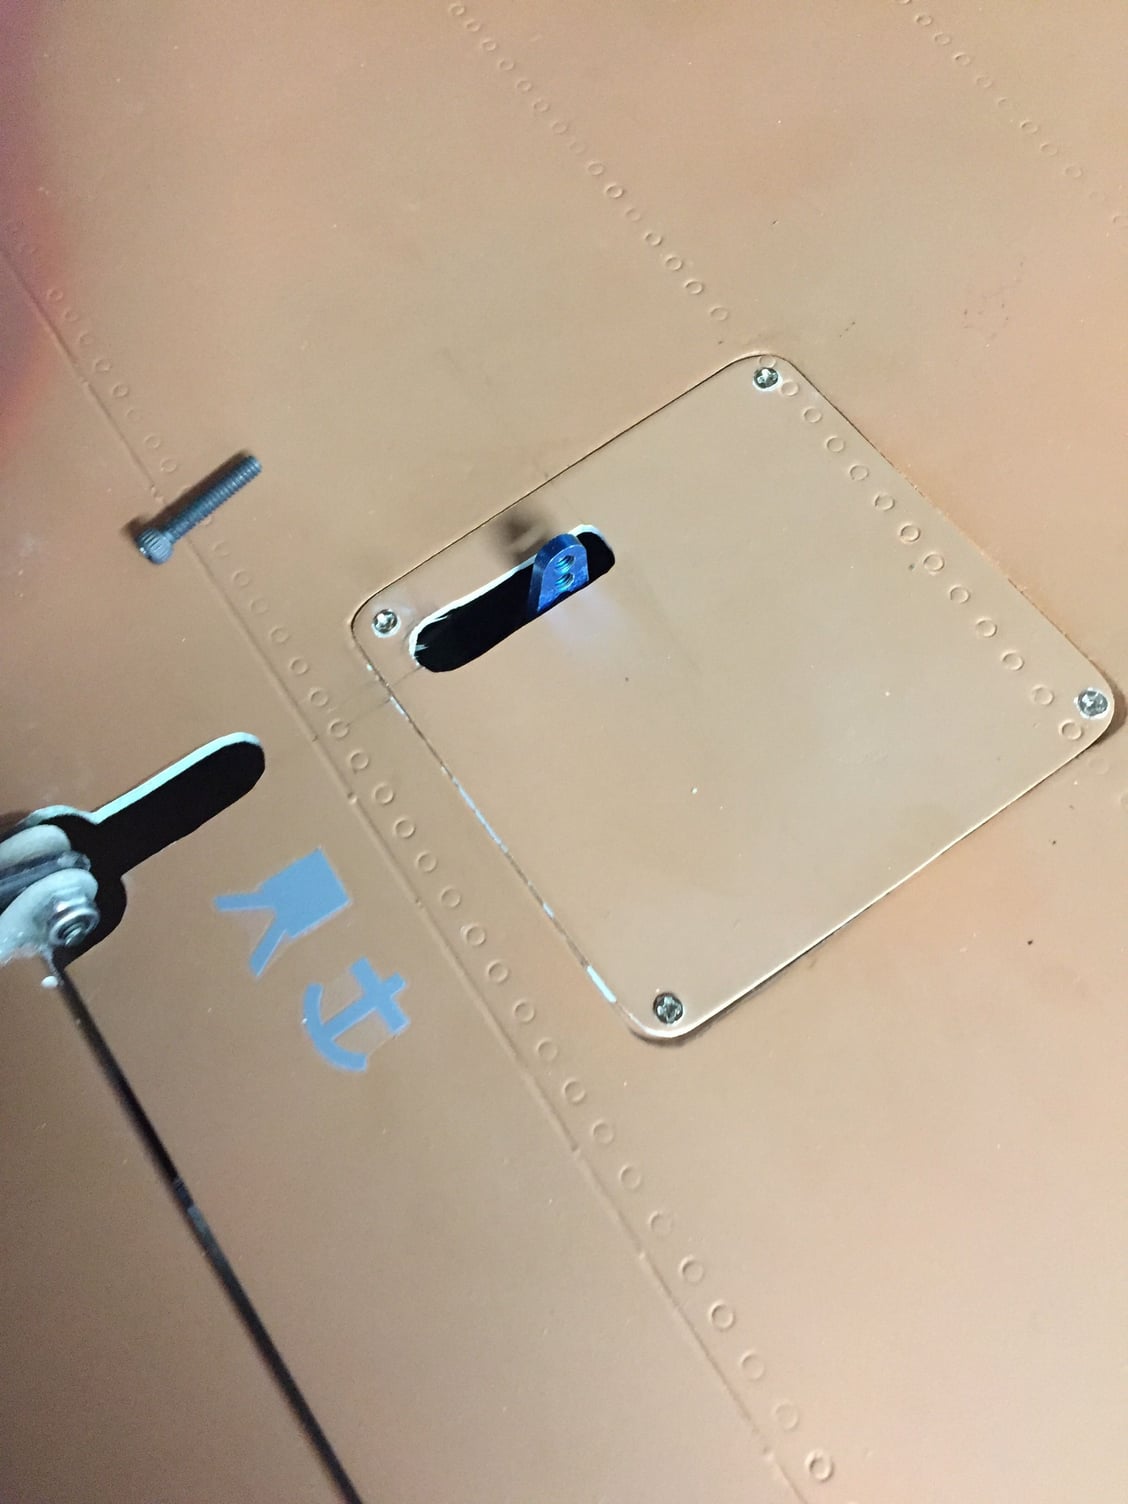
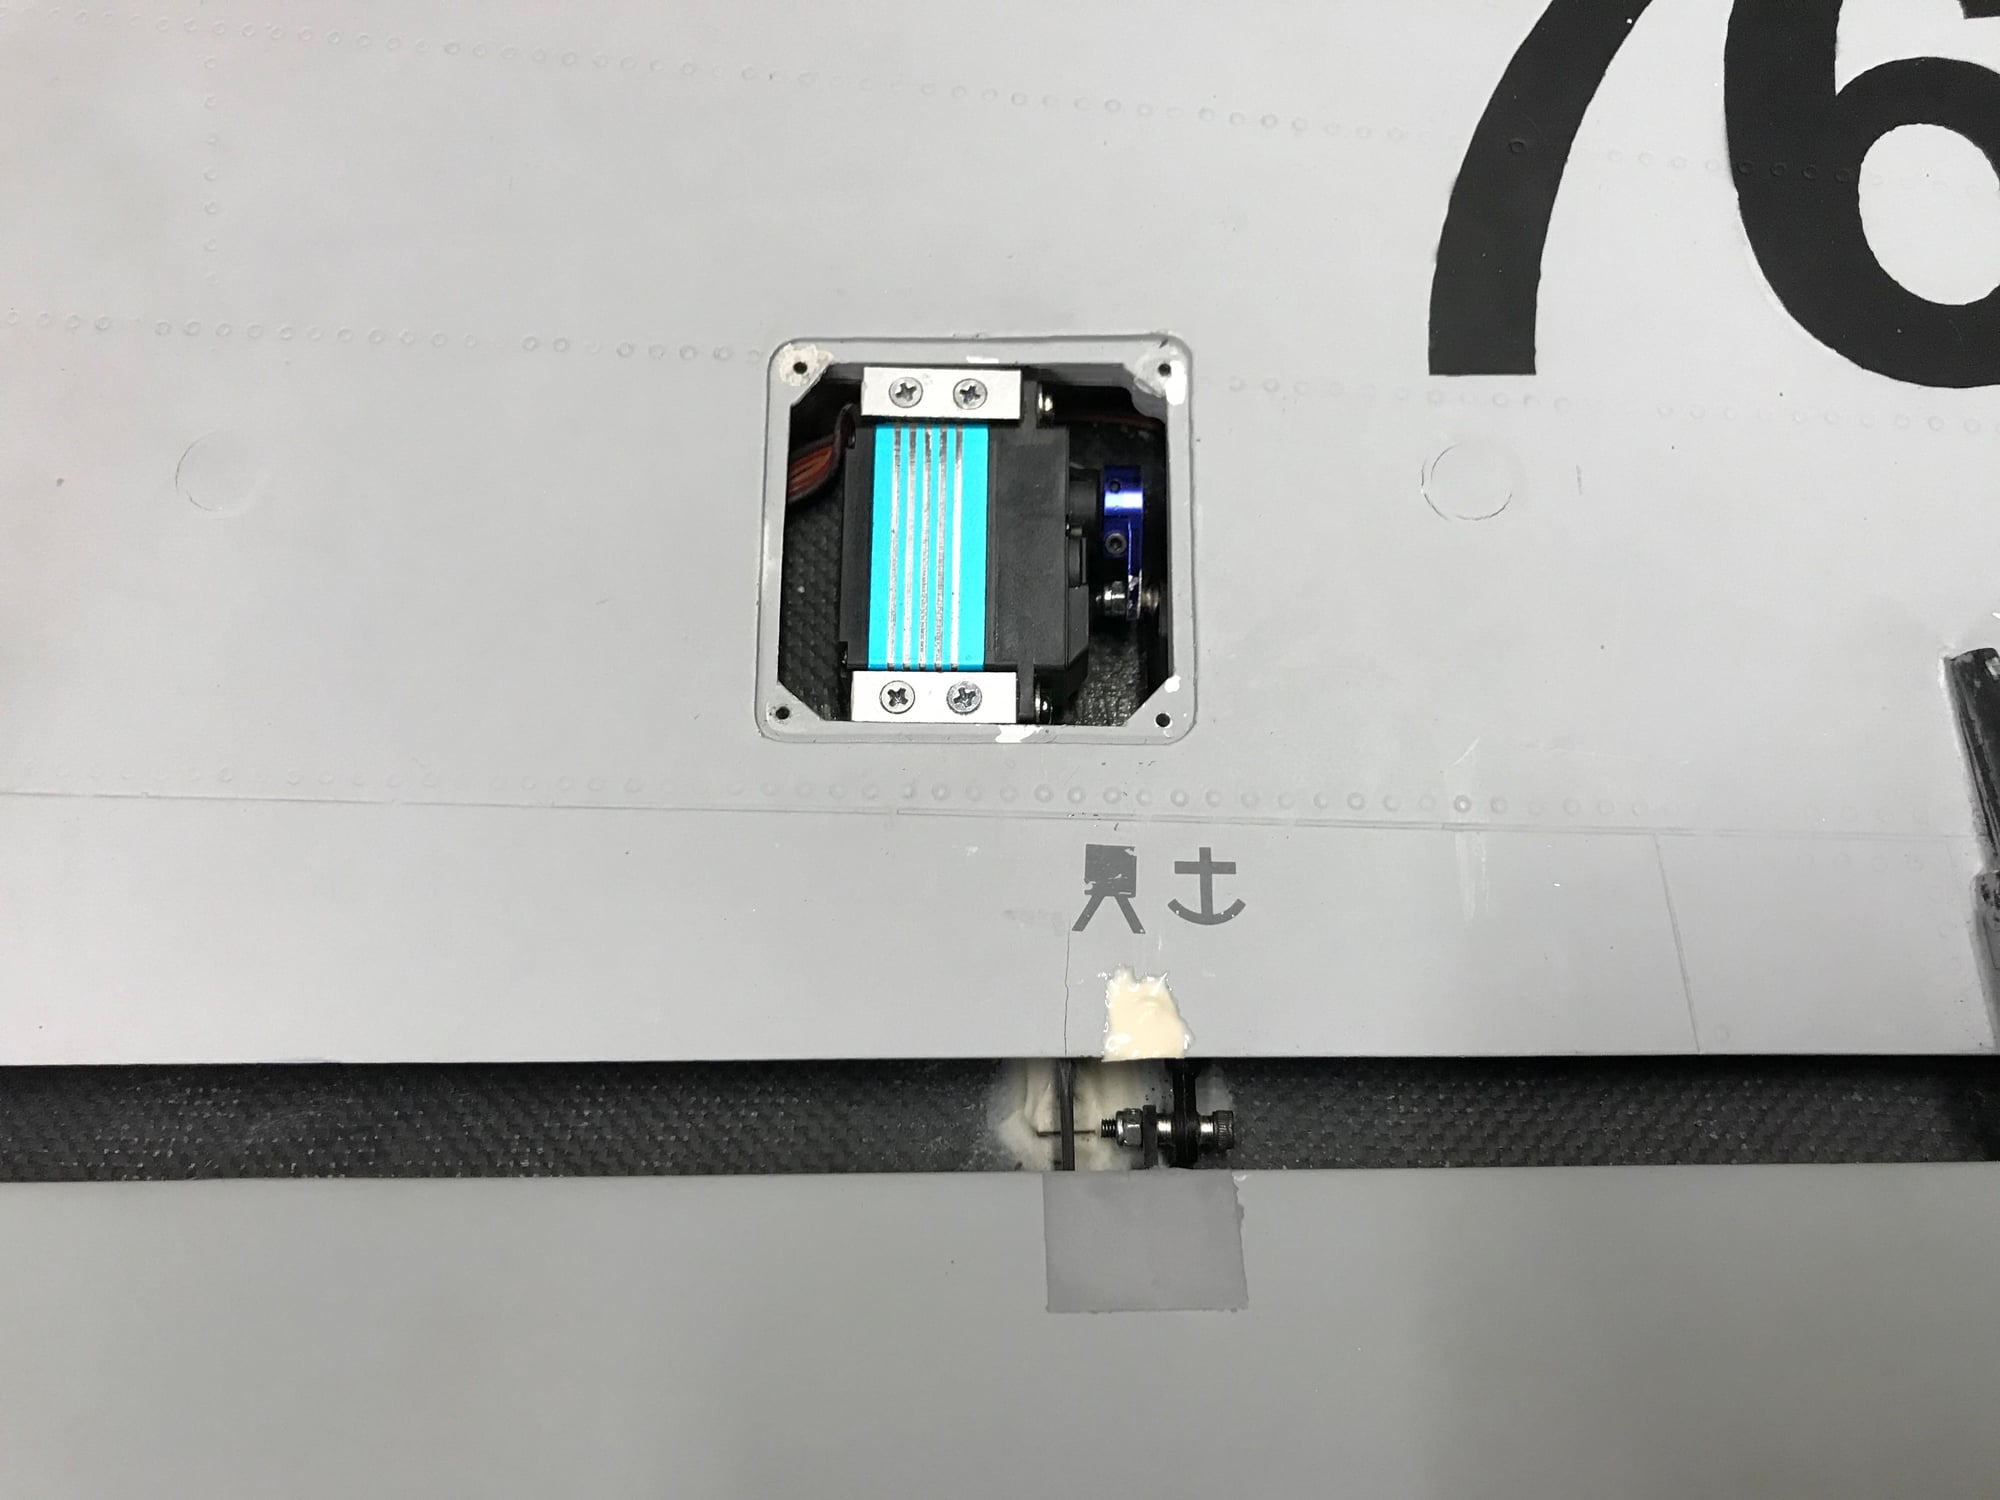
The blue servo horns are the ones that came with the servos.
First round I tried the inner hole that was part of the crimp but didn't get enough travel.
The next hole out (actual arm hole) provided the right amount of travel and enough clearance from top skin.
12-12-2018, 01:29 PM
#116
My Feedback: (1)
Jonathan, which servo arm is the blue one? I normally use SWB arms but these look good. As you said to get full servo travel sometimes you have to have these very short modified arms. At times, I have cut them down to 3/8 inch on ailerons, to get full resolution and the right travel.
Did you think about driving the aileron hinge directly with a ball link (getting rid of the aileron horn completely)? I know you would have a cantilevered "twisting" moment on the hinge but it looks strong enough with that over engineered carbon
Did you think about driving the aileron hinge directly with a ball link (getting rid of the aileron horn completely)? I know you would have a cantilevered "twisting" moment on the hinge but it looks strong enough with that over engineered carbon
As mentioned above, I believe the blue arms are the ones that come with the new JR Servos.
12-12-2018, 01:47 PM
#117

 12-12-2018, 04:45 PM
#120
Thread Starter
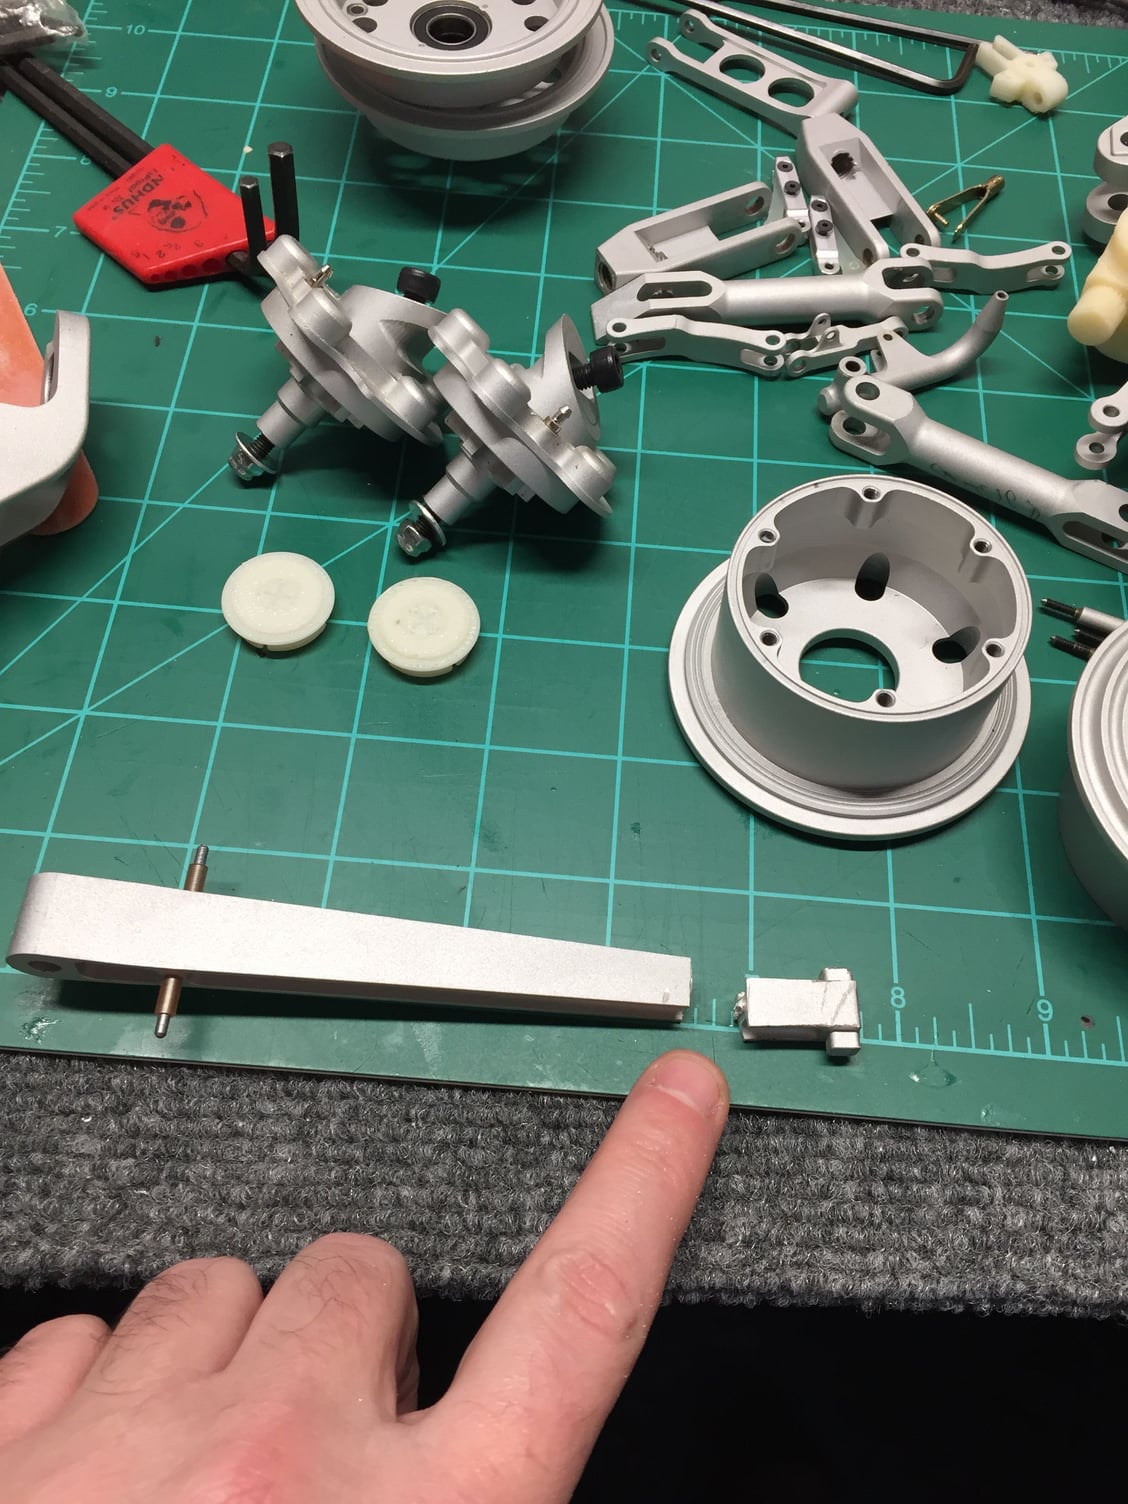
If you look at the white paper beside the blue servo horn, that's a diagram of the position of the Carbon Horn to get full travel.
The blue servo horns are the ones that came with the servos.
First round I tried the inner hole that was part of the crimp but didn't get enough travel.
The next hole out (actual arm hole) provided the right amount of travel and enough clearance from top skin.
The blue servo horns are the ones that came with the servos.
First round I tried the inner hole that was part of the crimp but didn't get enough travel.
The next hole out (actual arm hole) provided the right amount of travel and enough clearance from top skin.
12-14-2018, 02:53 PM
#121
Thread Starter
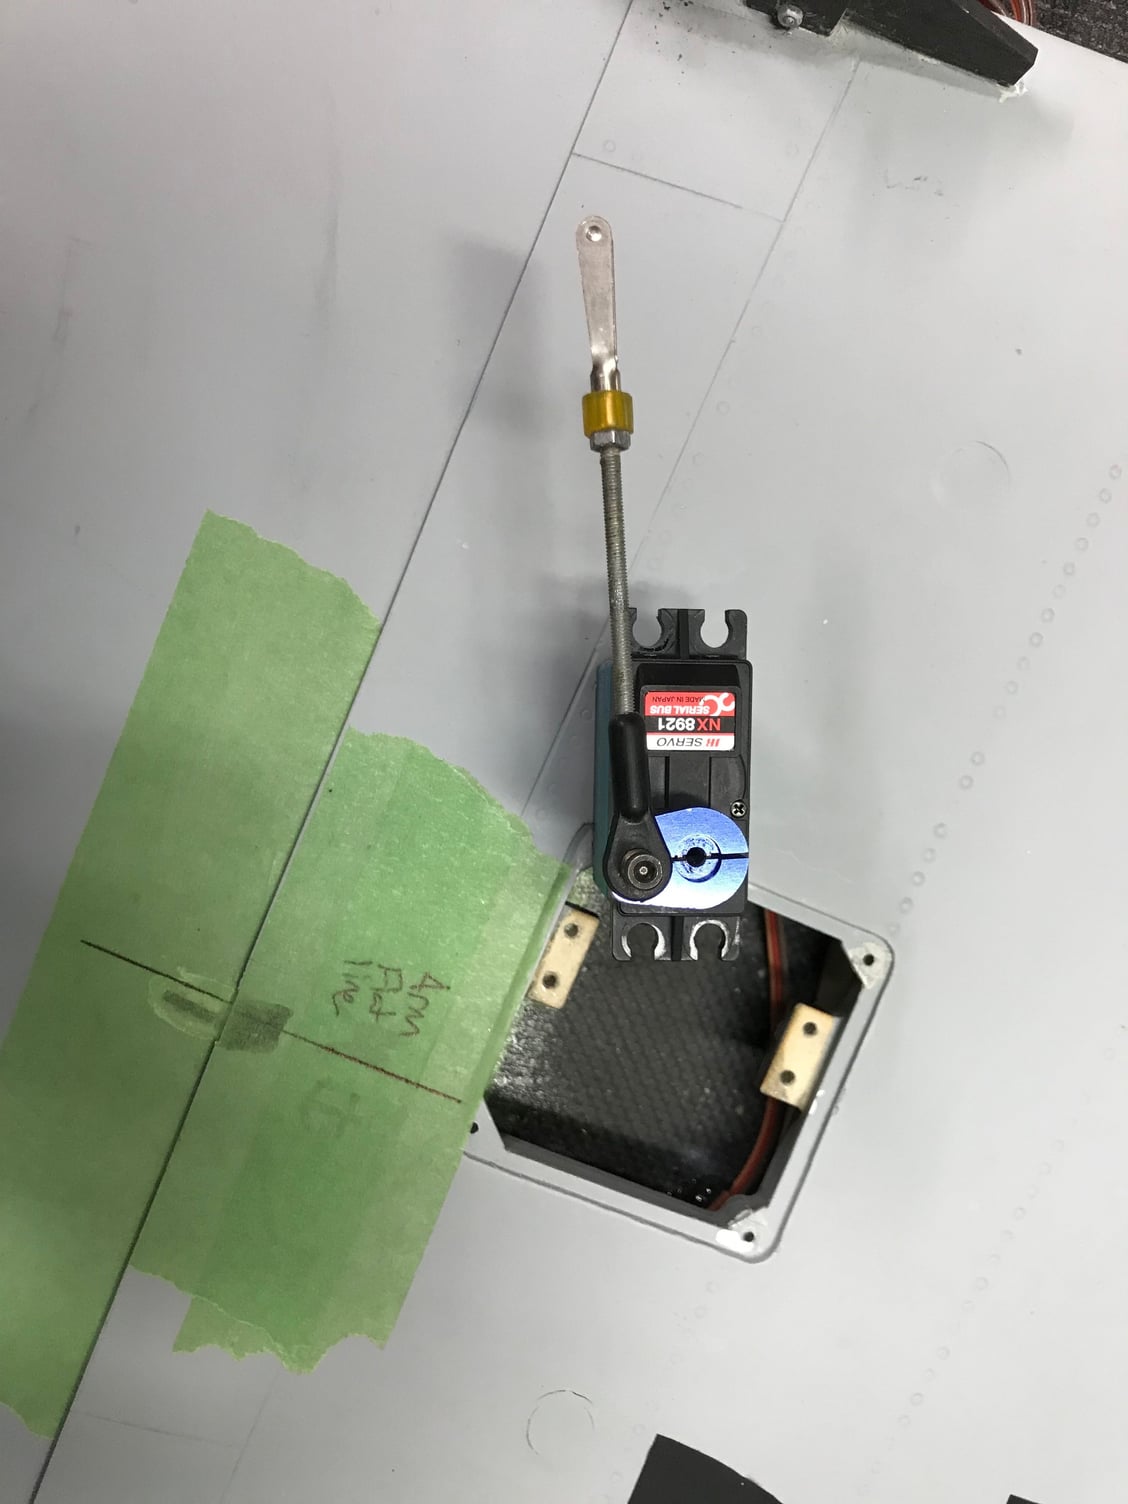
Okay so after the above mod was posted I decided to go back and do mine the same way. Its a much better setup on a big flap and helps with a more linear servo travel as well as the best possible mechanical advantage for this design. I wend back and filled in the area with some carbon and bondo and after sanding for the final paint it will never be seen.
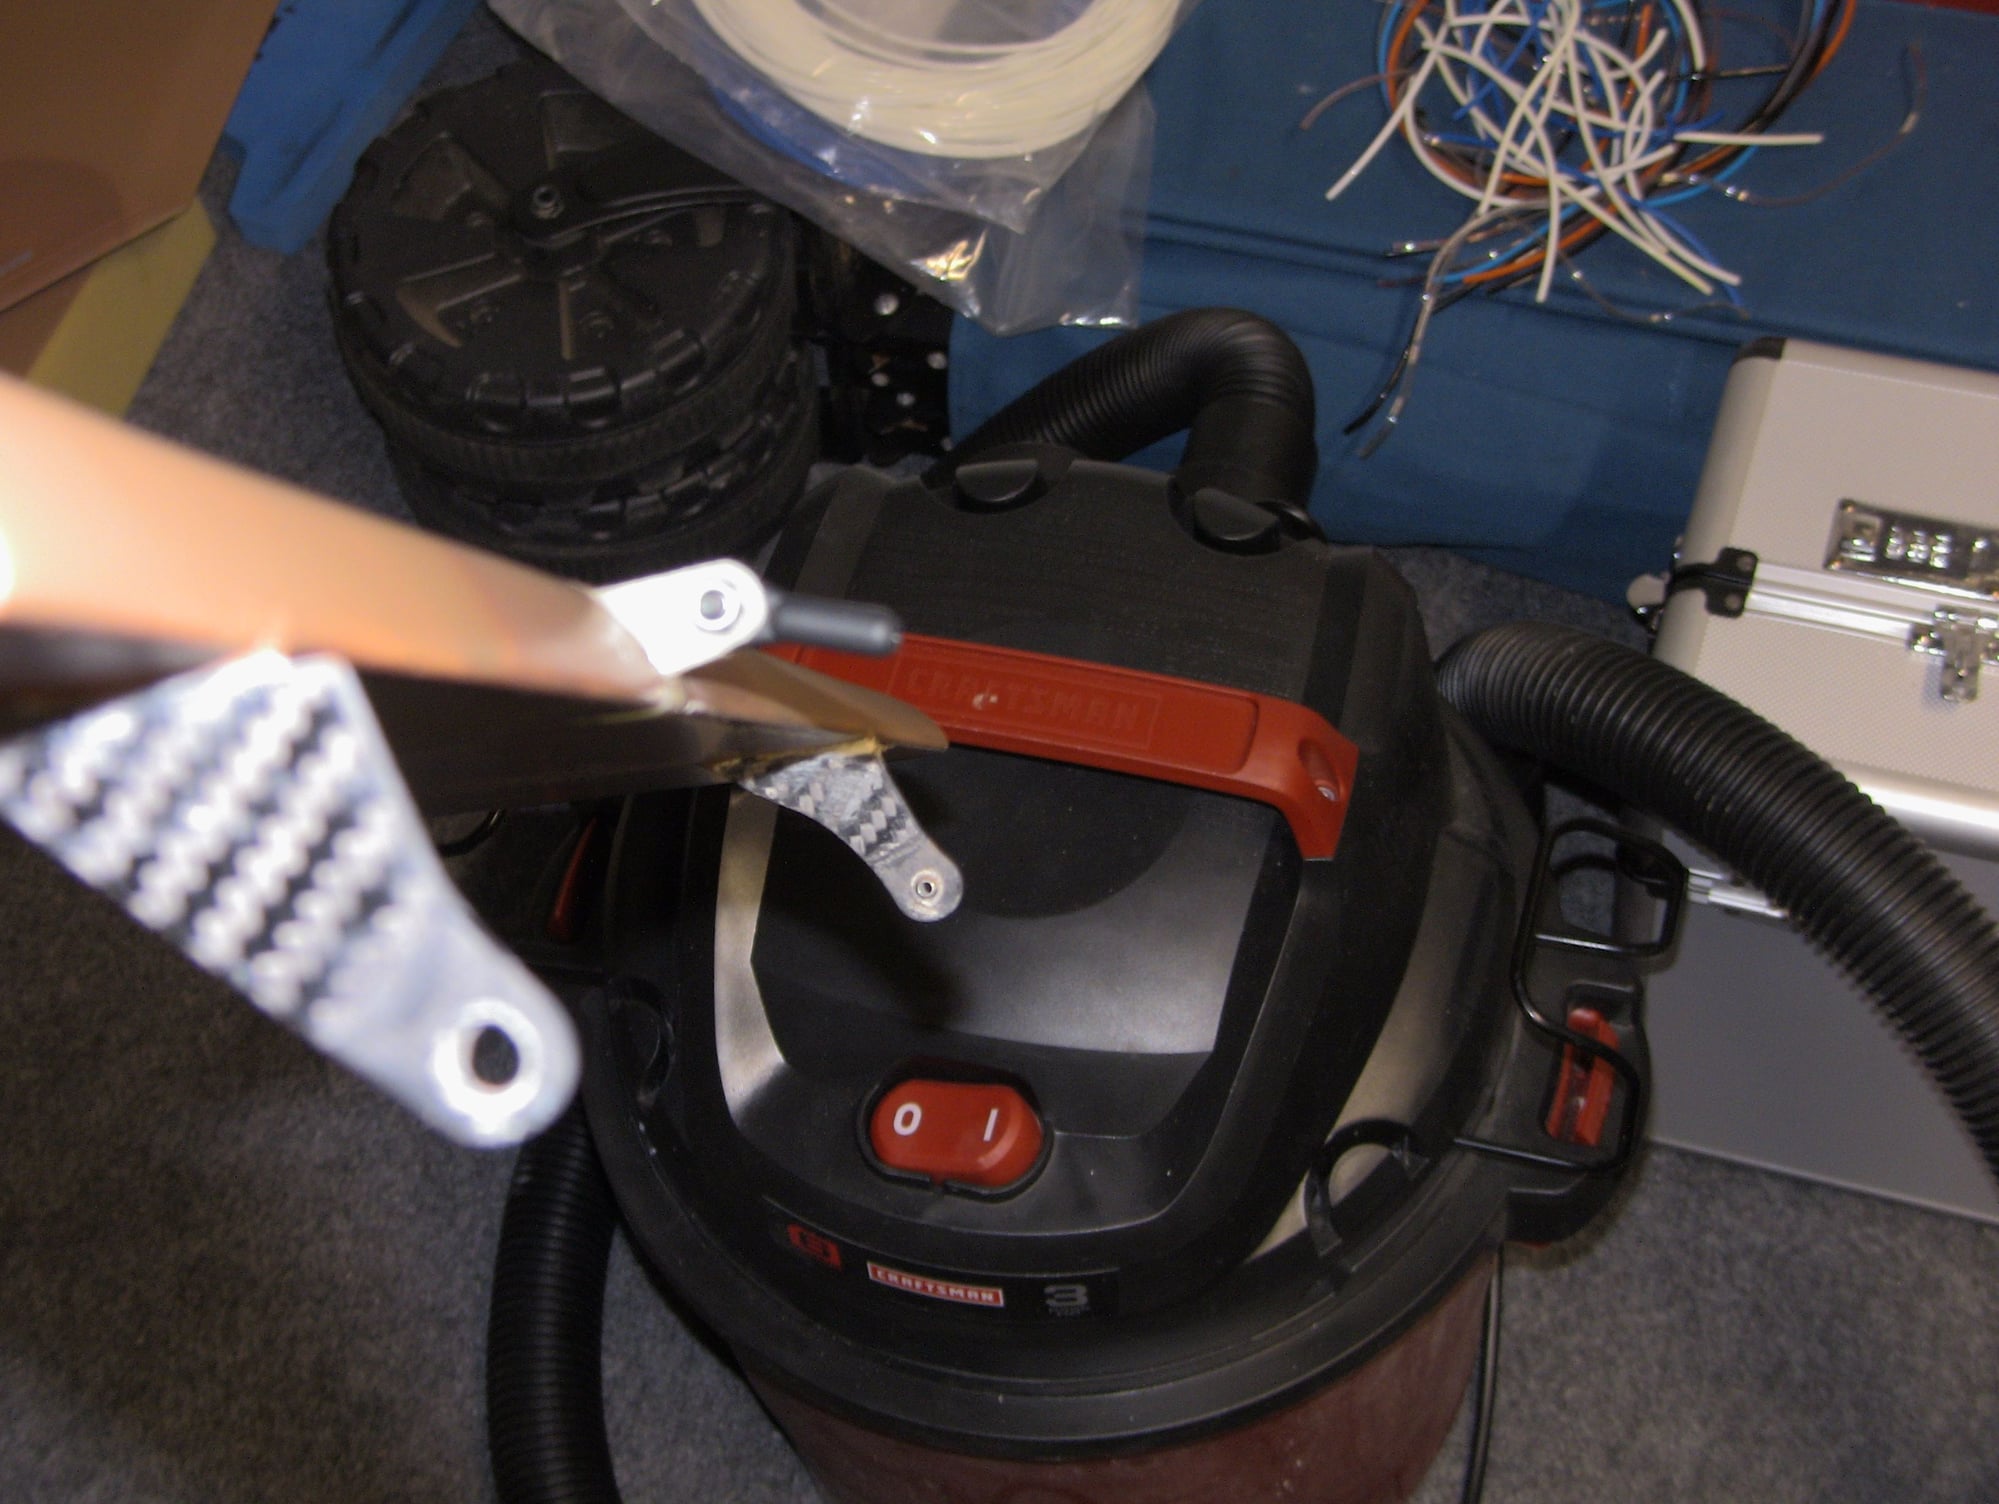
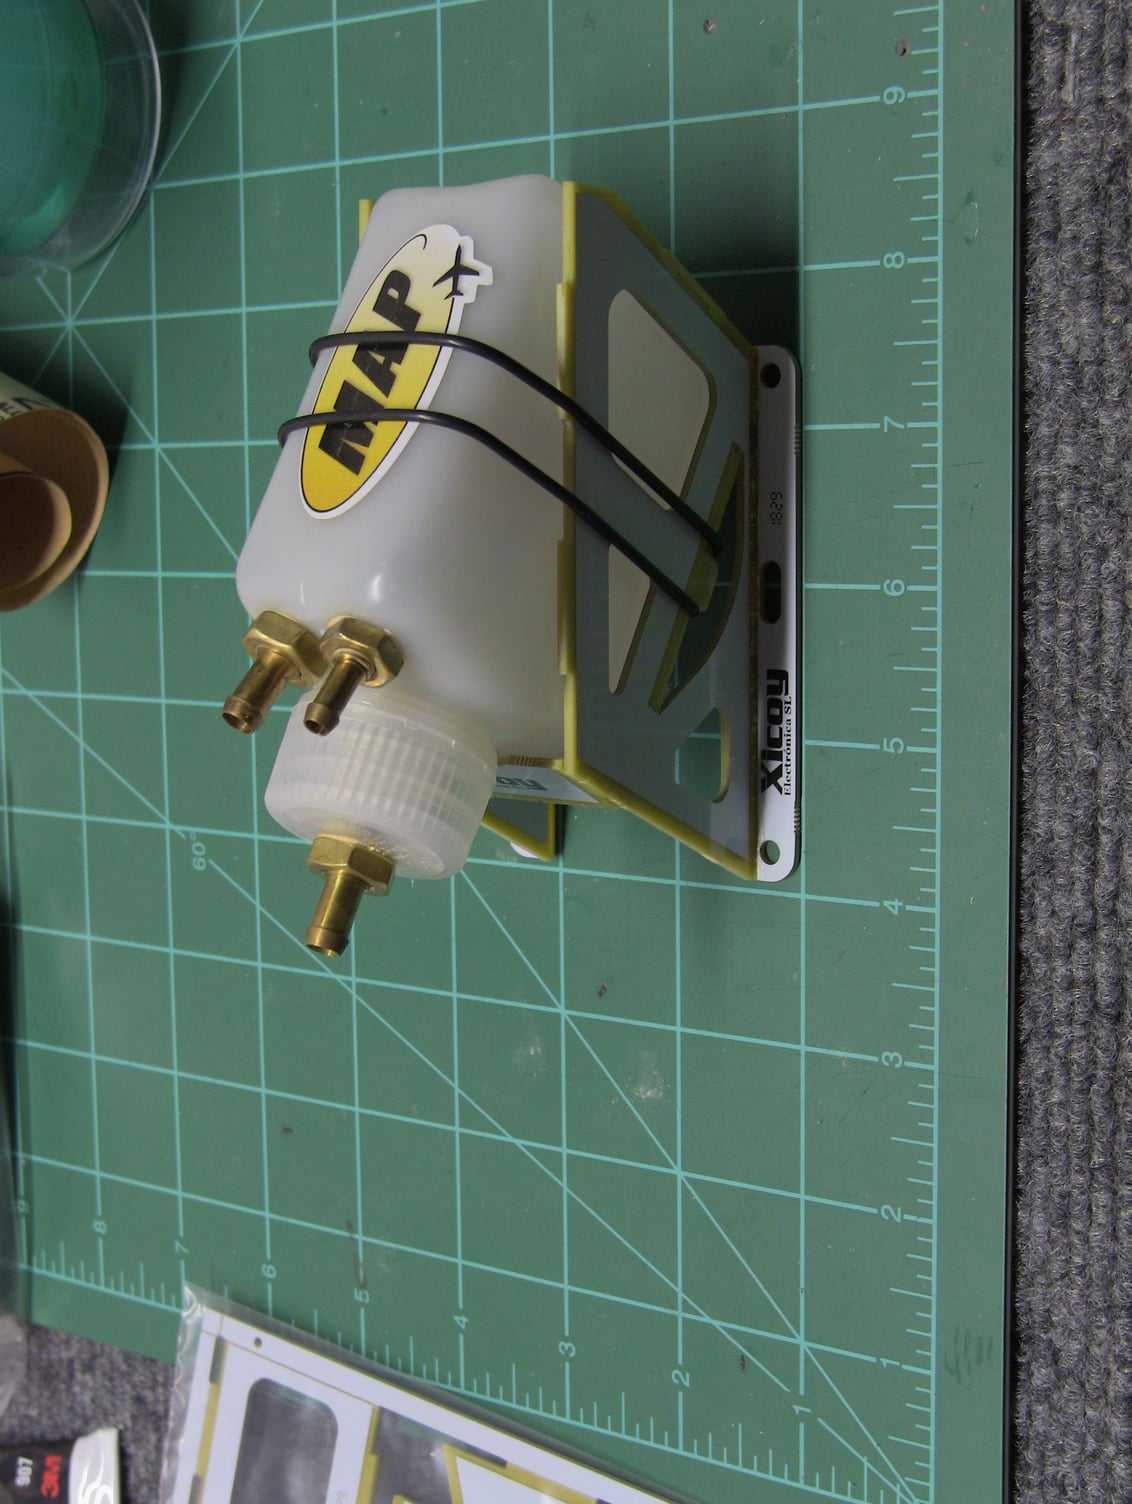
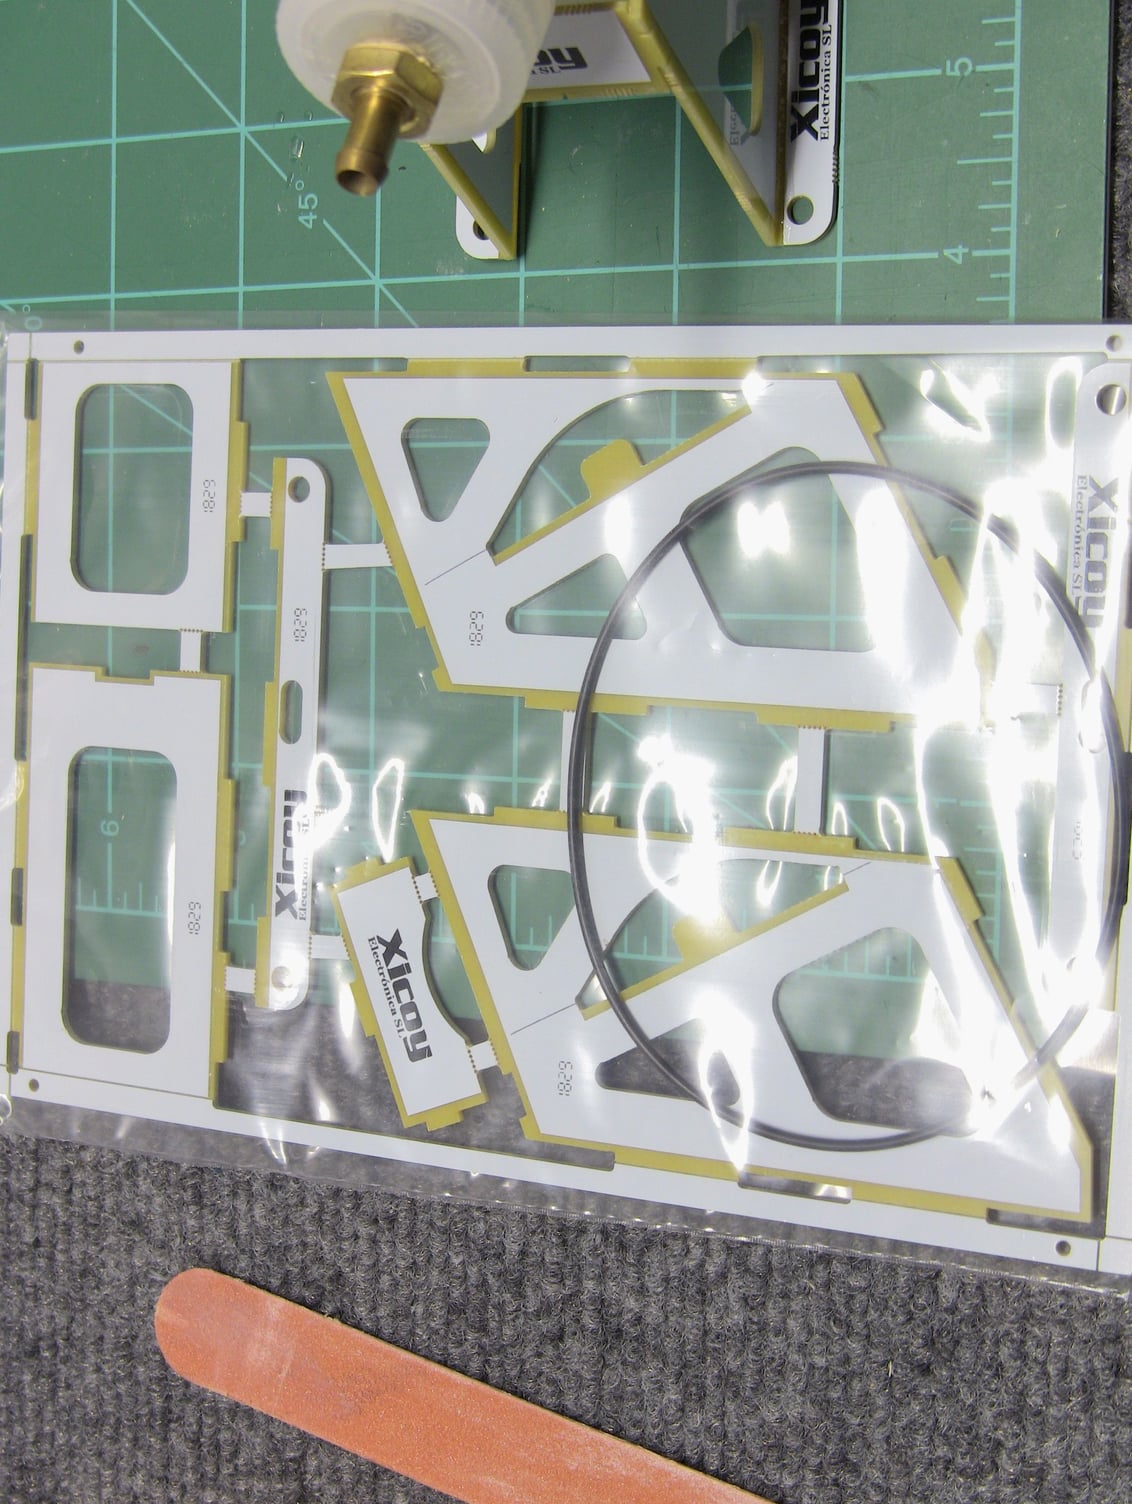
Also posting my UAT mounts, I have had these in stock a few weeks but forgot about them till this week. Nice little cheap accessory that makes UAT mount easy!
Also uploading a video
Also posting my UAT mounts, I have had these in stock a few weeks but forgot about them till this week. Nice little cheap accessory that makes UAT mount easy!
Also uploading a video
12-19-2018, 09:28 PM
#124
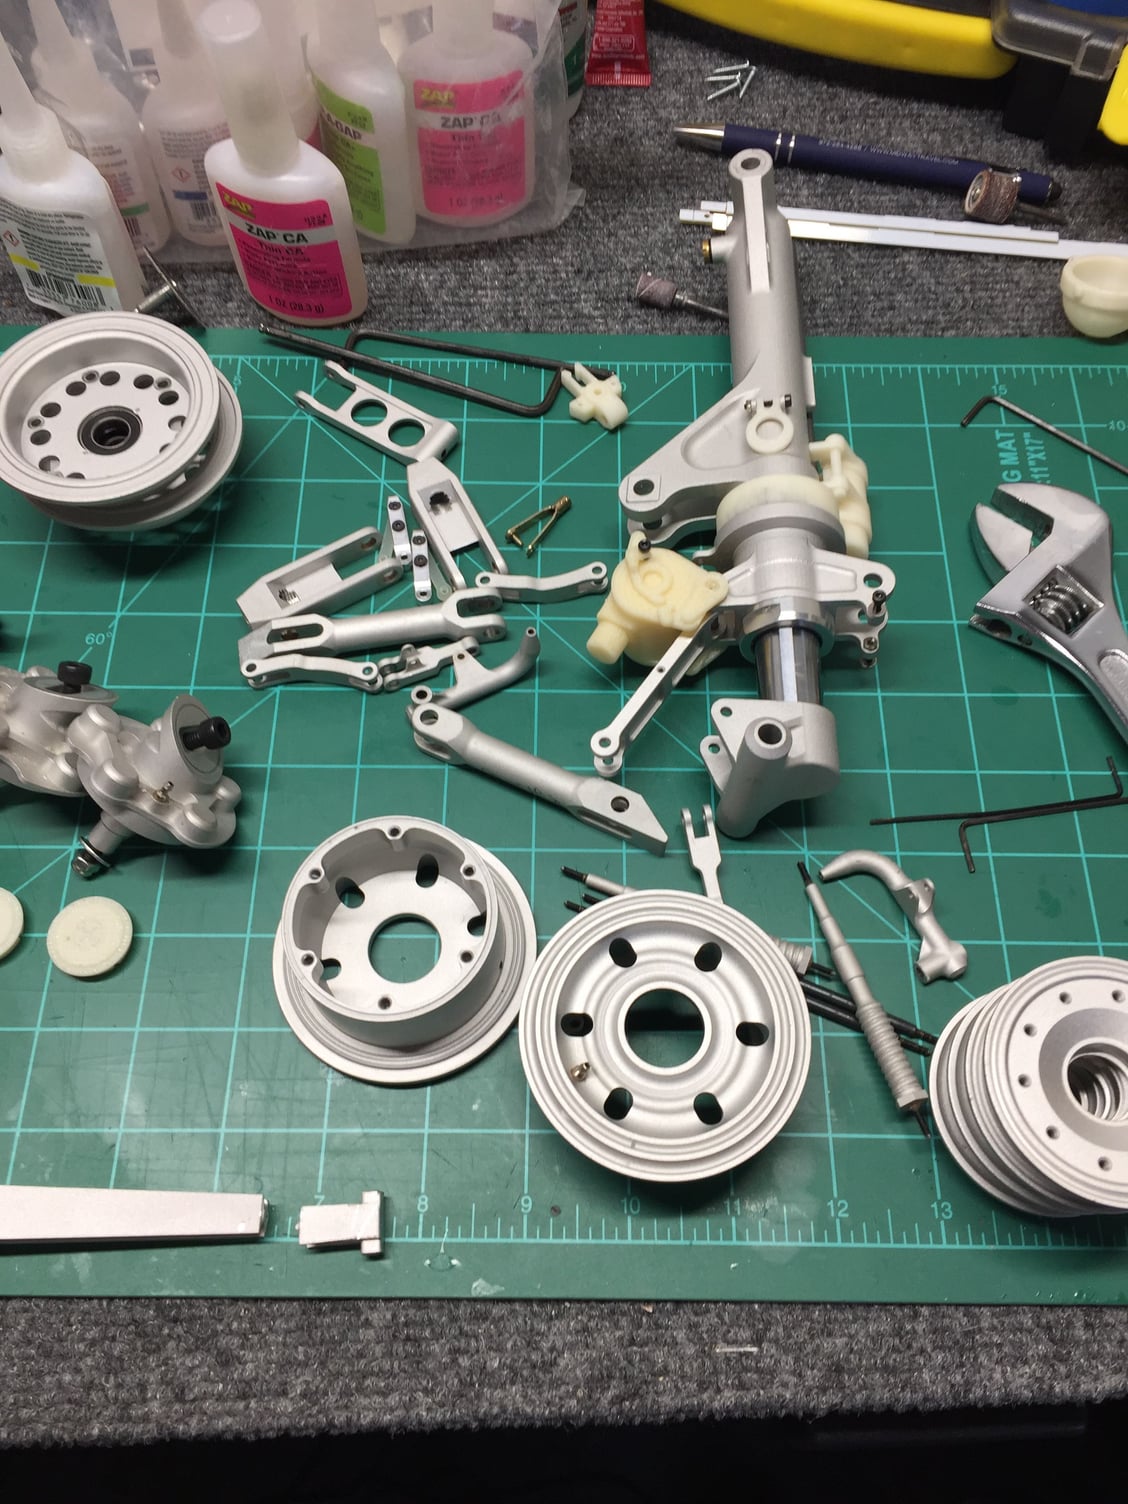
Thread Starter
Slow going this week been on the landing gear for days now, but the painting is done. A lot of pieces to this gear and the epoxy paint takes forever to dry in cool temperatures. I also trimmed the oversized catapult arm and redoing the nose gear landing light, it�s way too large and sits up in the fuselage. The 3D printed parts are horrific, I see 200$ printers with better results, any way the decals will be next and some detailing like clamps and hydraulic lines. Cheers