Maj. Woody's Skymaster 1/5 F-86
 08-09-2018, 01:57 PM
#76

My Feedback: (12)
take off slats and flaps for takeoff........full flaps and slats for landing........haven't tried to land with speed brake deployed. don't like slow on landing f86, can be snappy at slow speed. That is why I programed some crow on wings to give wings a little wash out....works for me.
I do have speed brakes mixed with wheel brake when full flap deployed.....so once I apply brakes on runway the speed brake also deploys to help shorten roll out.
I do have speed brakes mixed with wheel brake when full flap deployed.....so once I apply brakes on runway the speed brake also deploys to help shorten roll out.
 08-10-2018, 01:21 PM
#77
My Feedback: (21)
Two Dogs
I have flown Sabres for most of my jet flying career. I have always landed with the speed brakes deployed and I don't recall any snappy situations on landing. Most landings where on the mains and hold the nose high just like the full scale. Here is a video of KY Jets with an HP Jets F-86. Also the first 1/5th Skymaster I had I would land with everything out and it was rock solid on landing. Only reason I do not have it any more is I had the right flap fail on take off. It ended ugly. You should not have any issues if you deploy the speed brakes in flight for landing.
I have flown Sabres for most of my jet flying career. I have always landed with the speed brakes deployed and I don't recall any snappy situations on landing. Most landings where on the mains and hold the nose high just like the full scale. Here is a video of KY Jets with an HP Jets F-86. Also the first 1/5th Skymaster I had I would land with everything out and it was rock solid on landing. Only reason I do not have it any more is I had the right flap fail on take off. It ended ugly. You should not have any issues if you deploy the speed brakes in flight for landing.


 10-27-2018, 10:00 AM
#83
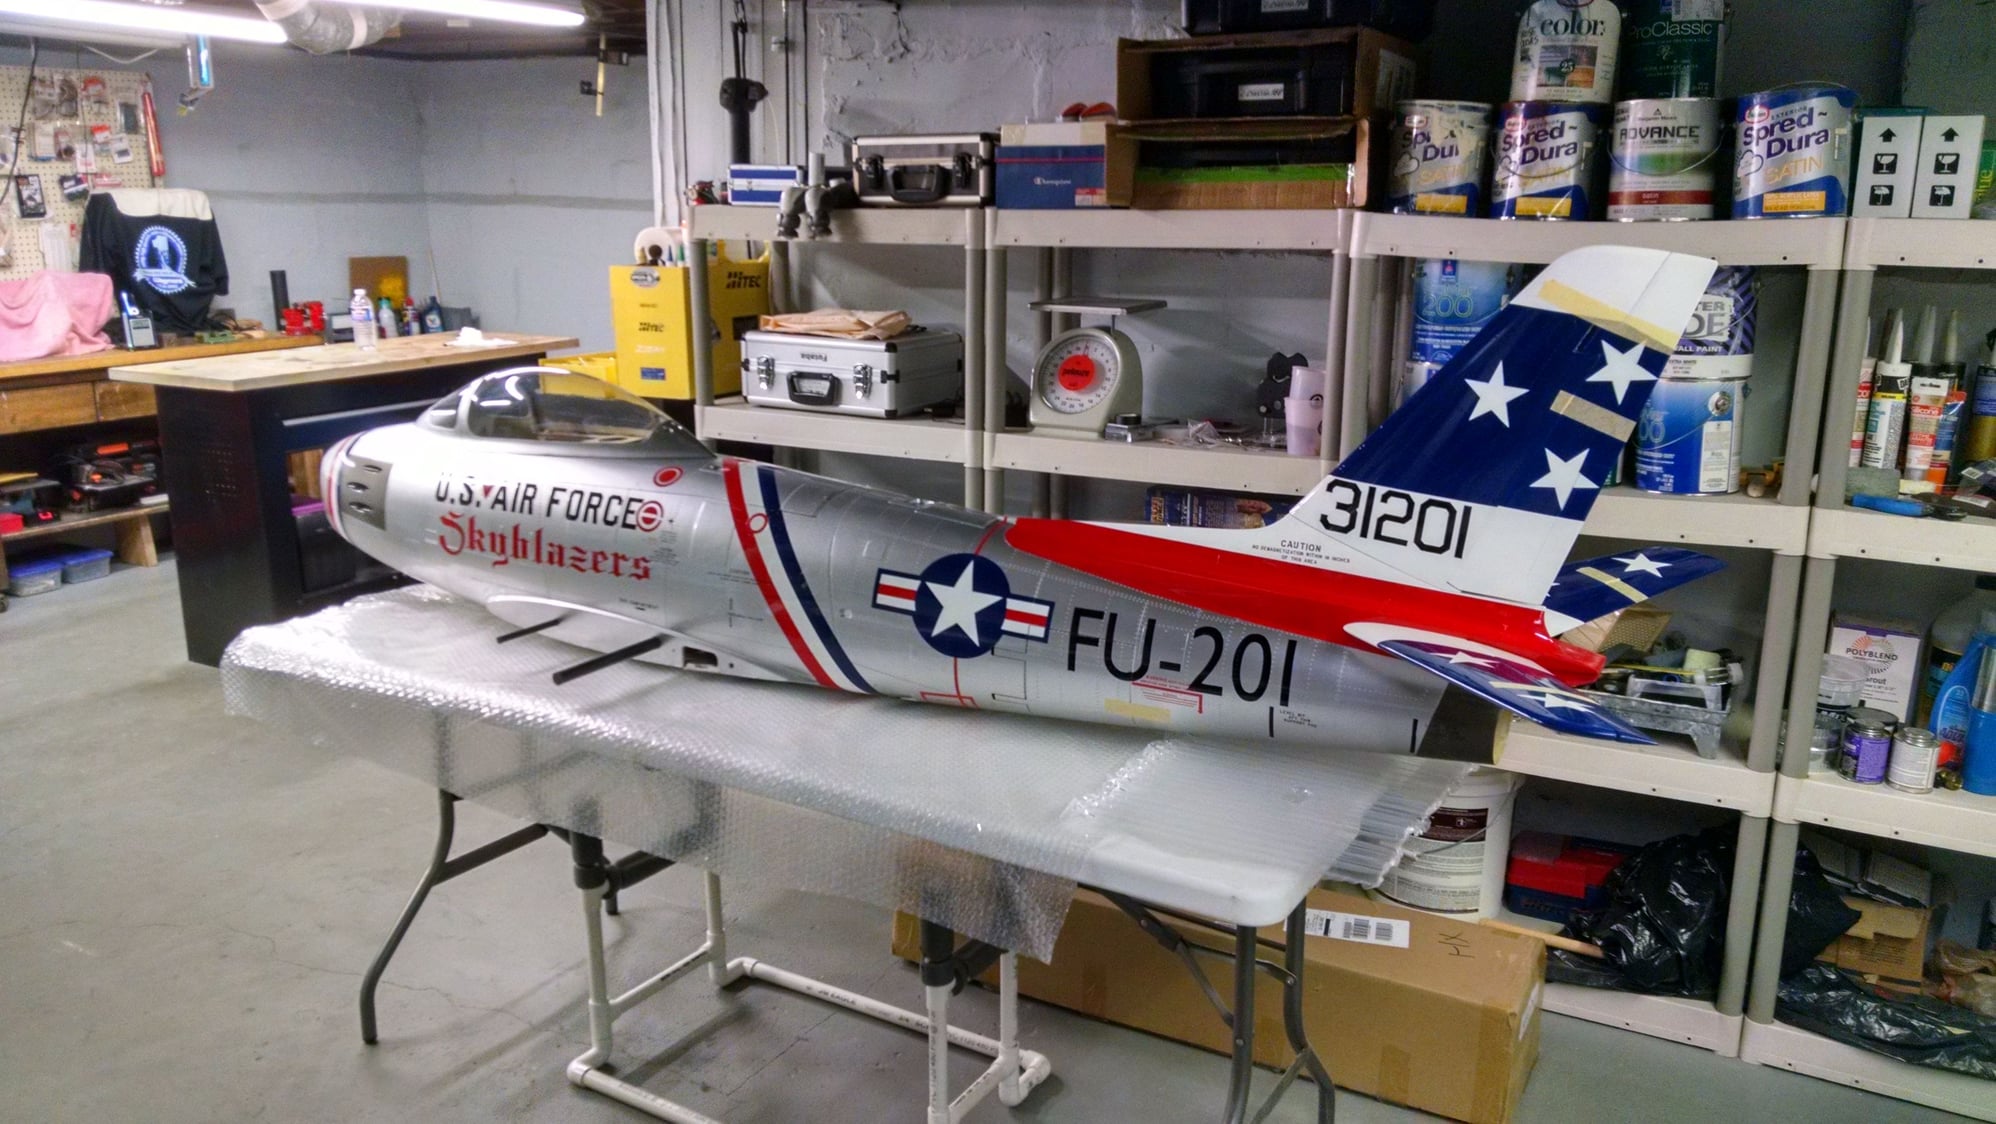
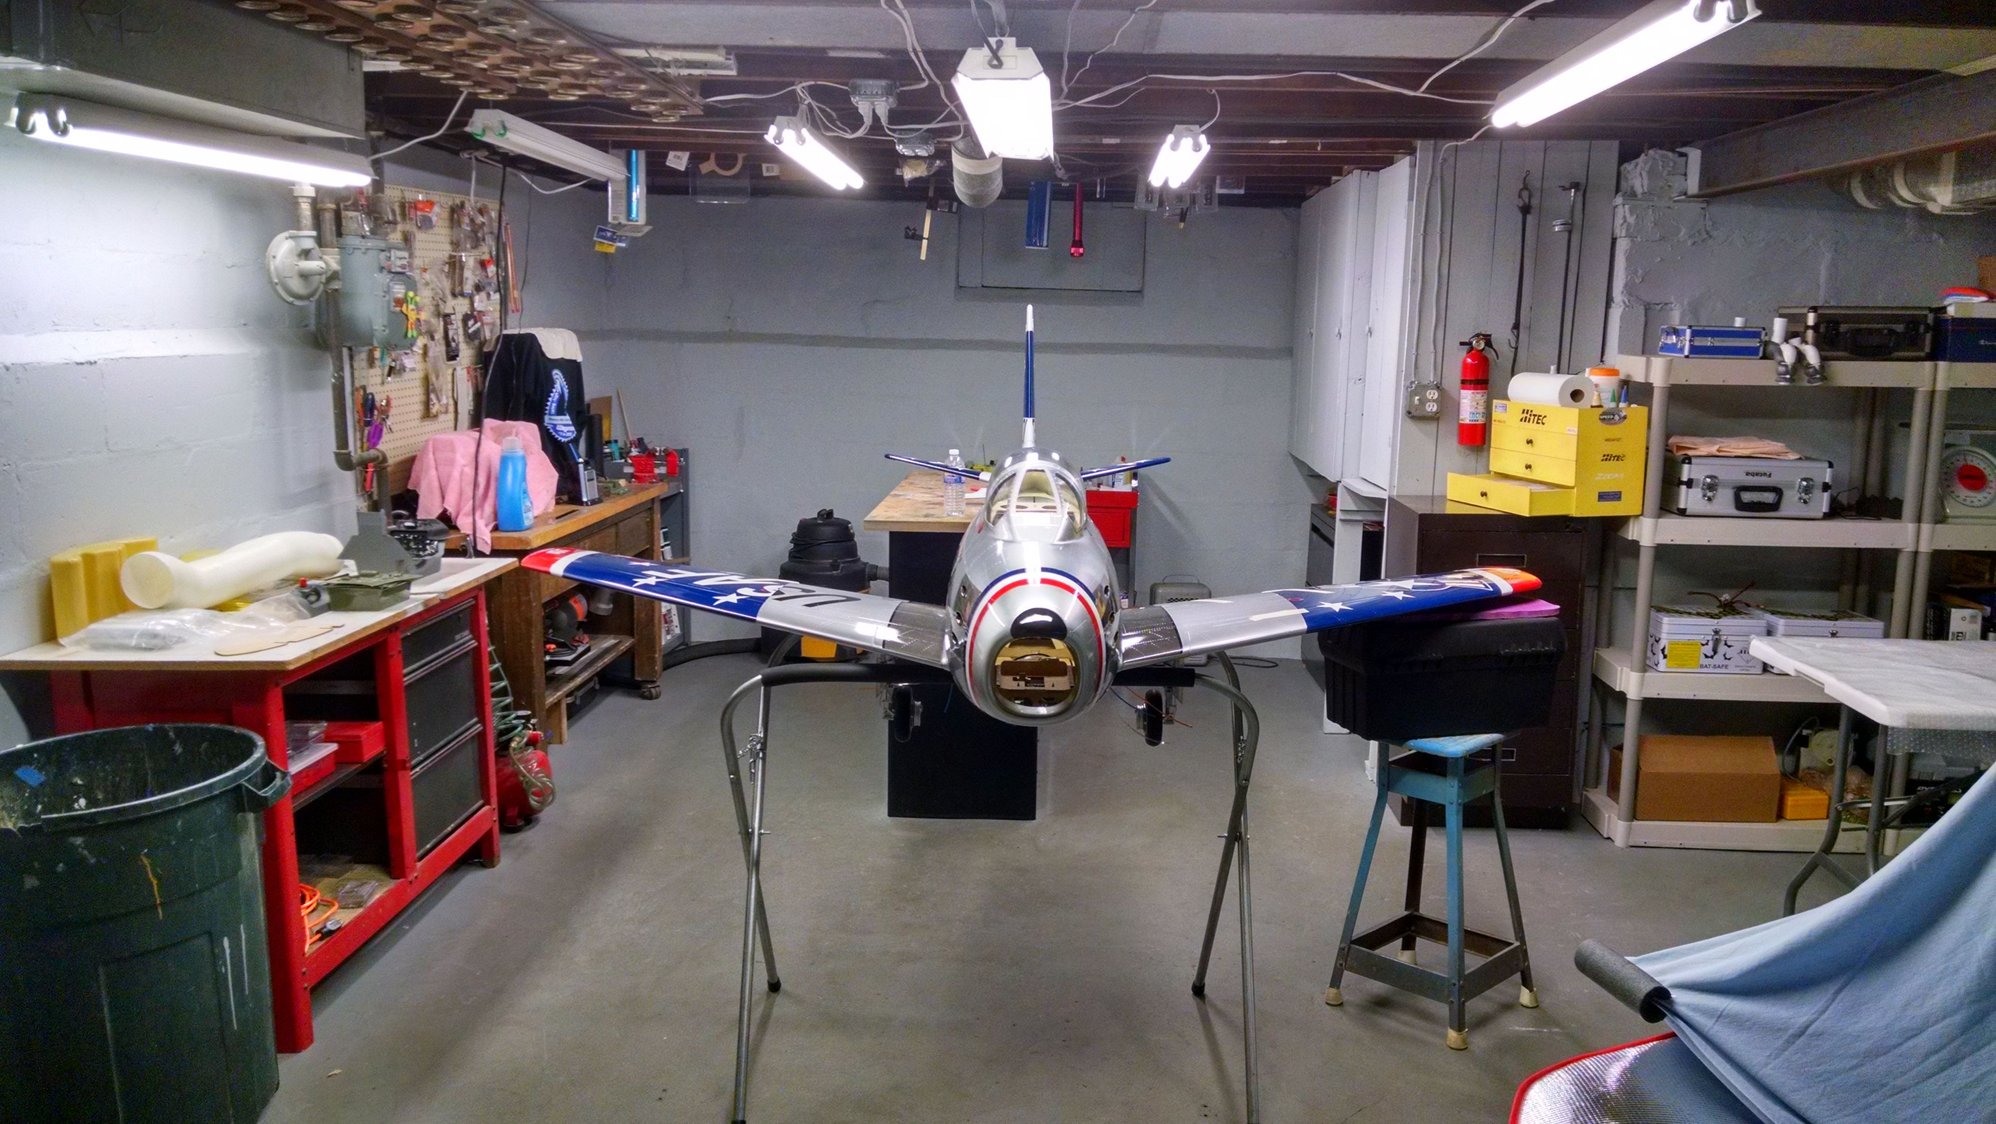
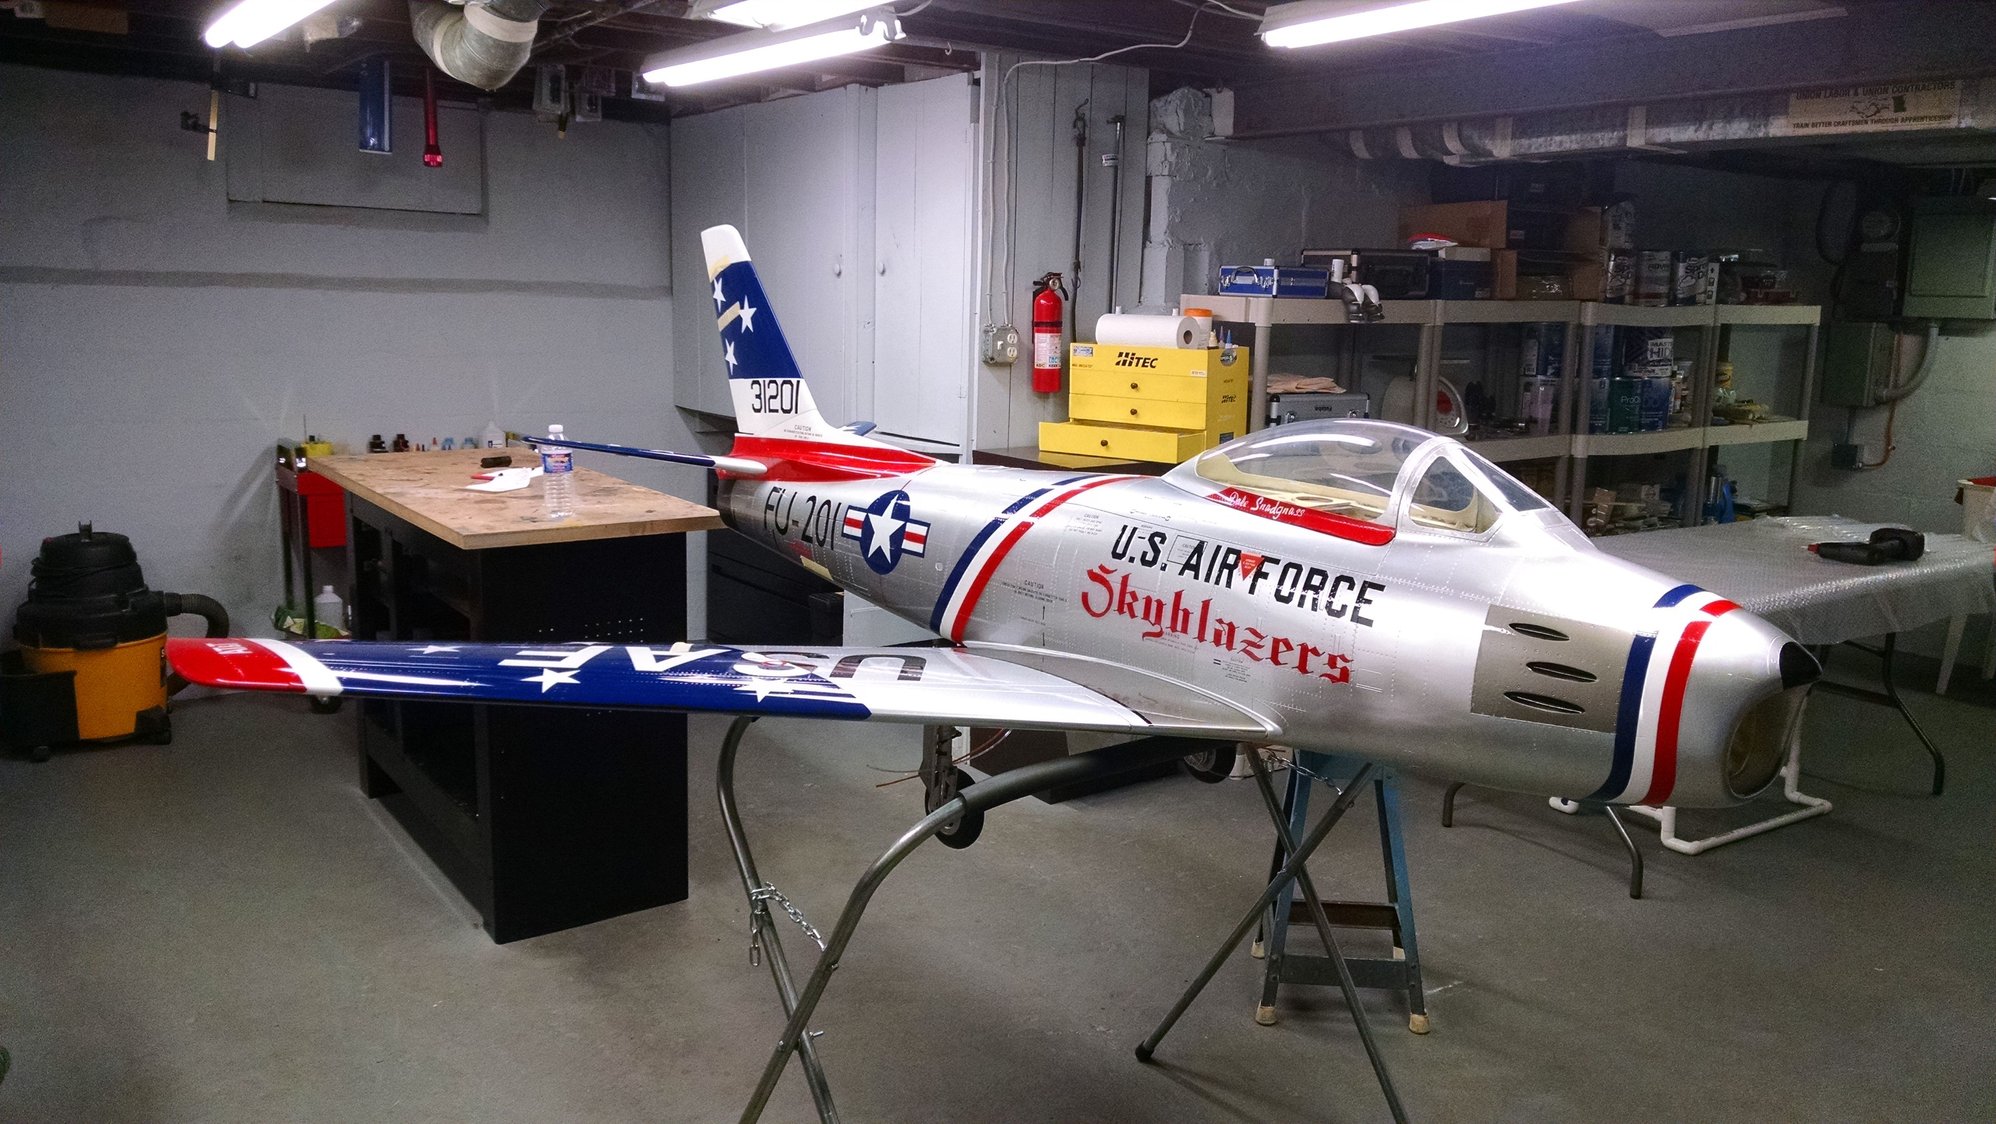
I am going to be taking this build nice and slow and actually try to enjoy the process. I made a job of building the two Flashes last winter and it burned me out. In the end it was worth it as I had a blast flying those jets this year. Both are safely tucked away for next season so if the Sabre does not get finished this winter that's OK with me. When it is done, it is going to be incredible. It has so many scale features and its massive size gives it such presence! I am not sure if I am going to take on the added workload of a build thread but well see how it goes.
10-27-2018, 10:07 AM
#84
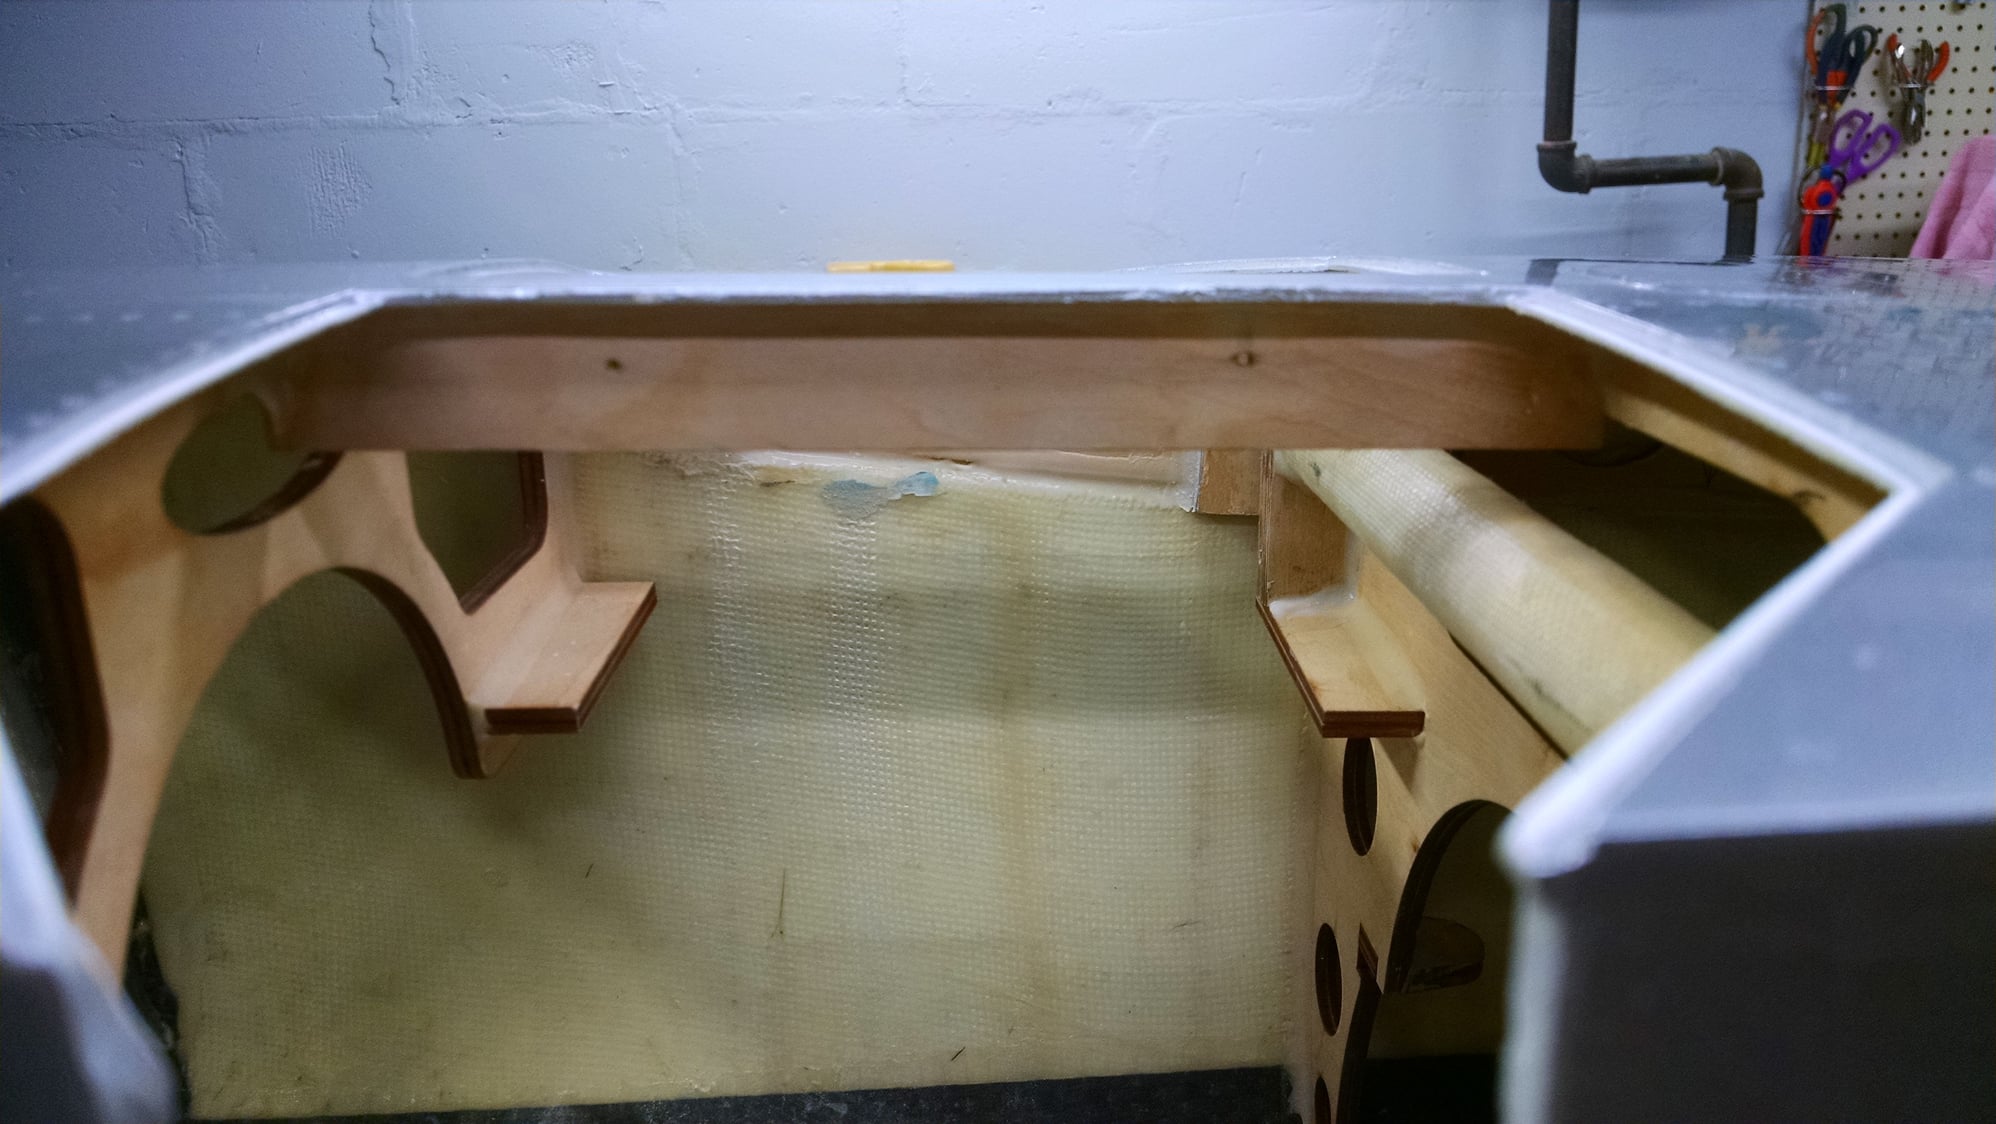
Does anyone have the overall length of the two wing spars (carbon rods)? On mine, the small front spar is 19 7/8" long leaving 3 7/8" sticking out each side of the fuse. My front spar is 28 3/8" long leaving 8 3/16" sticking out each end of the fuse. The reason I ask is that the rods are not as long as the sockets in the wing and I want to be sure they are long enough to engage the ribs in both wings. I had a FeiBao L-39 that after 200 flights the wing started to sag in flight. When I researched it, it turned out the spar was too short and did not engage the plywood ribs in both wings. Hard to believe I flew 200 flights like that with only the Fiberglass tube in the wing providing the strength. Anyway I want to be sure I dont run into that with the Sabre.
10-28-2018, 05:00 AM
#85


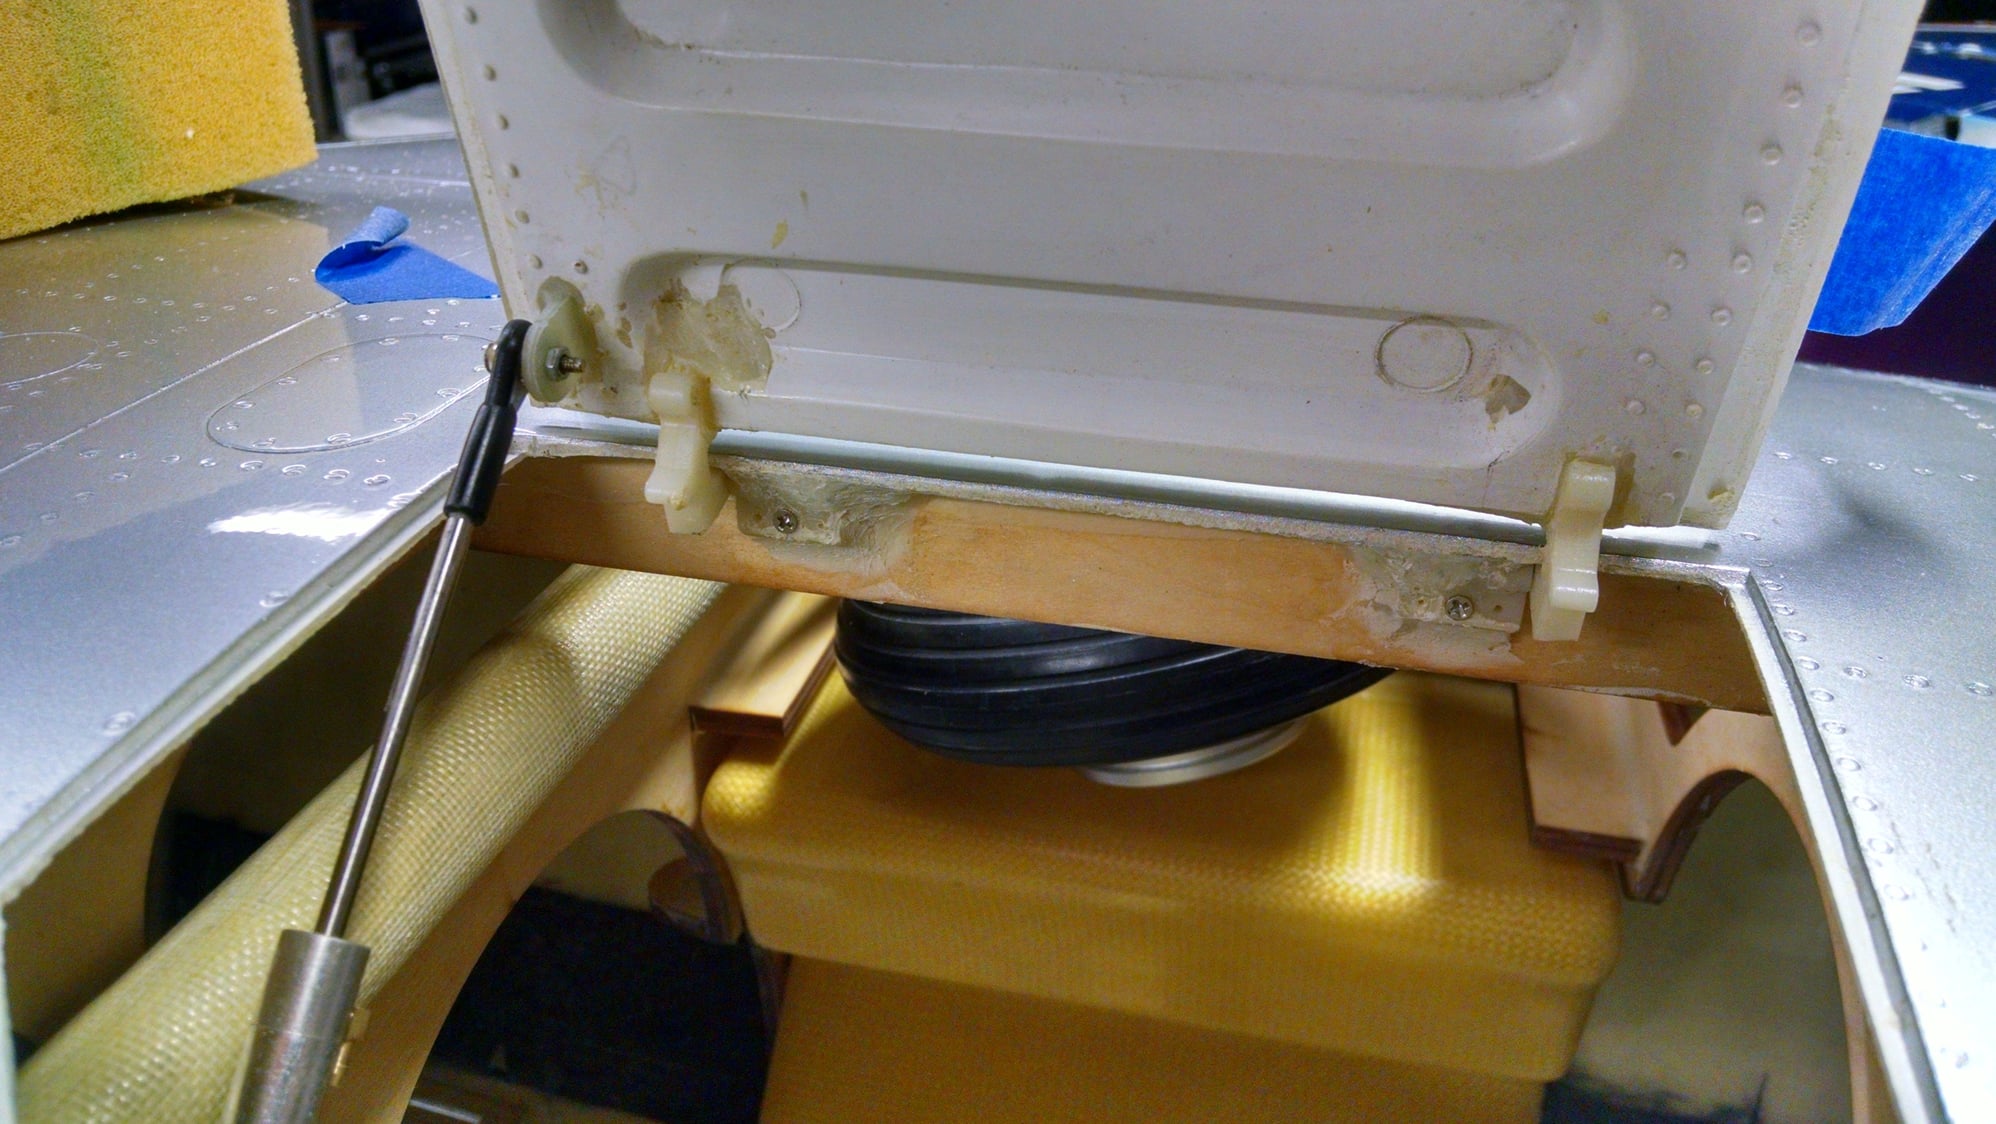
I built mine in Feb 2015 and have flown it many many times. If you want the main doors to stay closed go with a double air cylinder on each. I have since converted my gear to elec (down and locked) and have servos on the doors so everything snugs up tight. I started out with a full house setup using slats and speed boards. I abandoned them in probably 10 flights. The plane lands beautifully on just full flaps, the rest is just bling. If i were to order another one i would get the lightweight airex version without the slats, speed boards and sliding canopy. The plane is a wonderful flyer in any configuration though...enjoy!!!
Vin...
Last edited by Vincent; 10-28-2018 at 05:07 AM.
10-28-2018, 11:25 AM
#87

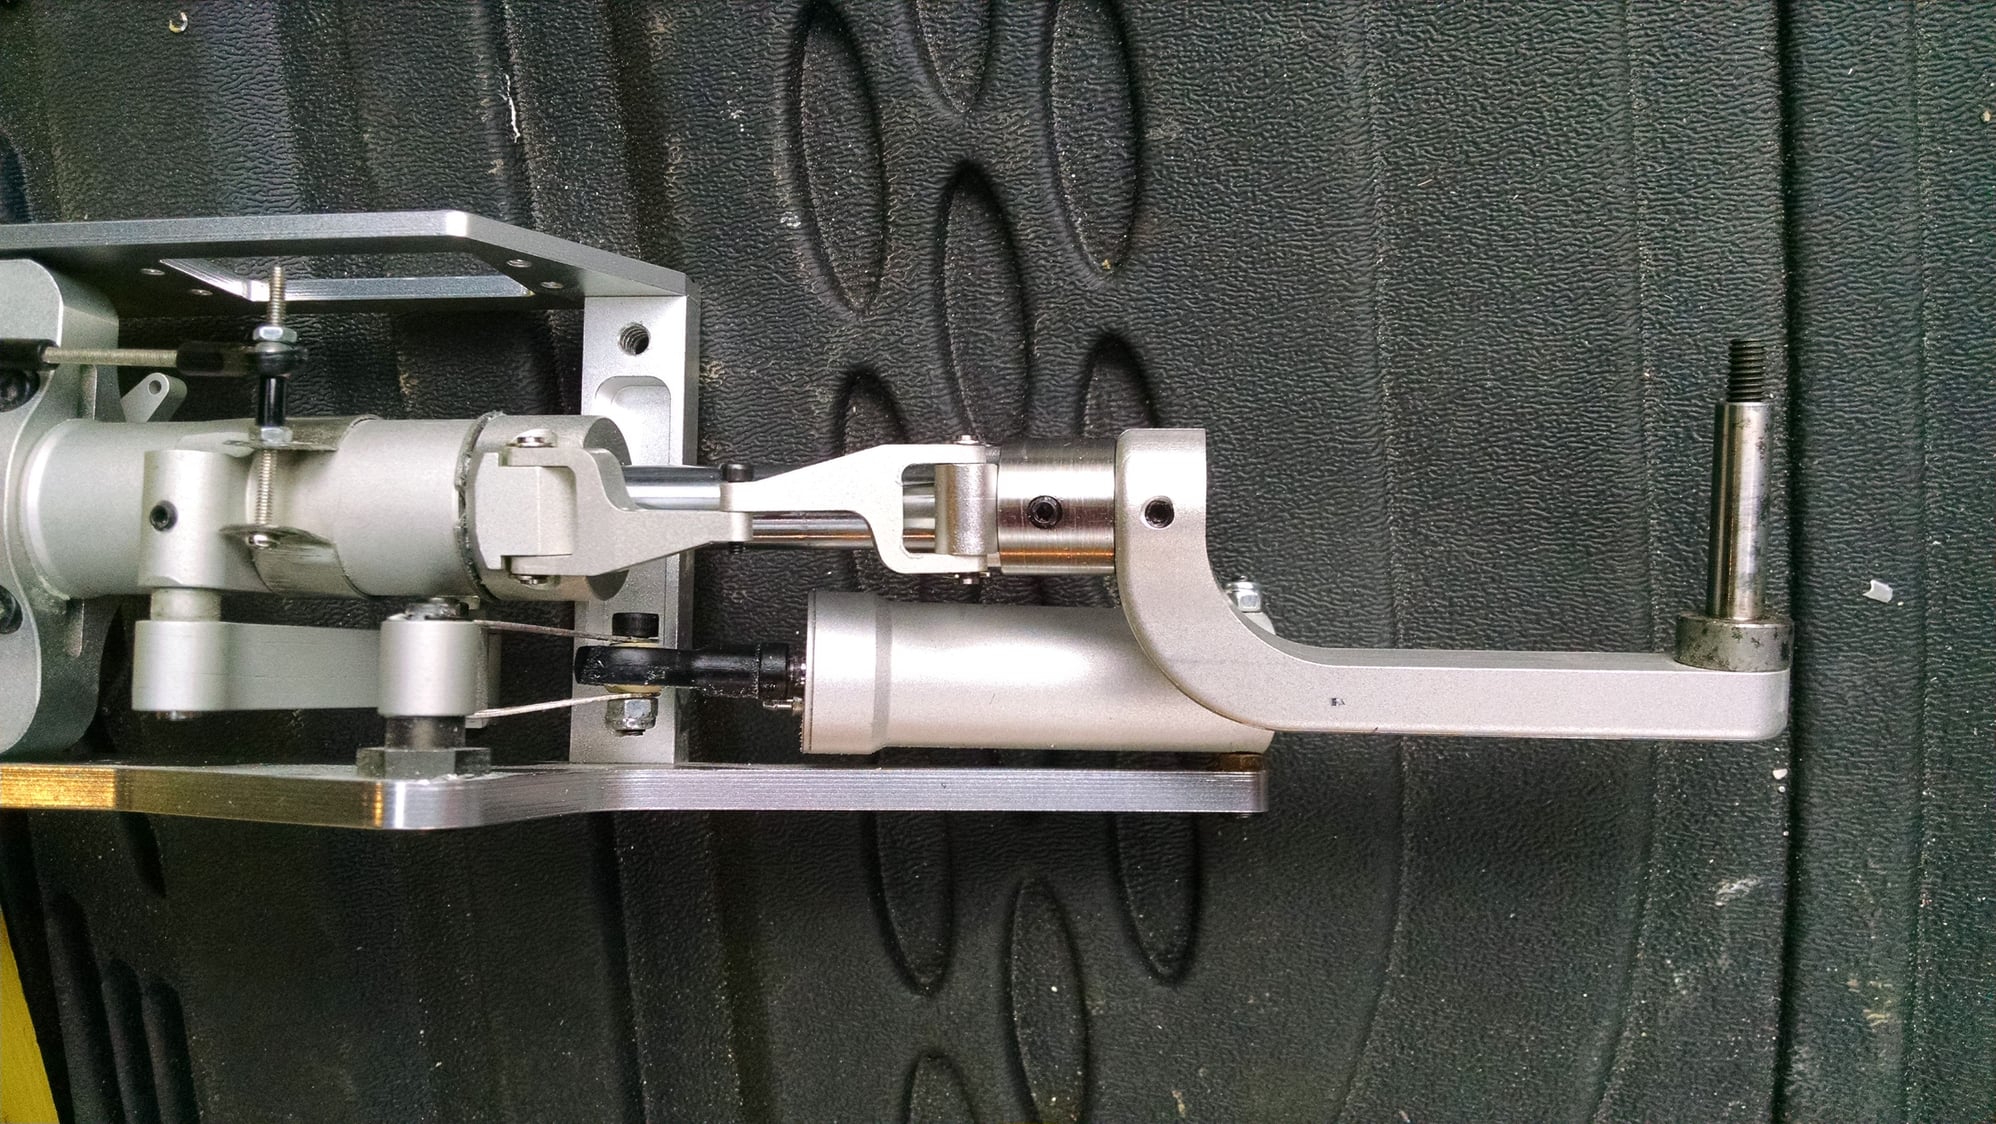

I have had good feedback from you guys on a number of things, one being the need to lengthen the nose strut. I am fortunate to live only a few miles from my long time friend John Mesolella of Matrix Machine. I took my nose gear over there today and was going to have him machine a collar and a plug to move the inner strut down. When we started measuring, I did not like how much of the inner strut was left inside the main strut. John came up with the idea of leaving the inner strut fully engaged as delivered, but instead extending the oppose end by the wheel. in no time he machined an extension out of steel that fits into the inner strut on one end and into the nosewheel loop on the other. My tire now just clears the door. I cleaned and lubed everything and put loctite on each screw. I also tuned the amount of oil in the front strut to give a good balance between firmness and range of movement. Once the jet is done and fully loaded, I will have to see how much sag the front strut has when sitting on its gear and if too much, I will add more oil.
10-28-2018, 01:03 PM
#88
My Feedback: (21)
Dom
You will love the Sabre when its done. You saw how well mine flew at Perry.
Enjoy the build, don't get too hung up on assembly and there is no reason you should not be ready to fly it next year.
Remember mine was all white Gel coat. I started mine in Oct of last year, nothing was installed. I installed all the doors with double air cylinders, speed brakes and leading edge slat hinge system in the wing and slates. Also had to assemble the sliding canopy system too. I painted it and every thing is paint except the nomenclature and Statue of Liberty and had it ready to fly by spring.
You are off to a good start
Joe Lewis
Kingtech
K-80, K-140, K-180
Owner
11-04-2018, 04:23 PM
#92
Sweet. I am glad I did not sell it. This is one sweet ride. Did a little work on it yesterday. I replaced the plastic main gear door hinges for BVM Aluminum hinges. This was a 4 hour job considering The plastic hinges were hysoled in between the door skins. I had to carefully grind them out. Same for the opposite side in the fuse. I also added a rear door cyclinder tab for my Robart door cyclinder. I have the stock SM cylinders on the front of the doors and the robarts in the back. I am going to swap the hinges on the nose doors as well. If I was ordering this kit from SM, In would have opted for the BVM Aluminum hinge option. The package I bought from Cheif had every option but this one. No building at all today. I flew my Cessna instead. Going slow with the Sabre and actually enjoying the hobby pace vs the like a job pace.
Last edited by MaJ. Woody; 11-04-2018 at 04:25 PM.
12-01-2018, 09:04 AM
#94
Hi guys.
I have decided to do a complete build thread. I need another couple days and I will have one wing panel complete. At that time I will update the thread with detailed photos and build notes. It has been an enjoyable build so far and the fact that I have not established a completion date keeps it fun. The funny thing is I am doing just as much building as I did with the Flash. Psychology is a funny thing.
I have decided to do a complete build thread. I need another couple days and I will have one wing panel complete. At that time I will update the thread with detailed photos and build notes. It has been an enjoyable build so far and the fact that I have not established a completion date keeps it fun. The funny thing is I am doing just as much building as I did with the Flash. Psychology is a funny thing.