


Maj. Woody's Skymaster 1/5 F-86


 12-08-2018, 07:13 PM
#128

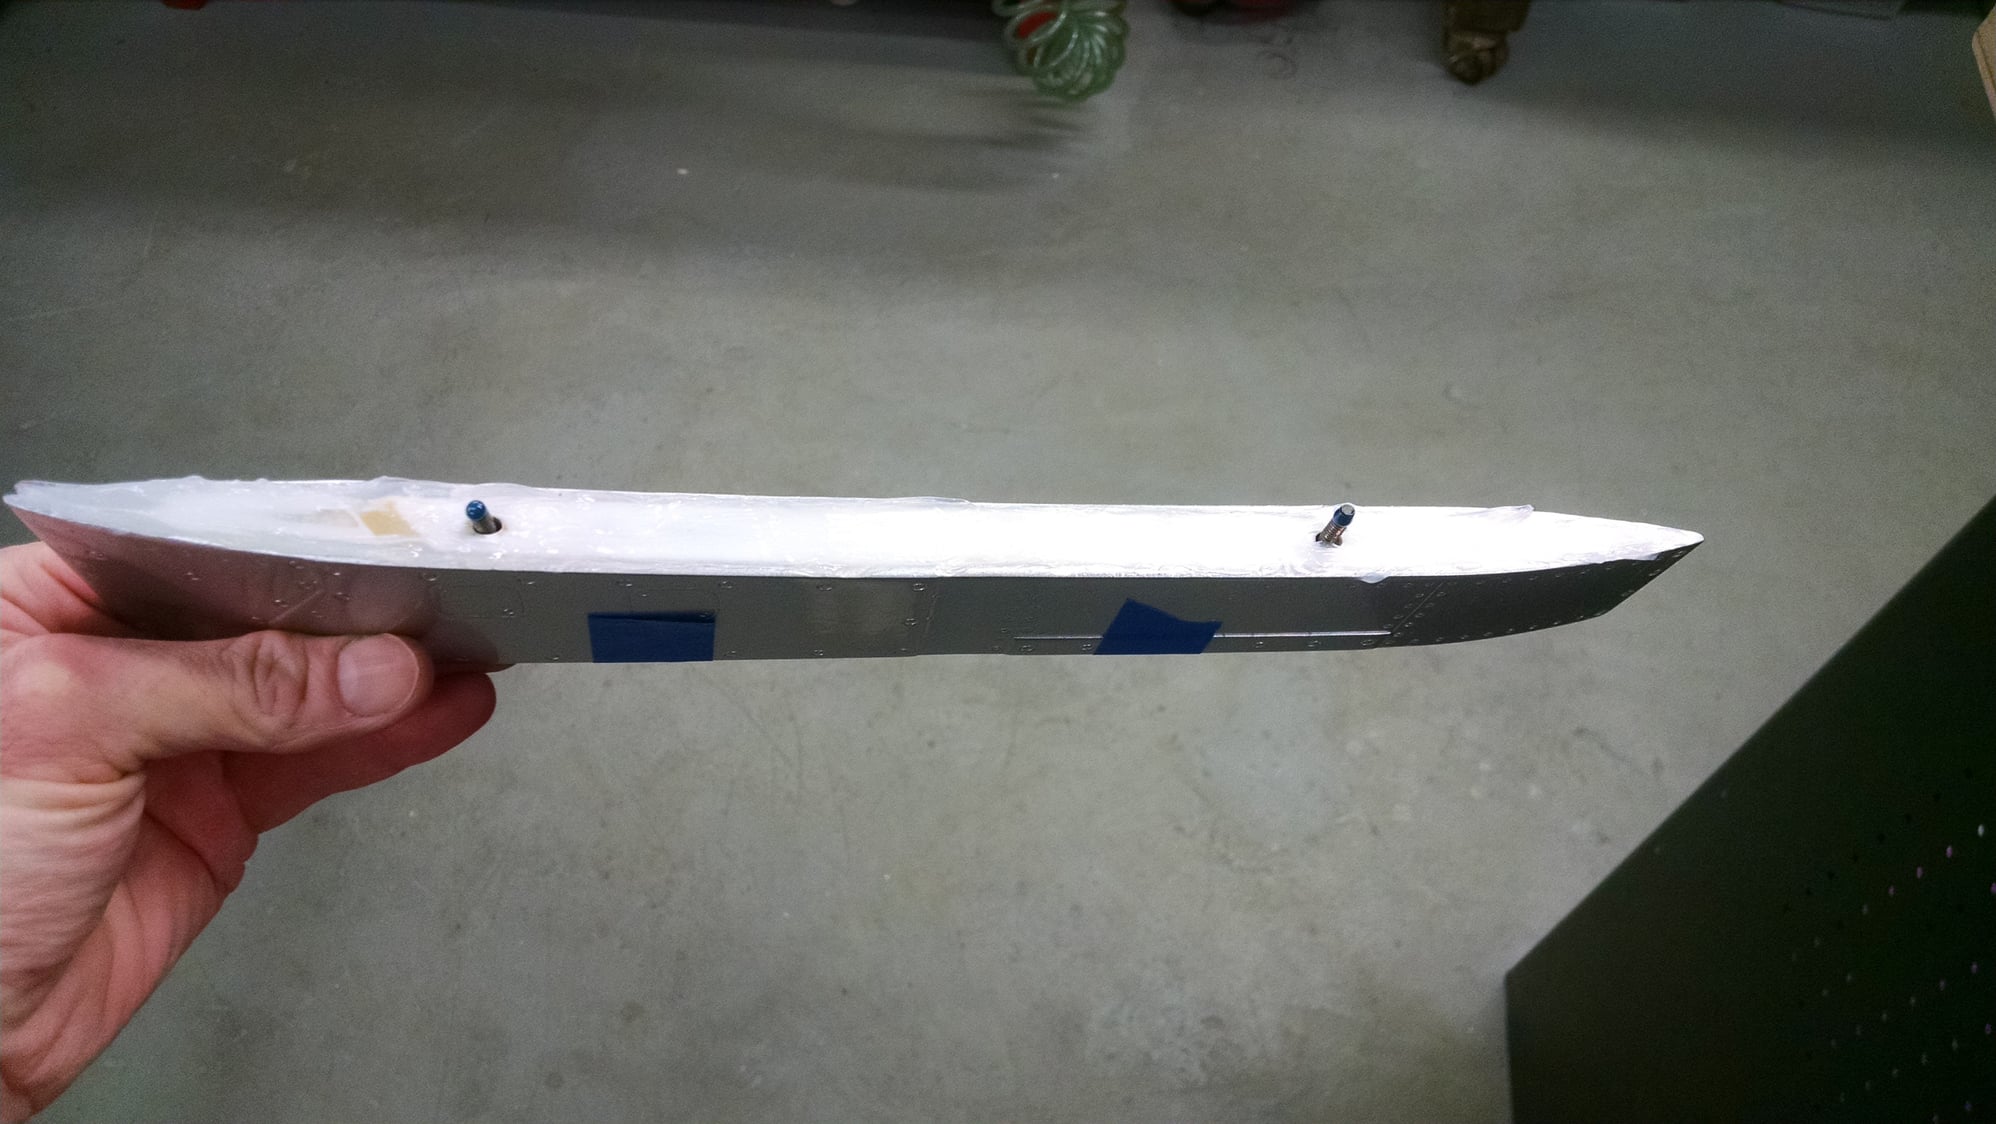
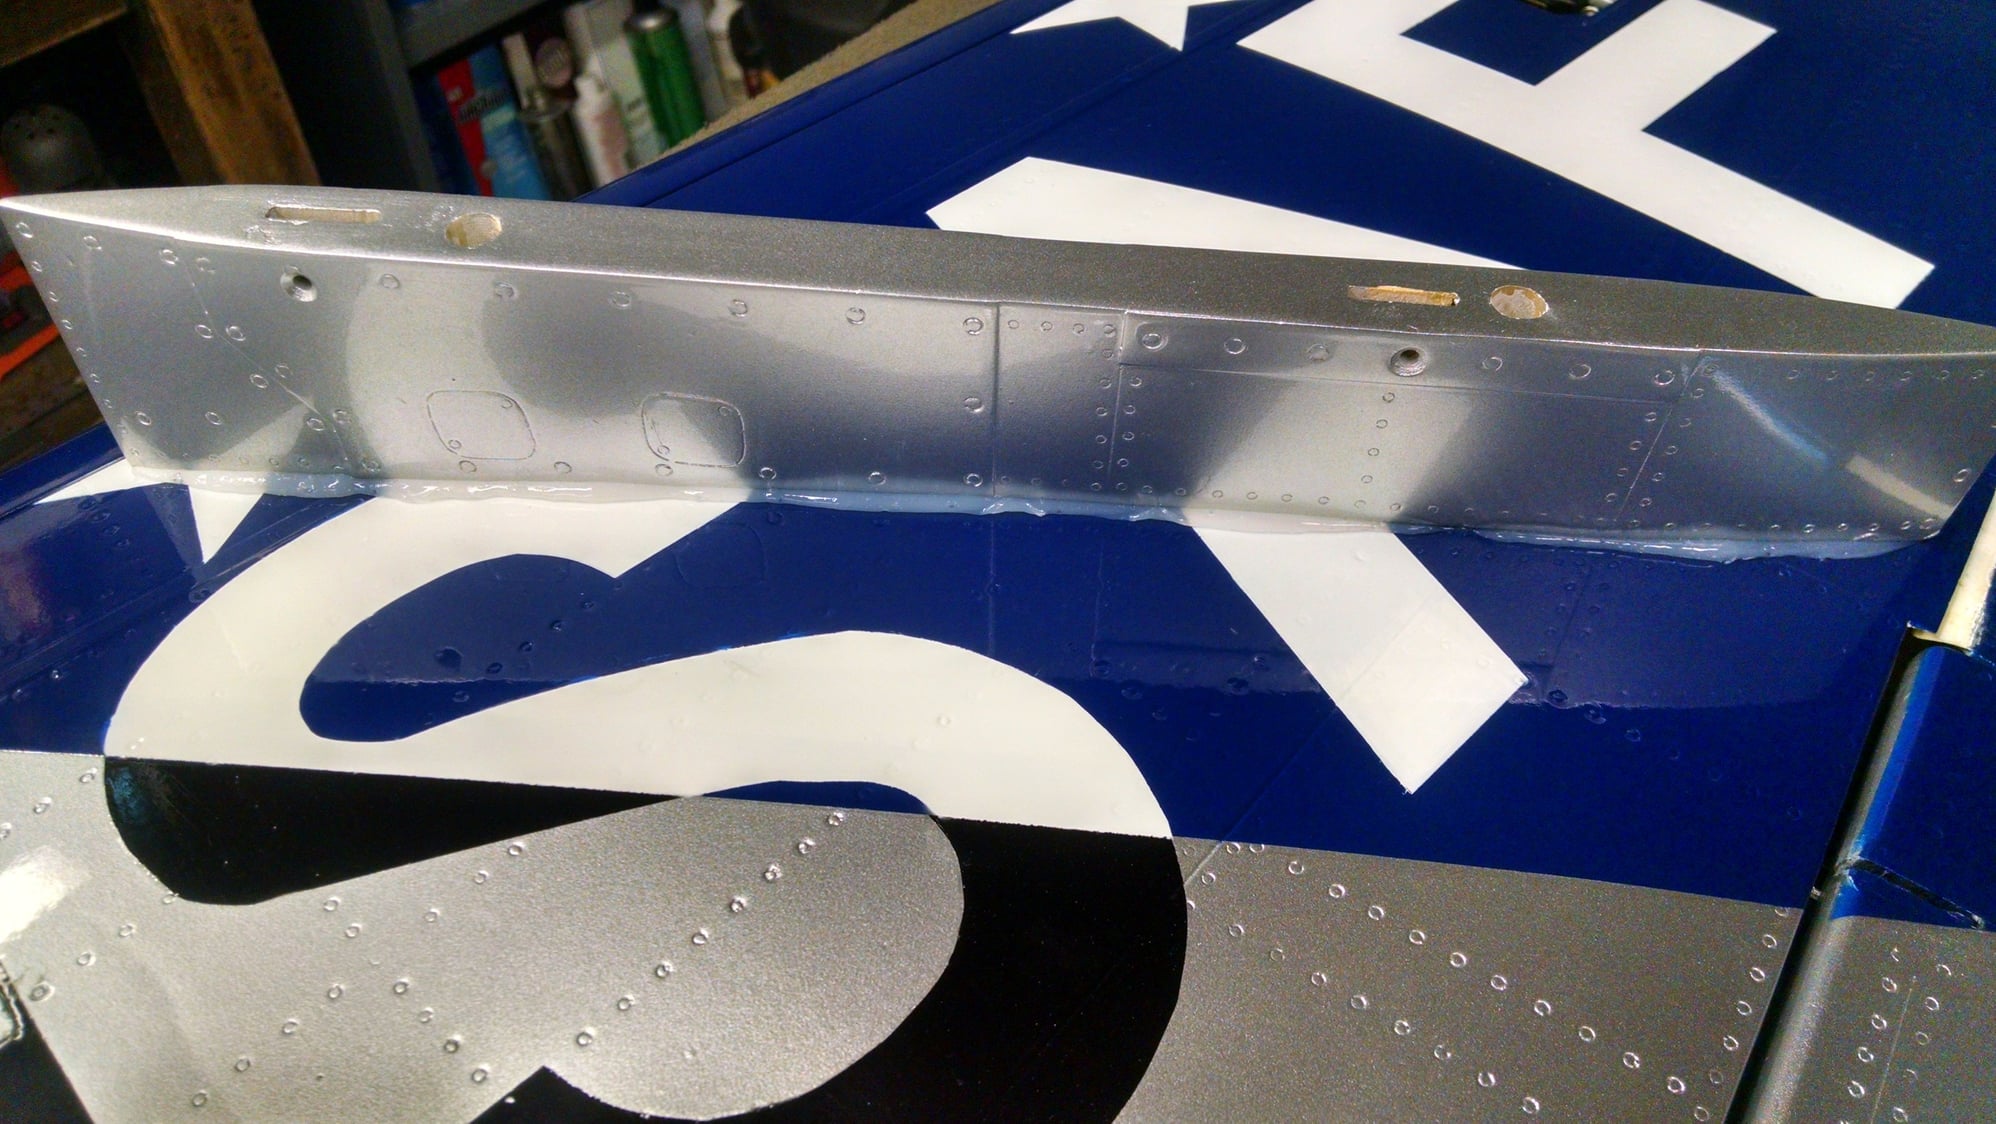
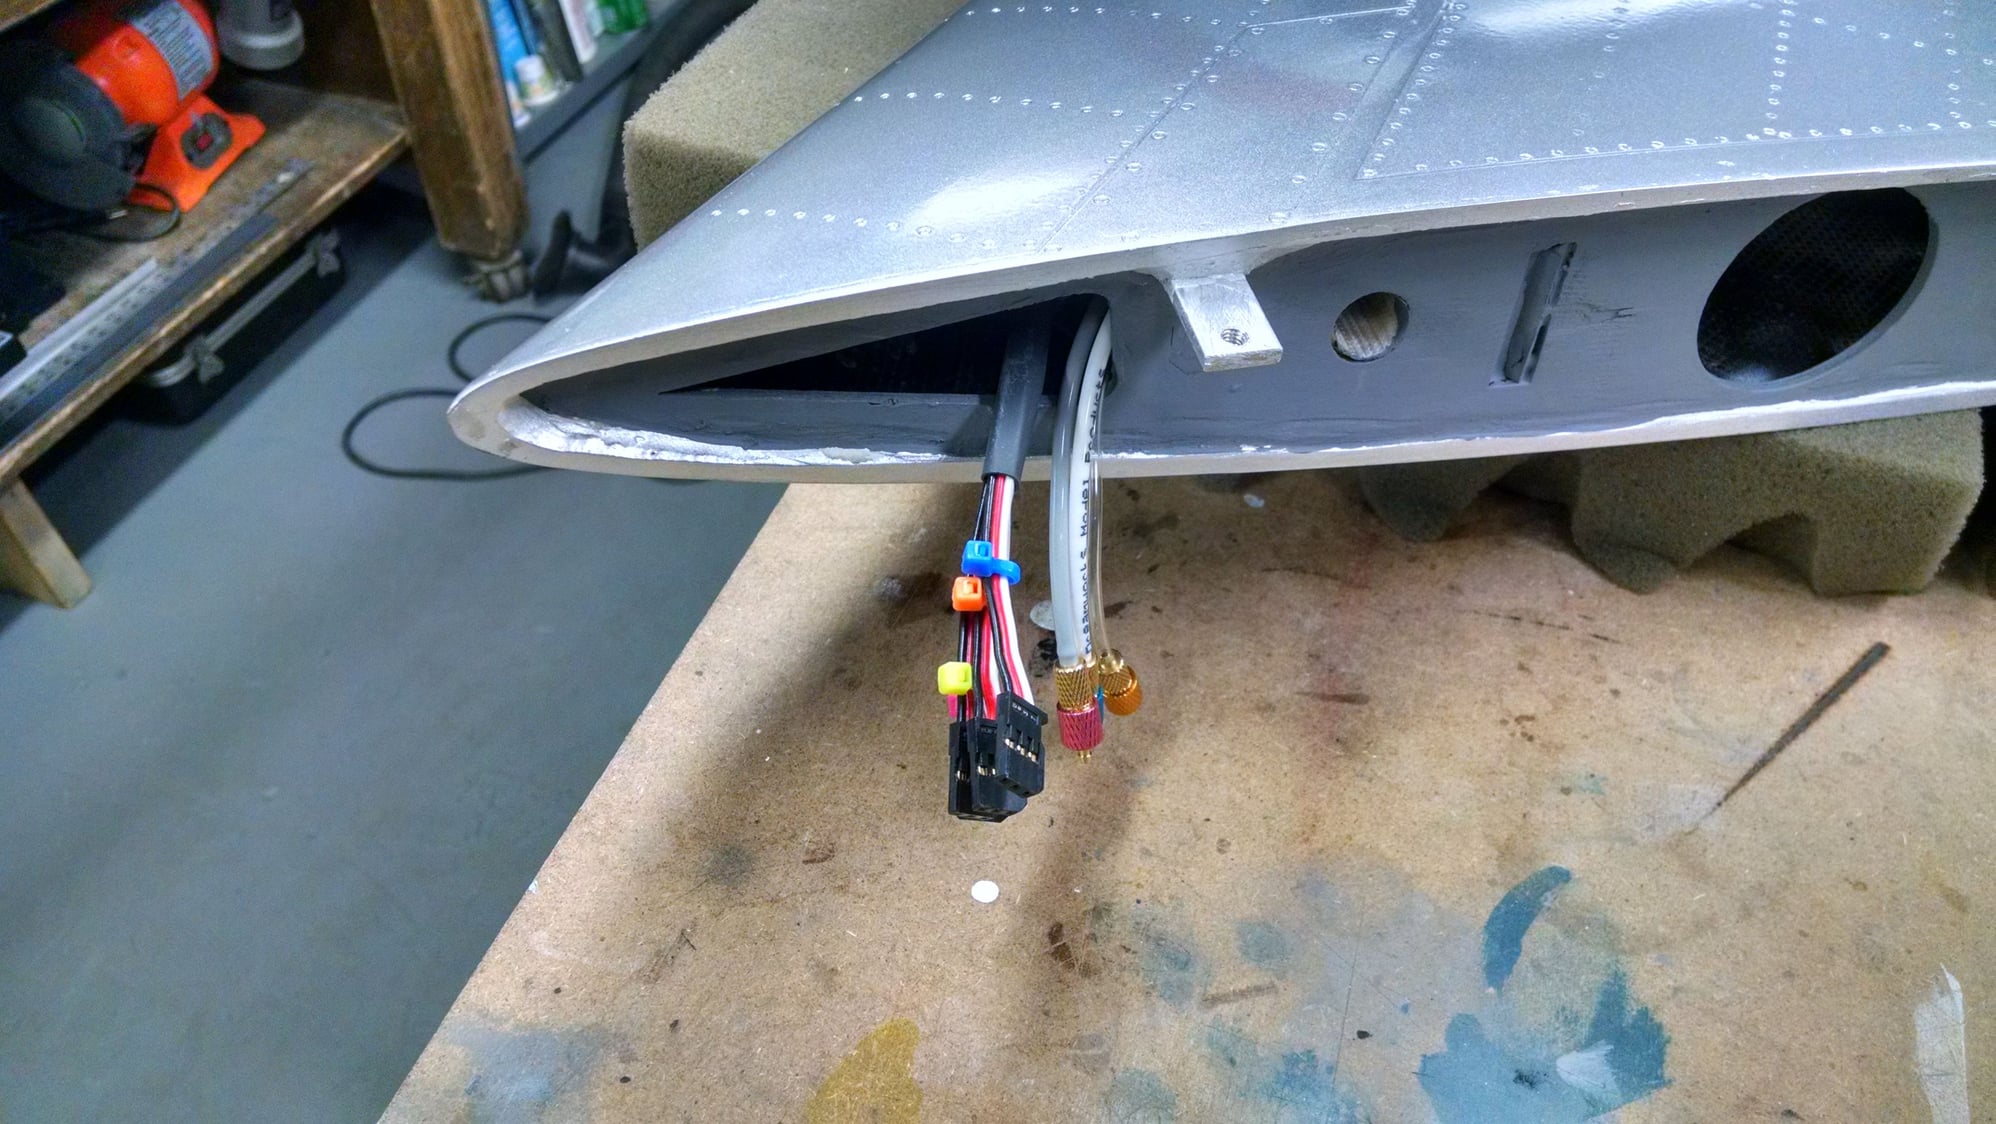
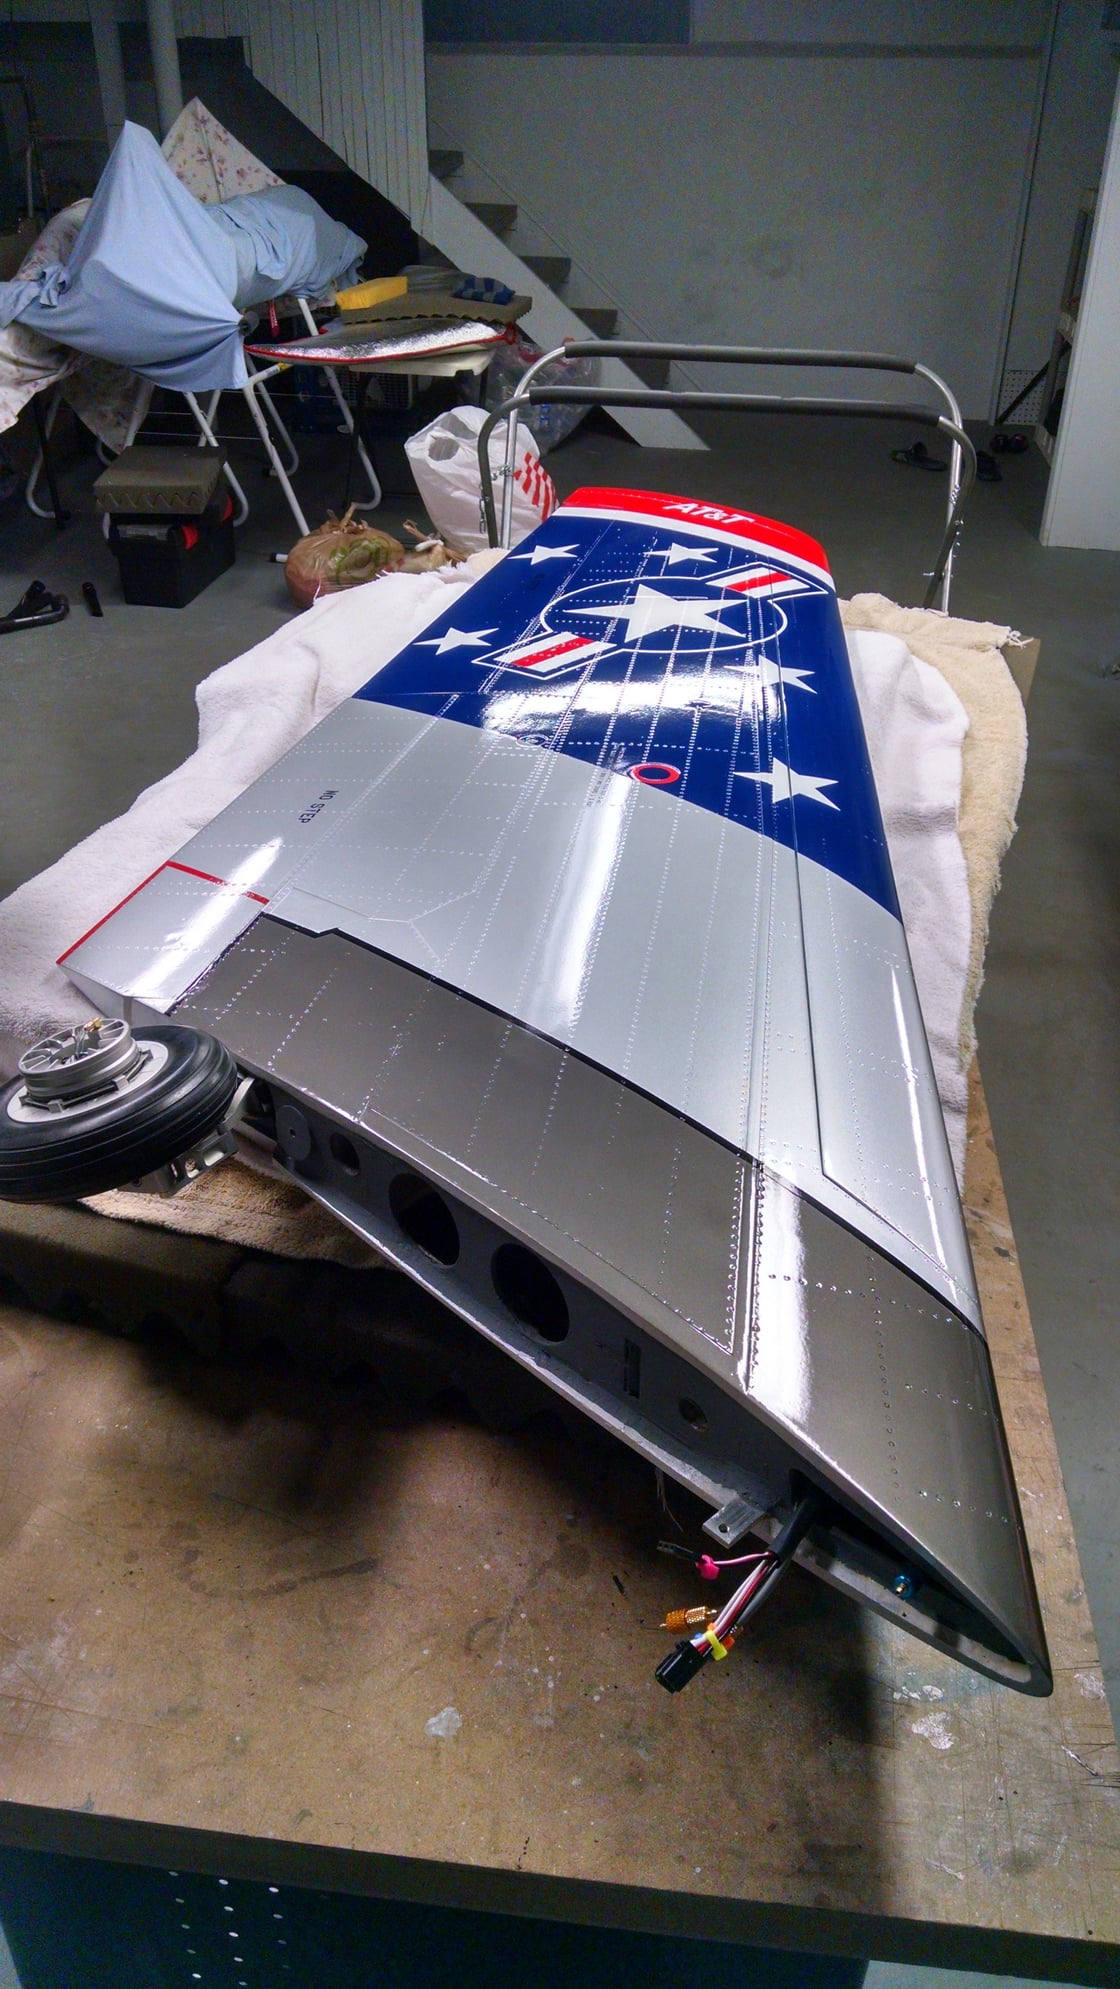
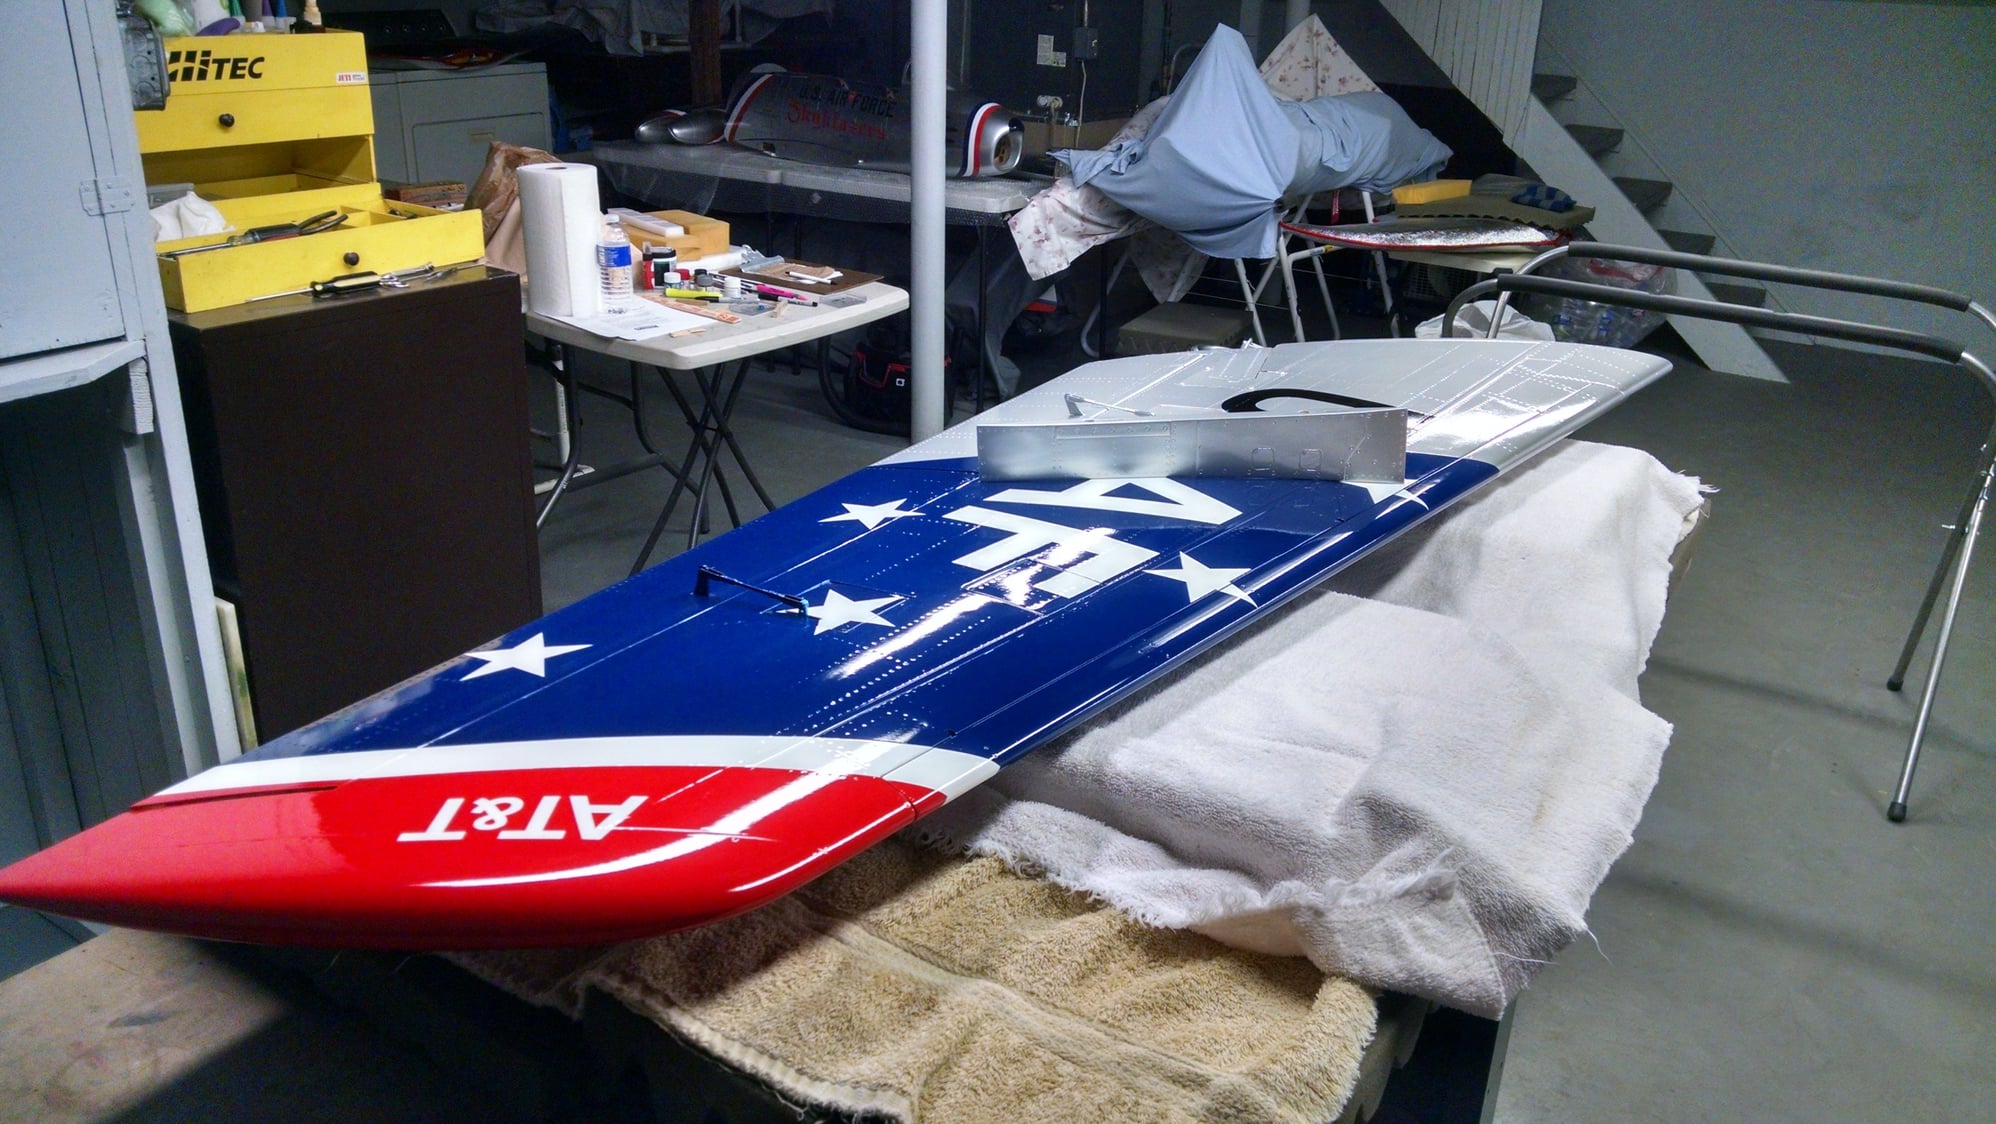
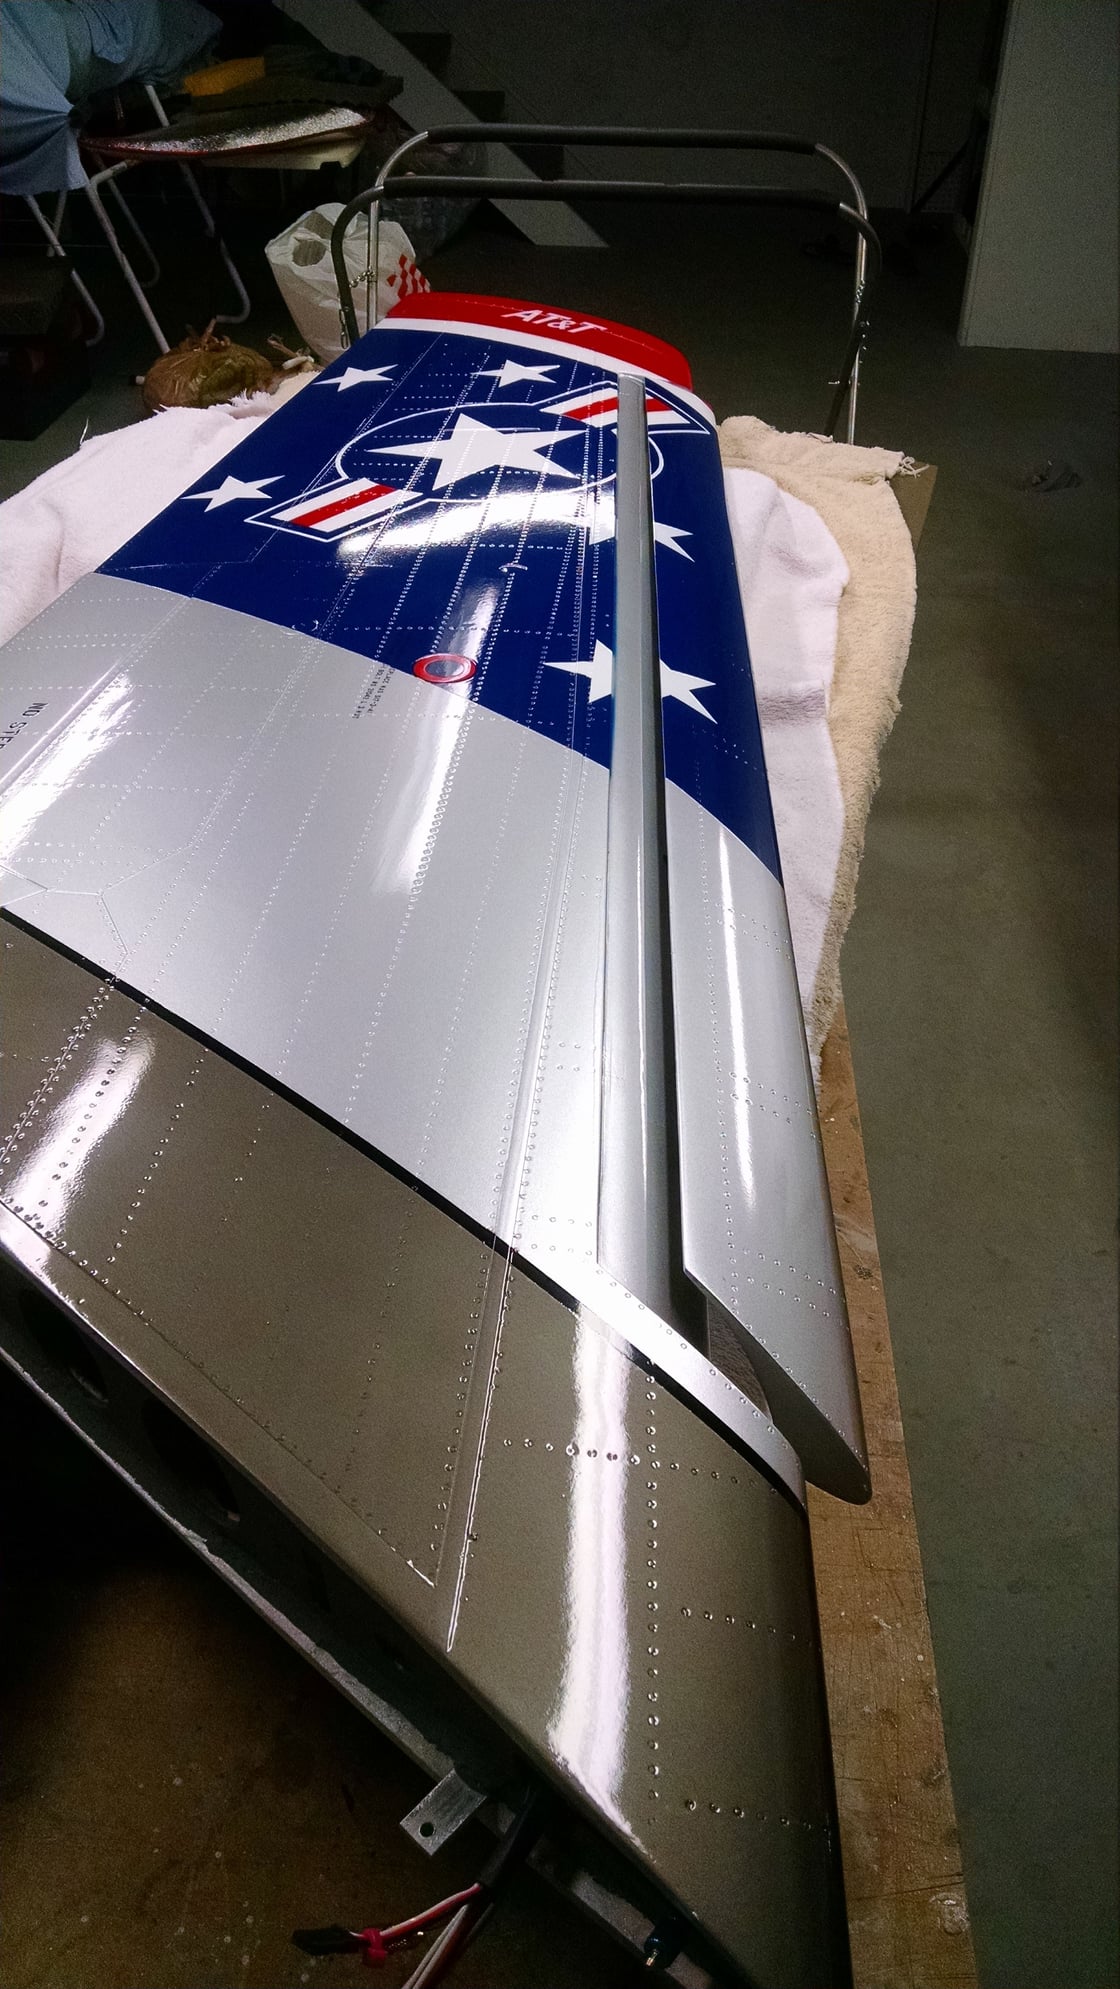
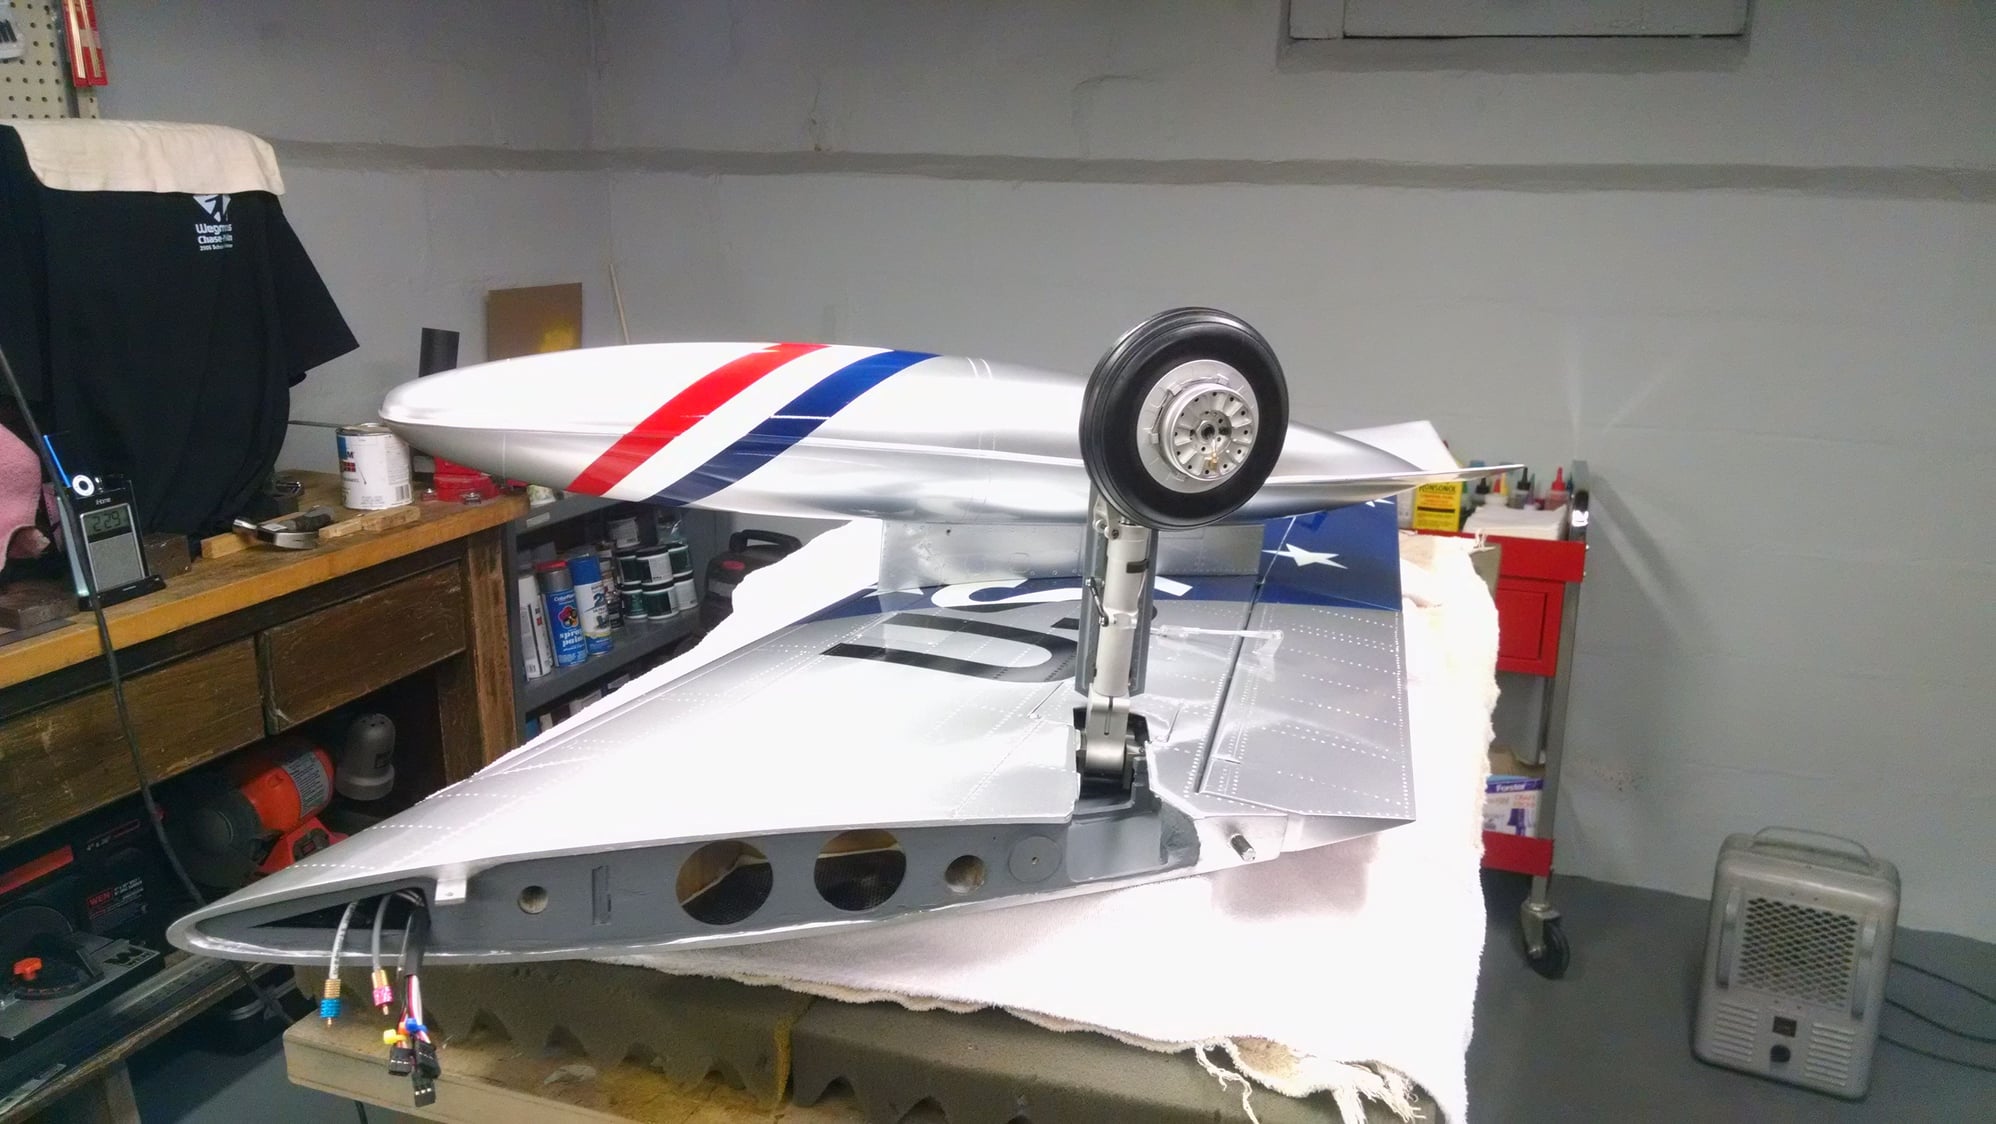
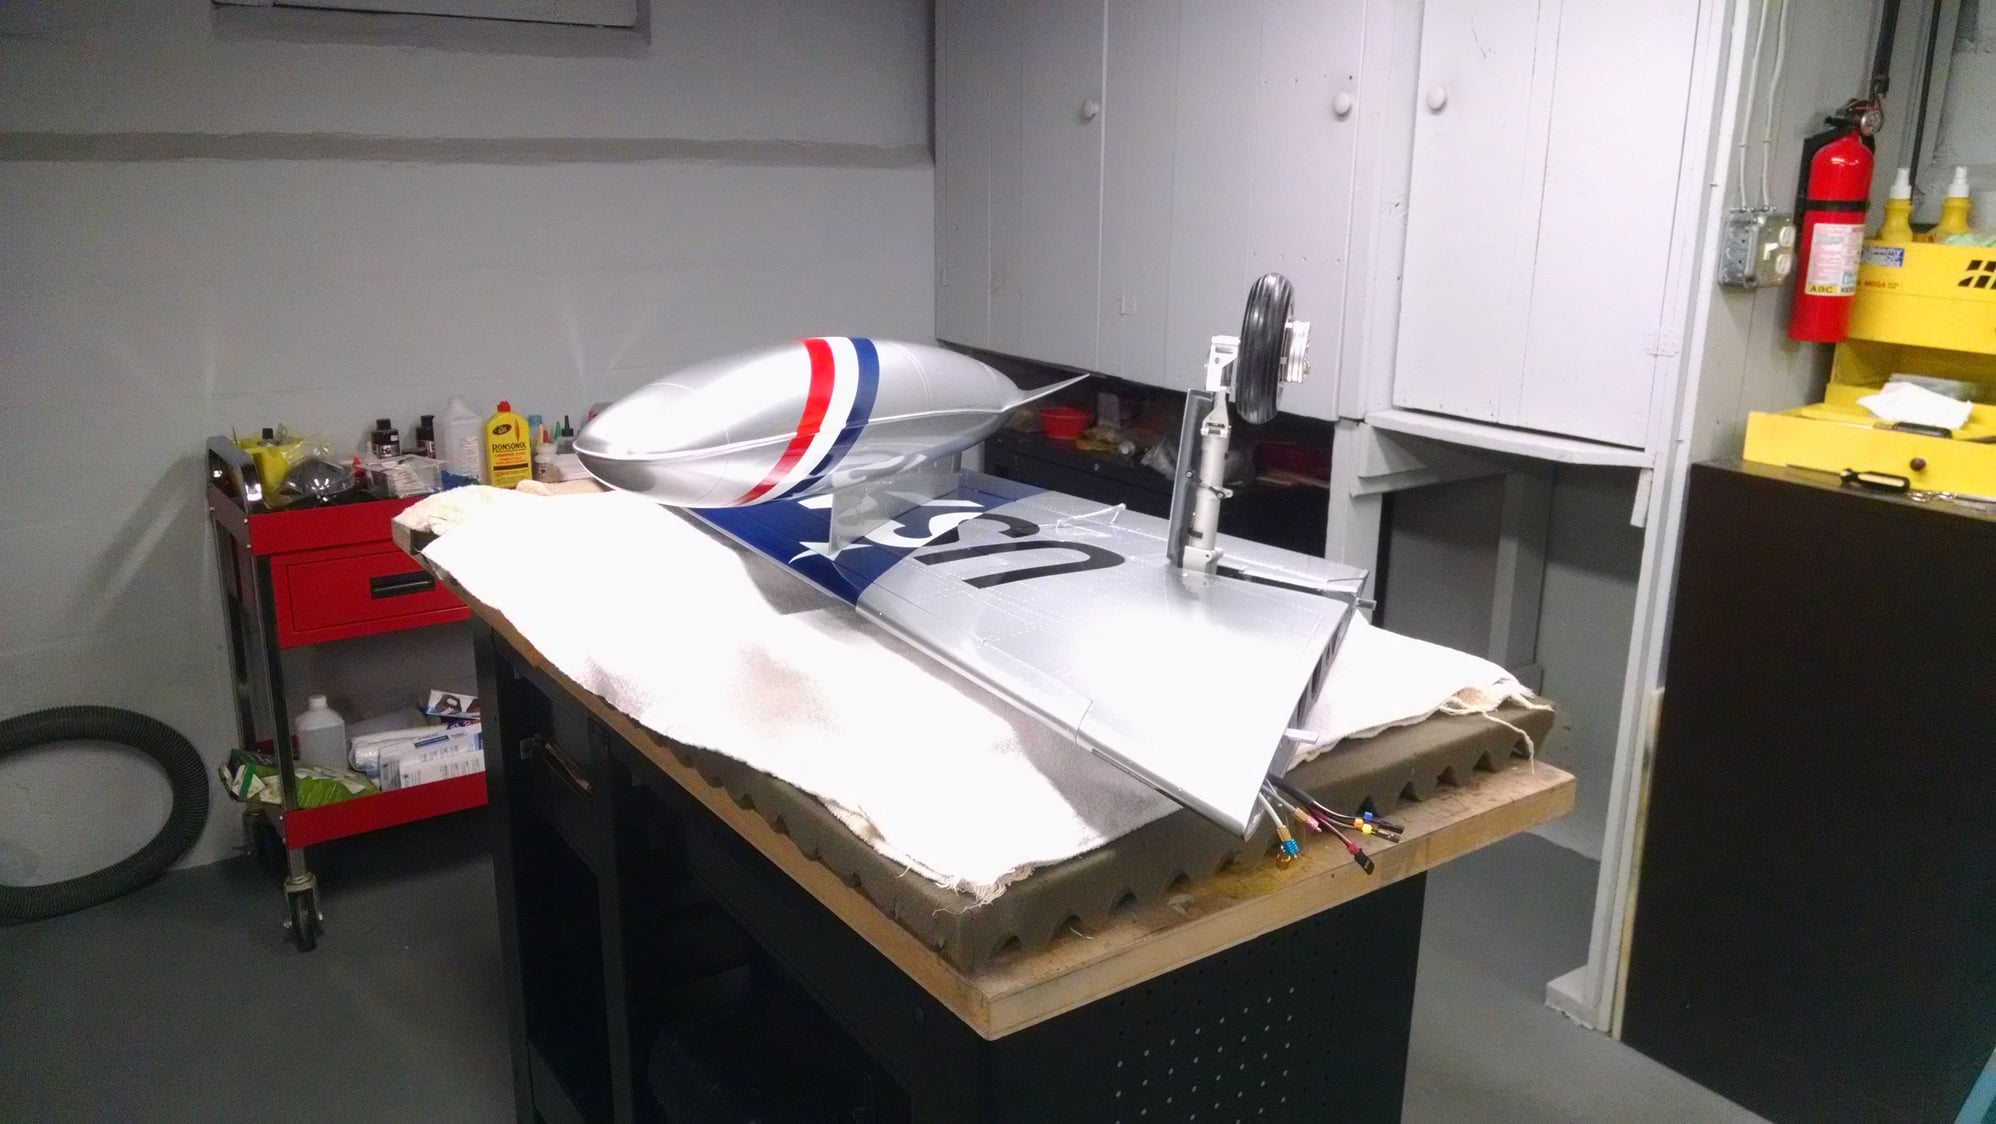
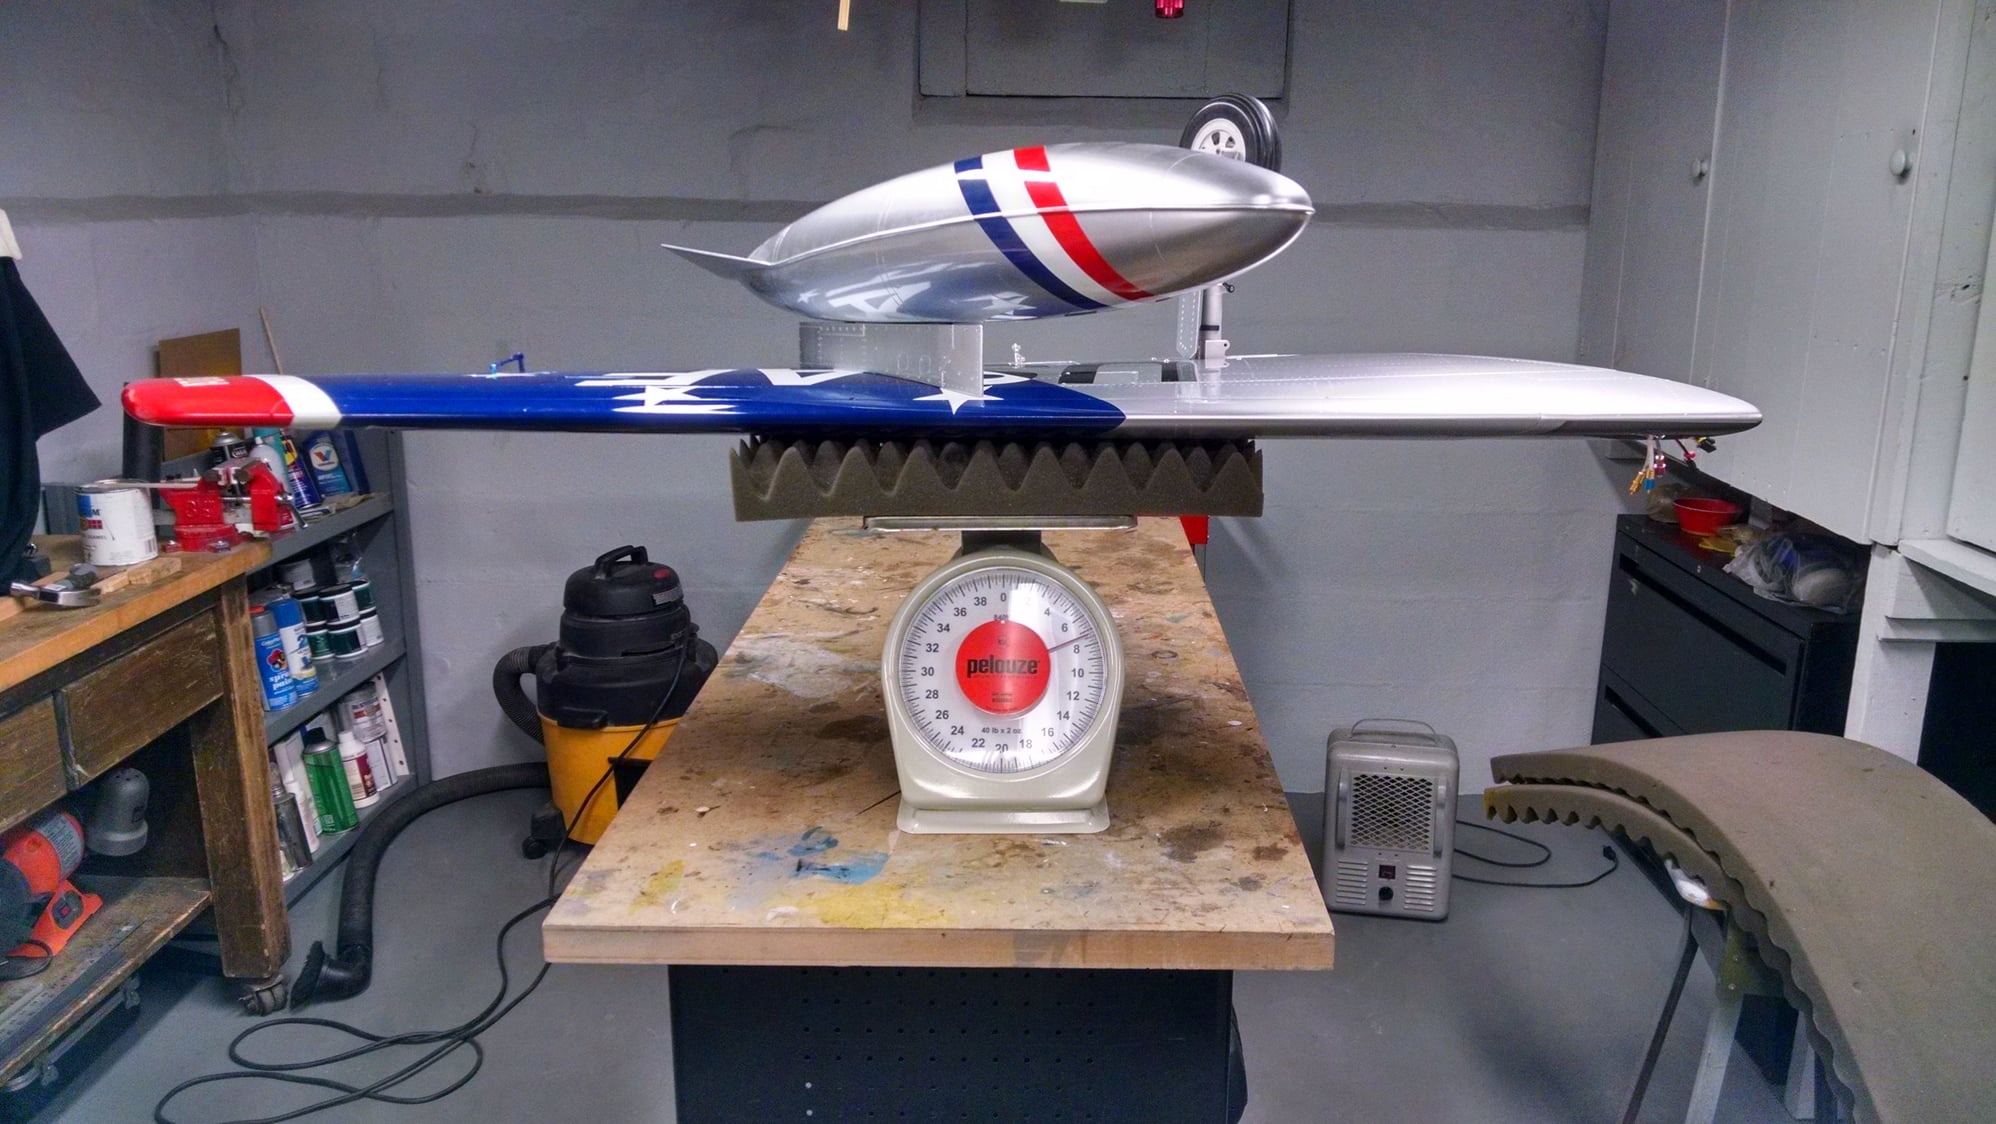
I am bolting the pylons to the wing with Dubro 6/32 Allen head screws and two washers. For extra strength, I sanded the pylon to remove all the paint and scuff the surface and put a thick coat of GE clear silicone on the pylon. The wing was thoroughly cleaned with alcohol and then I put some loctite on the allen screws and bolted the pylon down tight. The excess silicone is wiped away and the assembly left to dry overnight. In the morning you will find that the pylon is rock solid and has no chance of departing the wing during flight. If needed, the pylon can be unbolted and the silicone cut away with dental floss.


 12-09-2018, 12:26 AM
#135


Join Date: Jun 2006
Location: Gold Coast, Queensland, AUSTRALIA
Posts: 1,469
Received 26 Likes
on
24 Posts
Dom,
Nice going there. I could not help but think I should ask whether you had sanded the carbon brake discs? If you don't sand them all so that the clear resin shine is gone, the brakes will lock up solid first time you use them. The resin heats up and melts the brake pads together. That will then require a rather tedious disassembly of the brakes to get it all apart again. Hope it all make sense.
Cheers,
JanR
12-09-2018, 03:34 AM
#136
Hi Jan.
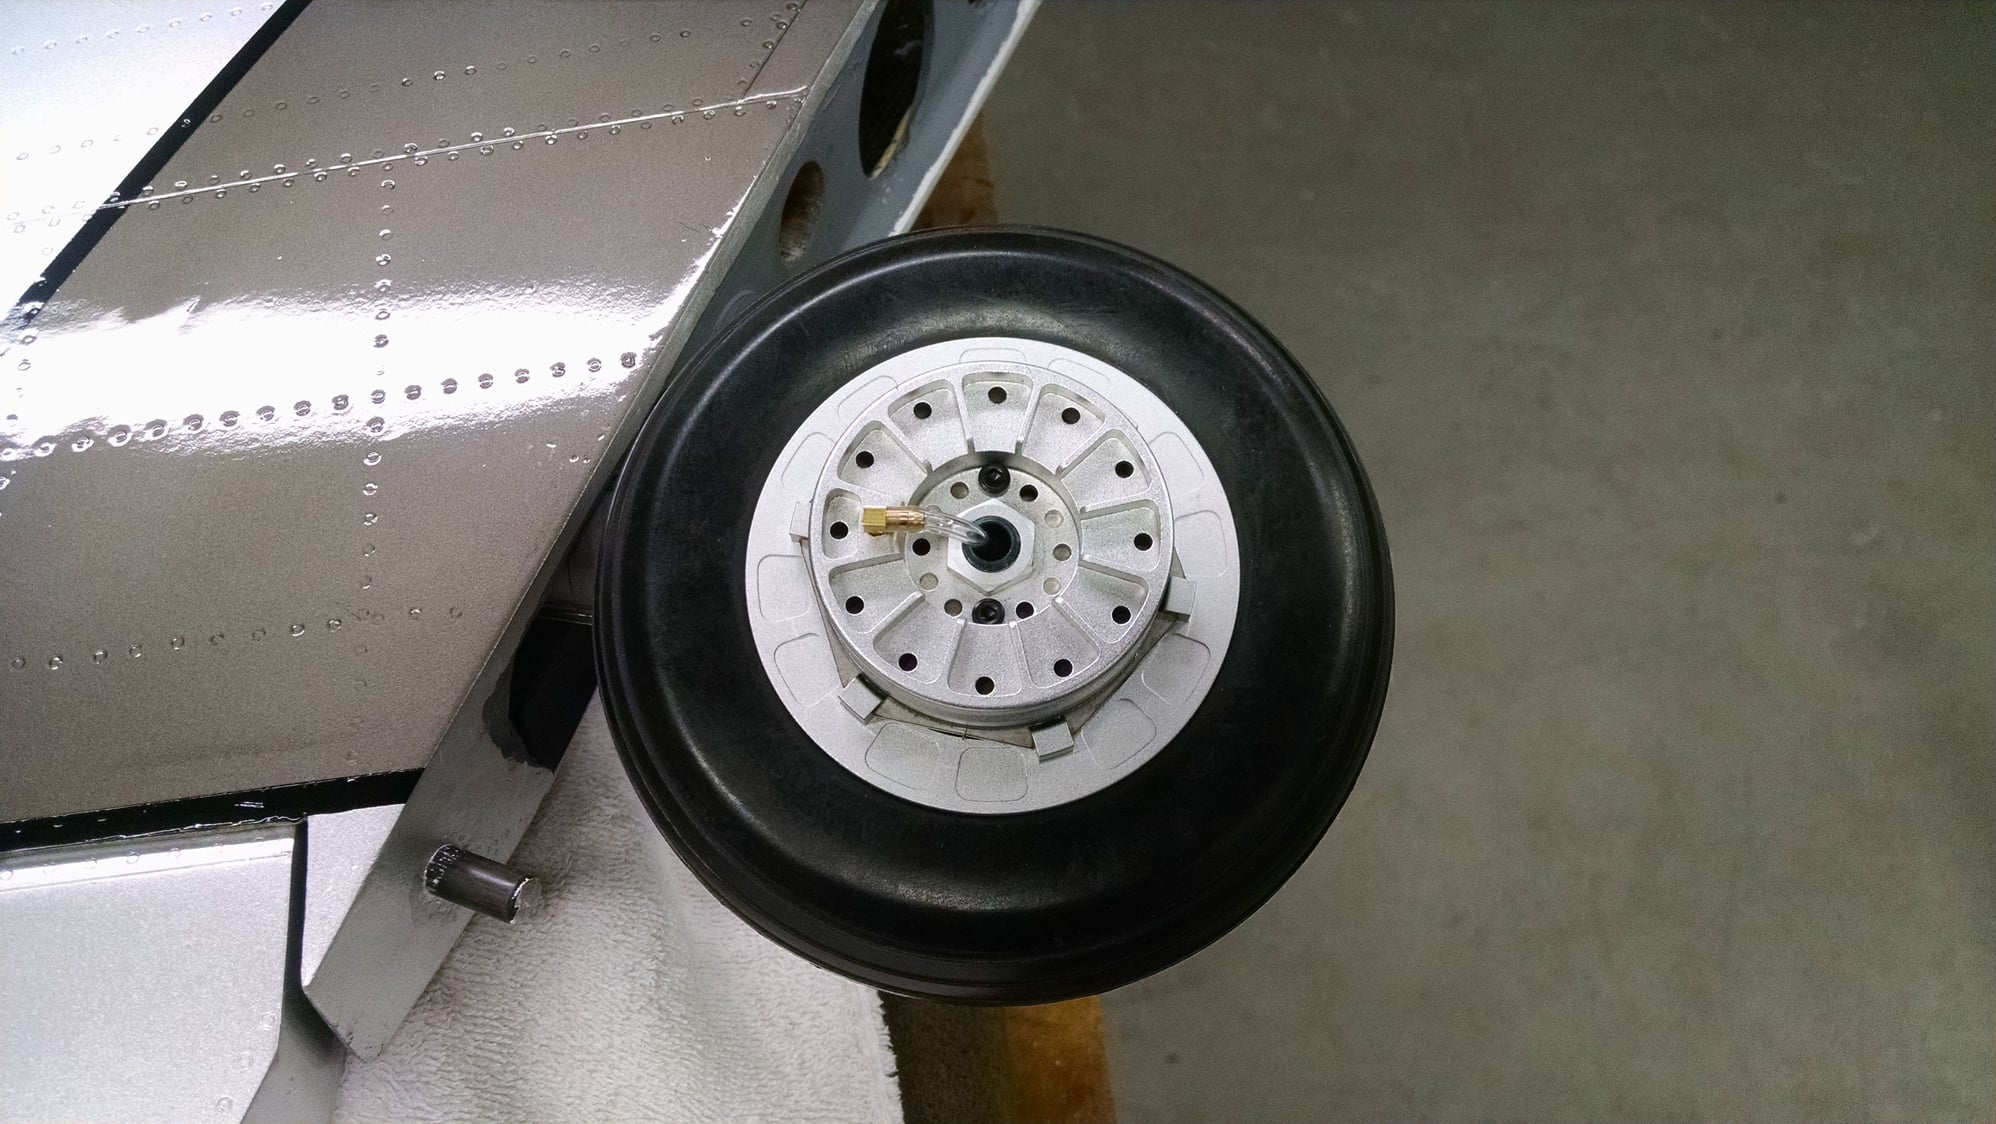
Thanks for the note. I did read that in another thread on this jet and wrote that down as a task. When I disassembled my brakes to perform that task, I found that I had a Steel brake disk with a rubberish type of material glued to it. It looked and felt exactly like the gray gasket material you get from the auto parts store. In fact if they ever wear, that is what I will use to replace them.
Thanks for the note. I did read that in another thread on this jet and wrote that down as a task. When I disassembled my brakes to perform that task, I found that I had a Steel brake disk with a rubberish type of material glued to it. It looked and felt exactly like the gray gasket material you get from the auto parts store. In fact if they ever wear, that is what I will use to replace them.


 12-09-2018, 08:04 AM
#140

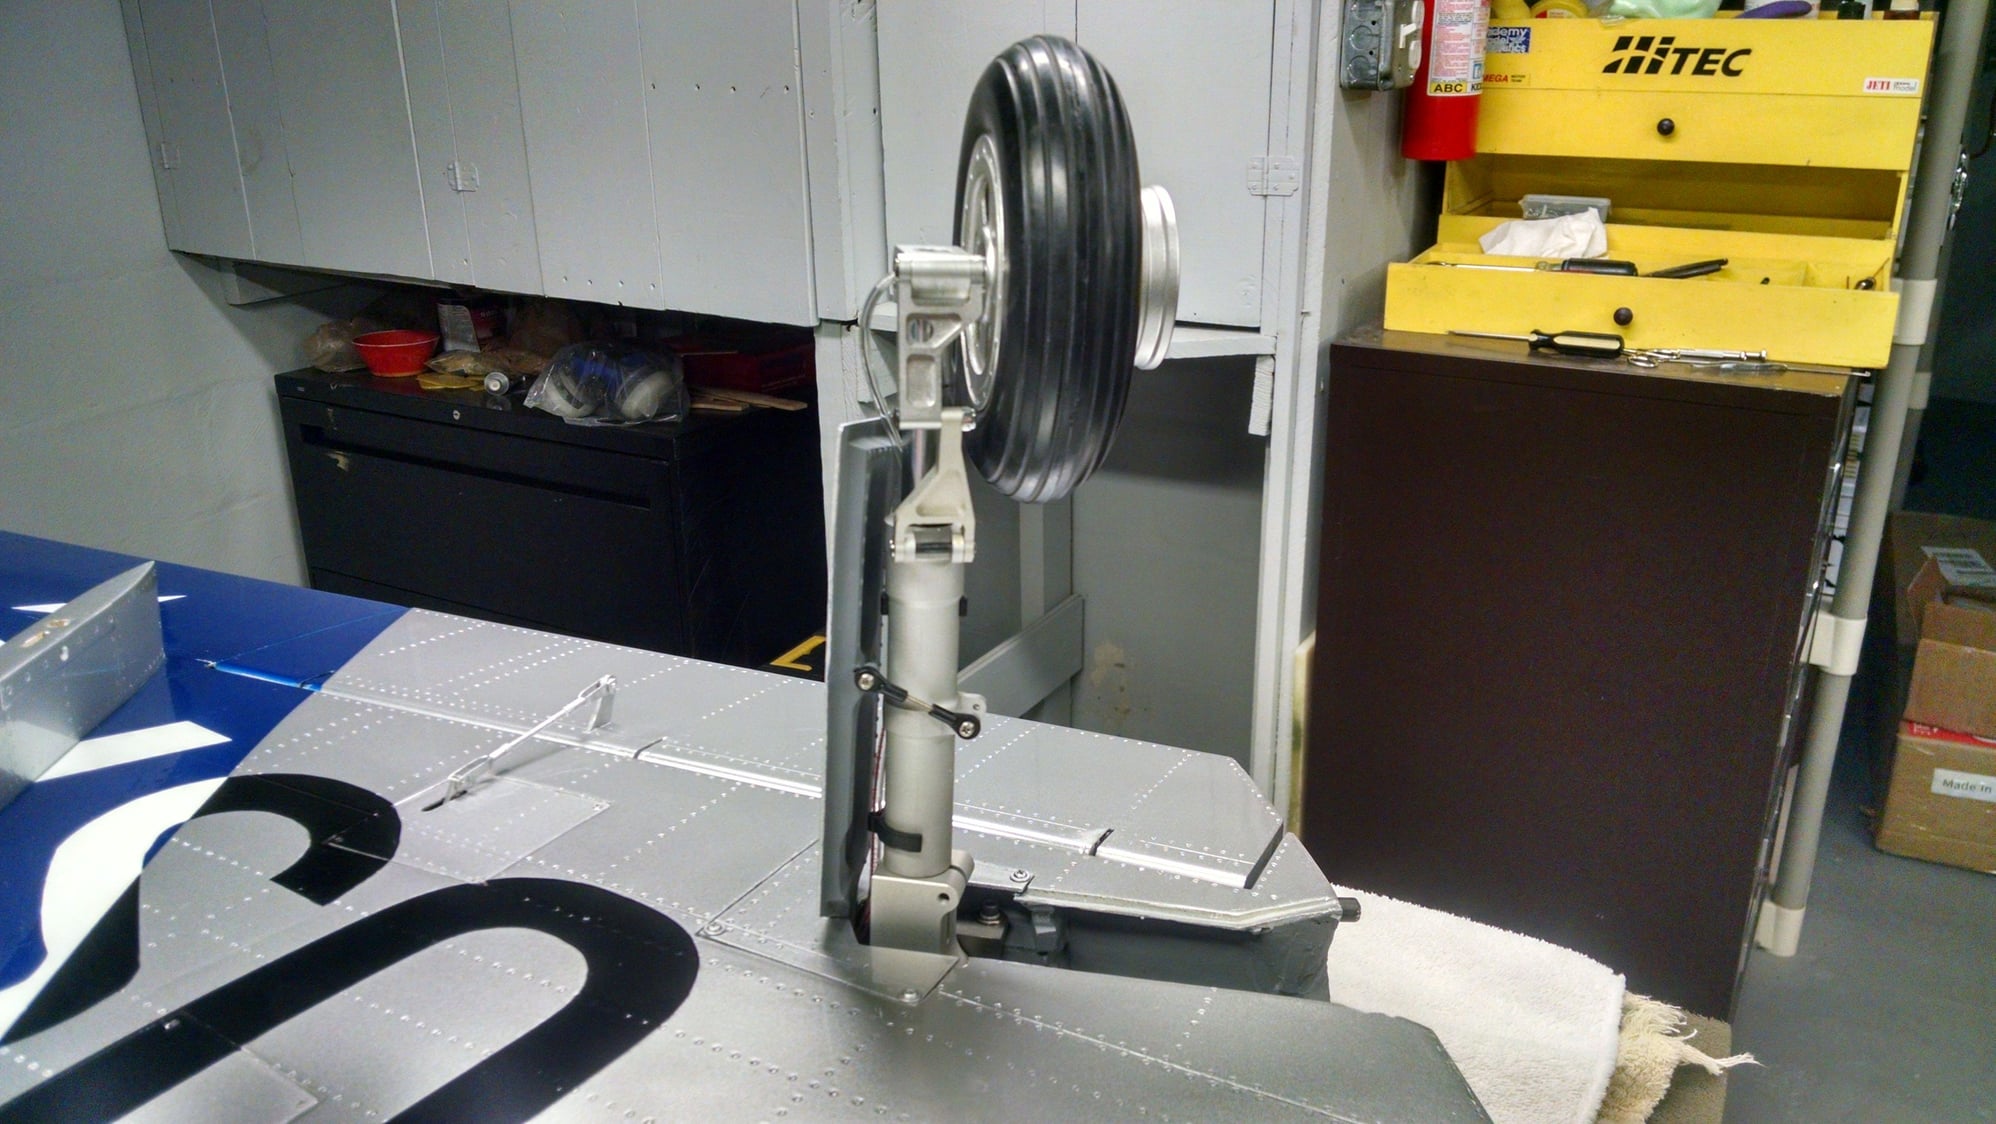
You are correct about the geometry of the main gear door air cylinders, they are incorrectly installed. The way they are they have no leverage in the door closed position and are in the way.
I believe just from the pictures that the cylinder mounting point needs to be moved closer in next to the turbine area and the mounting tab on the doors needs to be further out away from the hinges by maybe an inch. This would give you more tire room as well as plenty of power in the closed position so you only would need the one Robart air cylinder mounted on the front of the wheel well. I mounted my doors this way in my Panther and they work great.
I believe just from the pictures that the cylinder mounting point needs to be moved closer in next to the turbine area and the mounting tab on the doors needs to be further out away from the hinges by maybe an inch. This would give you more tire room as well as plenty of power in the closed position so you only would need the one Robart air cylinder mounted on the front of the wheel well. I mounted my doors this way in my Panther and they work great.
 12-09-2018, 12:15 PM
#143
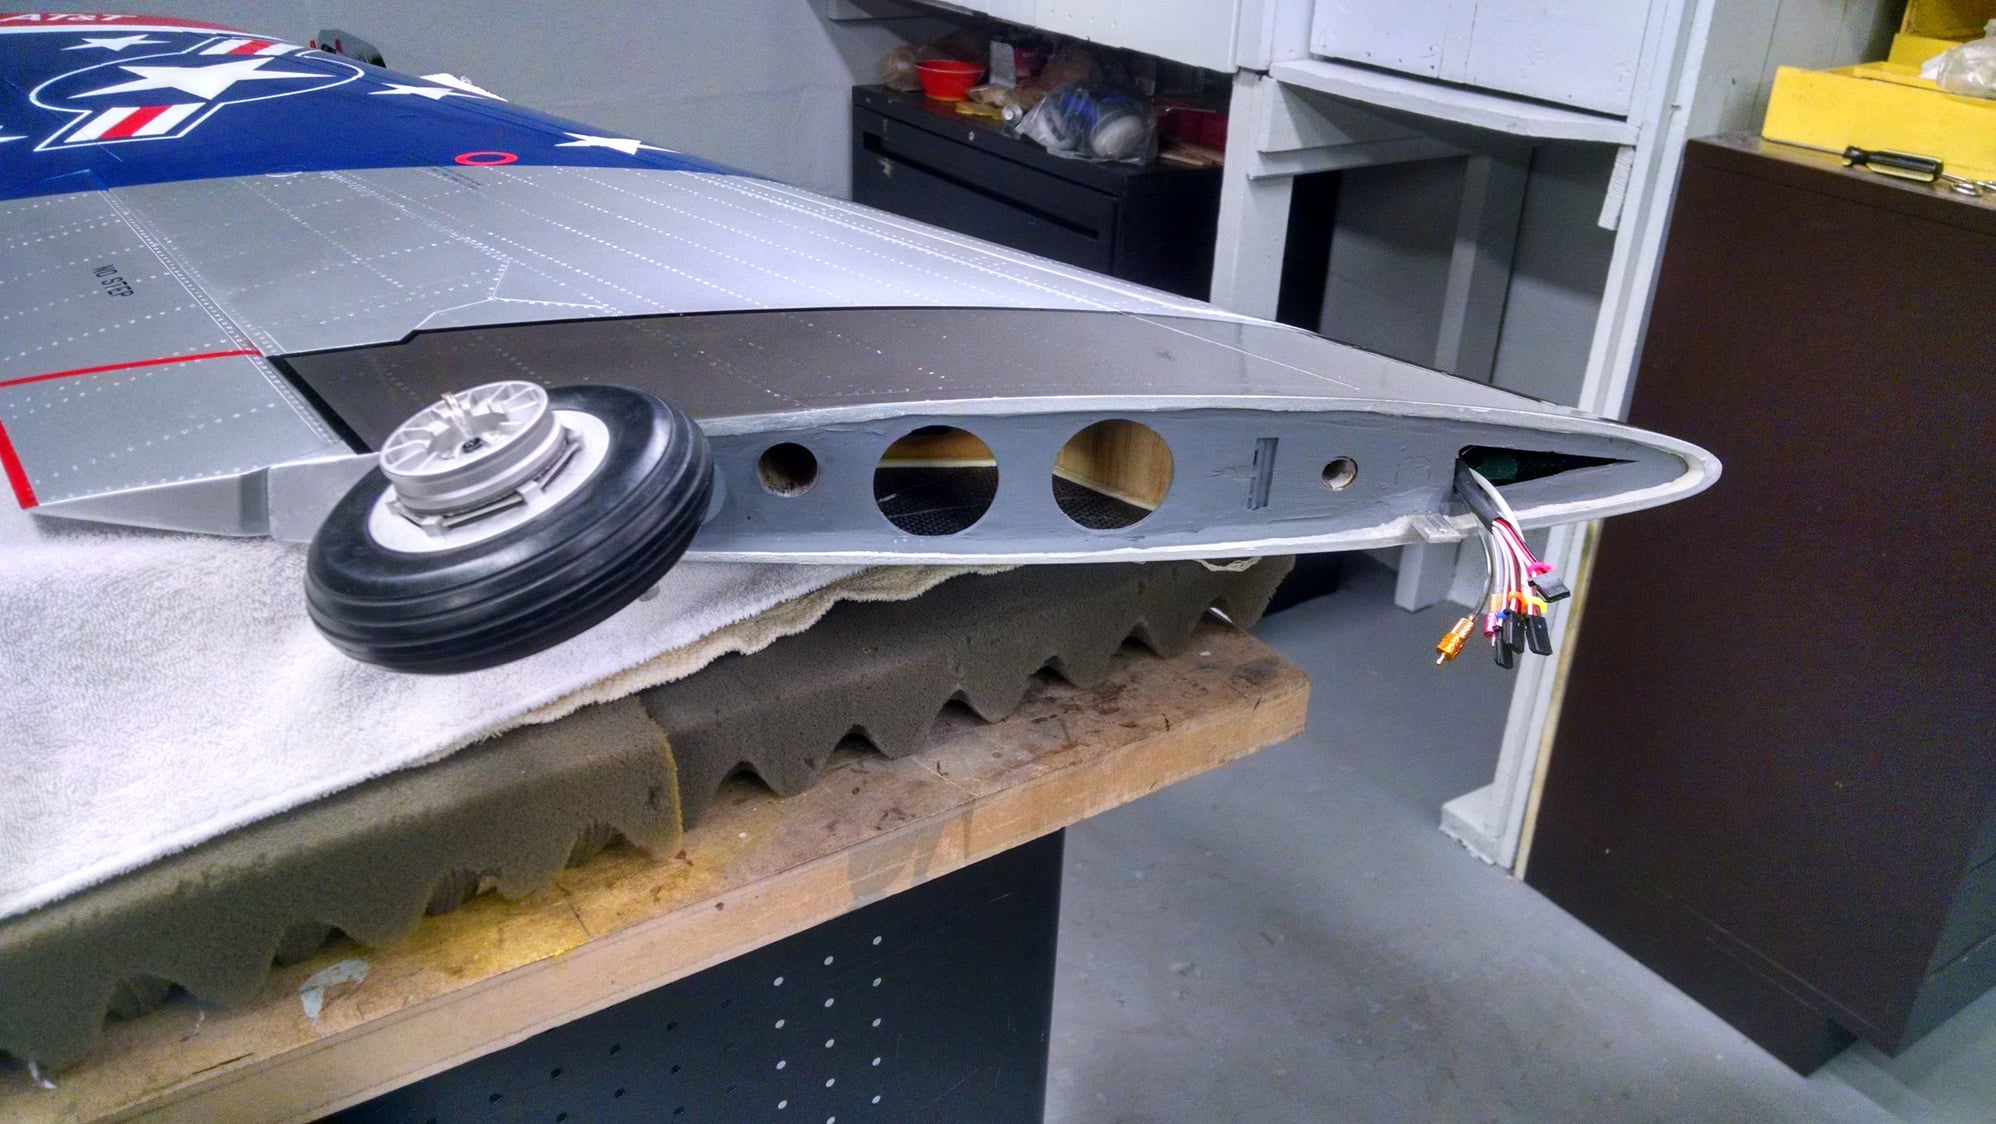
I will have to look again and see if the tire will clear. 1" back is what I thought also. I am guessing that I would need a 1" stroke cylinder. At this point I may just try it as is and see if the doors open. I am planning a full bypass so that will help. If it does not work out and I need to move it, the area is easily accessible without tearing the jet apart
12-09-2018, 12:19 PM
#144
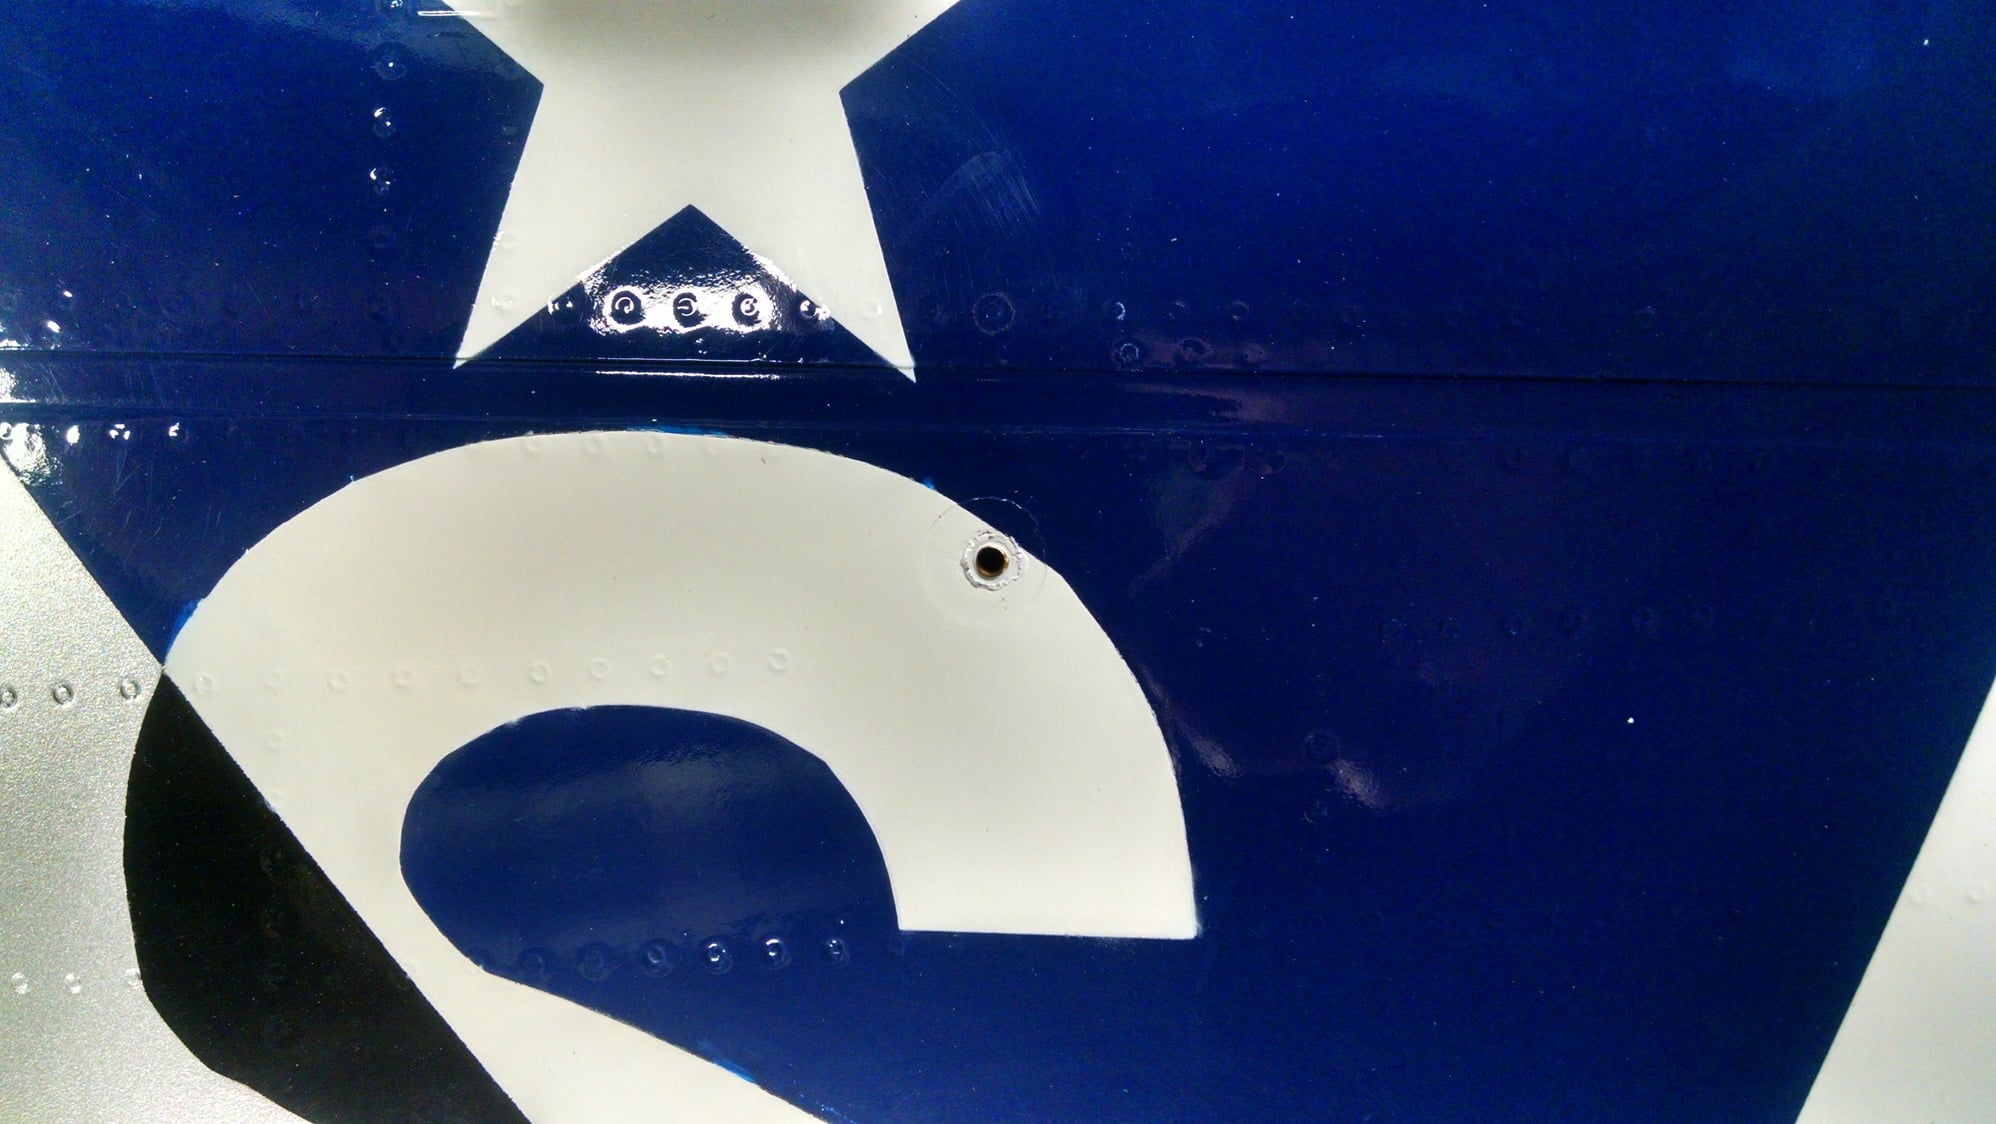
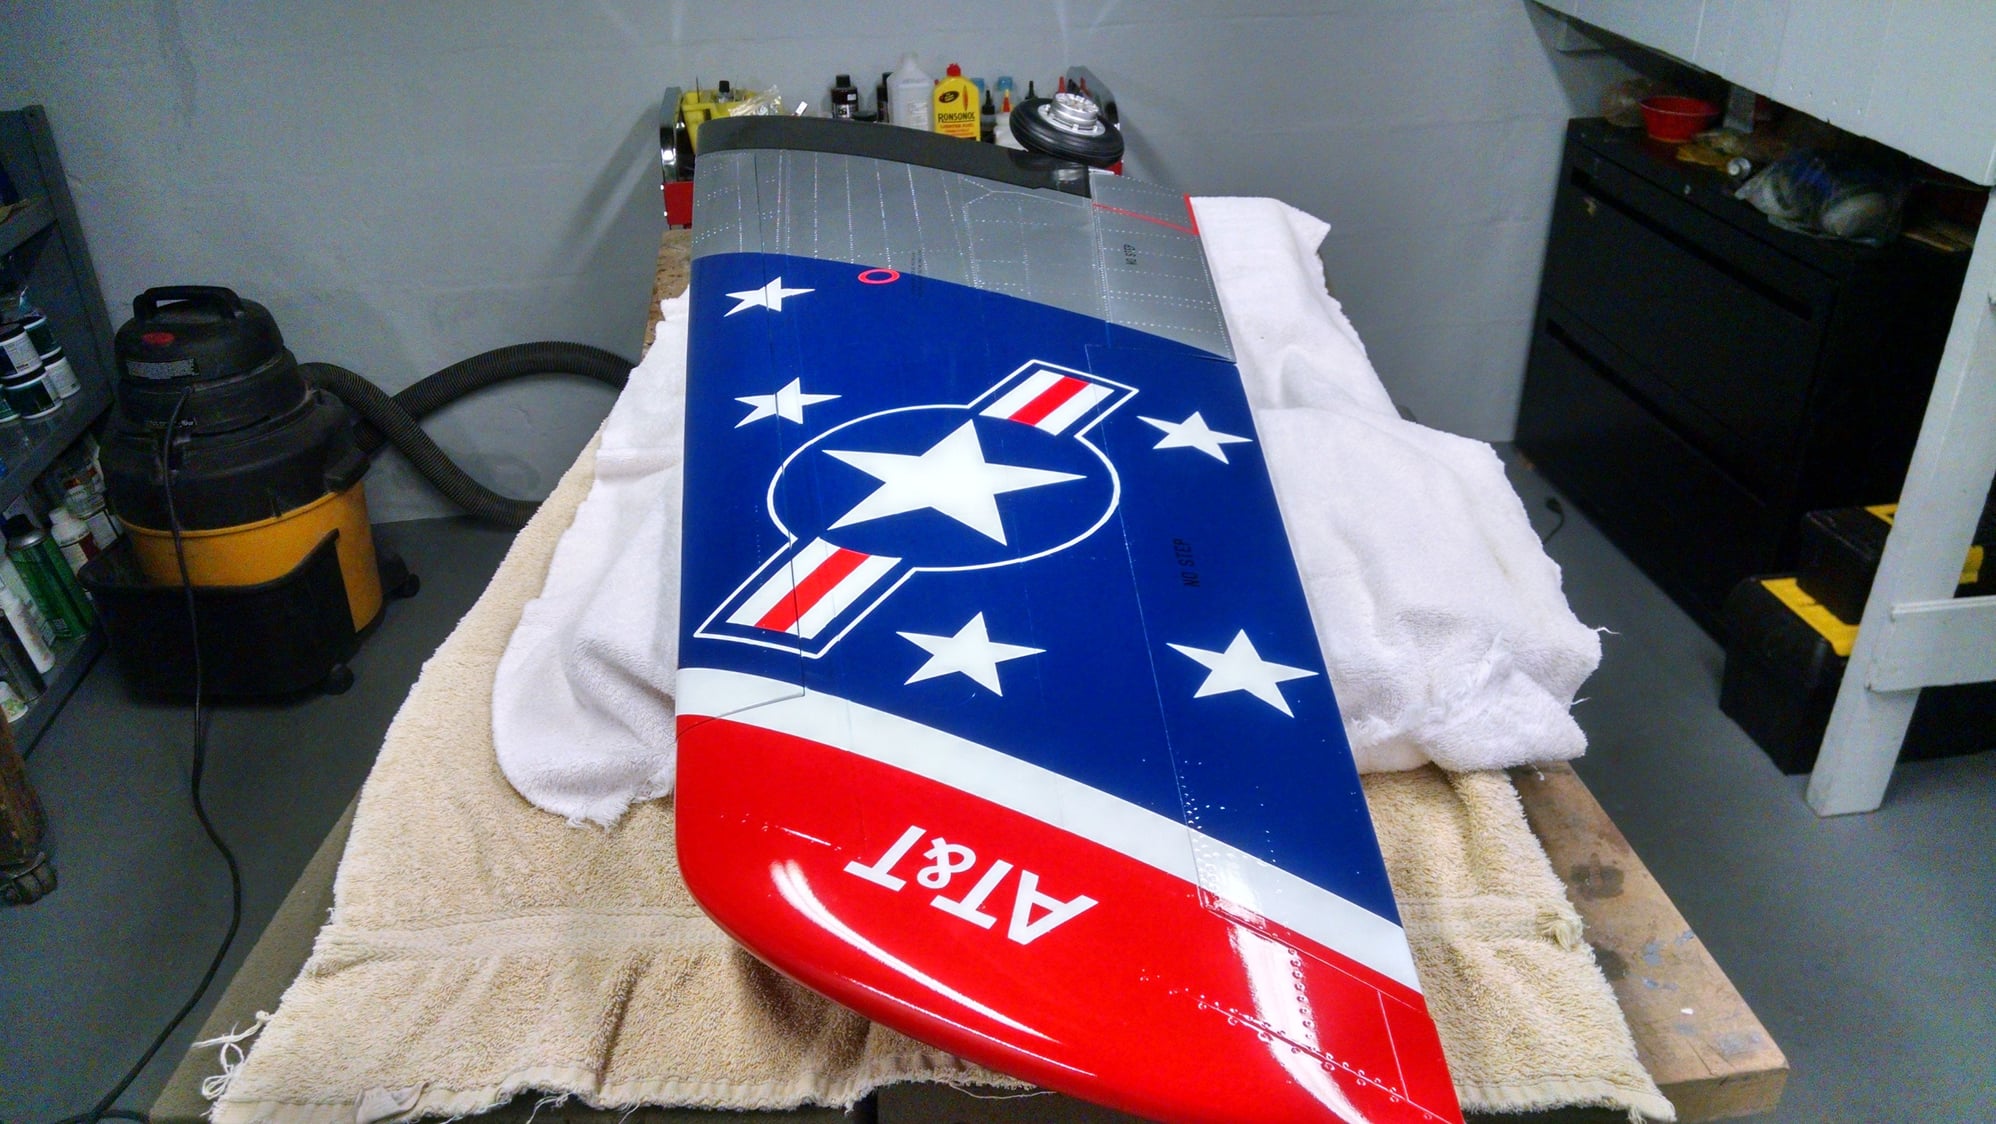
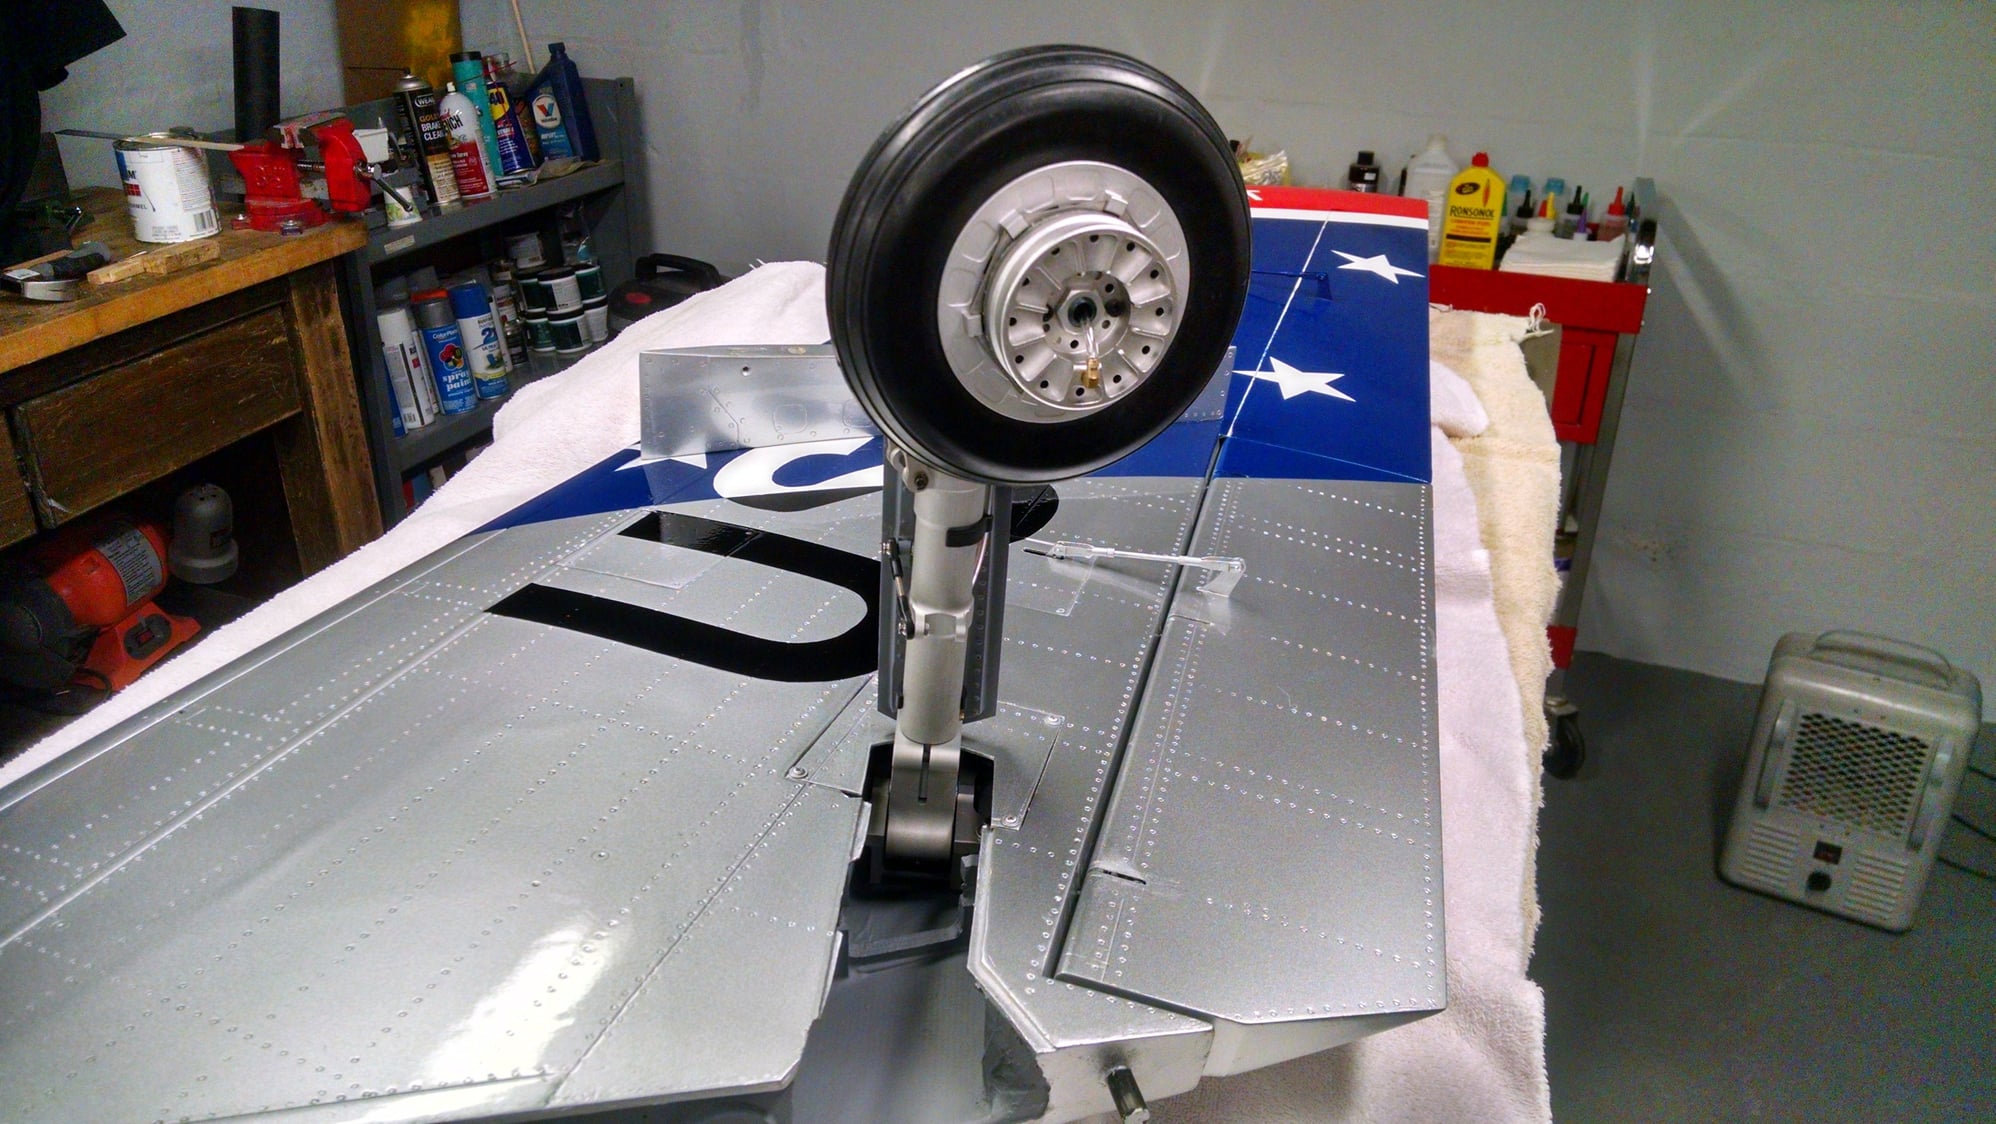
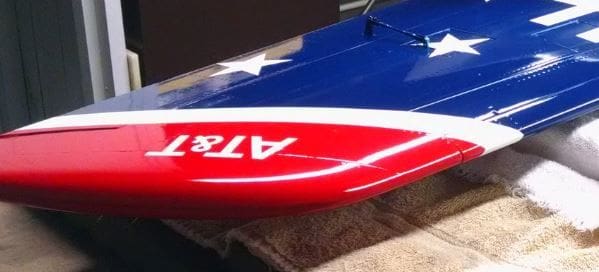
Rich I hate that AT&T logo! Instead of modeling the actual jet from the period, they modeled the version that Dale Snodgrass flew on the airshow circuit. What's worse, my small SM Sabre had that logo also even though I told them to leave it off. AND...back then they had Snodgrass misspelled as it said Snadagrass. Guess what, 7 years later this one has it misspelled the exact same way!
12-09-2018, 02:14 PM
#145
My Feedback: (21)
Dom,
Remember you saw mine fly with a full bypass. I wasn't looking, I was concentrating on the flight, but you said the doors never opened including the nose gear door. My doors are all hinged and dual cylinders. In fact yours looks a lot like my set up.
Joe
Remember you saw mine fly with a full bypass. I wasn't looking, I was concentrating on the flight, but you said the doors never opened including the nose gear door. My doors are all hinged and dual cylinders. In fact yours looks a lot like my set up.
Joe
12-10-2018, 06:57 AM
#147

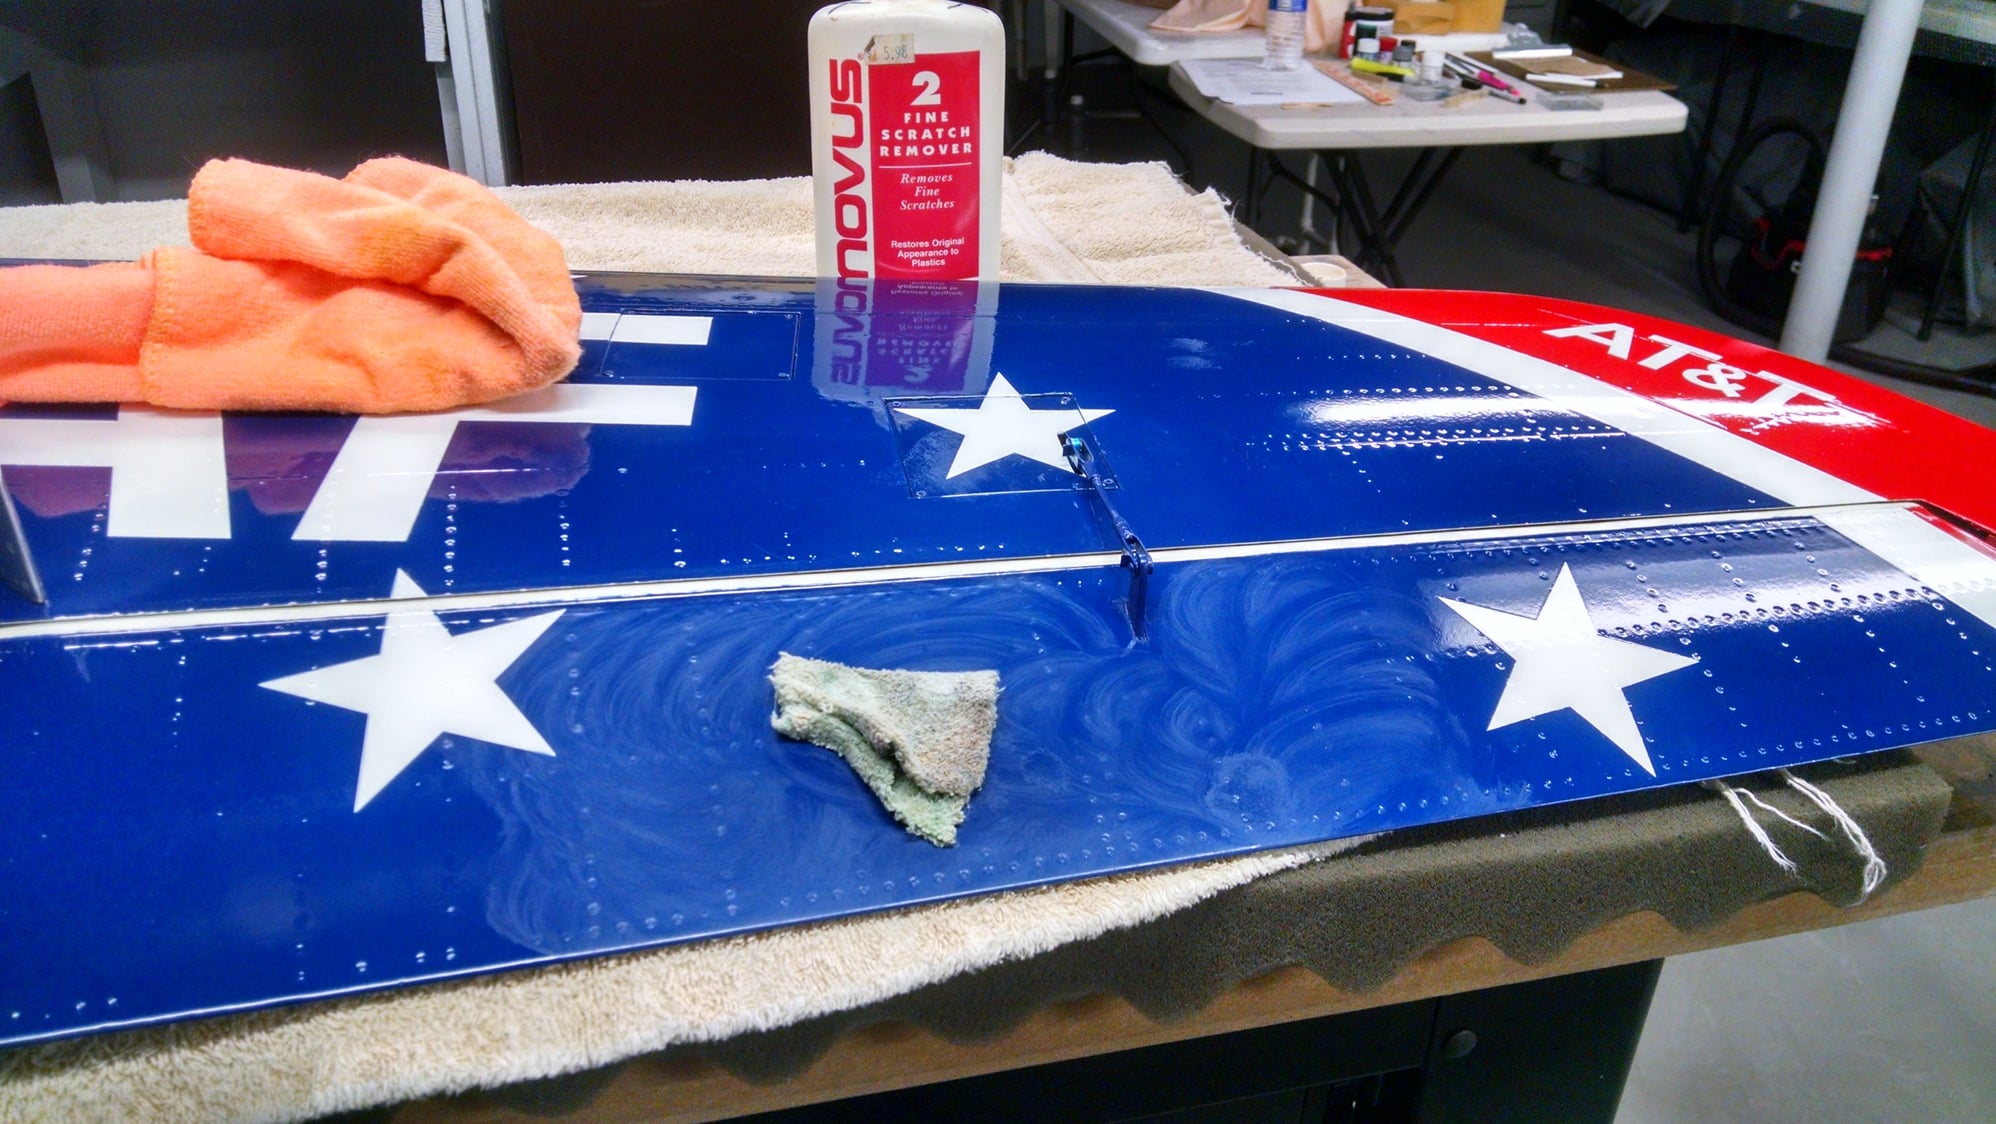
Woody, what is your solvent of choice for cleaning up the excess silicone? Even on house projects I always have trouble cleaning up pure silicone without making a streaky mess, and I'd worry about any harsh solvents affecting the paint if I were doing it on a model. Your method looks flawless, curious which you used.
12-10-2018, 08:42 AM
#149
I used rubbing alcohol but that is after verifying it would not harm the finish. I have a few things I use depending on how tough the paint is. Lighter fluid, Mineral spirits and my favorite which I am just about out of...Cheveron Perfect Paint Thinner. The Cheveron is so mild yet seems to take everything off the paint. You can even get glue off of clear canopies without fogging the canopy. I only have about 2 ounces left and only use it in emergencies. I wish I knew what it was. Smells like mineral spirits but work when the spirits dont.
12-10-2018, 10:29 AM
#150
Cool, thanks! On my JHH A-7 even basic rubbing alcohol pulls the paint off, and that's the one I want to secure the pylons on. But that plane should be in for a repaint in the not too distant future anyway, so I'll address it at that time.