


Maj. Woody's Skymaster 1/5 F-86


 12-15-2018, 03:24 AM
#153
Does anyone know if I am going to need up or down elevator trim / mix when I add flaps? If so how much and what direction?
Also, do the drop tanks change the CG at all? Just wondering if I could fly with or without them without having to worry about the CG. I will test this when I am balancing the model, but wanted to know in advance.
Thanks!
Also, do the drop tanks change the CG at all? Just wondering if I could fly with or without them without having to worry about the CG. I will test this when I am balancing the model, but wanted to know in advance.
Thanks!
12-15-2018, 06:14 PM
#154

Major, on mine, which is identical to yours, If the speed was in the 70 mph range (I have a GPS with voice speed) no trim needed for either flap setting. Also my slats were mixed with flaps so that when you had full flaps you also had the recommended slat extension. I did not fly with the fuel tanks installed yet but do not think they will affect to w&b much if any at all. One thing I noticed is that with full flap and gear out if you a bit hot, it is a real floater. I found that 48 to 50mph on touch down is perfect and the flare is uneventful. I'm assuming the Spektrum GPS is telling me mph rather than knots. Also I was flying with the CG at 395 mm.
Rod
Rod
12-16-2018, 12:01 PM
#156

My Feedback: (21)
Does anyone know if I am going to need up or down elevator trim / mix when I add flaps? If so how much and what direction?
Also, do the drop tanks change the CG at all? Just wondering if I could fly with or without them without having to worry about the CG. I will test this when I am balancing the model, but wanted to know in advance.
Thanks!
Also, do the drop tanks change the CG at all? Just wondering if I could fly with or without them without having to worry about the CG. I will test this when I am balancing the model, but wanted to know in advance.
Thanks!
It all depends on where you set neutral for the elevator. I need to add up trim for flying but needed down trim for the flaps at half and full. Just be prepared with the flight mod switch set for trim with the different flap positions.
12-24-2018, 11:50 PM
#157
Dom,
You are a true craftsman! Thanks for sharing and explaining every step with pictures.
Regarding the reinforcement of the retracts rails and using bolts with blind nuts, isn't it "too strong"? Wood bolts can be used as fuses in case of hard landing and they will be ripped off instead of causing internal structure damage.
Avi
 12-31-2018, 03:23 AM
#159
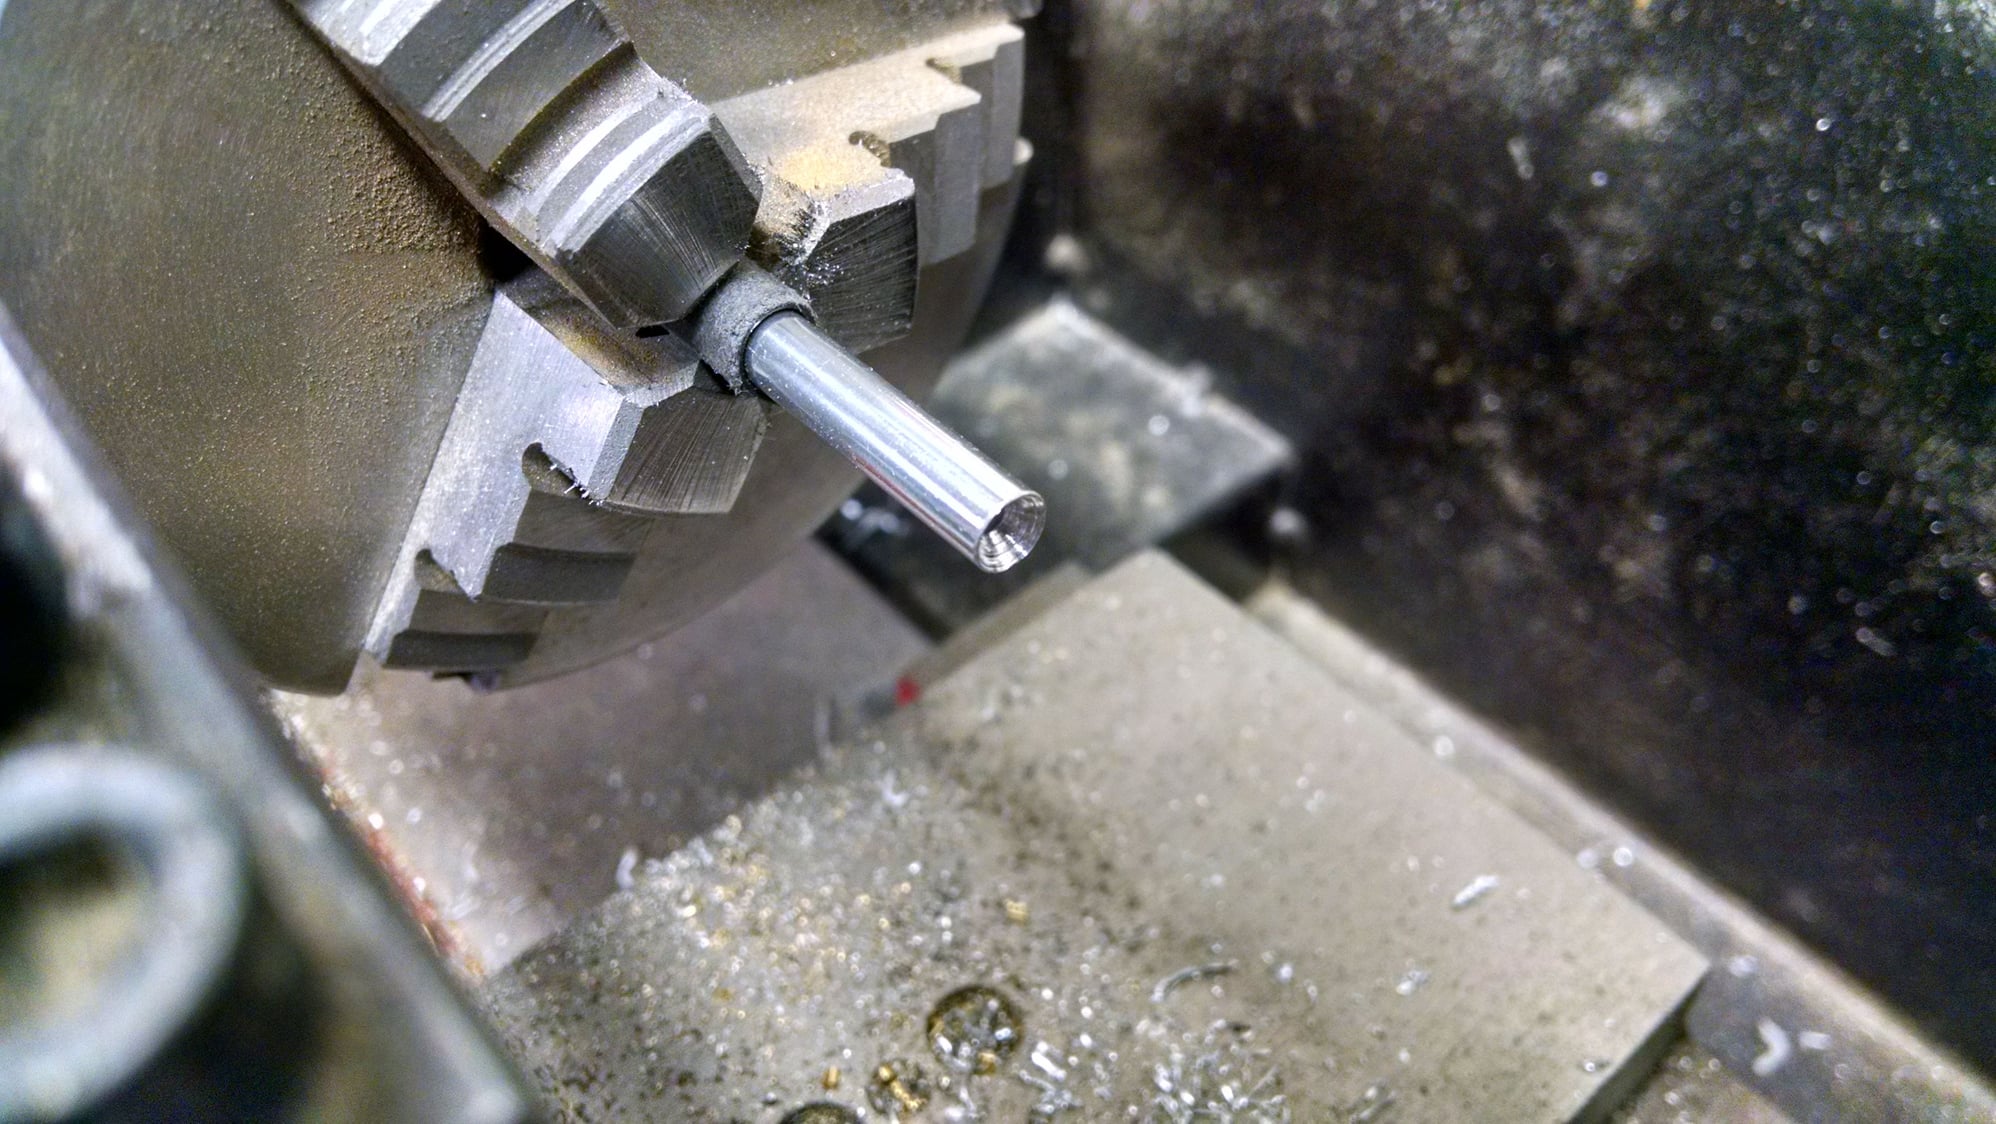
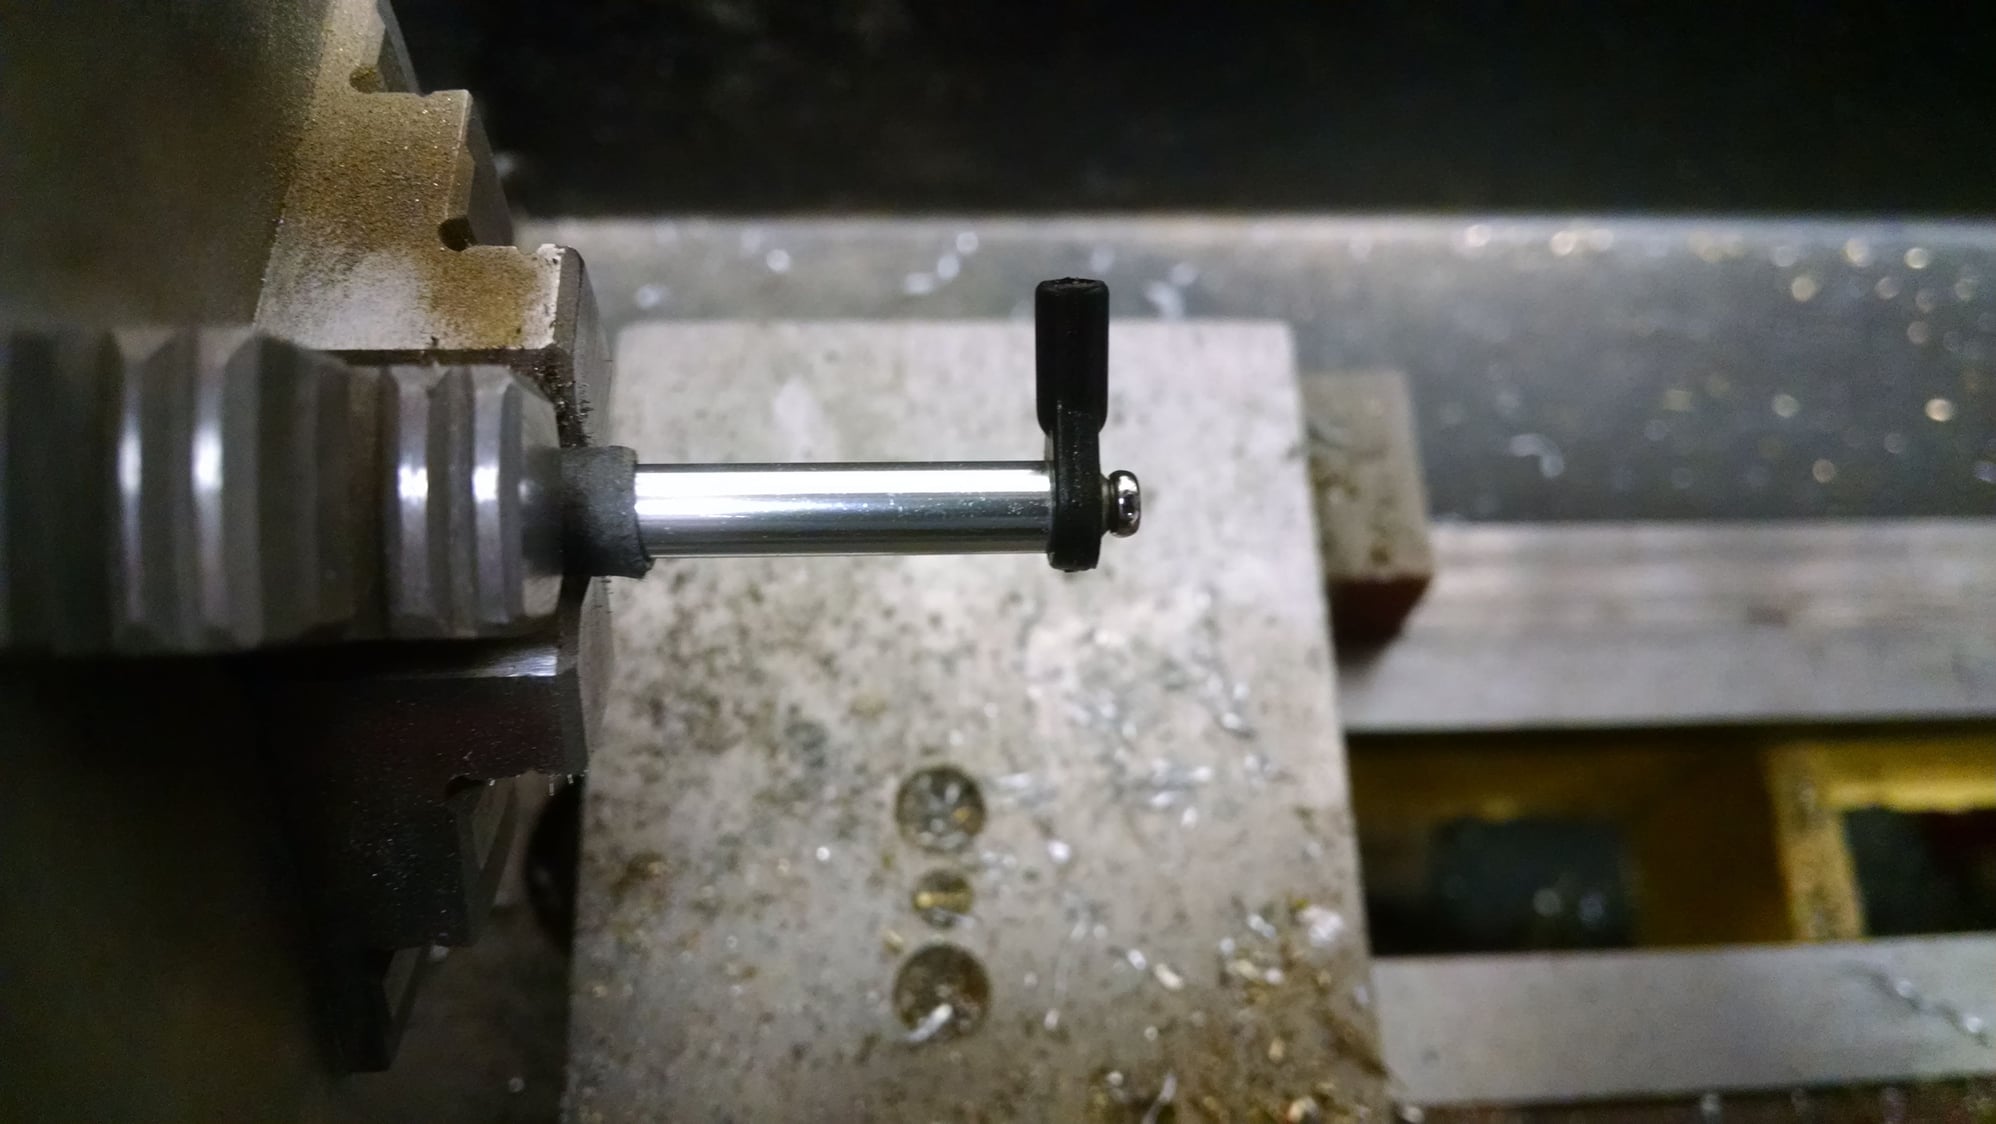

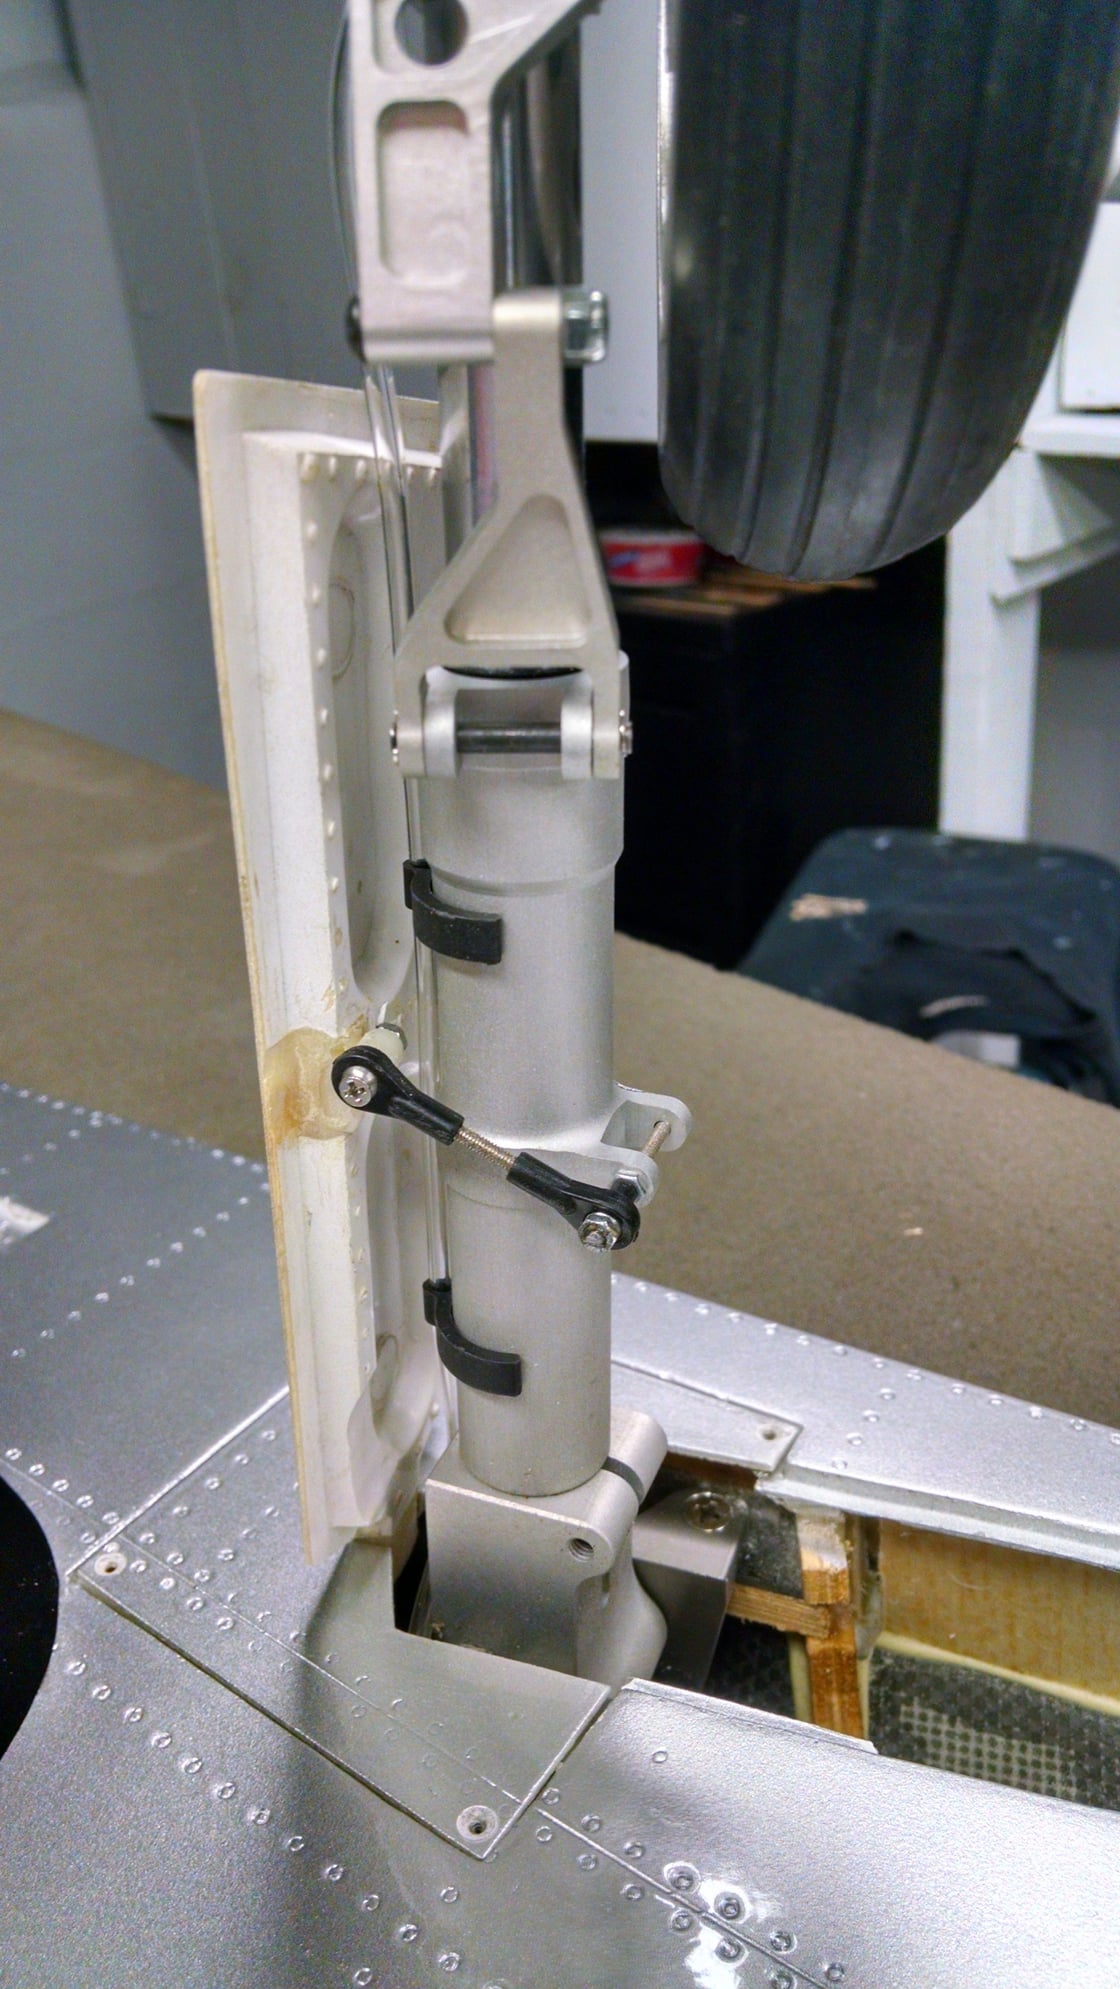
To stabilize things, I machined a standoff with a recess to capture the ball that effectively stopped the link from pivoting at one end. The door closes as it should now. You may notice that the door attachment tab looks different between the stock setup and the modified. That is because the cheap plastic tabs broke off of both doors and I had to replace them.

 01-01-2019, 04:09 PM
#168
https://youtu.be/MHvN53-40Ms 500' runway
01-01-2019, 08:37 PM
#169

Join Date: Jun 2006
Location: Gold Coast, Queensland, AUSTRALIA
Posts: 1,469
Received 26 Likes
on
24 Posts
Cheers,
JanR
01-03-2019, 09:26 AM
#170
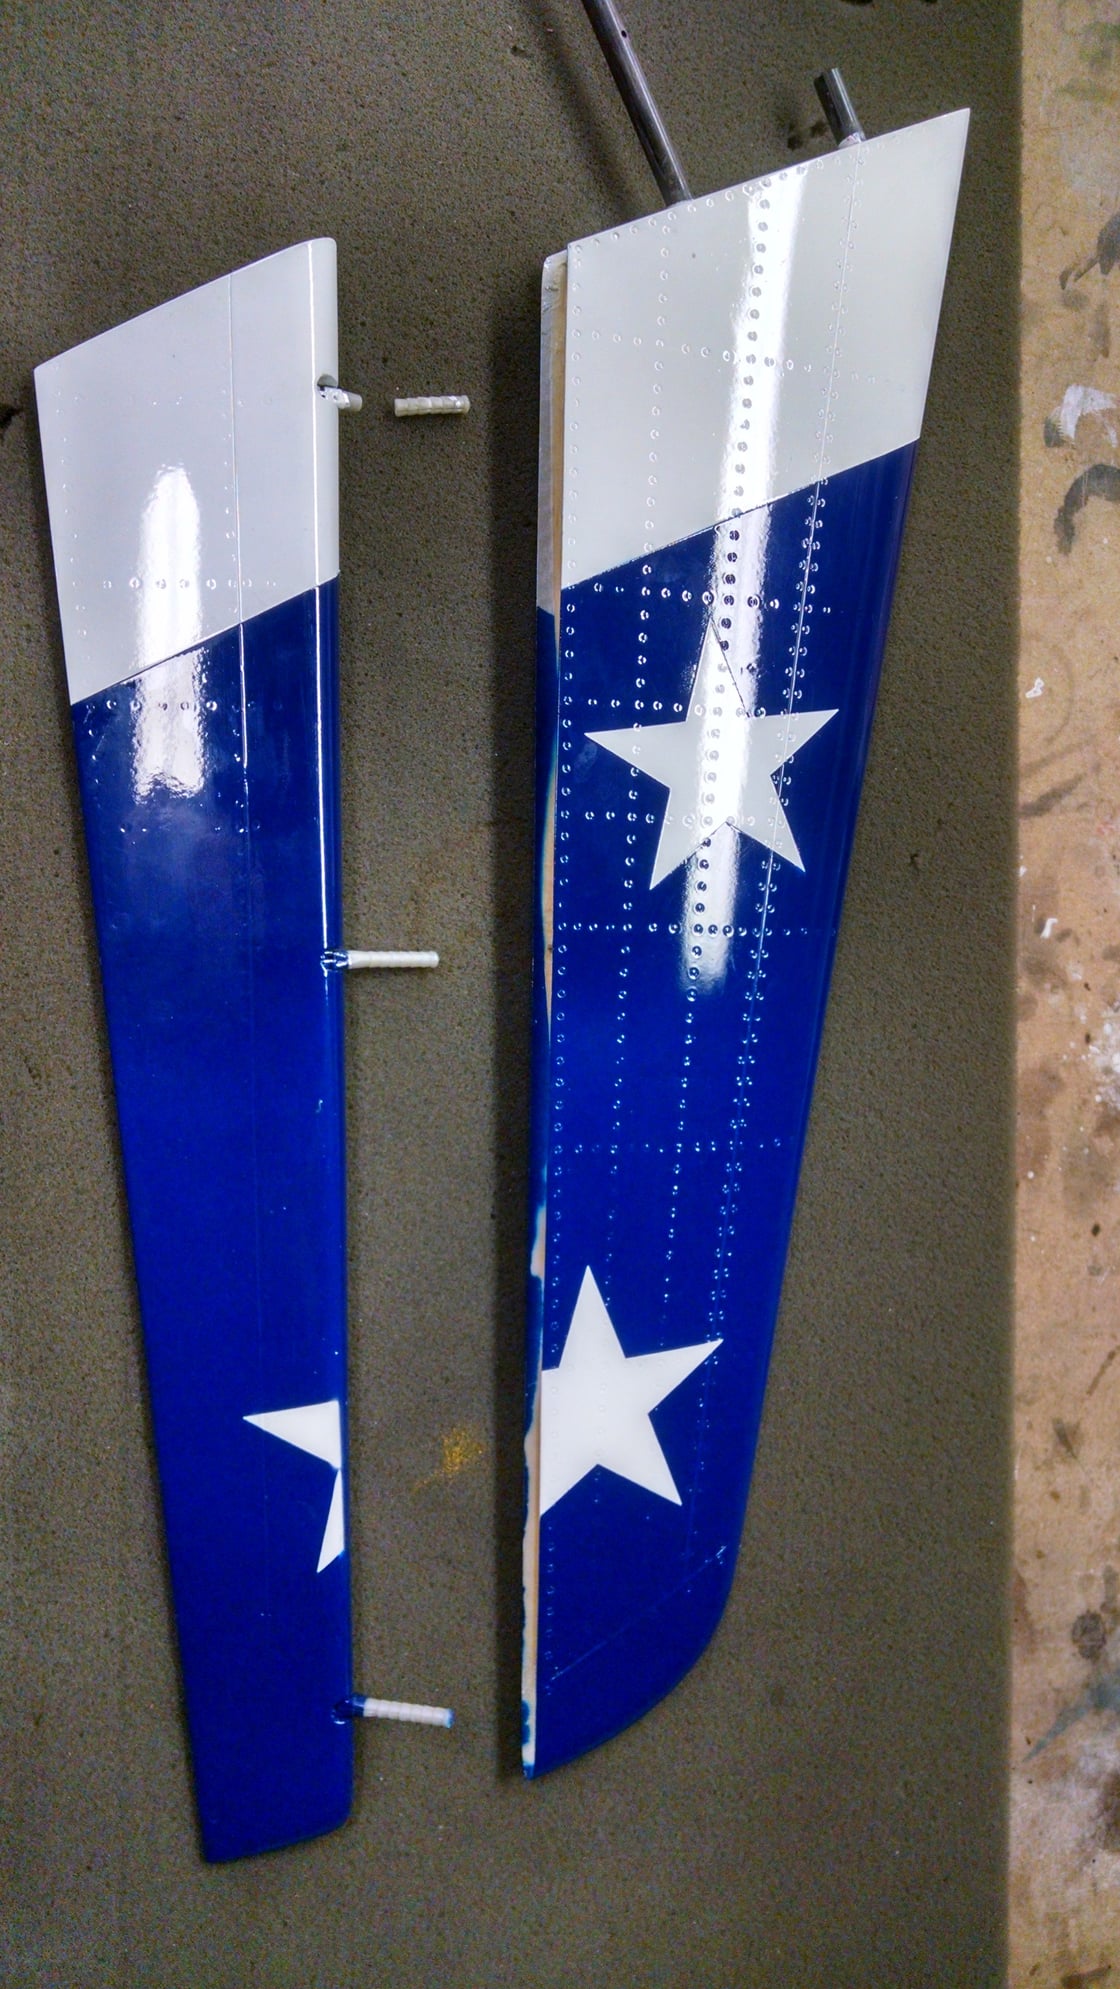
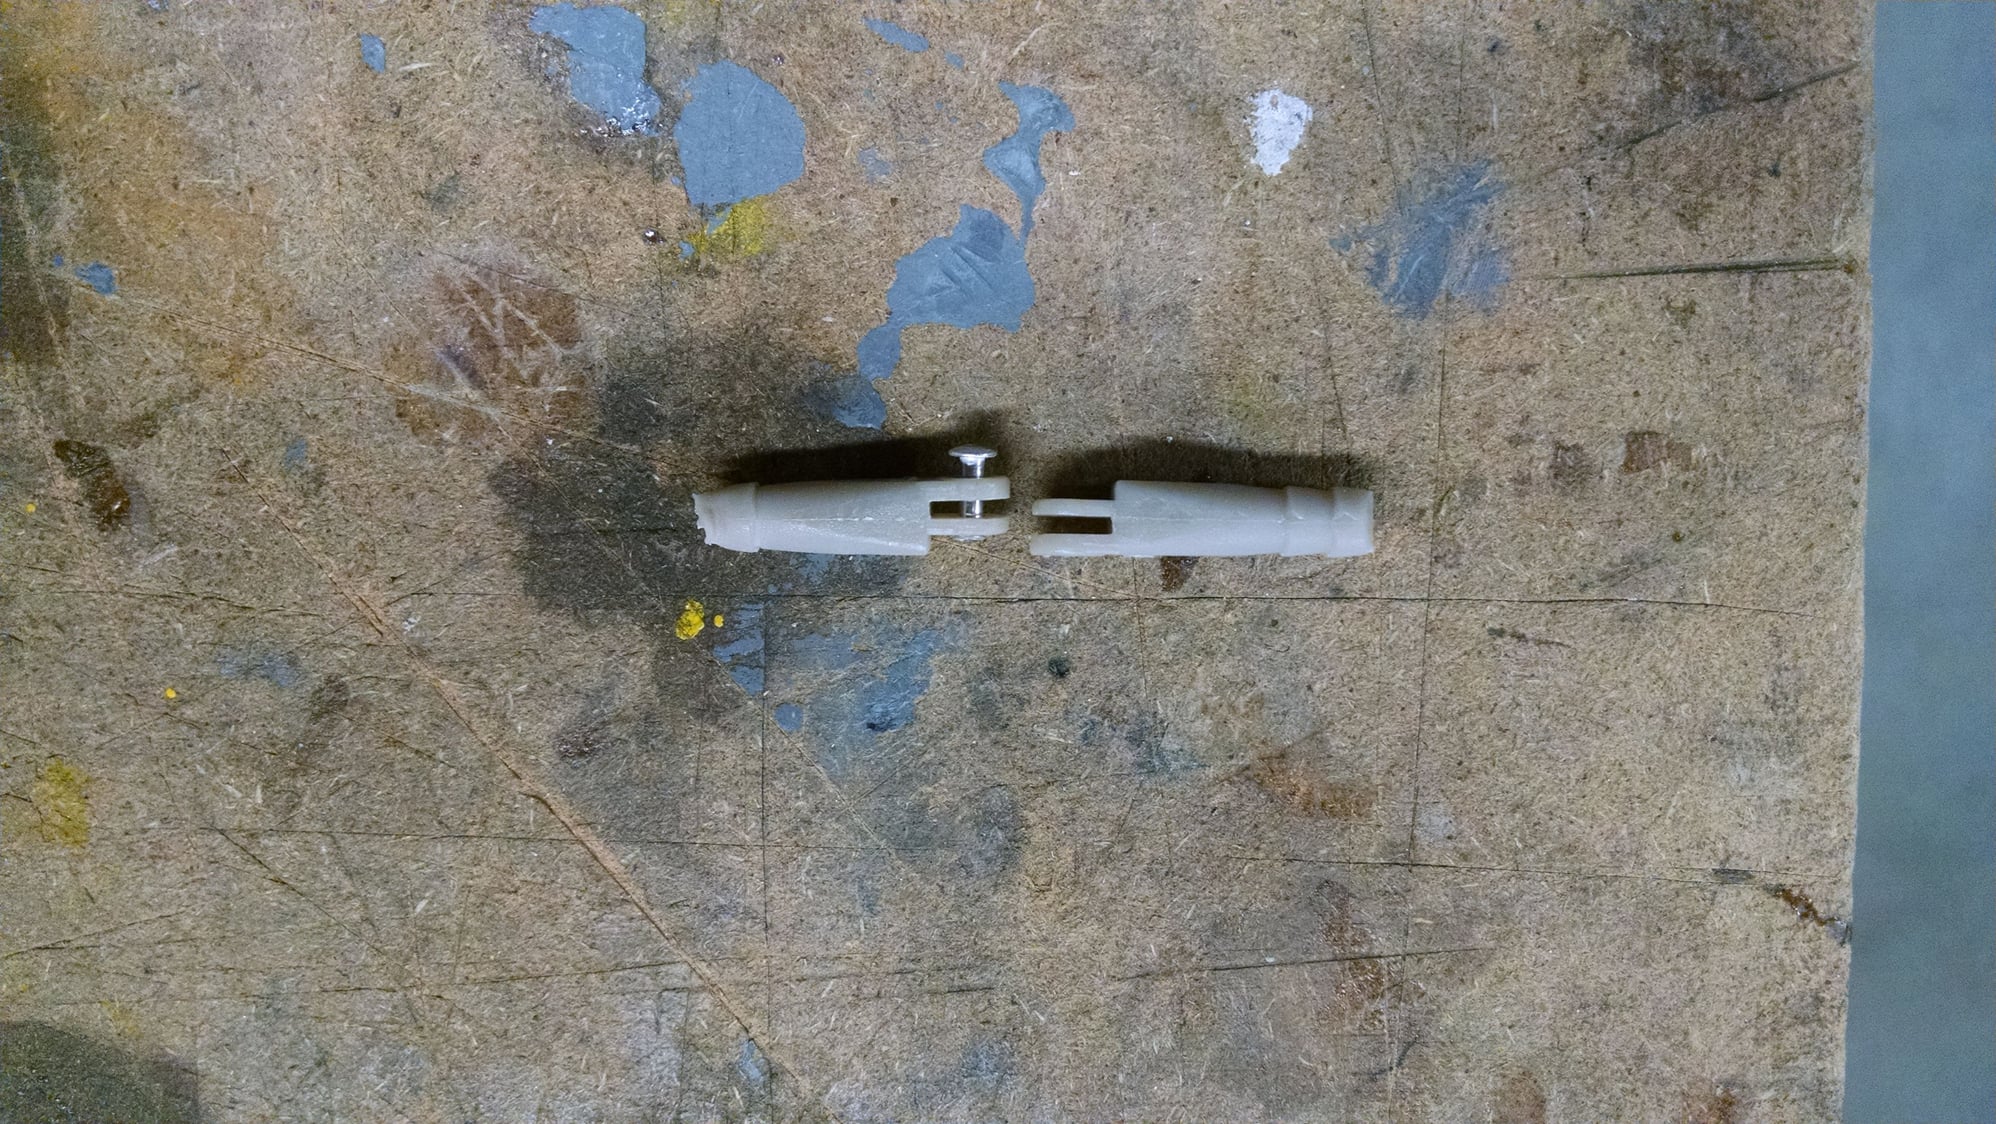
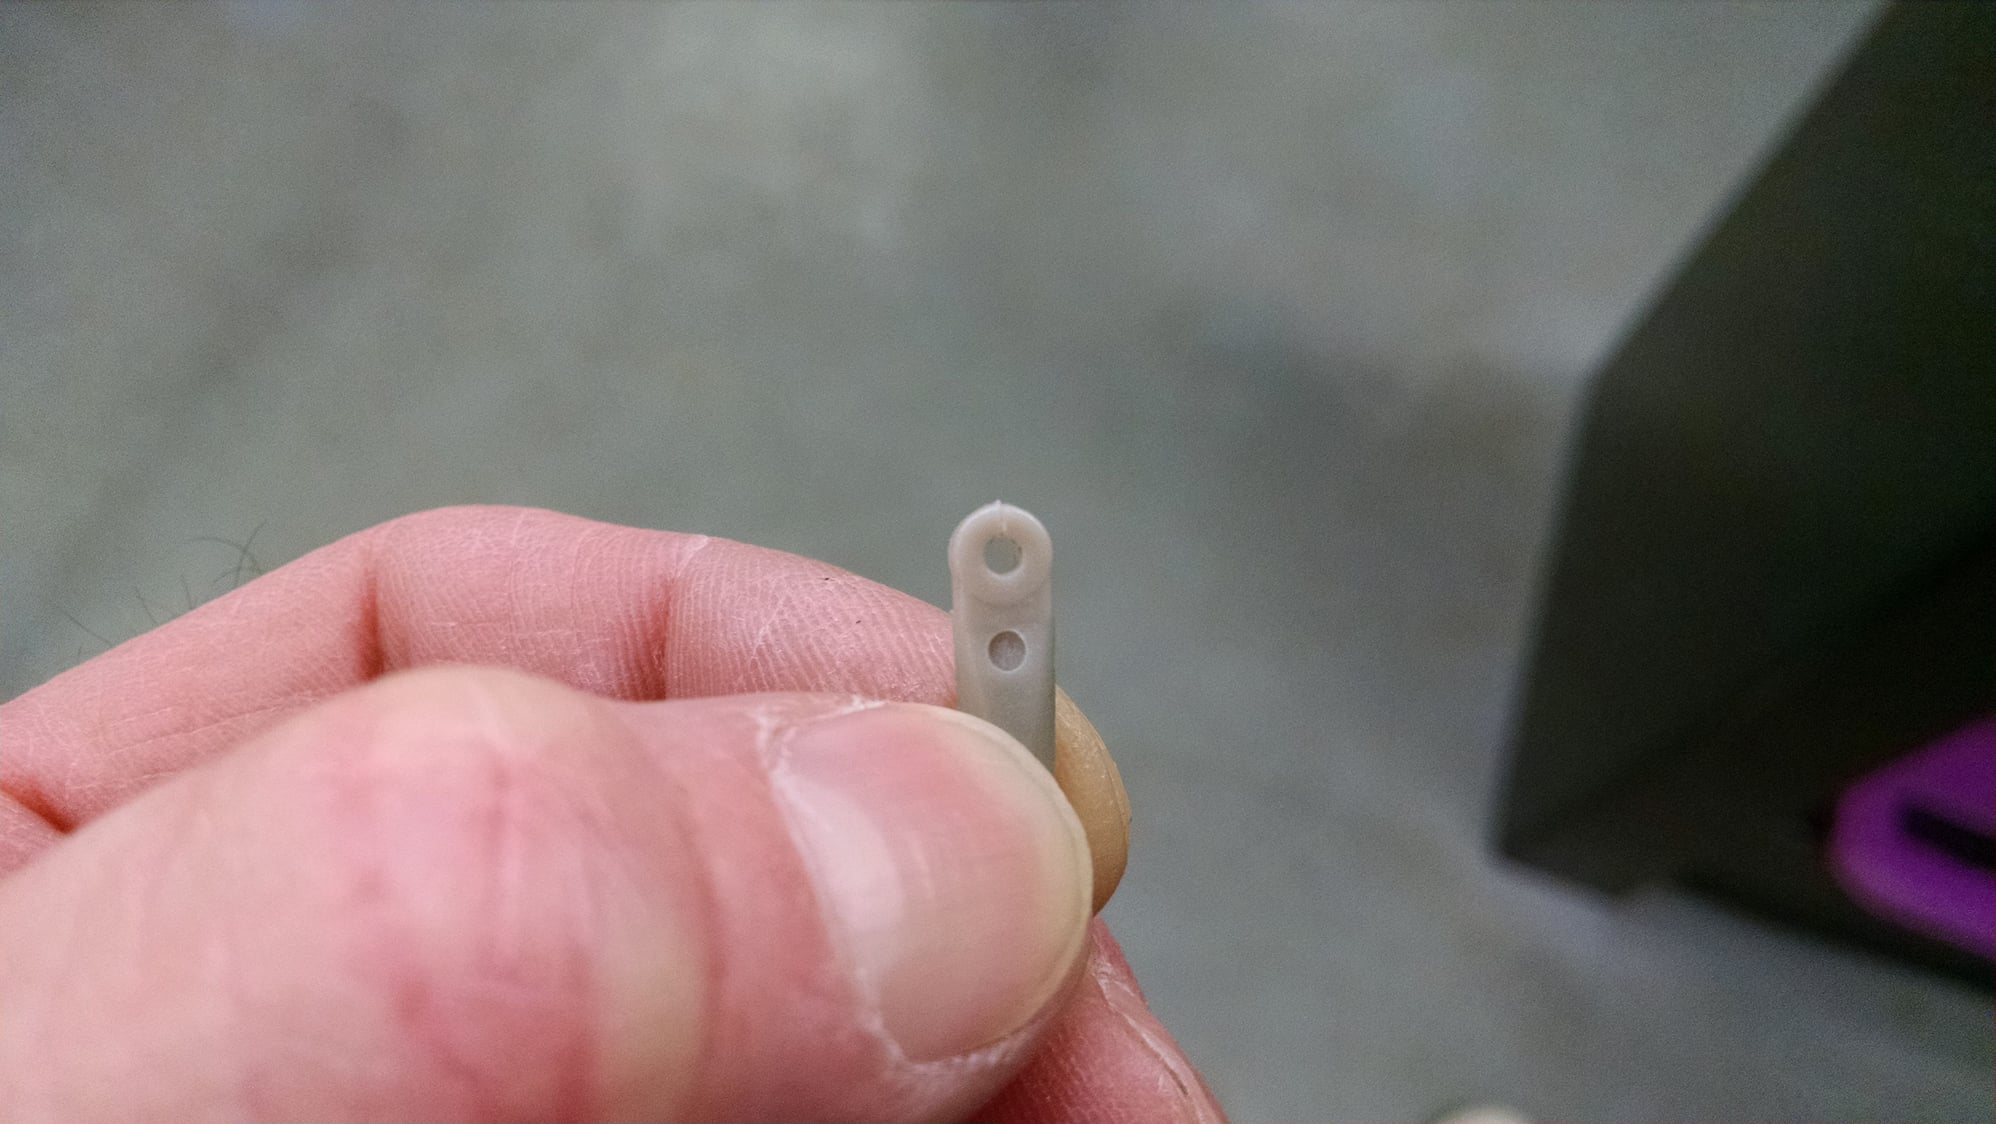
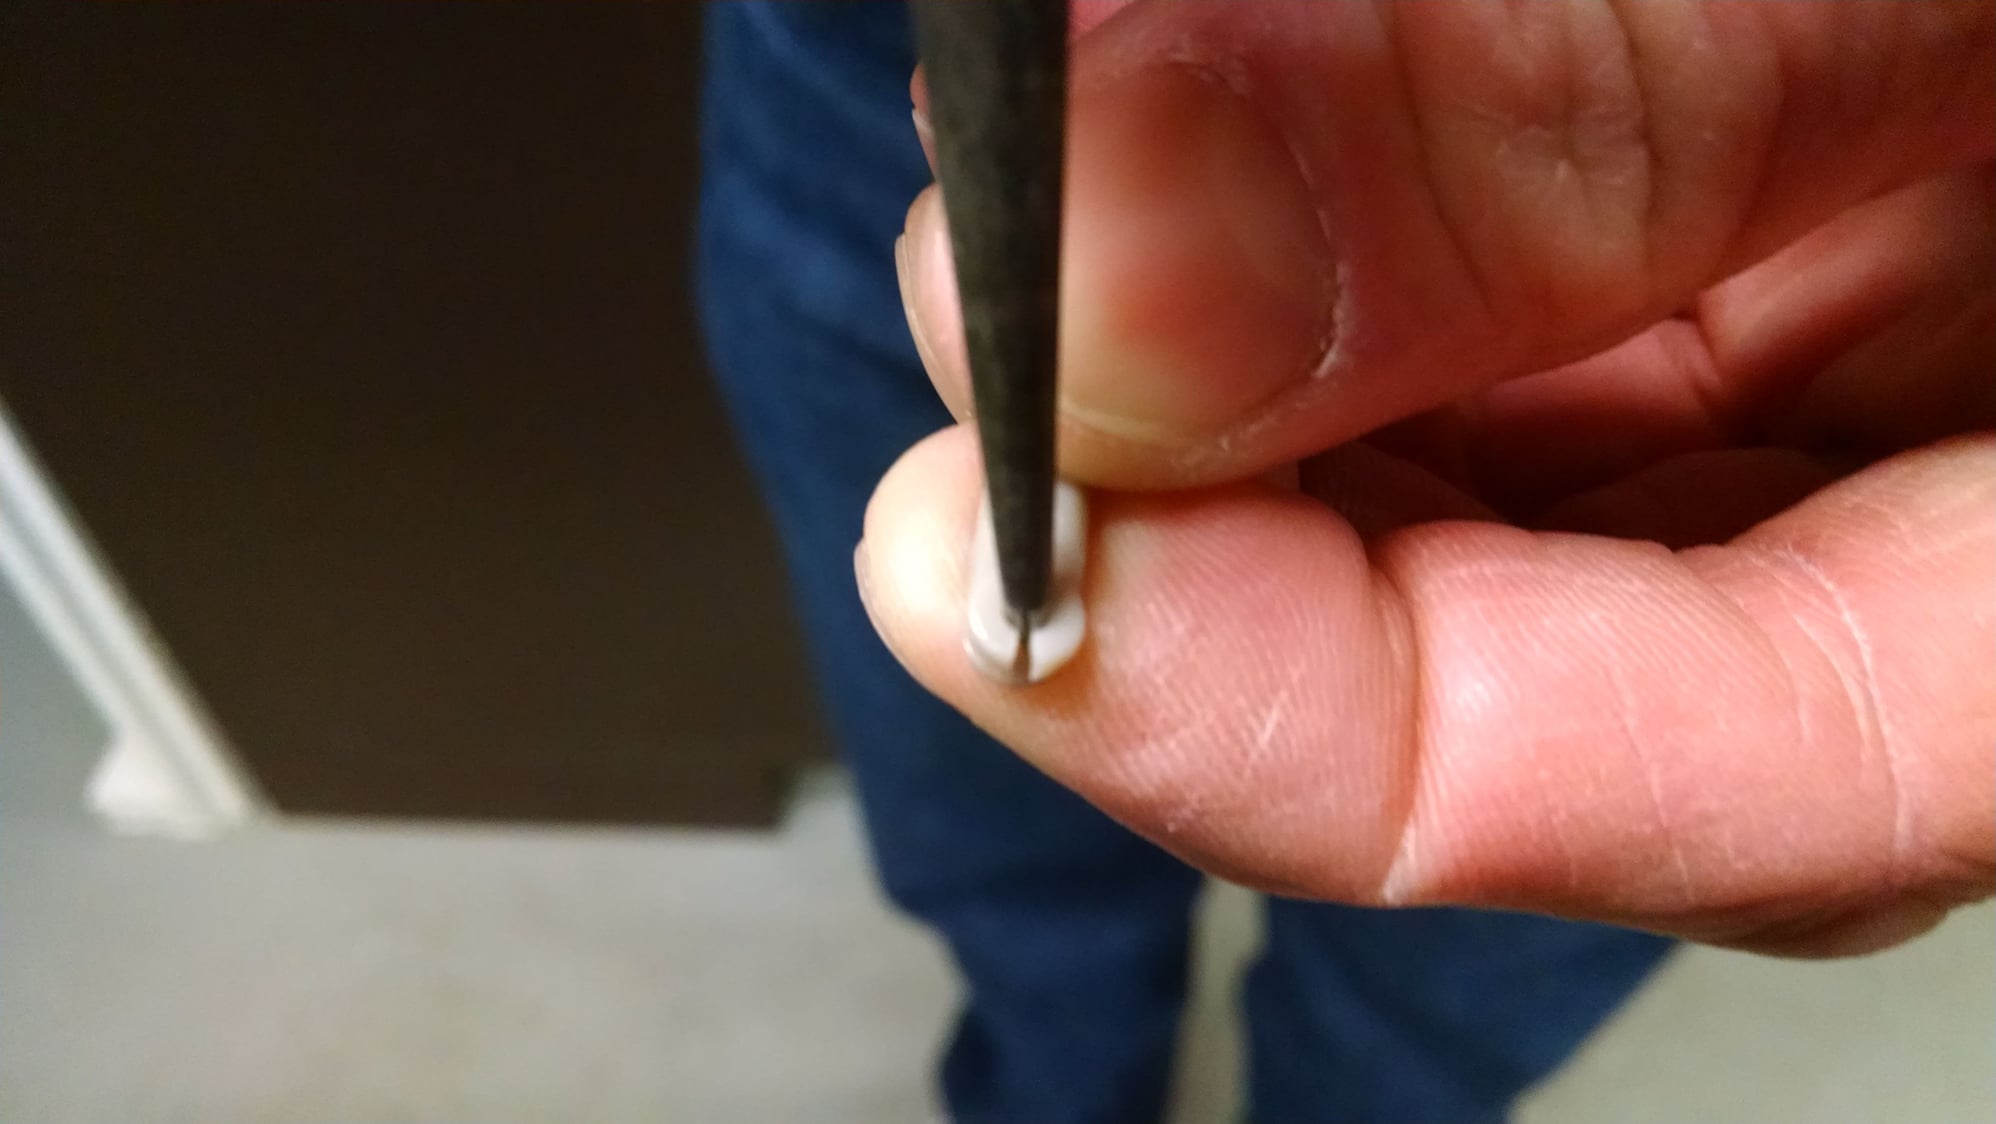
Moving on to the tail, I immediately encountered a problem with the installed hinges. Just removing the elevator from the stab (the hinges come pre glued into the control surfaces only) caused on hinge to snap in half. Putting a little pulling force caused anothed failure at the pivot pin. I have no choice but to grind out all of the supplied hinge points and replace them with high quality Robart hinges. Dont be fooled or trust these imitations.