


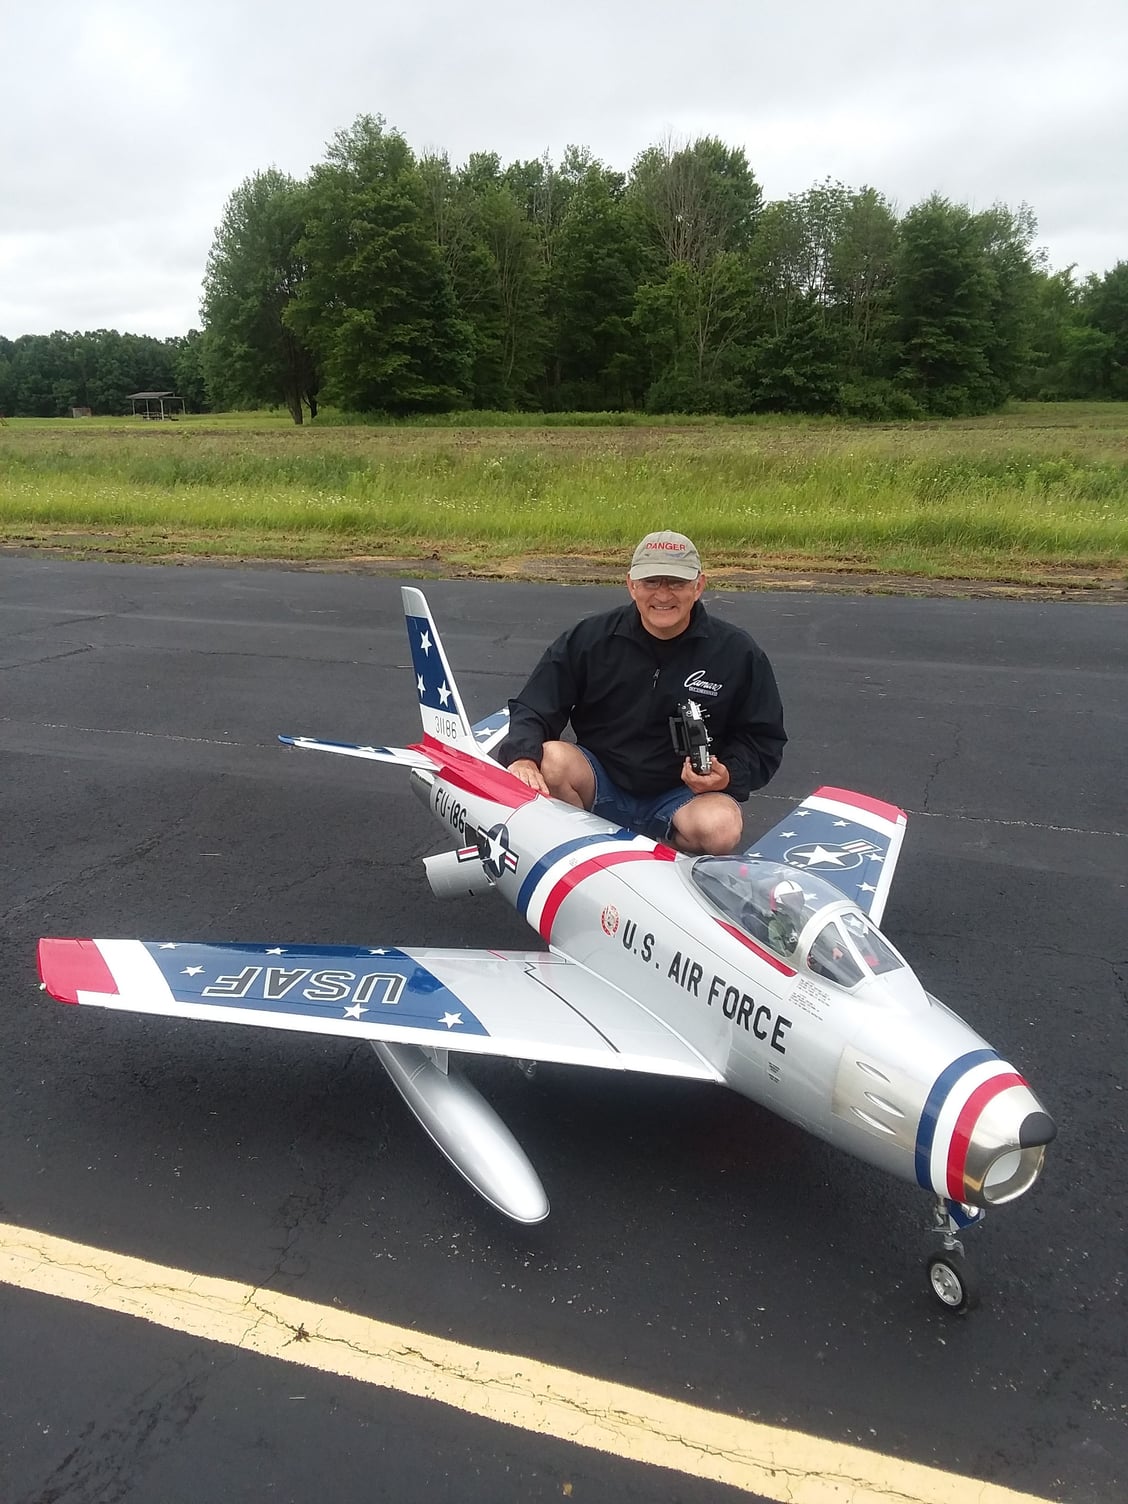
Maj. Woody's Skymaster 1/5 F-86
 01-04-2019, 04:04 AM
#176

My Feedback: (21)
Thanks for the heads up Dom.
That will Defiantly will be one of the items that gets attention on mine. It will be a little more difficult to remove the surfaces as all mine are glued on. Can't believe I flew it with those.
I do like the Skyblazers scheme but I have not come across another painted like mine which was painted after Steve Snyders. Similar to the Skyblazers but defiantly a different paint job.


 01-05-2019, 07:31 AM
#184


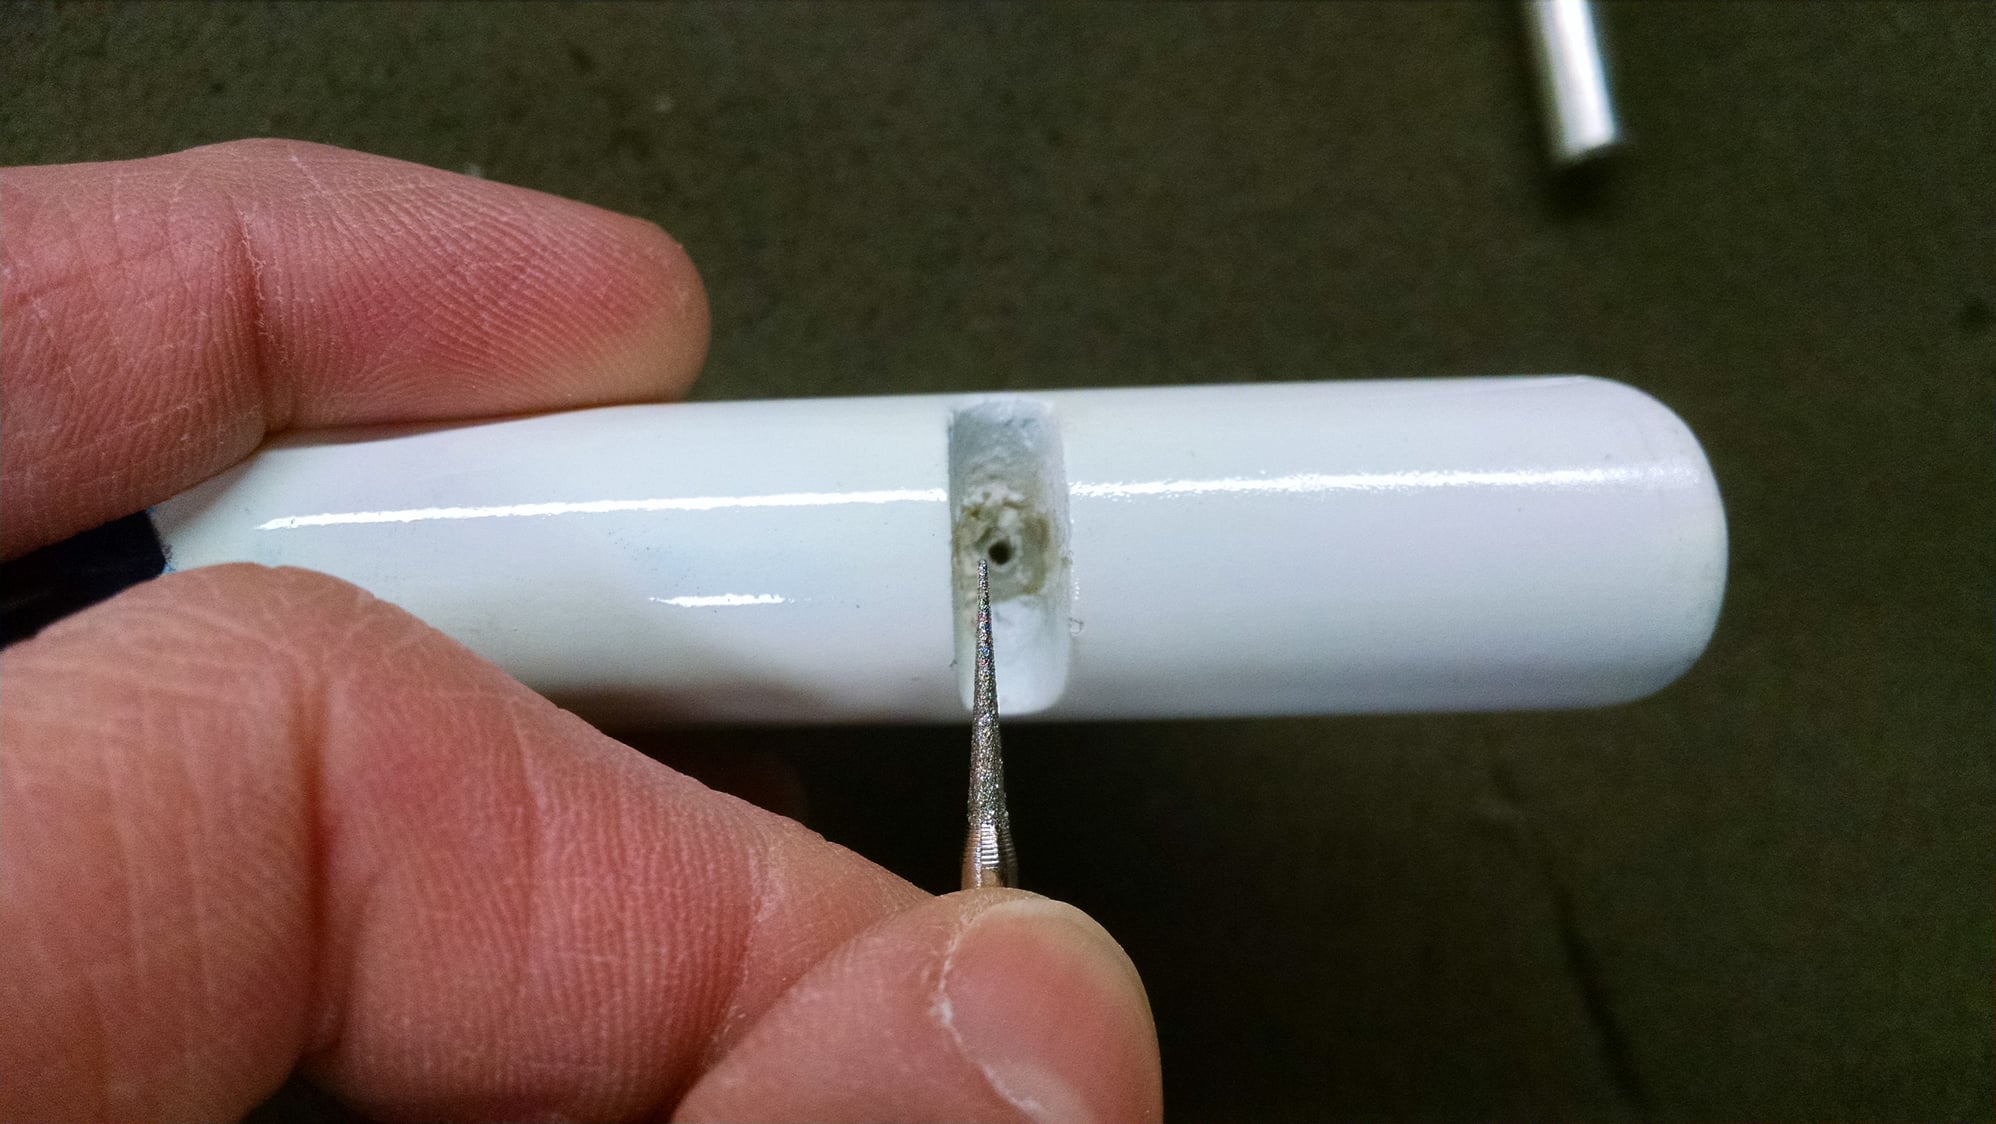
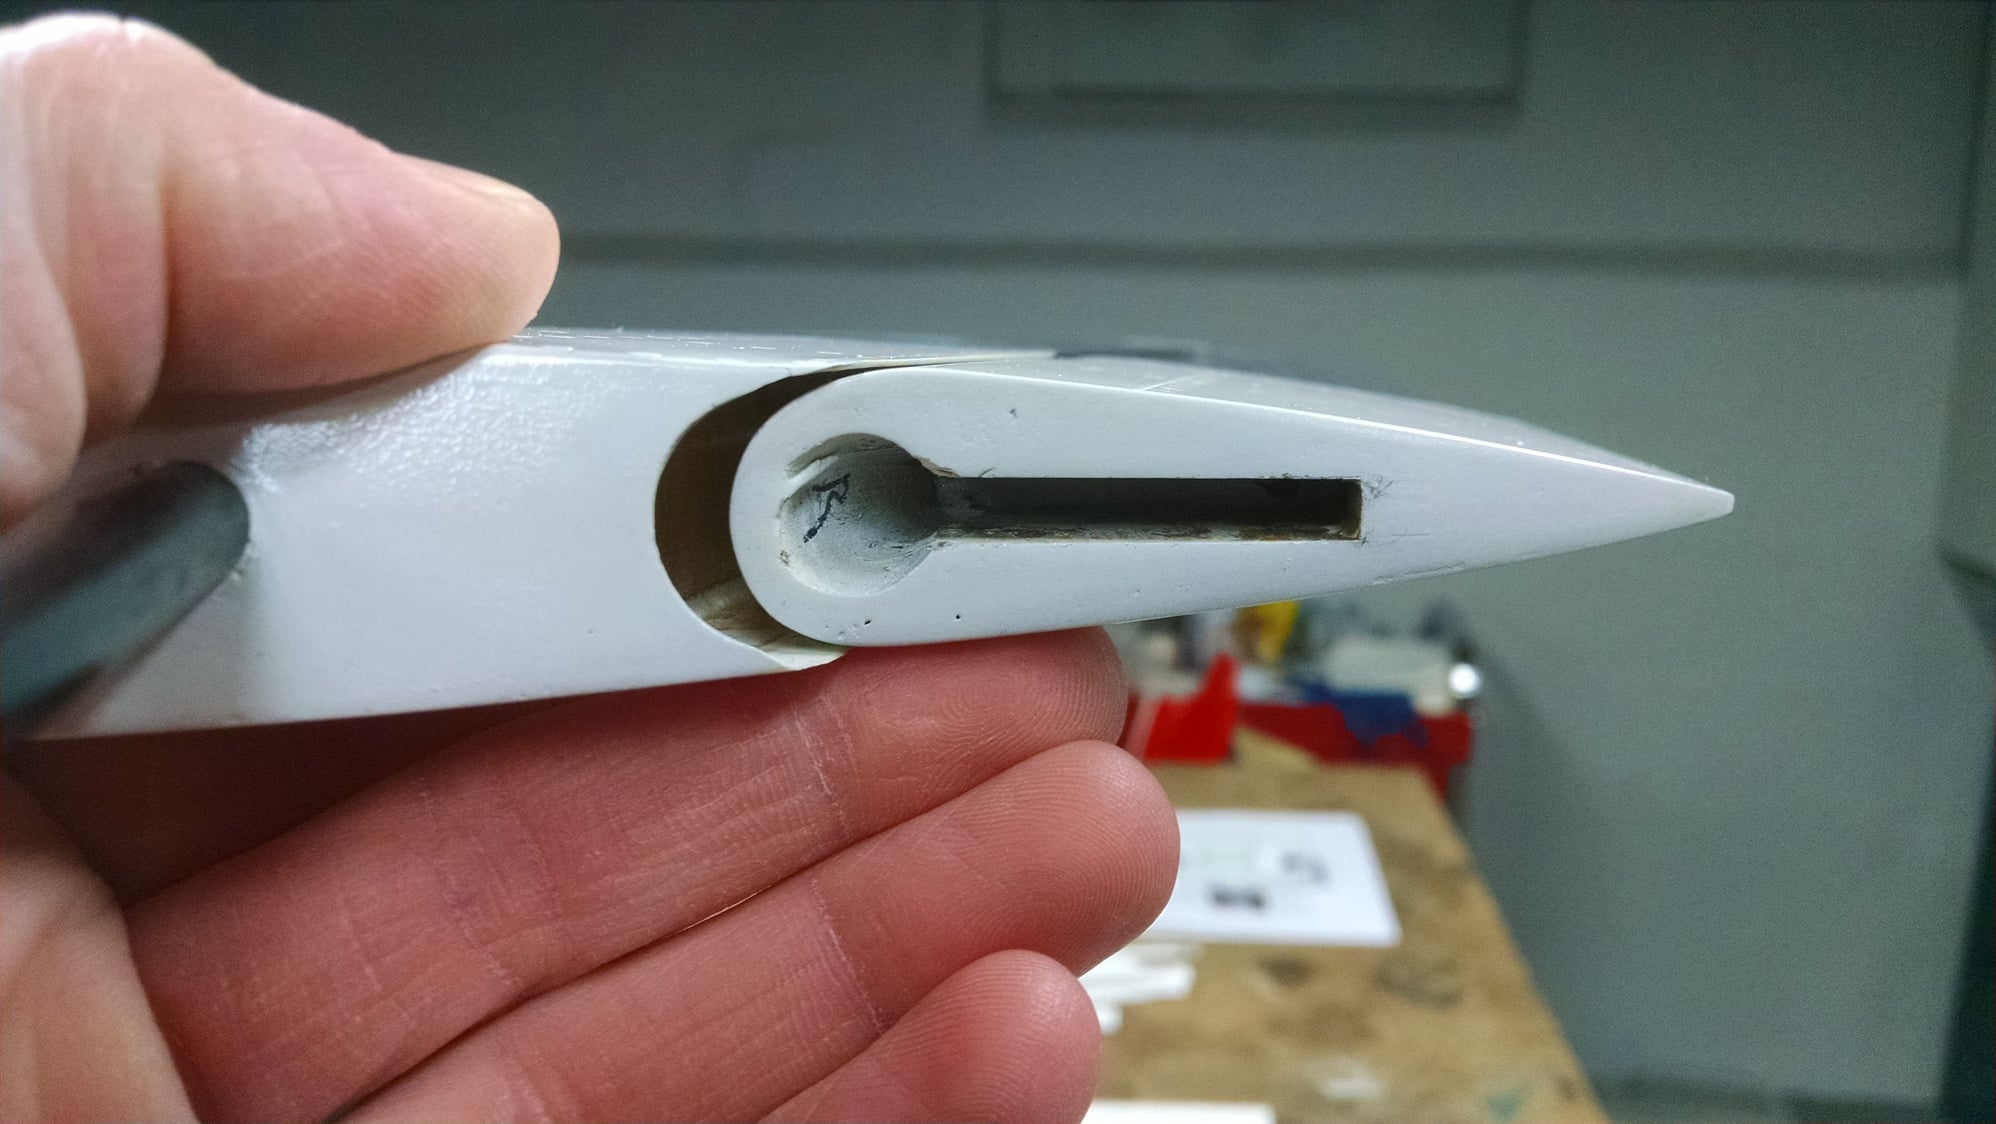
Starting with a Number 52 drill bit, drill a hole until you reach the o ring guide. You must be sure that the control surface and drill is horizontal to the work surface! Continue drilling working your way up from a #52 to a #14 skipping every other drill. This is the time consuming part but your patience here will be rewarded with a very clean hole. By the time you get to a number 14, which is only .182 vs the hinge points .181 diameter, the new Robart hinge point will fit perfectly with no visible clue that it was ever replaced. I have not glued the hing in this photo yet but you can see the precise fit.
01-05-2019, 12:18 PM
#185
My Feedback: (21)
Nice work Dom. I was thinking about mine and the vertical and rudder will not be an issue to install new hinges as my vertical fin is removable. The elevators, however might be a problem. With all the Sabre's I have had, the stabs are at such an odd angle that it is difficult to glue an elevator in place with the stab already glued to the fuse. The 1/5th will be even more difficult with the bell crank assemble at the root for the elevator. My Stabs are glued on.
I will need to look into it further.
Joe Lewis
Kingtech
K-80, K-140, K-180
Owner
I will need to look into it further.
Joe Lewis
Kingtech
K-80, K-140, K-180
Owner
01-06-2019, 07:26 PM
#186

Hi Dom,
After reading the entire thread, if I could afford to buy one of these kits, I think I would buy it without all that work being done. I know you are very anal with your installation and equipment install. But having to replace hinges and make up standoff for things to work worries me. There is a lot of money and time invested in these ARF's for you to go over it like this. We both know that there have been a lot of Chinese ARF's that have crashed. Good luck with your F-86. I know when you are through, it will be worth it...
Instructor/Larry
 01-07-2019, 04:30 PM
#190
Next comes a lot of fitting to determine where exactly you should position the elevator on the stab......meaning how deep to put the hinges into the stab. I temporarily fit the bellcrank to the fuse and slid the stab into position. You will want to find the sweet spot between a tight gap and freedom of movement. In this photo I dont have the elevator fully inserted into the stab yet as can be seen by the exposed hinges.
i
i
Last edited by MaJ. Woody; 01-07-2019 at 04:33 PM.
01-07-2019, 04:39 PM
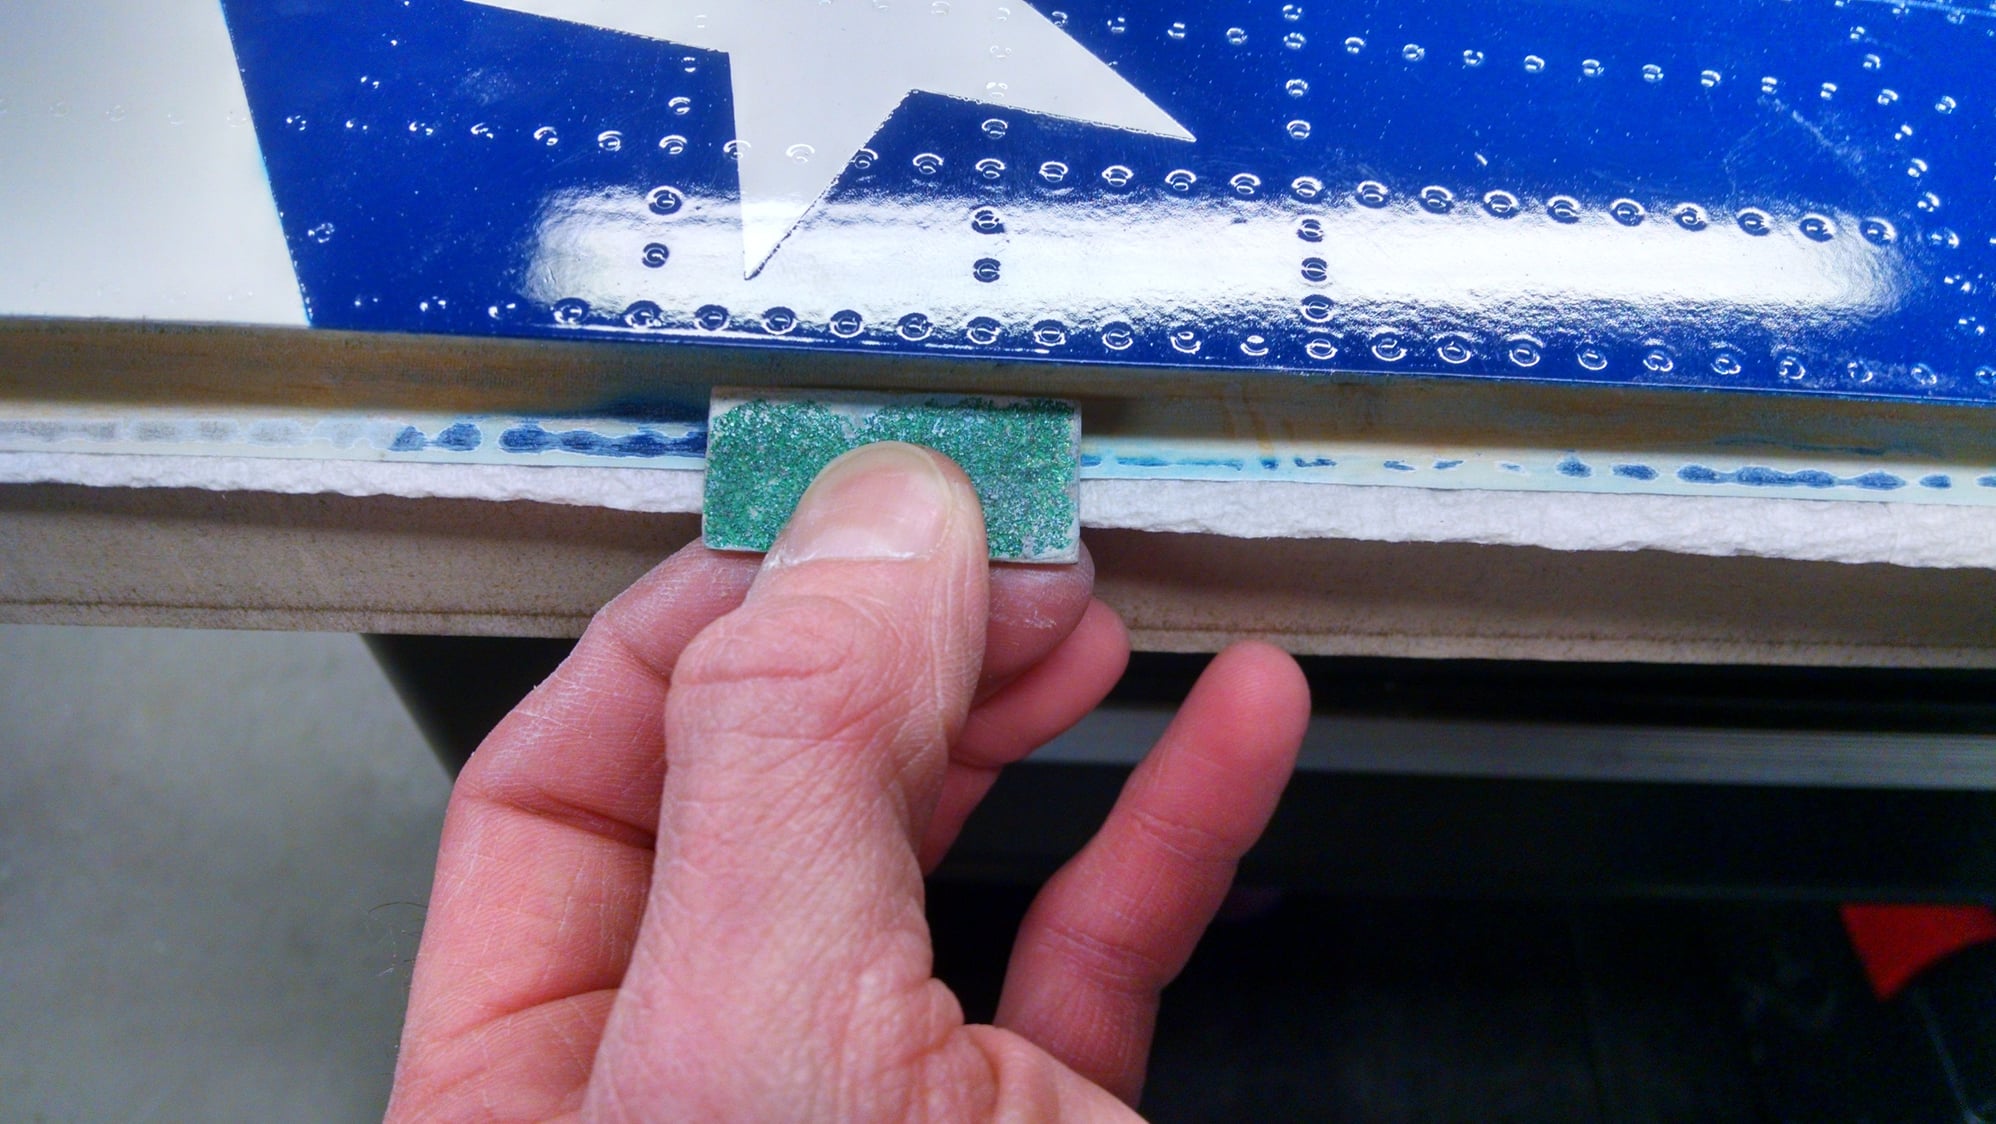
#191

Once I found that sweet spot I needed a way to maintain that while gluing the hinges in place. My solution was to position a balsa block on the TE of the stab. Now I could push the elevator into the stab until it bottoms out on the block and know I have the exact position. Obviously the height of the block comes from much trial and error fitting the stab to the fuse and checking the movement and ensuring I could get 30mm of deflection in both directions. After gluing the elevator to the stab, the balsa block which was not glued falls right out the end.
01-07-2019, 04:46 PM
#192

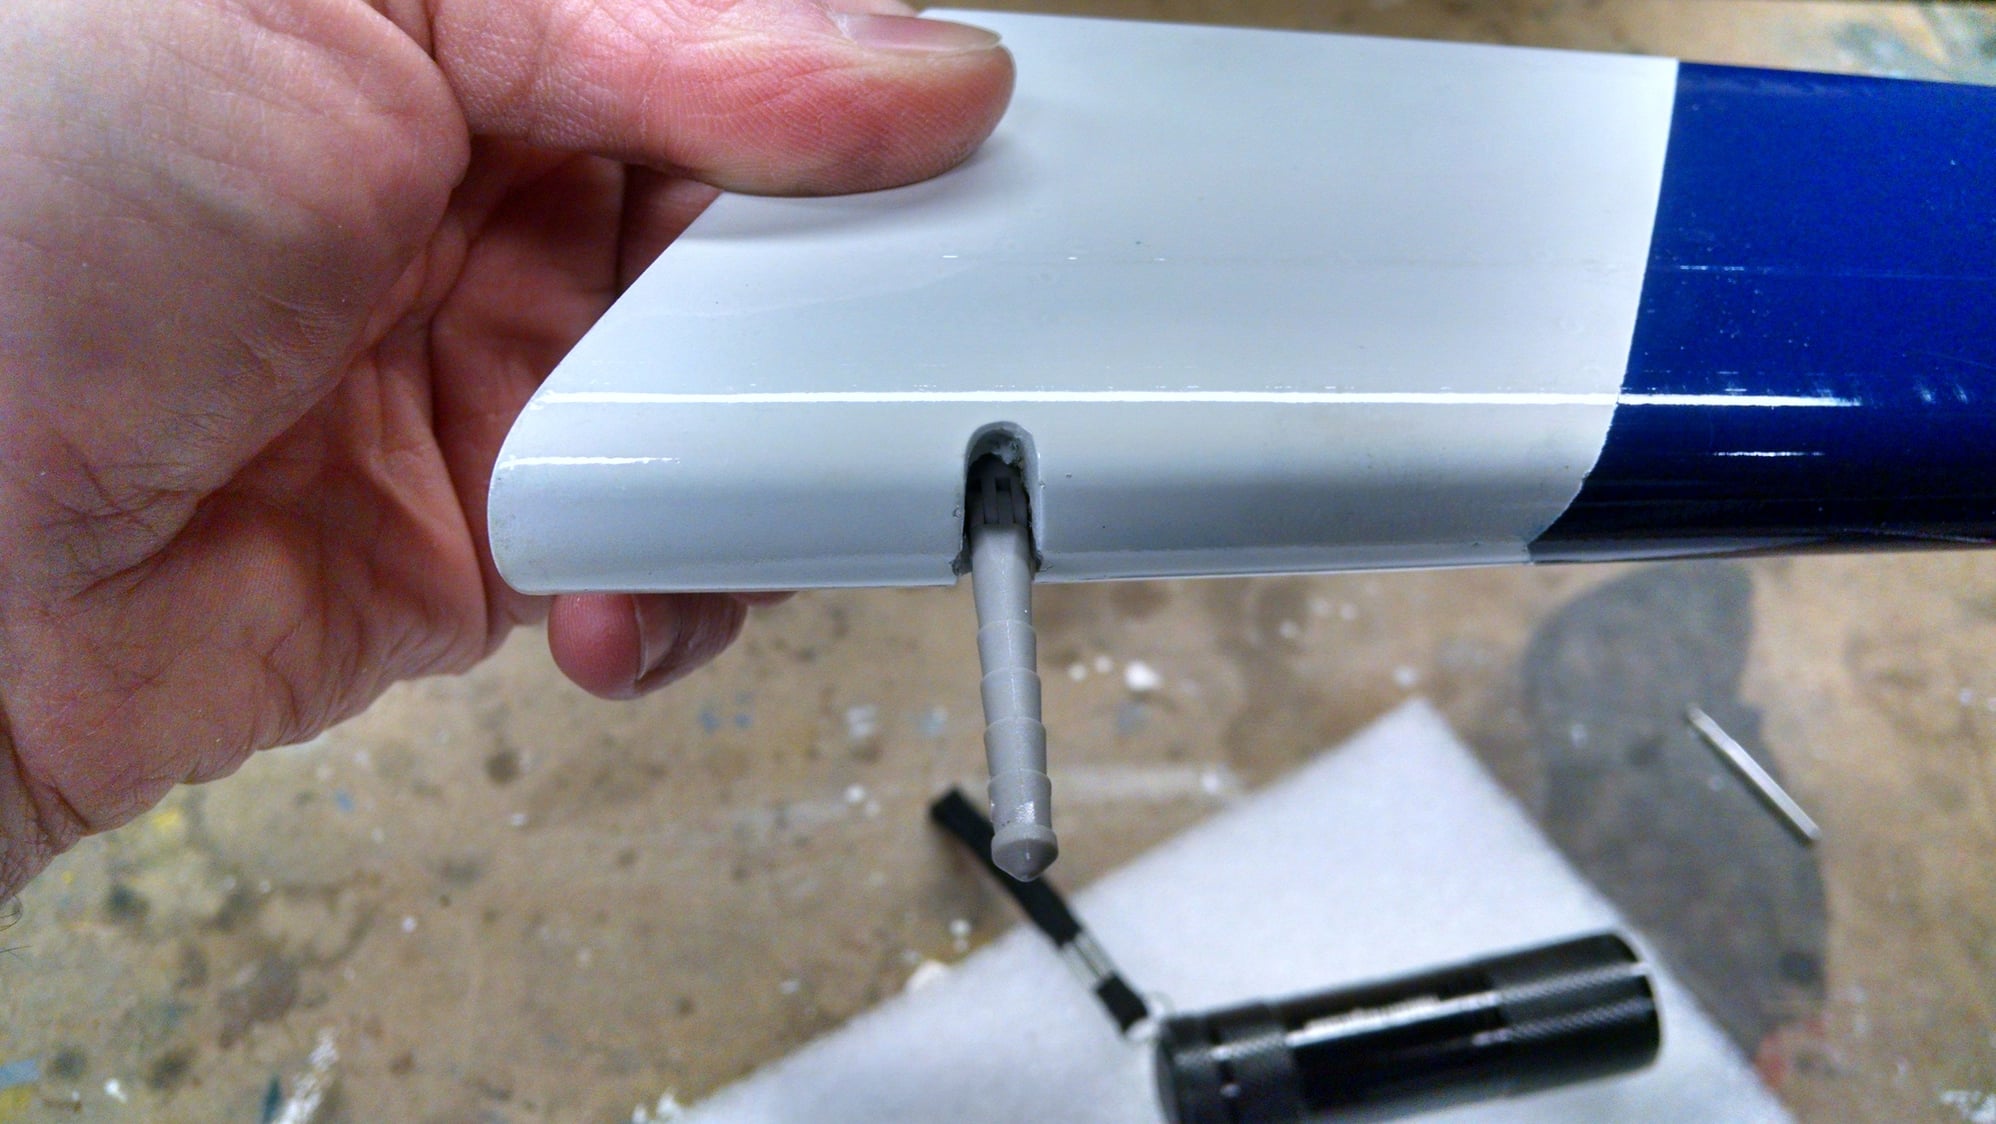
Before gluing he hinges in place, I put a small drop of oil on the hinge pins and also coated the surrounding slot with a film of oil to prevent and glue from getting in there, I wiped most of it off but left the excess on for the photo for illustrative purposes. In the end its really not needed since I position the stab as shown and the hinges are displaced from the stab TE so there really is no chance of getting any glue in there. With the elevator taped in position, the assembly is left as shown to dry. Any residual glue on the portion of the hinge points that is exposed will run down and pool at the base of the hinge at the TE and provide more support.
 01-07-2019, 05:02 PM
#194


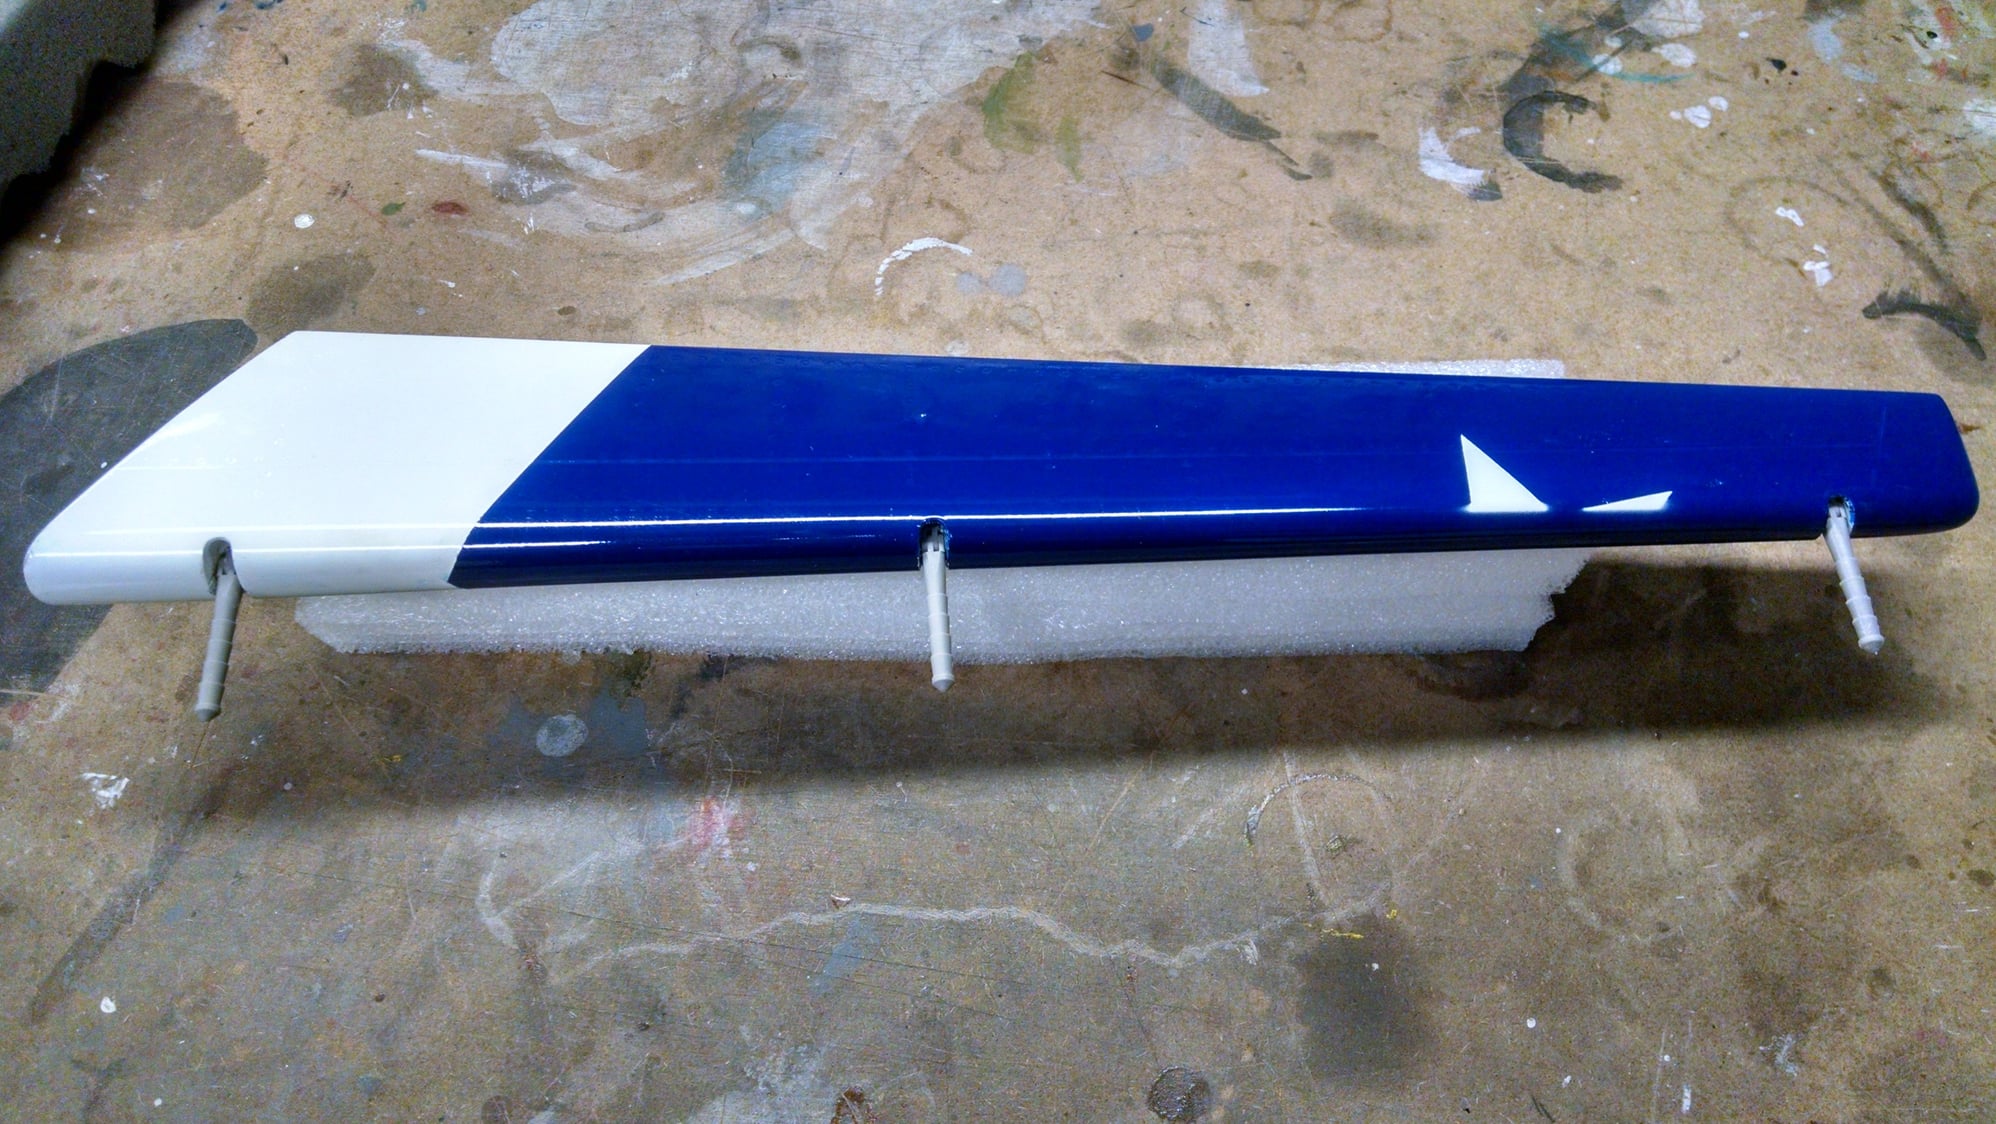
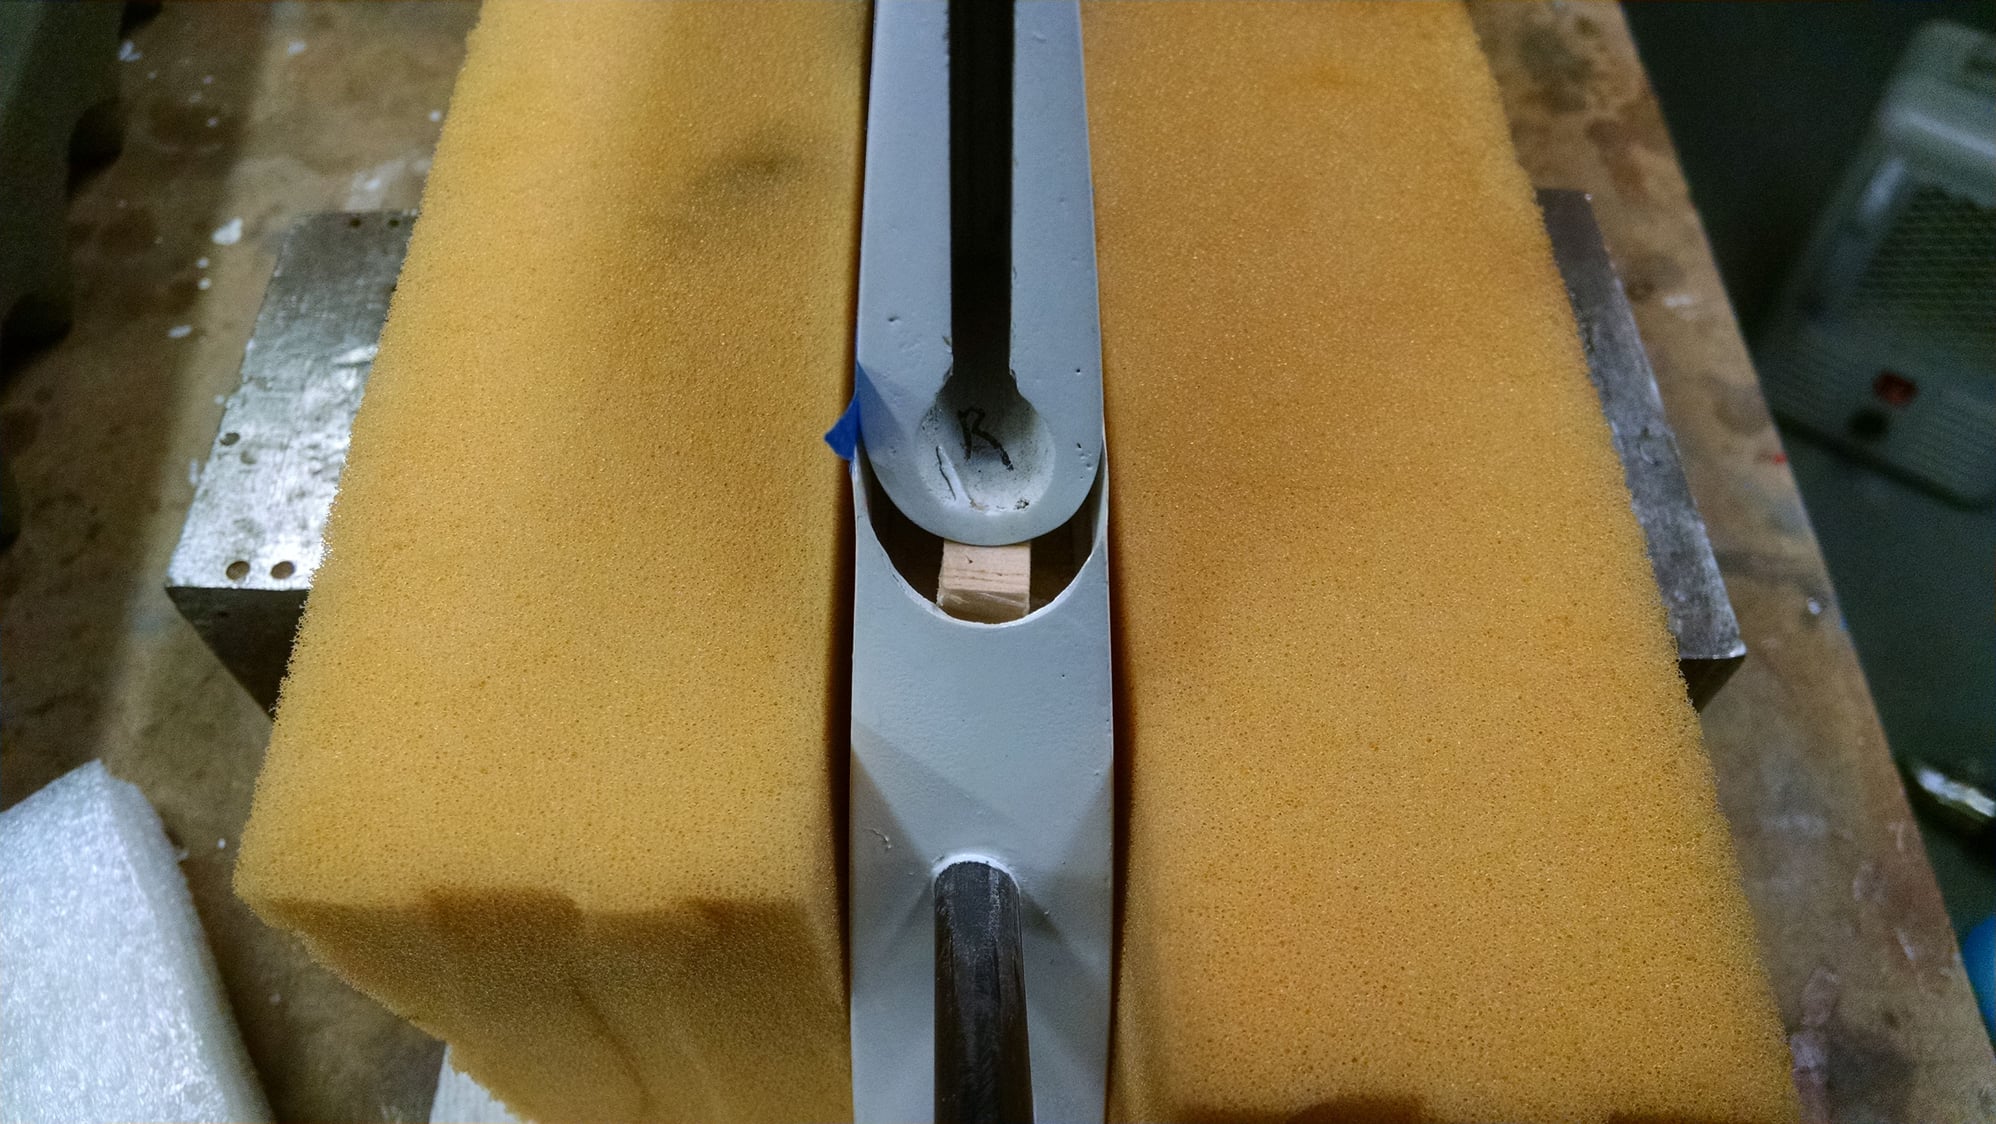
The stabs and fin are meant to be removable. You can pull them off without dealing with and servos or linkages. A really neat design! Here is how it works. The elevators and rudder have a recess in their root sections. When the stab and fin are pushed into position, the torque rod becomes captive. This is not like the 1/8" music wire torque rods you used on your Sig kits, this is a hefty rod that has no slop that I can tell. Here is a sneak peak at assembly. I will cover this in more detail later. My initial thoughts were to glue the tail surfaces on but the fit is so tight that I think I will keep them removable because all the advantages that will offer. It is literately a struggle for me to get the stabs and fin on and off so determining the hinge position was a workout!
01-07-2019, 07:43 PM
#195

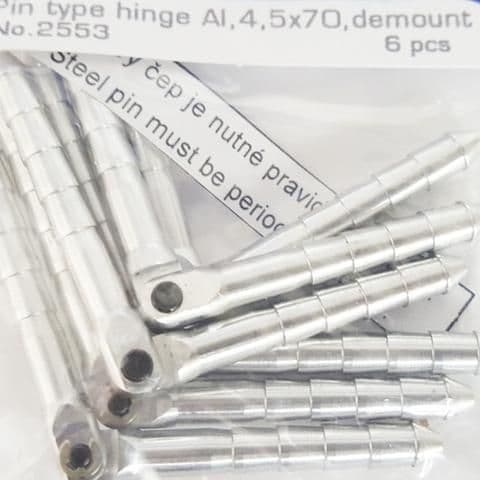
With the investment in our jets, I don't know why metal pin hinges haven't taken off. I haven't tried them but definitely tempted.
https://flightcomp.com/collections/h...-demountable-1
They have multiple sizes too, with either fixed pins, removable pins or a wire rod options.
Paul
https://flightcomp.com/collections/h...-demountable-1
They have multiple sizes too, with either fixed pins, removable pins or a wire rod options.
Paul
Last edited by JSF-TC; 01-07-2019 at 07:45 PM.
 01-08-2019, 05:00 AM
#198
Dom,
You are a true craftsman! Thanks for sharing and explaining every step with pictures.
Regarding the reinforcement of the retracts rails and using bolts with blind nuts, isn't it "too strong"? Wood bolts can be used as fuses in case of hard landing and they will be ripped off instead of causing internal structure damage.
Avi
Can you please elaborate on reinforcement of the retracts rails.
thanks,
Avi
01-15-2019, 11:14 AM
#199
Hello Maj Woody!
Been a long time since we’ve shared the tarmac...
Glad to see you are again at your finest on the build threads. It’s always a delightful time following your construction techniques!
I’ve not been able to find the way you described applying the wing fence fairings on one of your projects?
Unfortunatly, my search on RCU has come up with blanks. Should you remember where that was posted , I’d appreciate directing me to
the post for review.
Karen and I now reside in South Carolina! We’ve purchased our retirement home here and are enjoying the southern lifestyle.
Perhaps we’ll see ya at the next First In Flight, or one of the others this season.
Thanks in advance,
Take care,
Franko
01-15-2019, 01:57 PM
#200
Hi Frank!
So very nice to hear from you. I have been following your airforce as your birds pop up in a number of threads. Glad to hear you and Karen have settled in. I think you may be looking for how I did my Wing Fences on my Skymaster Hawk. Here is a link to the Build thread and the fences can be found starting on page 18. Hope to see you at an event this year!
http://www.rcuniverse.com/forum/rc-j...-5-5-a-18.html

