F 100 from "Mirce models" wooden kit

 07-13-2018, 09:21 PM
#52

Join Date: Jun 2003
Location: Melbourne, AUSTRALIA
Posts: 234
Likes: 0
Received 0 Likes
on
0 Posts
Hi all
I have received this kit and I can tell you the quality is excellent, email communication is excellent, the time it took to deliver was 8 days and photos are exactly the same as what I have received! Now onto building it!! Do not hesitate if your thinking of building this superb model..
I have received this kit and I can tell you the quality is excellent, email communication is excellent, the time it took to deliver was 8 days and photos are exactly the same as what I have received! Now onto building it!! Do not hesitate if your thinking of building this superb model..
07-13-2018, 10:23 PM
#53

Thread Starter
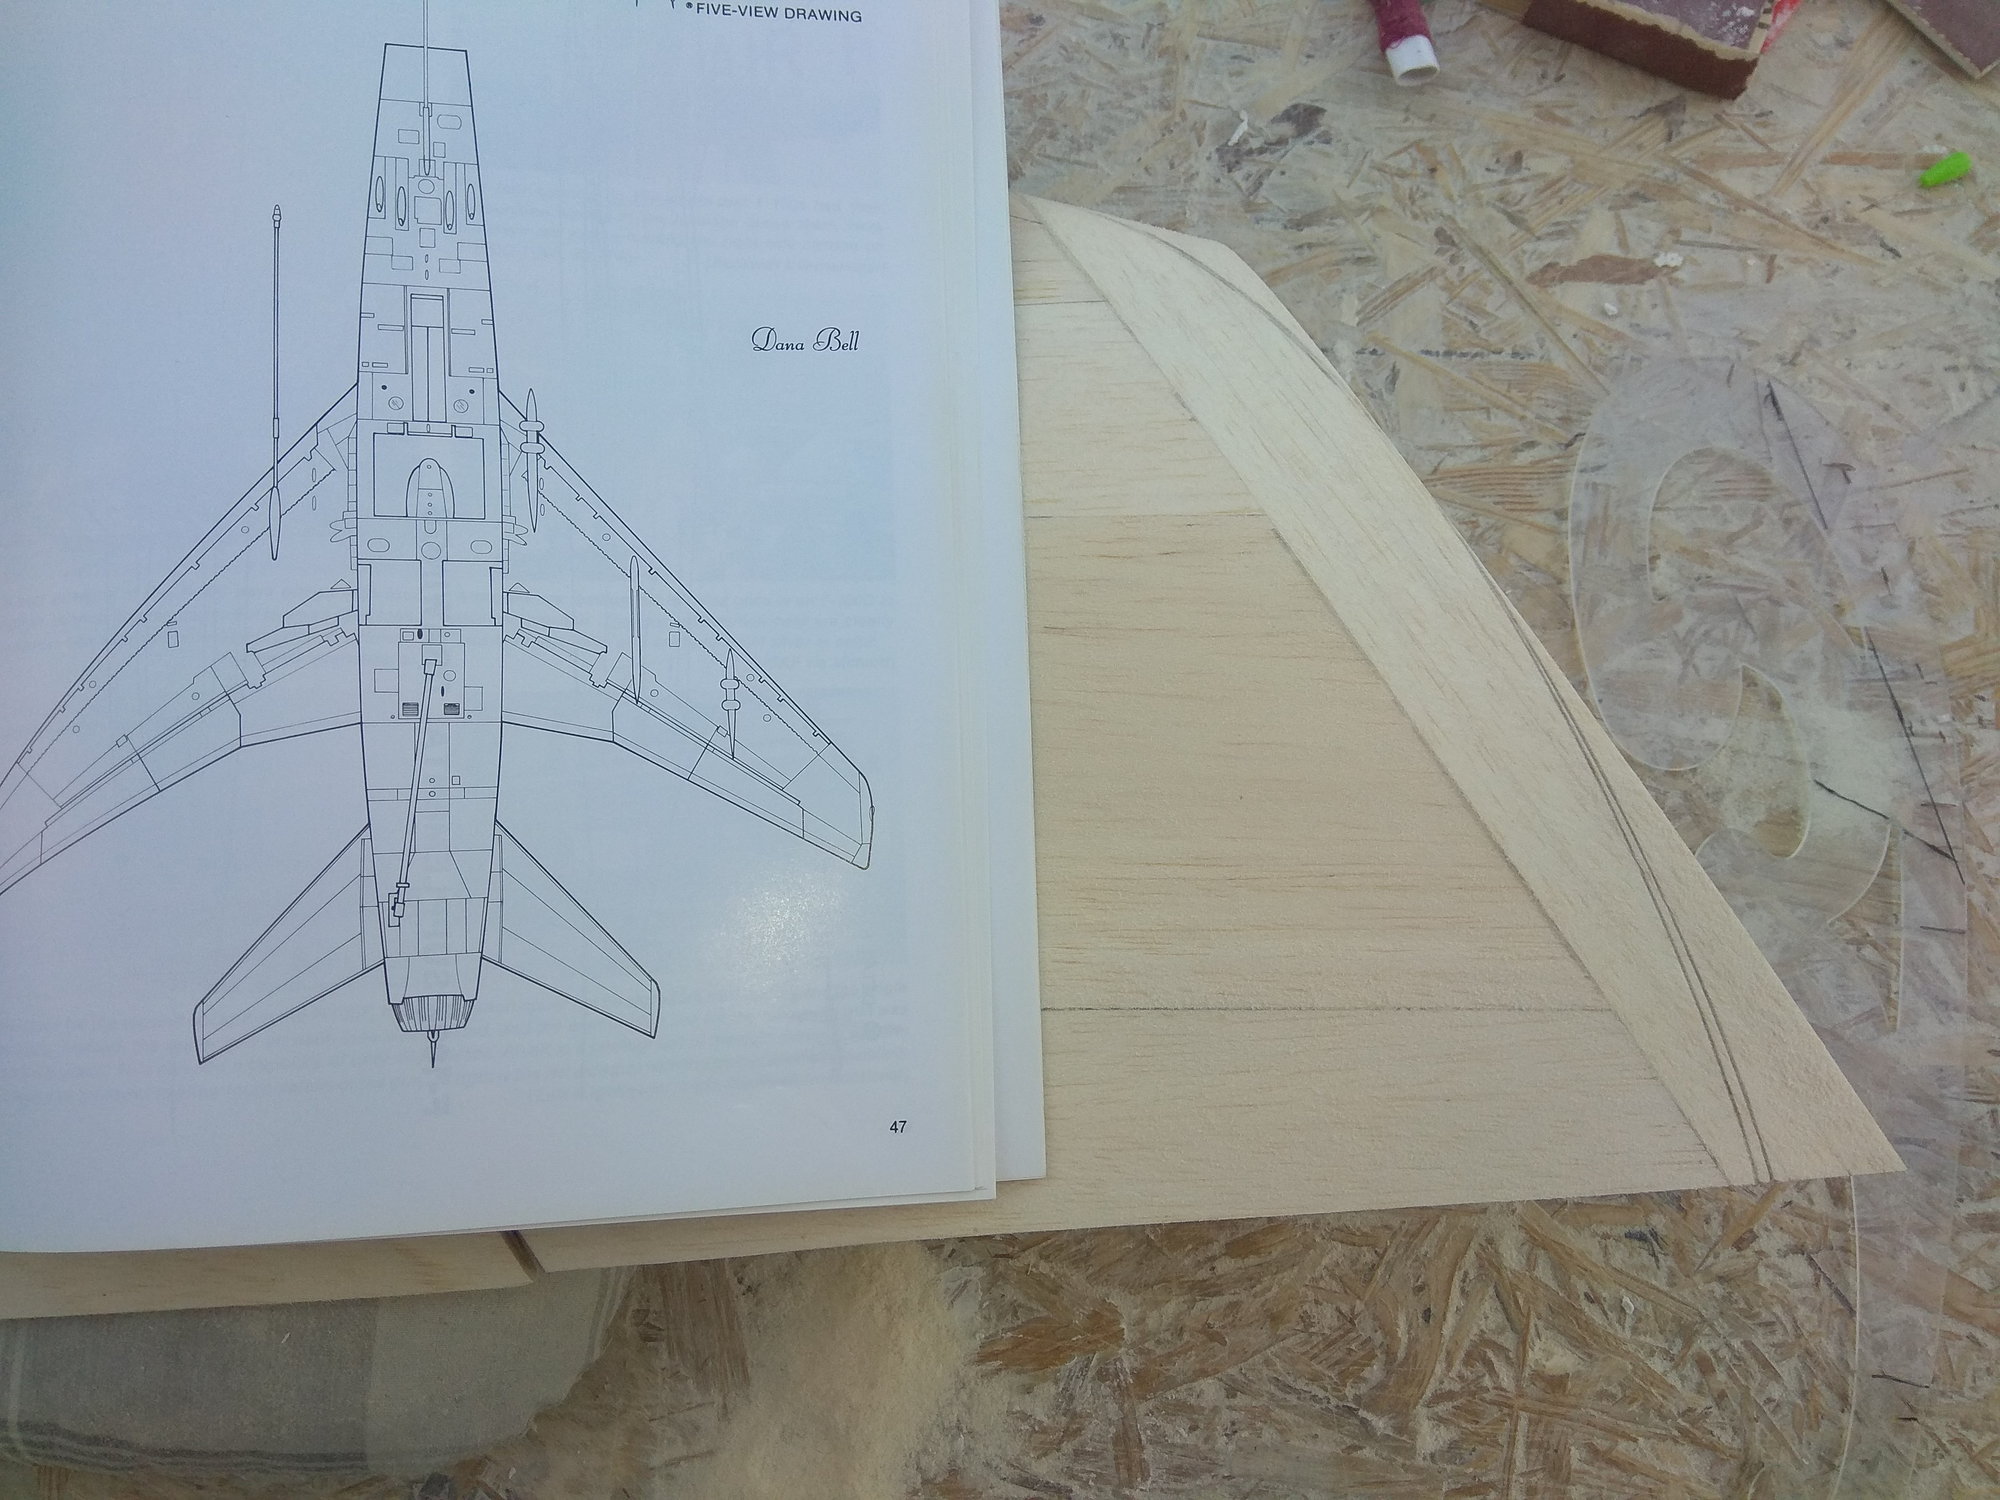
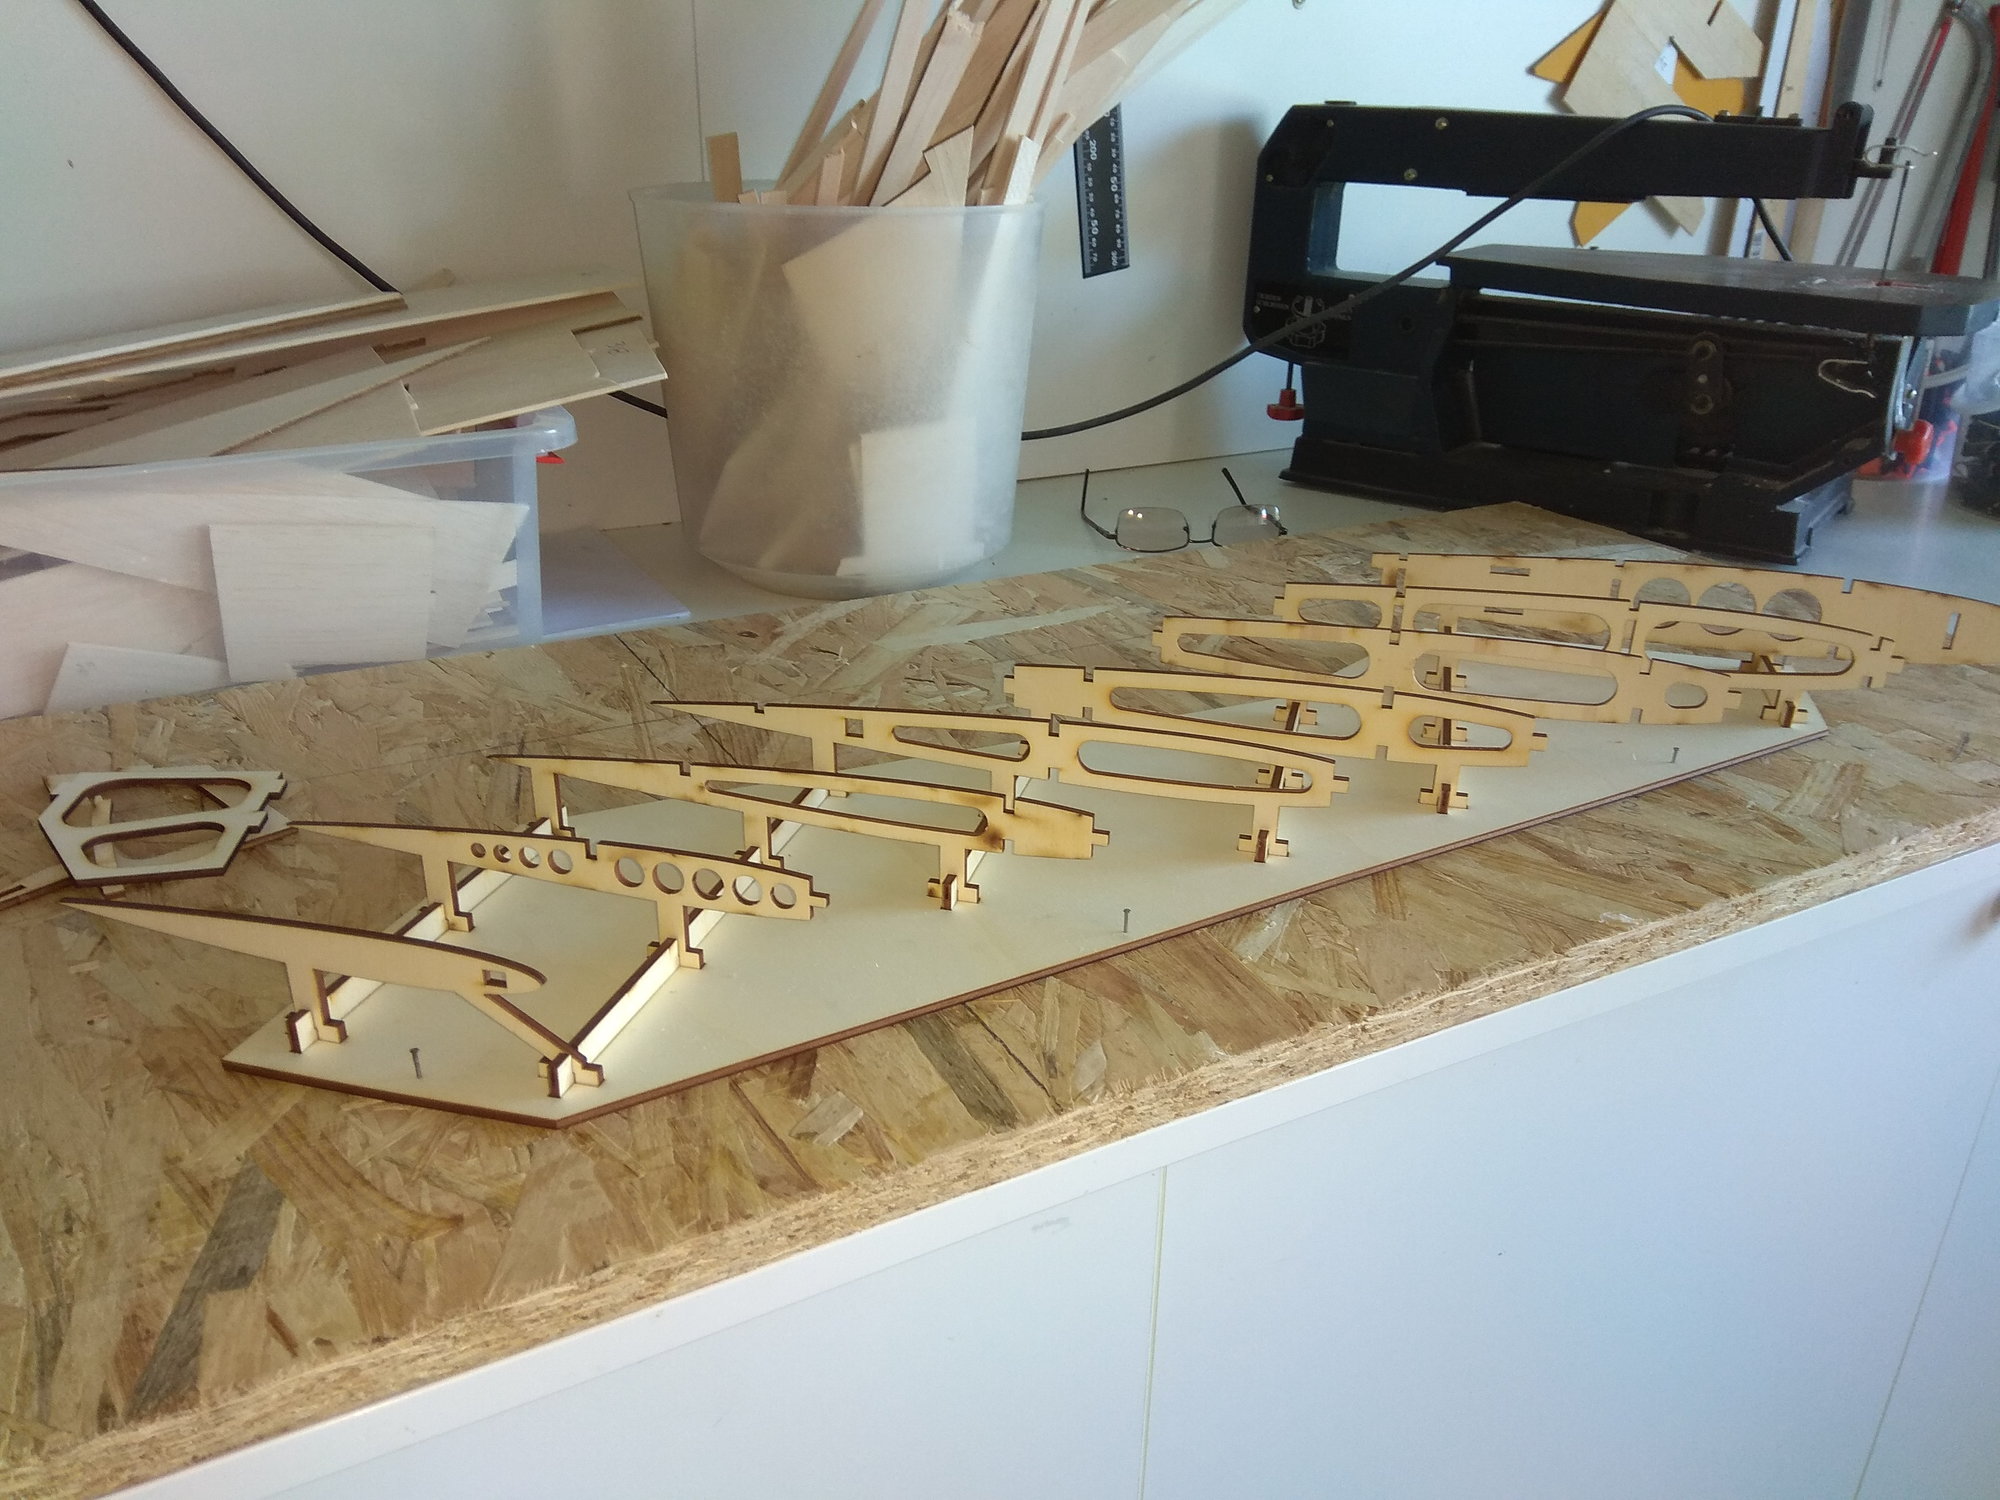
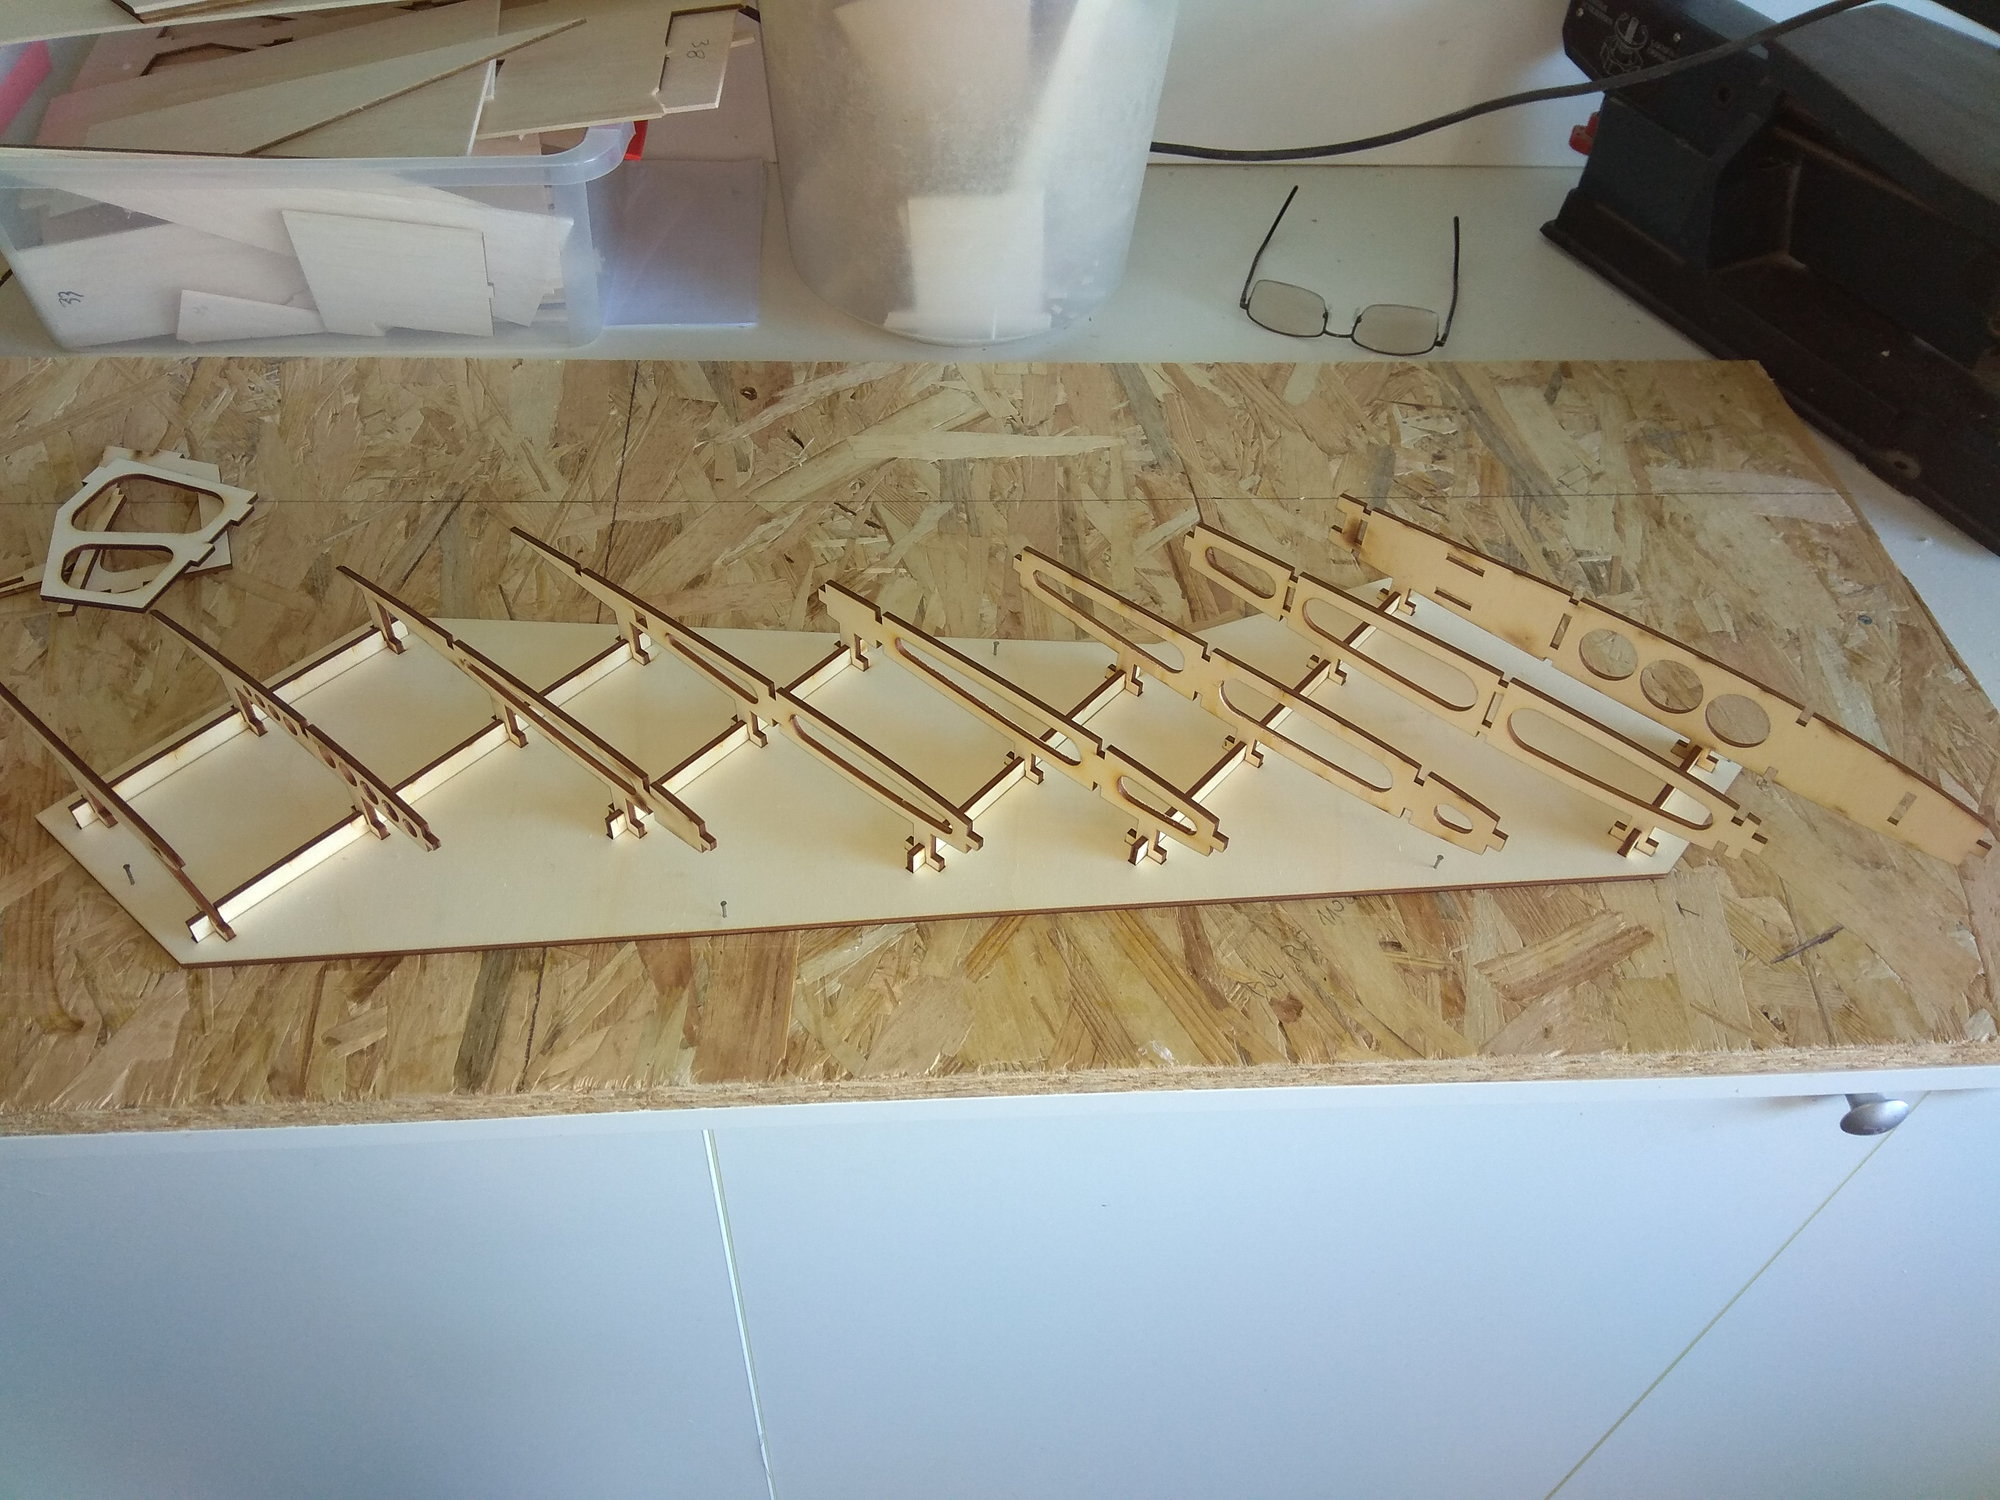
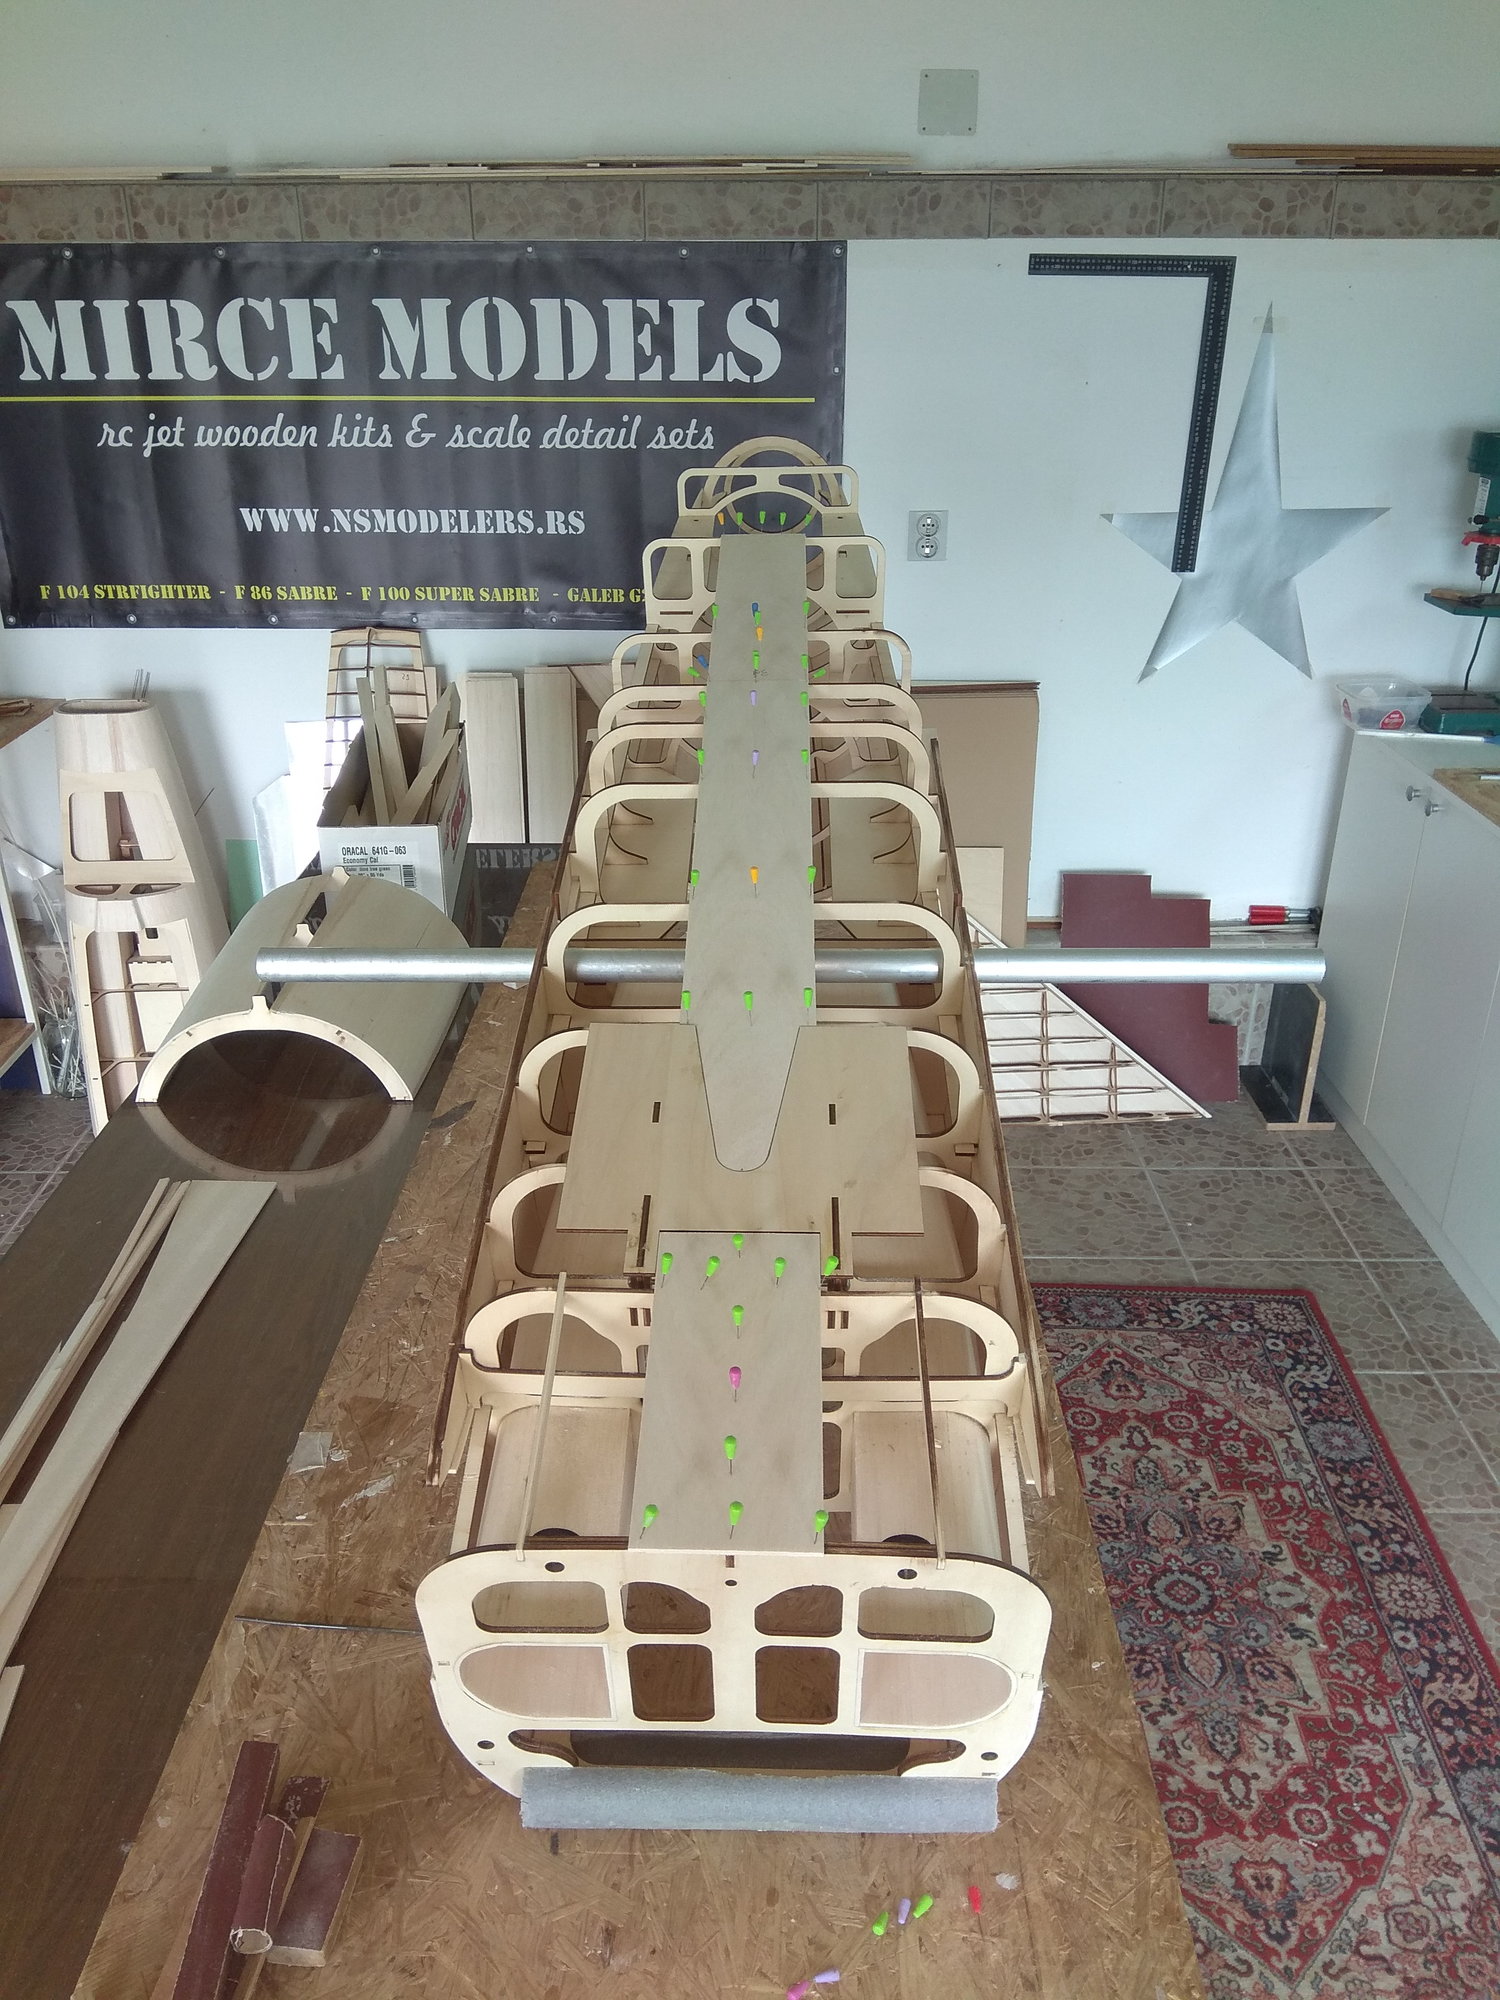
Thank you Sonicboom, photos are from my workshop, I have one and only file for cutting, so everything must be exactly like I post here.
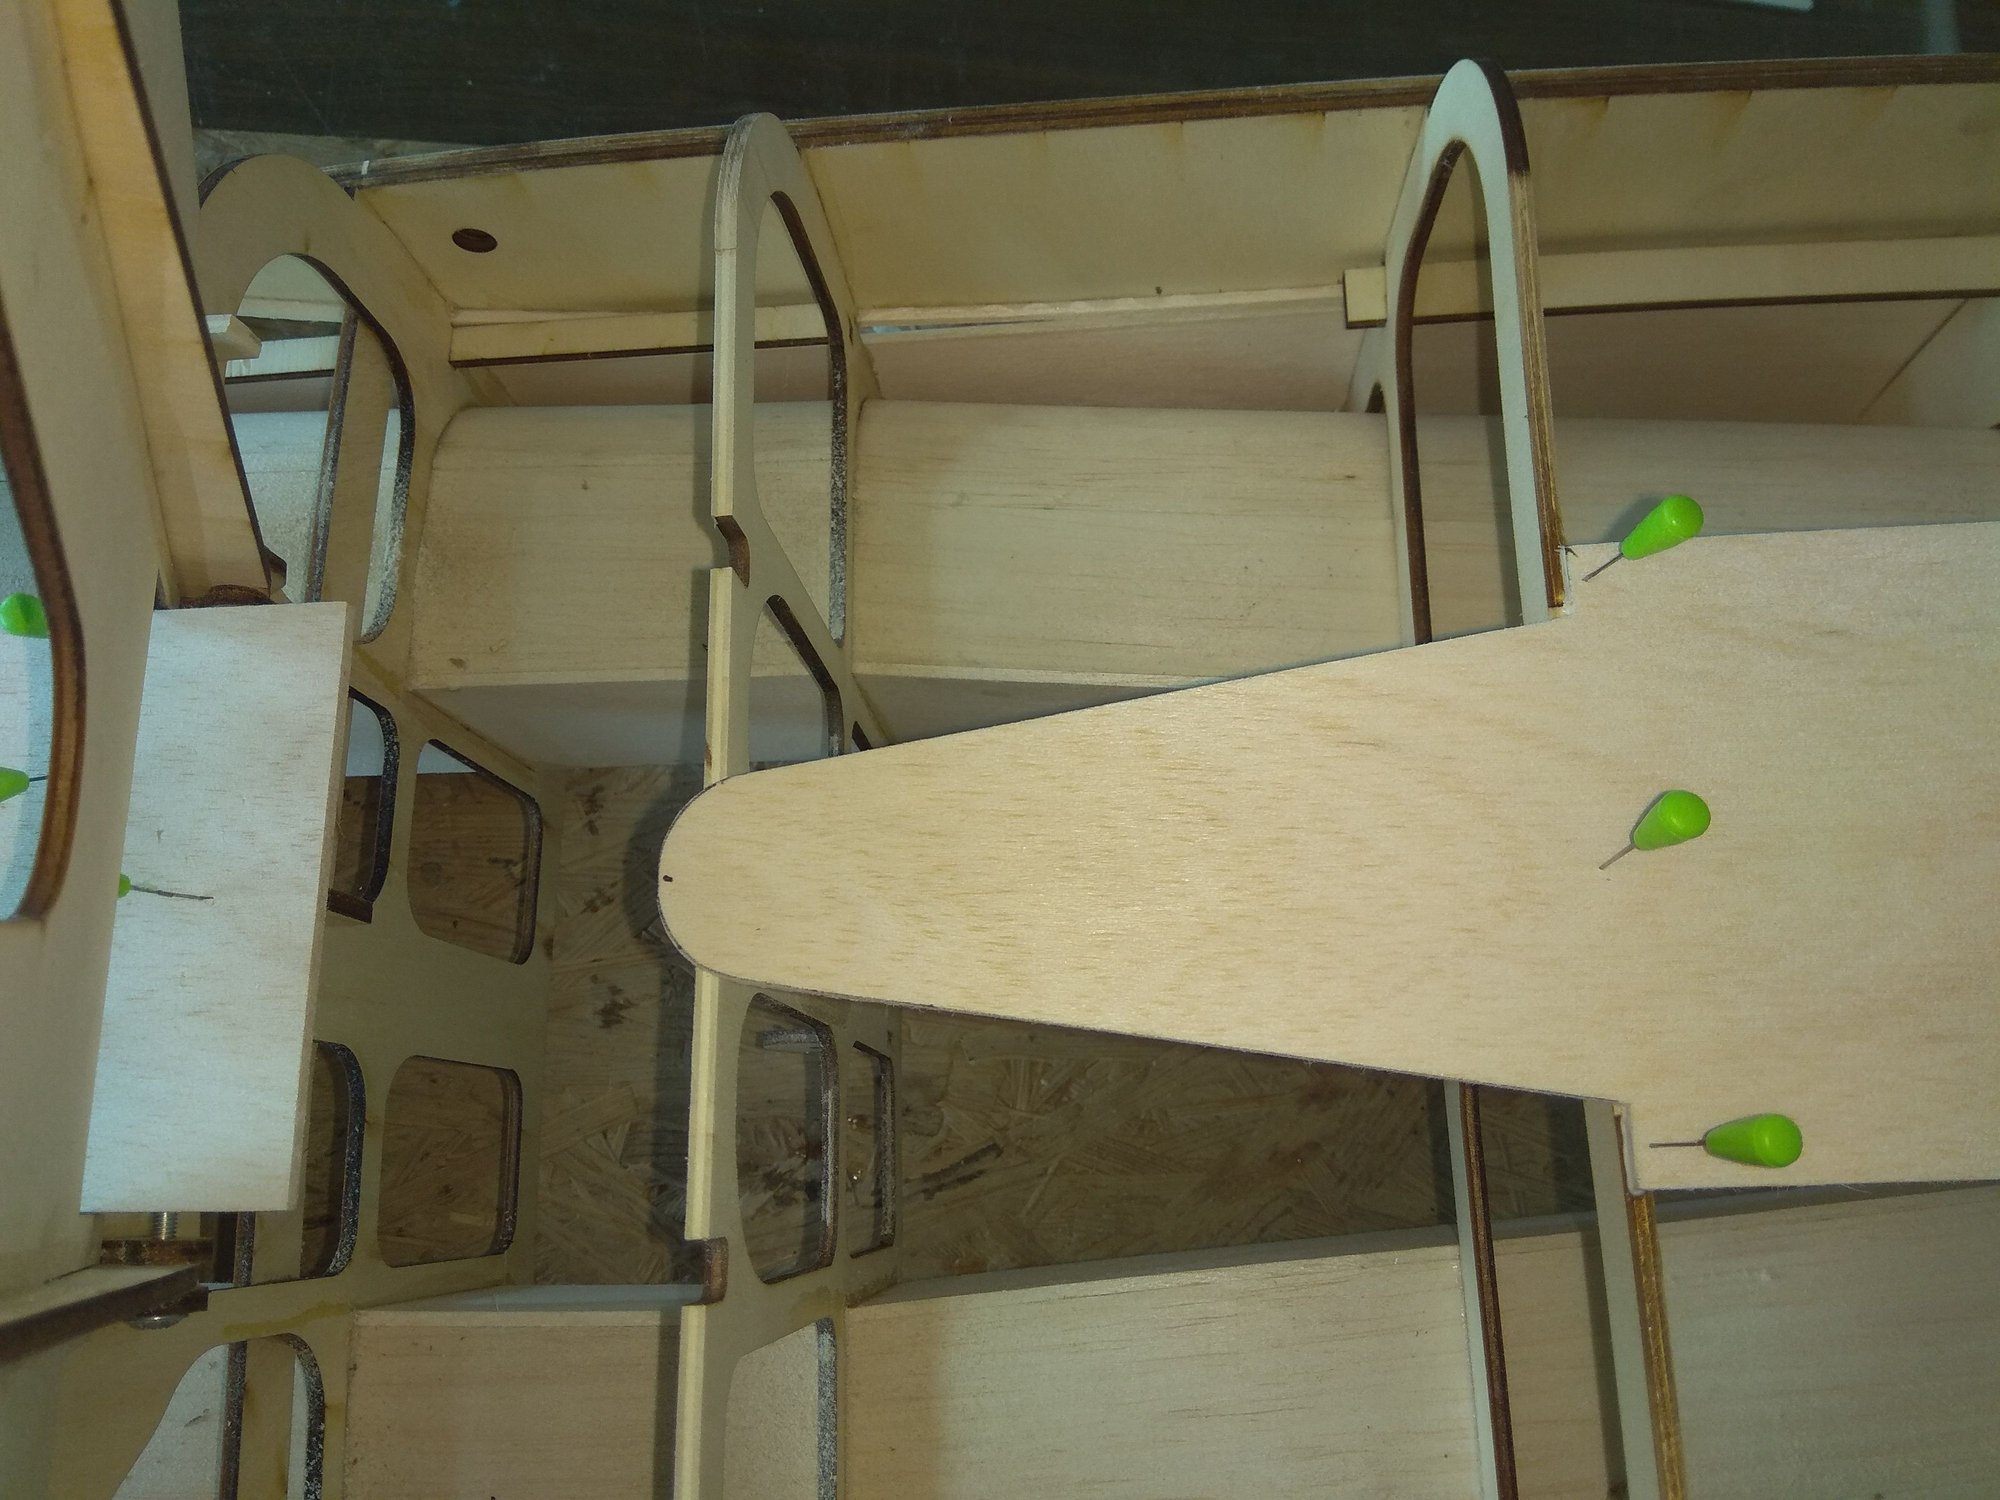
This is new wooden kit model for me also, so during building I check all details. You can see that almost no any sanding on parts, everything fit nice and precise.
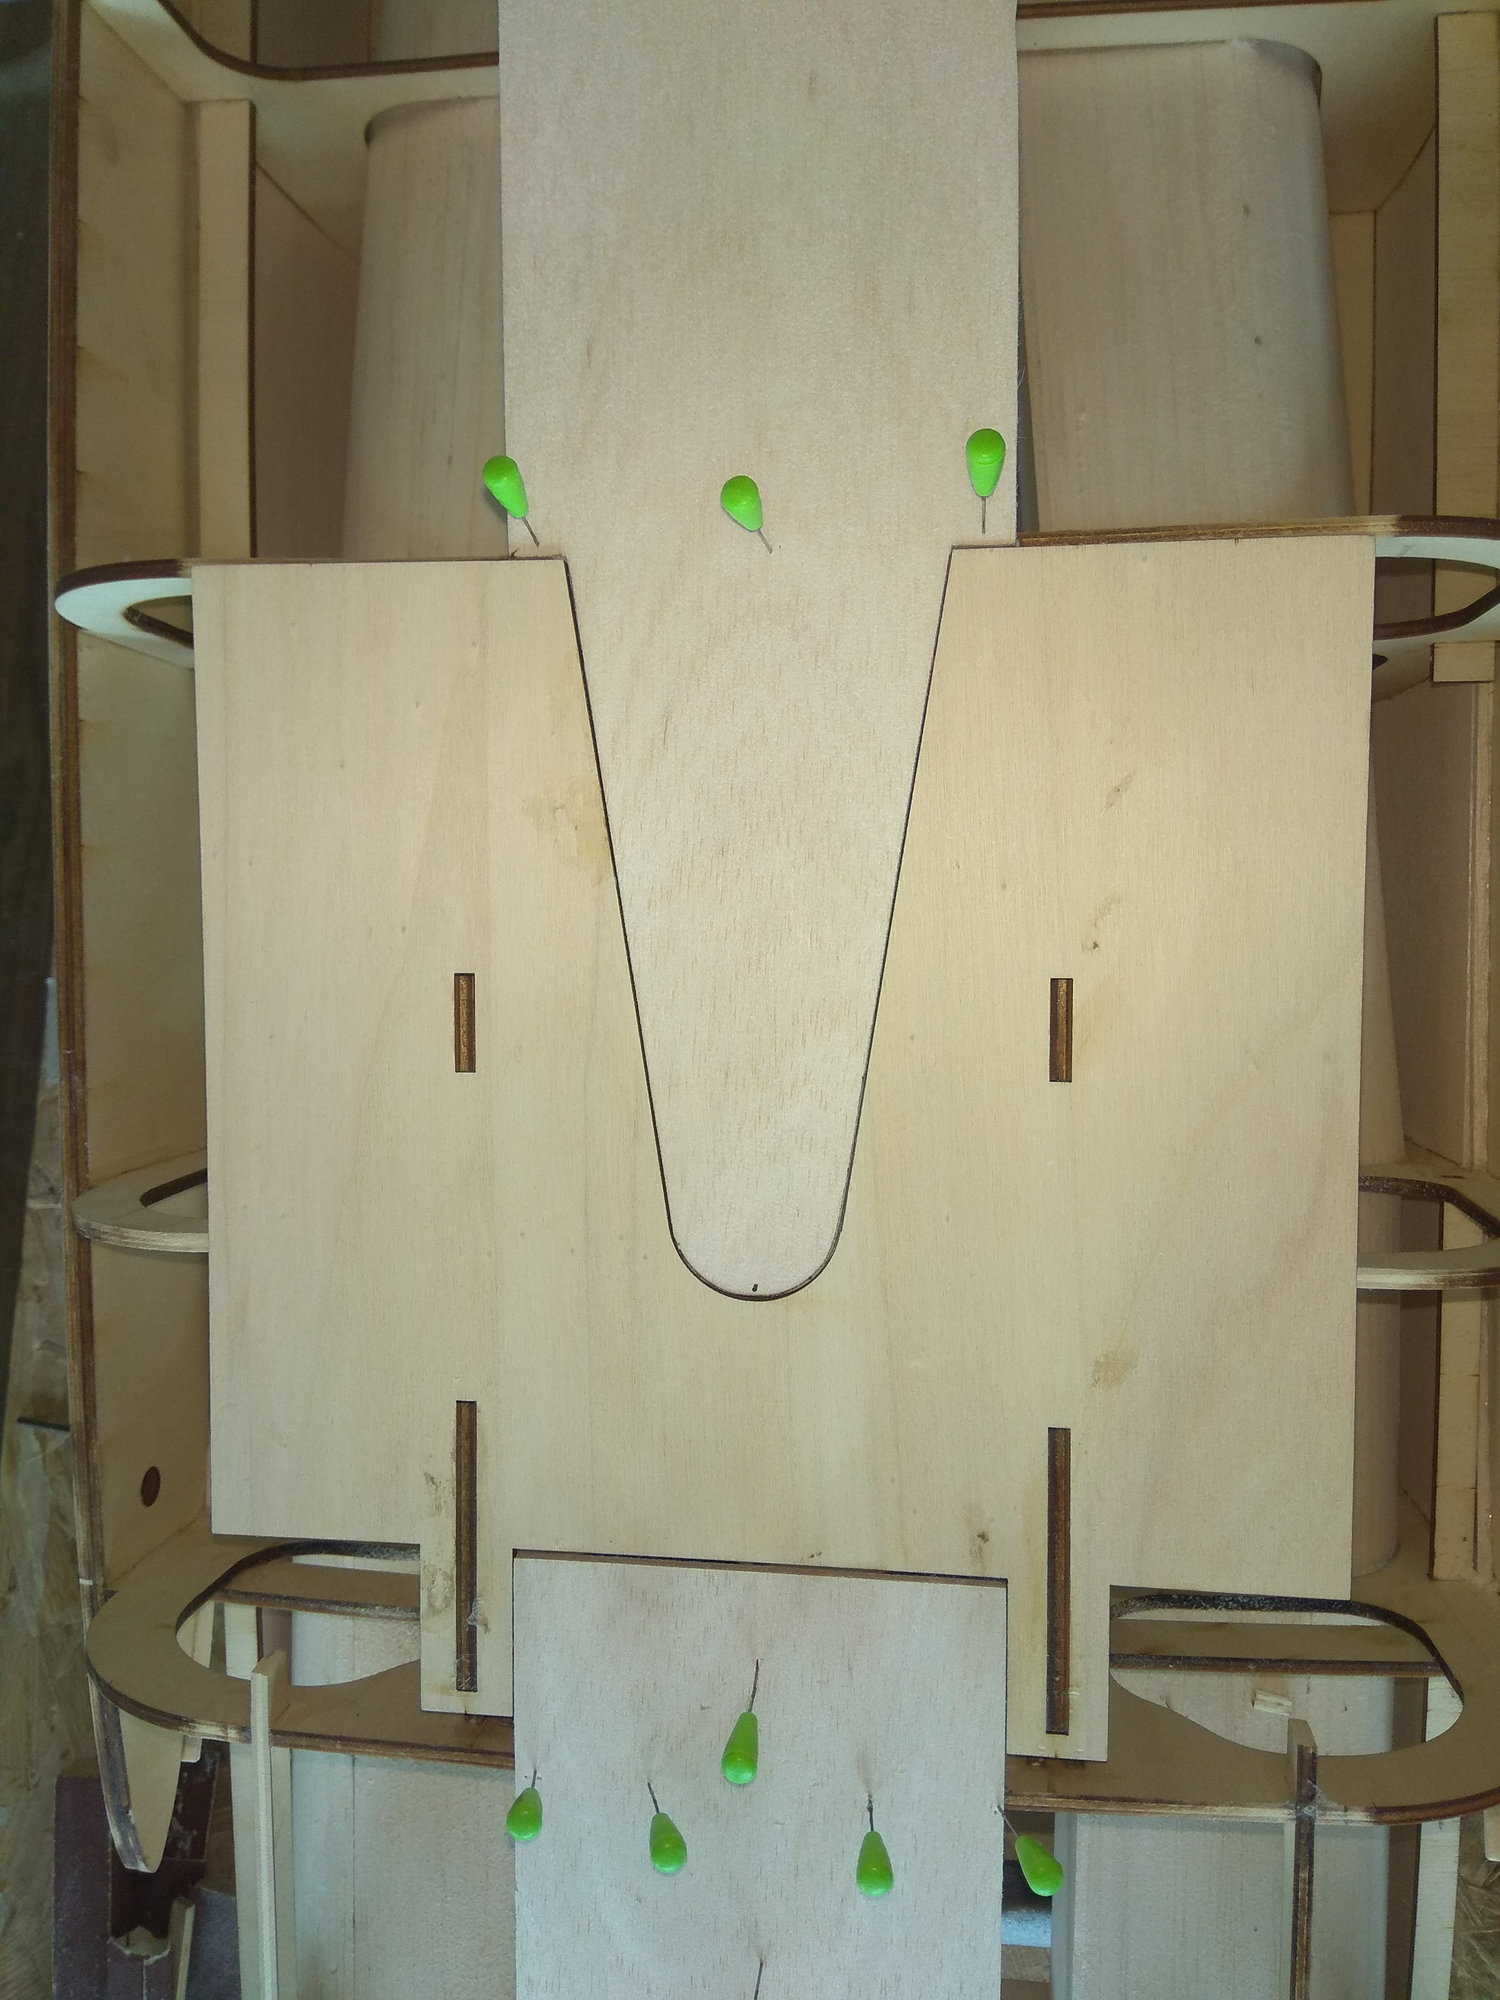
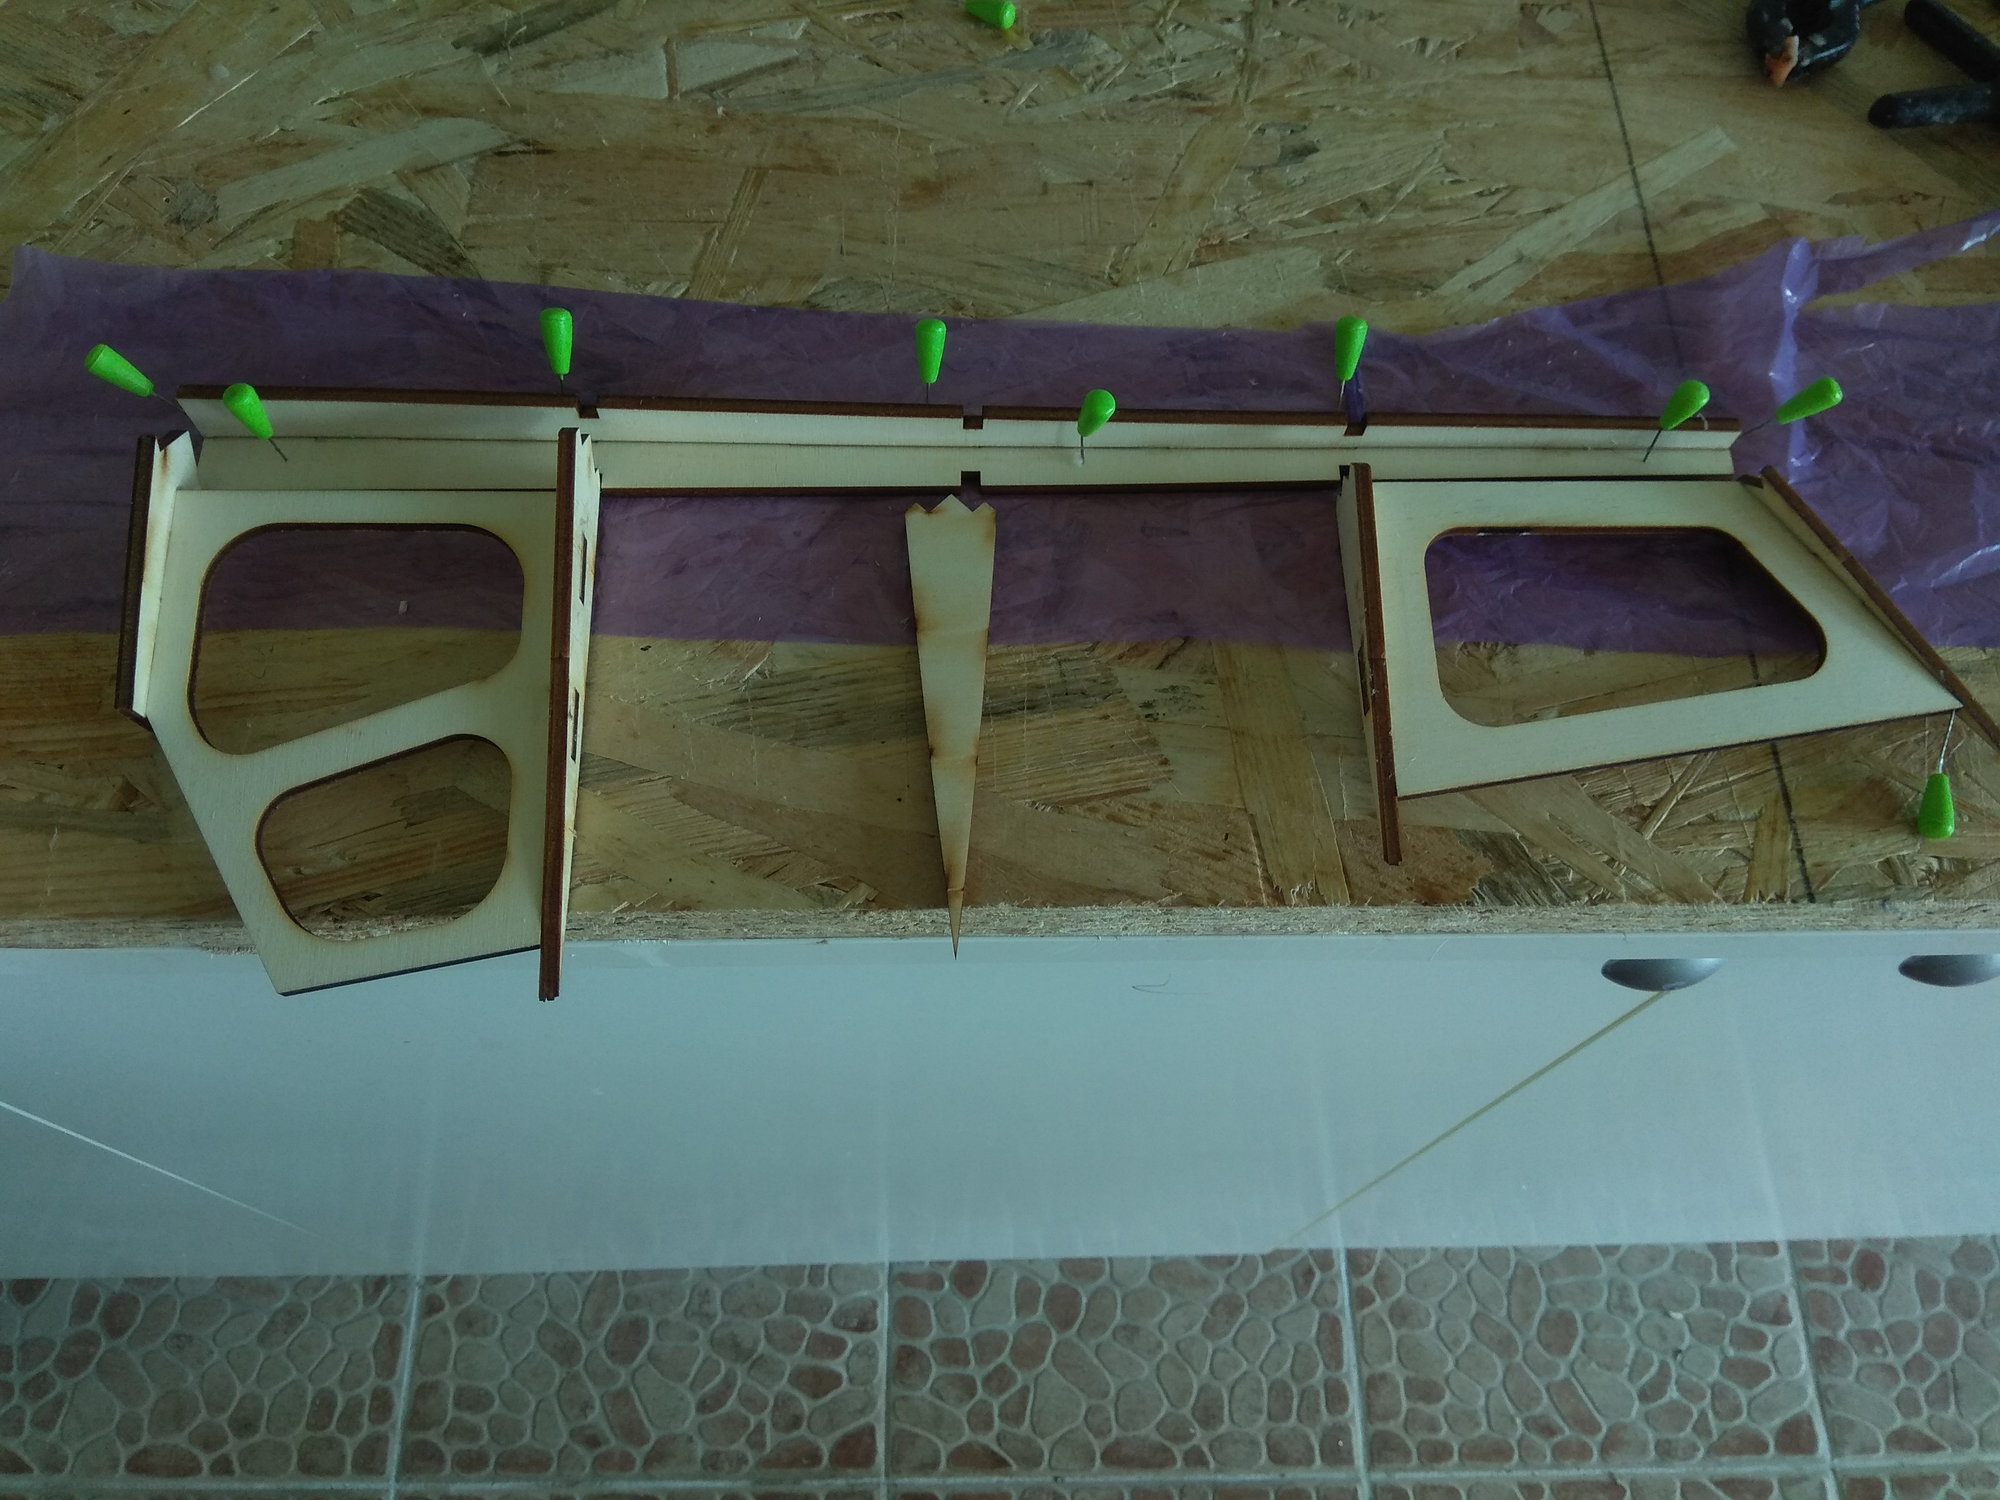
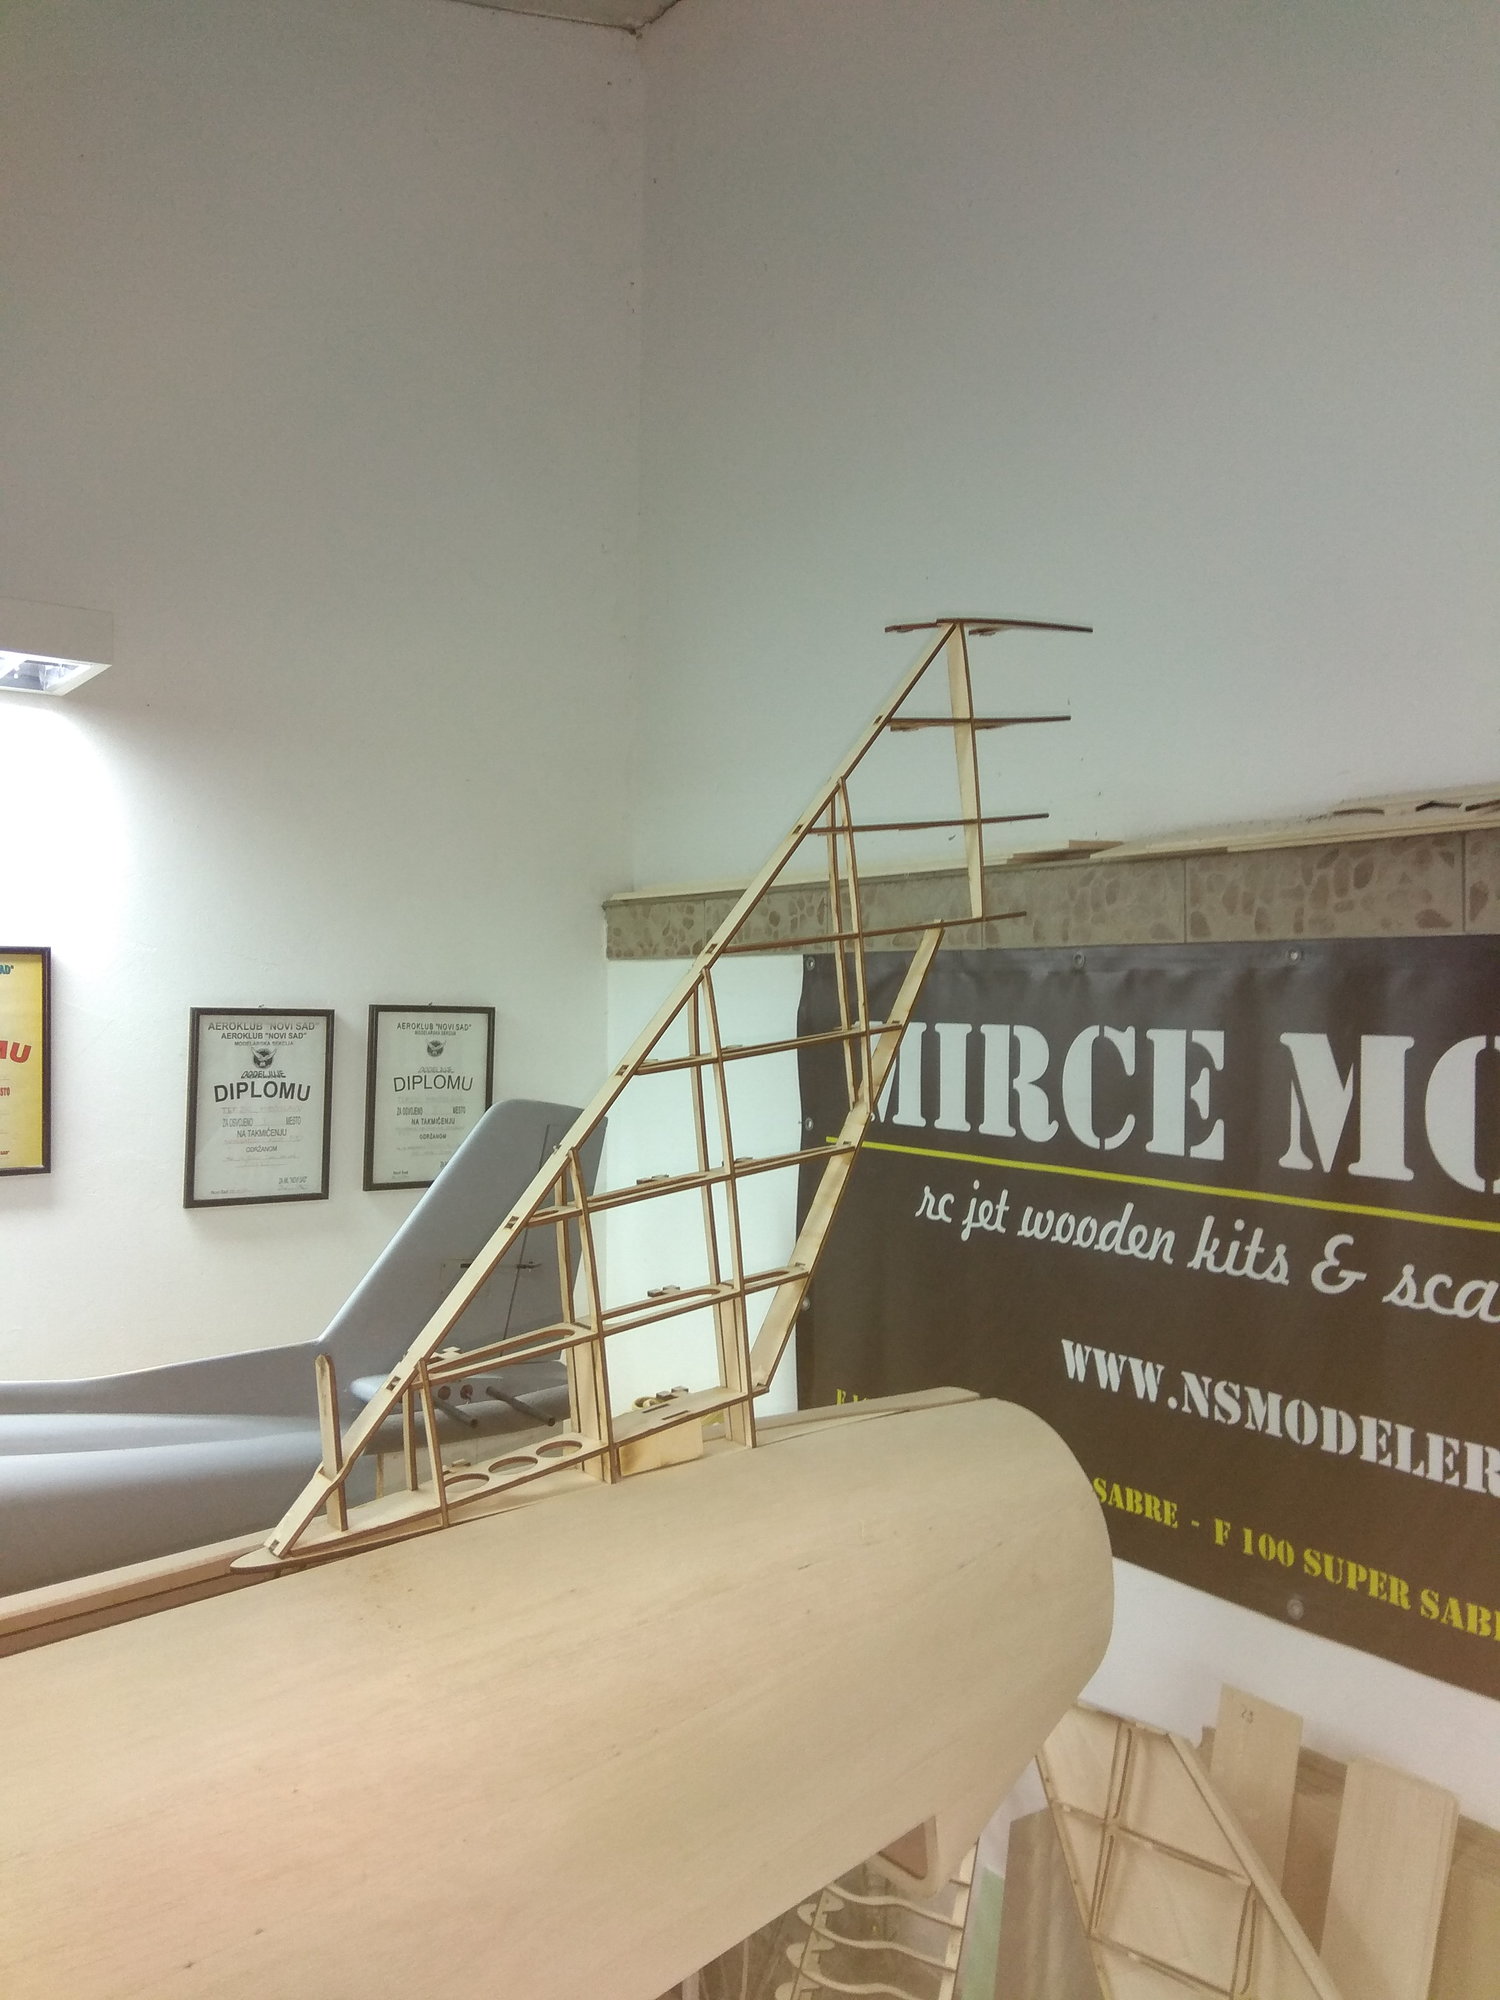
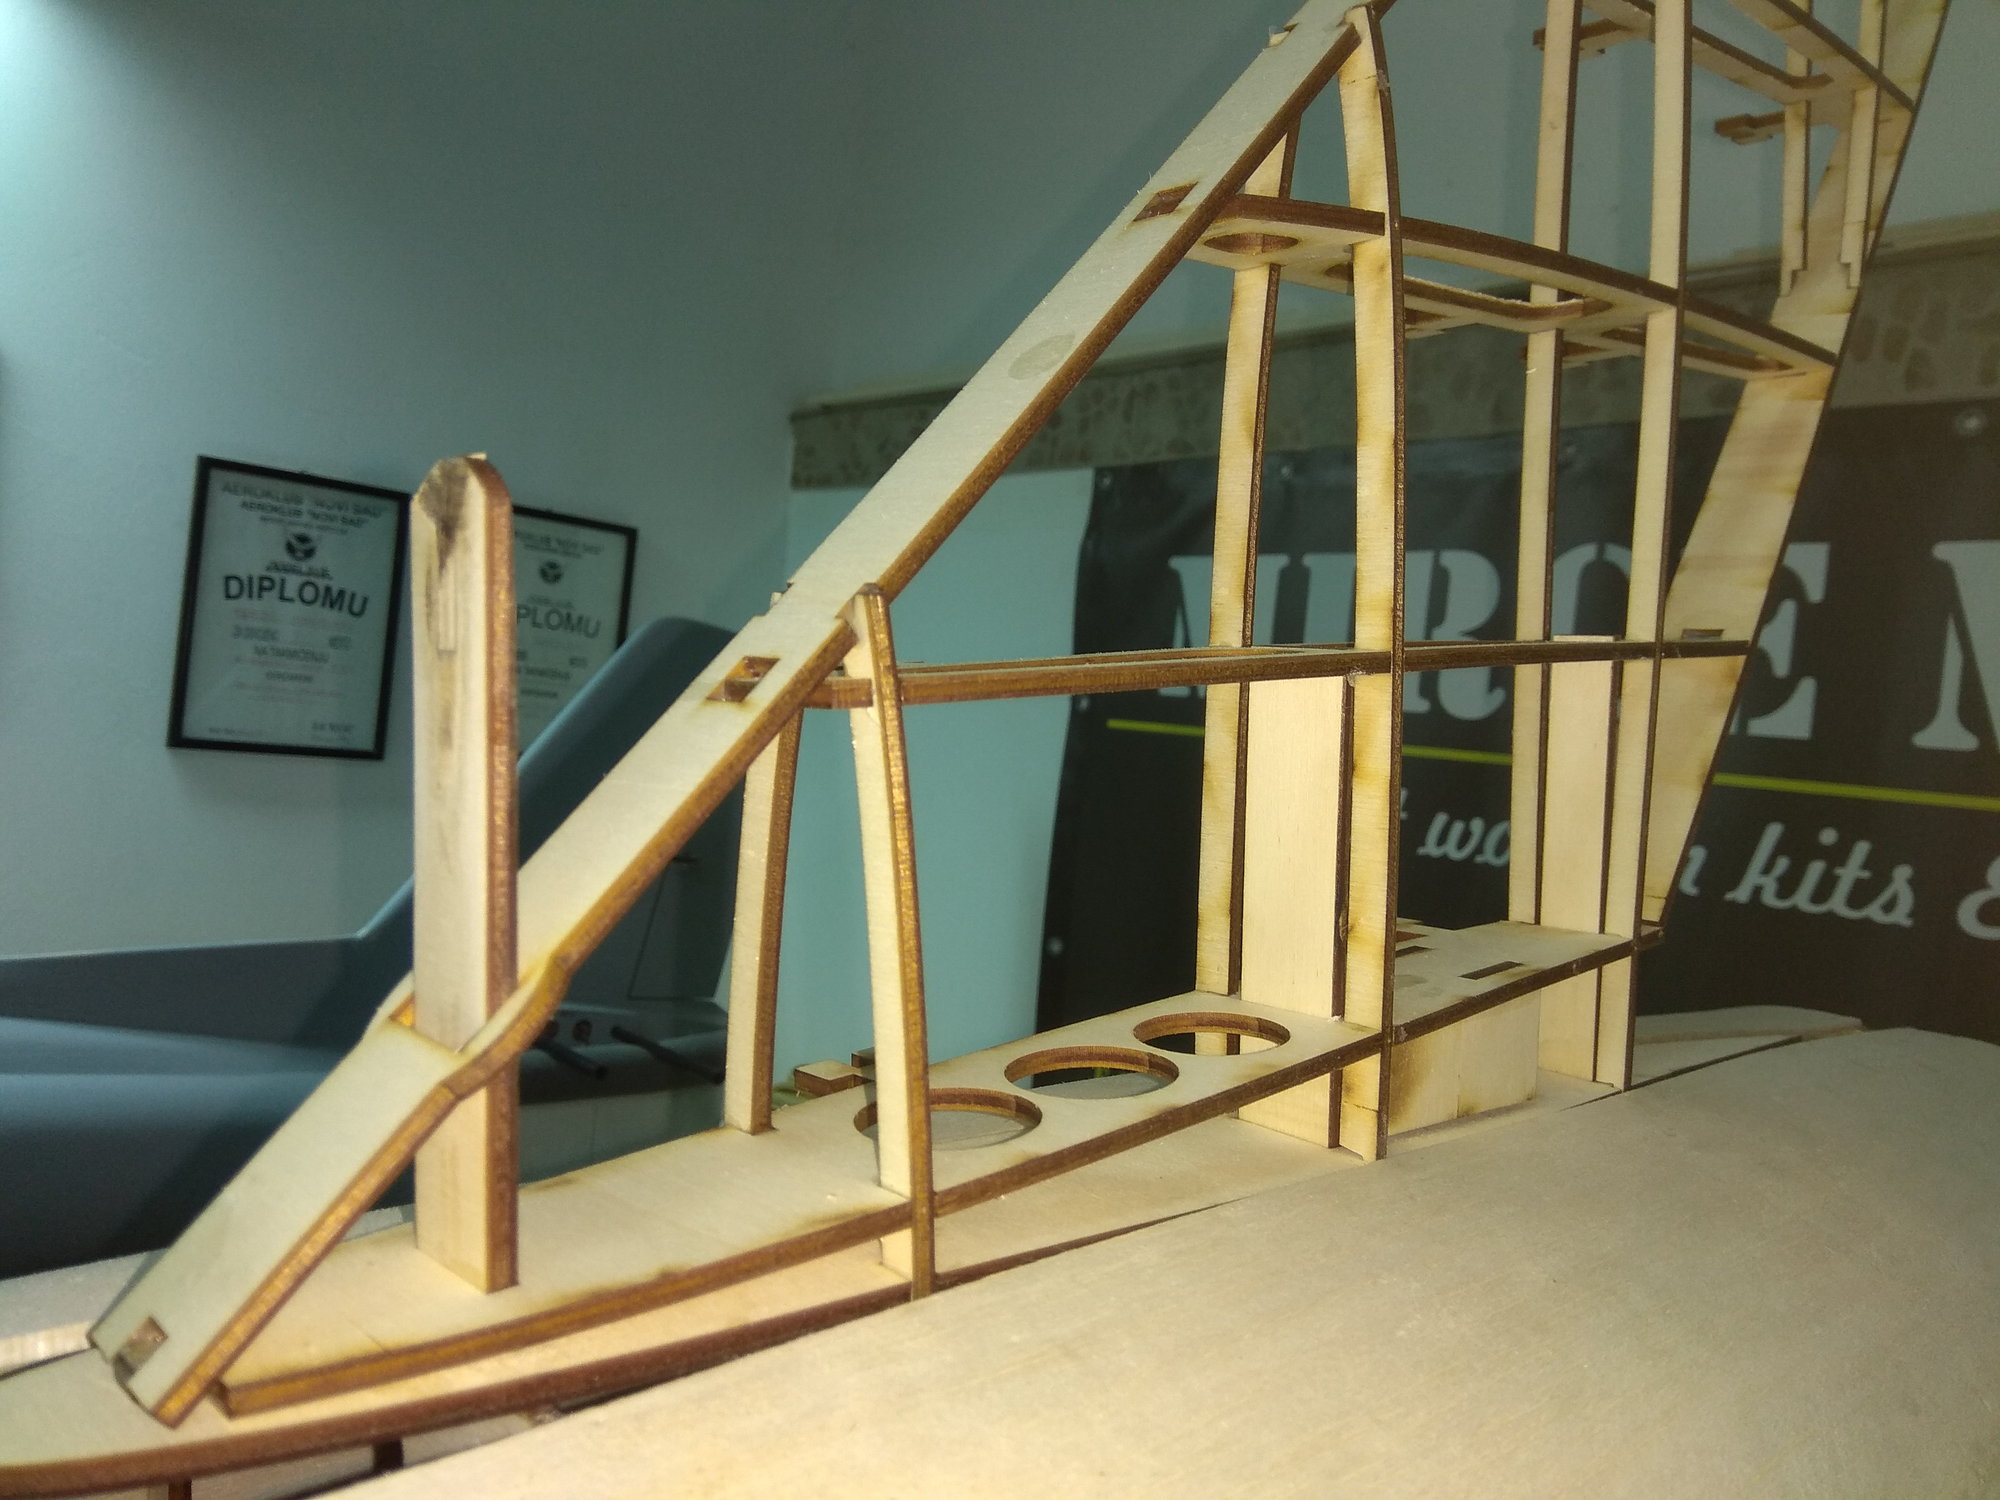
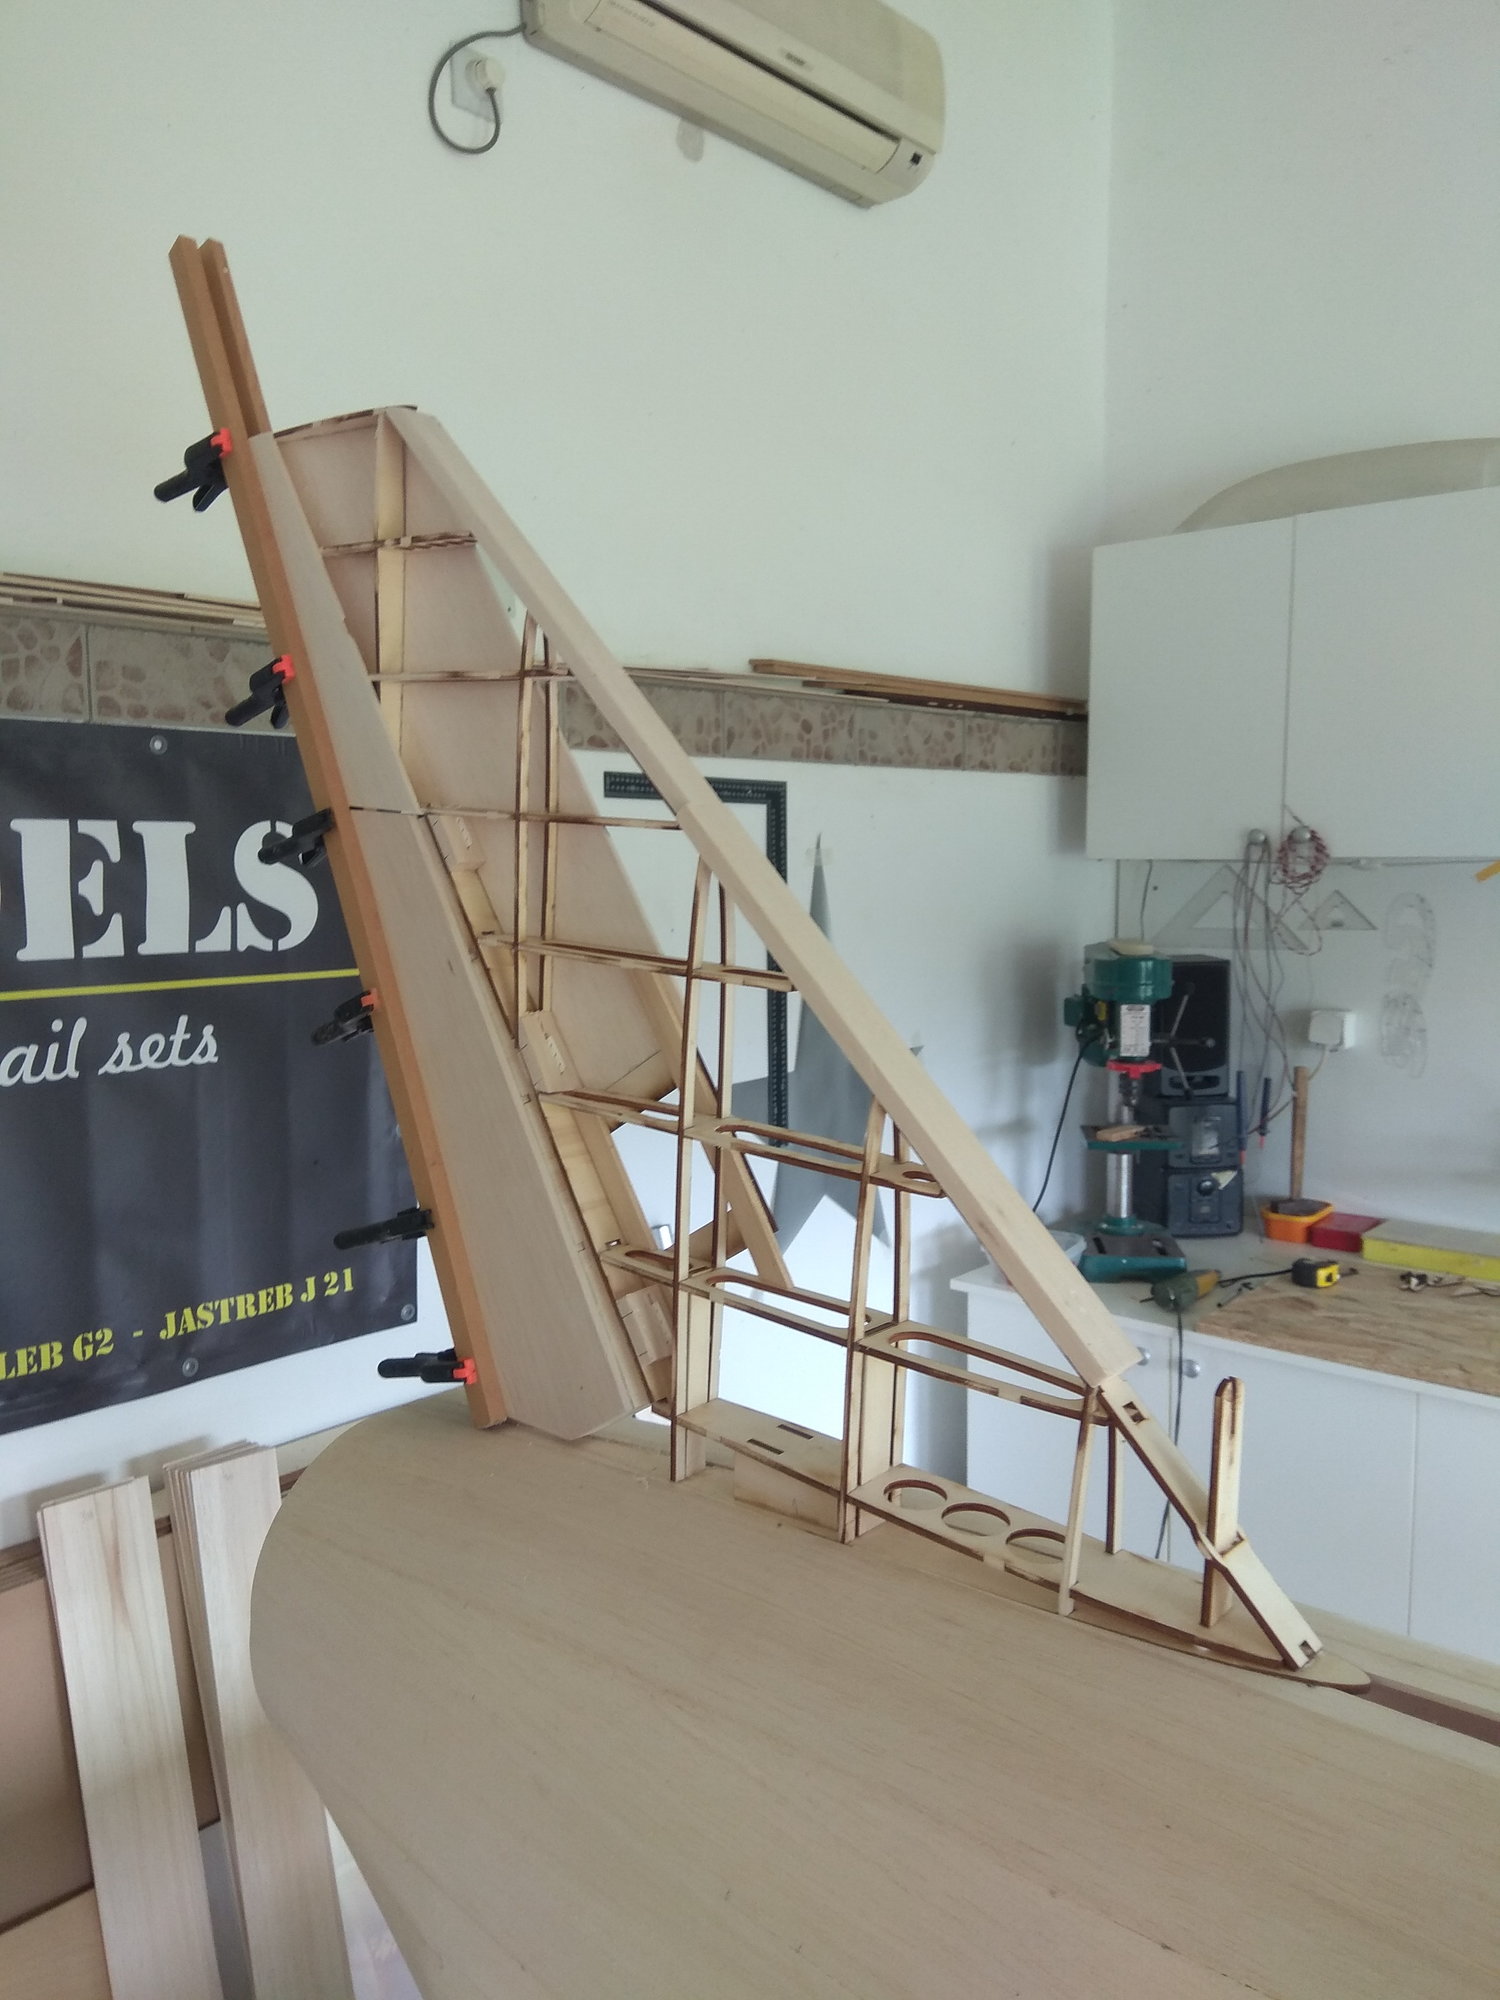
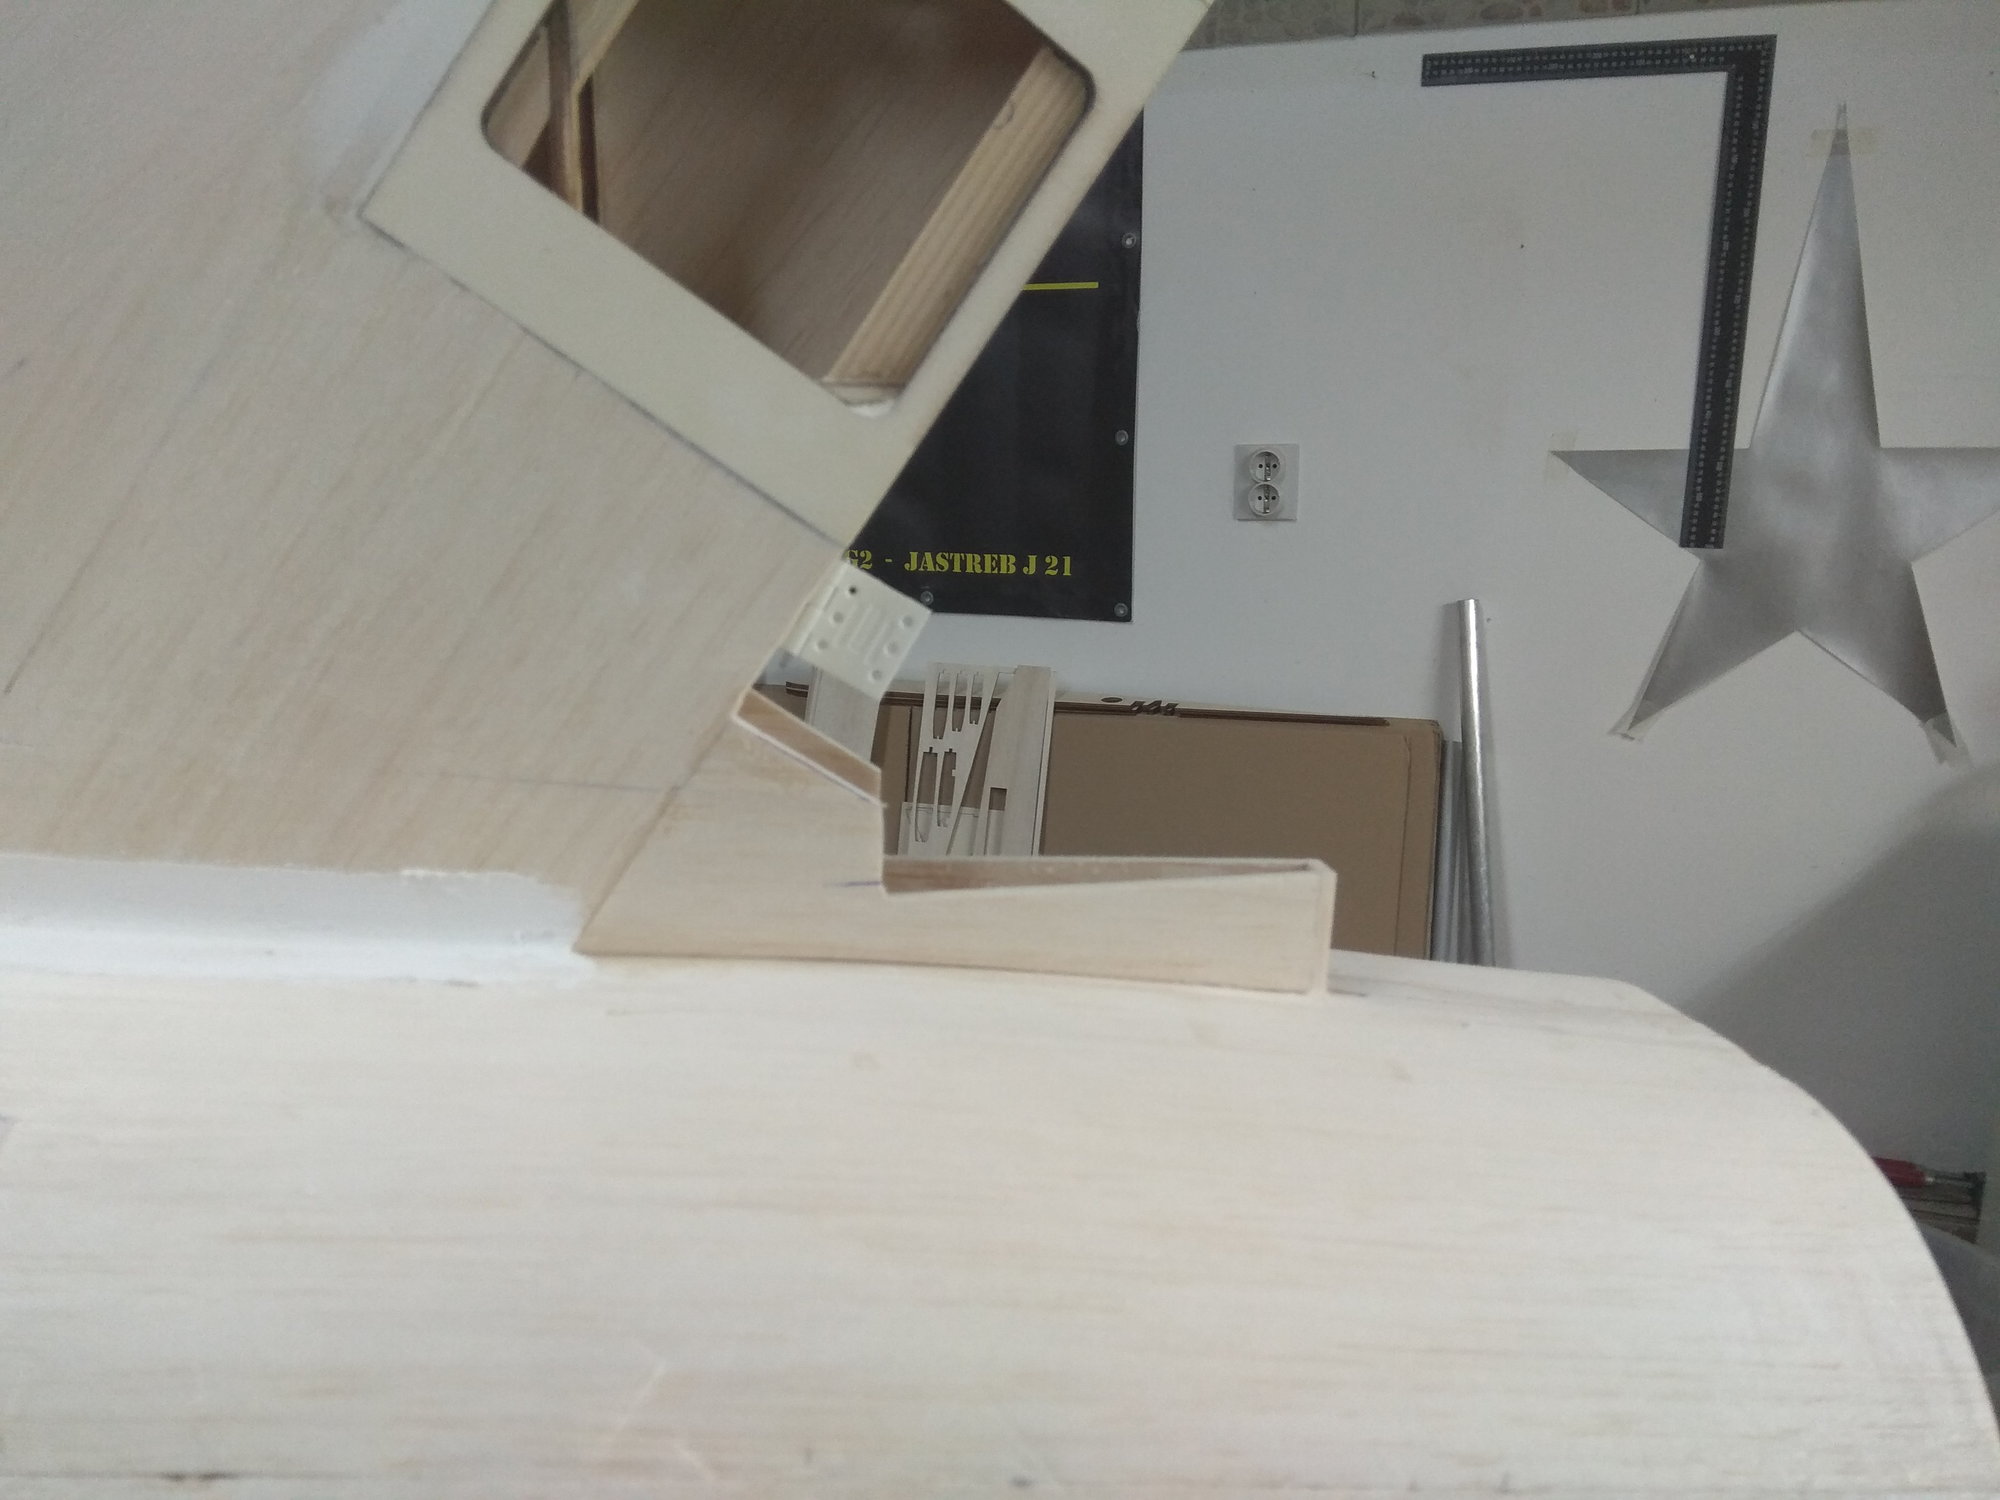
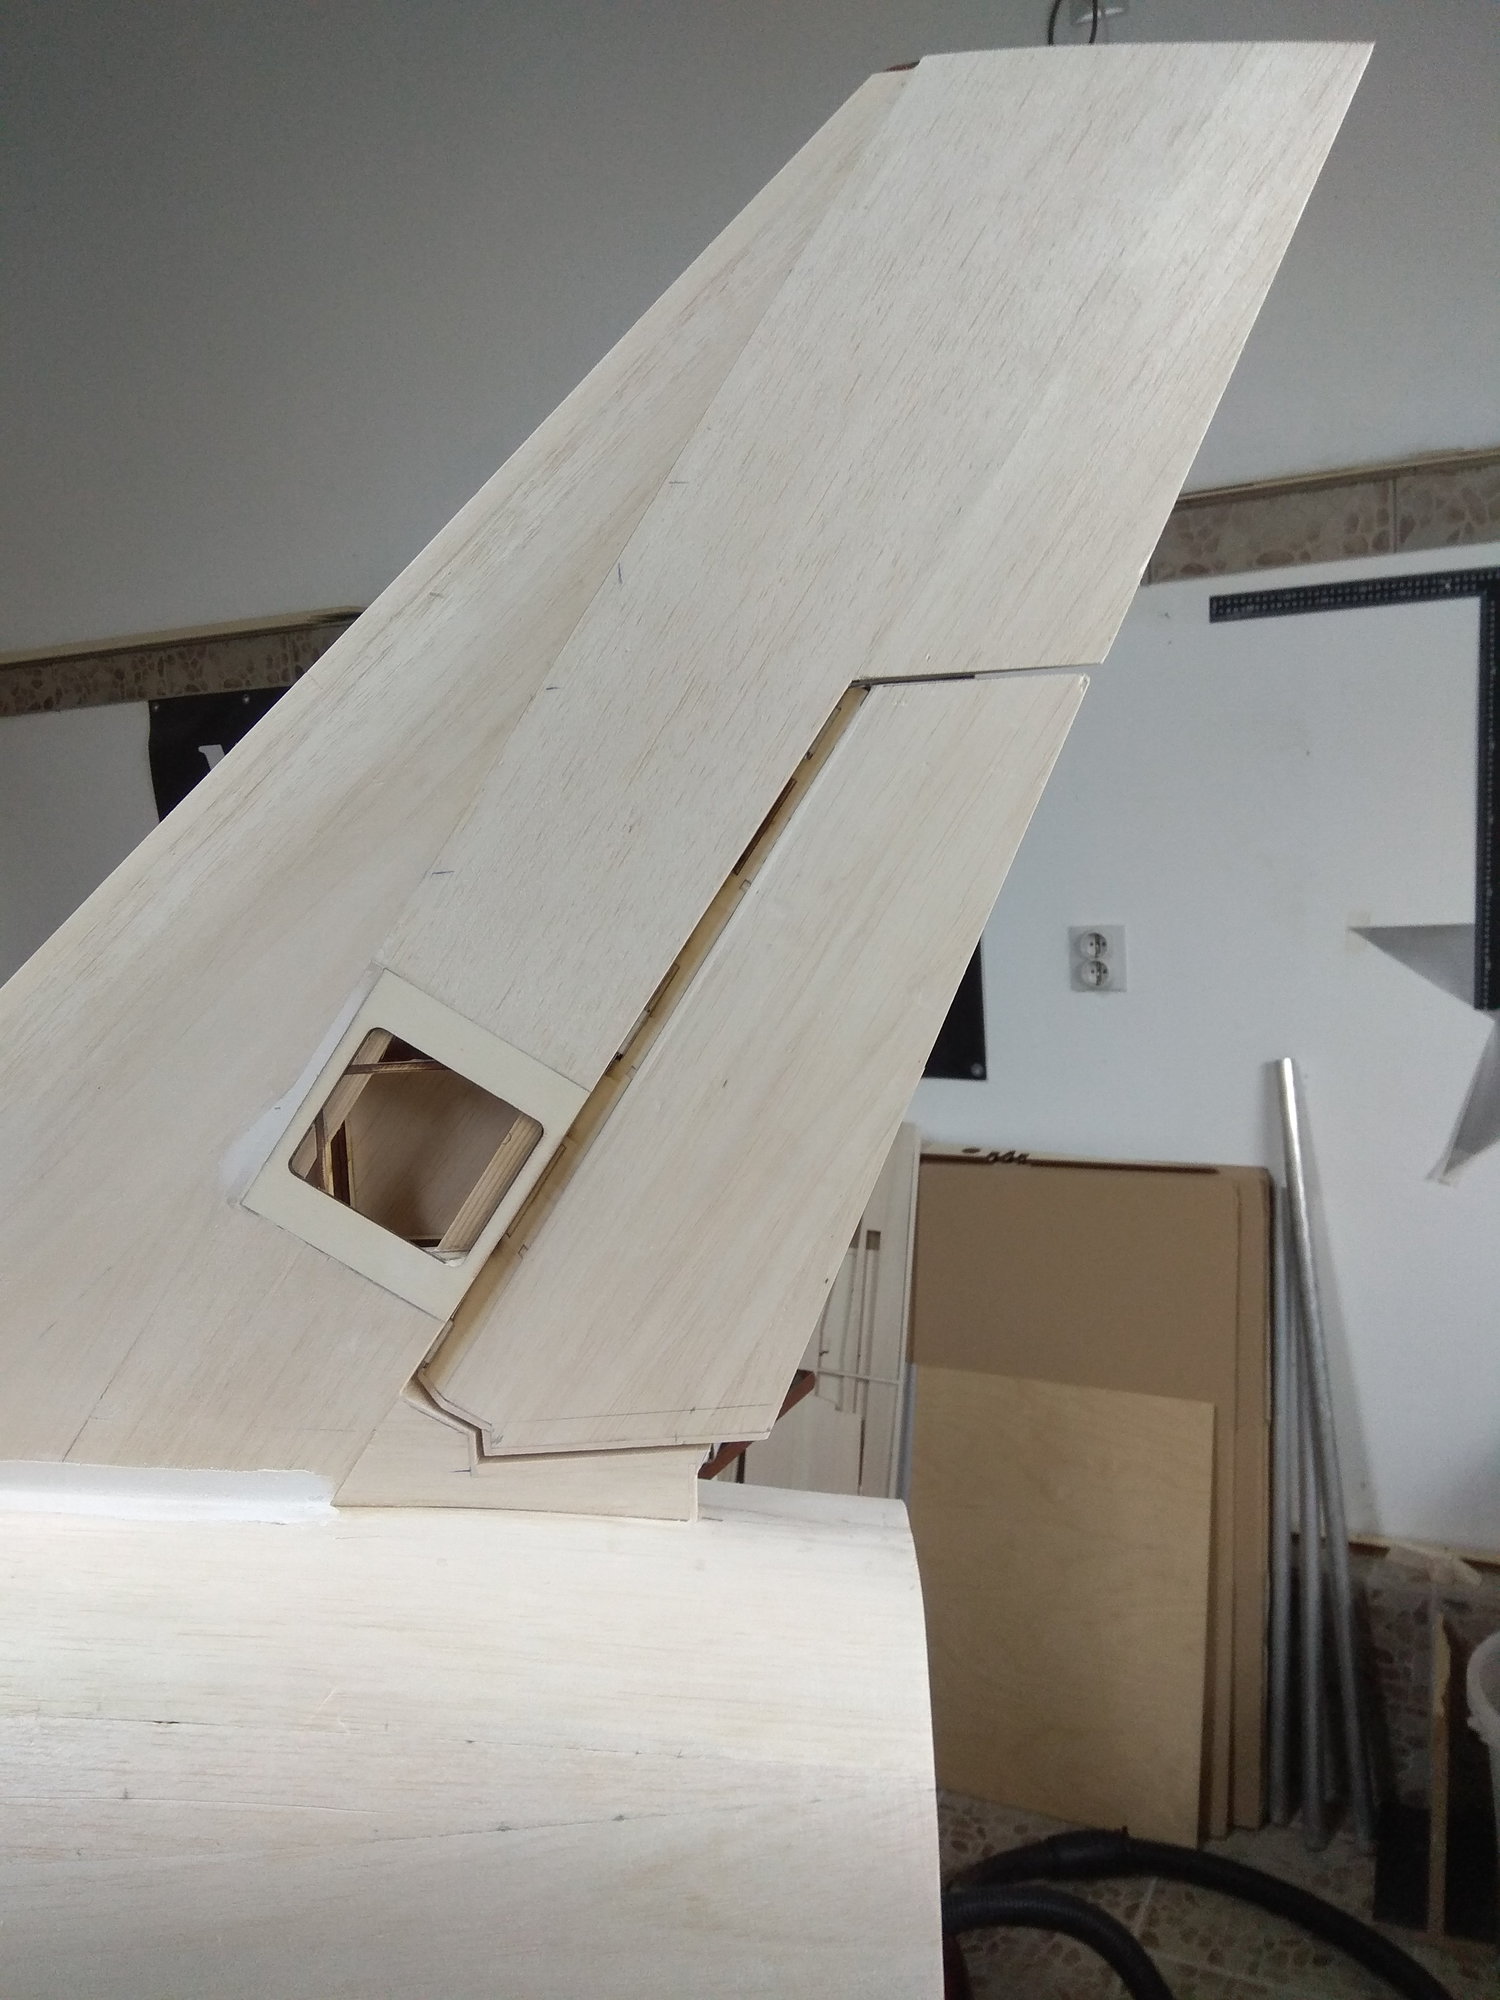
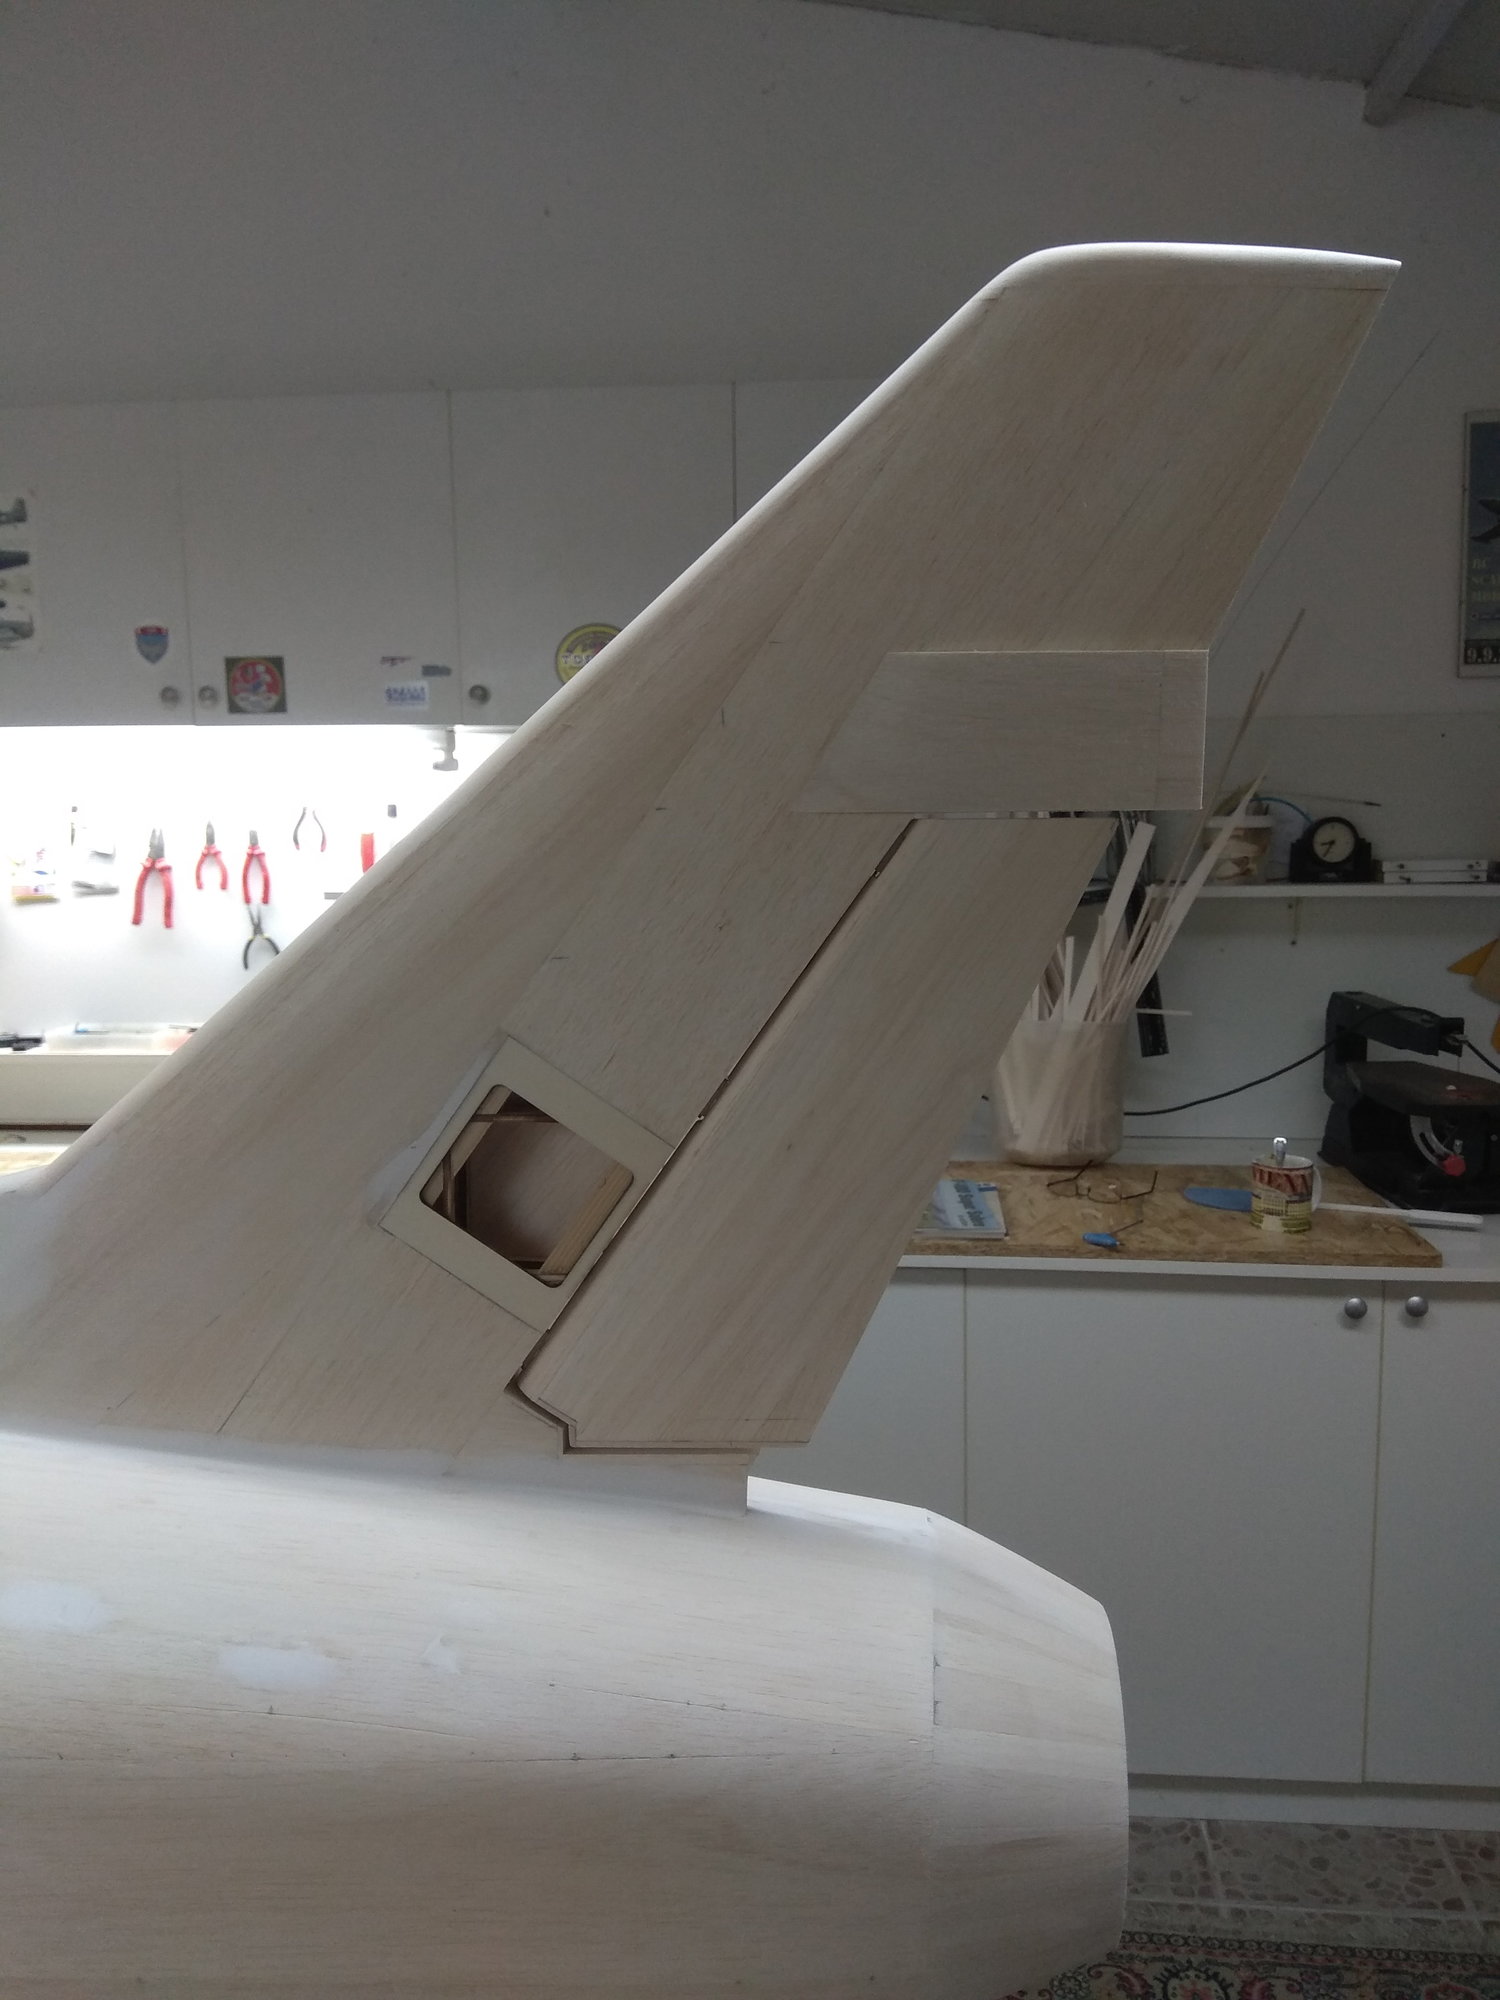
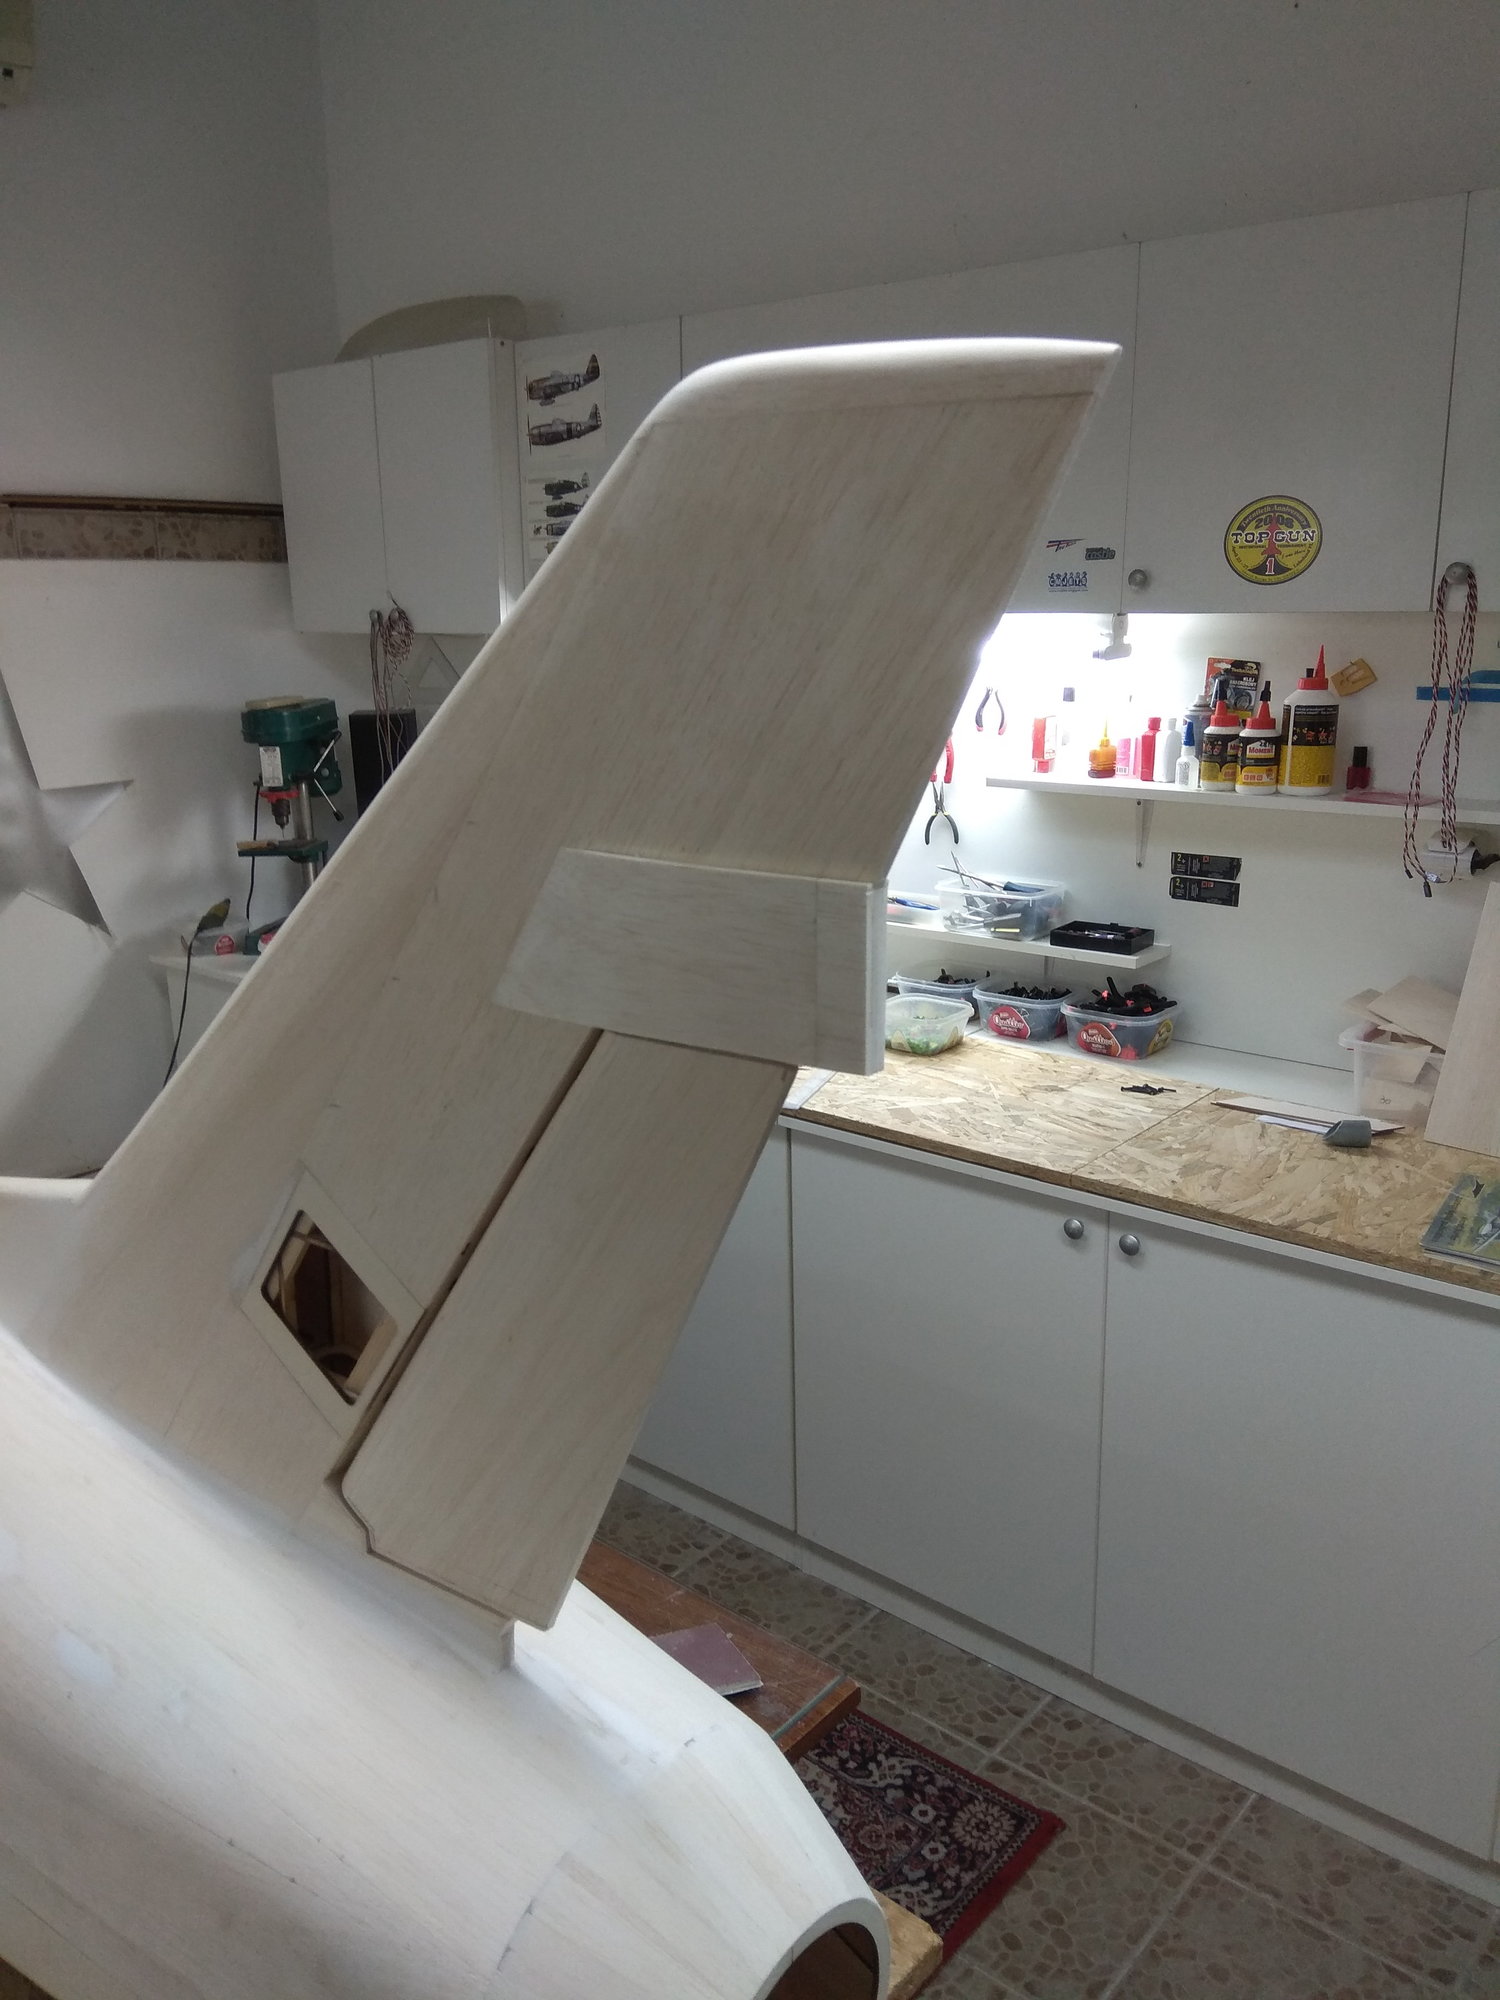
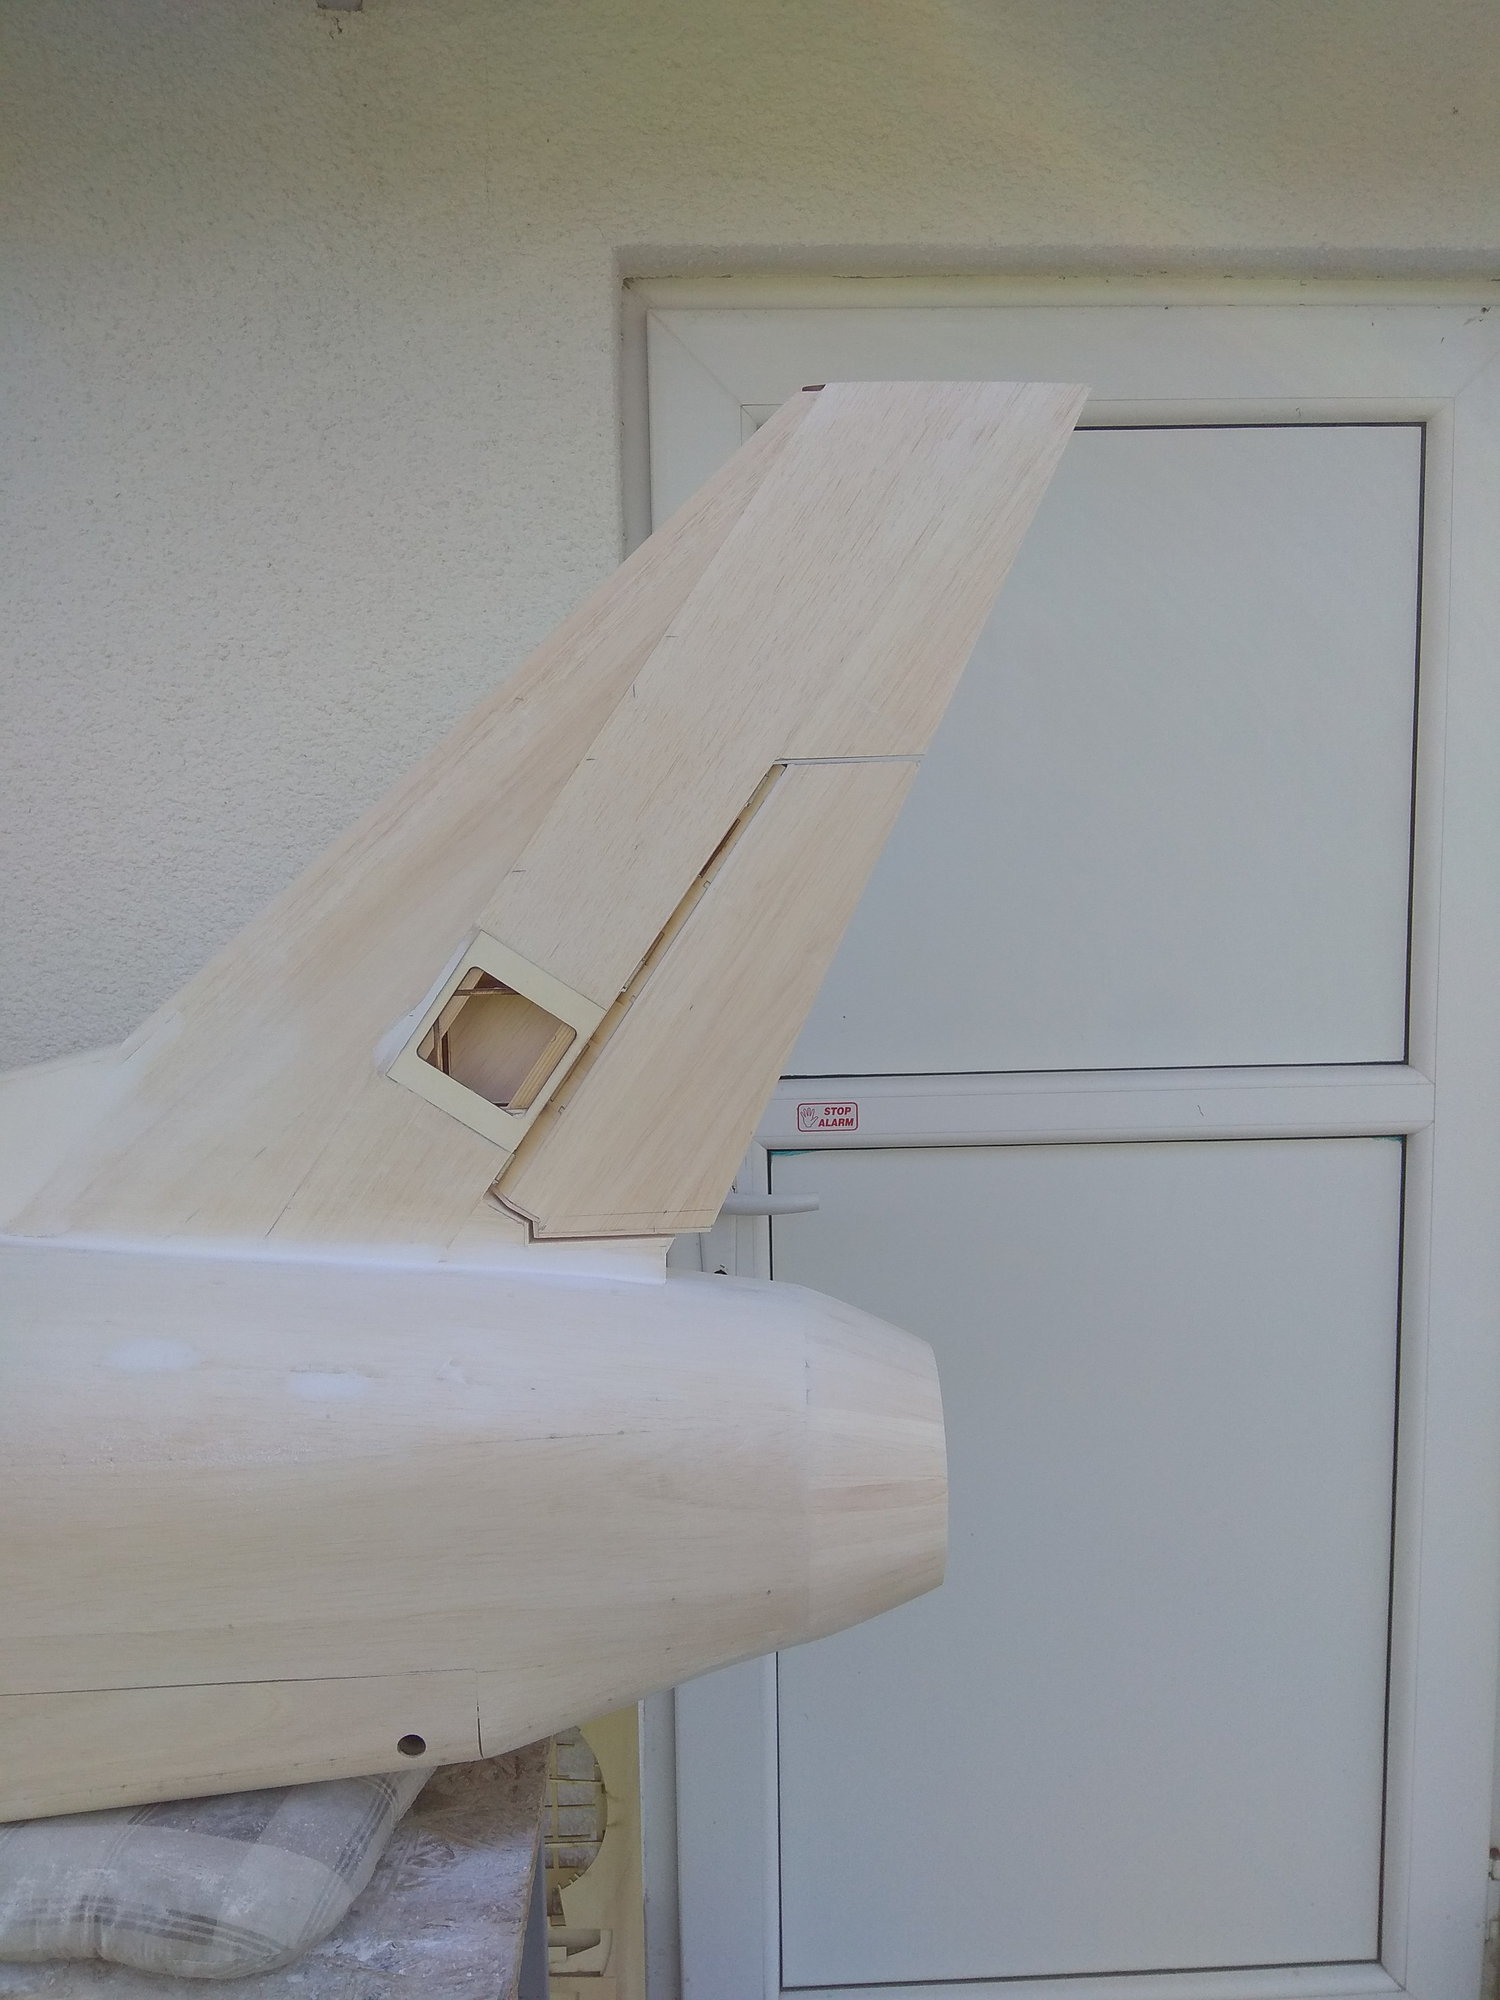
Rudder building system is same like elevators, ply plate template, parts fit perfectly inside. Extreme easy for work...
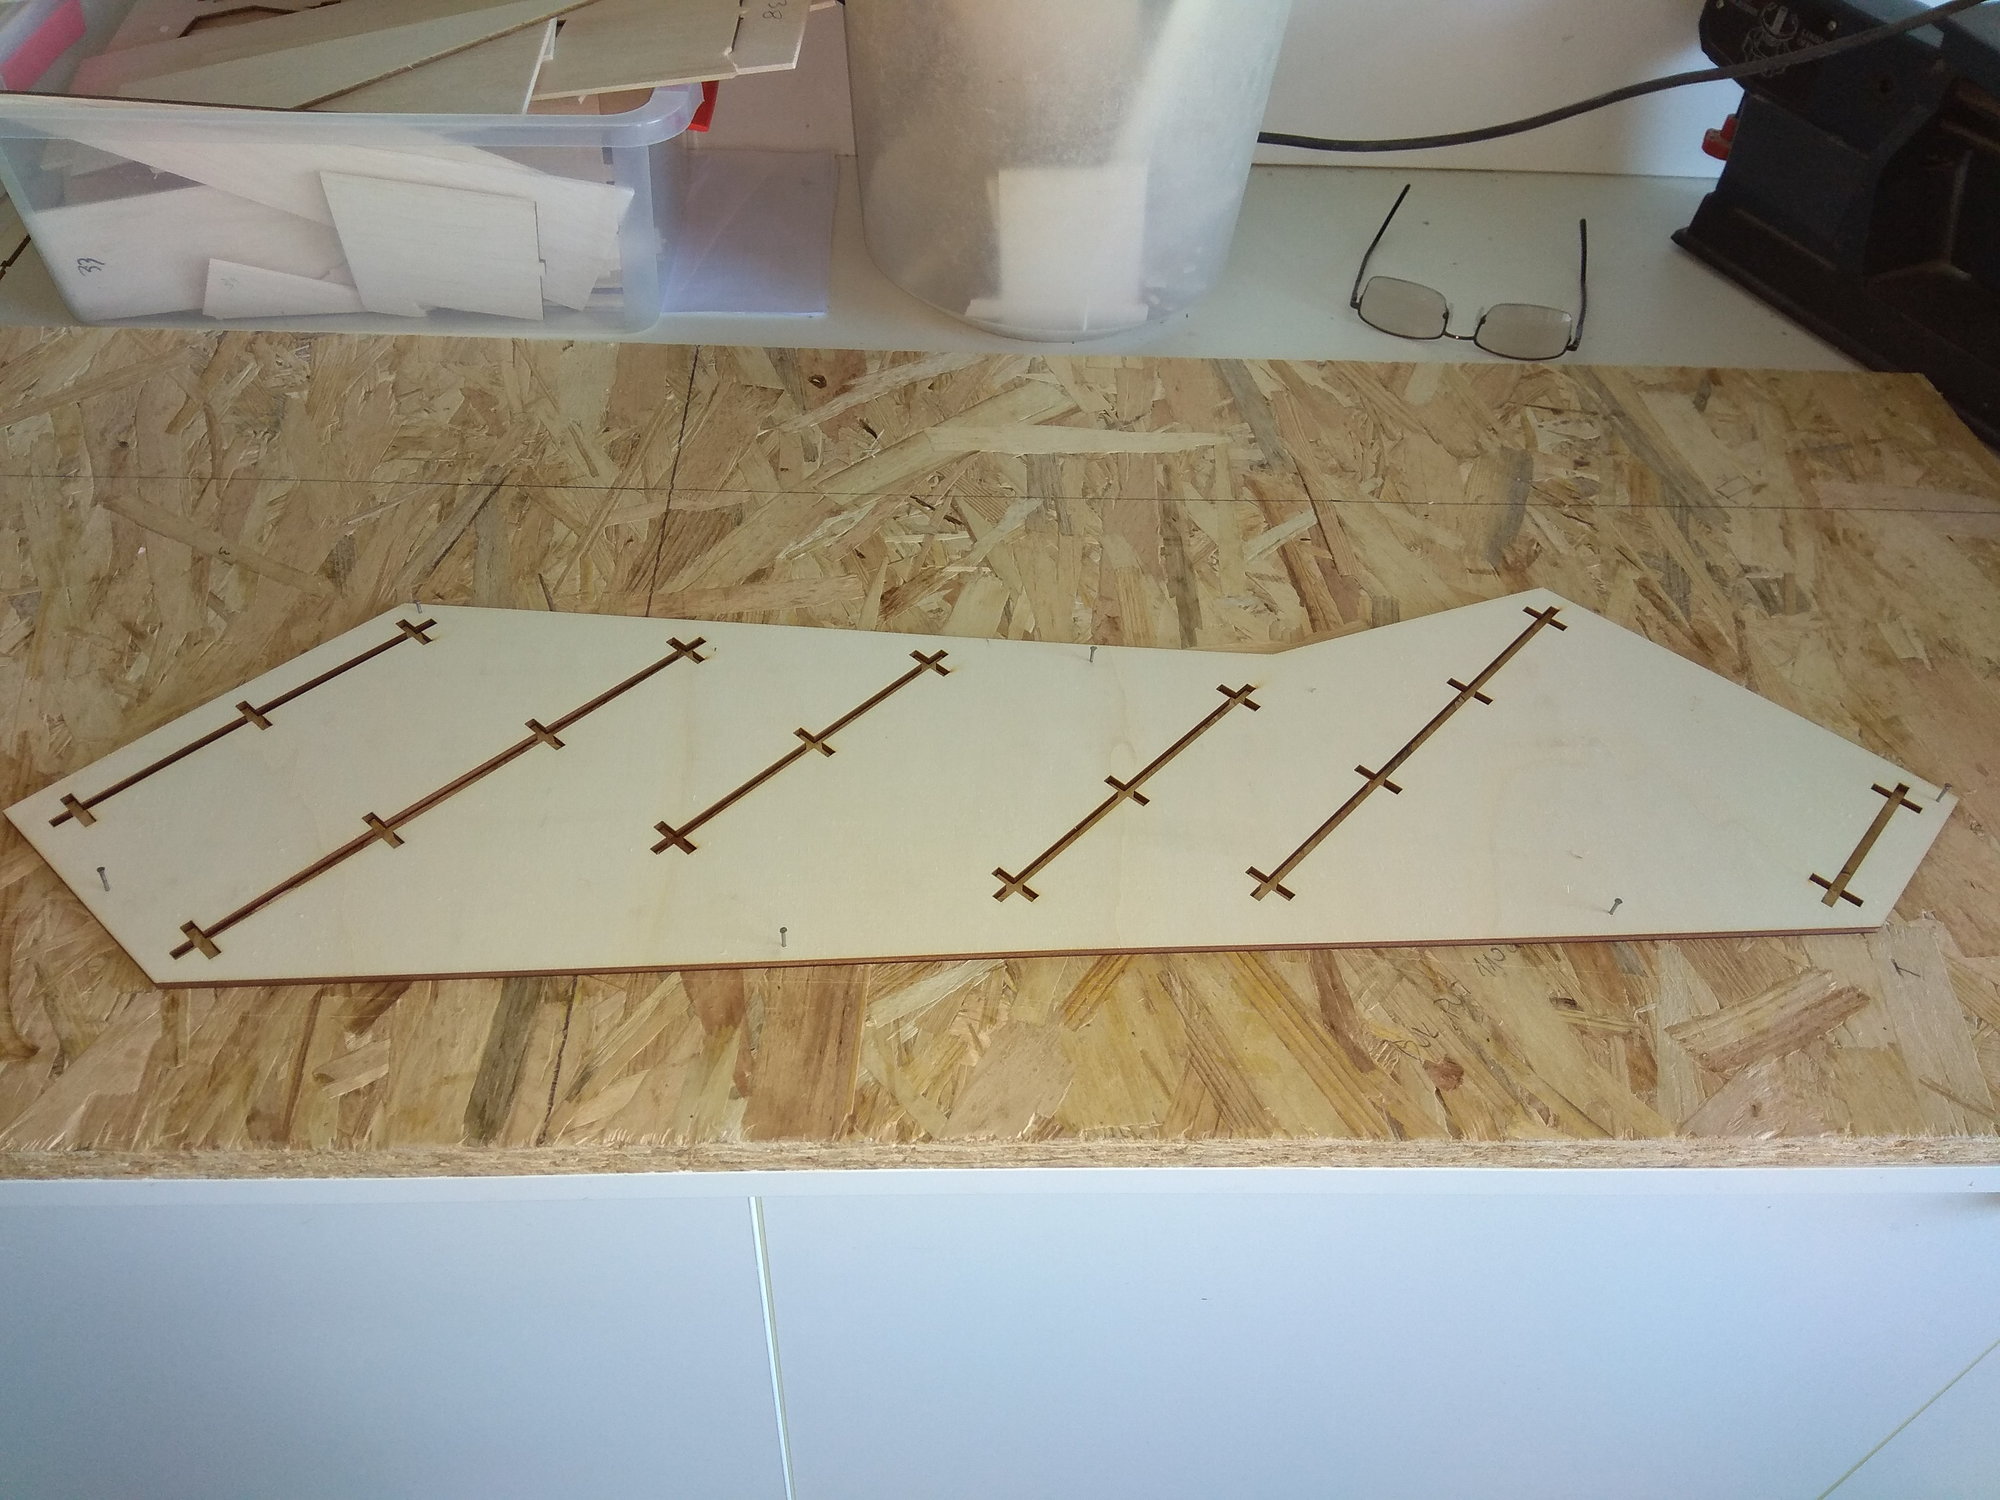
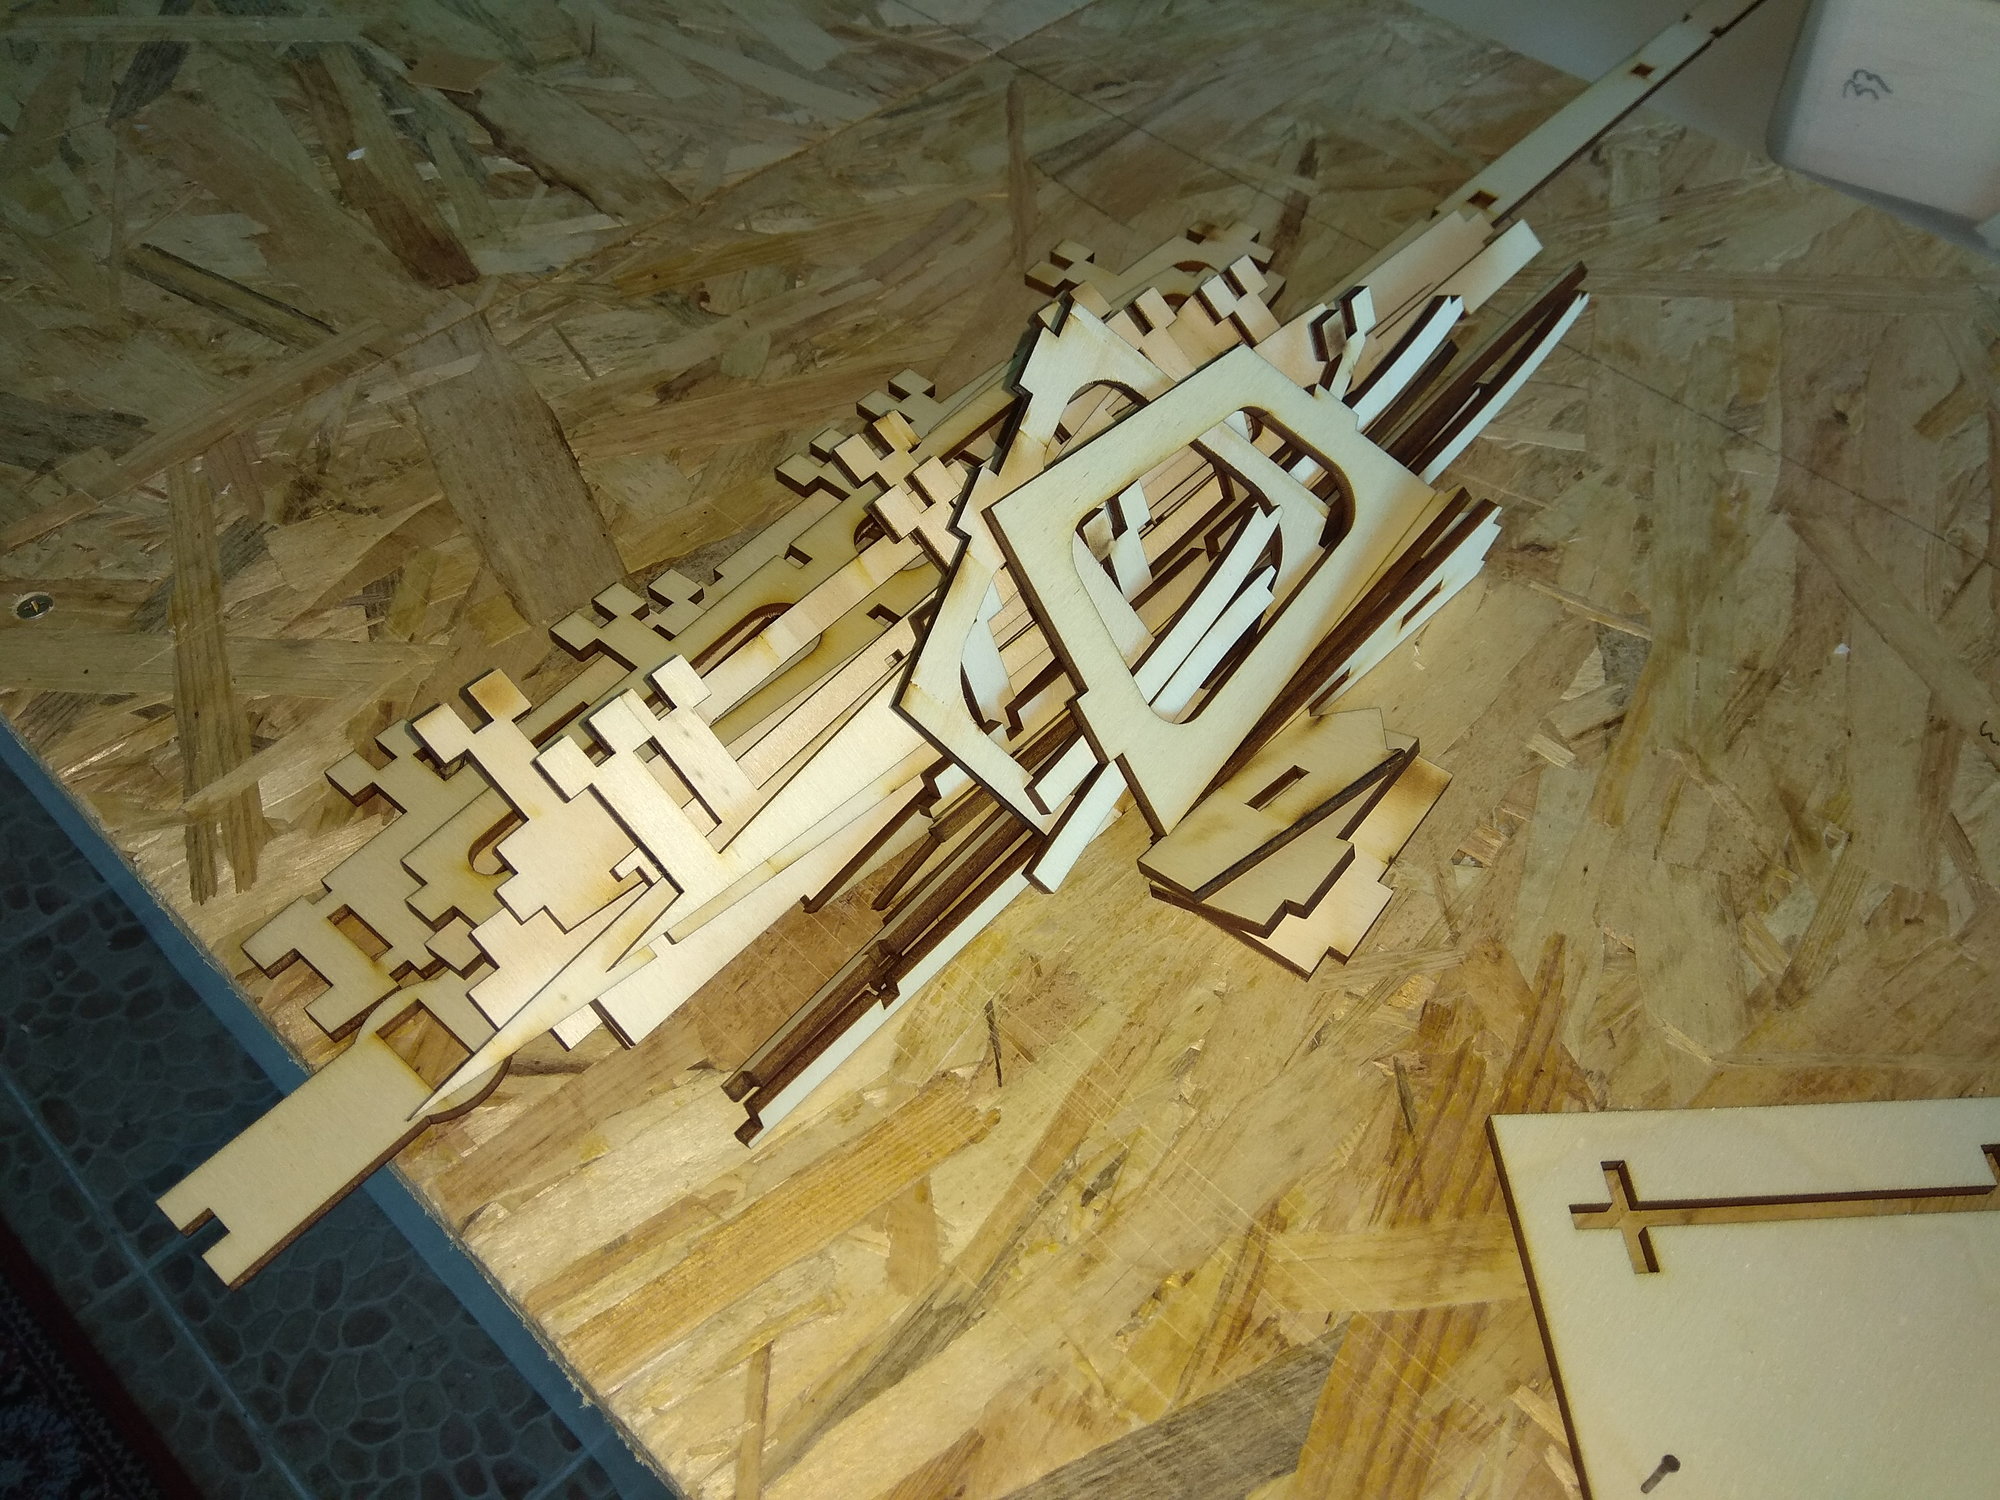
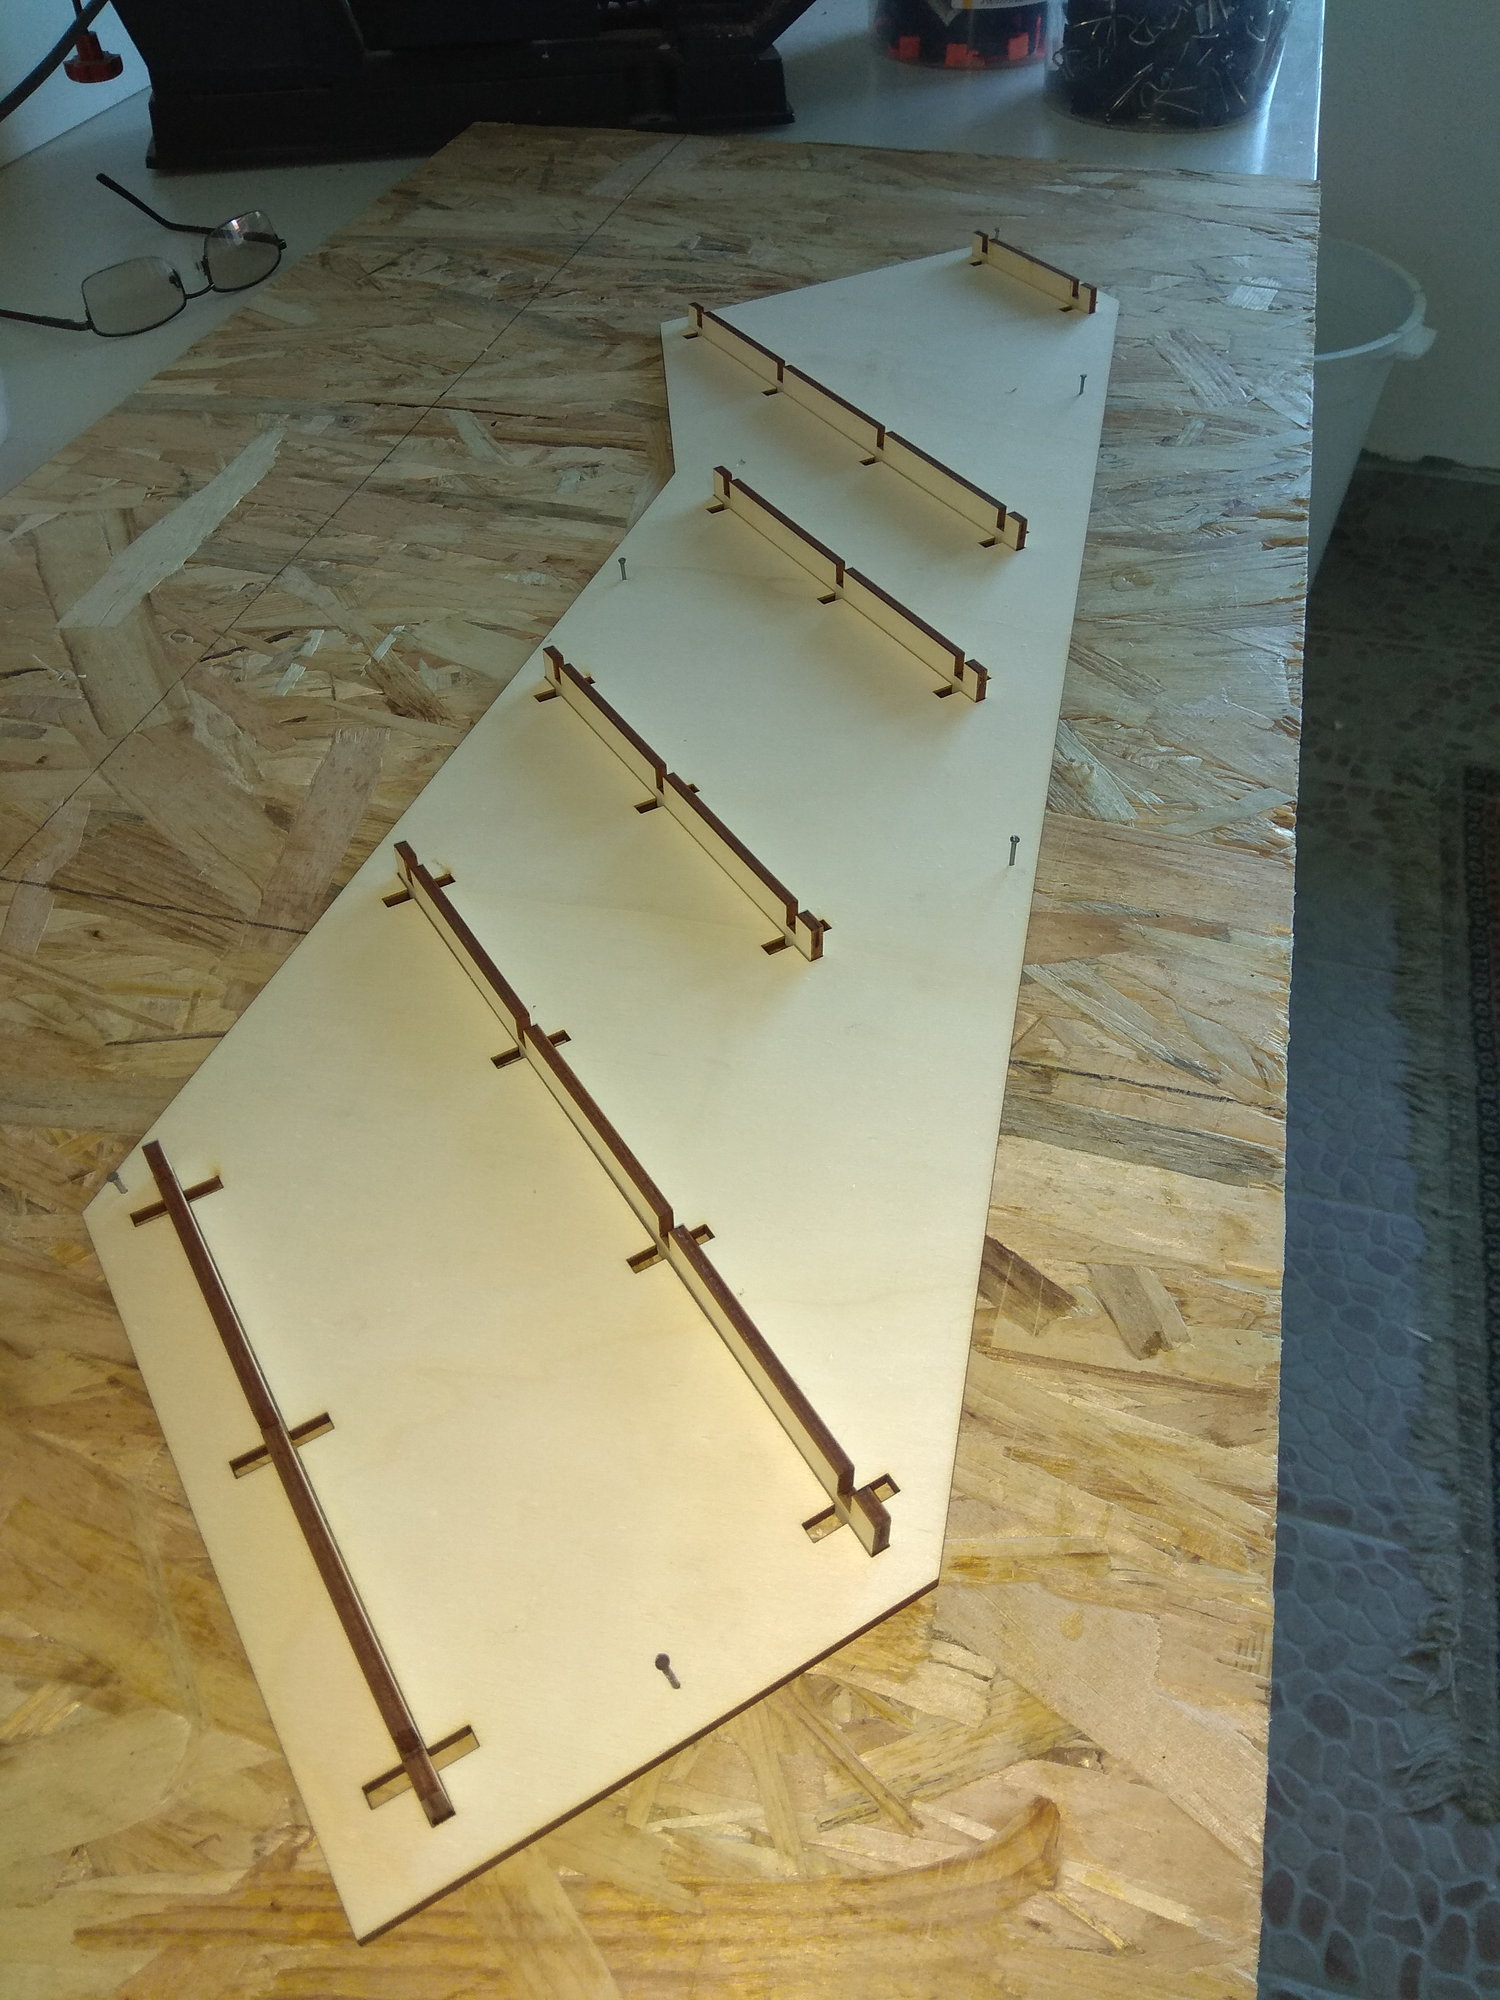

Fin...

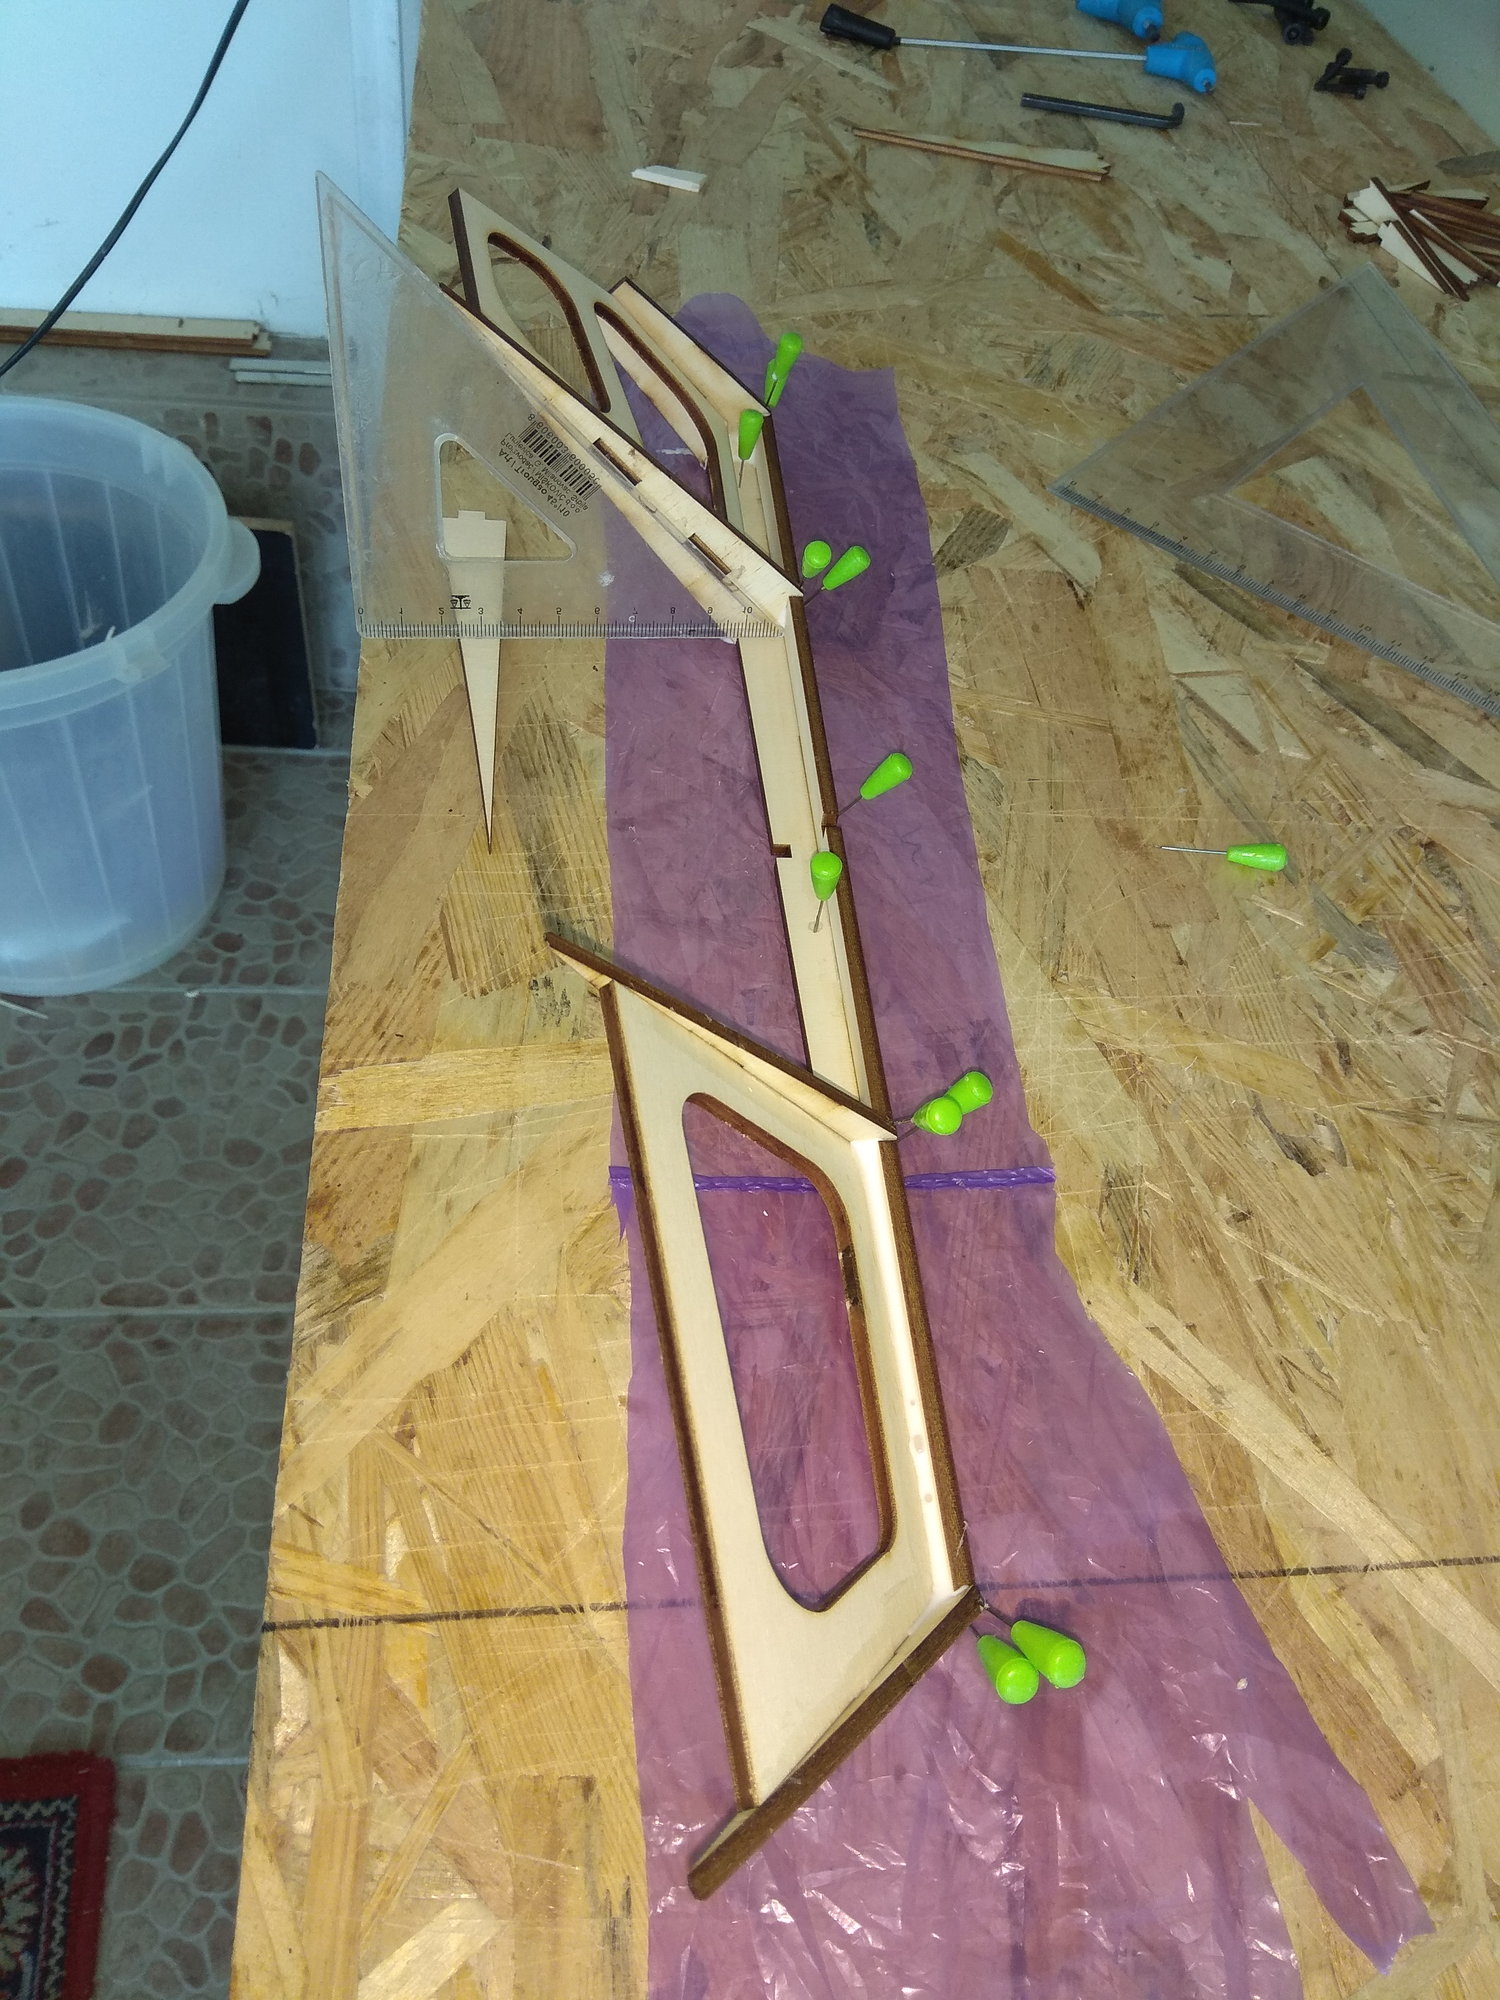
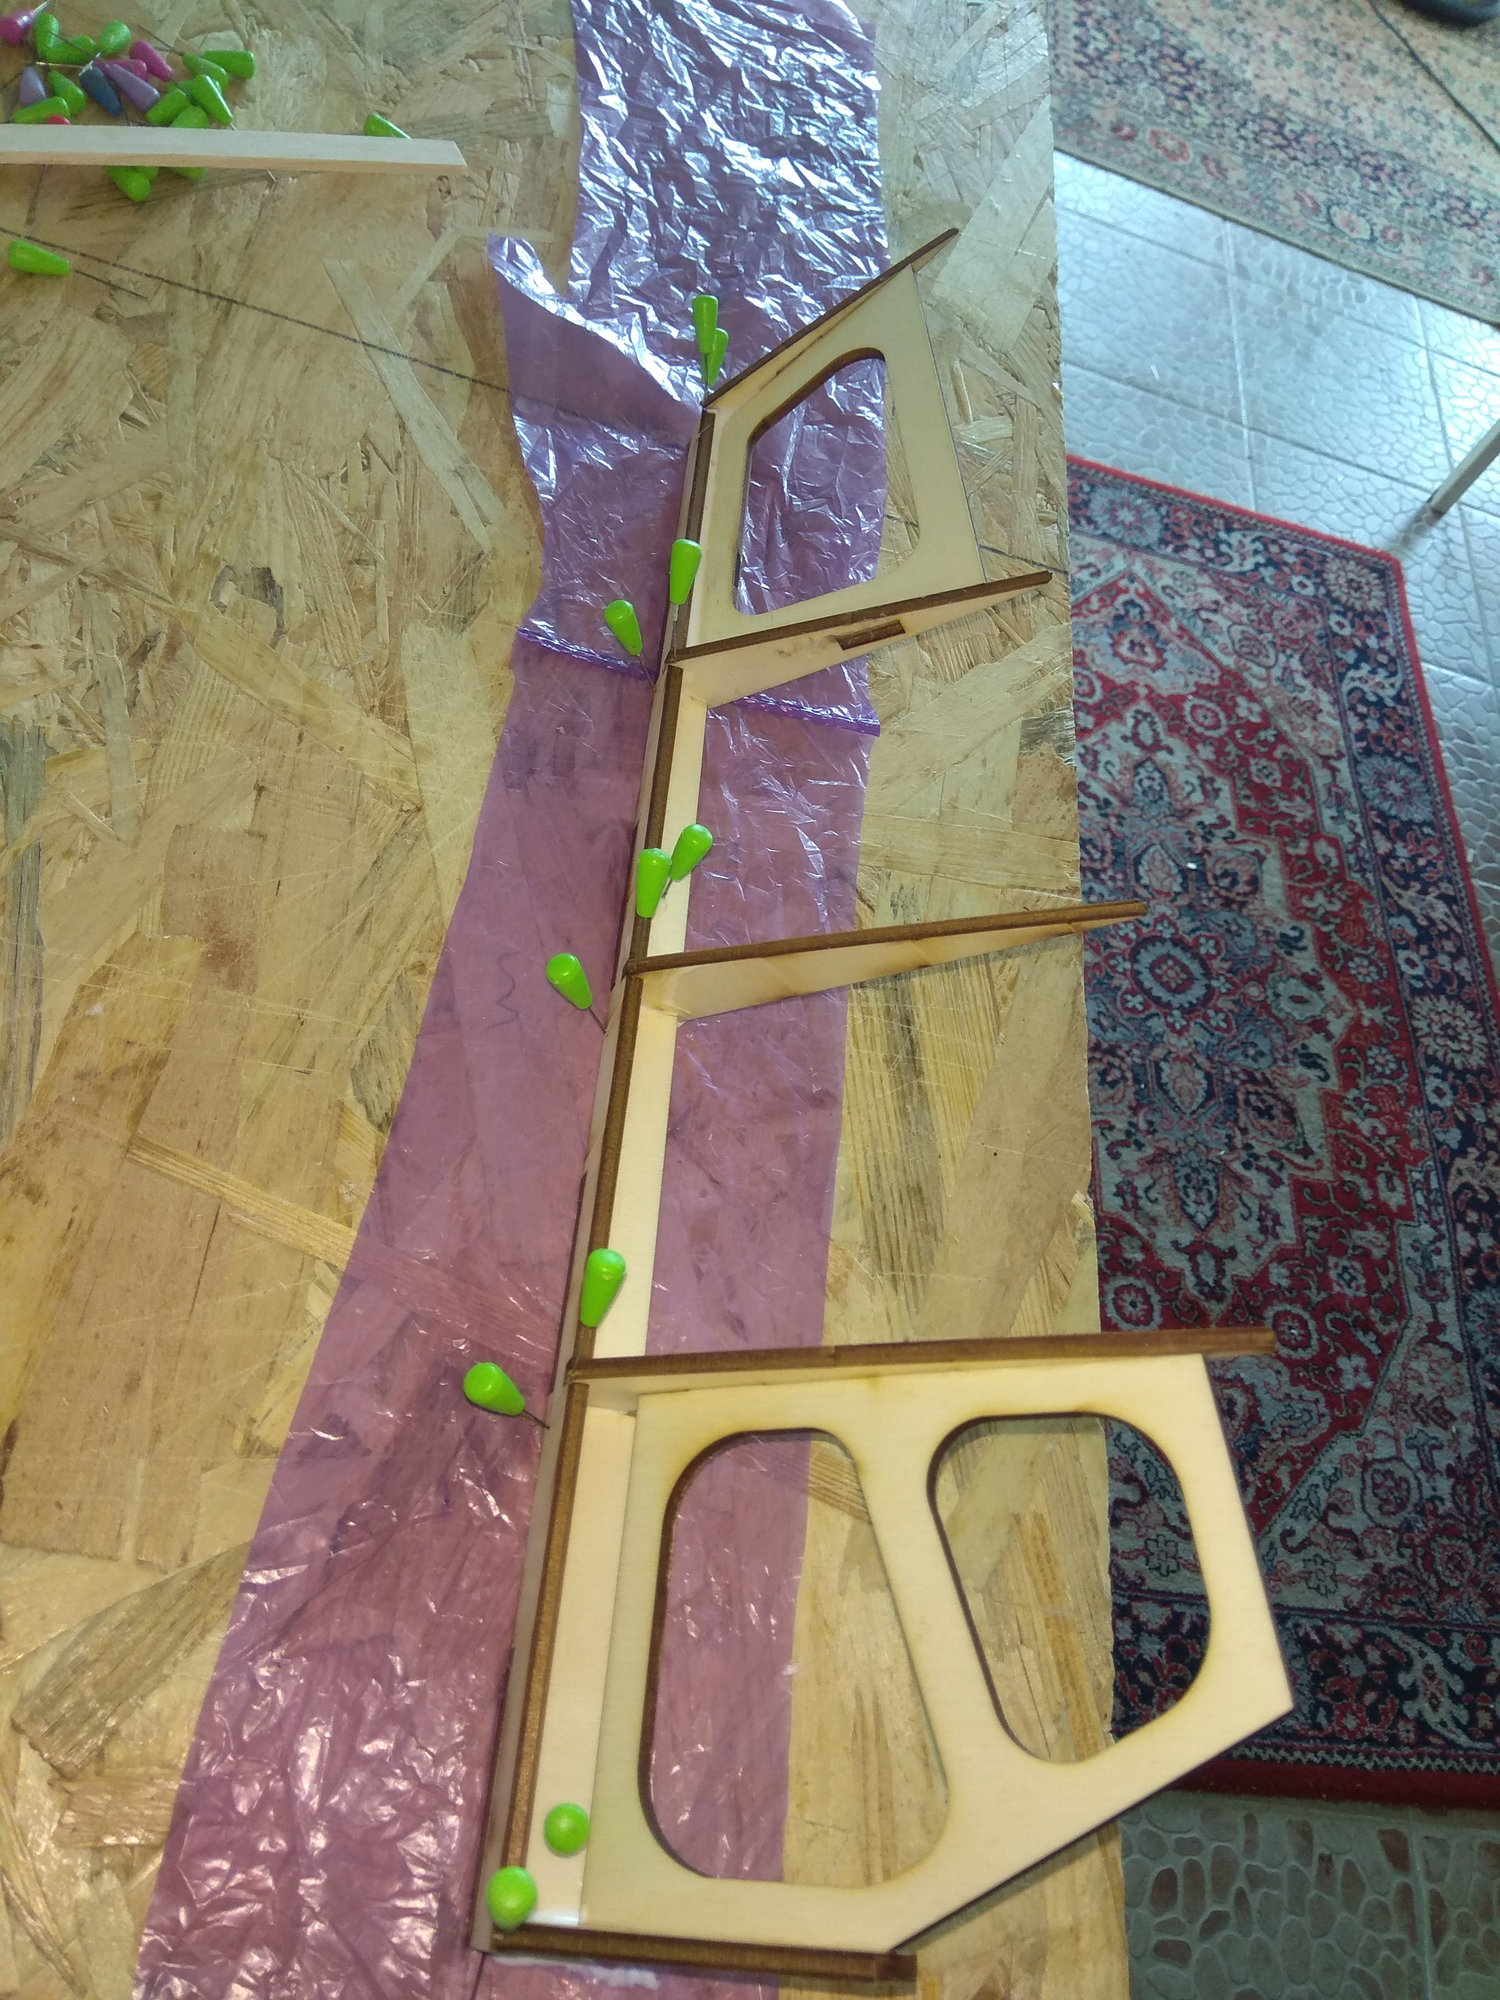

To be continued...
This is new wooden kit model for me also, so during building I check all details. You can see that almost no any sanding on parts, everything fit nice and precise.
Rudder building system is same like elevators, ply plate template, parts fit perfectly inside. Extreme easy for work...
Fin...
To be continued...
07-20-2018, 01:43 AM
#54
Thread Starter
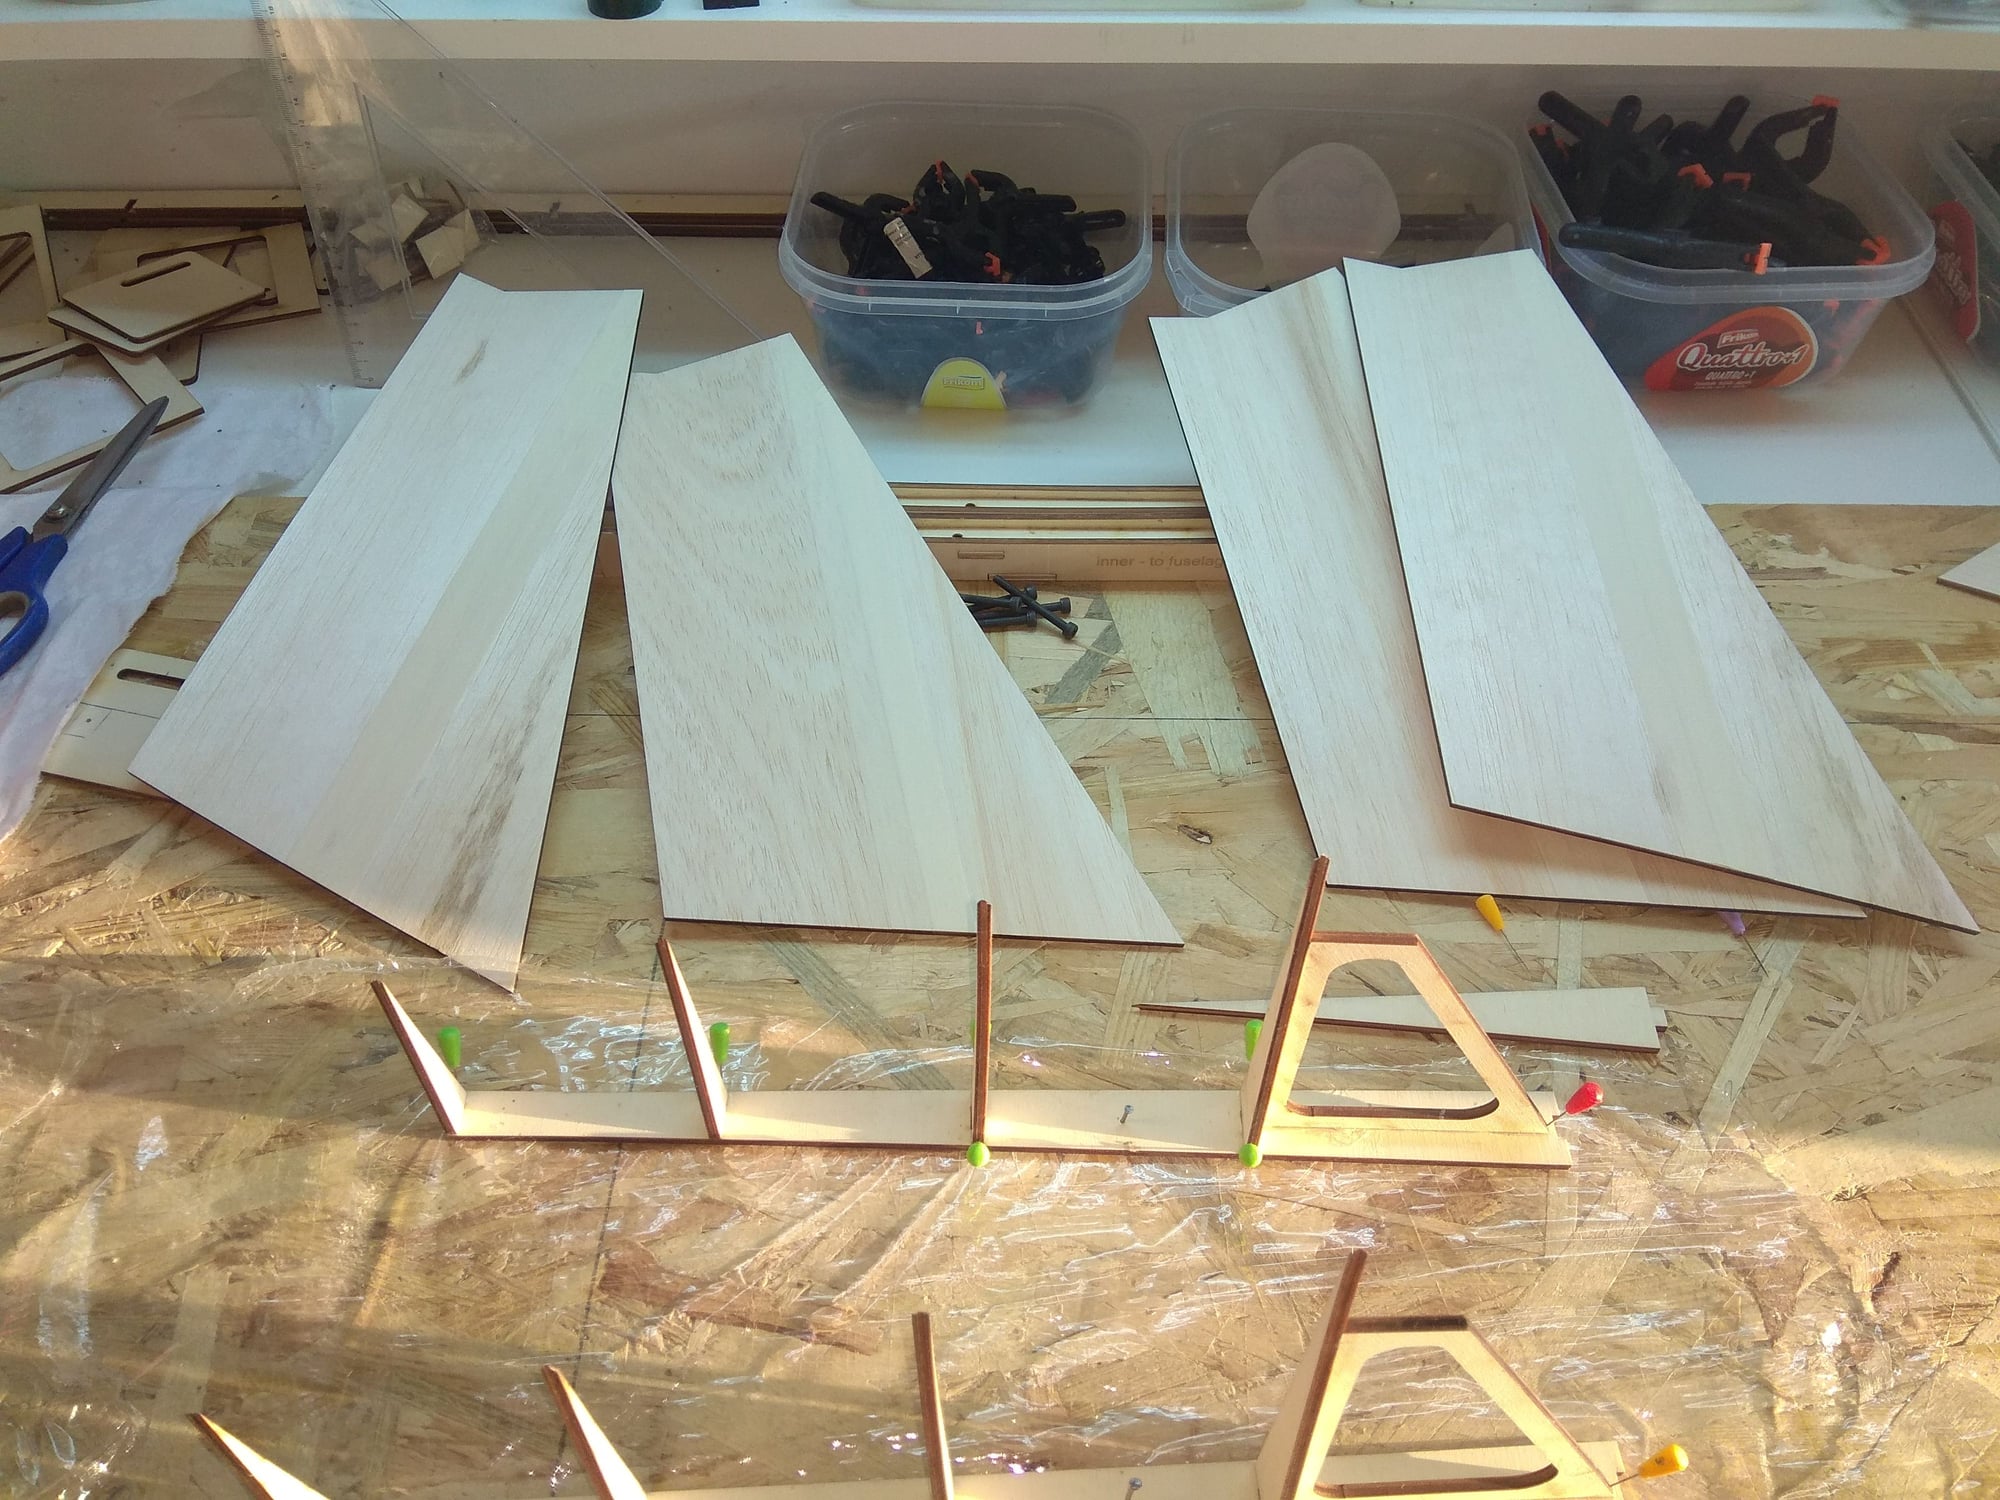
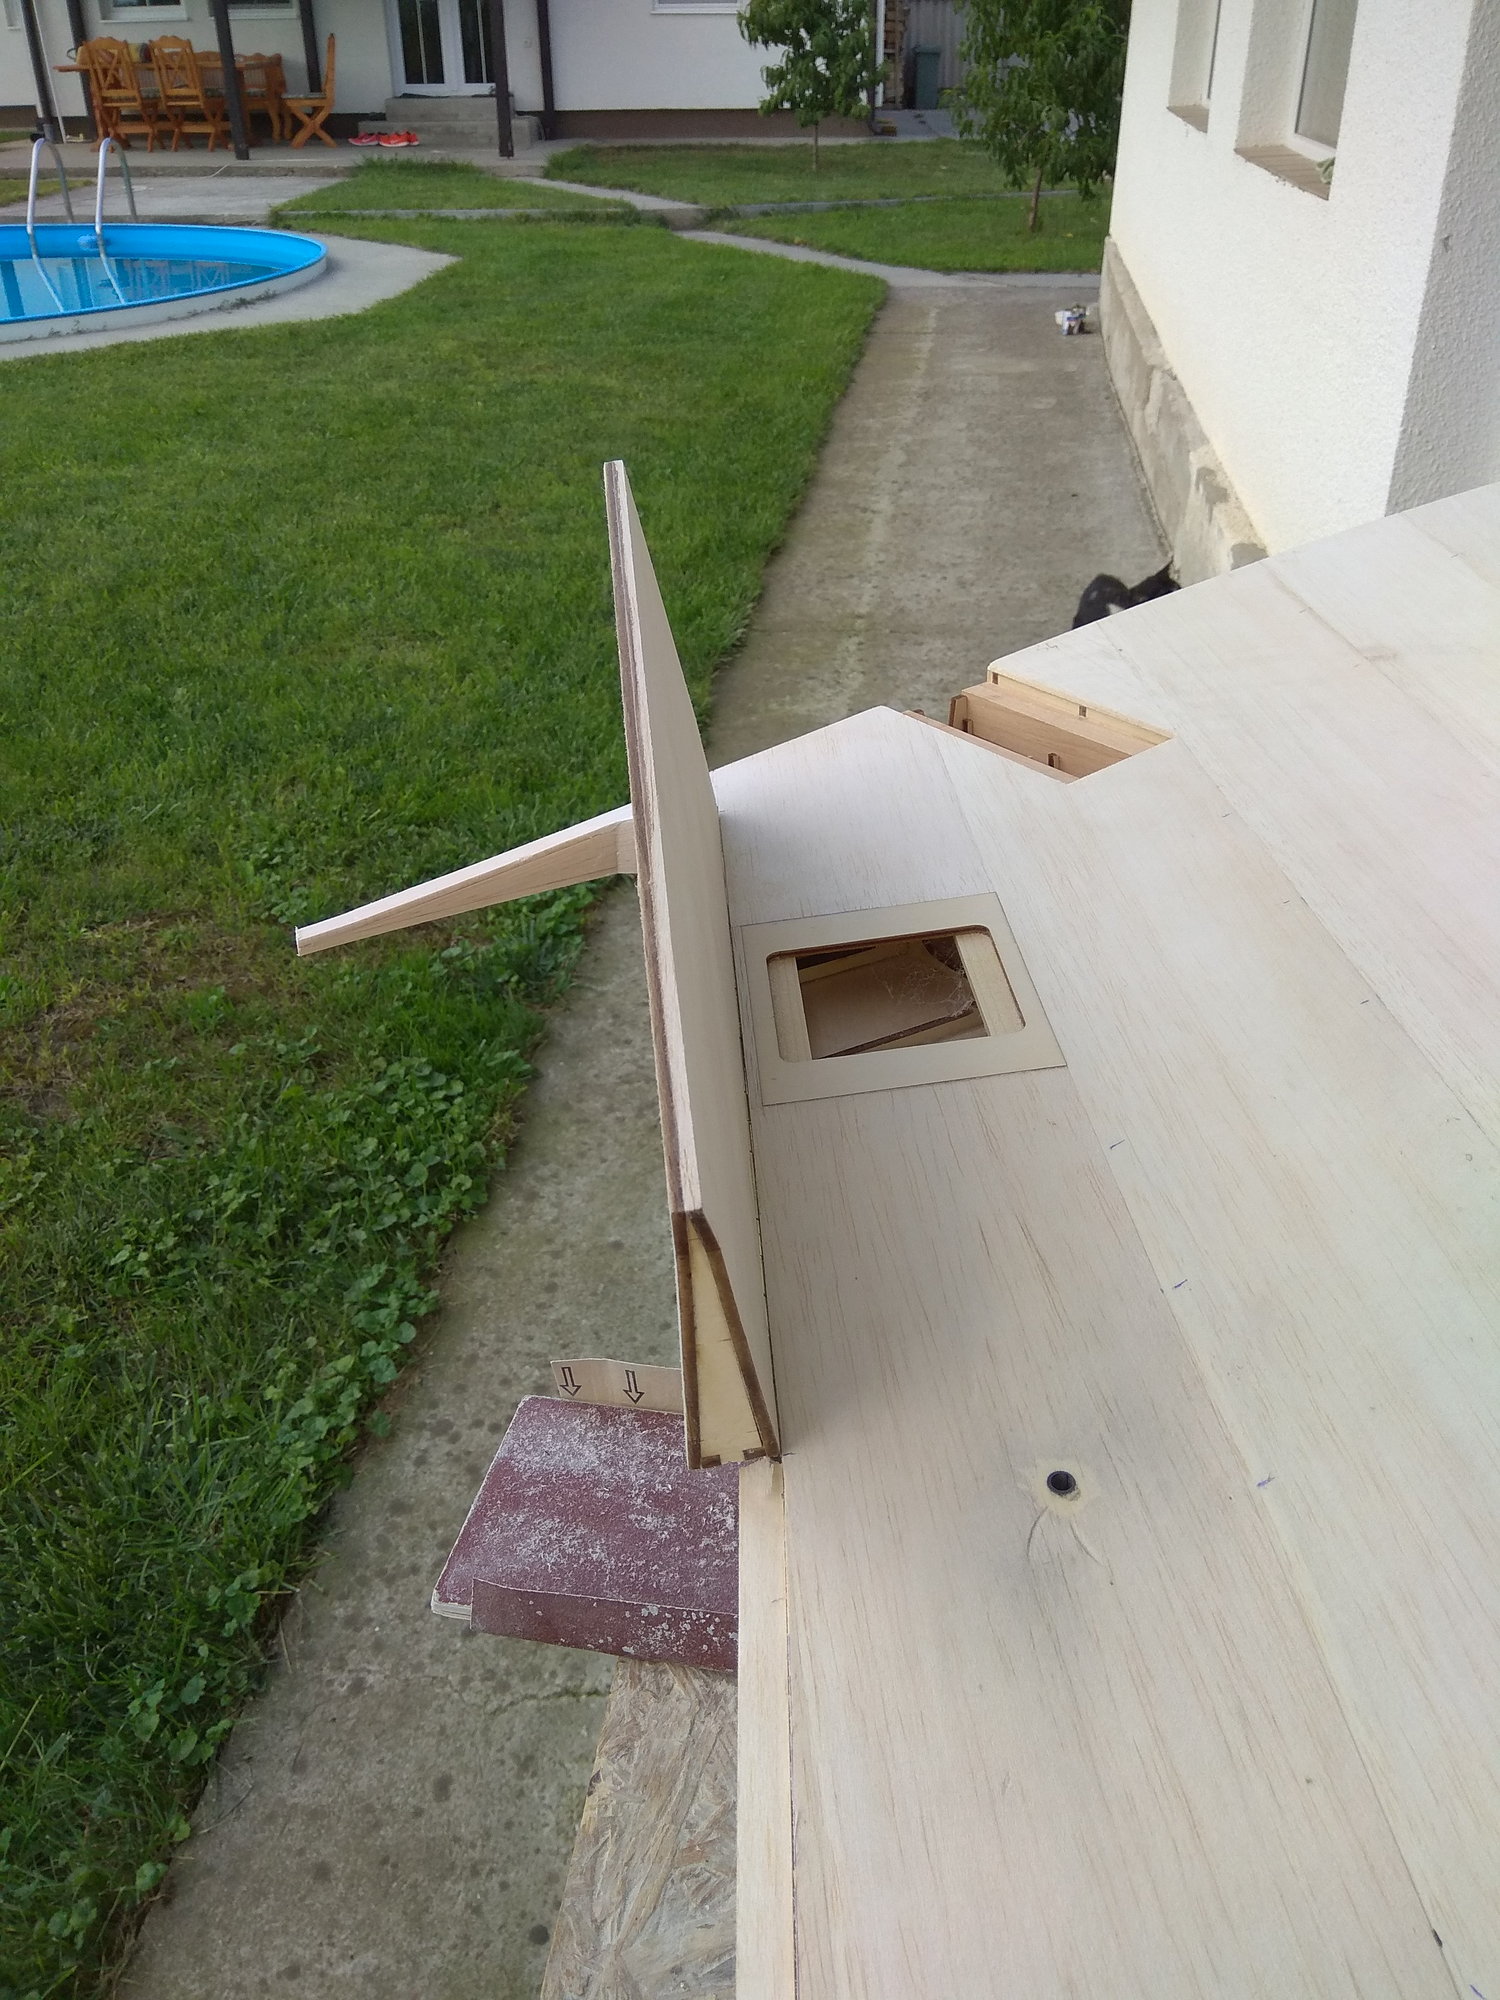
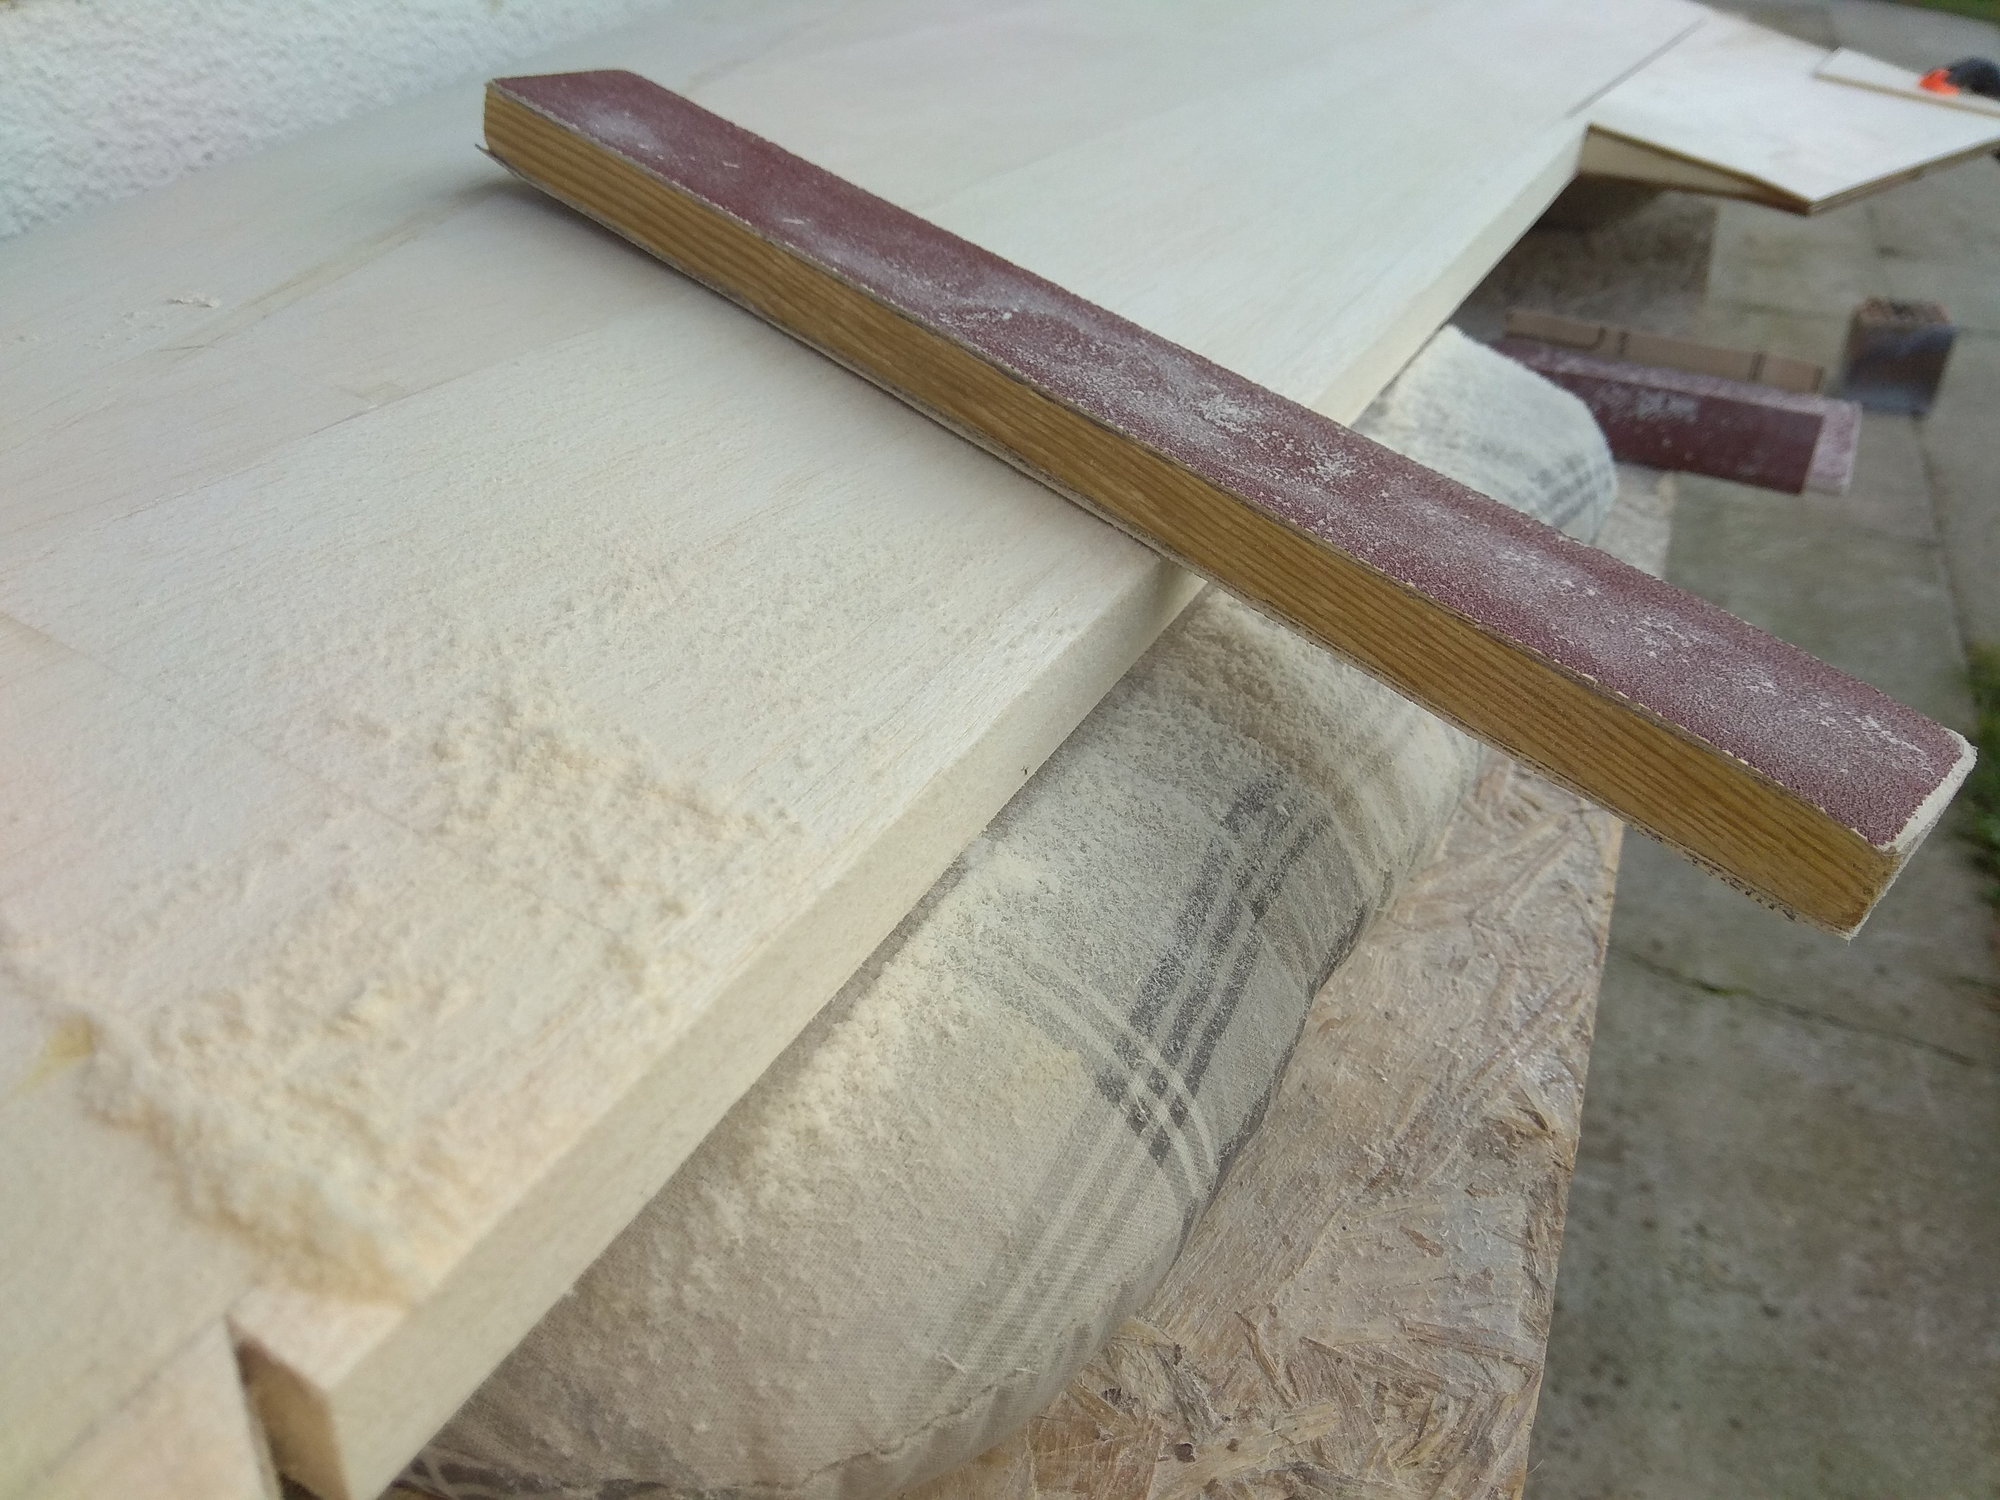
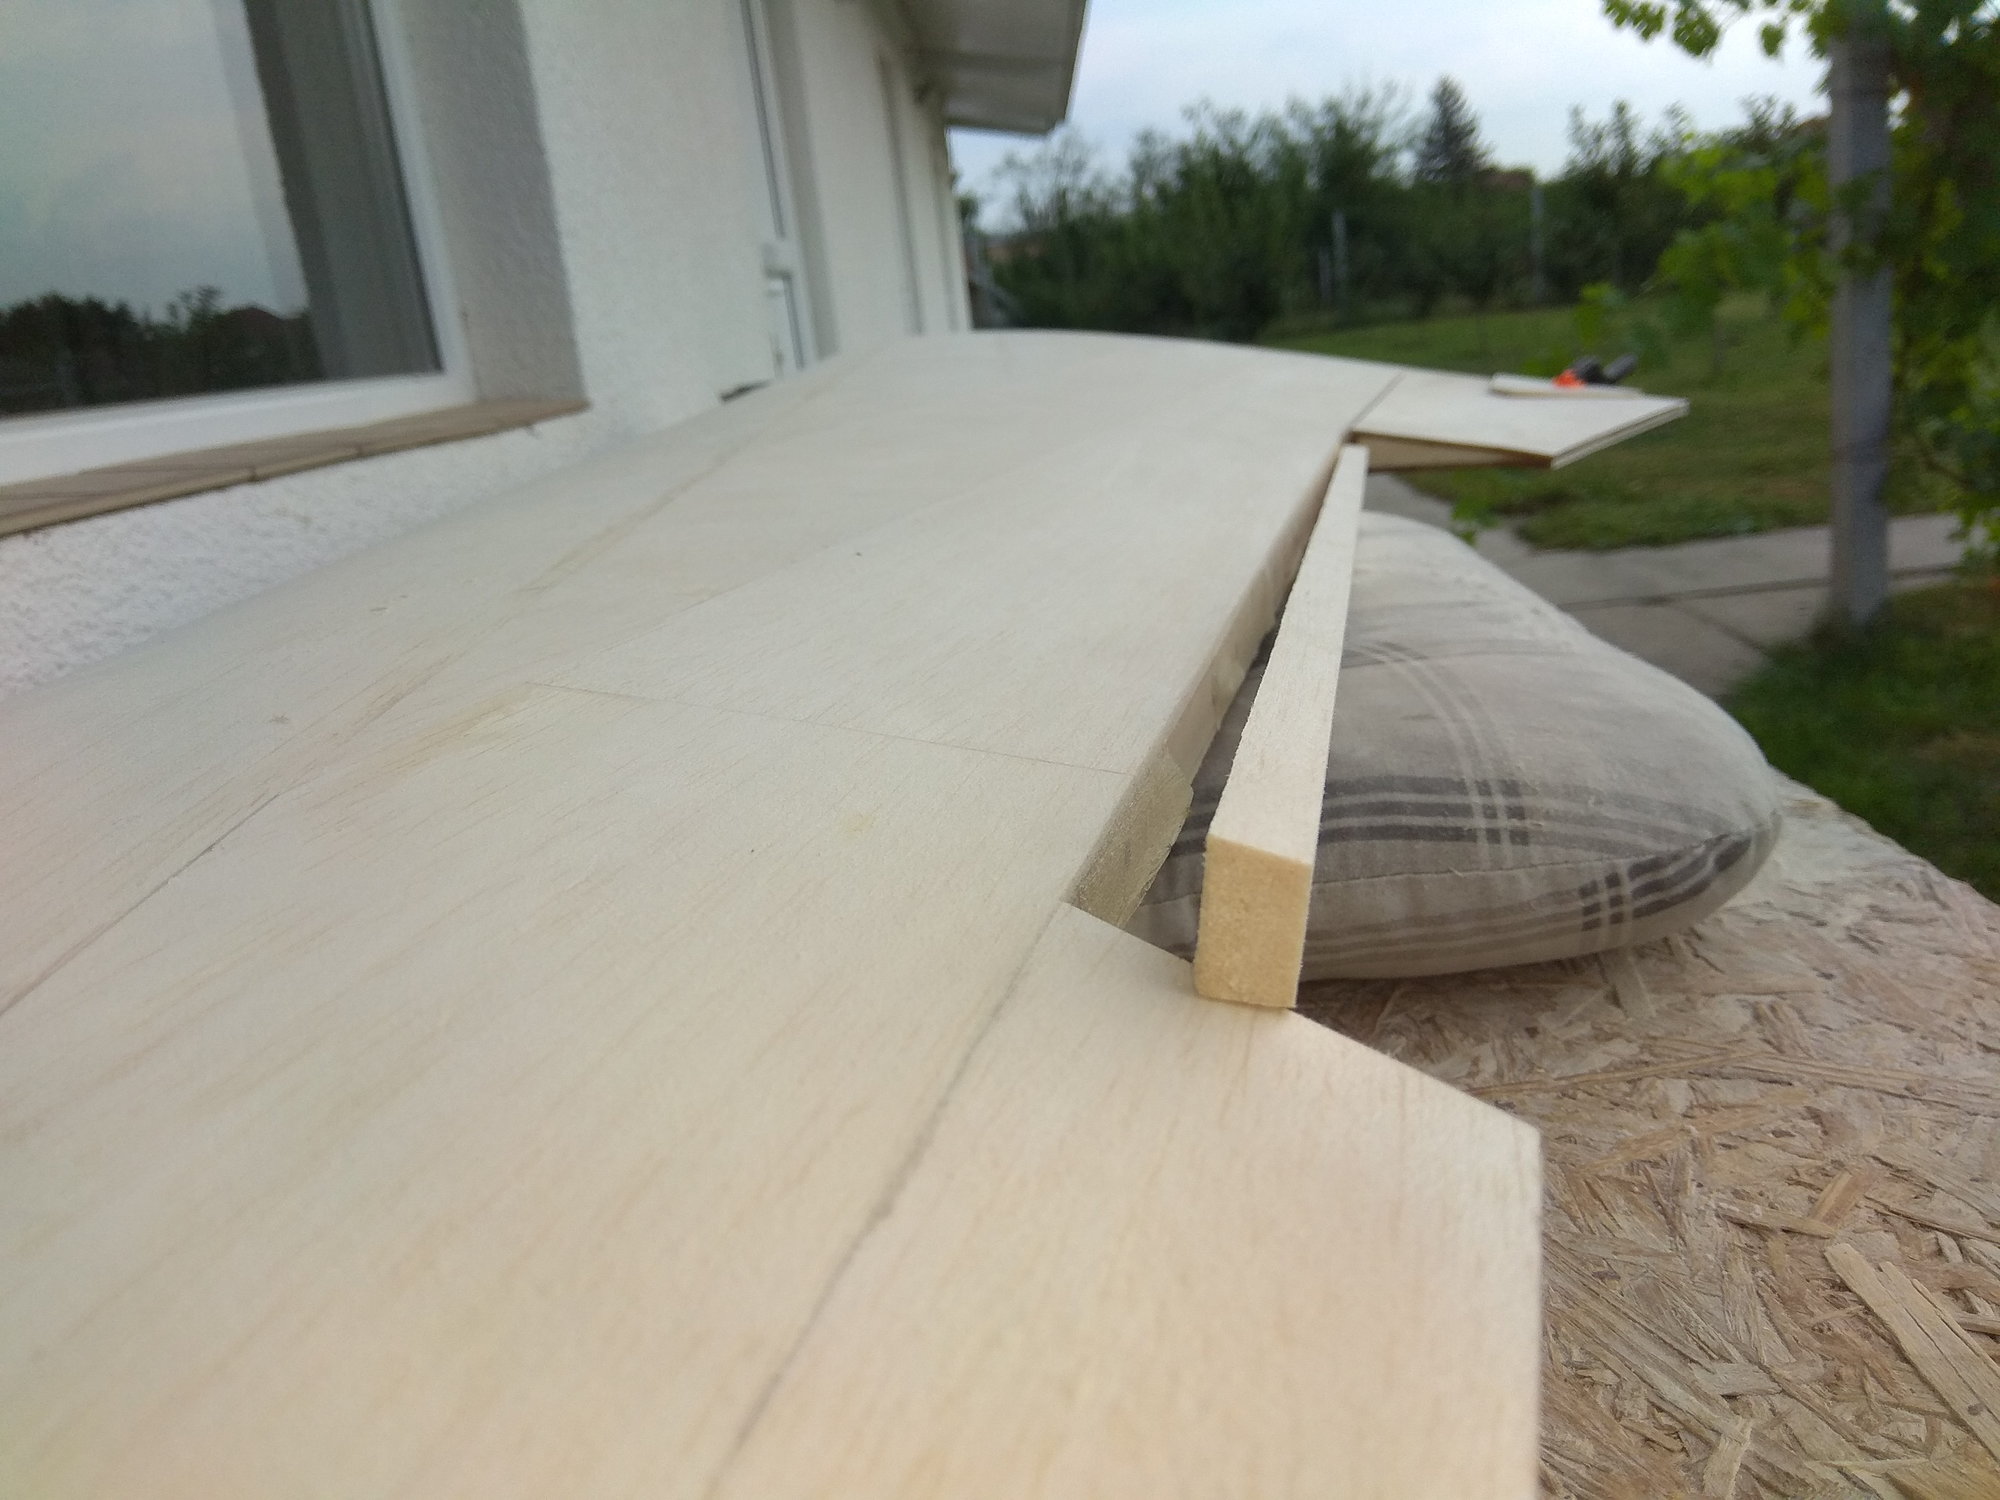
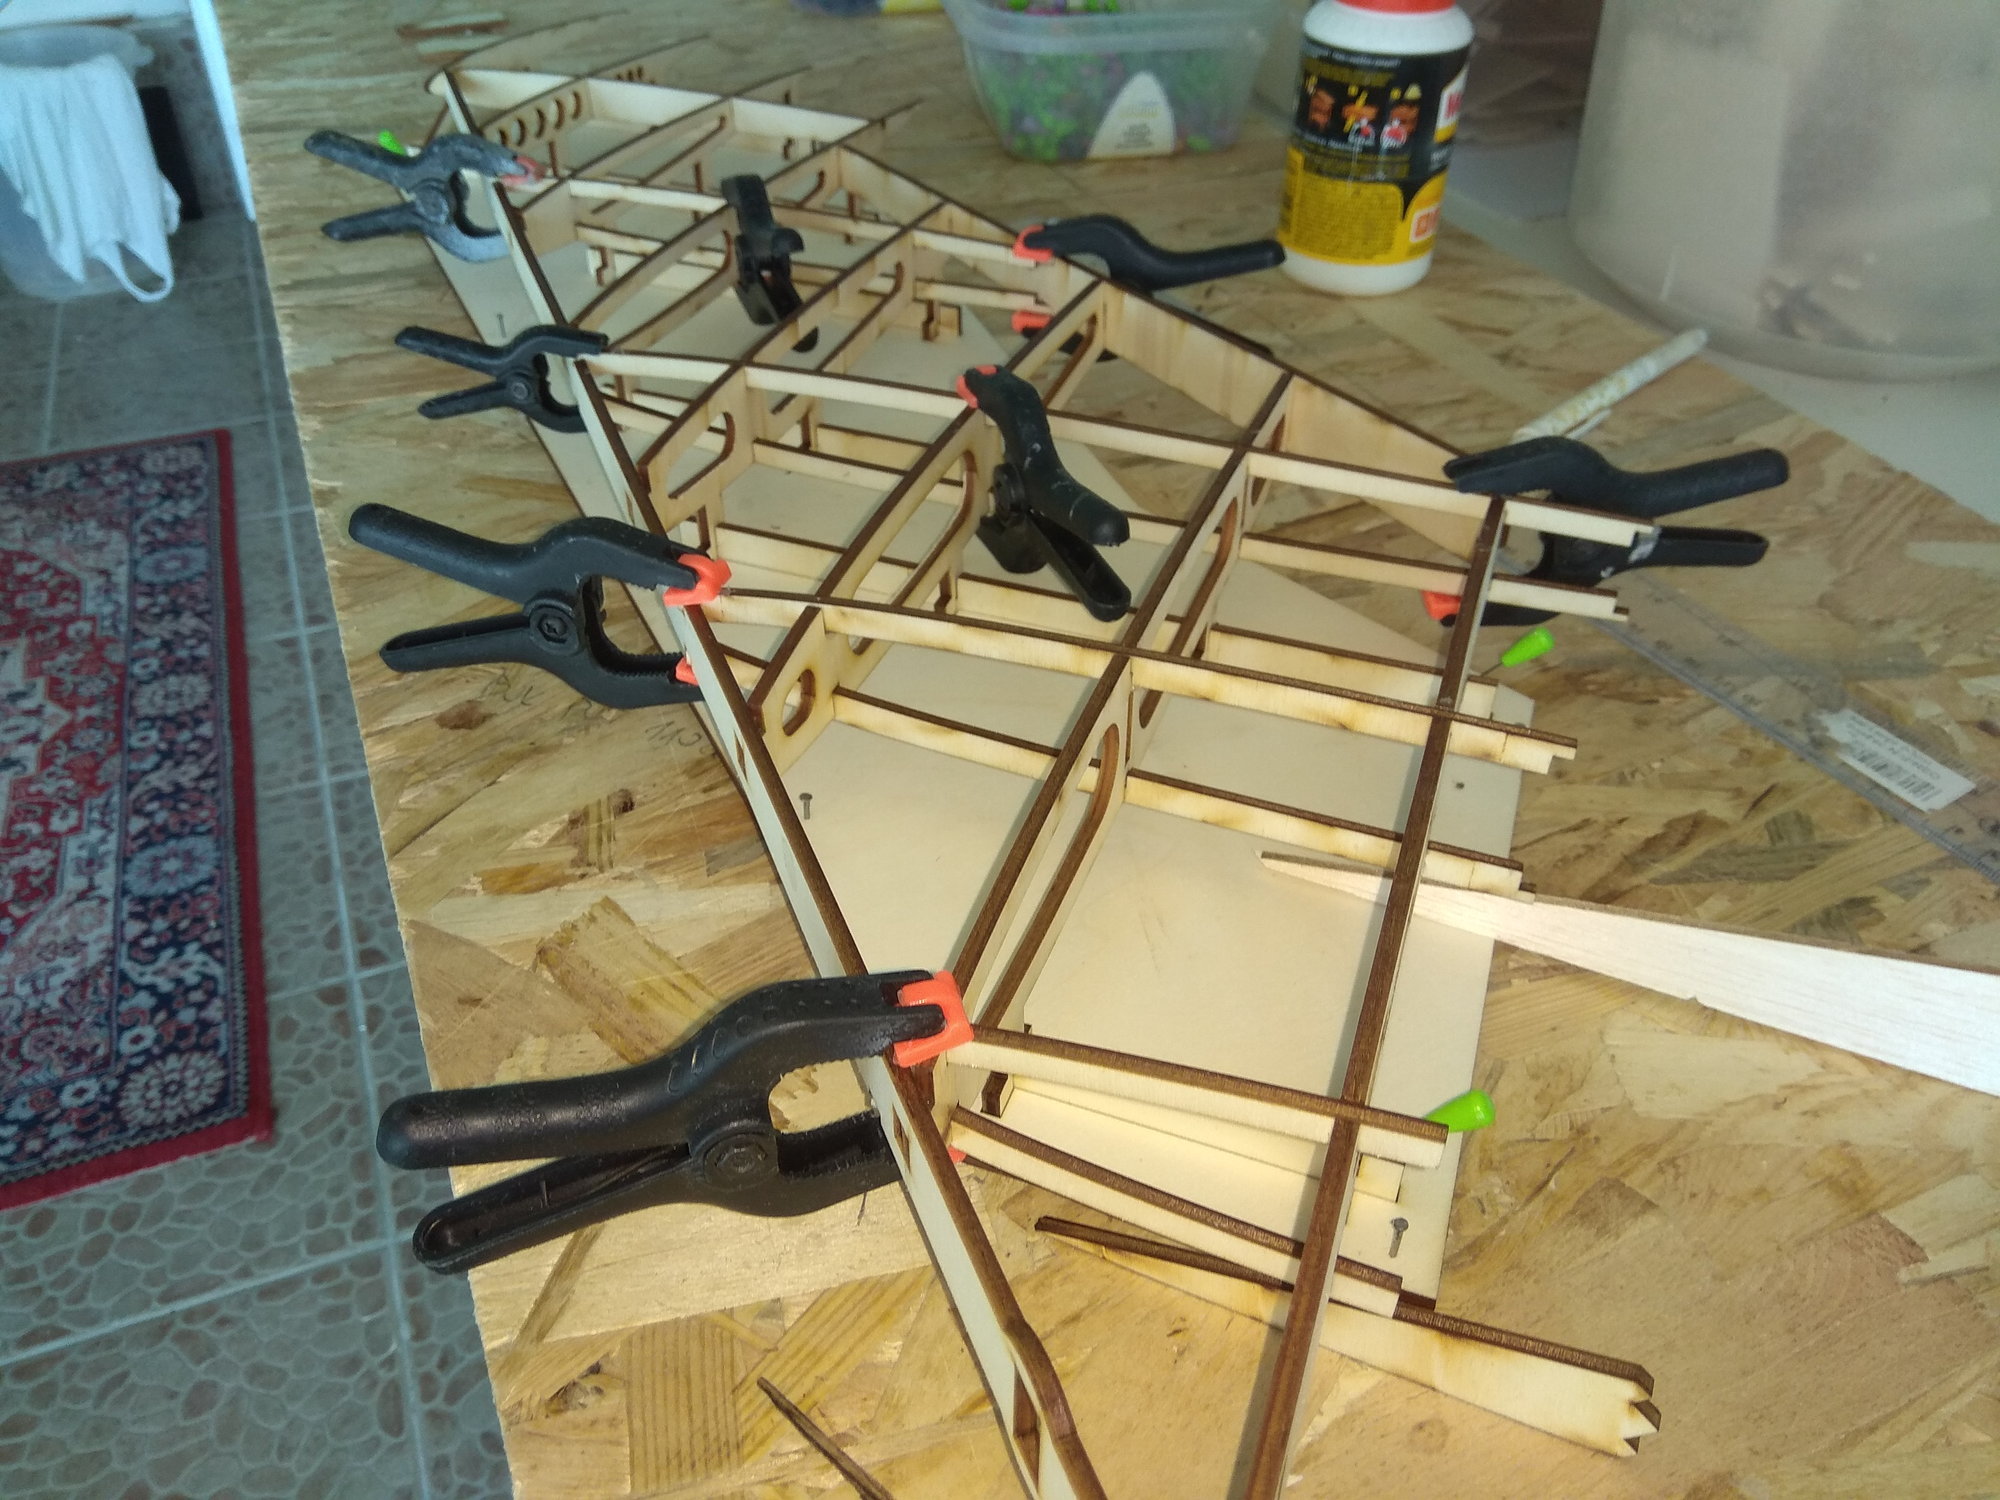
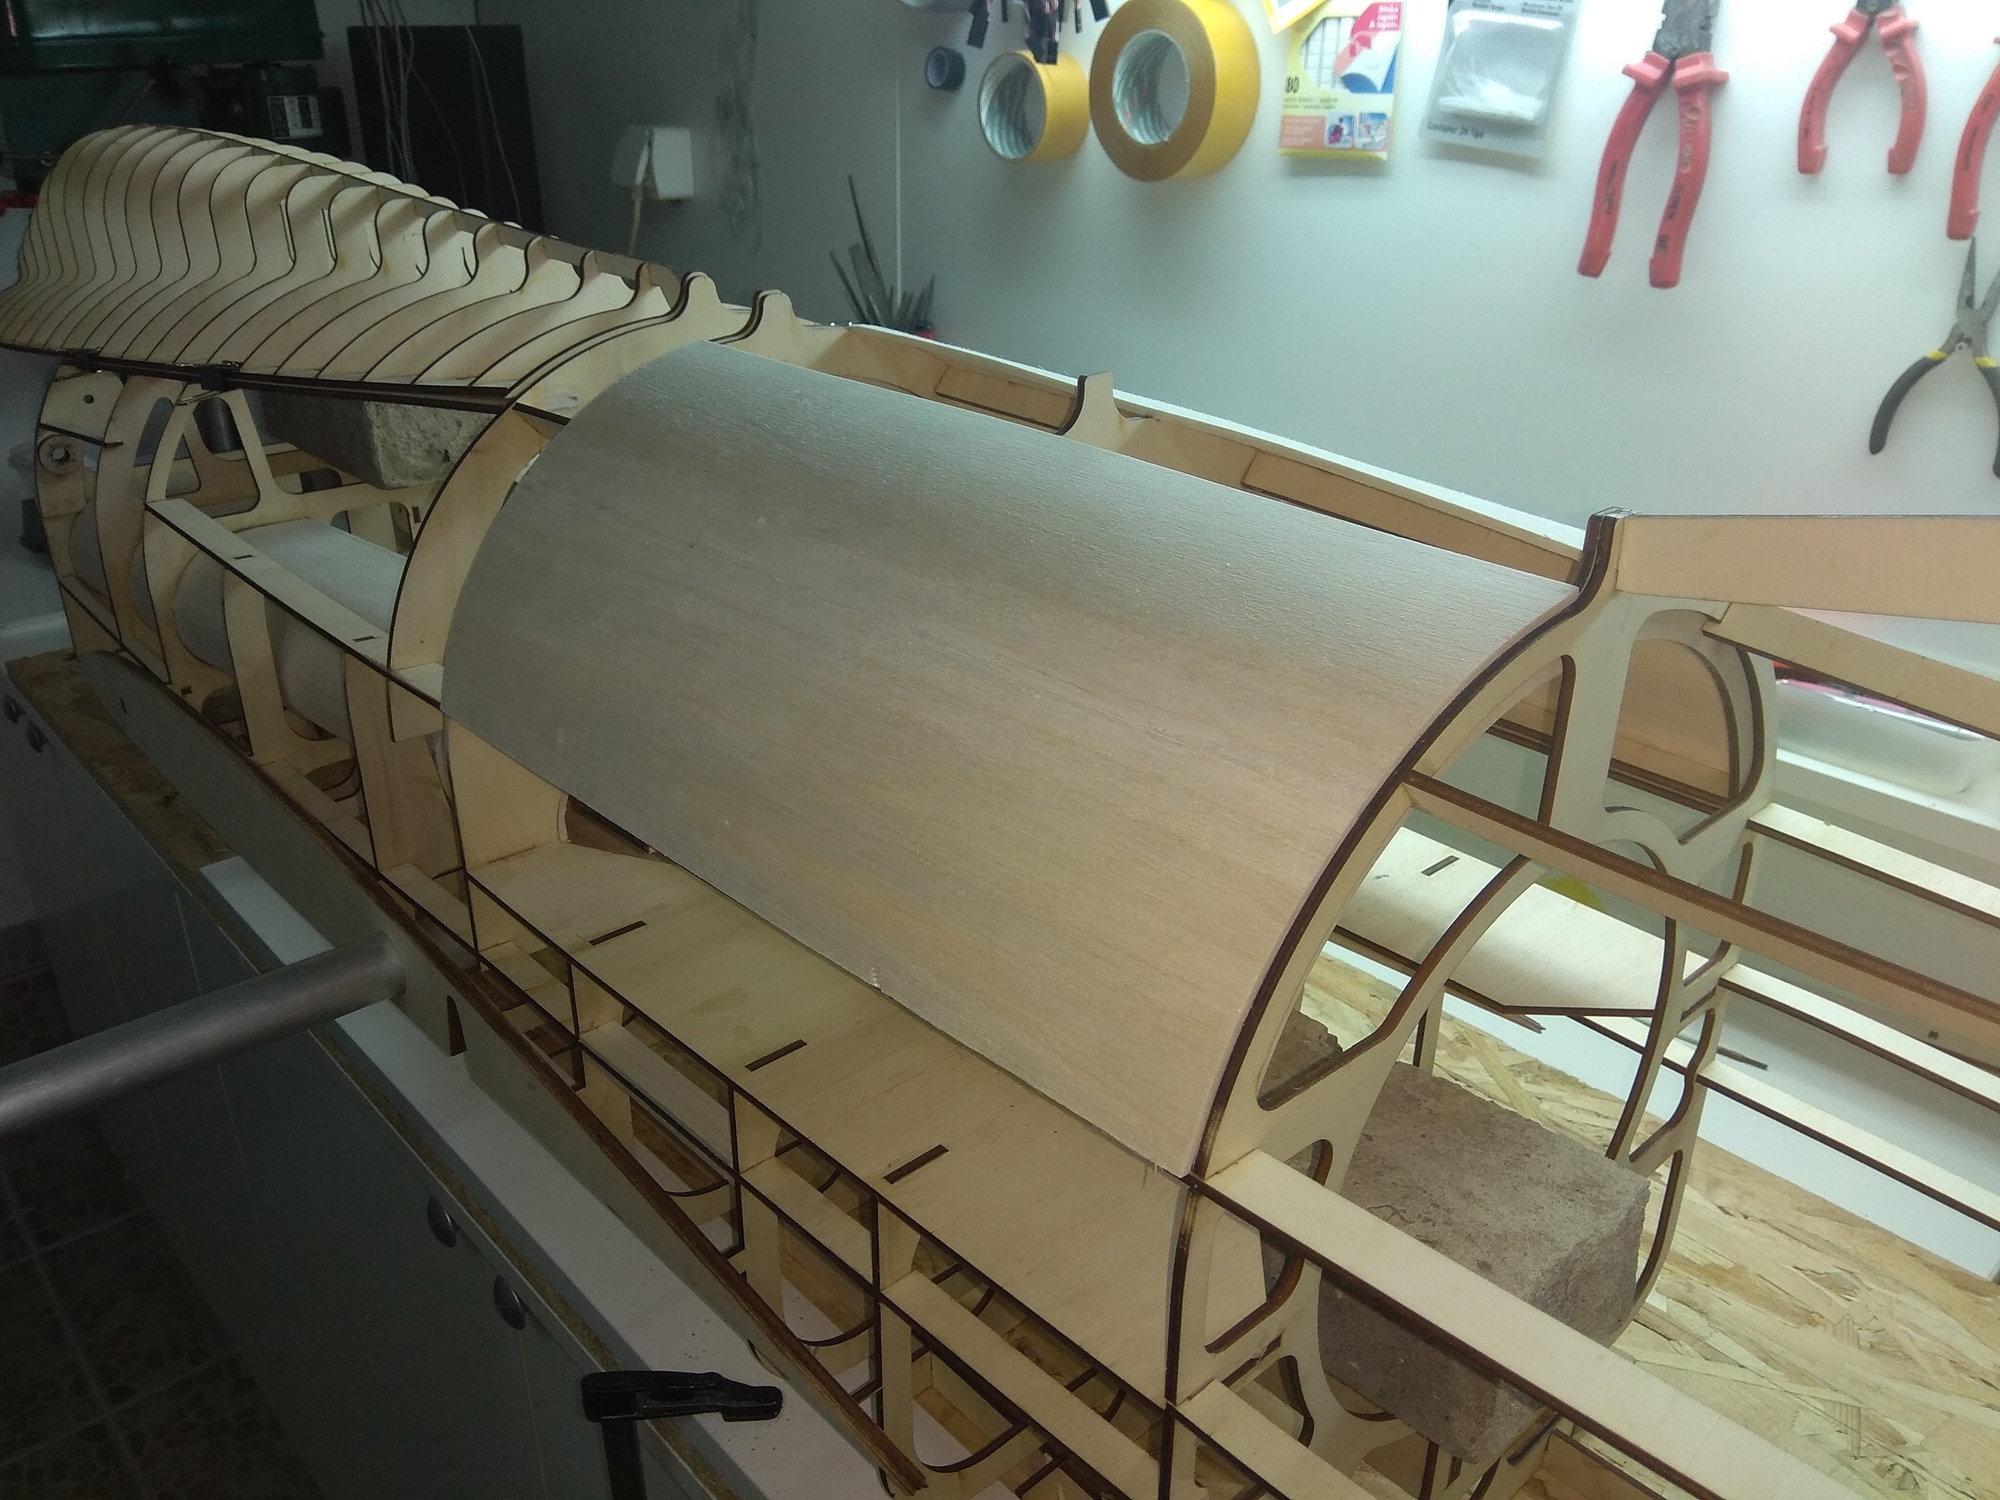
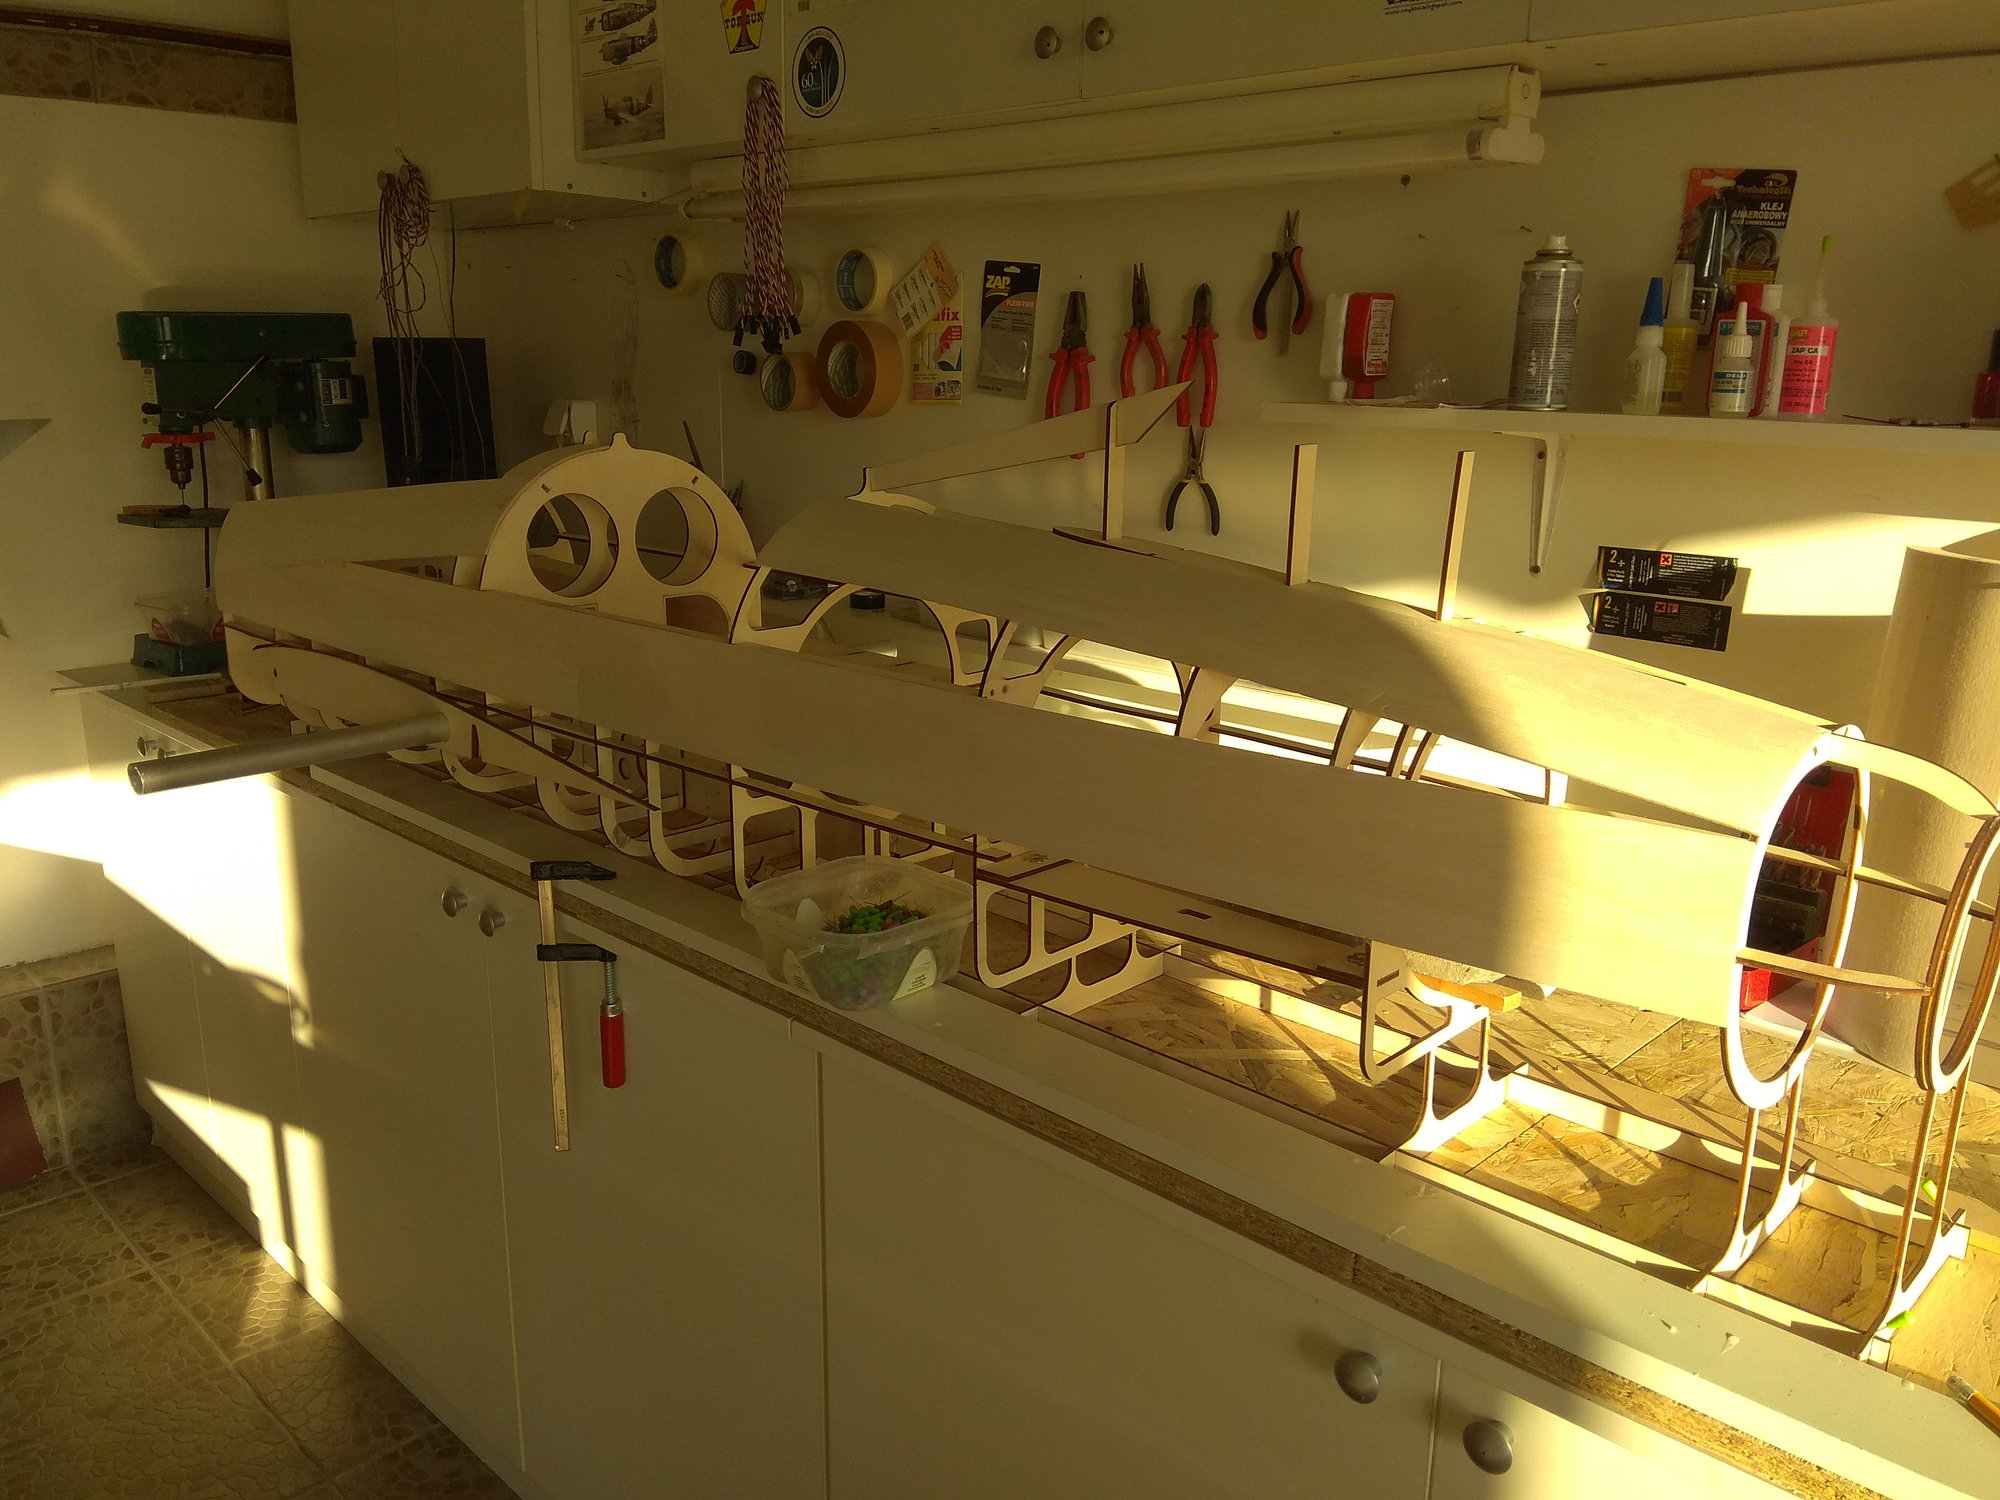
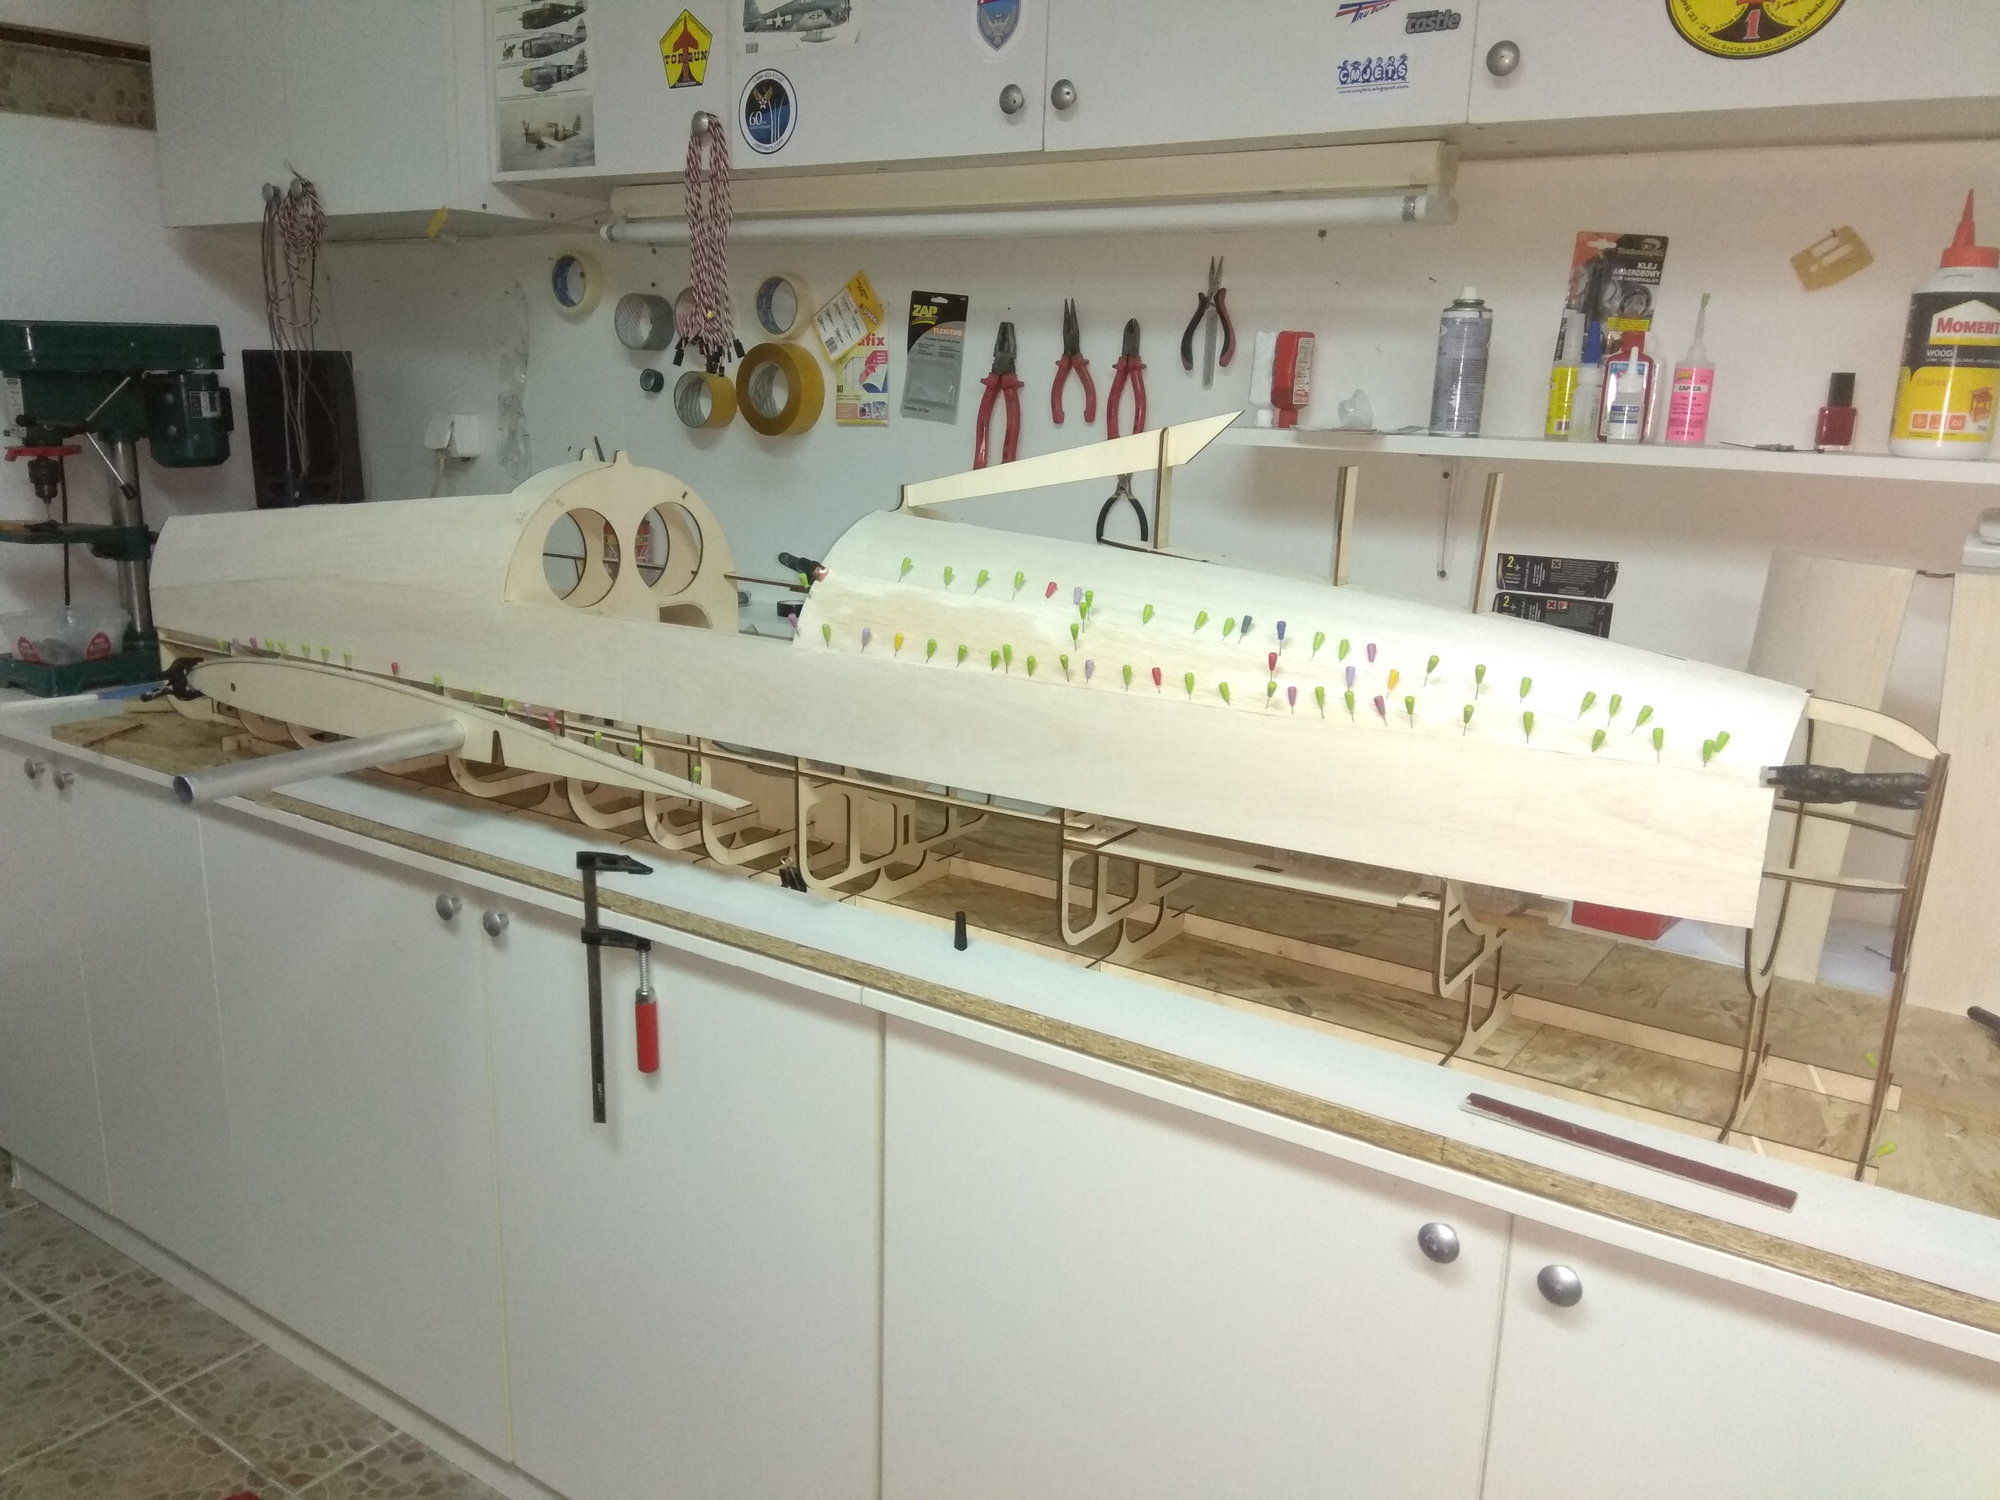
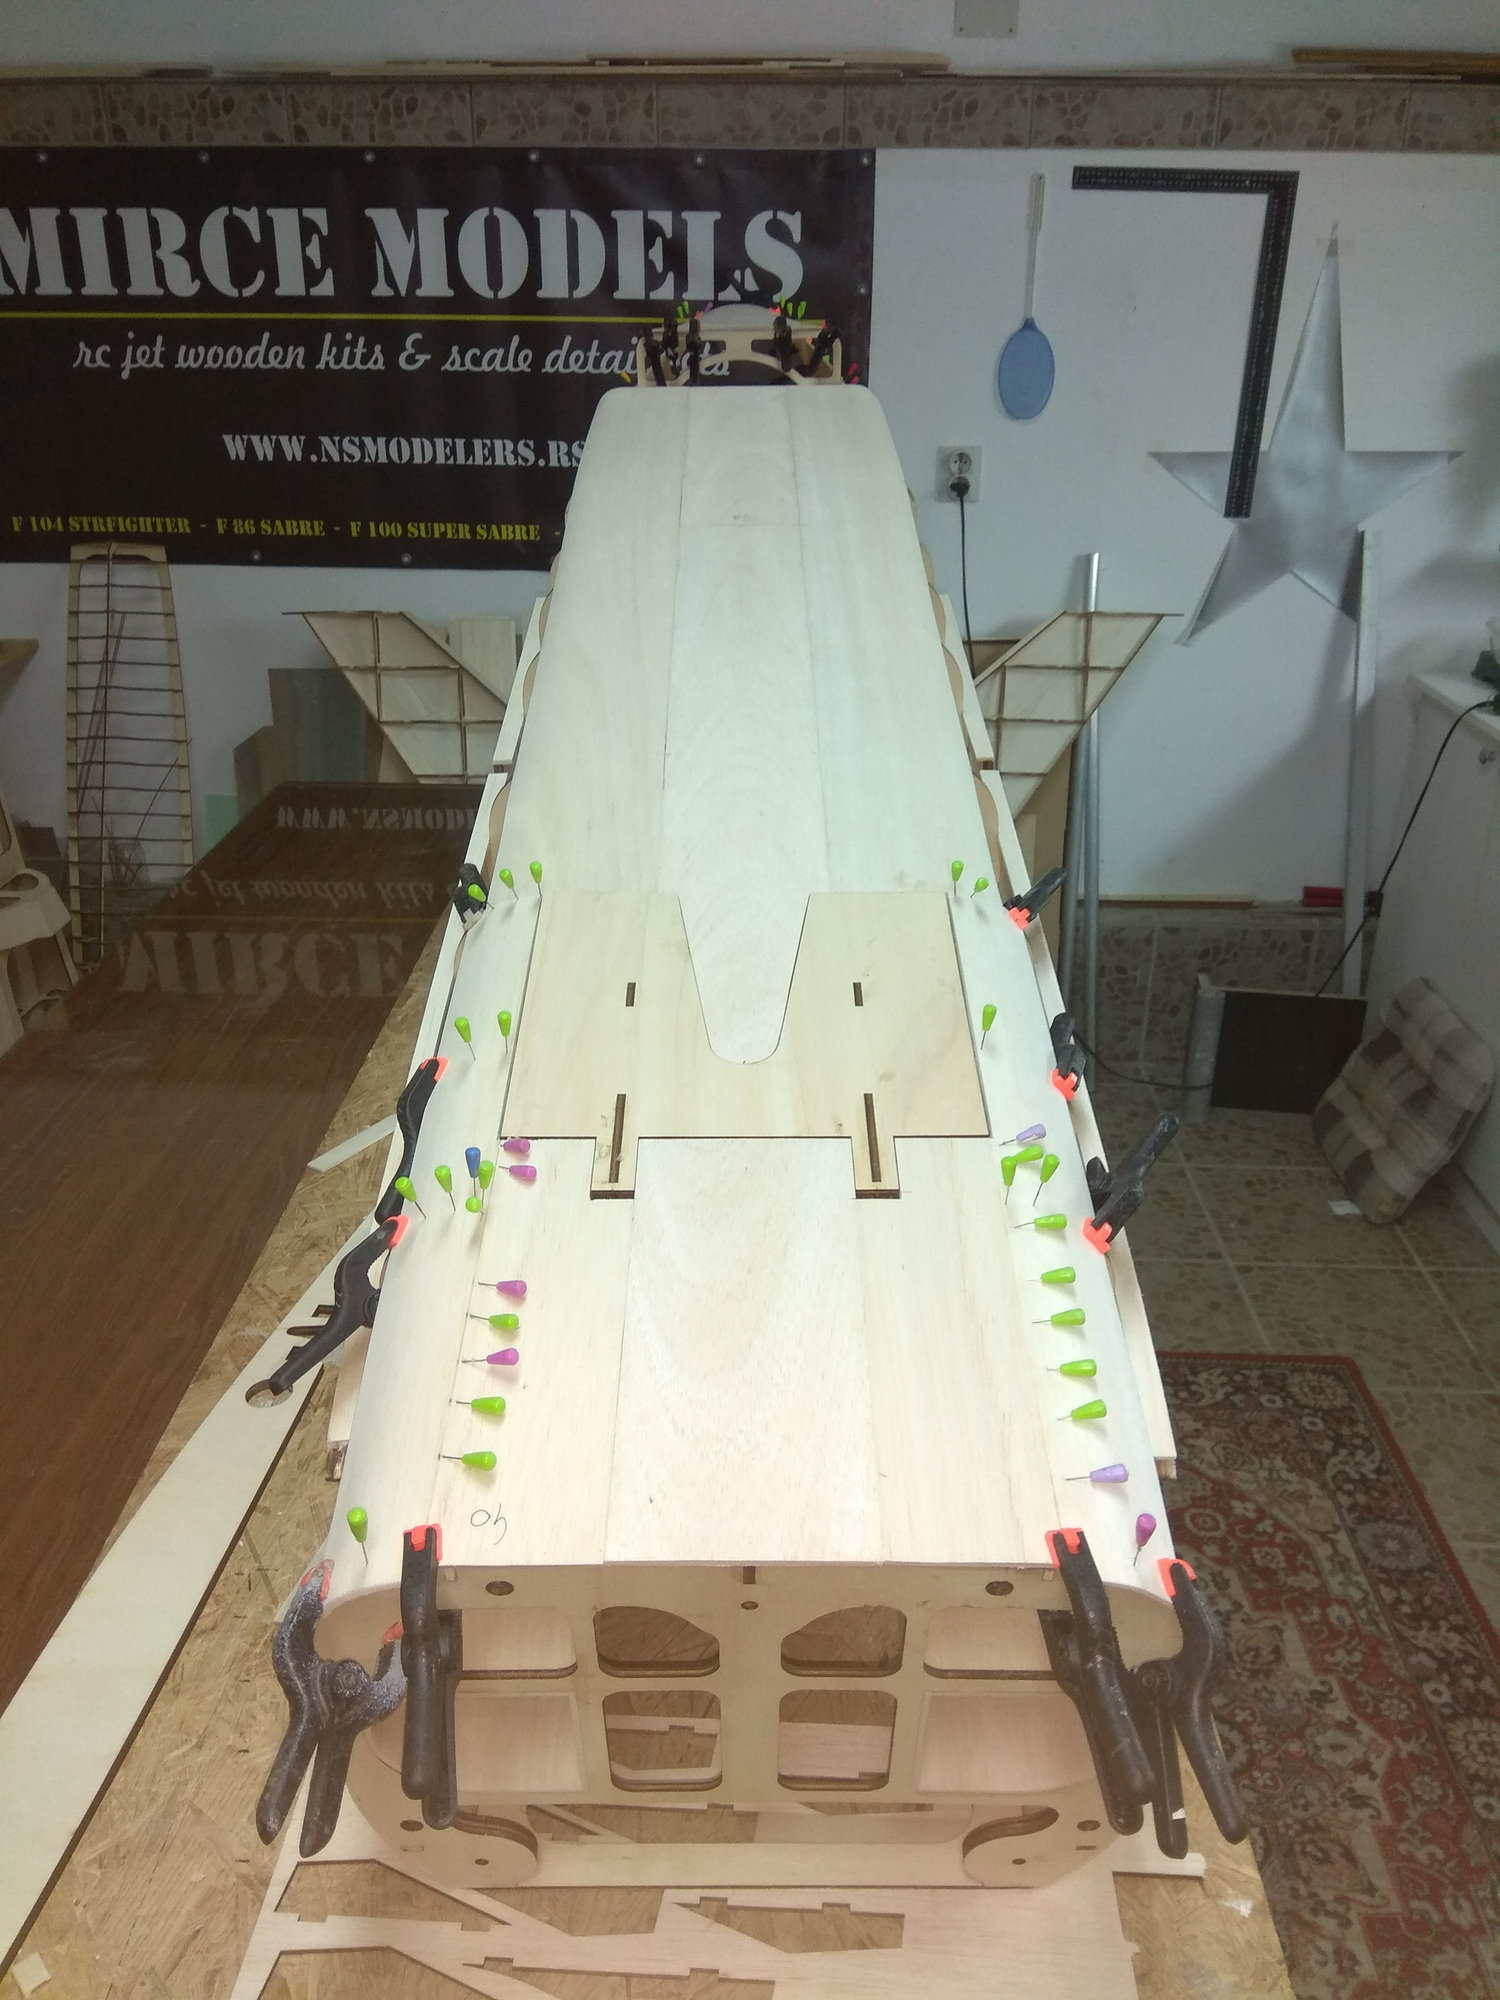
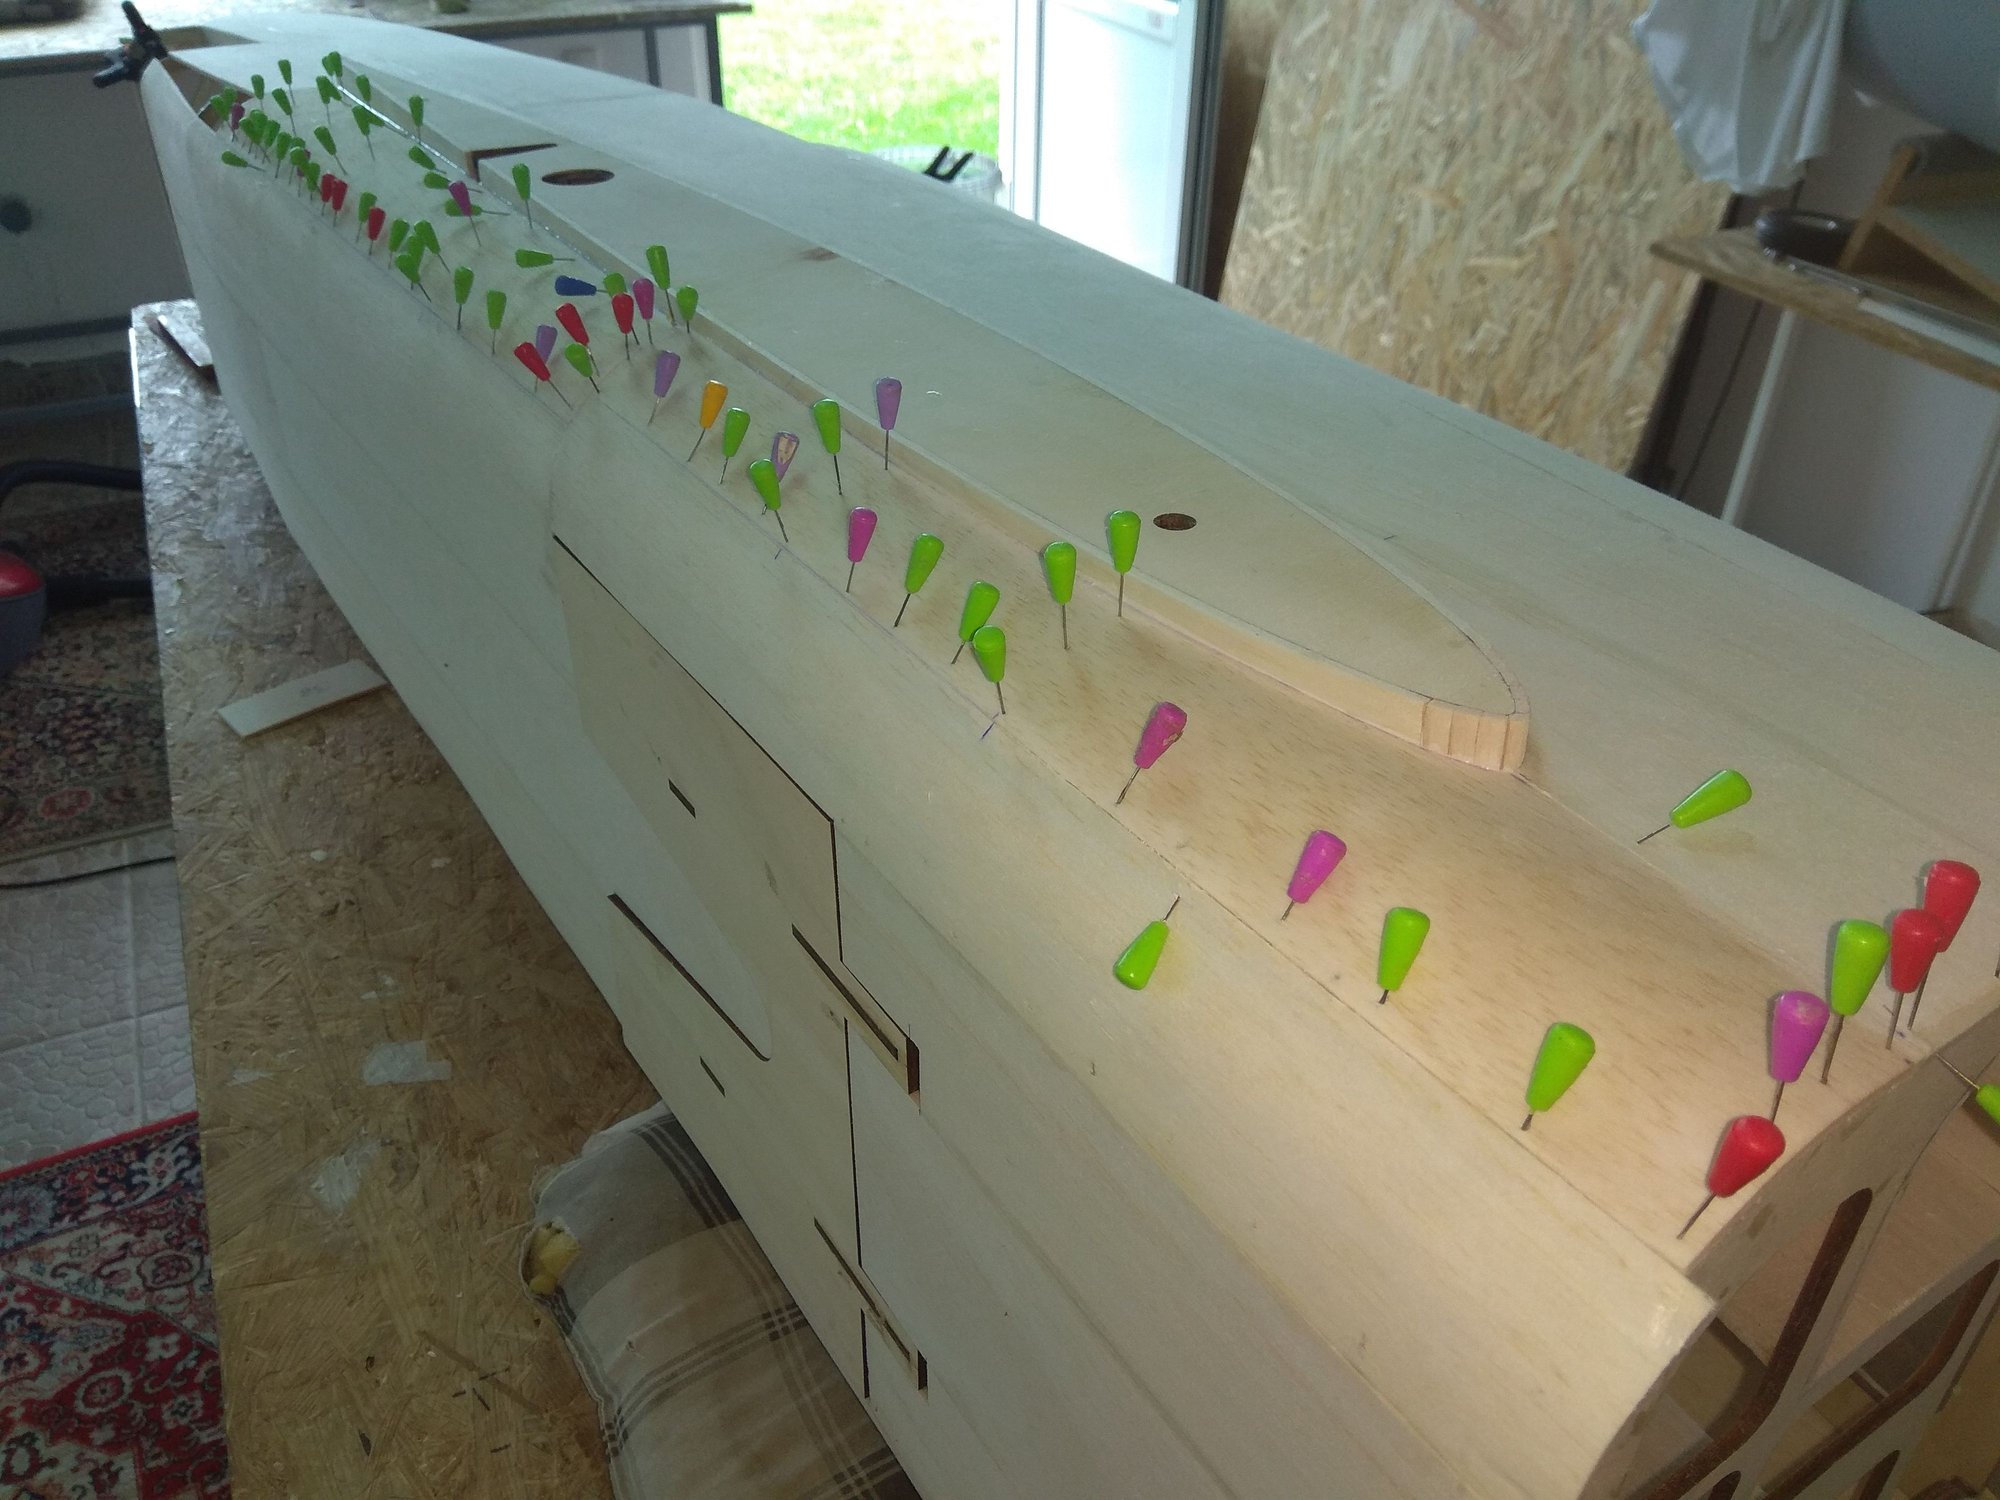
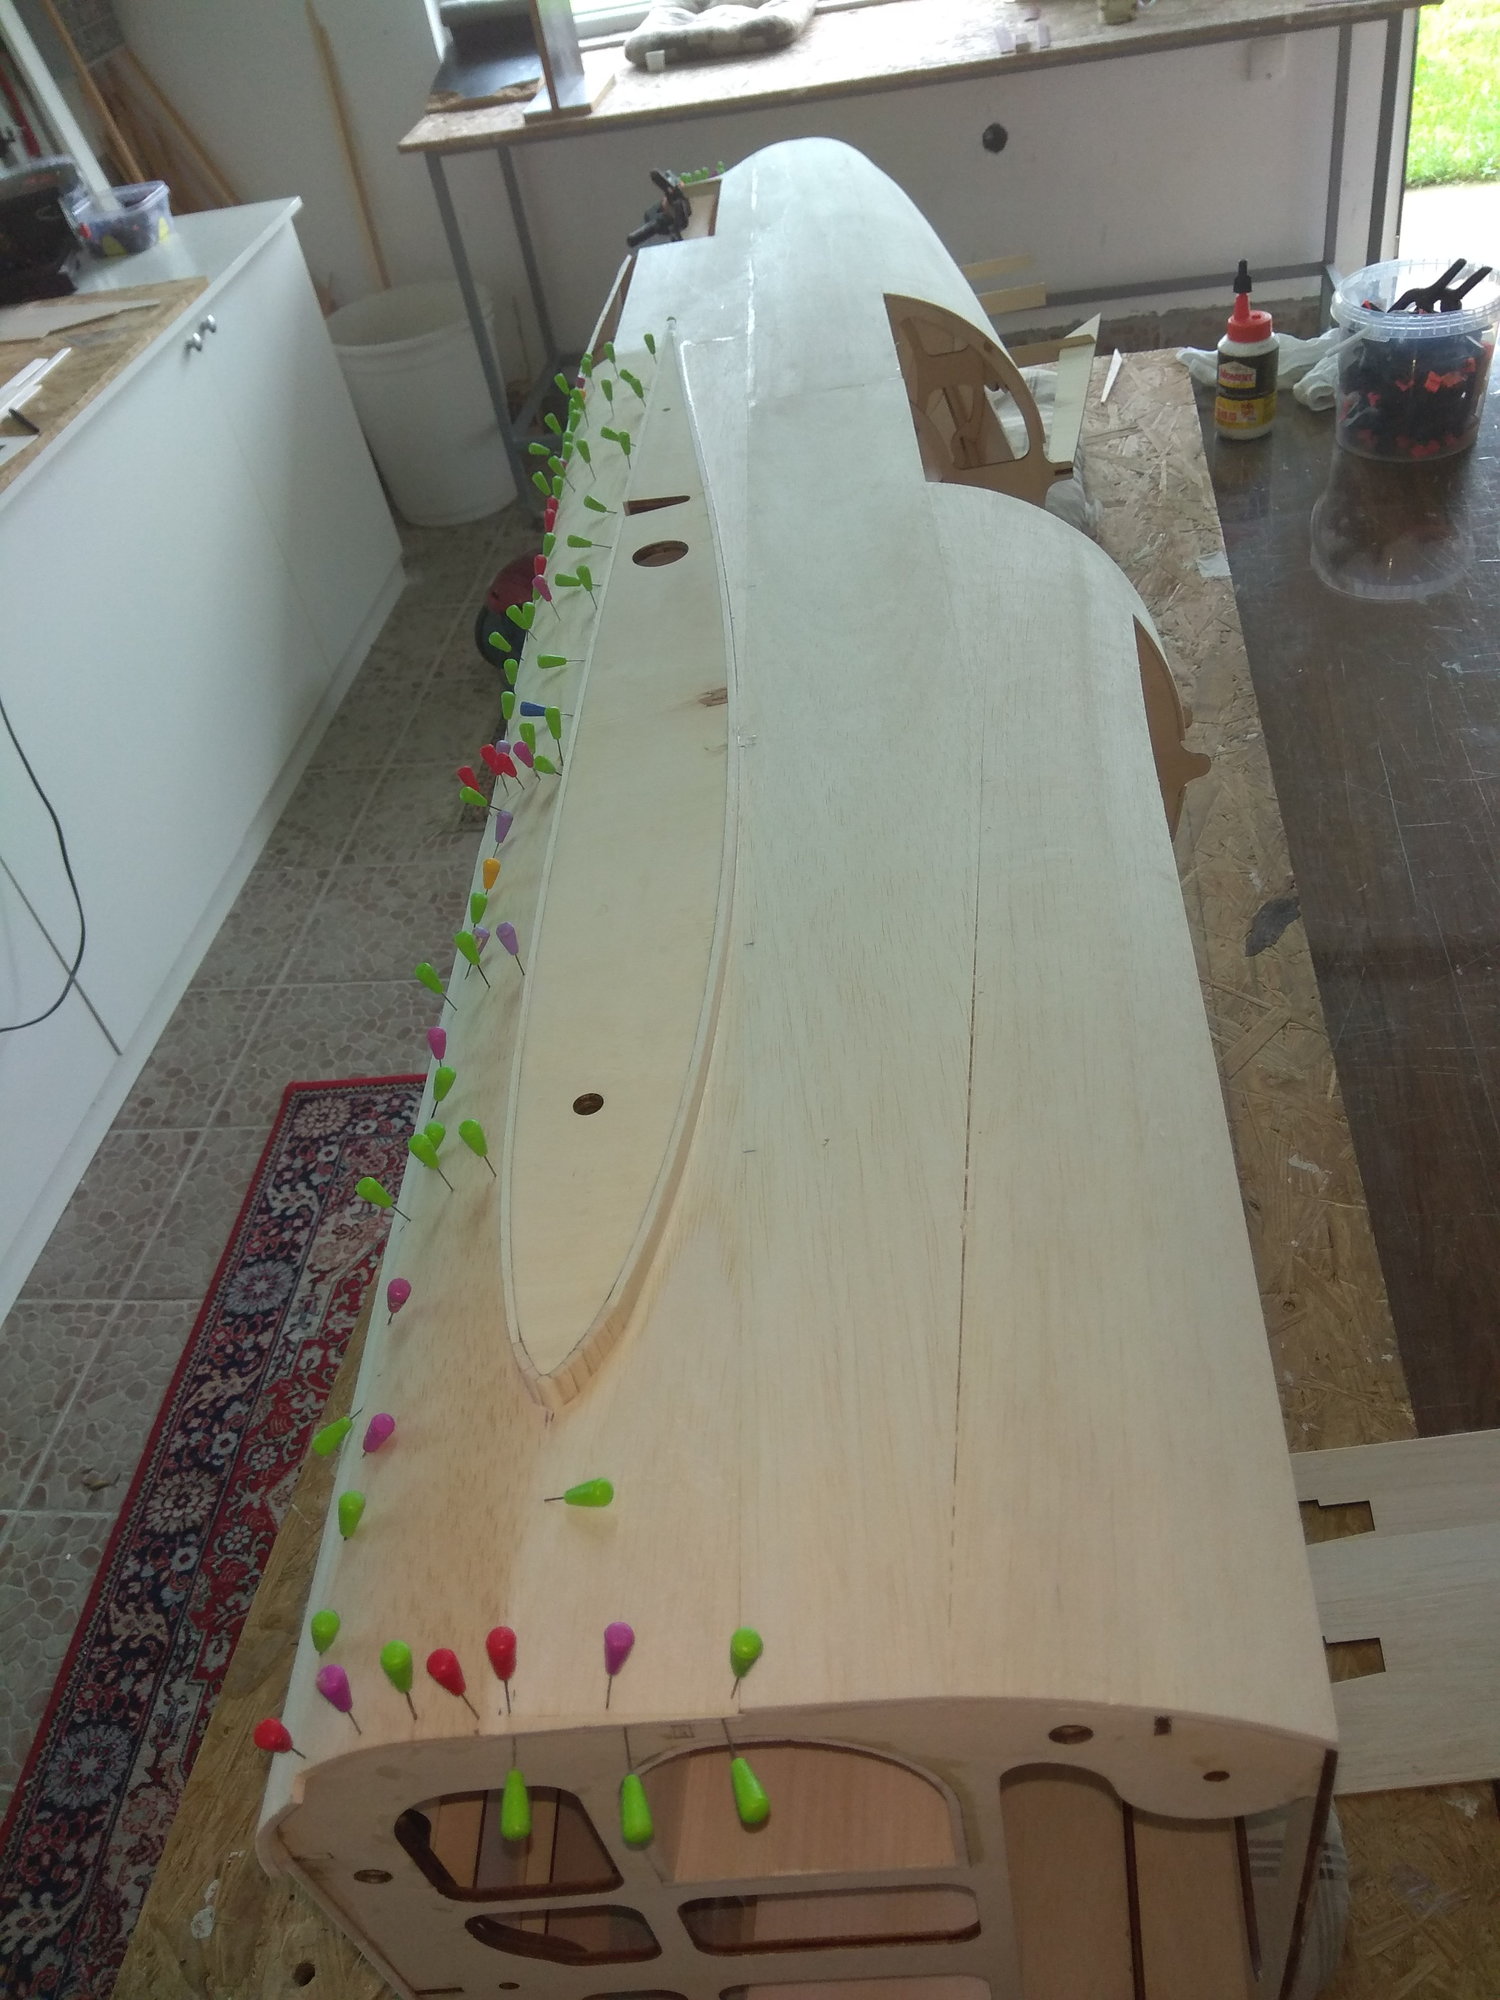
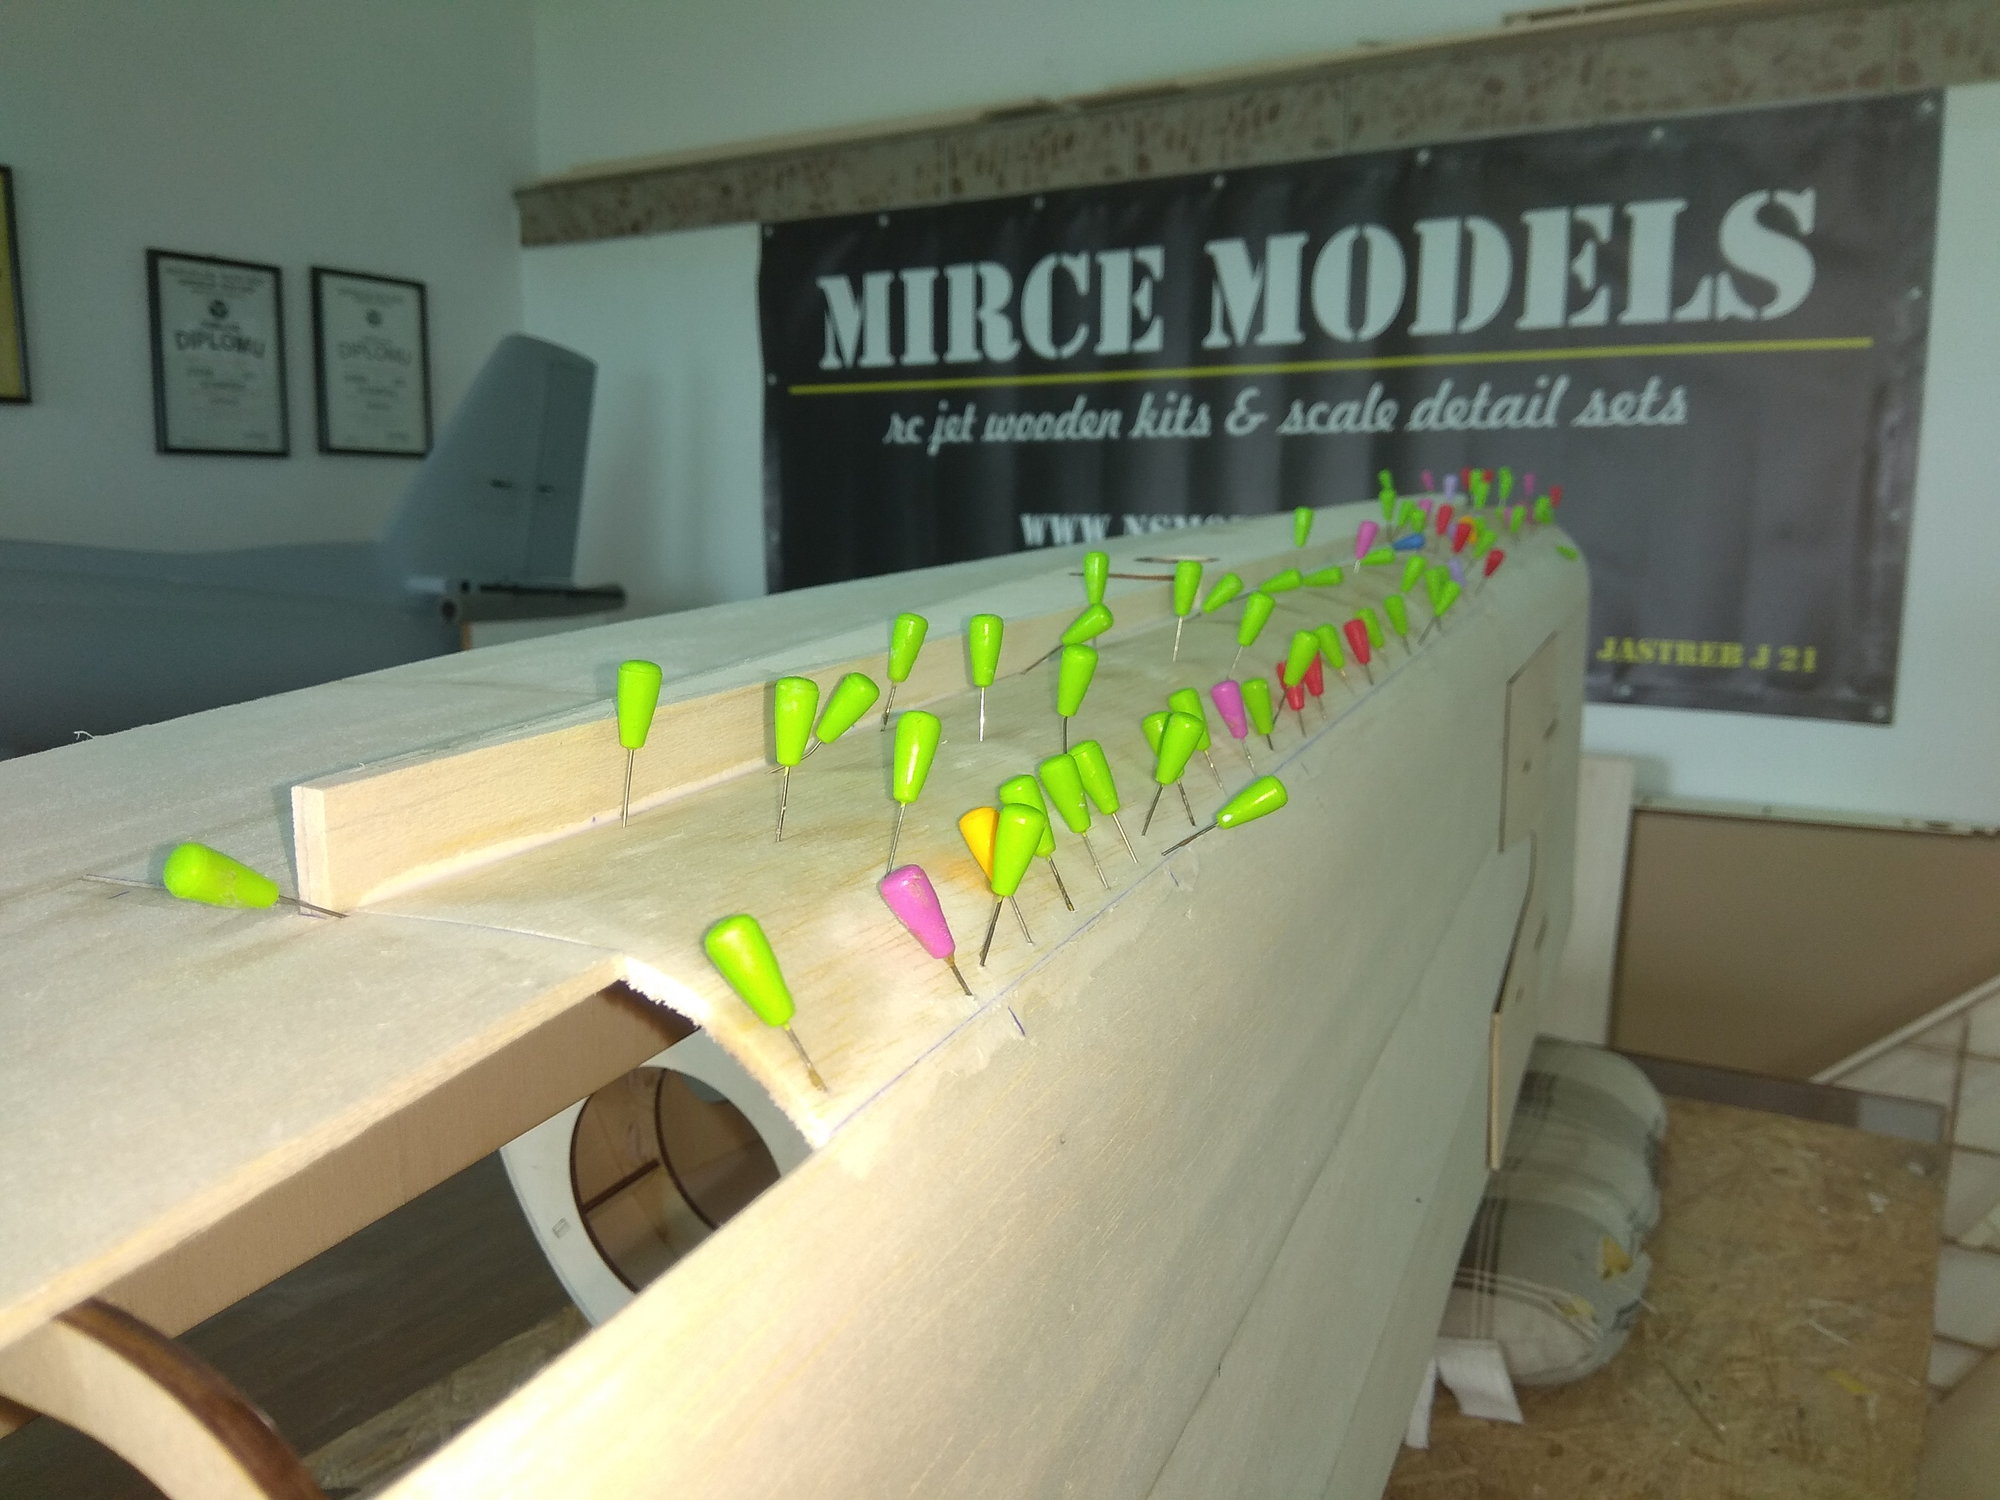
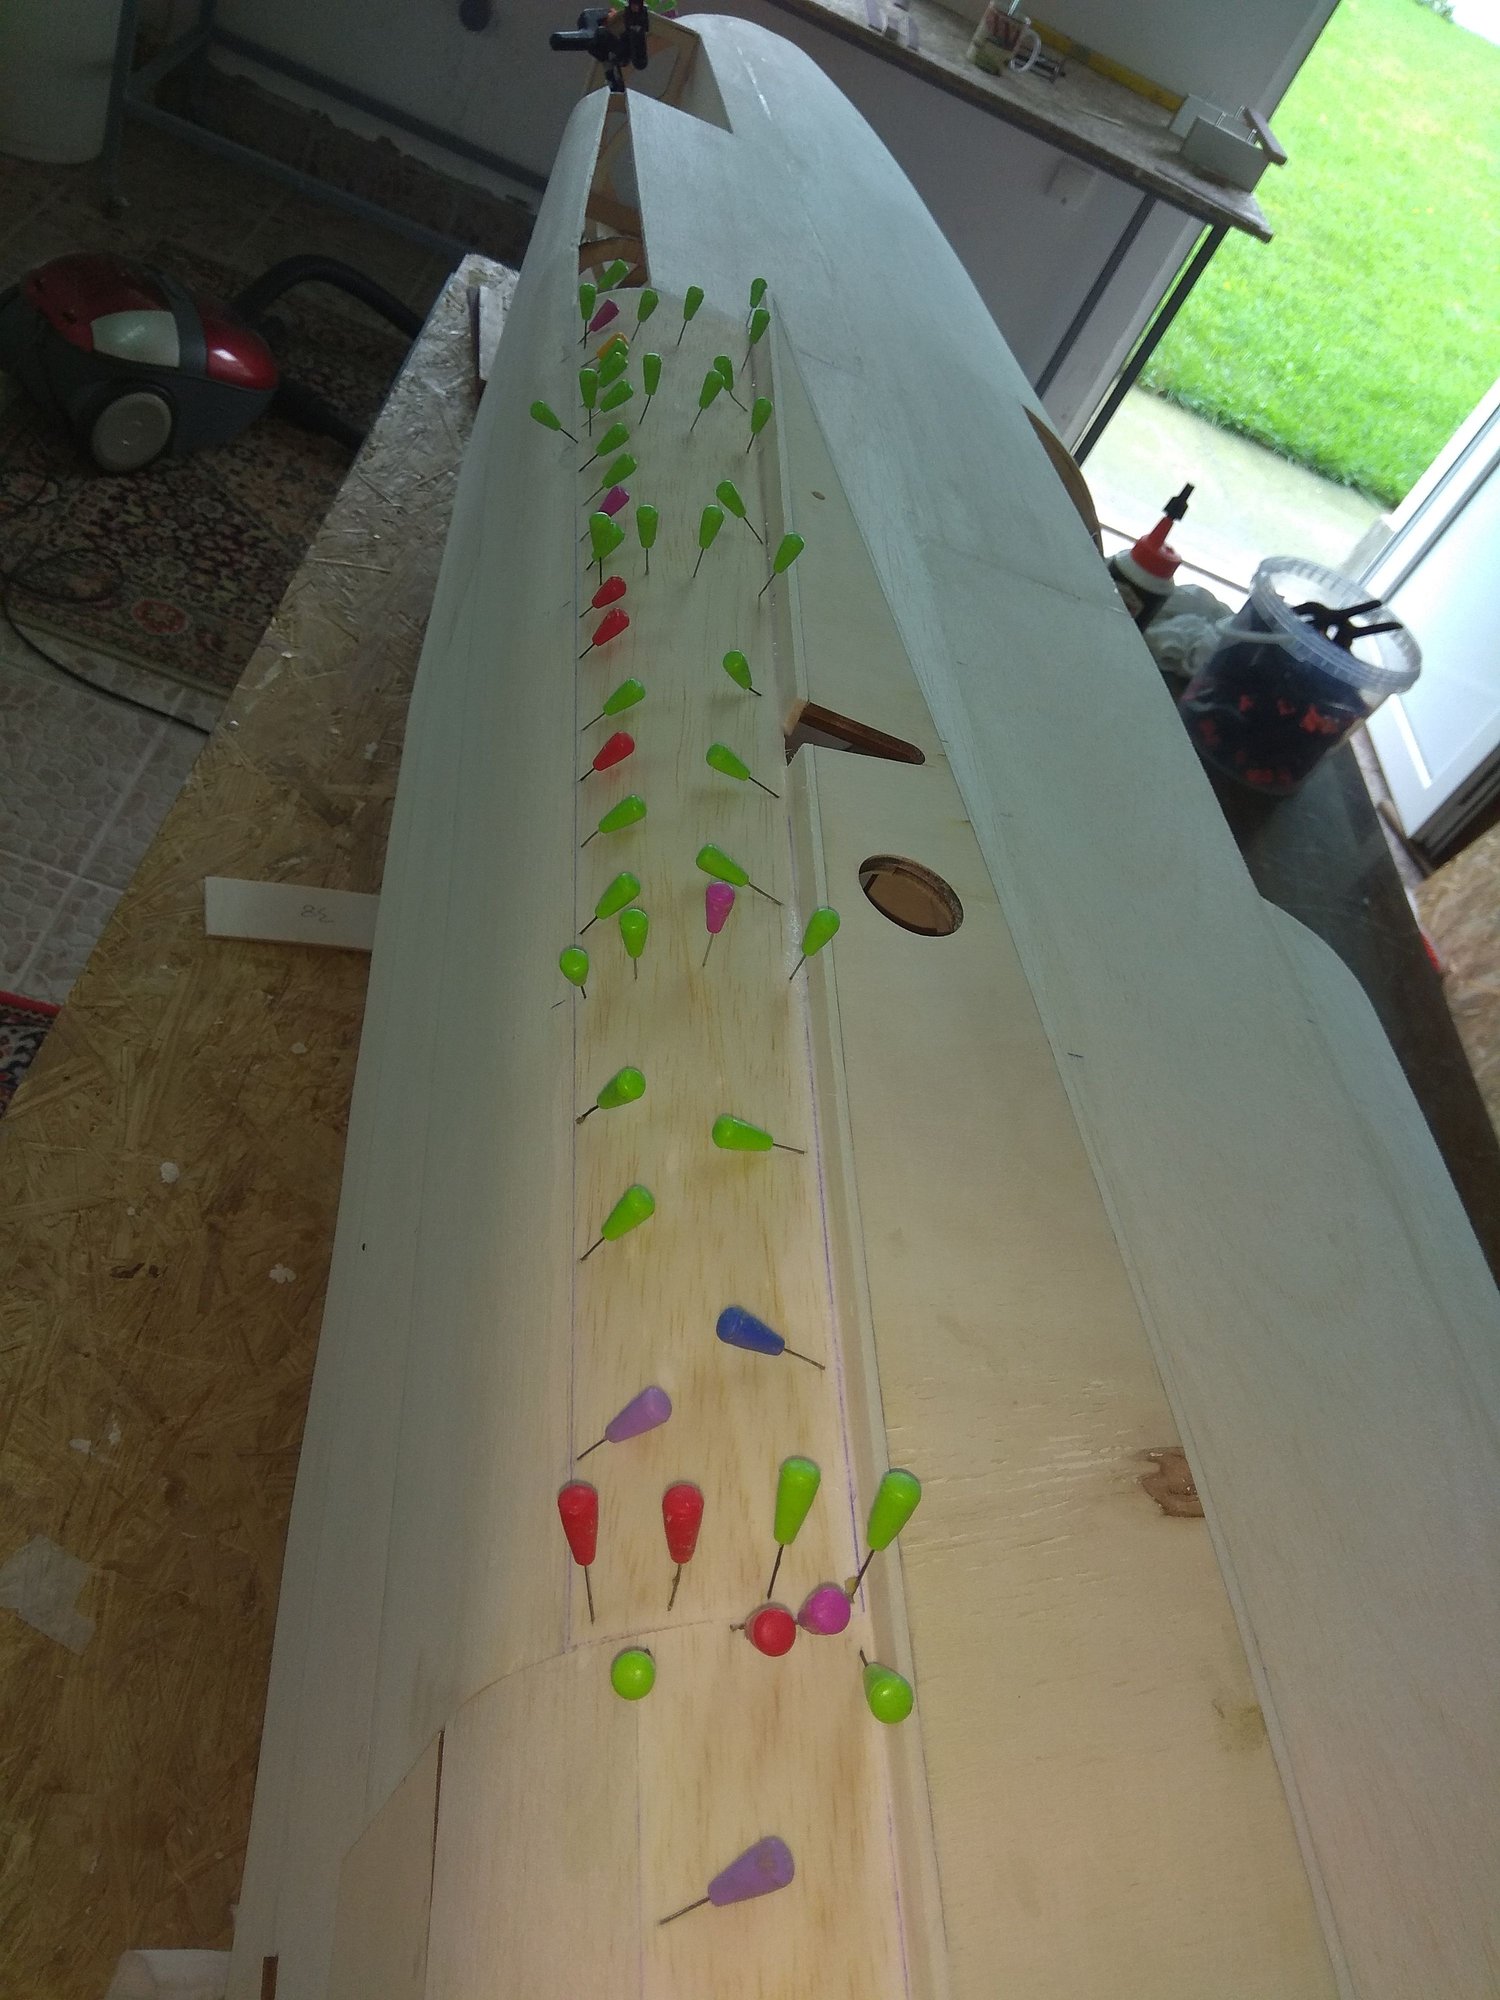
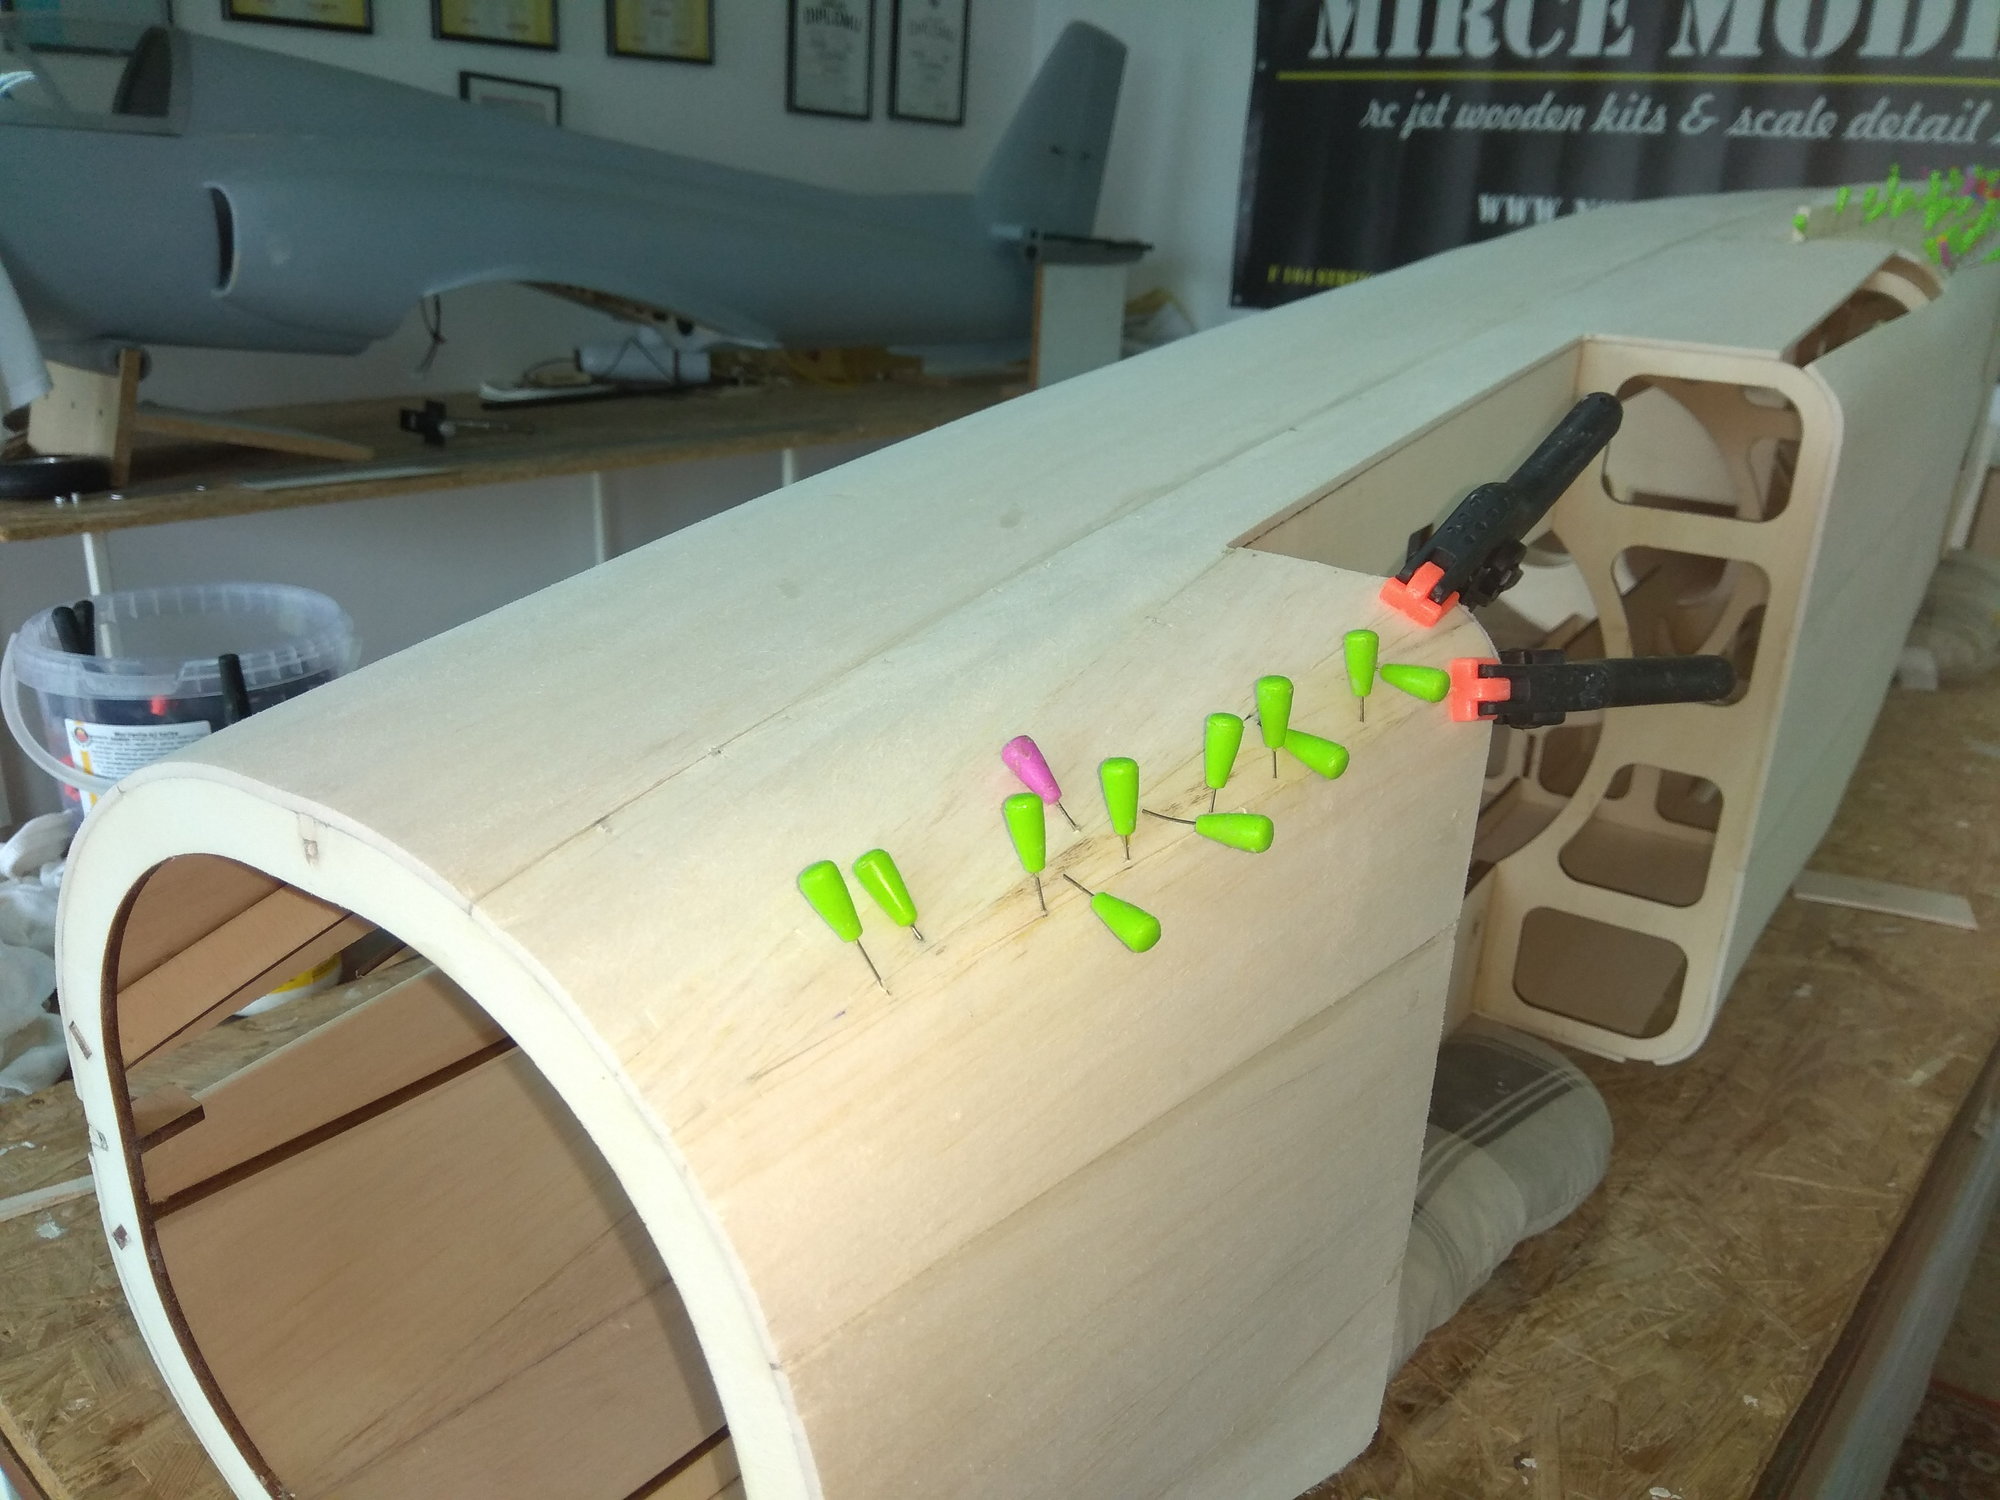
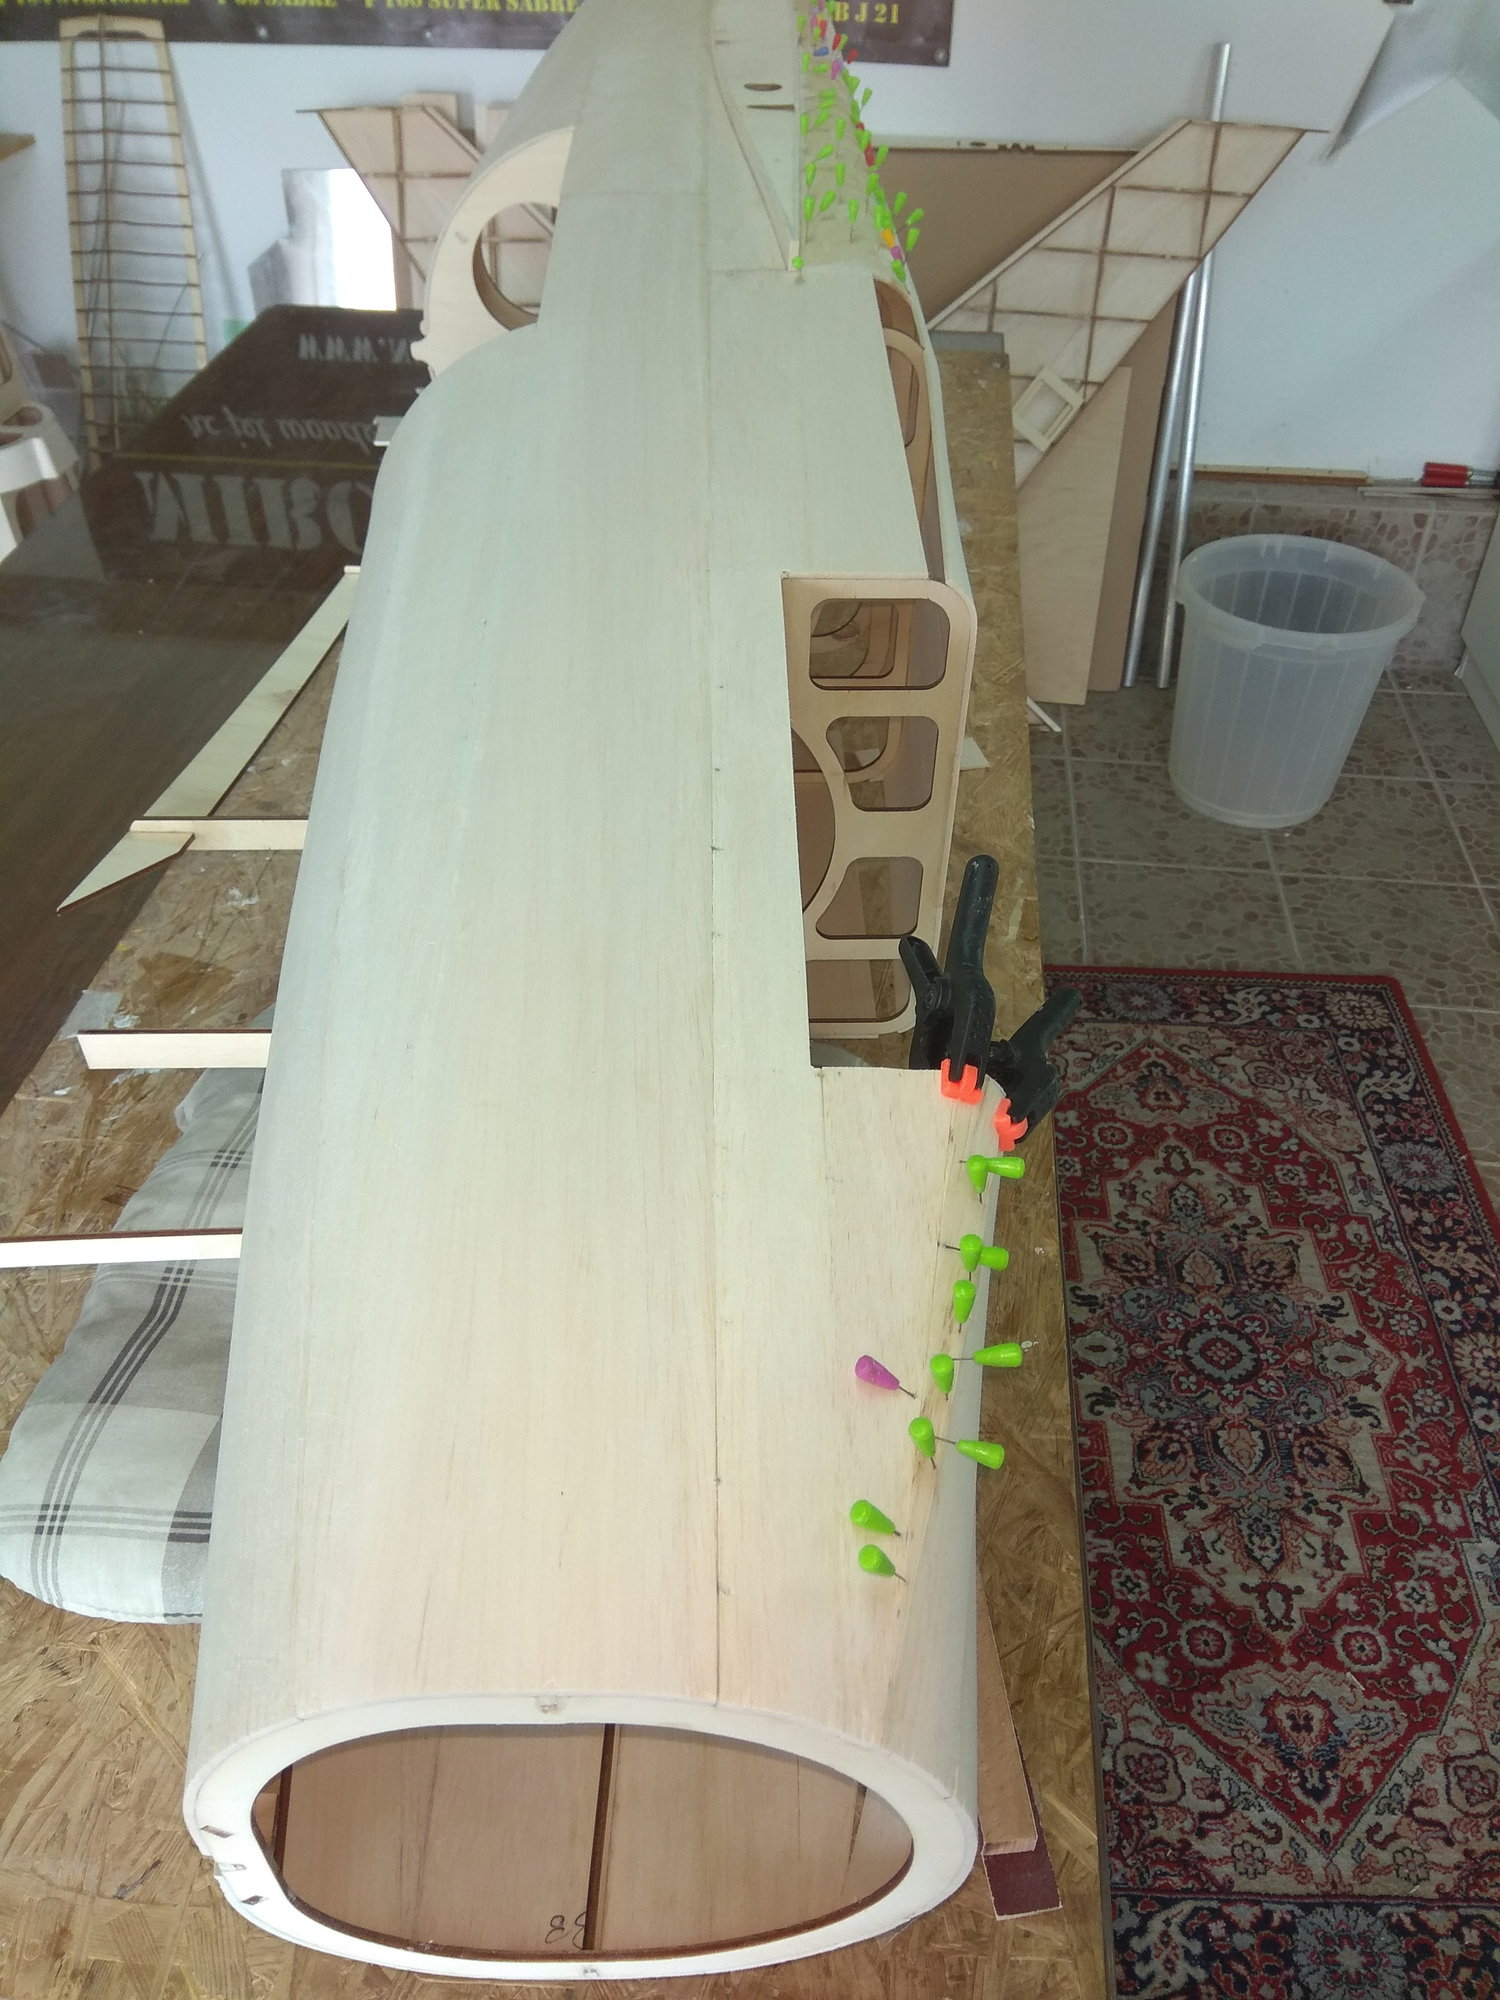
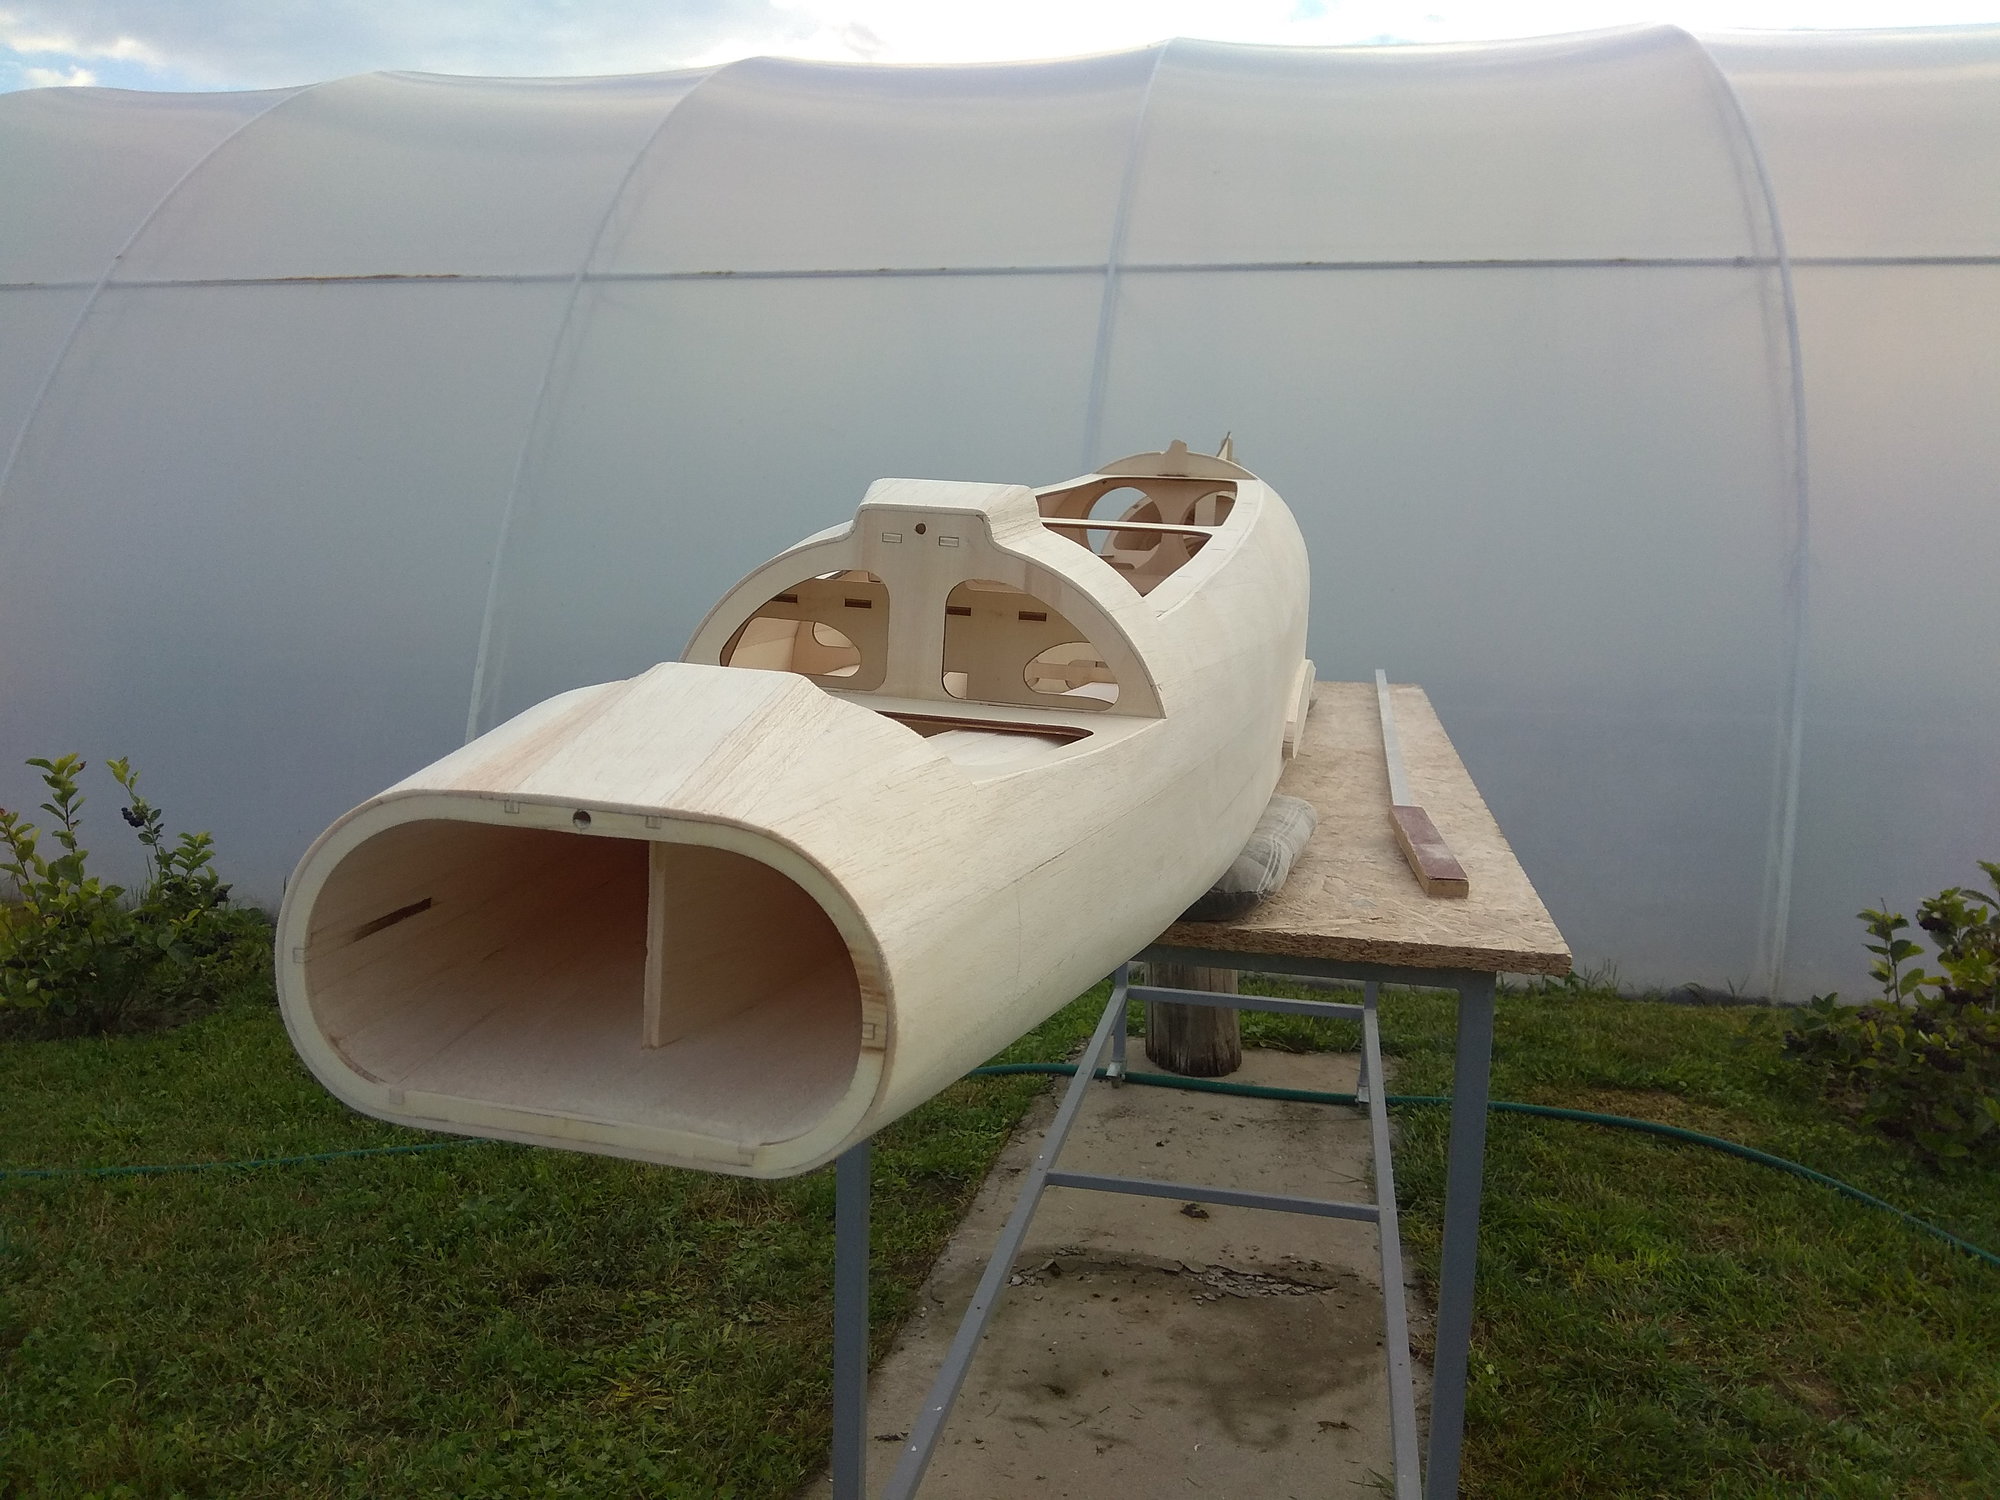
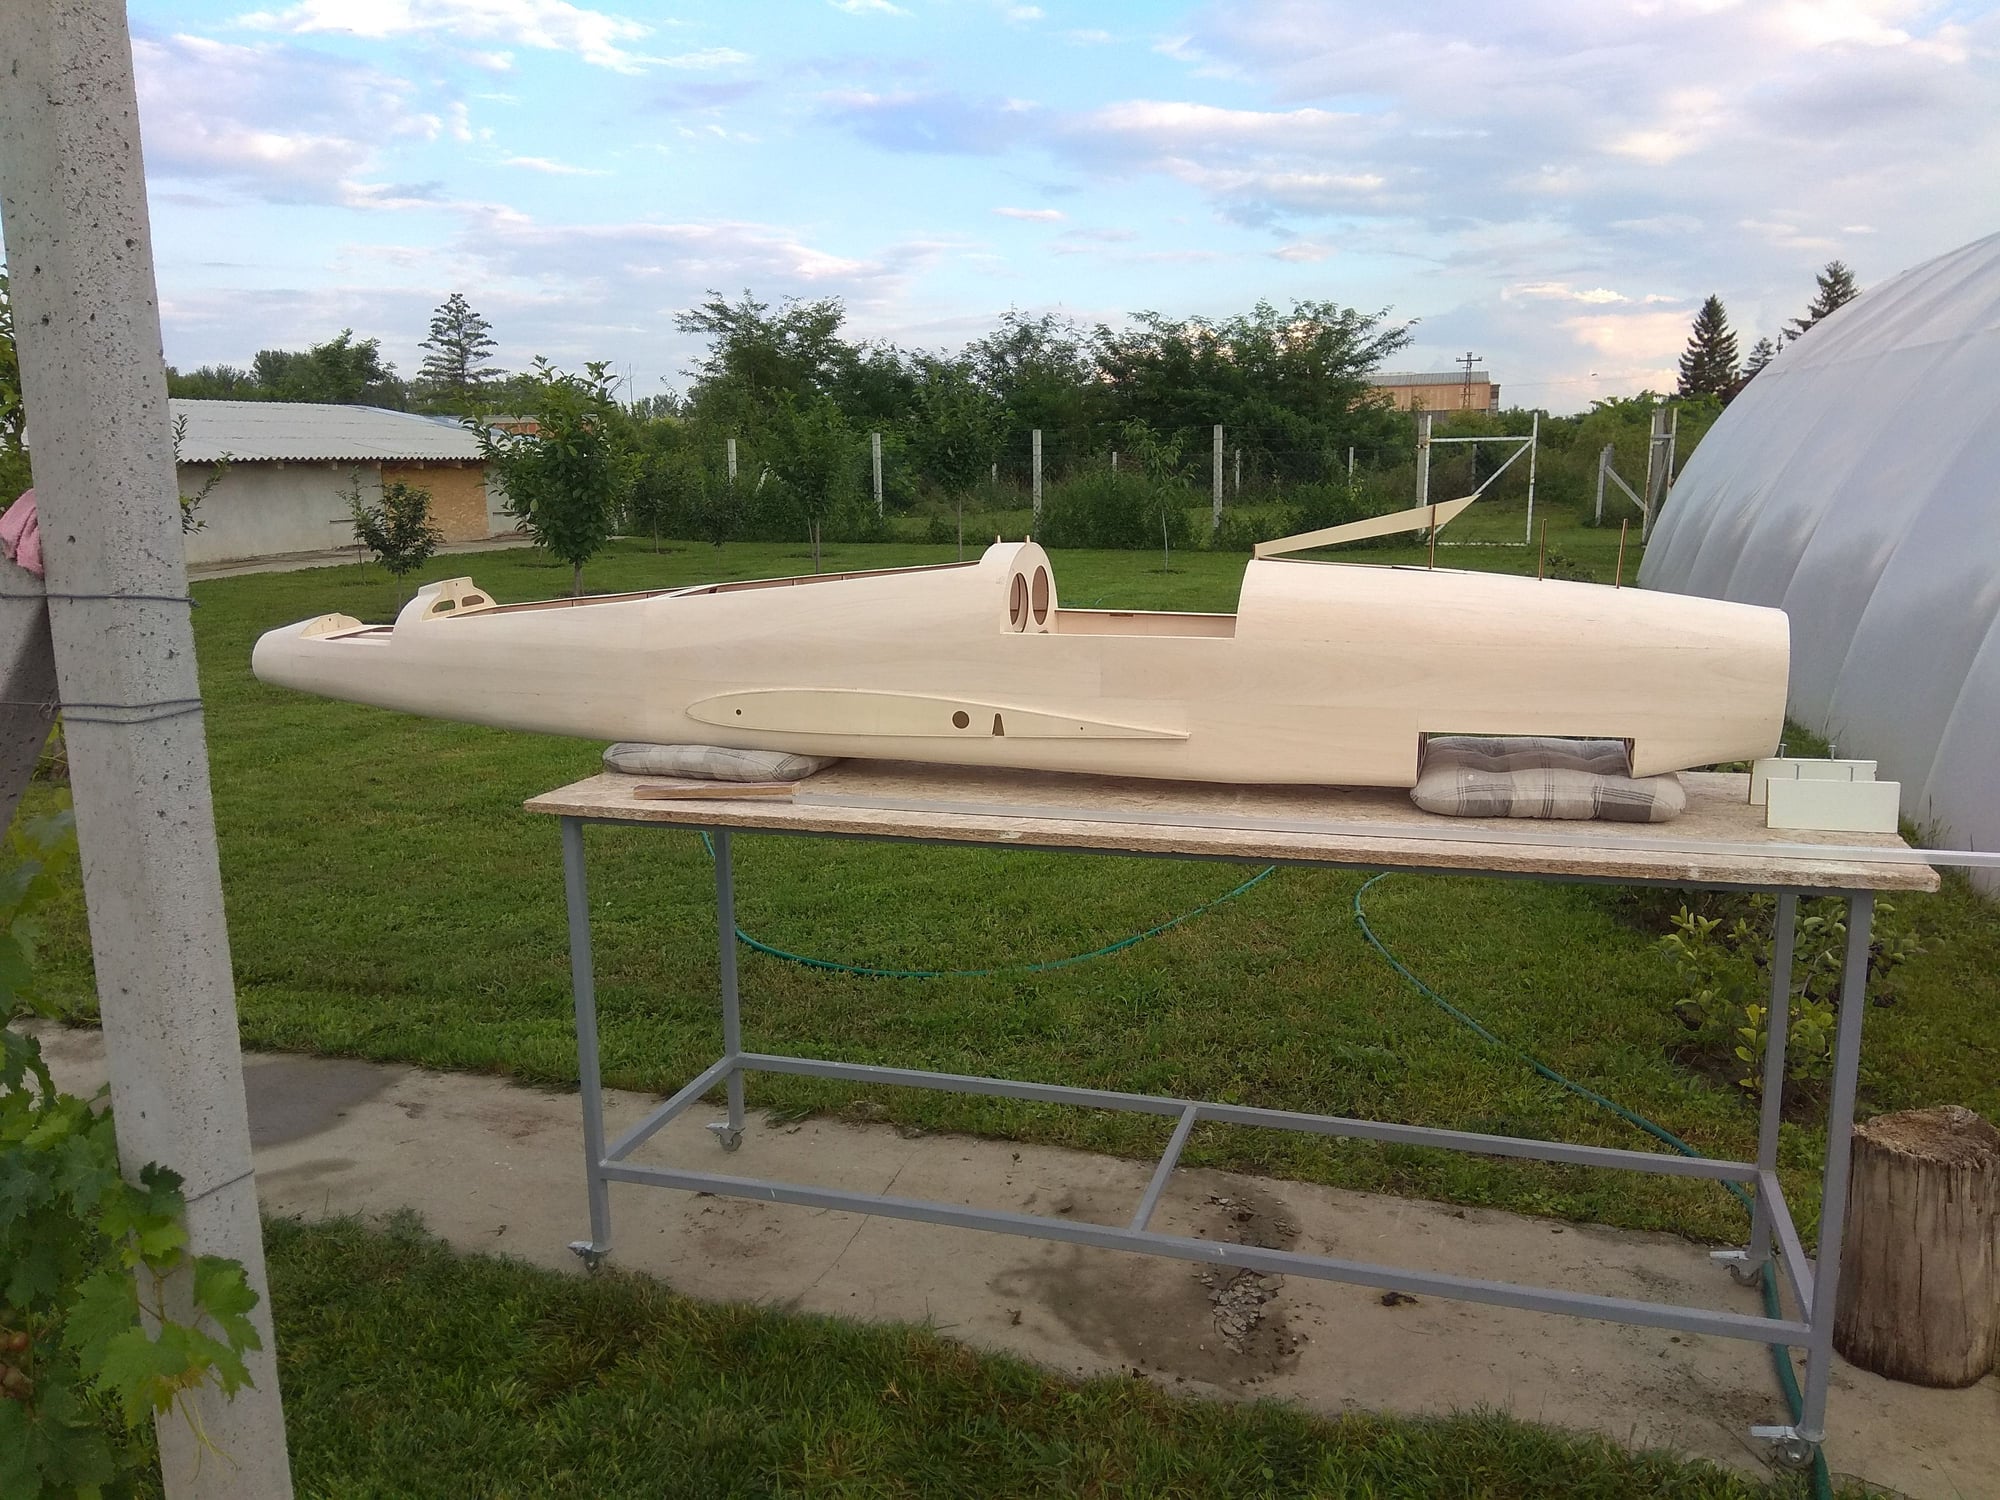
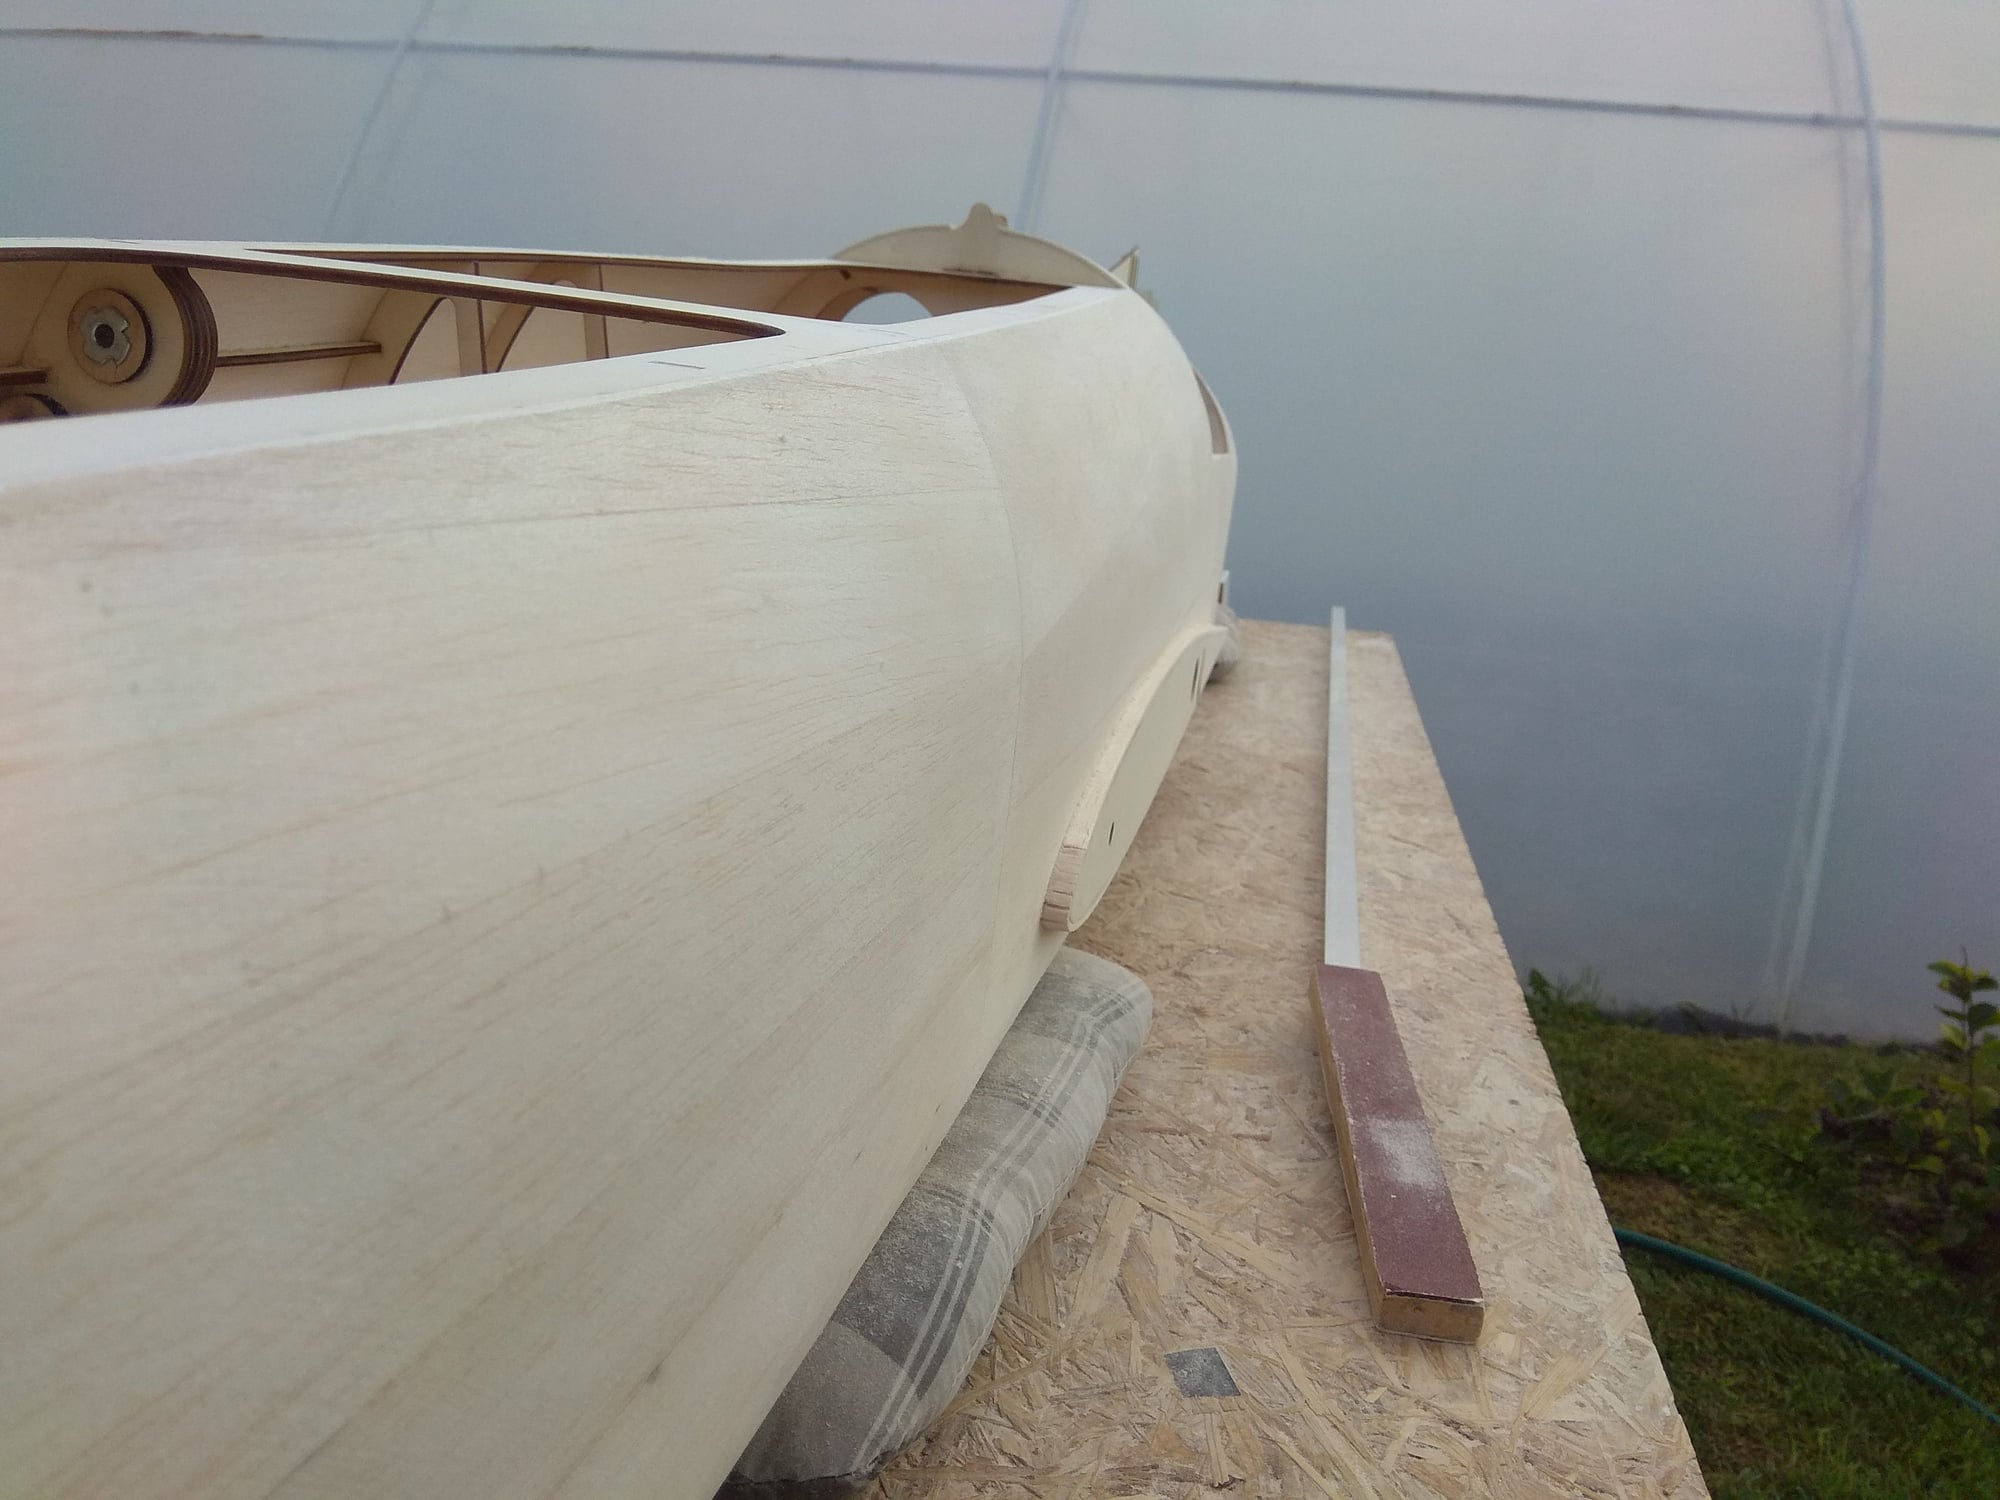
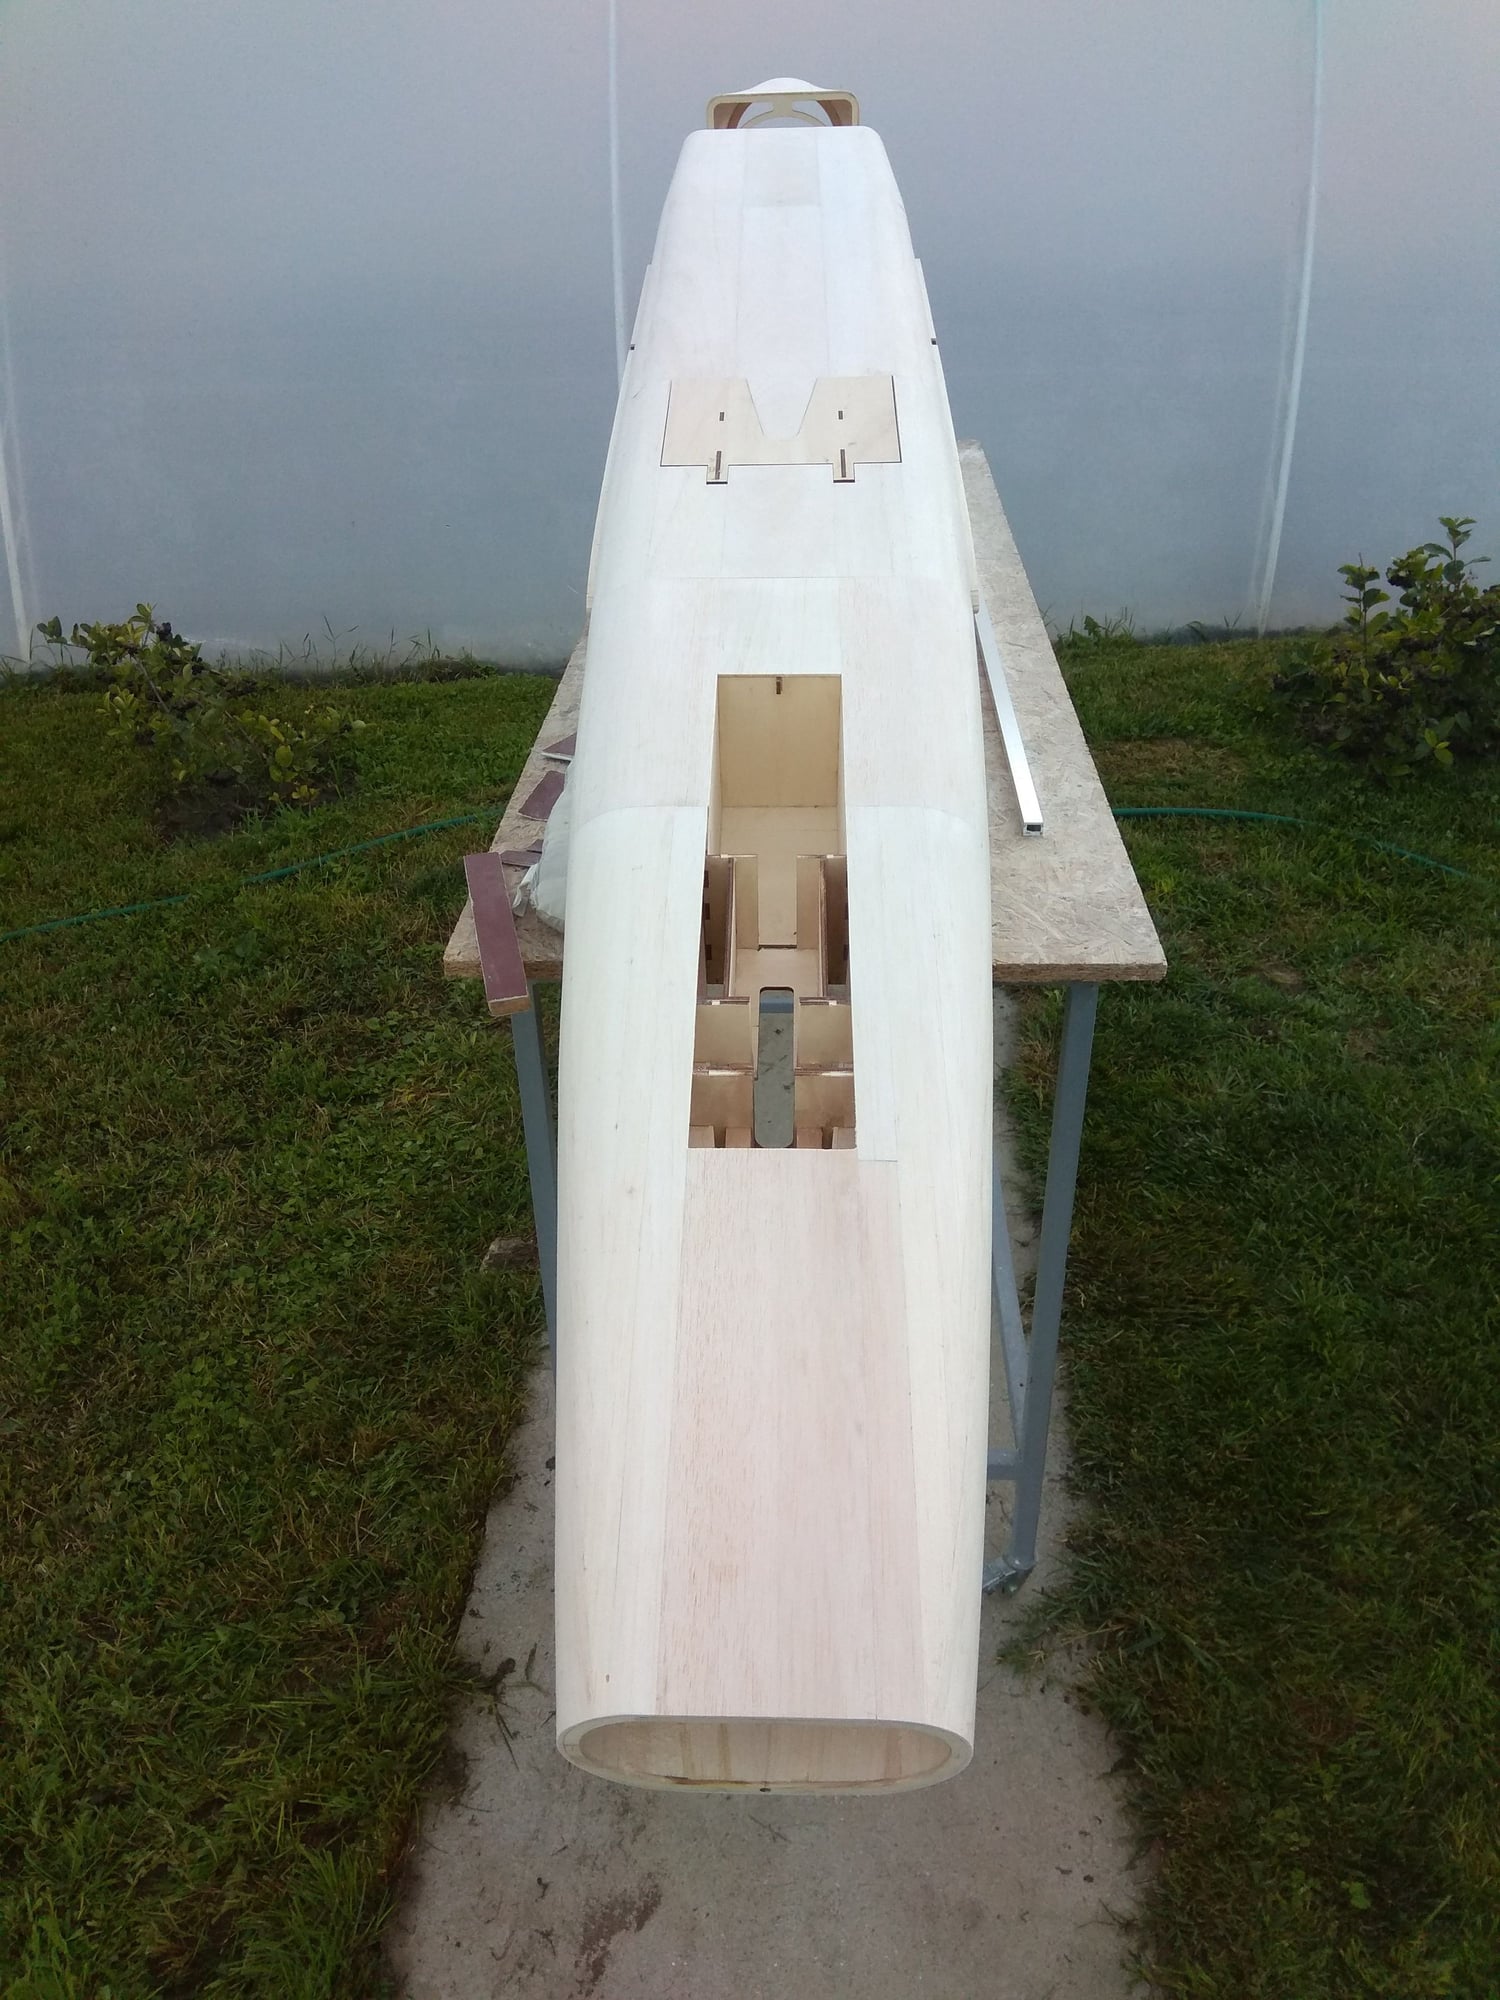
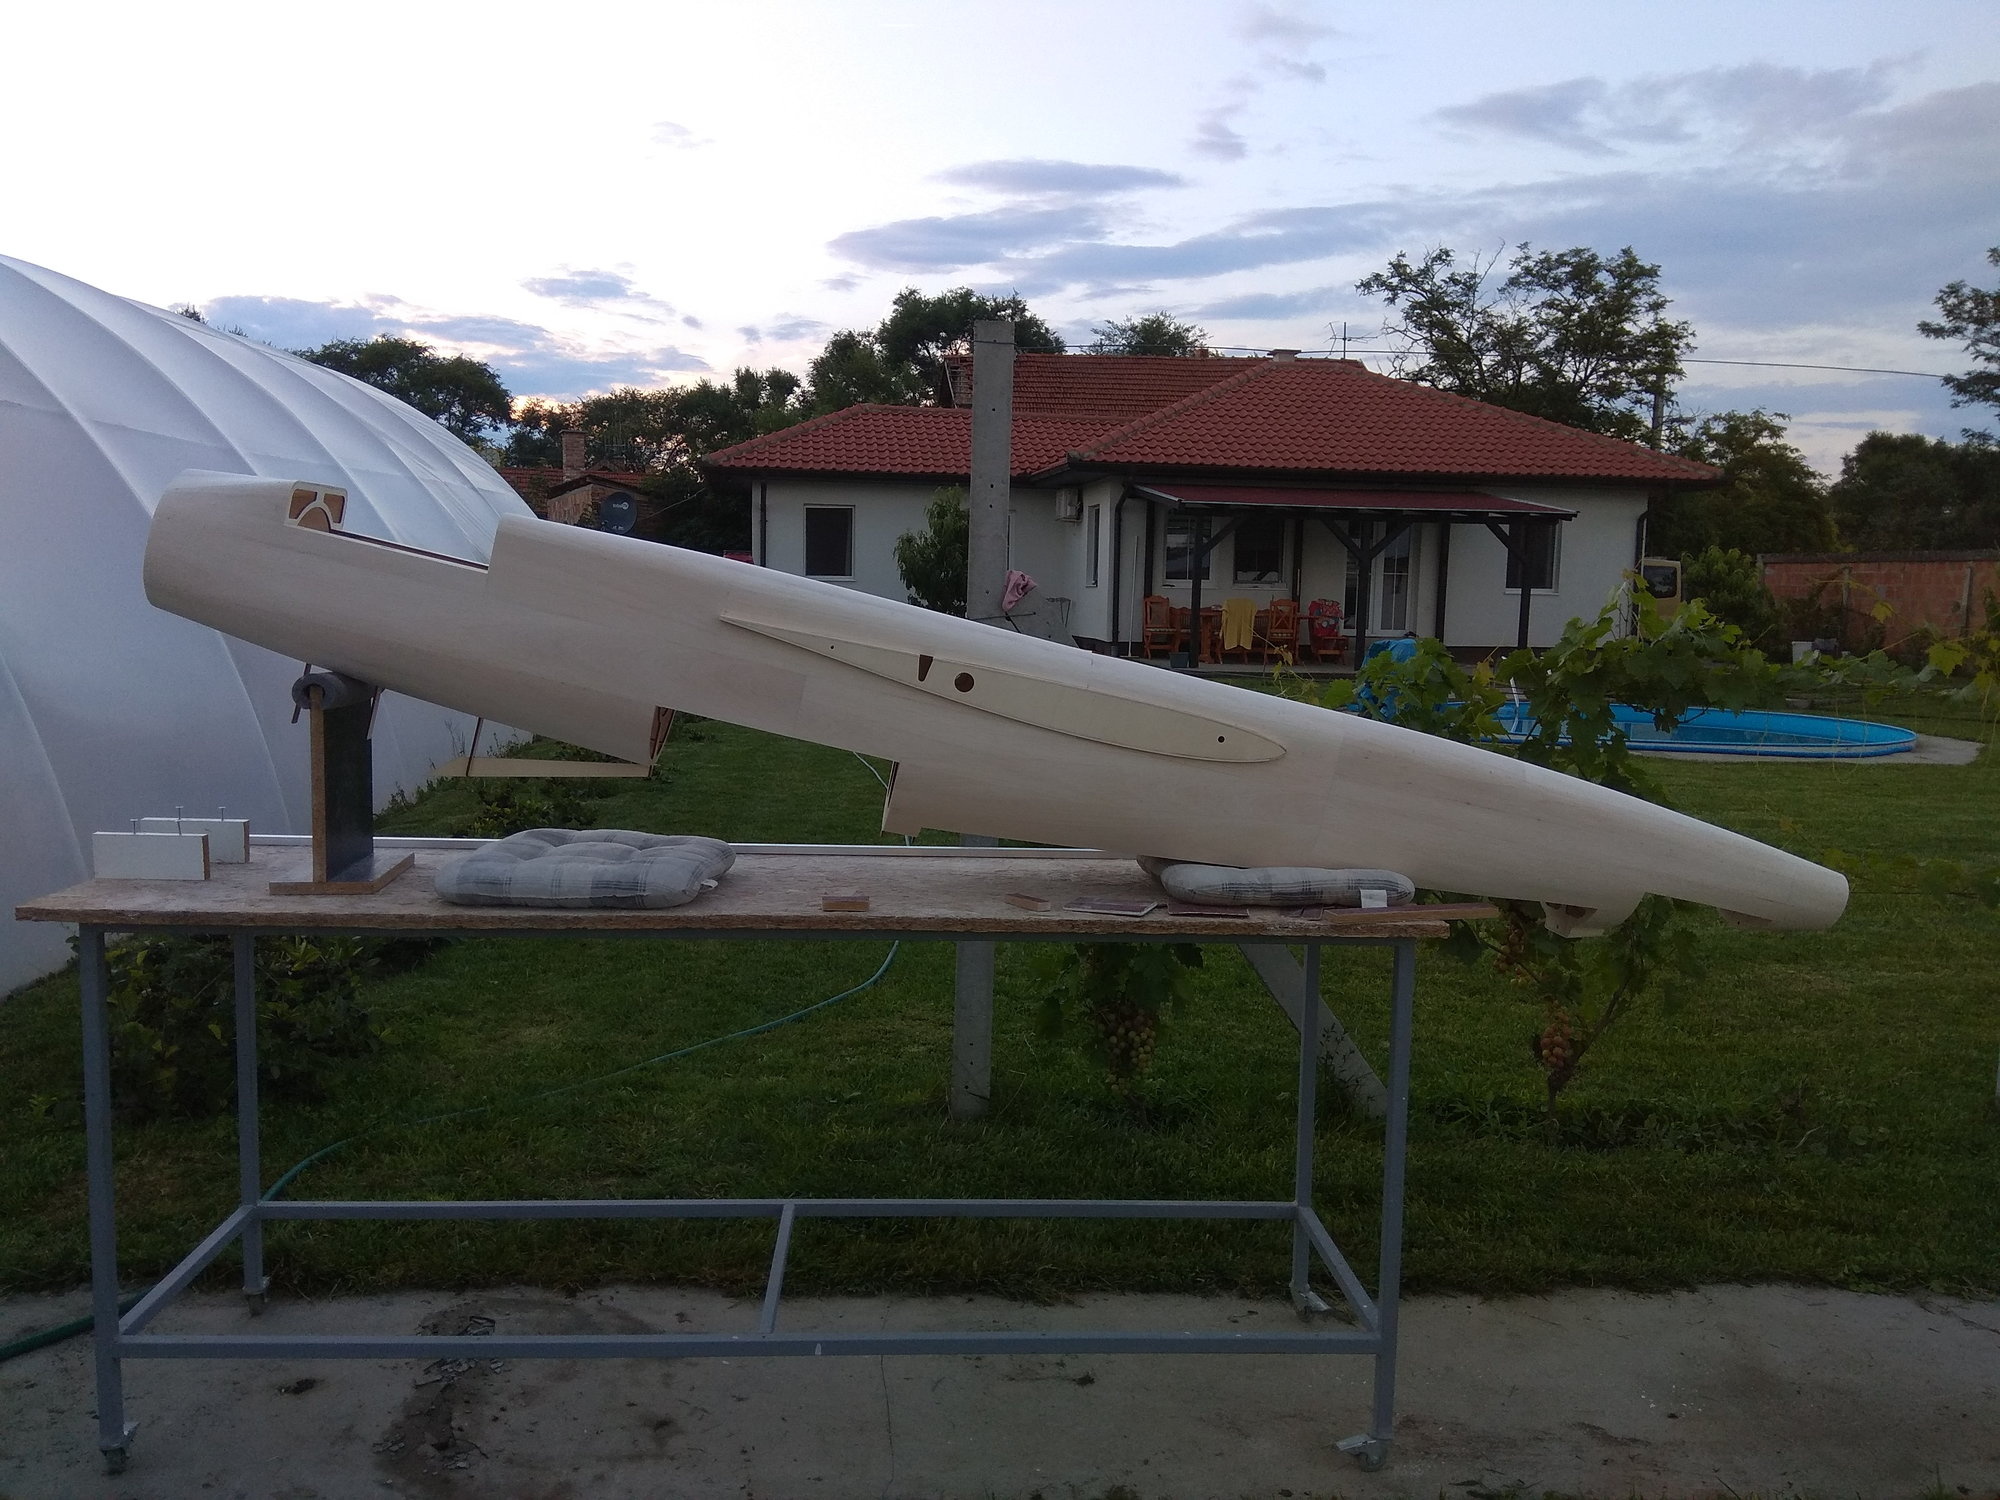
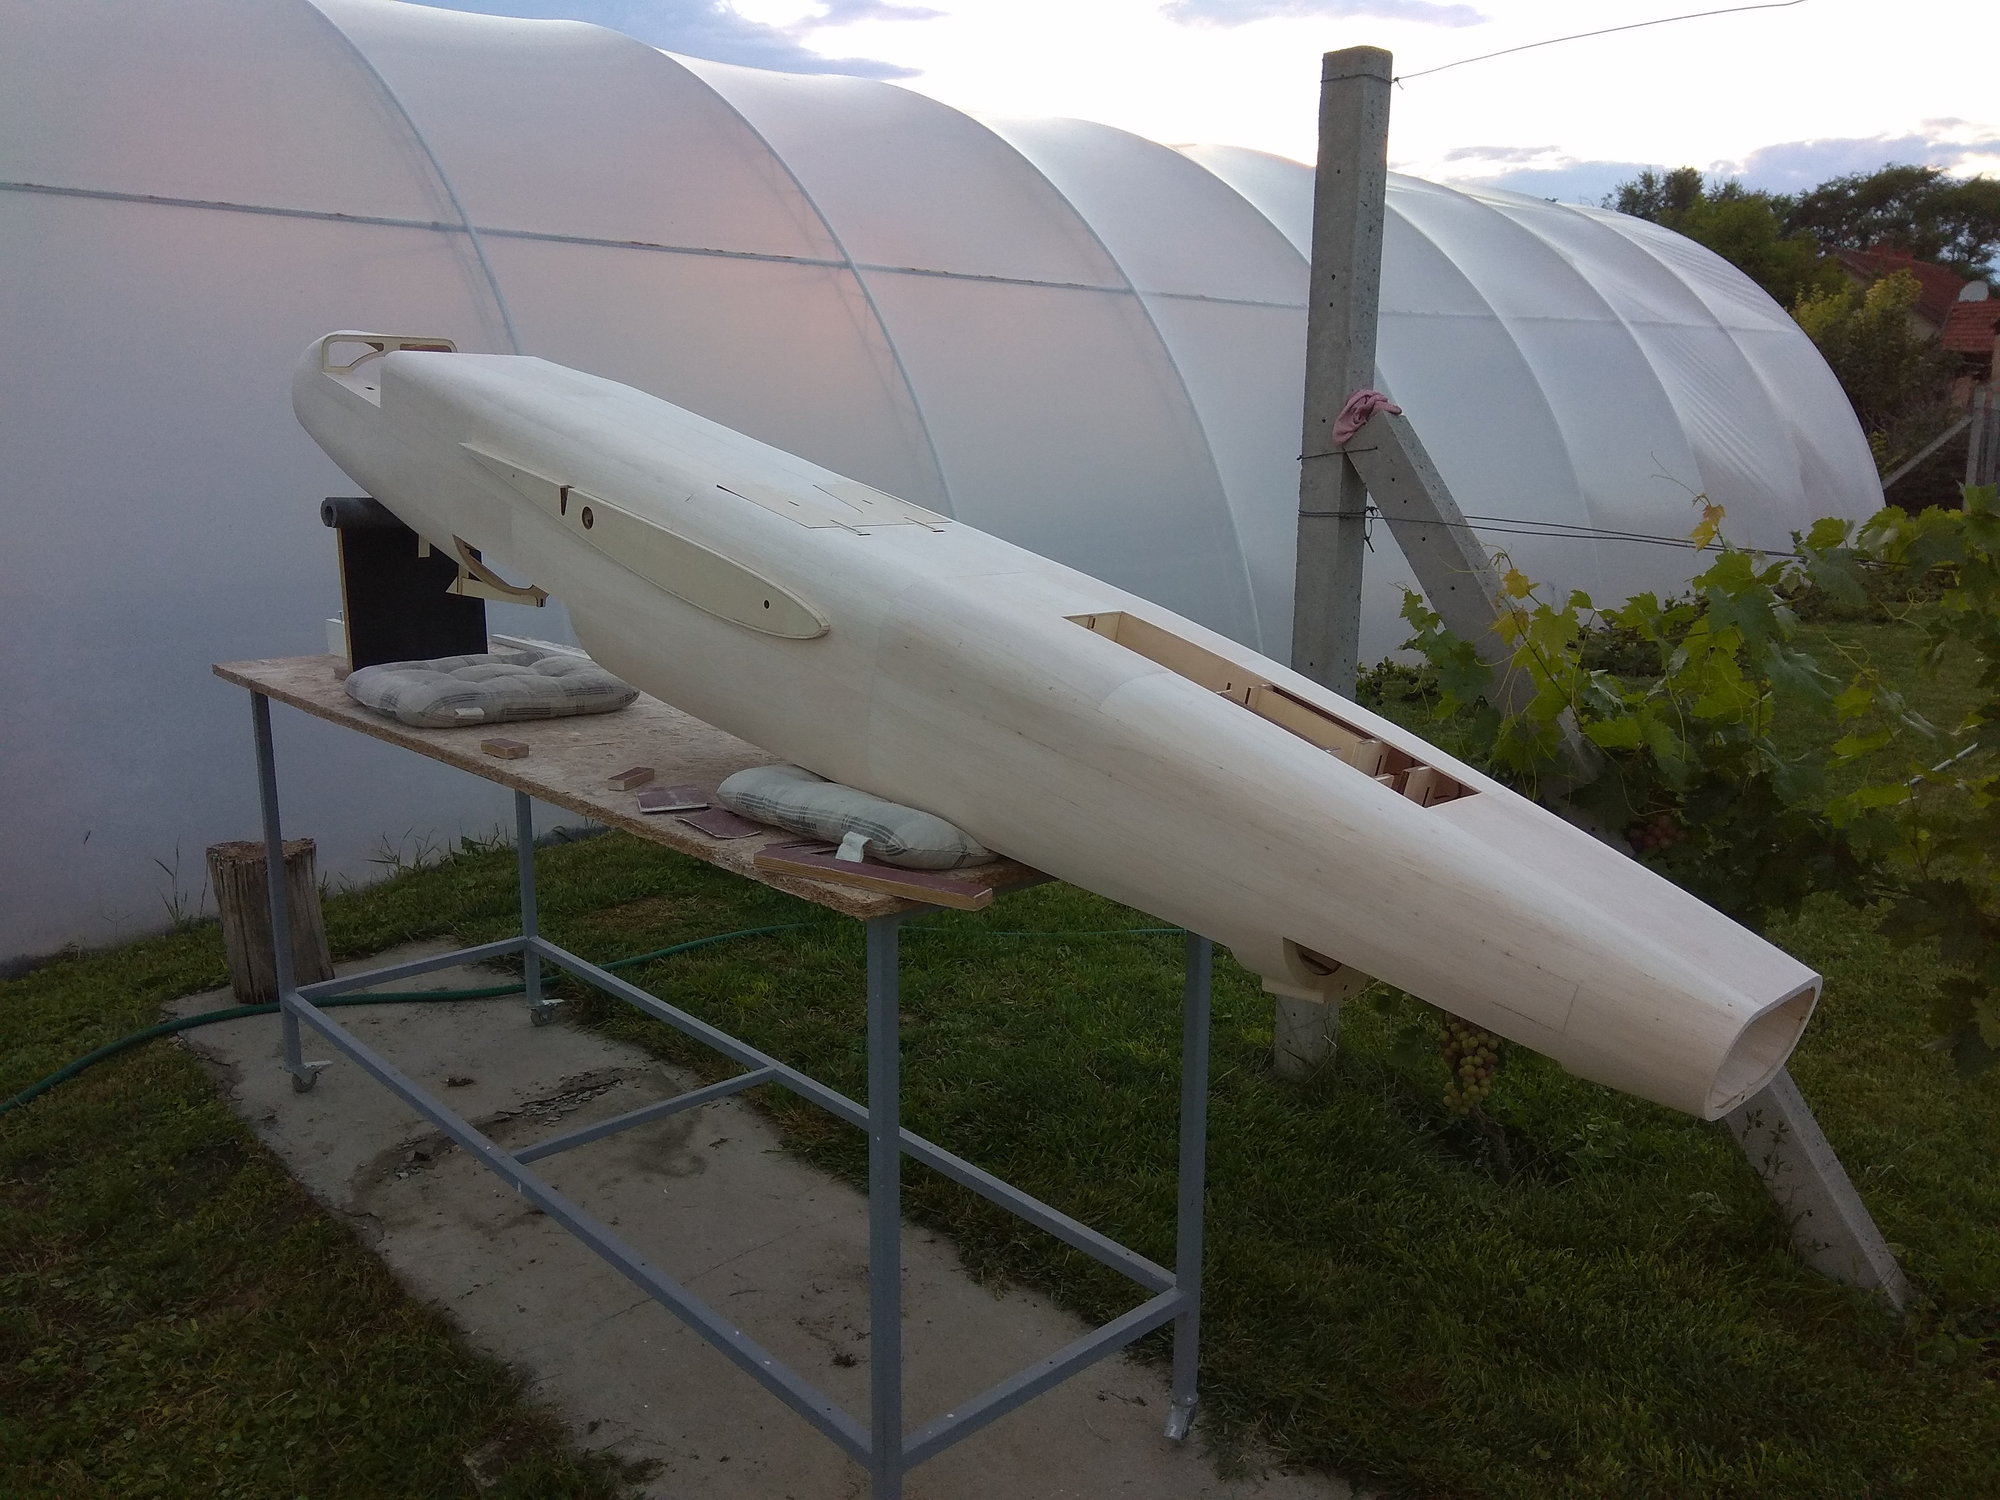
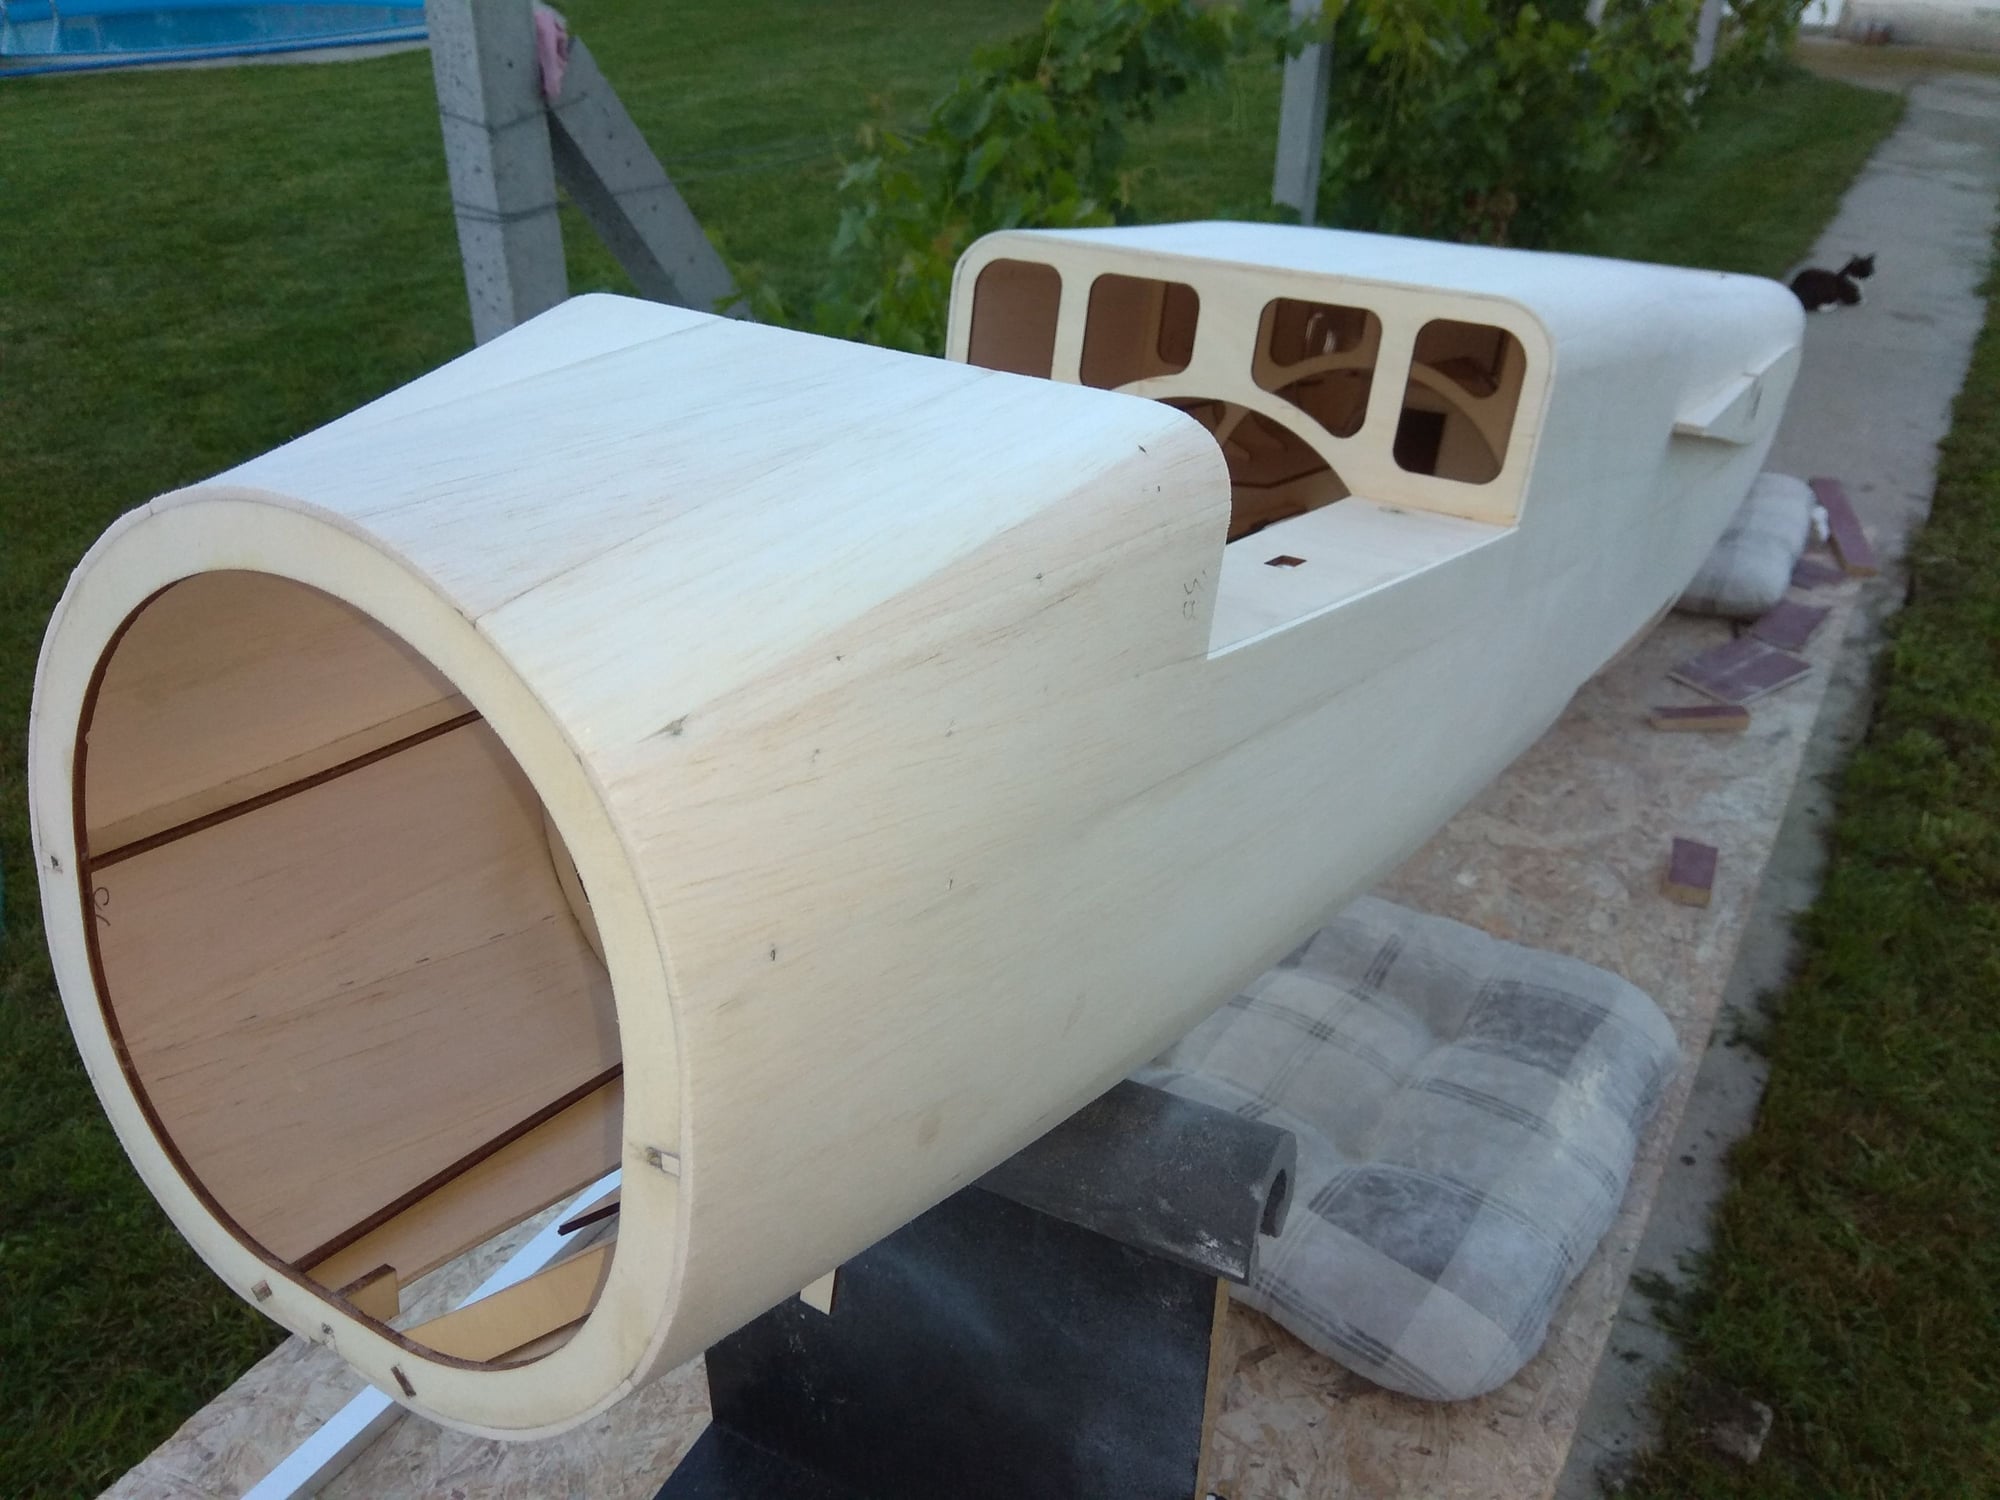
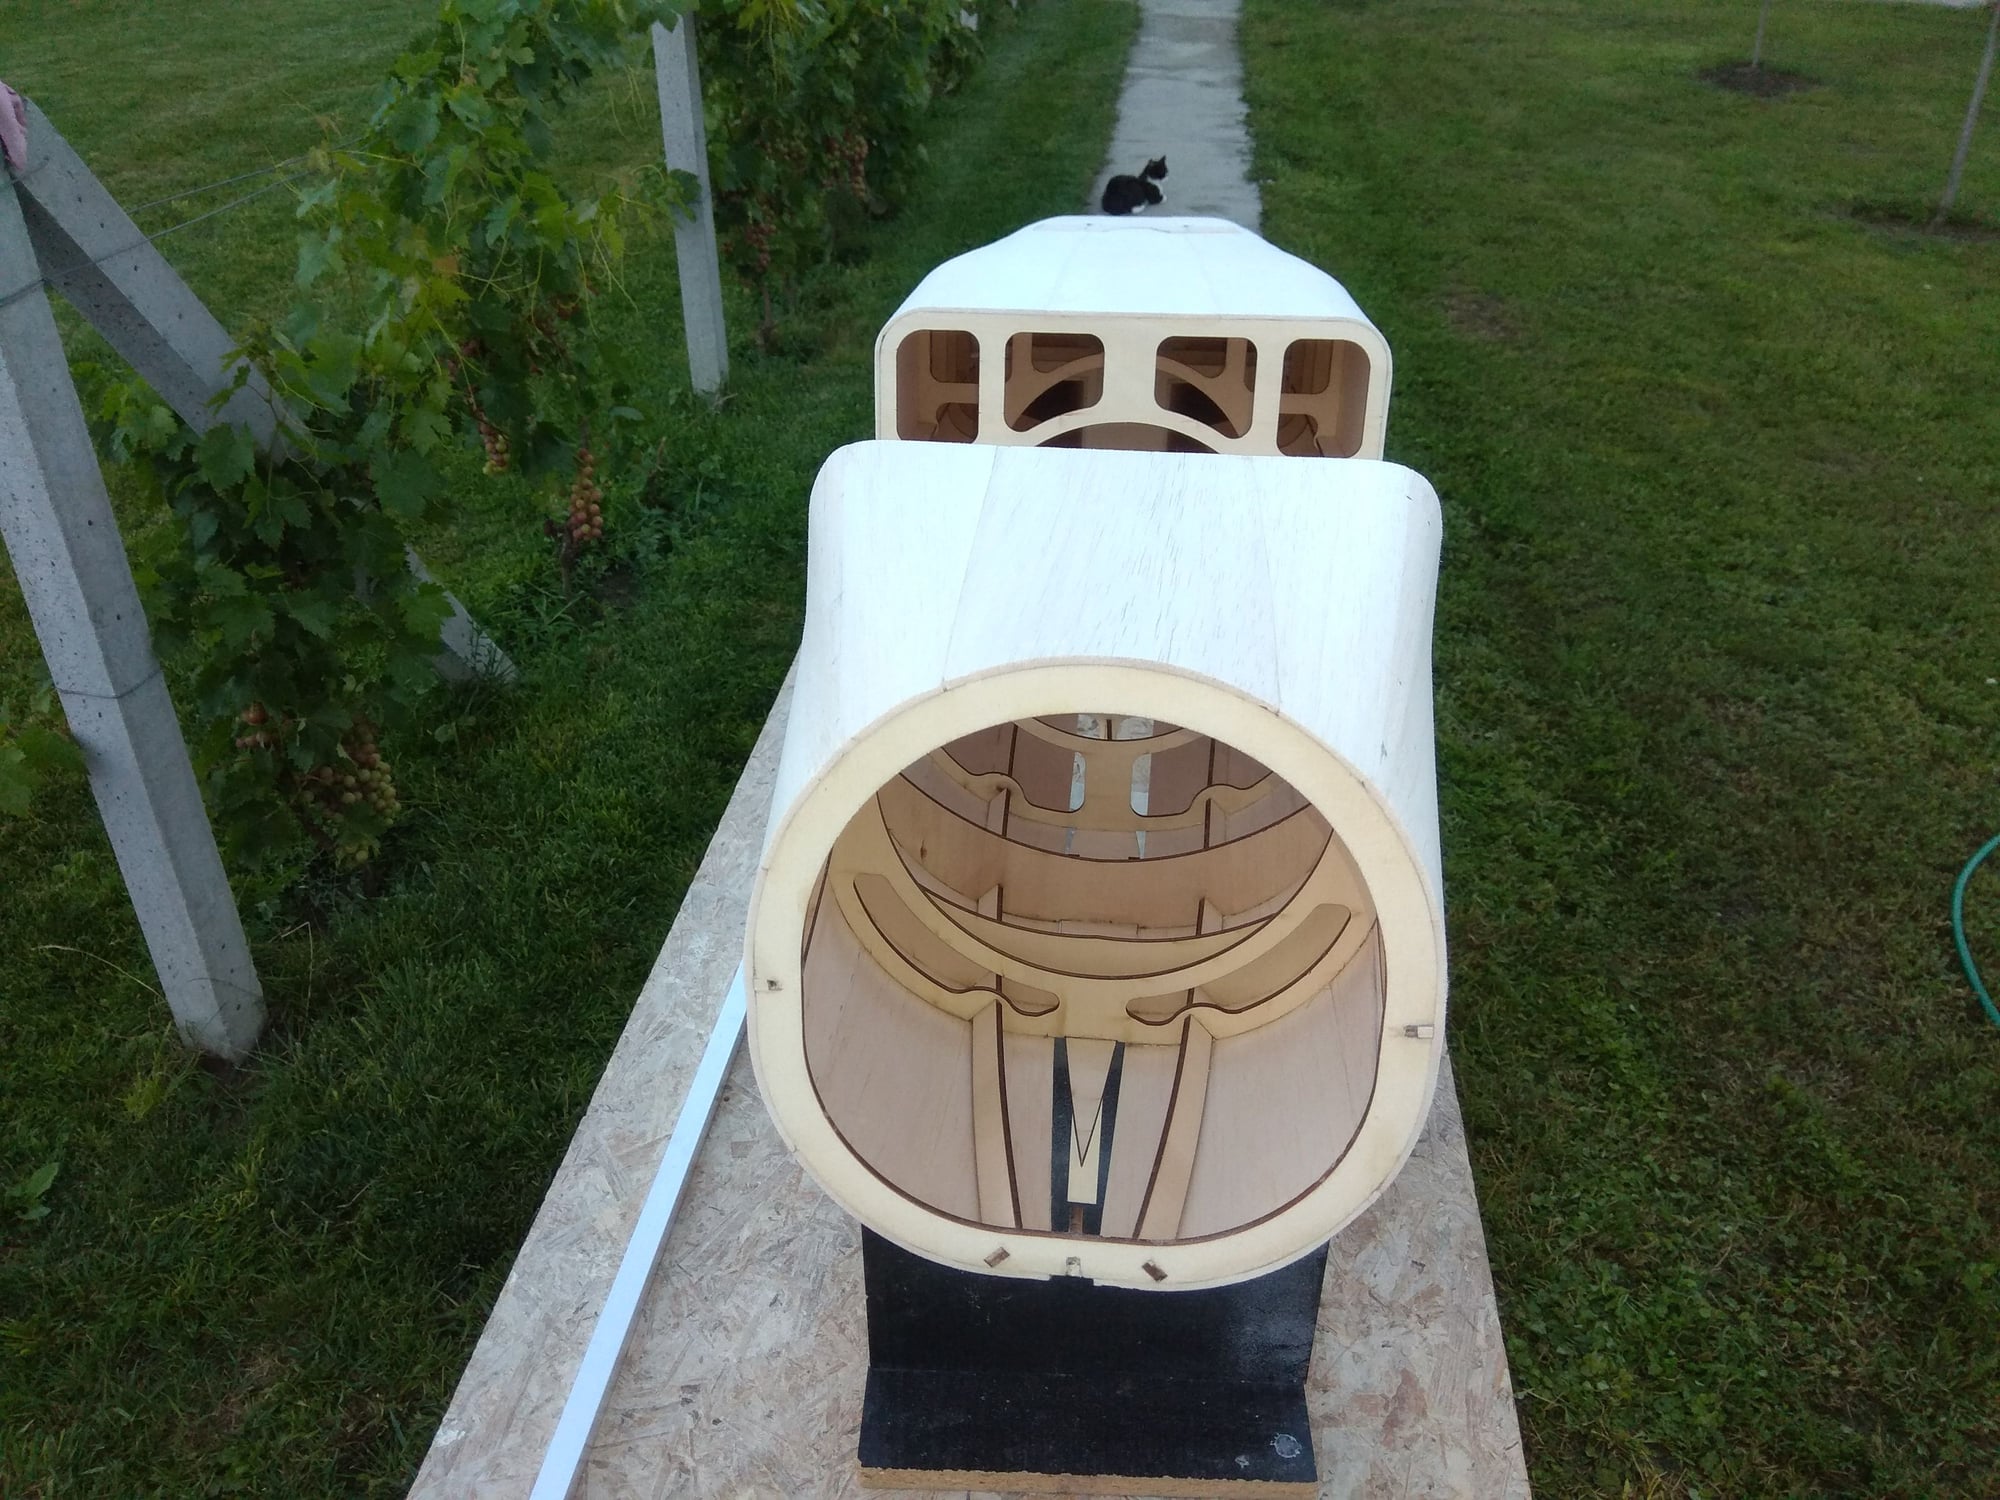
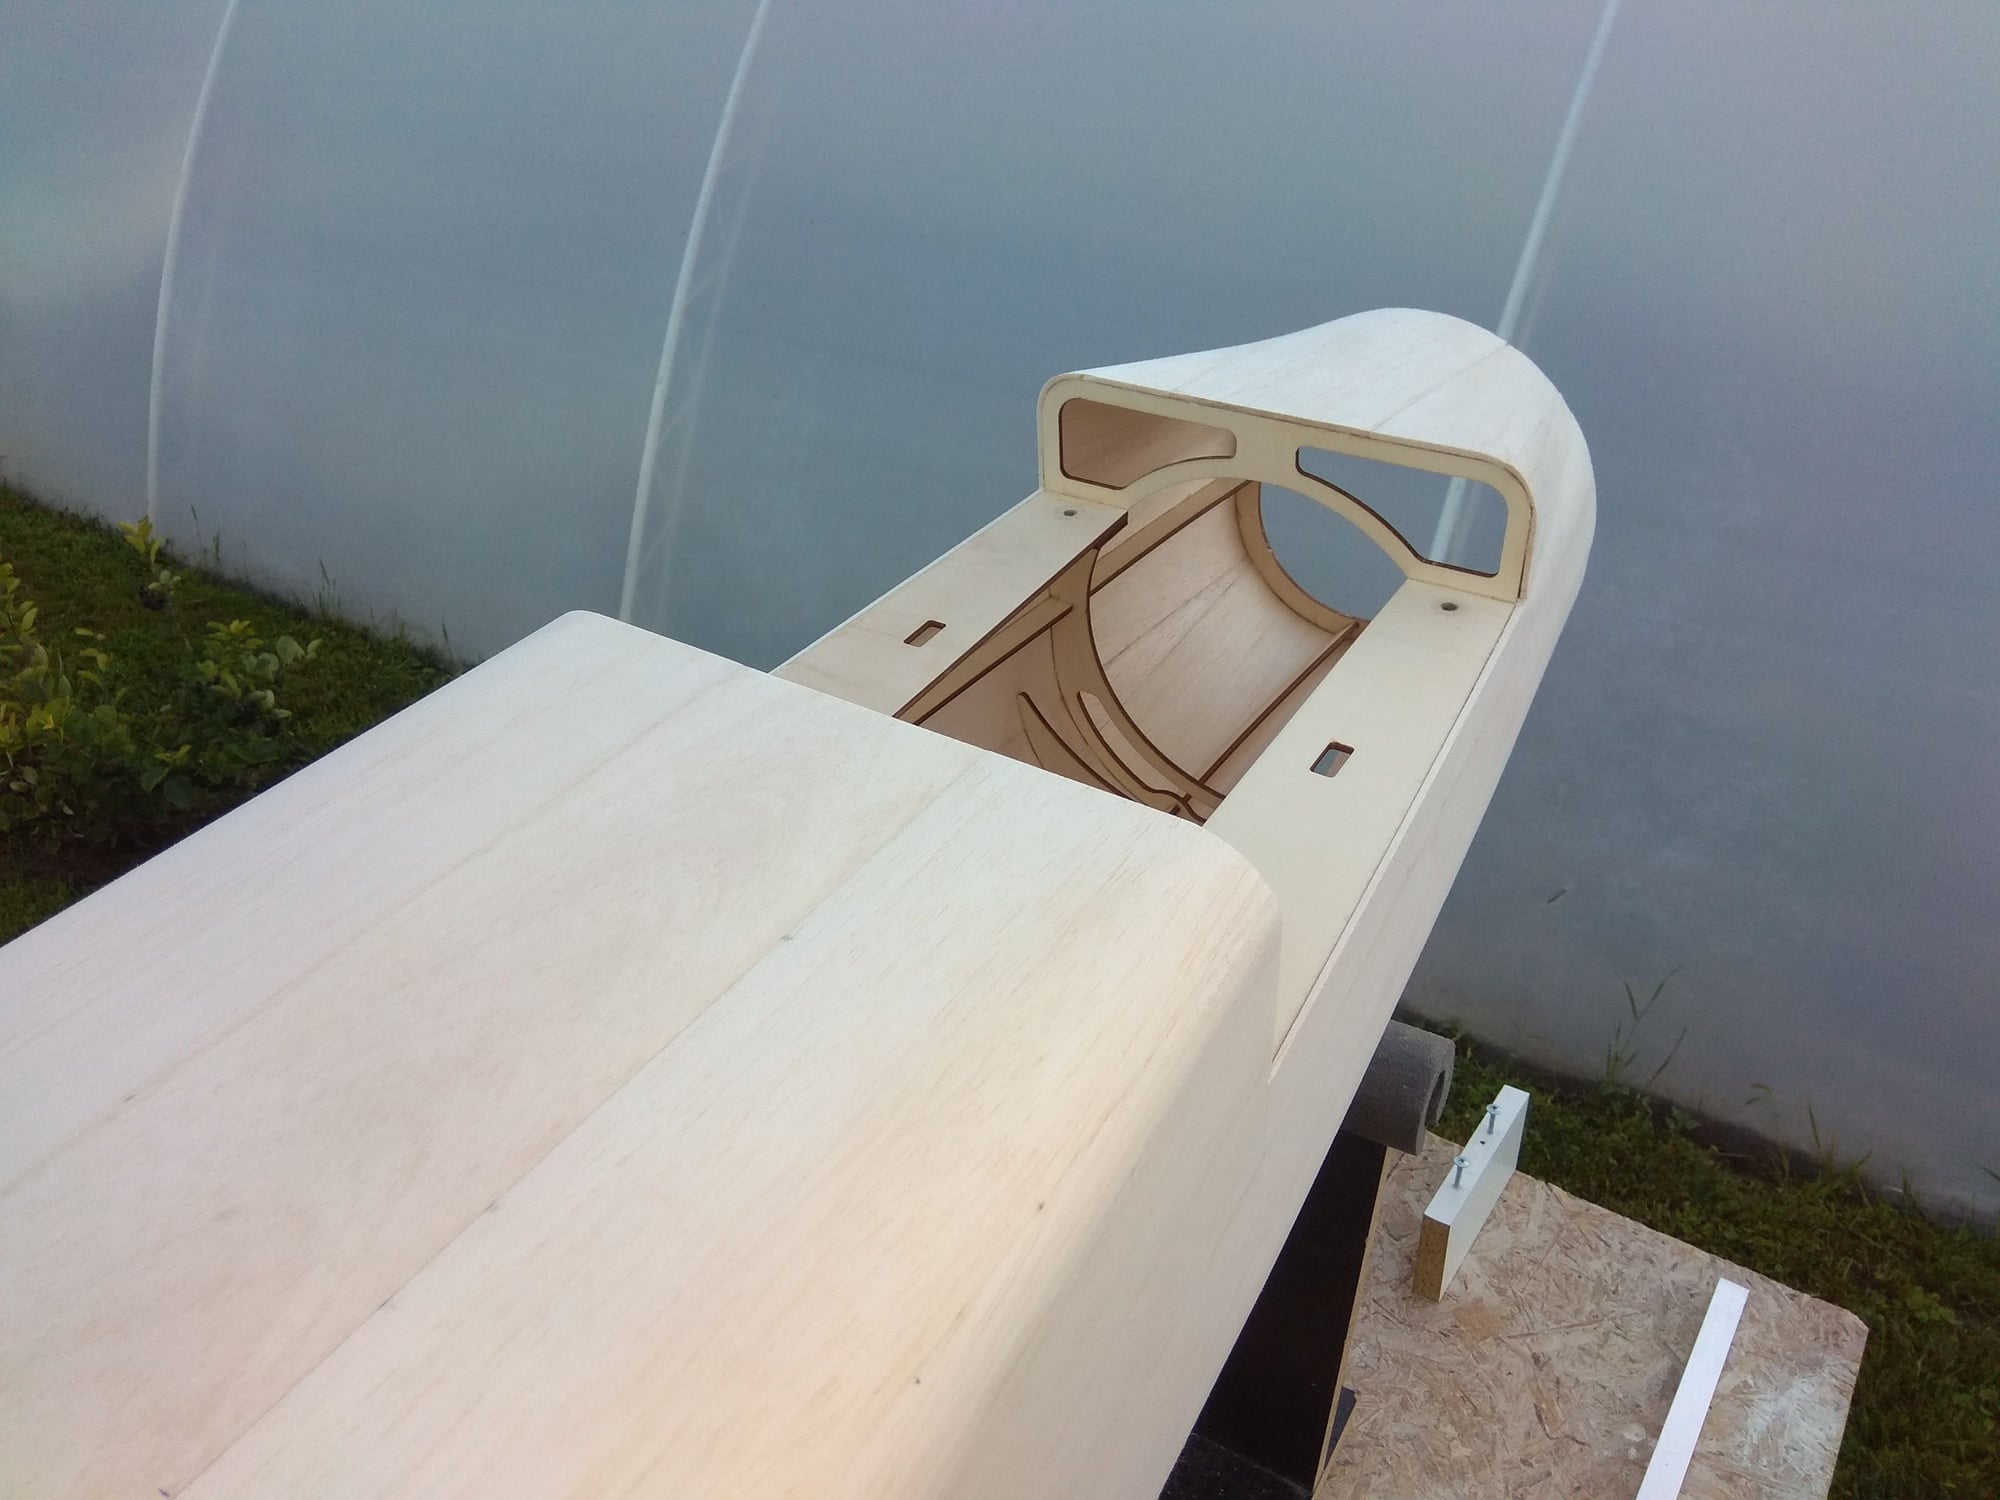
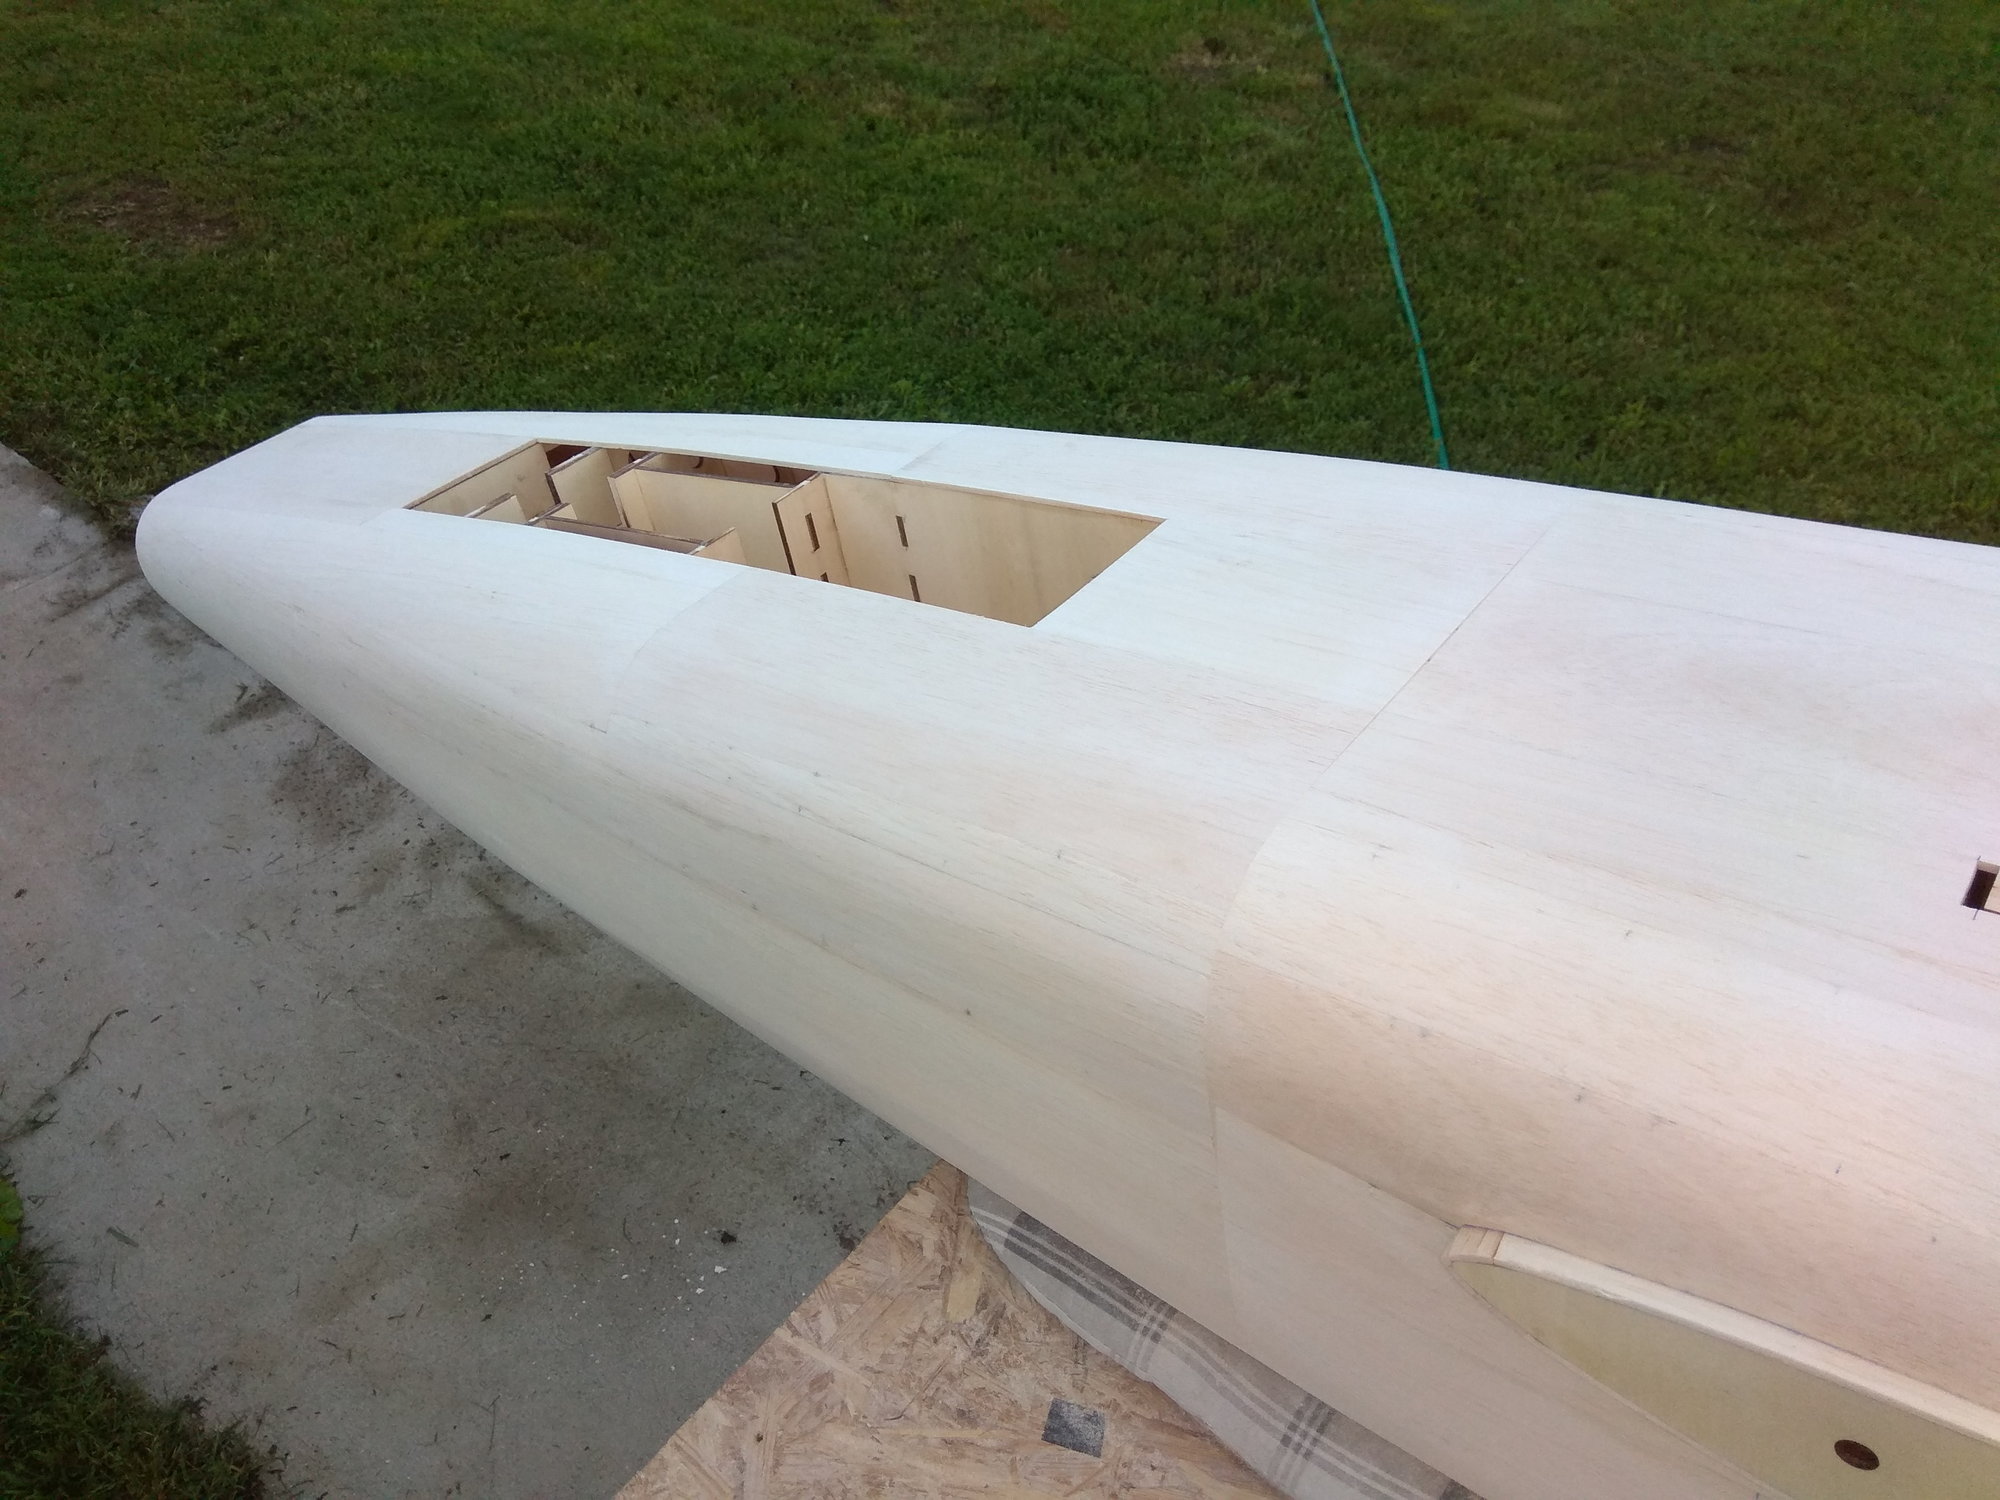
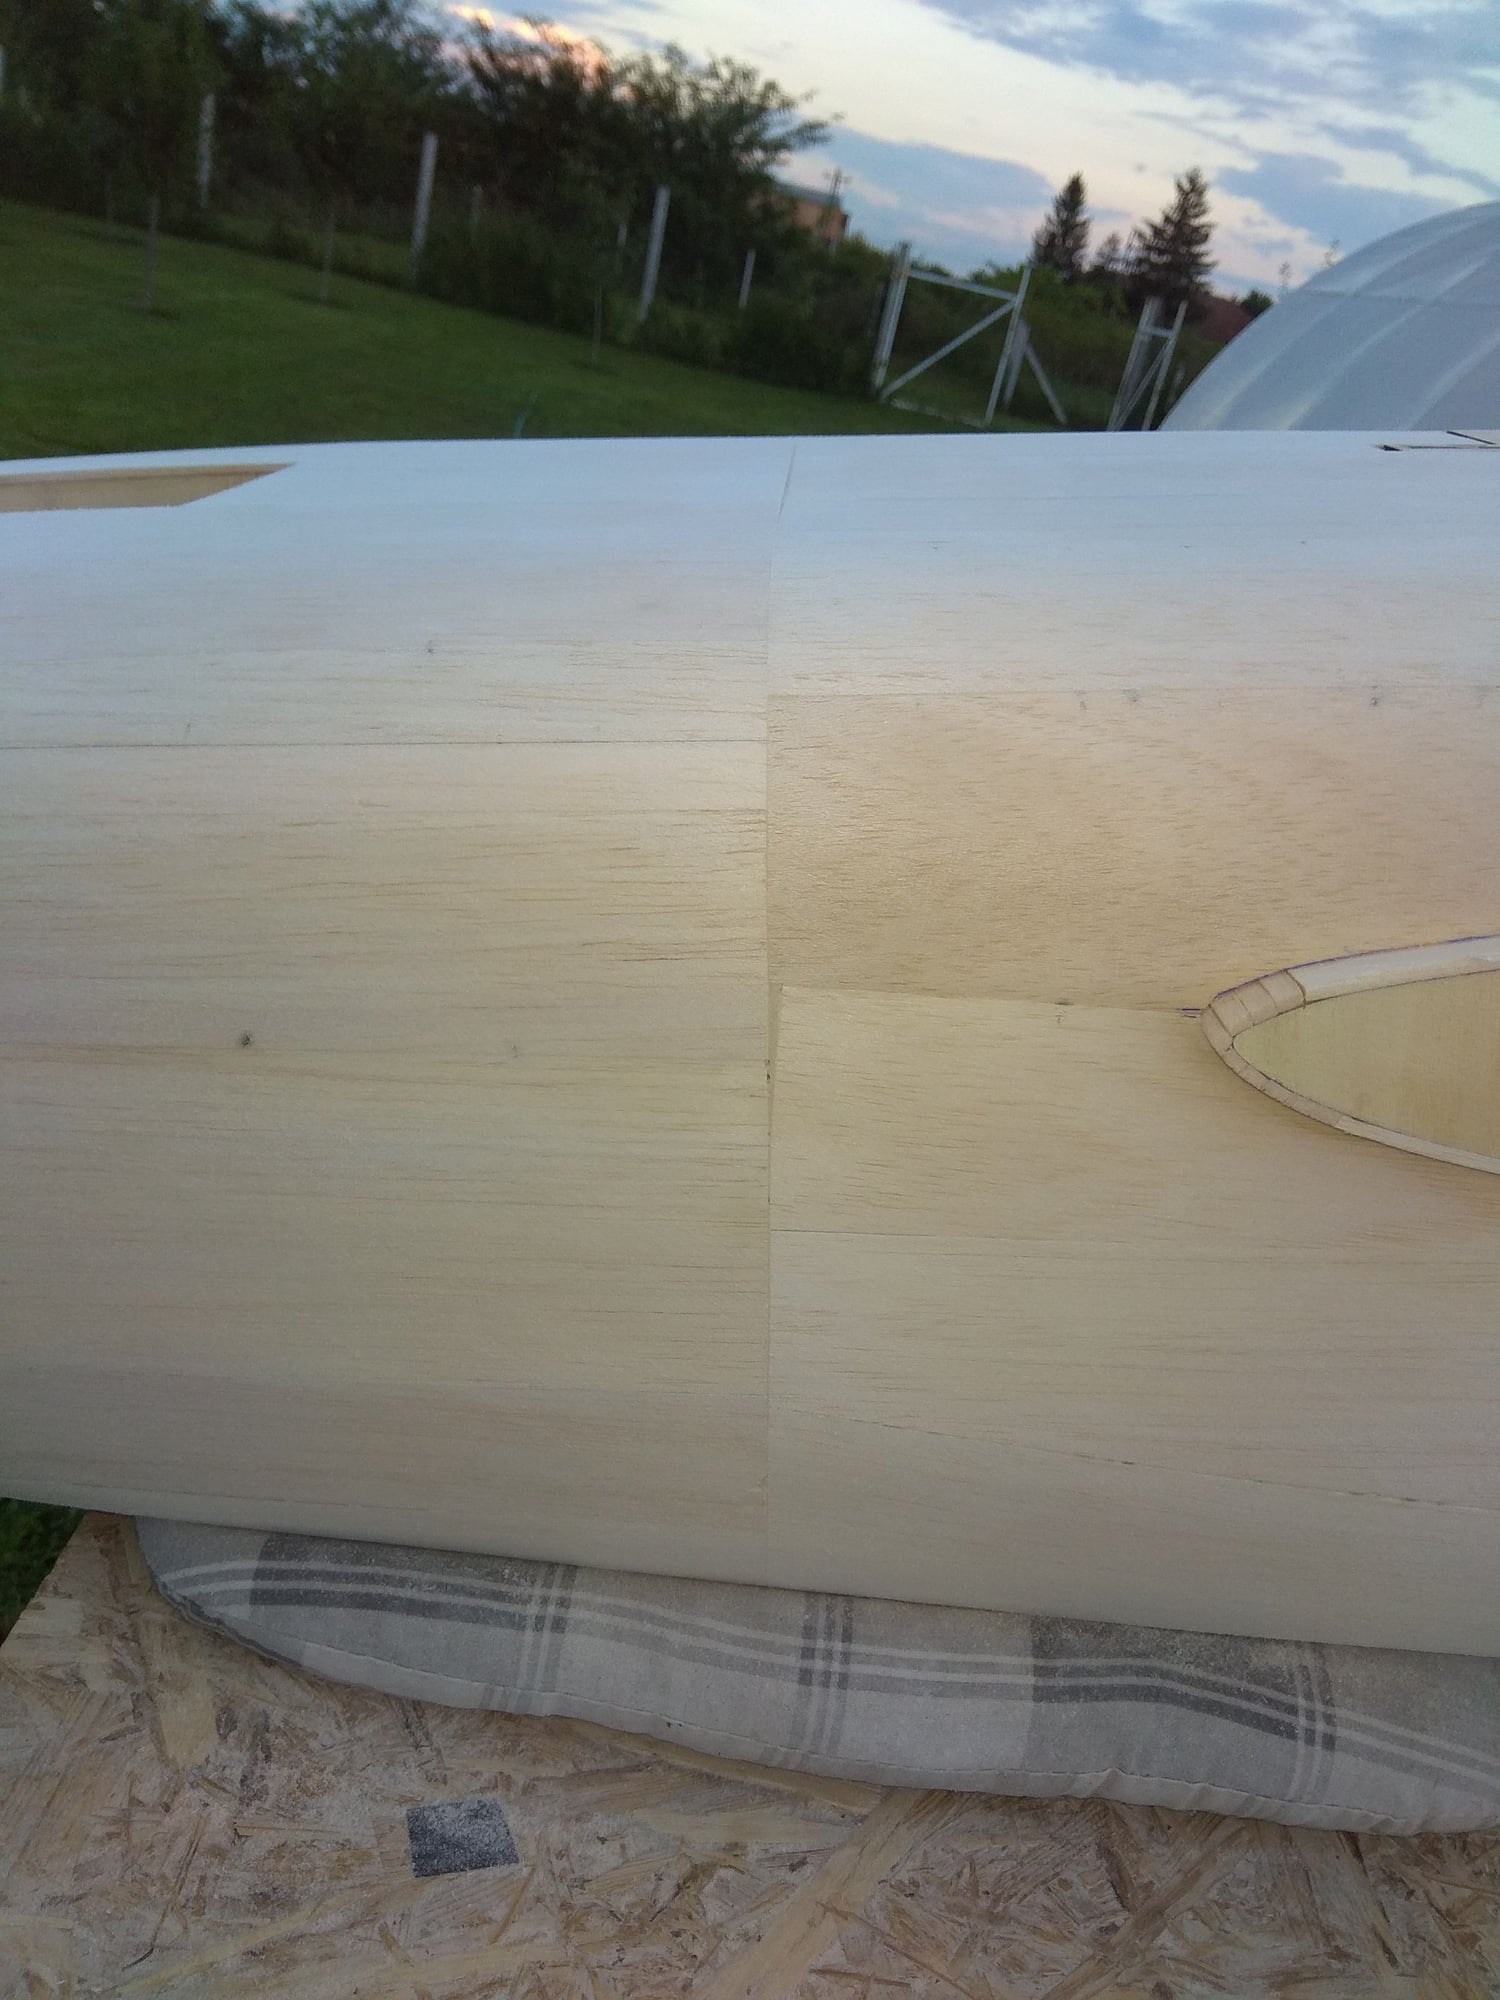
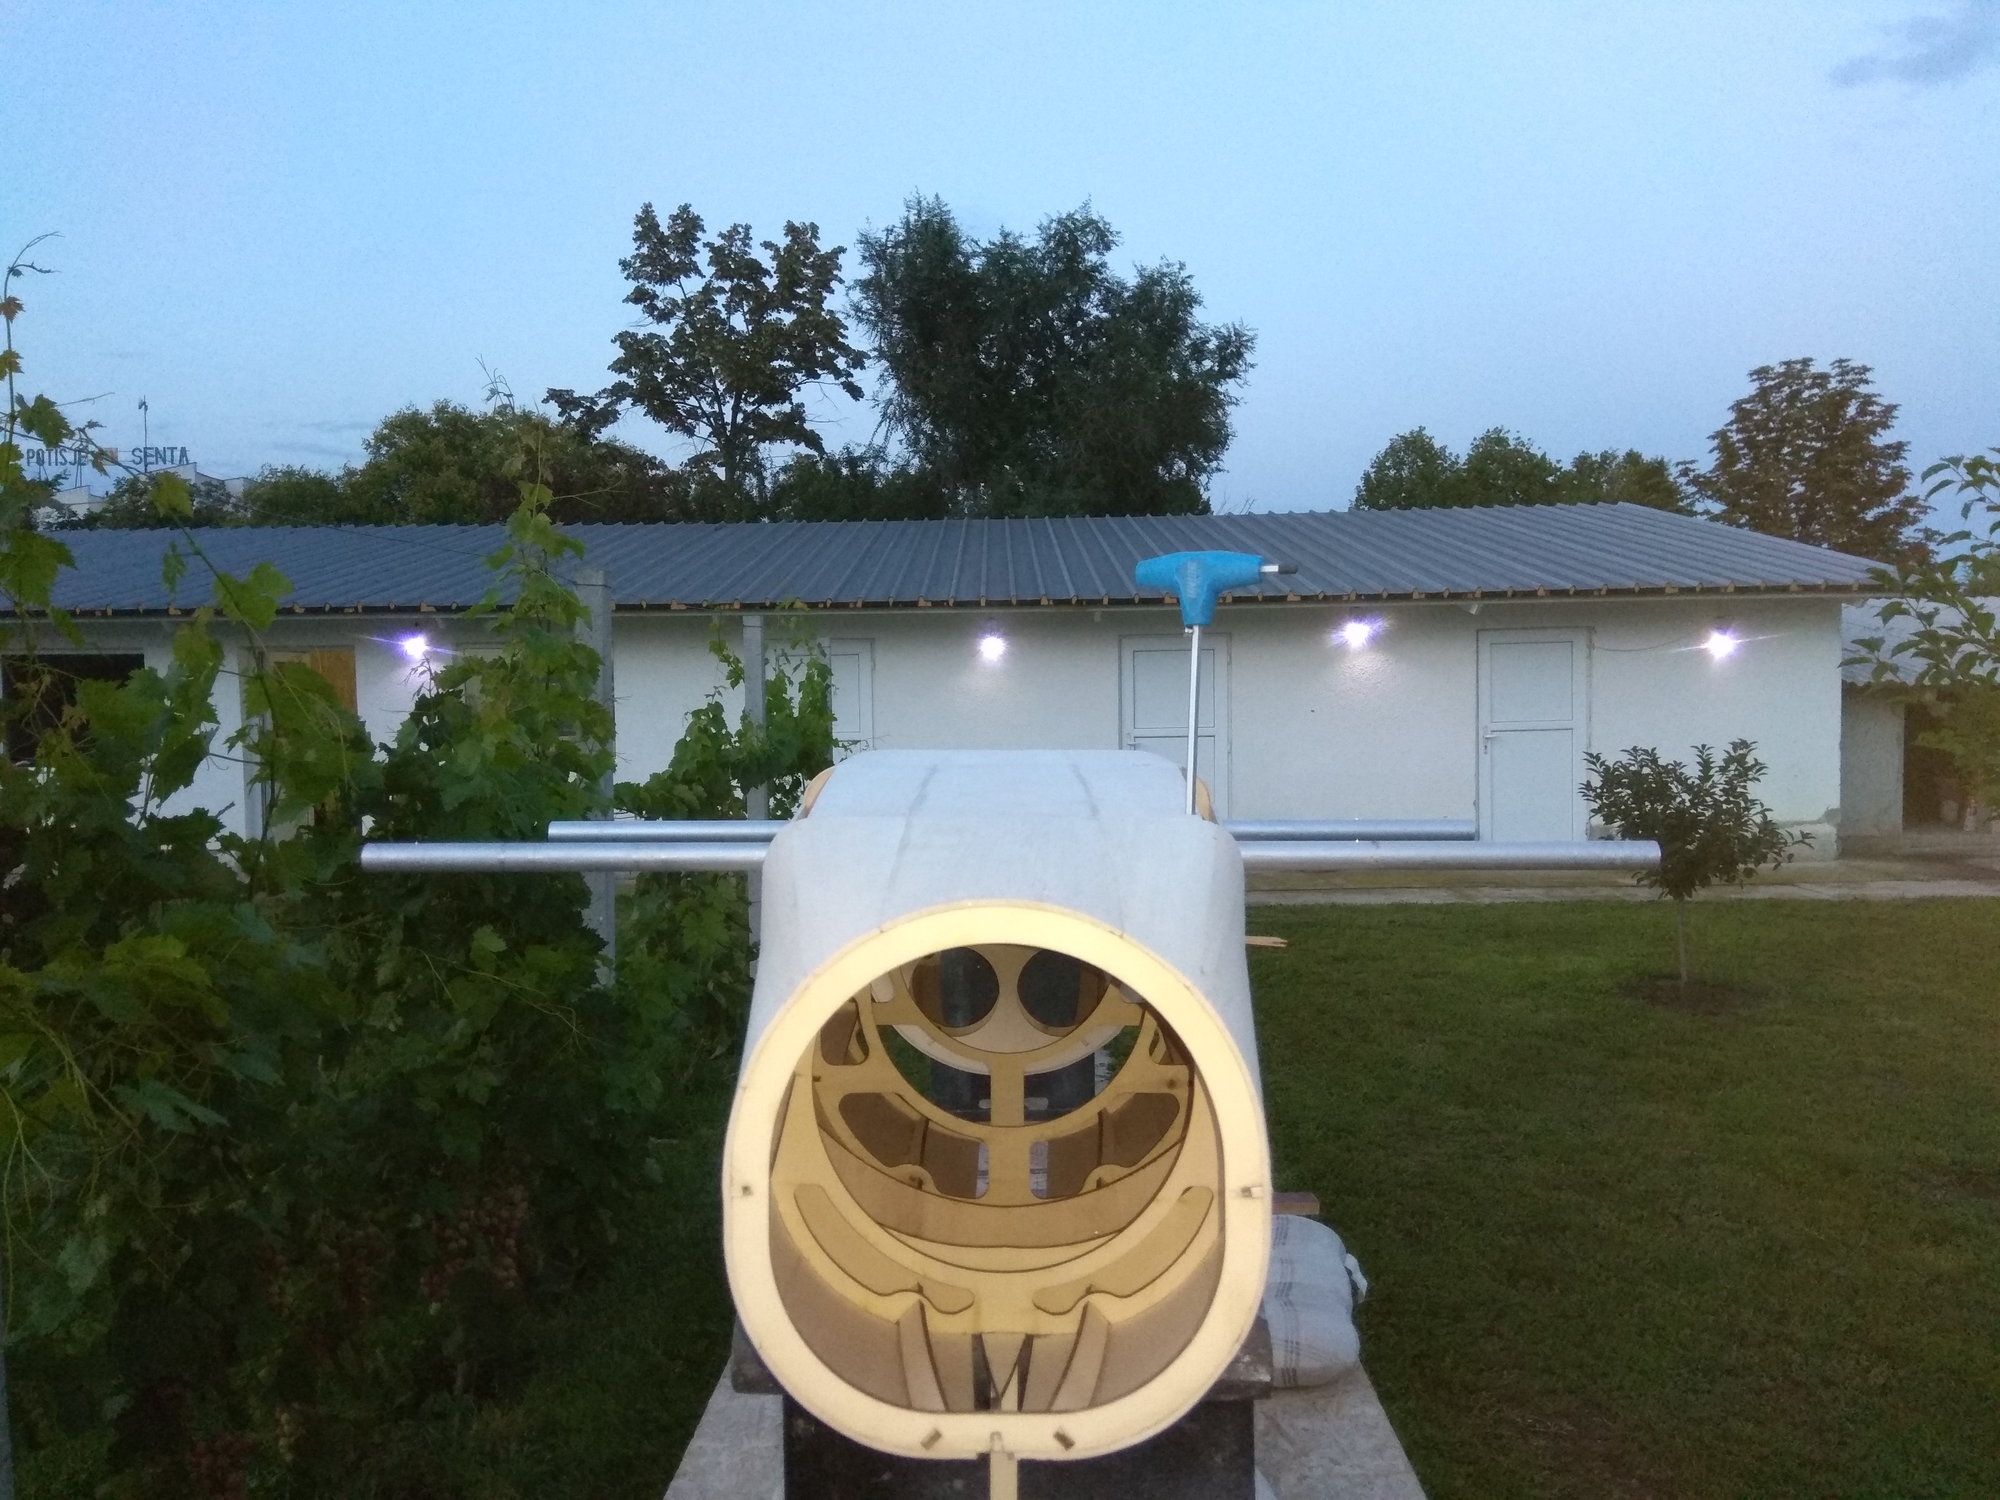
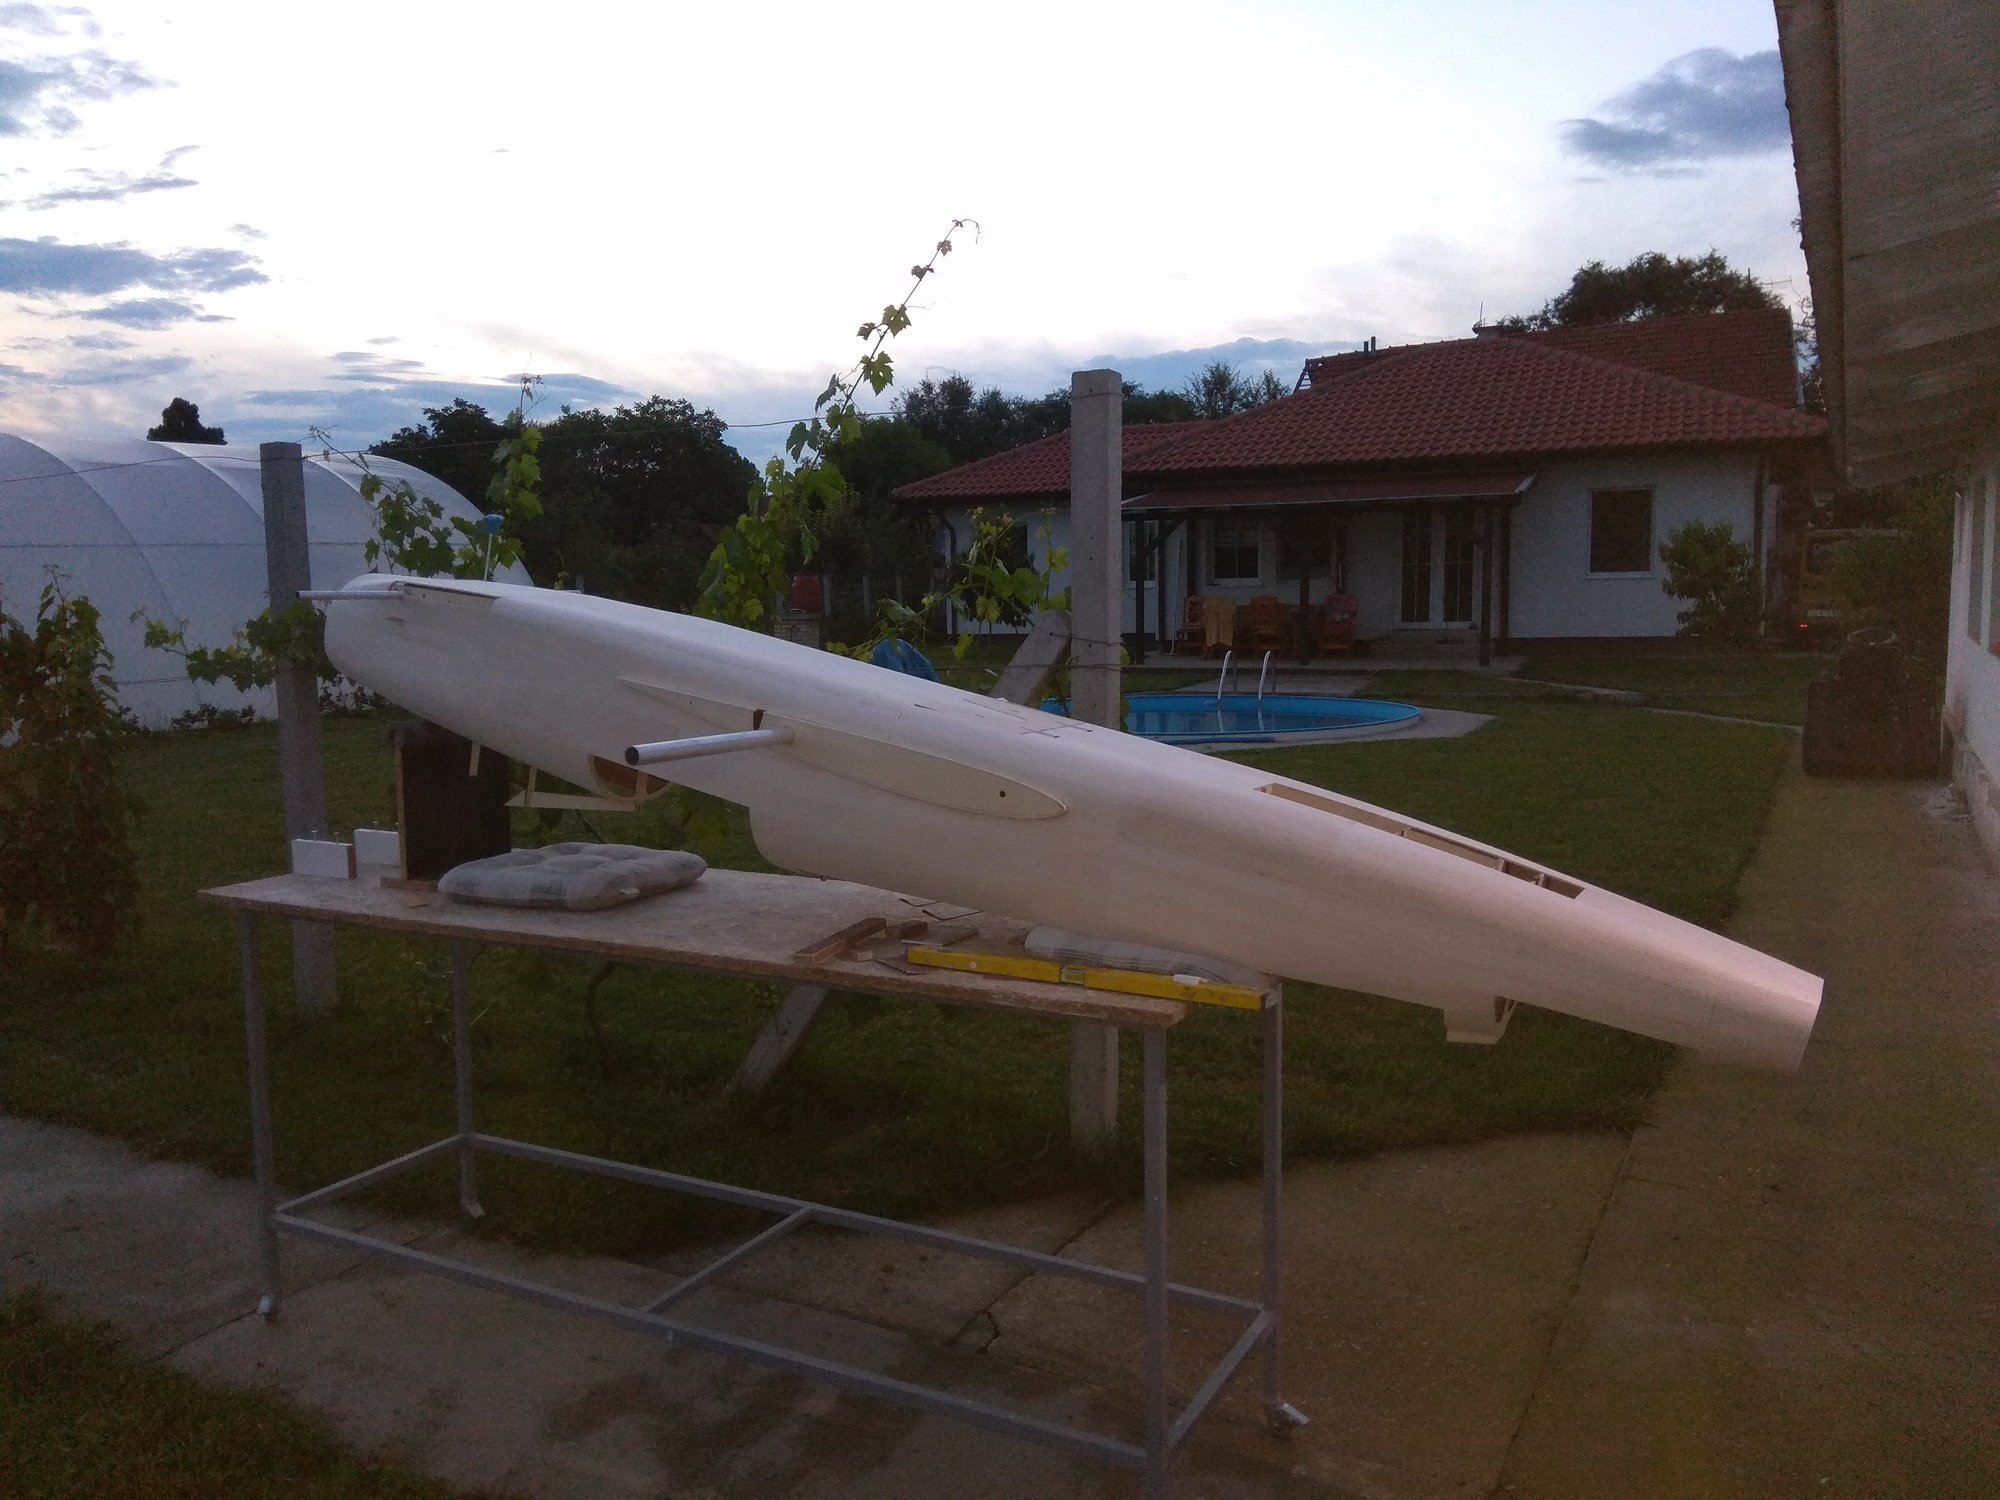
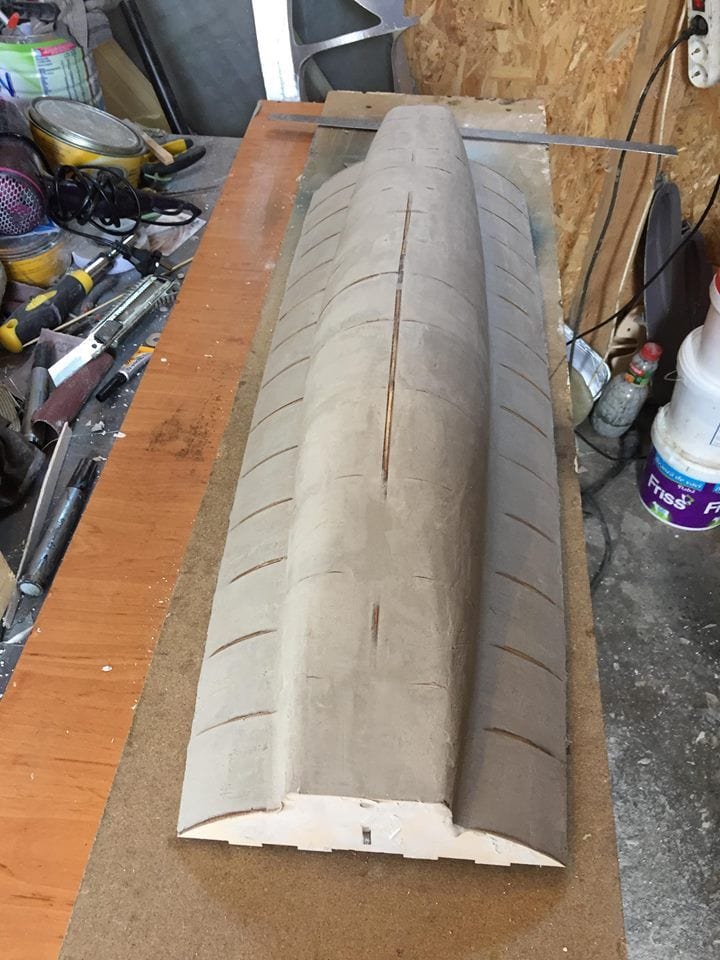
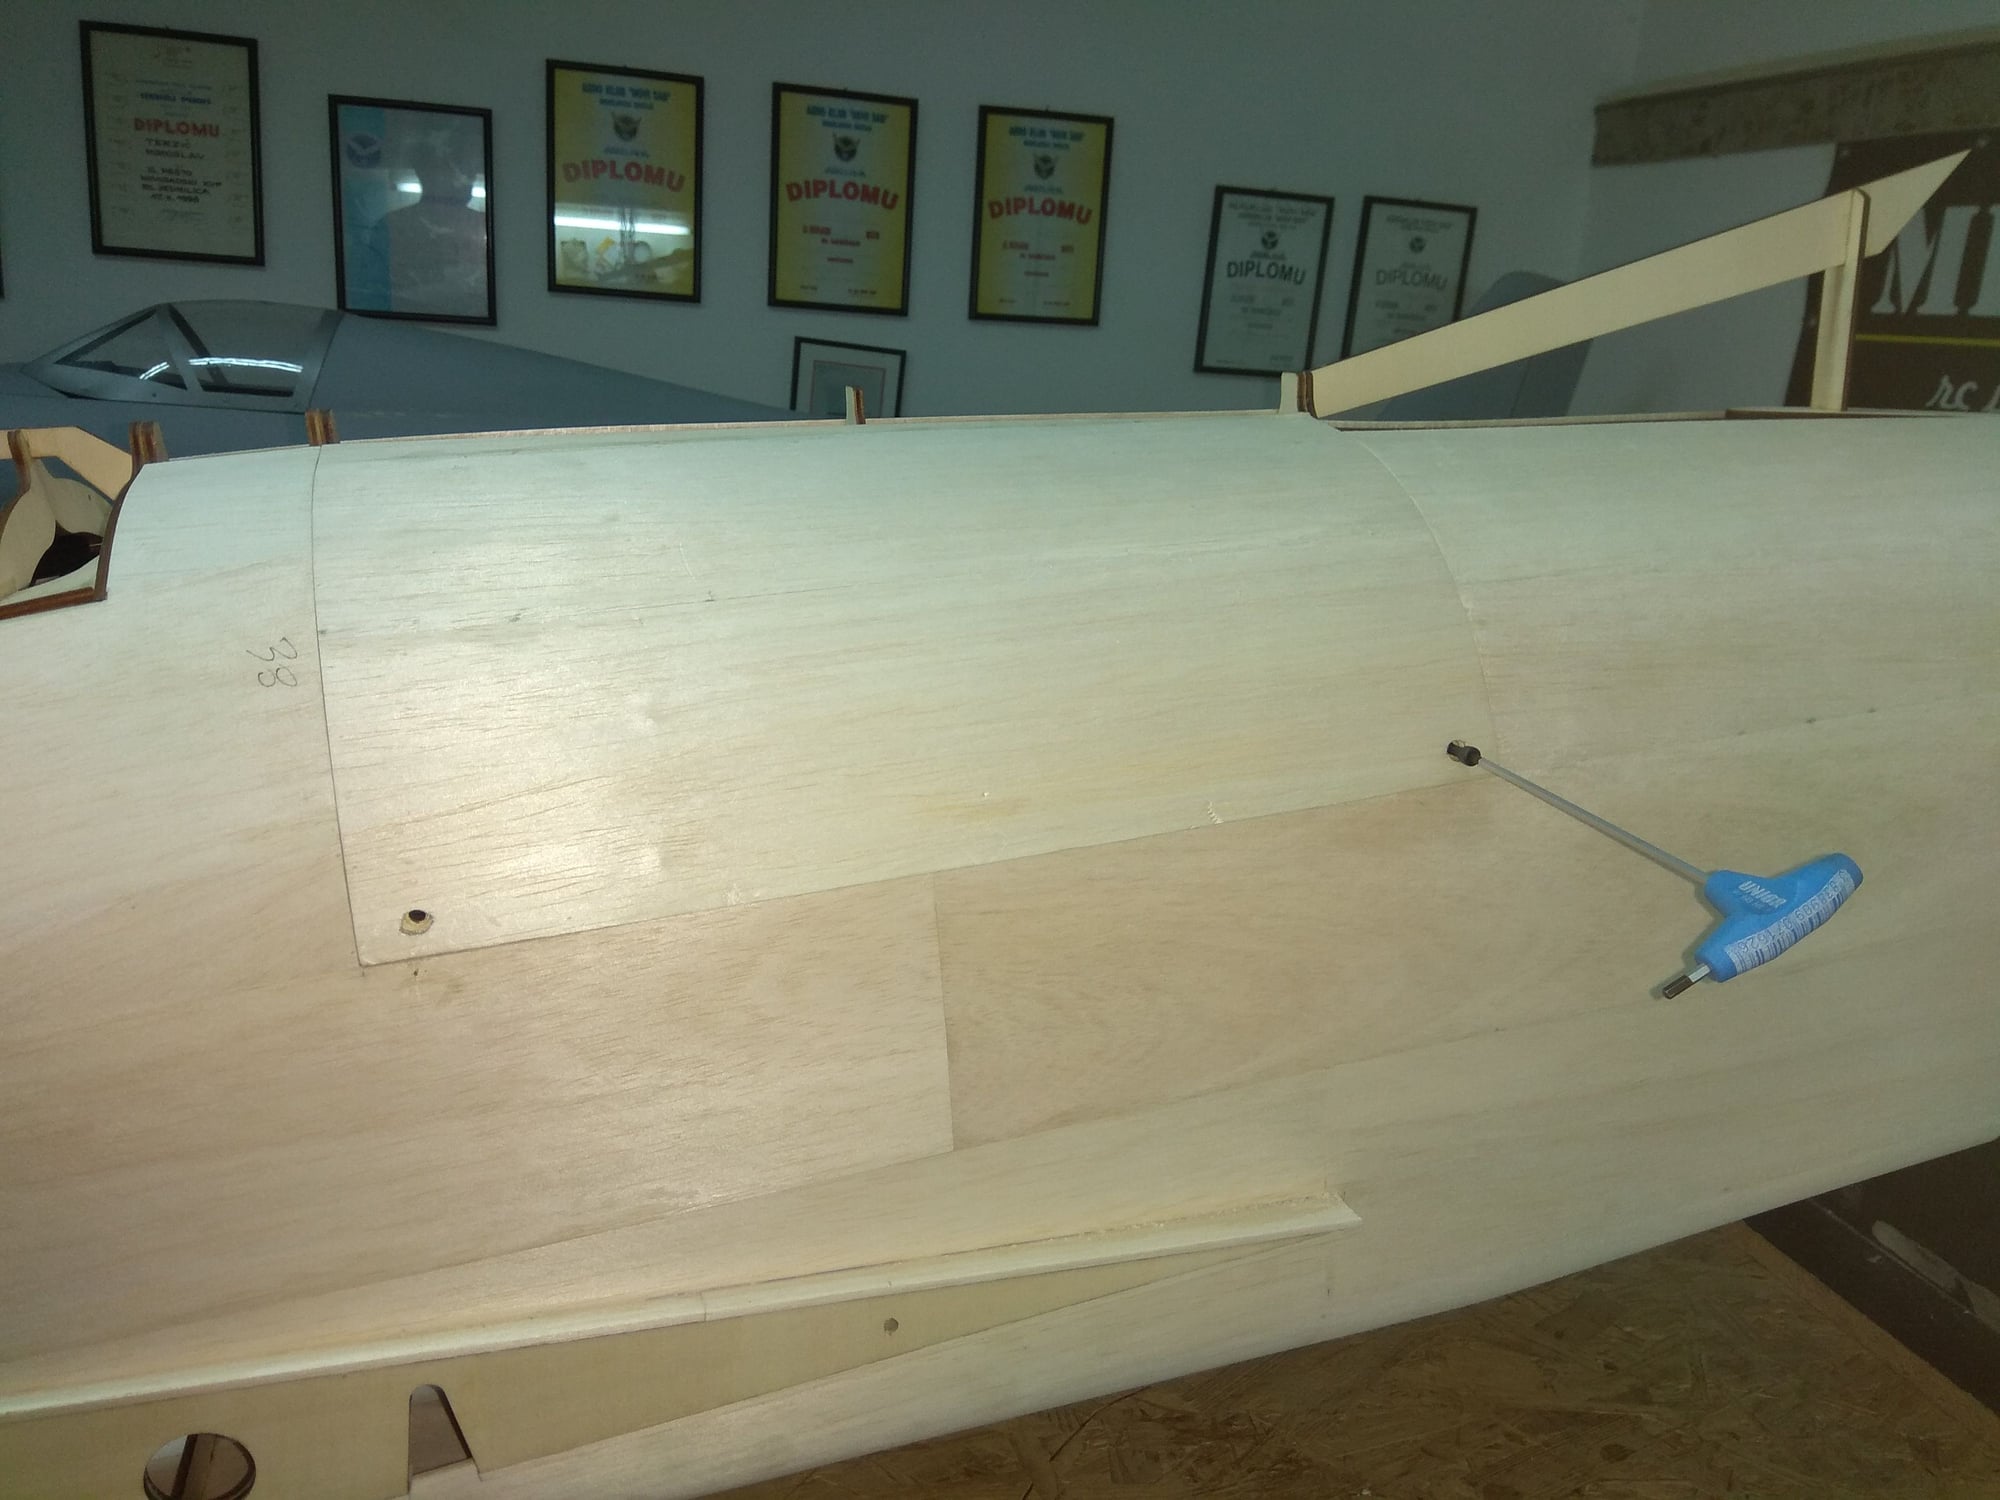
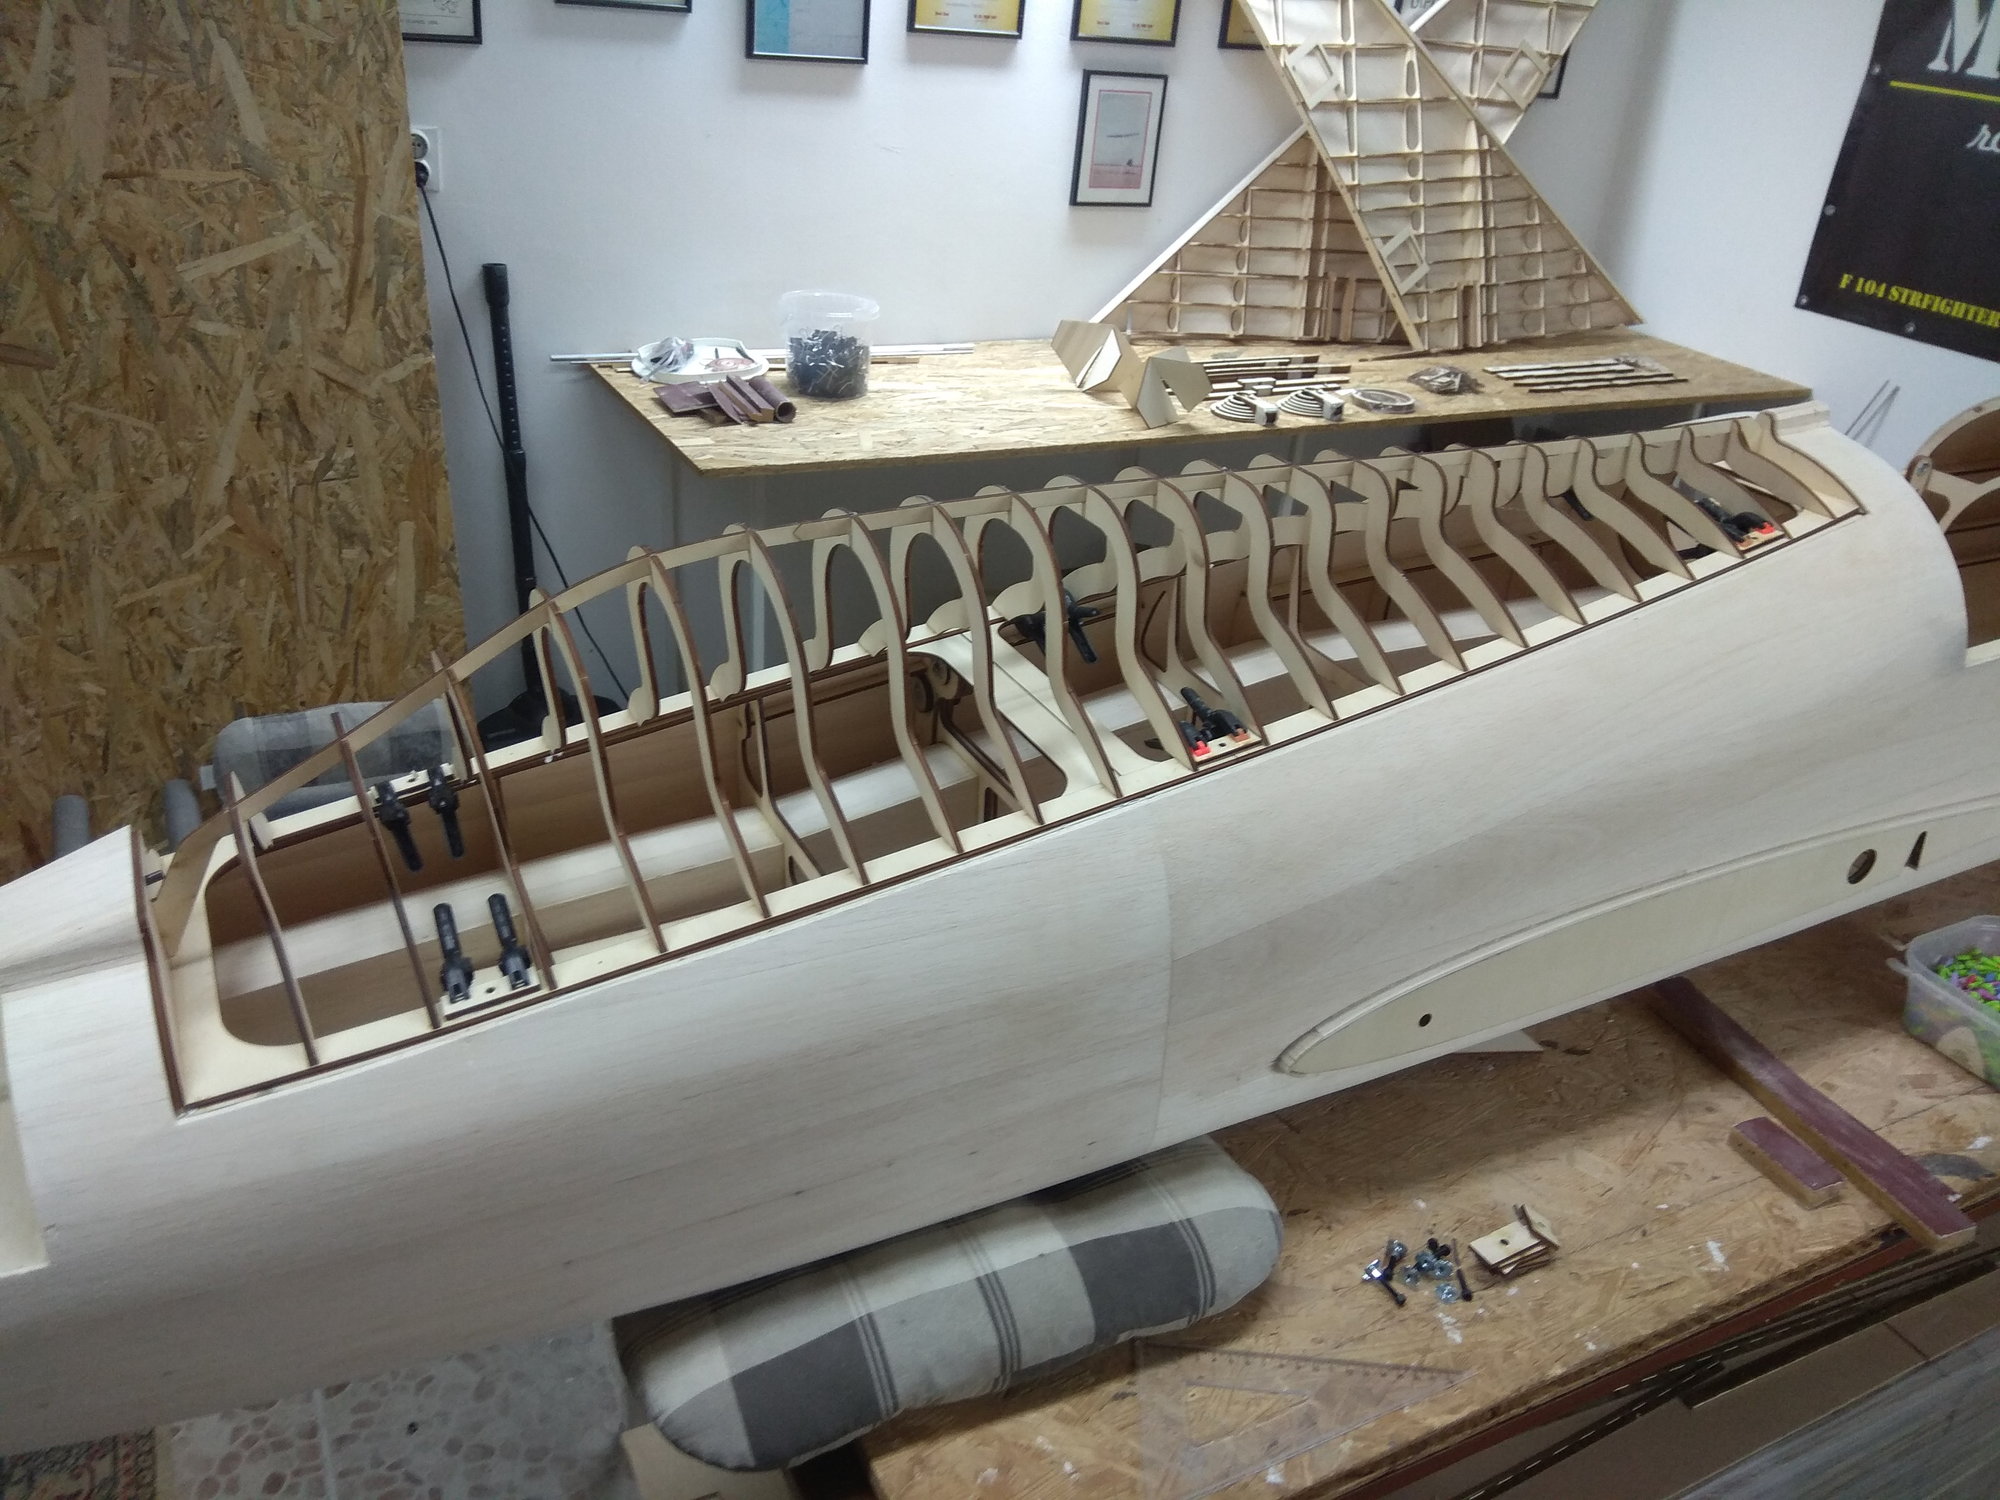
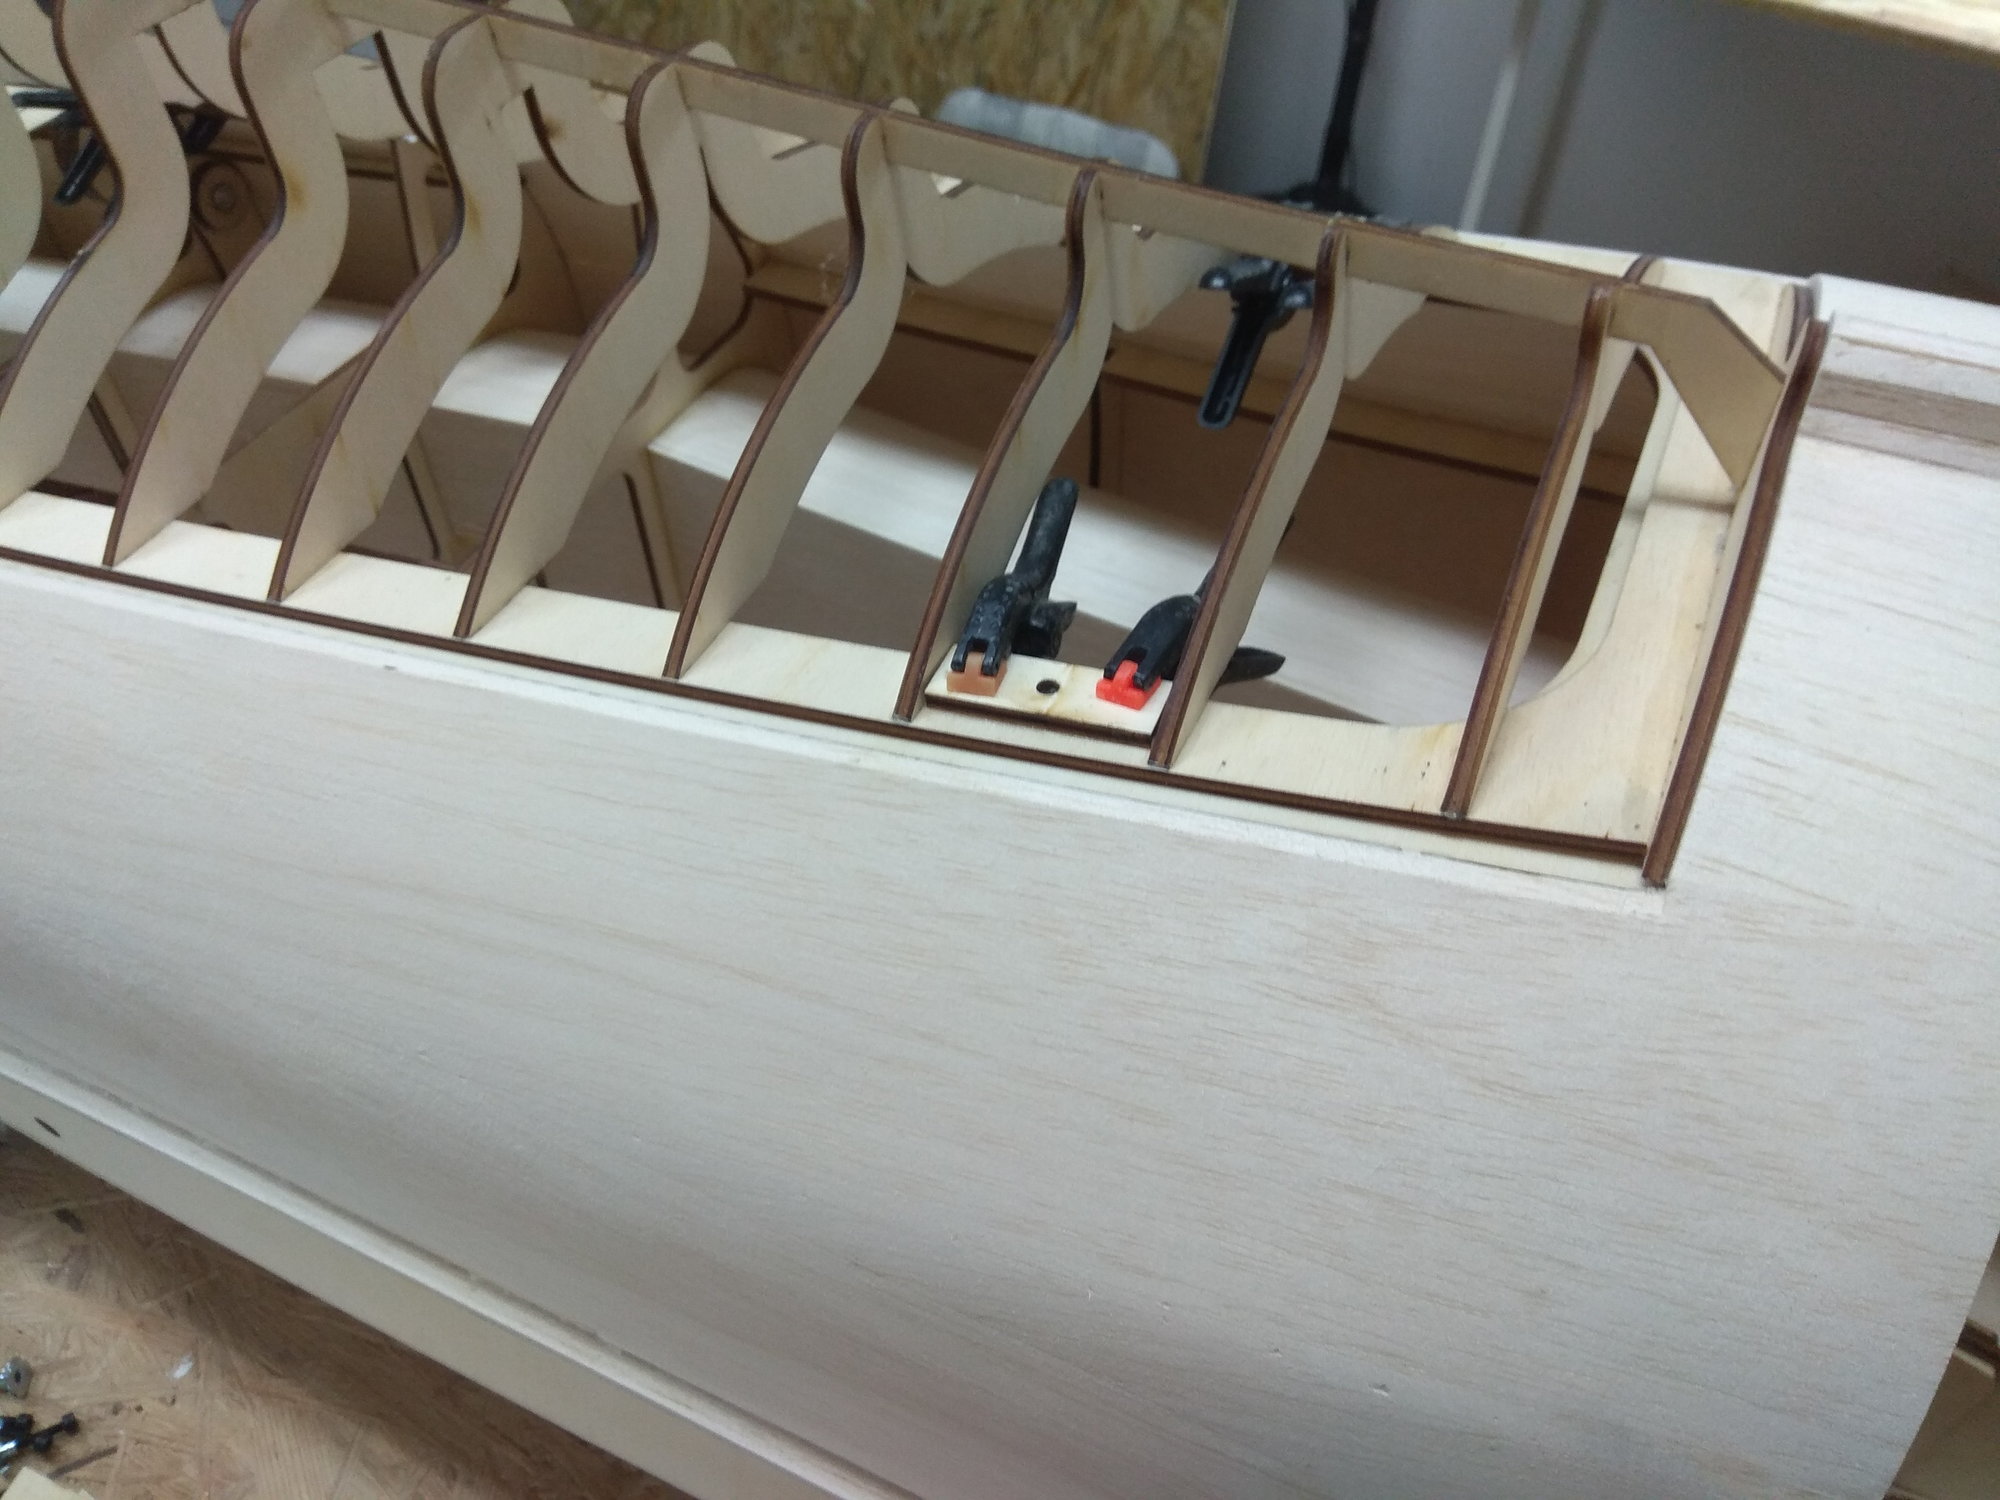
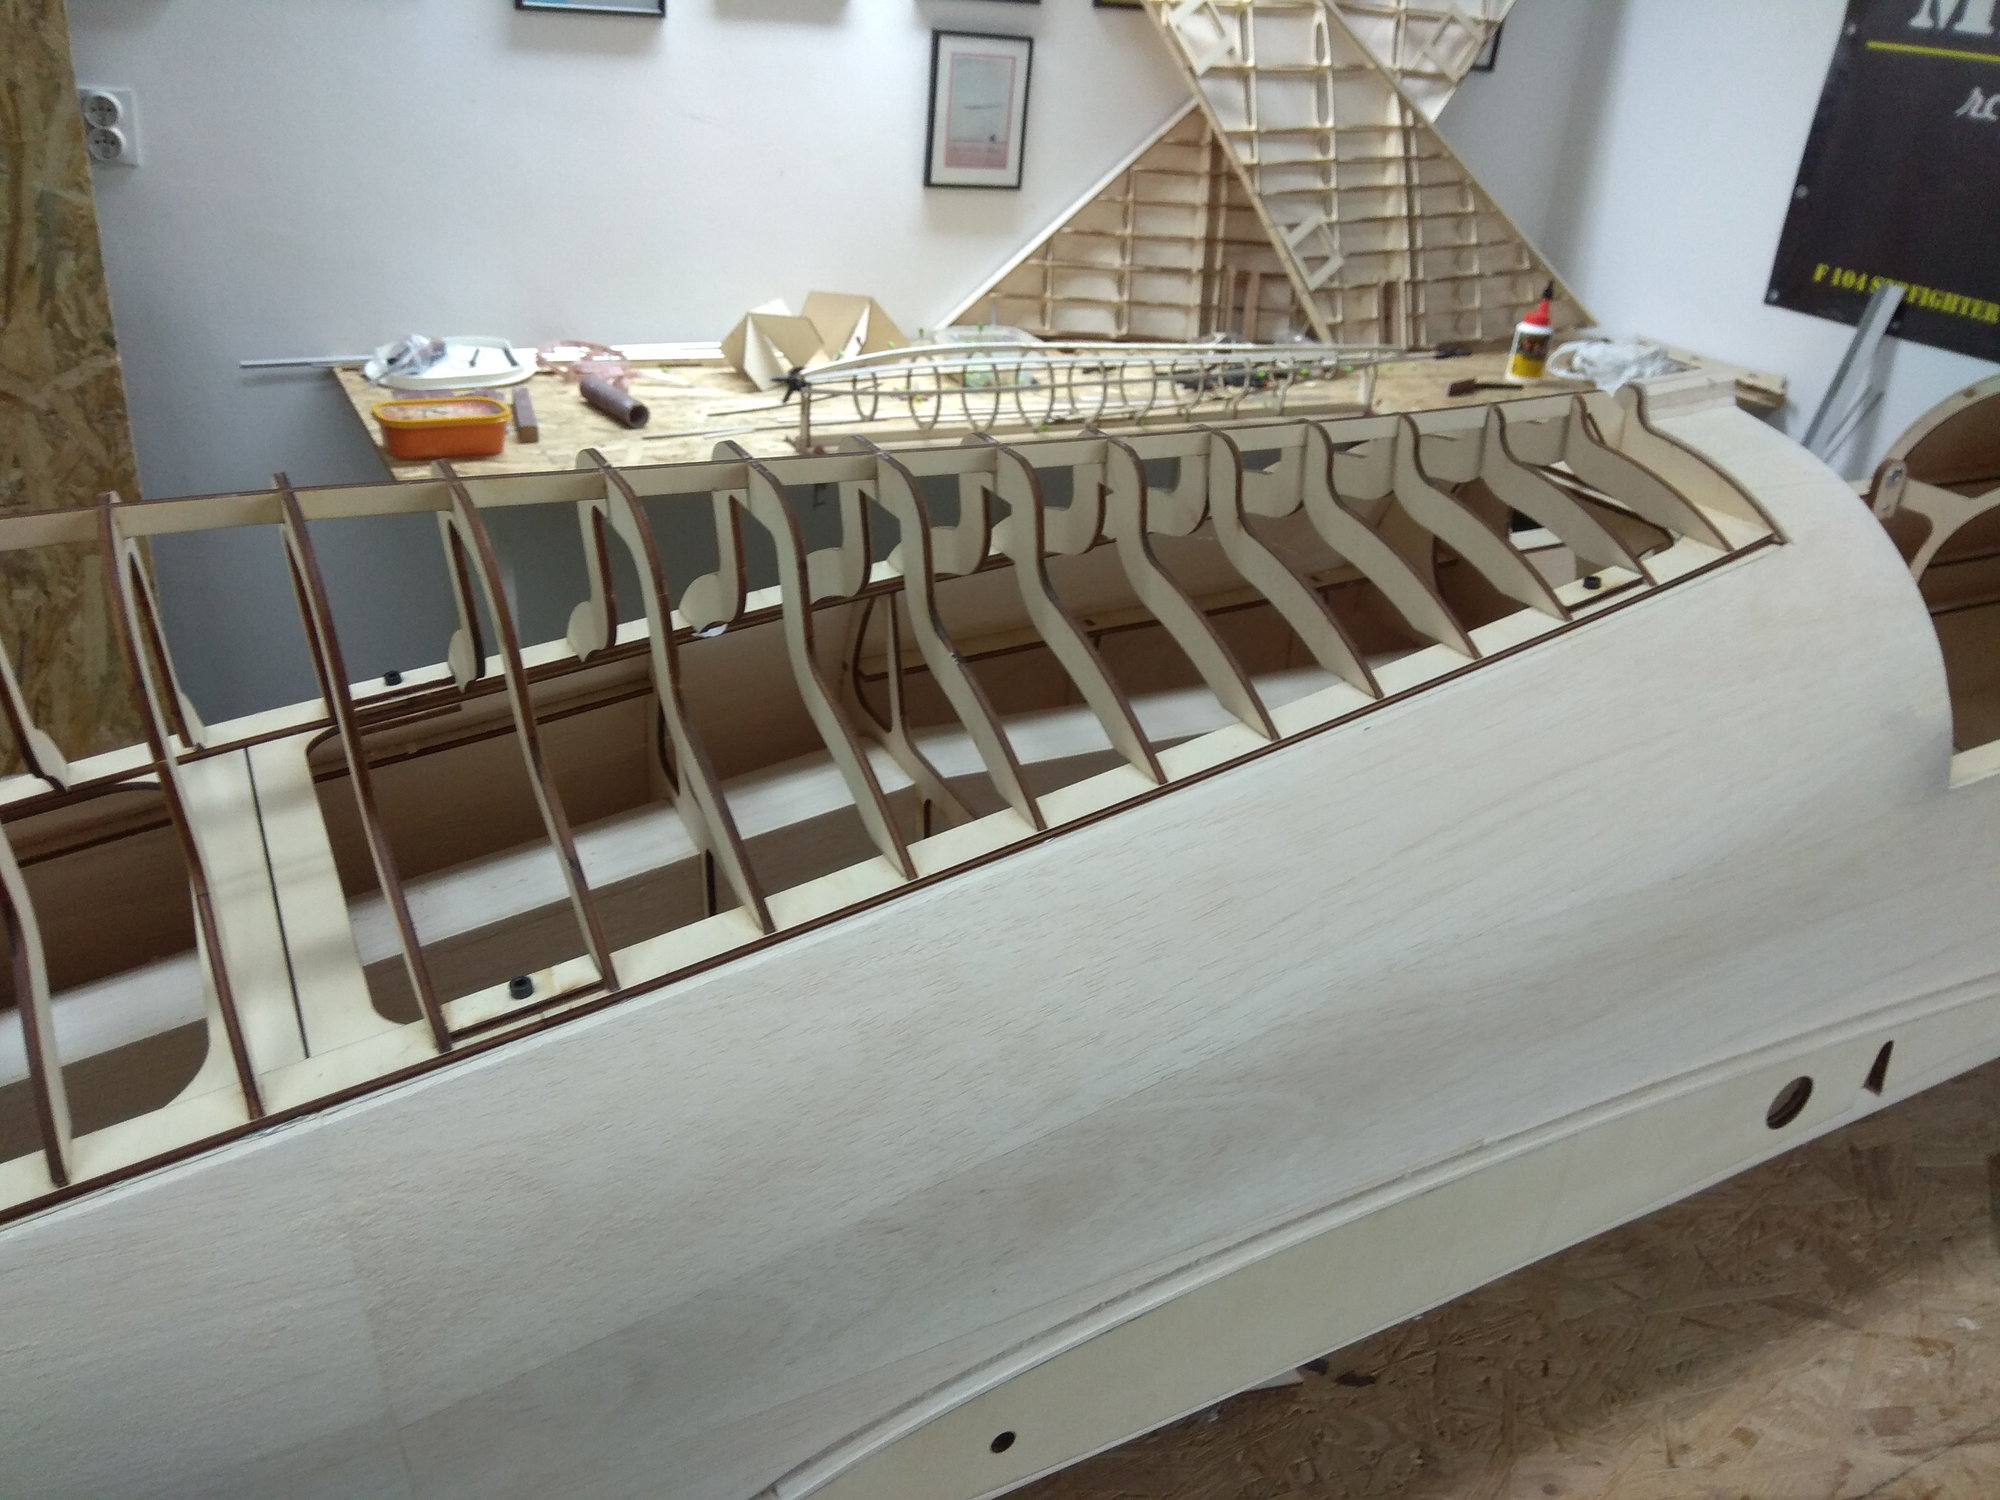
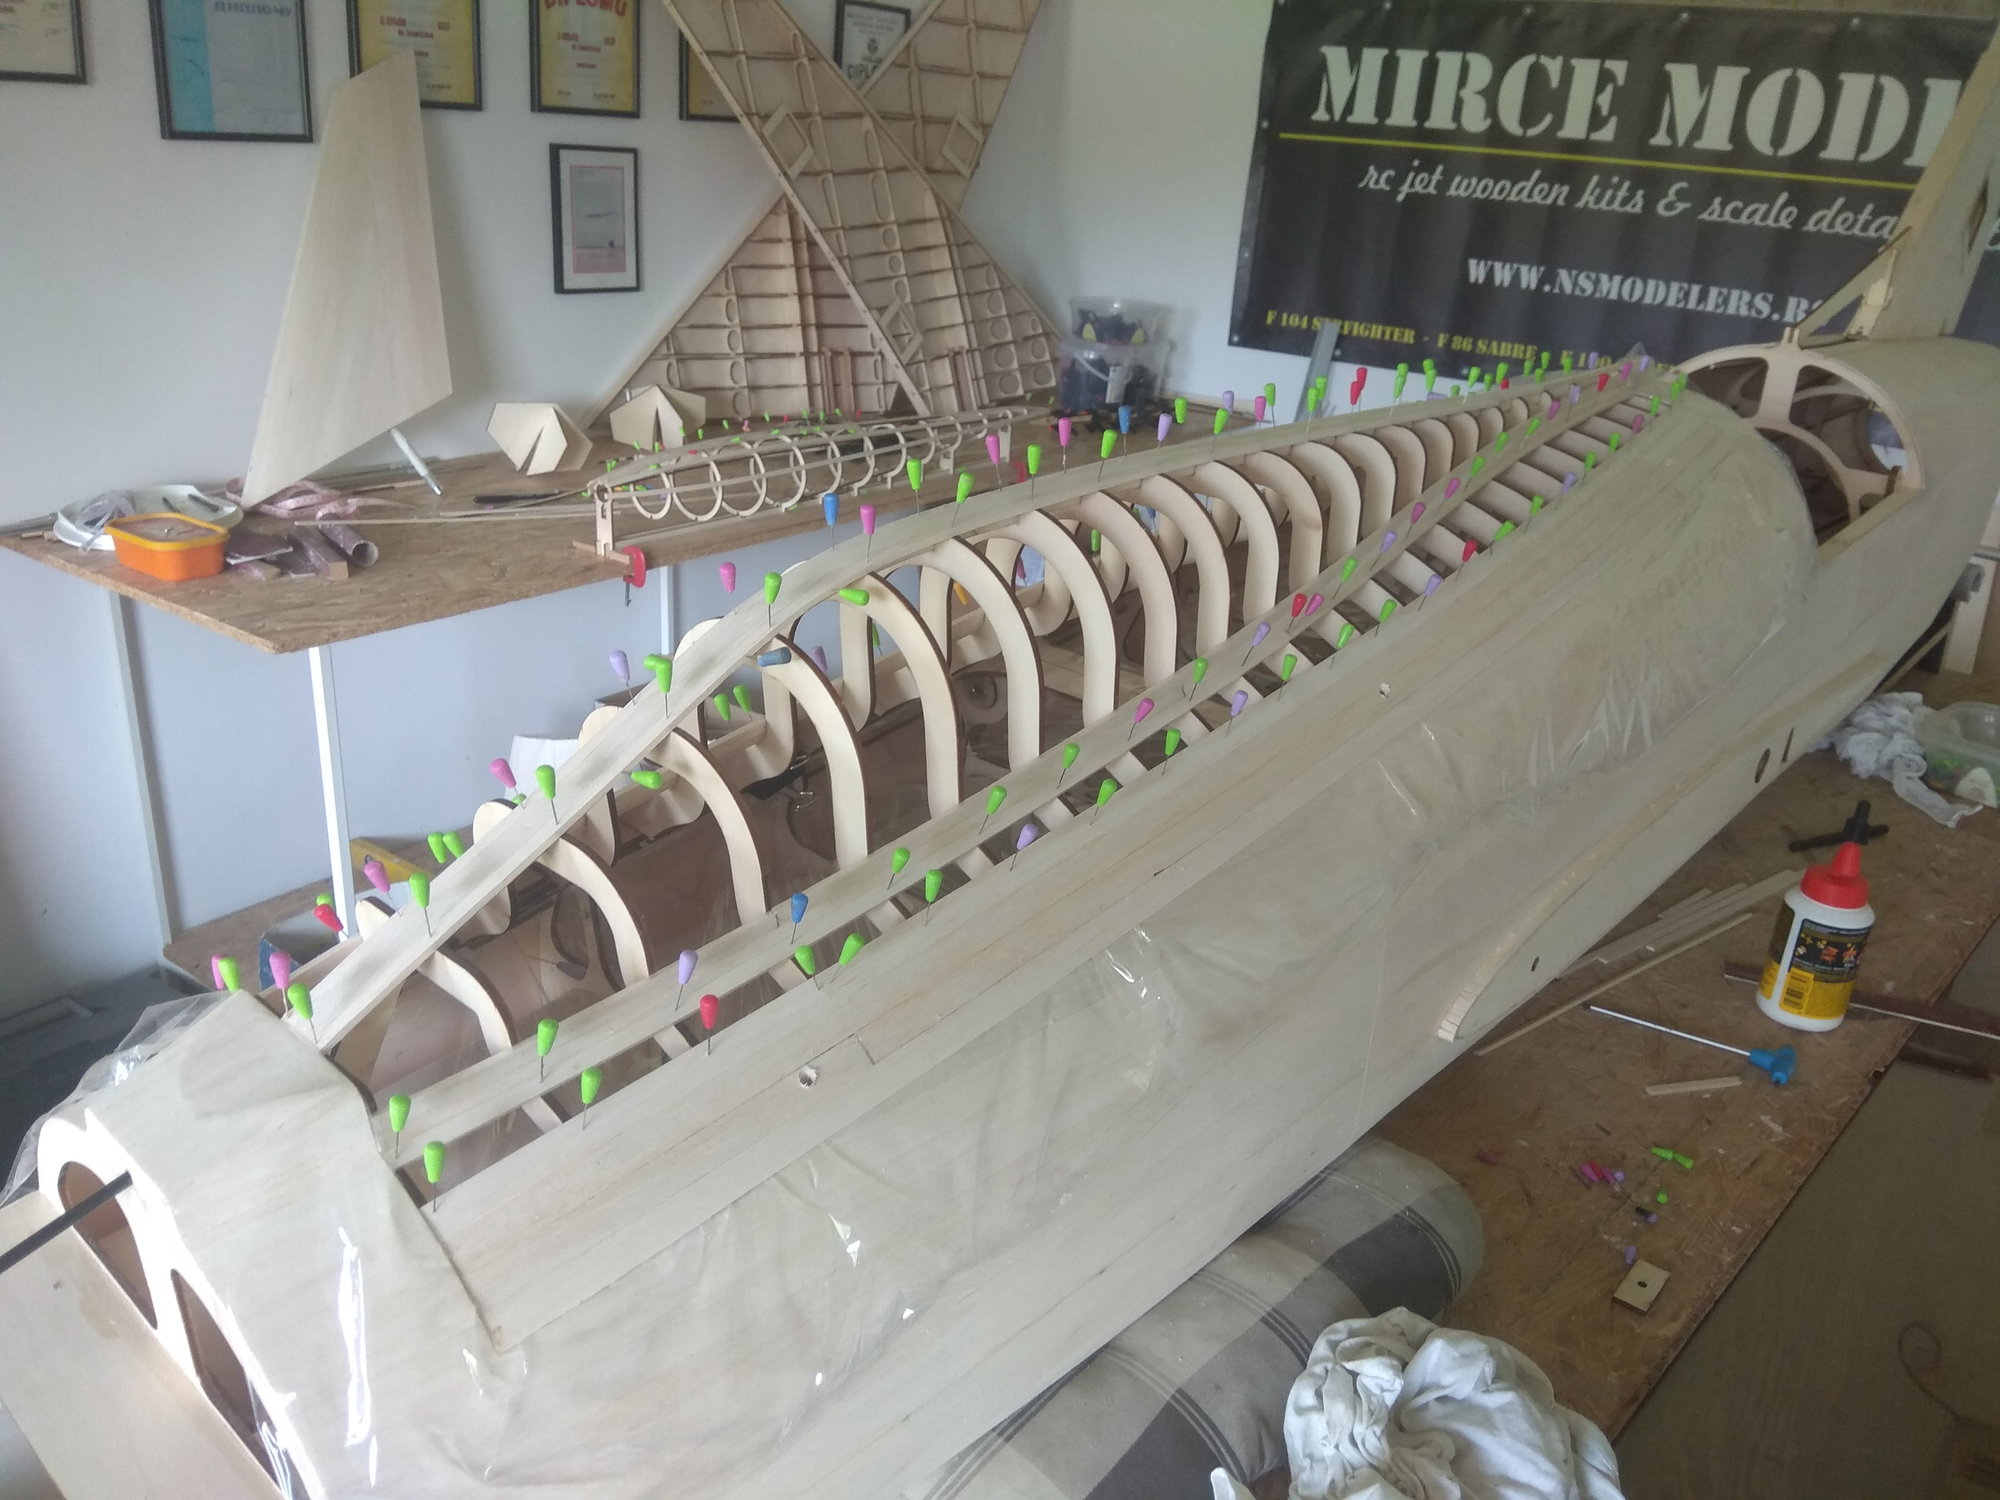
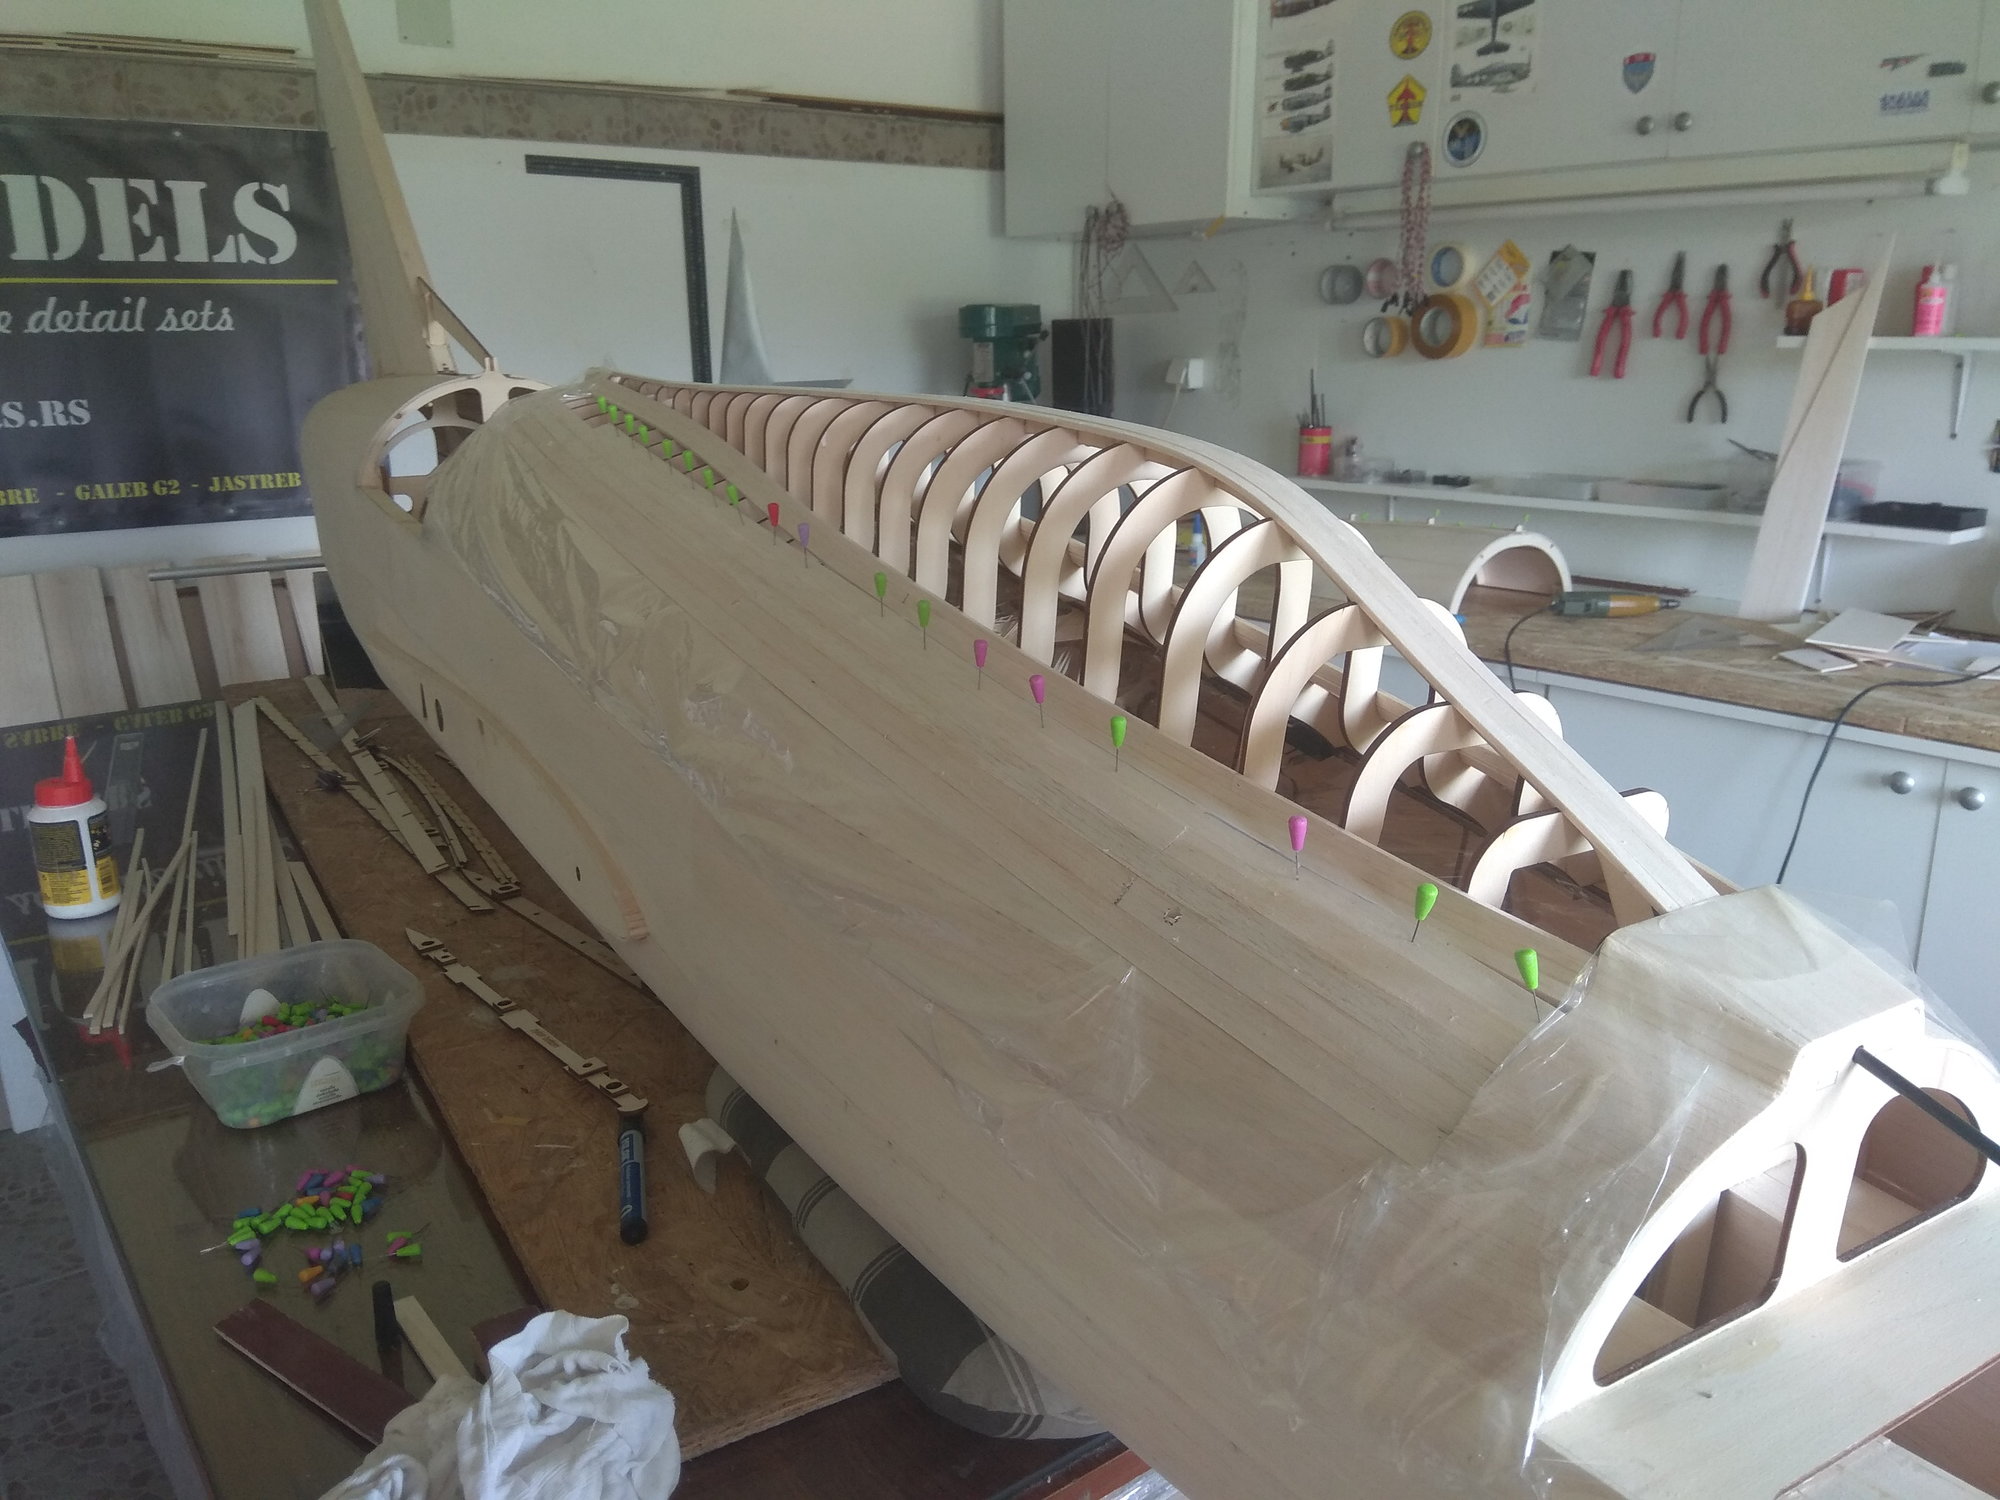
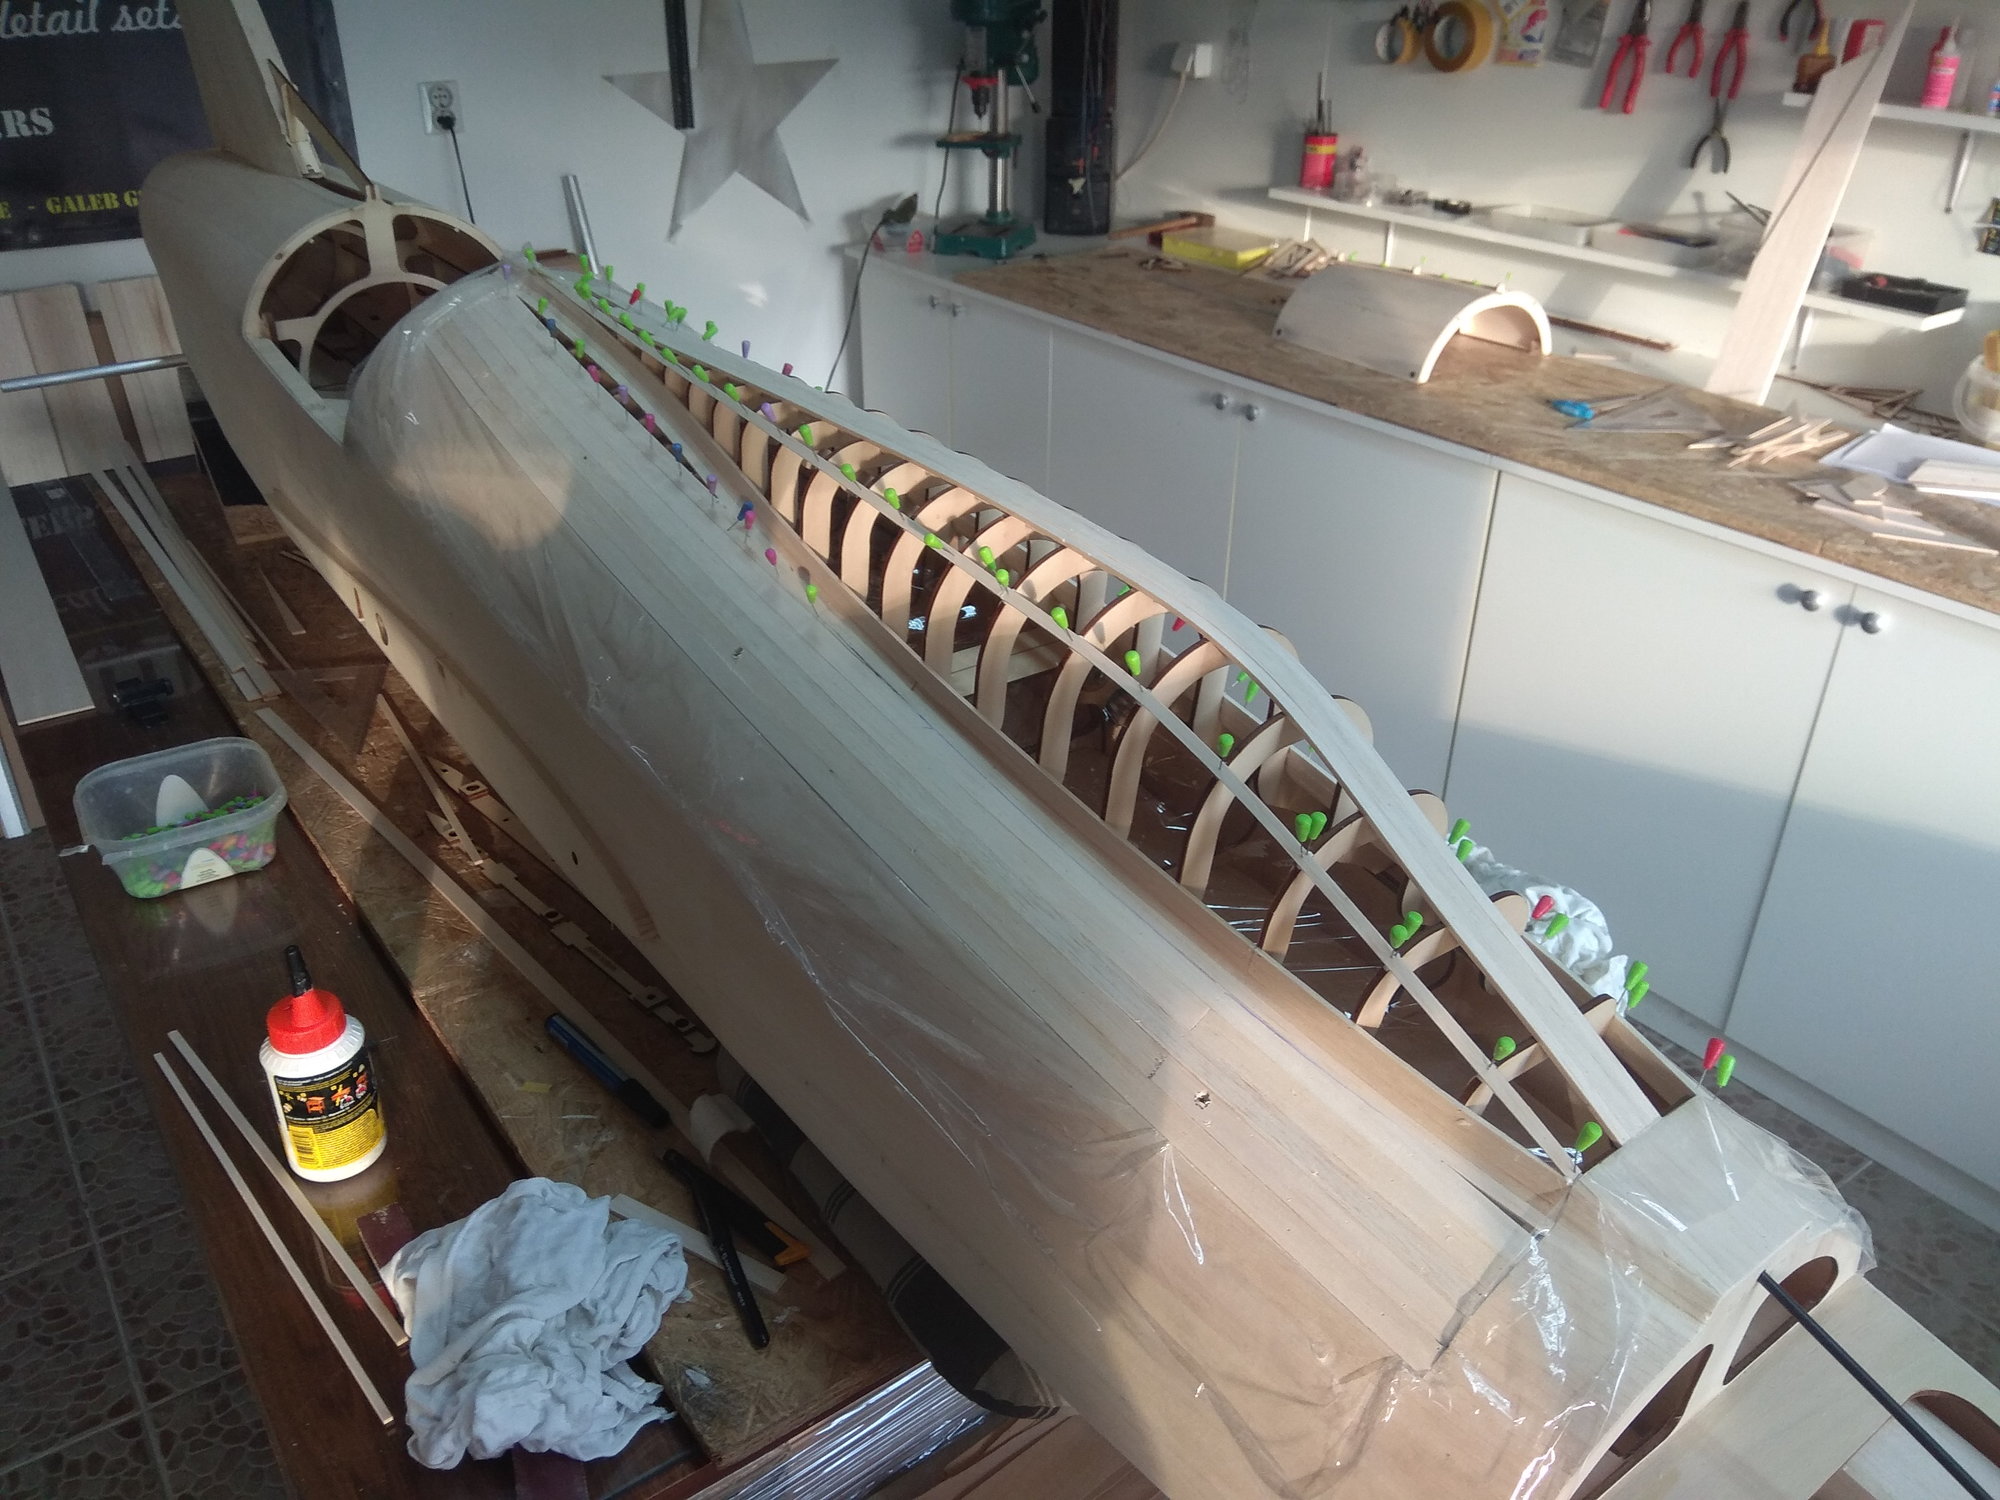
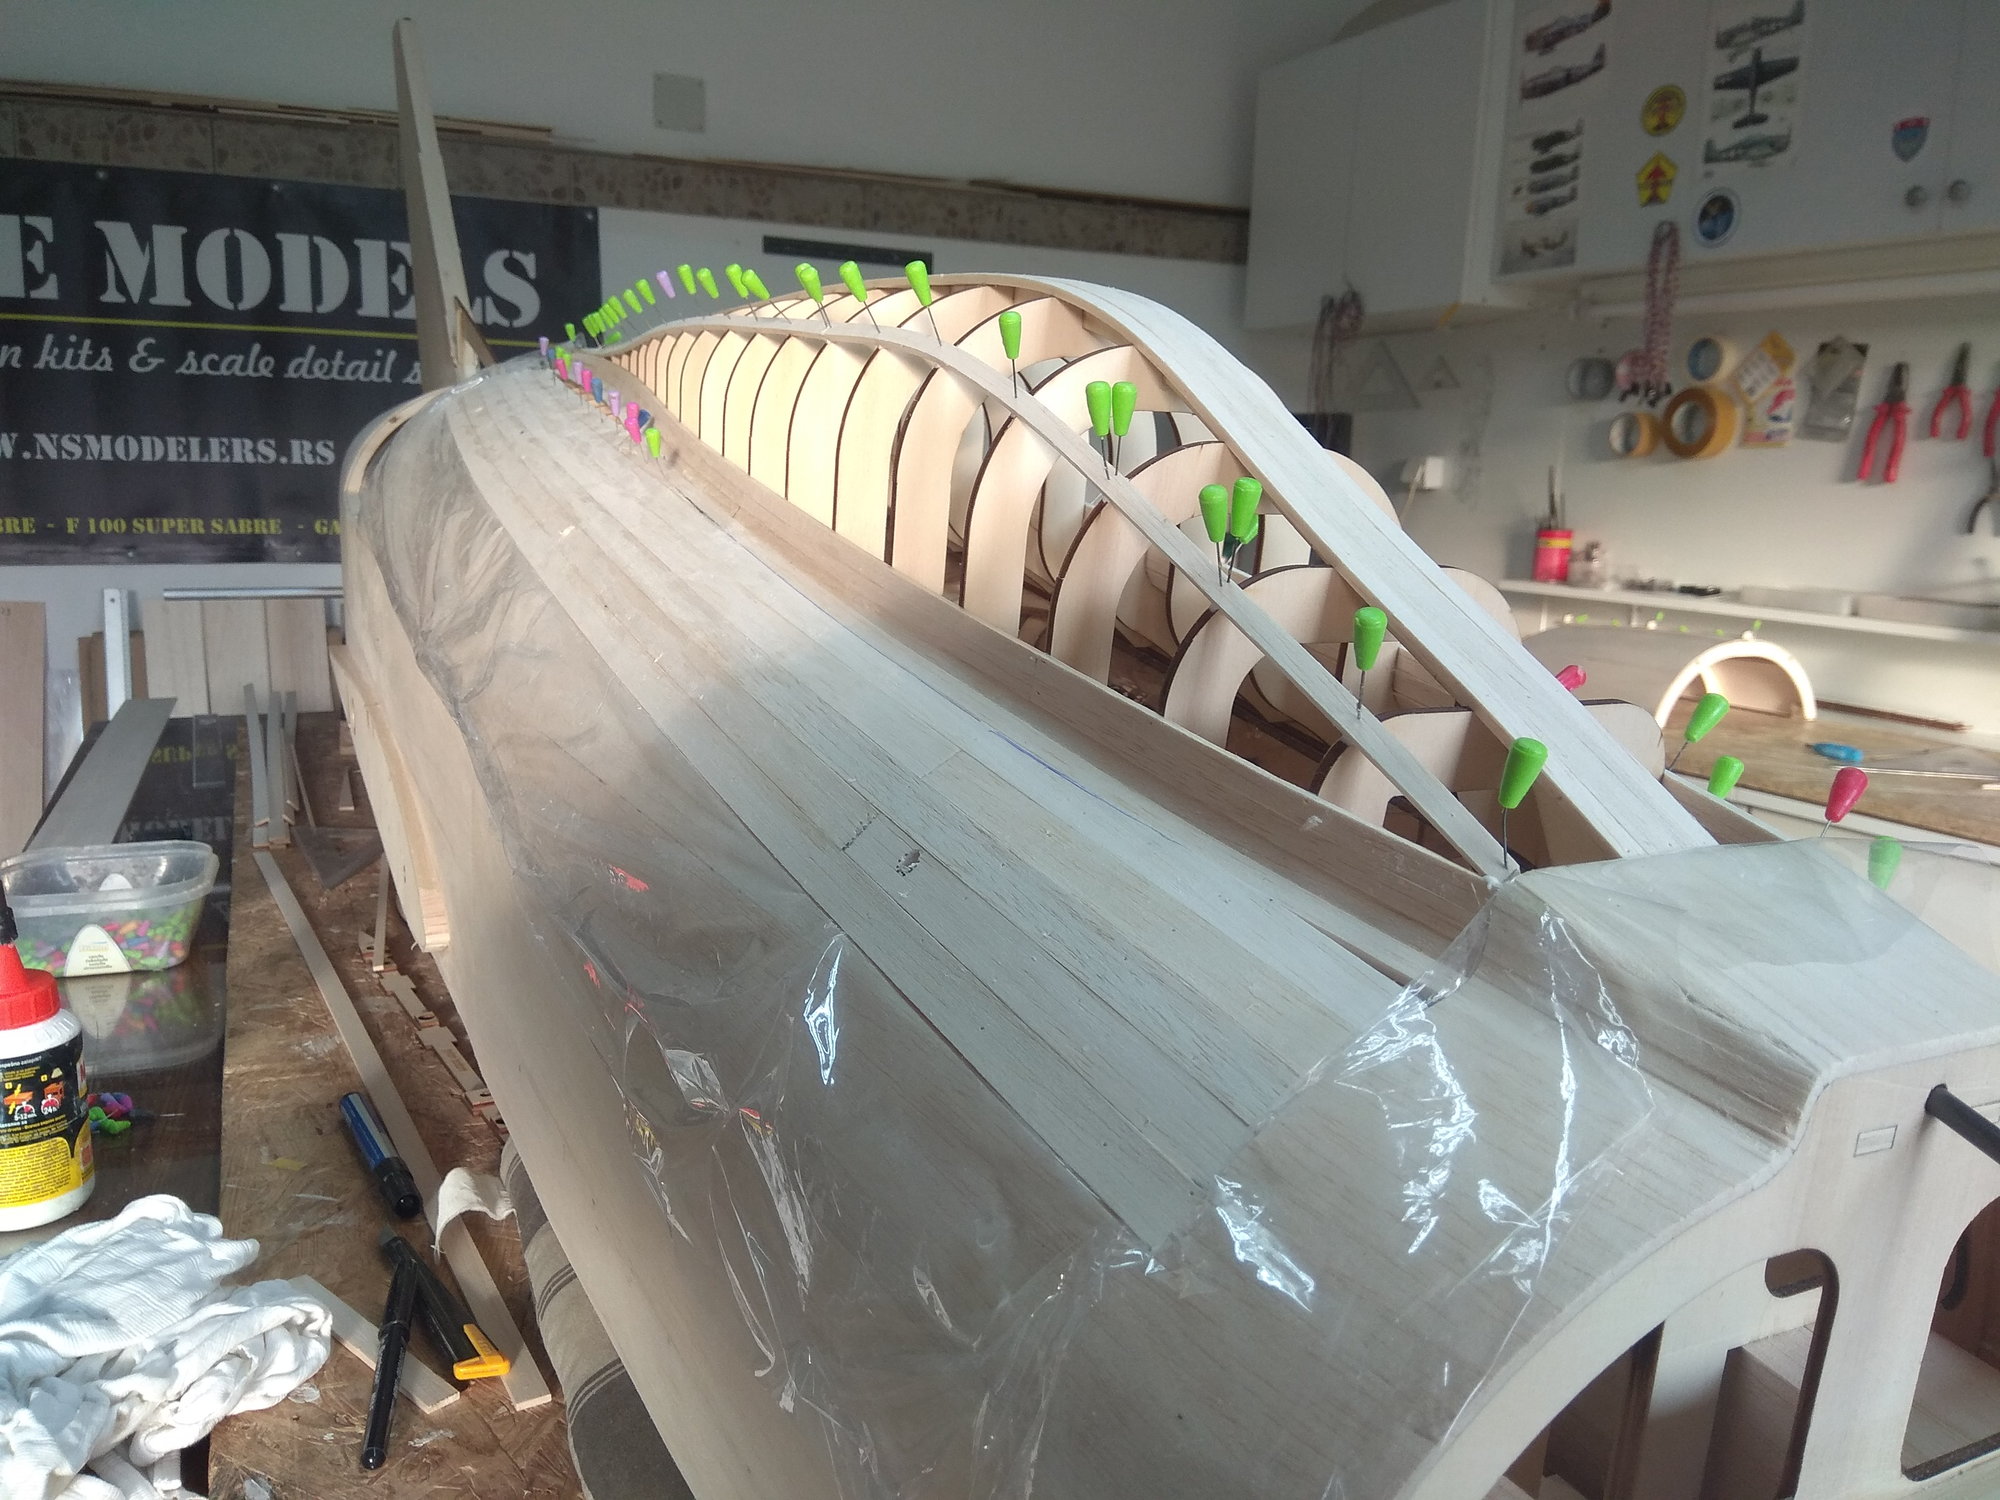
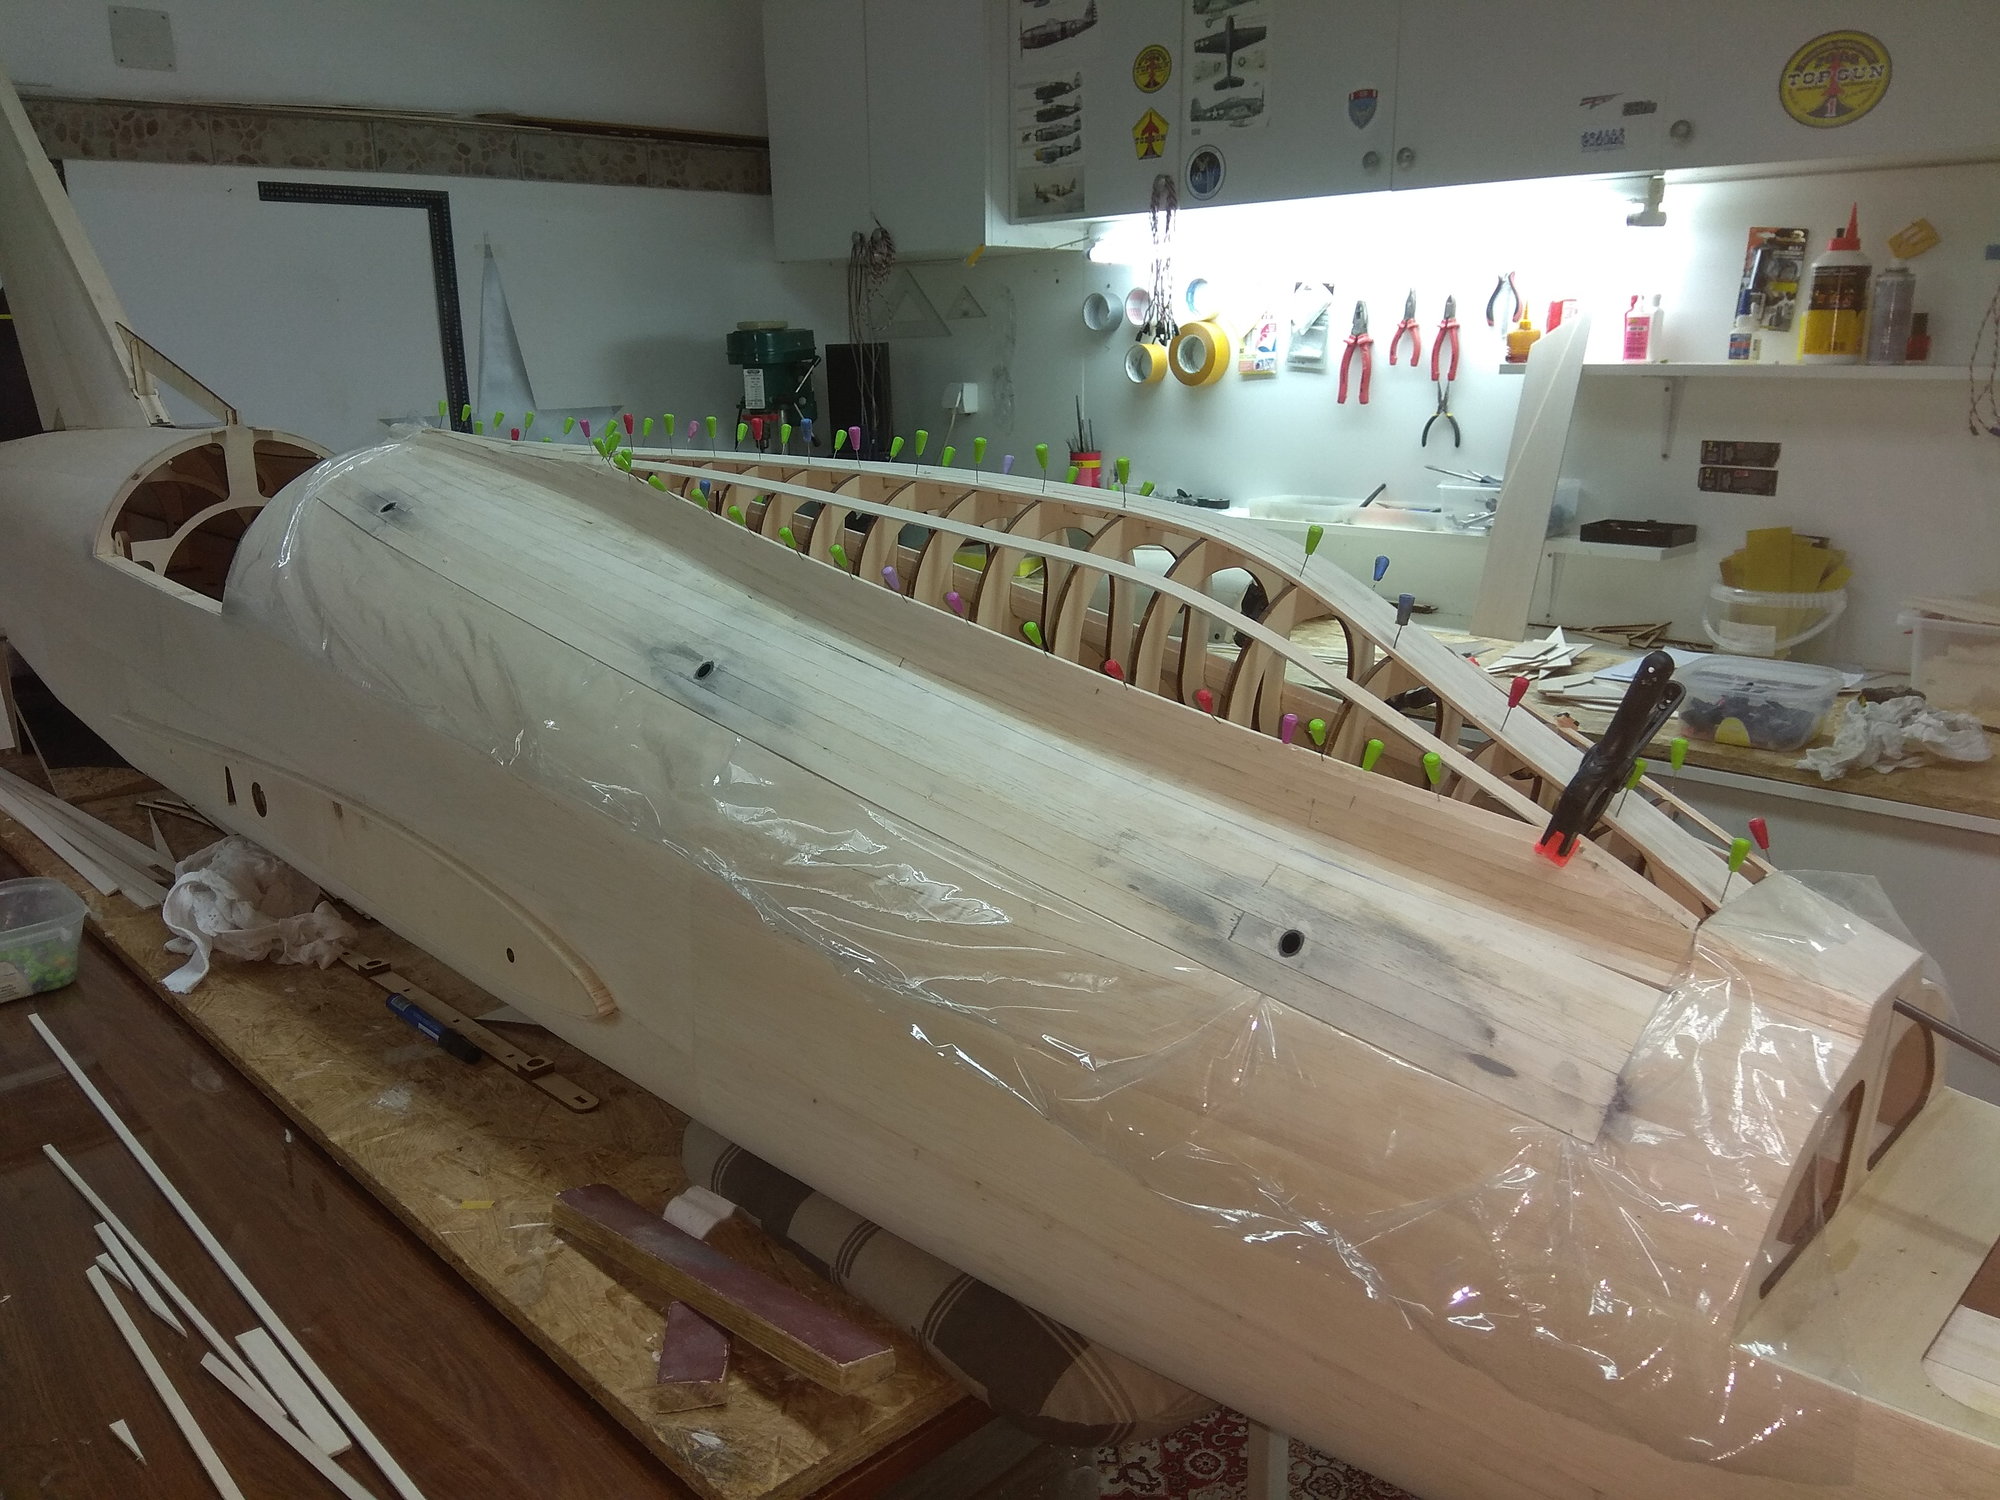
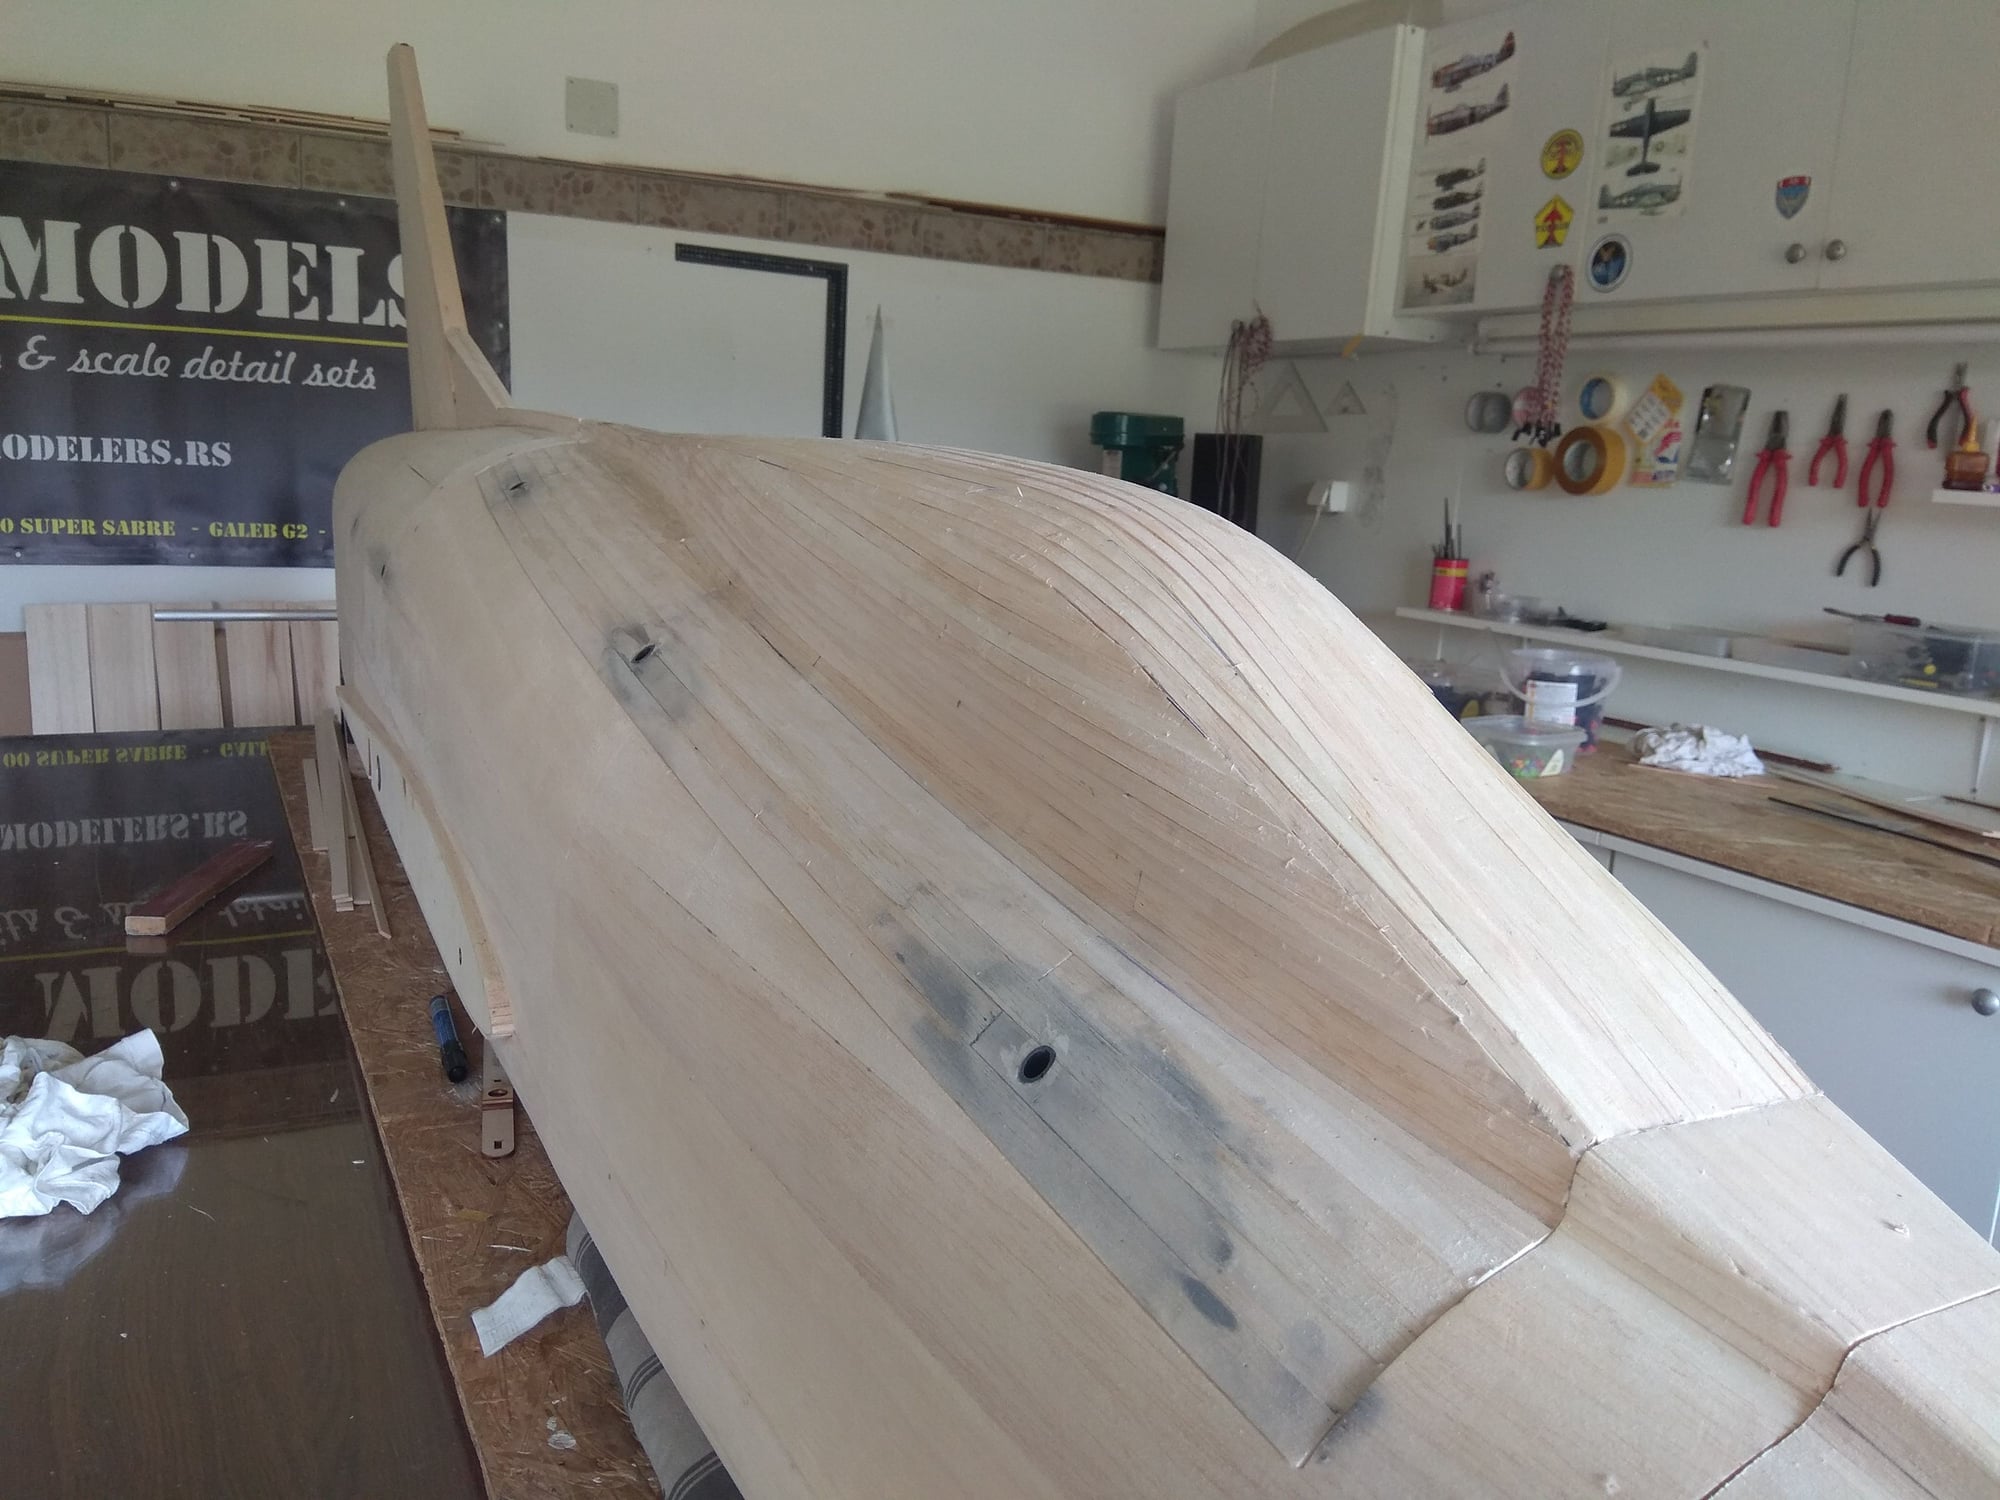
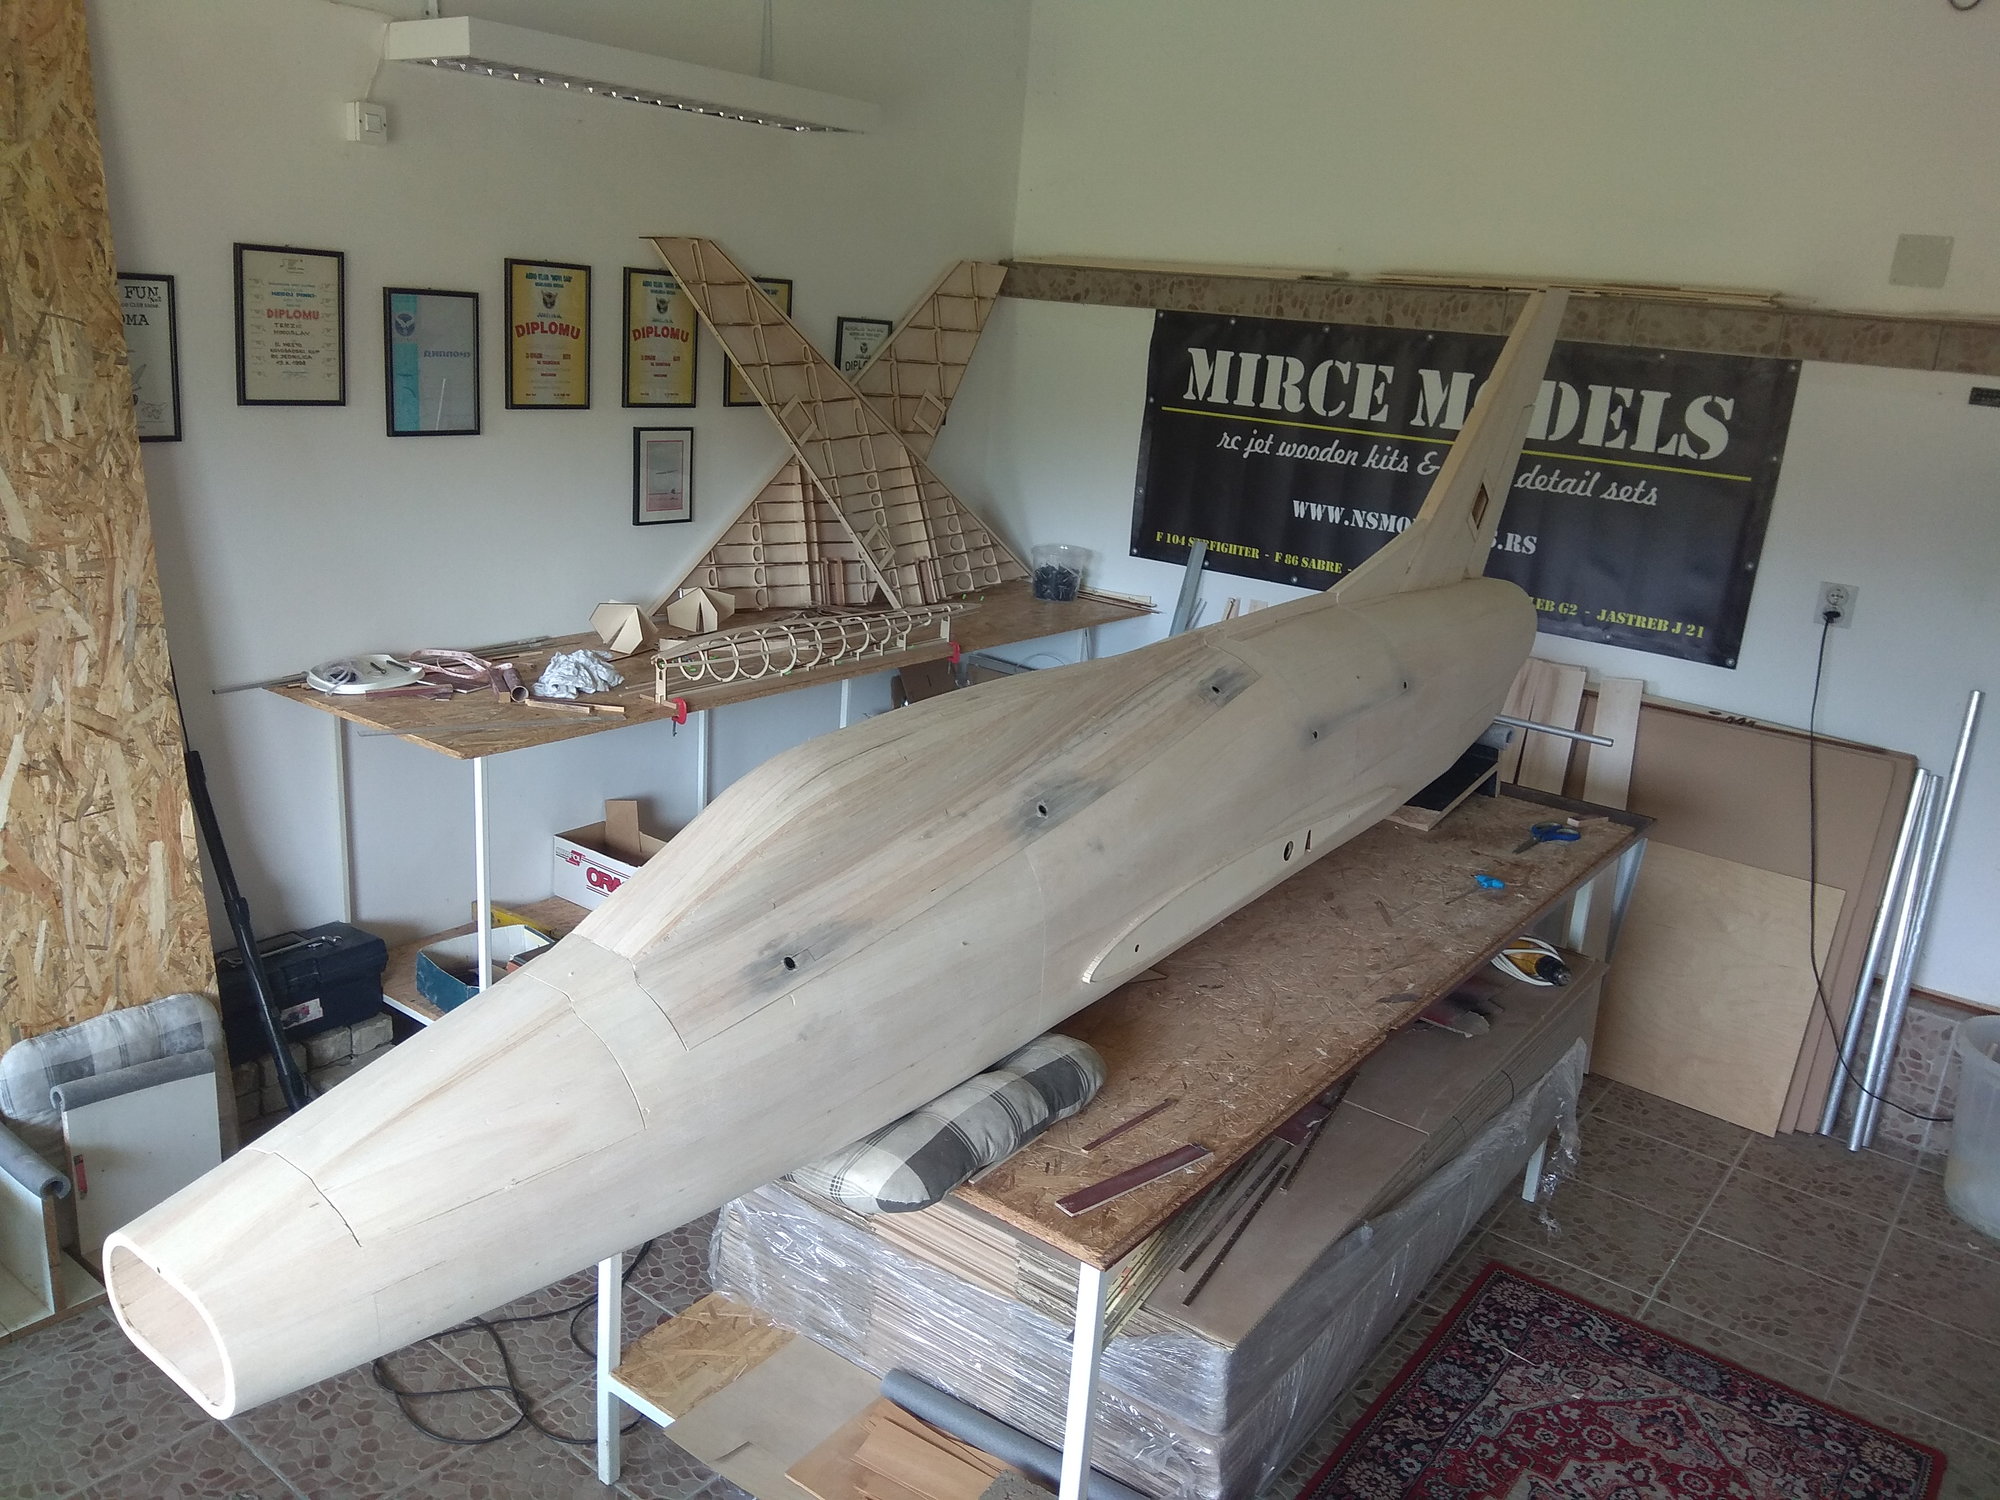
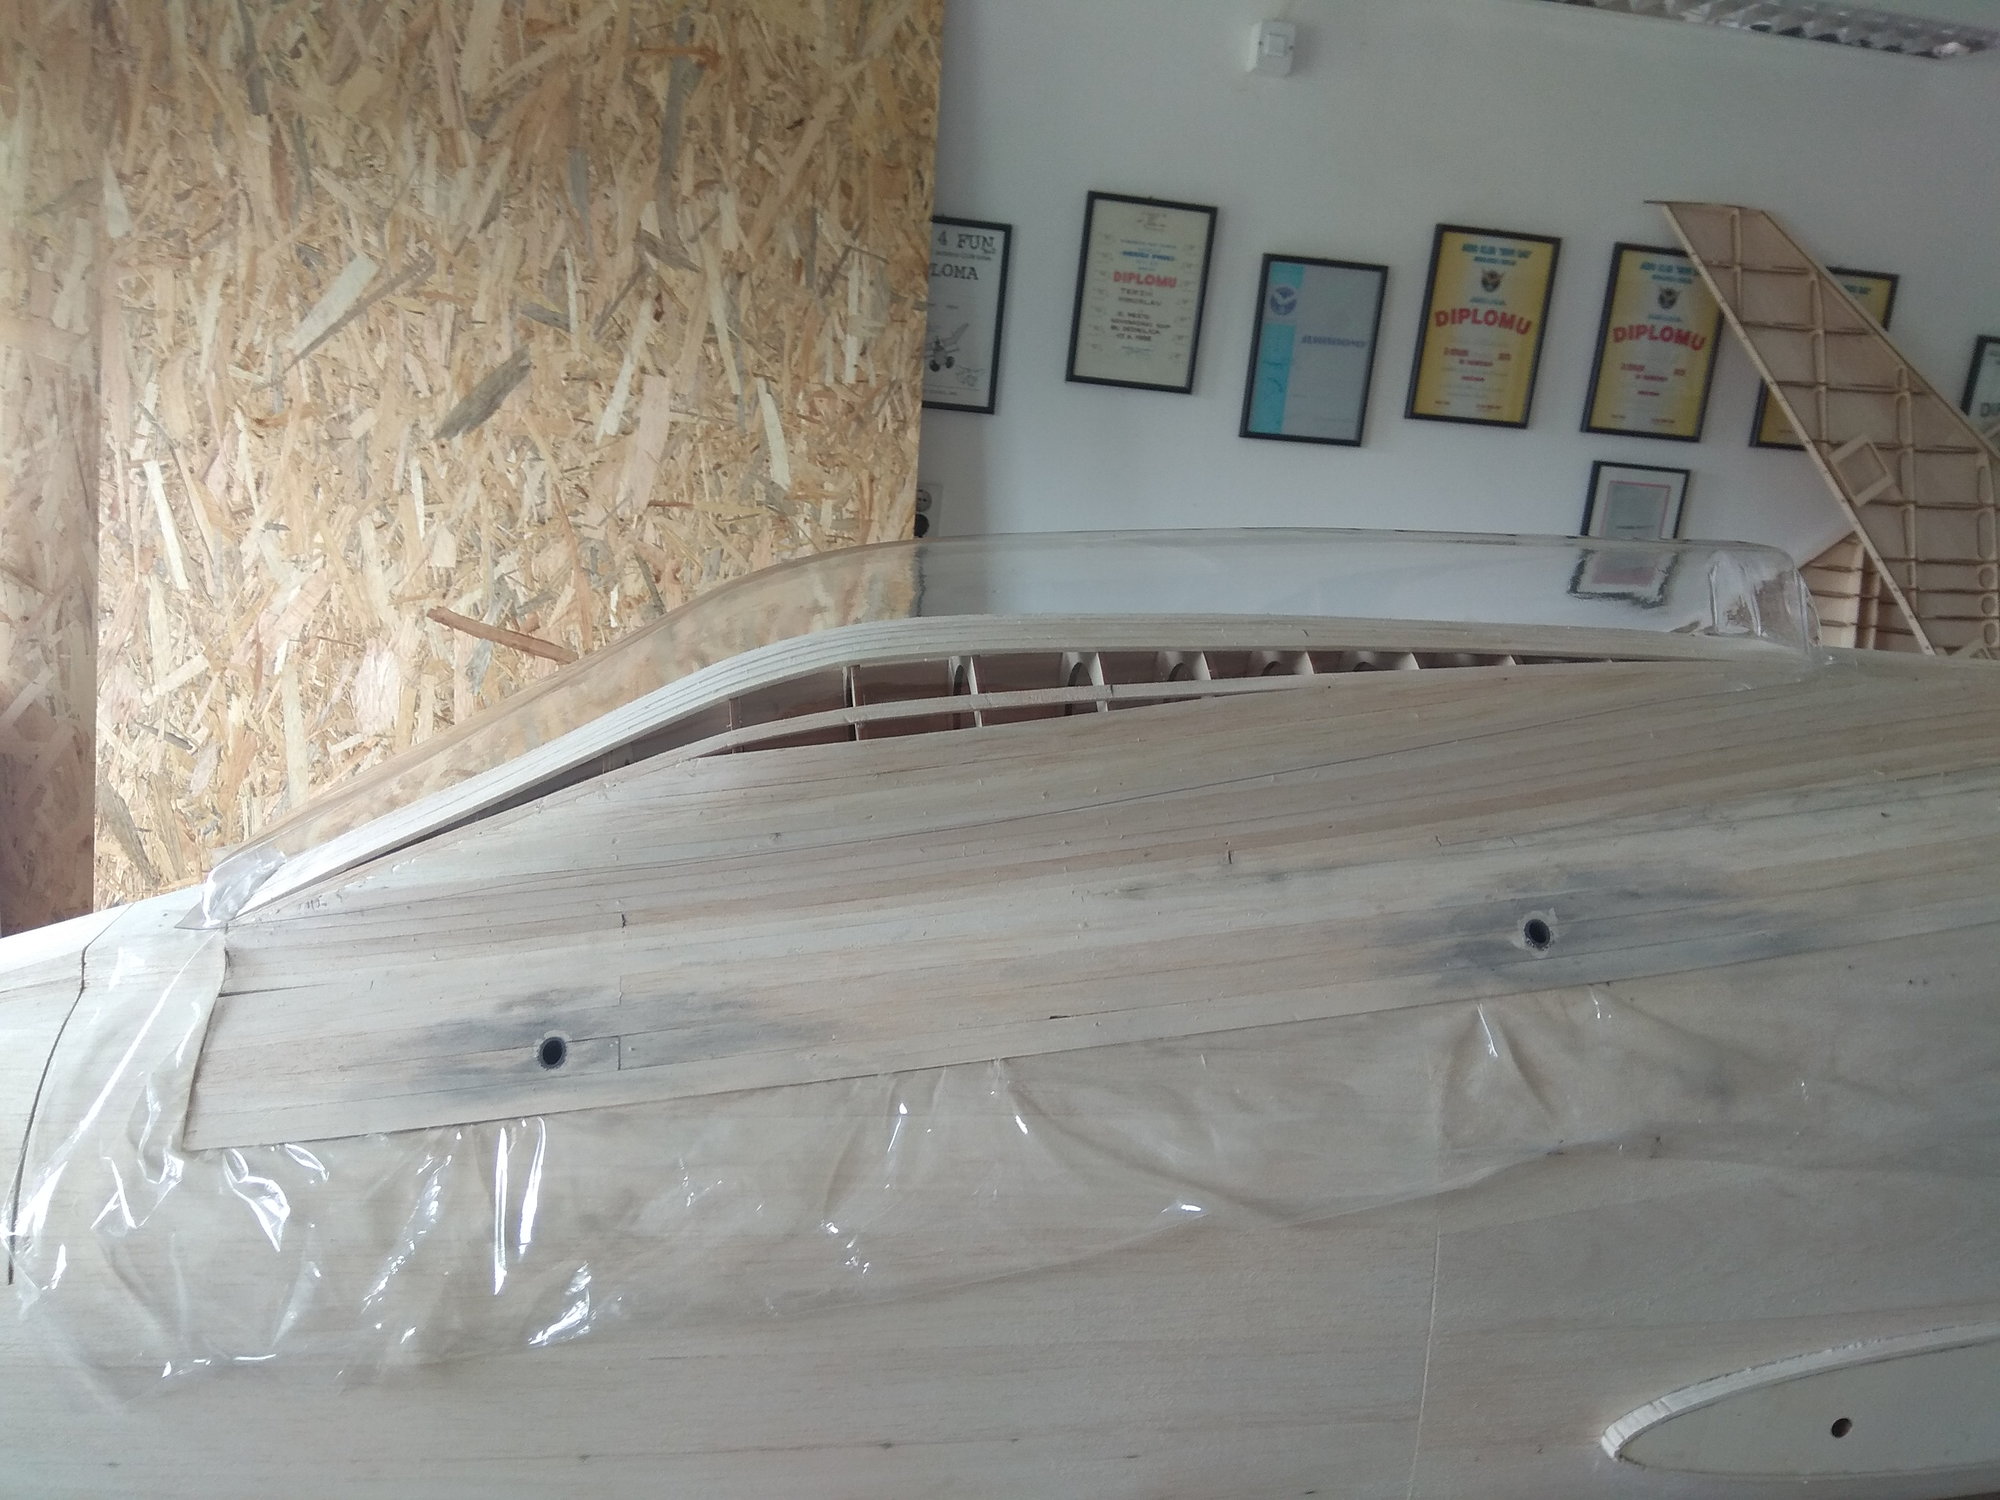
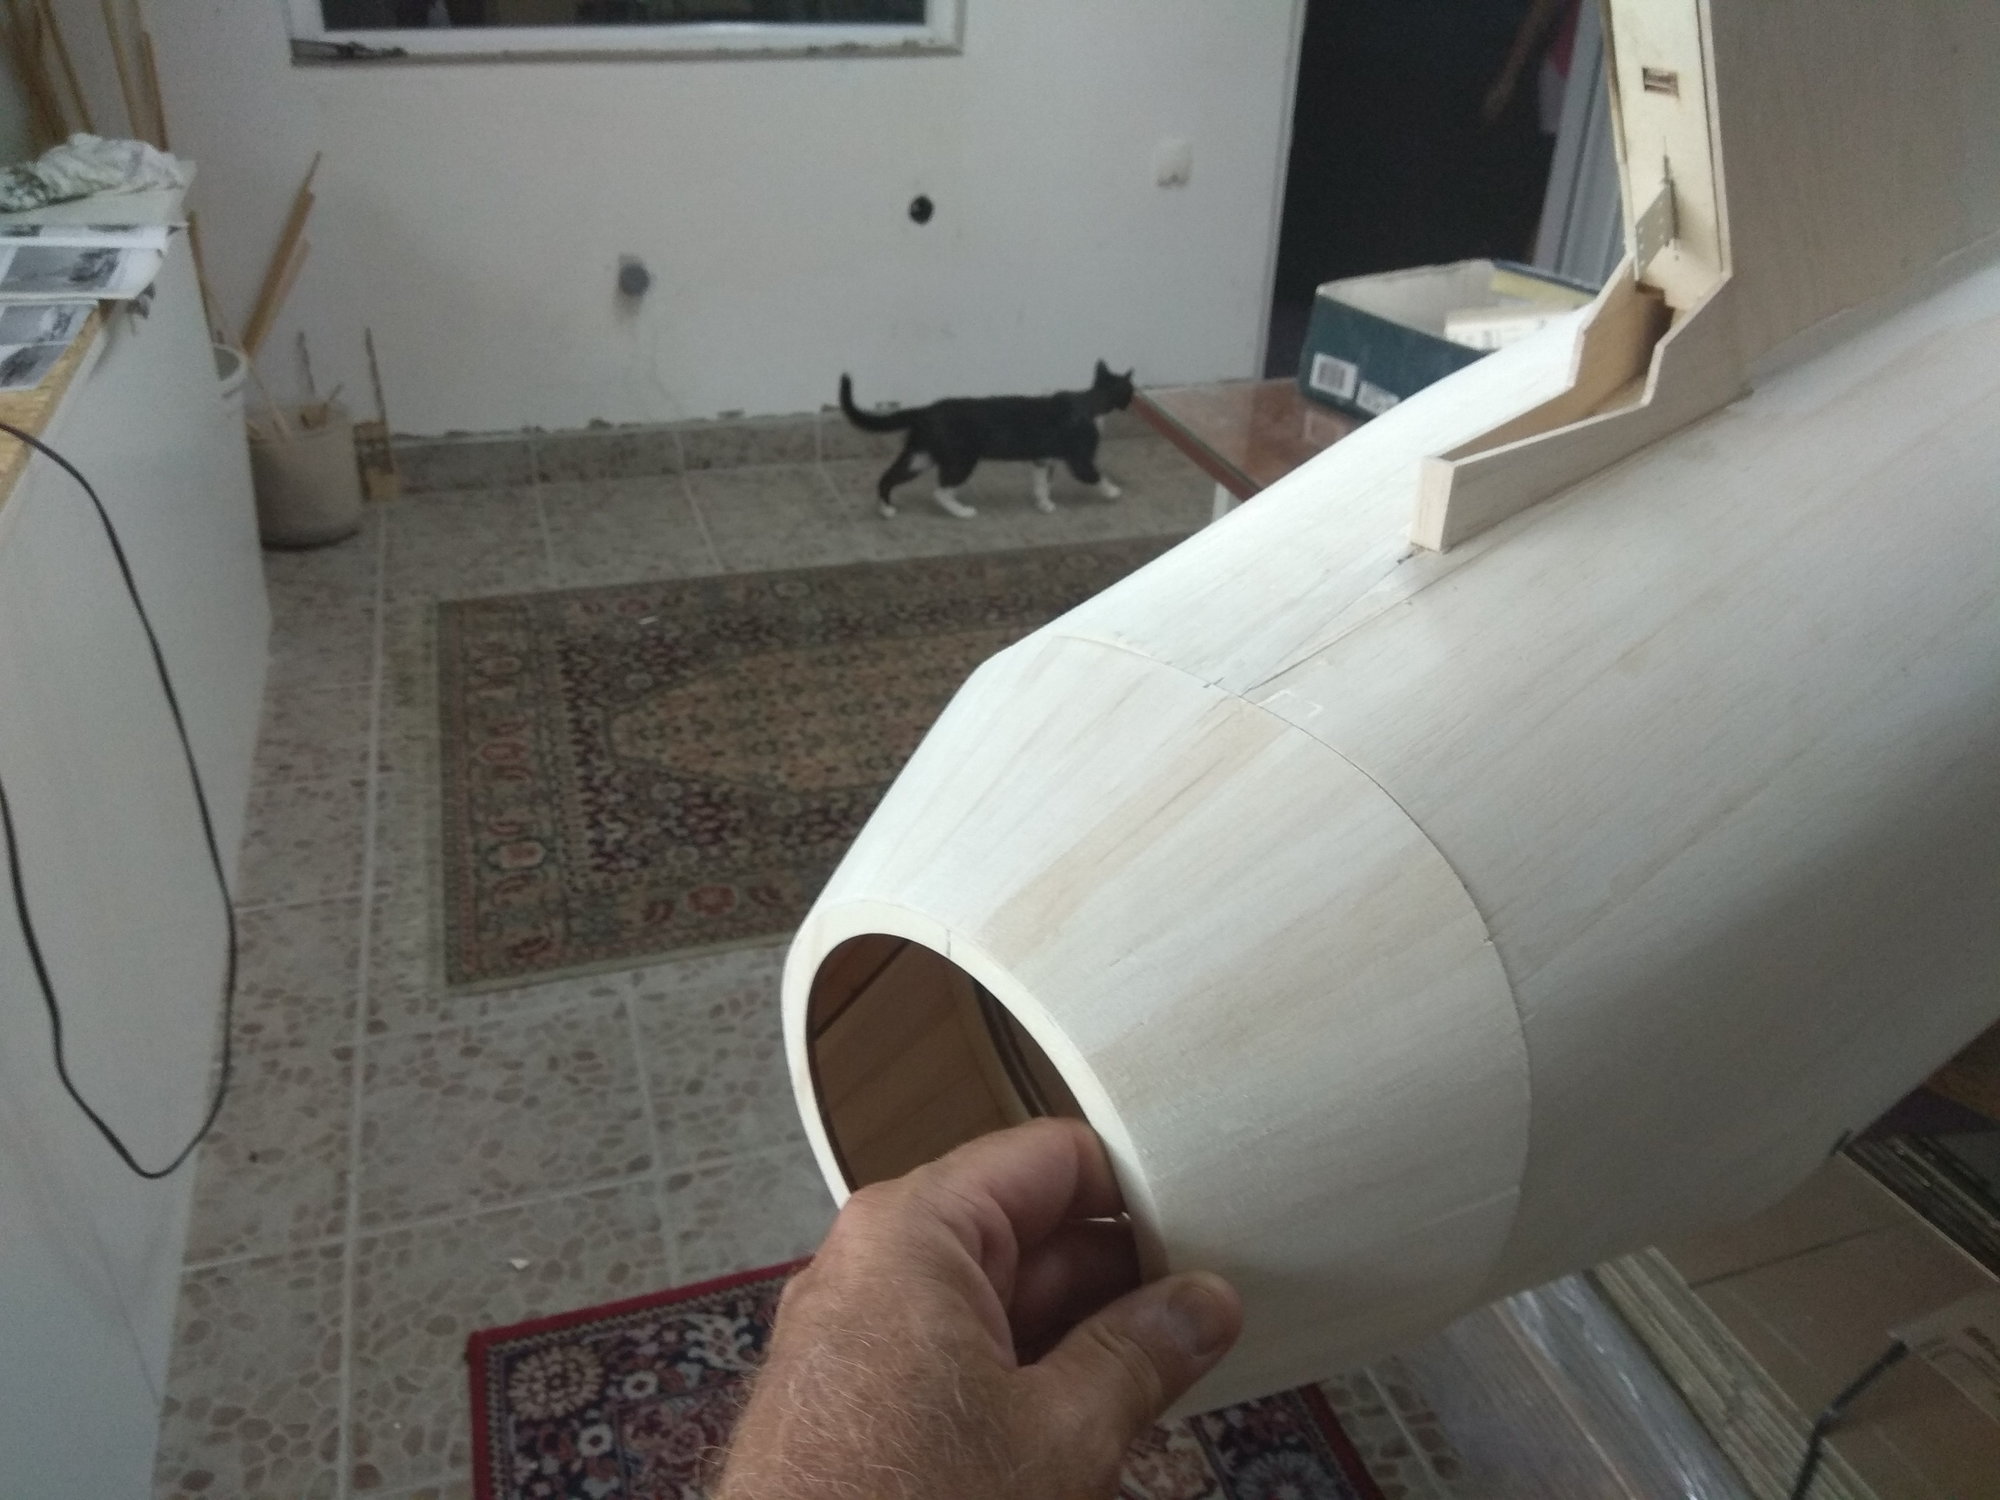
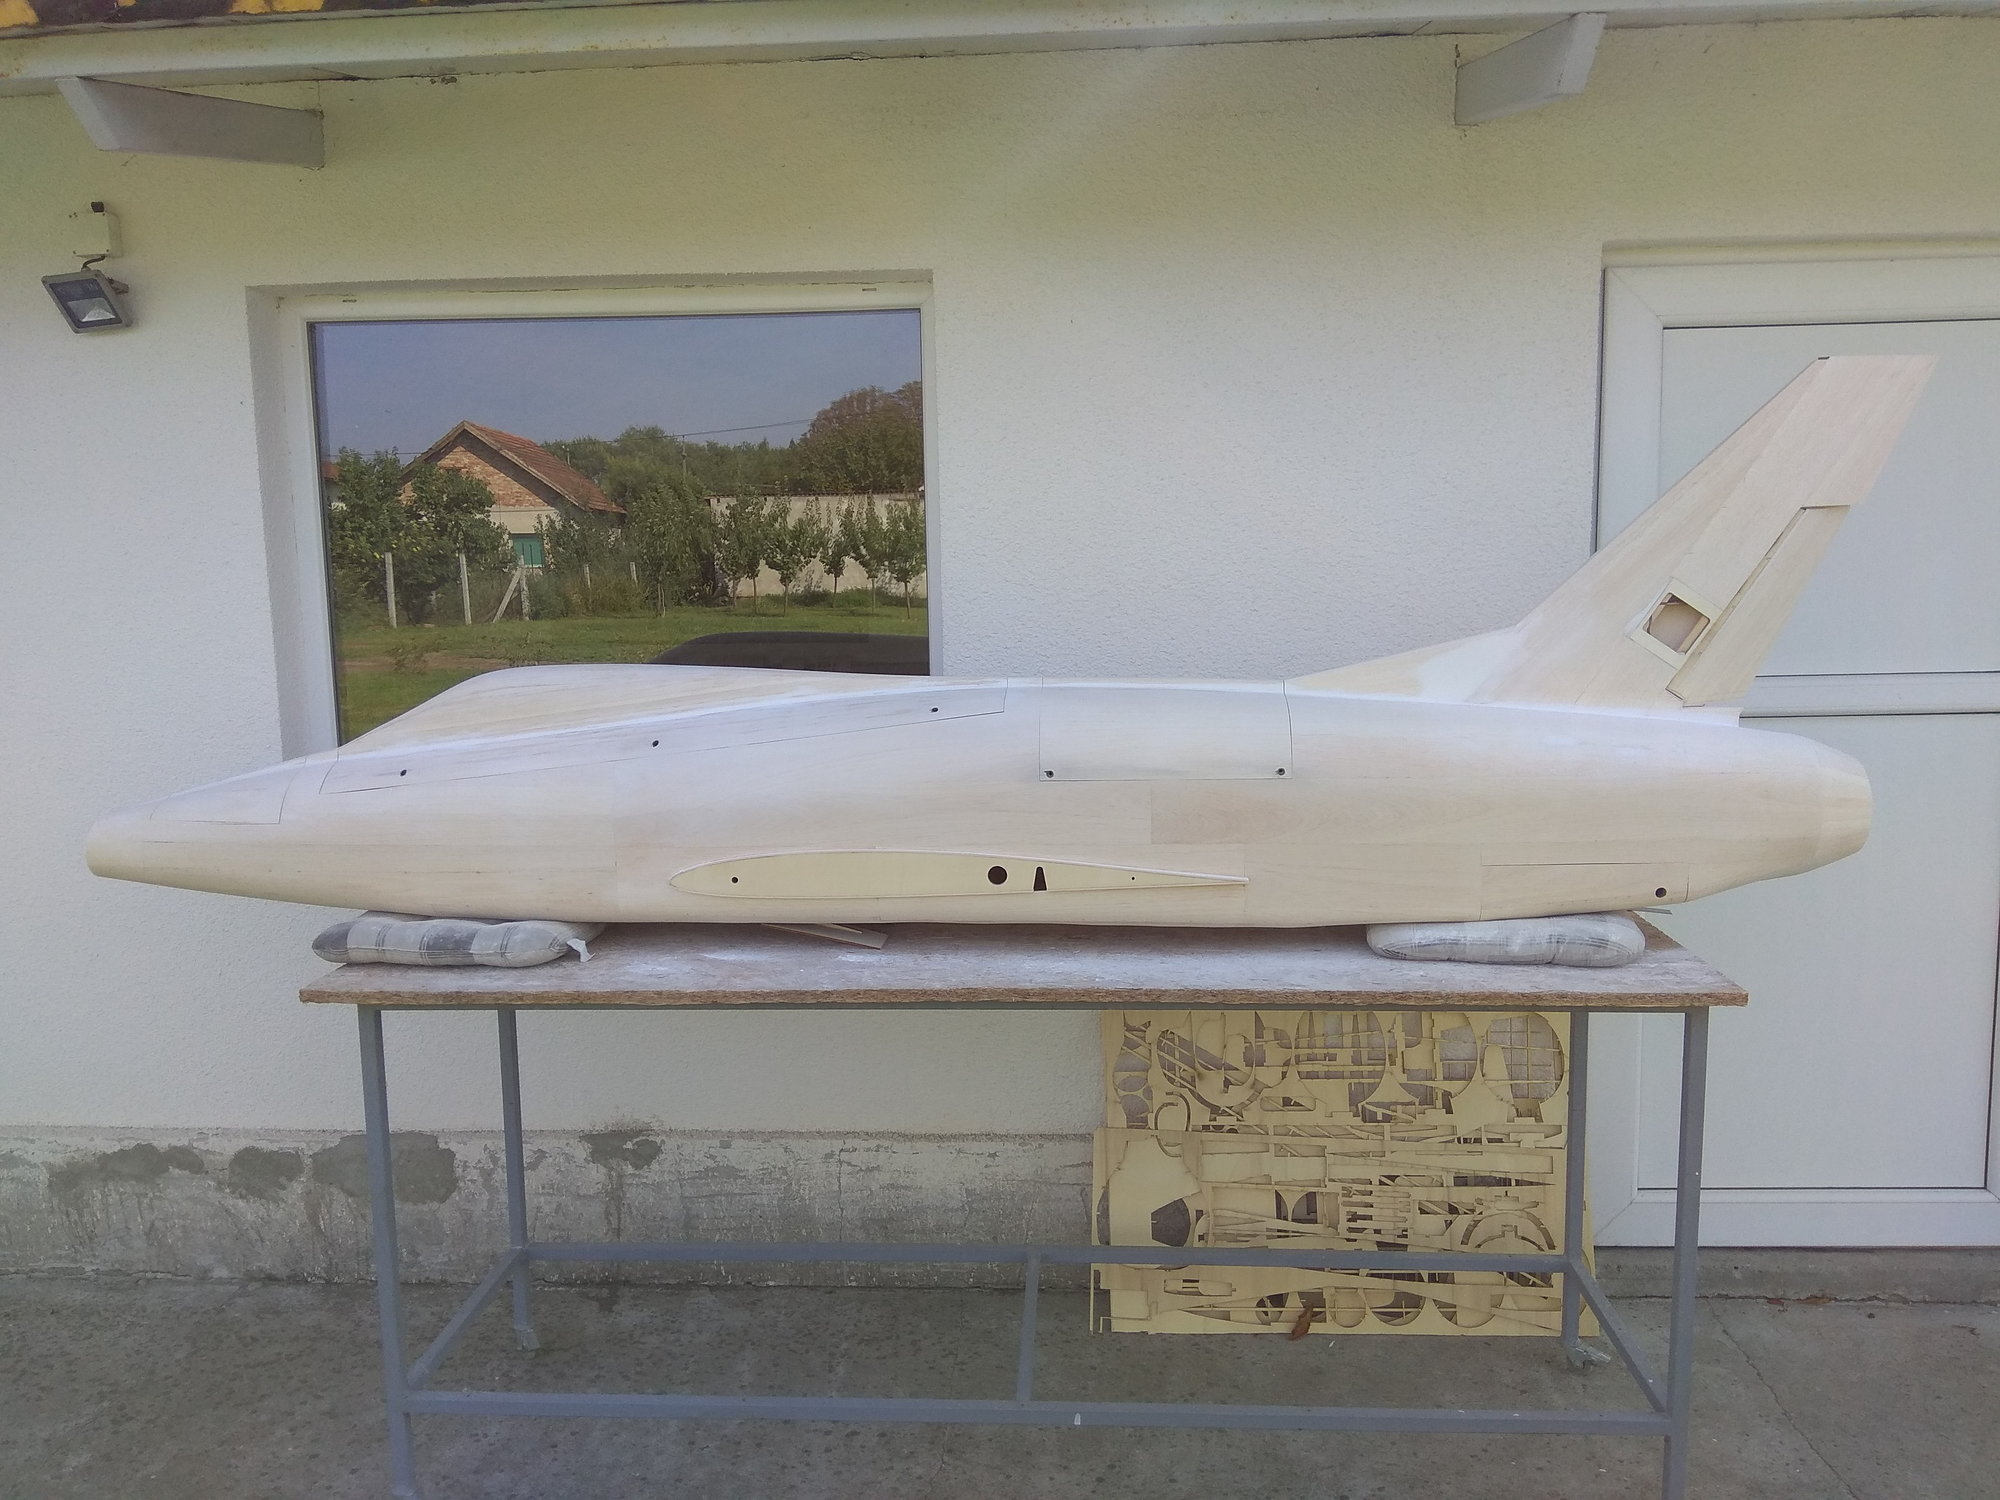
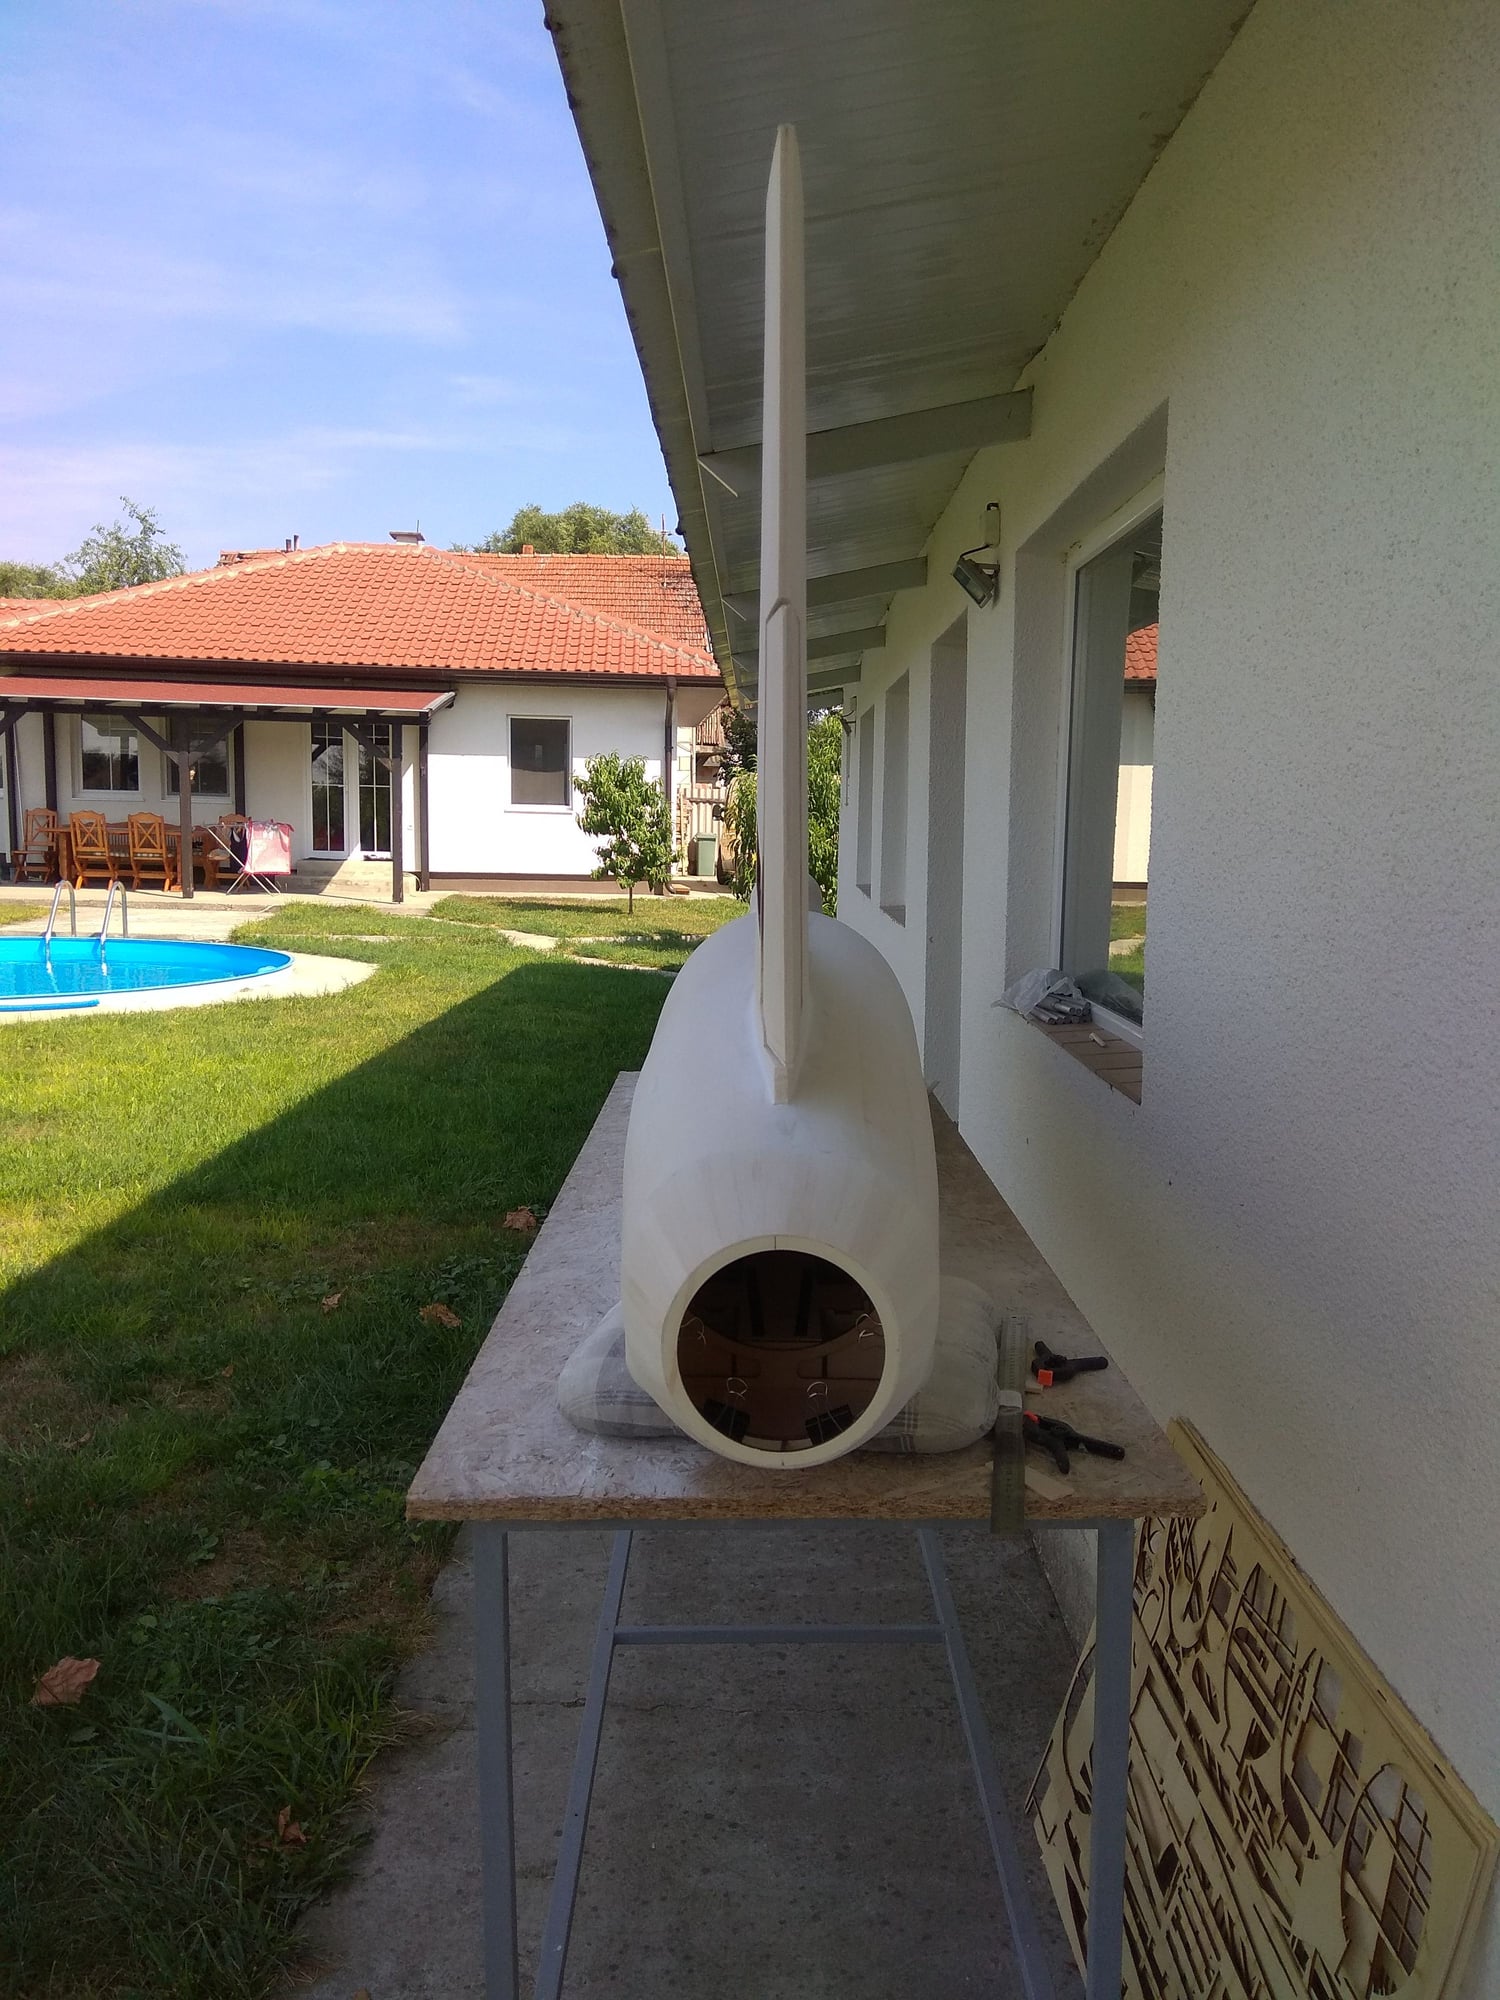
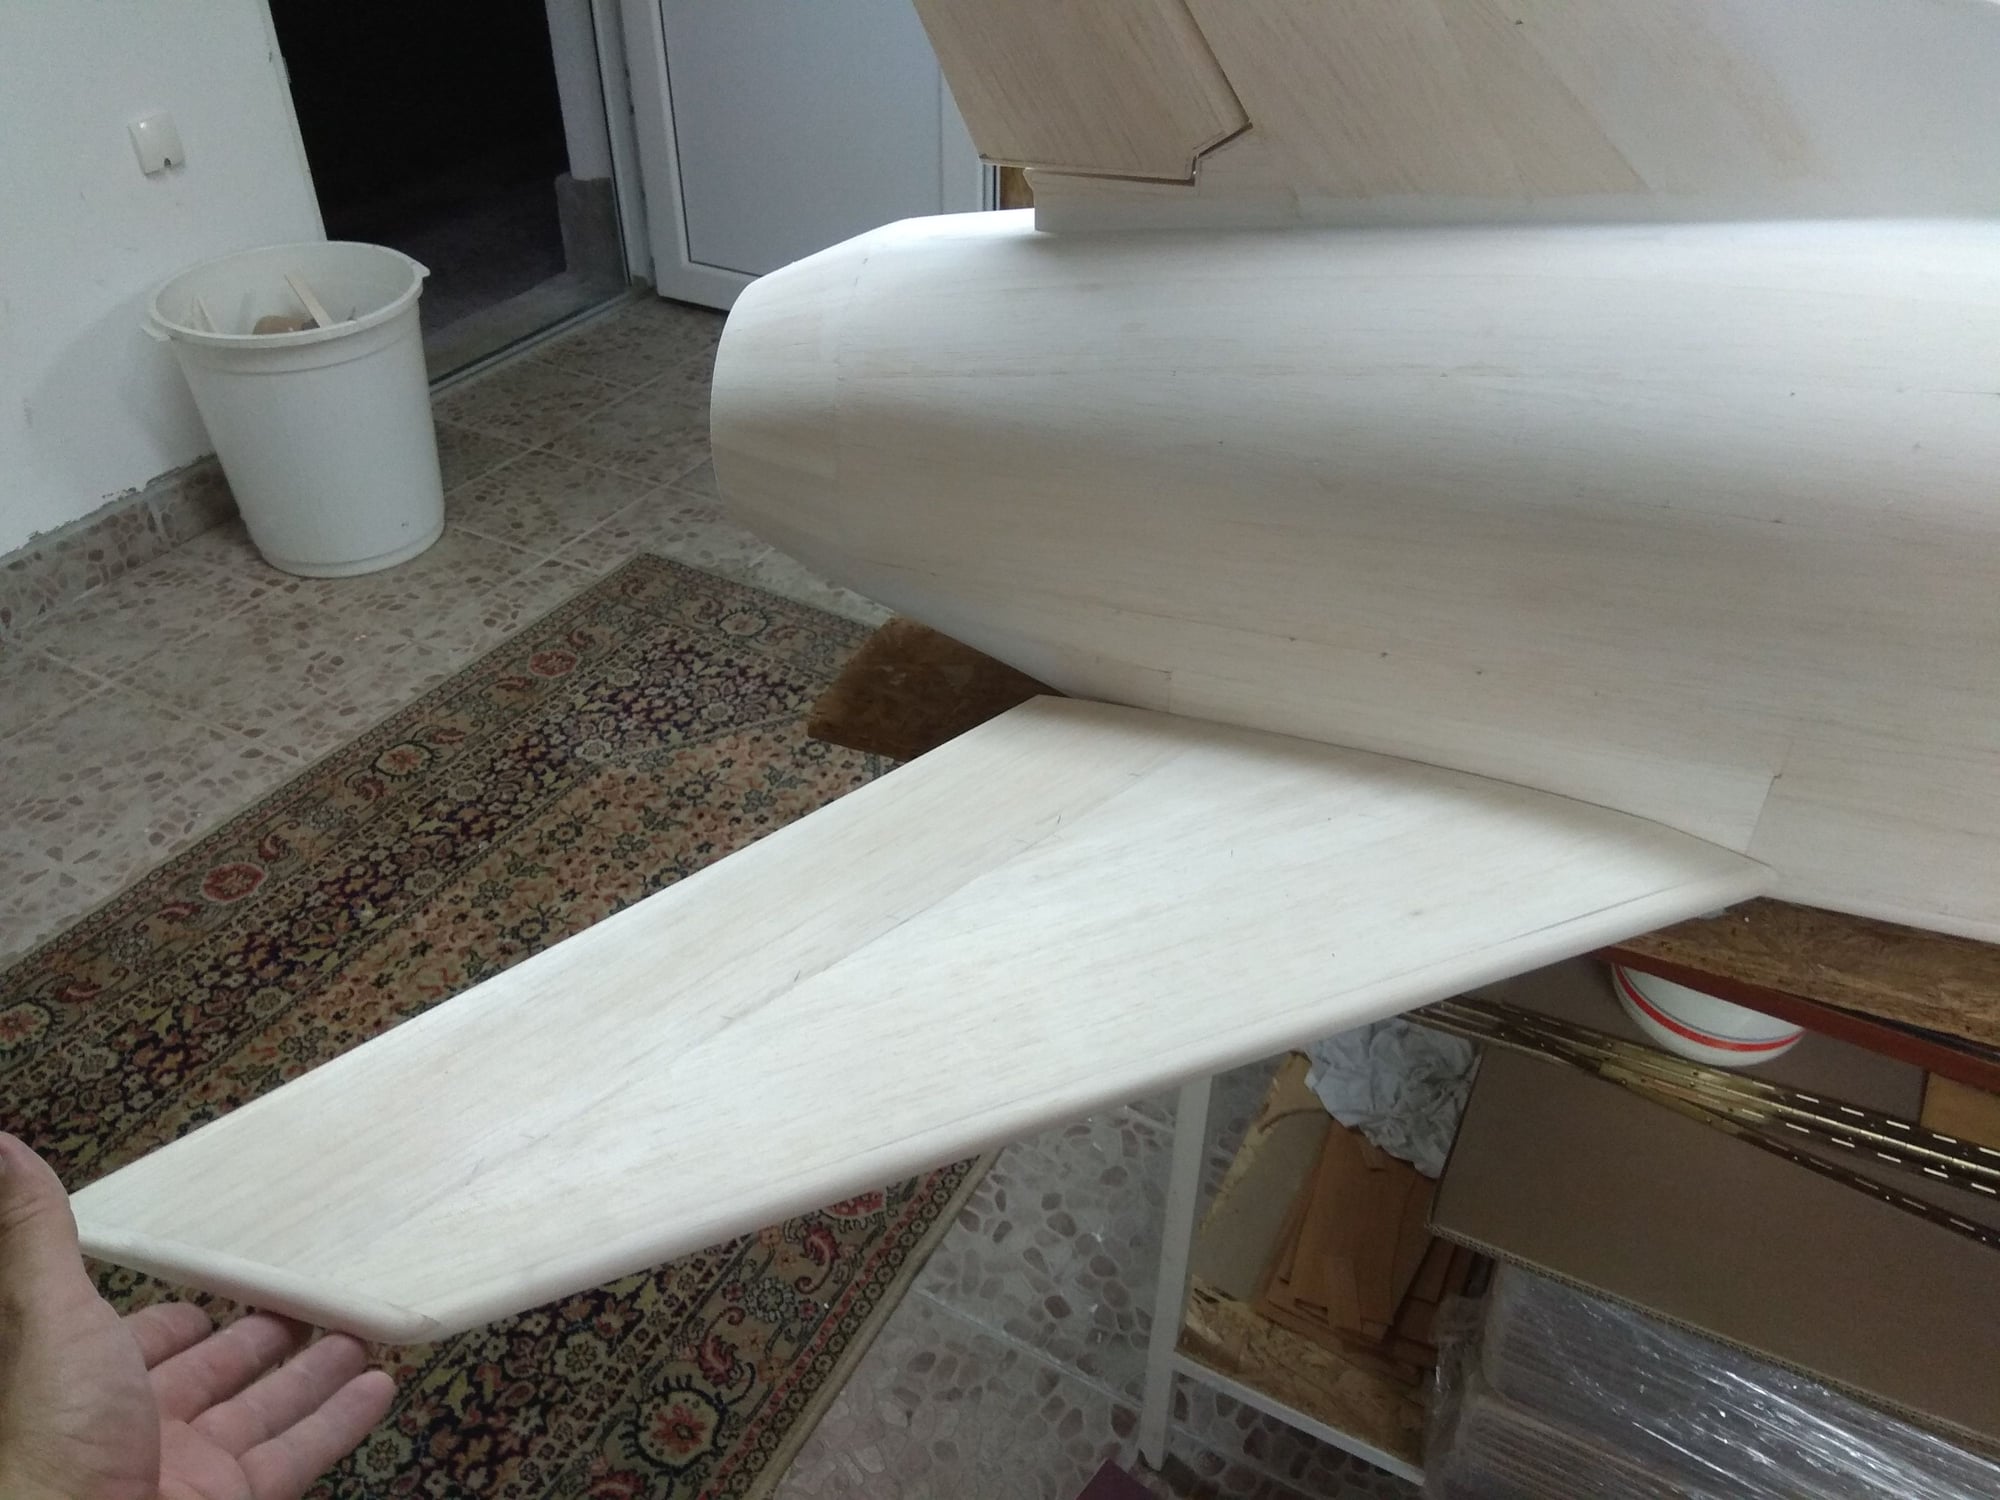
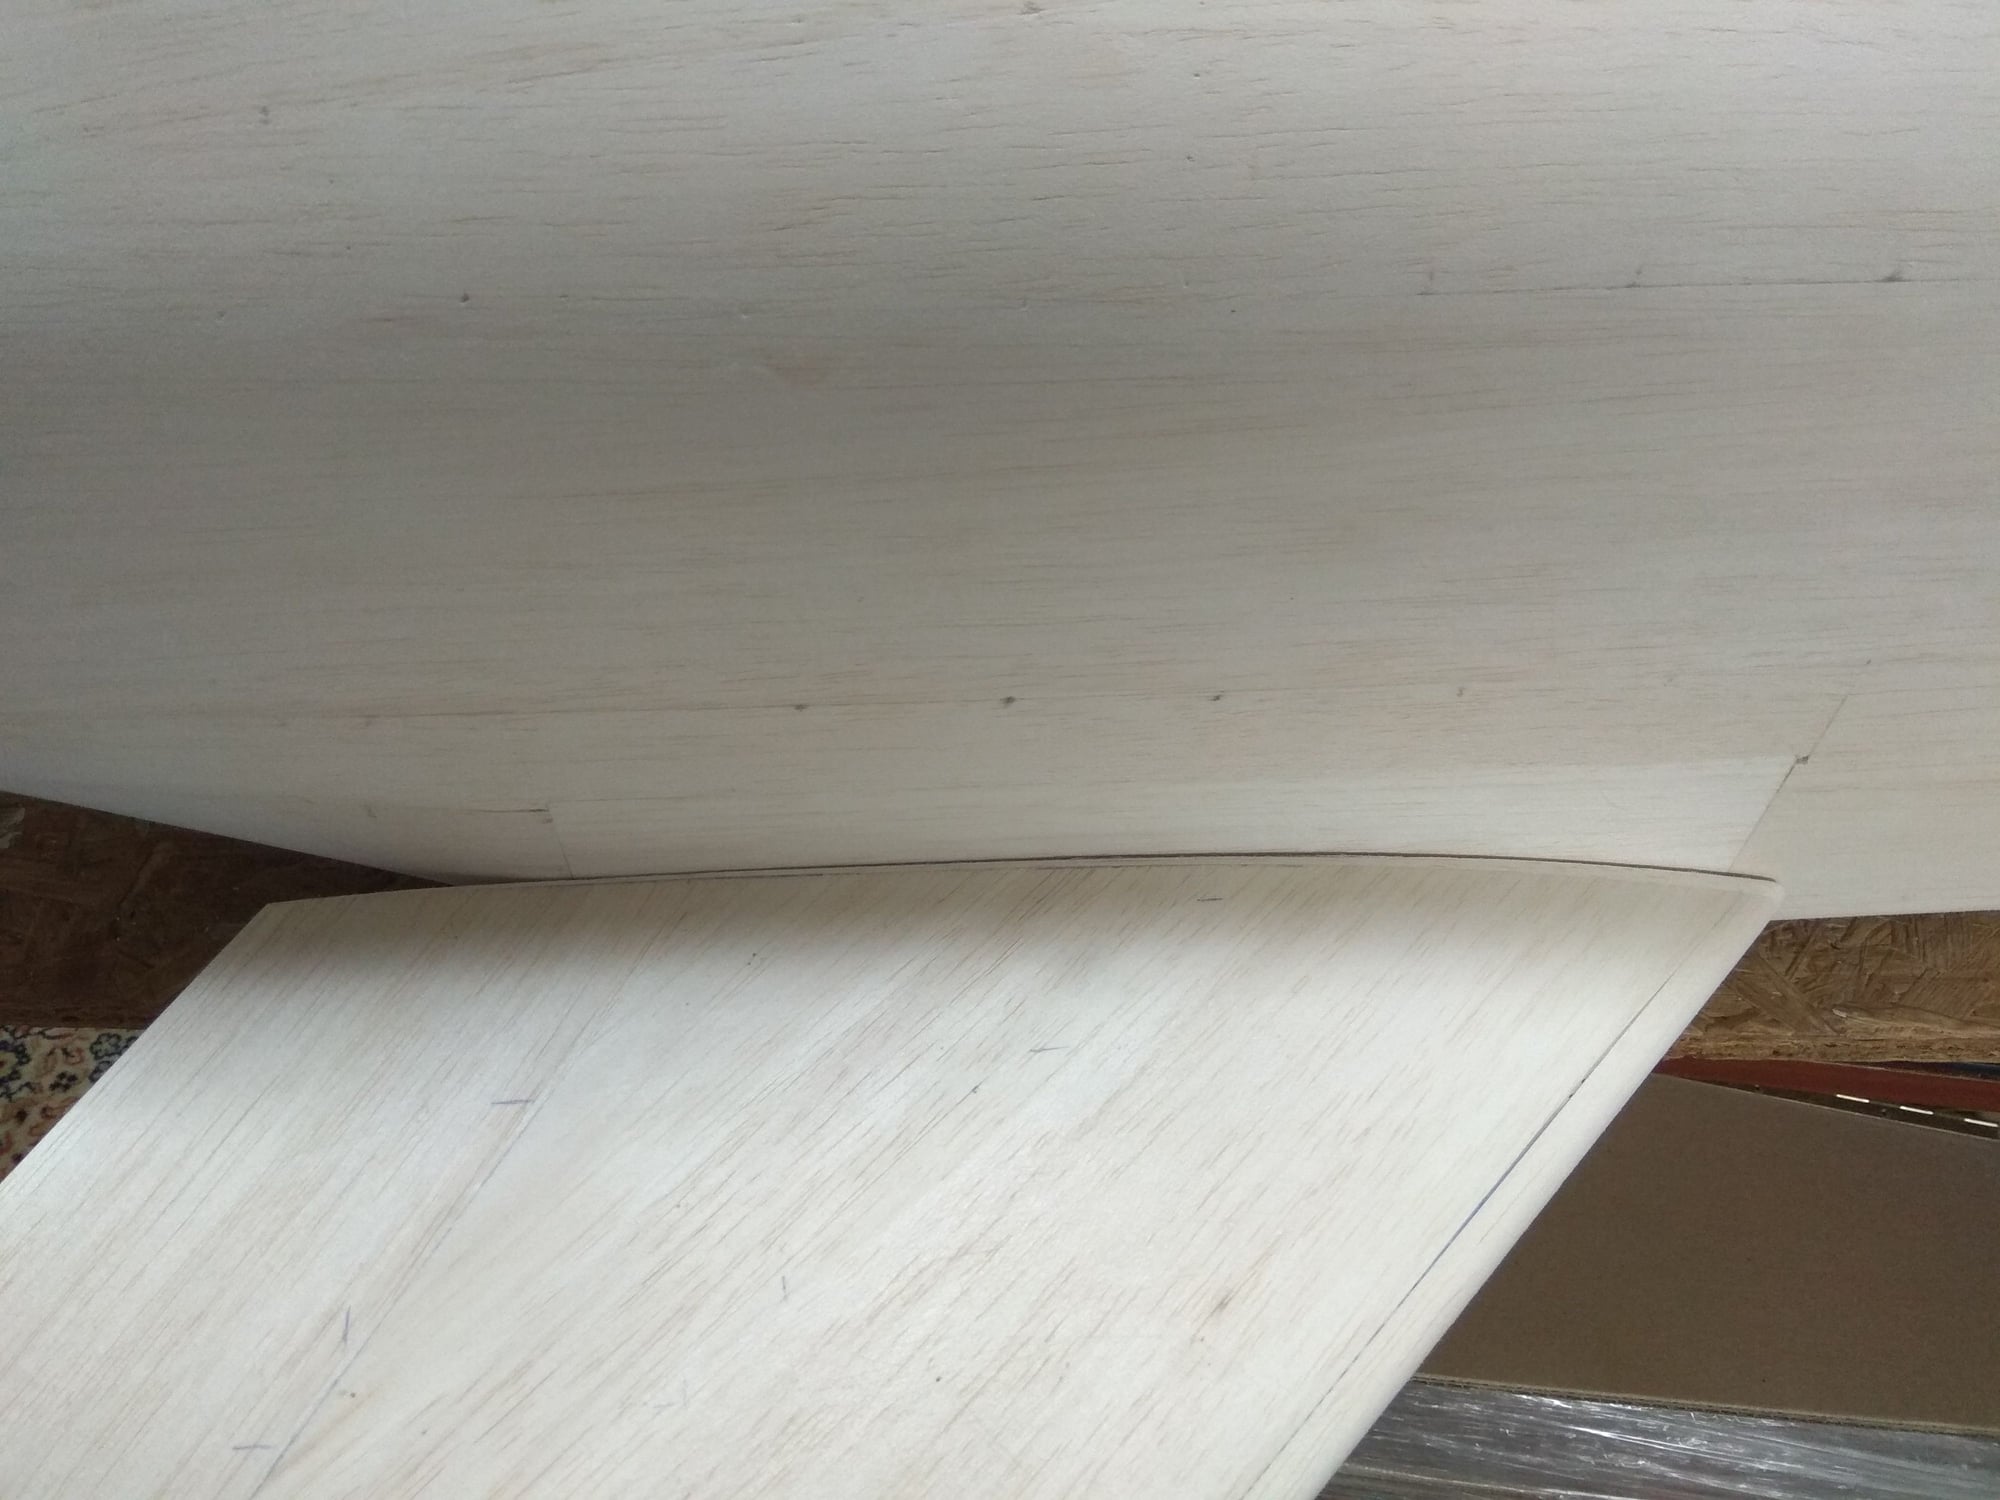
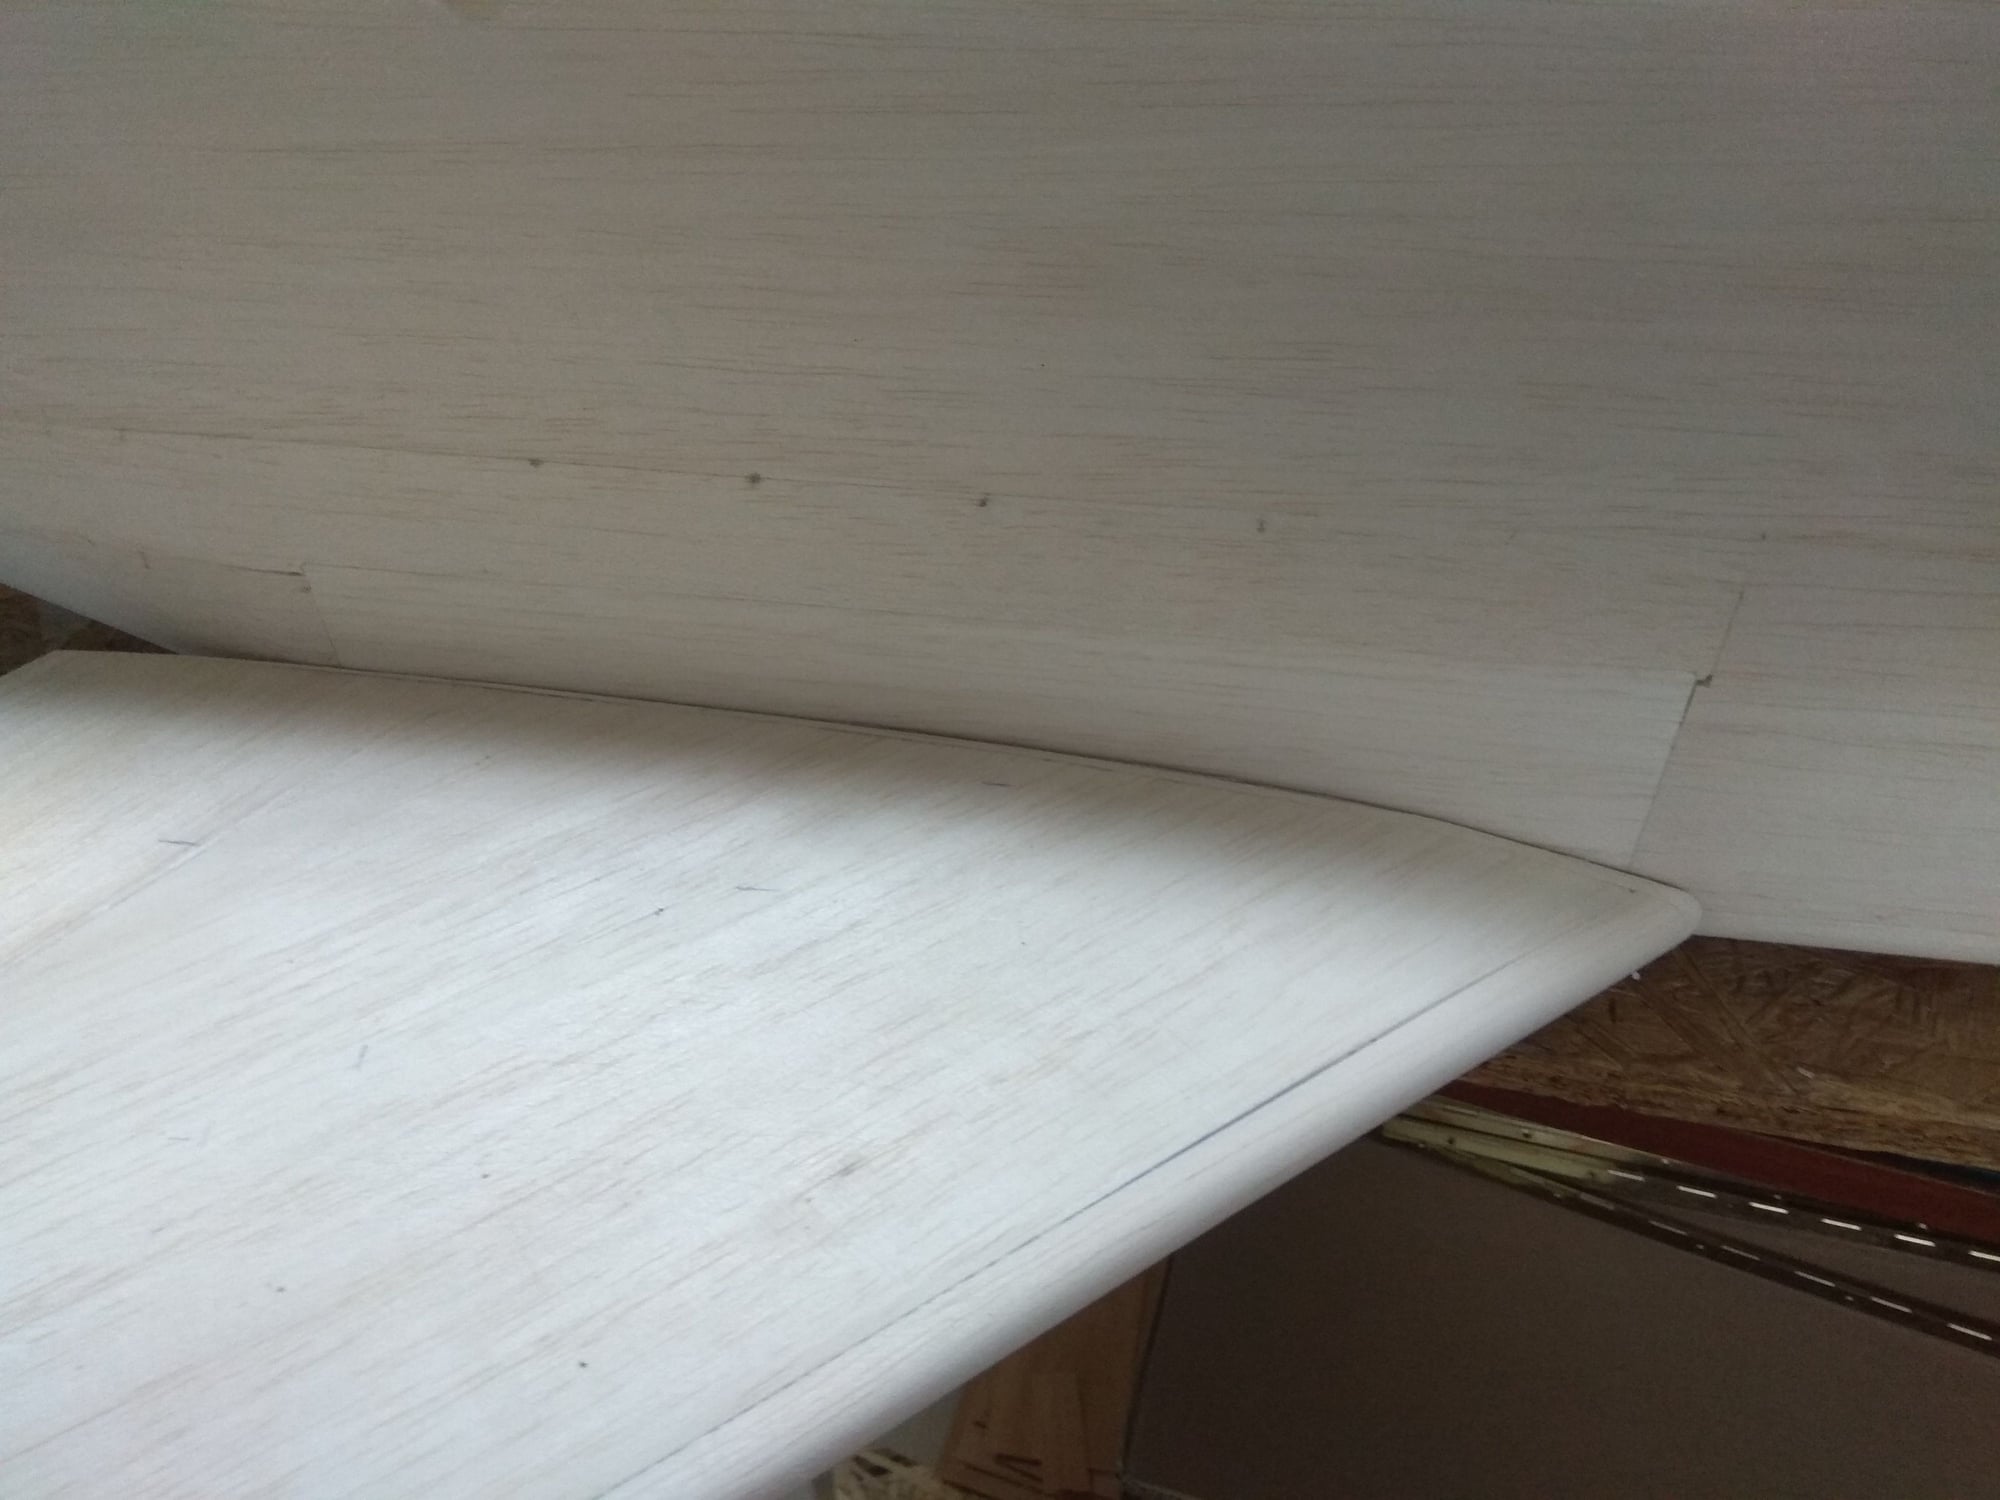
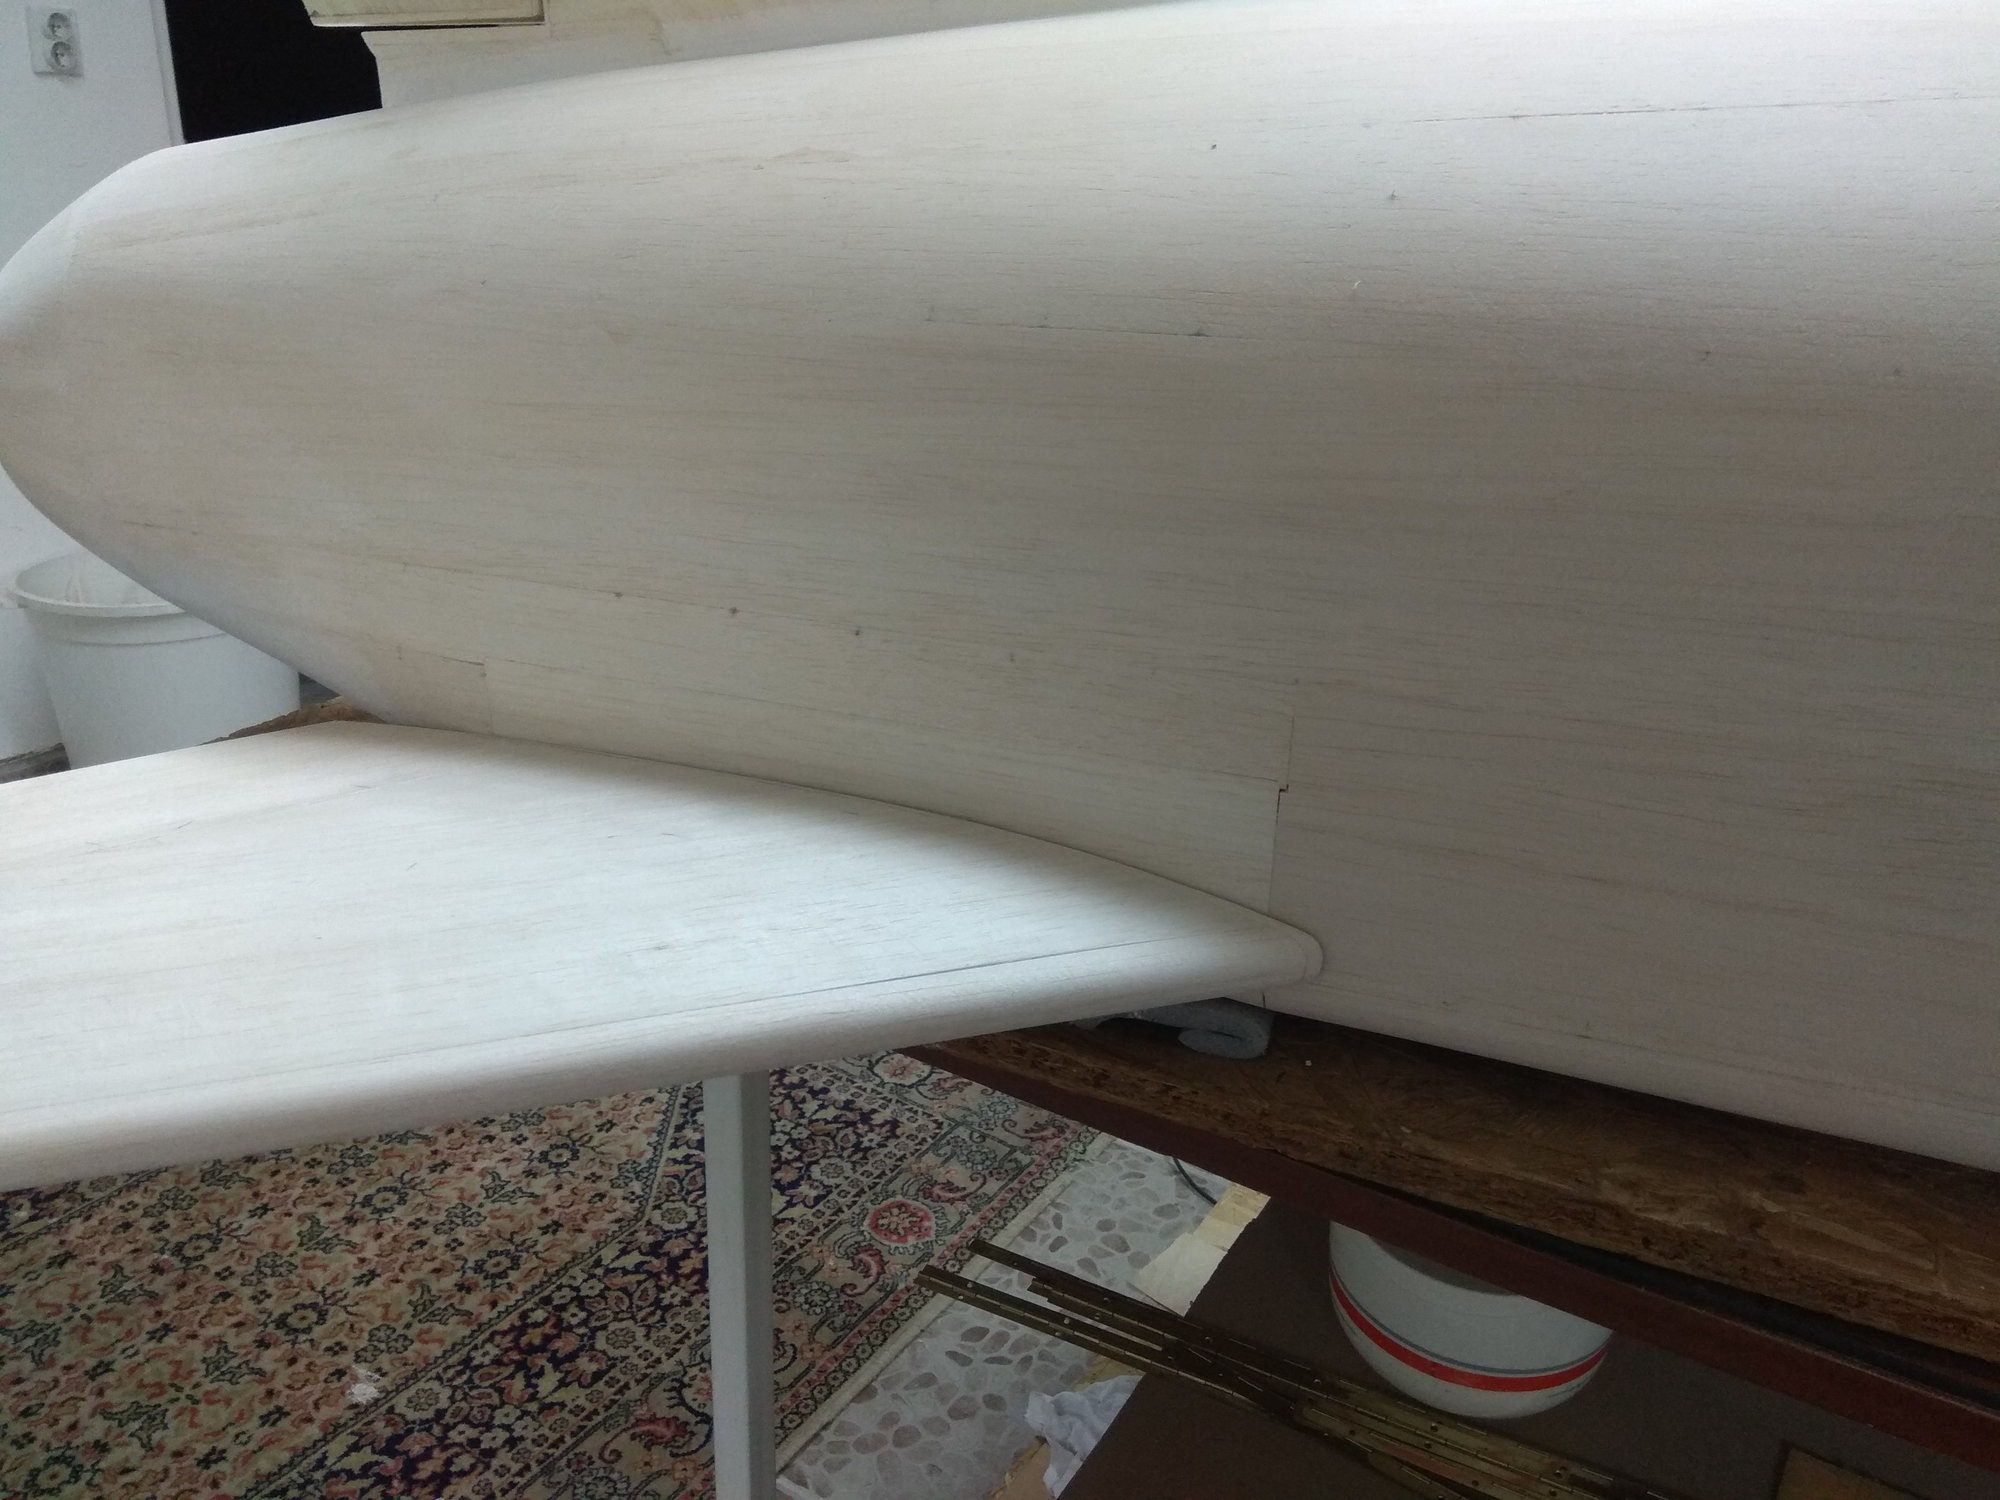
Before elevator & rudder I almost cover all fuselage with 3 mm balsa.
Front fuselage part I show before...
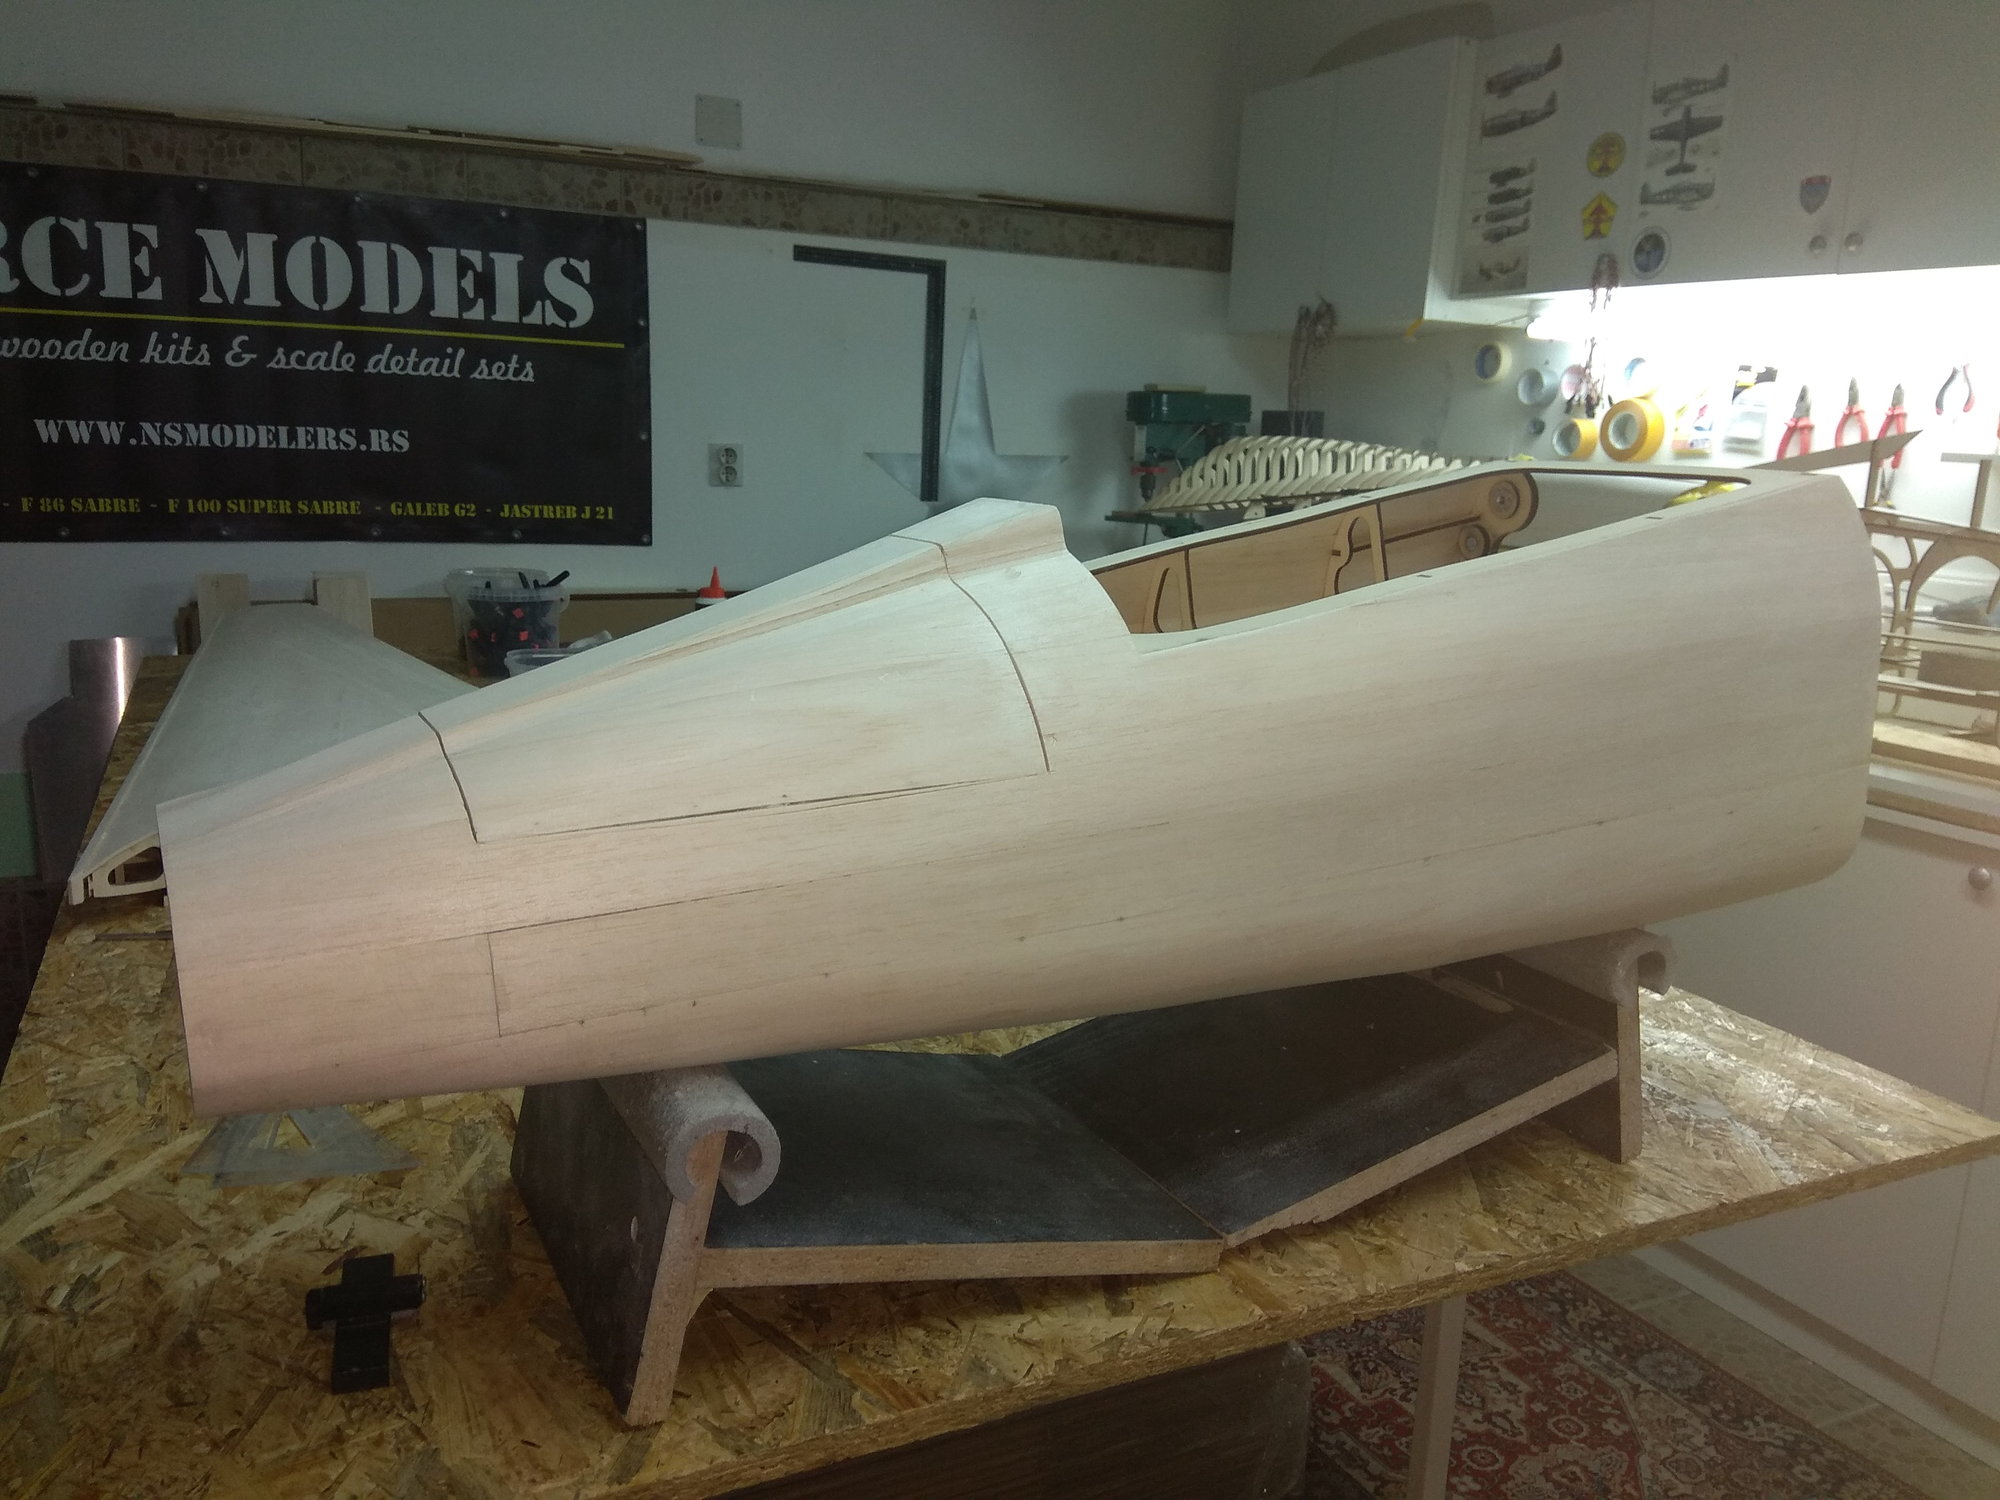
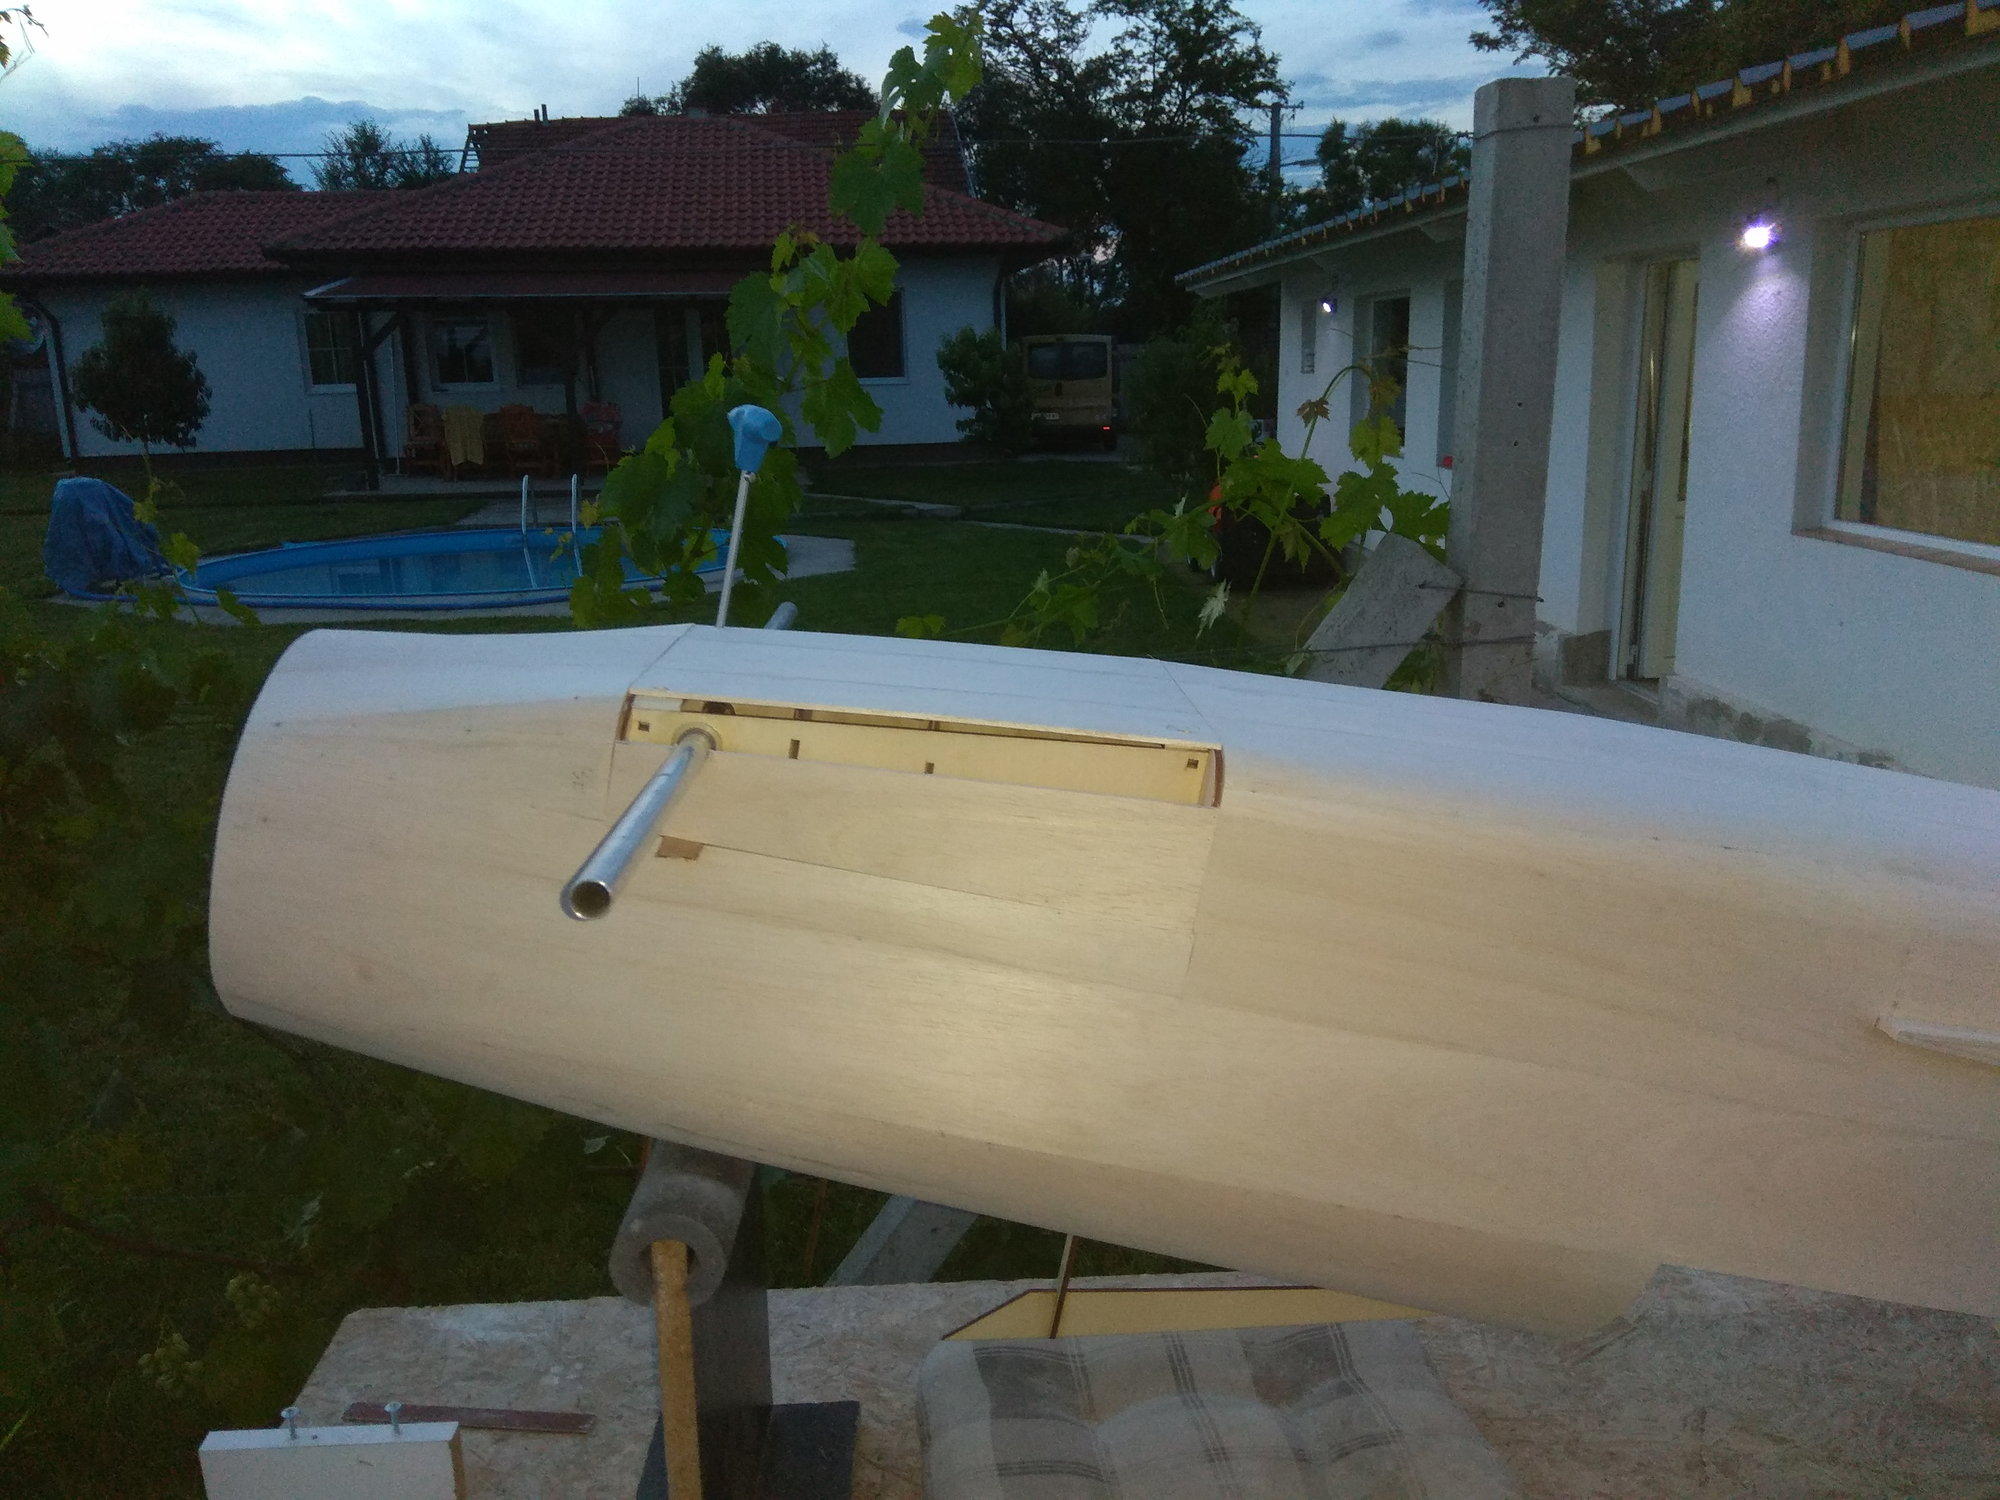
Rear fuselage part upper side...
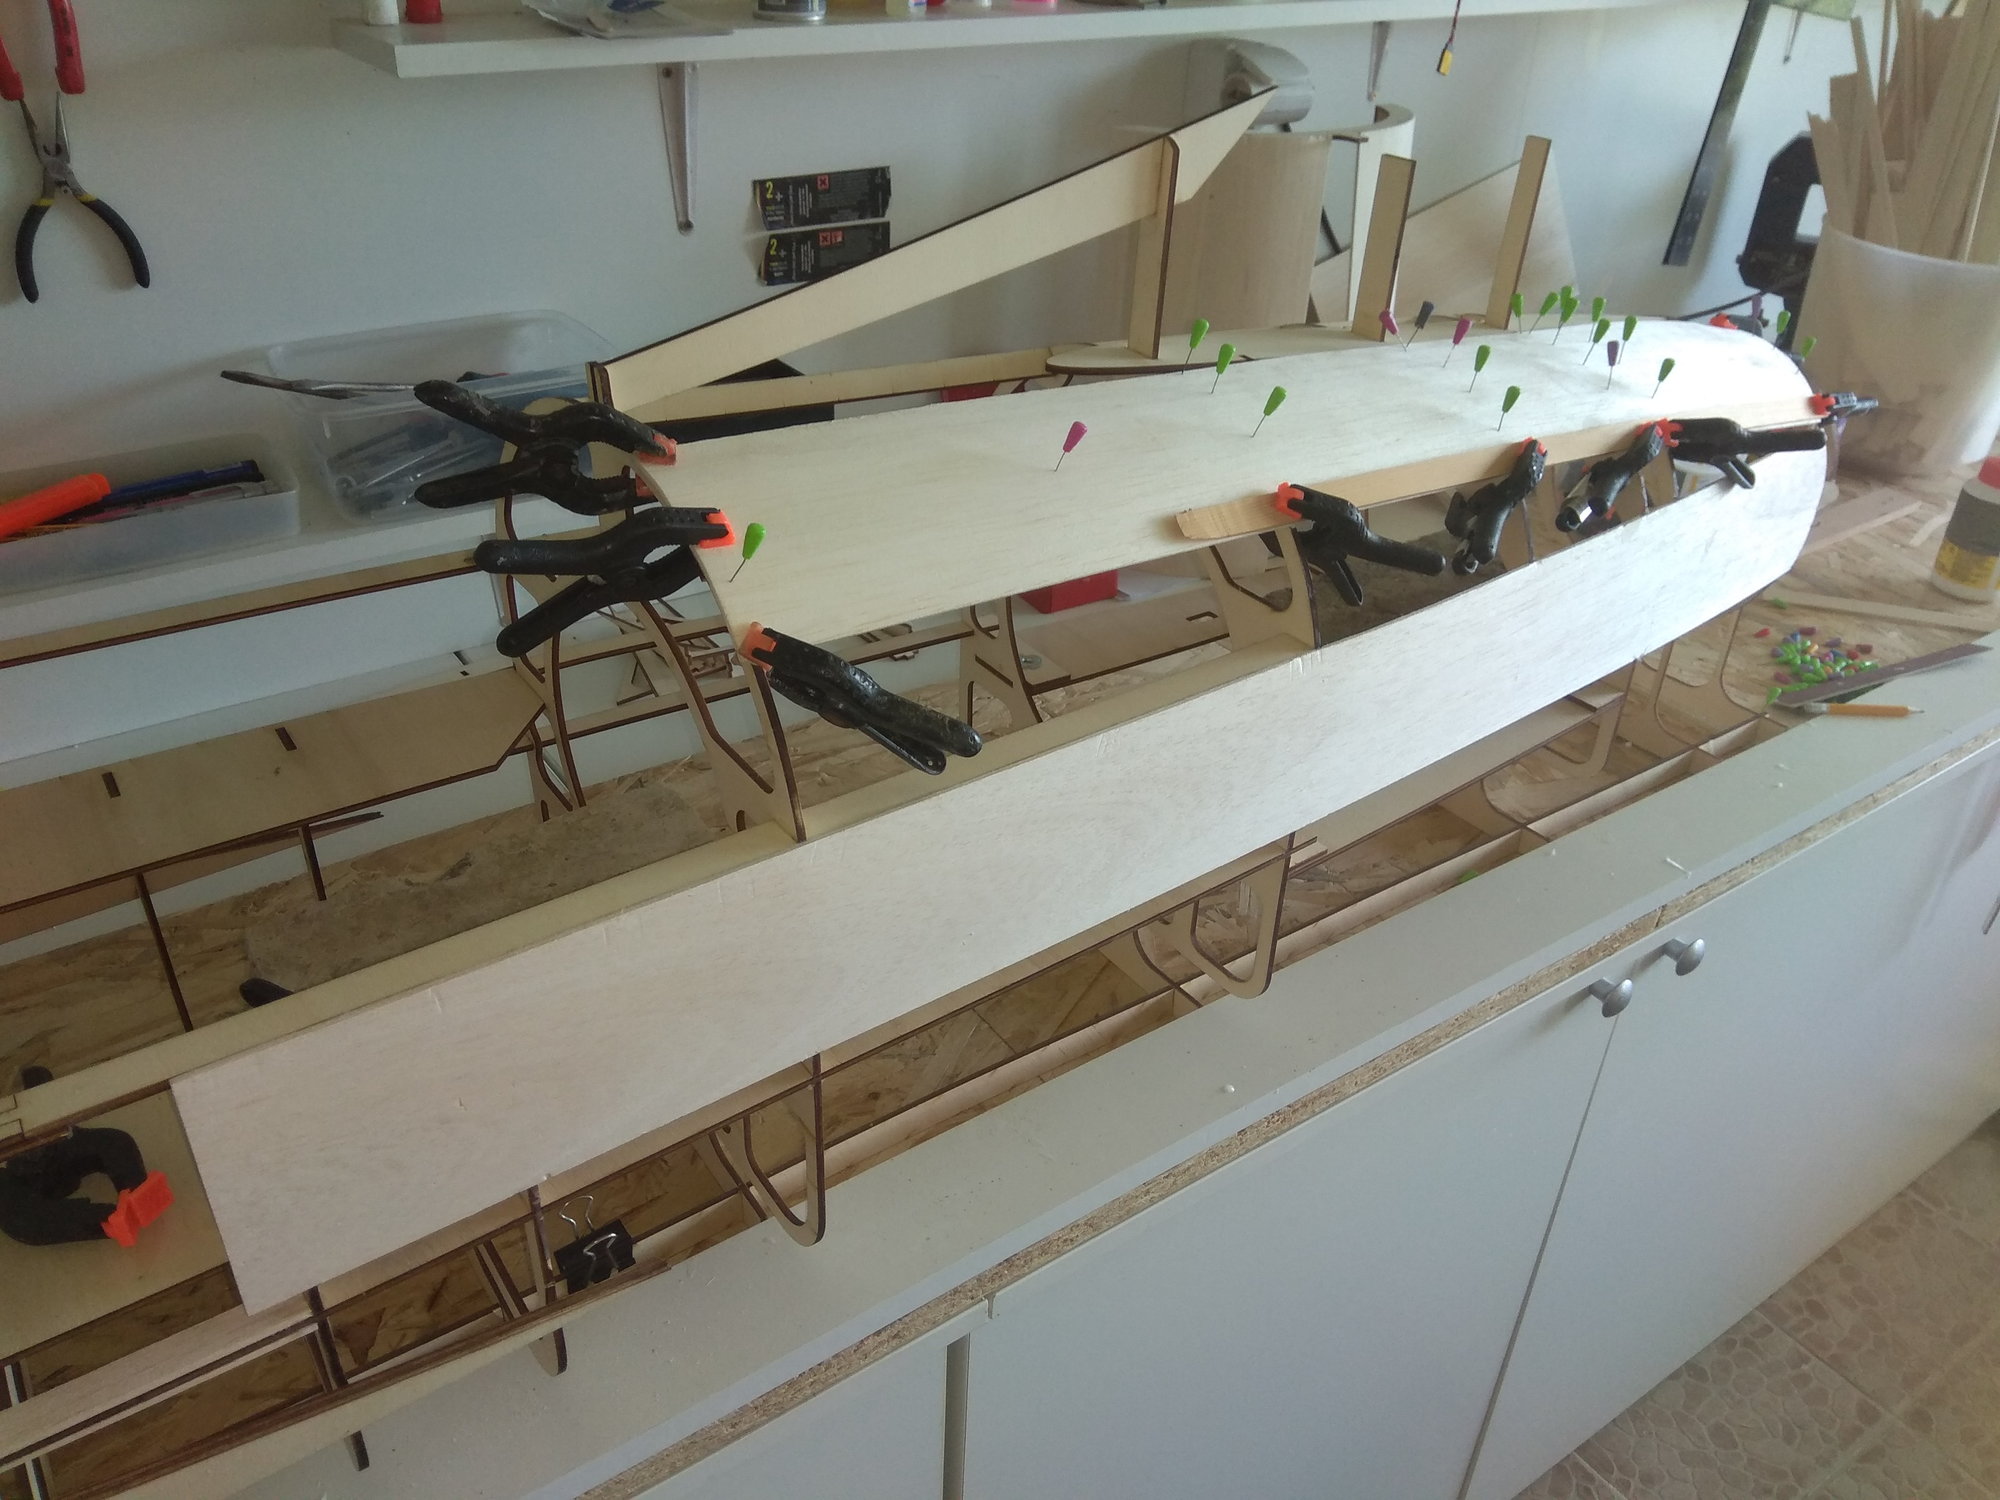


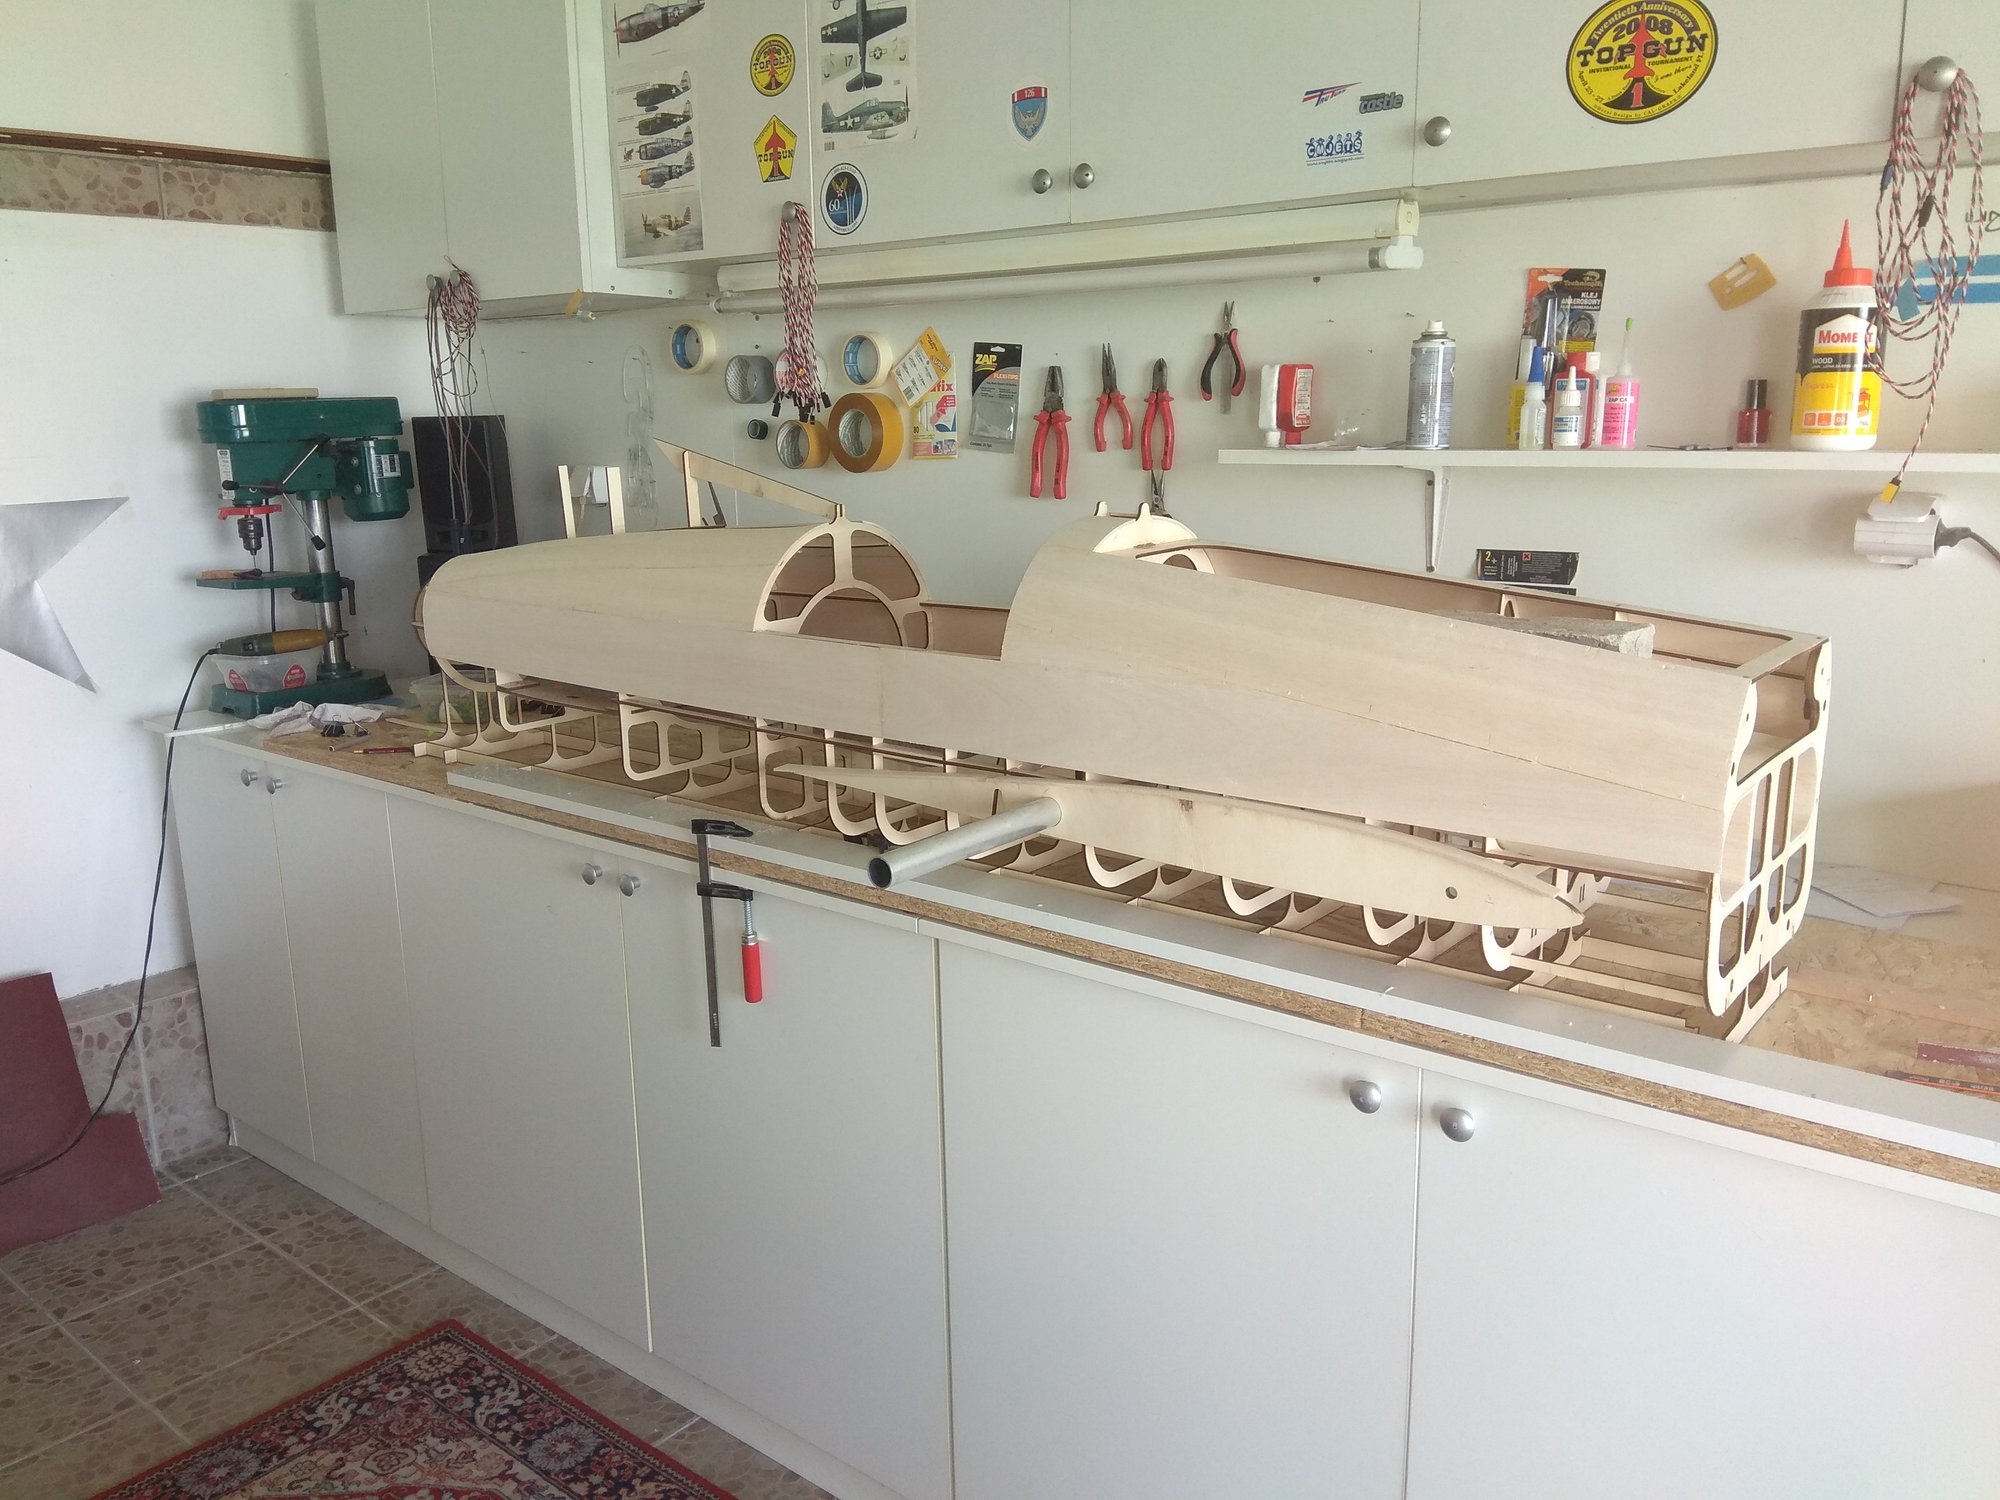

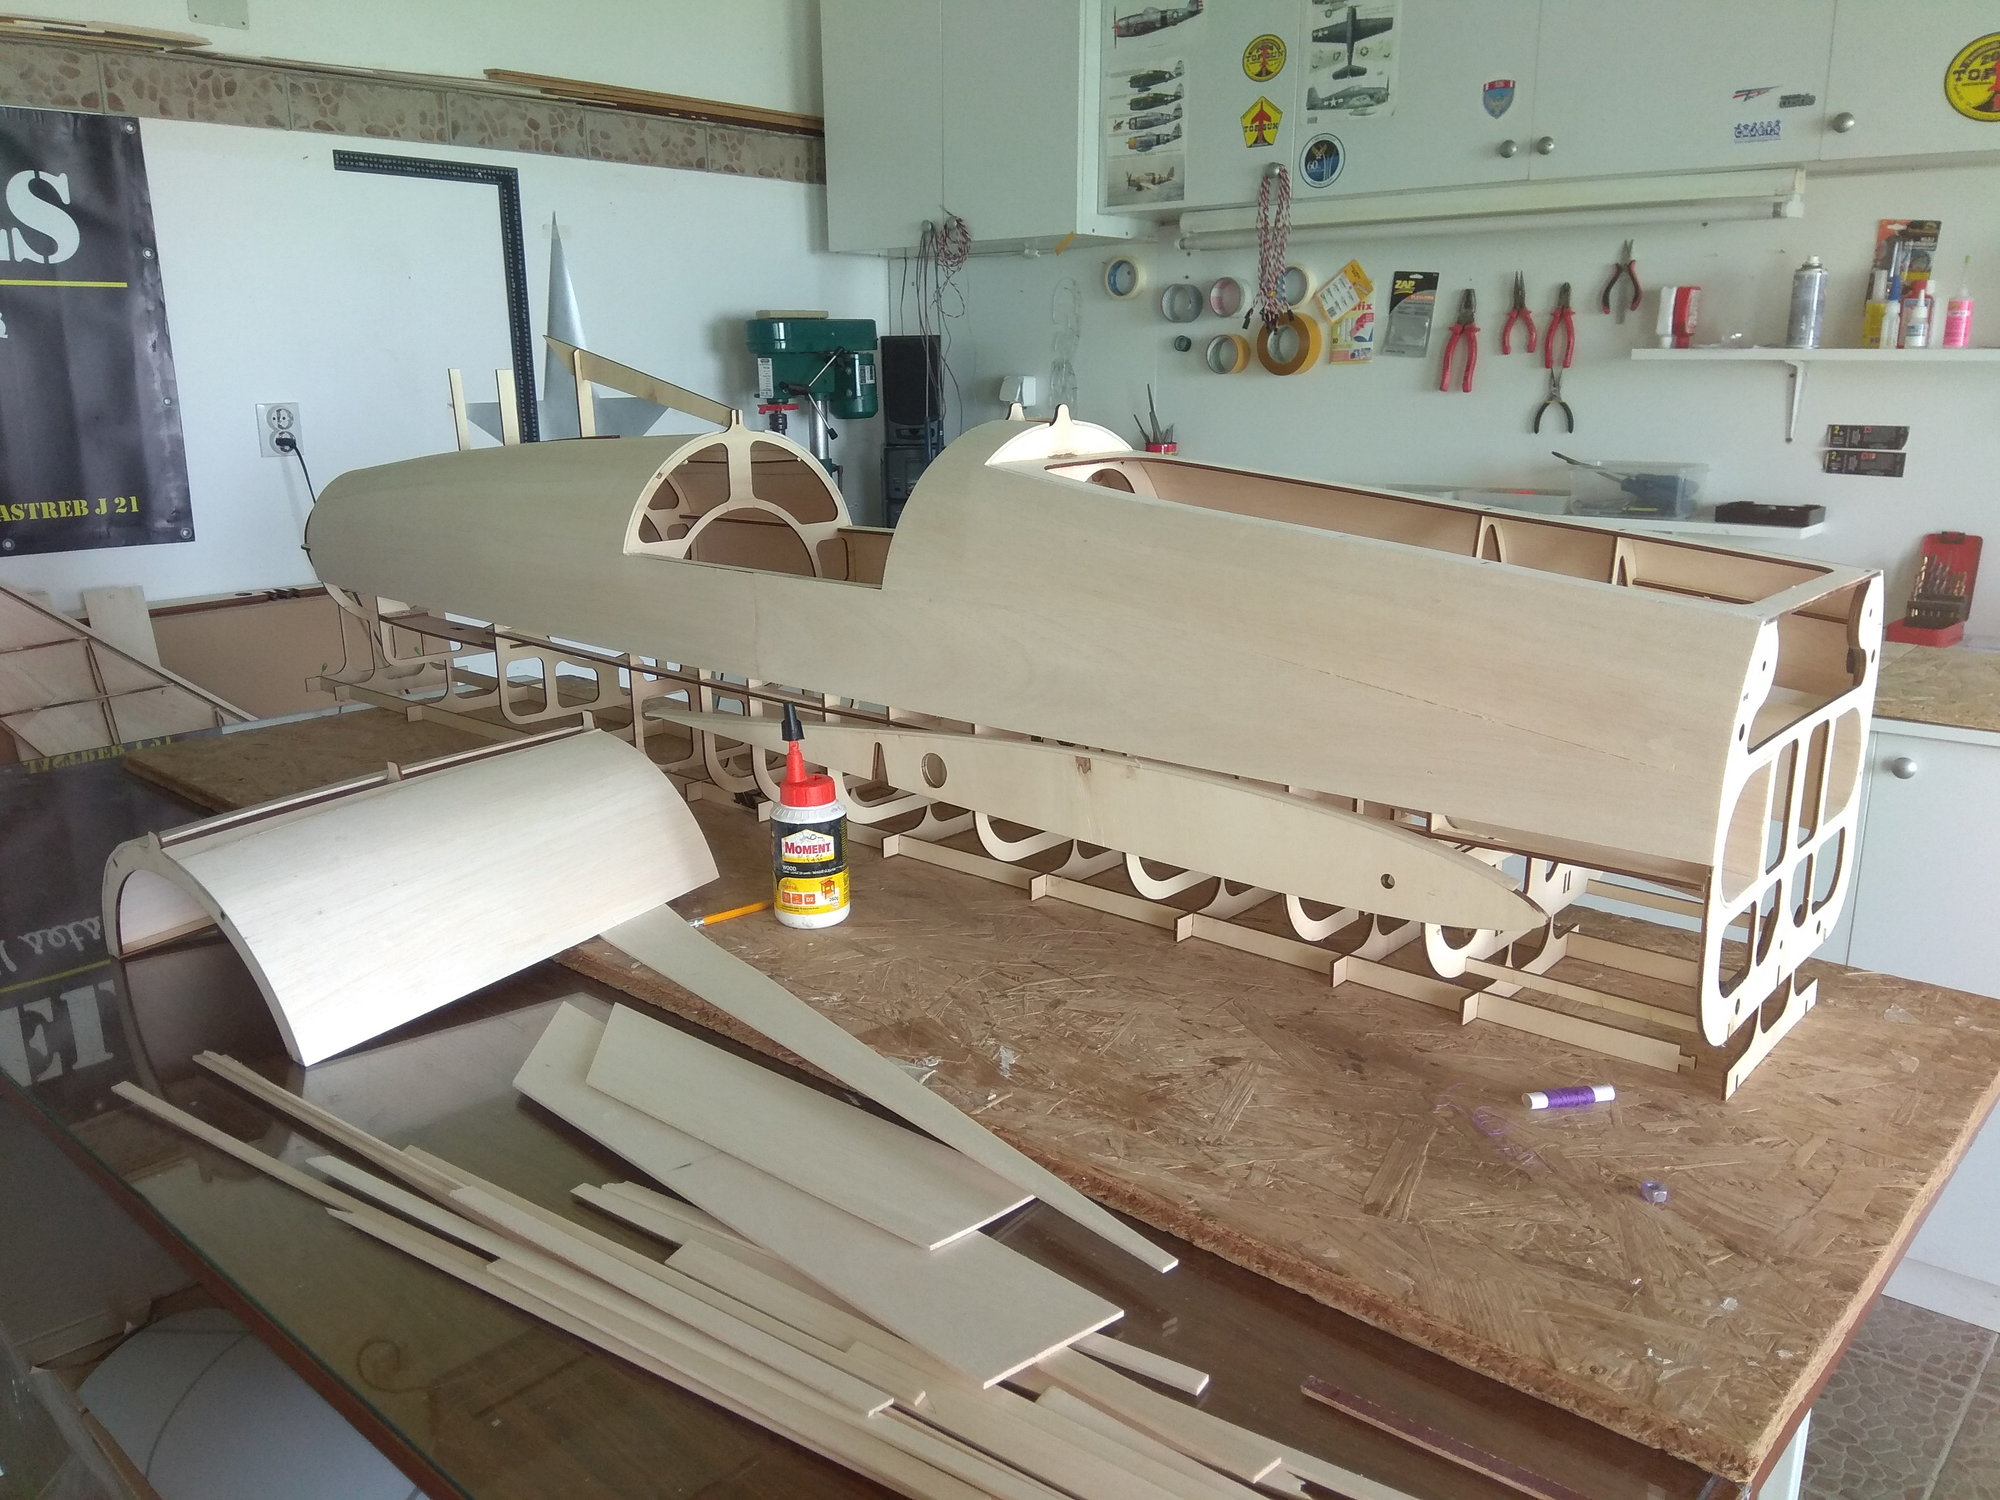
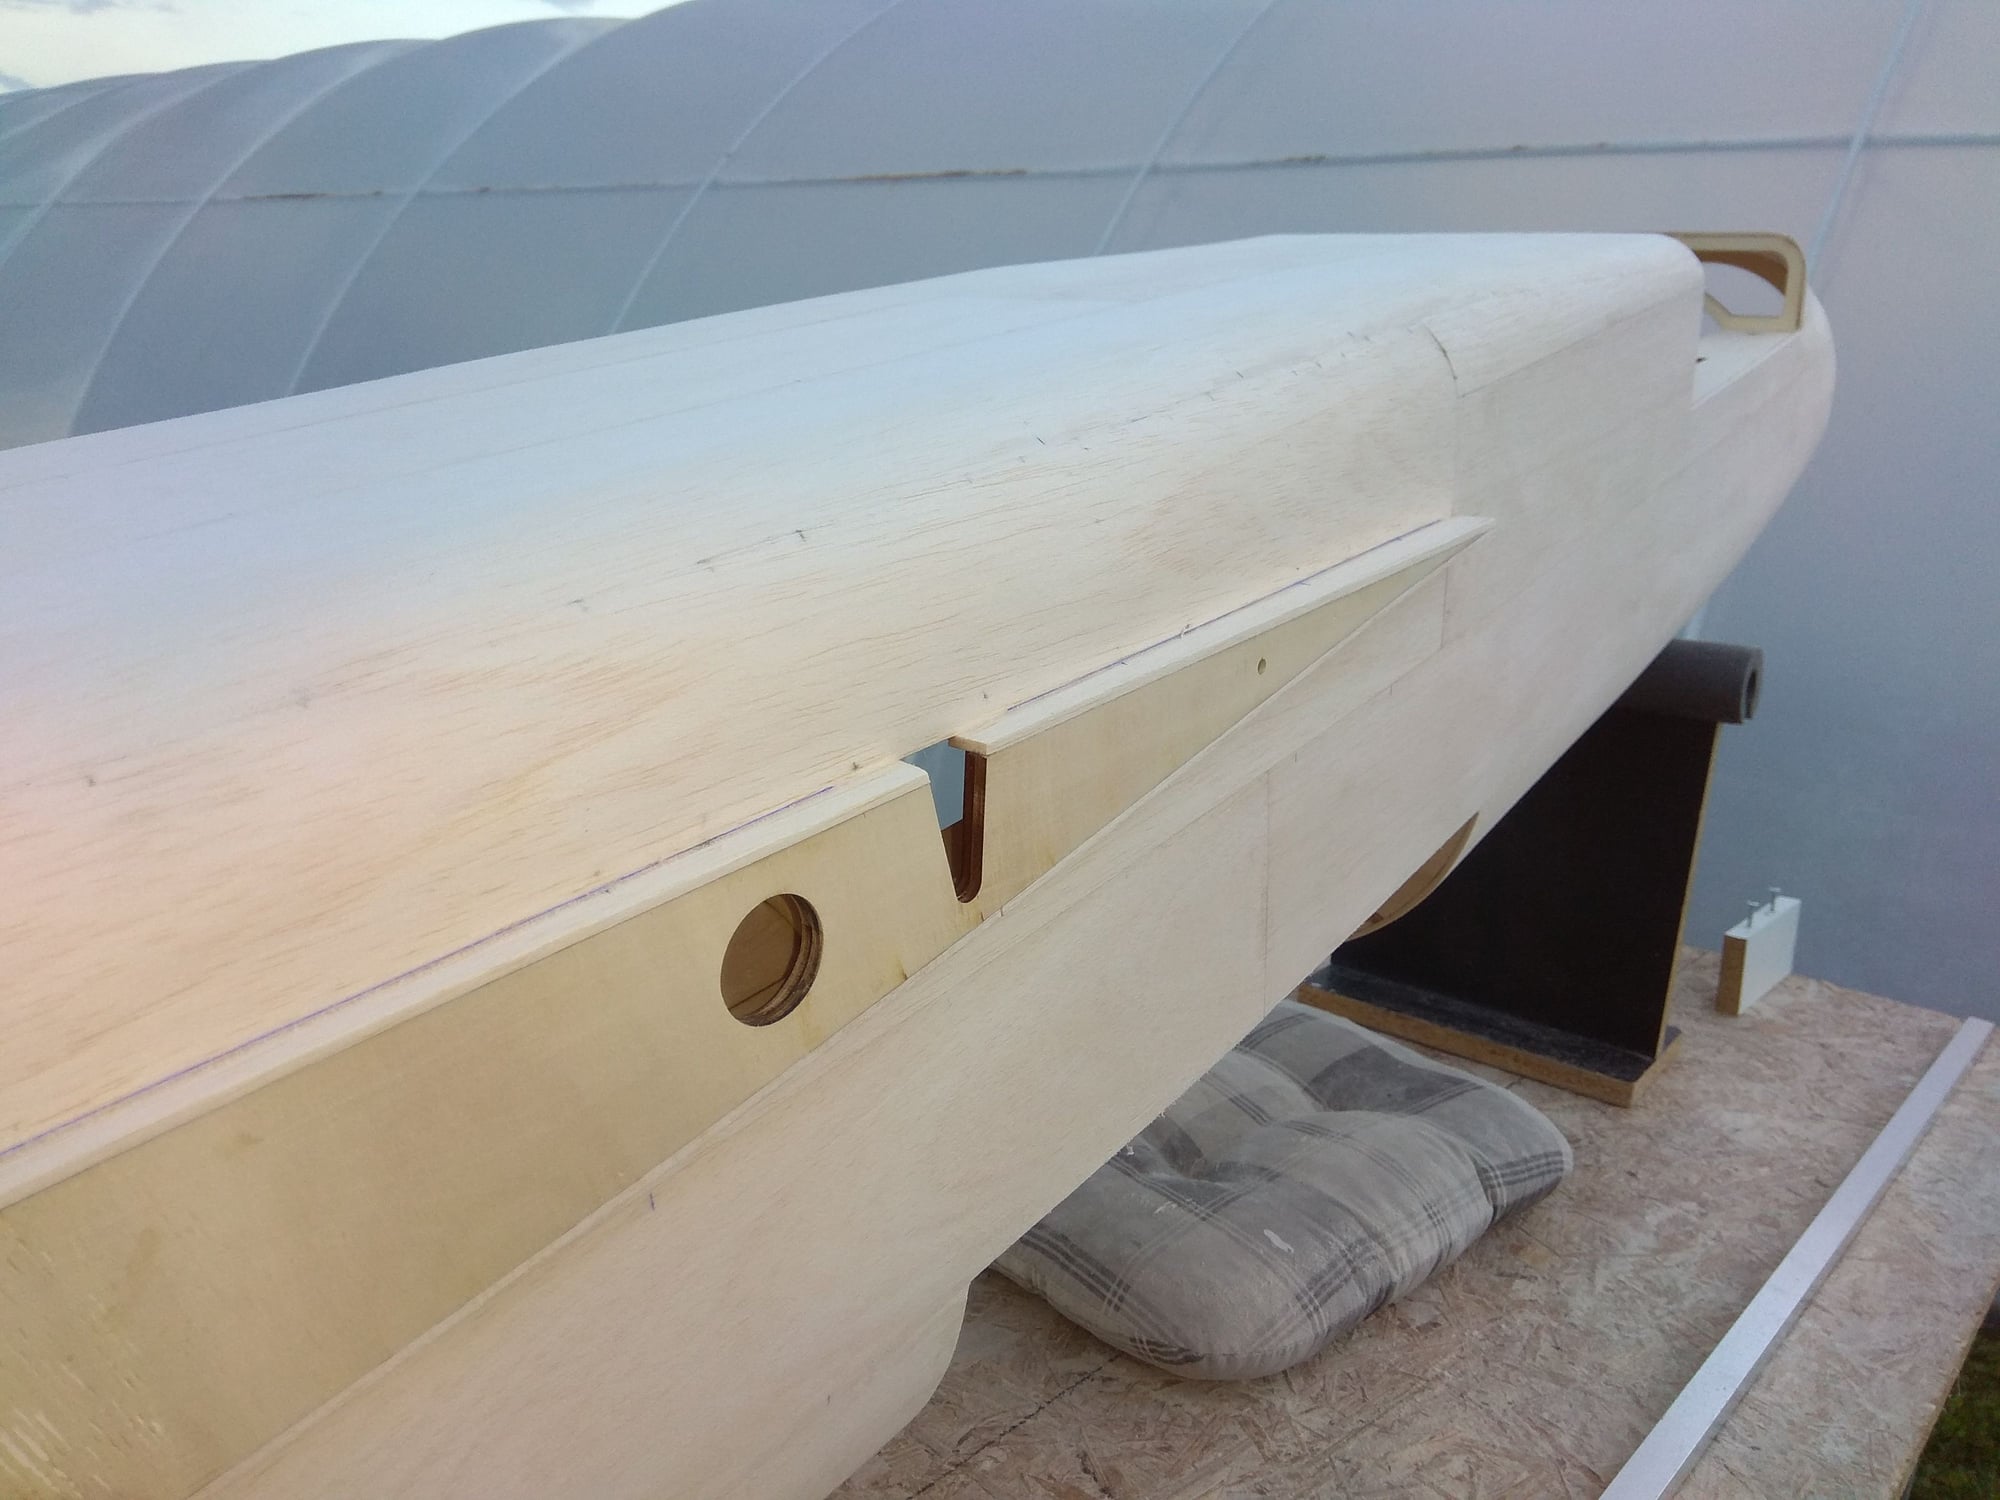
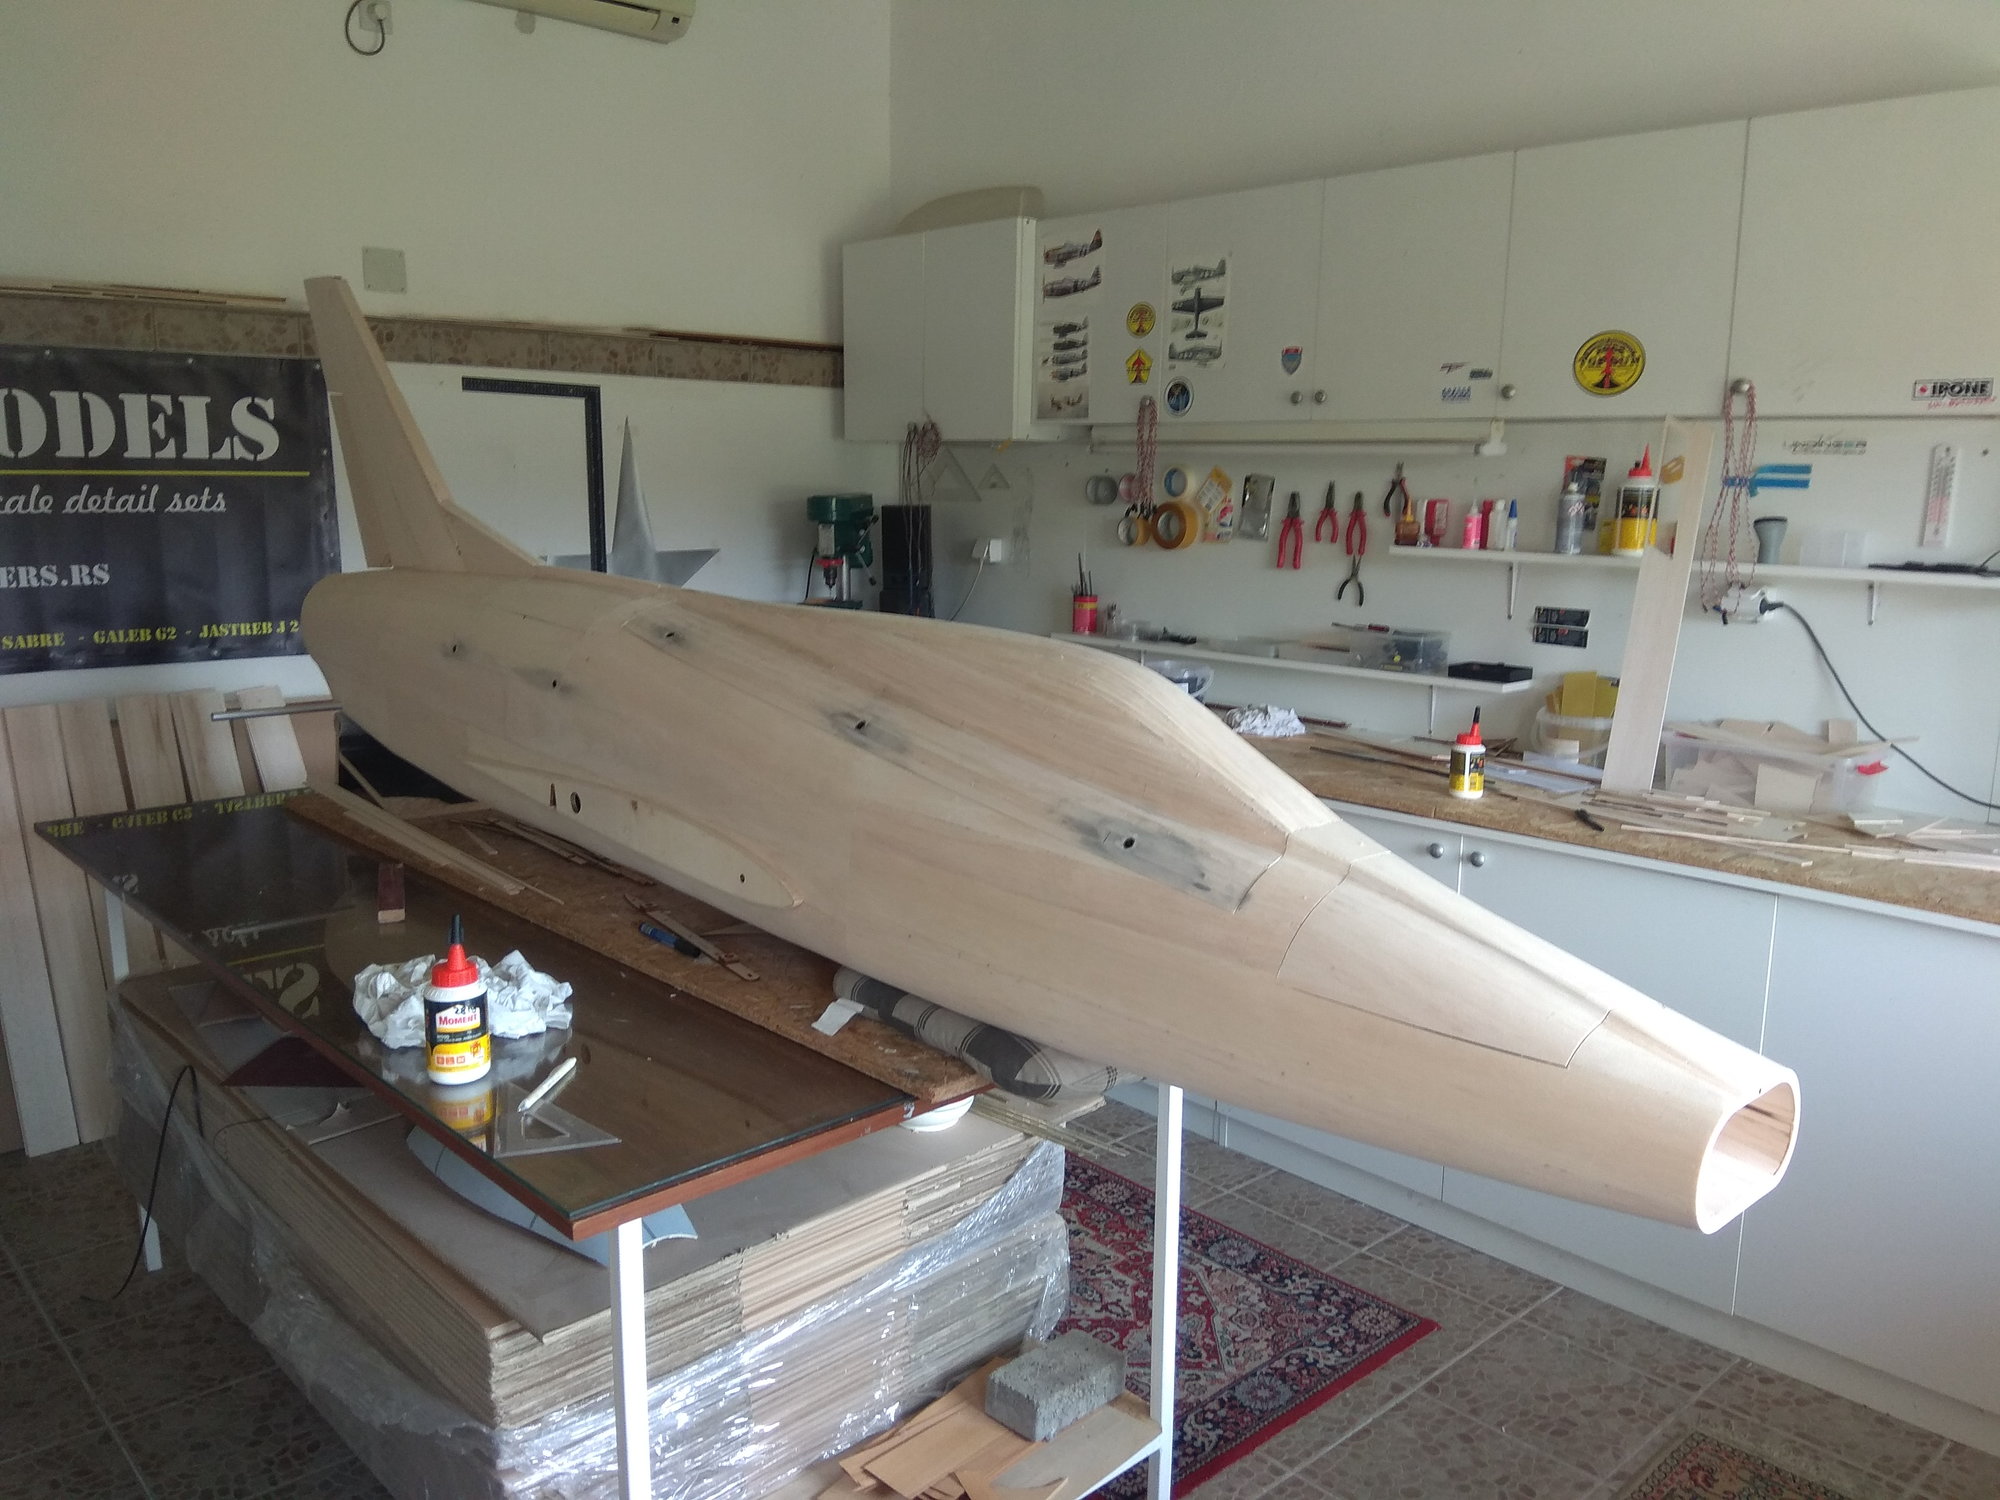
Now I turn fuselage and cut support "legs"...
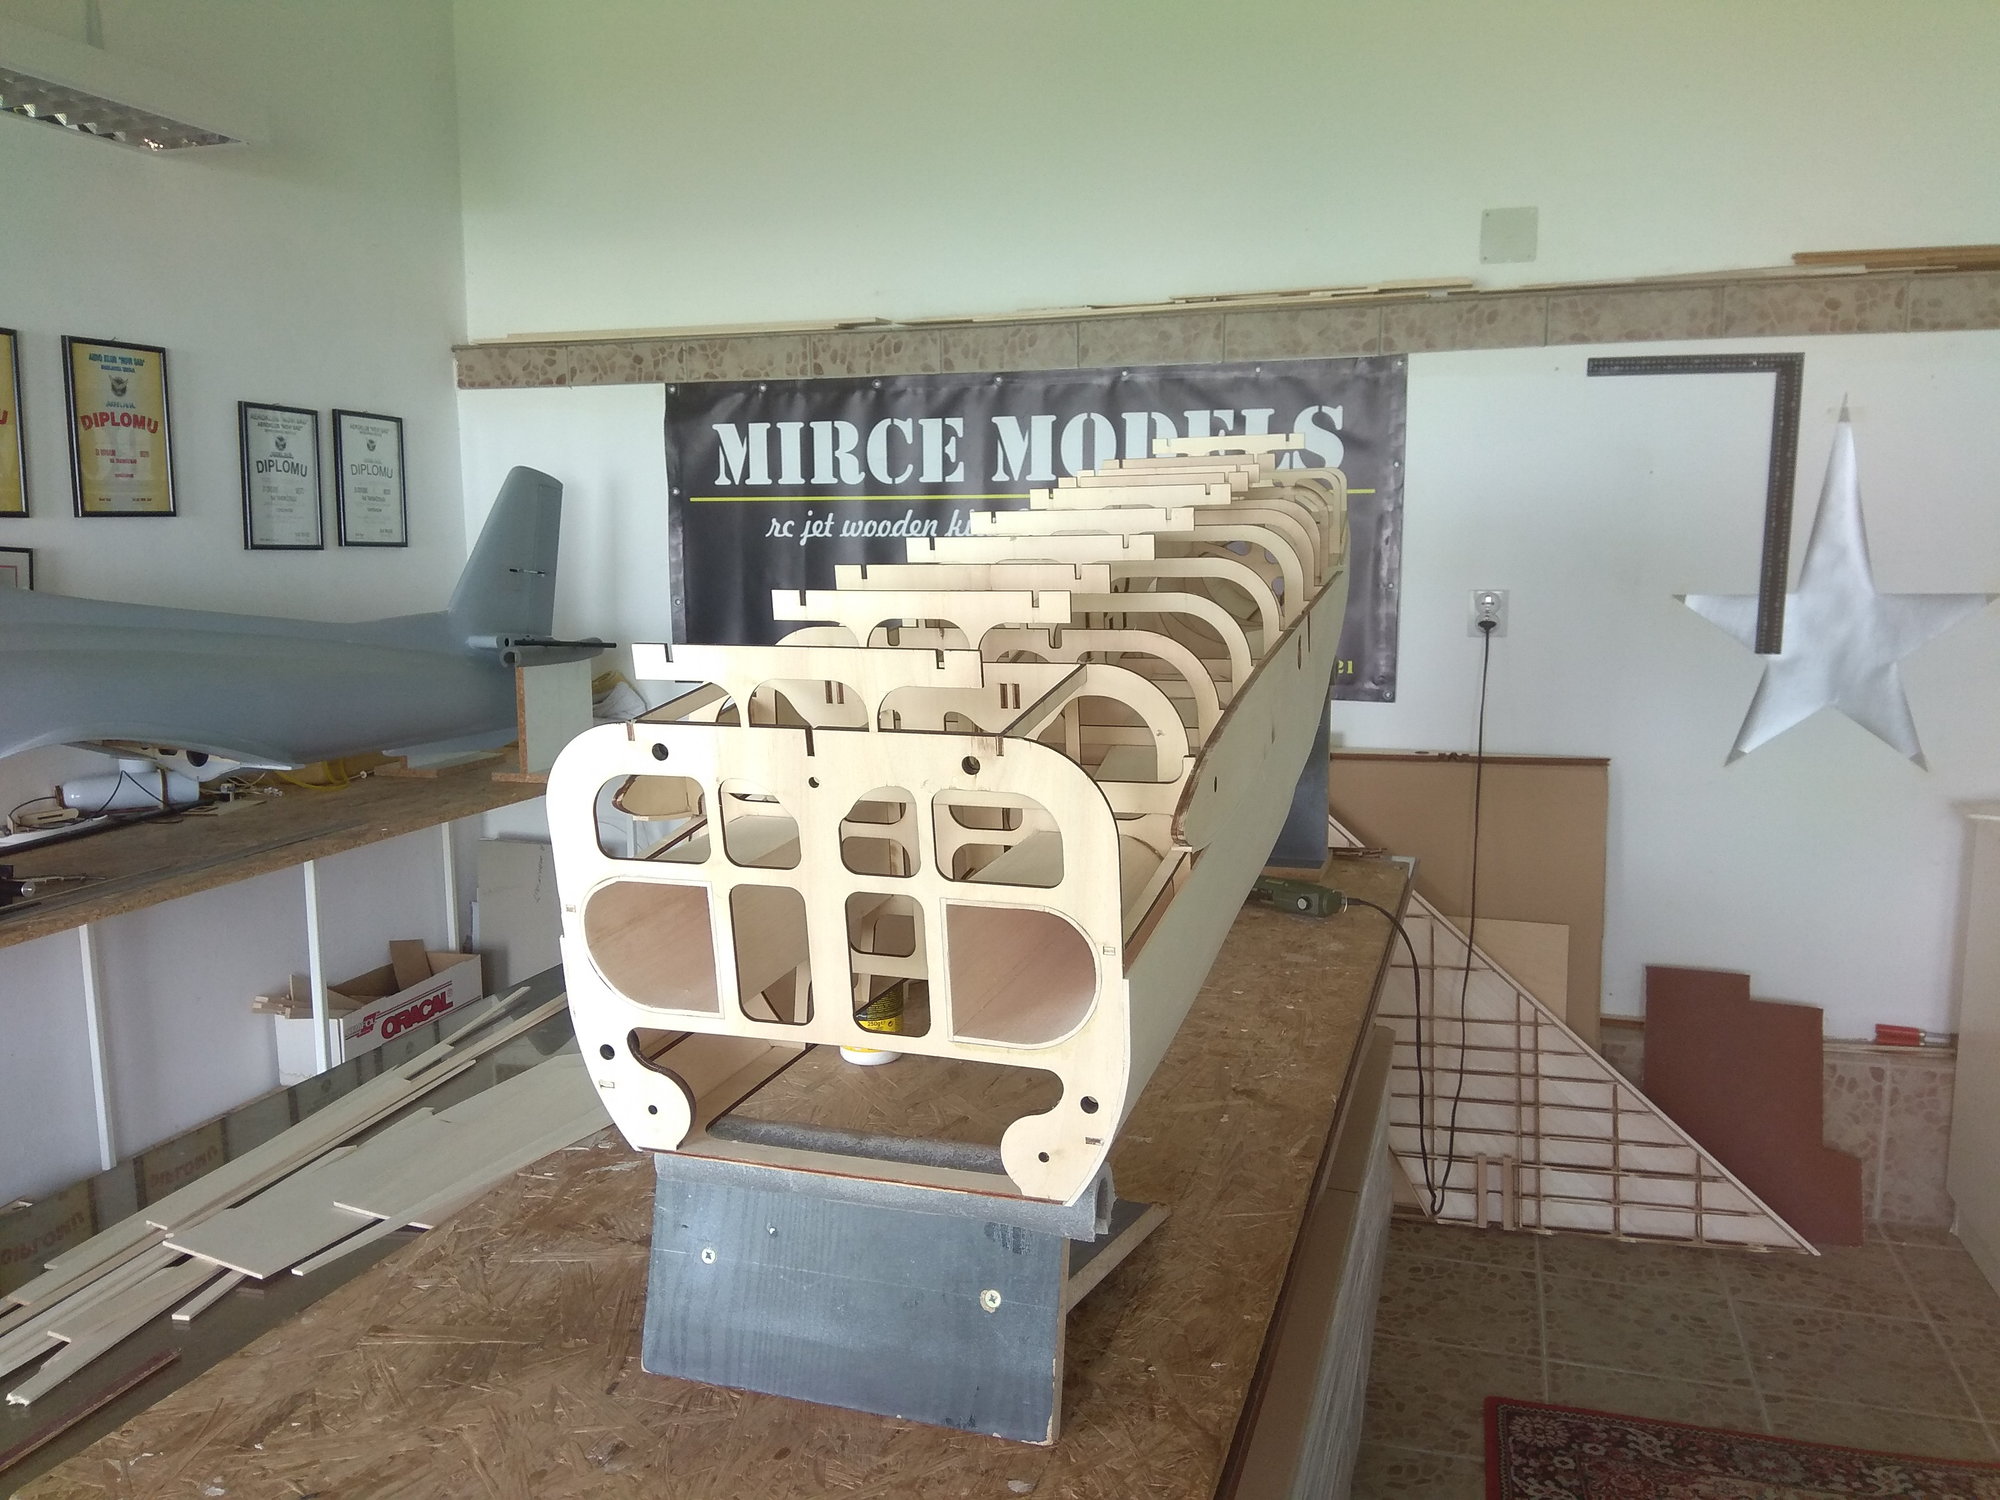
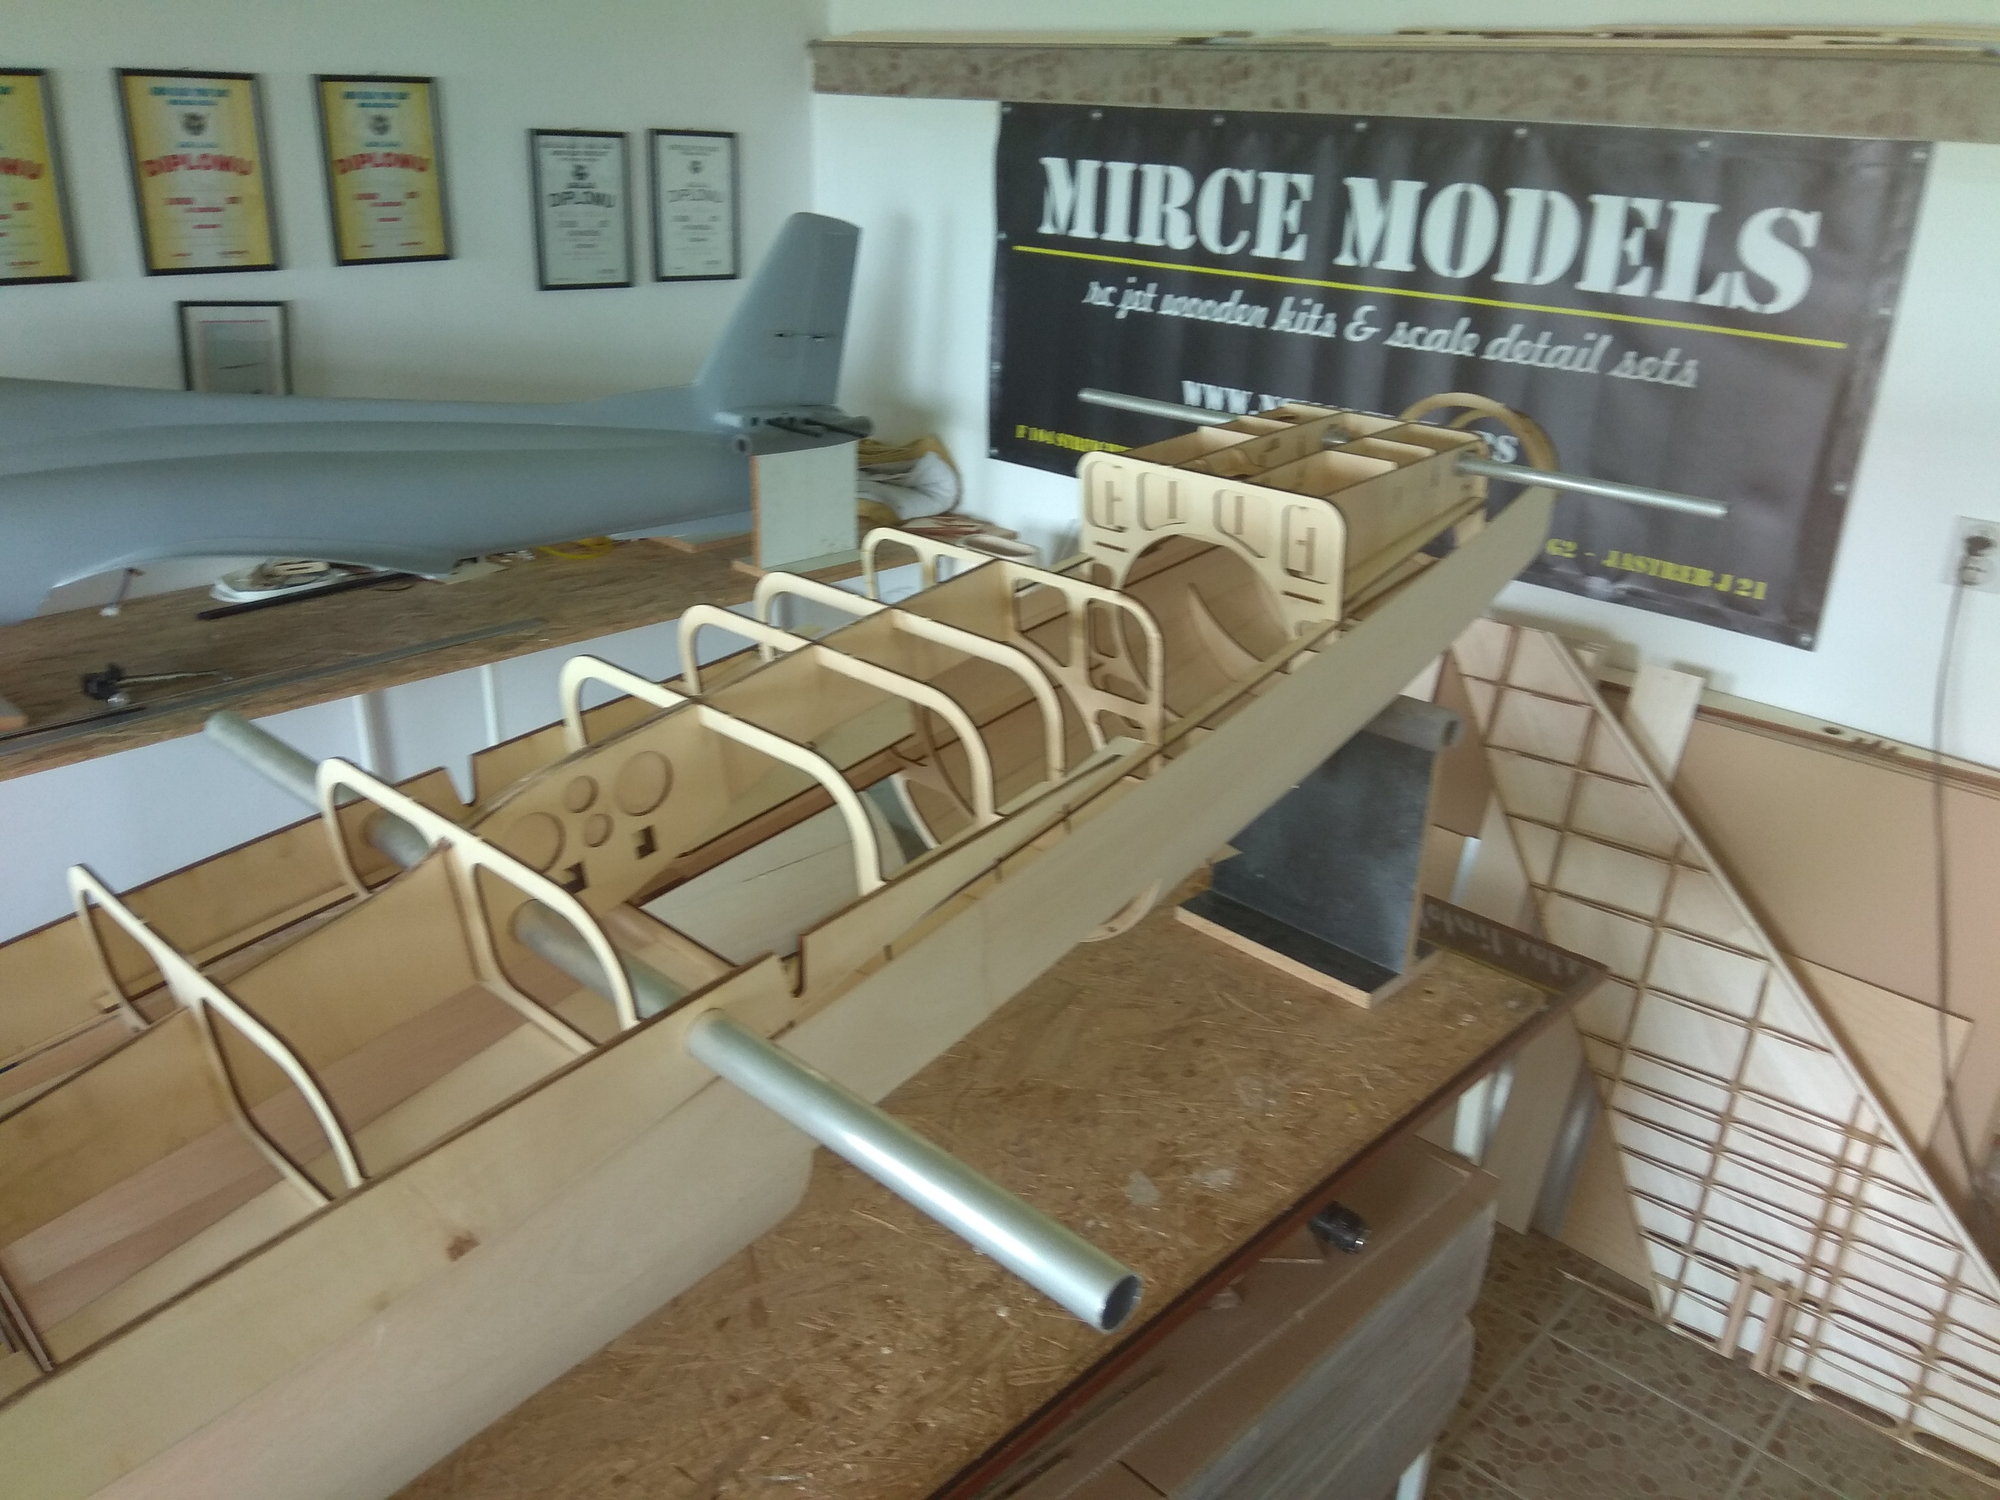
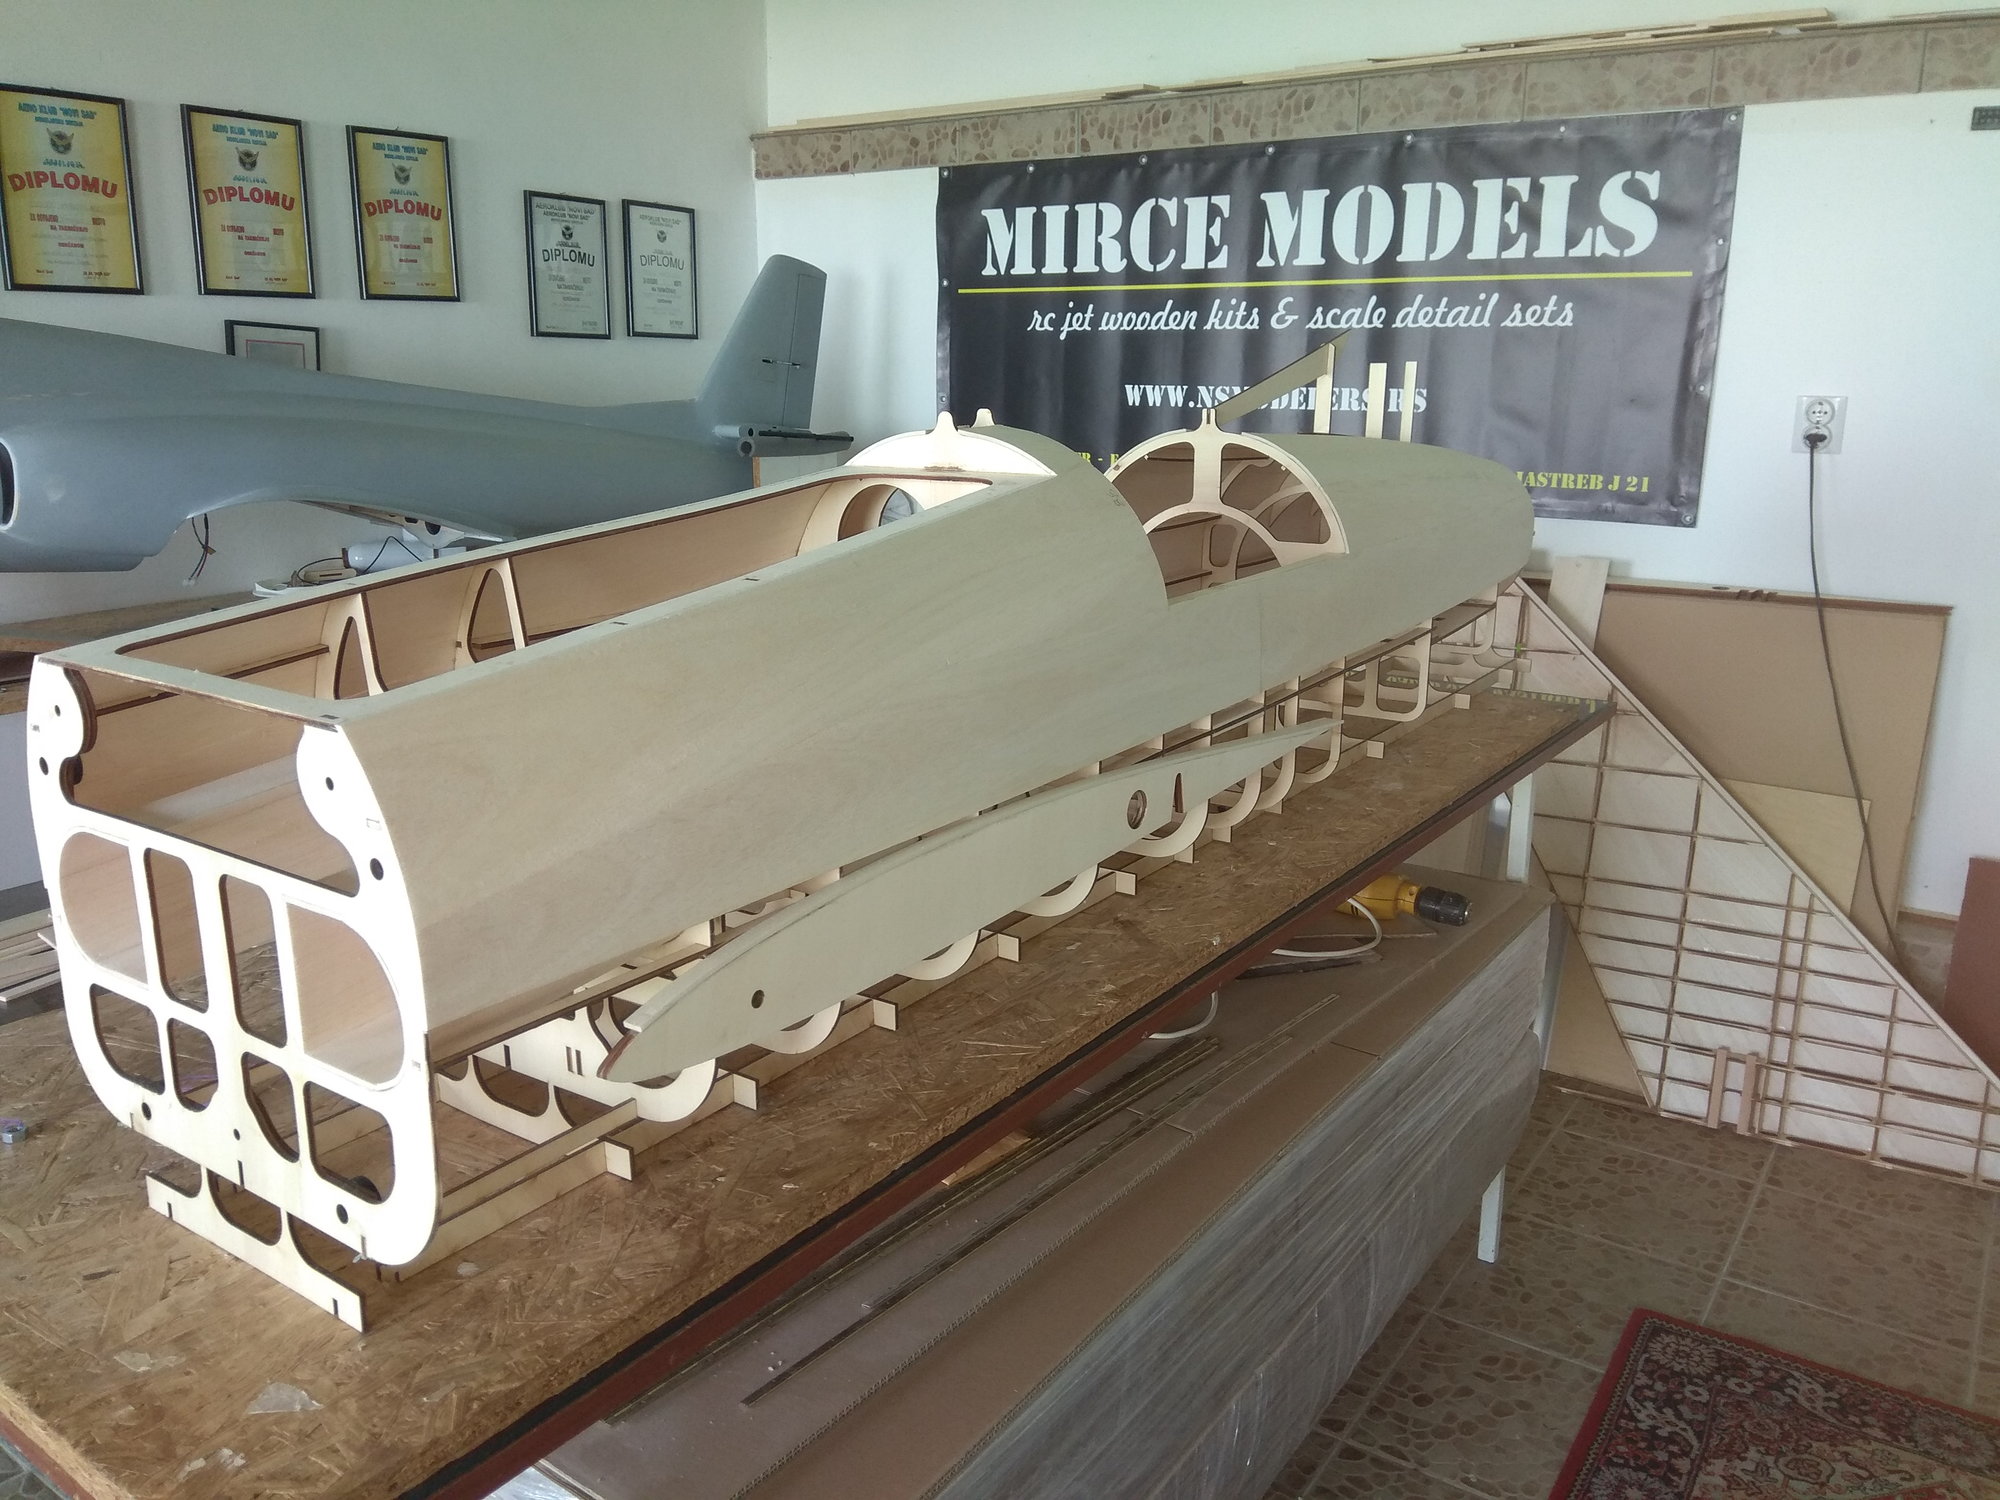
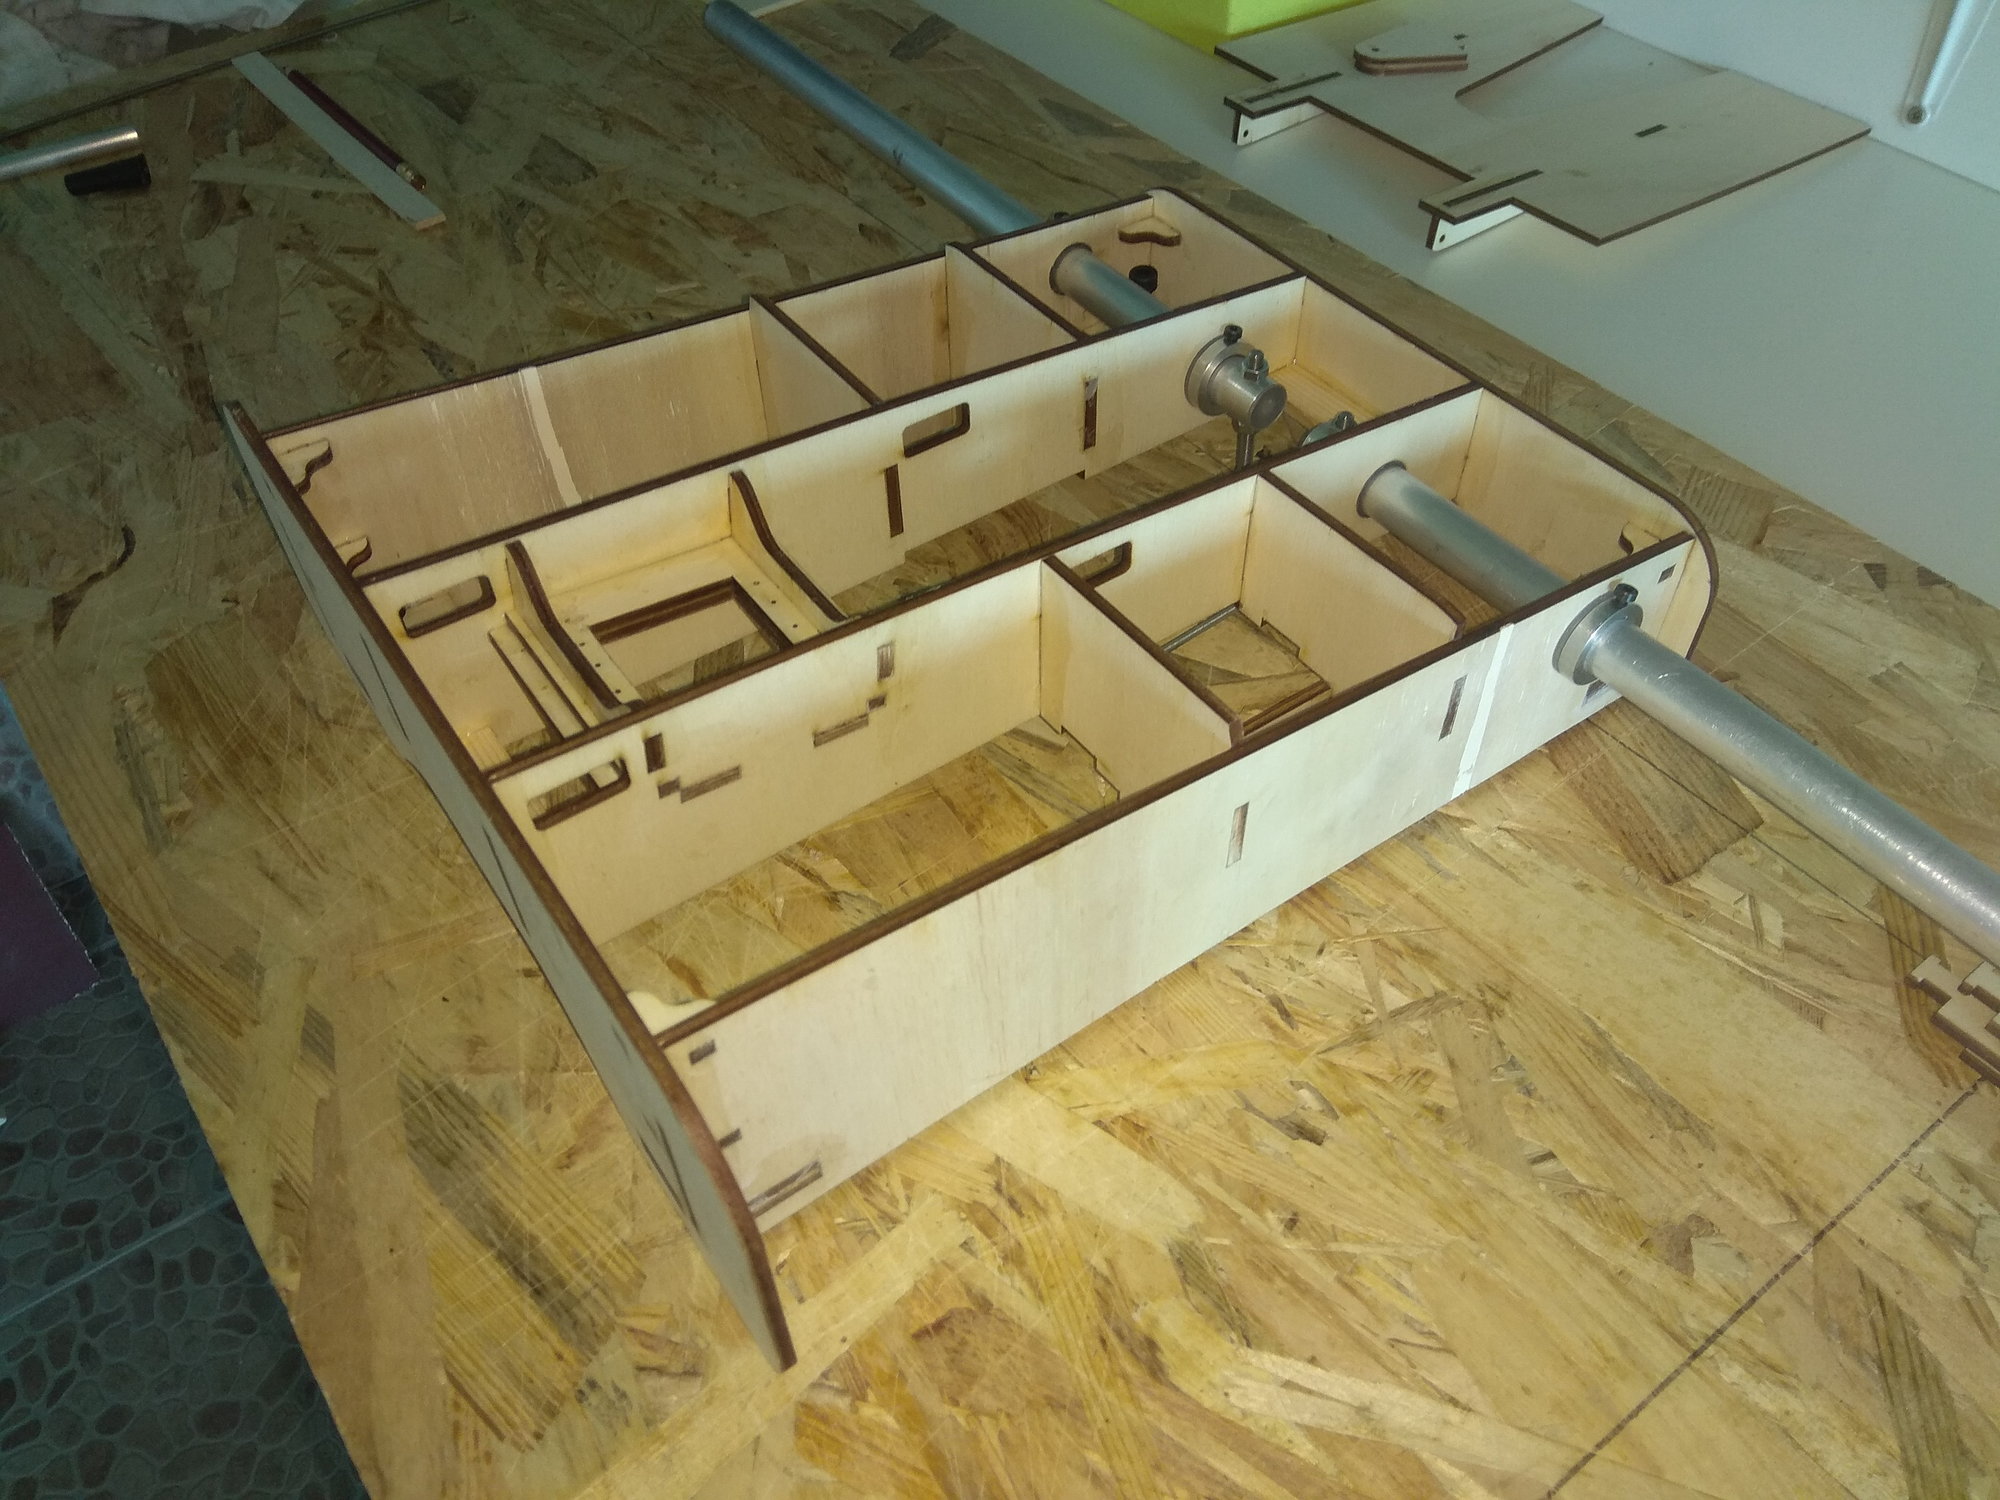
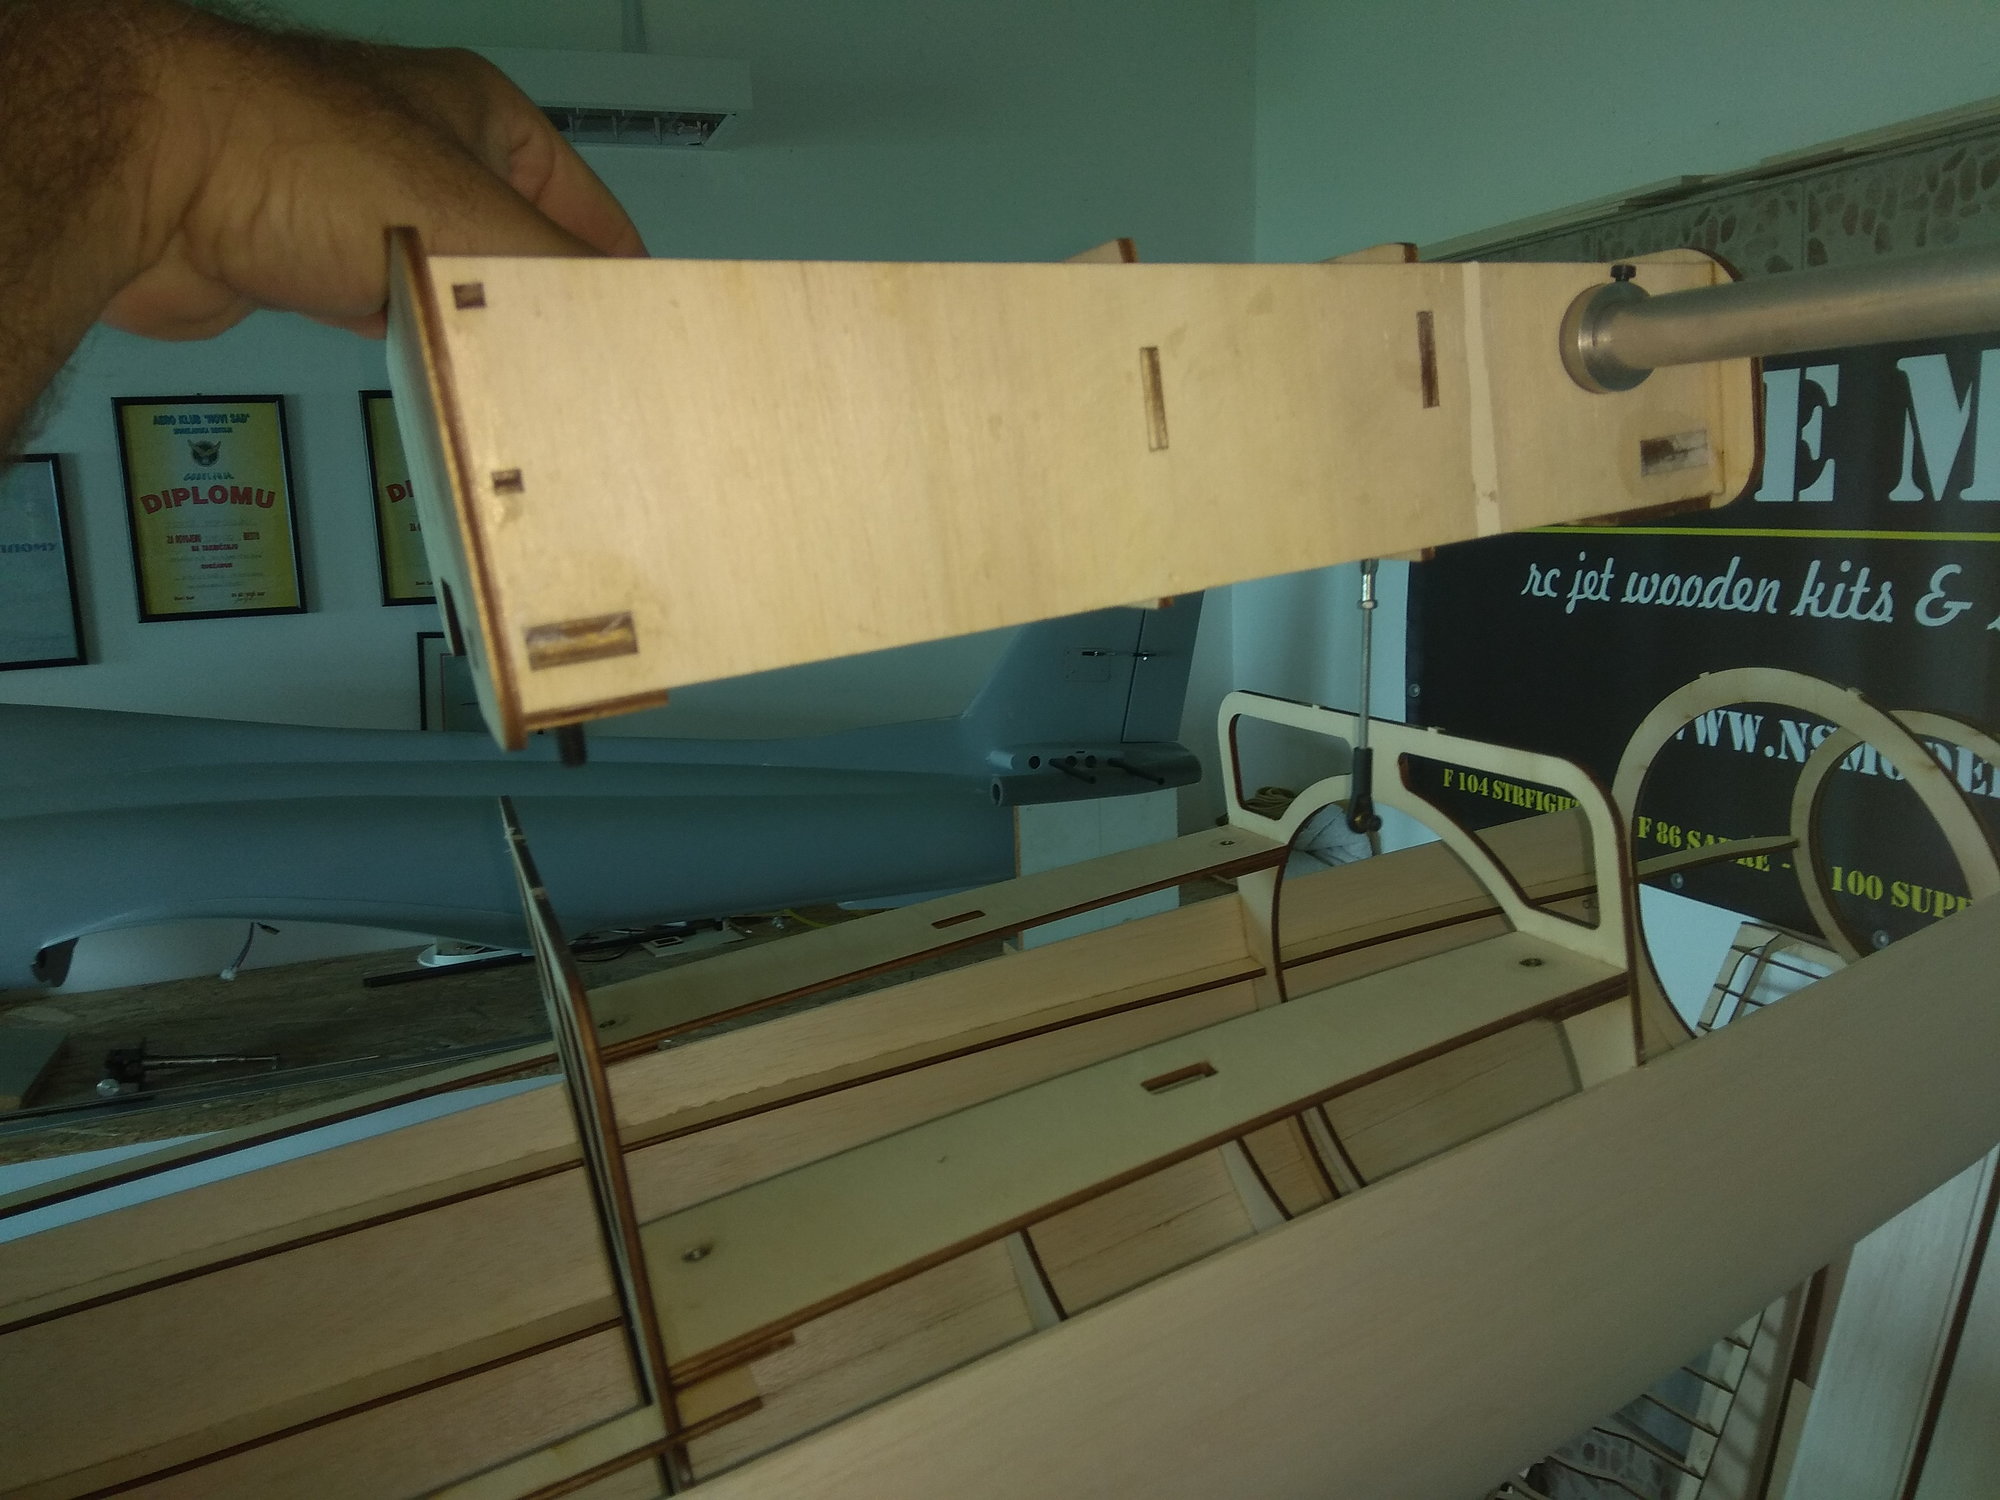
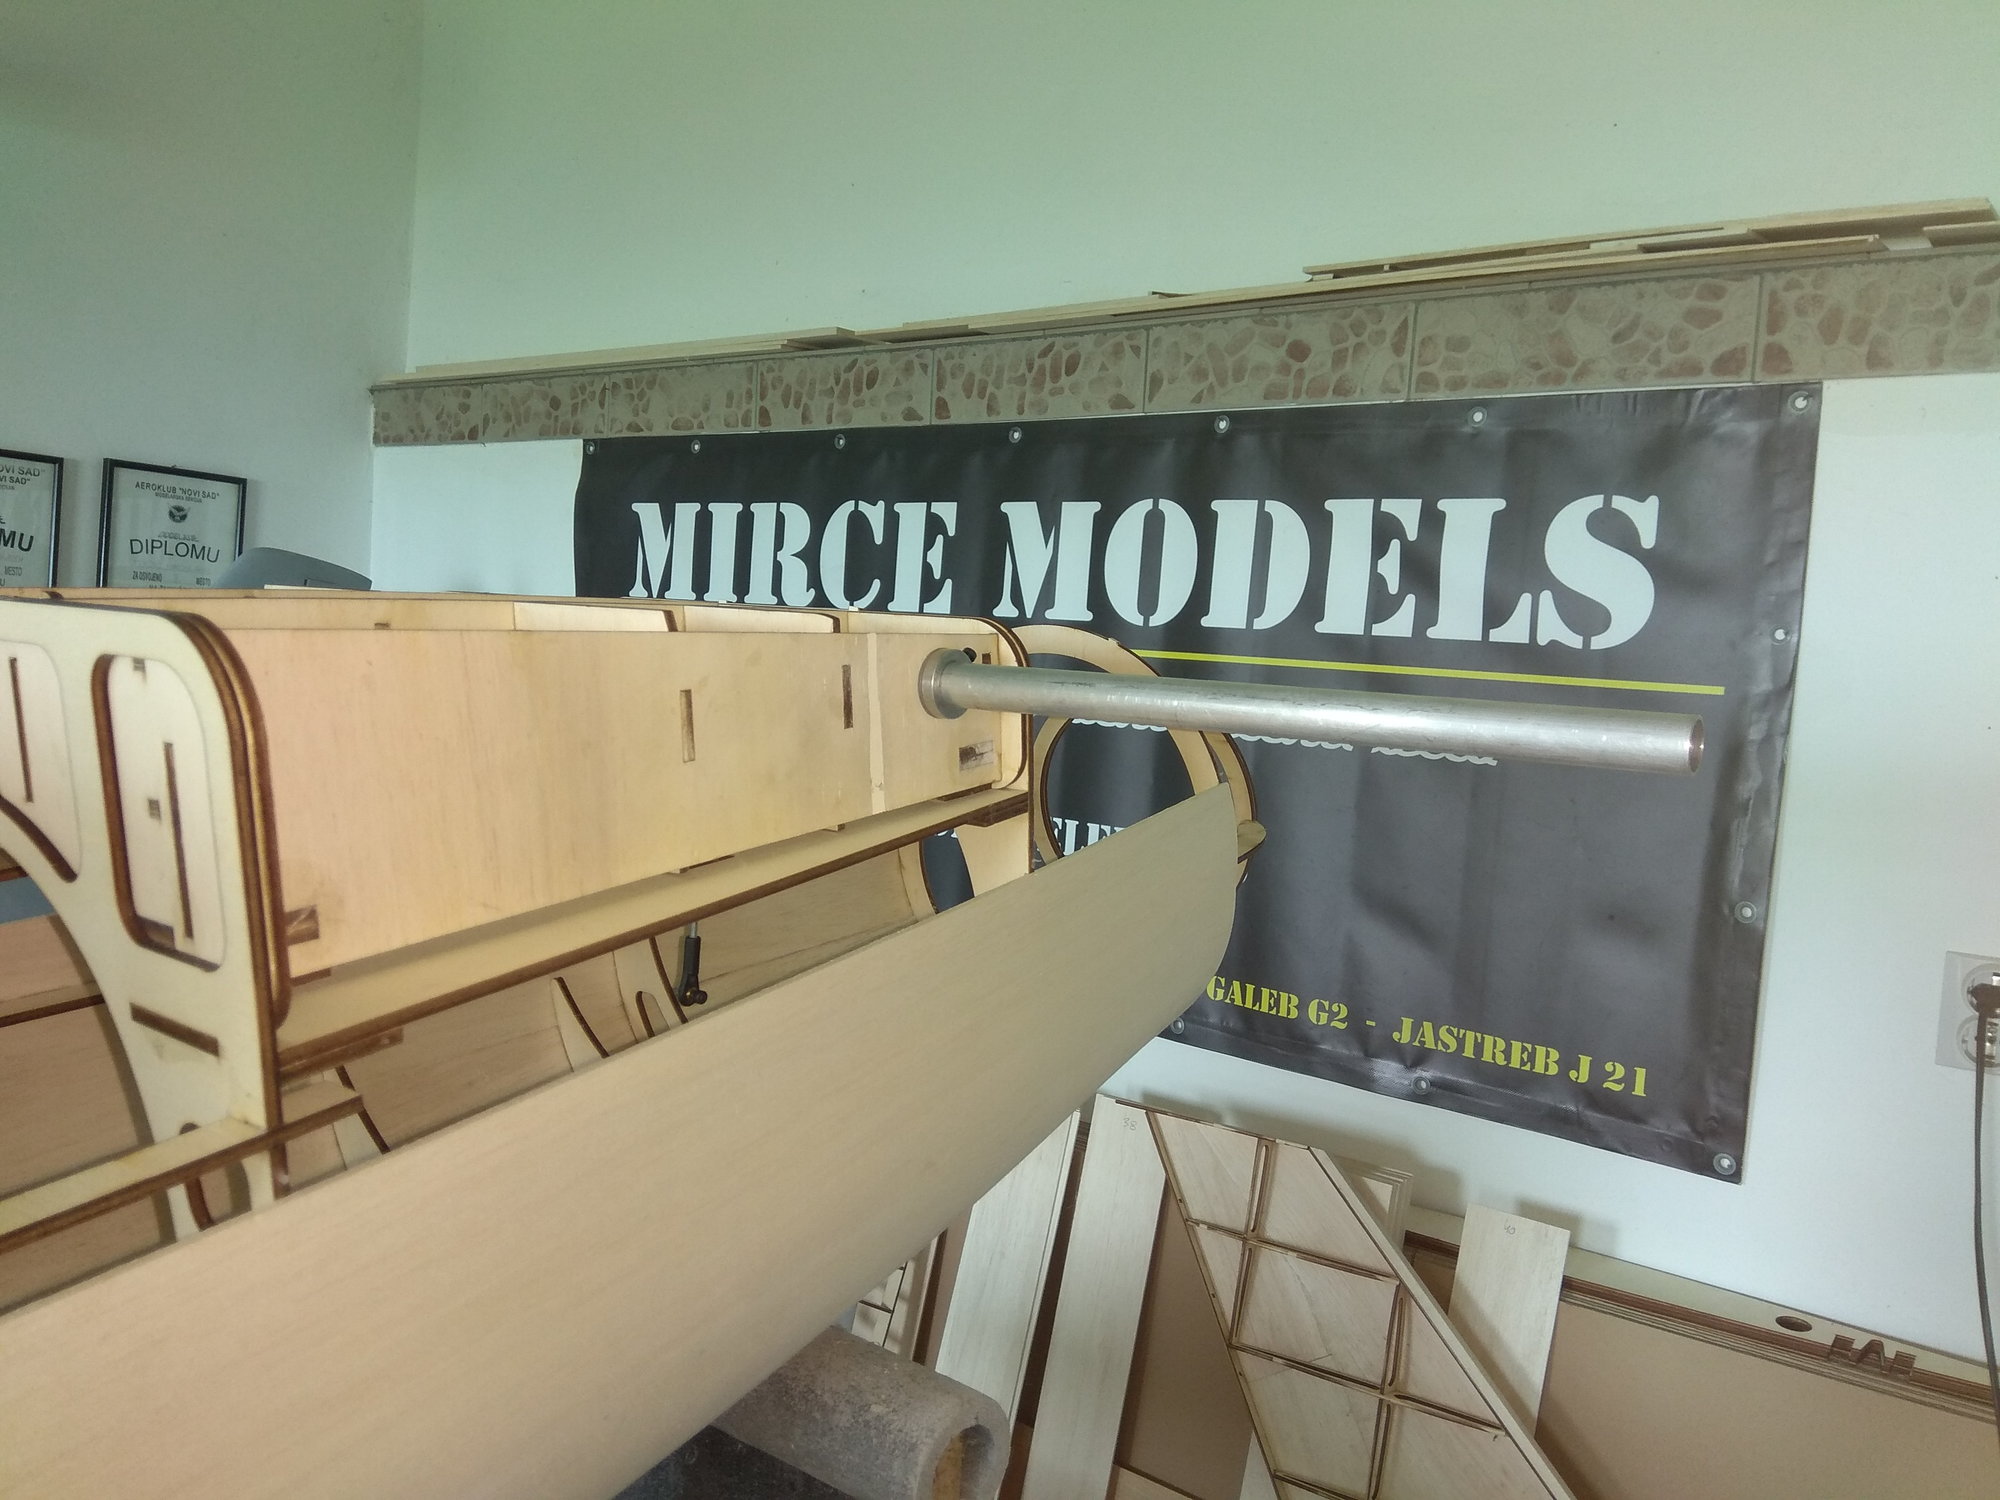
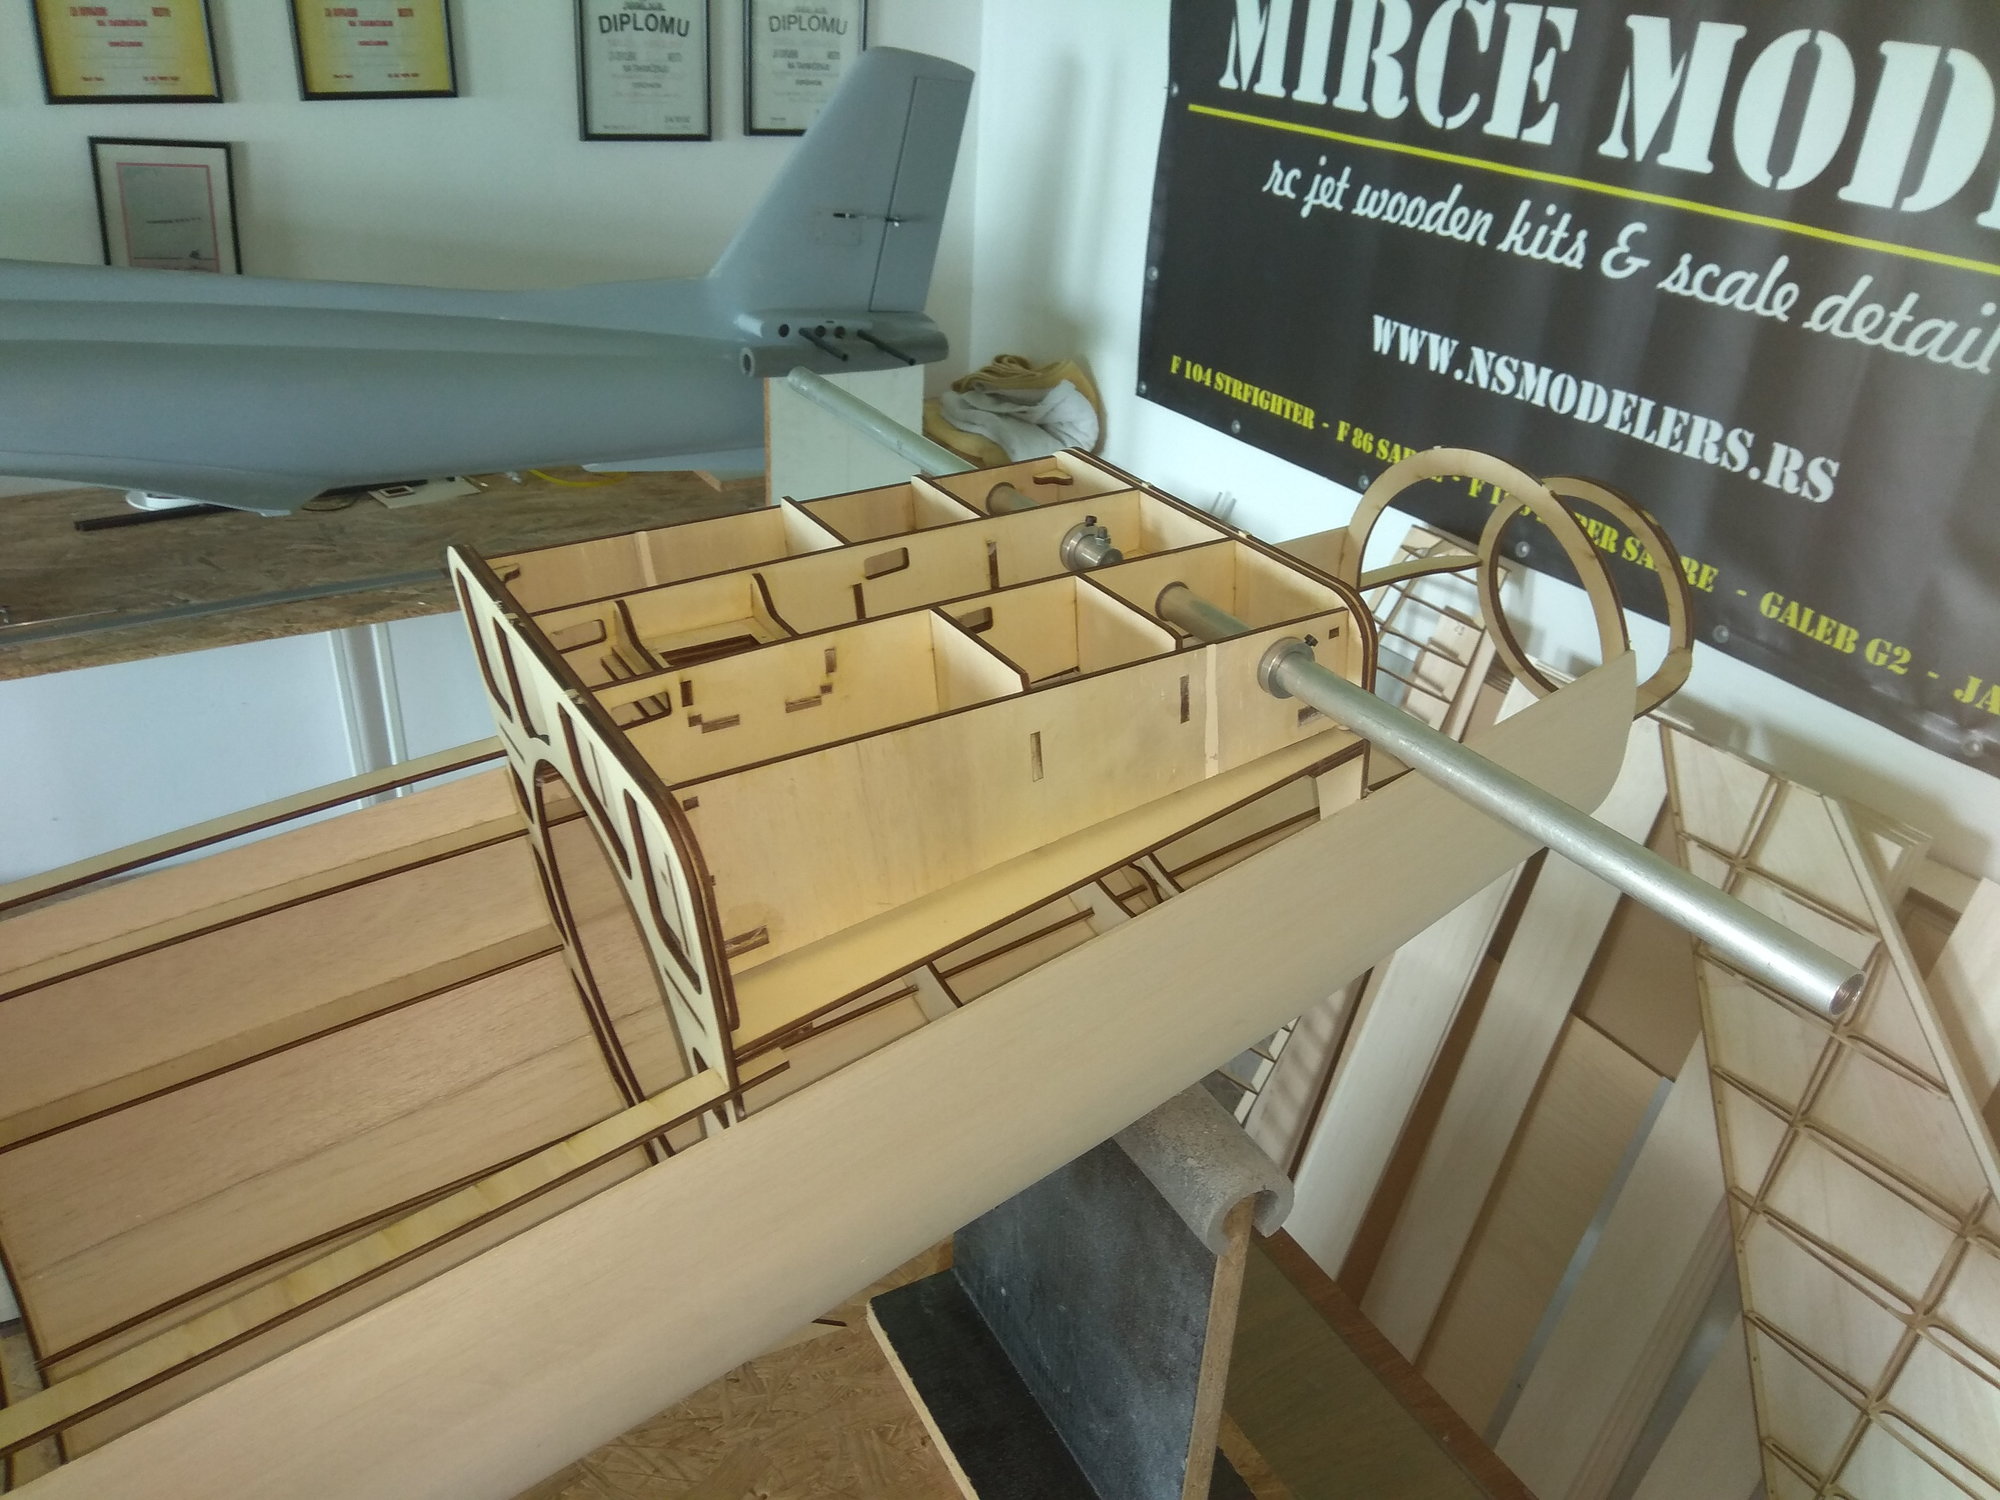
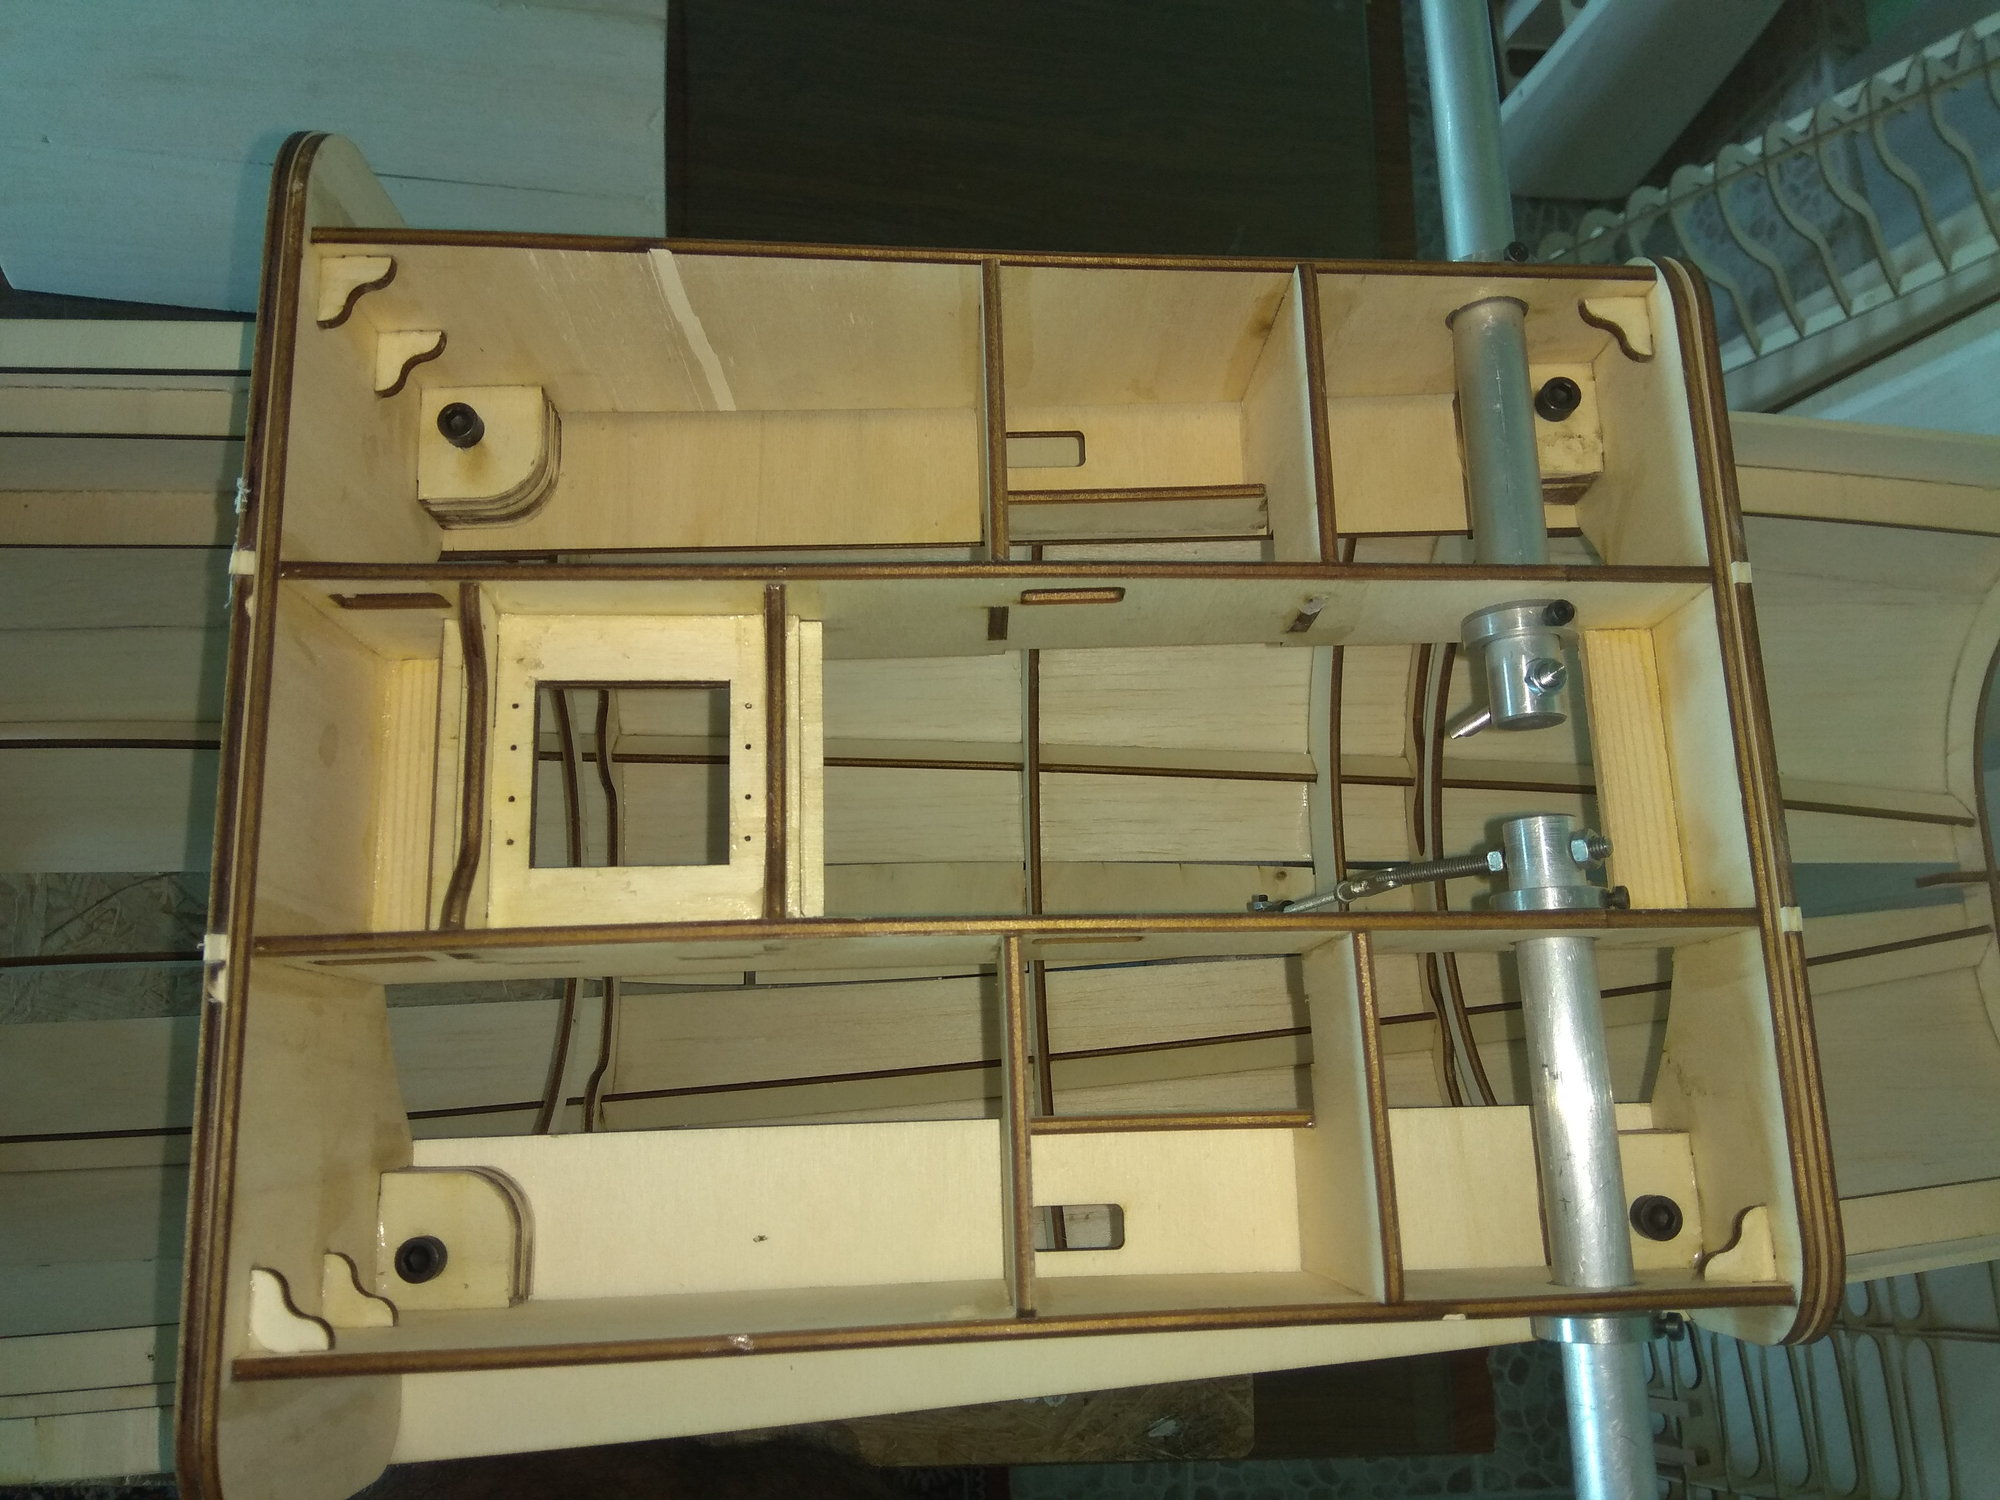
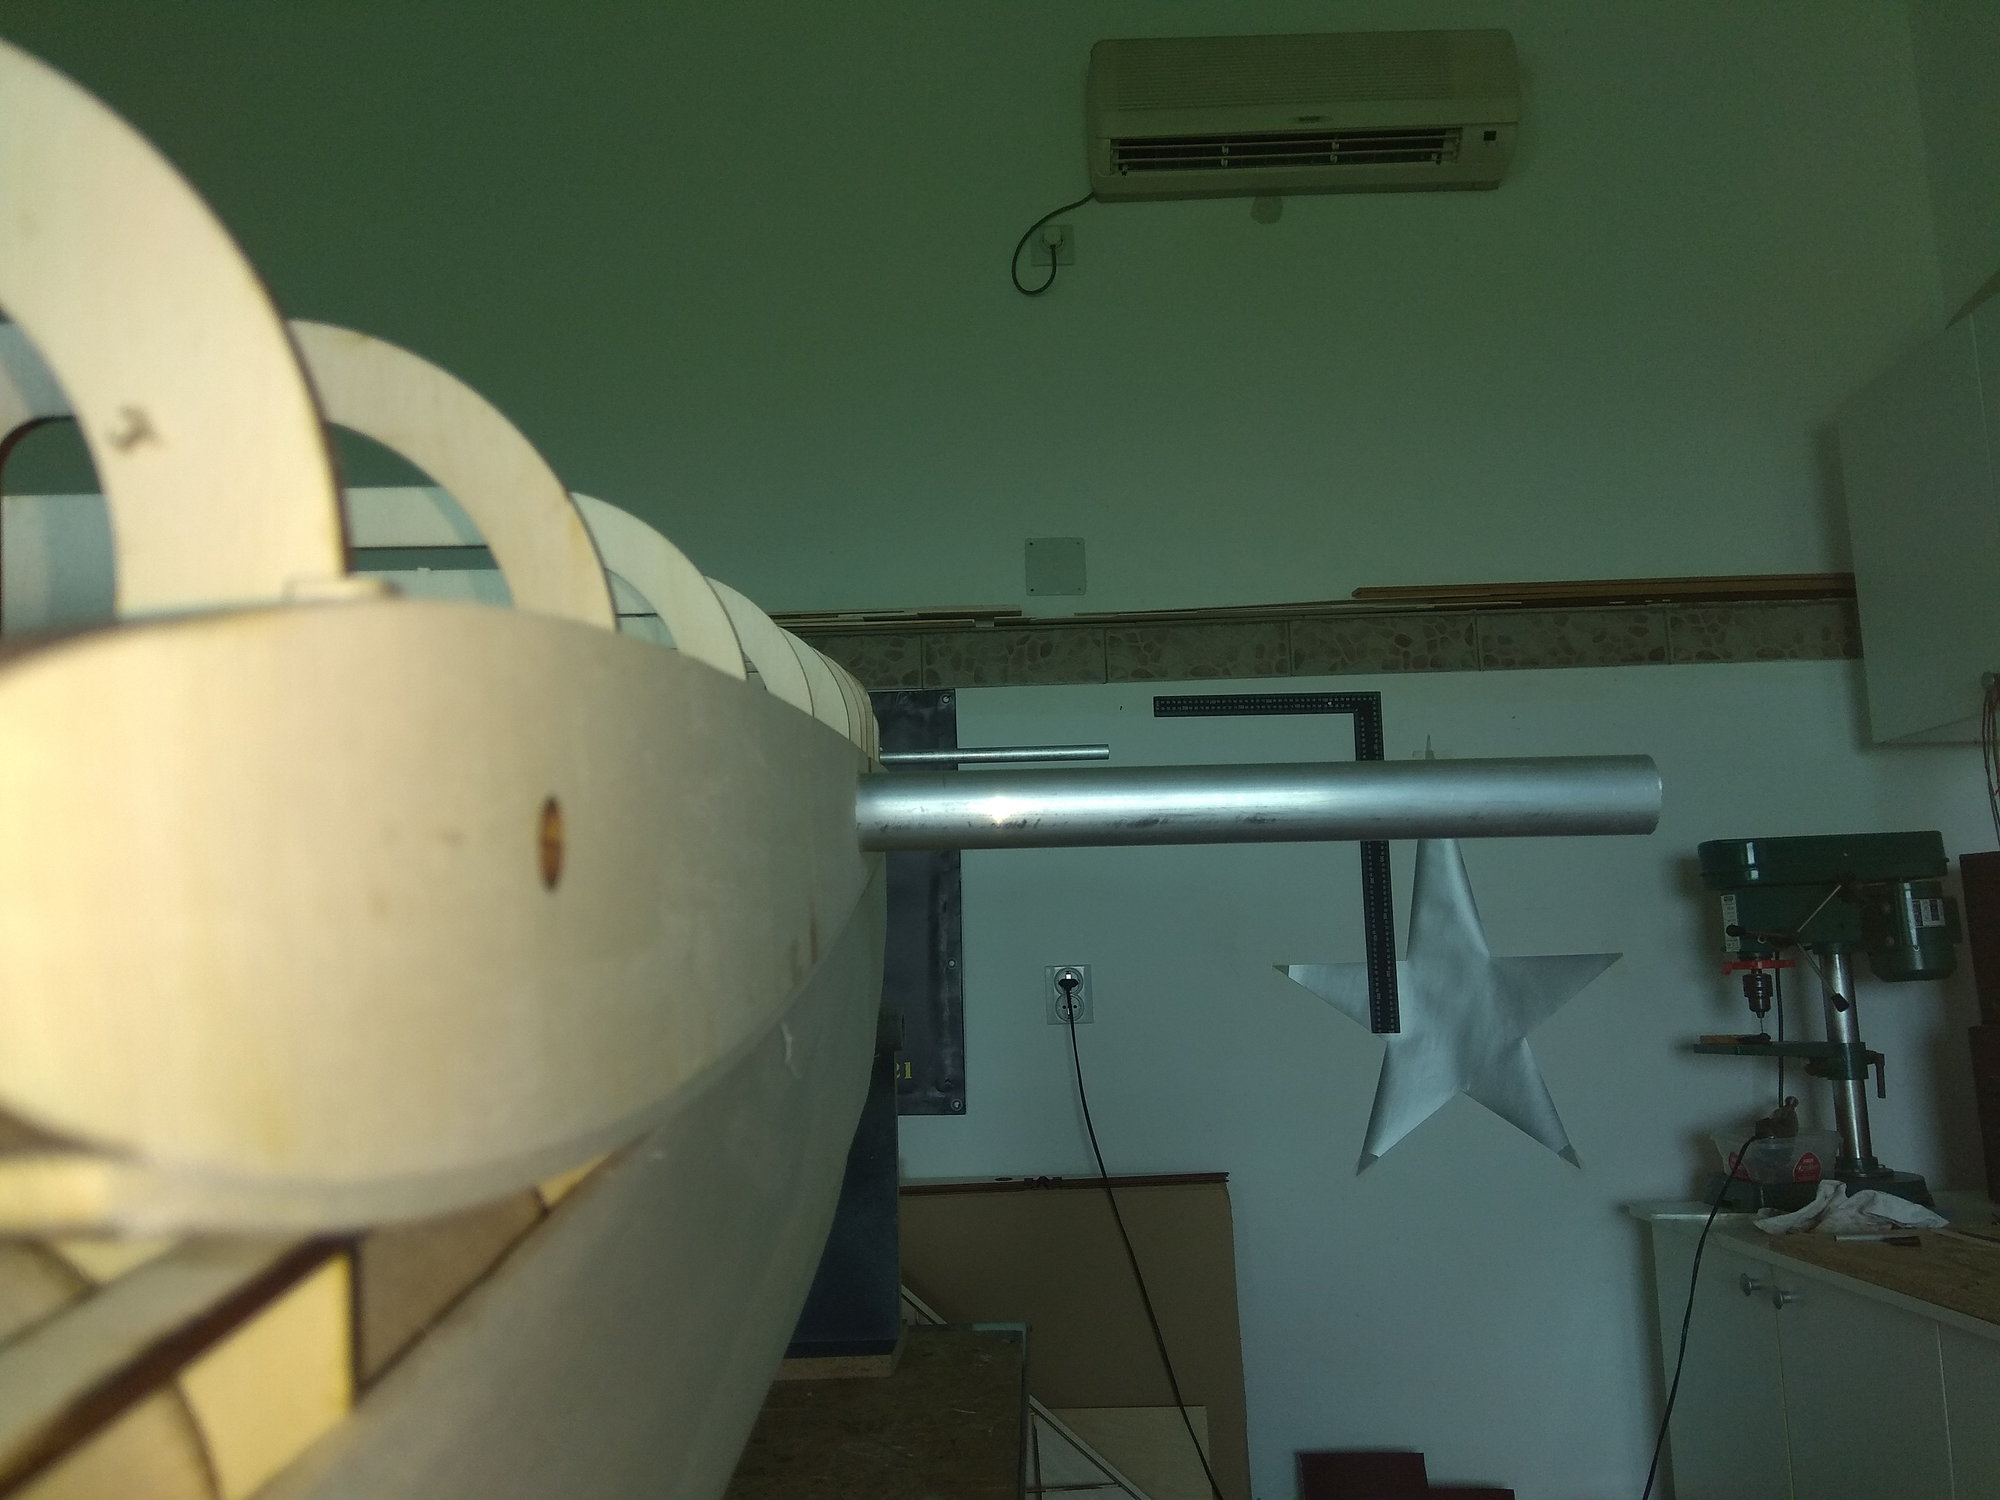
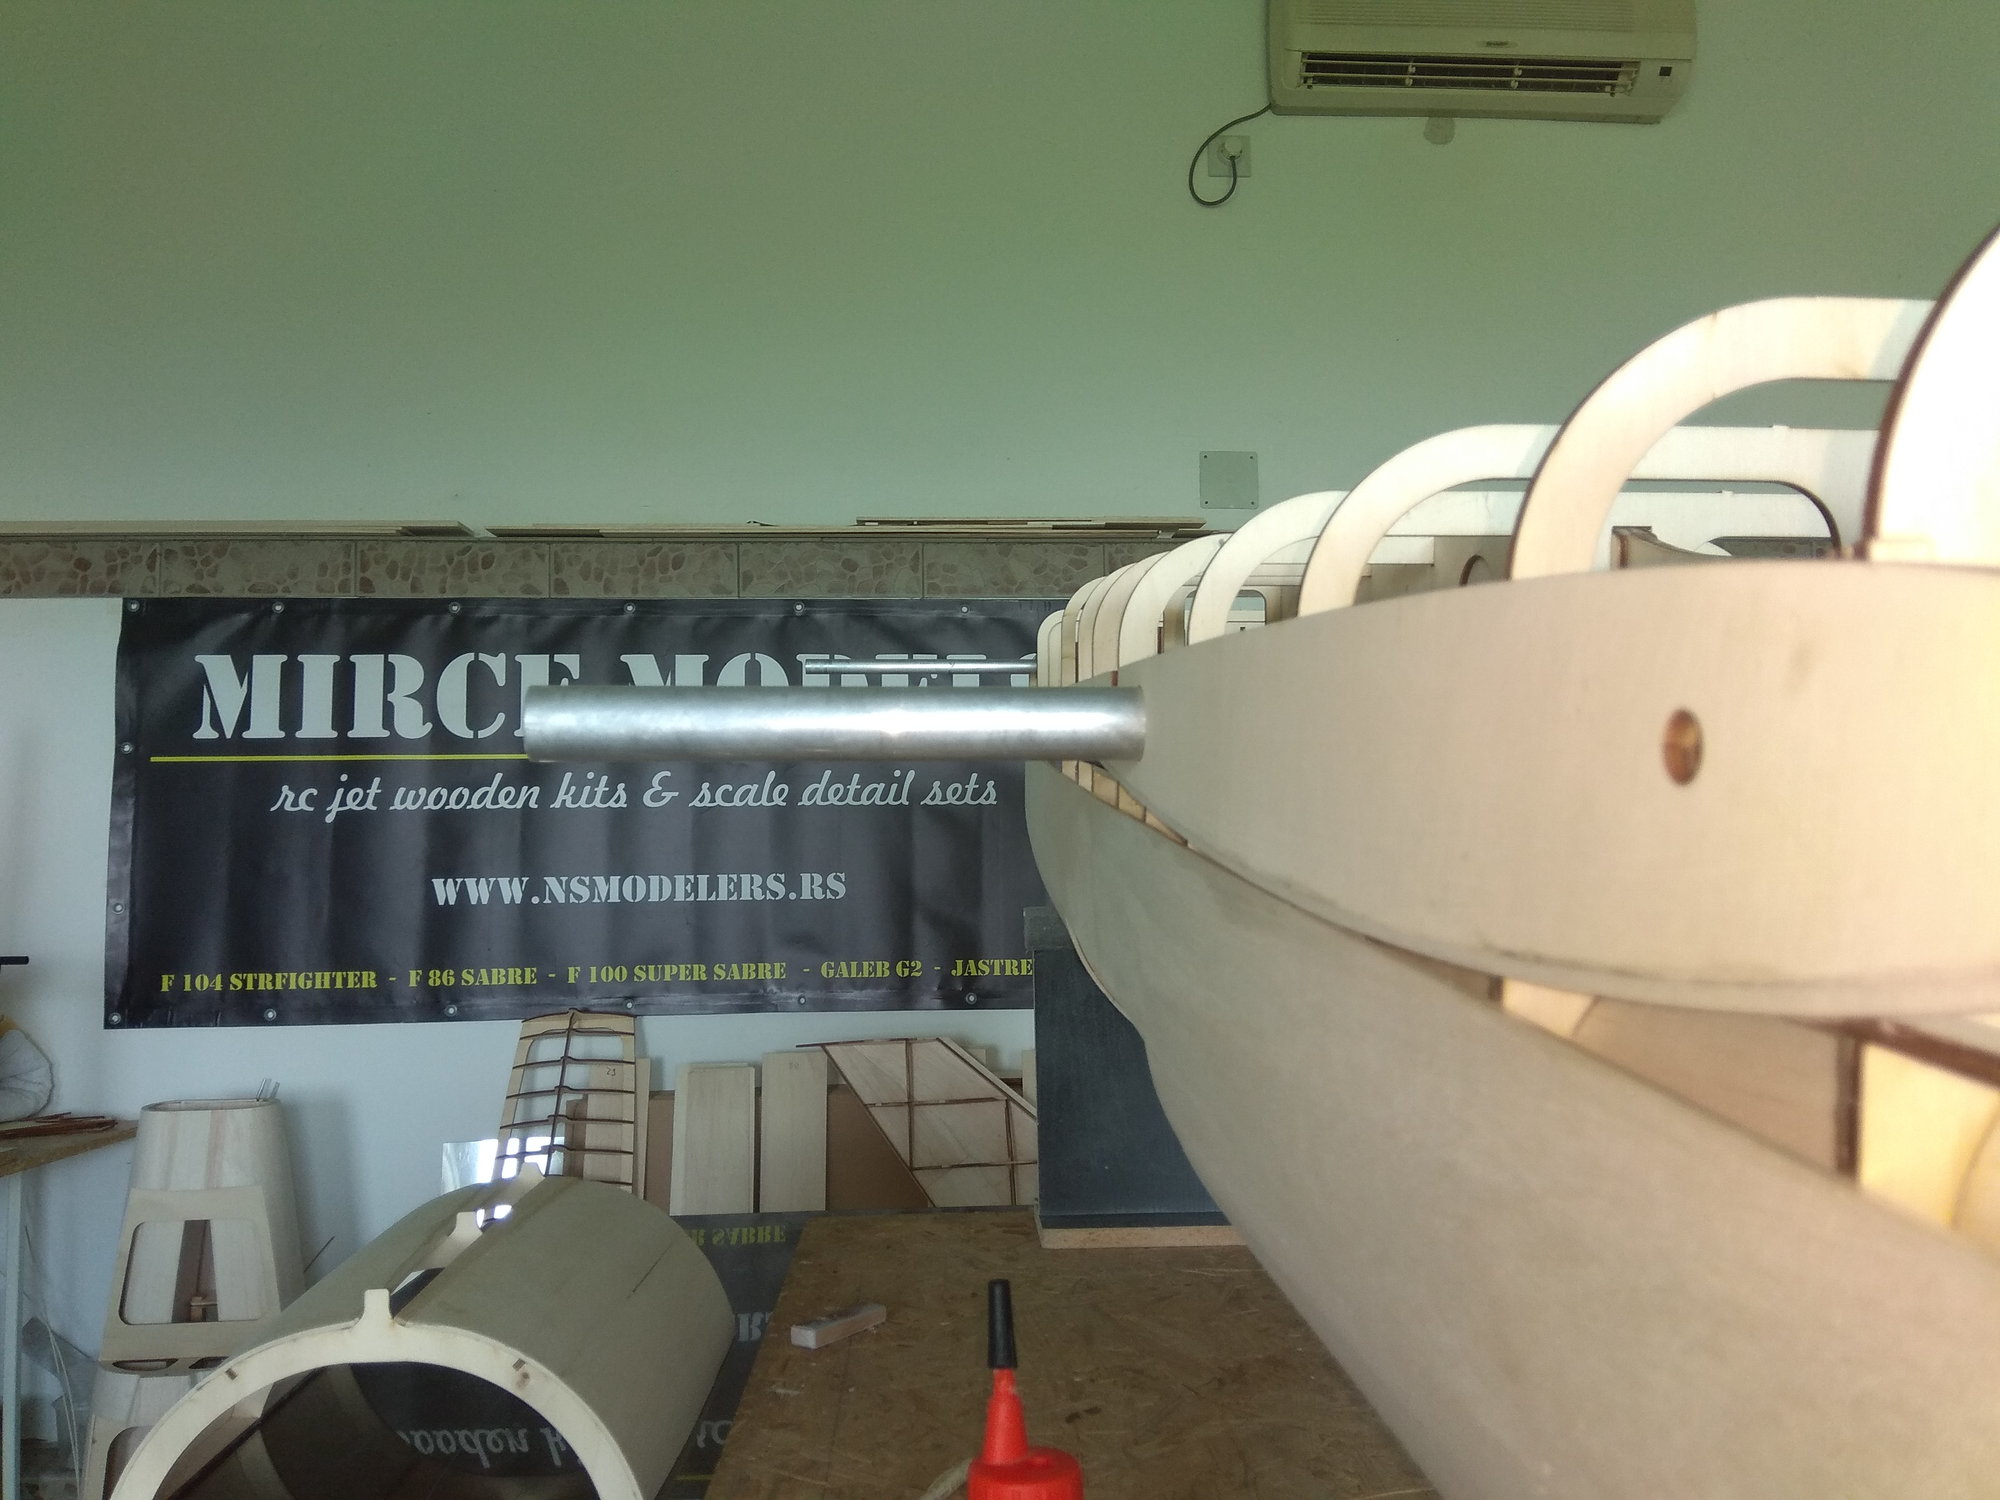
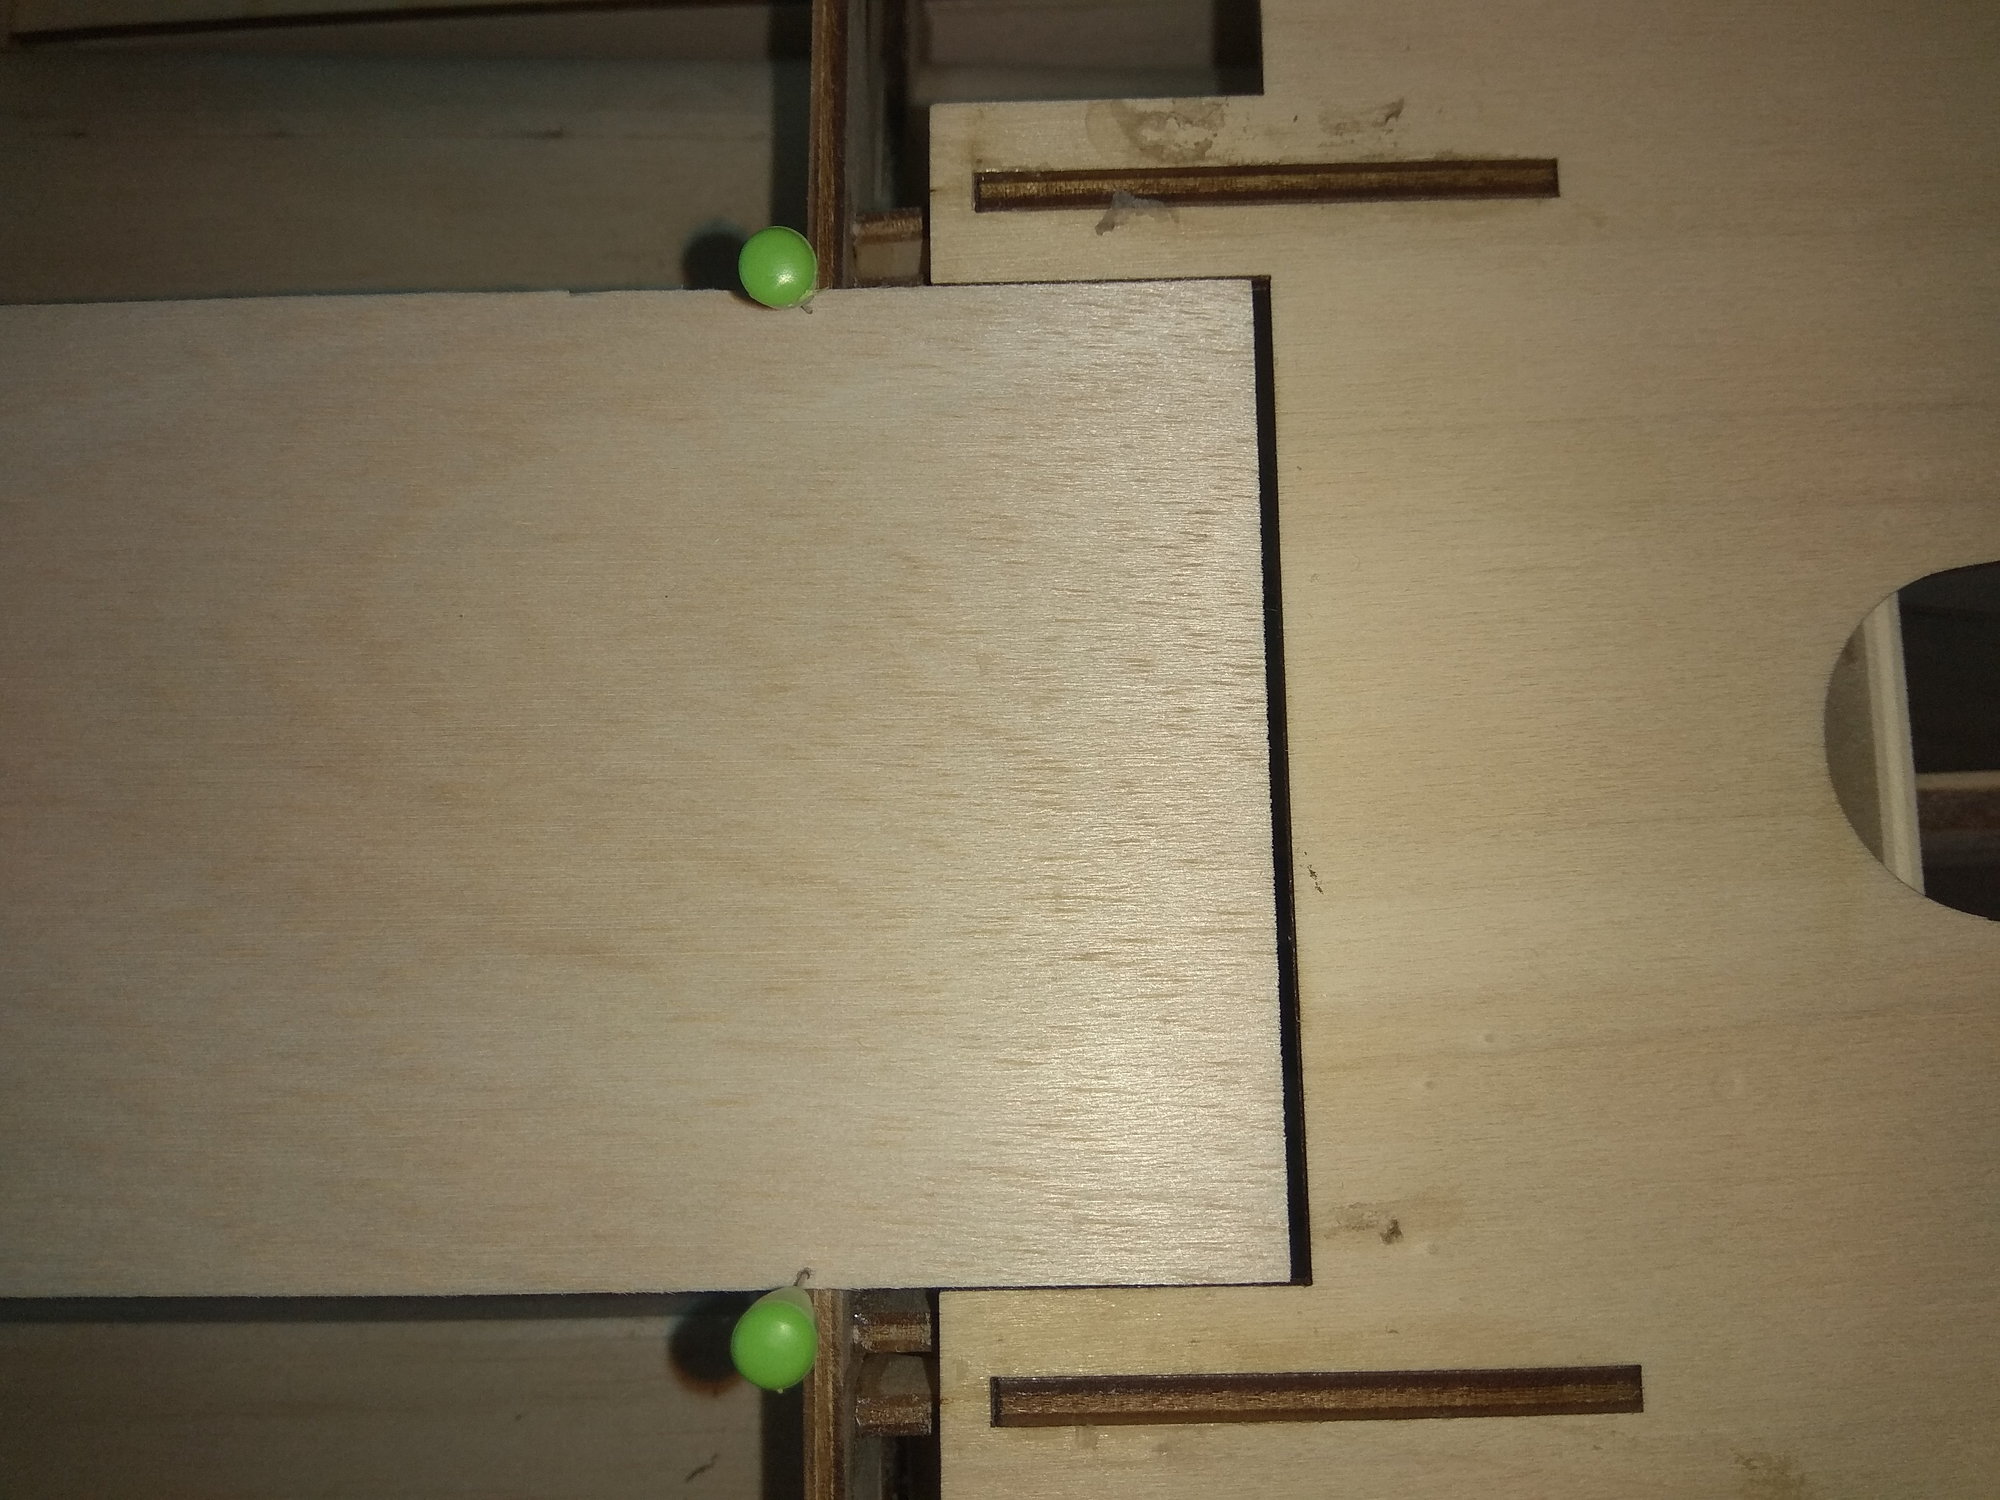
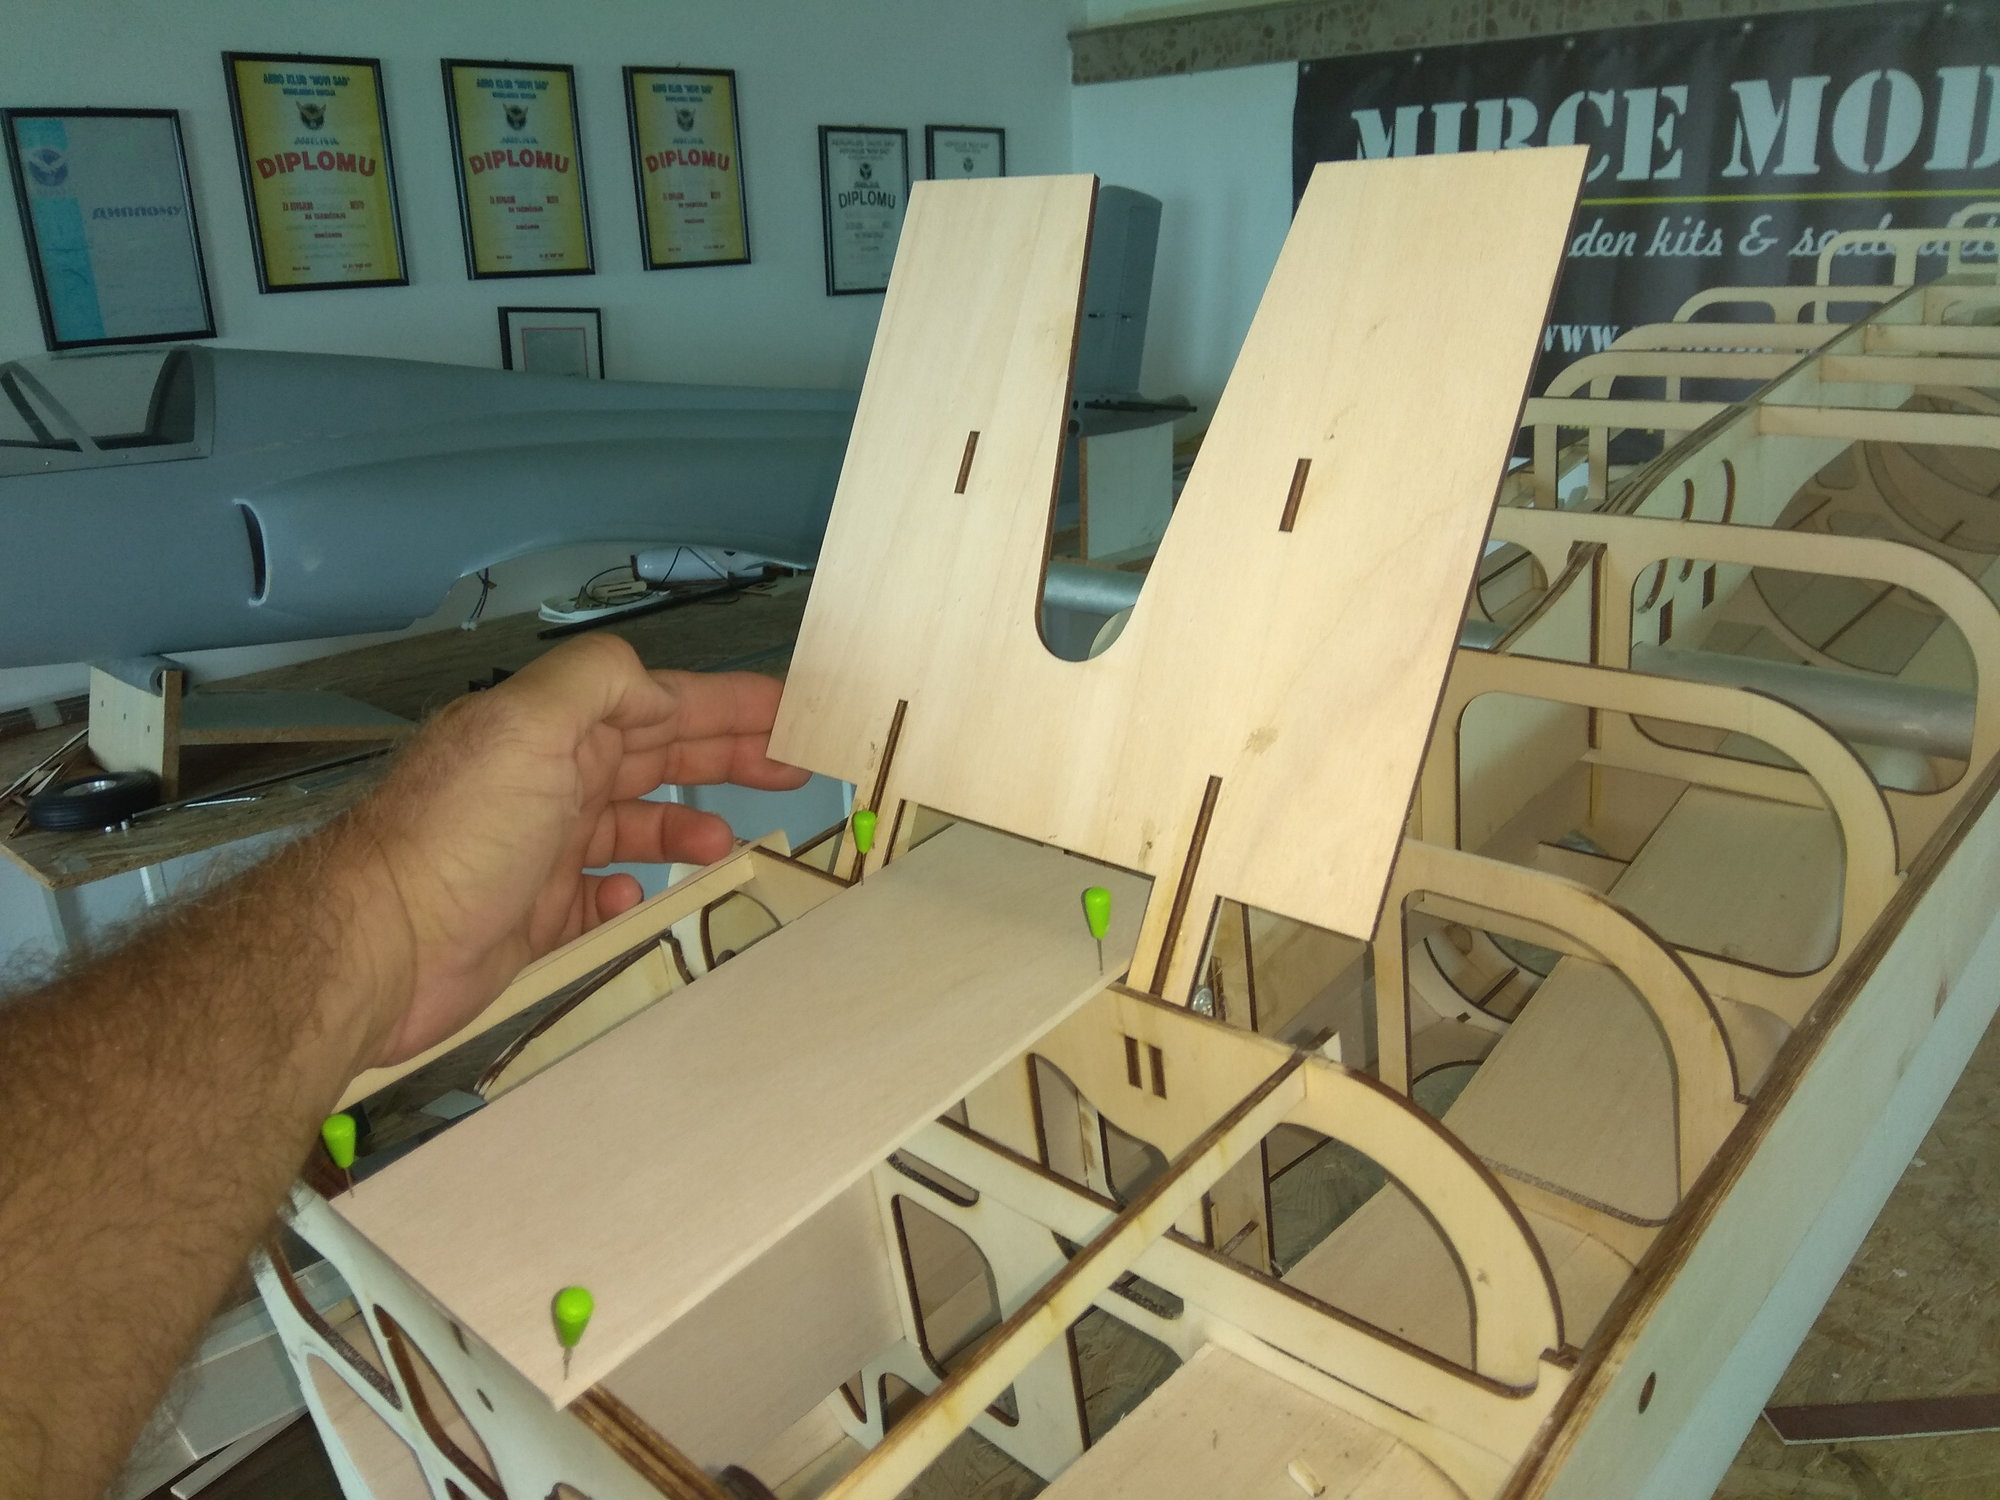
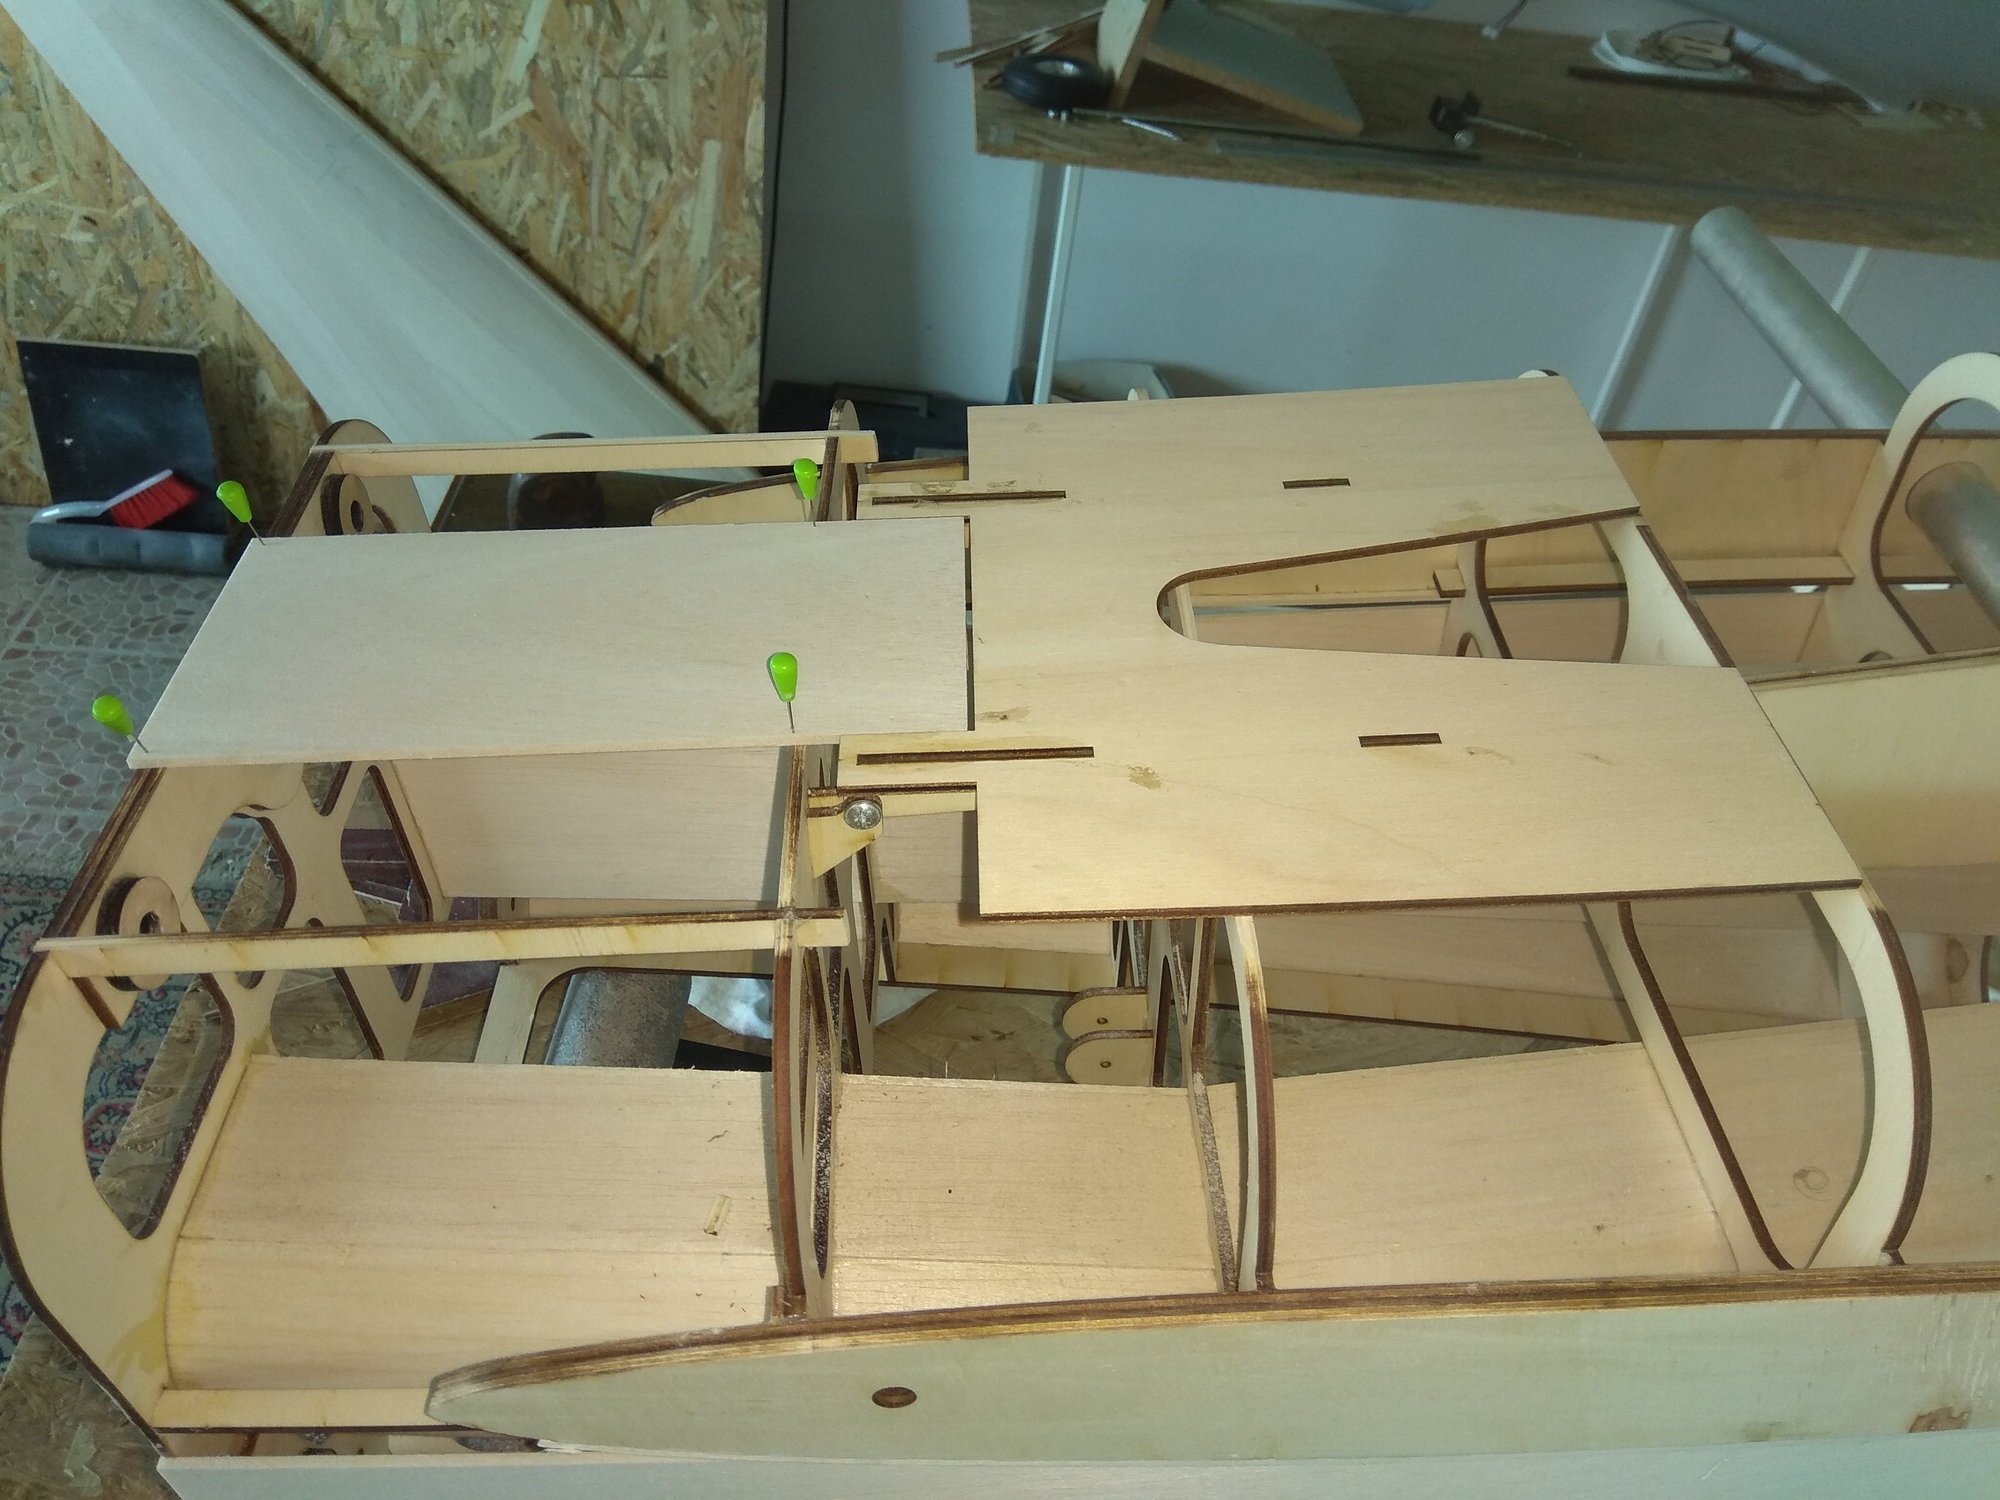
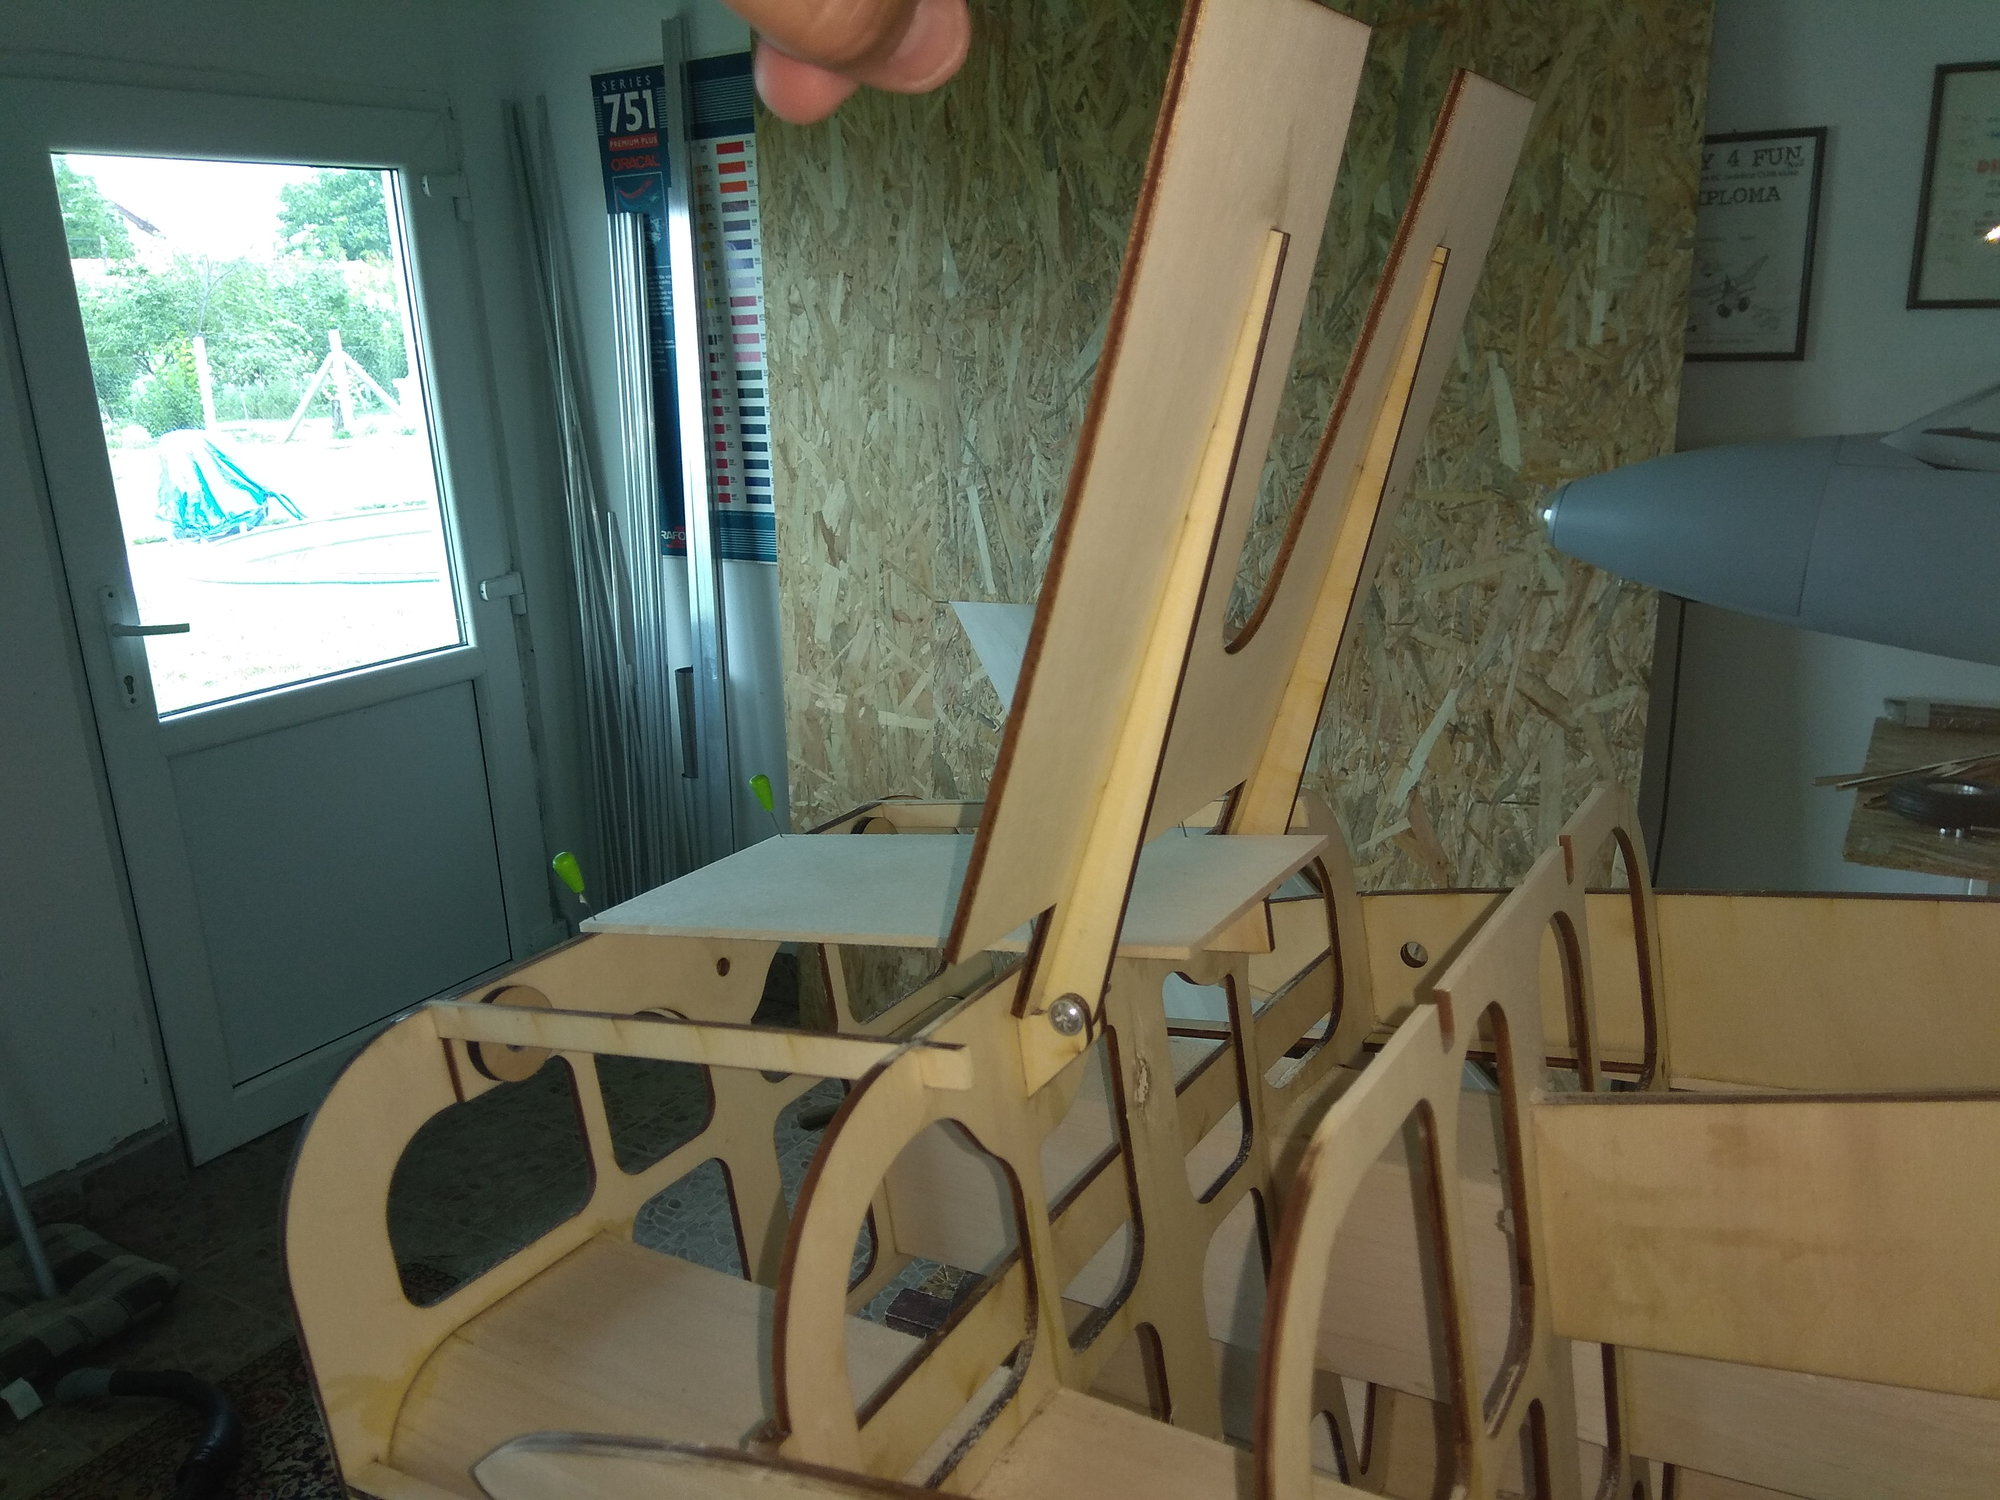
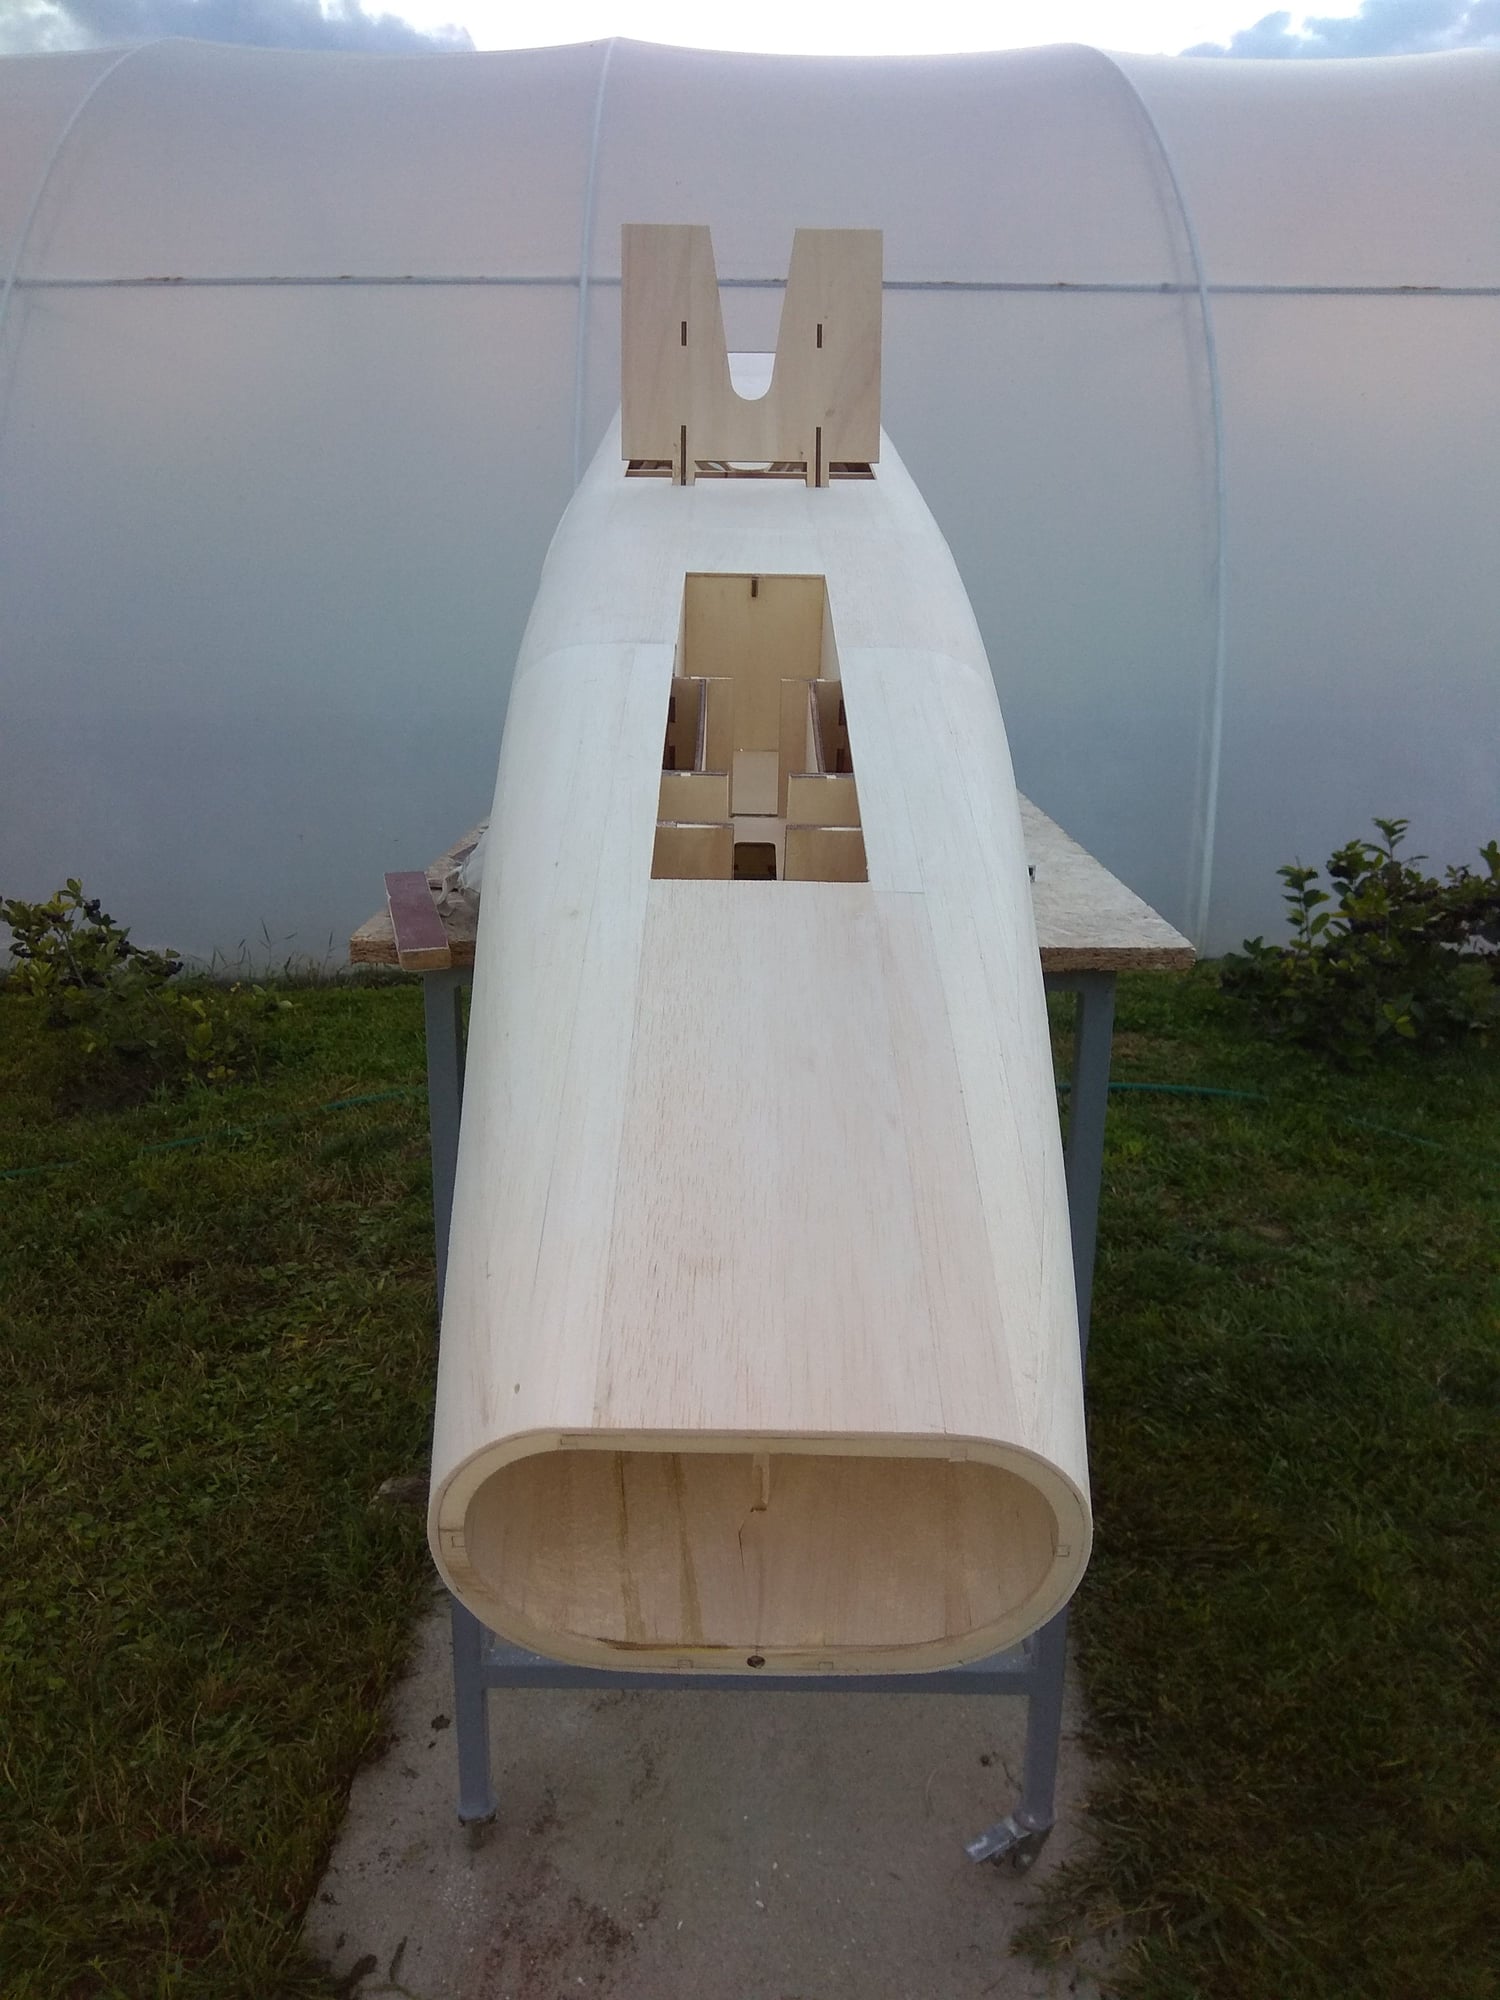
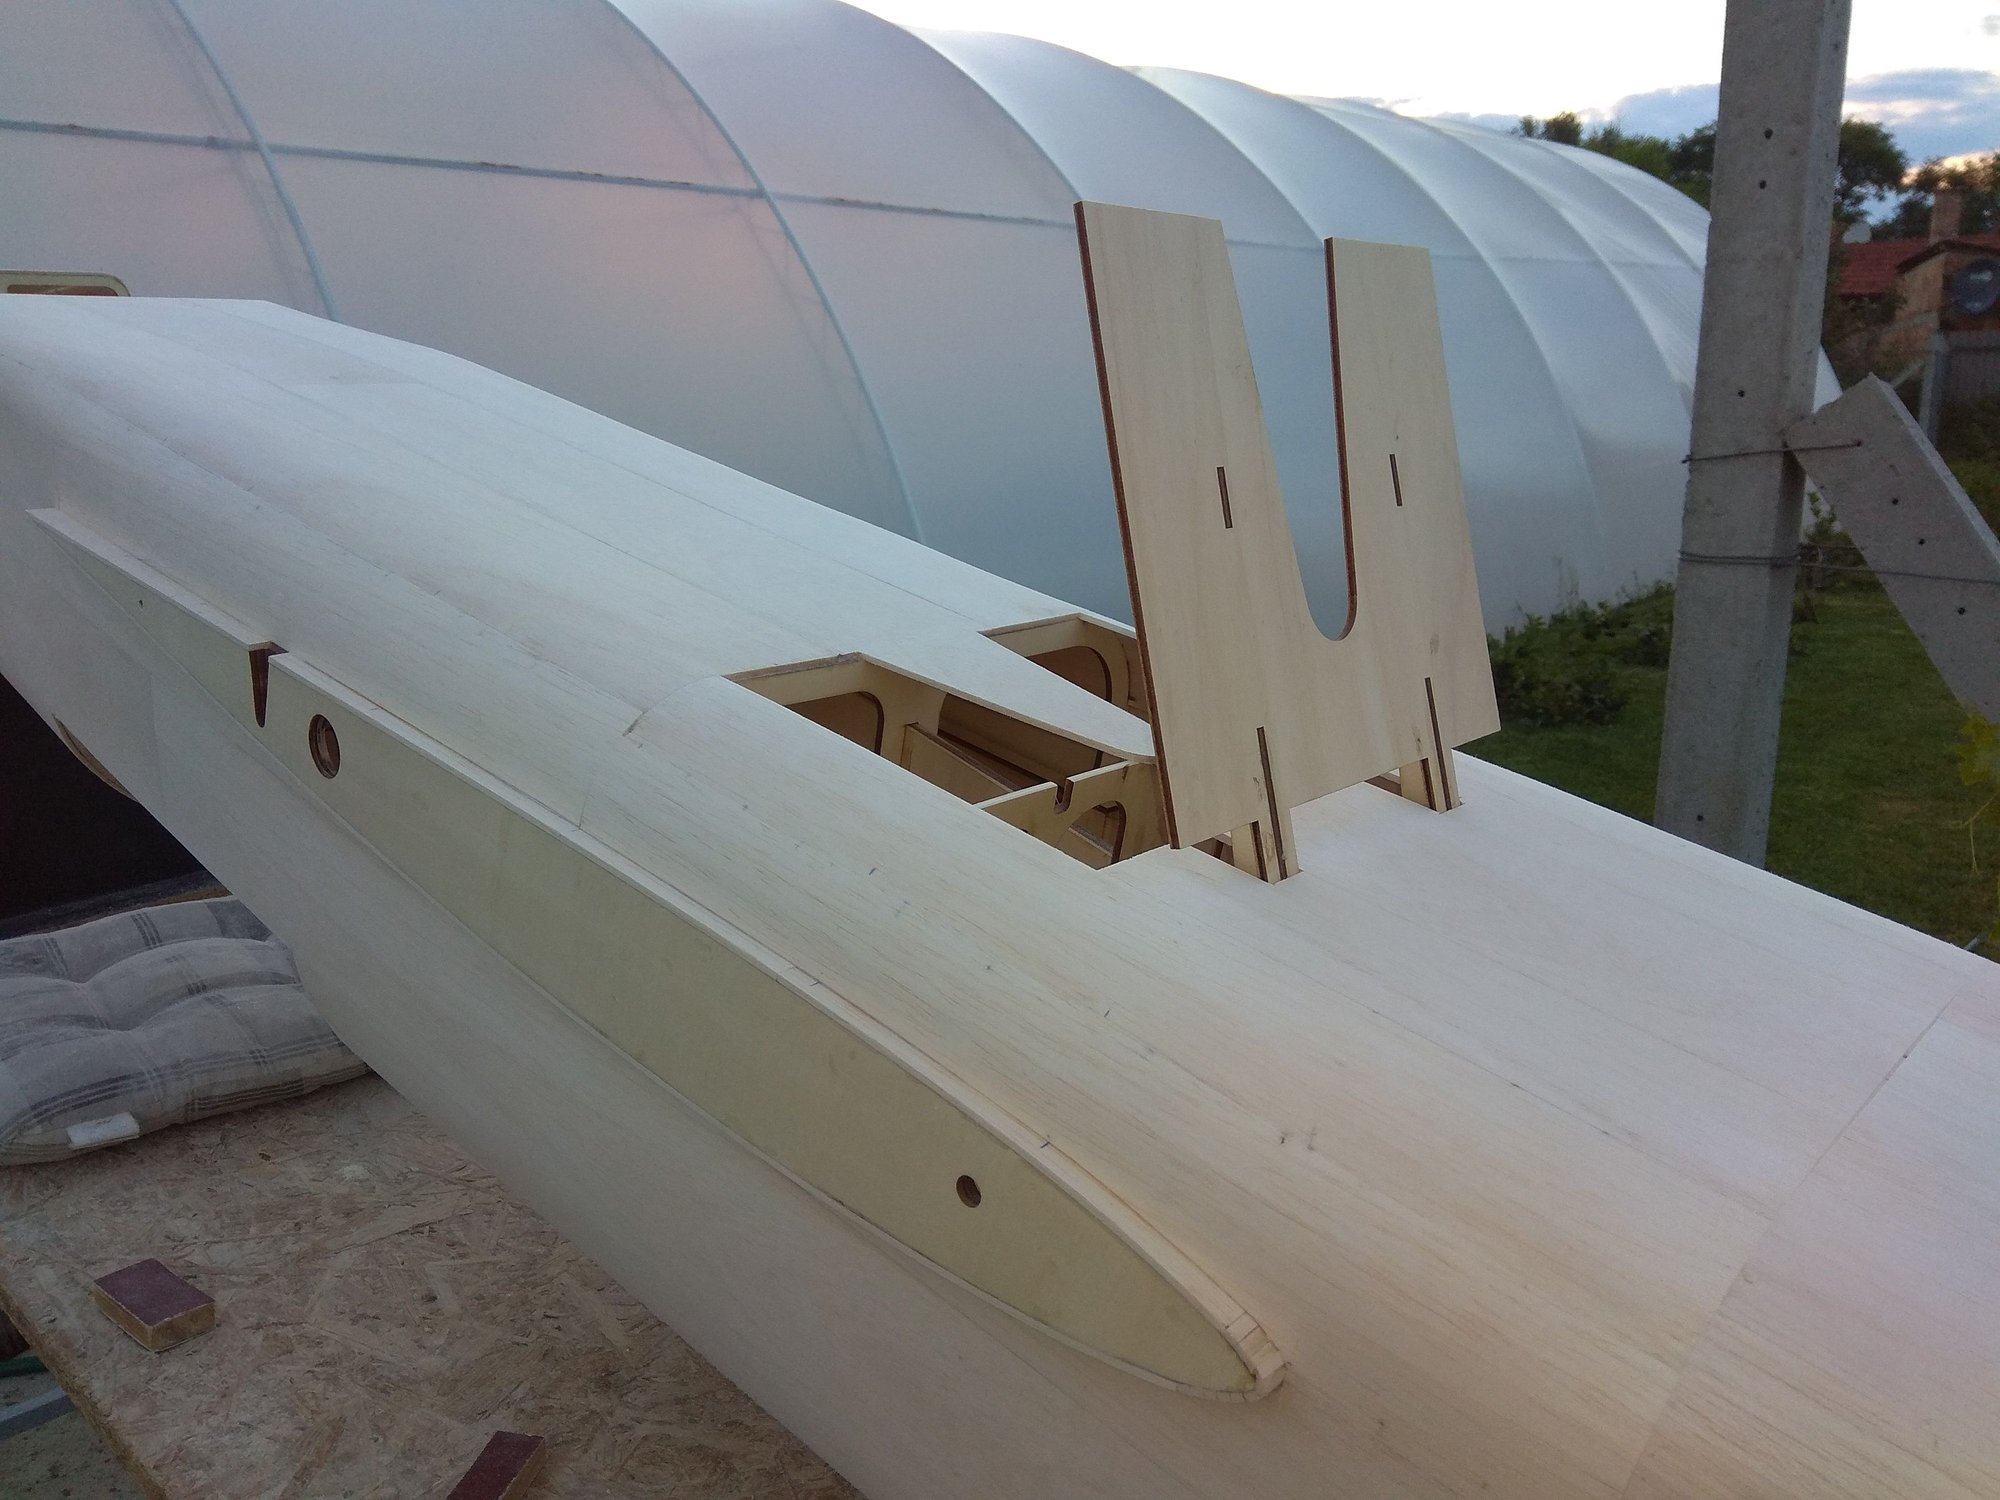
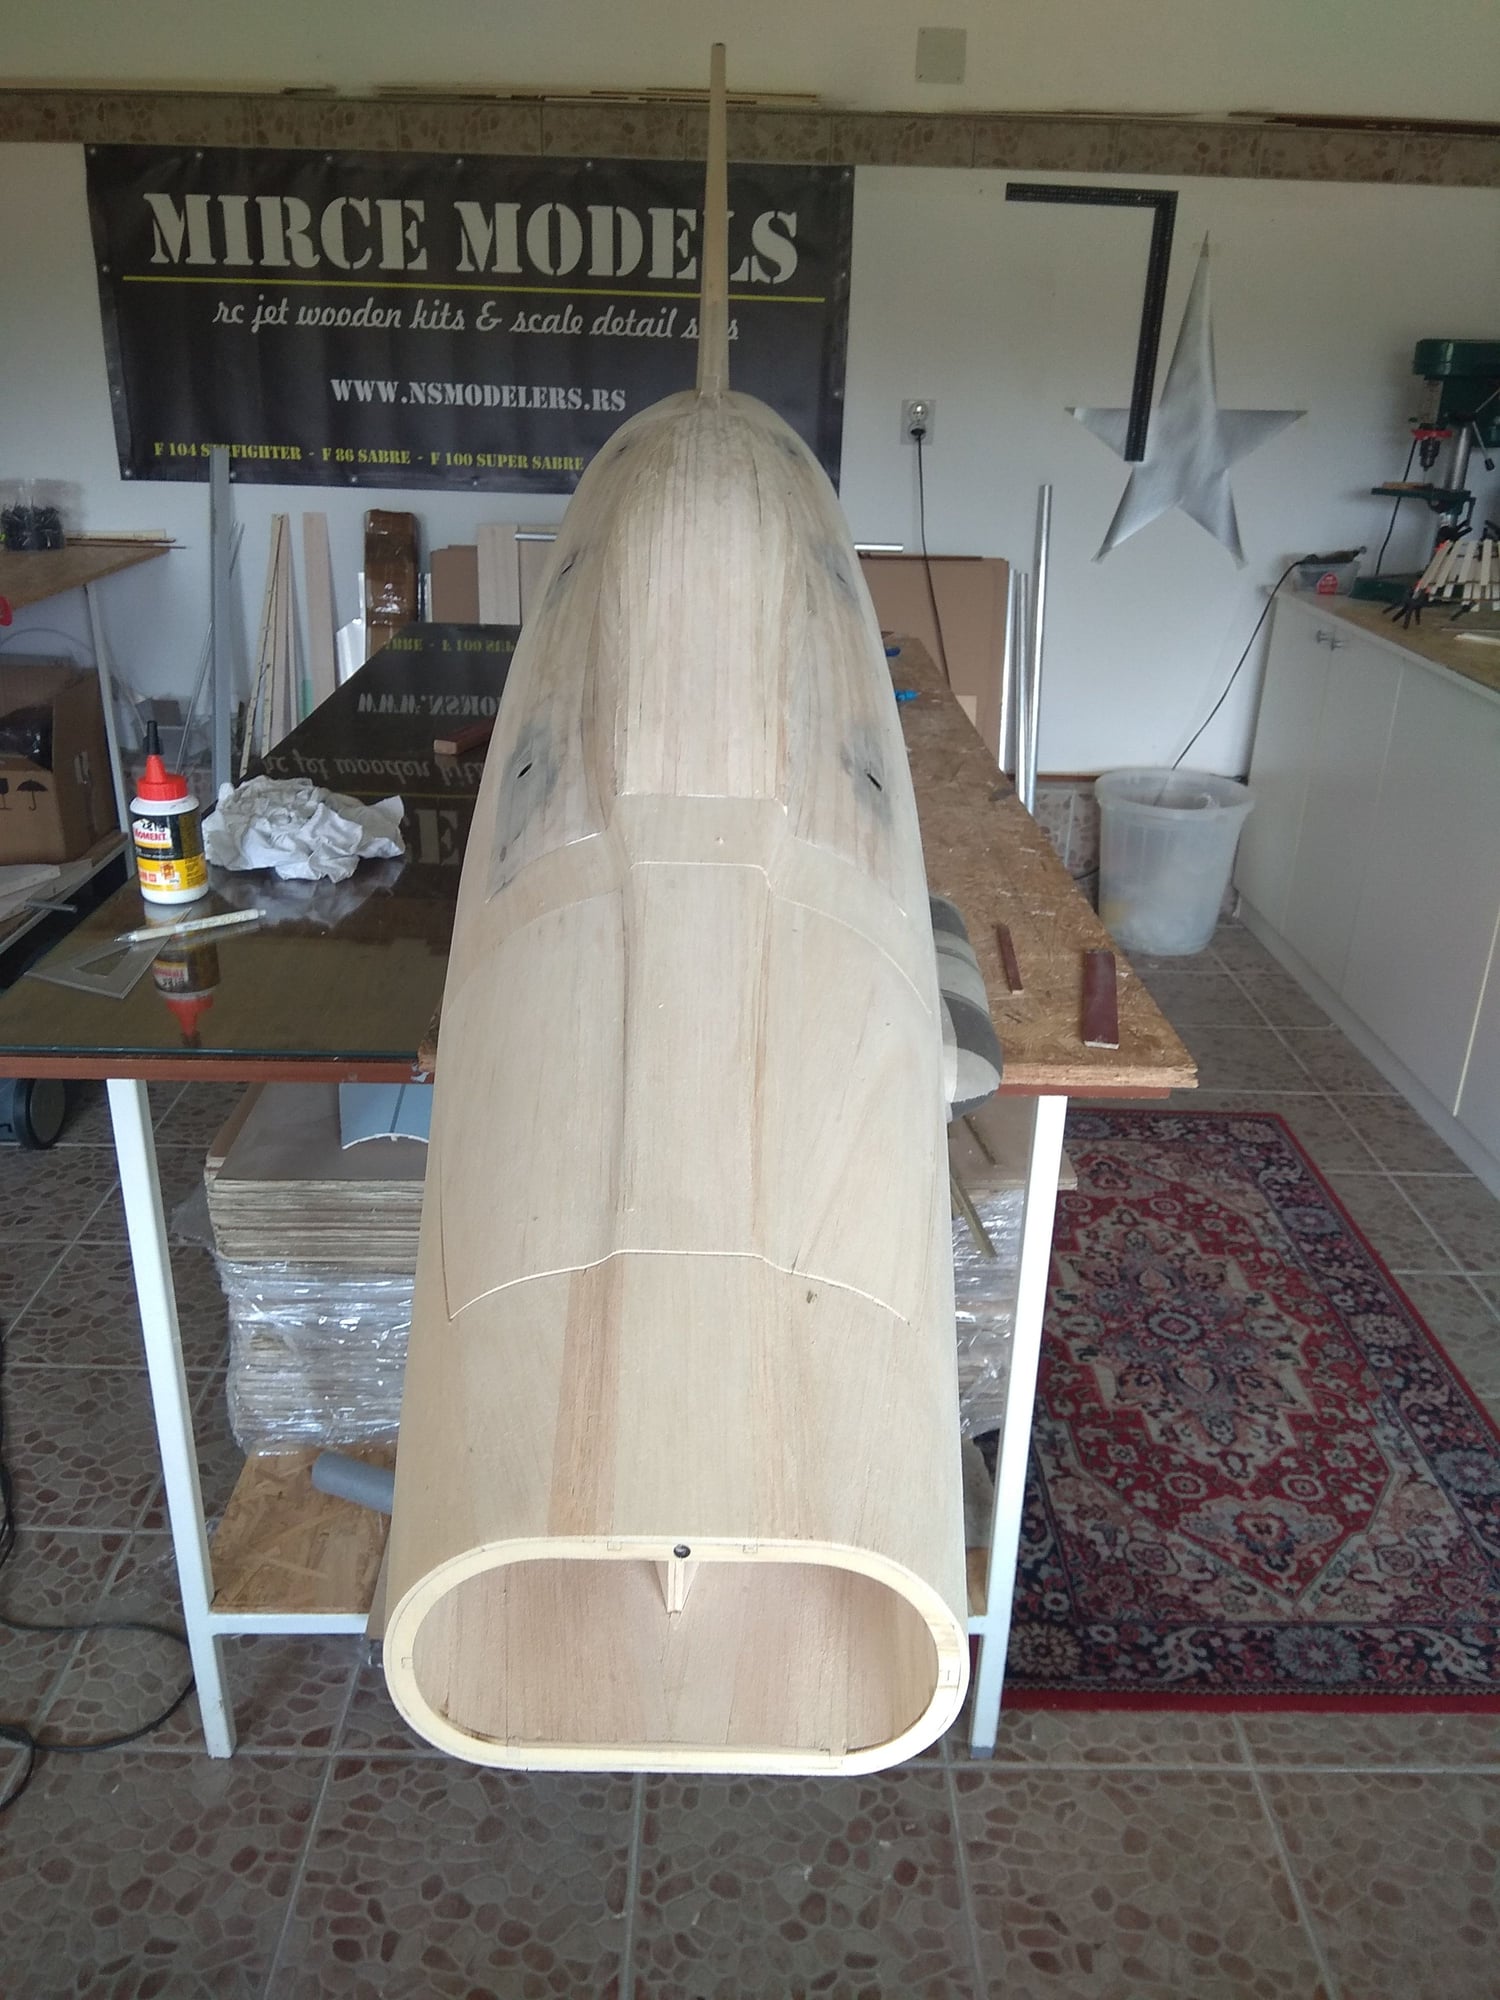
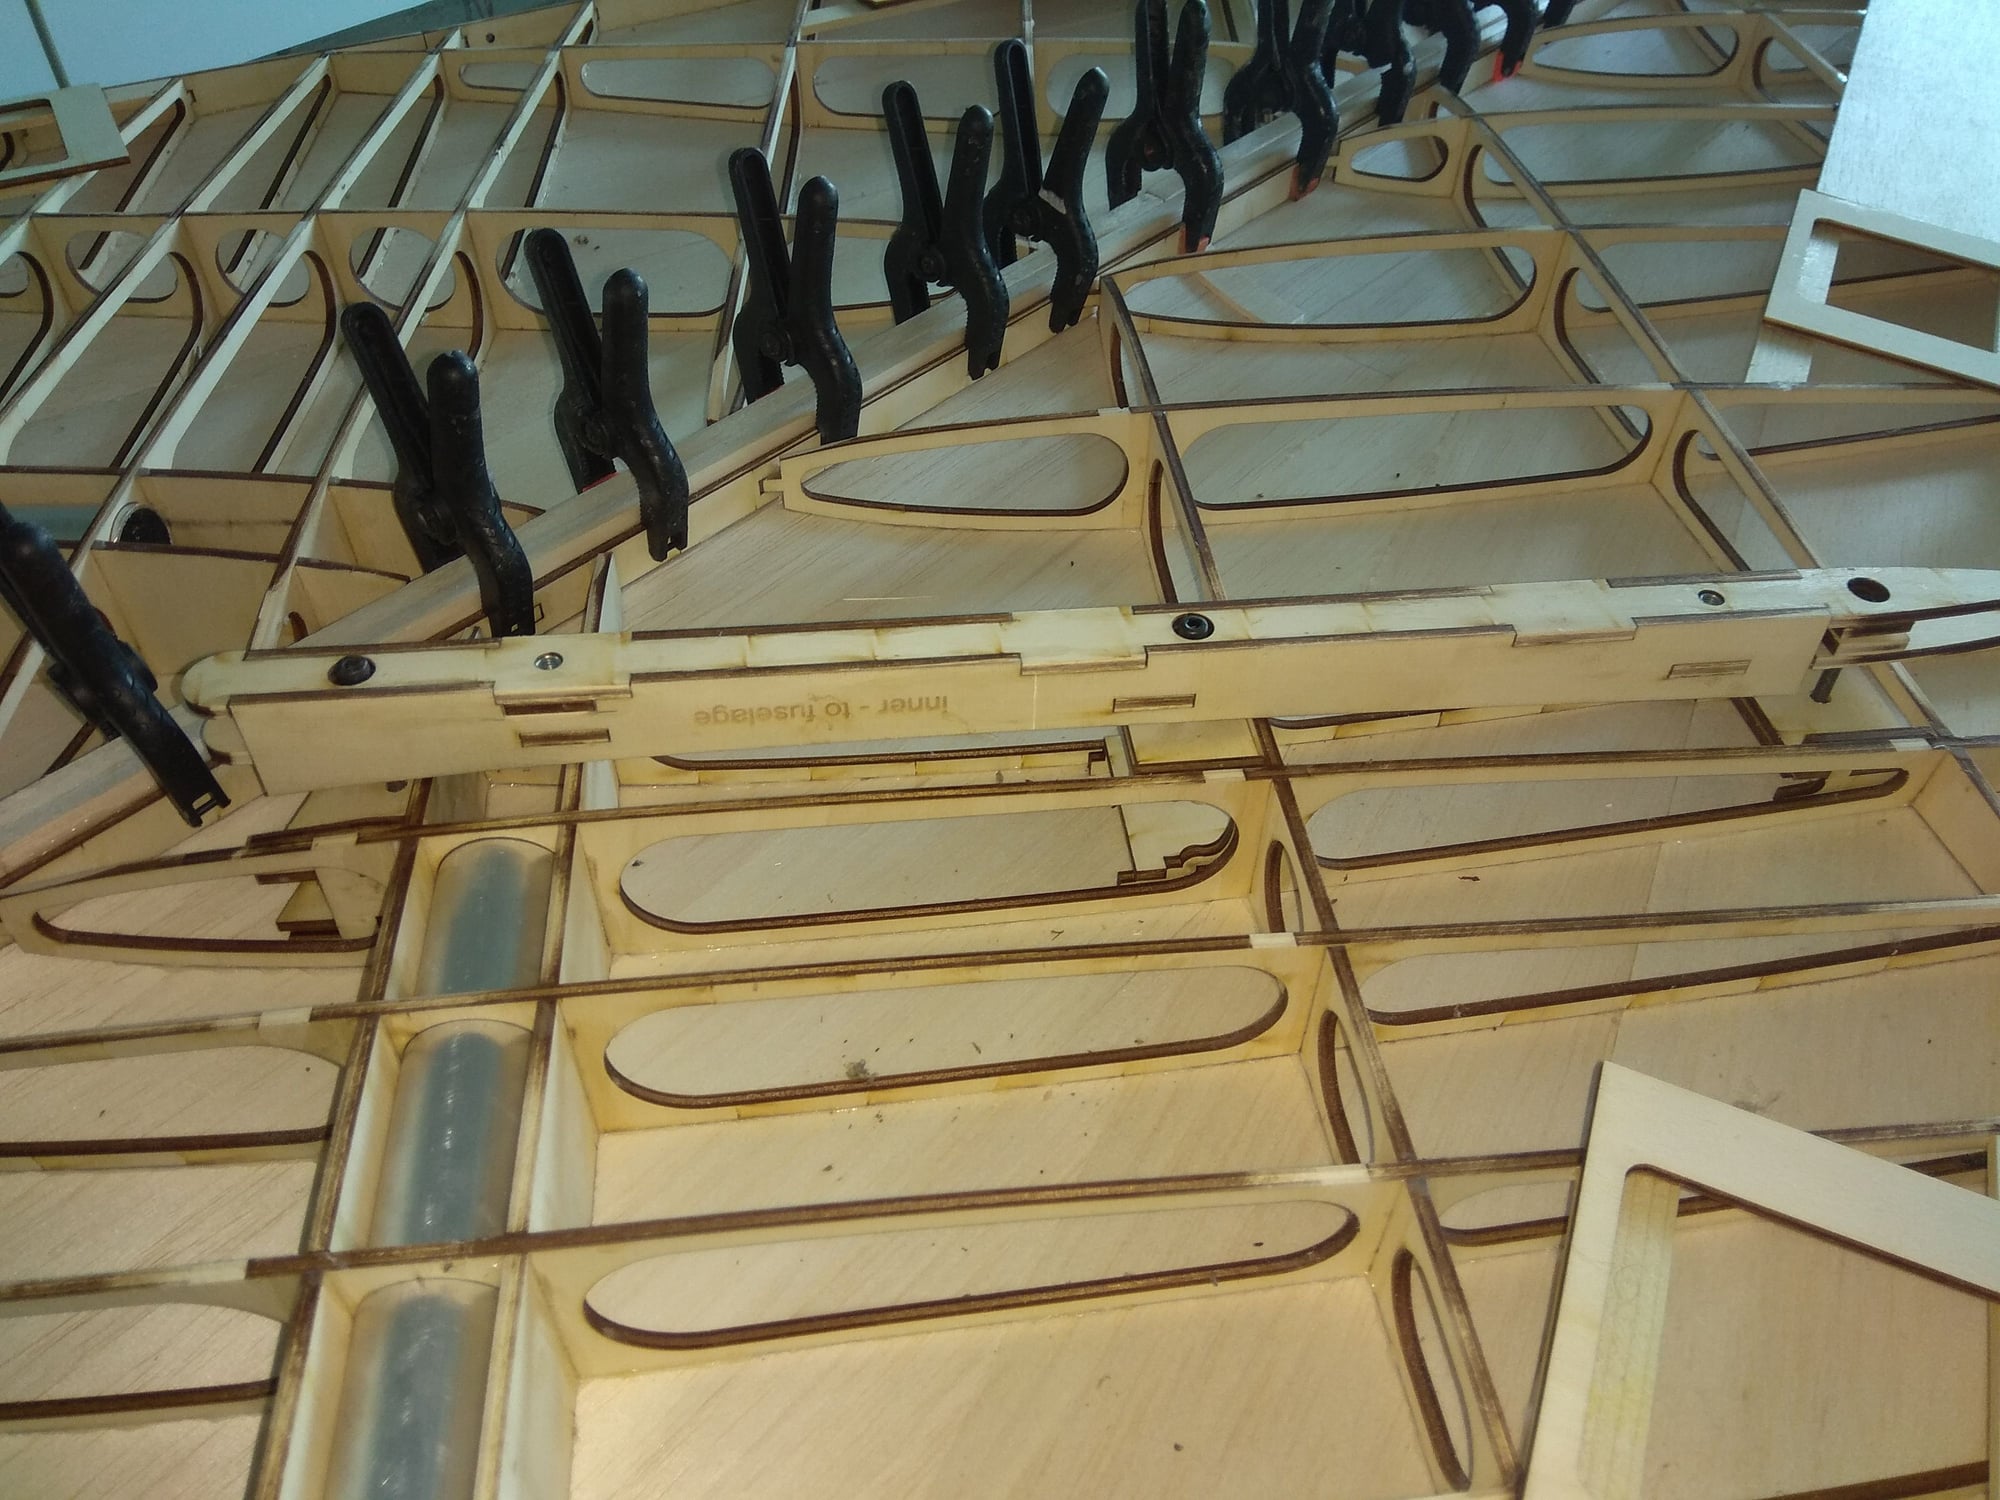
Next was to check how "elevator box" fit in fuselage and are wing tube and elevators tube parallel.
To be continued...
Front fuselage part I show before...
Rear fuselage part upper side...
Now I turn fuselage and cut support "legs"...
Next was to check how "elevator box" fit in fuselage and are wing tube and elevators tube parallel.
To be continued...


 07-24-2018, 01:44 AM
#62
Join Date: Apr 2017
Posts: 2
Likes: 0
Received 0 Likes
on
0 Posts
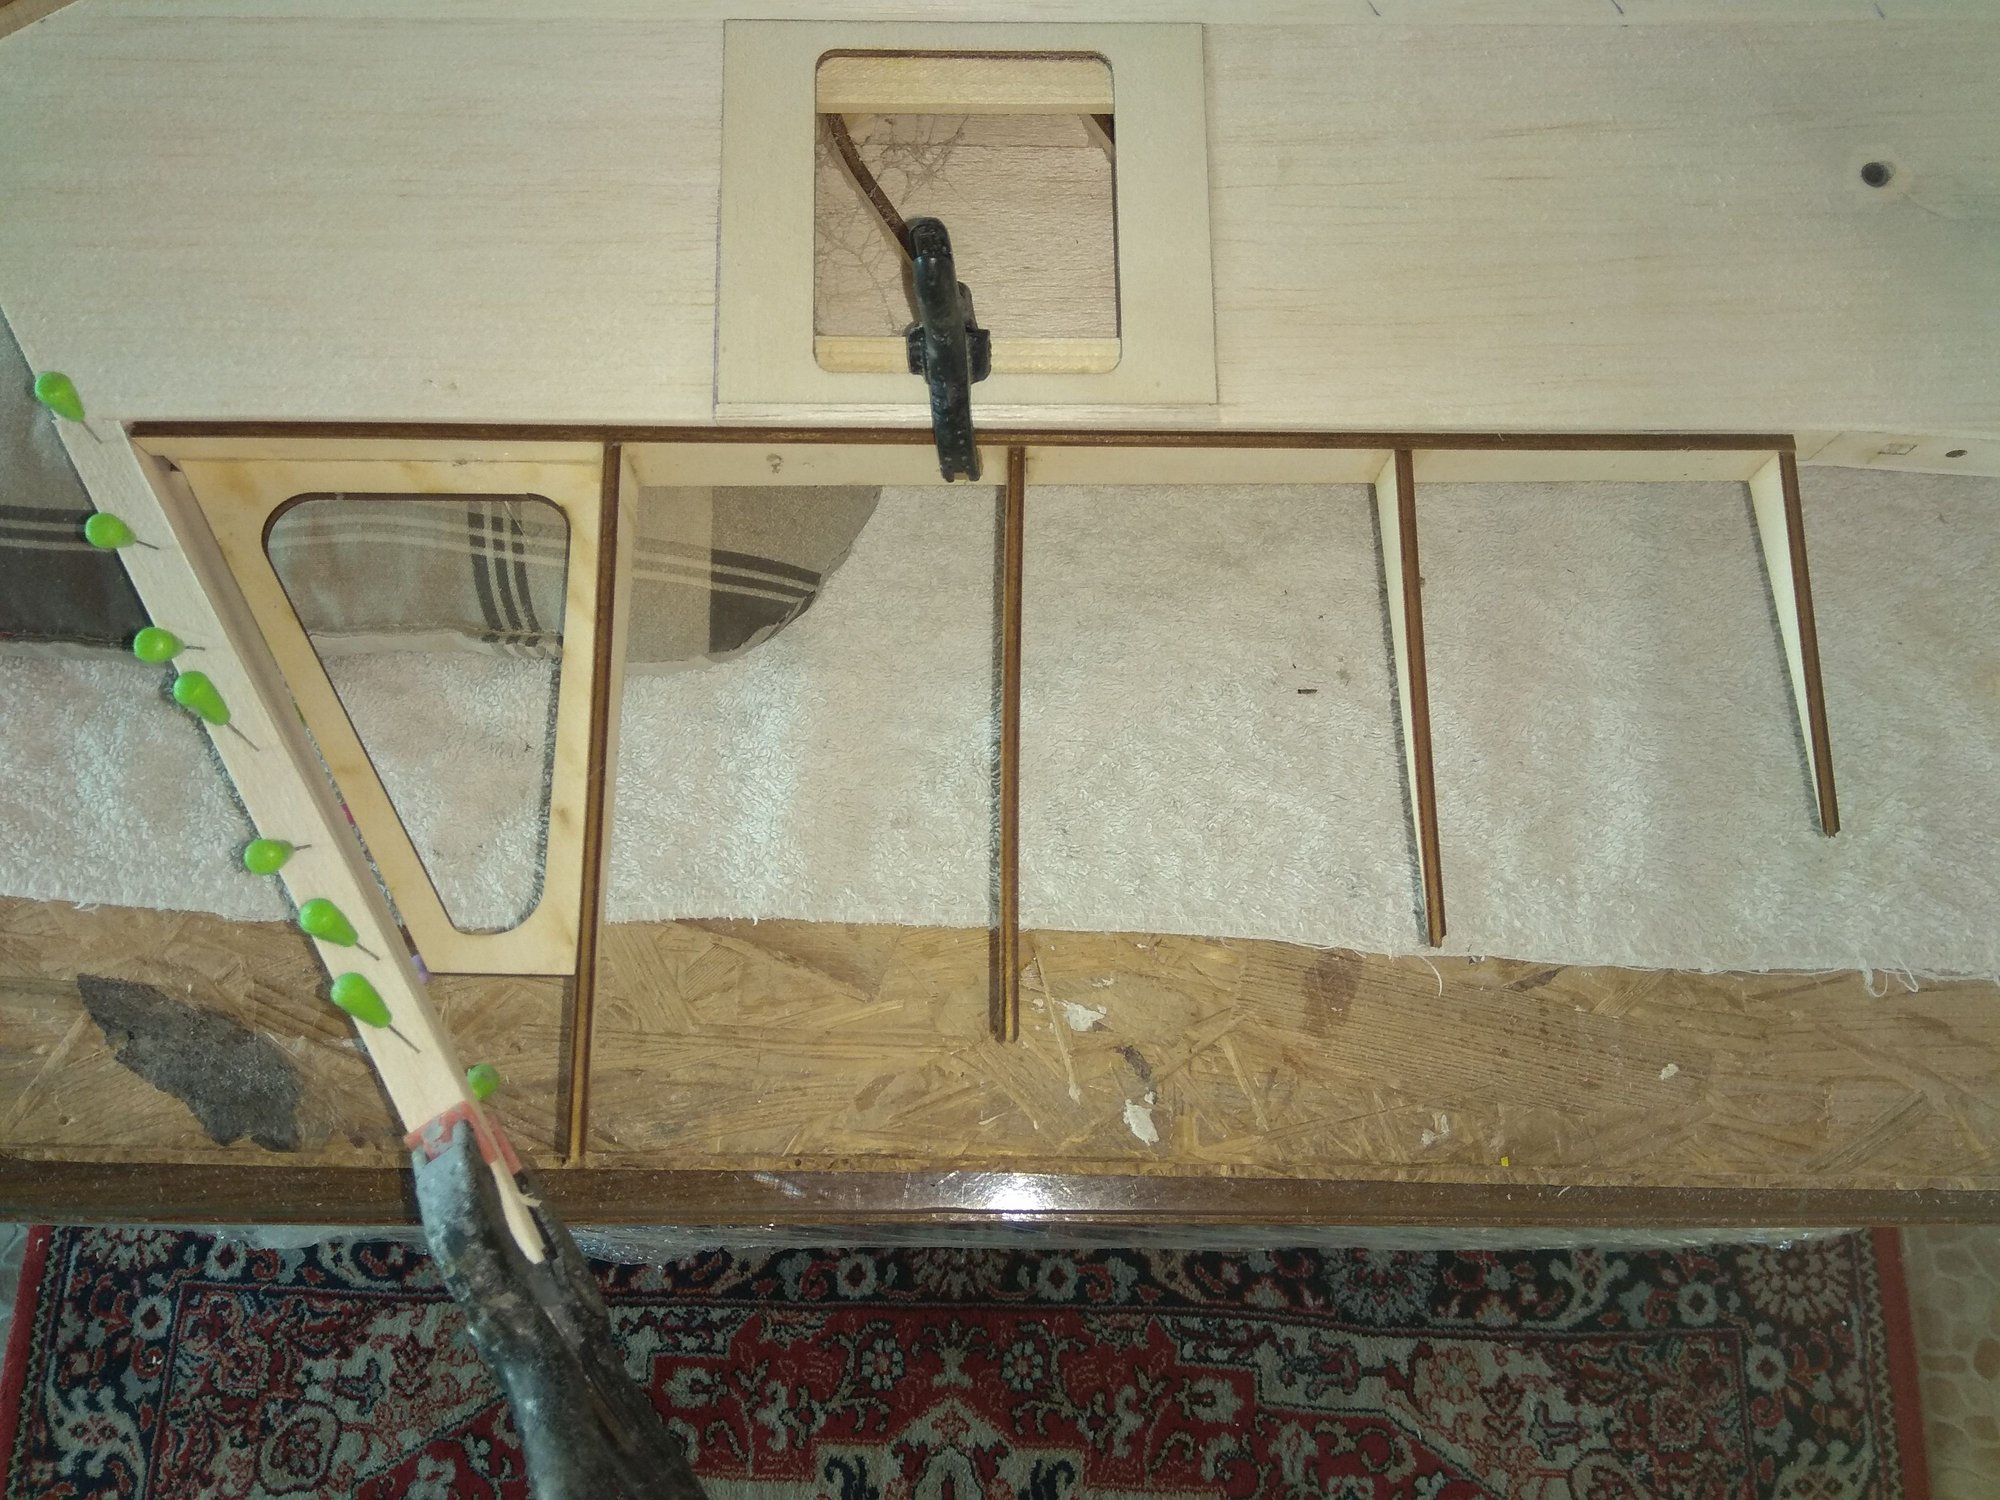
Dear Mirce,
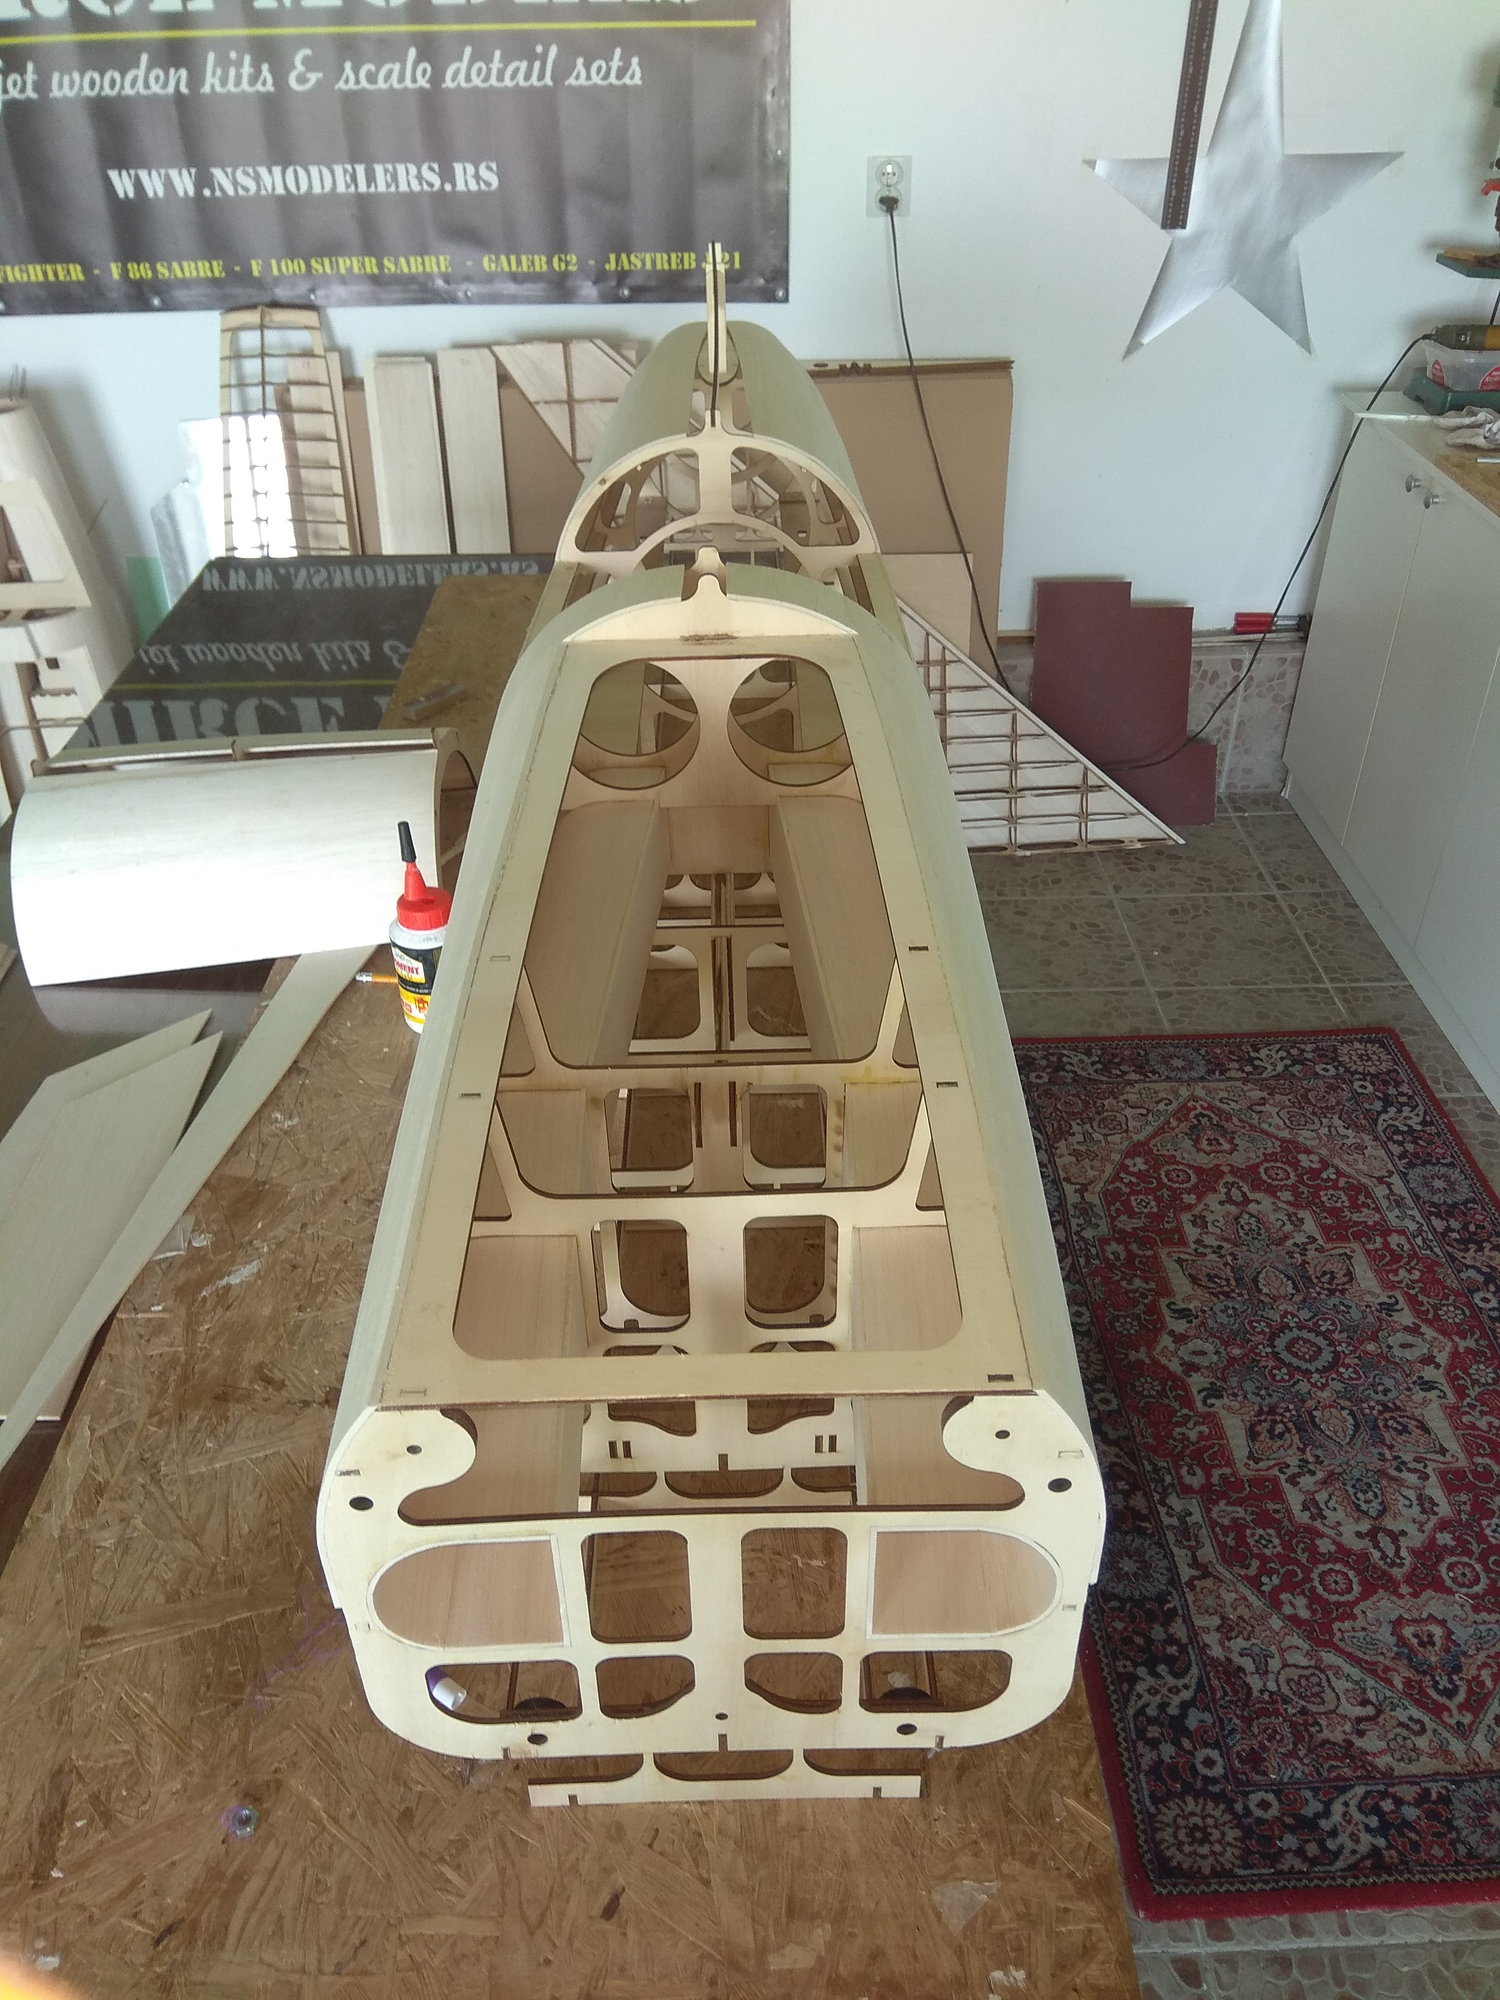
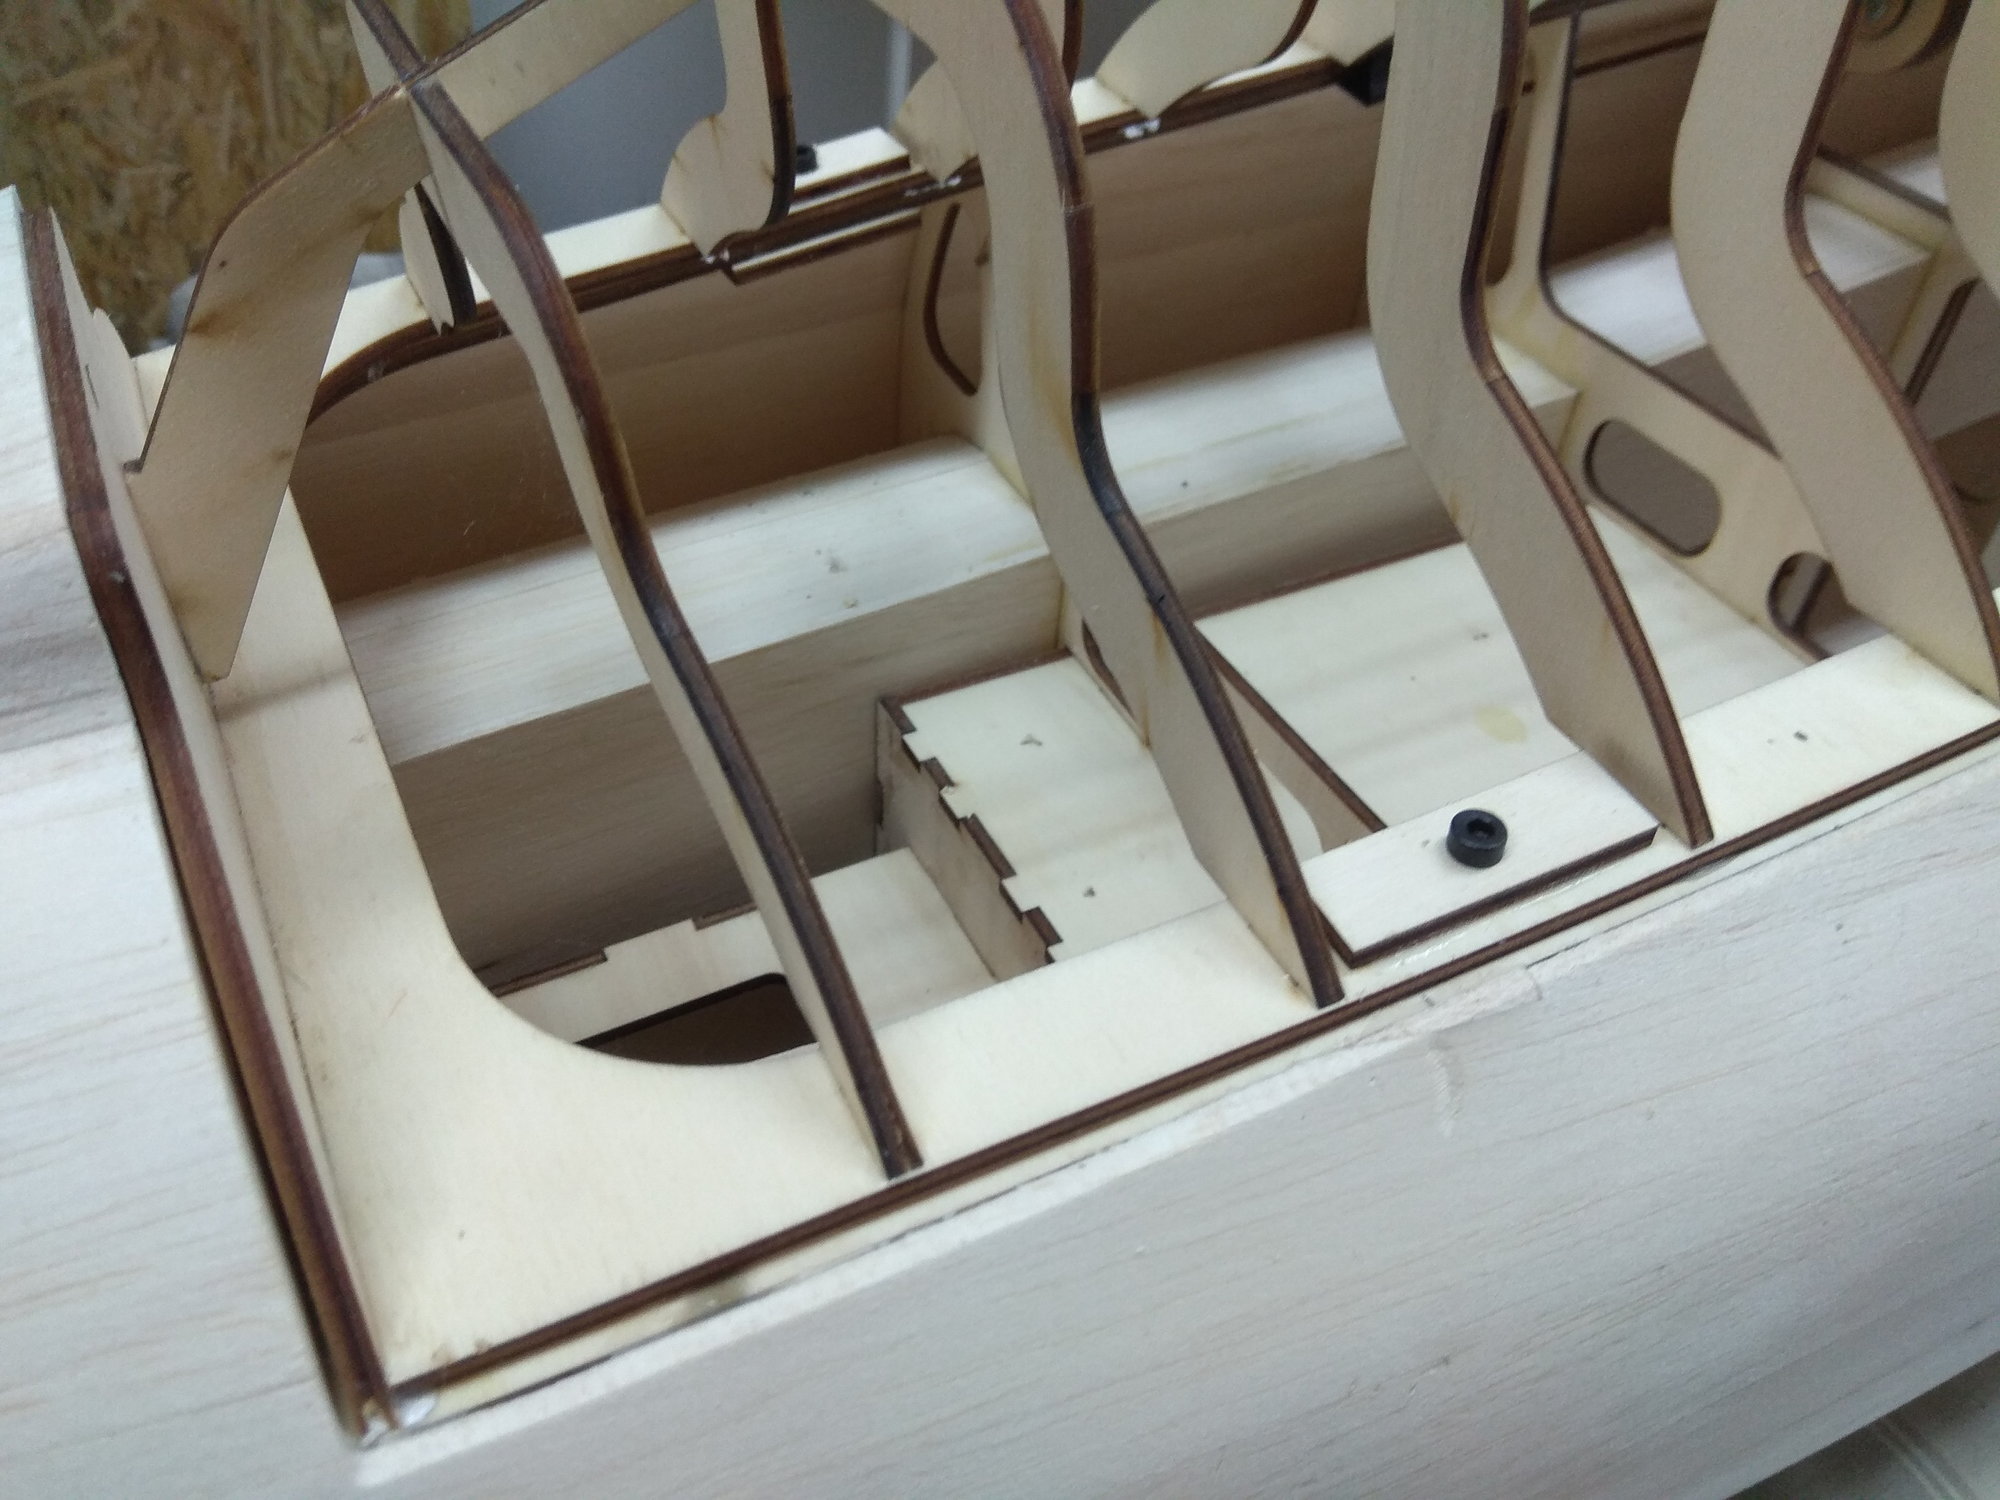
i would like to come back to post #8. The writer is right, the nose gear position is very far away from scale. I think the ground handling of the model will be better with the actual position. But a F-100 must look like a F-100, even on ground. Please don't misunderstand me, you are doing a very nice job and the construction looks very good. I analized the construction and i think it could be possible to move the nose gear box back up to the seperation line of the two fuselage parts. The position then would not be exactly scale, but very much better. I flew a F-100D scale 1/7.2 for several years and i love this model. I'm thinking over to buy one.
Peter
07-24-2018, 02:36 AM
#63
Thread Starter
Hello Peter, yes you are right.
As I told earlier, I got drawings and use it. Don't take care are nose gear on scale position, but as you told, it can be more backward.
Why nose gear are on position where it is now I really don't know, maybe because better ground handling.
Also, there are space to move nose gear backwards, if modeler want to have more scale model.
This is huge model and have enough space. In that case split position of intake channels can be more inside.
For me this is first F 100 I build, maybe on second I'll made some changes around nose gear and intake channels.
But it is good for other modelers to see all this and change some things during building.
Mirce
Last edited by mirce; 07-24-2018 at 02:40 AM.

 08-26-2018, 02:48 PM
#65
Thread Starter
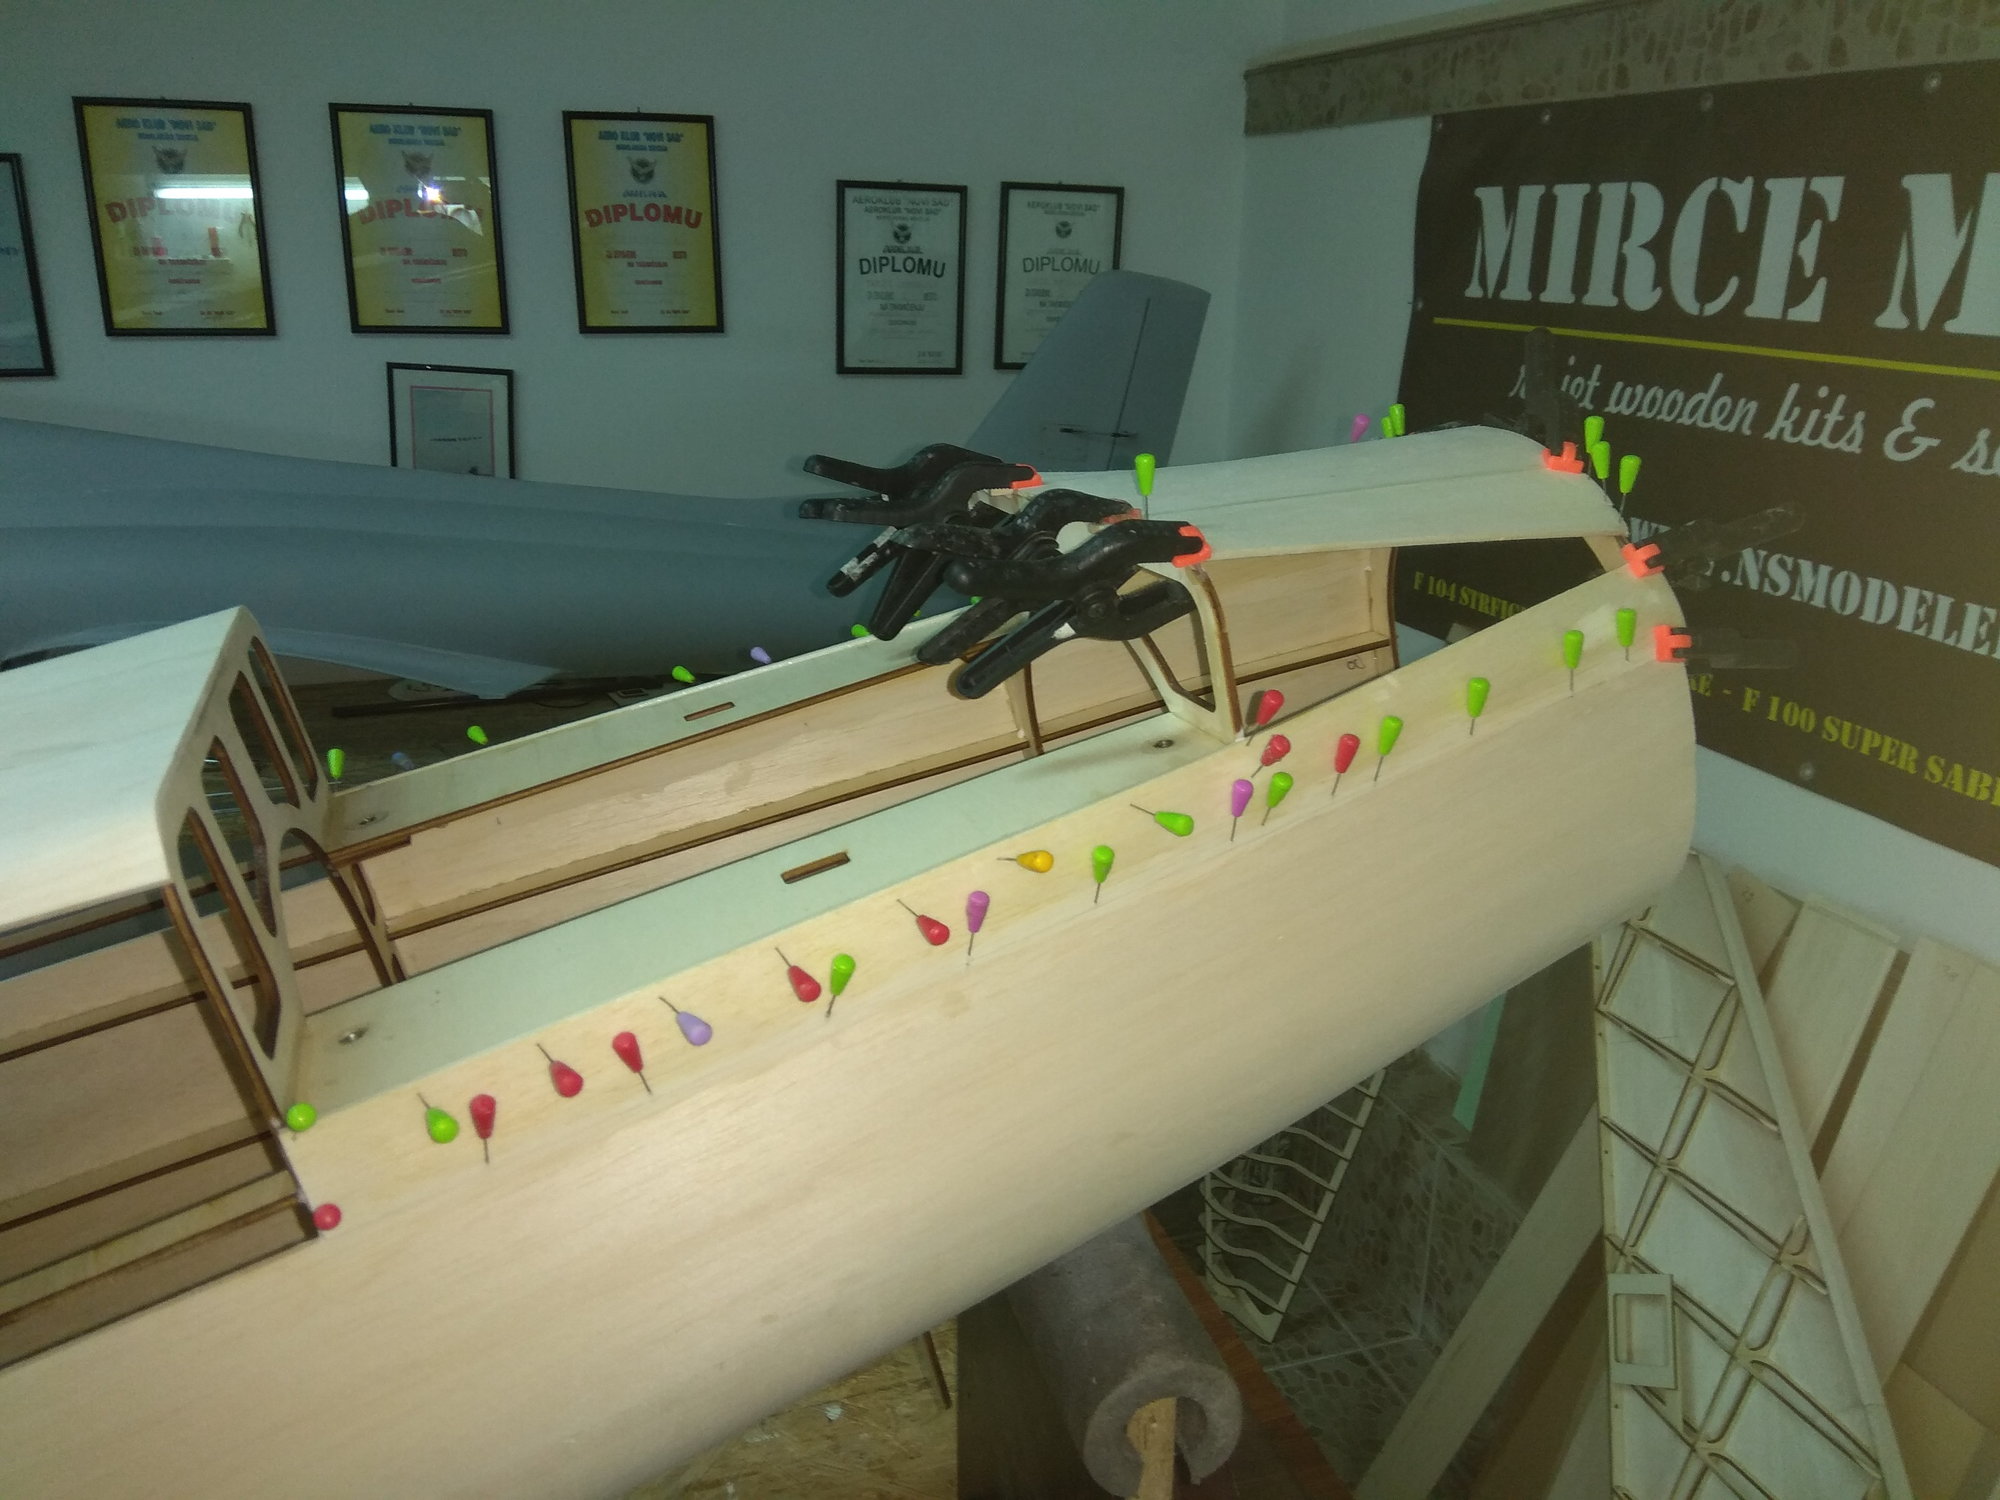
After vacation works on "Mirce models" F 100 continued.
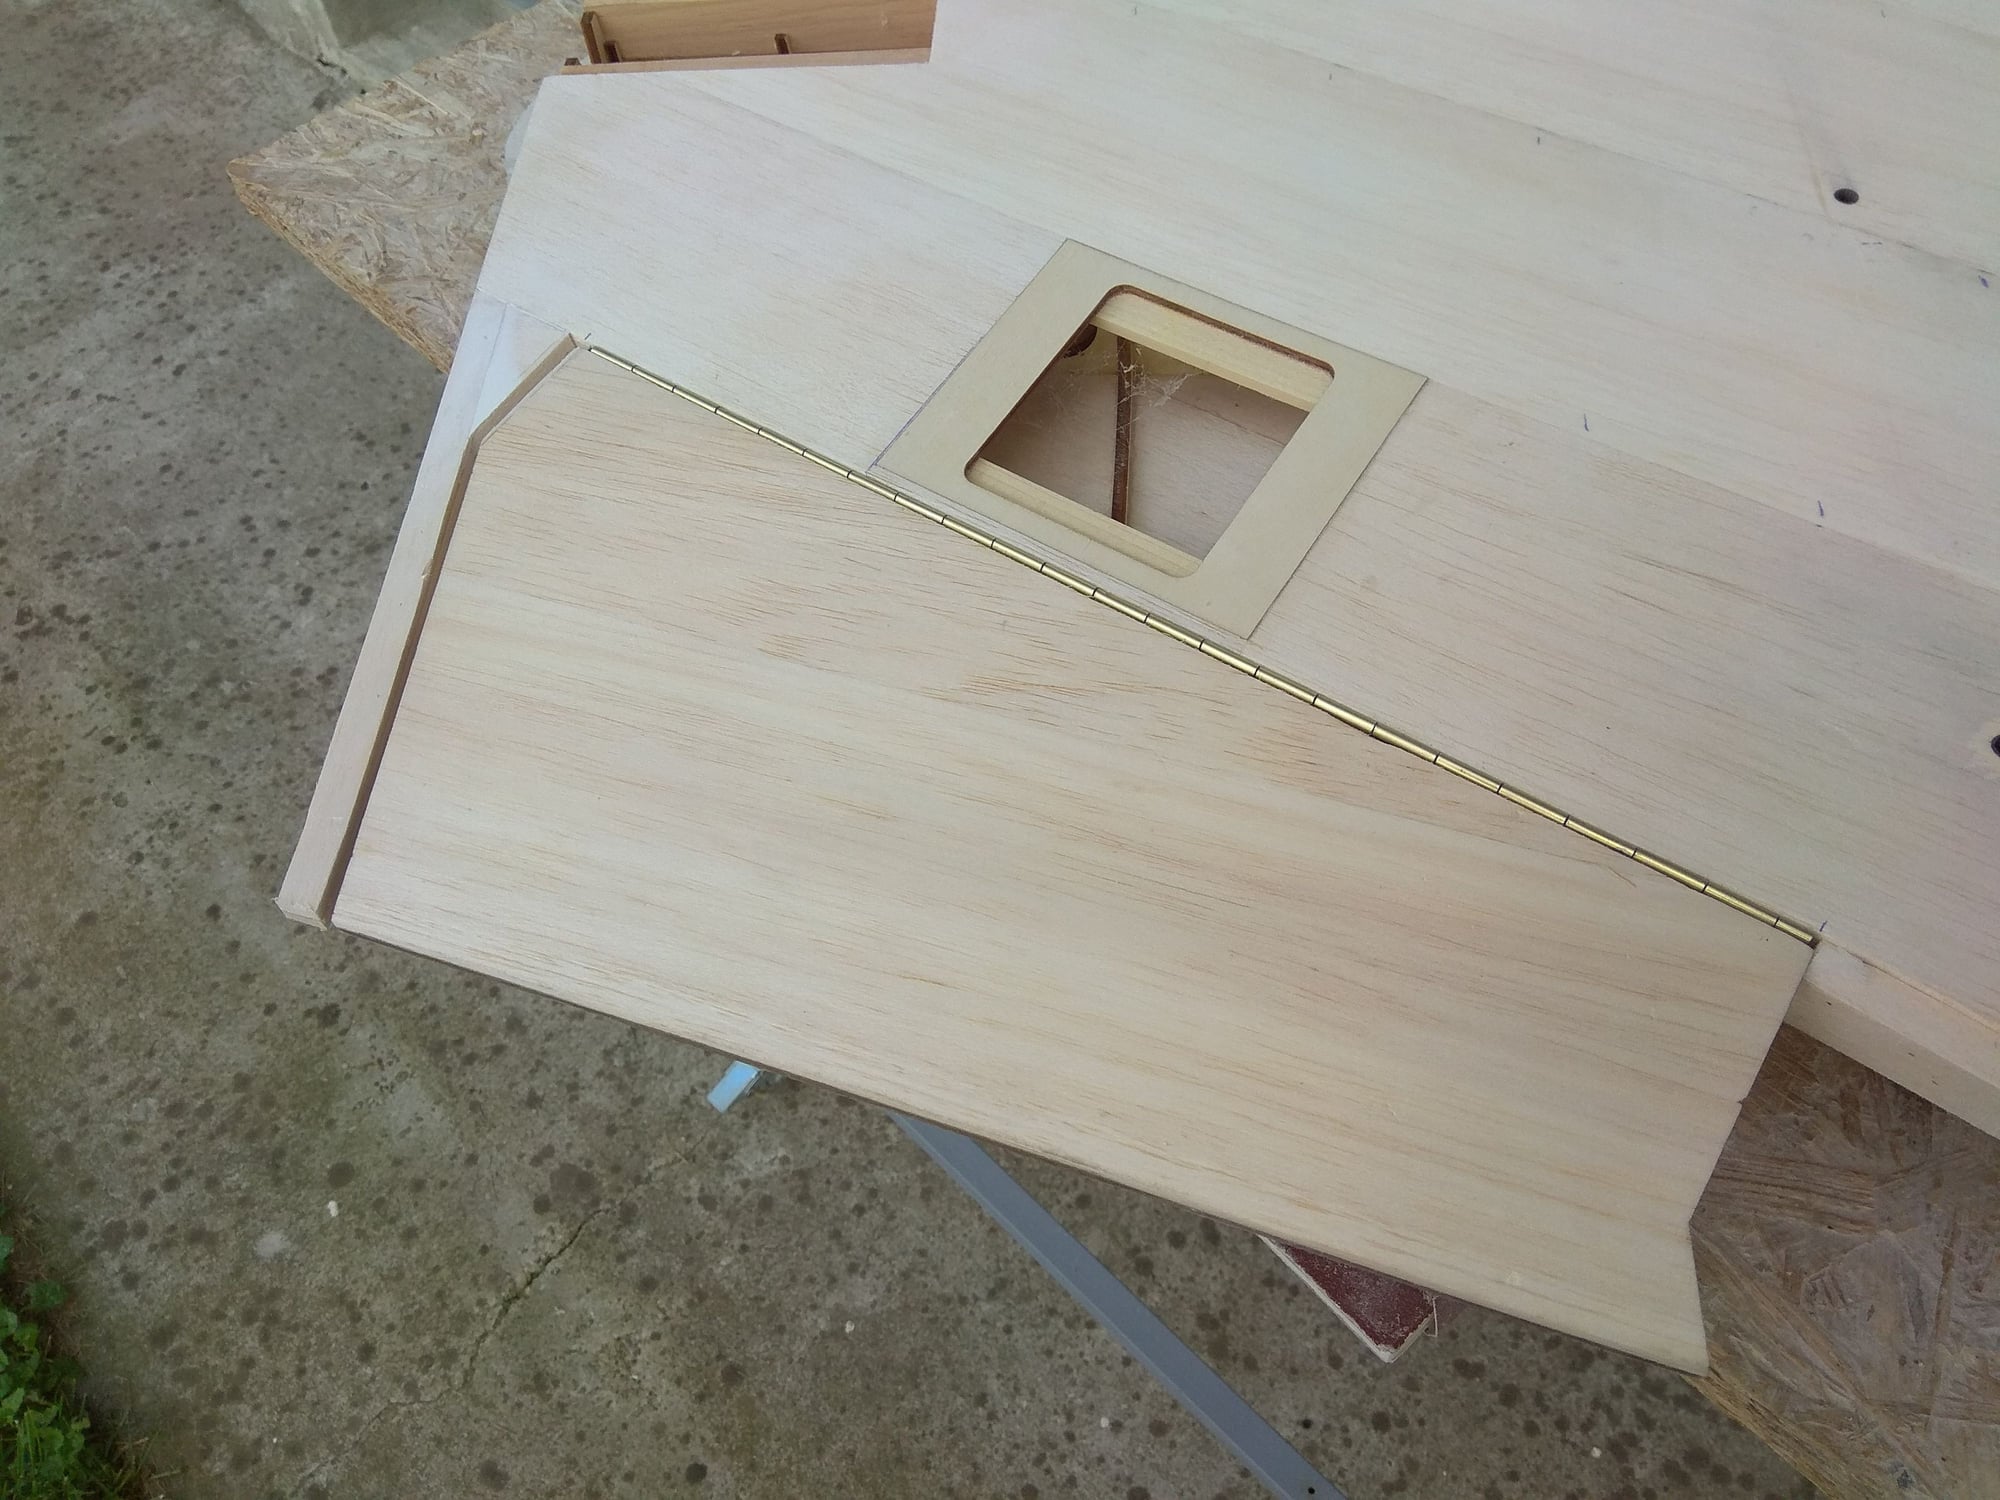
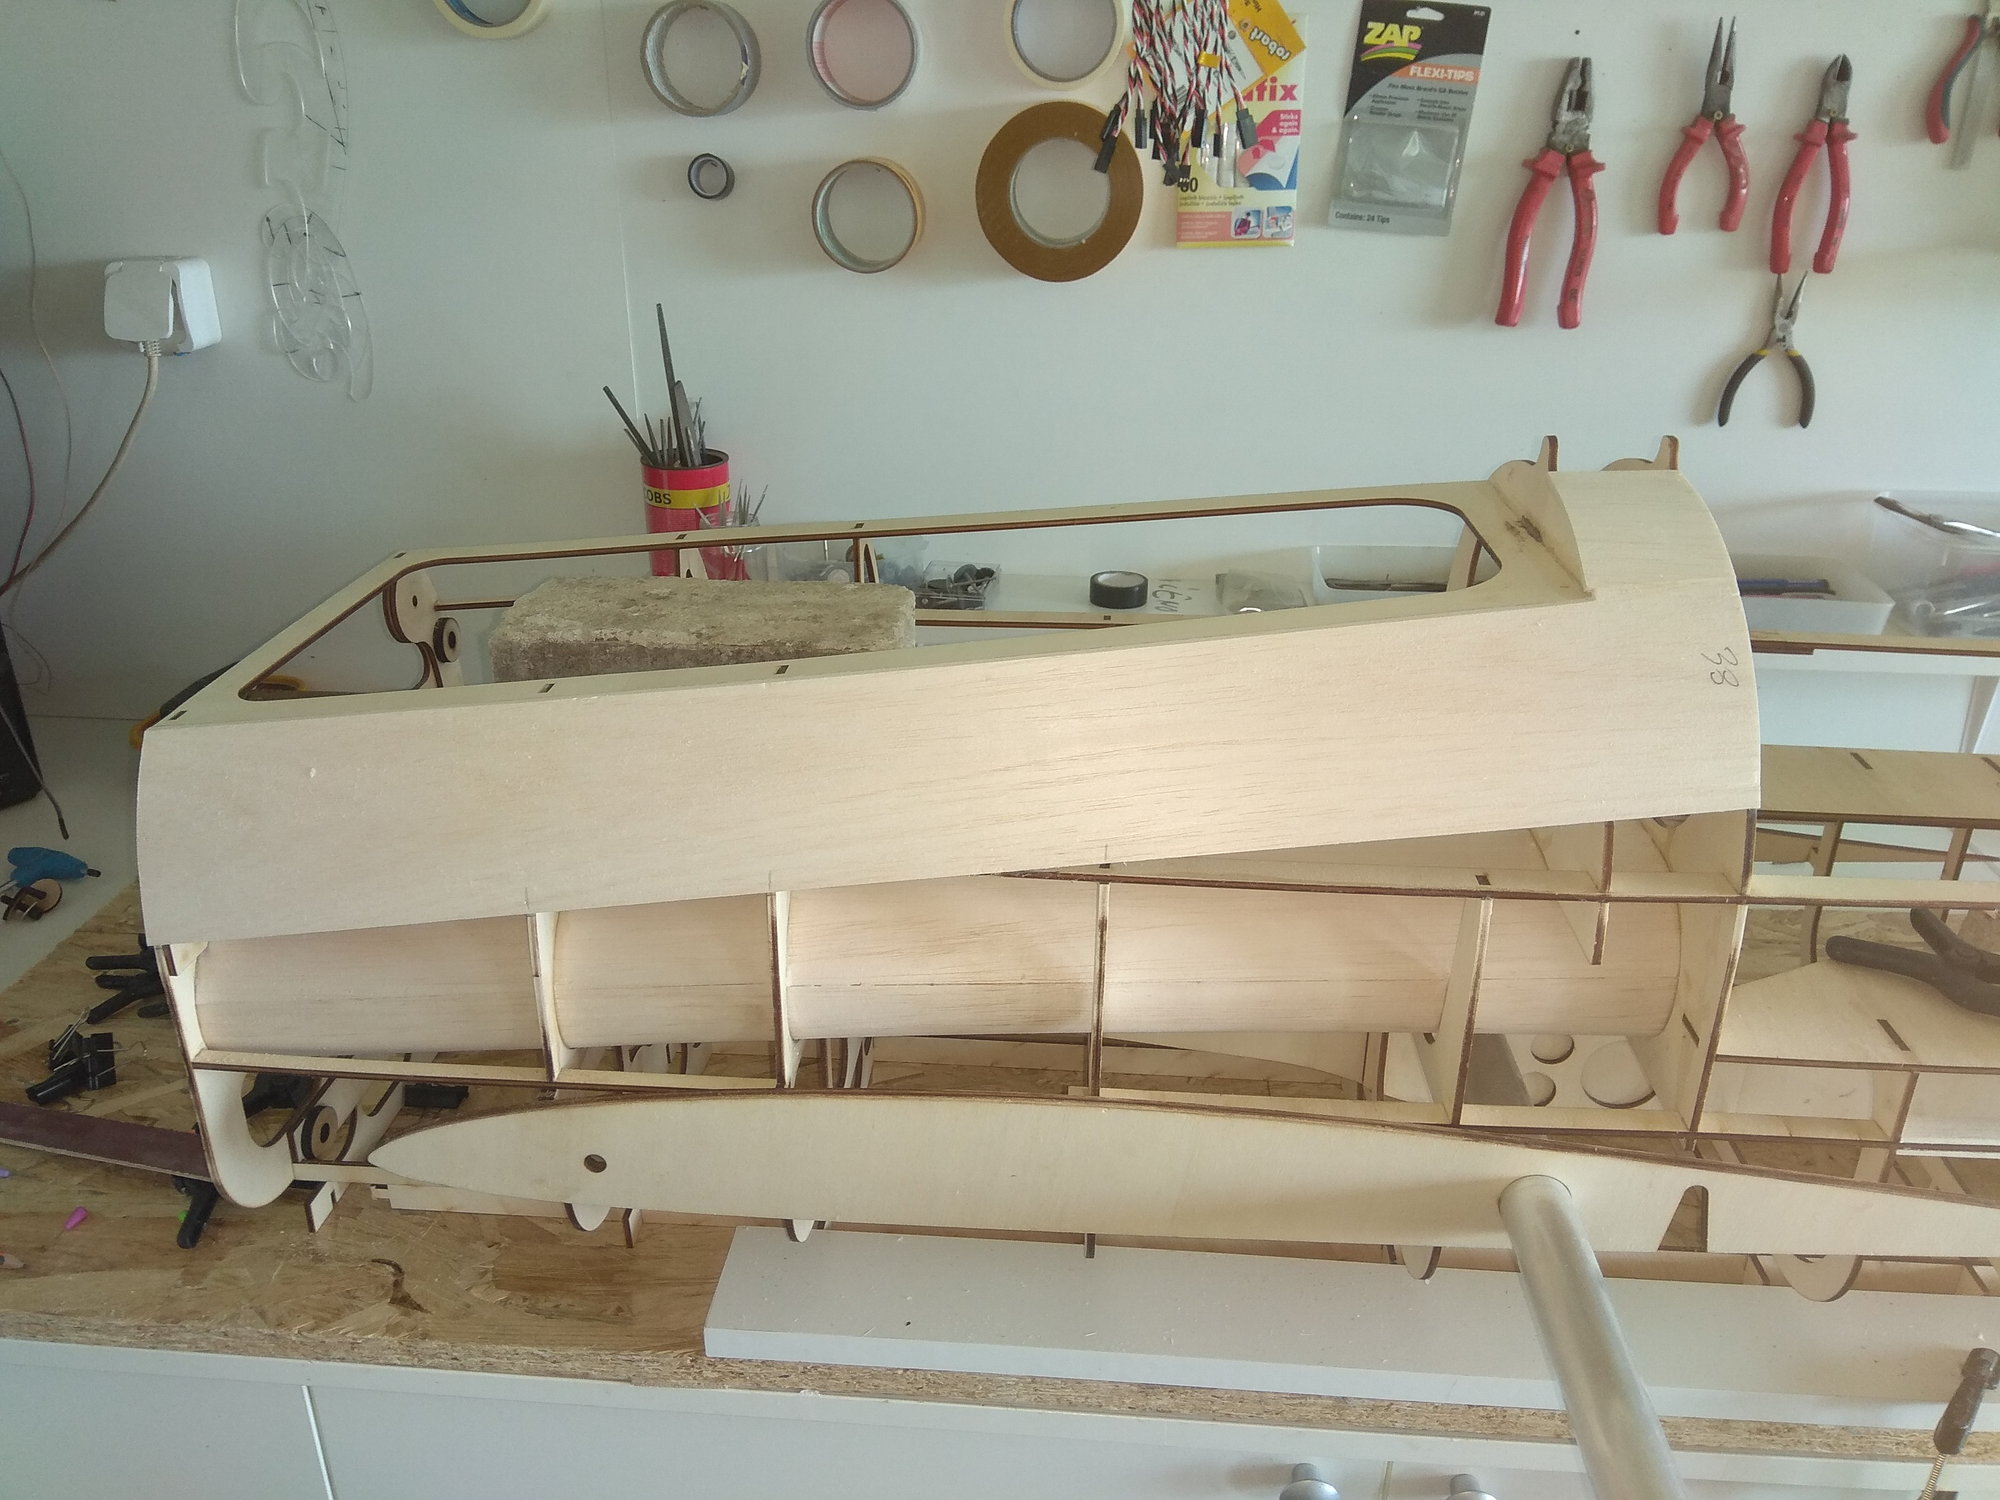
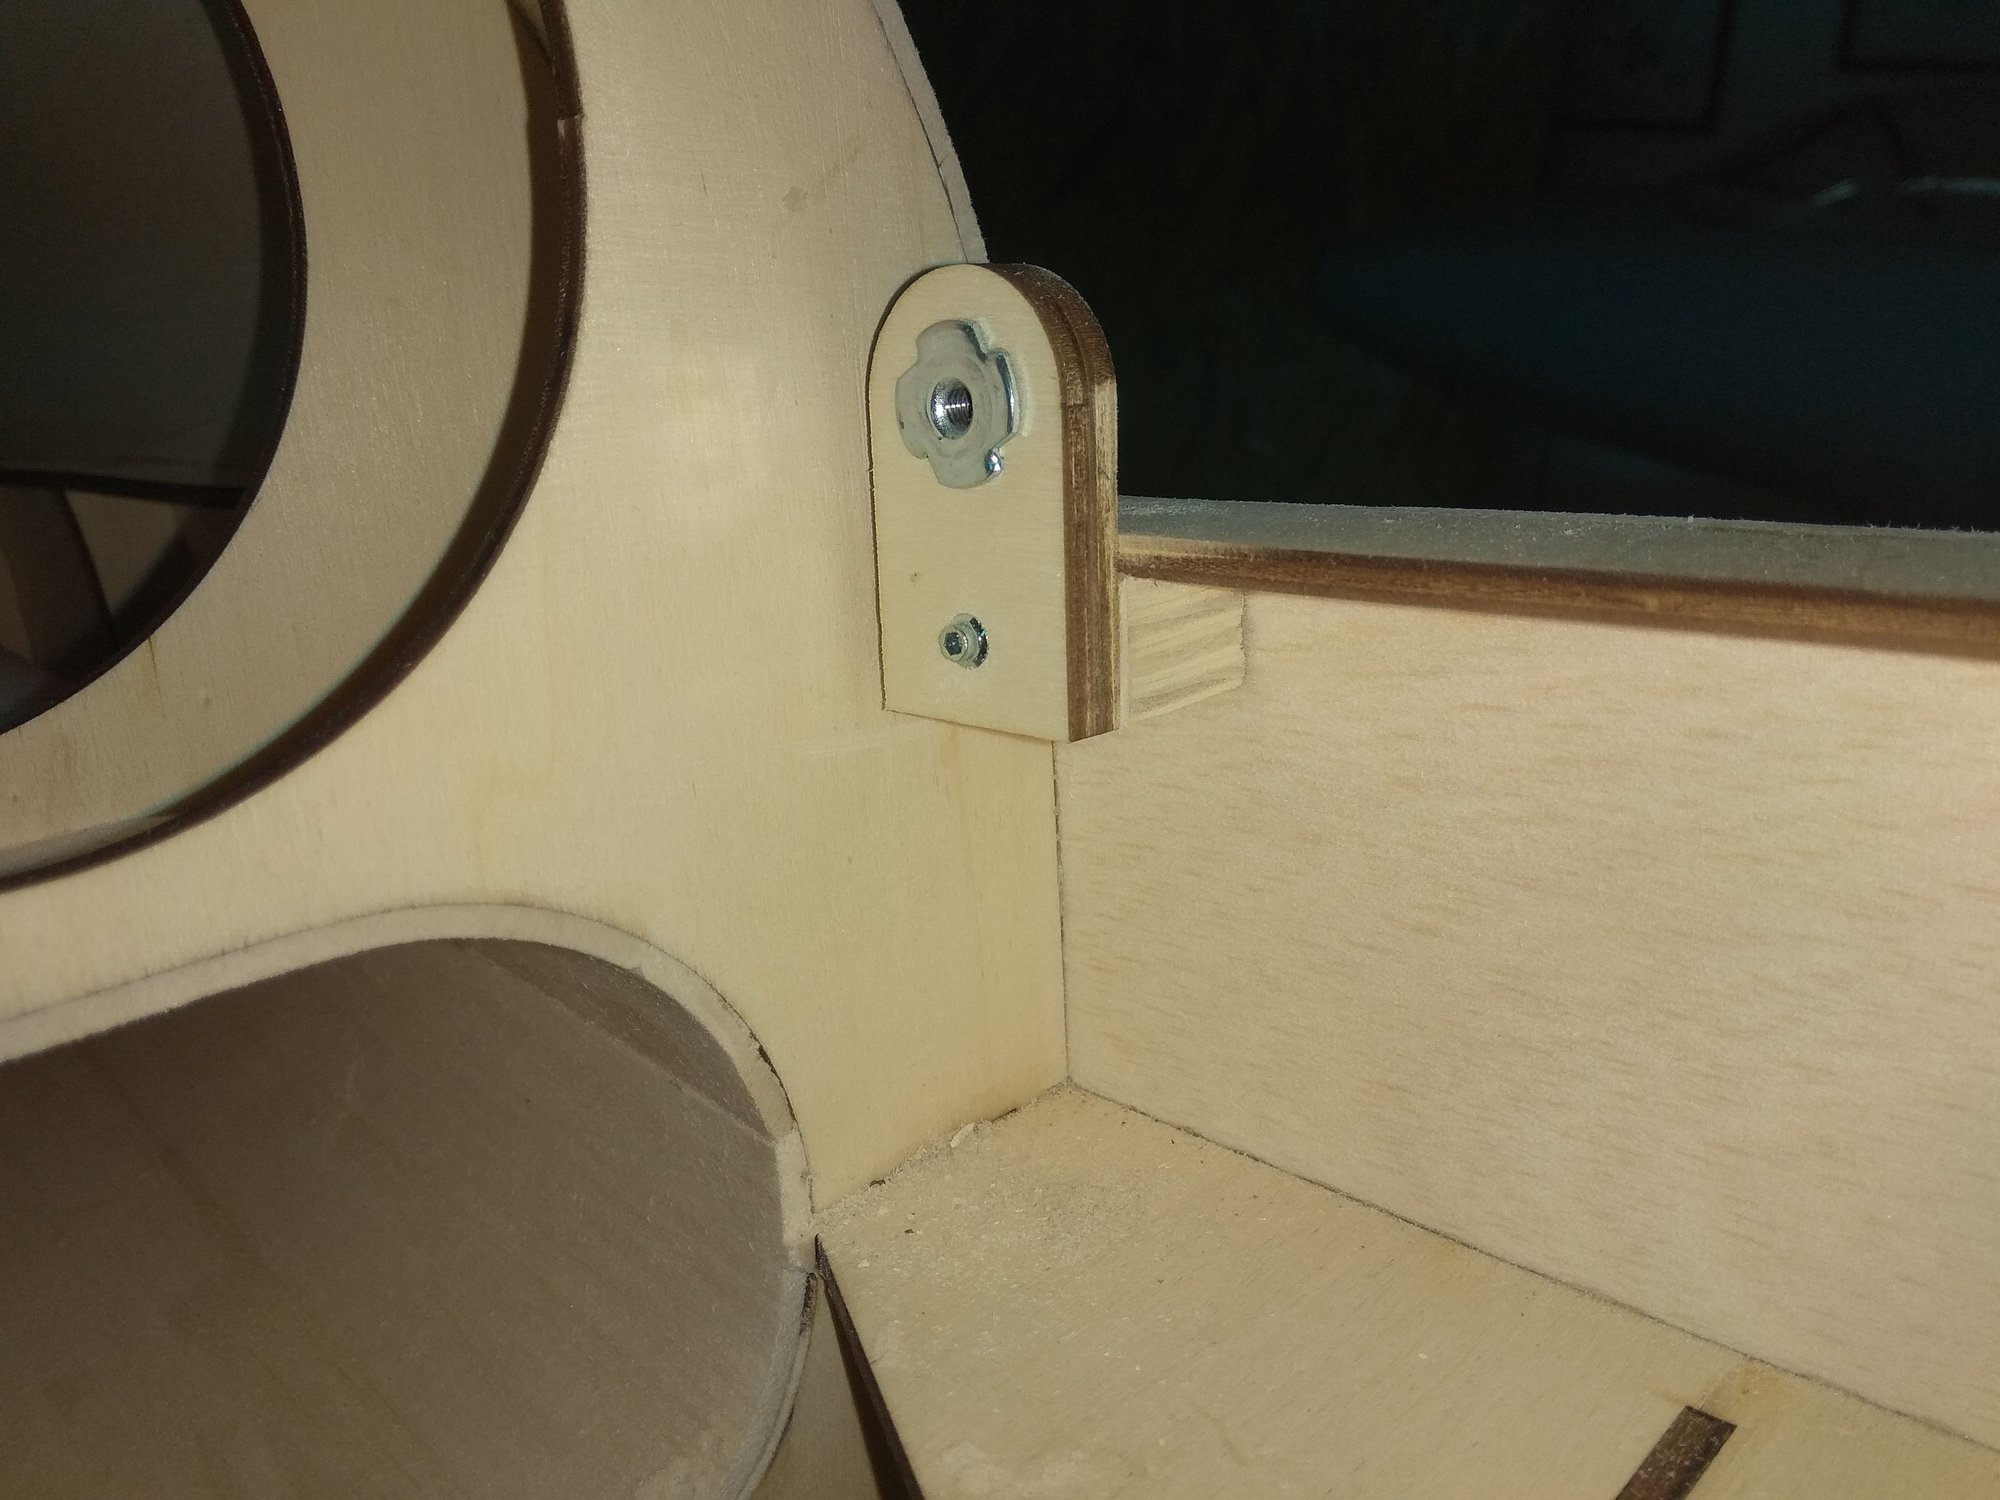
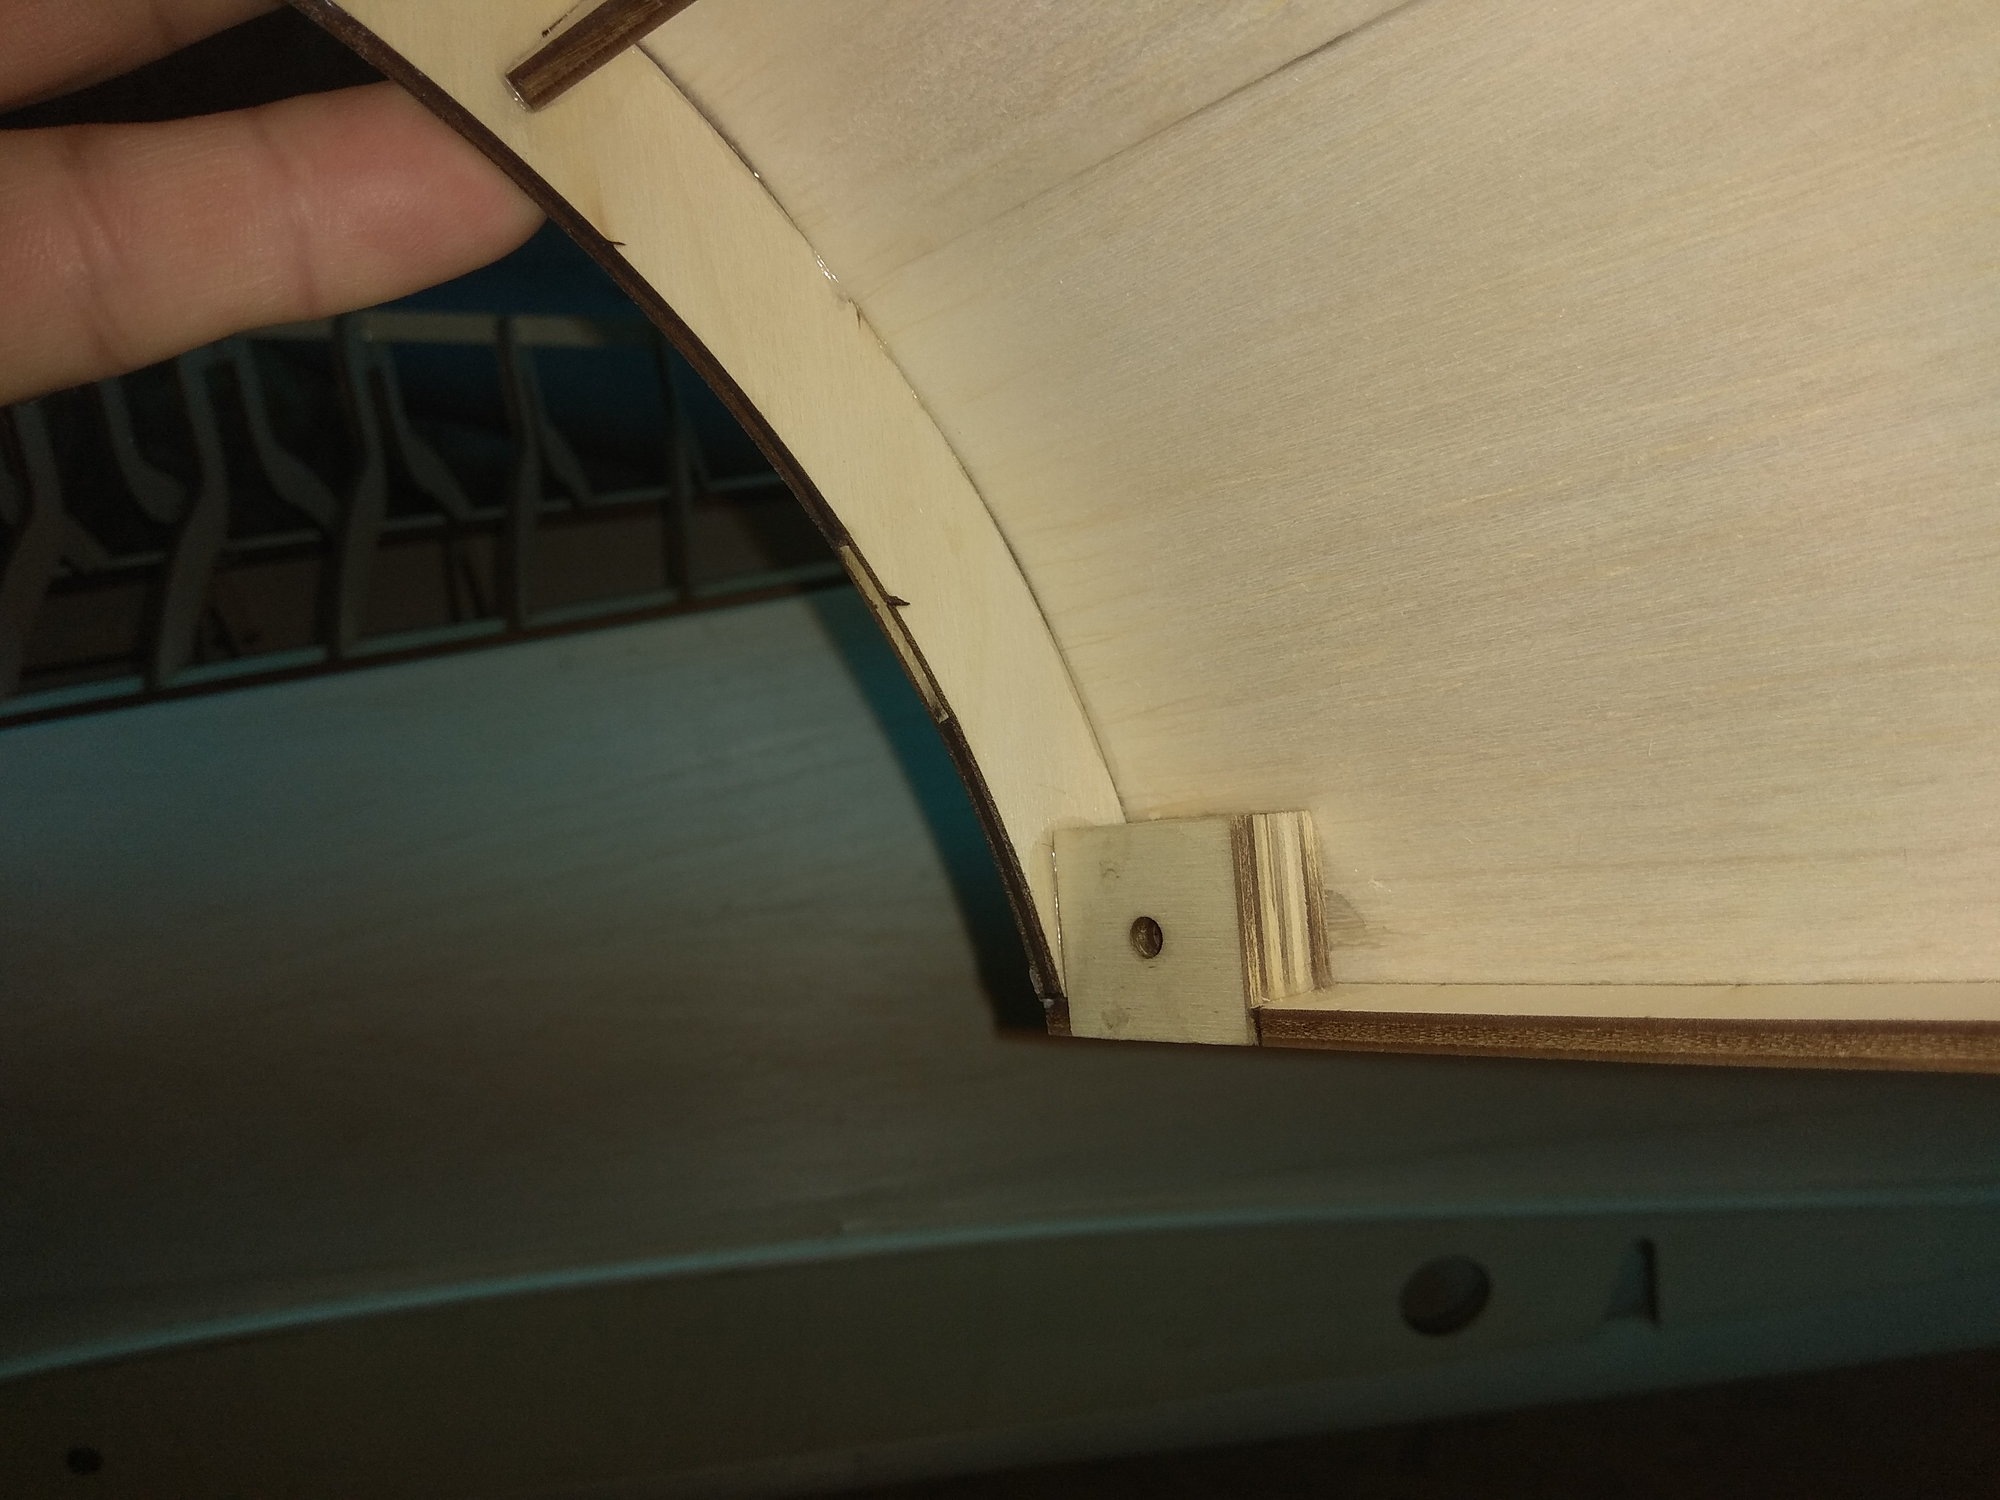
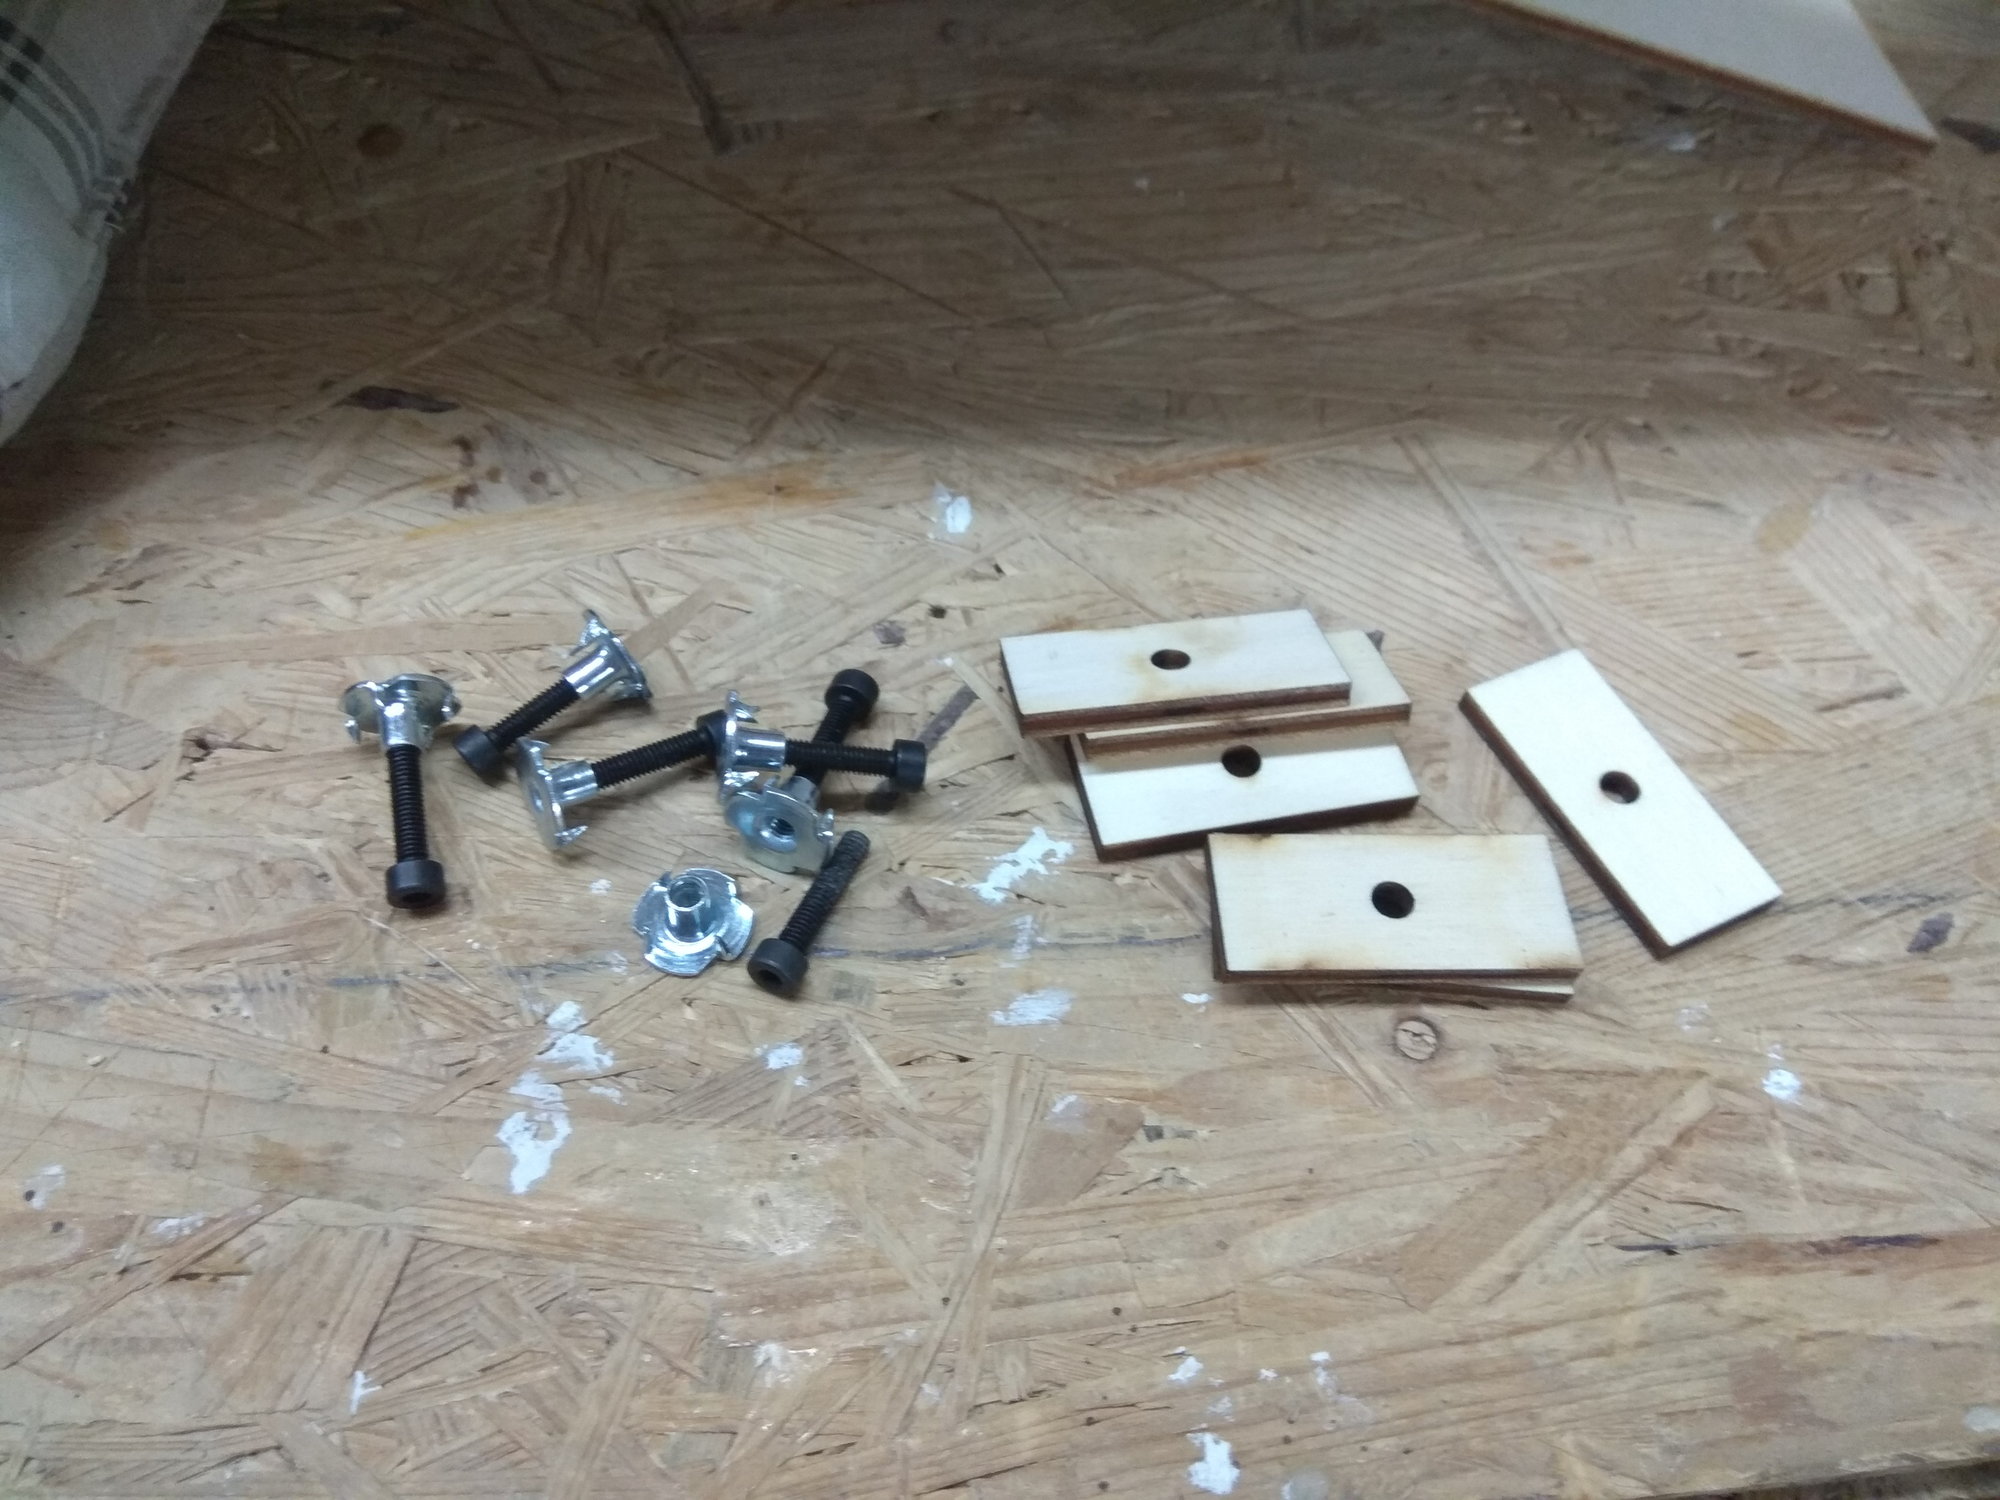
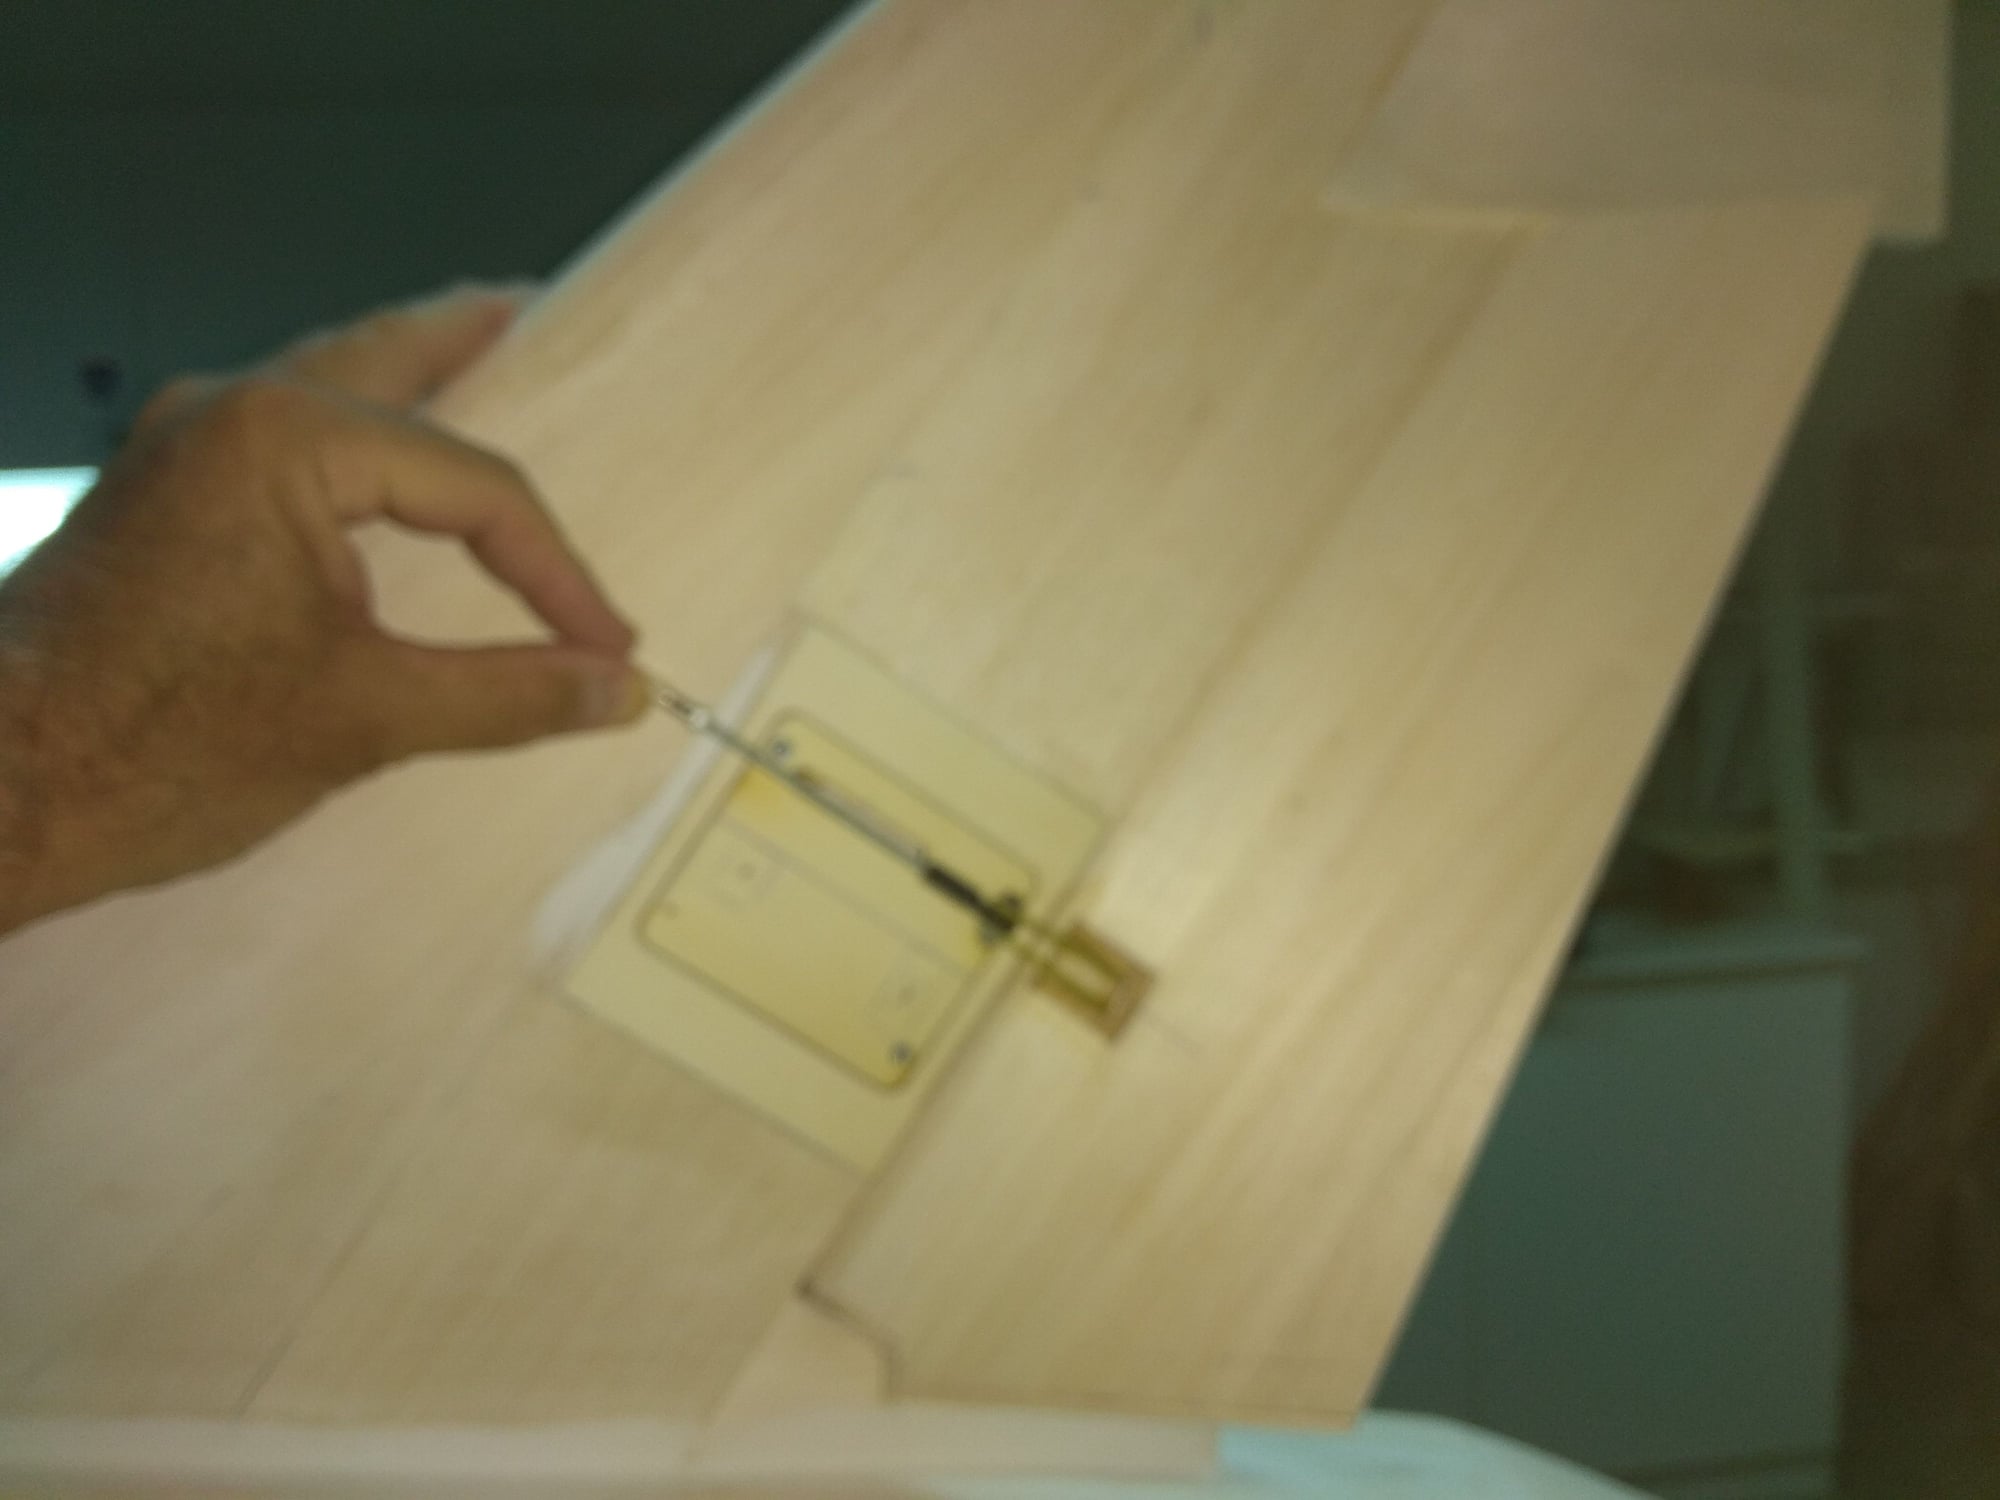
For tightening the cover of the turbine and the cabin on the model I will use 4 mm screws.

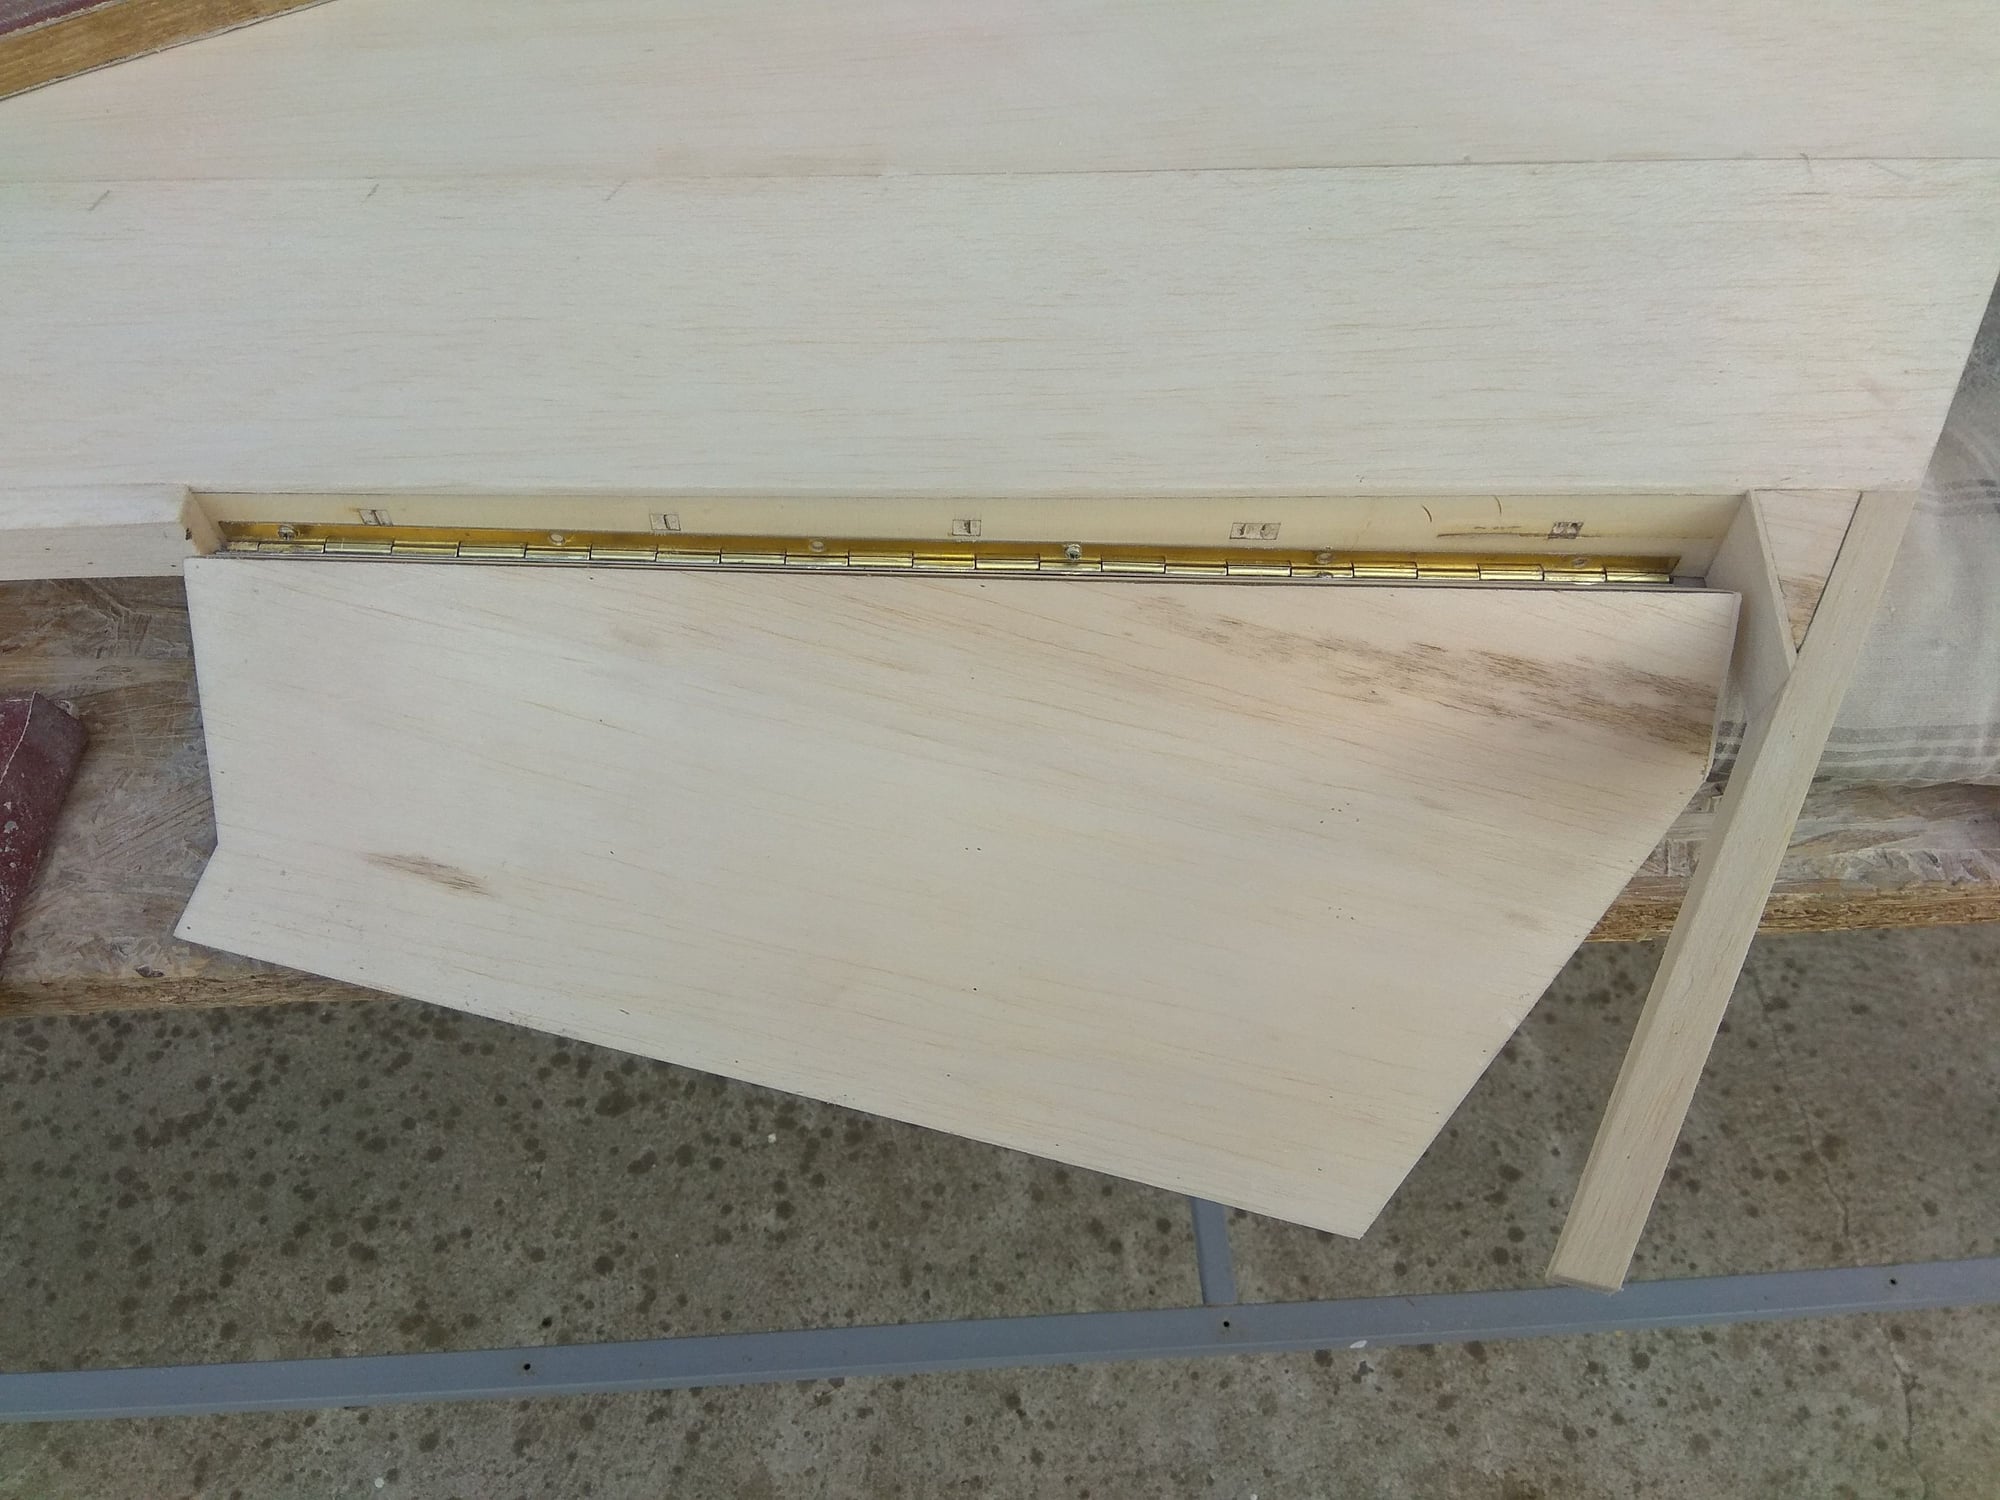
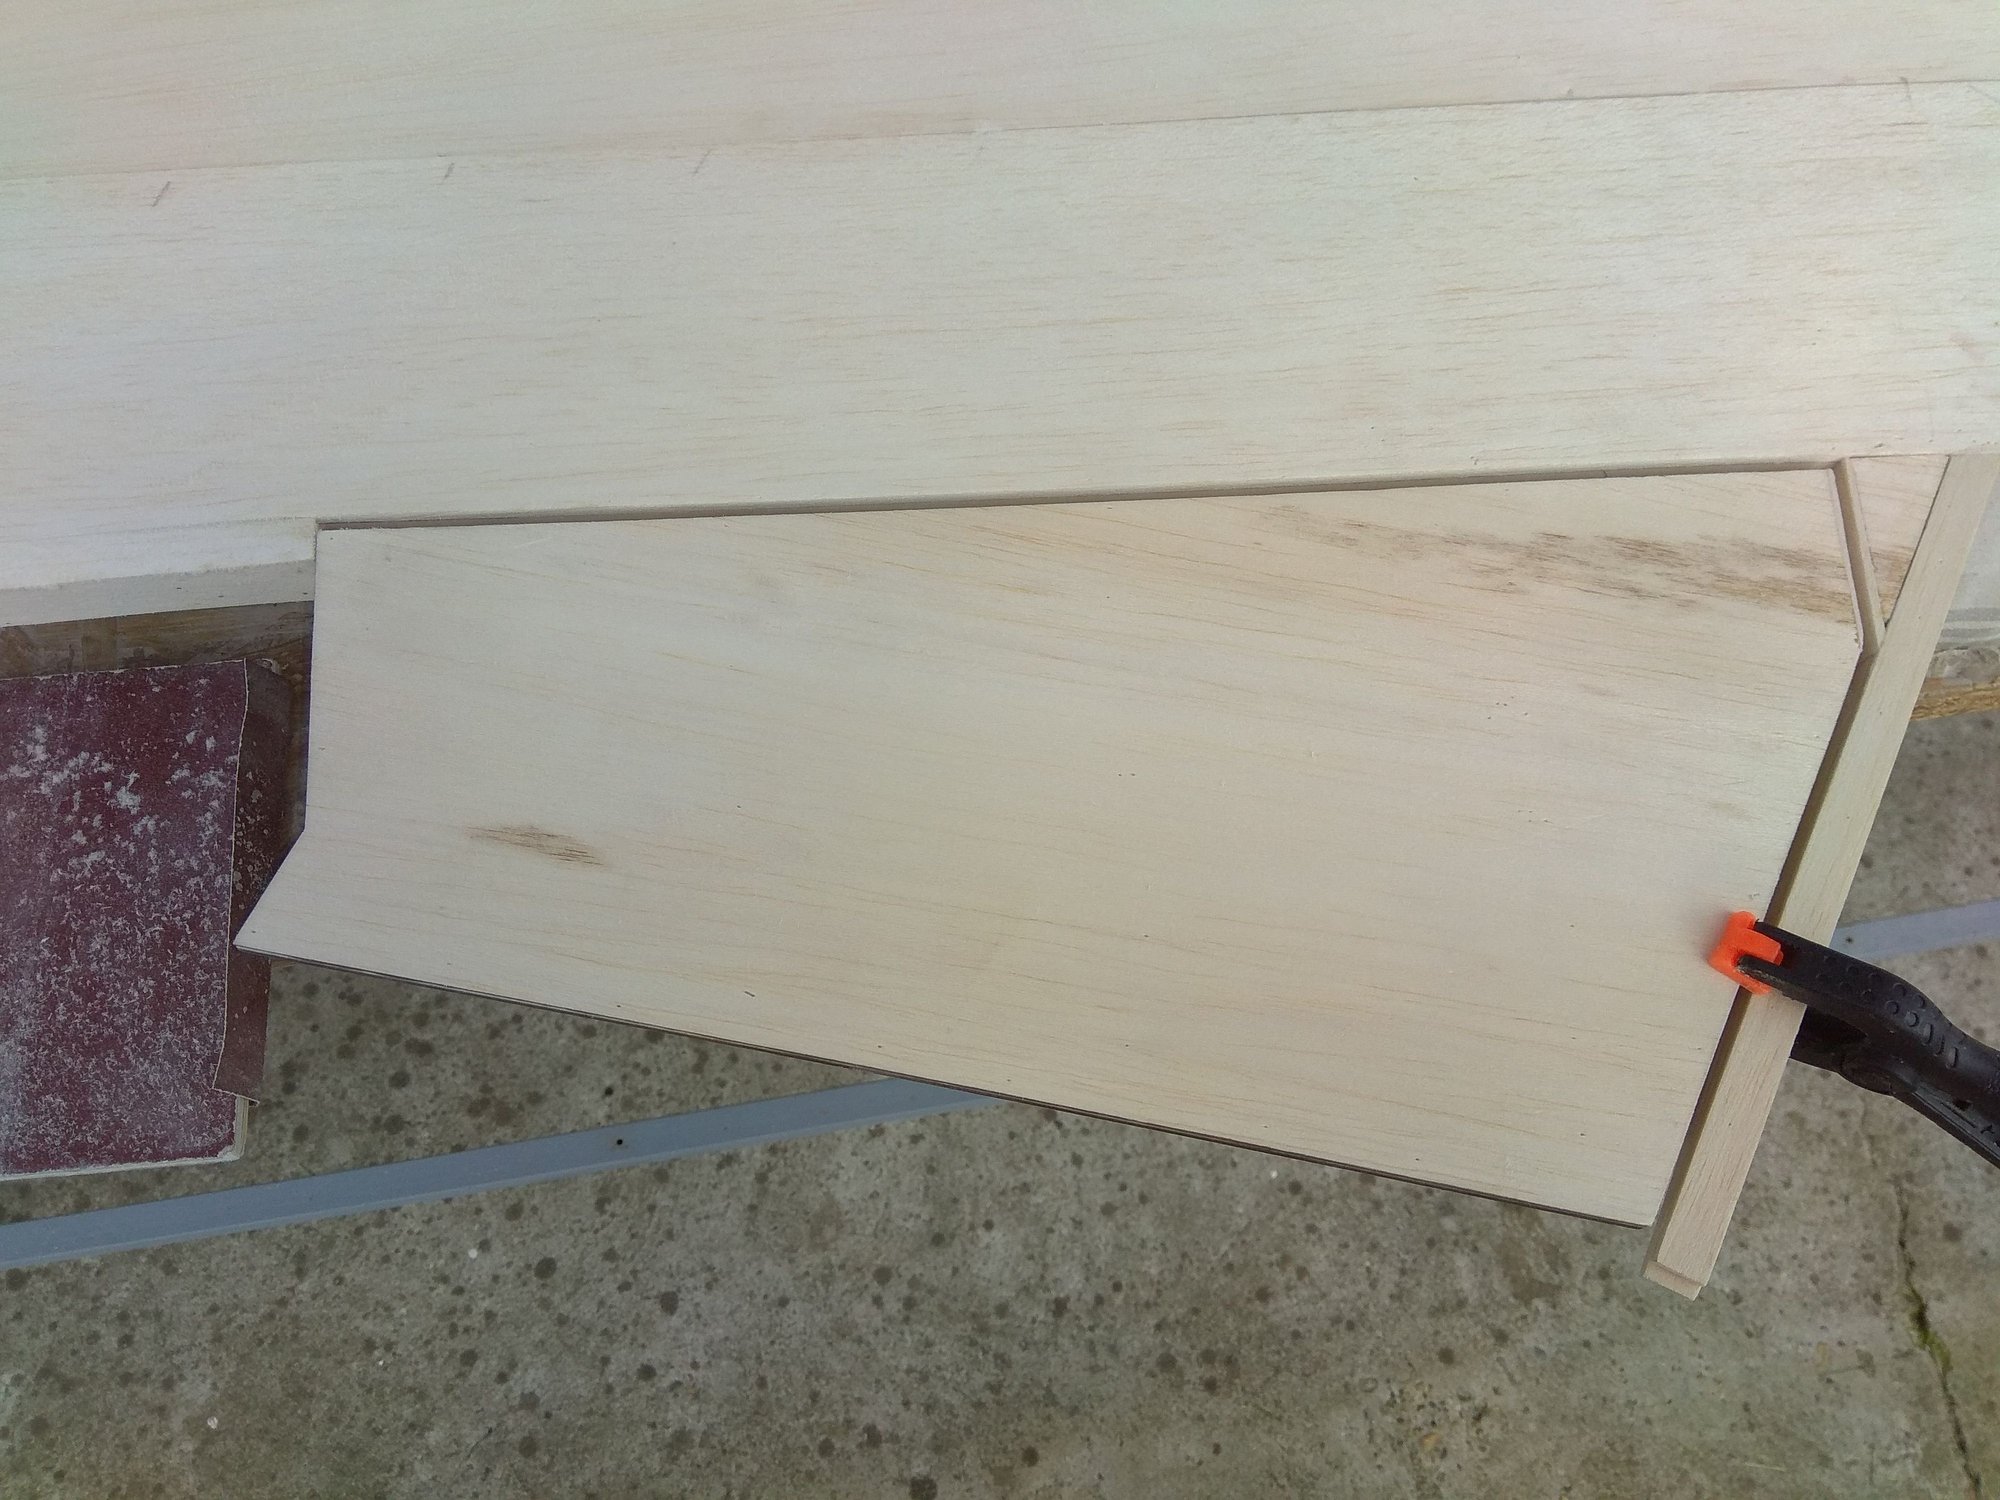
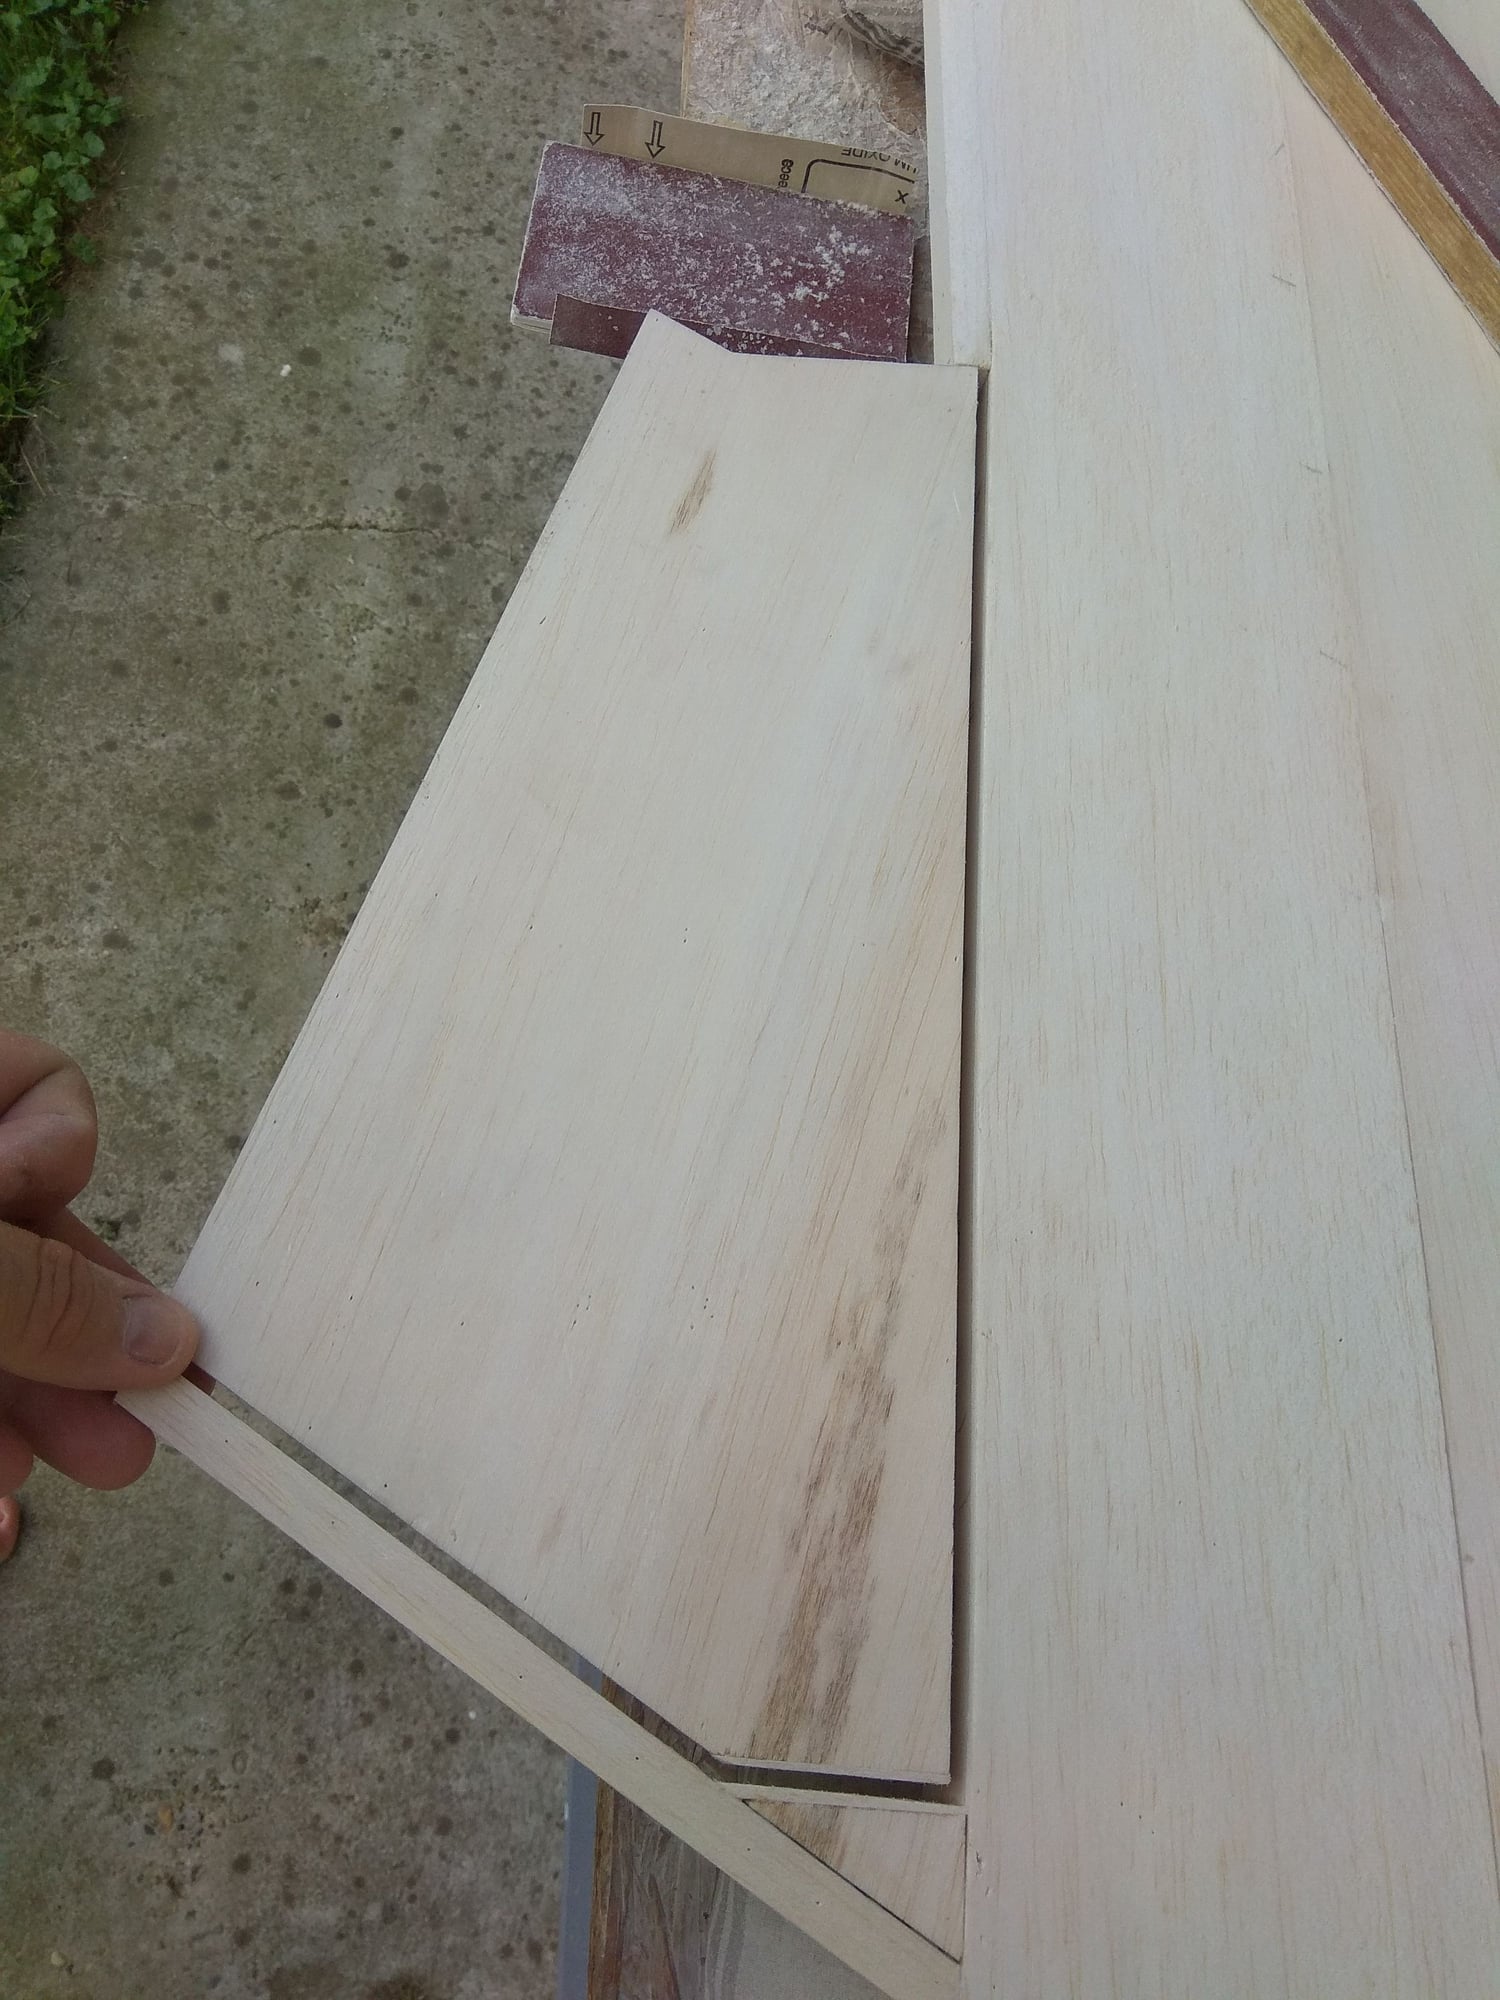
Cabin cover...
After this step I can work on cabin cover, balsa slate near another...


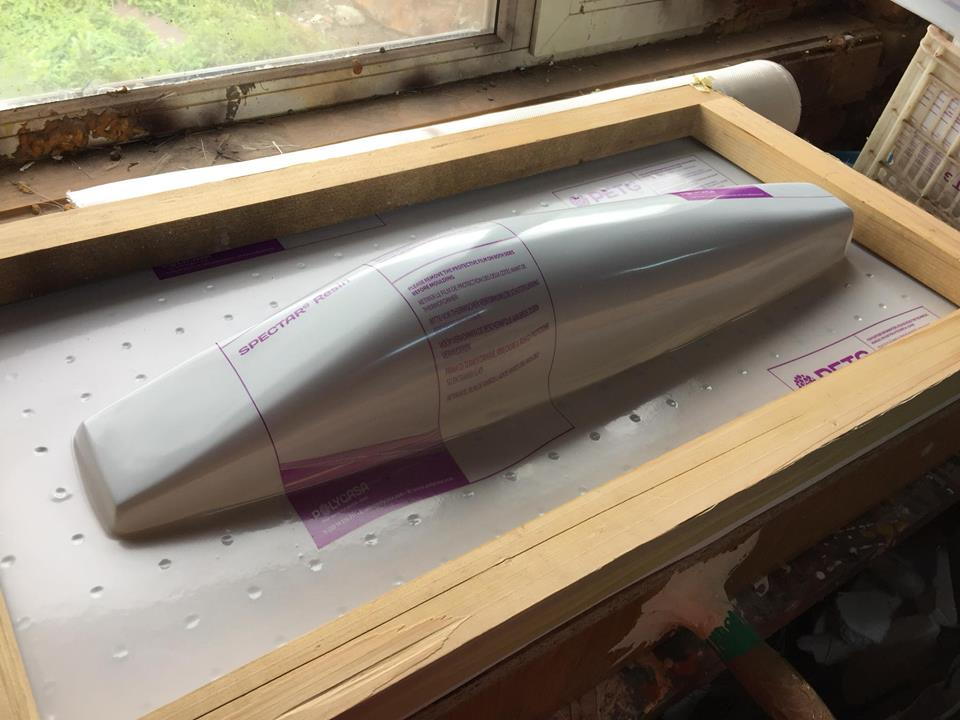
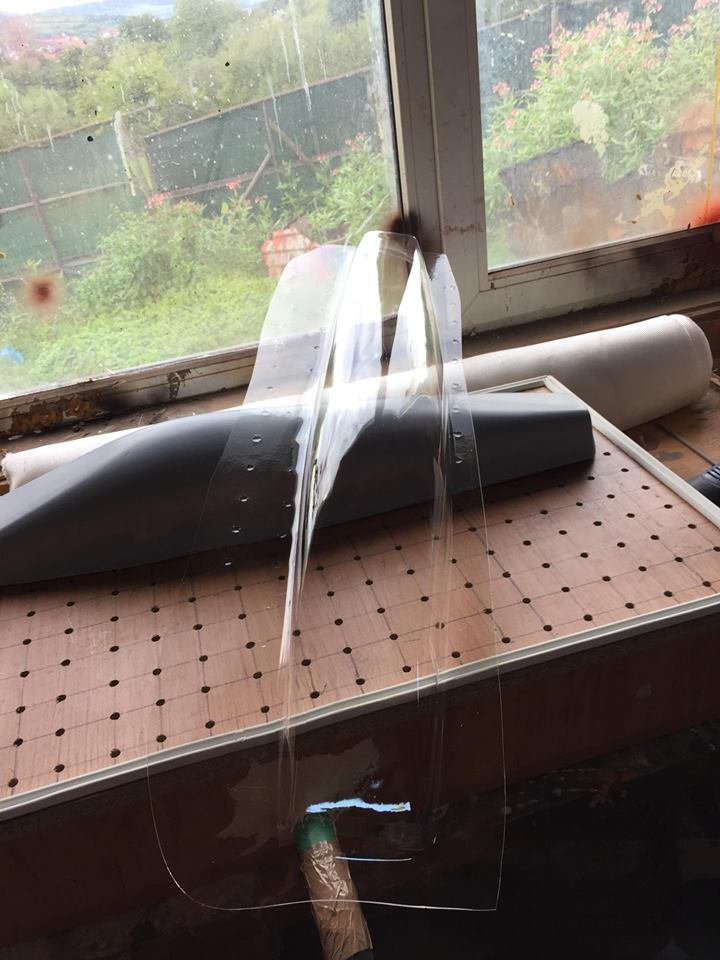
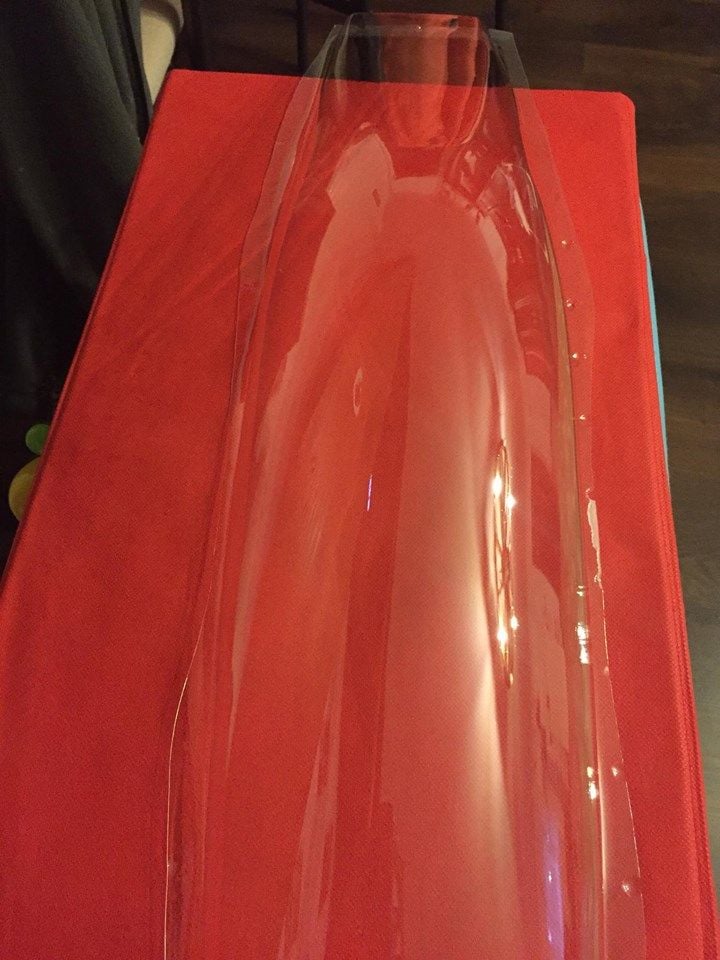
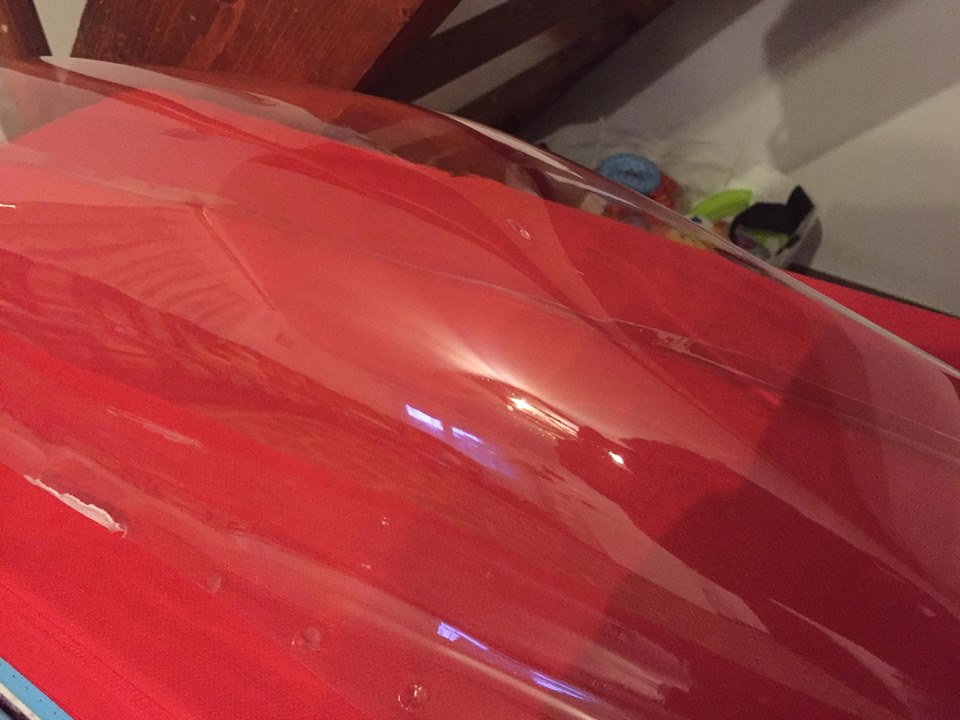
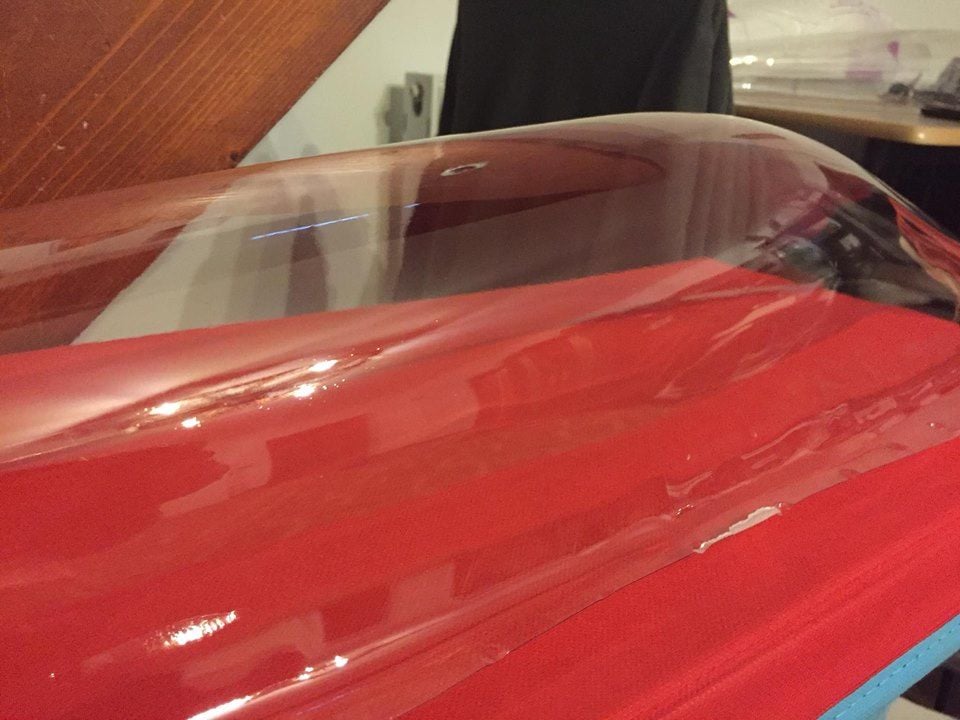
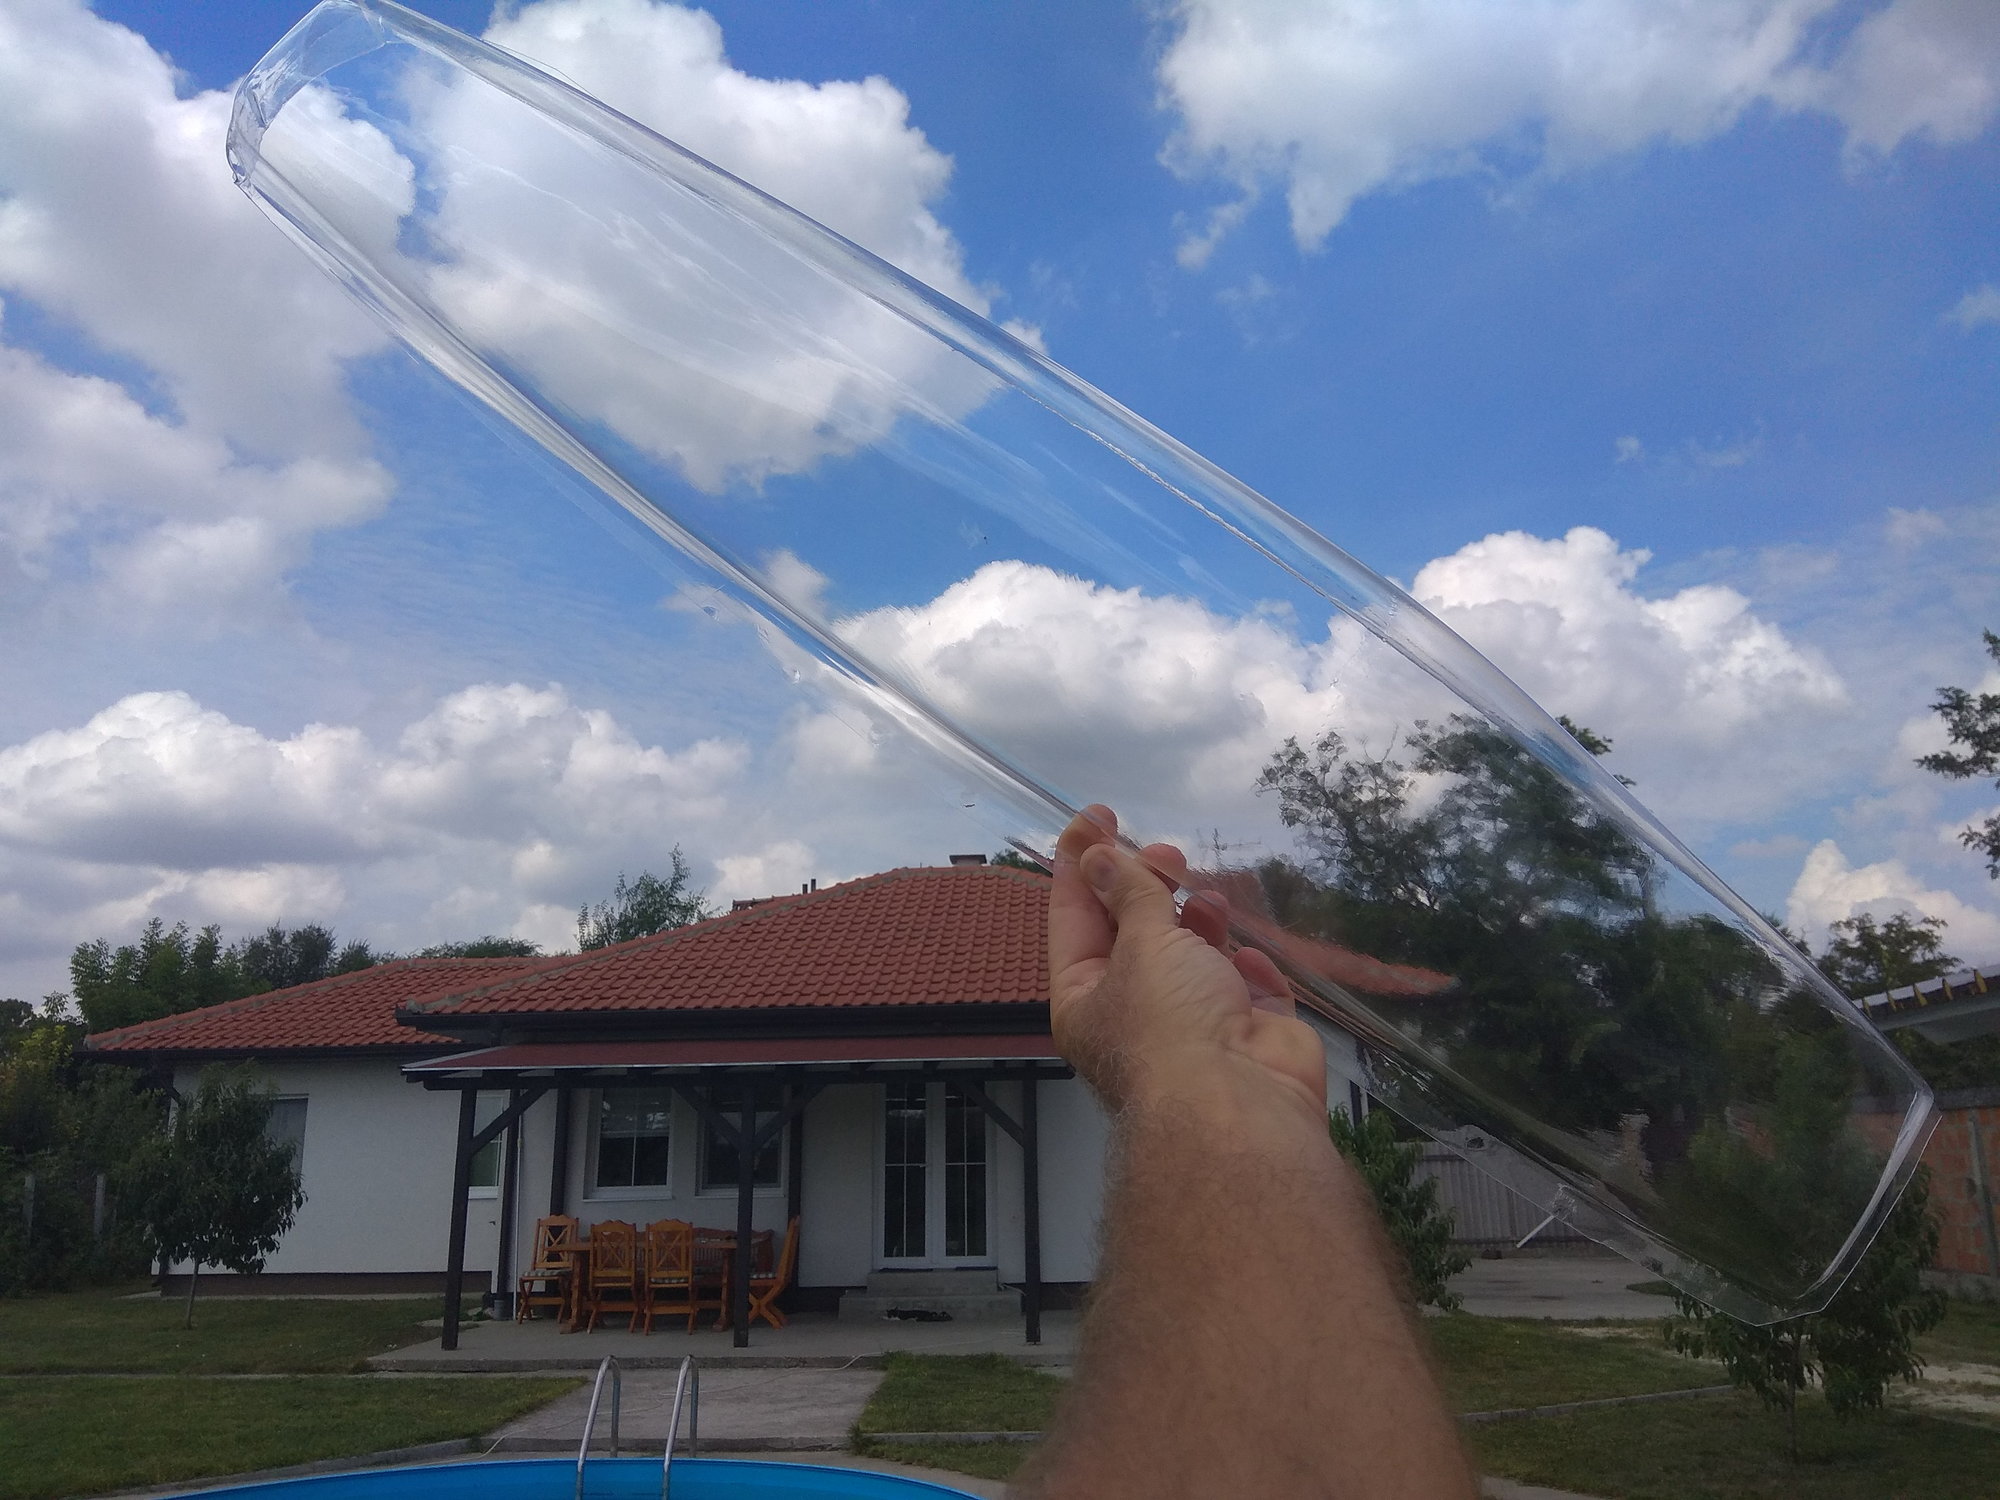
In the meantime, clear cabins arrived ...
To be continued...
For tightening the cover of the turbine and the cabin on the model I will use 4 mm screws.
Cabin cover...
After this step I can work on cabin cover, balsa slate near another...
In the meantime, clear cabins arrived ...
To be continued...


 09-12-2018, 02:50 PM
#67
Thread Starter
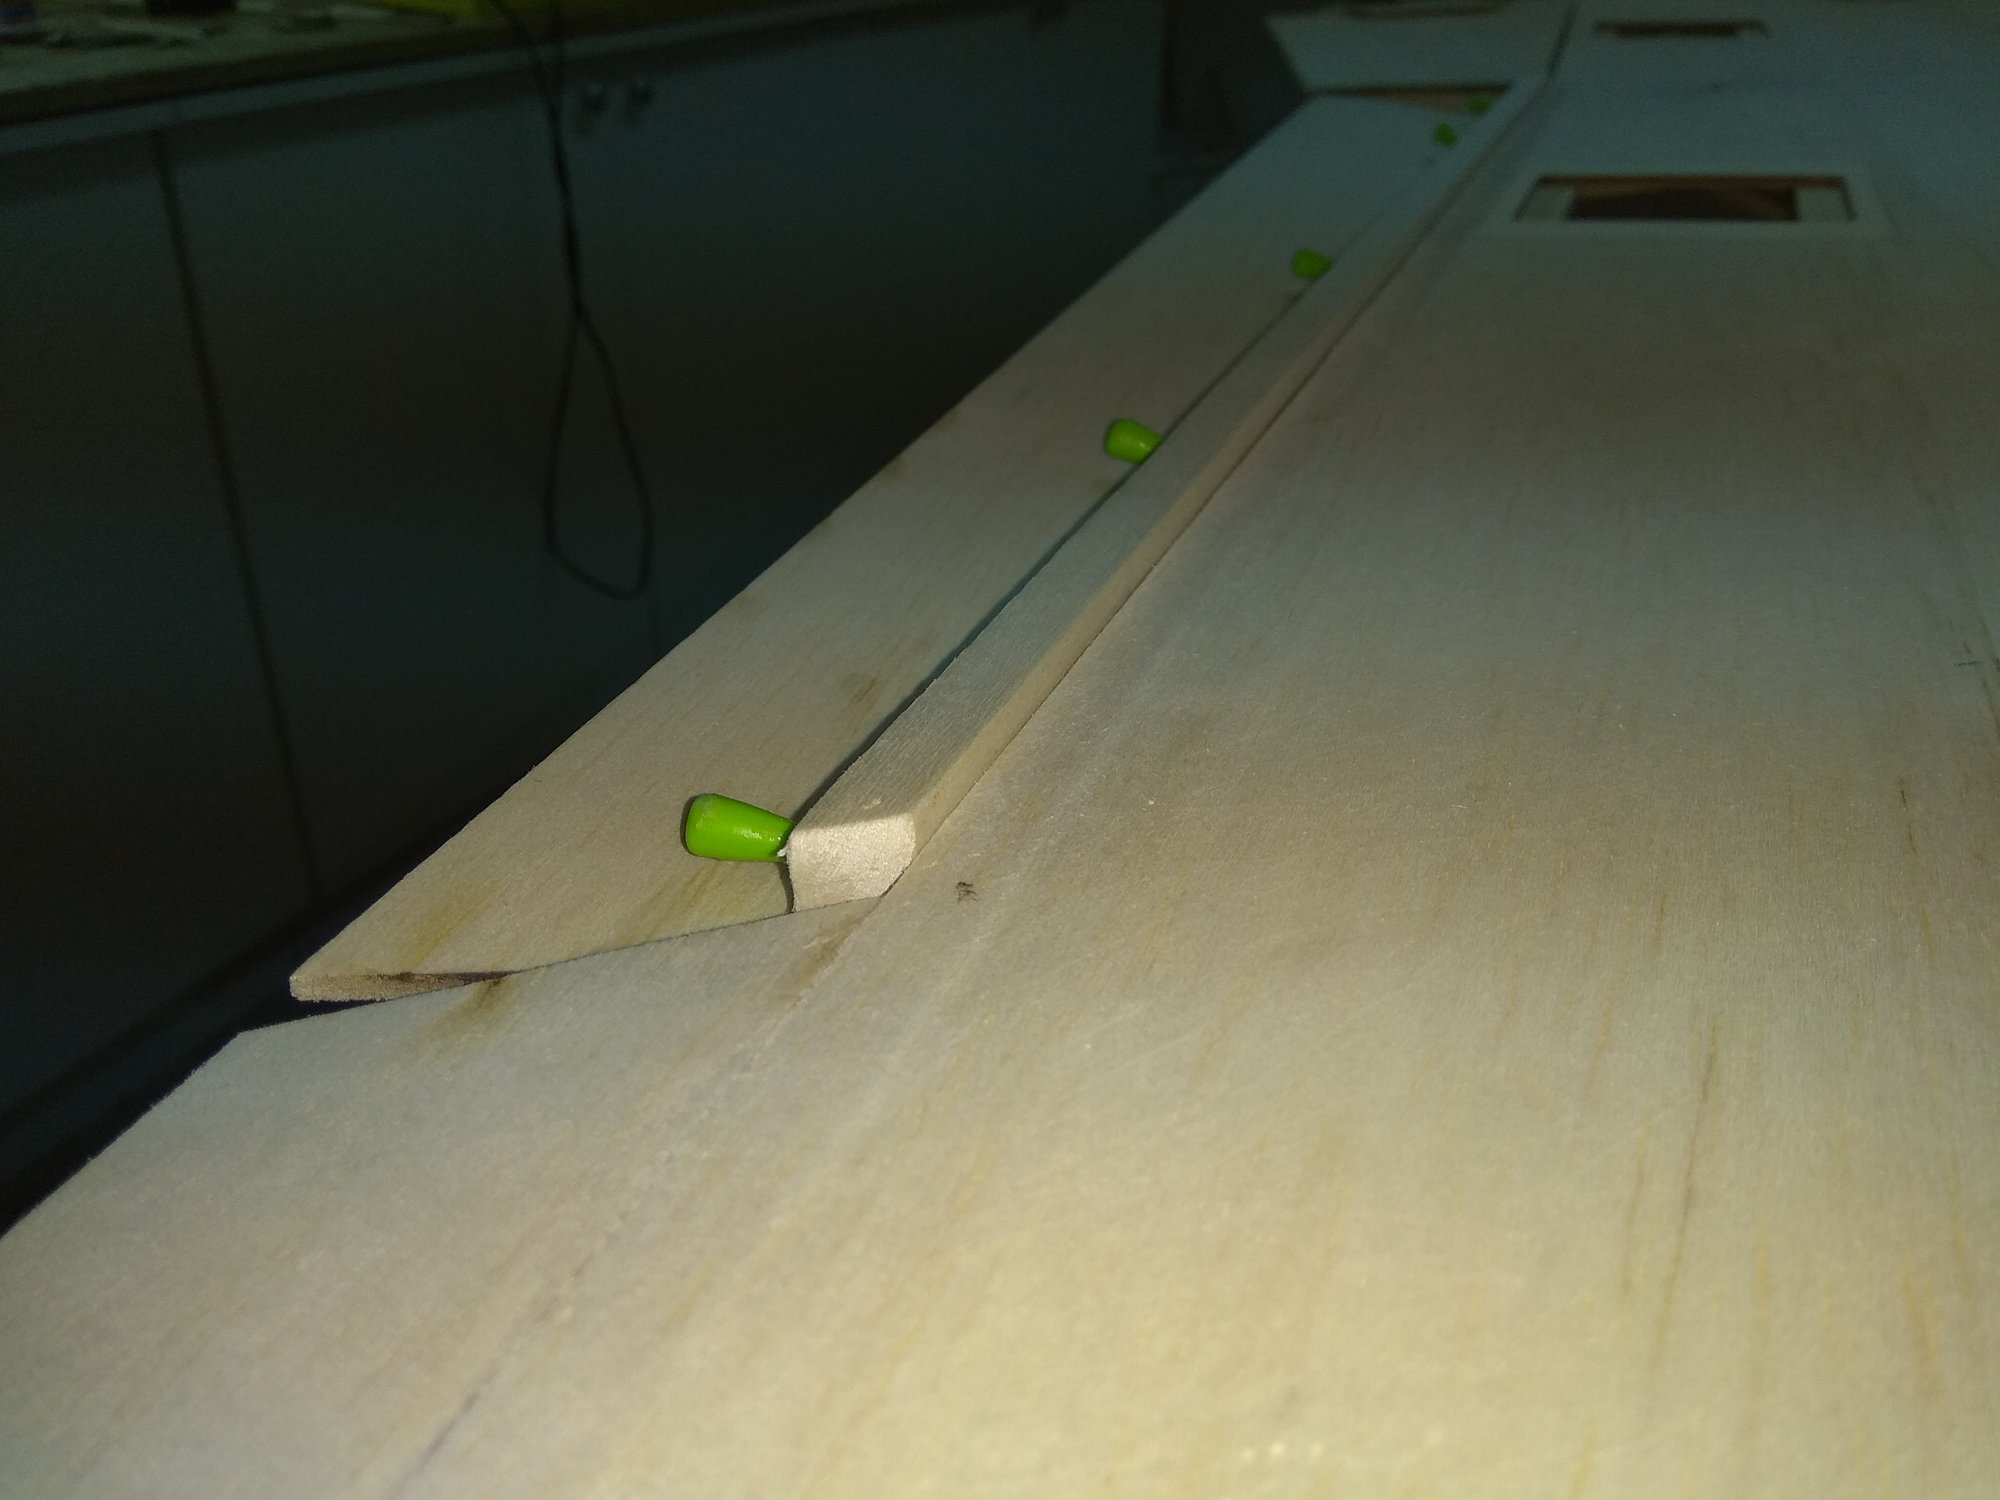
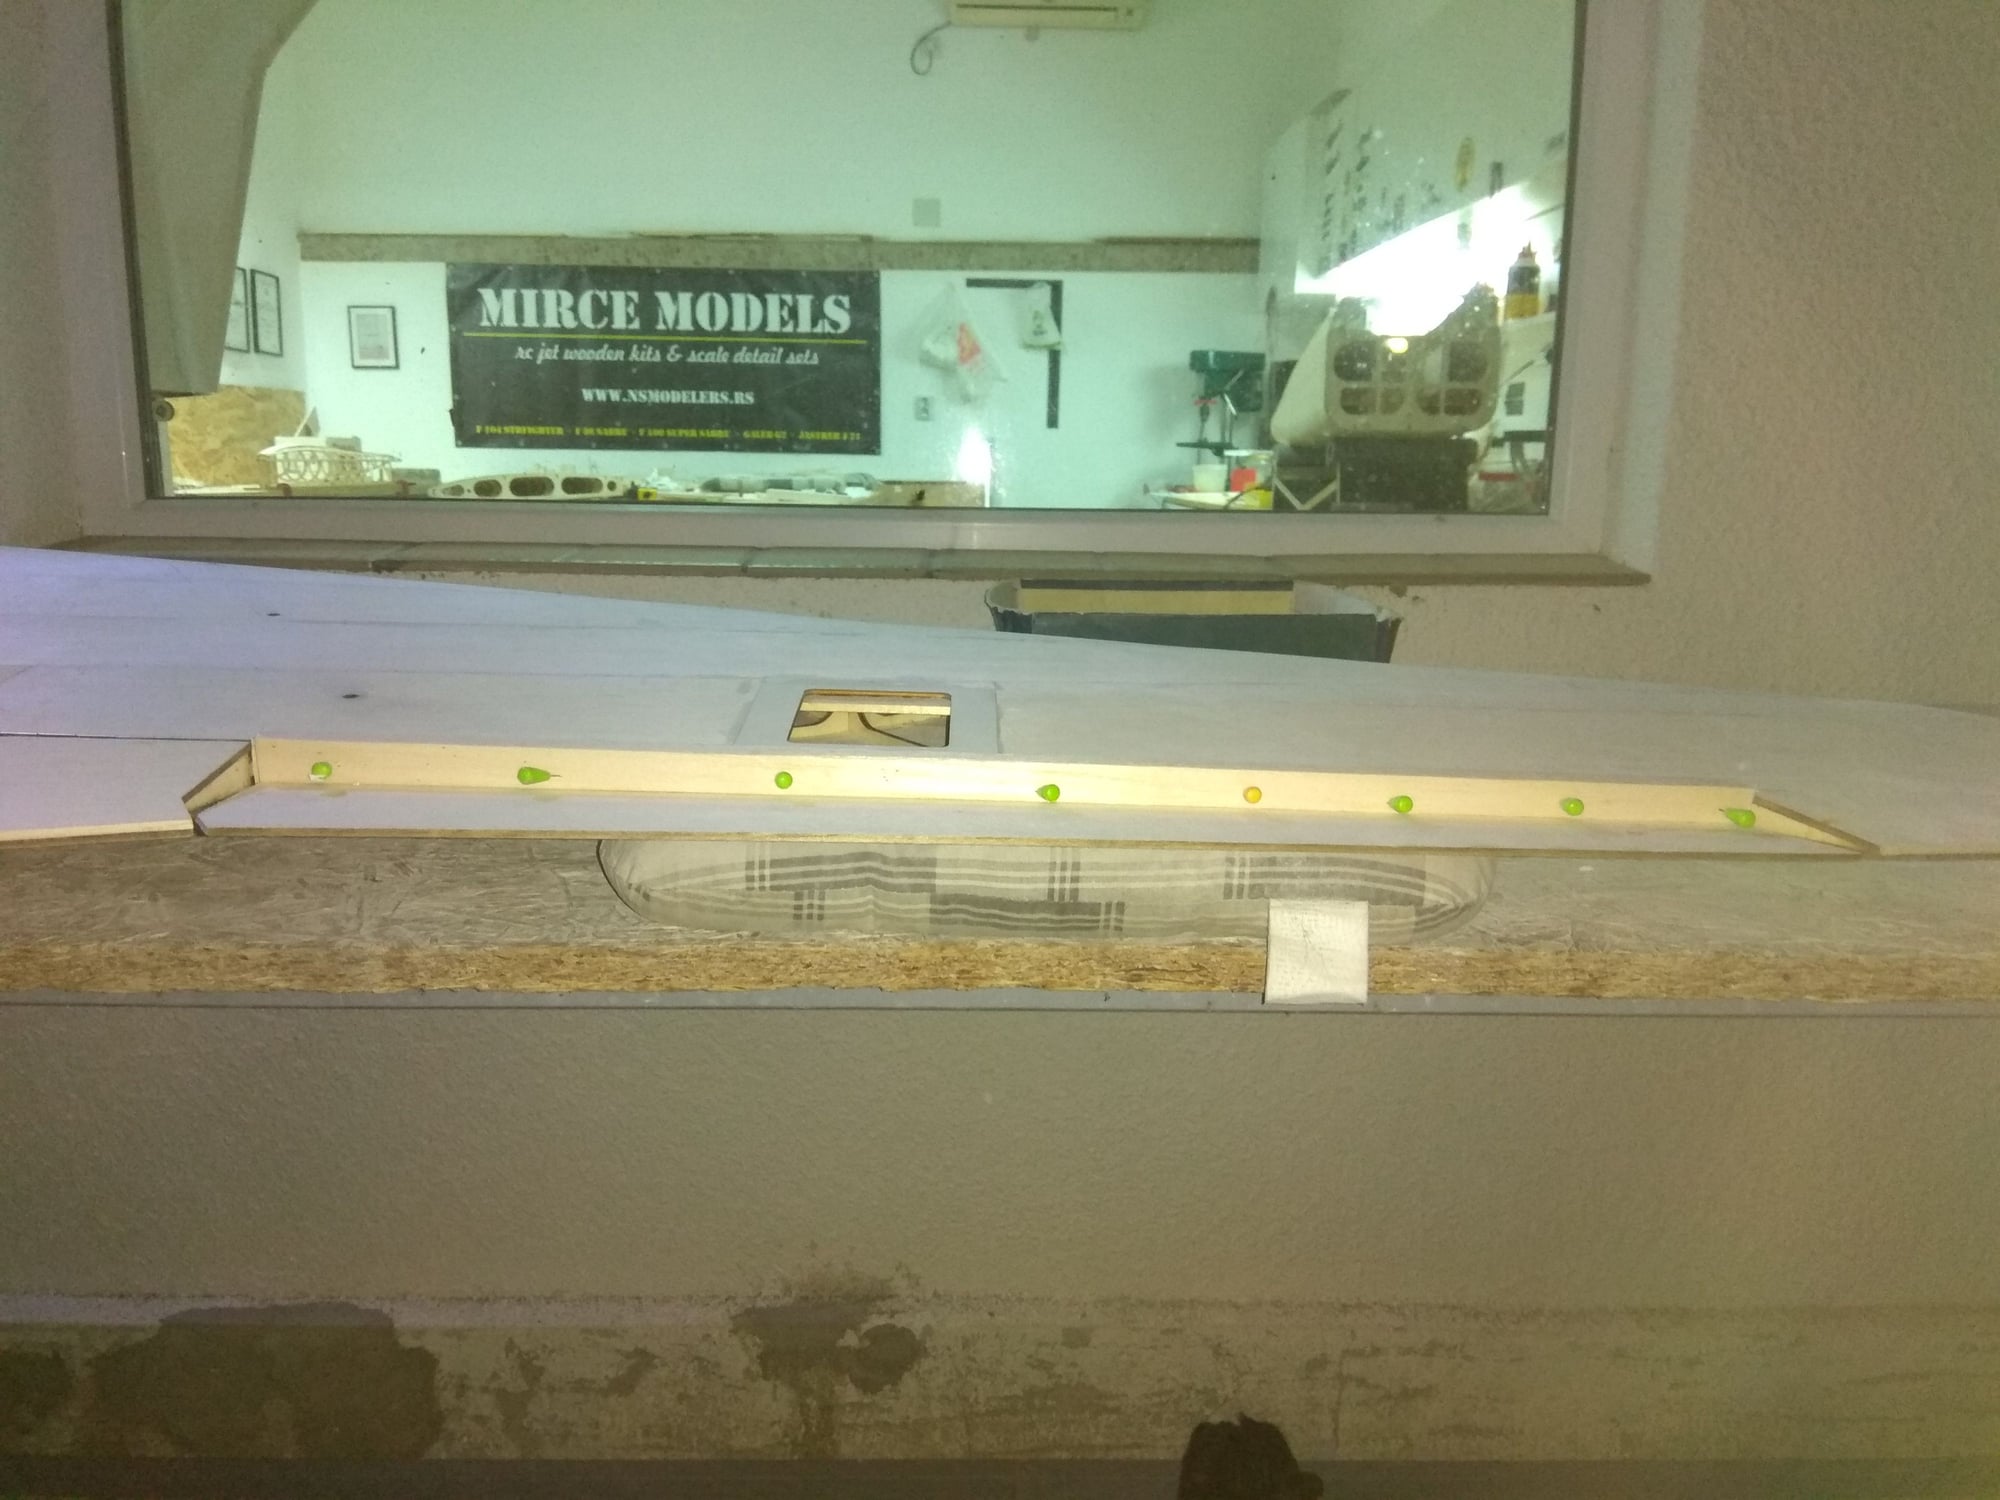
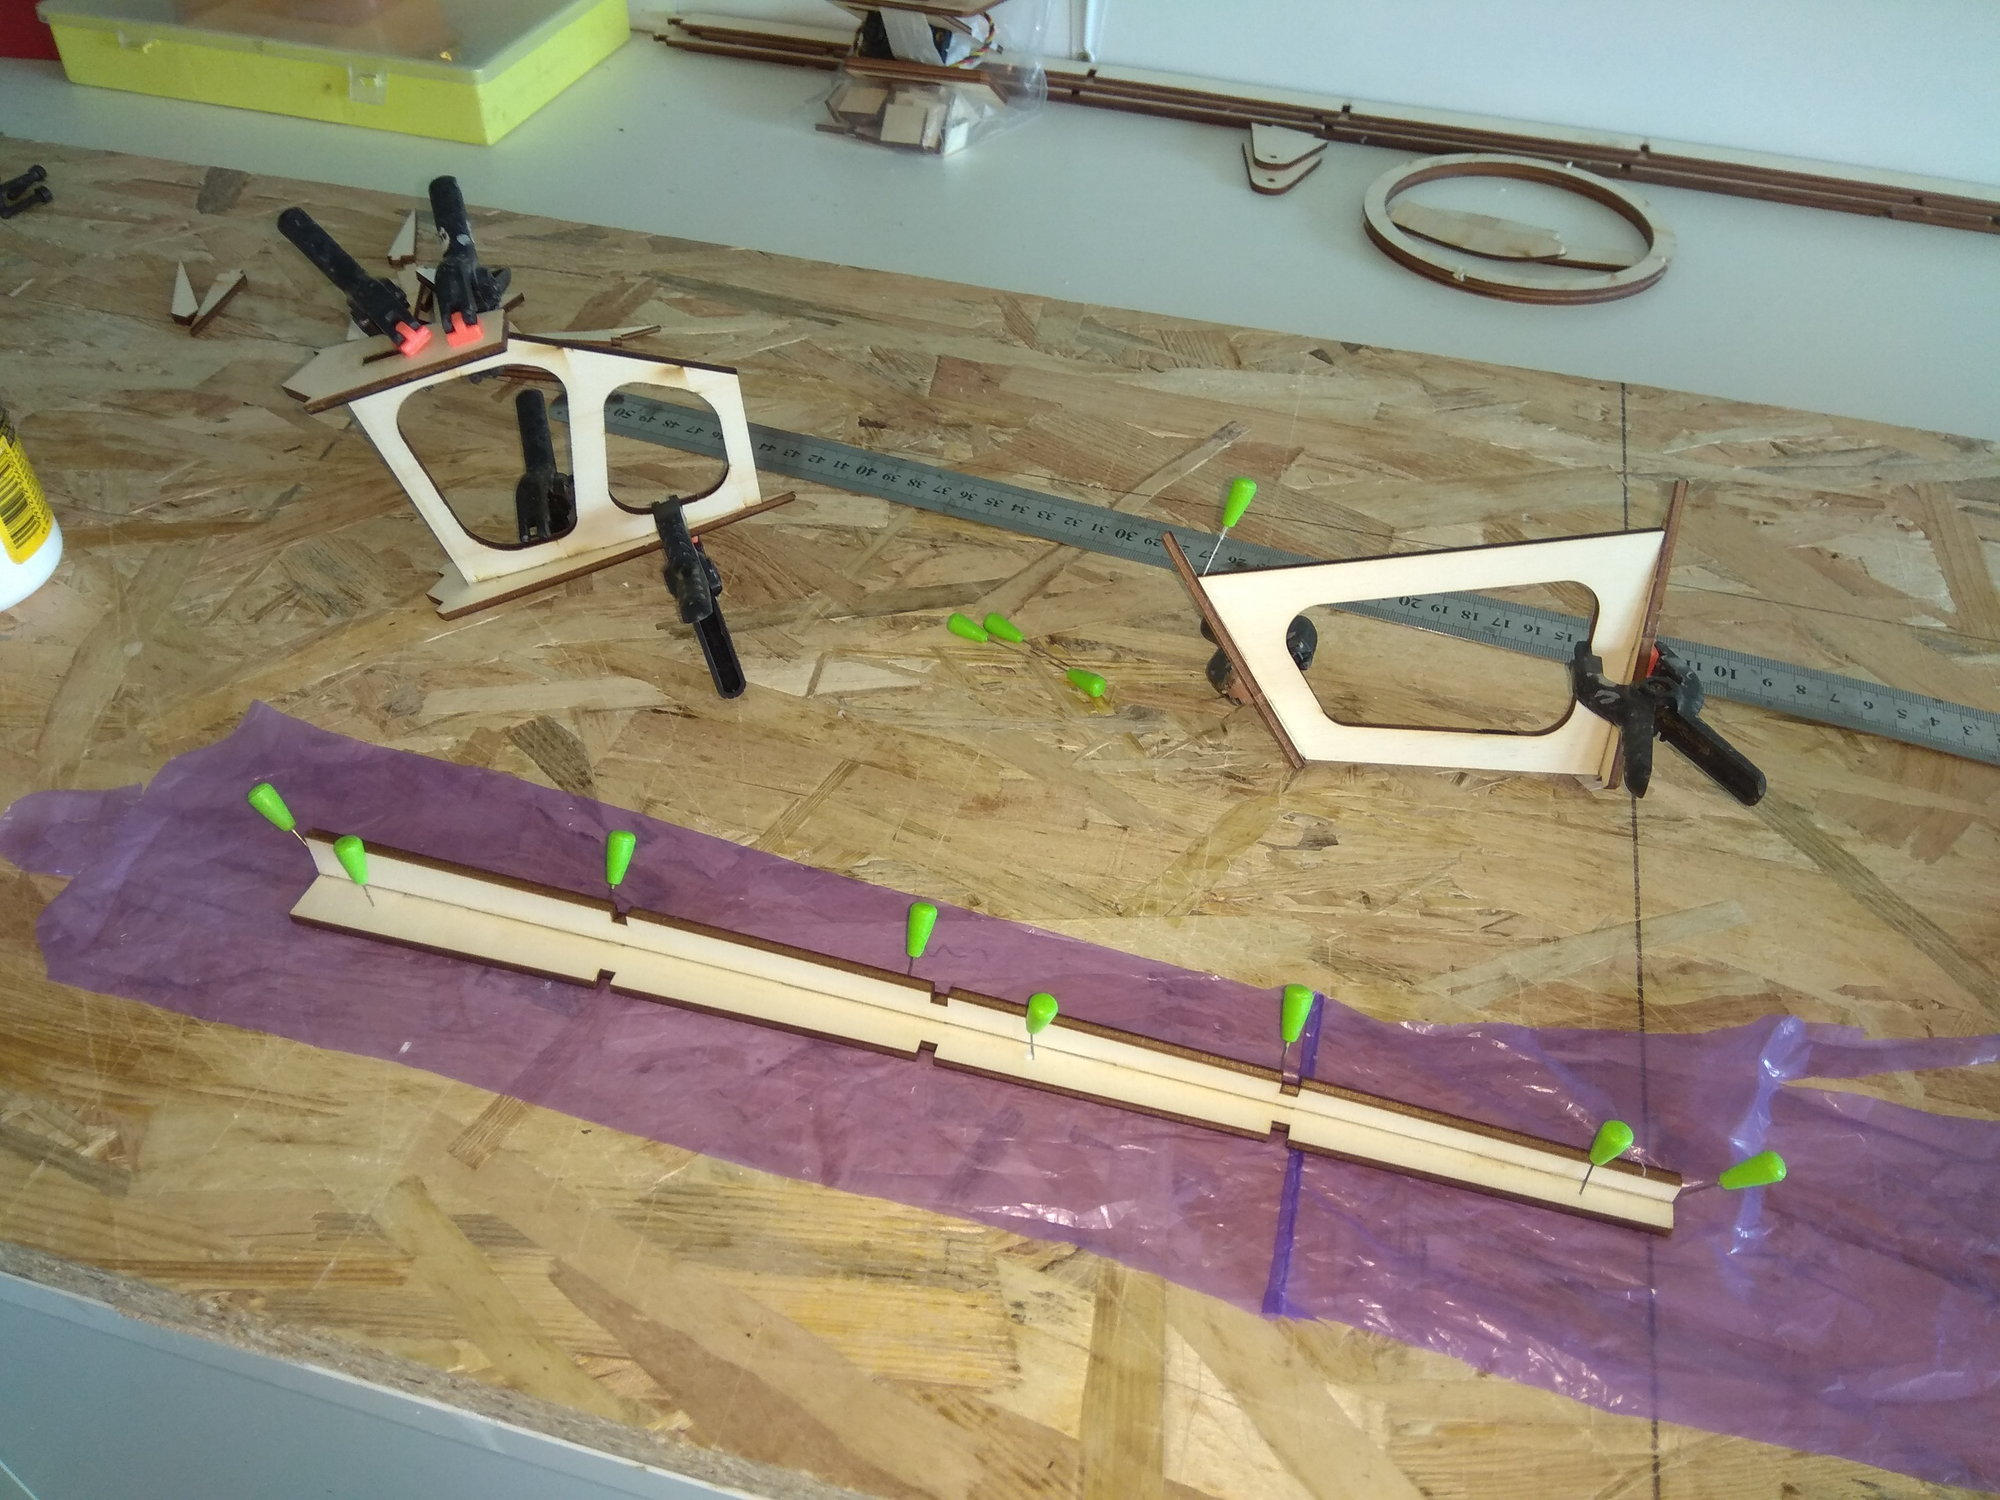
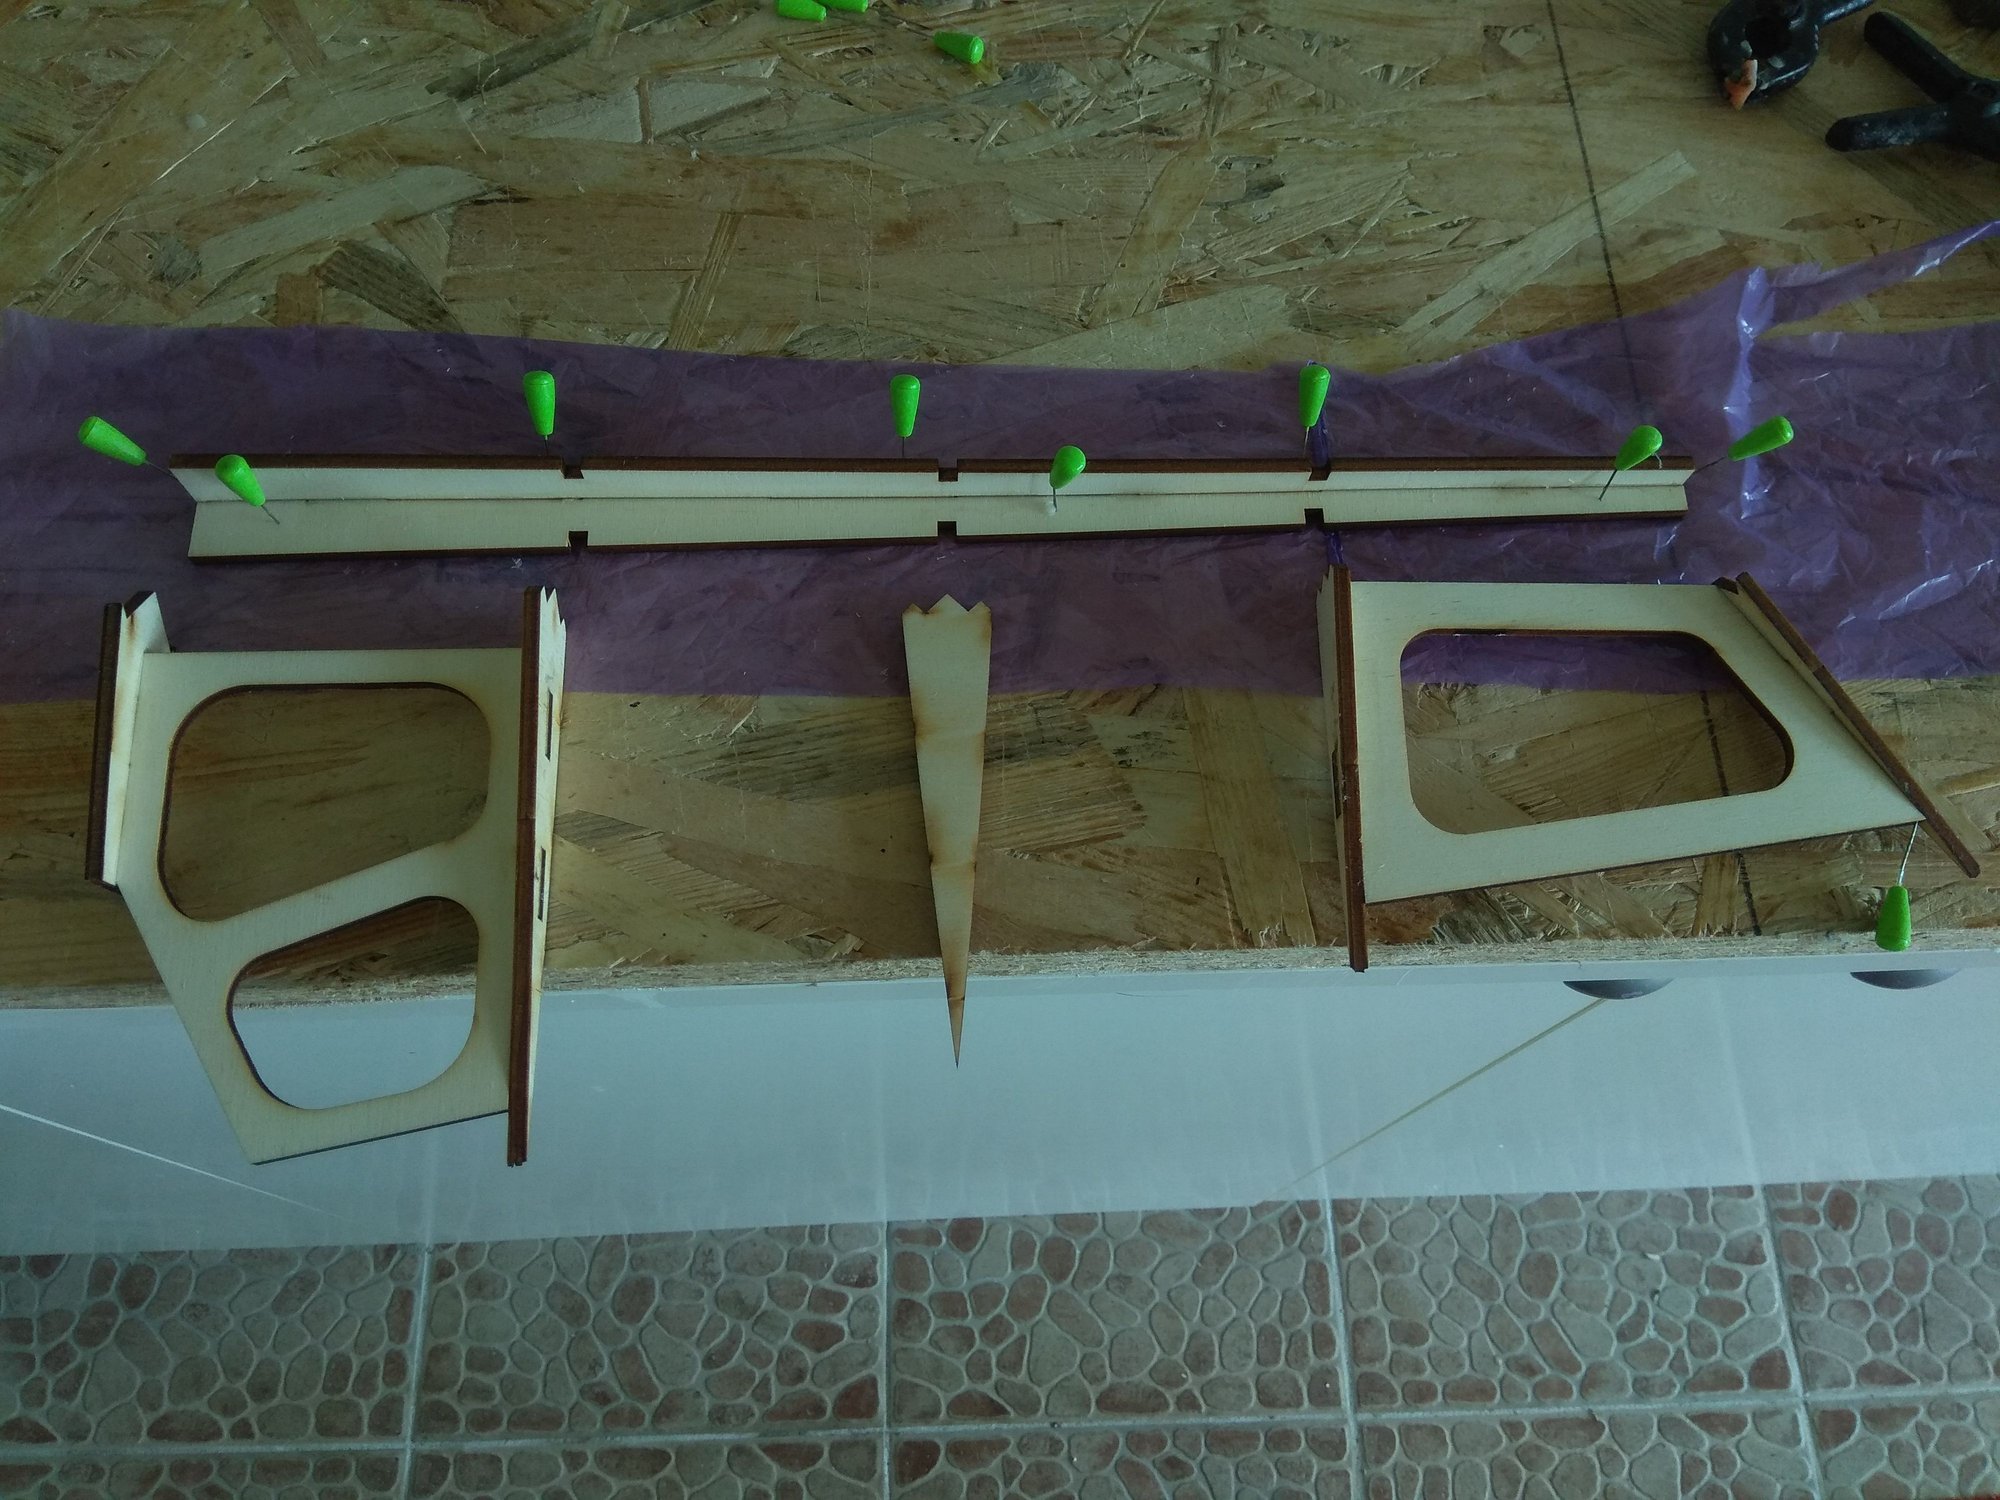
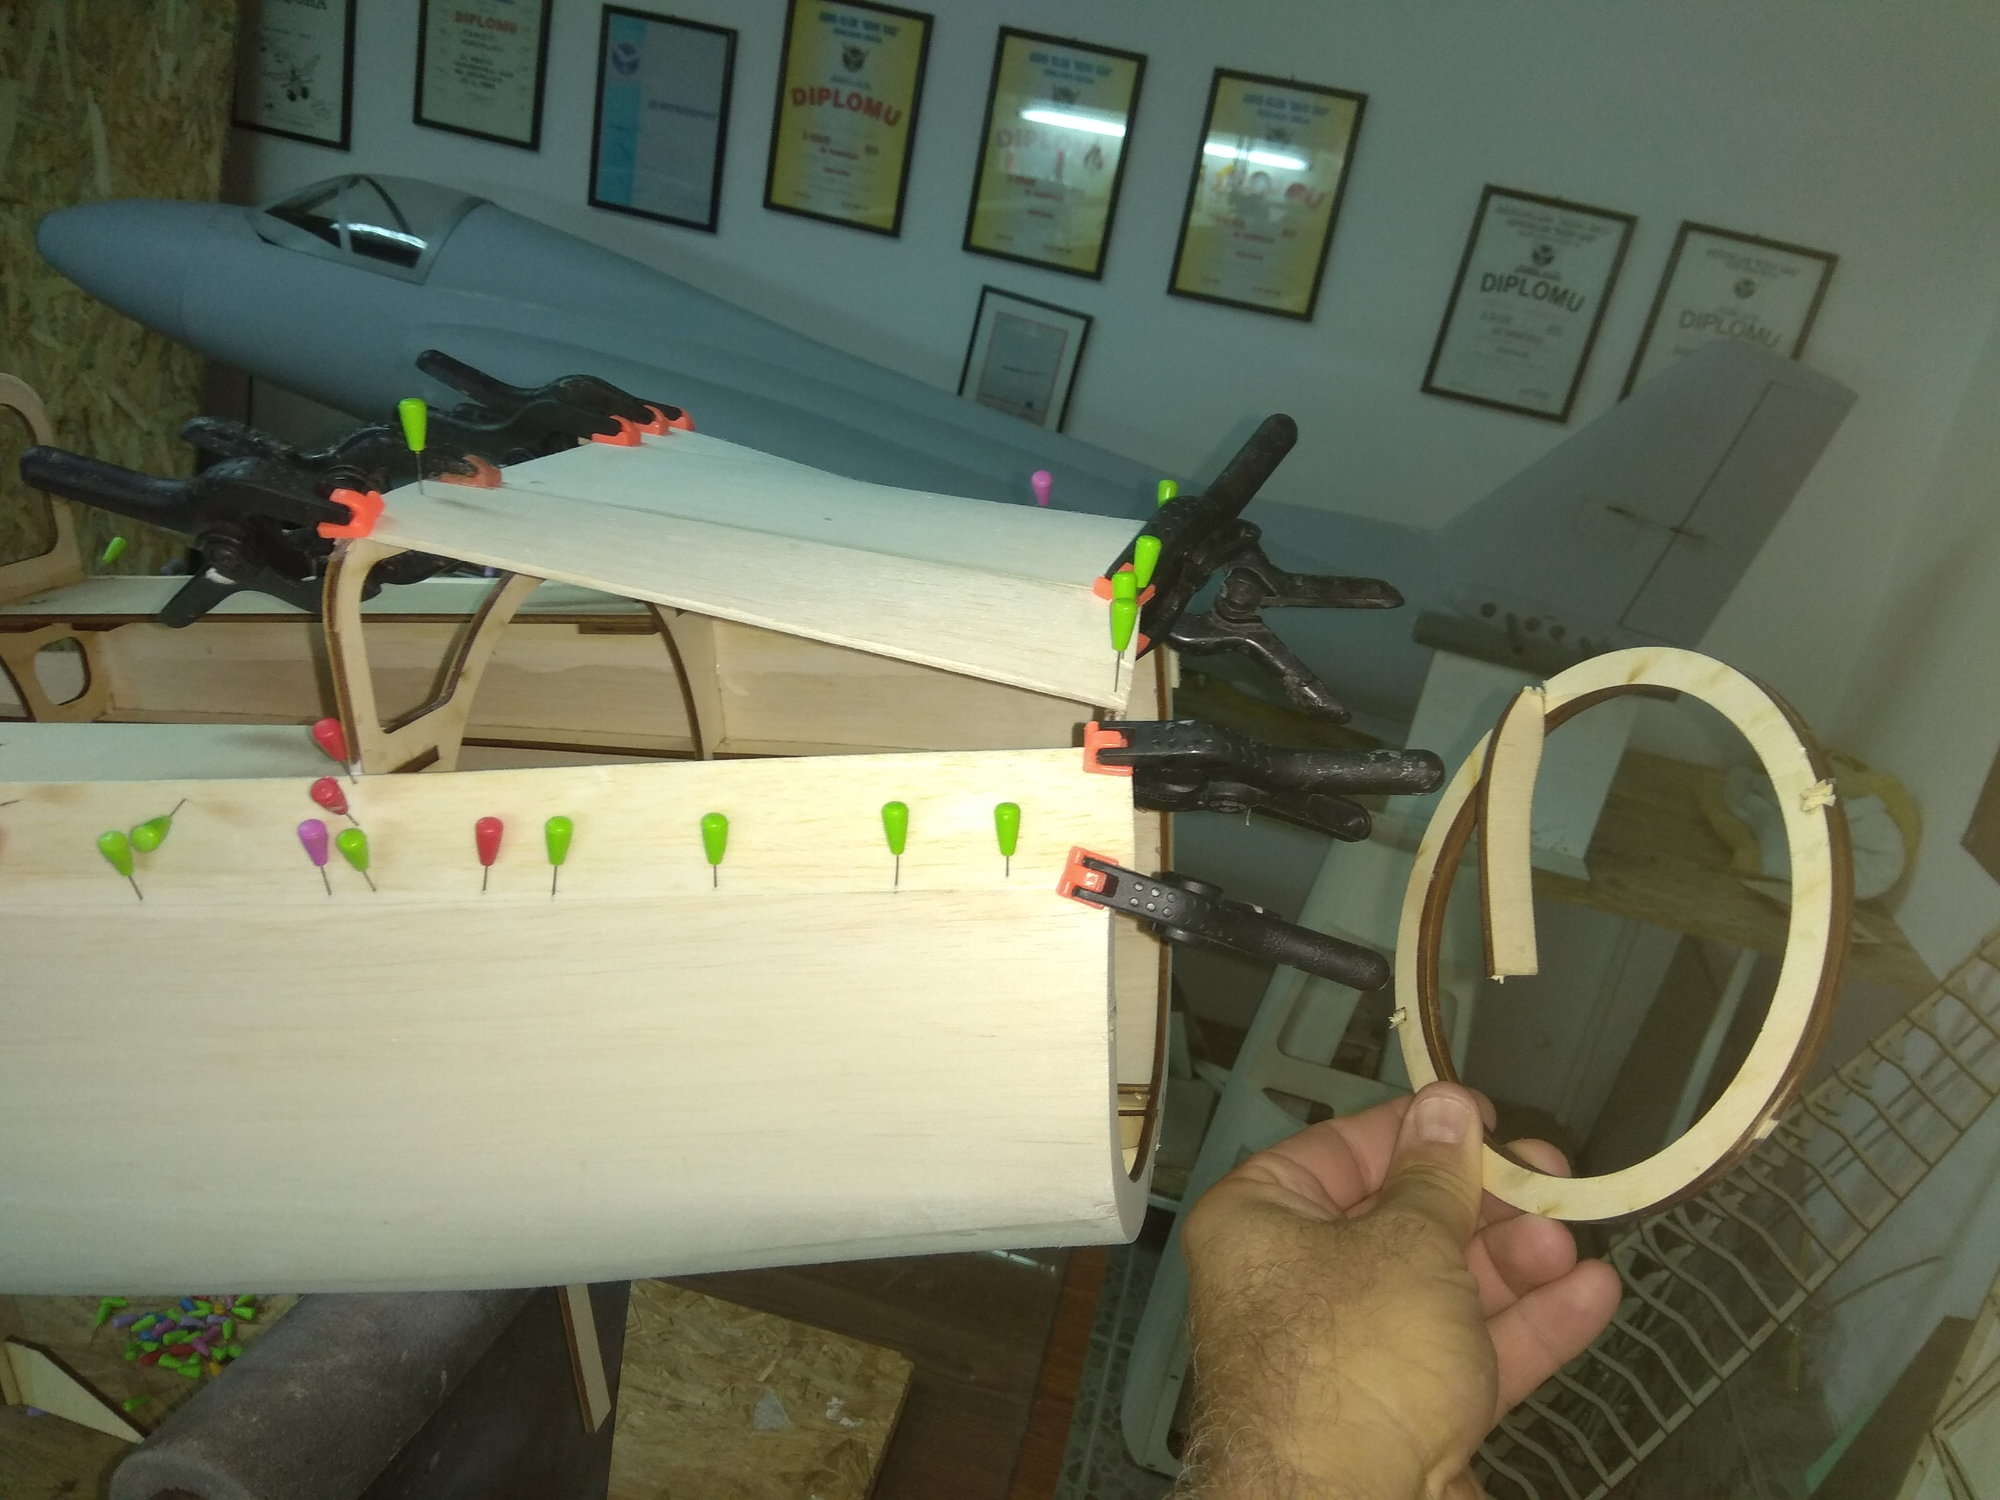
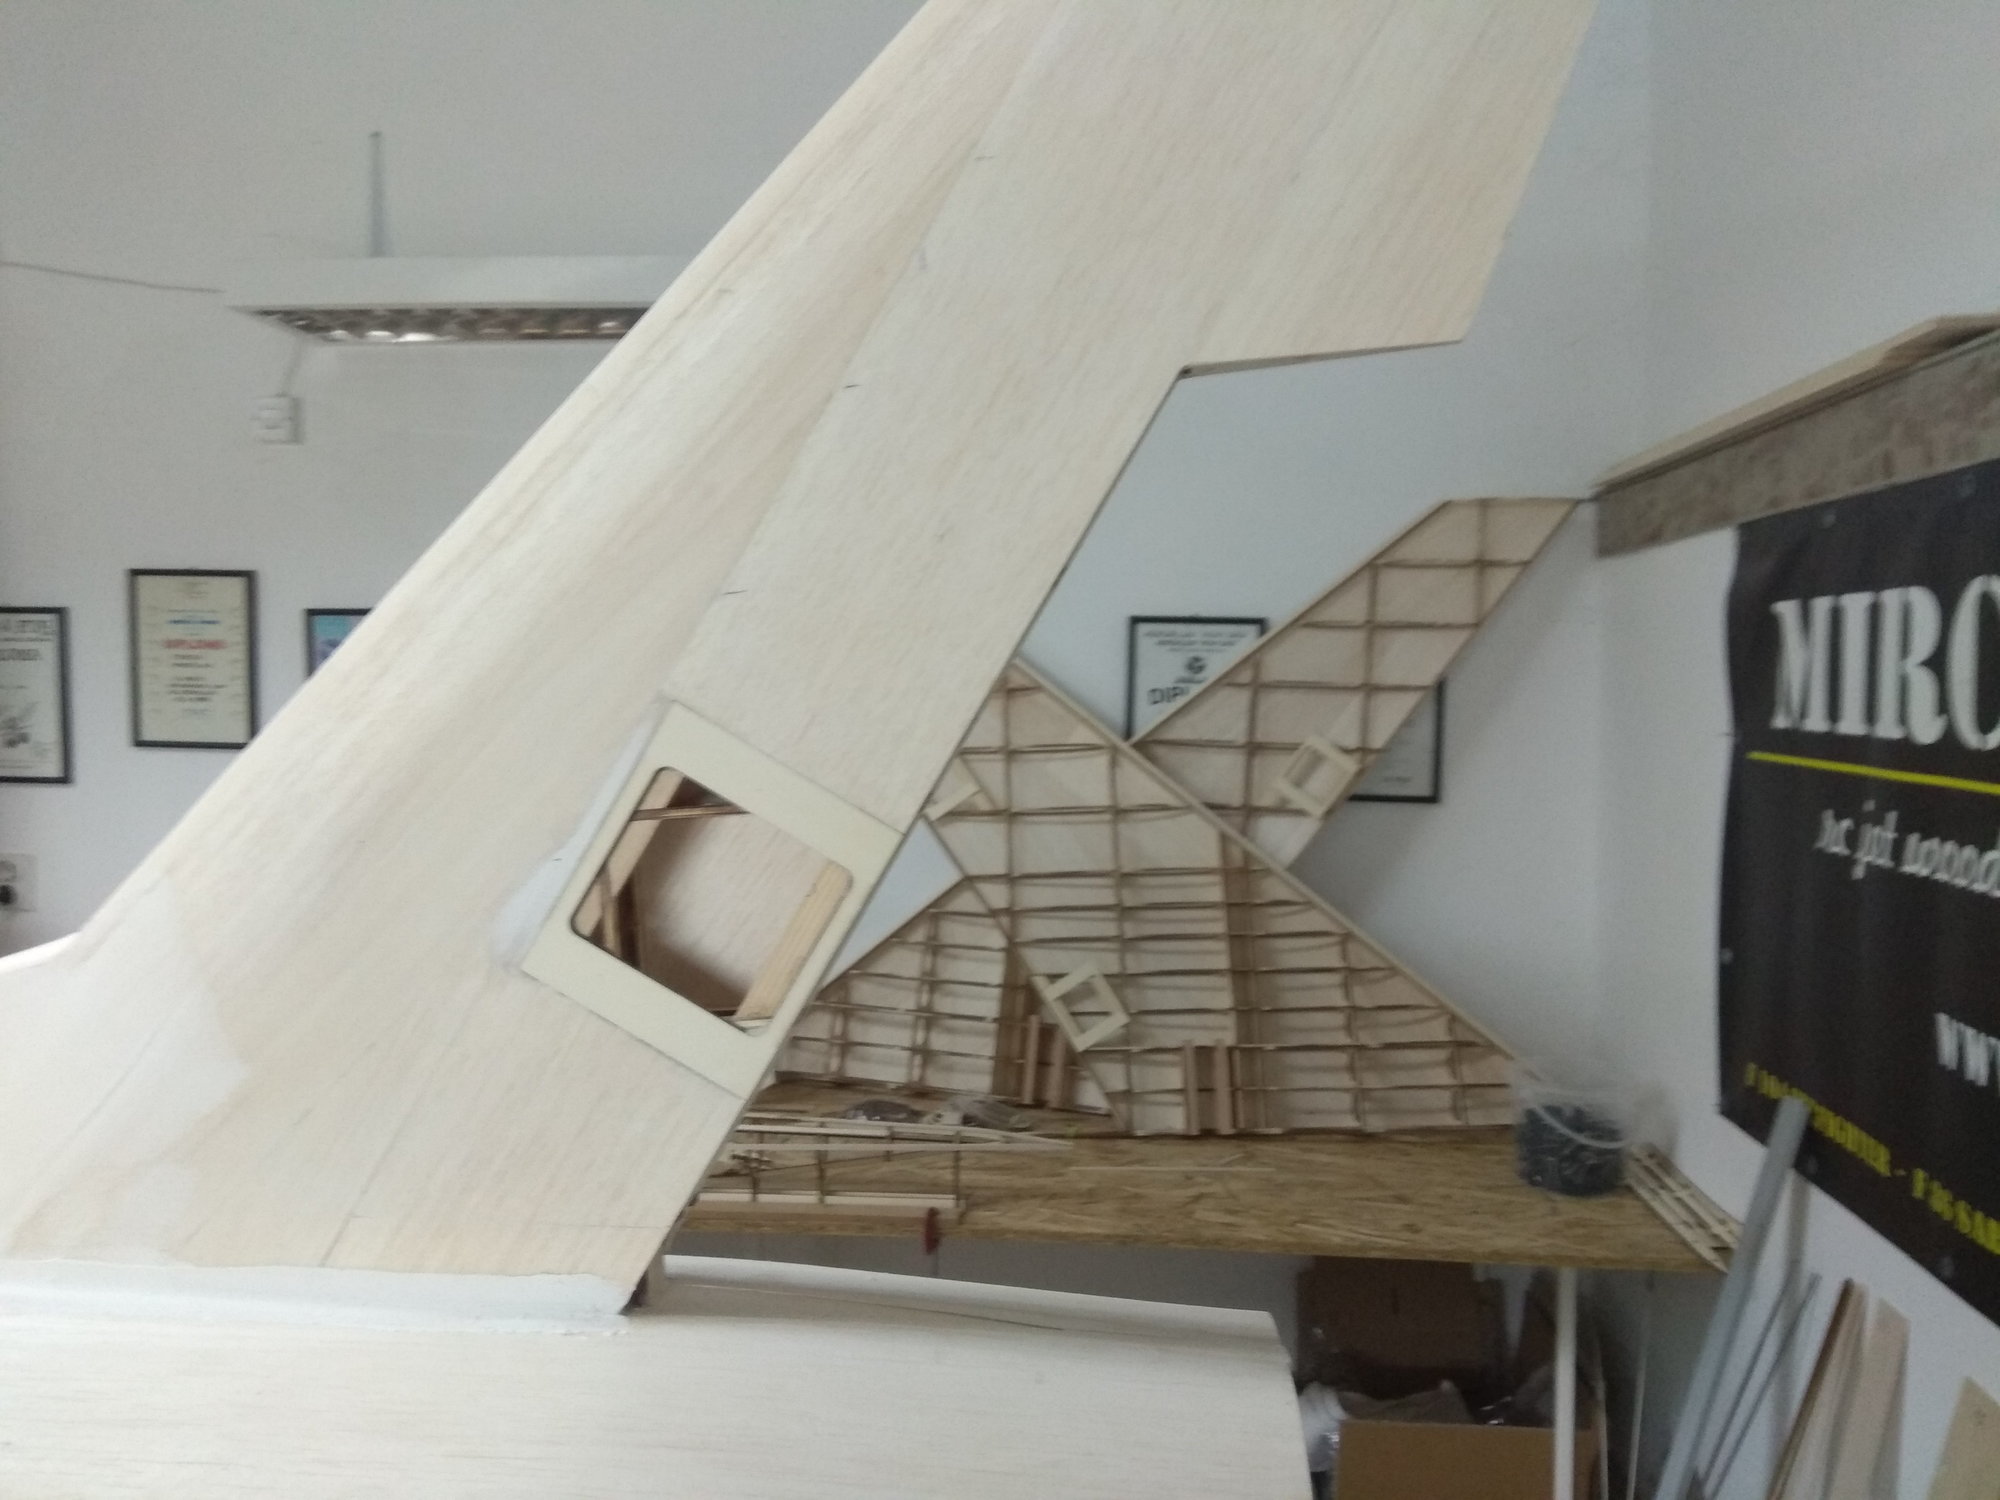
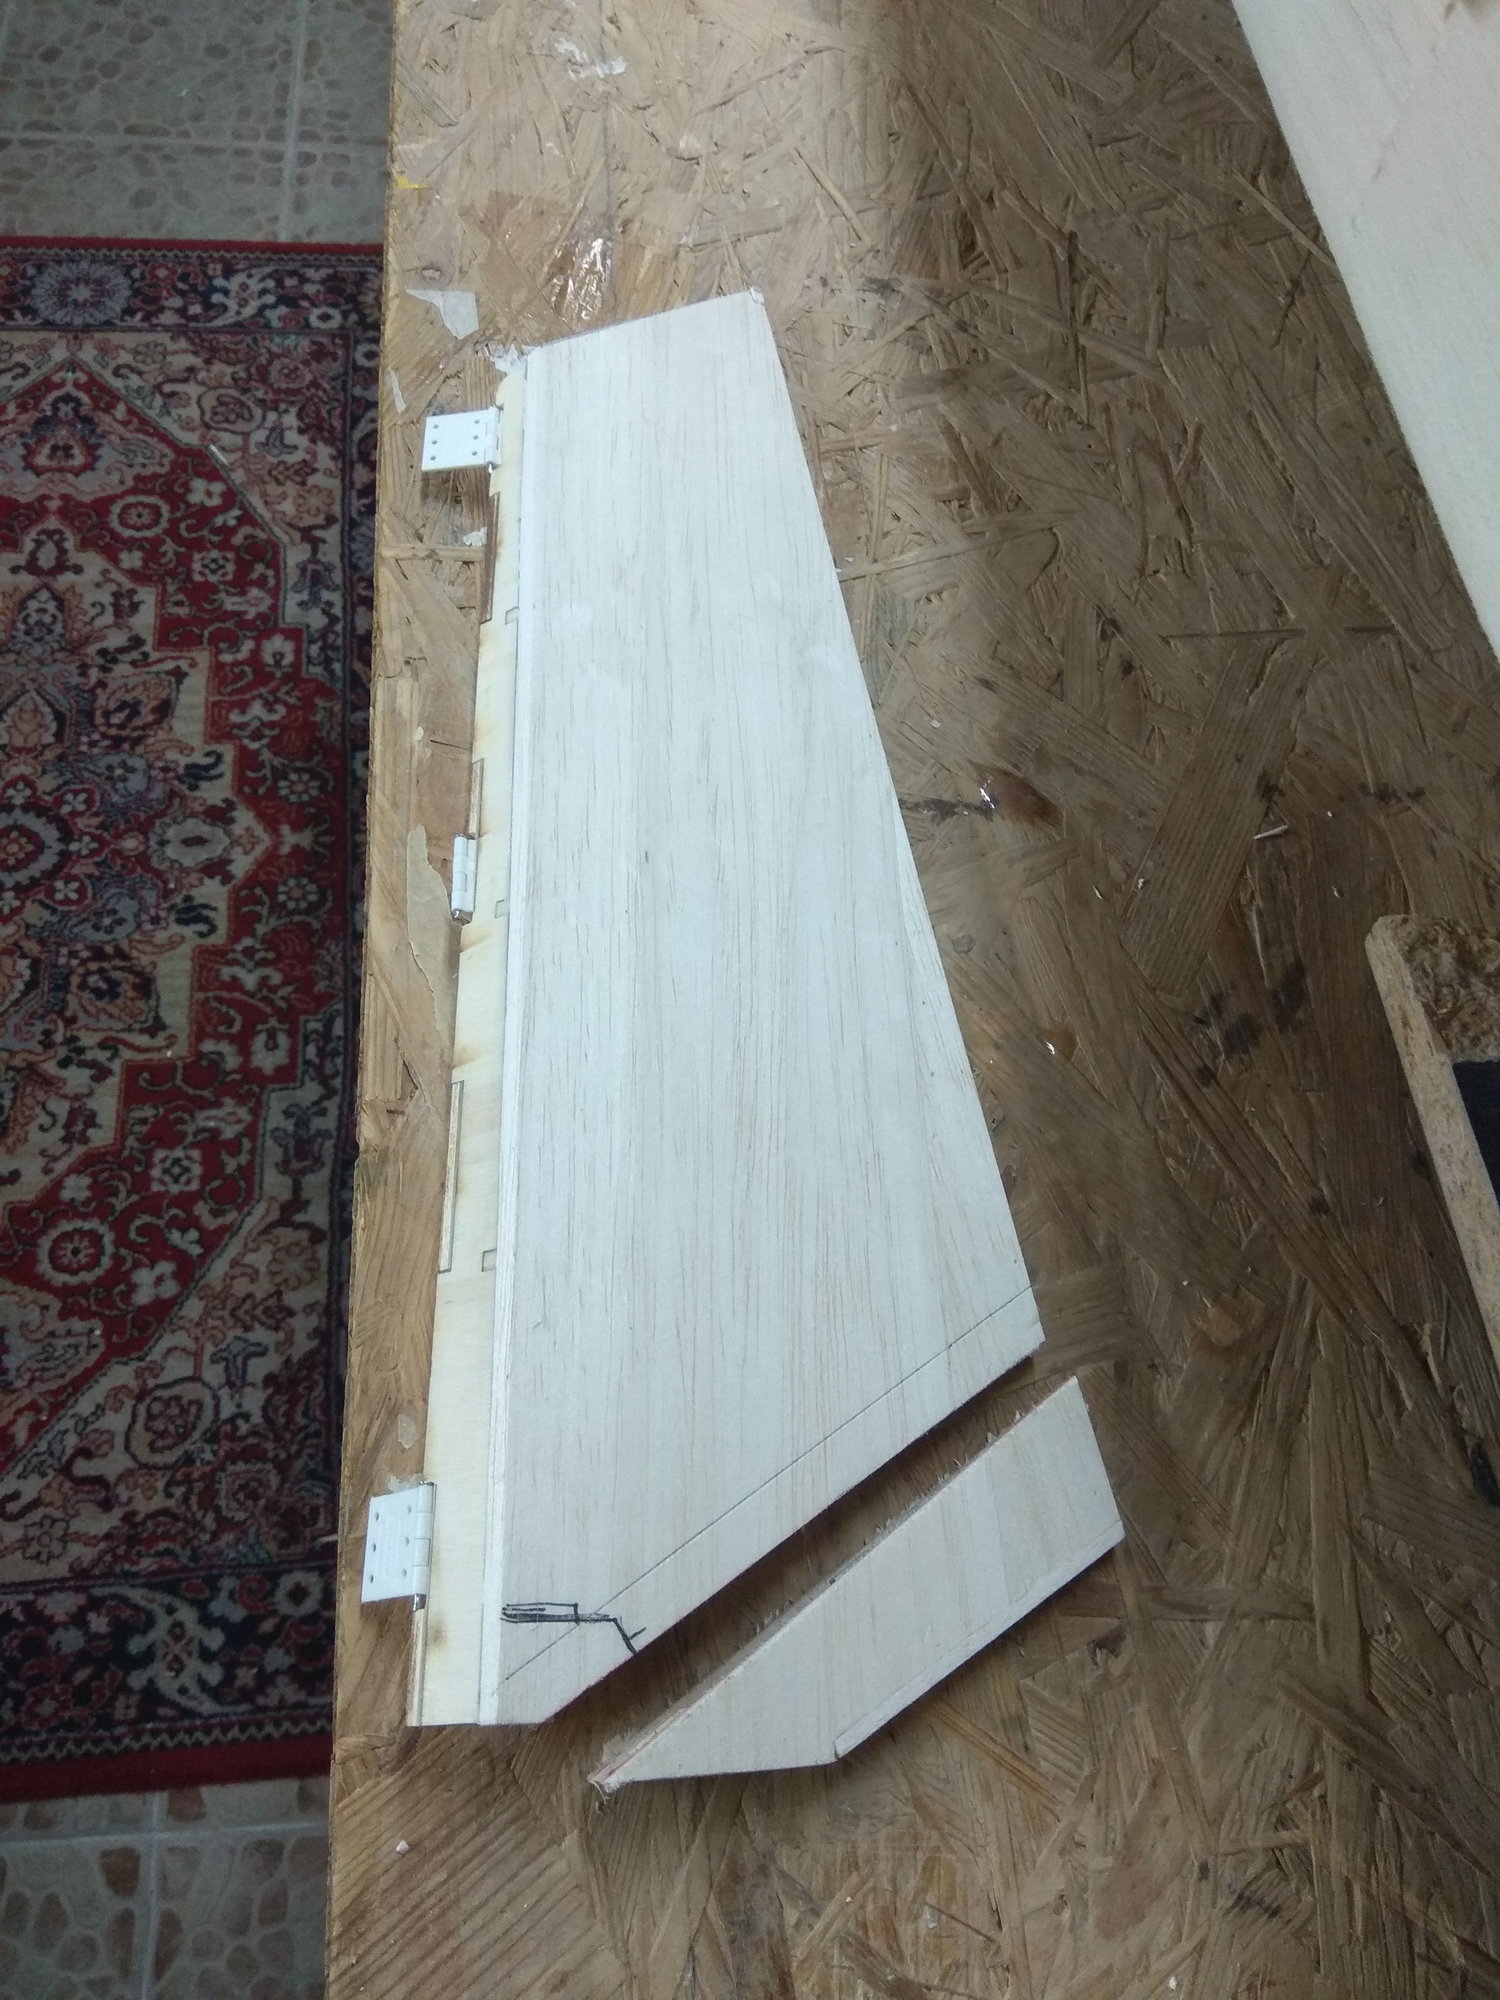
Rudder - part II...

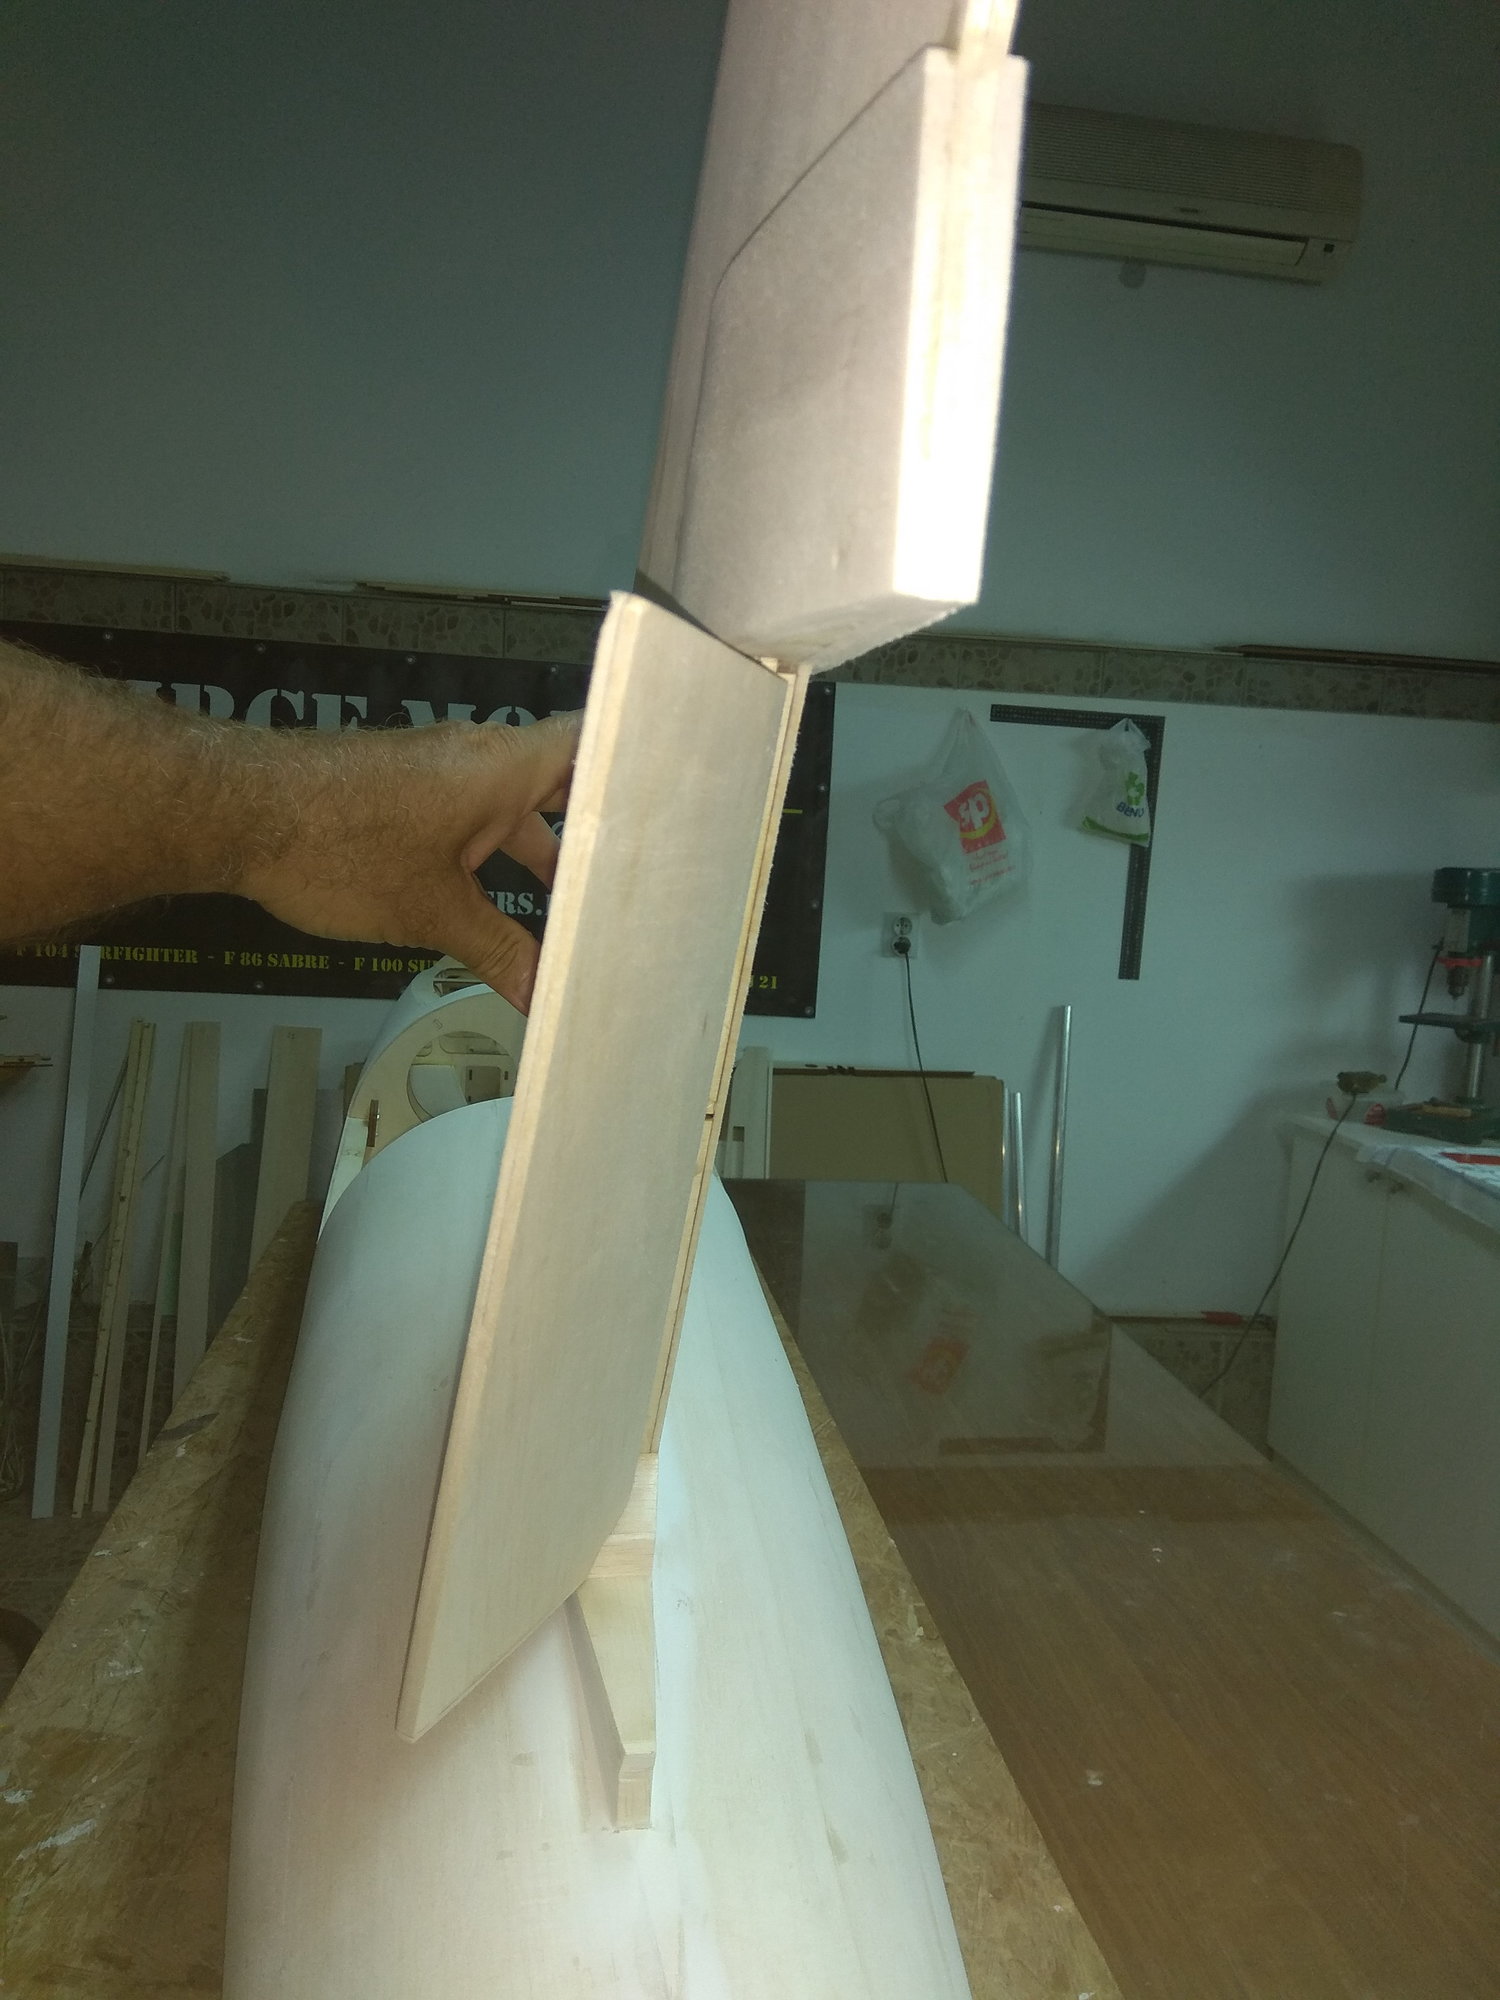
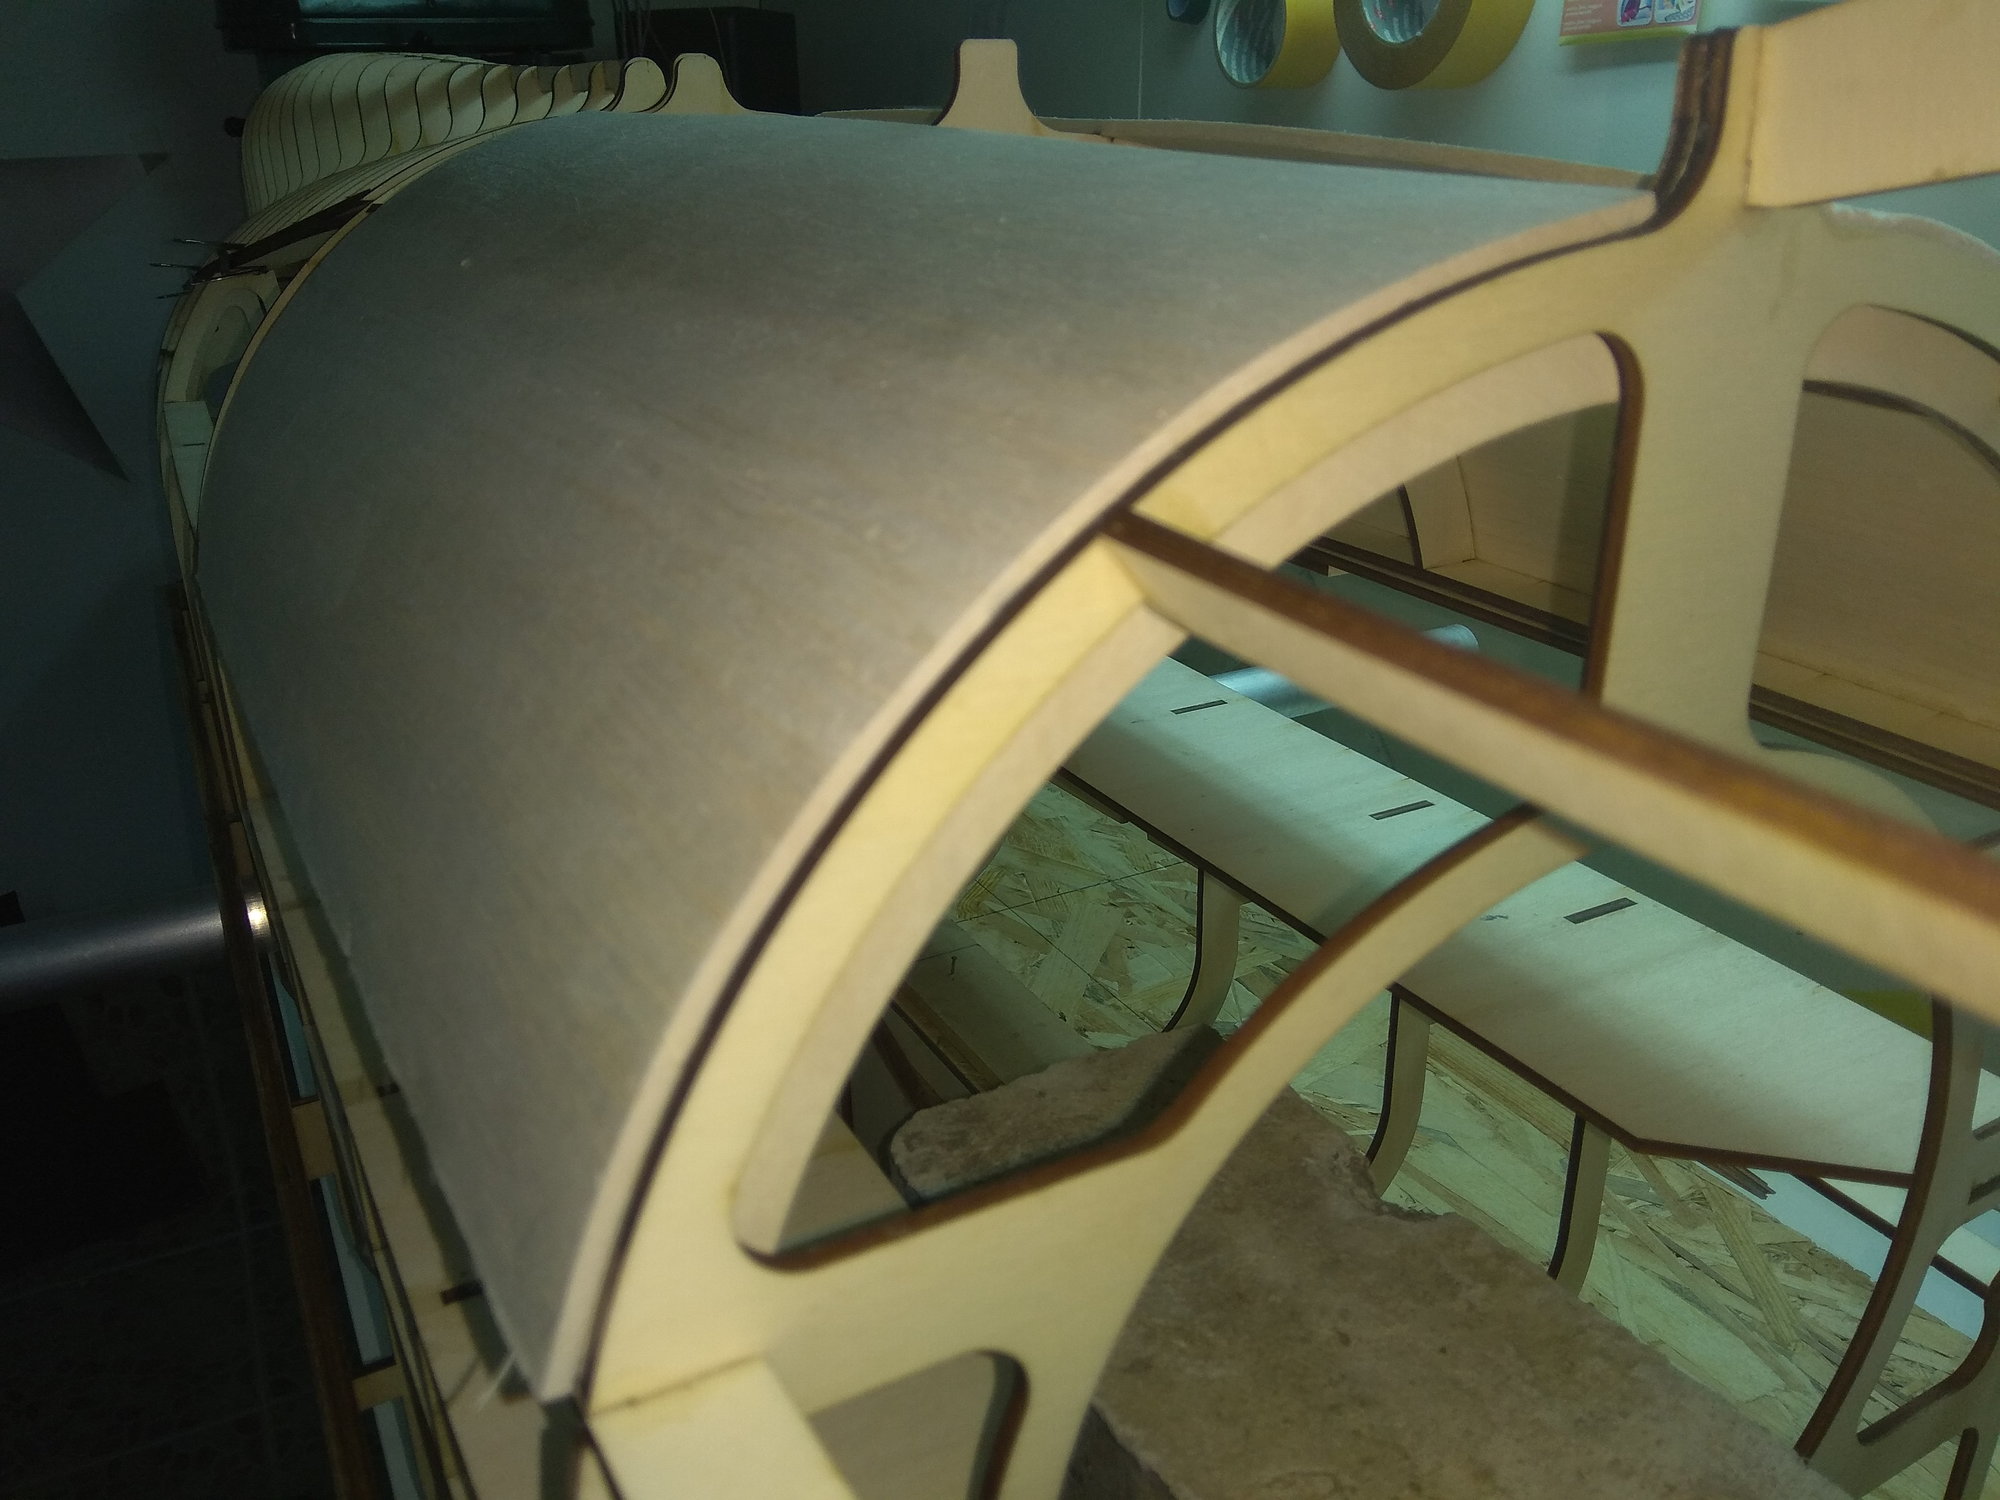
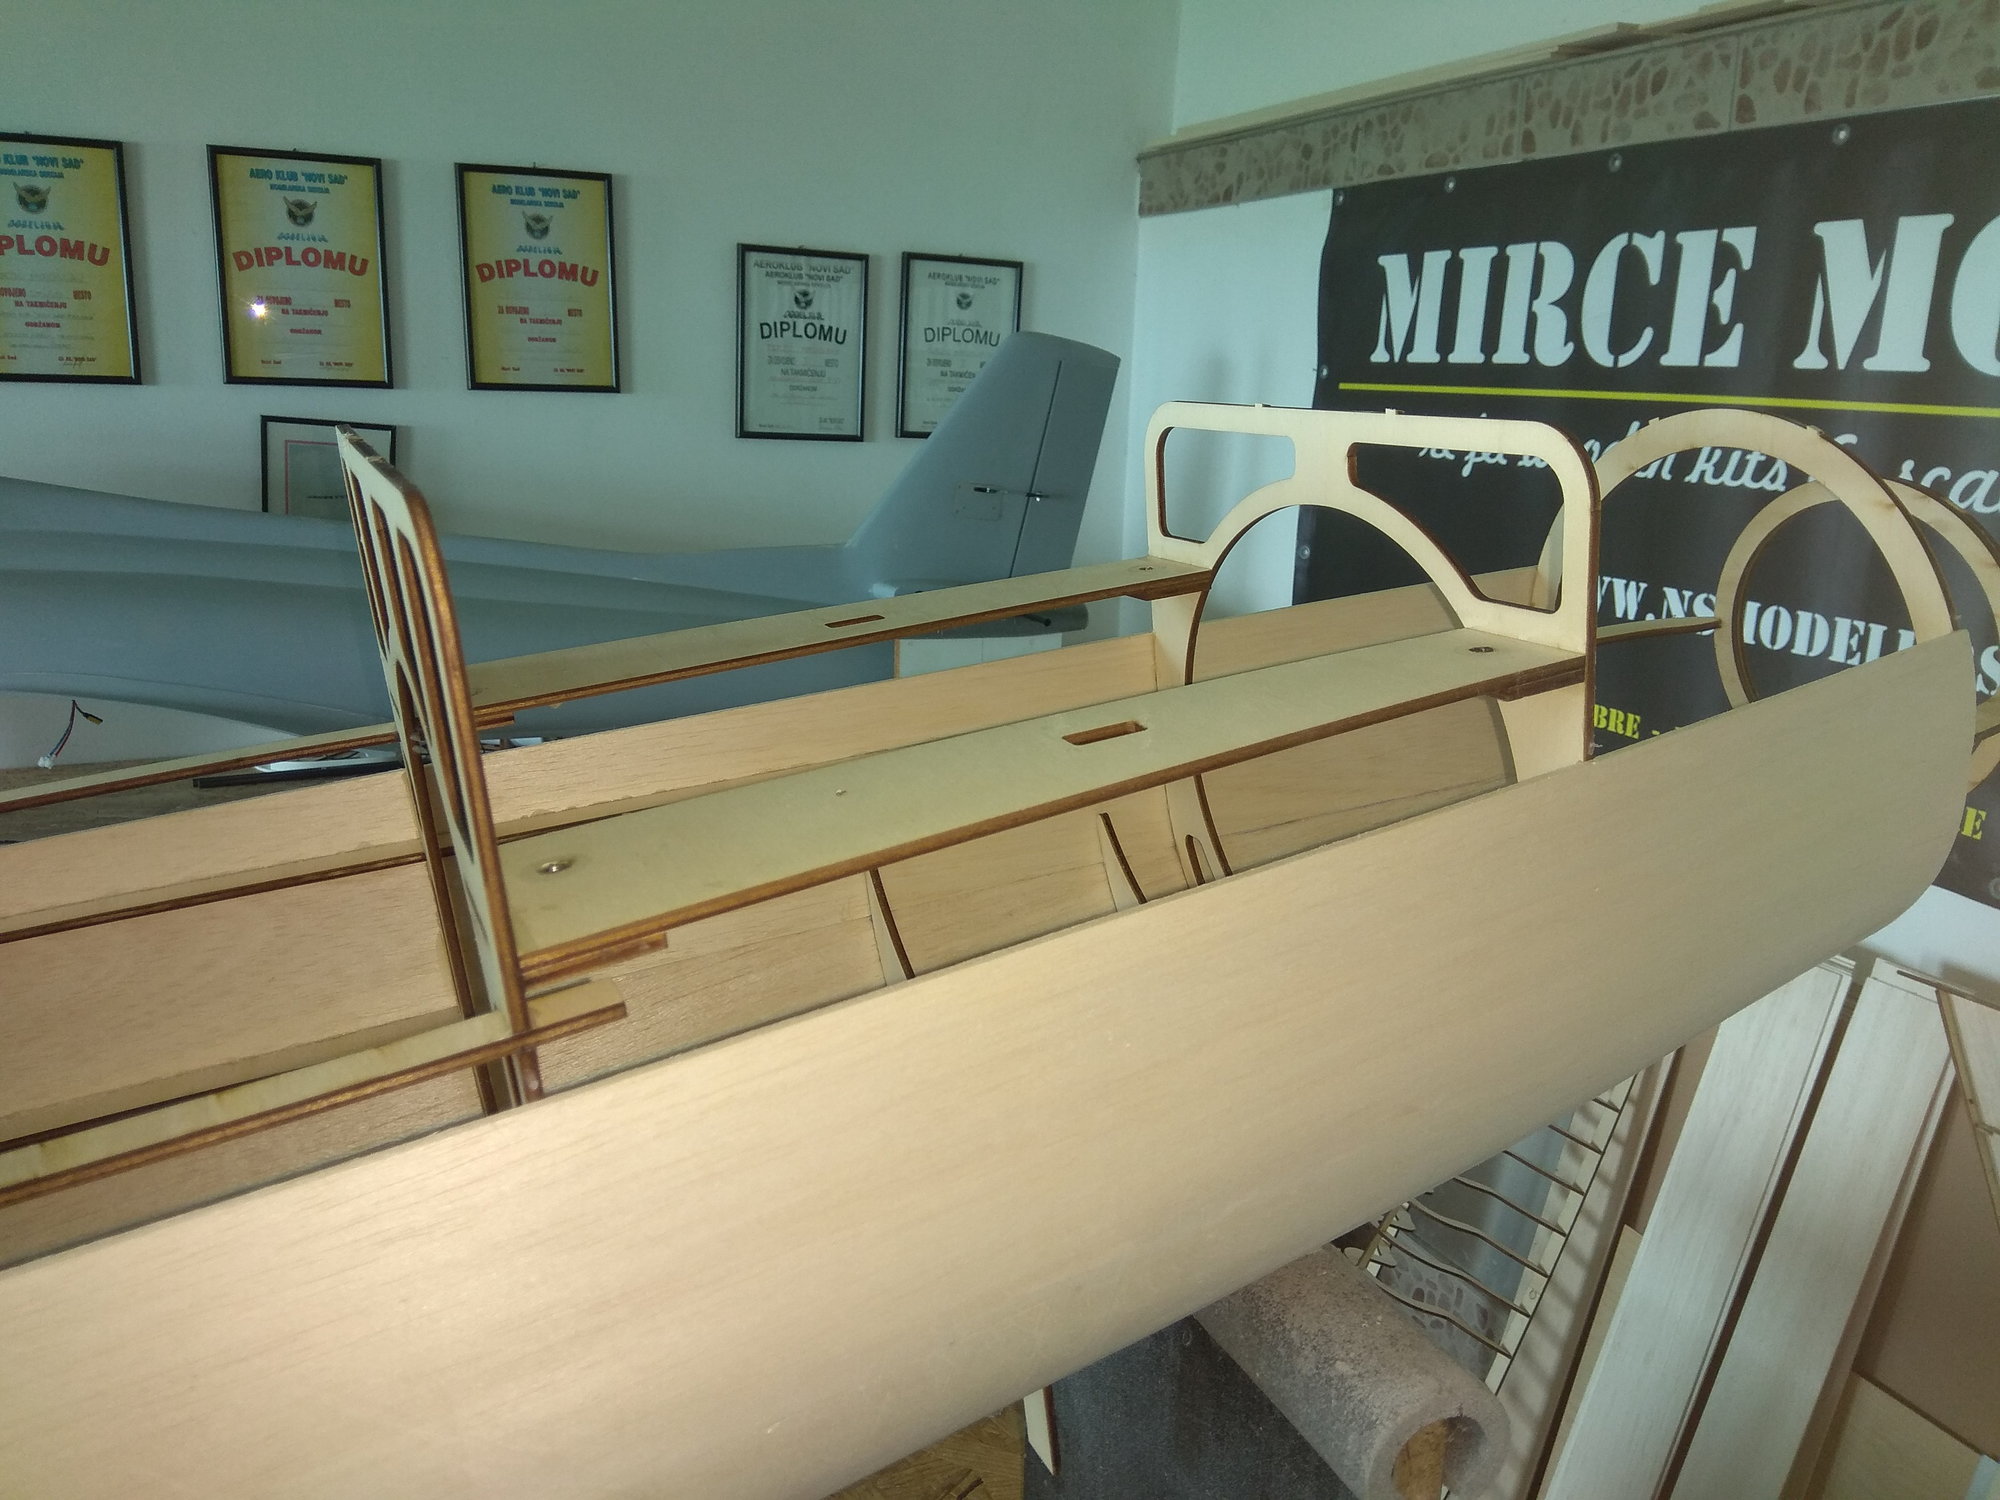
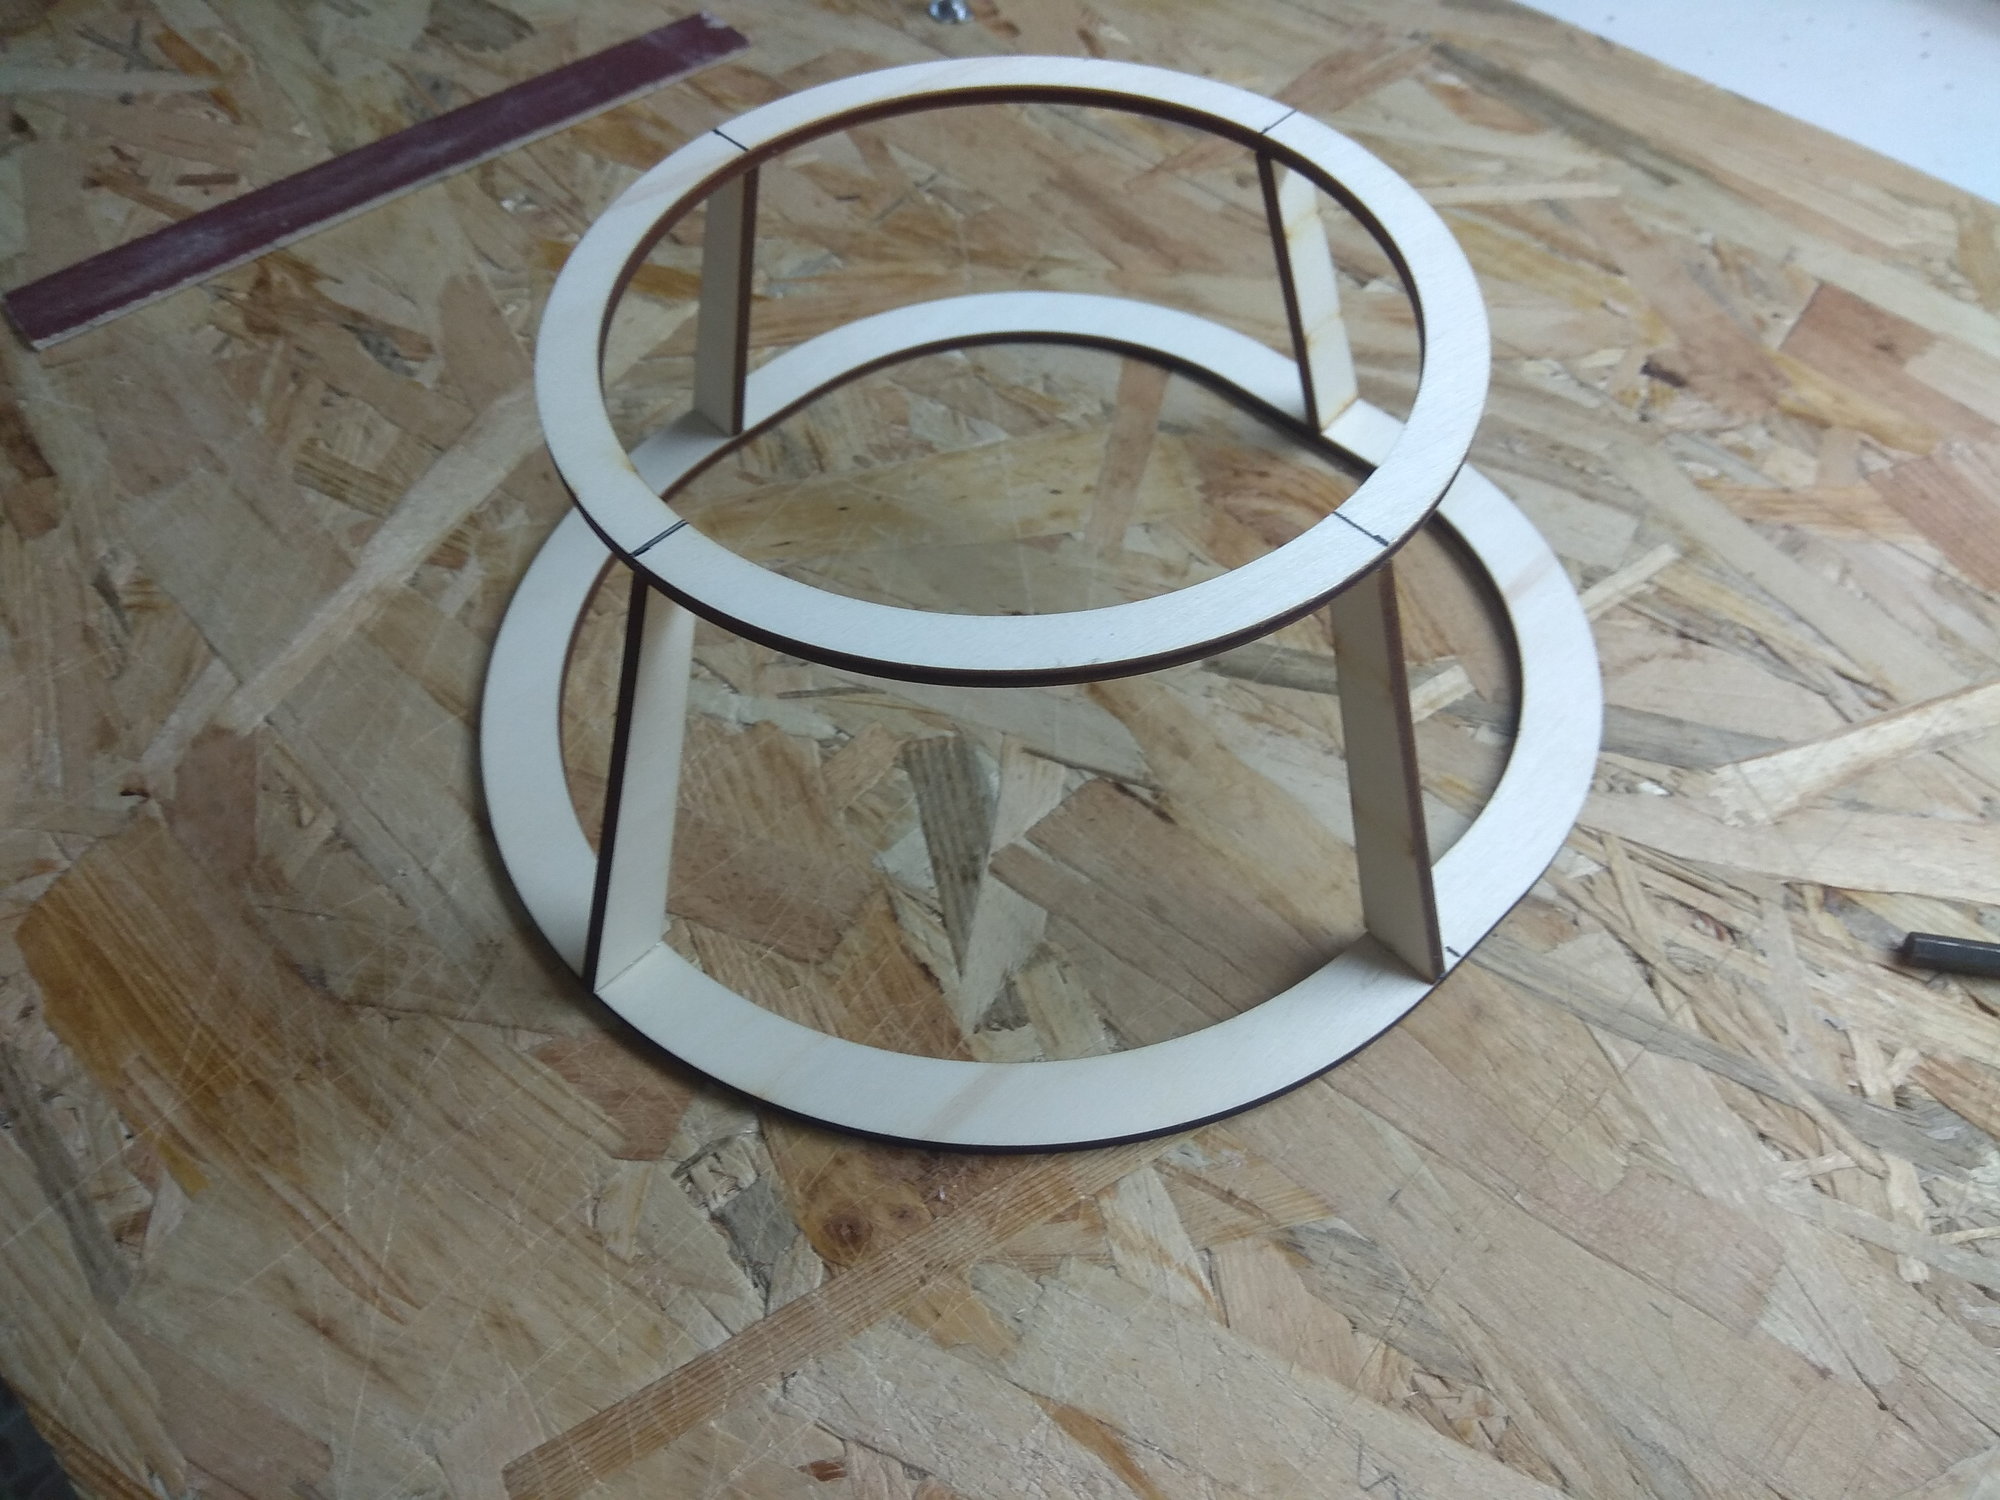
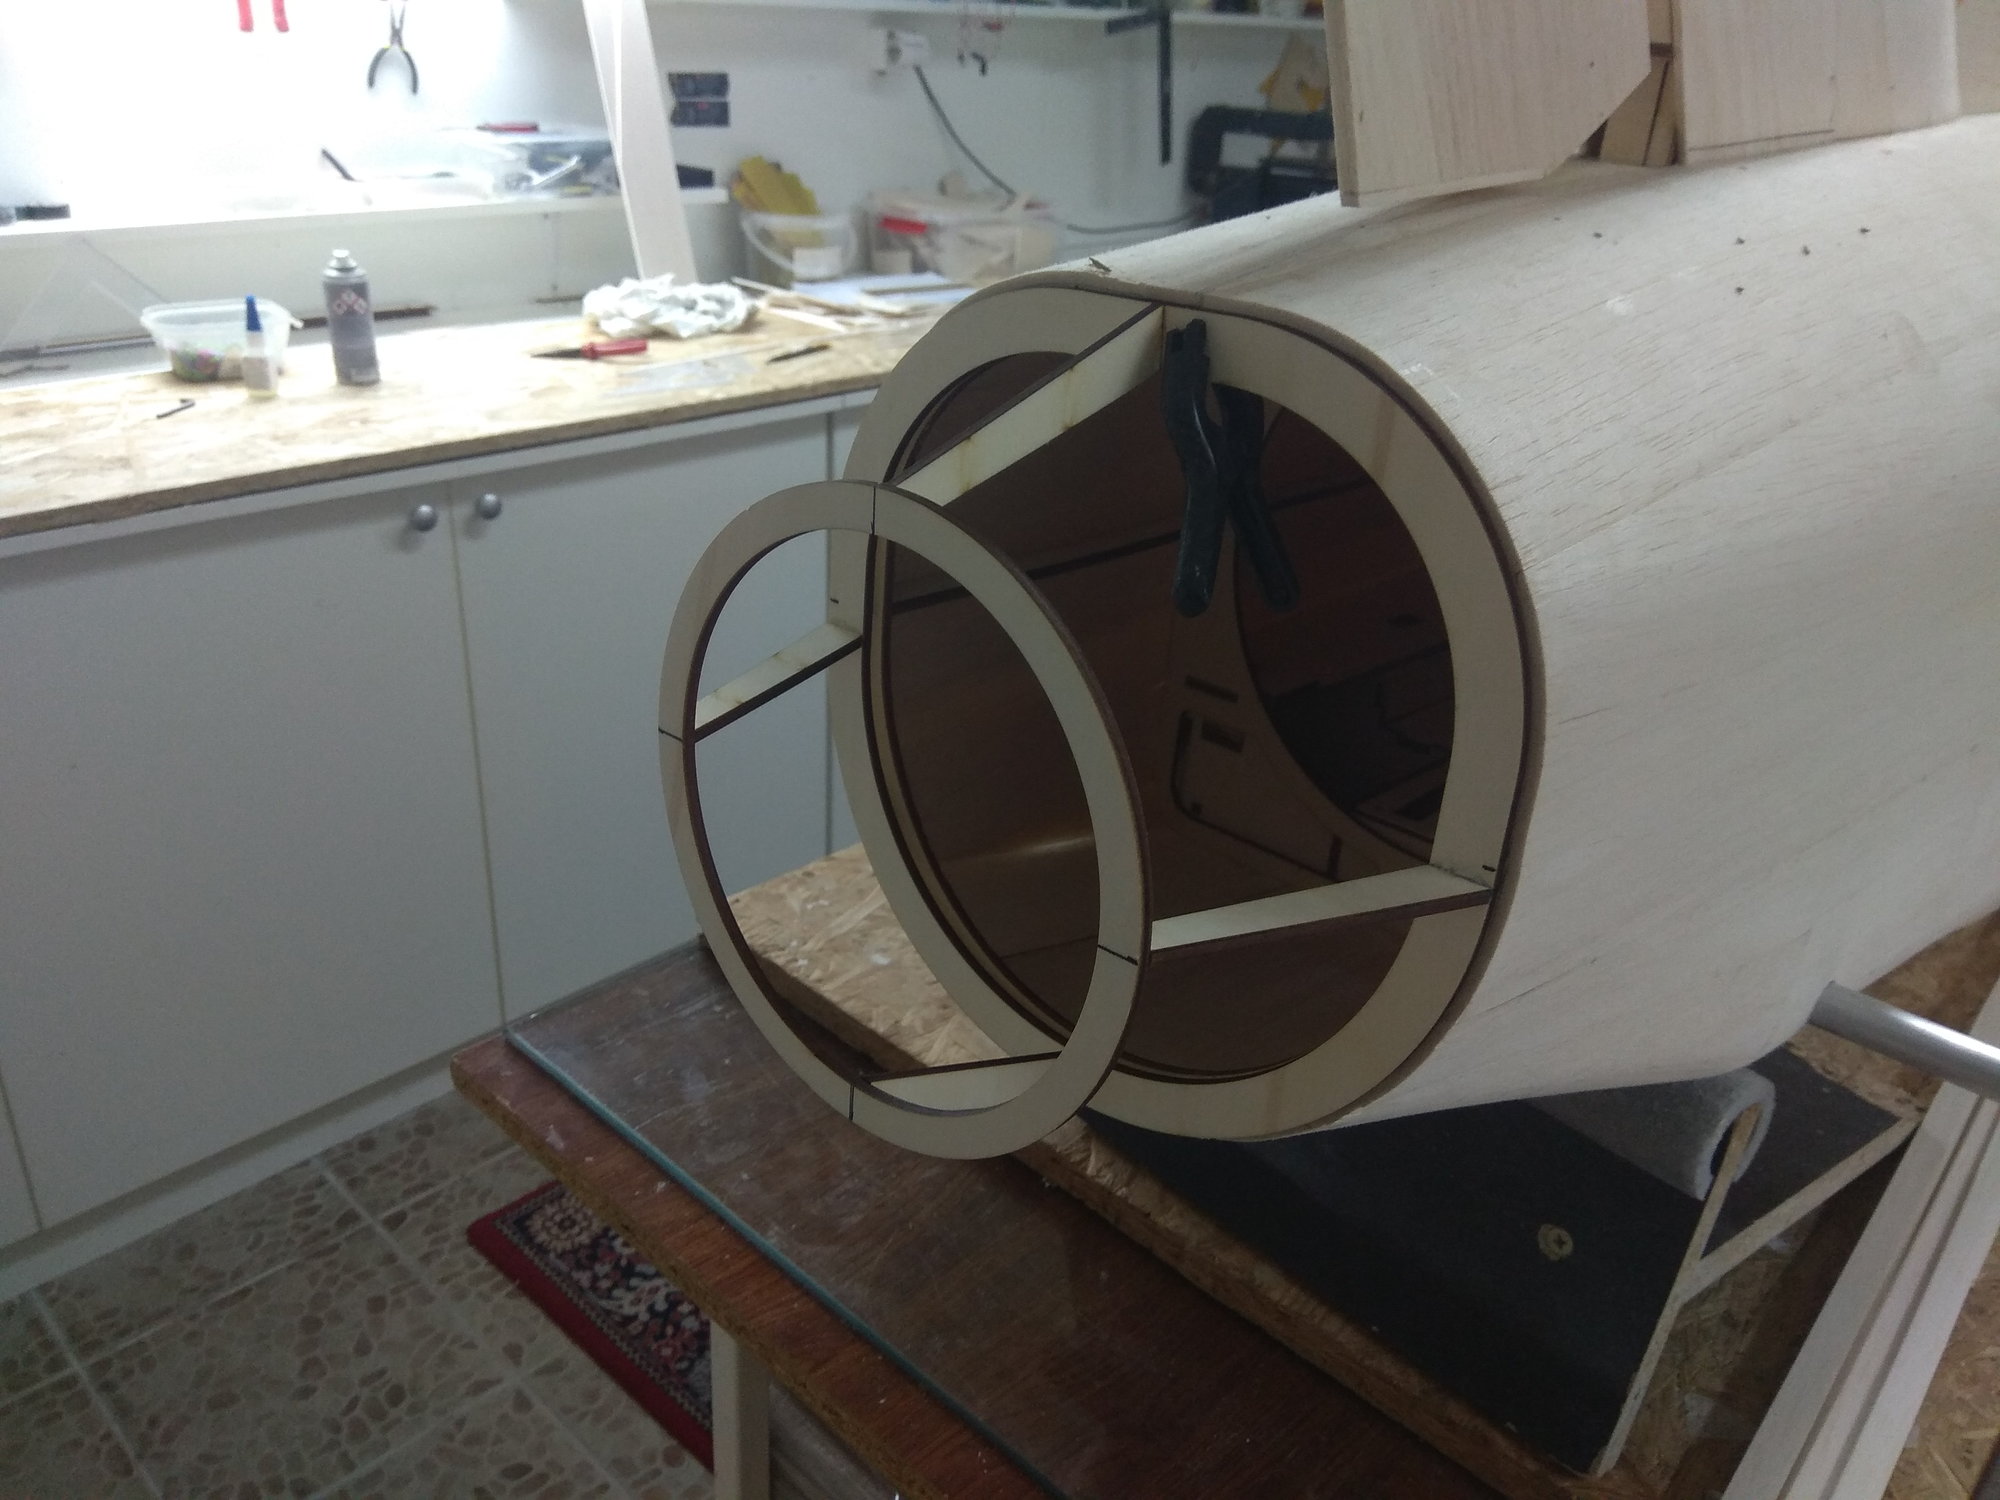
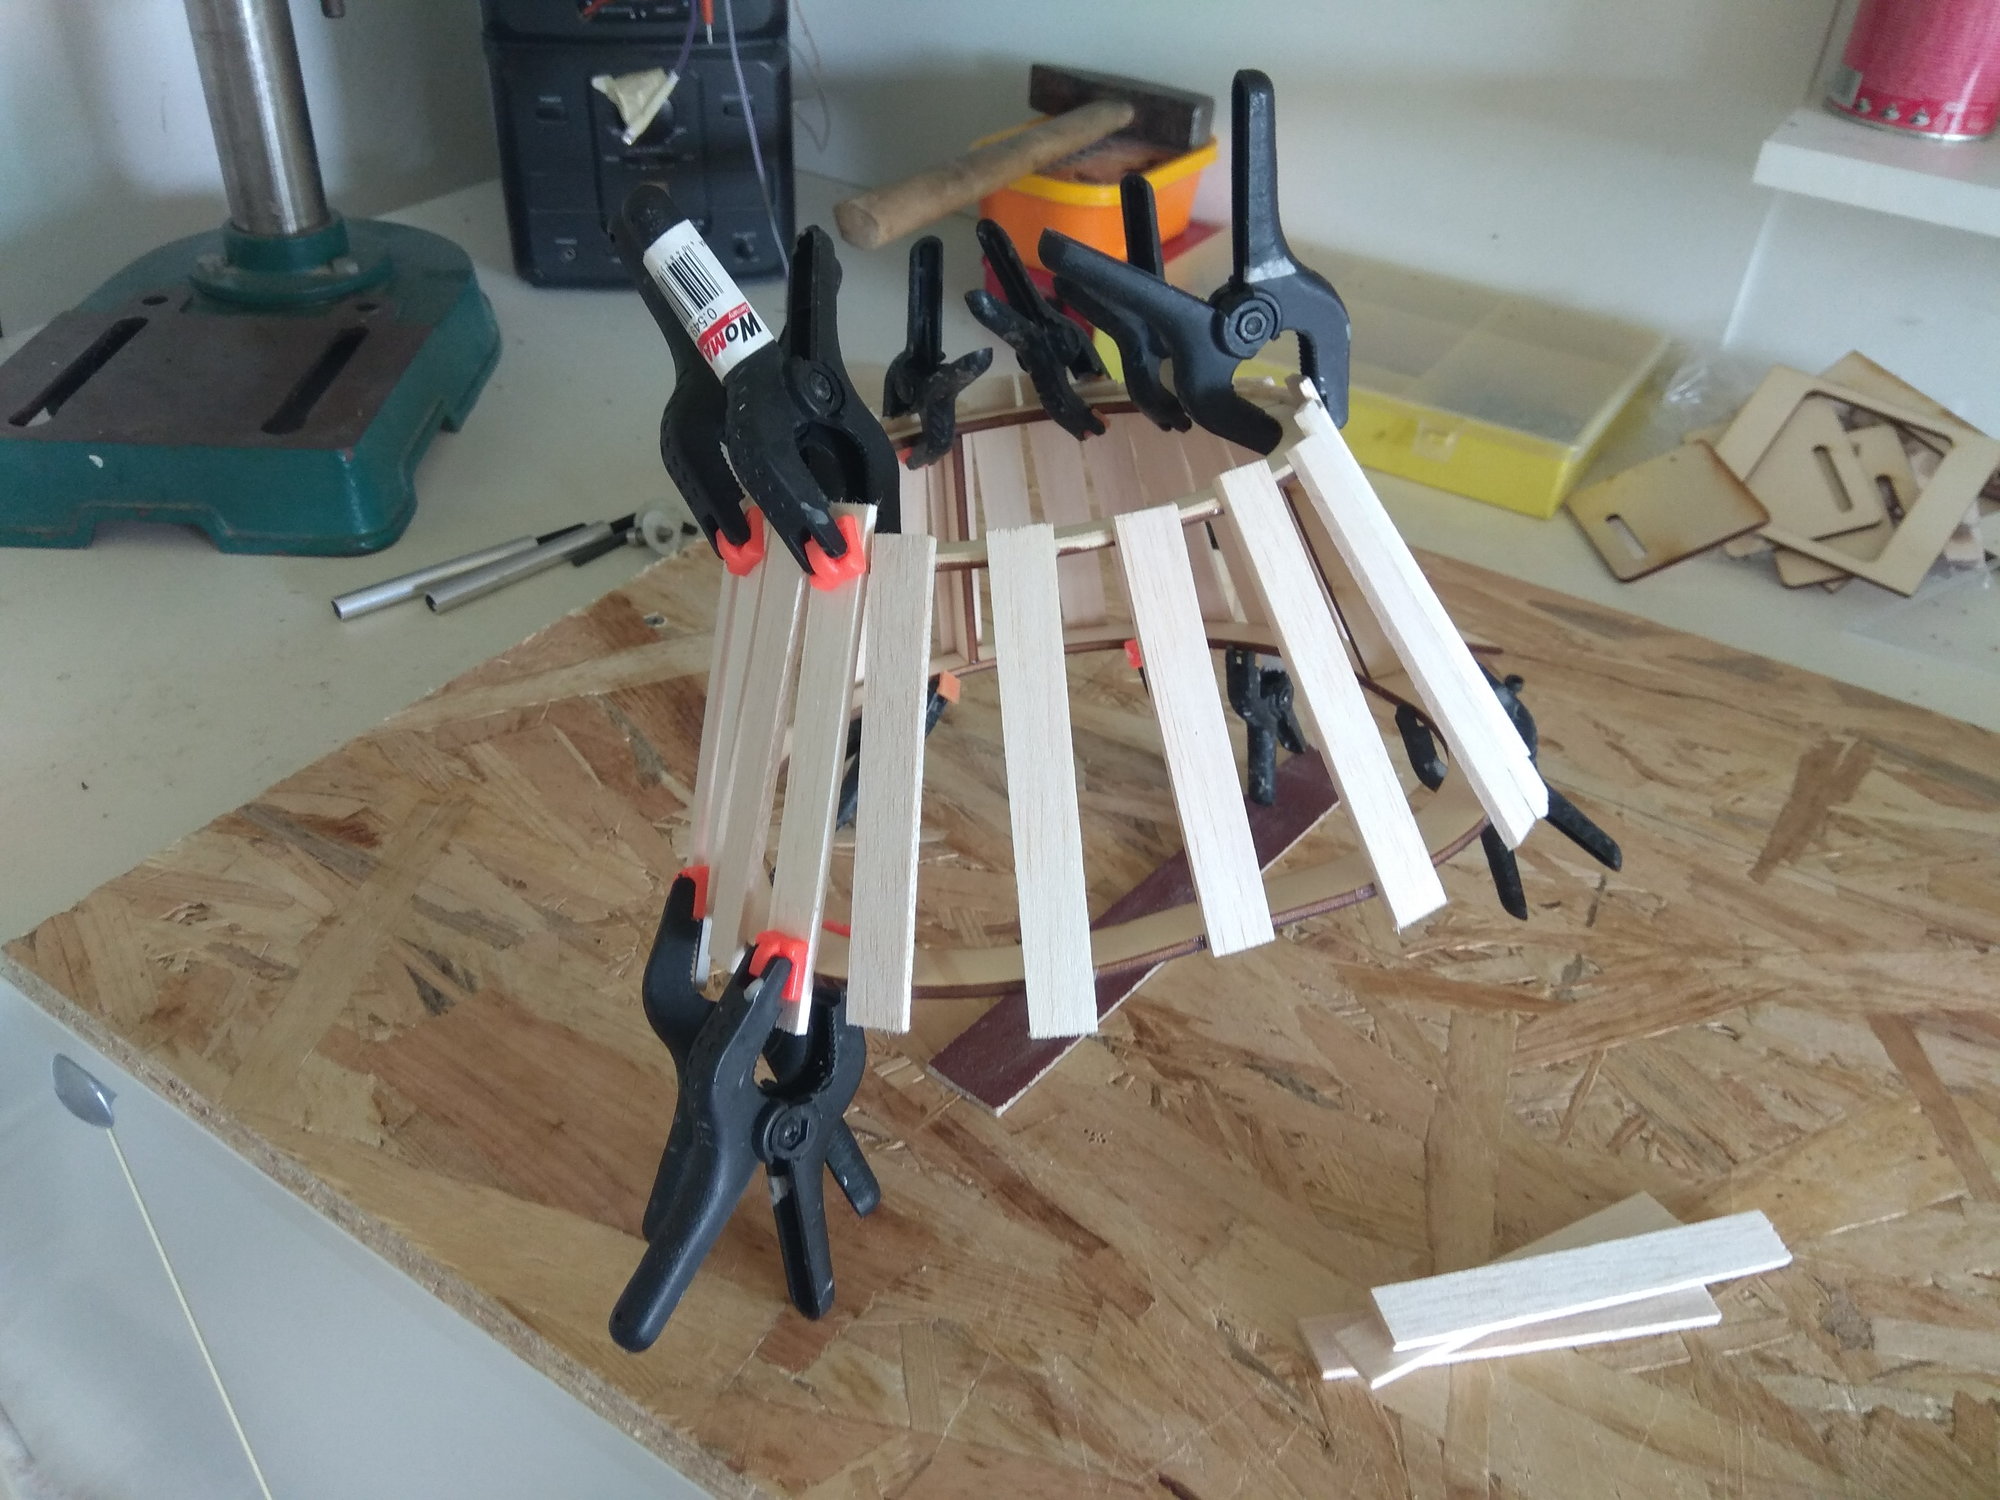
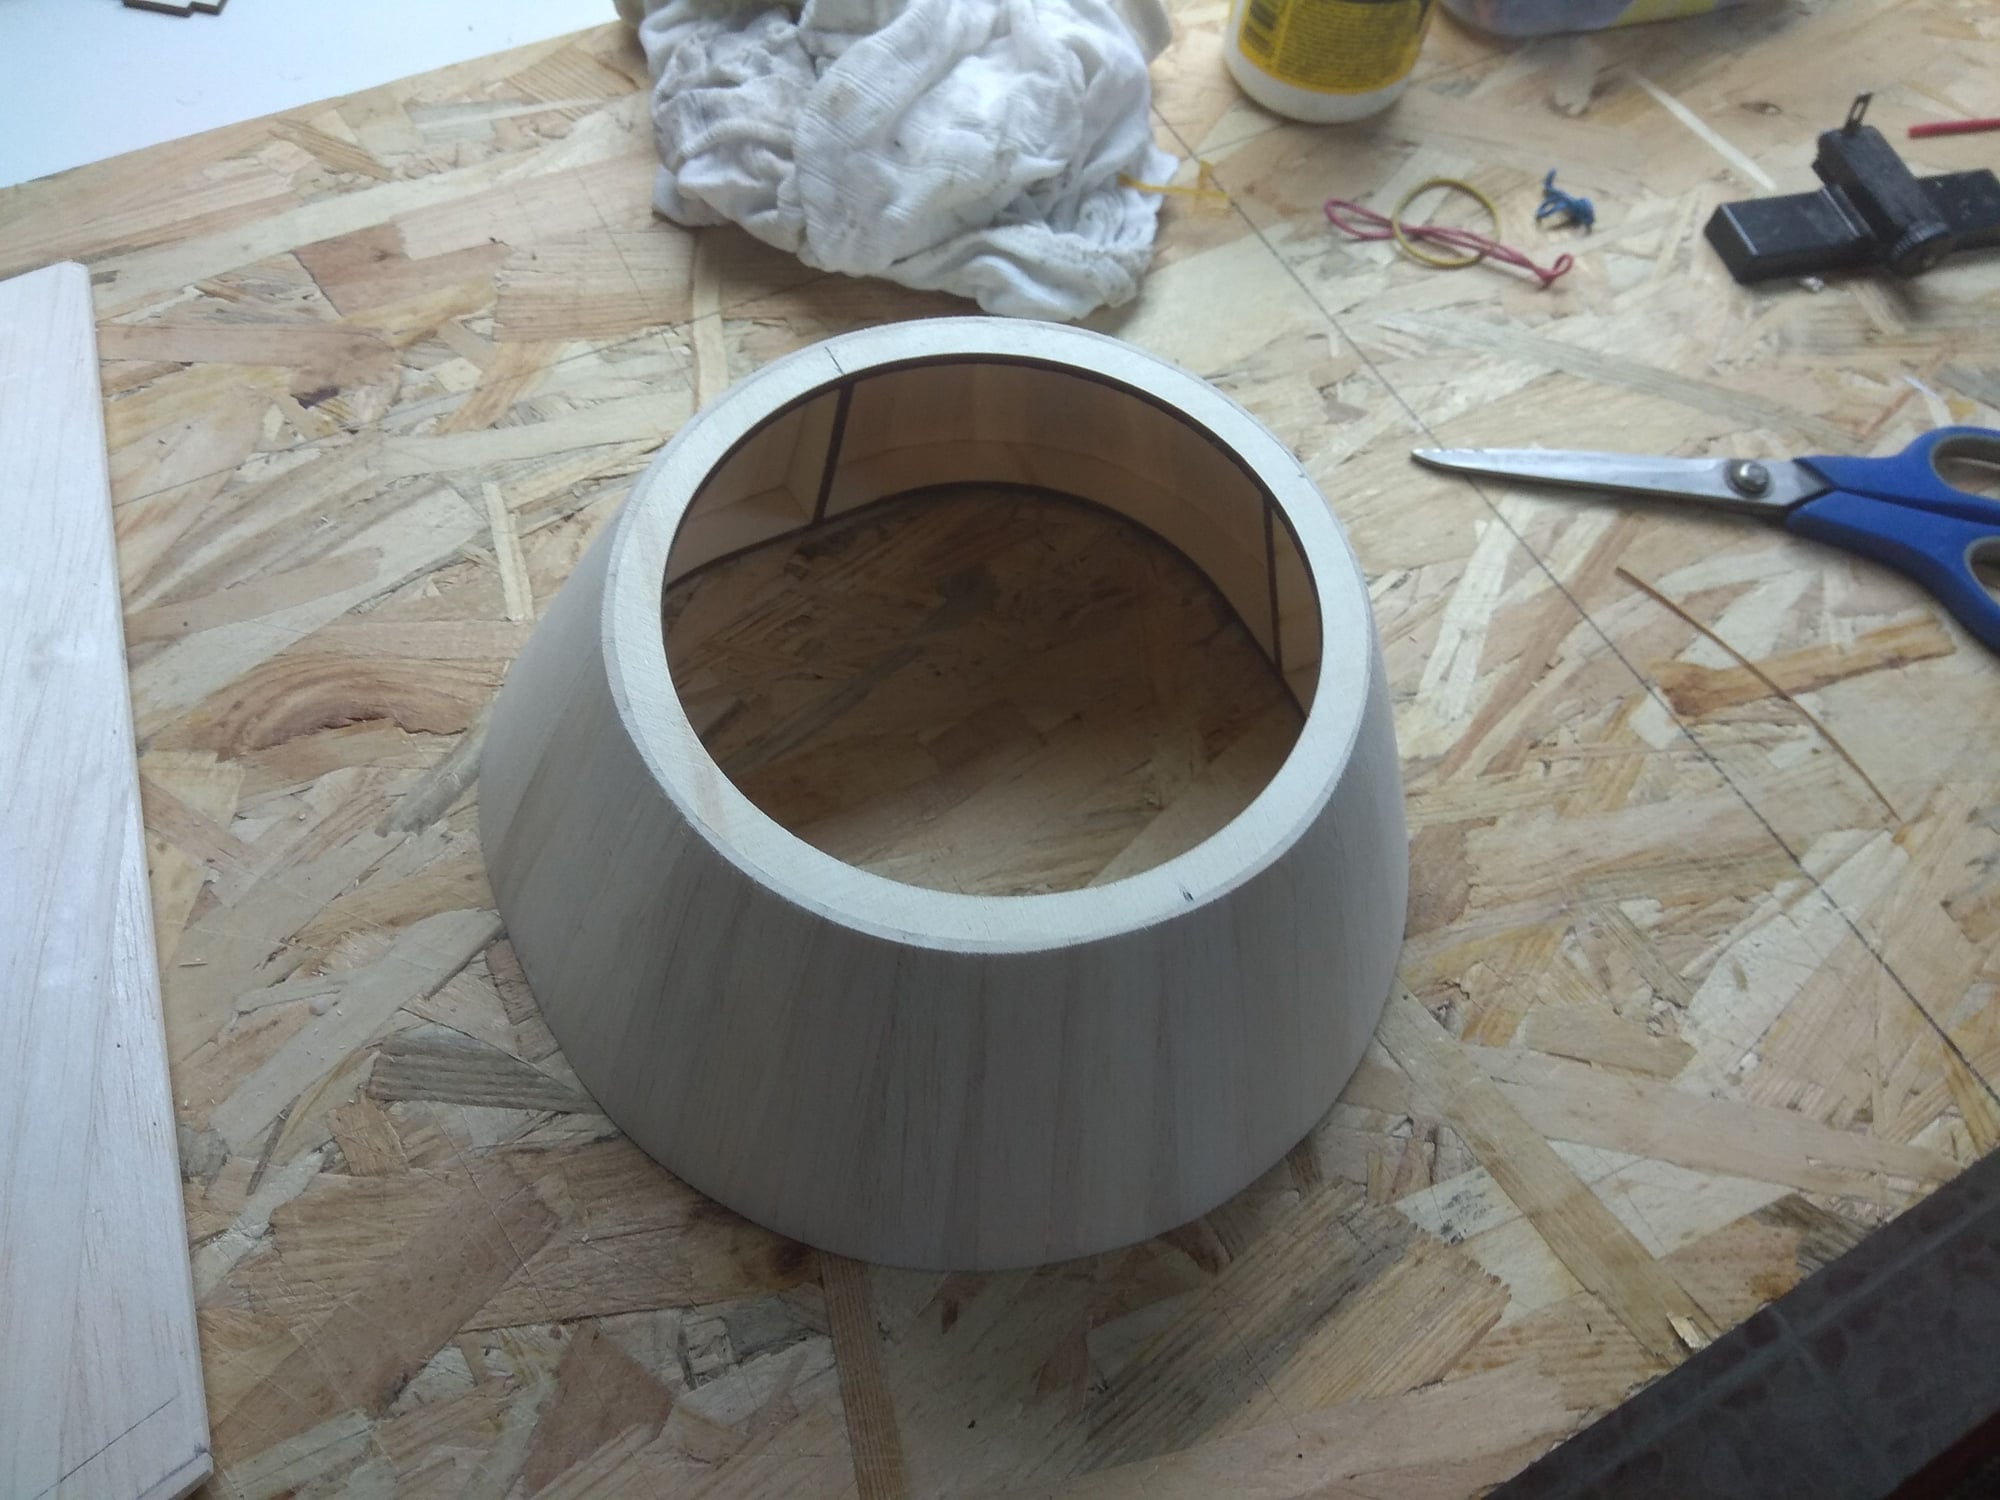
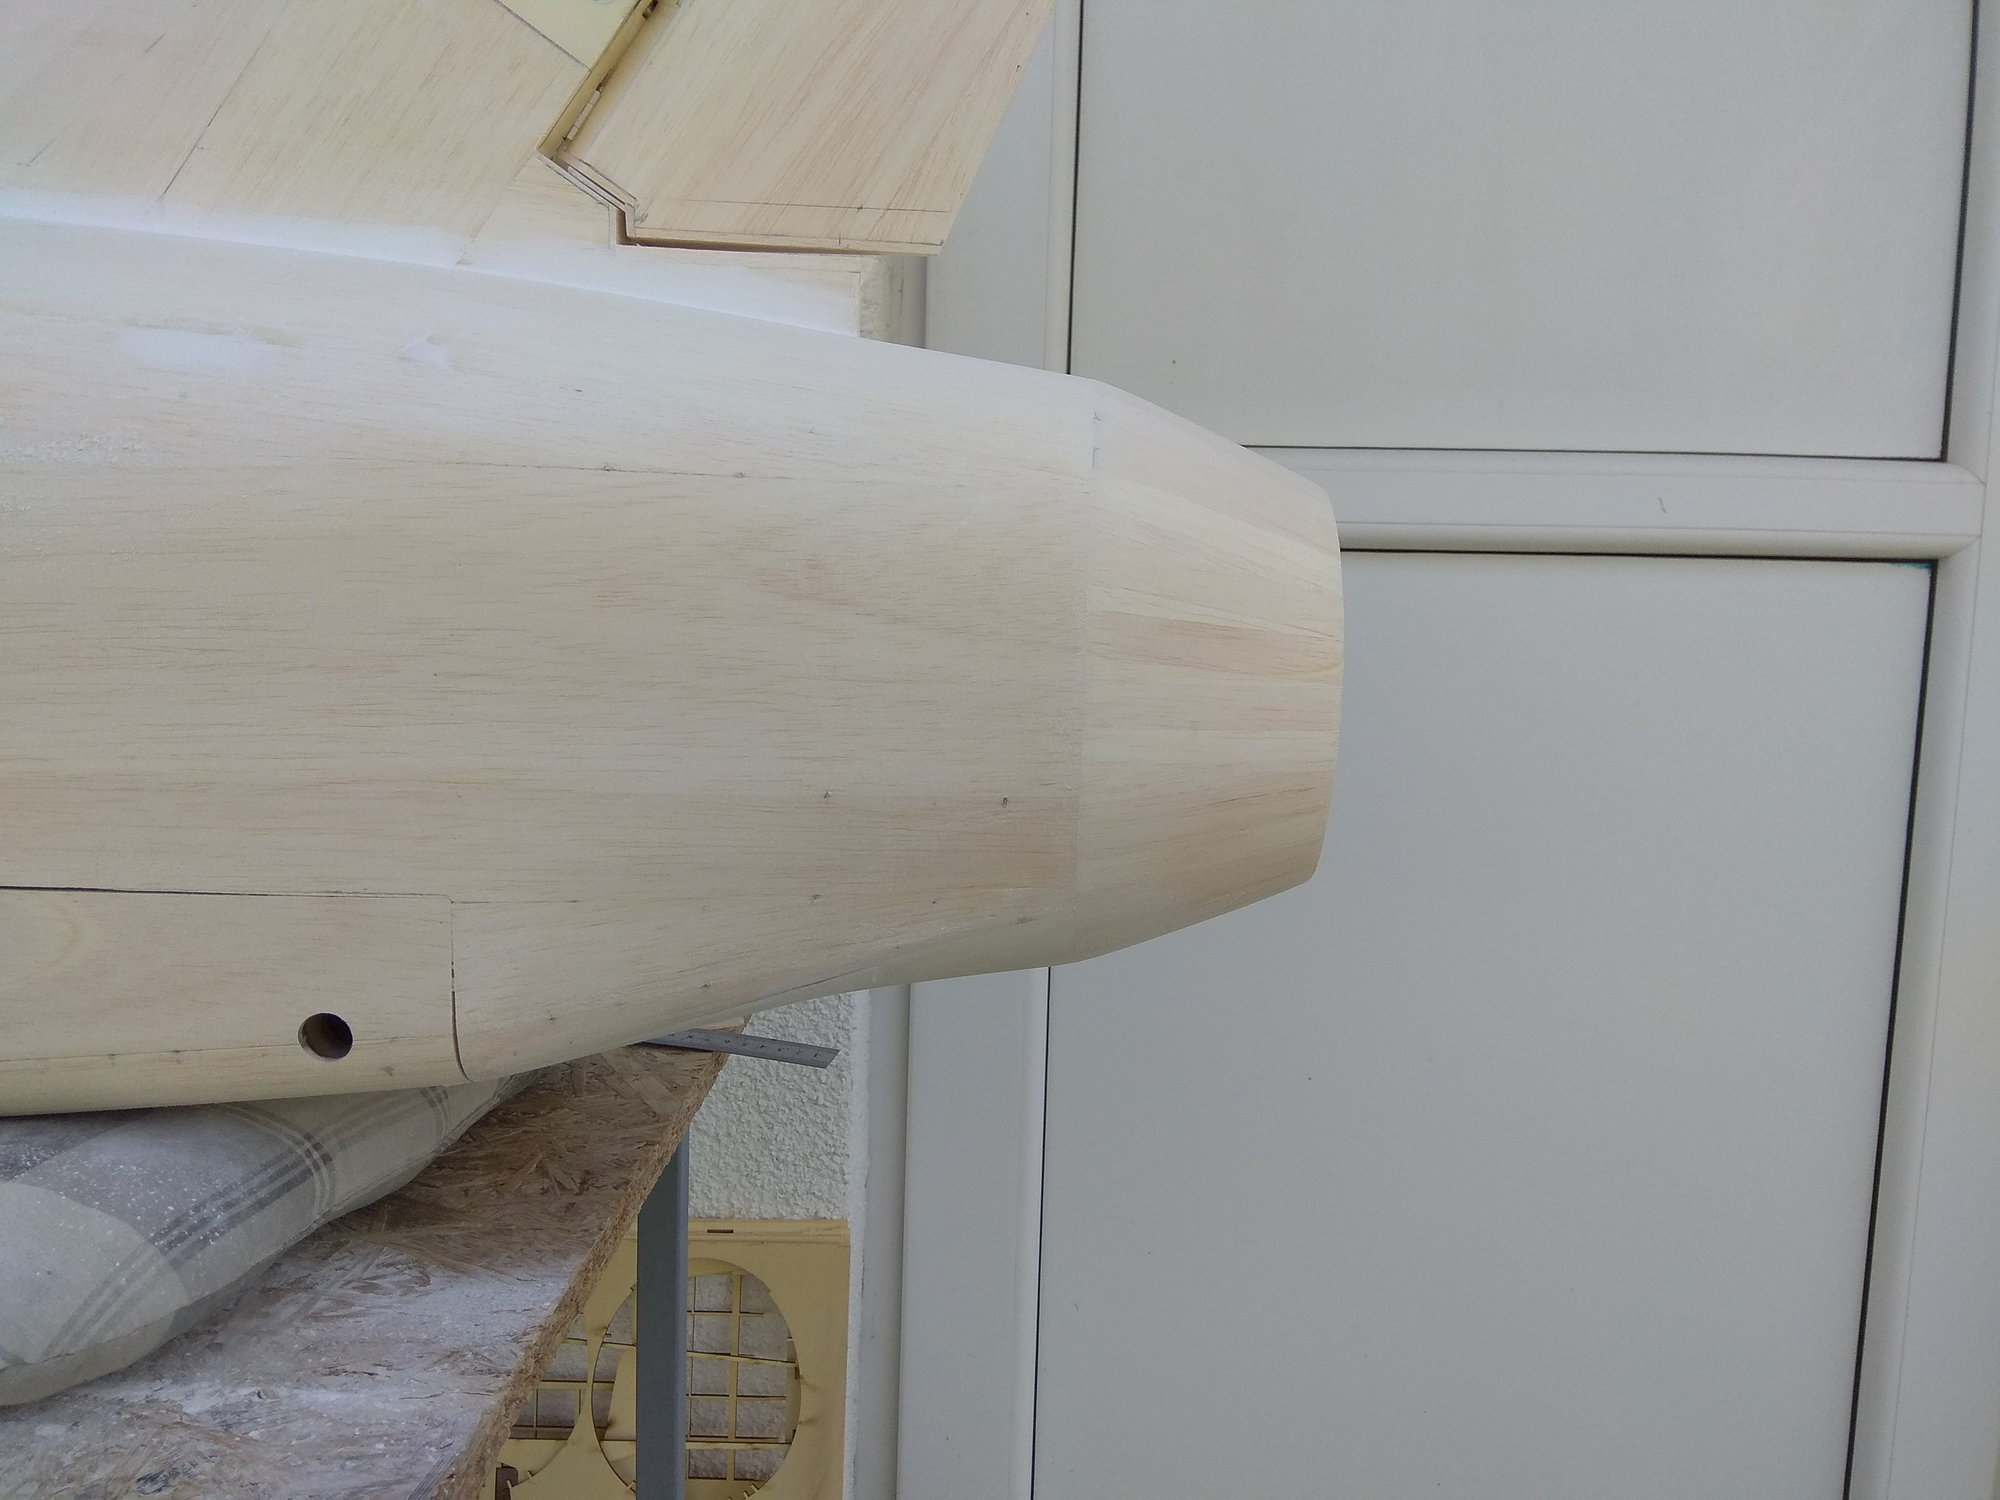
Unfortunately, during the work in the workshop, I broke the last fuselage rib. That's why I made a cone at the end of the fuselage separately and then glued it.
Elevators are also finished...
Unfortunately, during the work in the workshop, I broke the last fuselage rib. That's why I made a cone at the end of the fuselage separately and then glued it.
Elevators are also finished...
09-20-2018, 04:51 AM
#68
Thread Starter
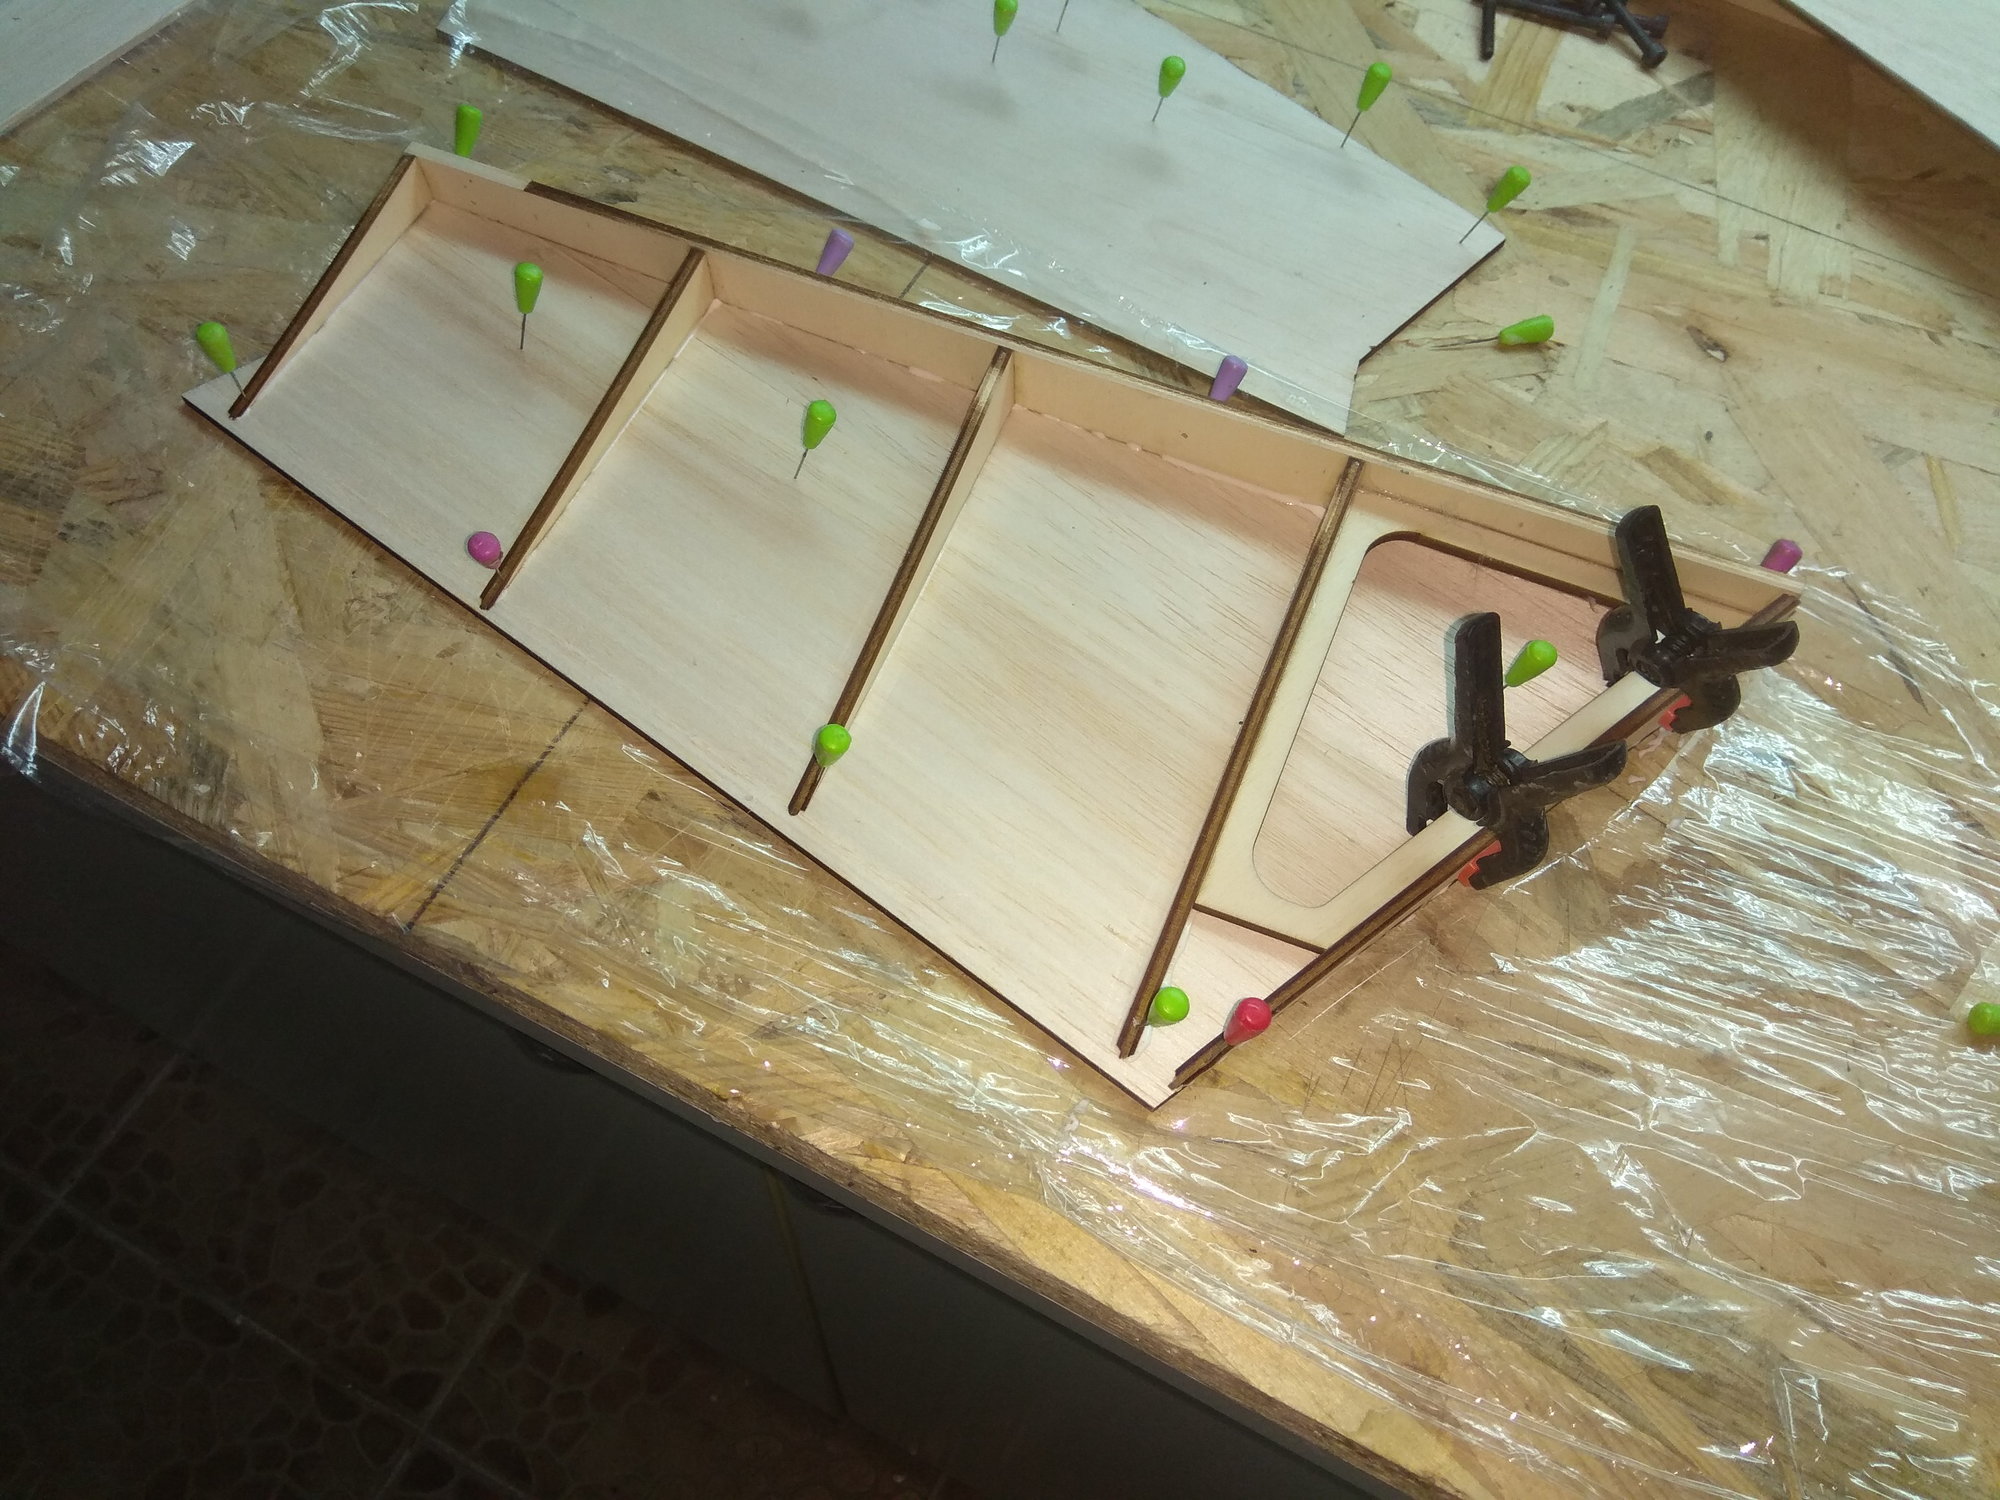
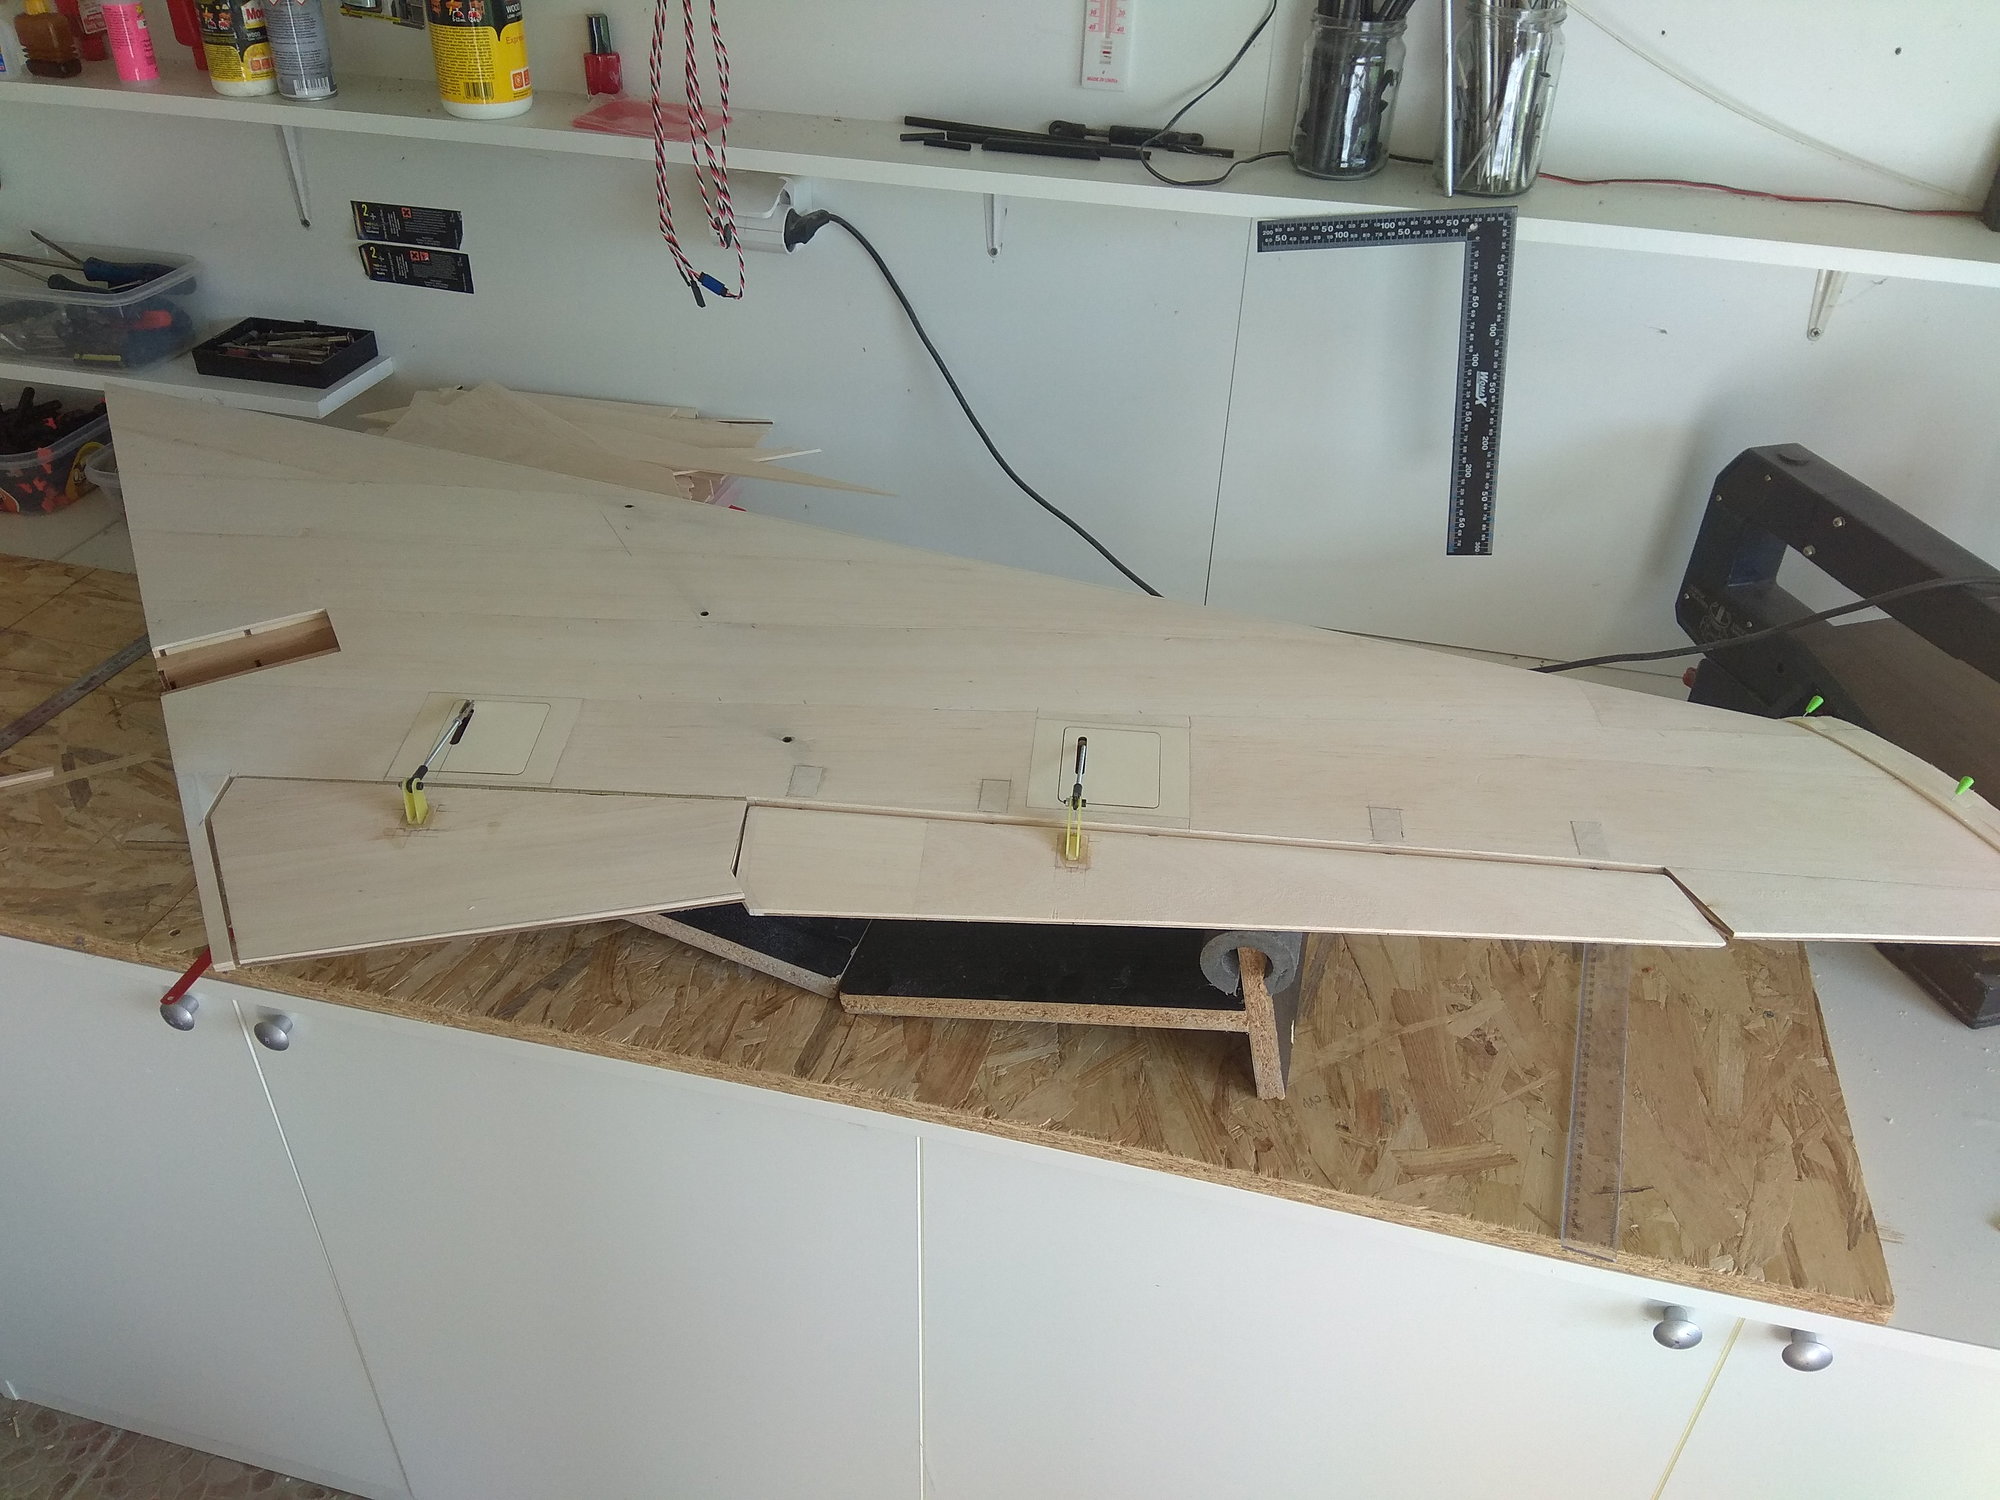
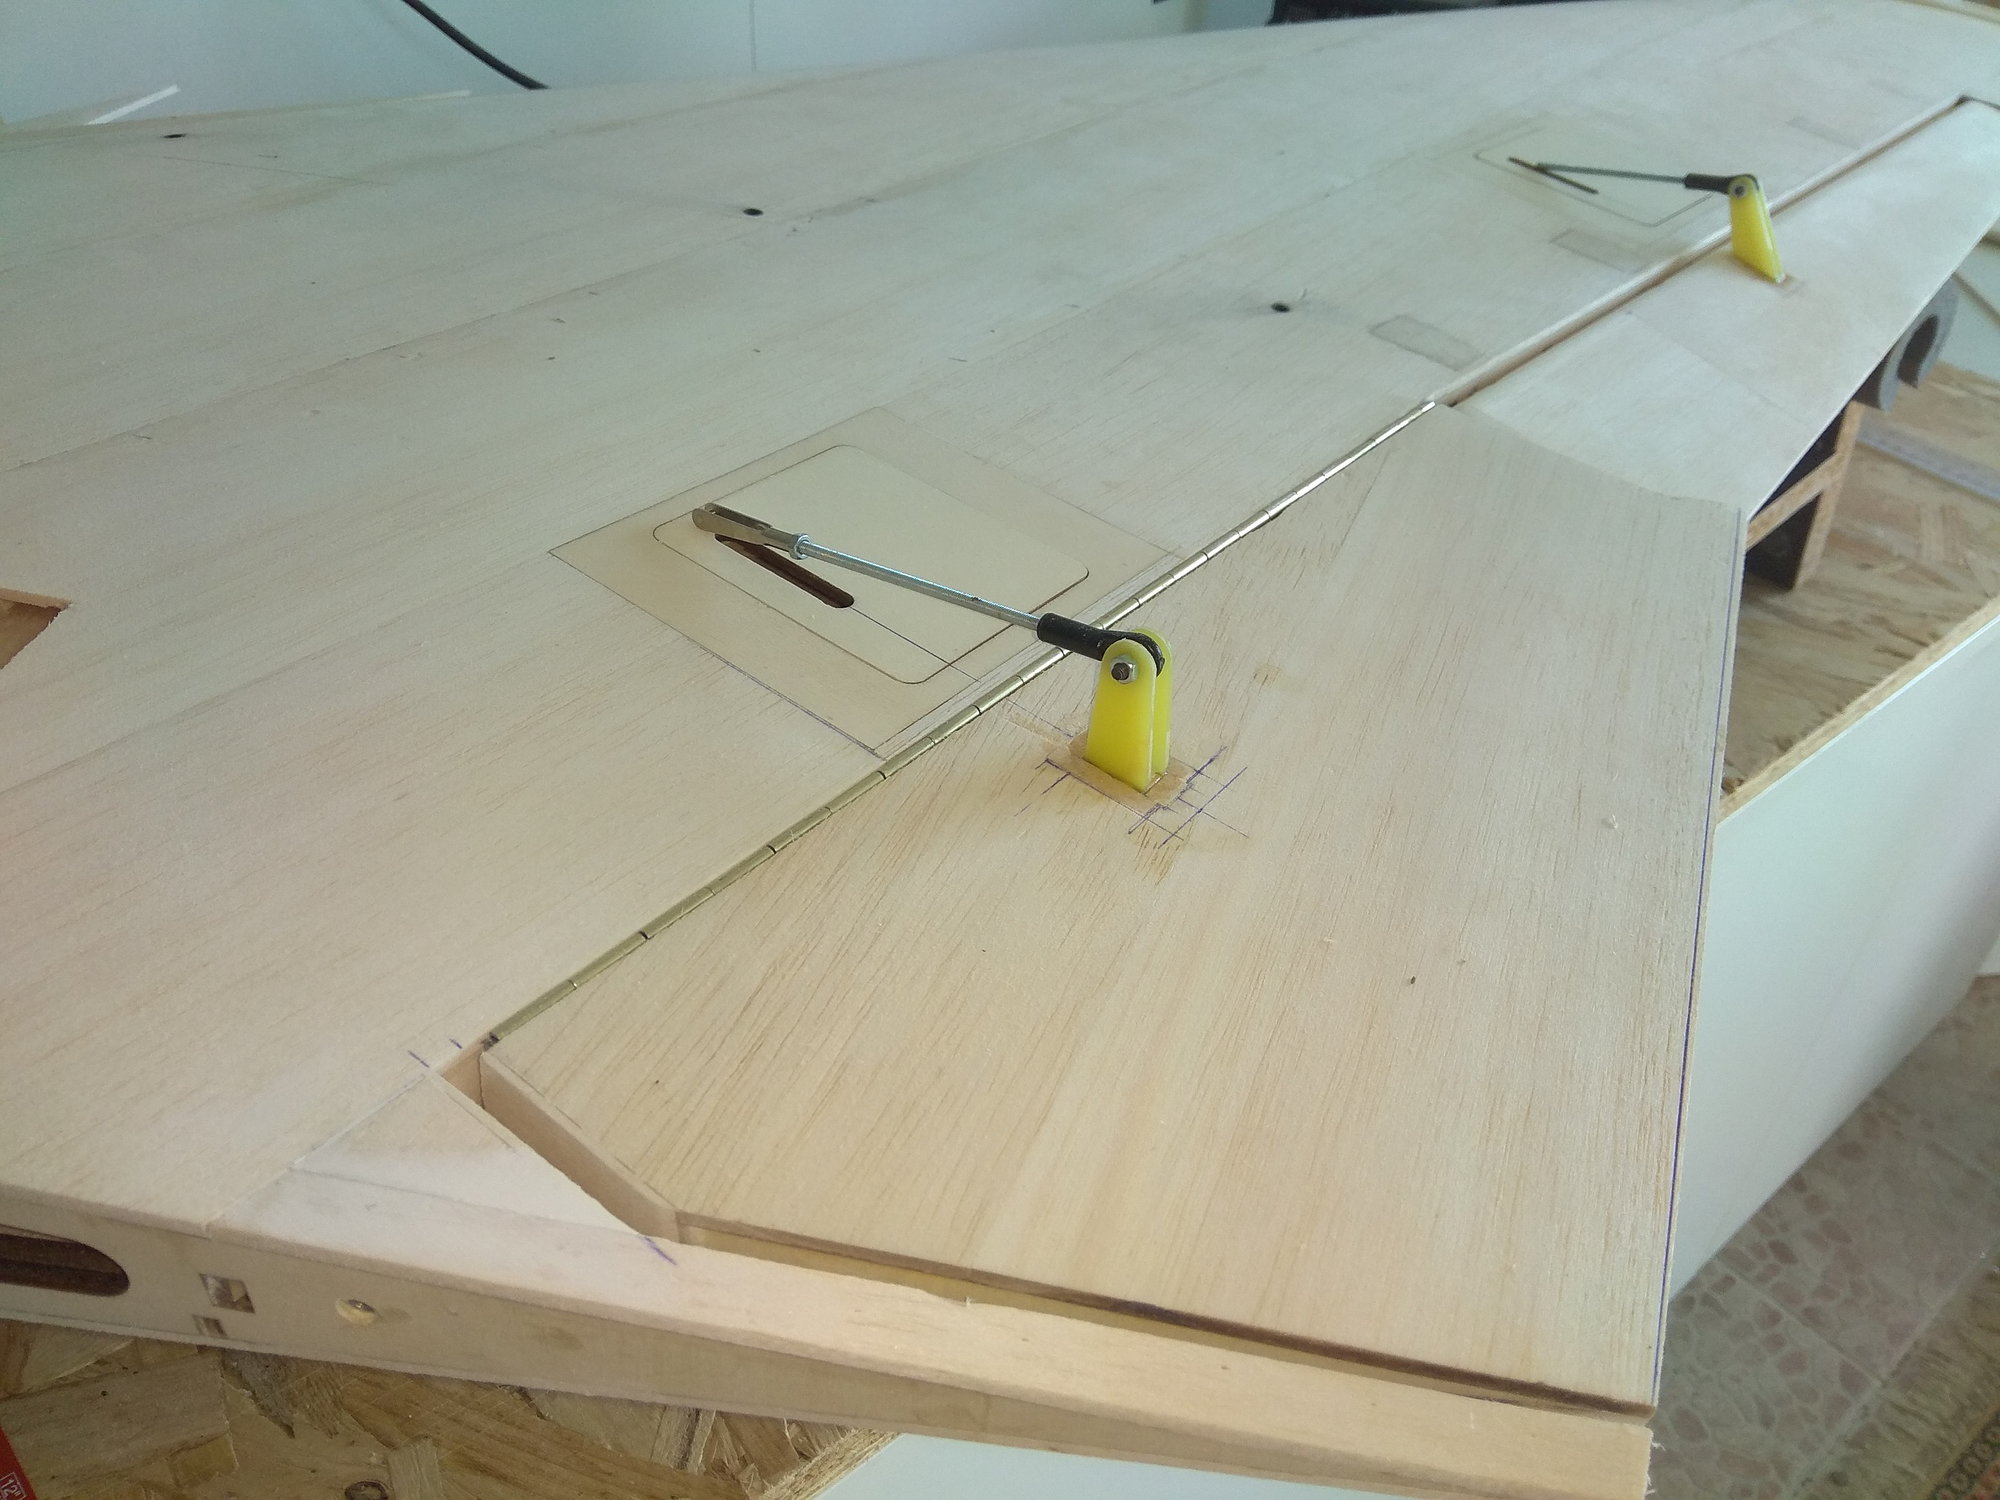
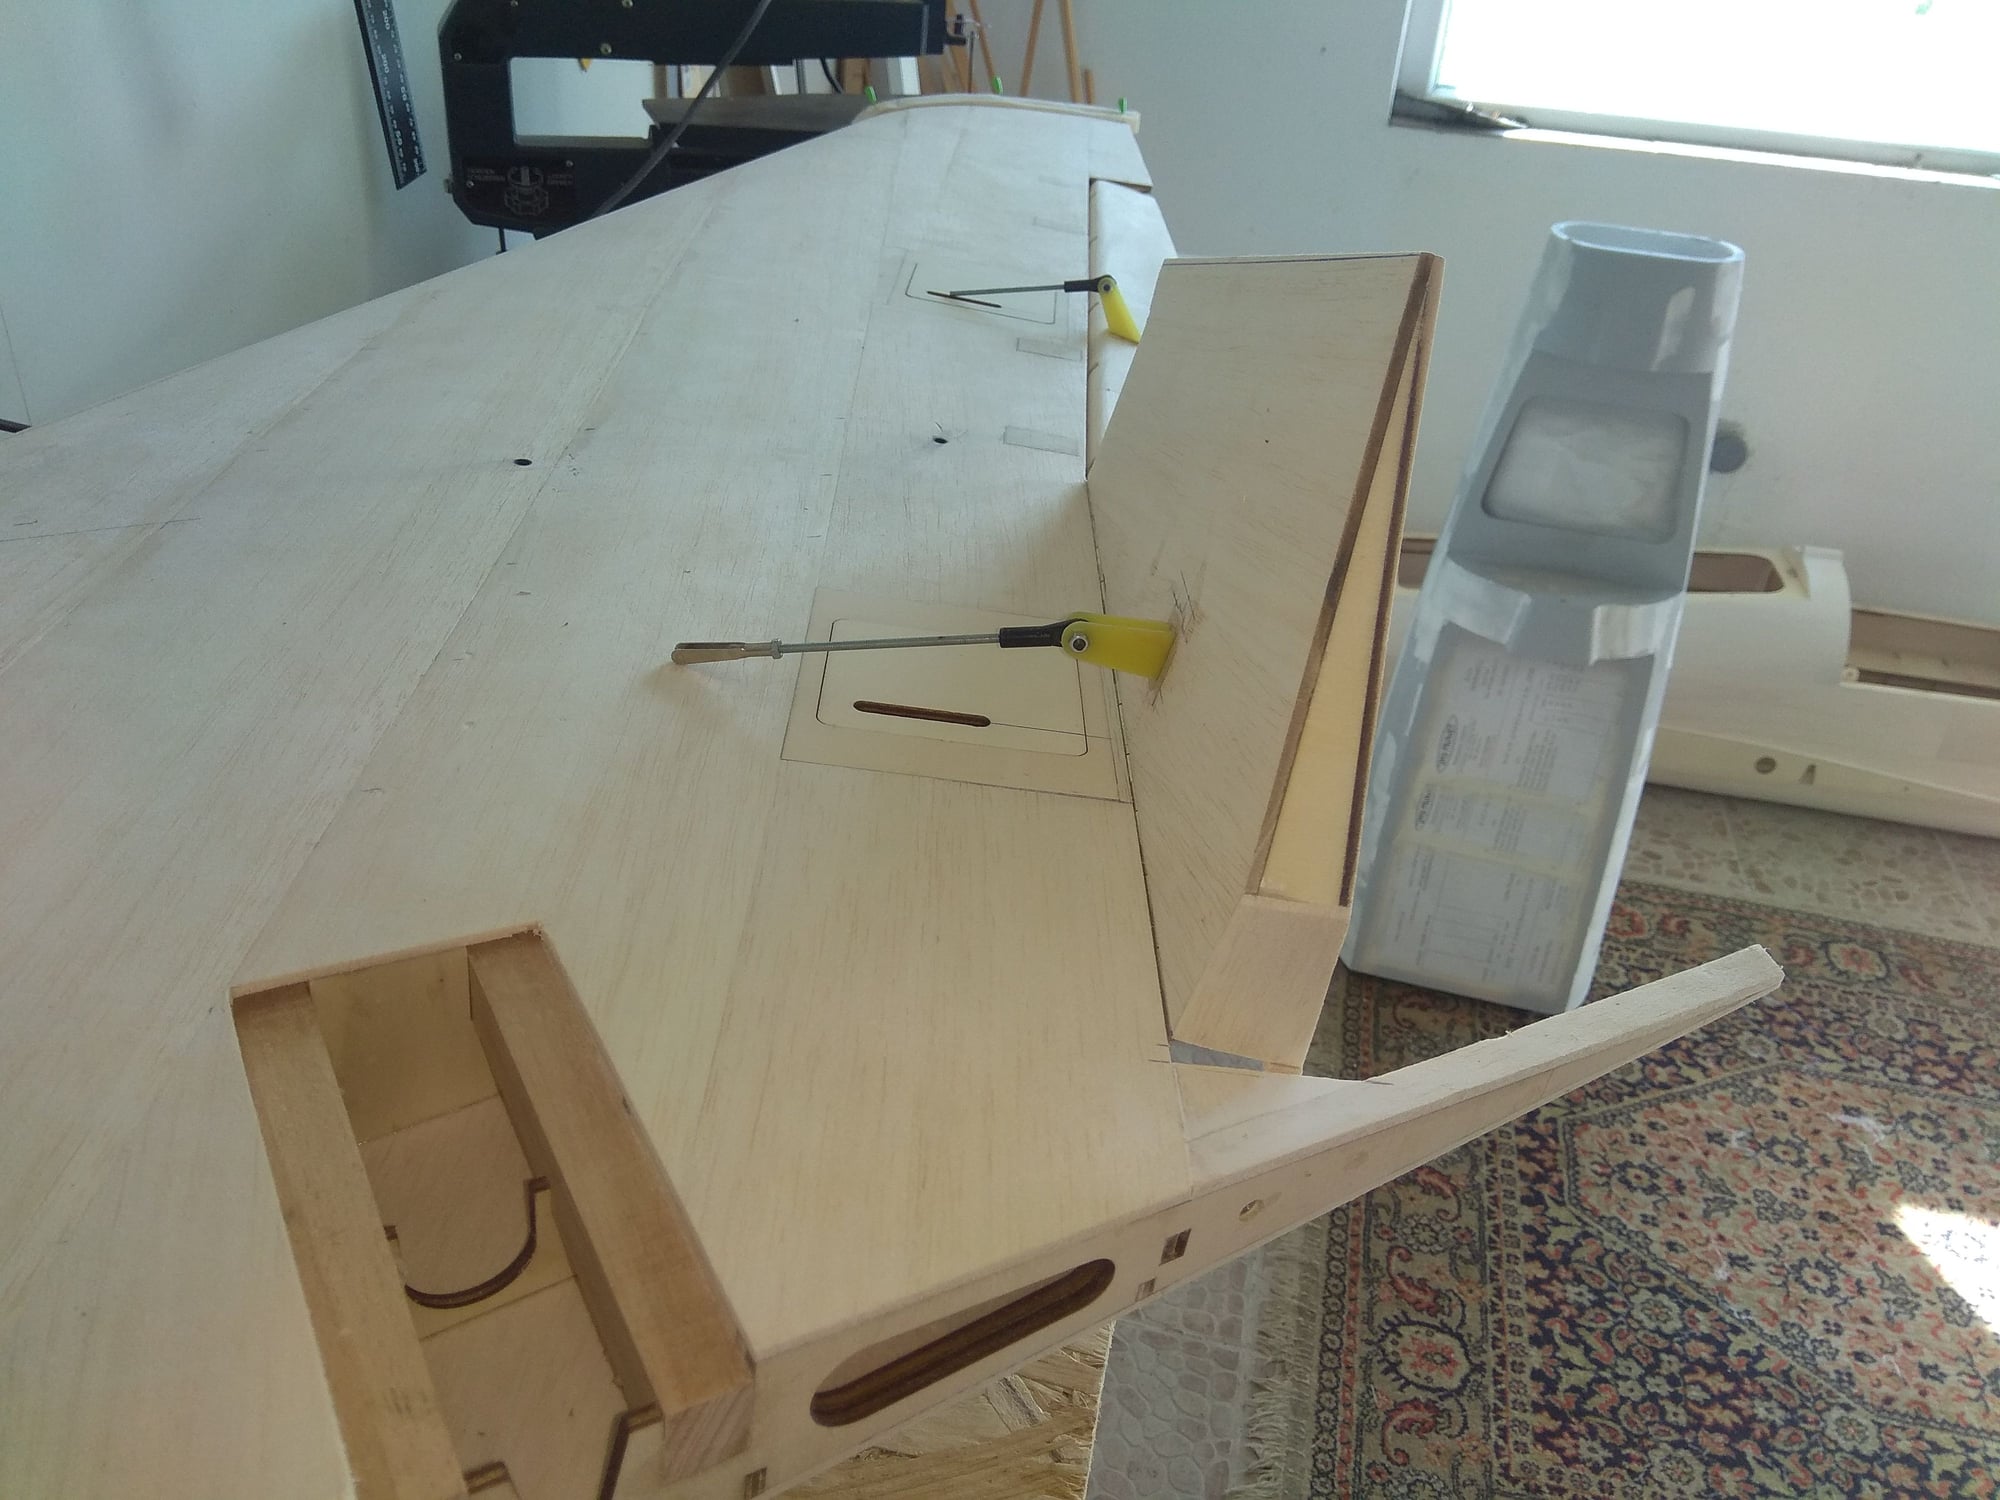
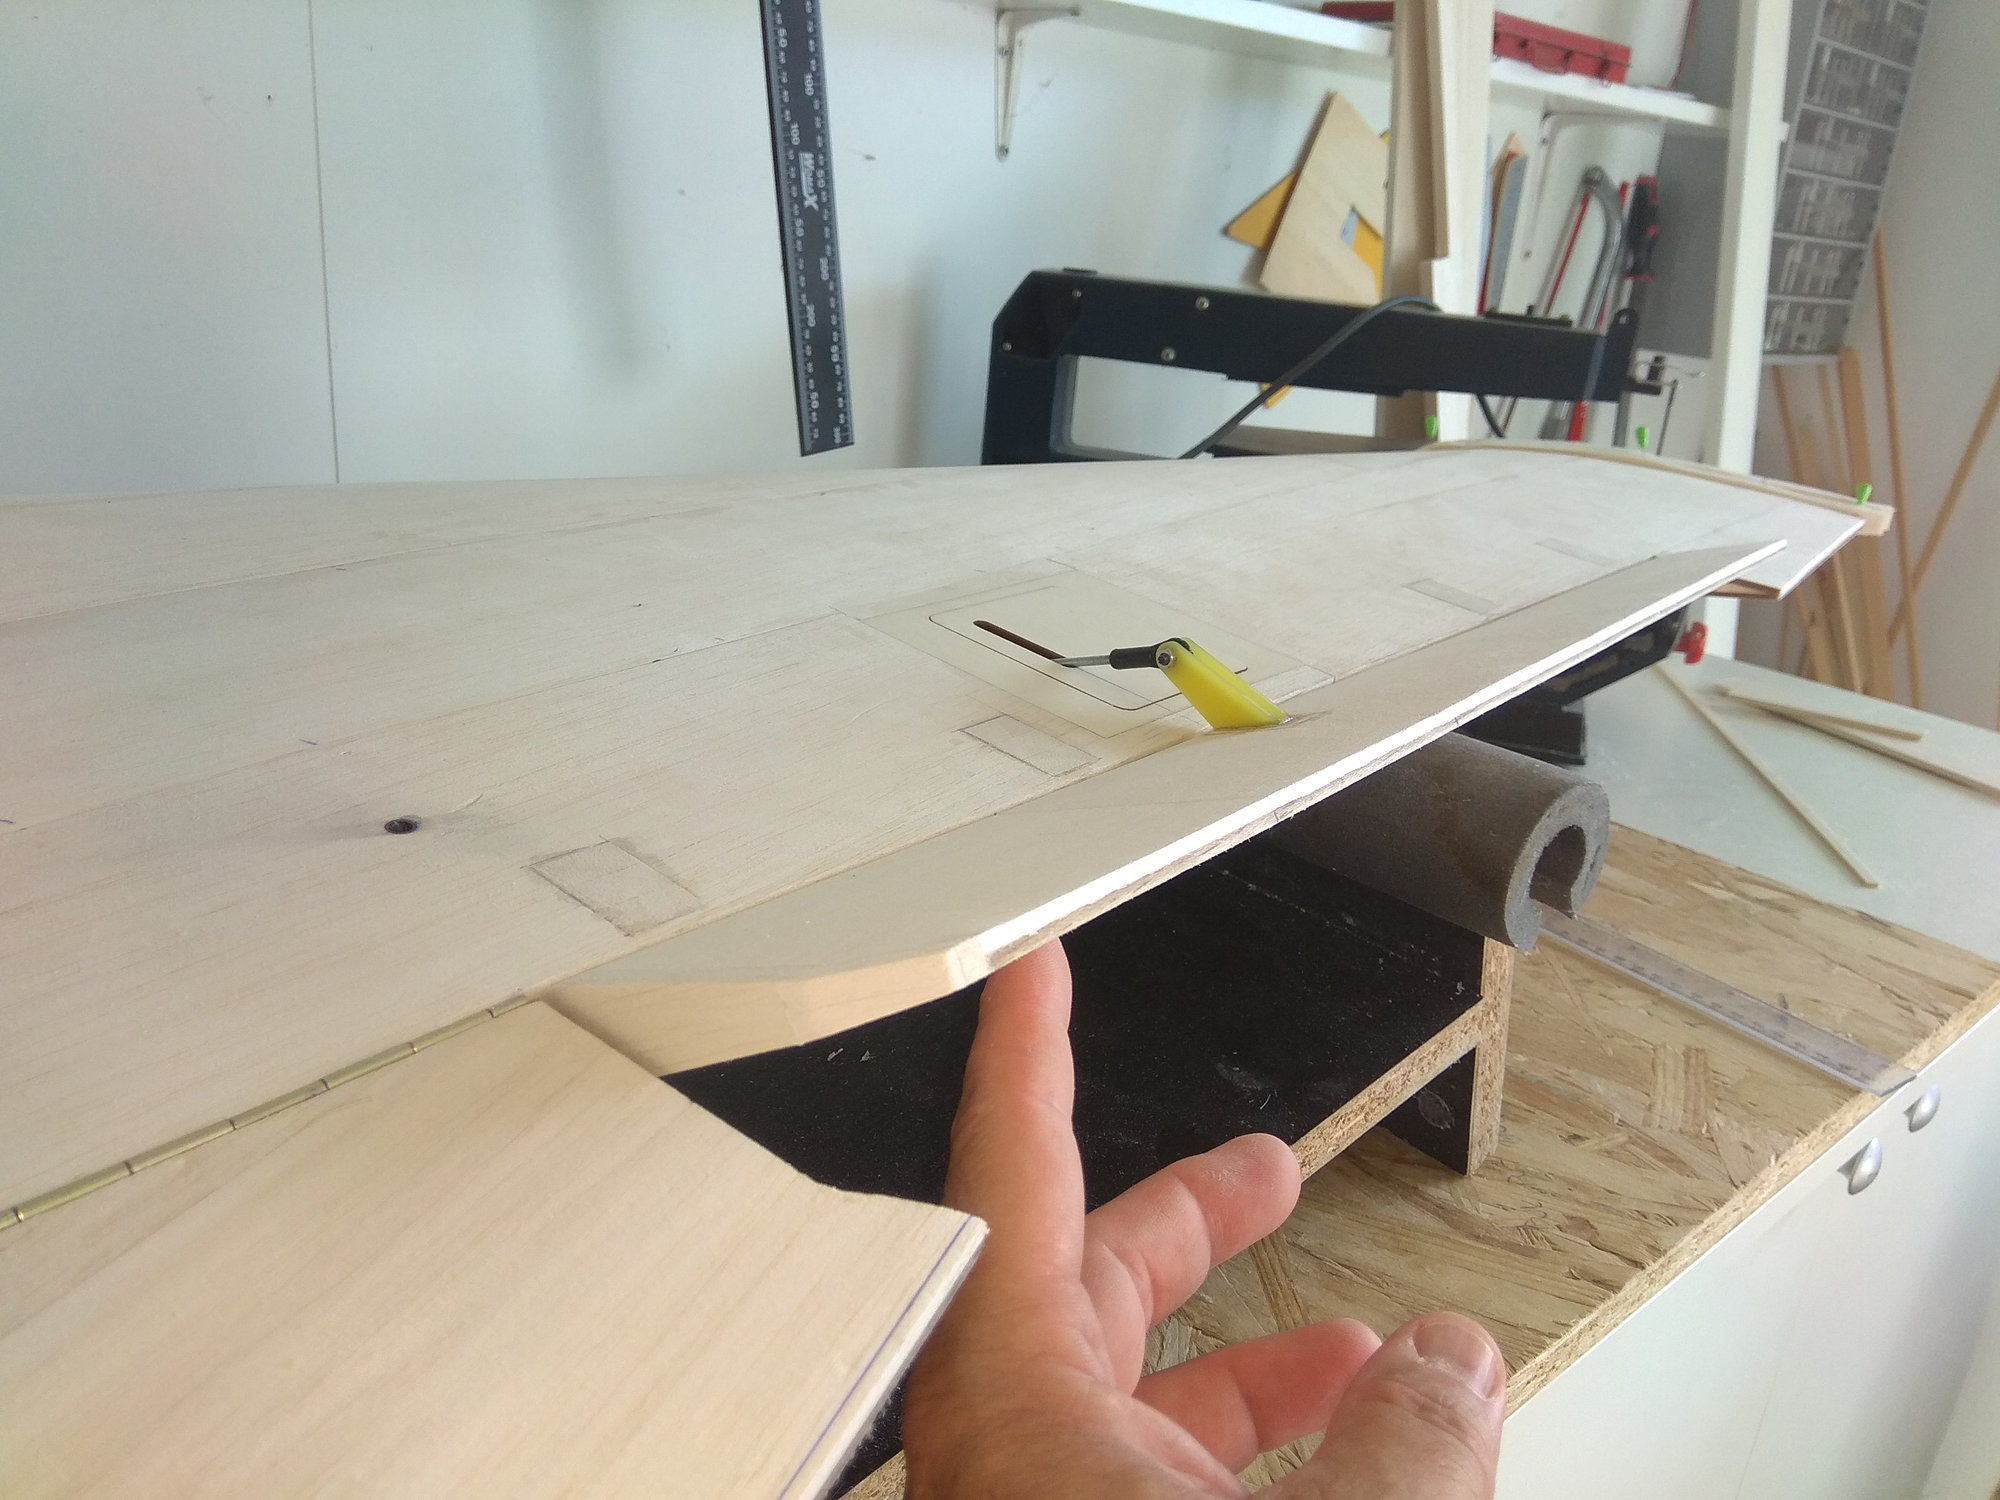
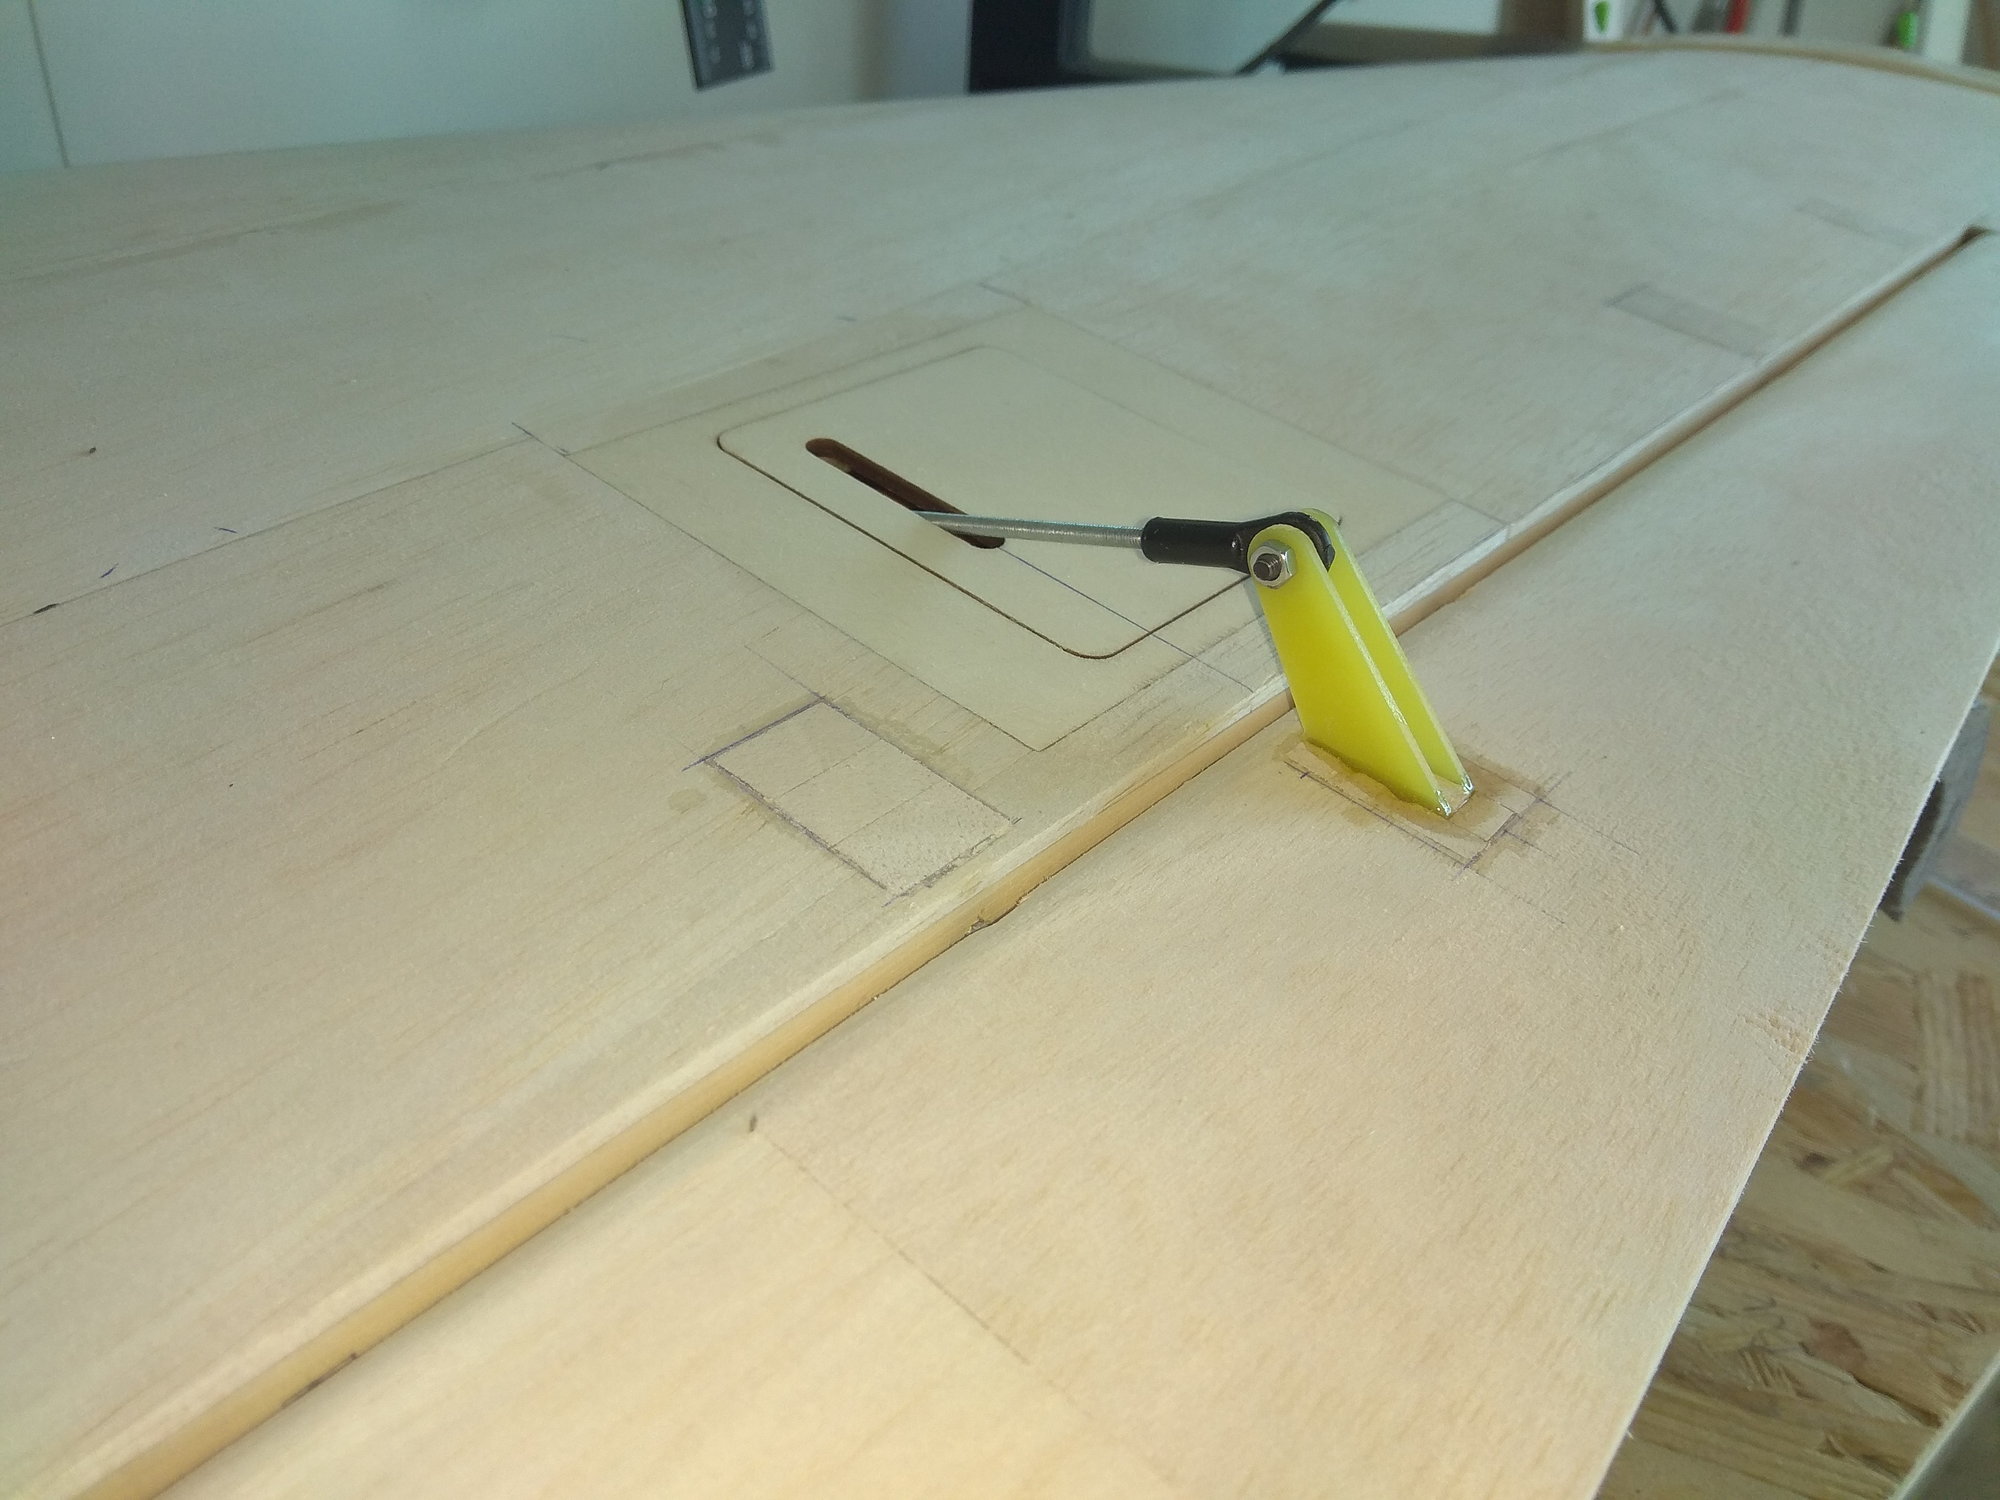
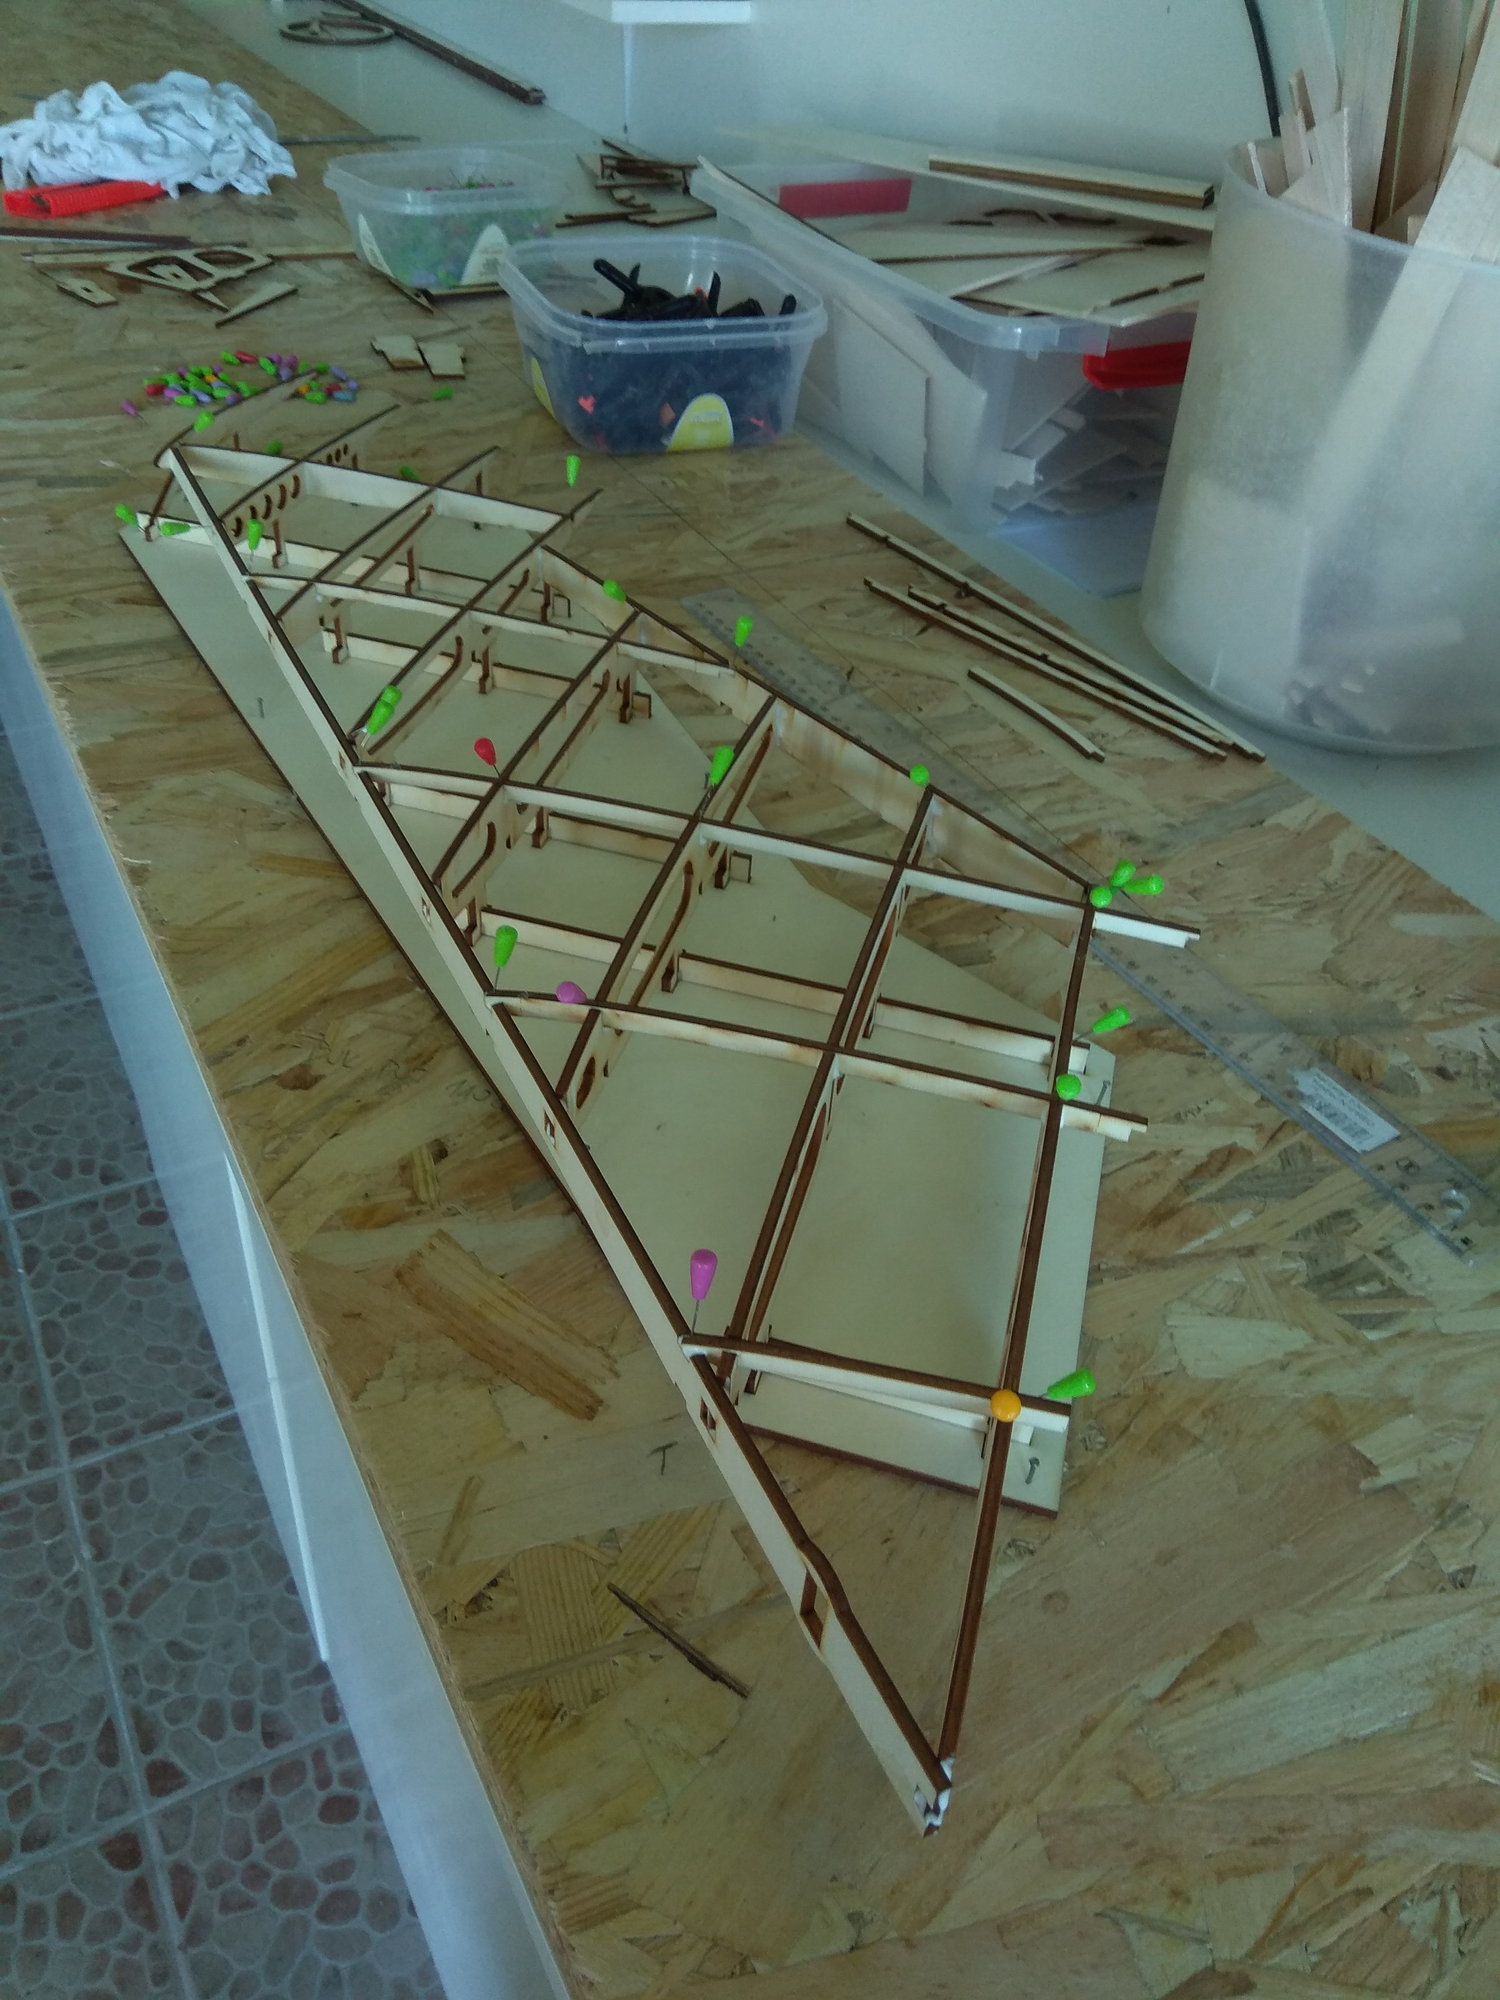
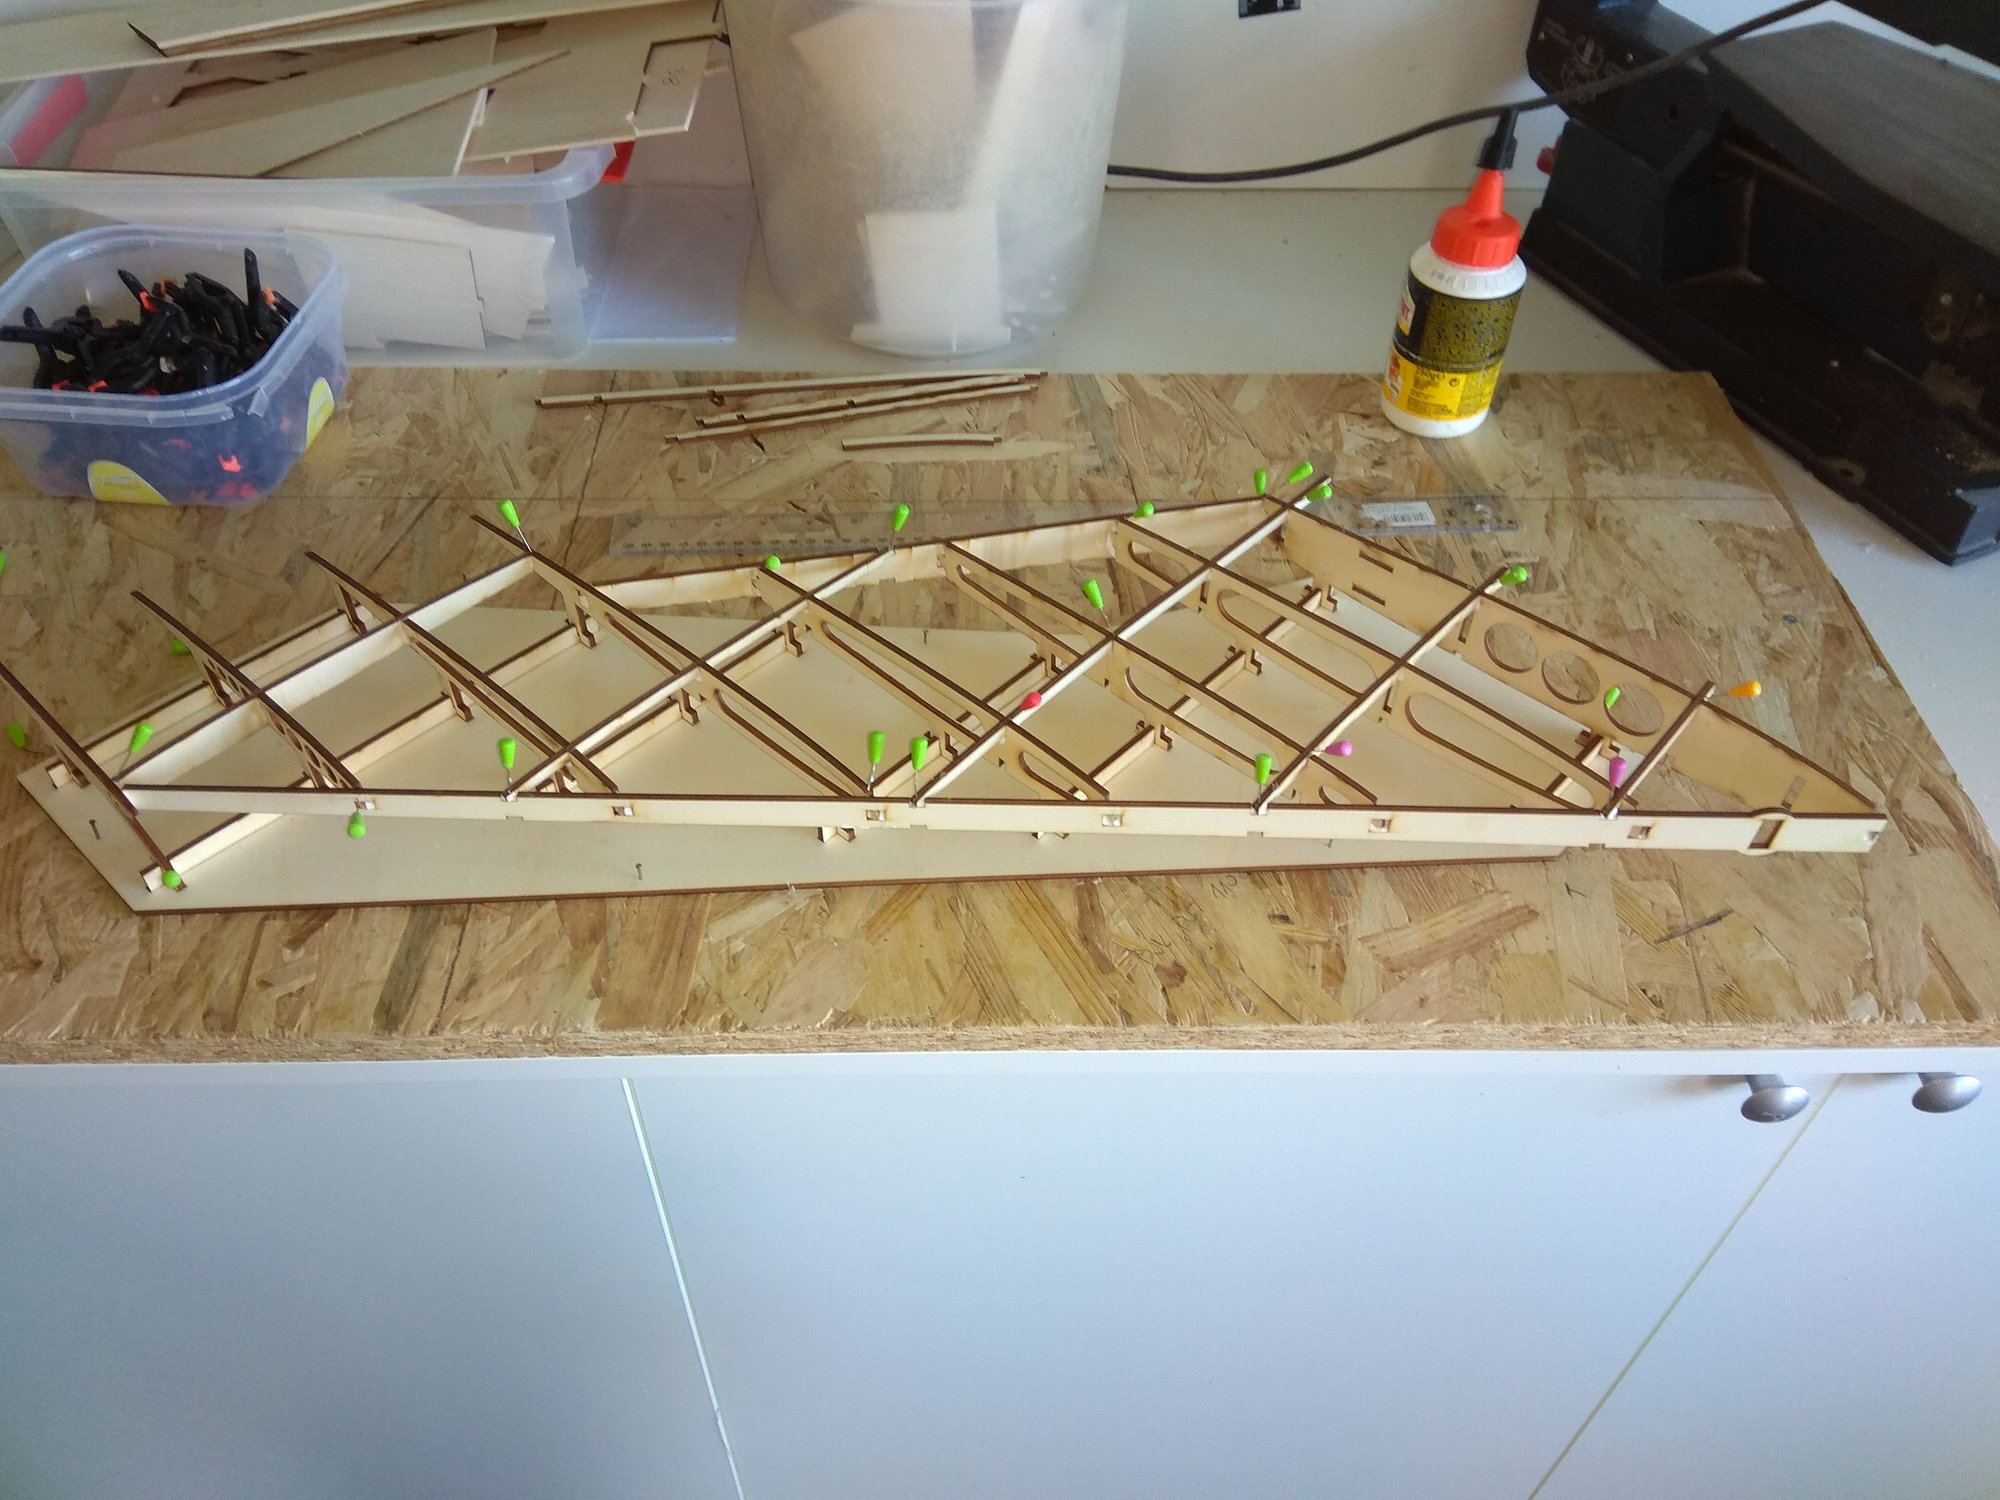
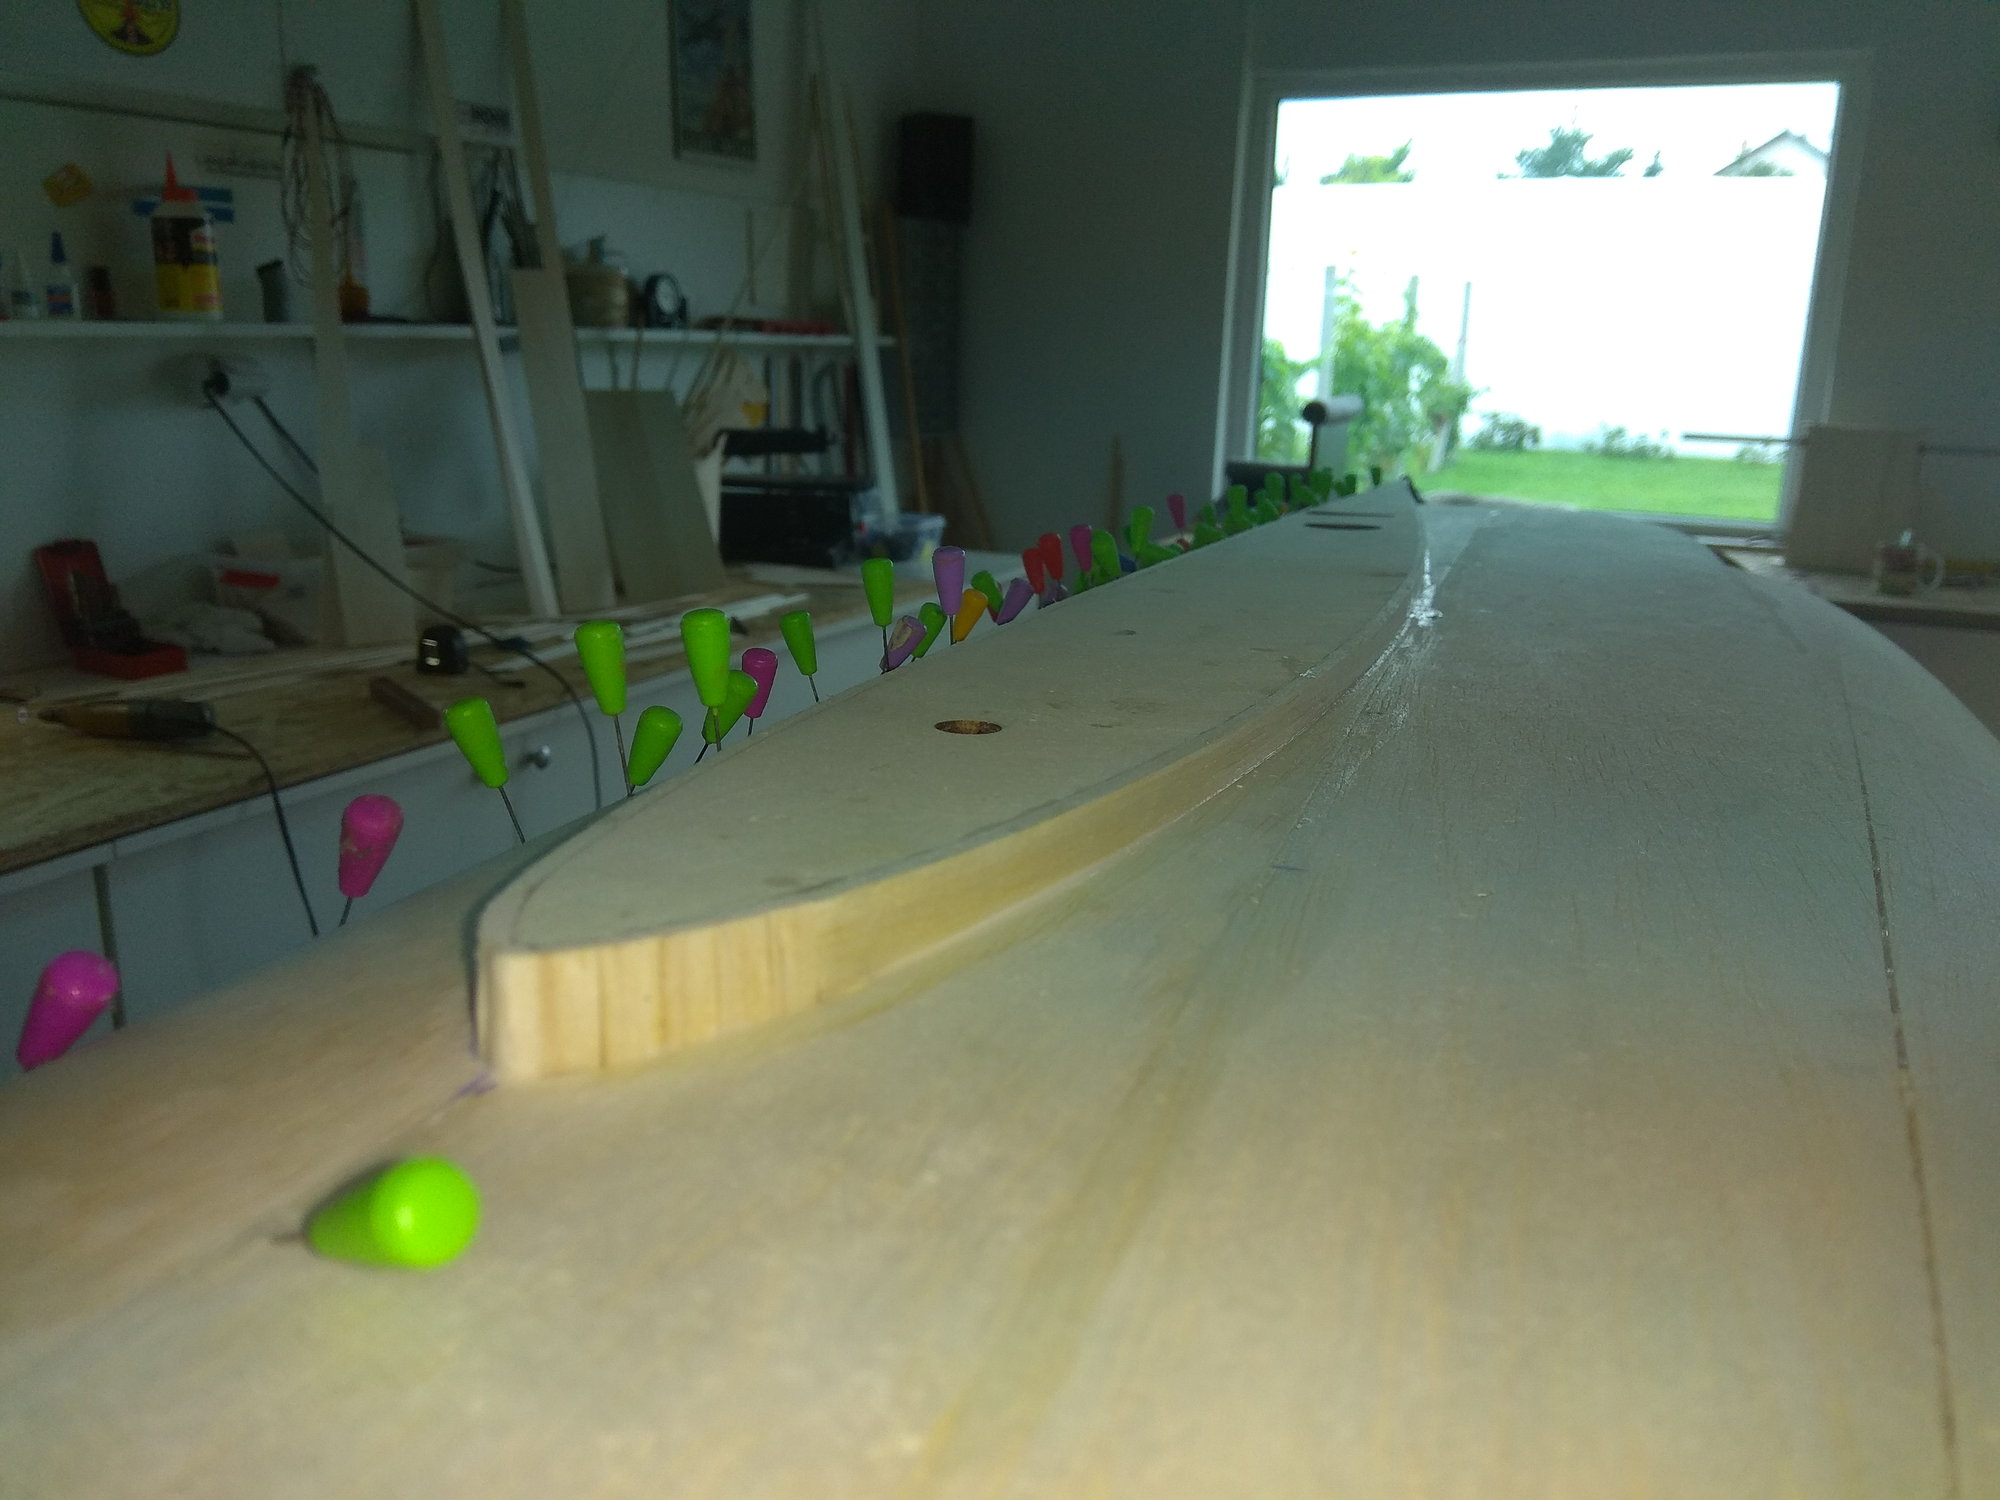
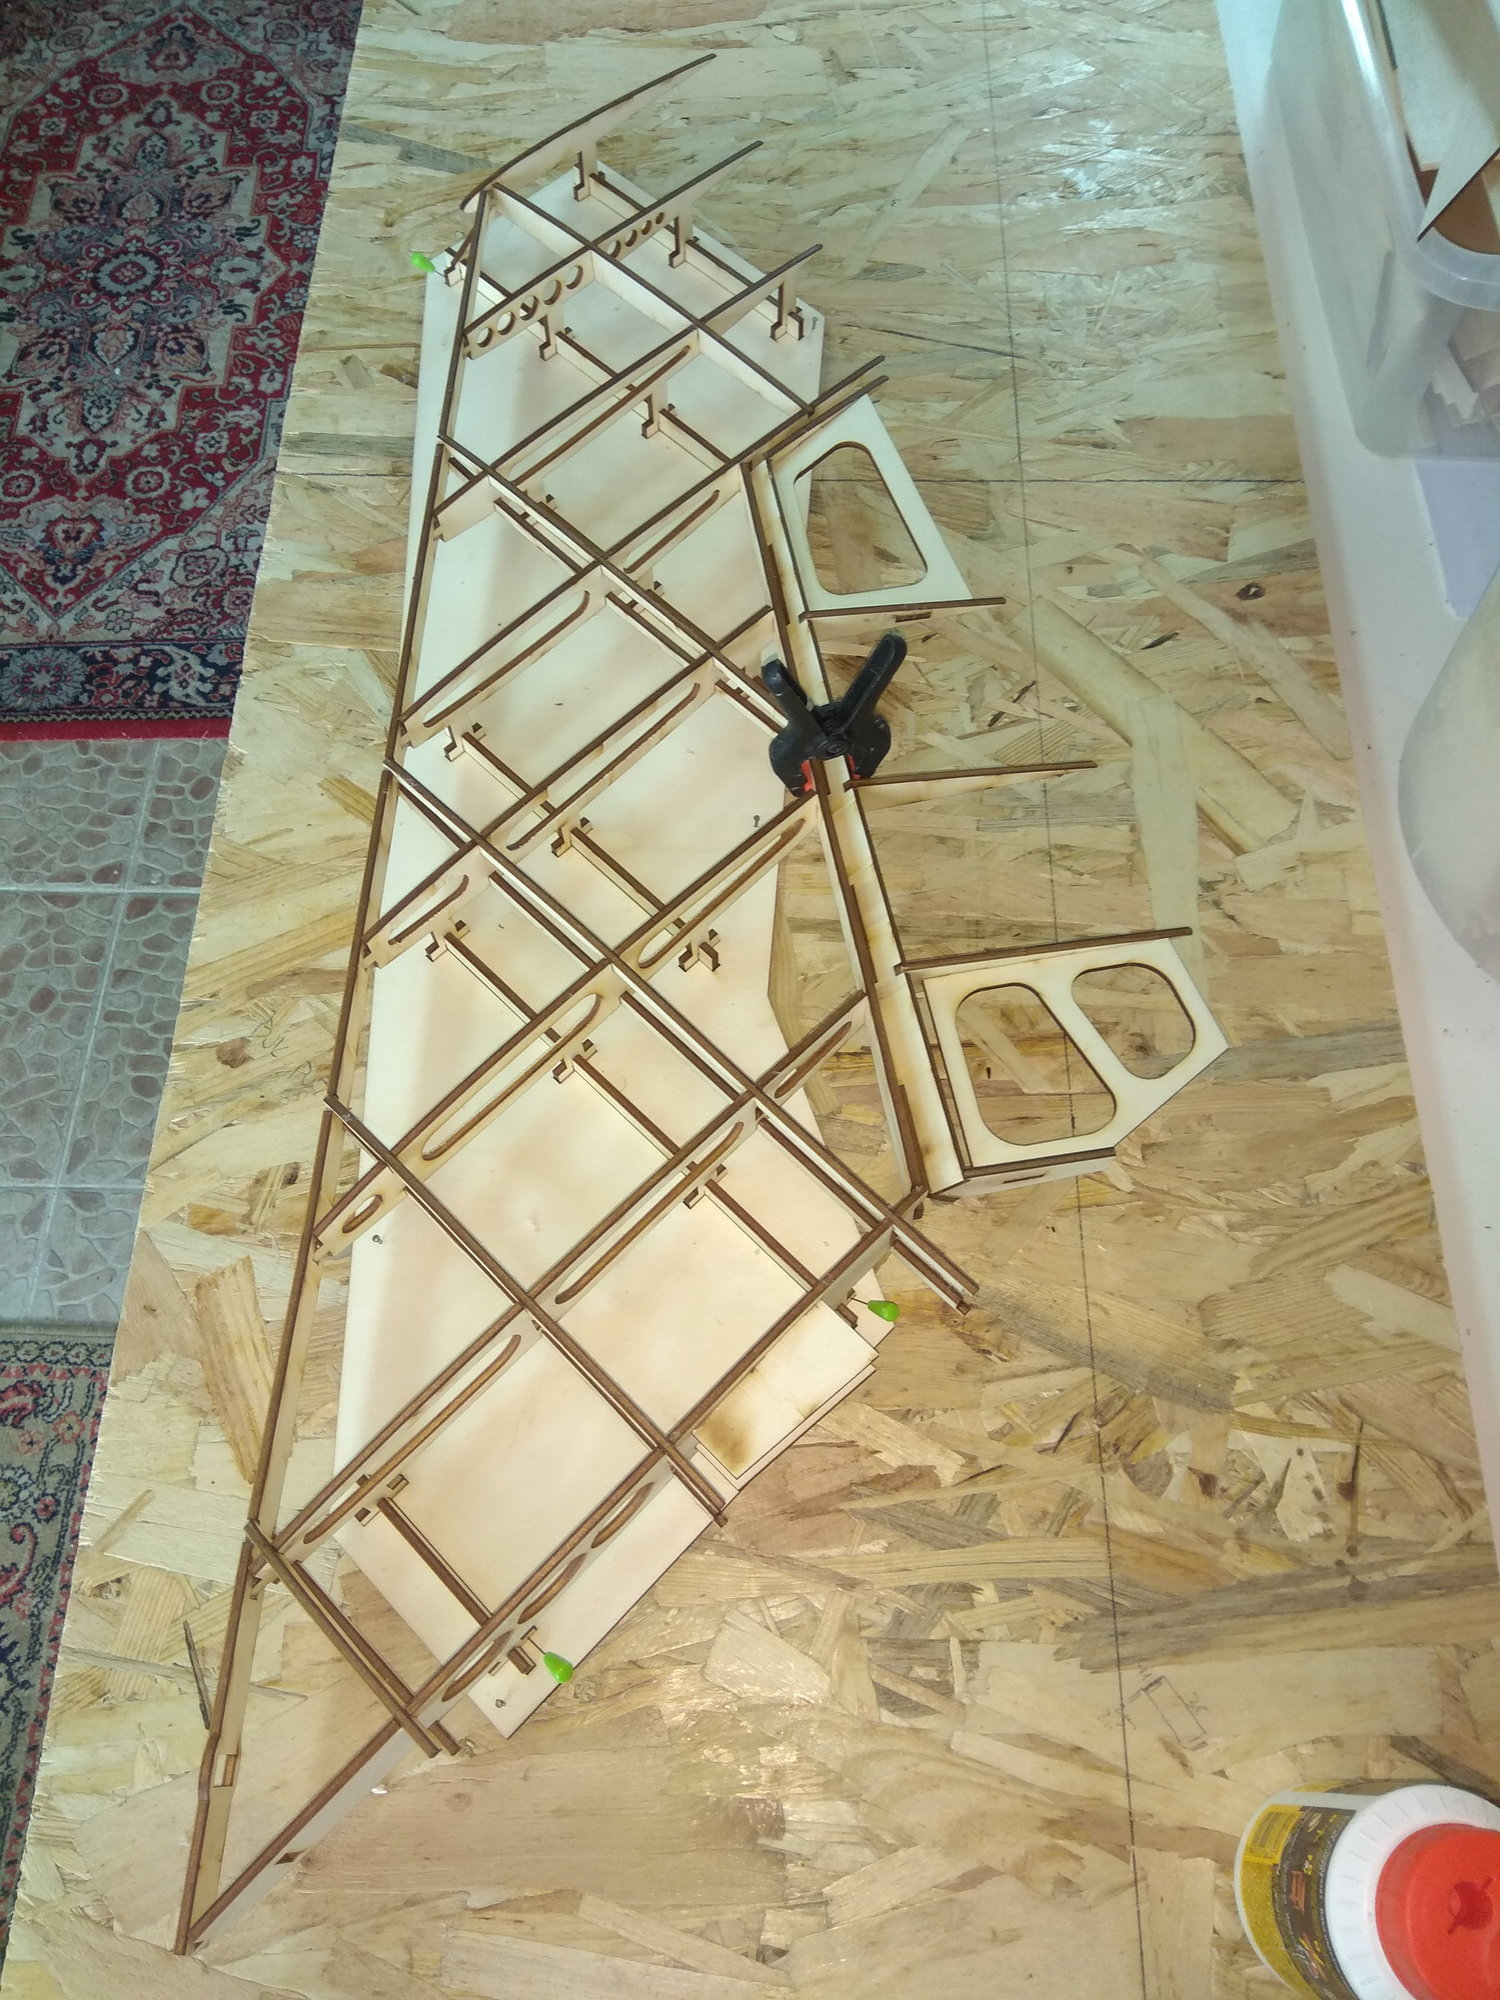
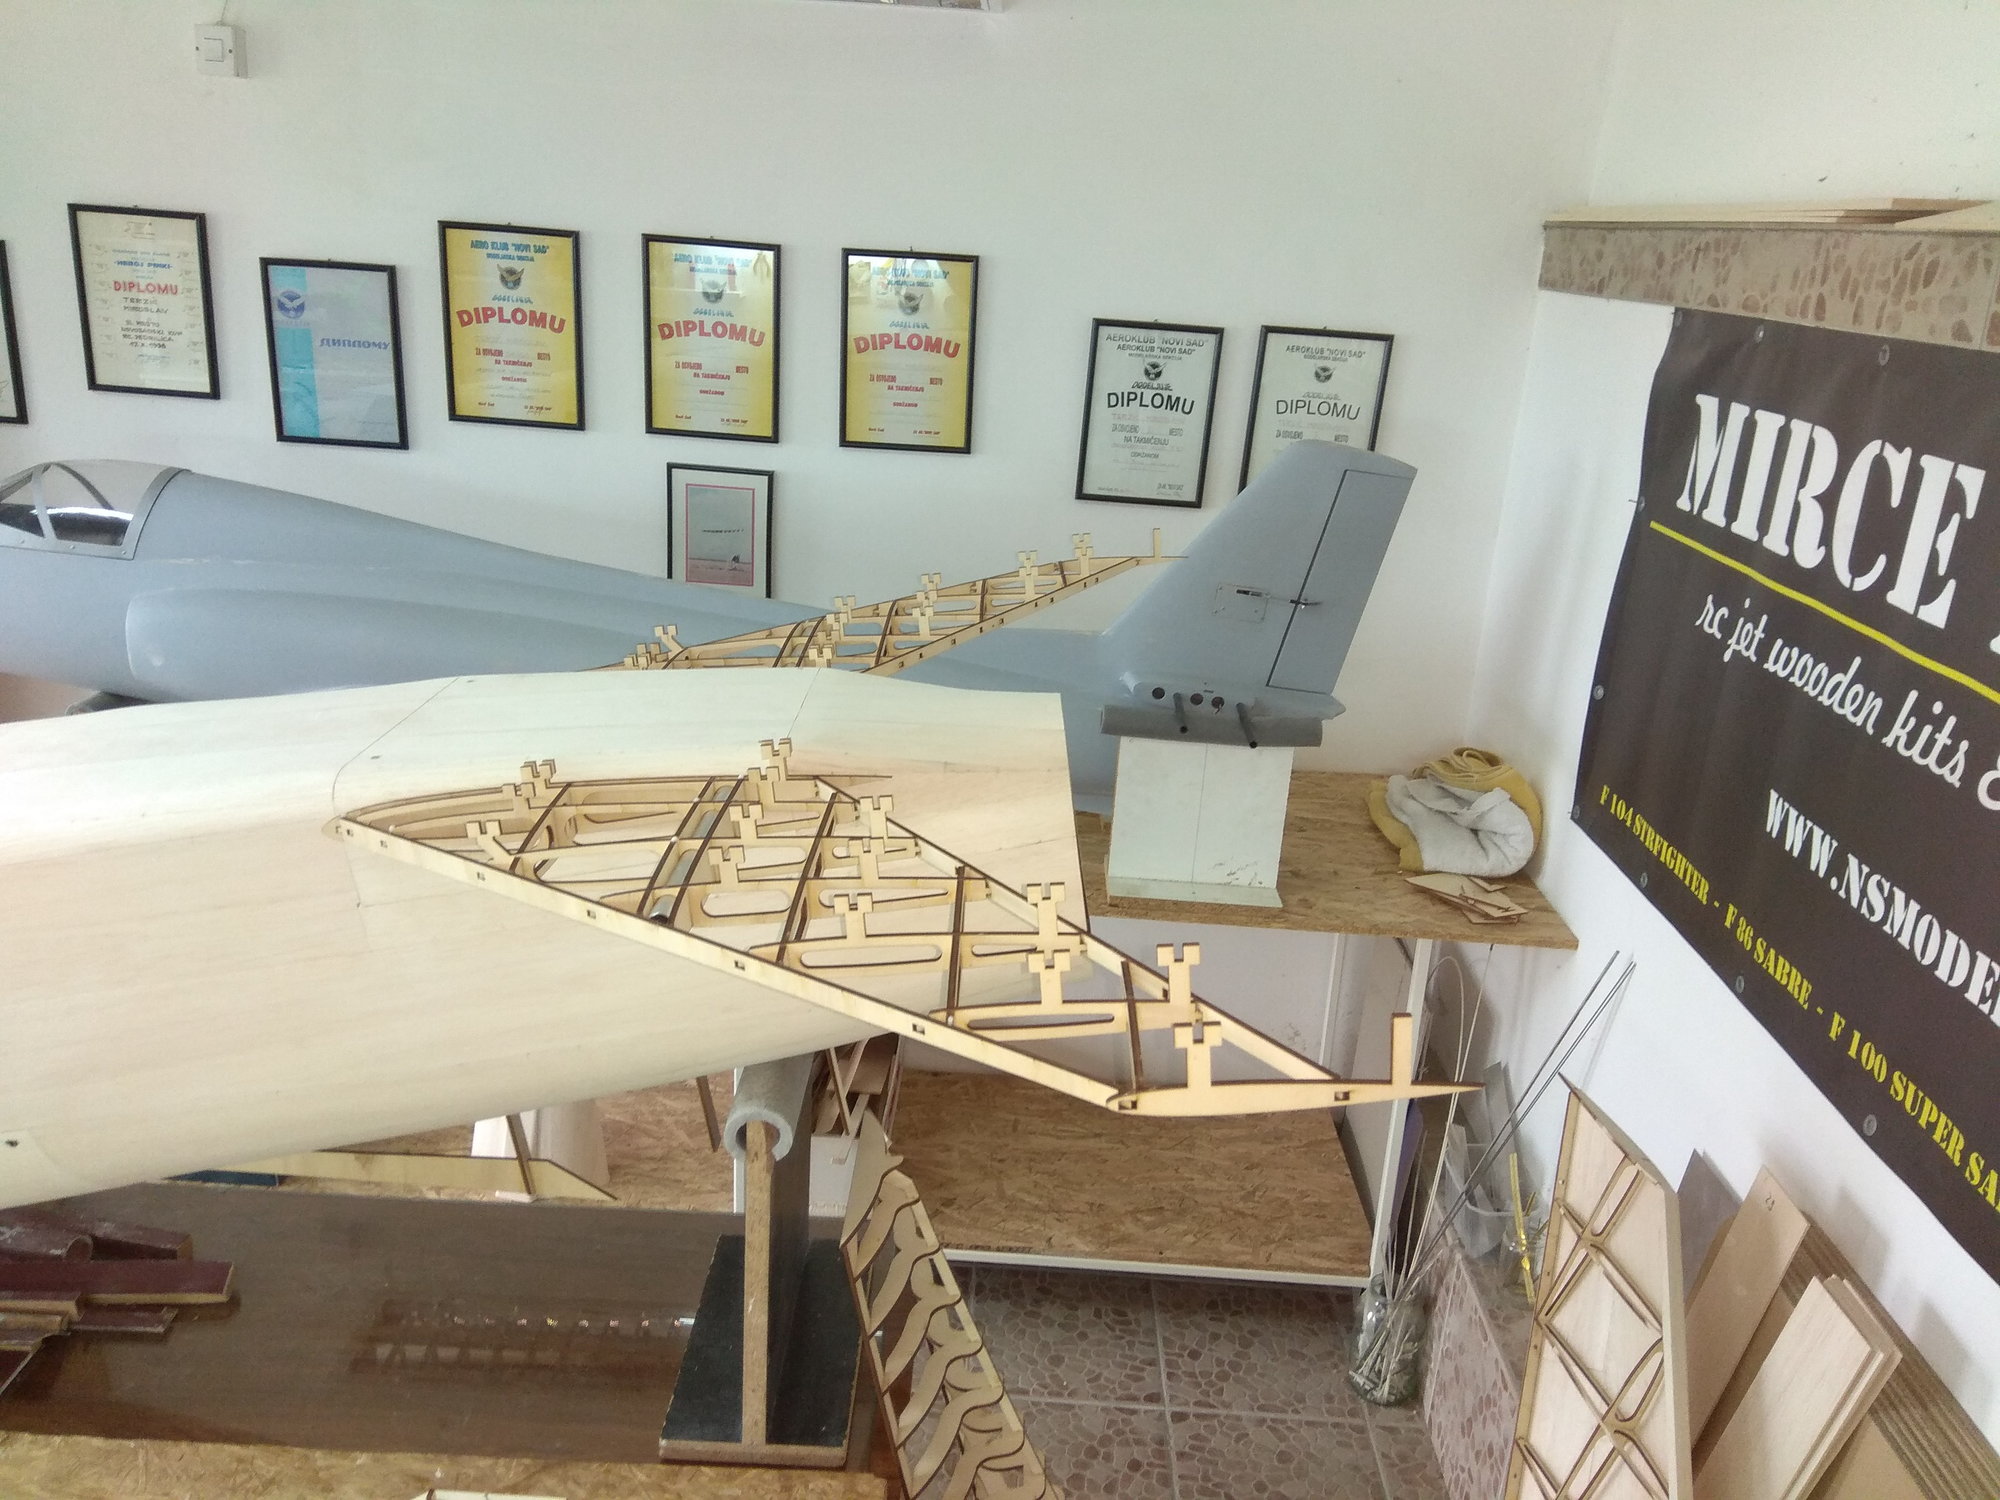
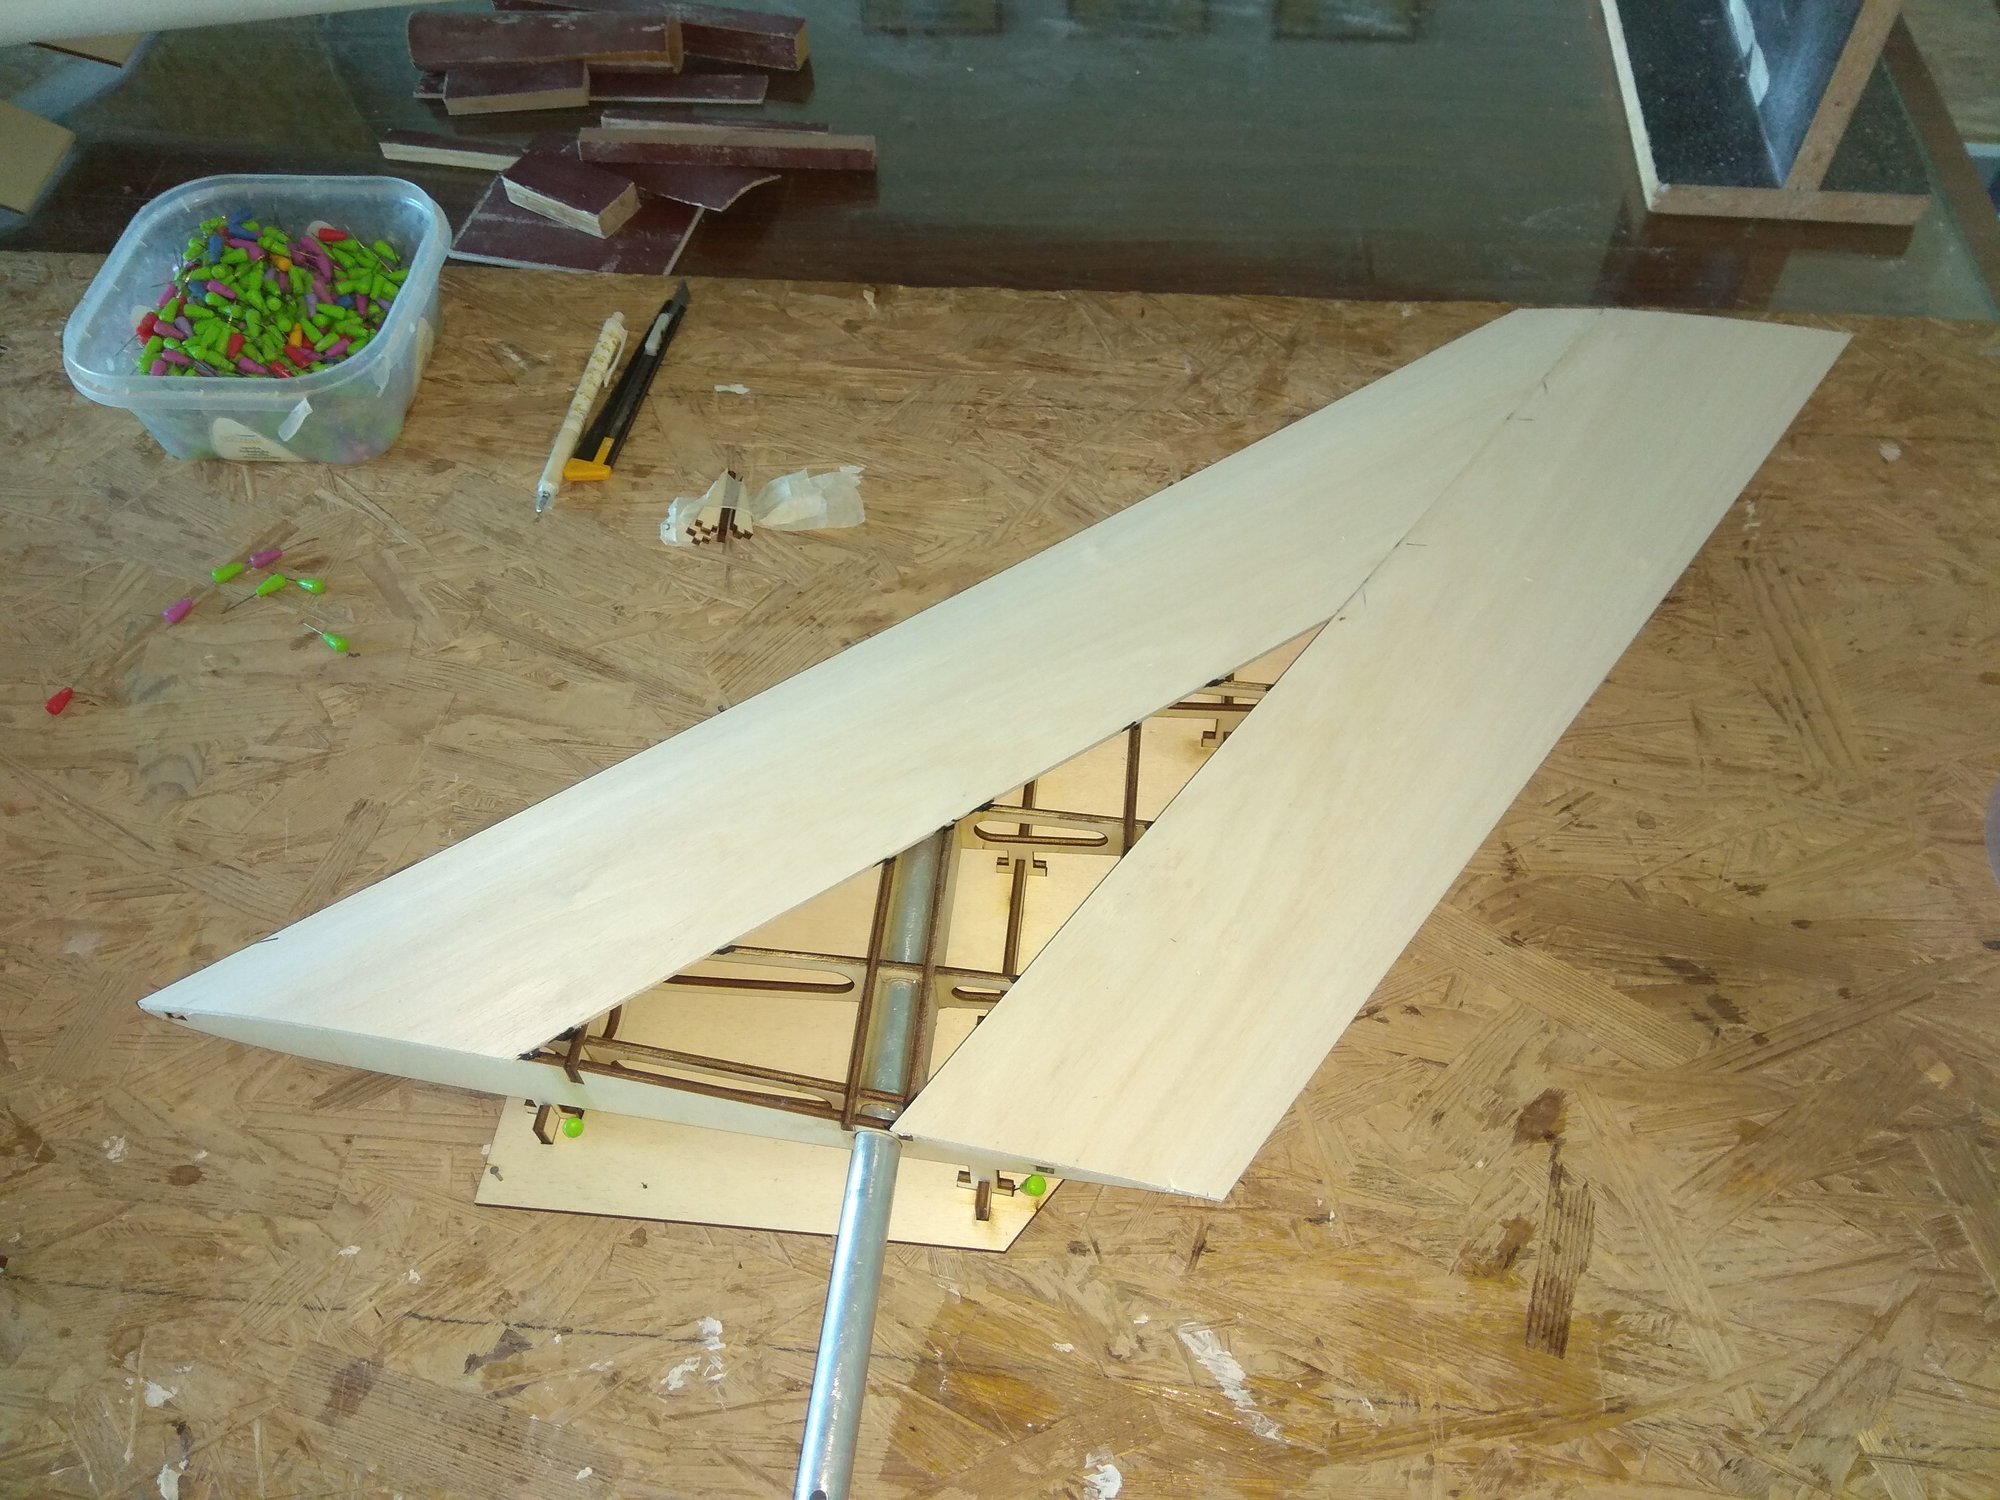
F 100 wings ( continuation )...
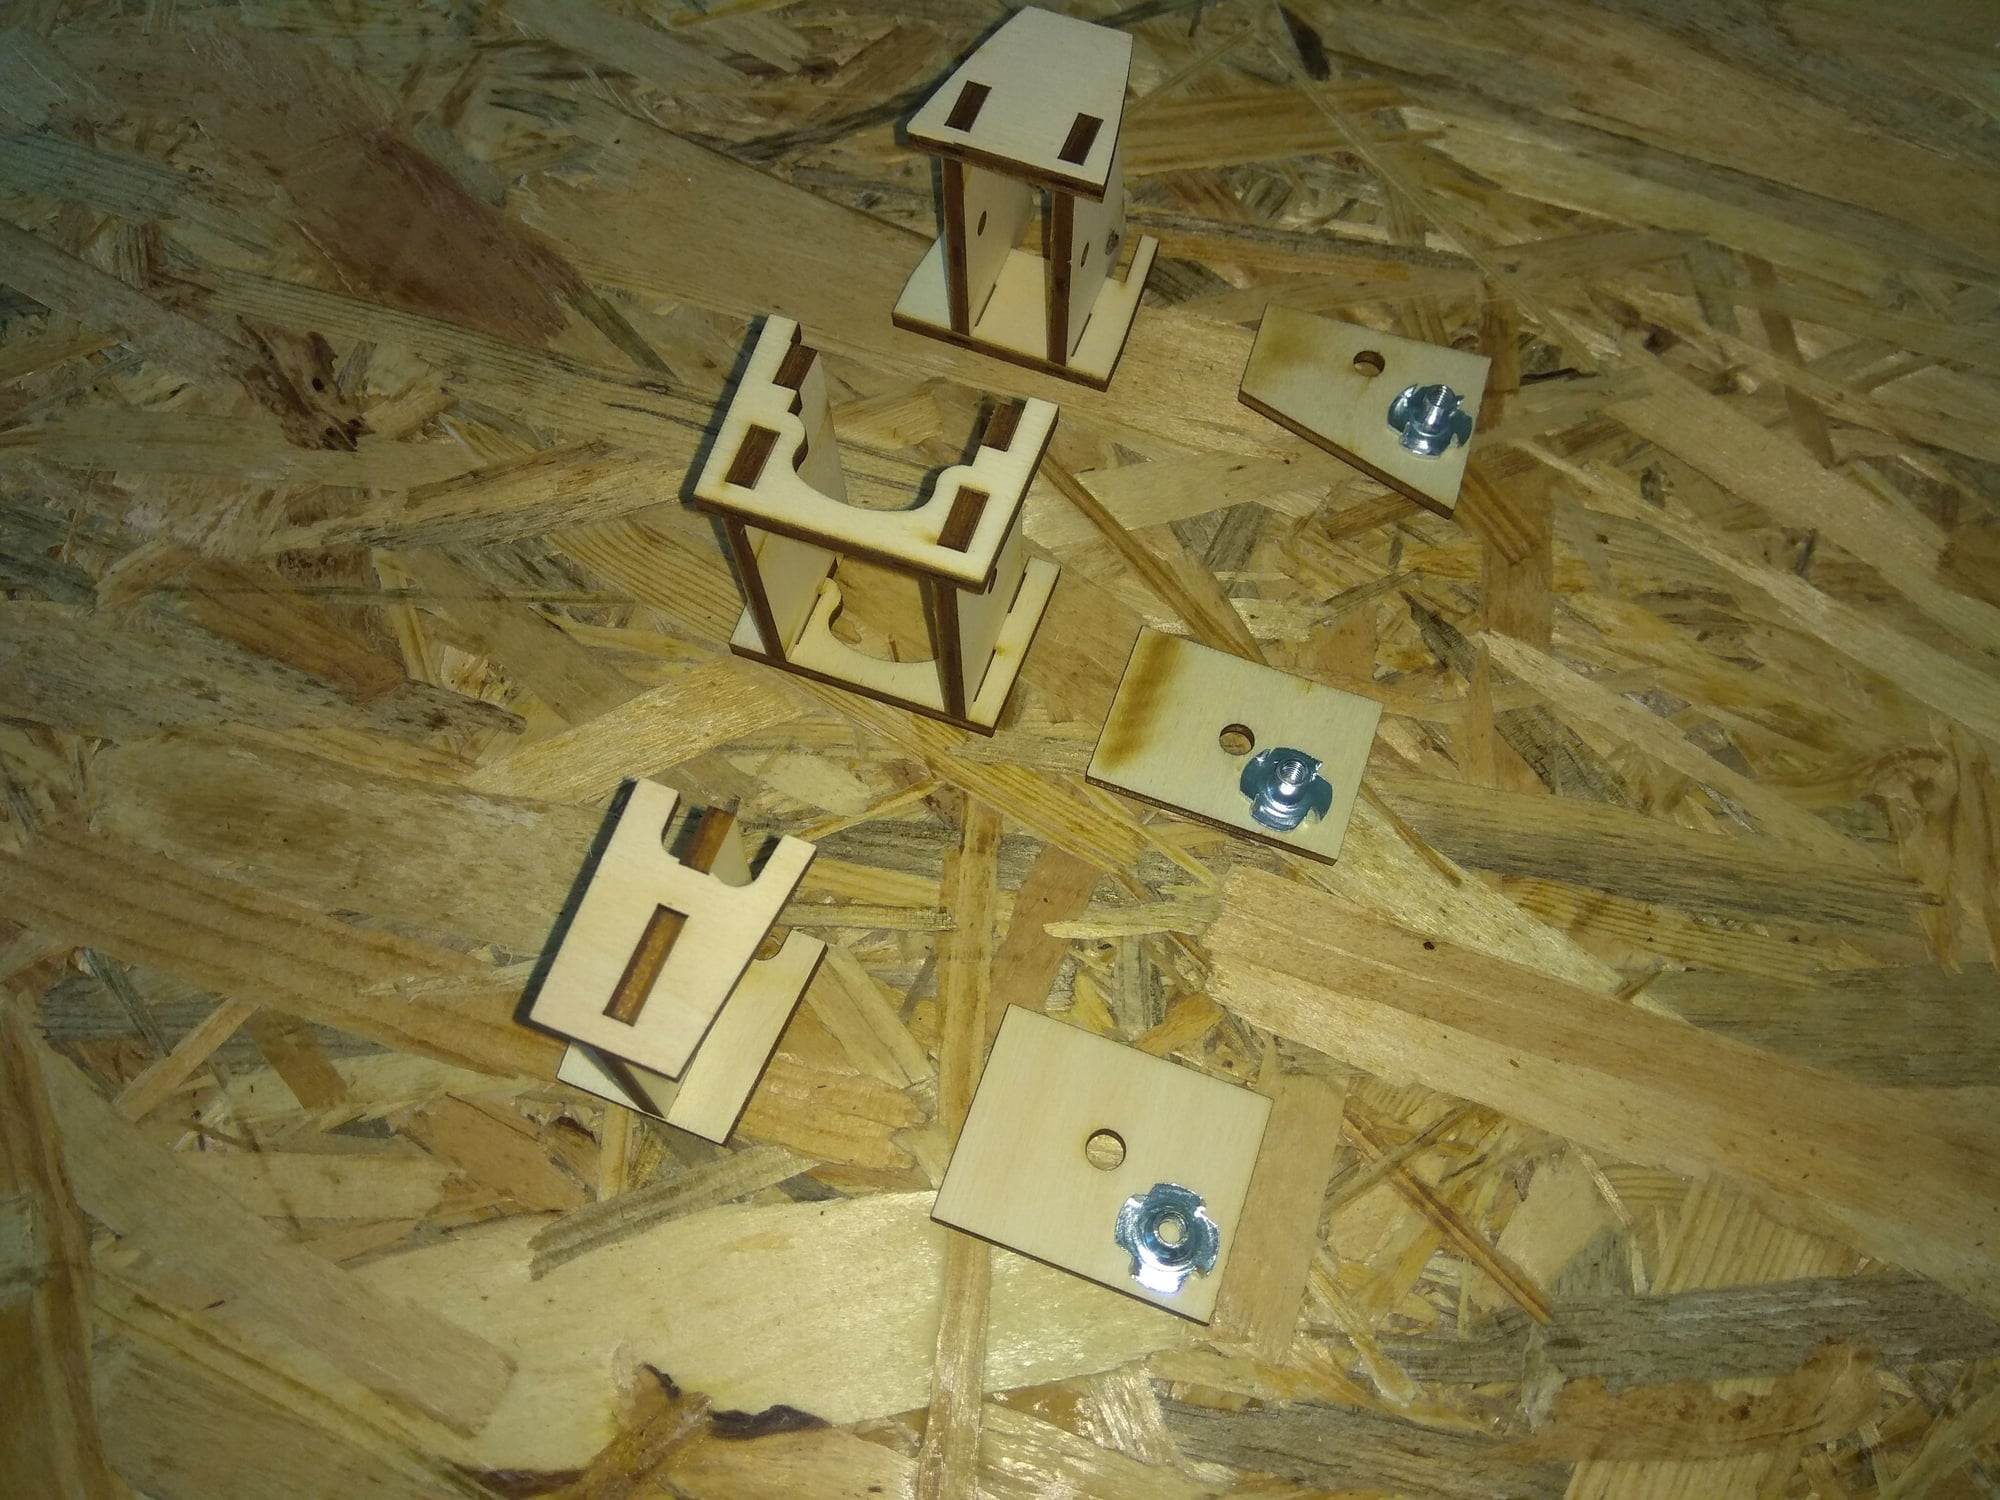
On bottom side first I add servo holders.
Servo carrier & cover - NS Modelers
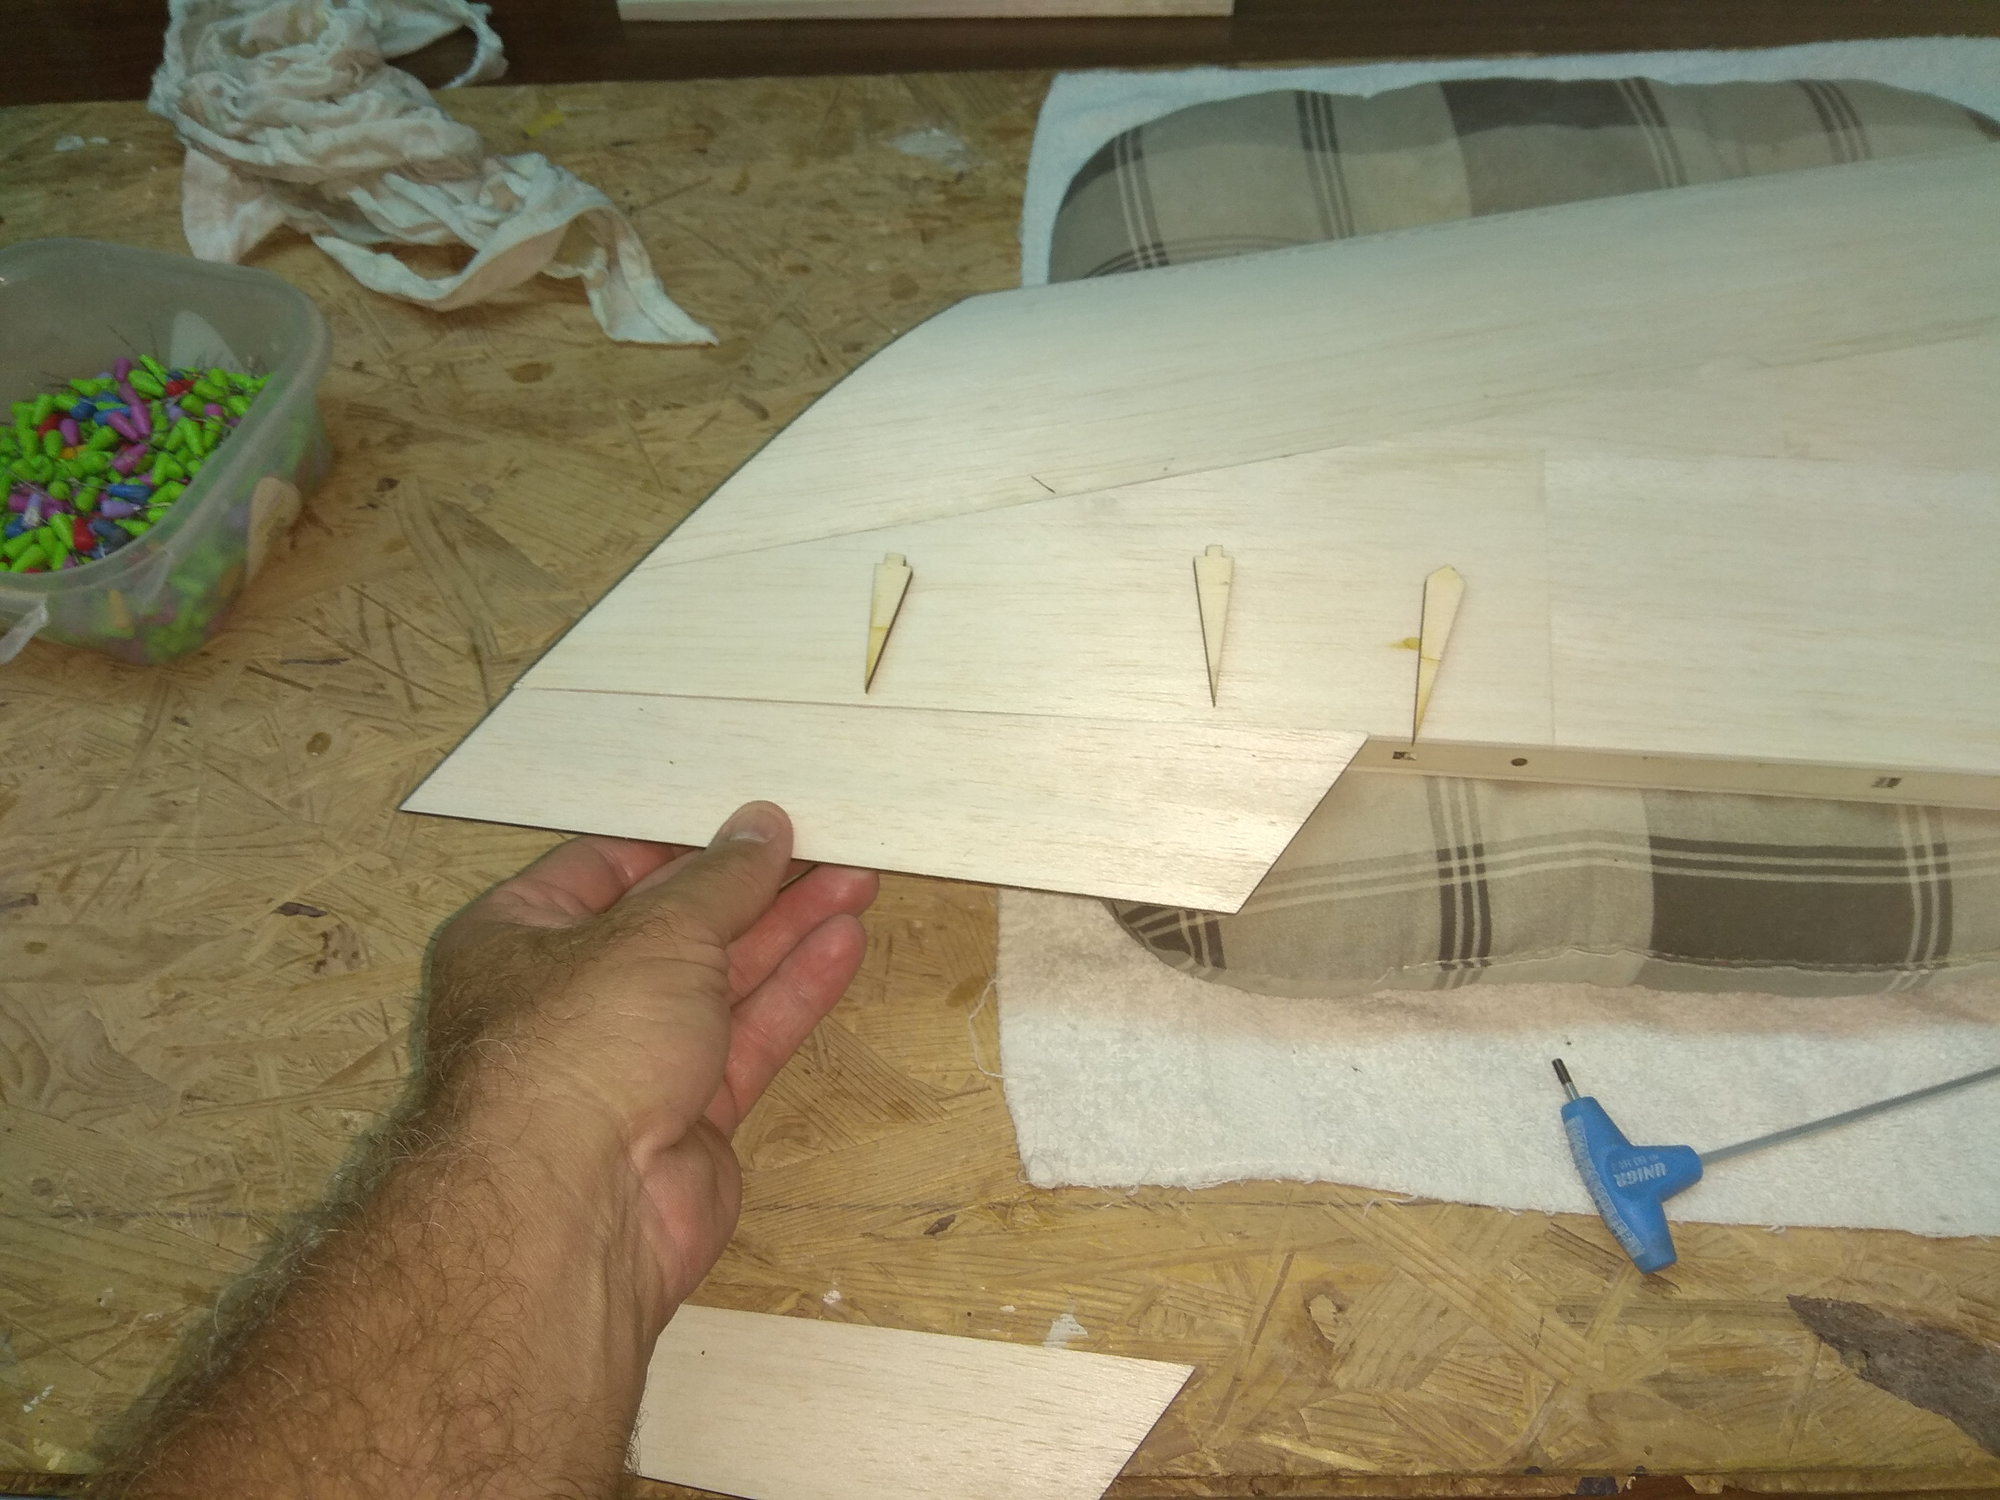
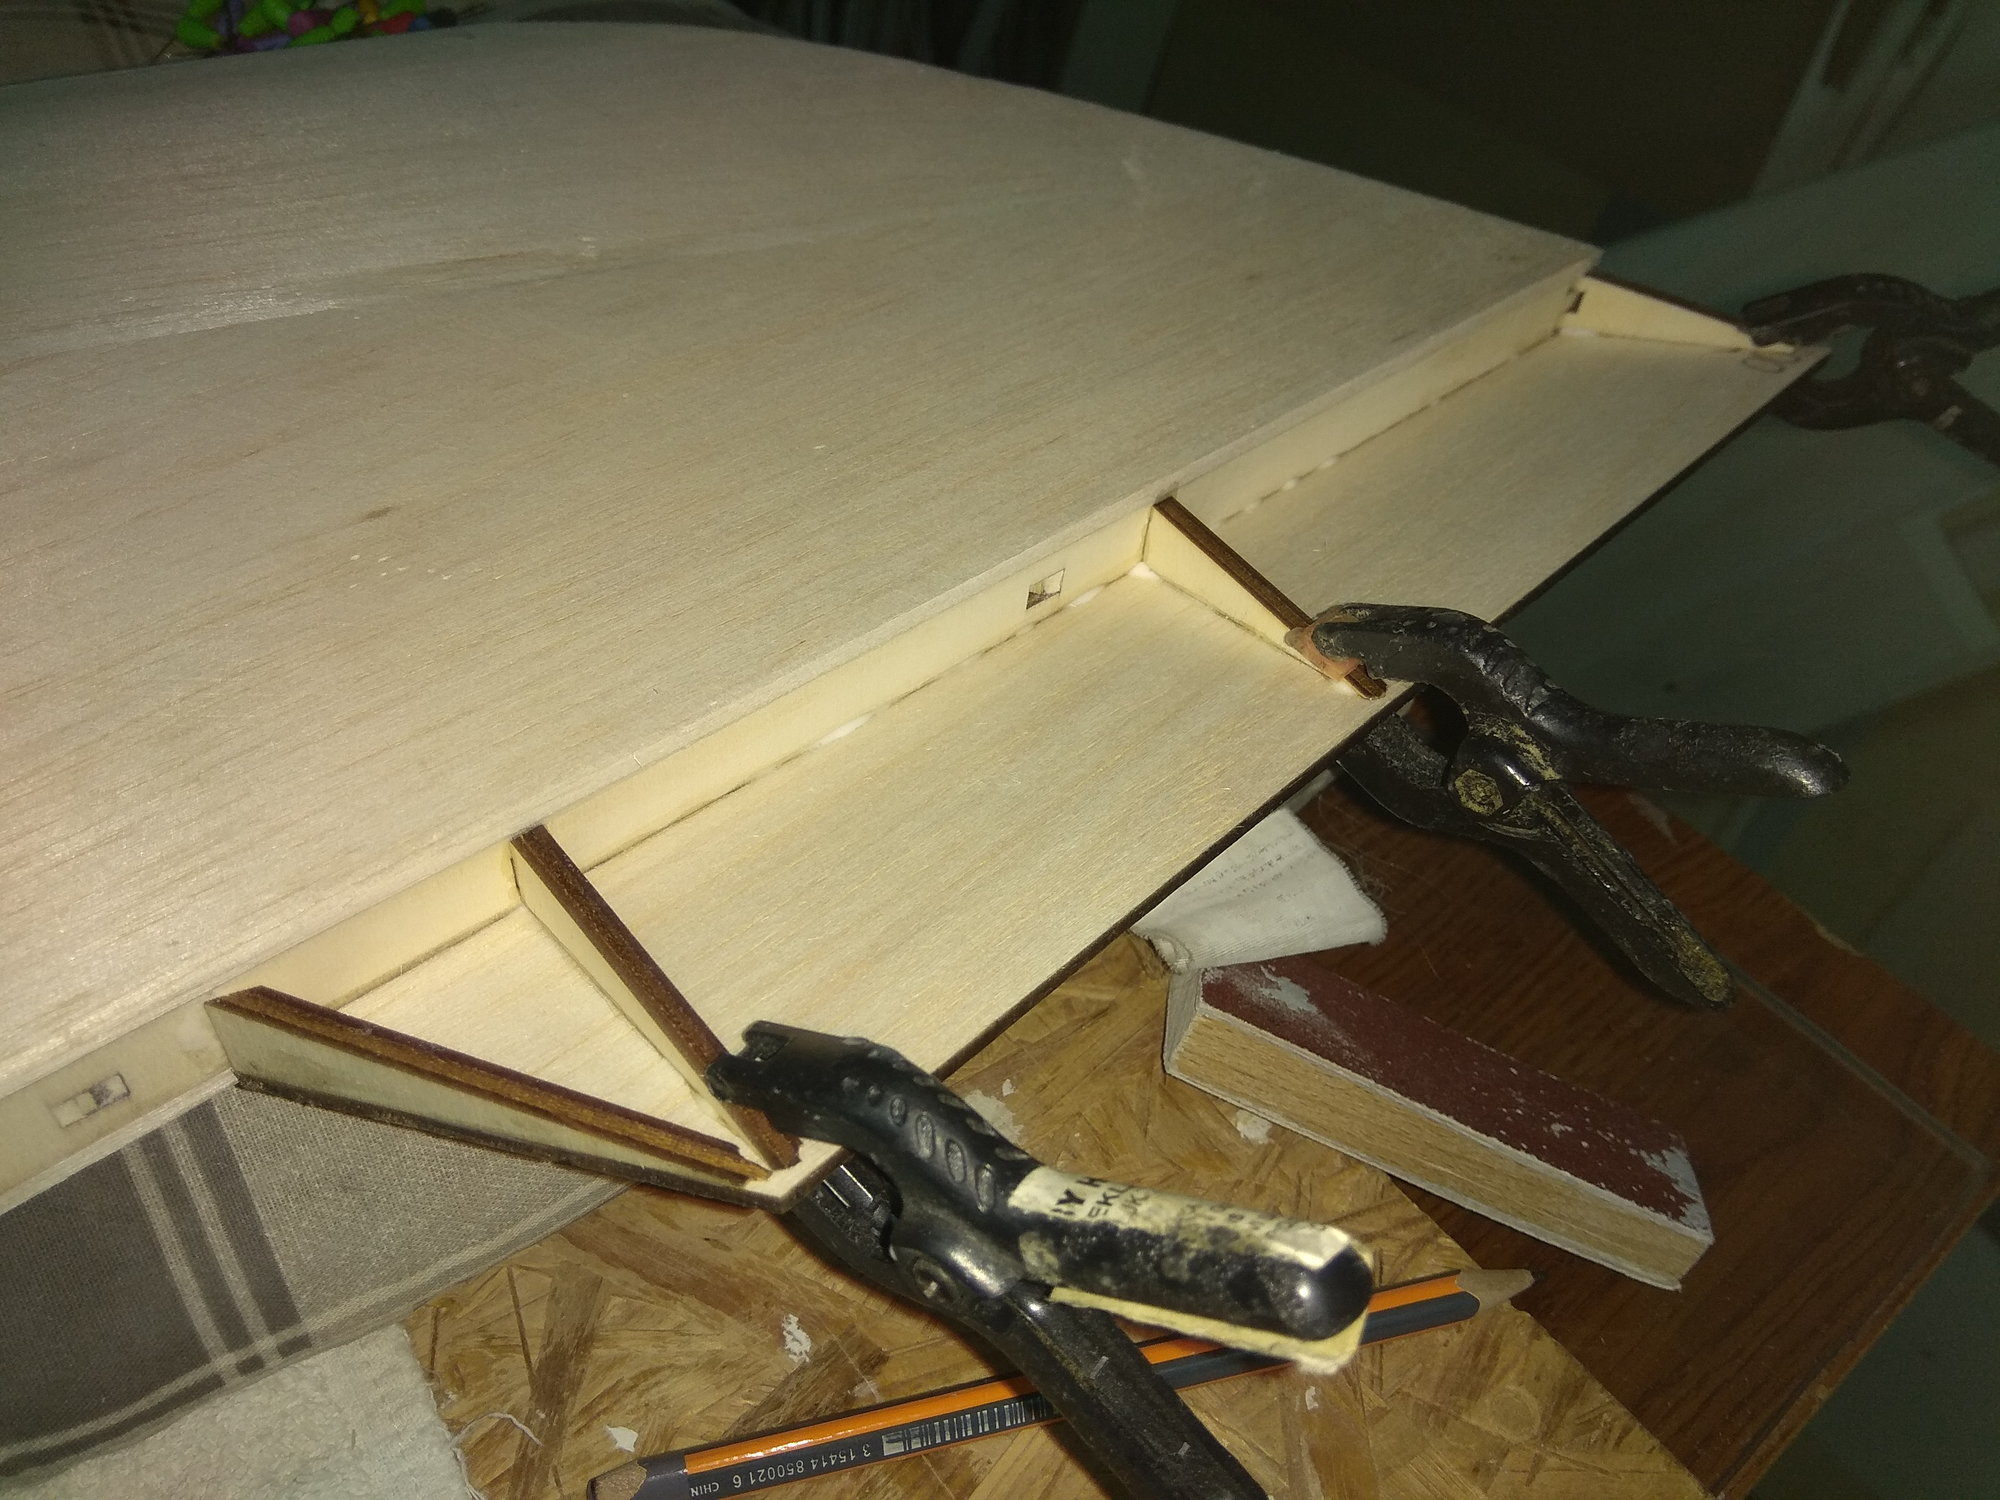
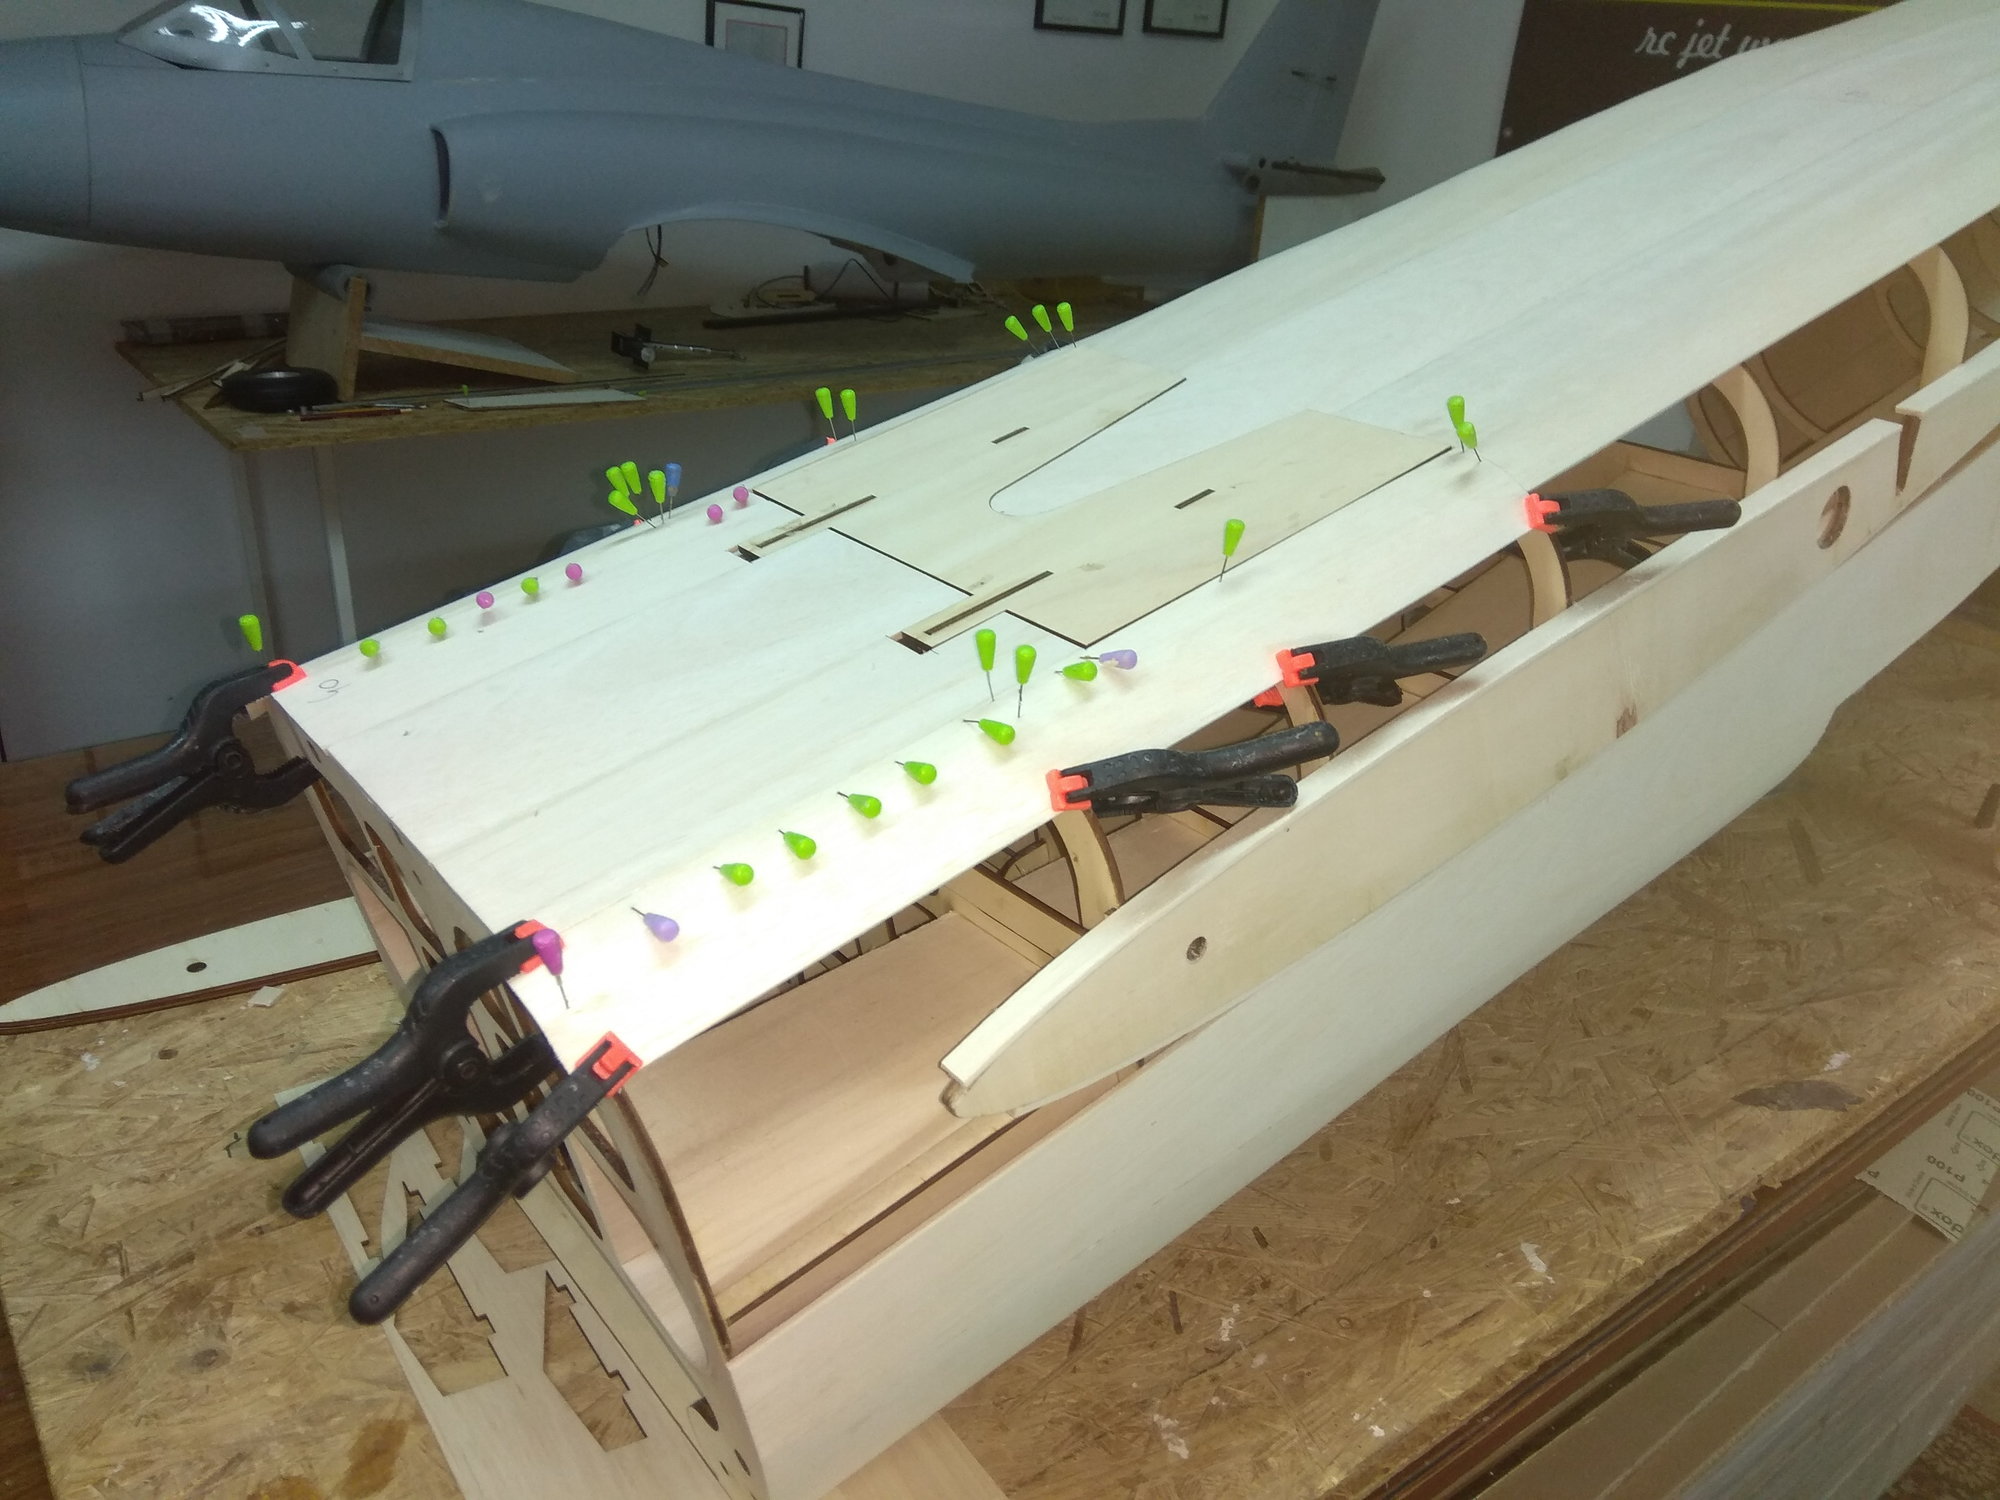
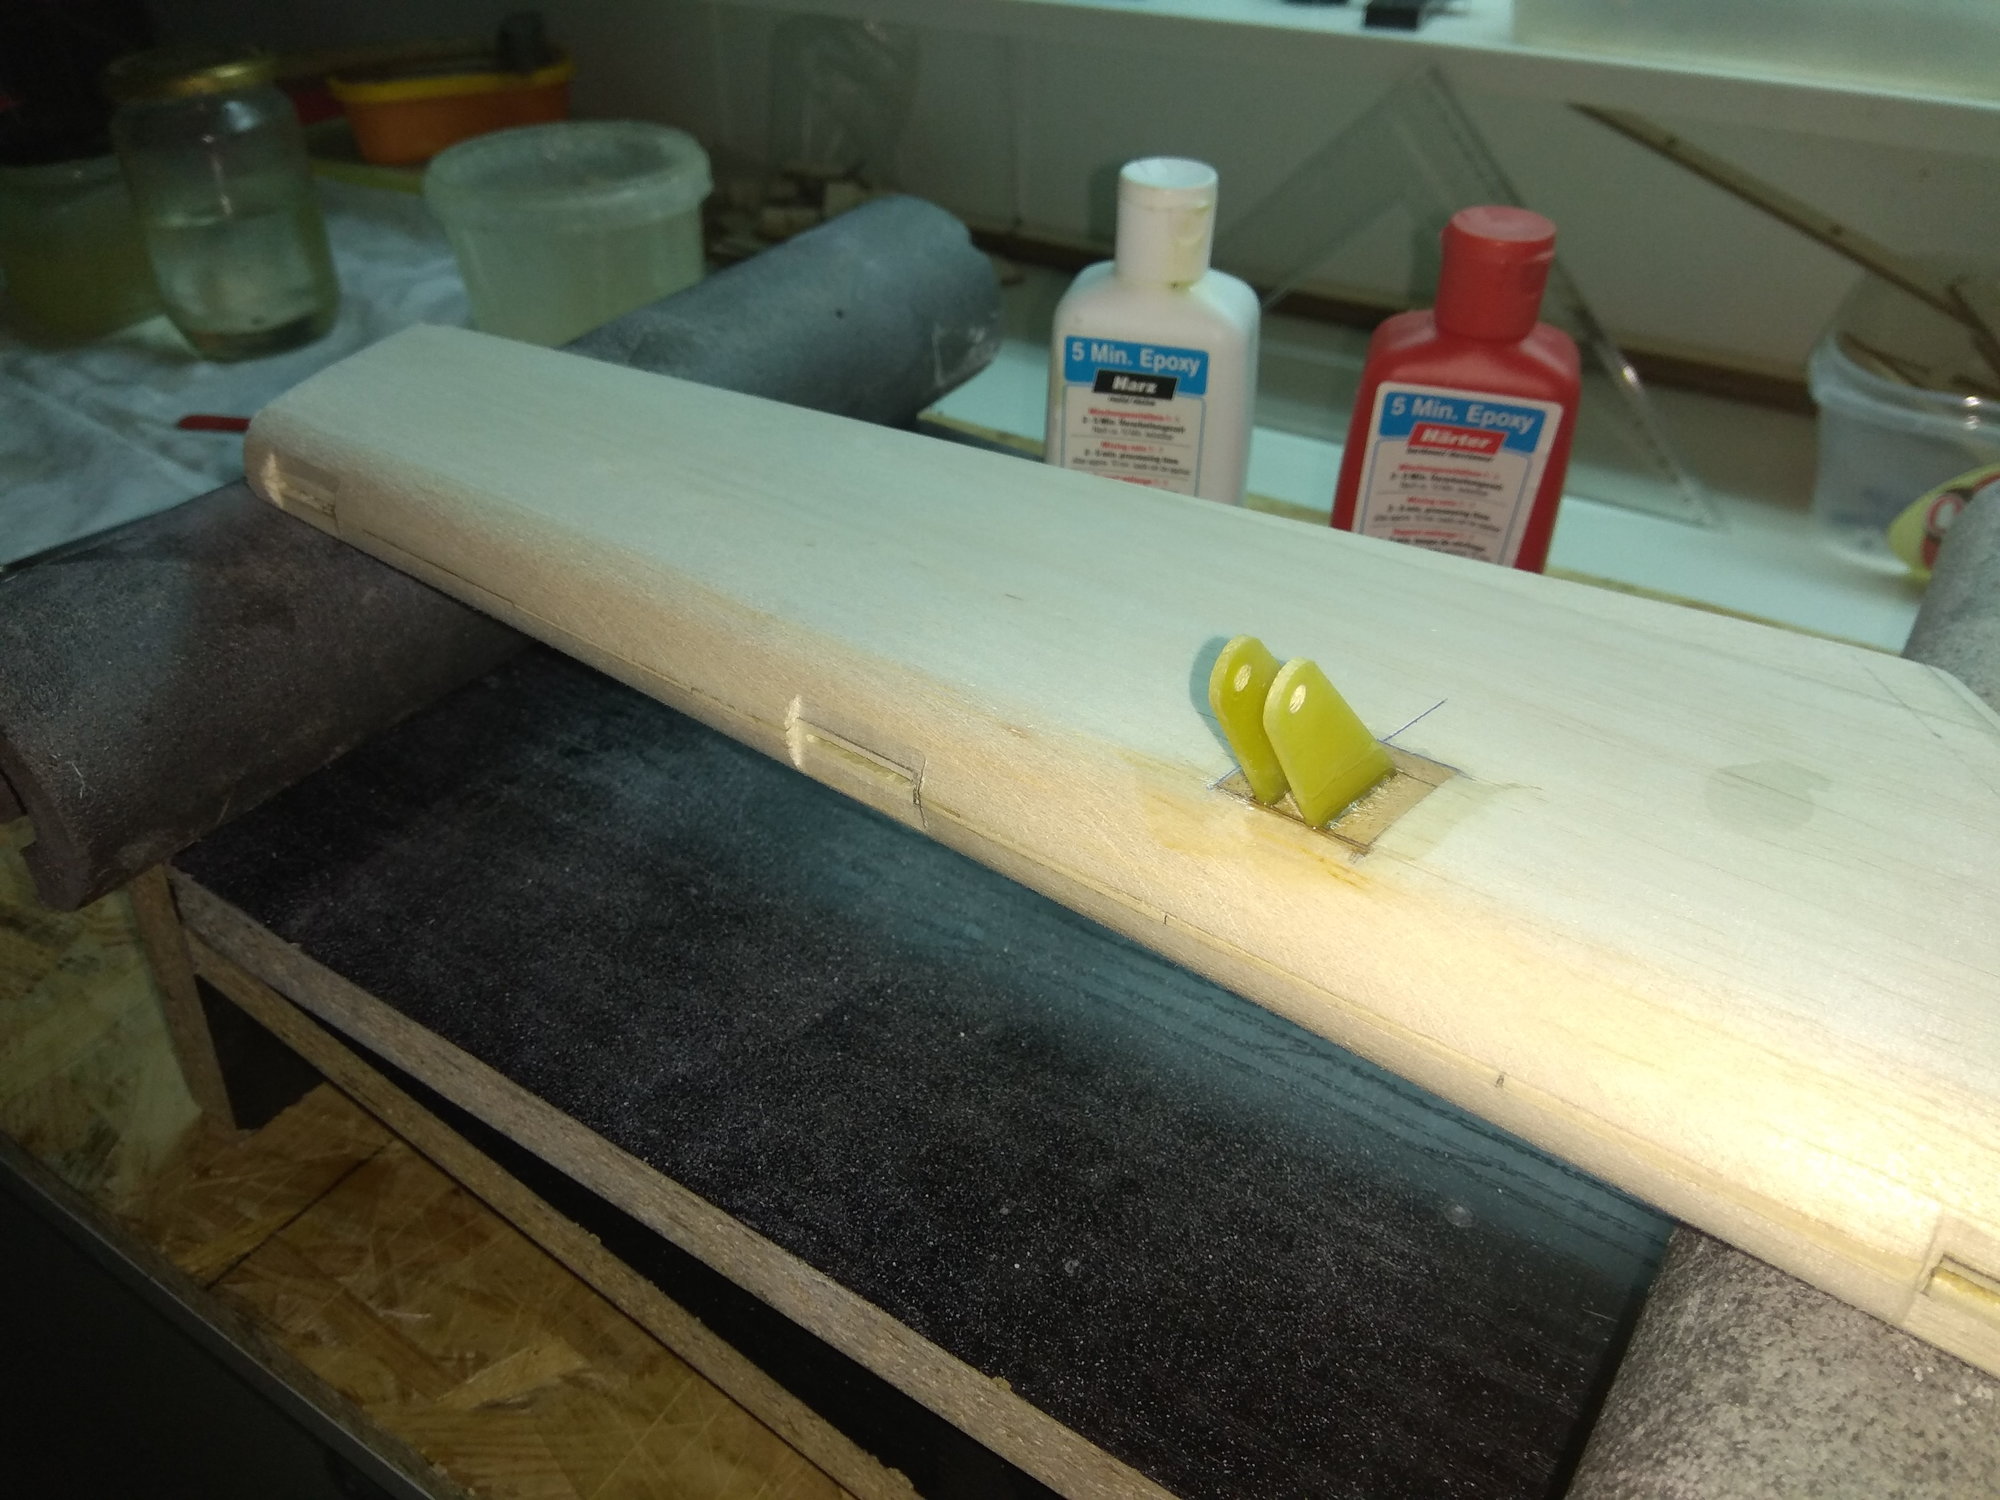
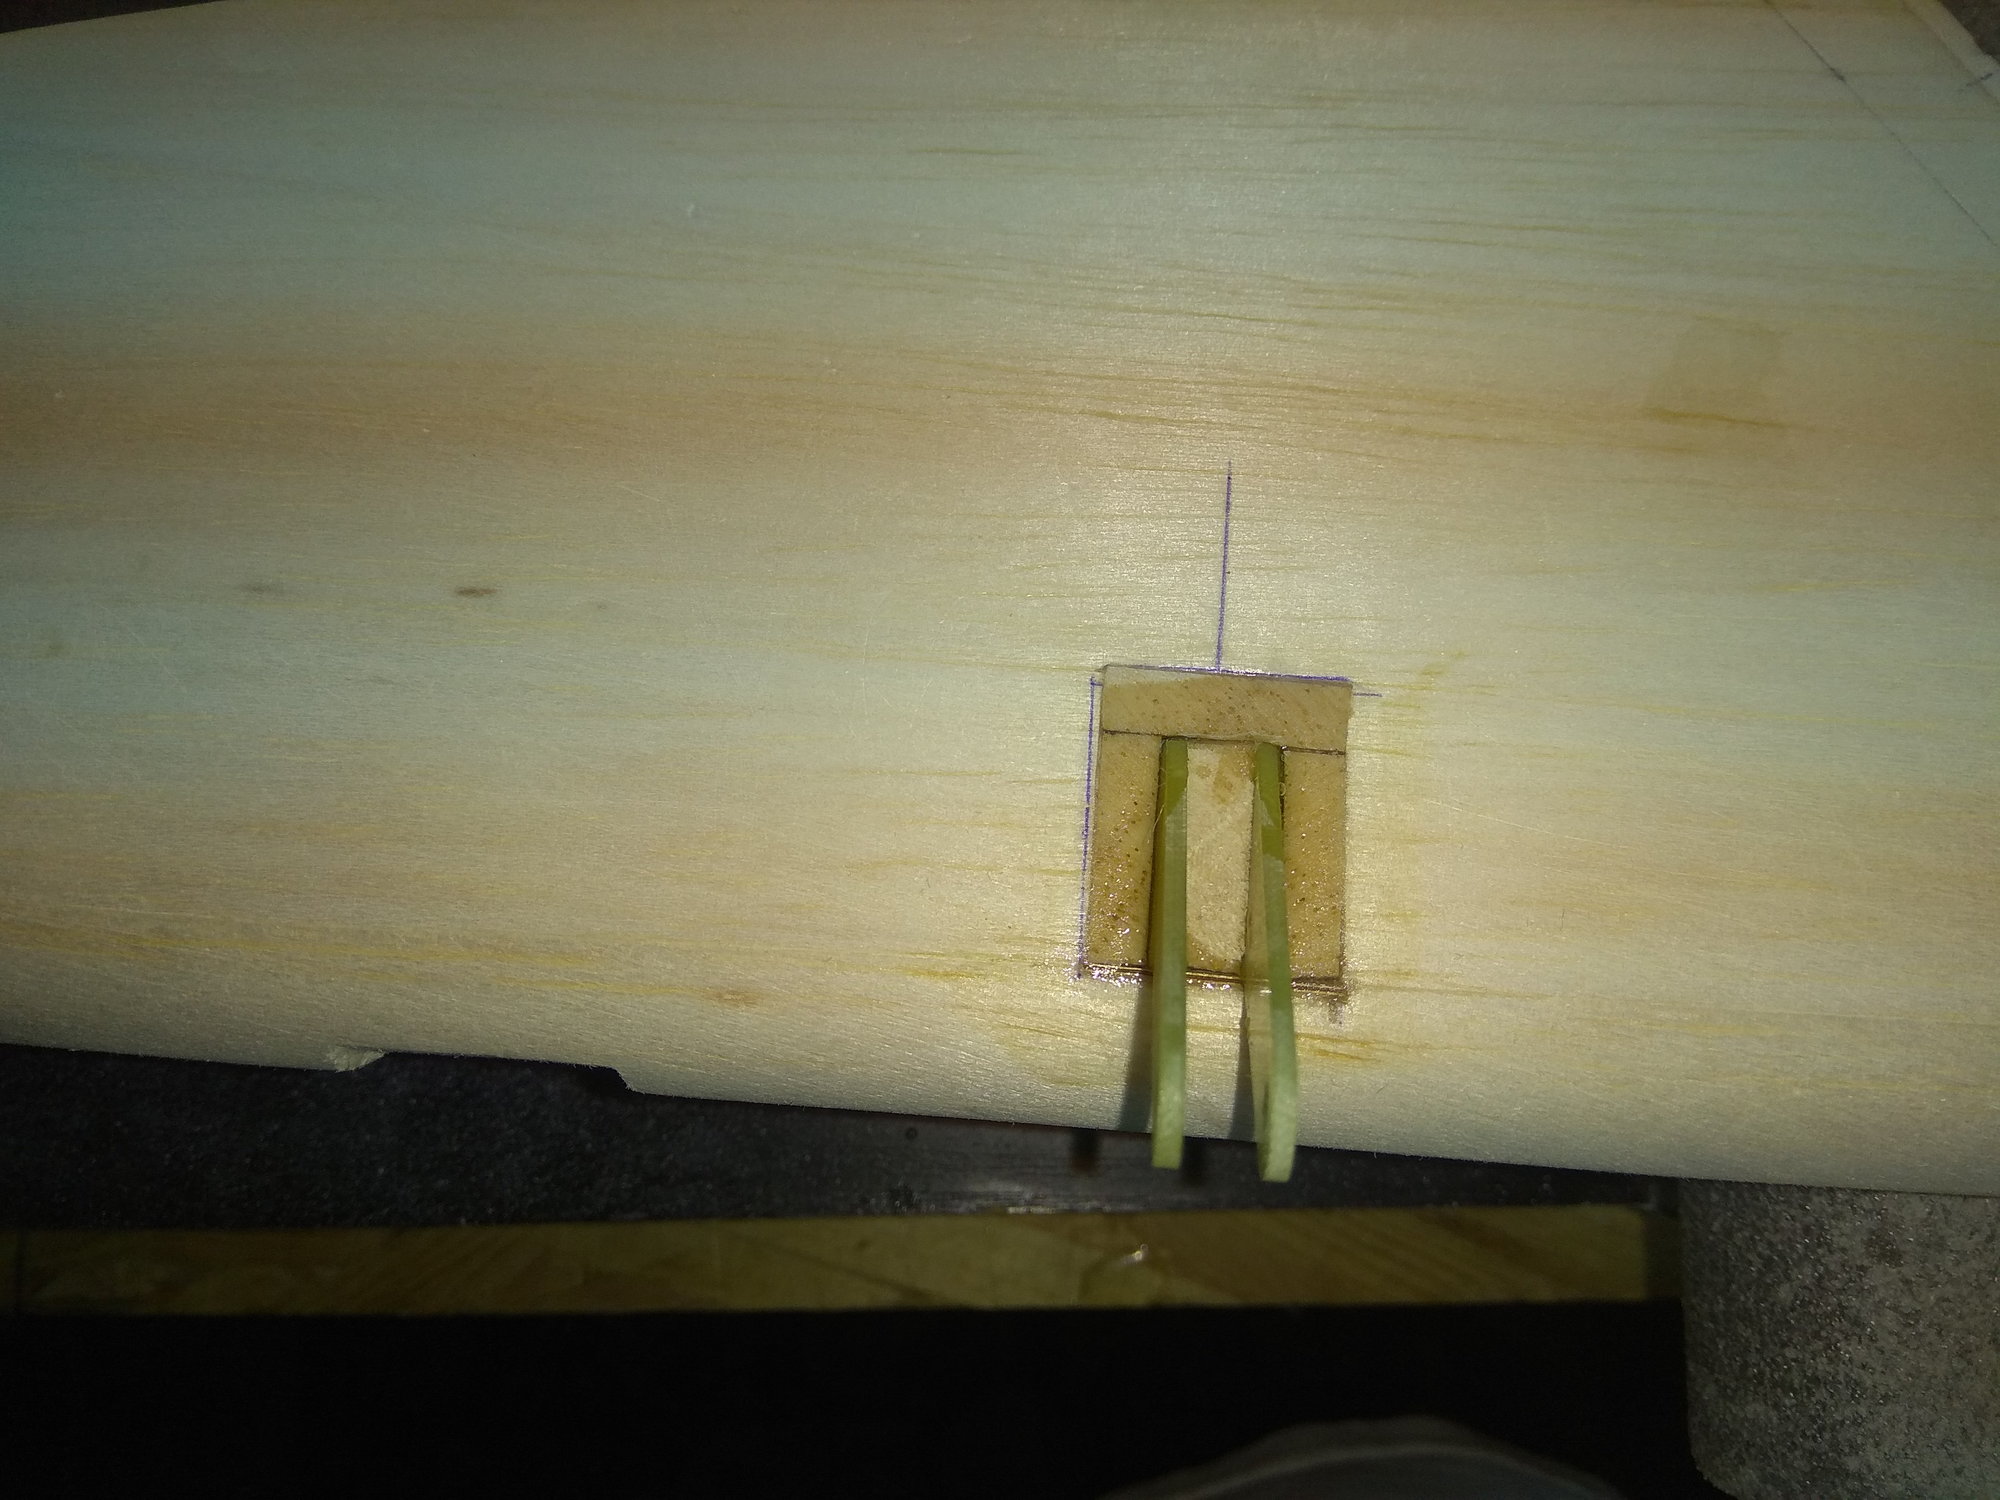
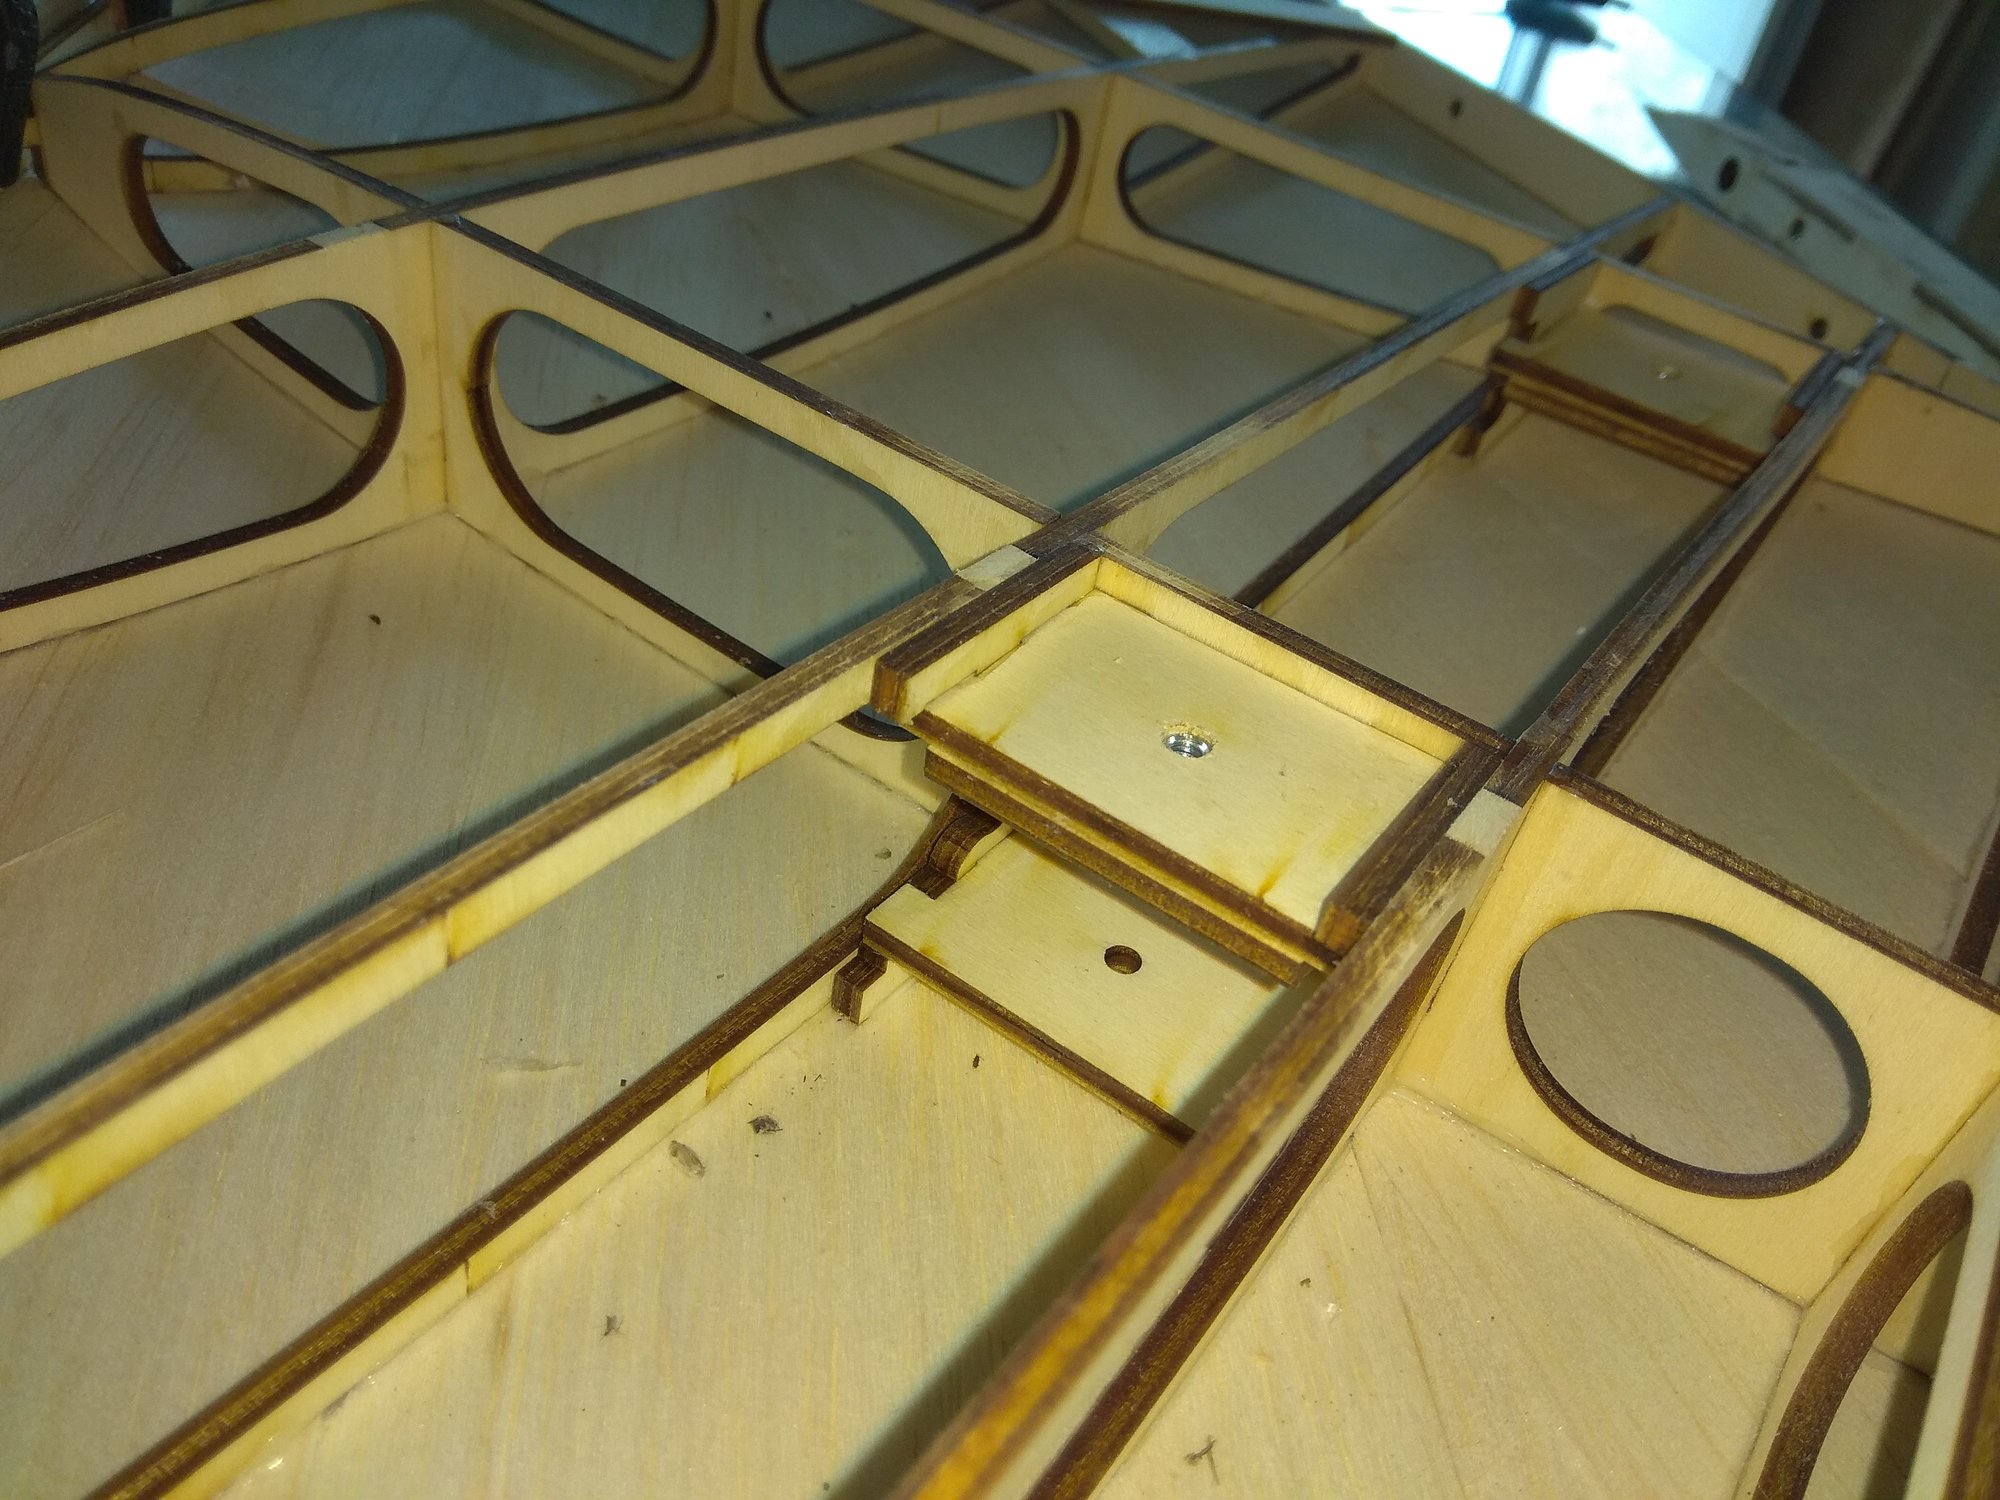
Before planking with 3 mm balsa on the bottom side, I must insert in the wing pylon holders.
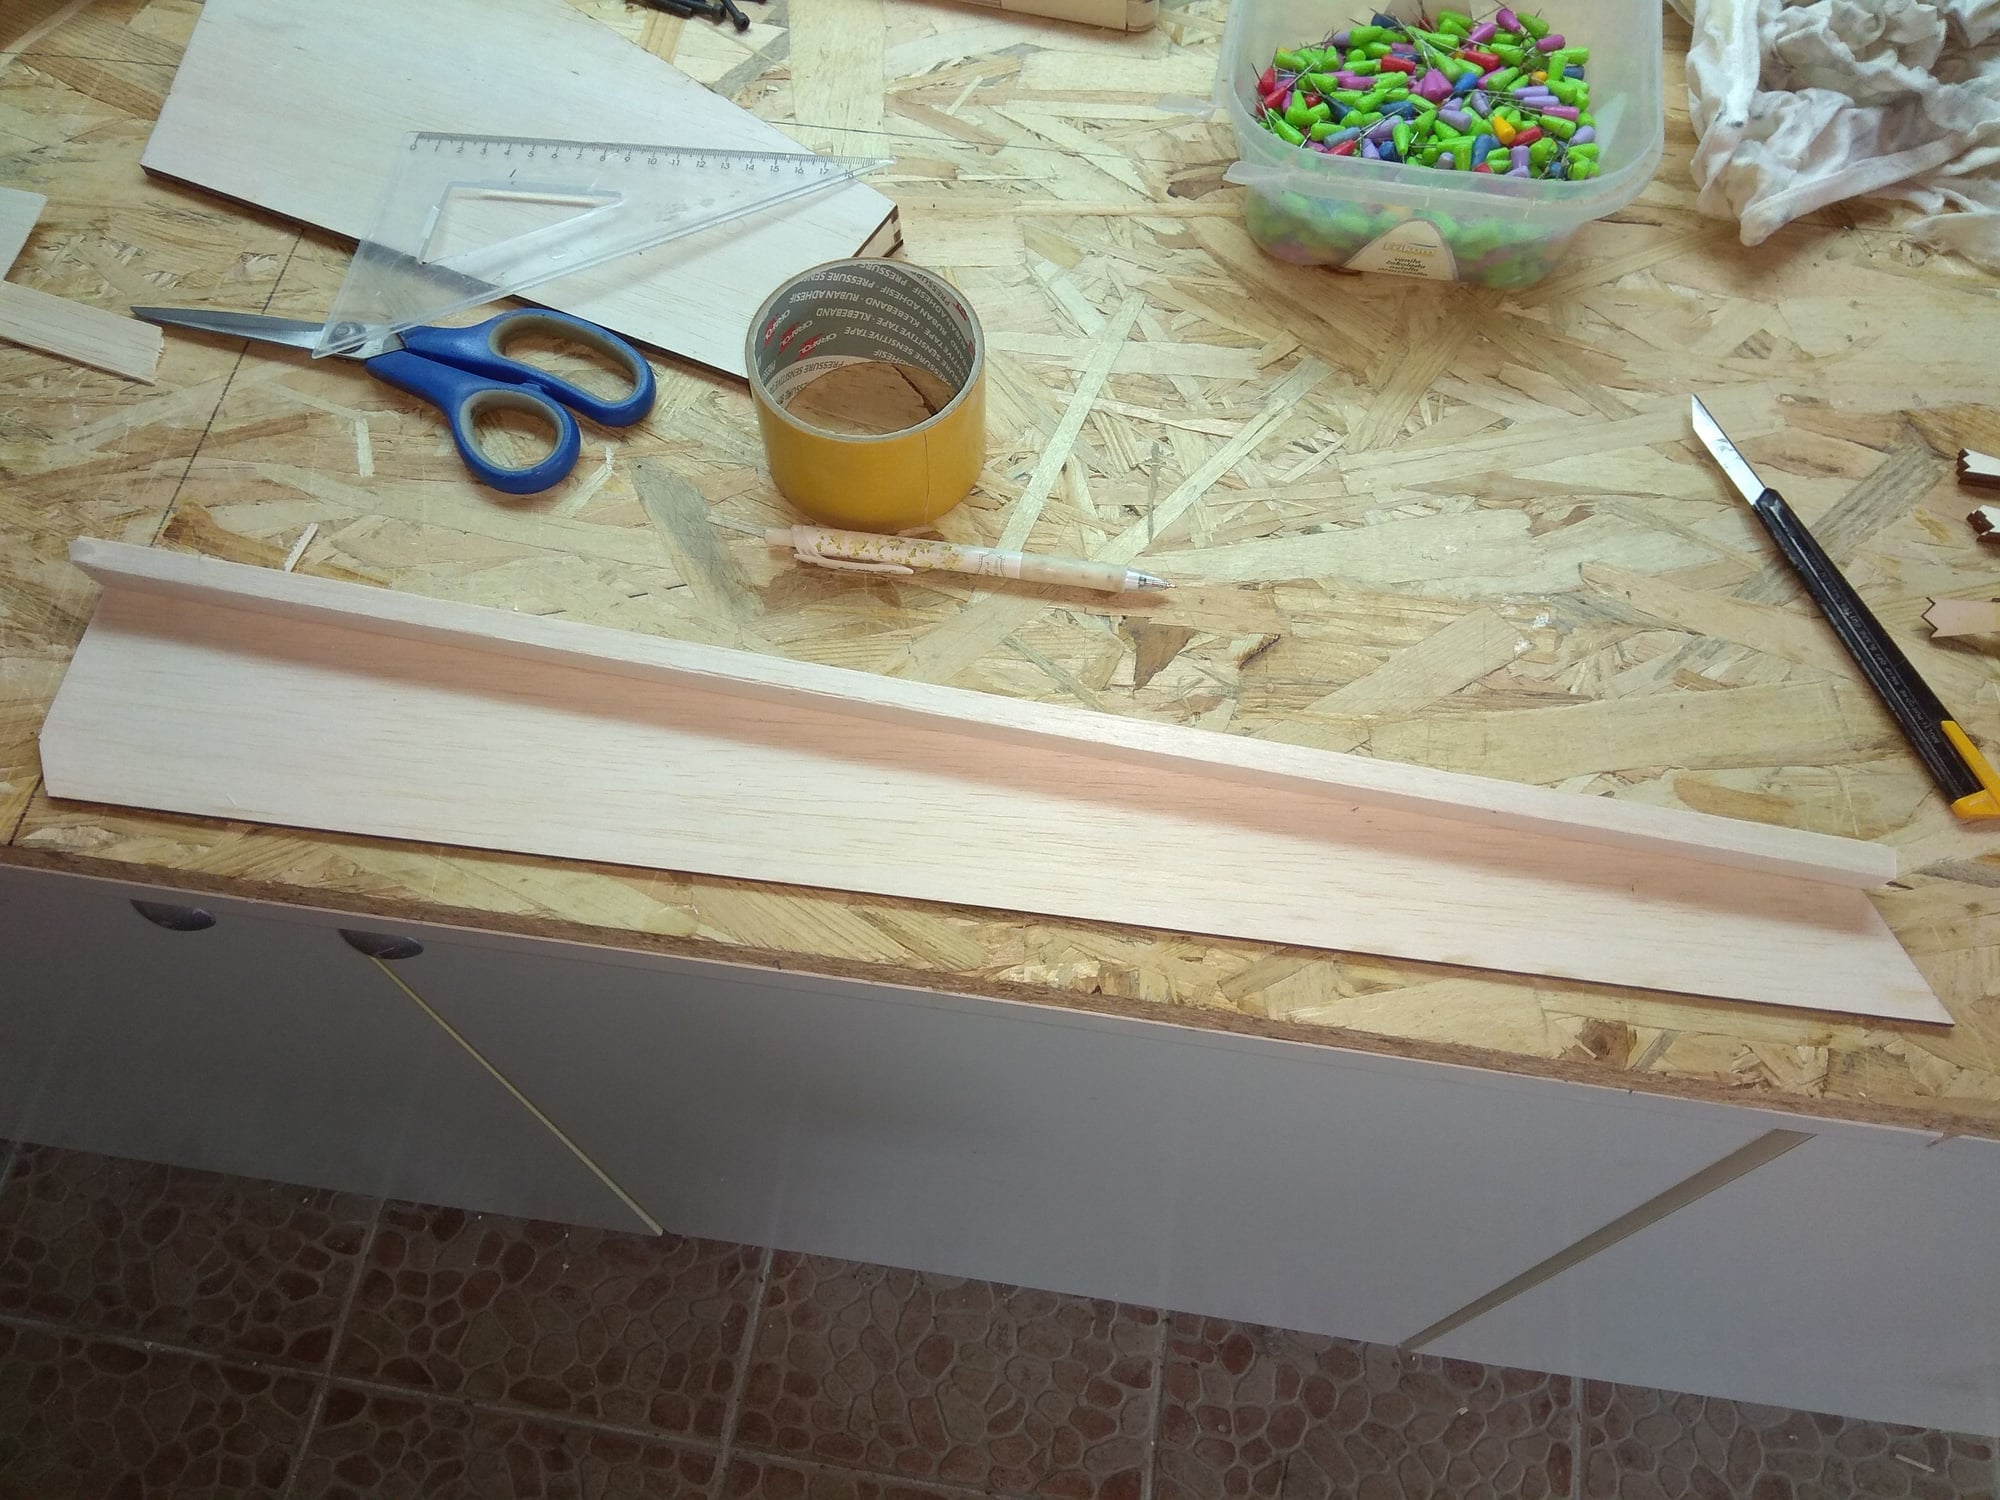
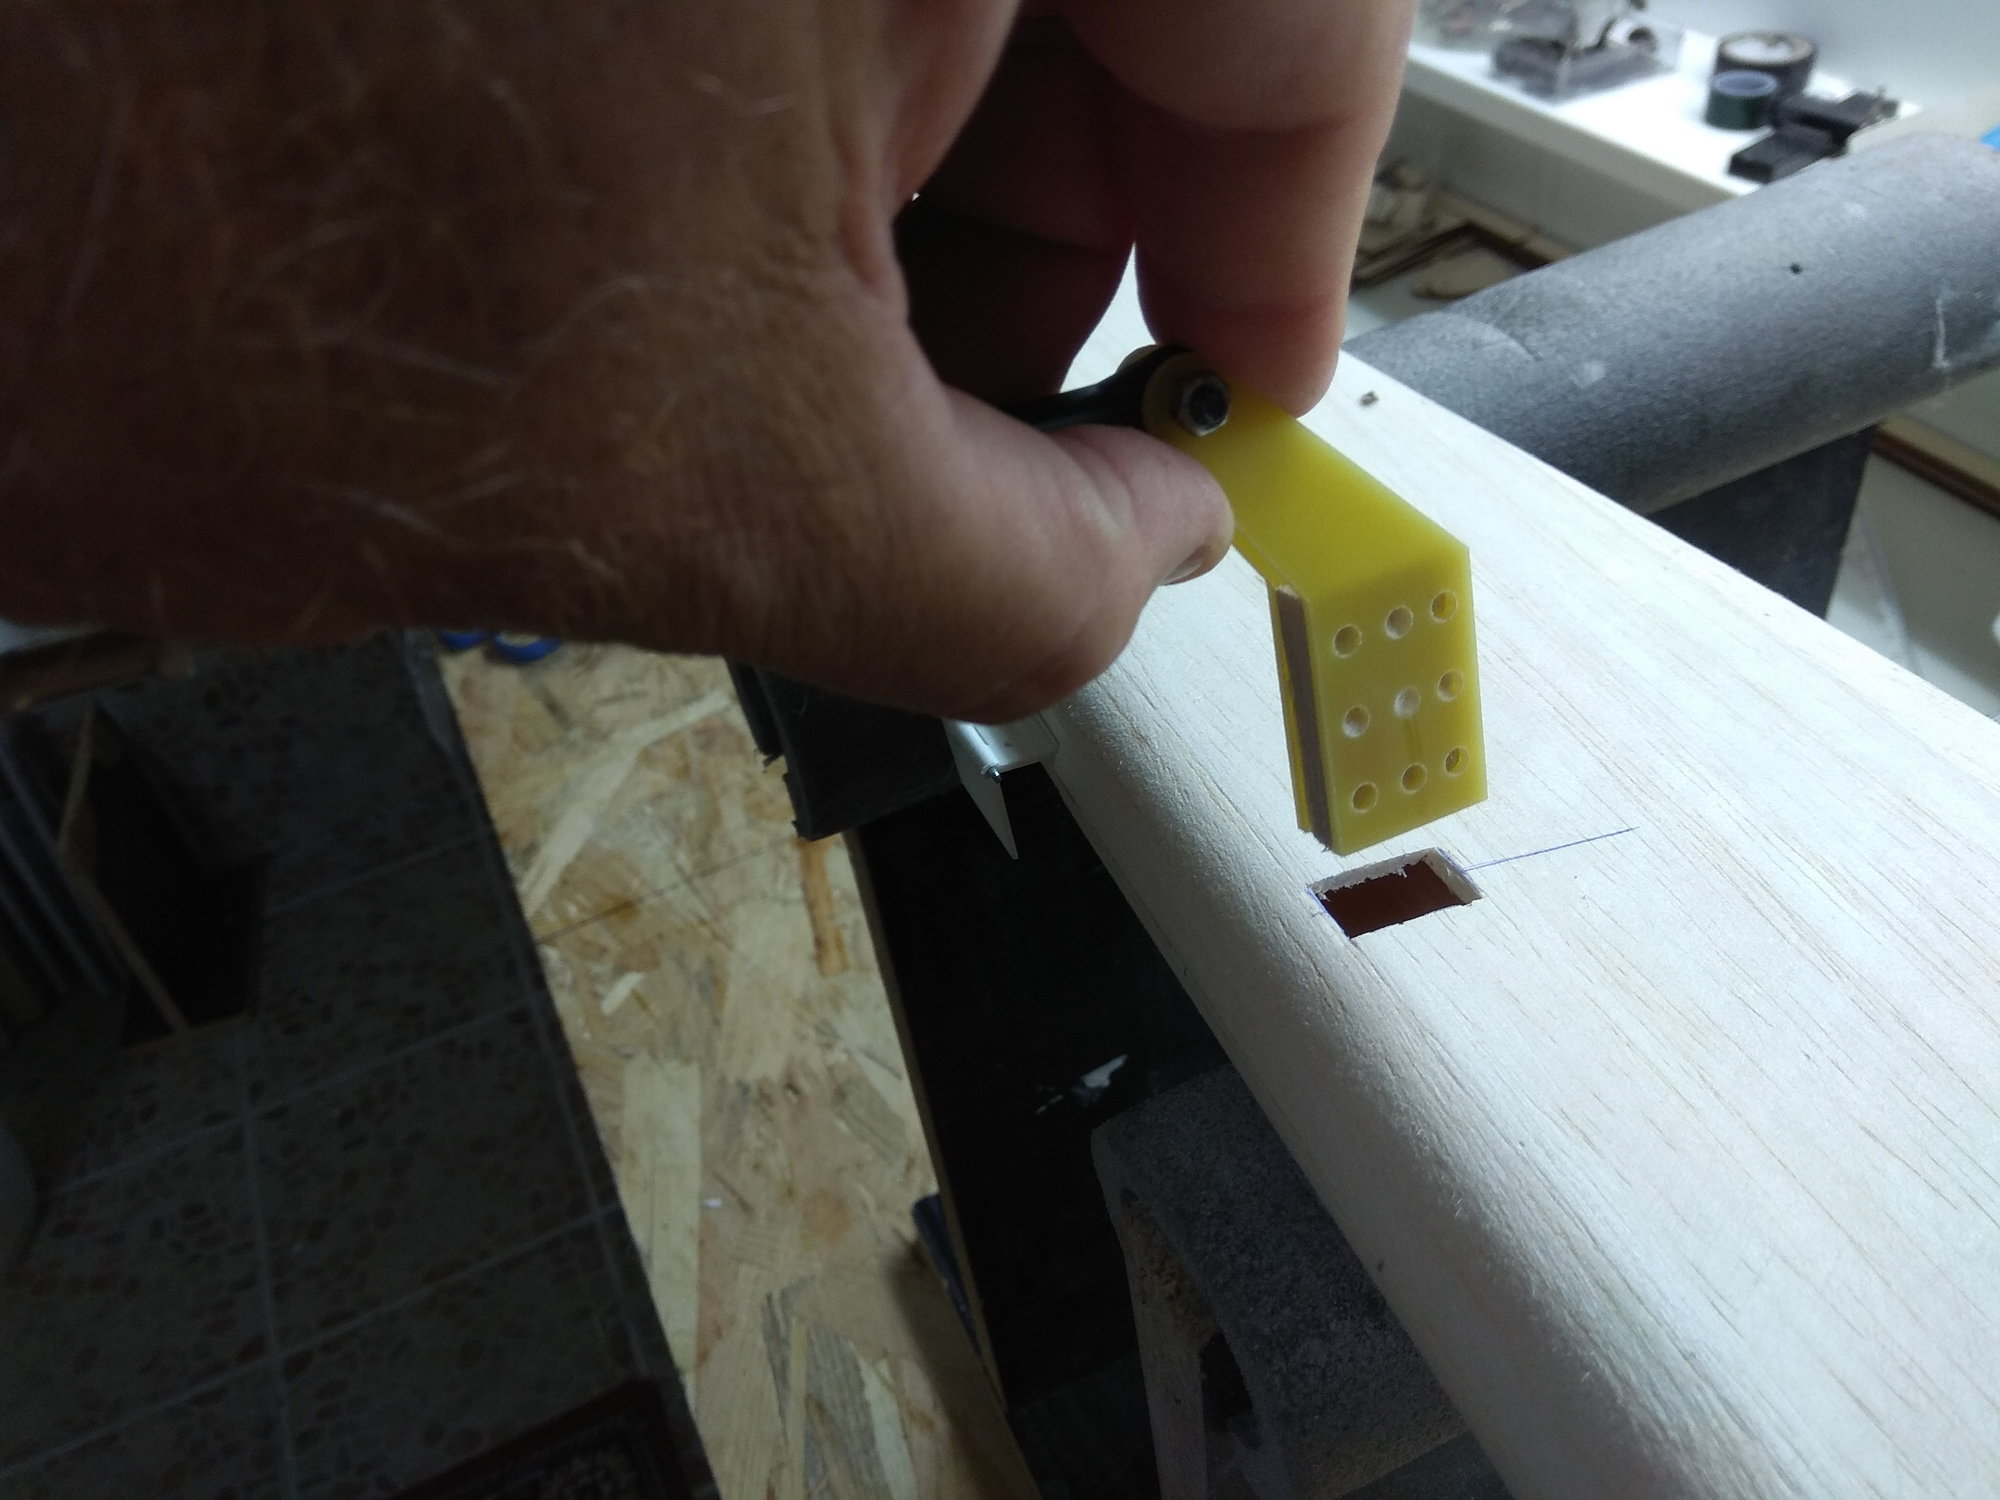
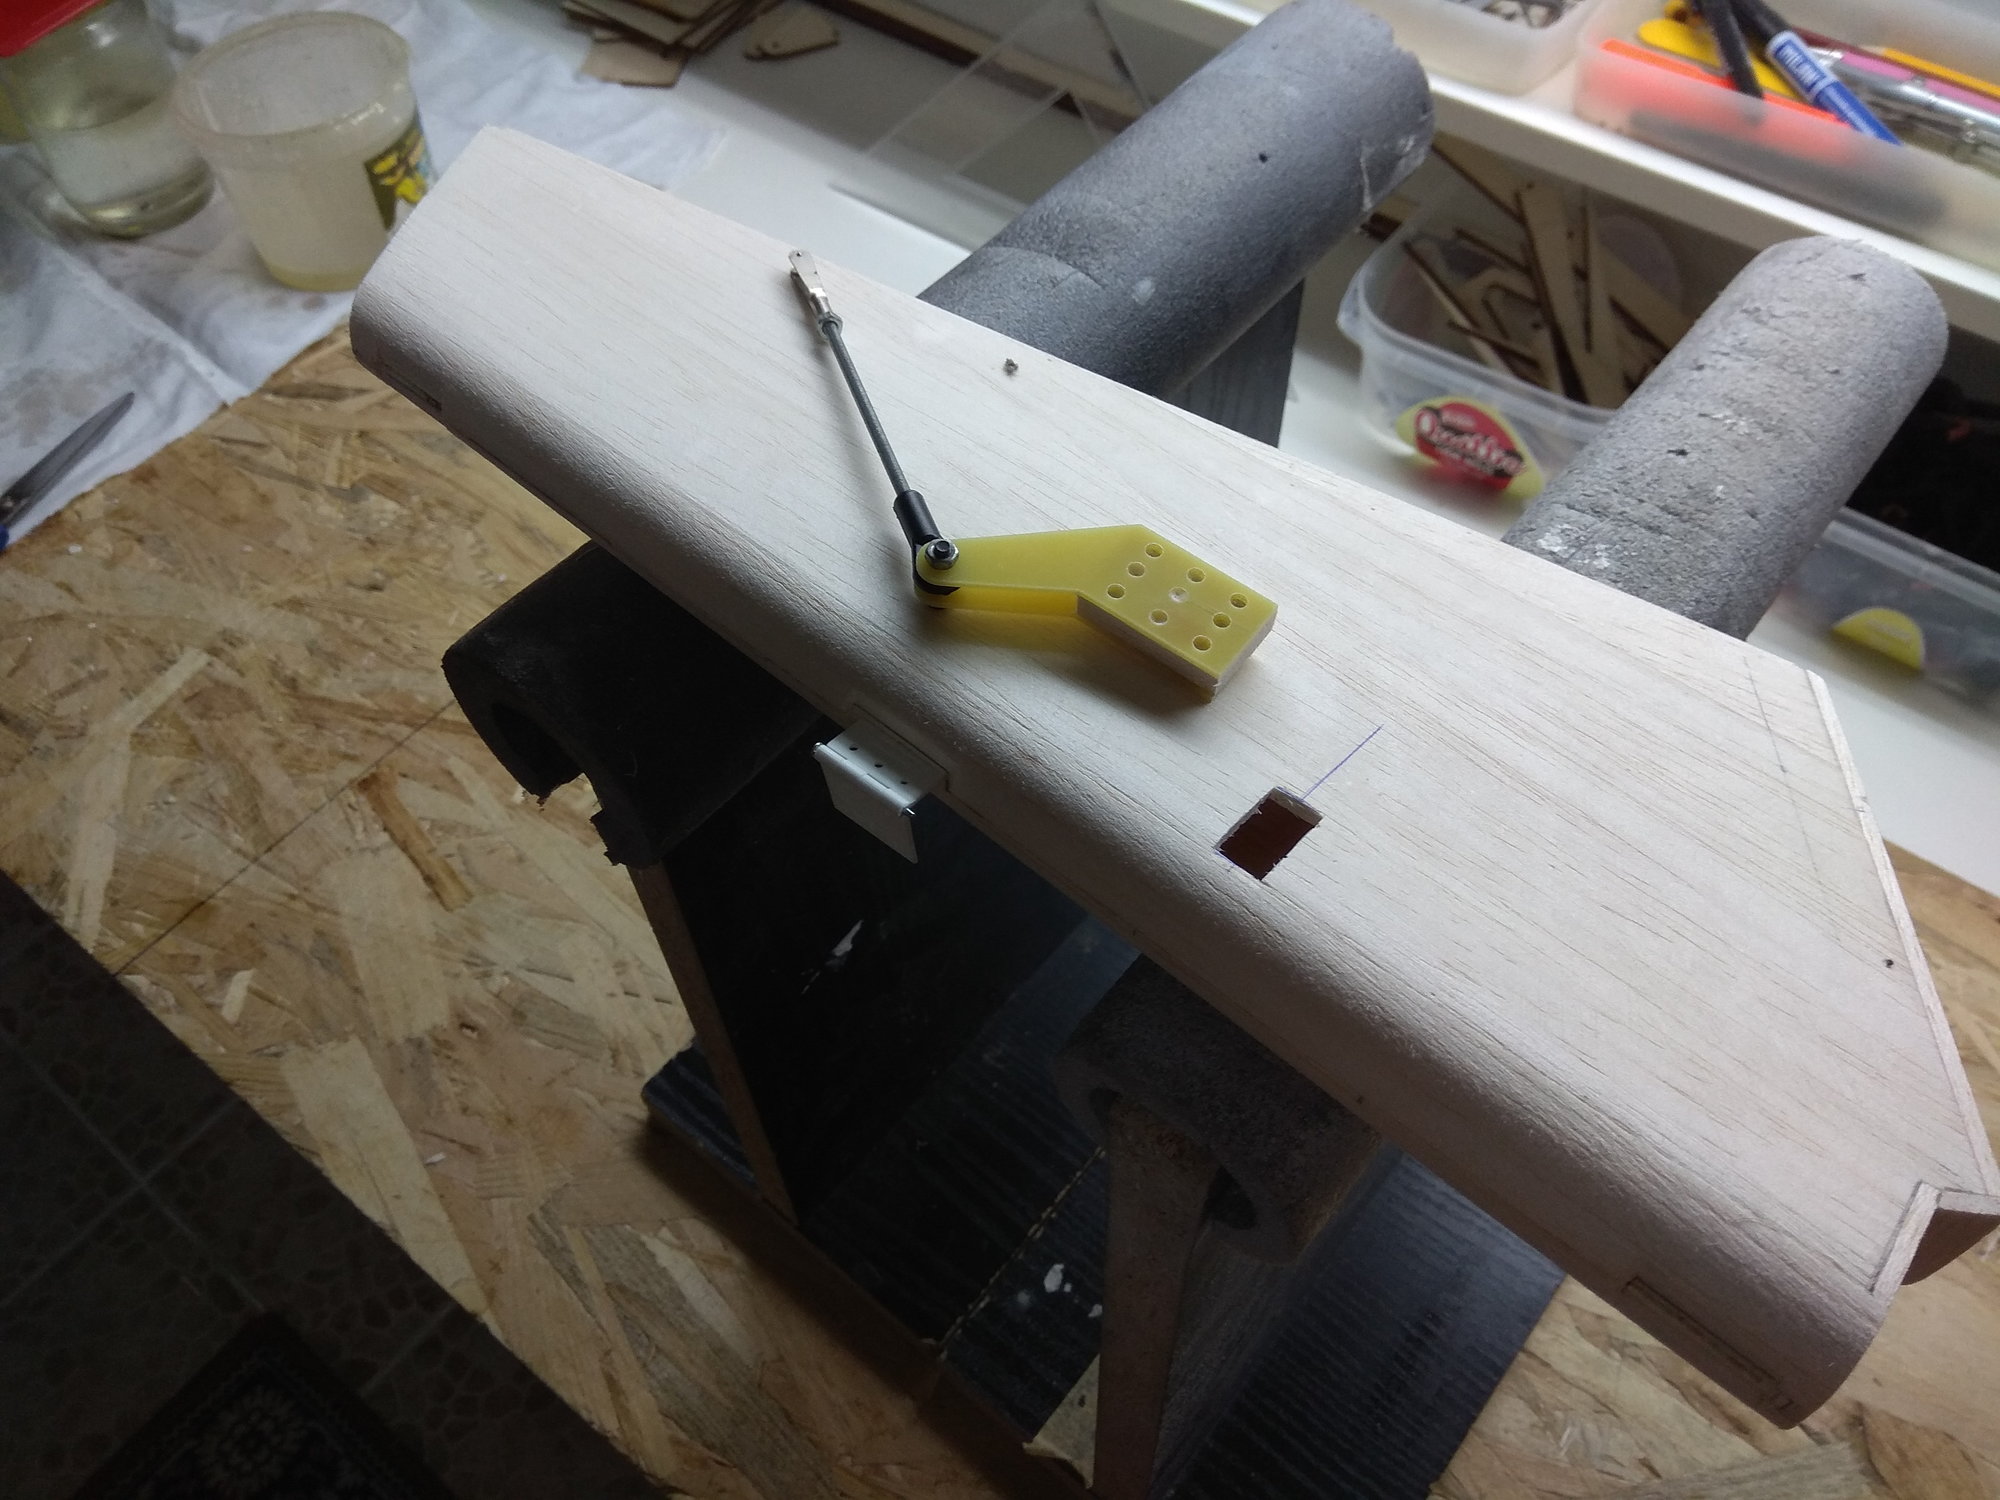
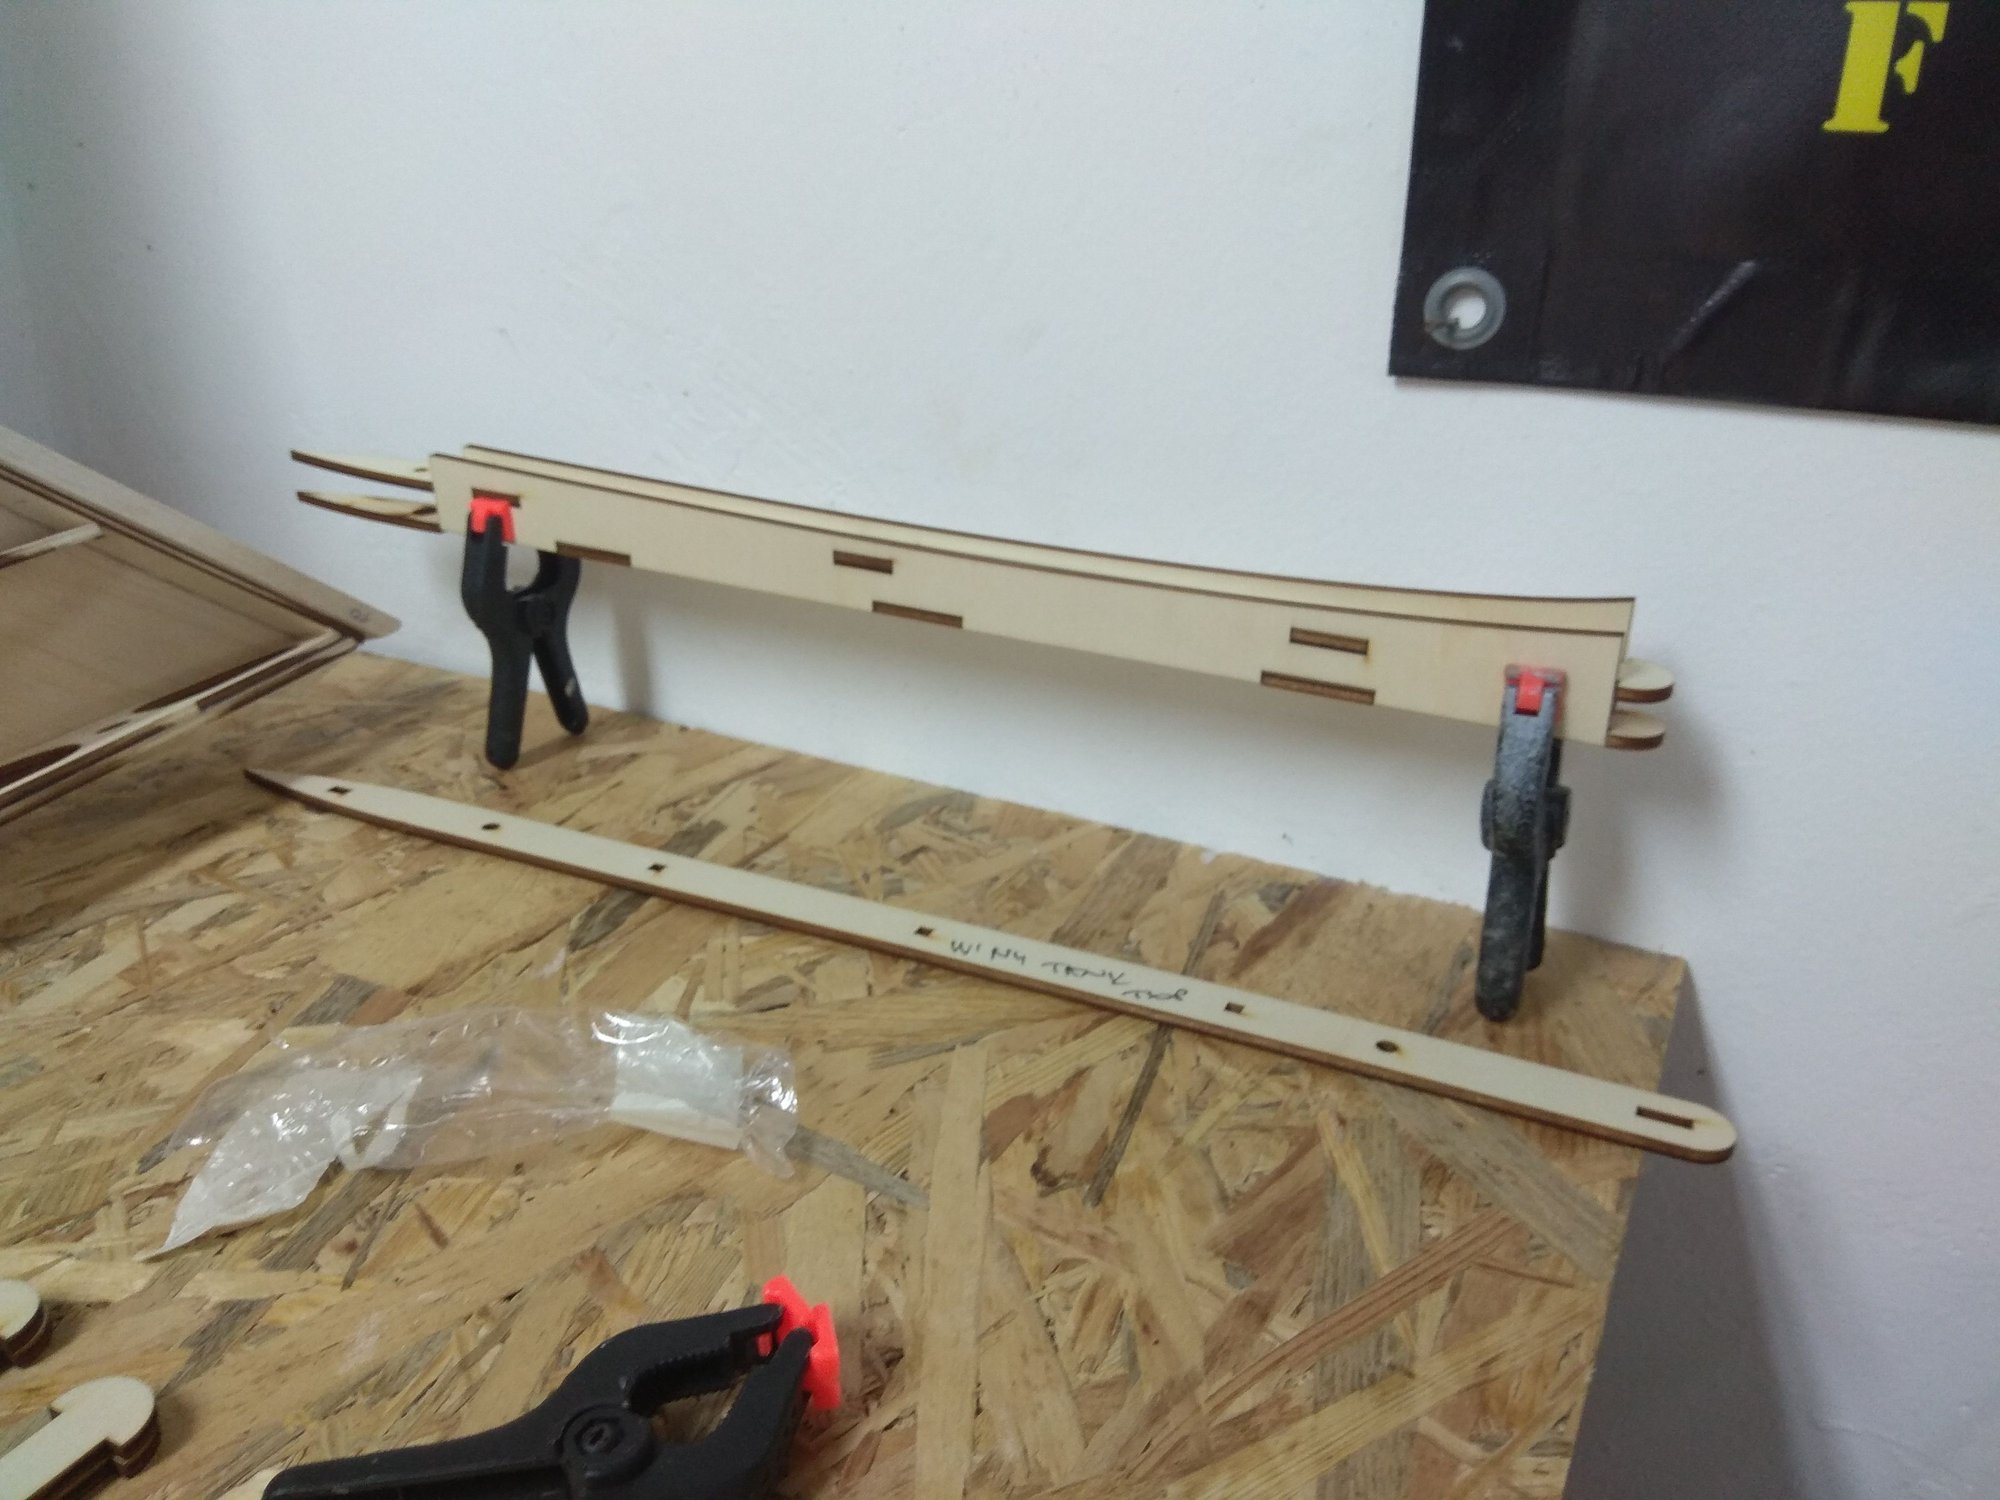
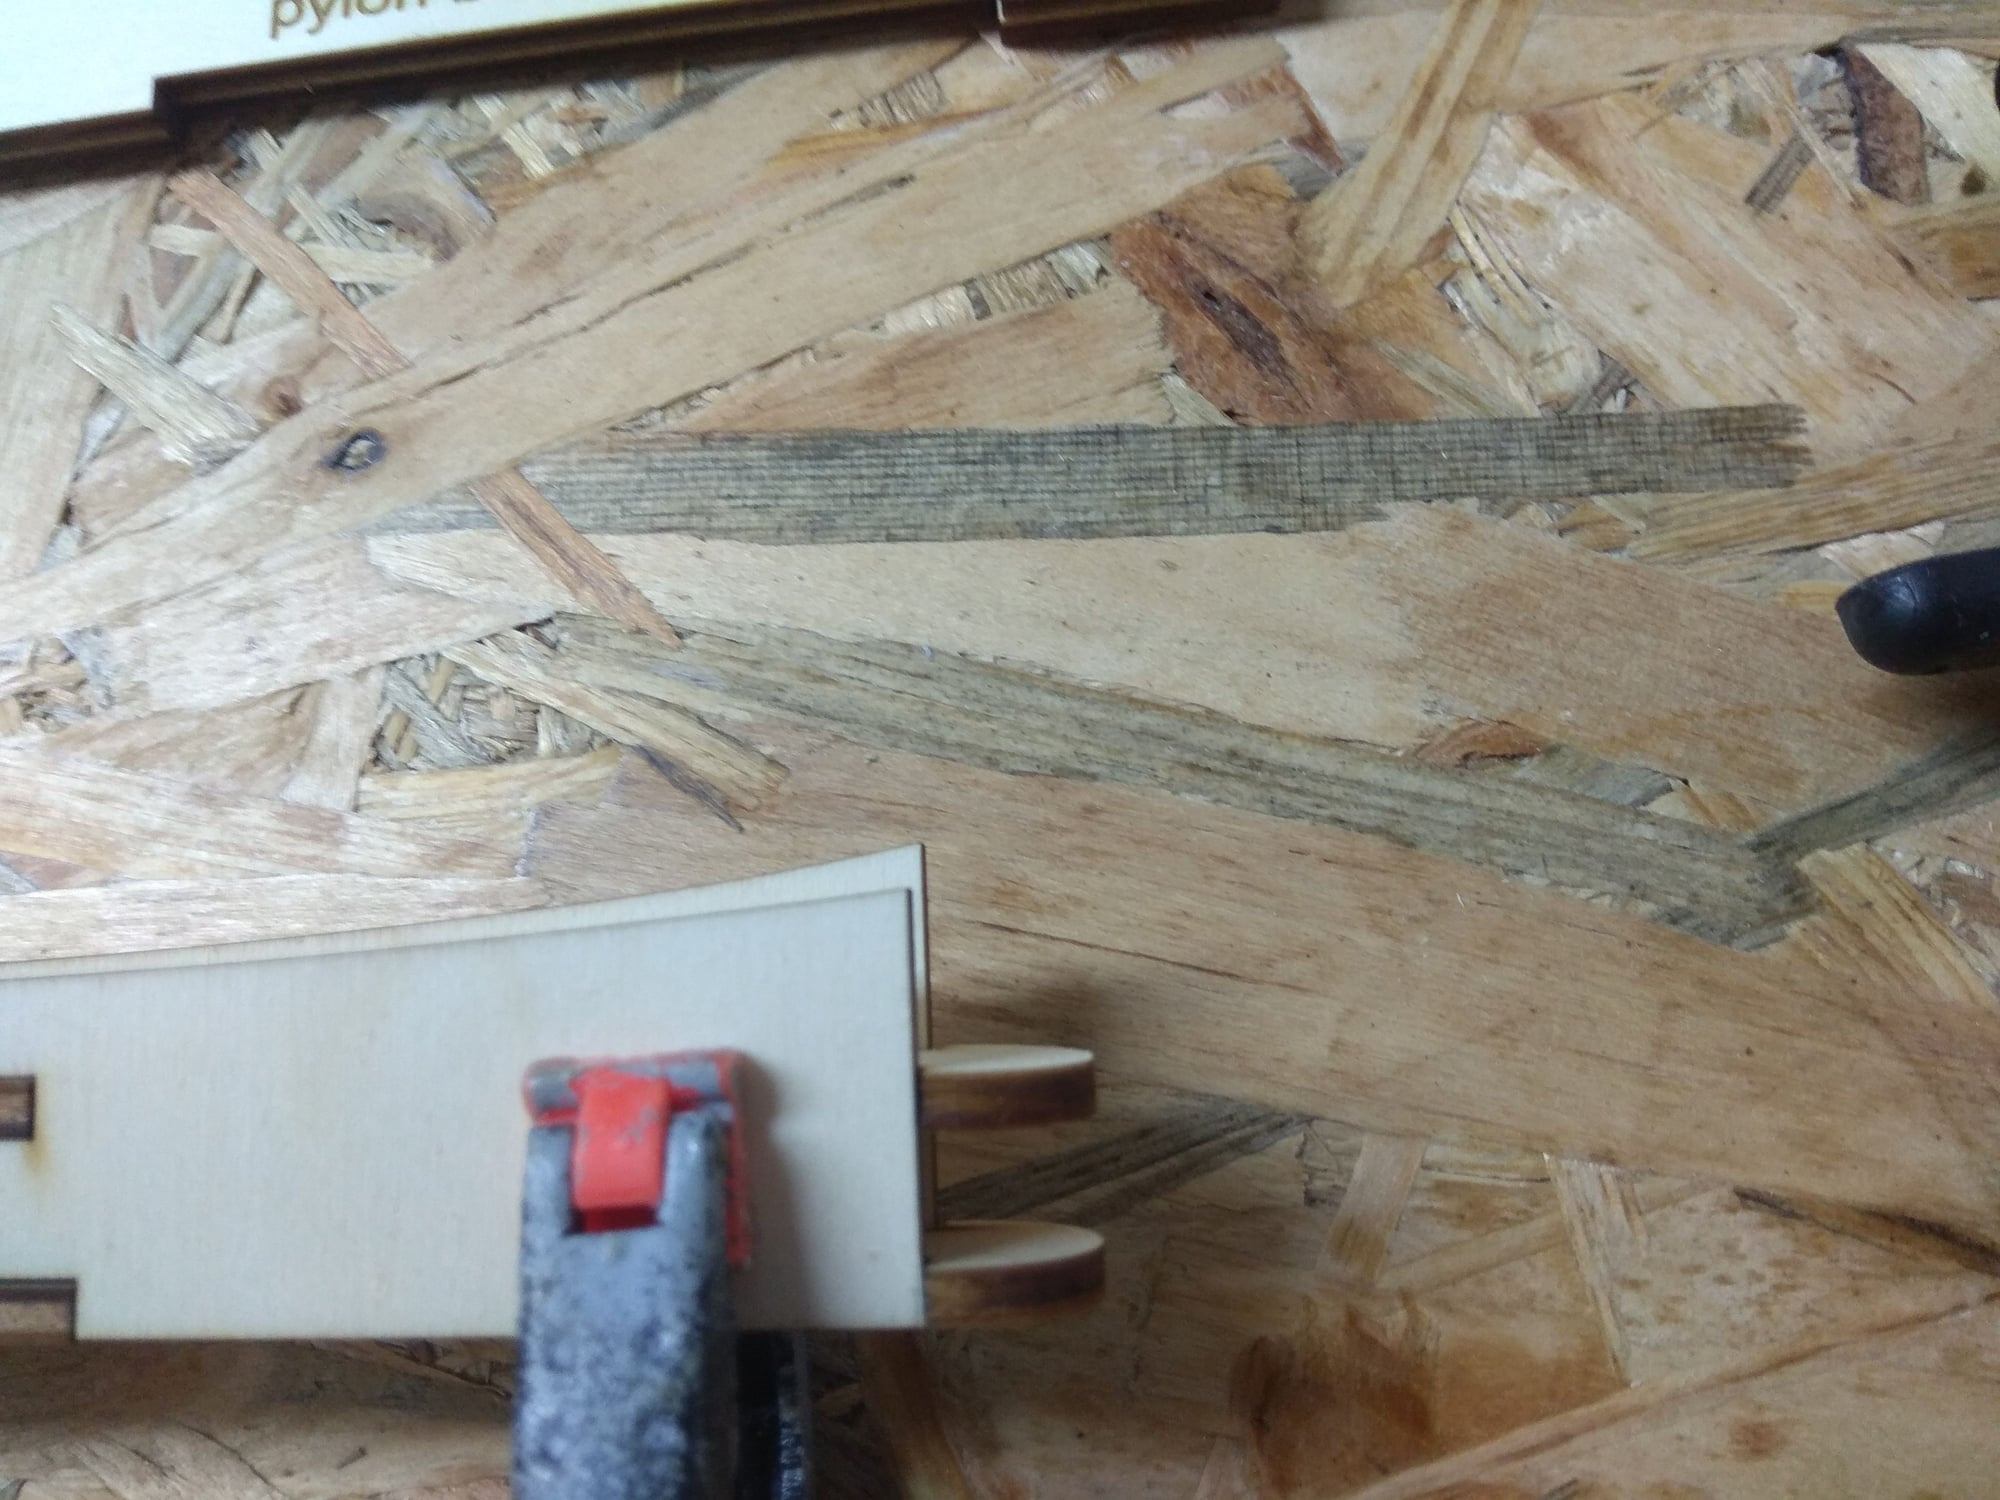
The previous step was to make the pylons.
One of offer from F 100 Super Sabre wooden kit is wing tank & pylon kit:
F 100 - wing tanks & pylons - NS Modelers
I made pylons first, take care you have left and right pylon!!!
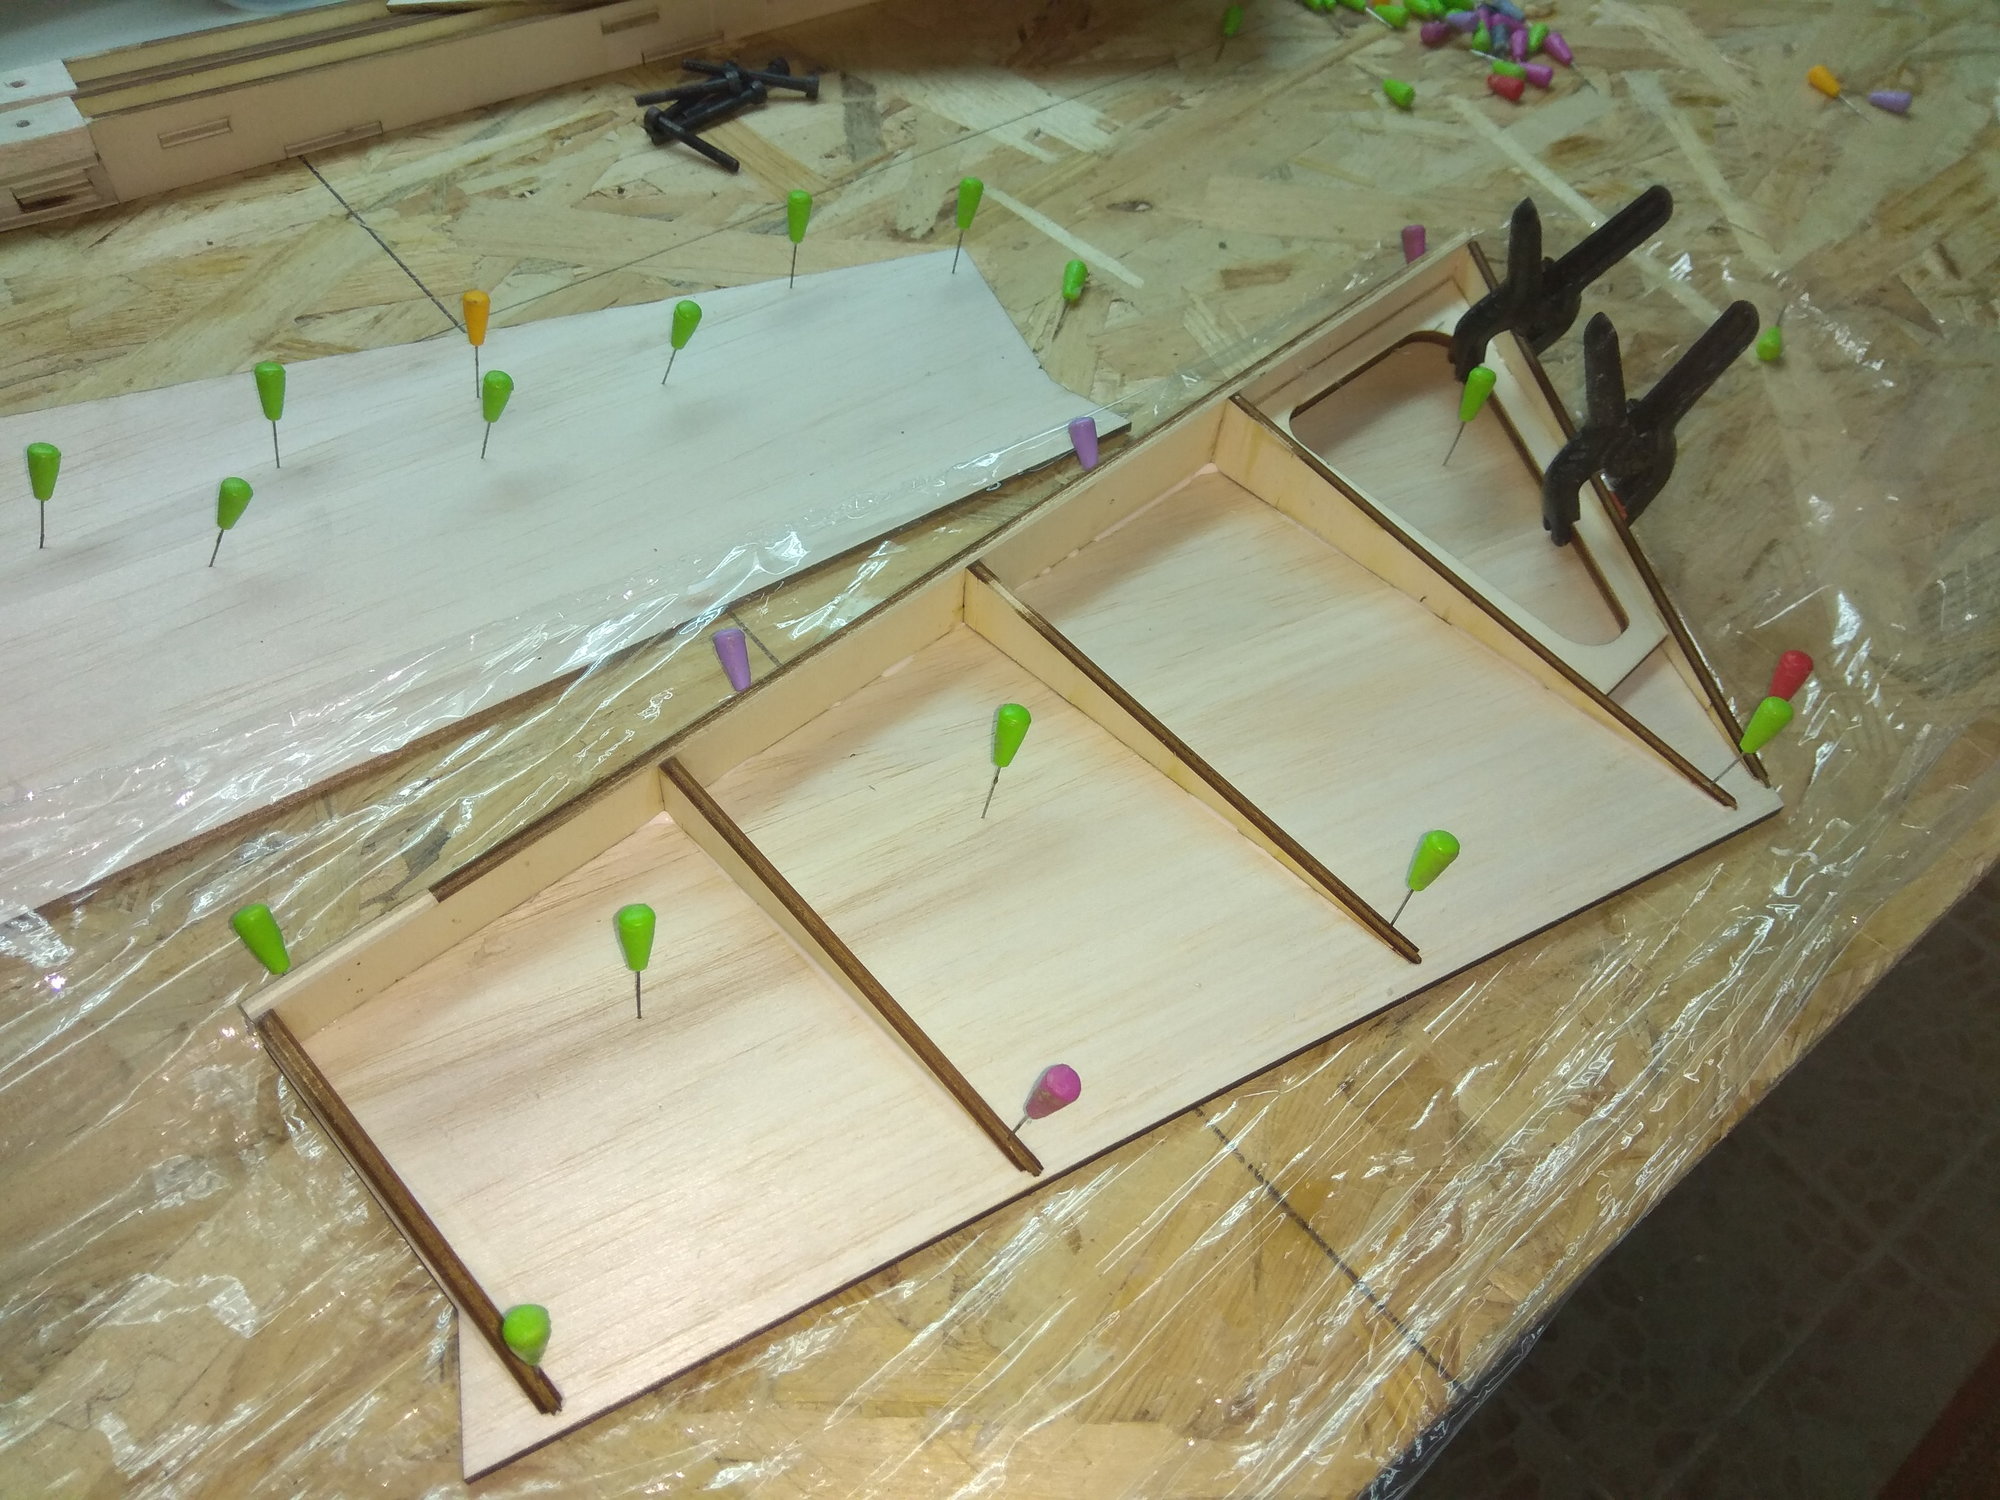
Now parts which come into the wing...
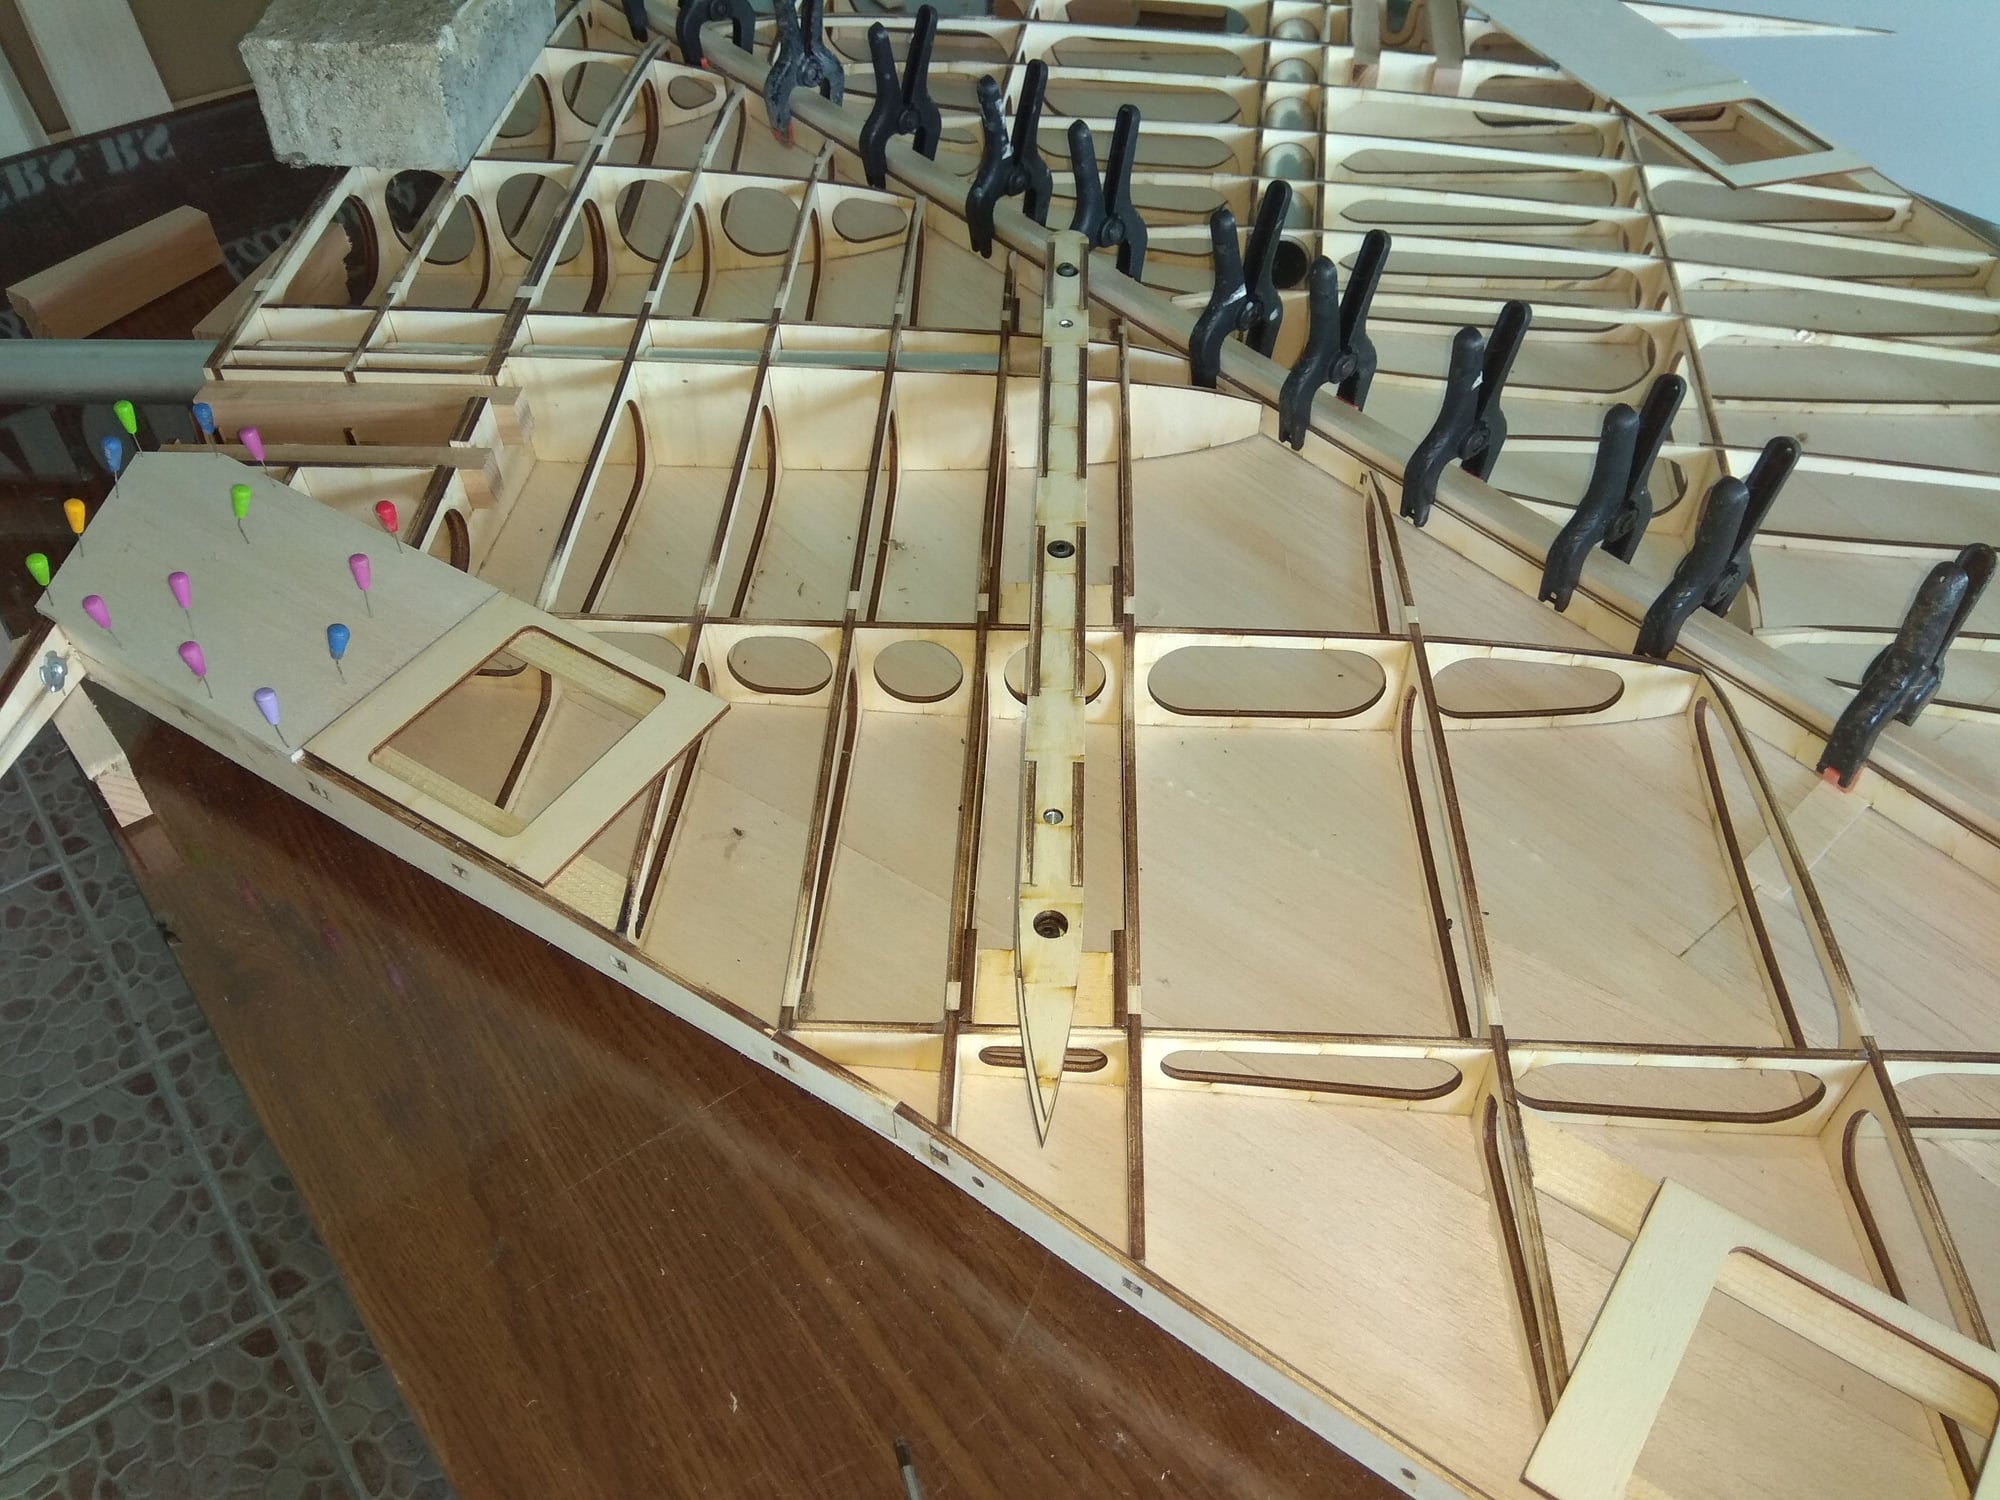

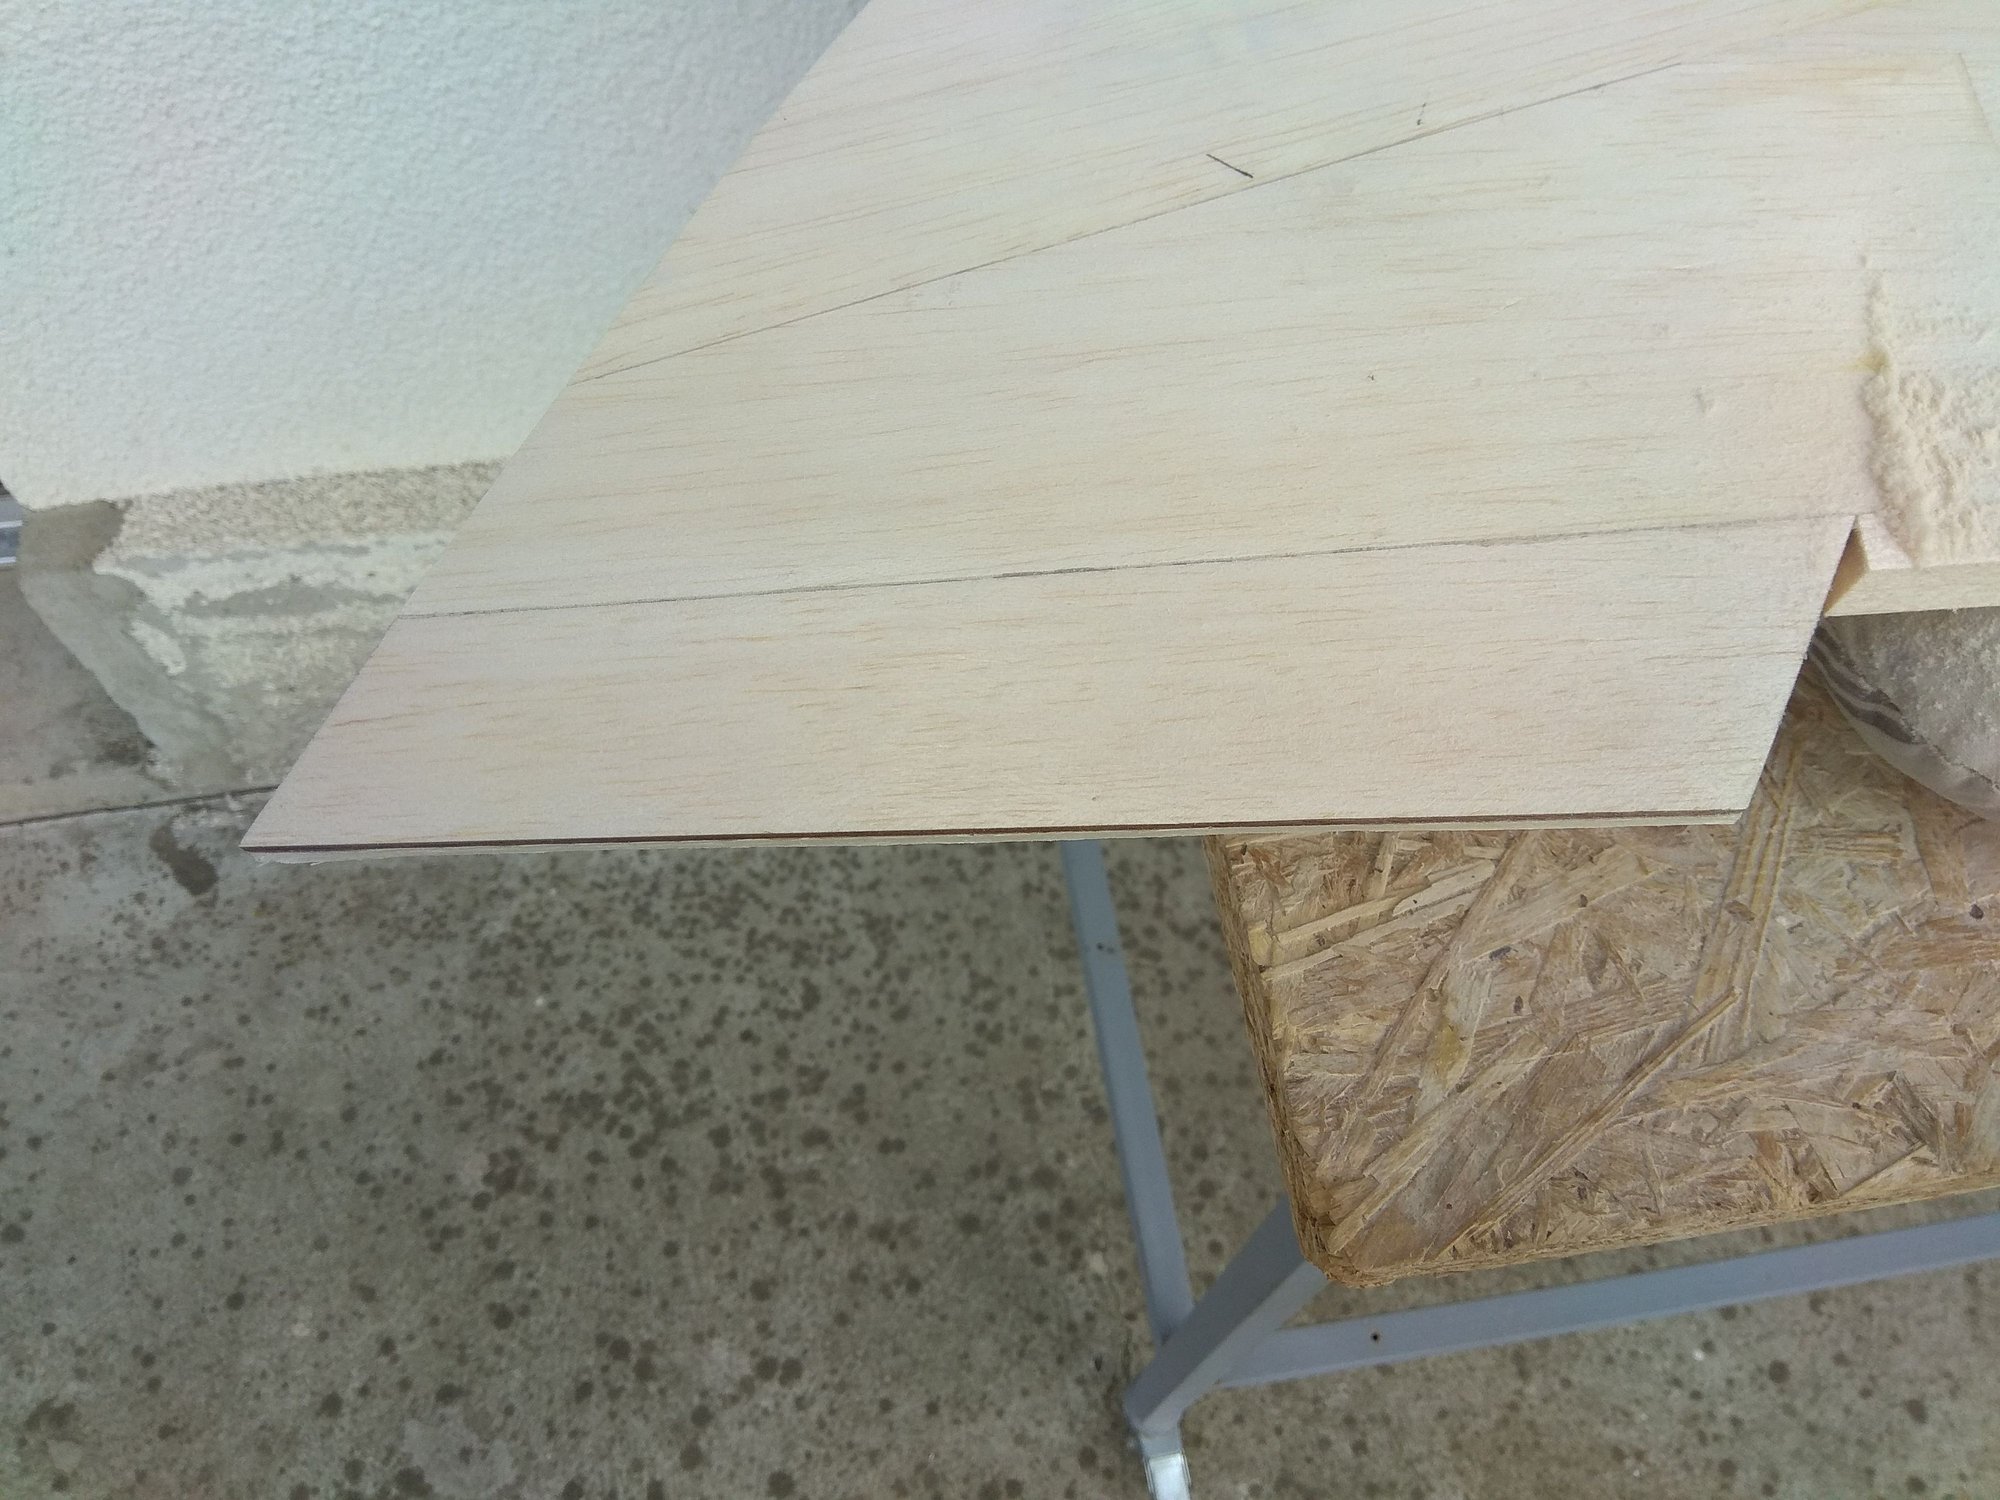
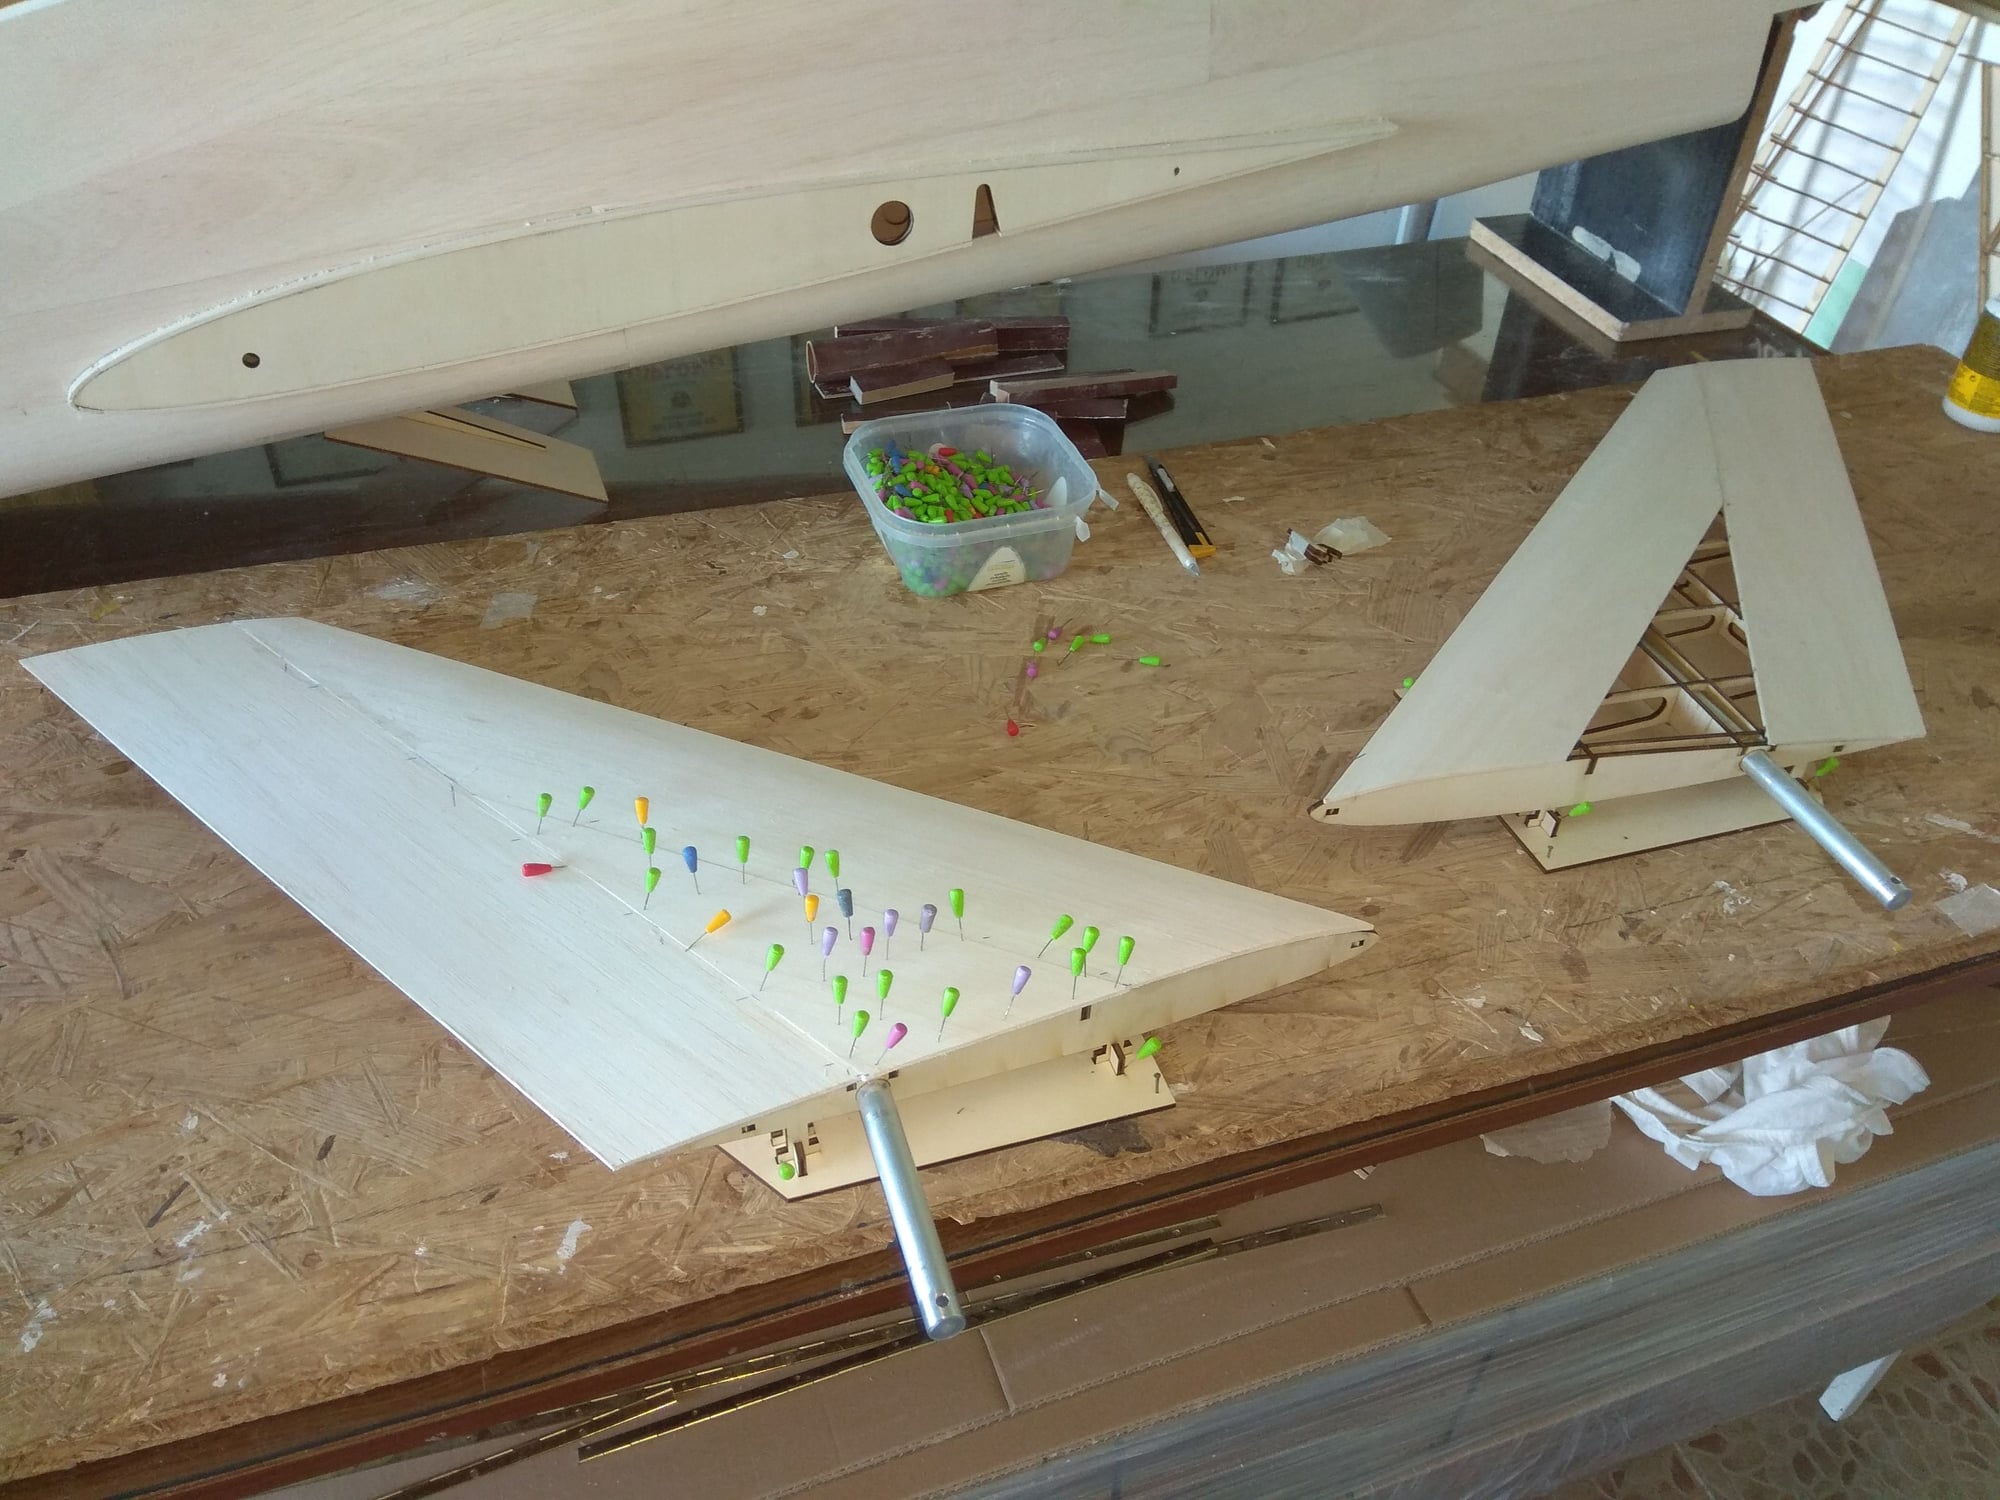
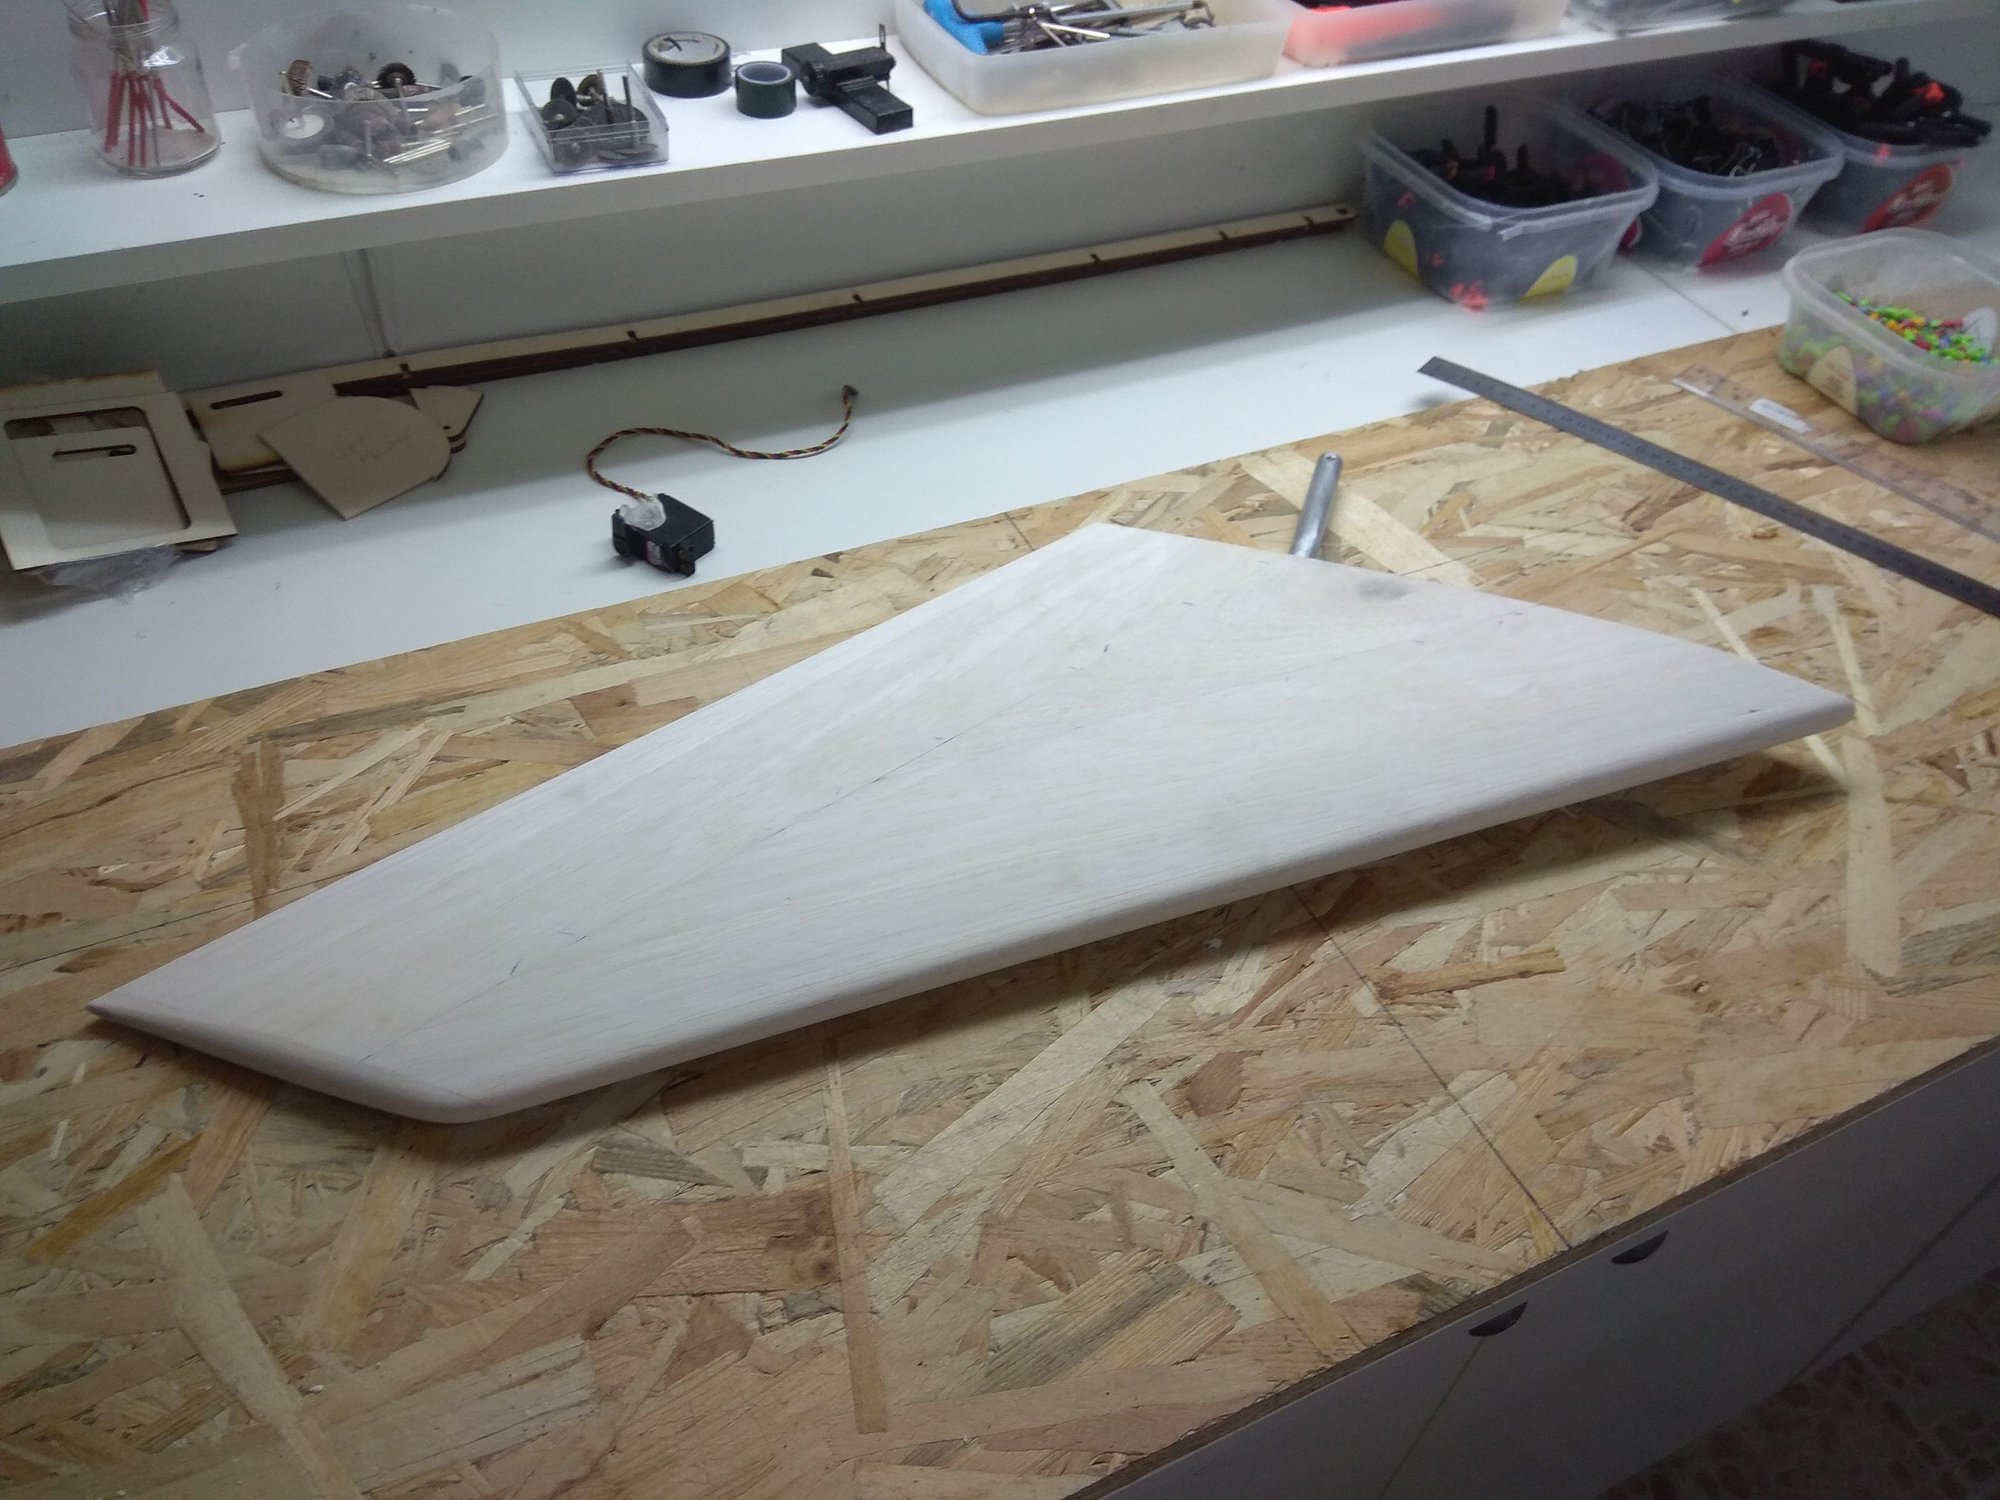
After bottom side planking...
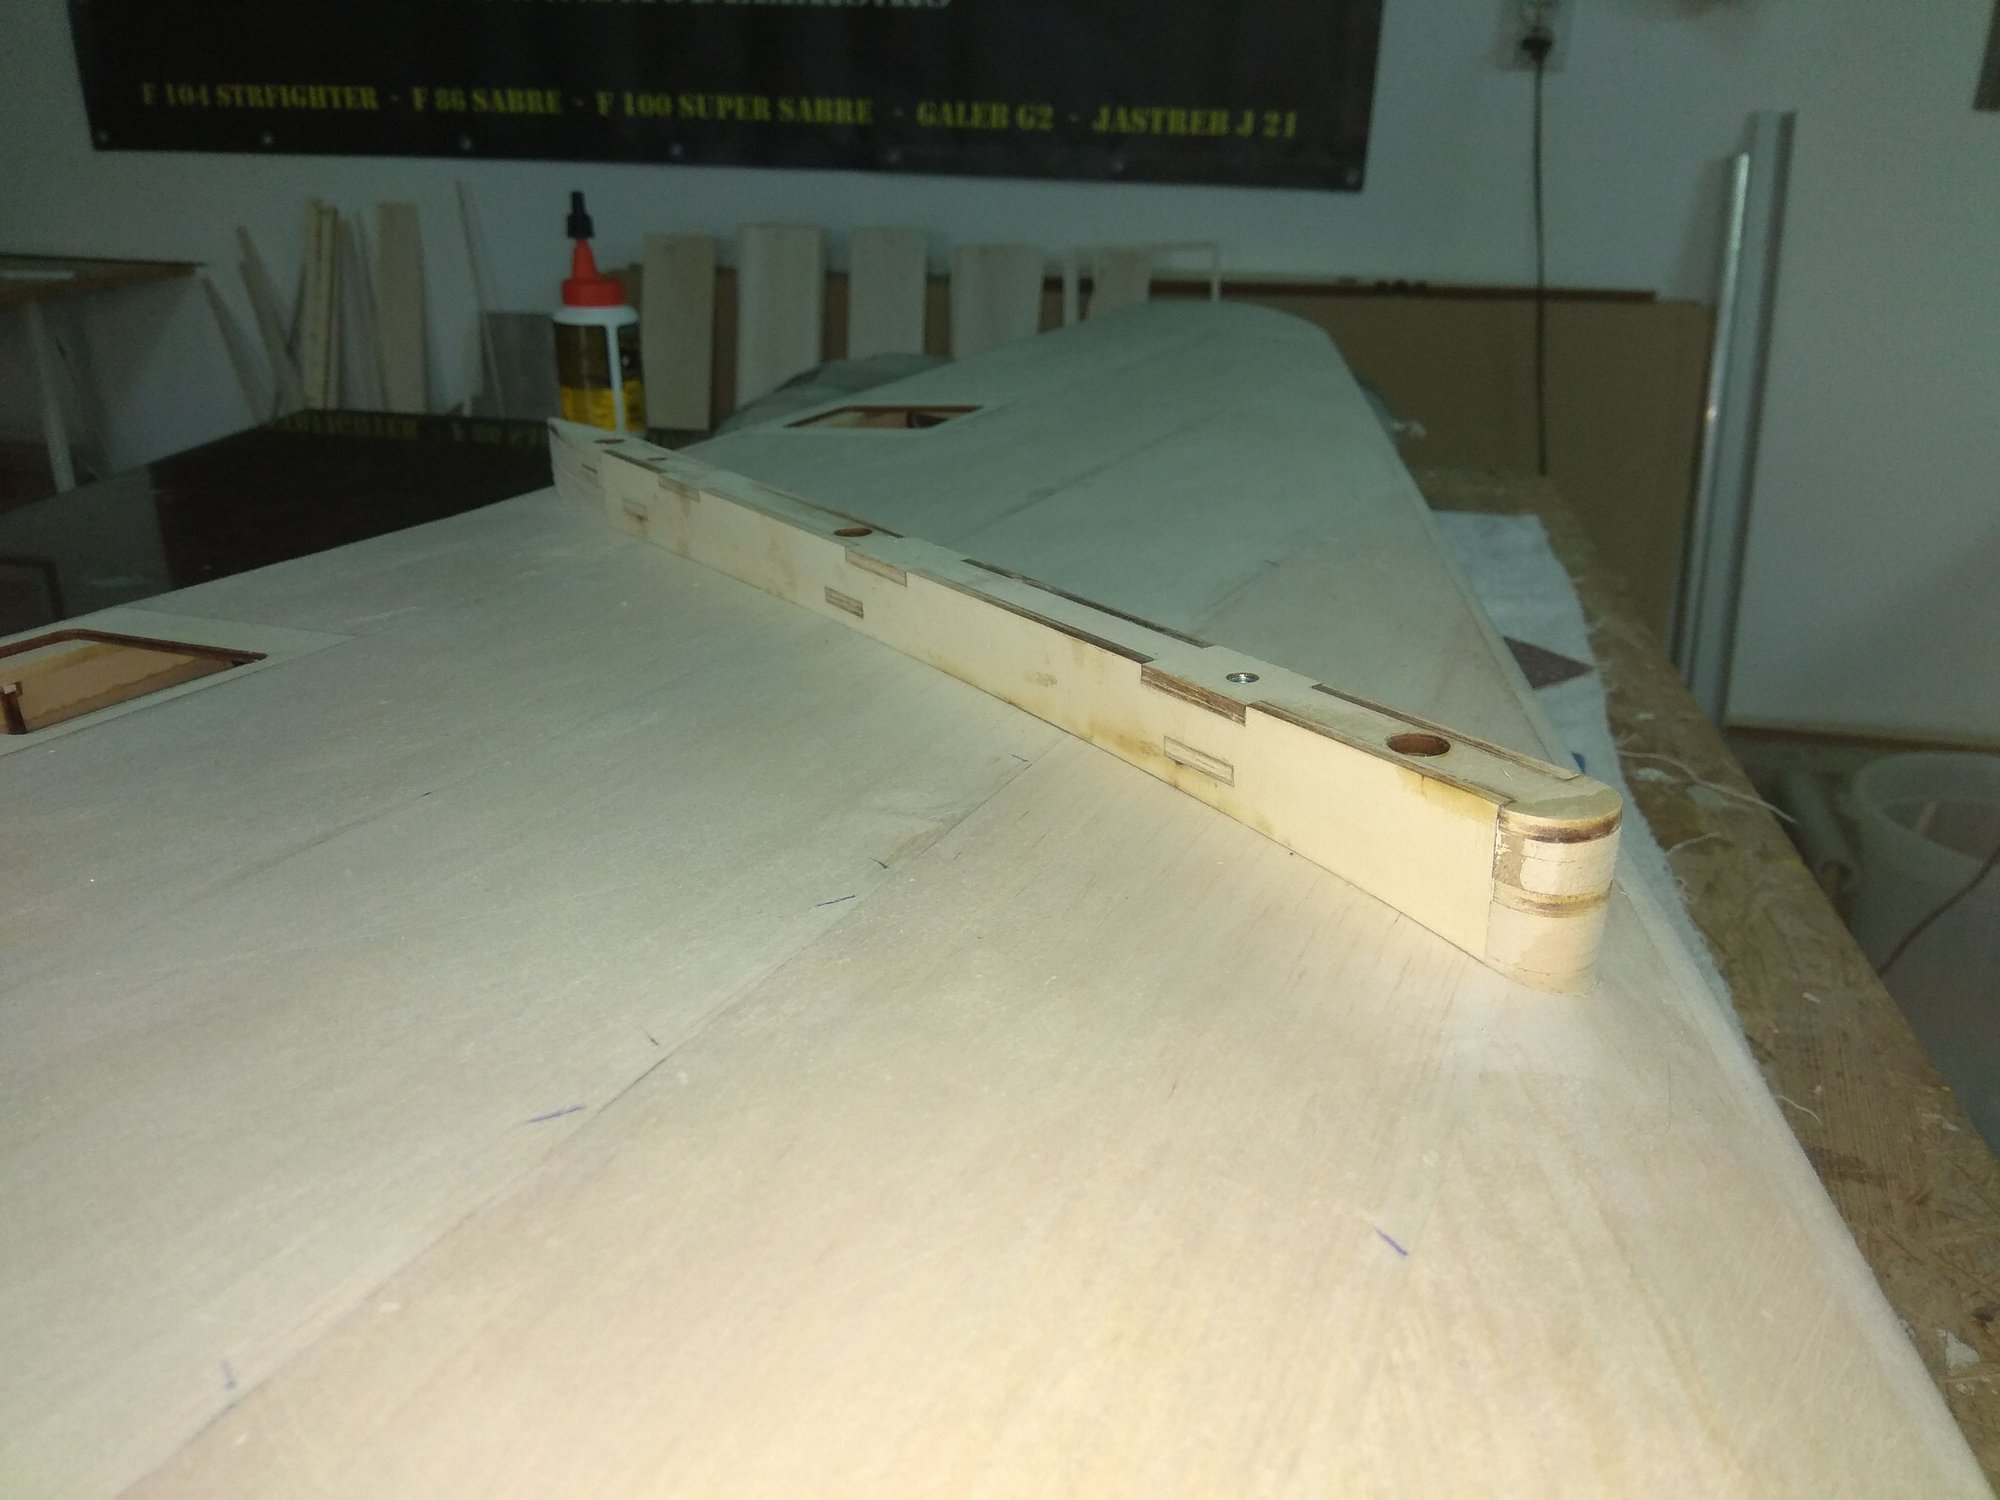
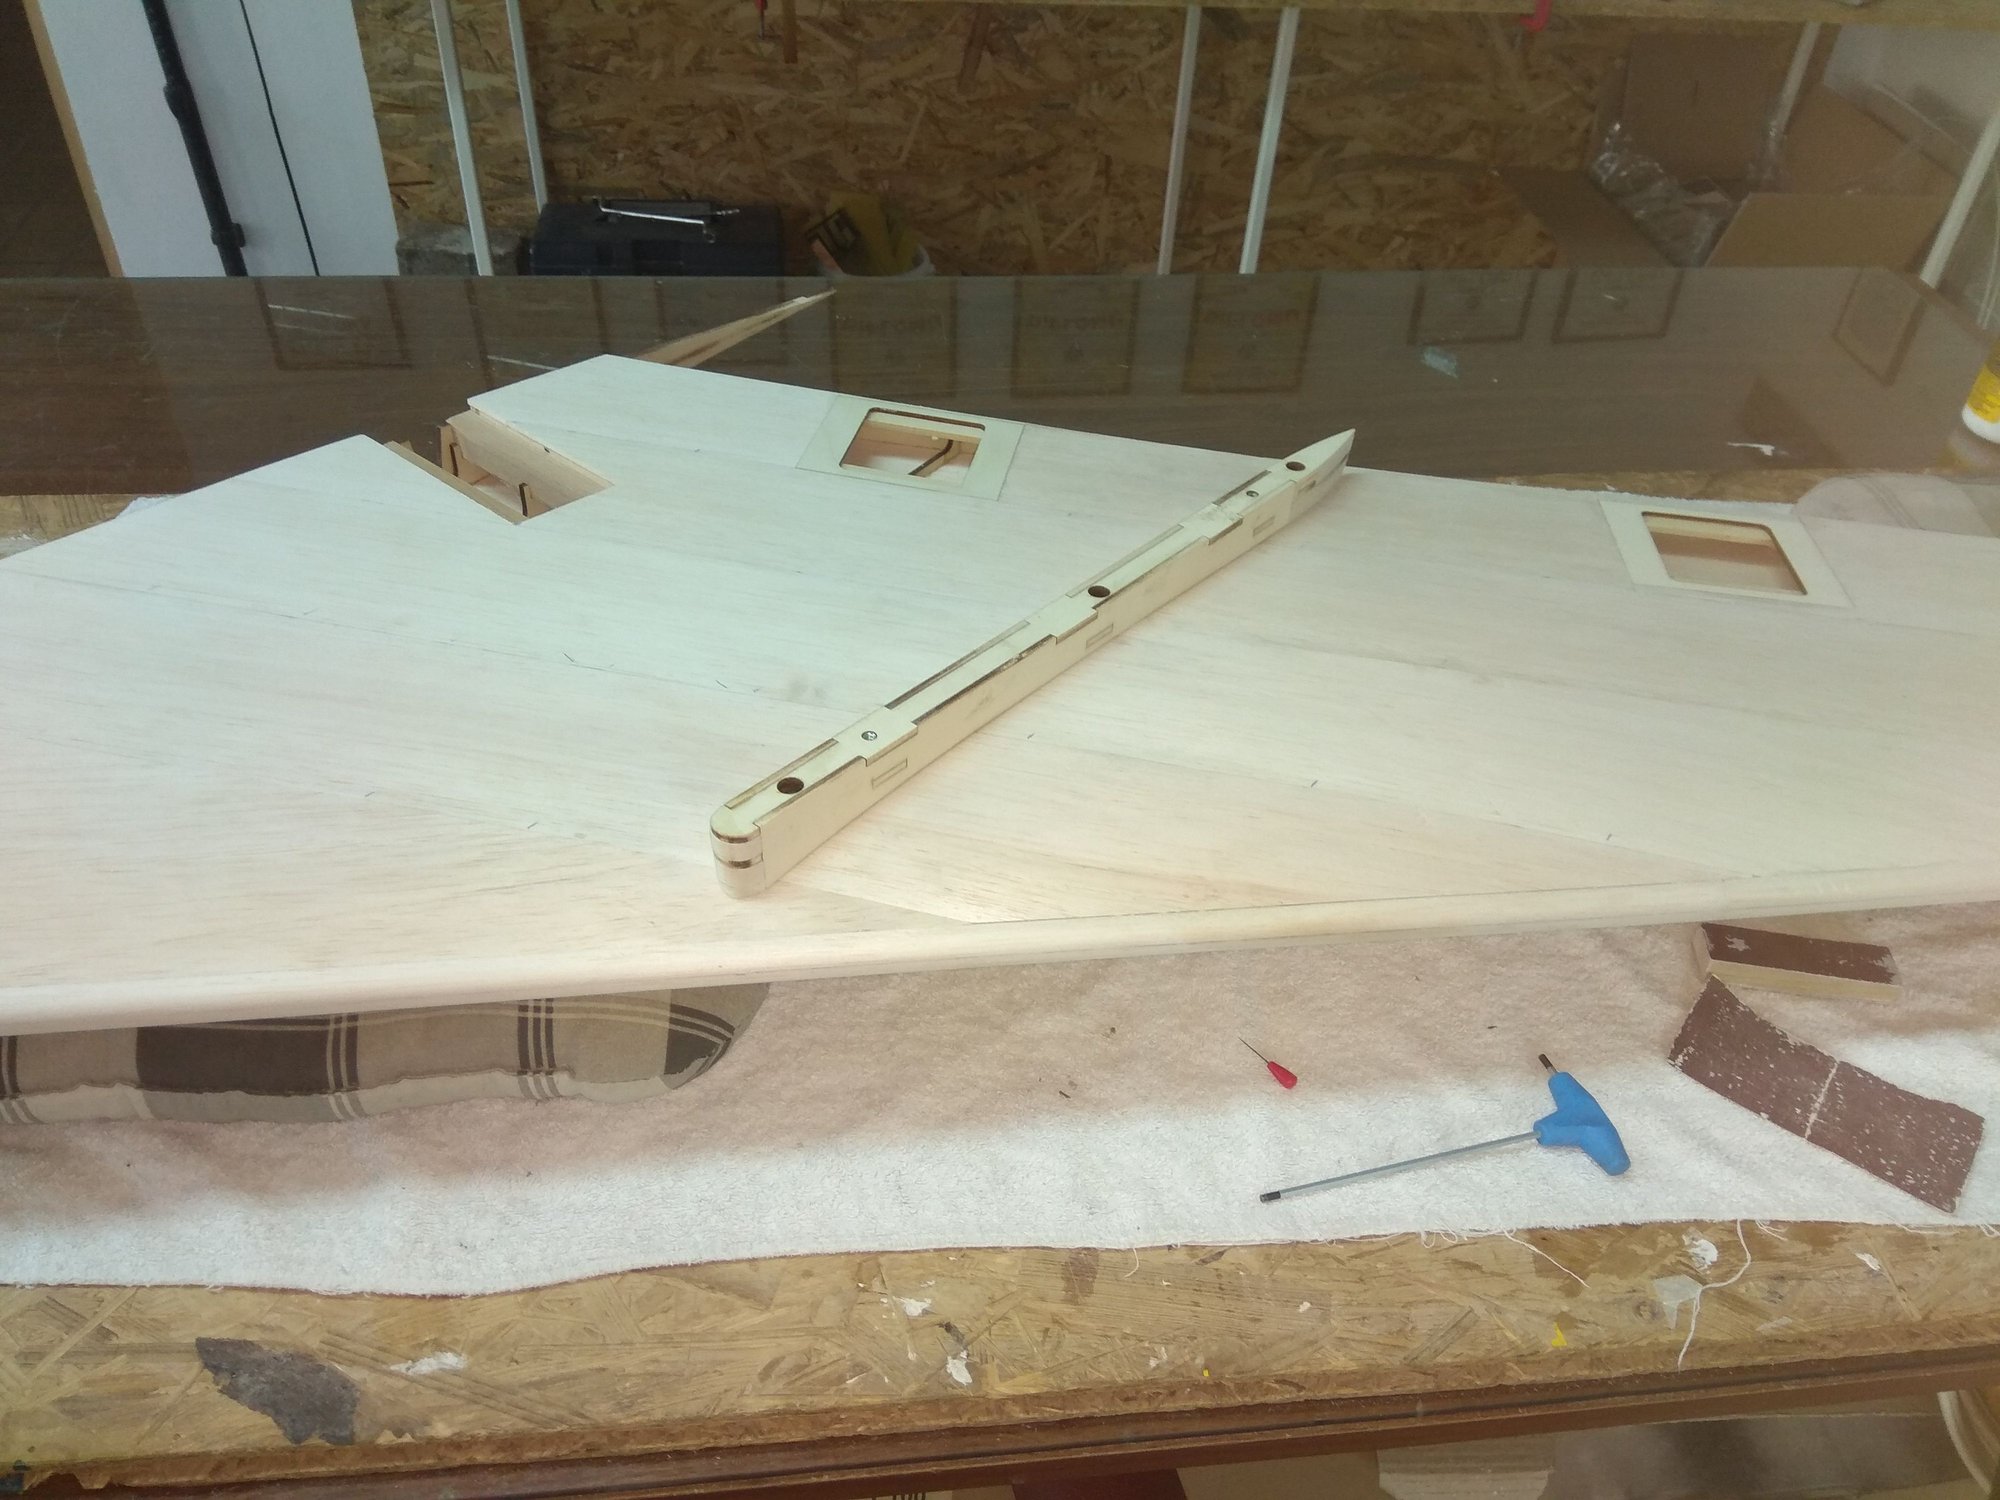

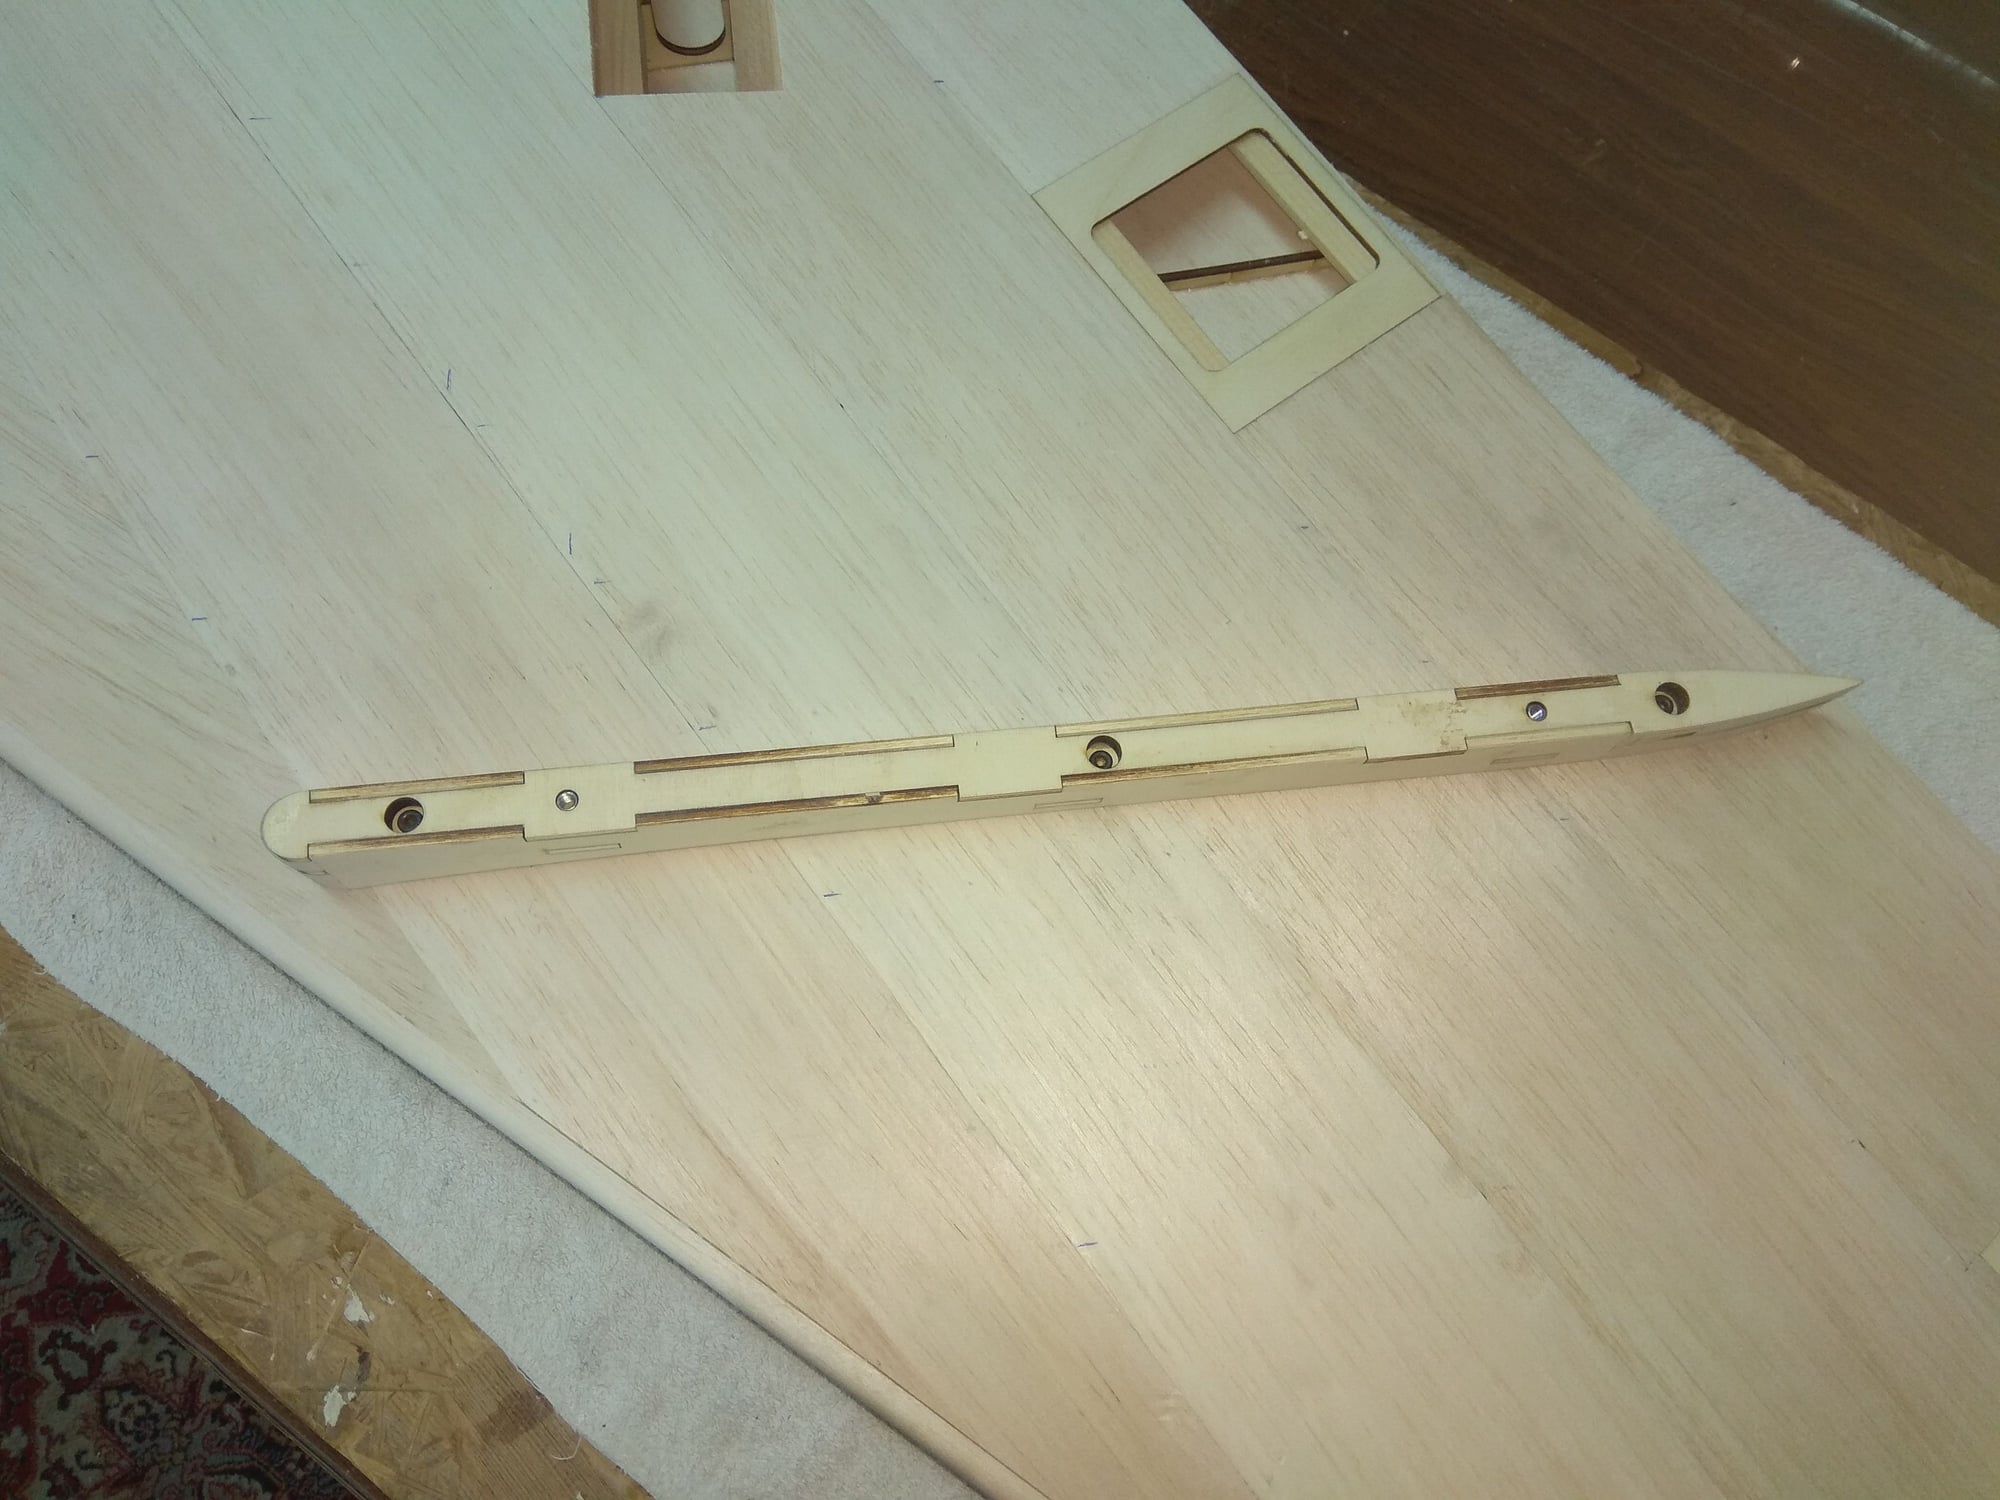
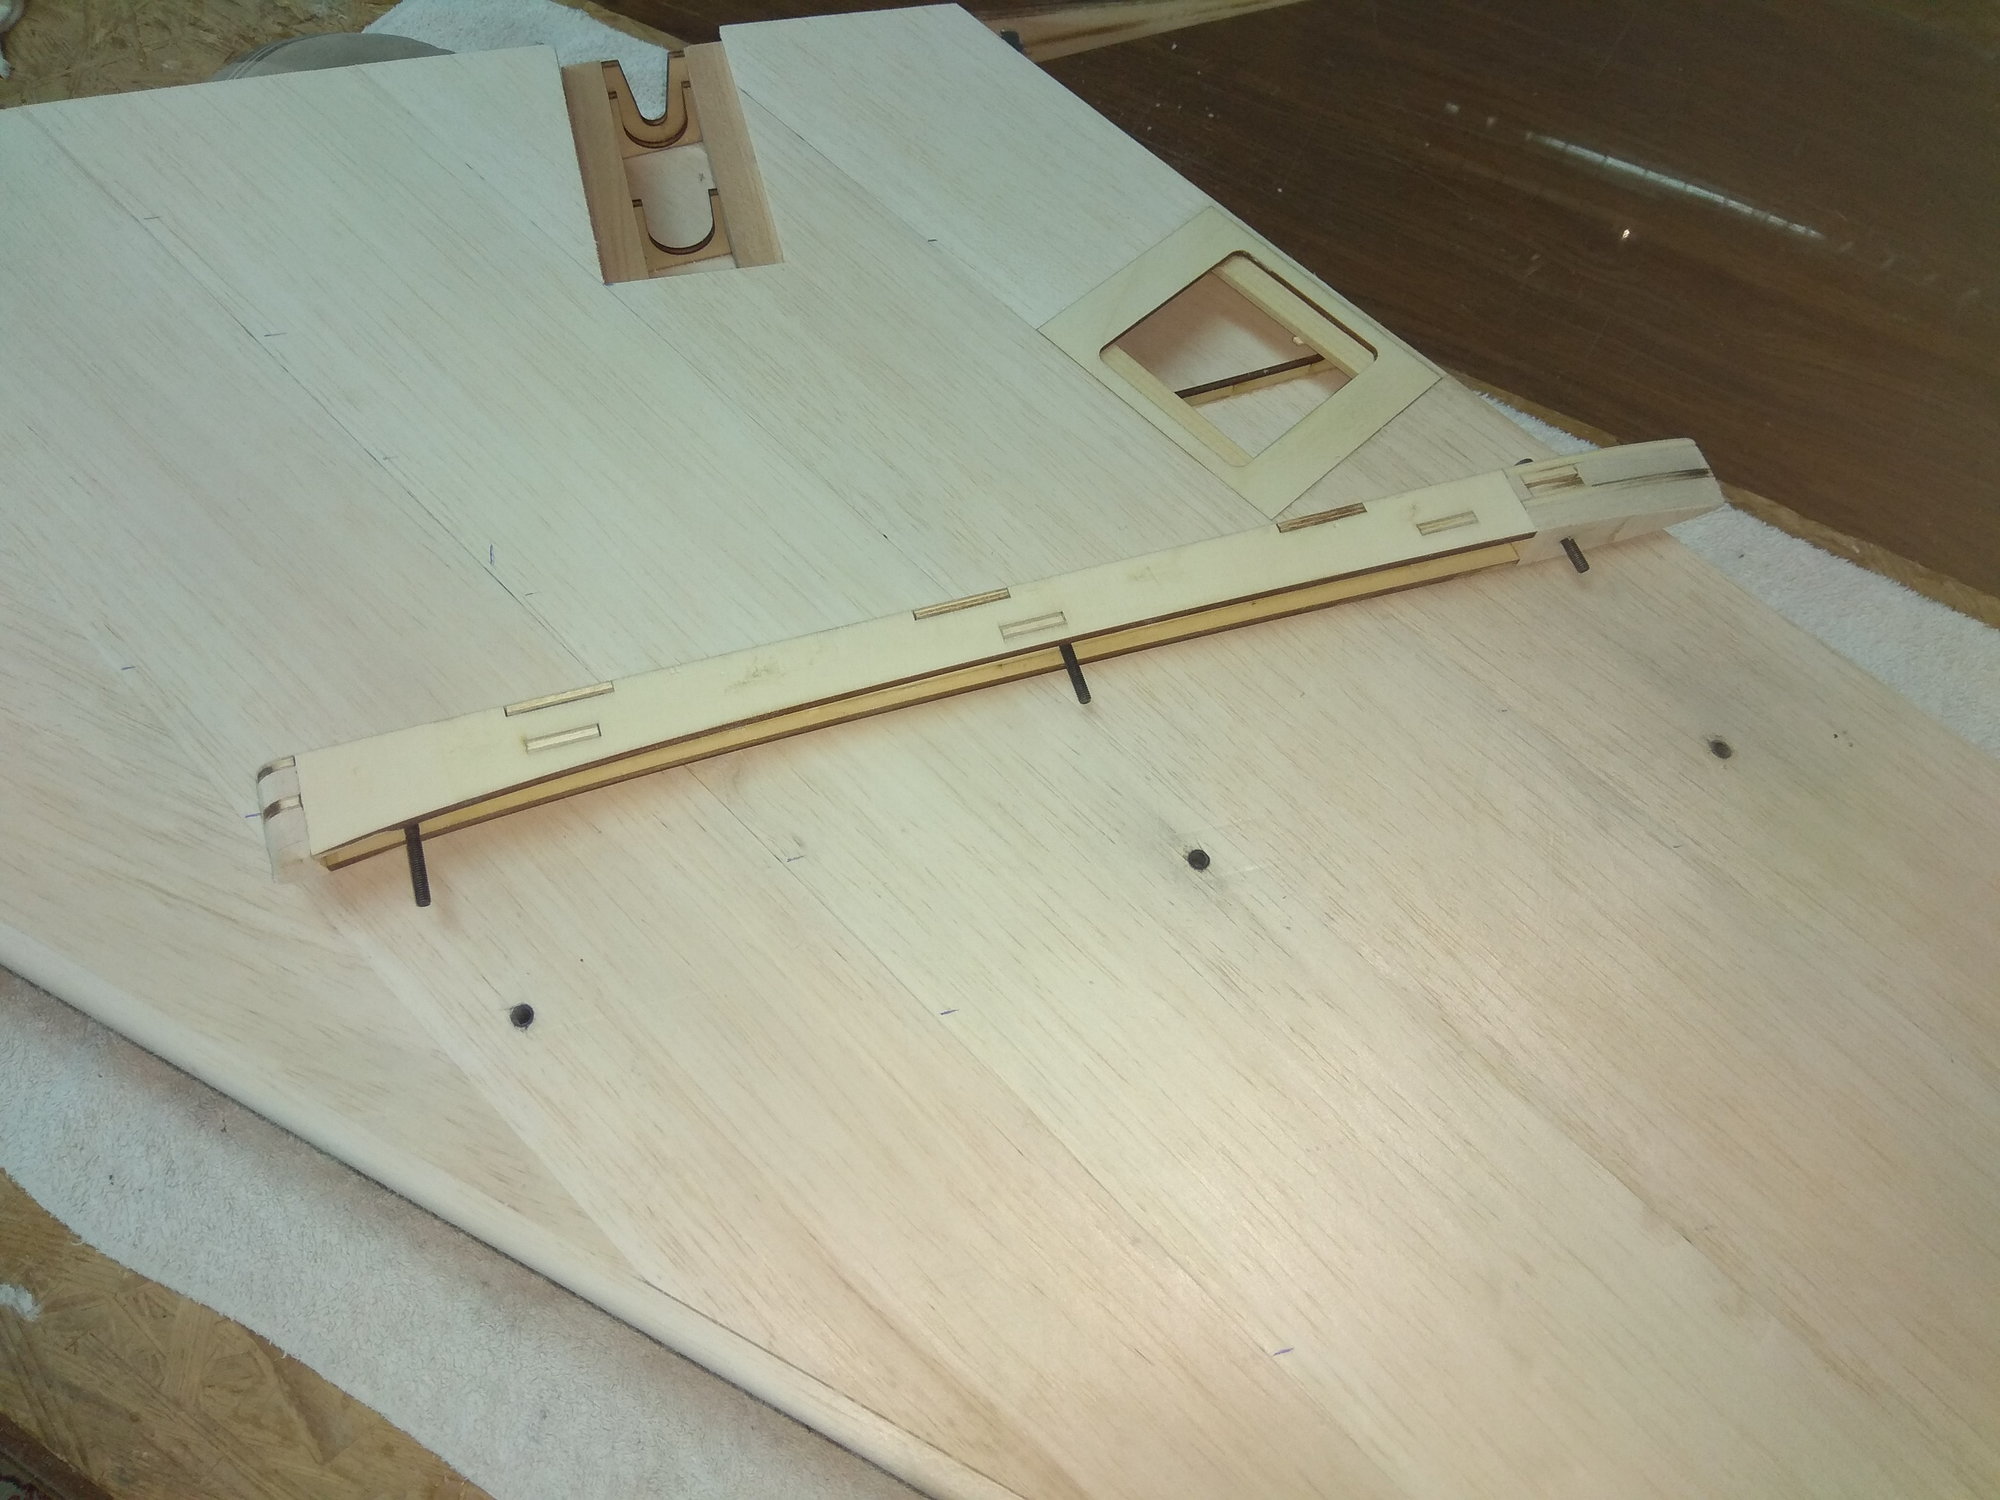
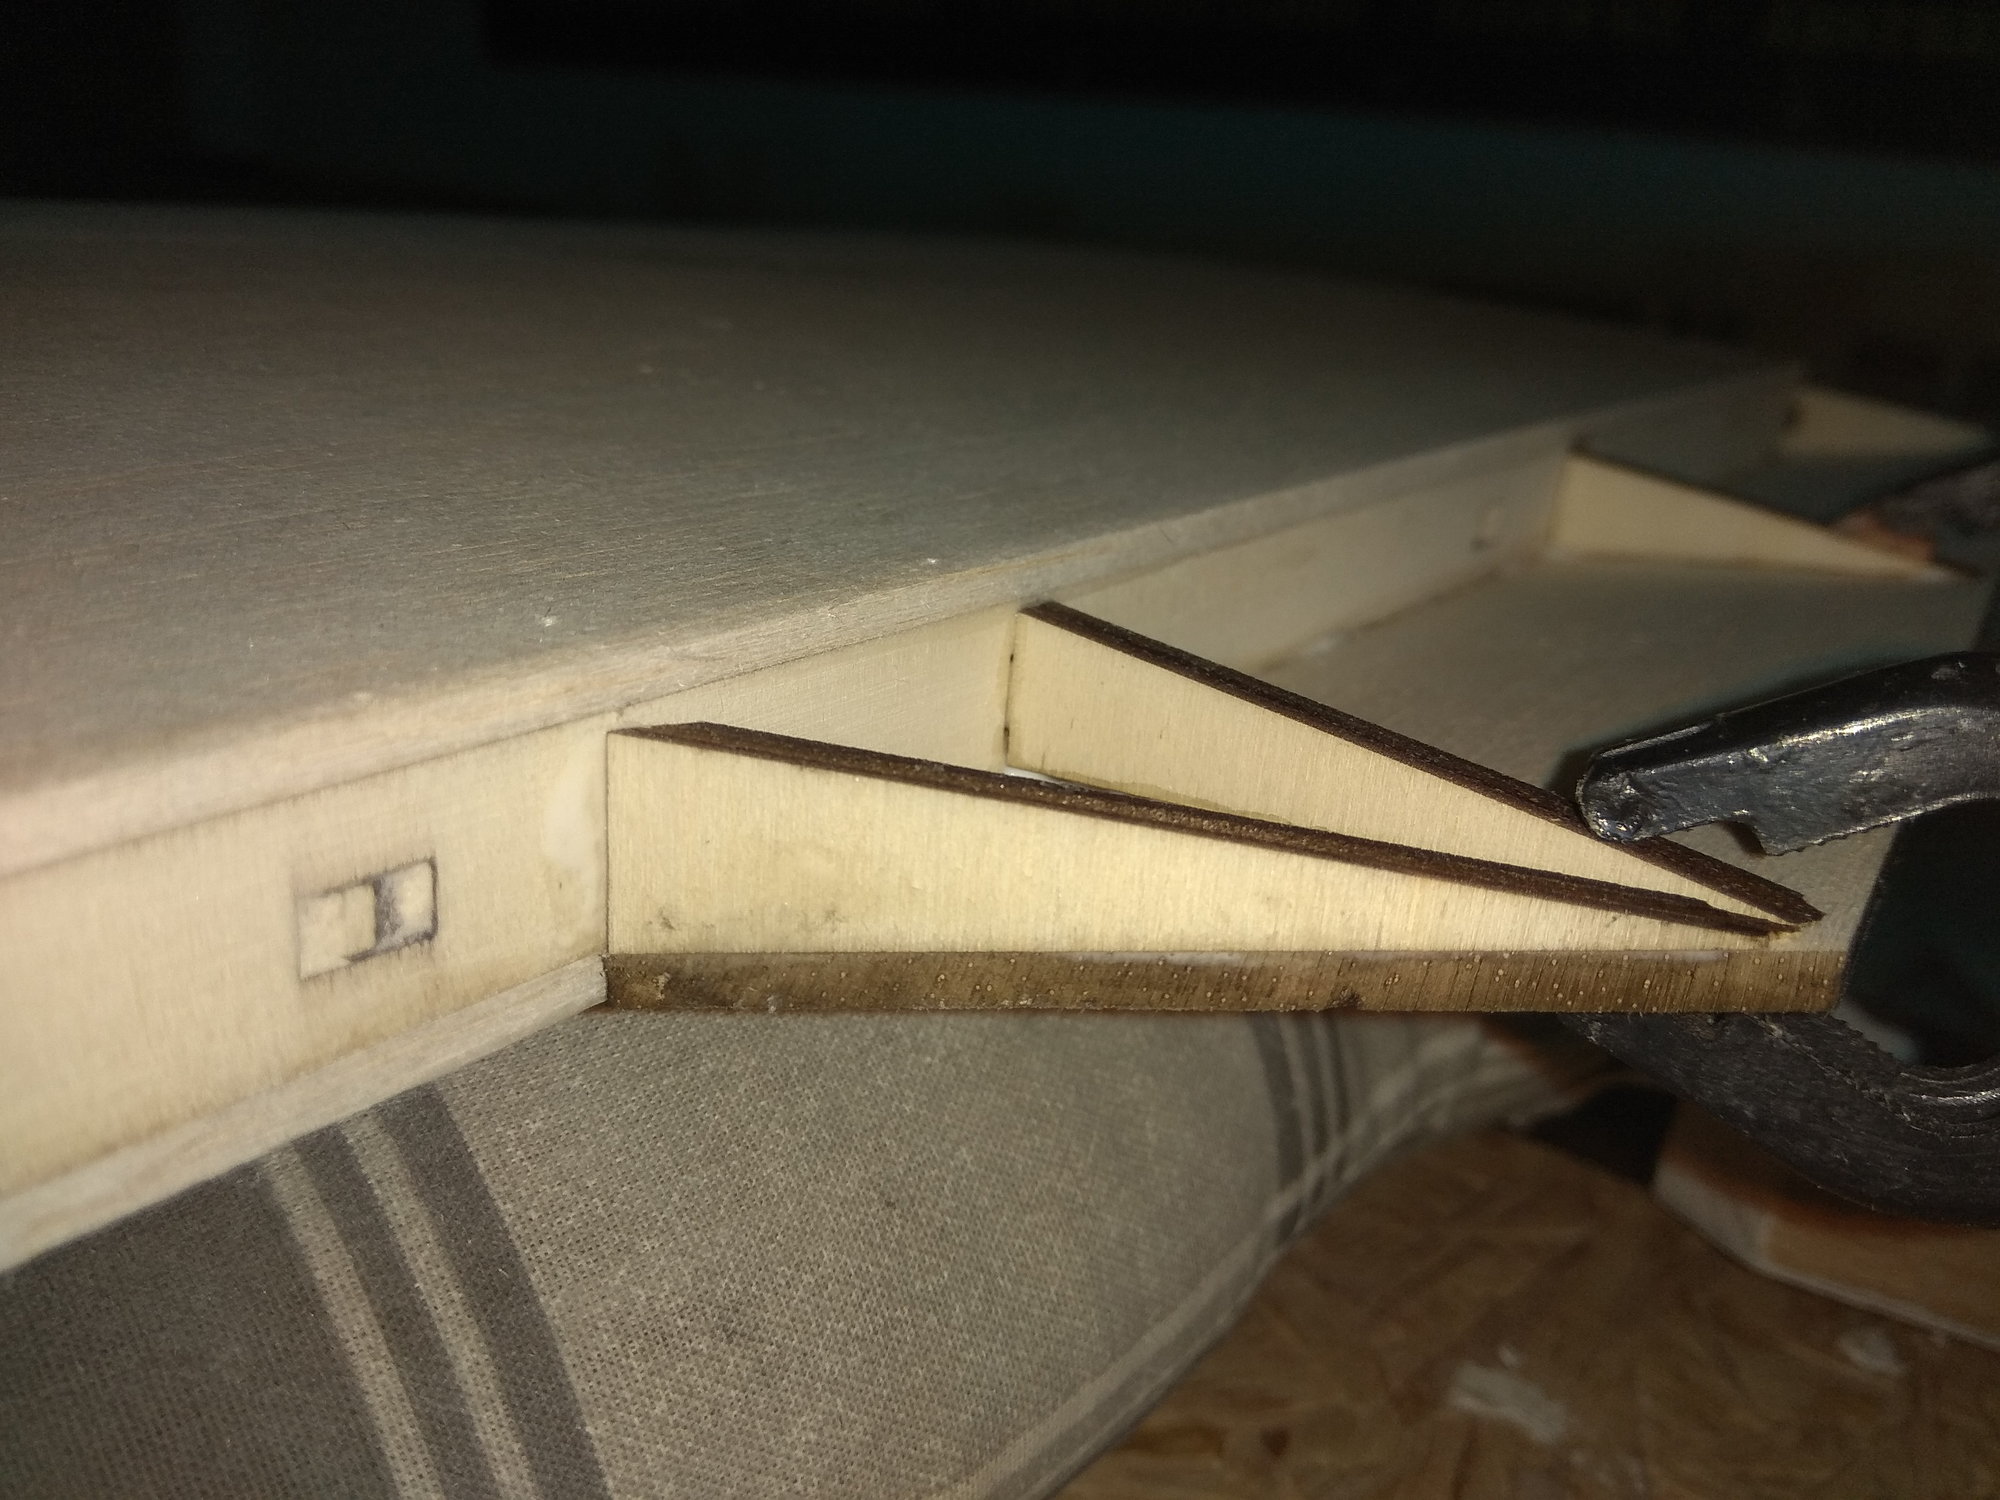
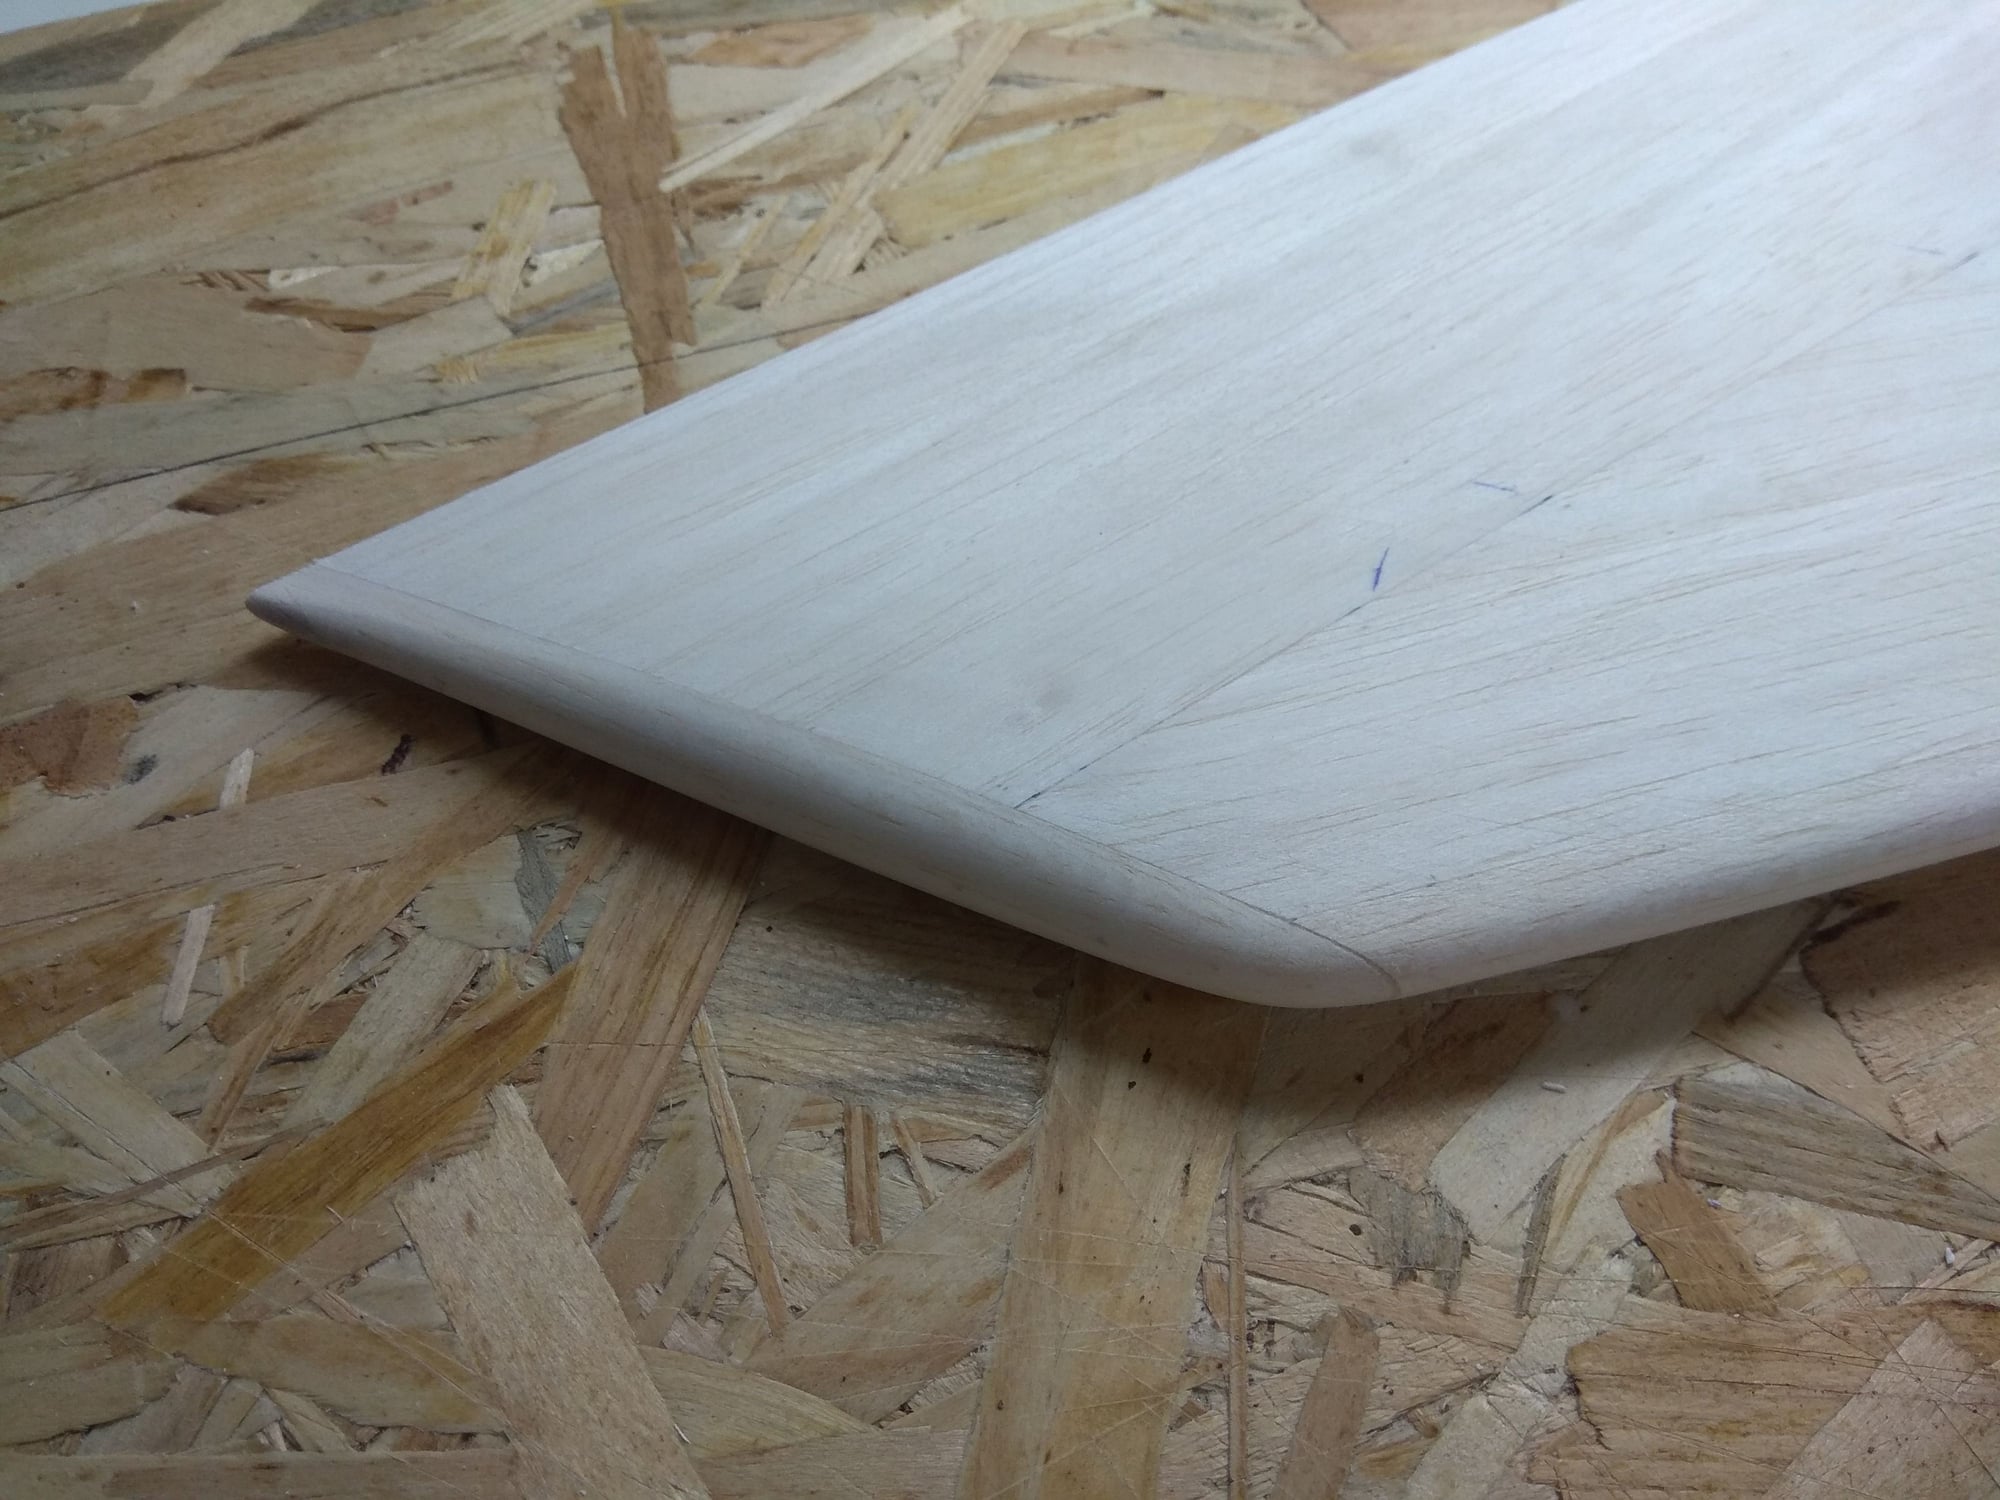
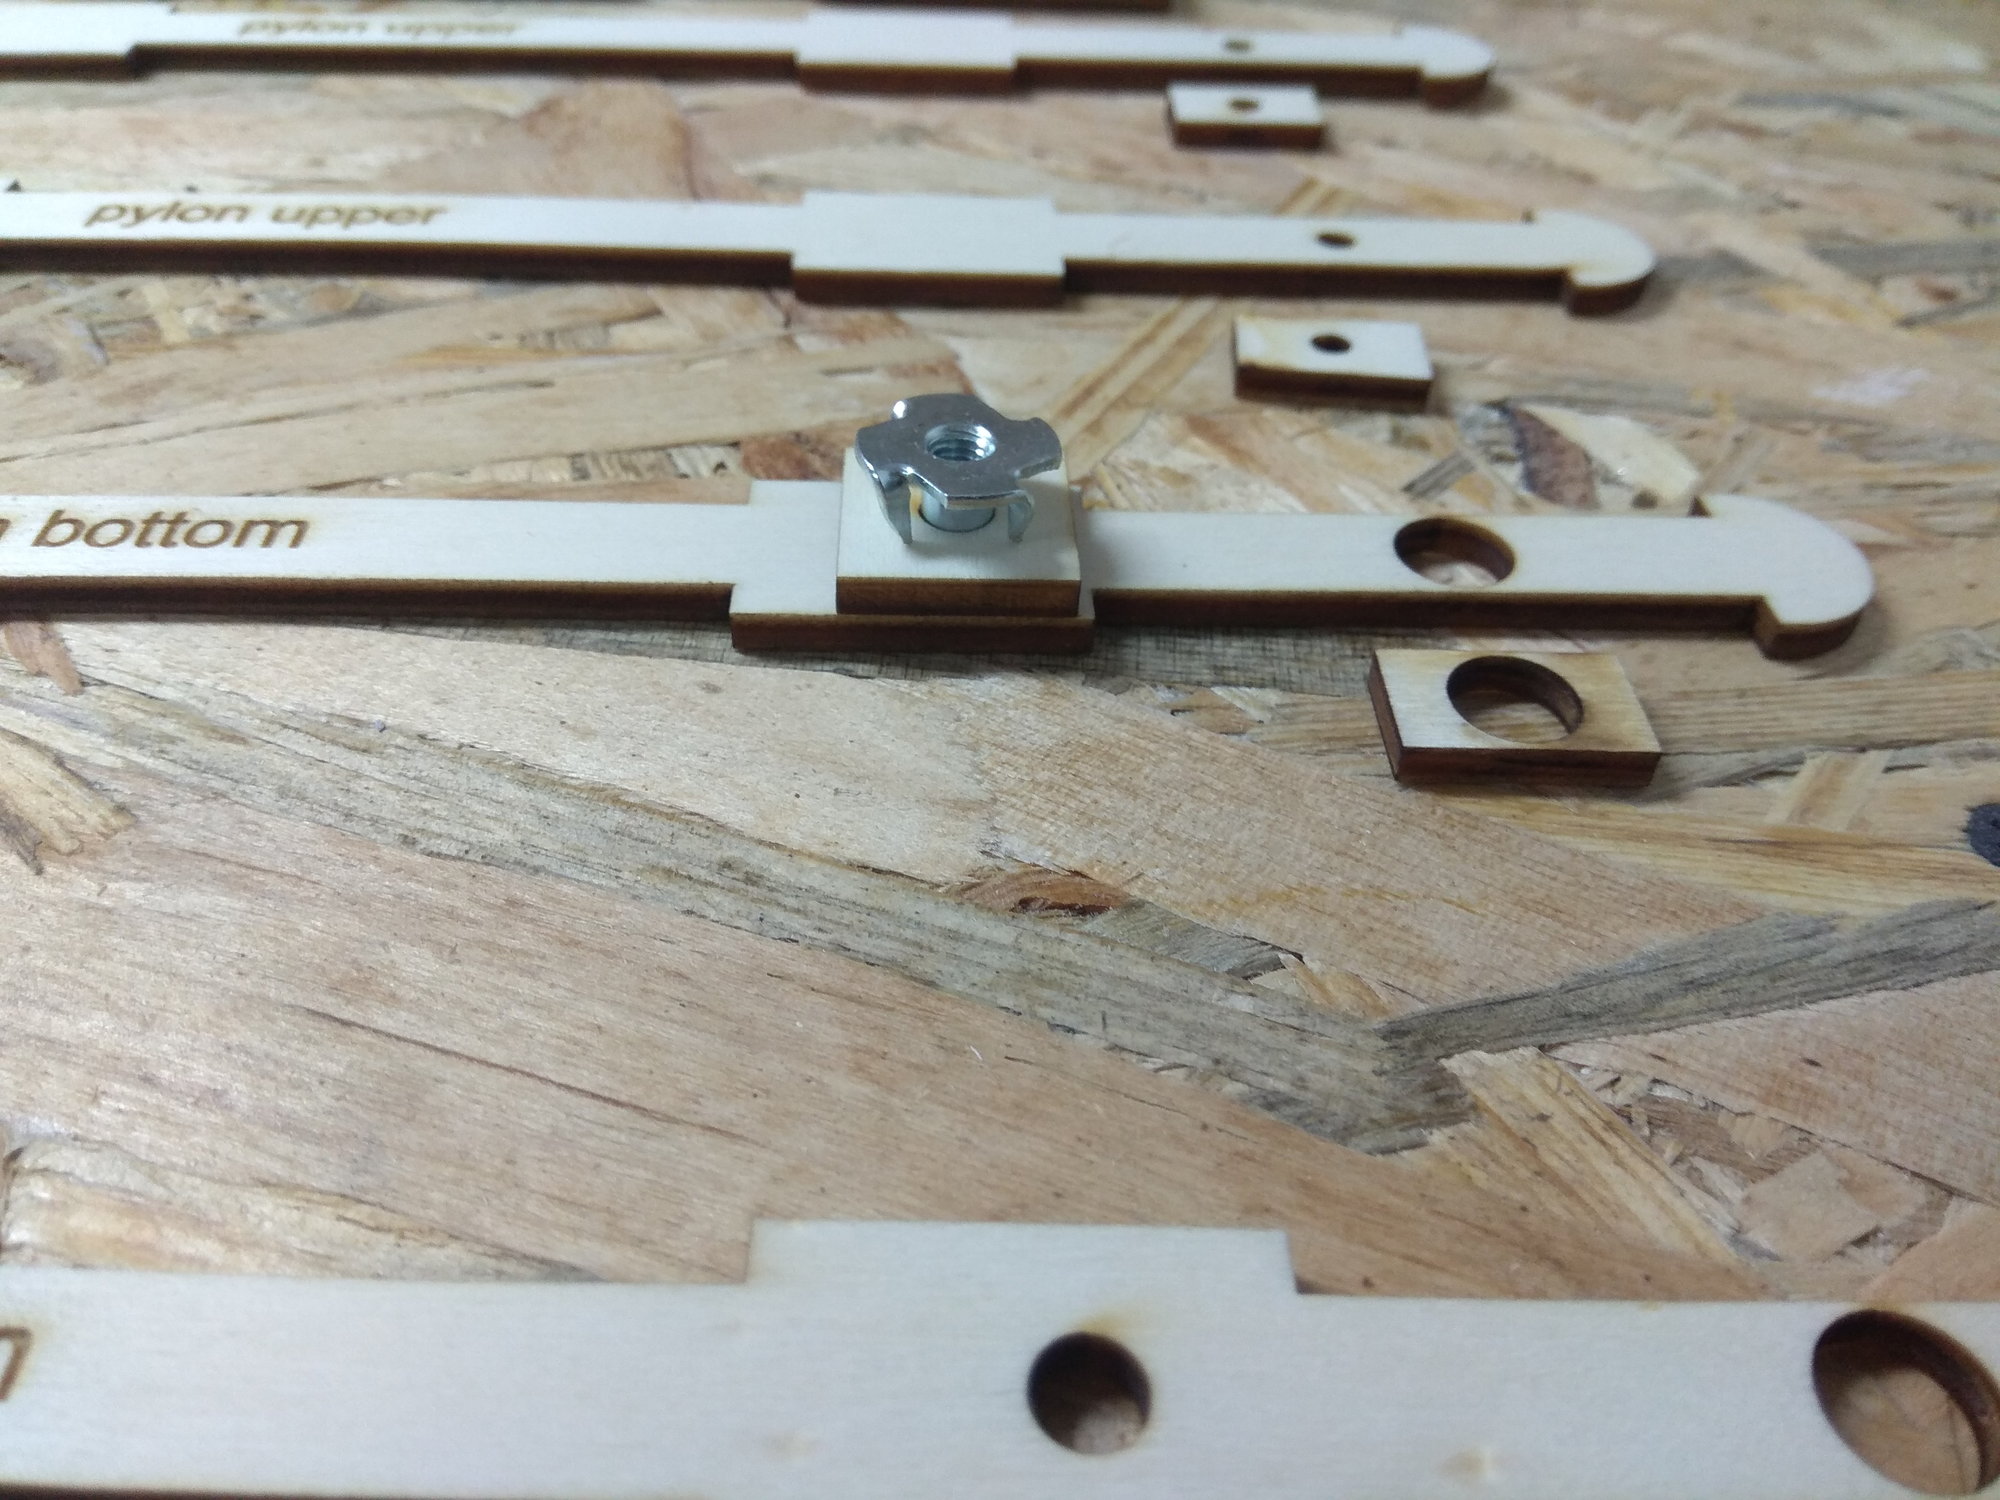
You can see on photos, front and rear pylon side are made from balsa. Ply plates give shape, so it is easy for sand.
Three bolts are for wing - pylon connection and two other holes are for wing tank.
On bottom side first I add servo holders.
Servo carrier & cover - NS Modelers
Before planking with 3 mm balsa on the bottom side, I must insert in the wing pylon holders.
The previous step was to make the pylons.
One of offer from F 100 Super Sabre wooden kit is wing tank & pylon kit:
F 100 - wing tanks & pylons - NS Modelers
I made pylons first, take care you have left and right pylon!!!
Now parts which come into the wing...
After bottom side planking...
You can see on photos, front and rear pylon side are made from balsa. Ply plates give shape, so it is easy for sand.
Three bolts are for wing - pylon connection and two other holes are for wing tank.

 09-21-2018, 11:17 AM
#72
Thread Starter
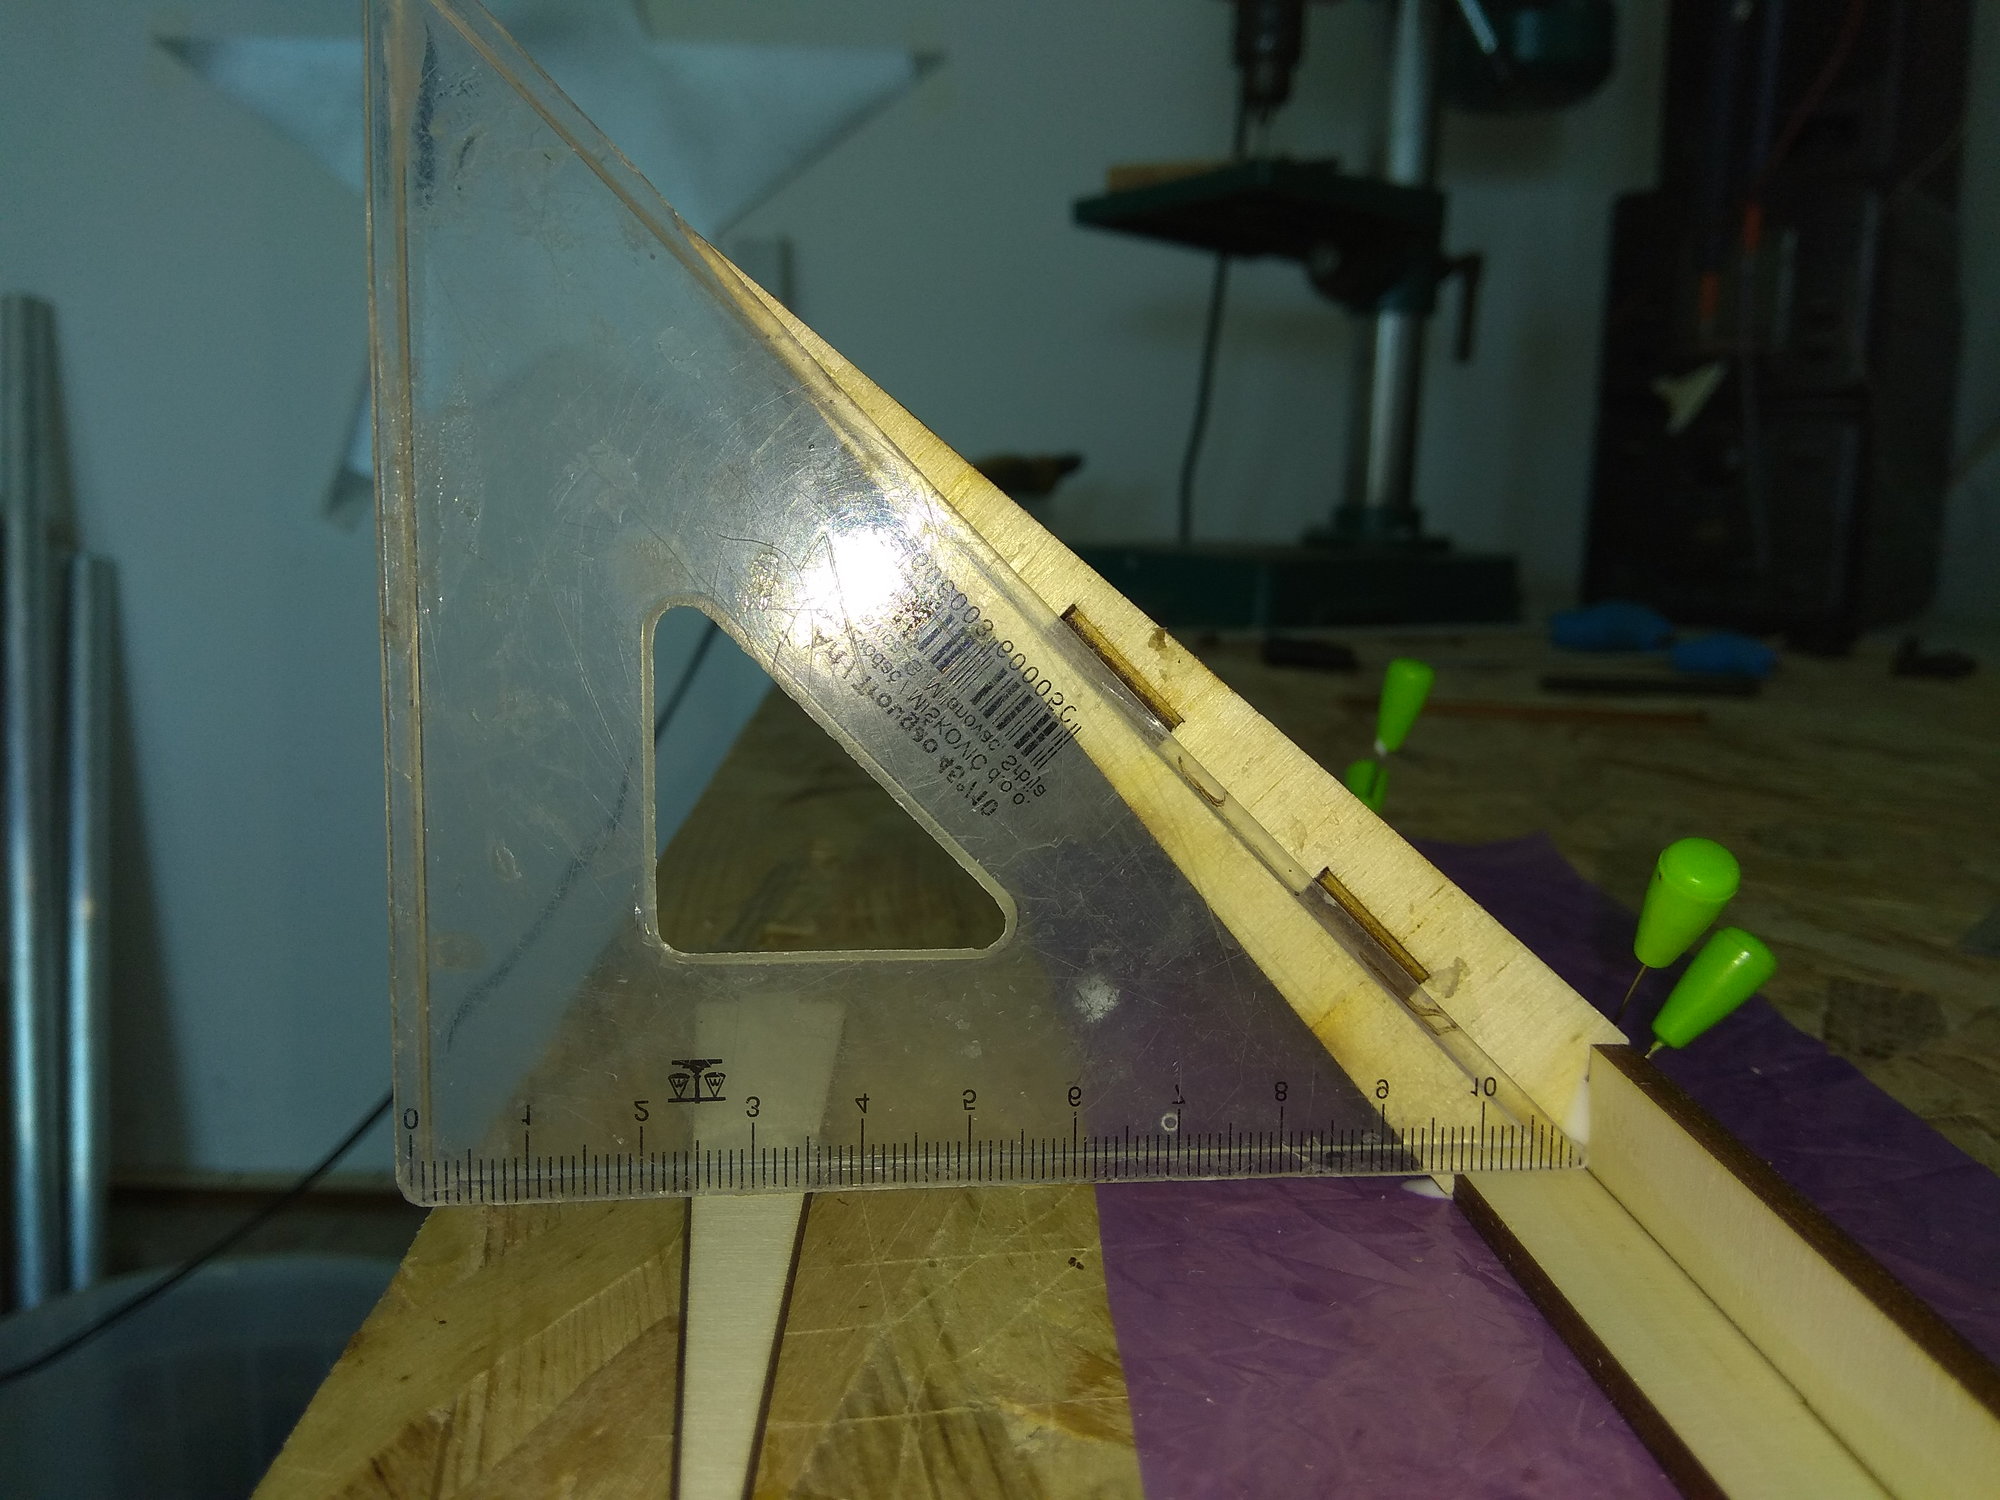
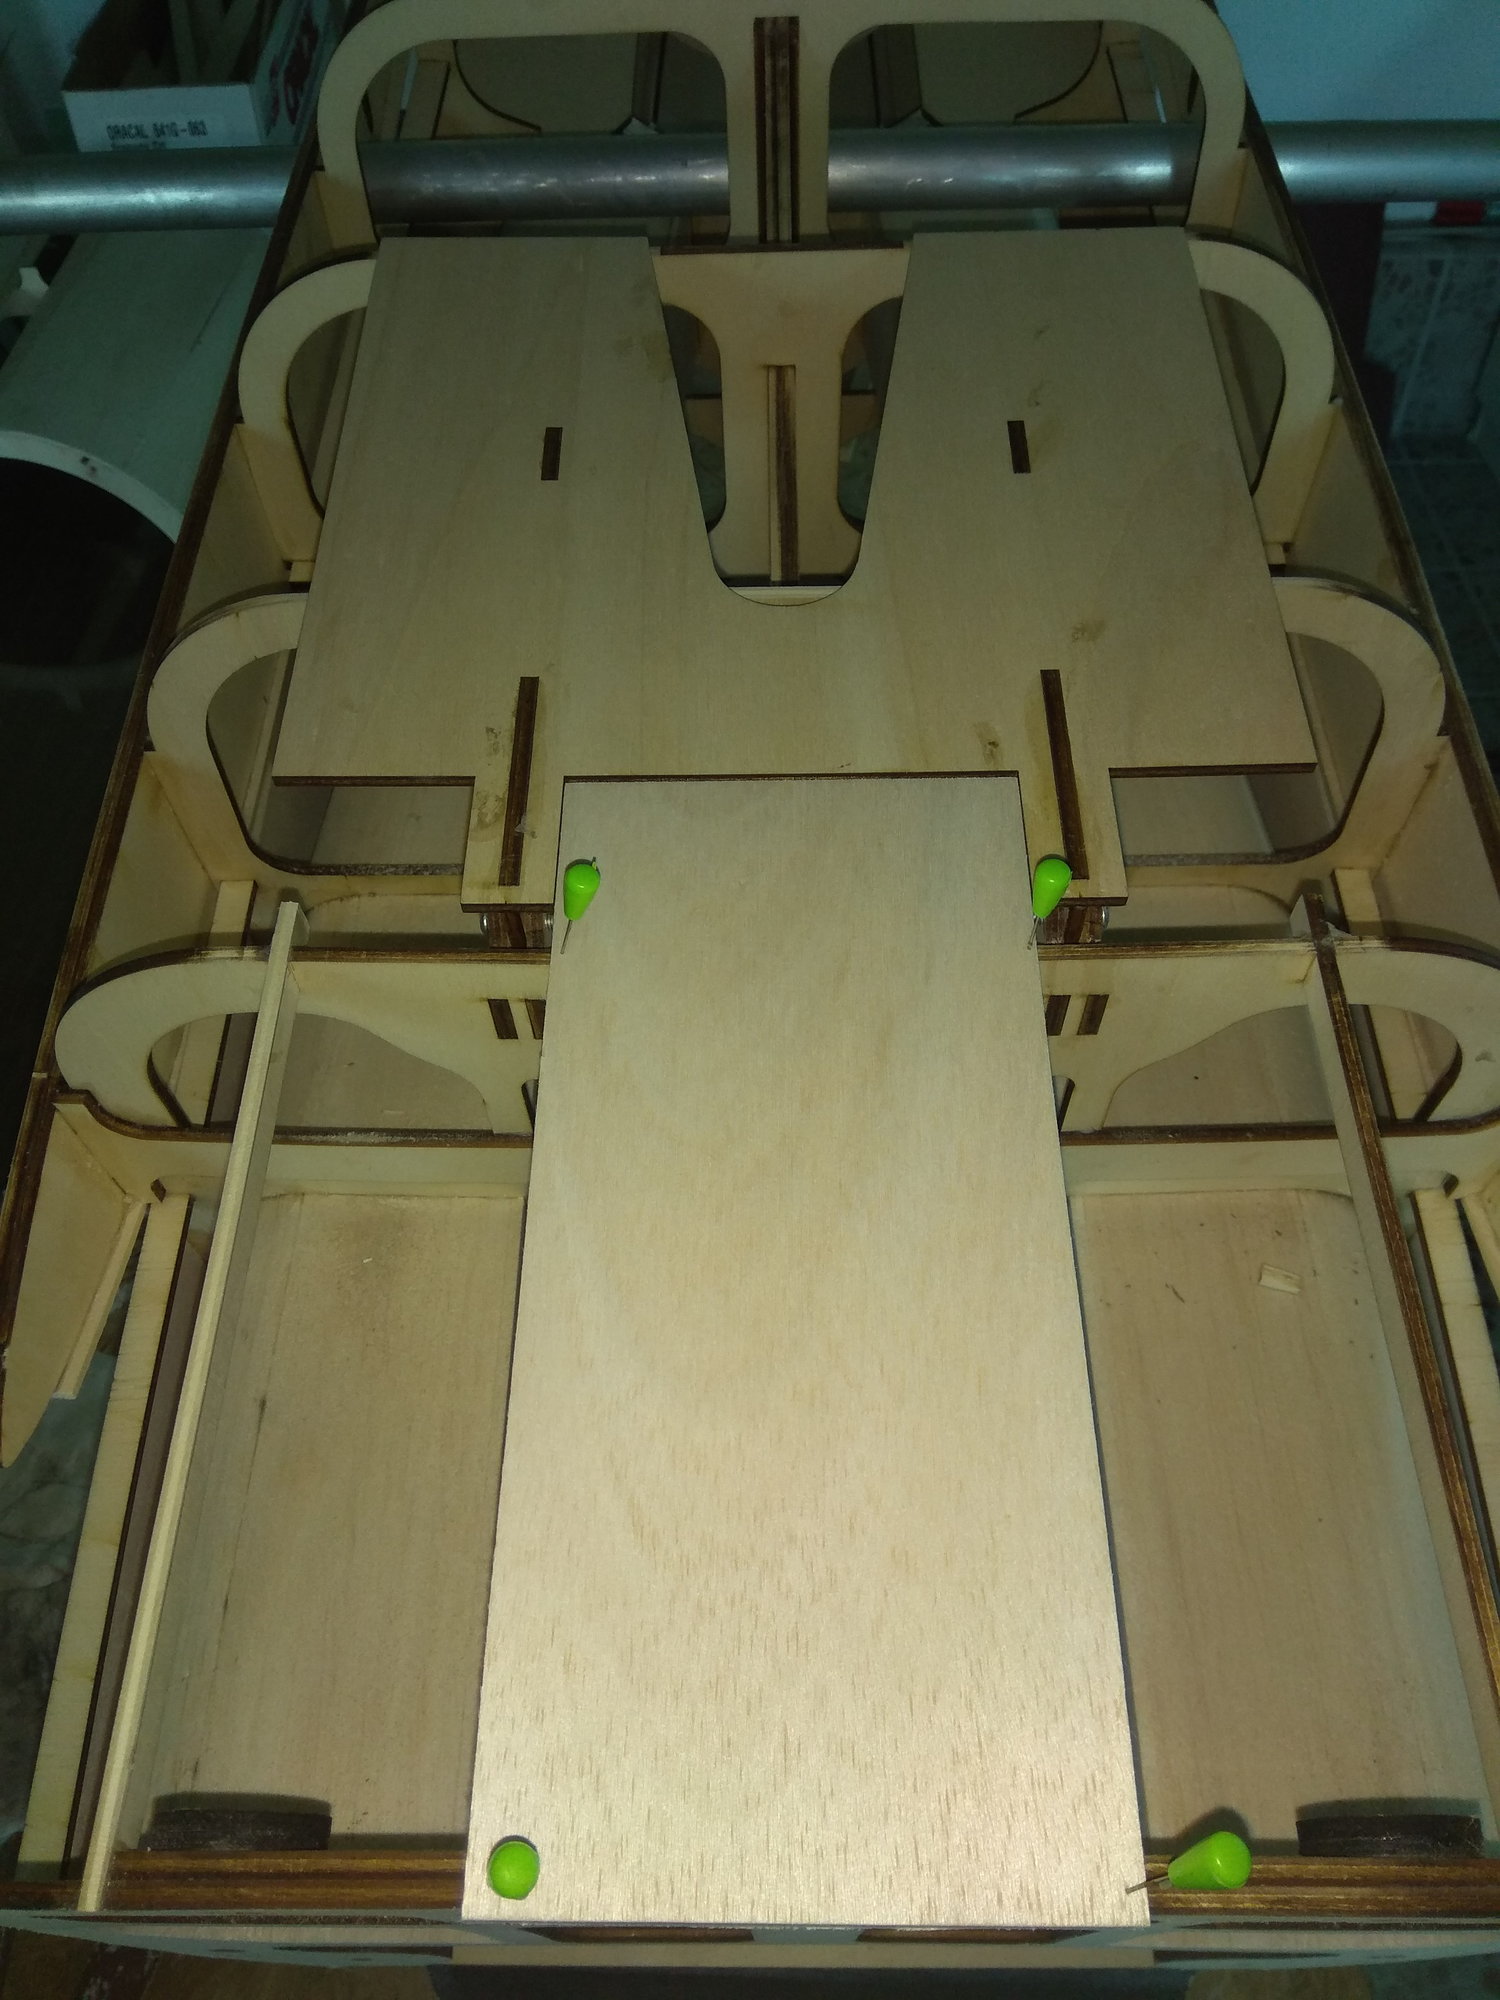
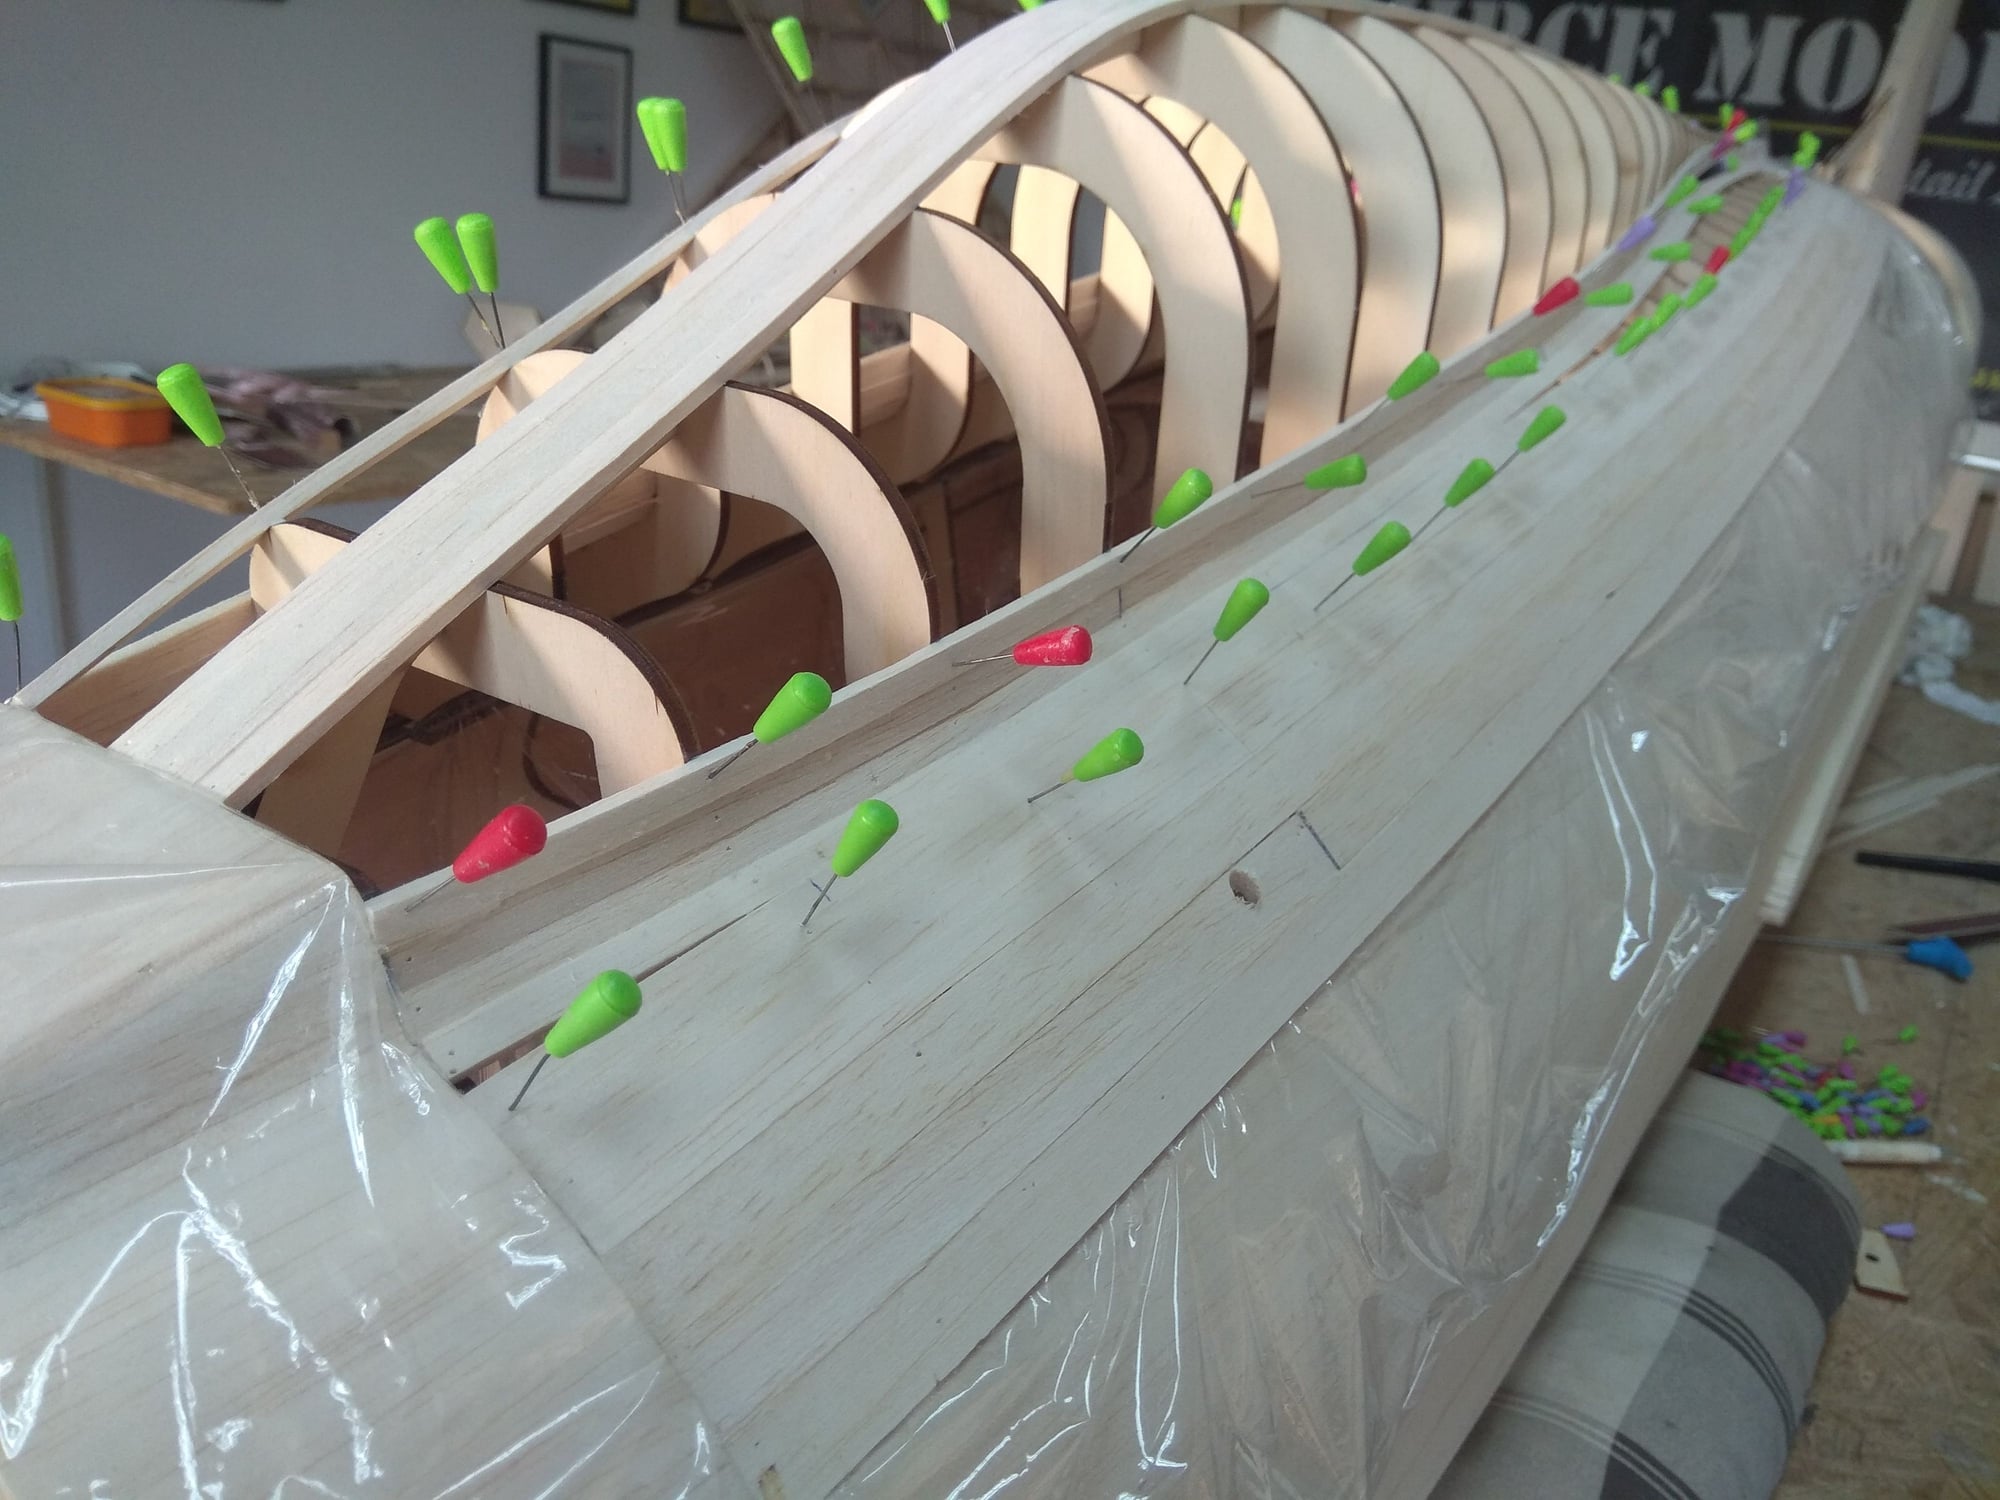
Small pins are from "Mibo model" hobby shop - Modelarske bucike � 0,6 x 20 mm 50 kos
About weight, I don't measure, but will do that in next few days...
Mirce
About weight, I don't measure, but will do that in next few days...
Mirce