


F 100 from "Mirce models" wooden kit
 10-07-2018, 09:04 AM
#76


 10-24-2018, 04:11 PM
#79

Thread Starter
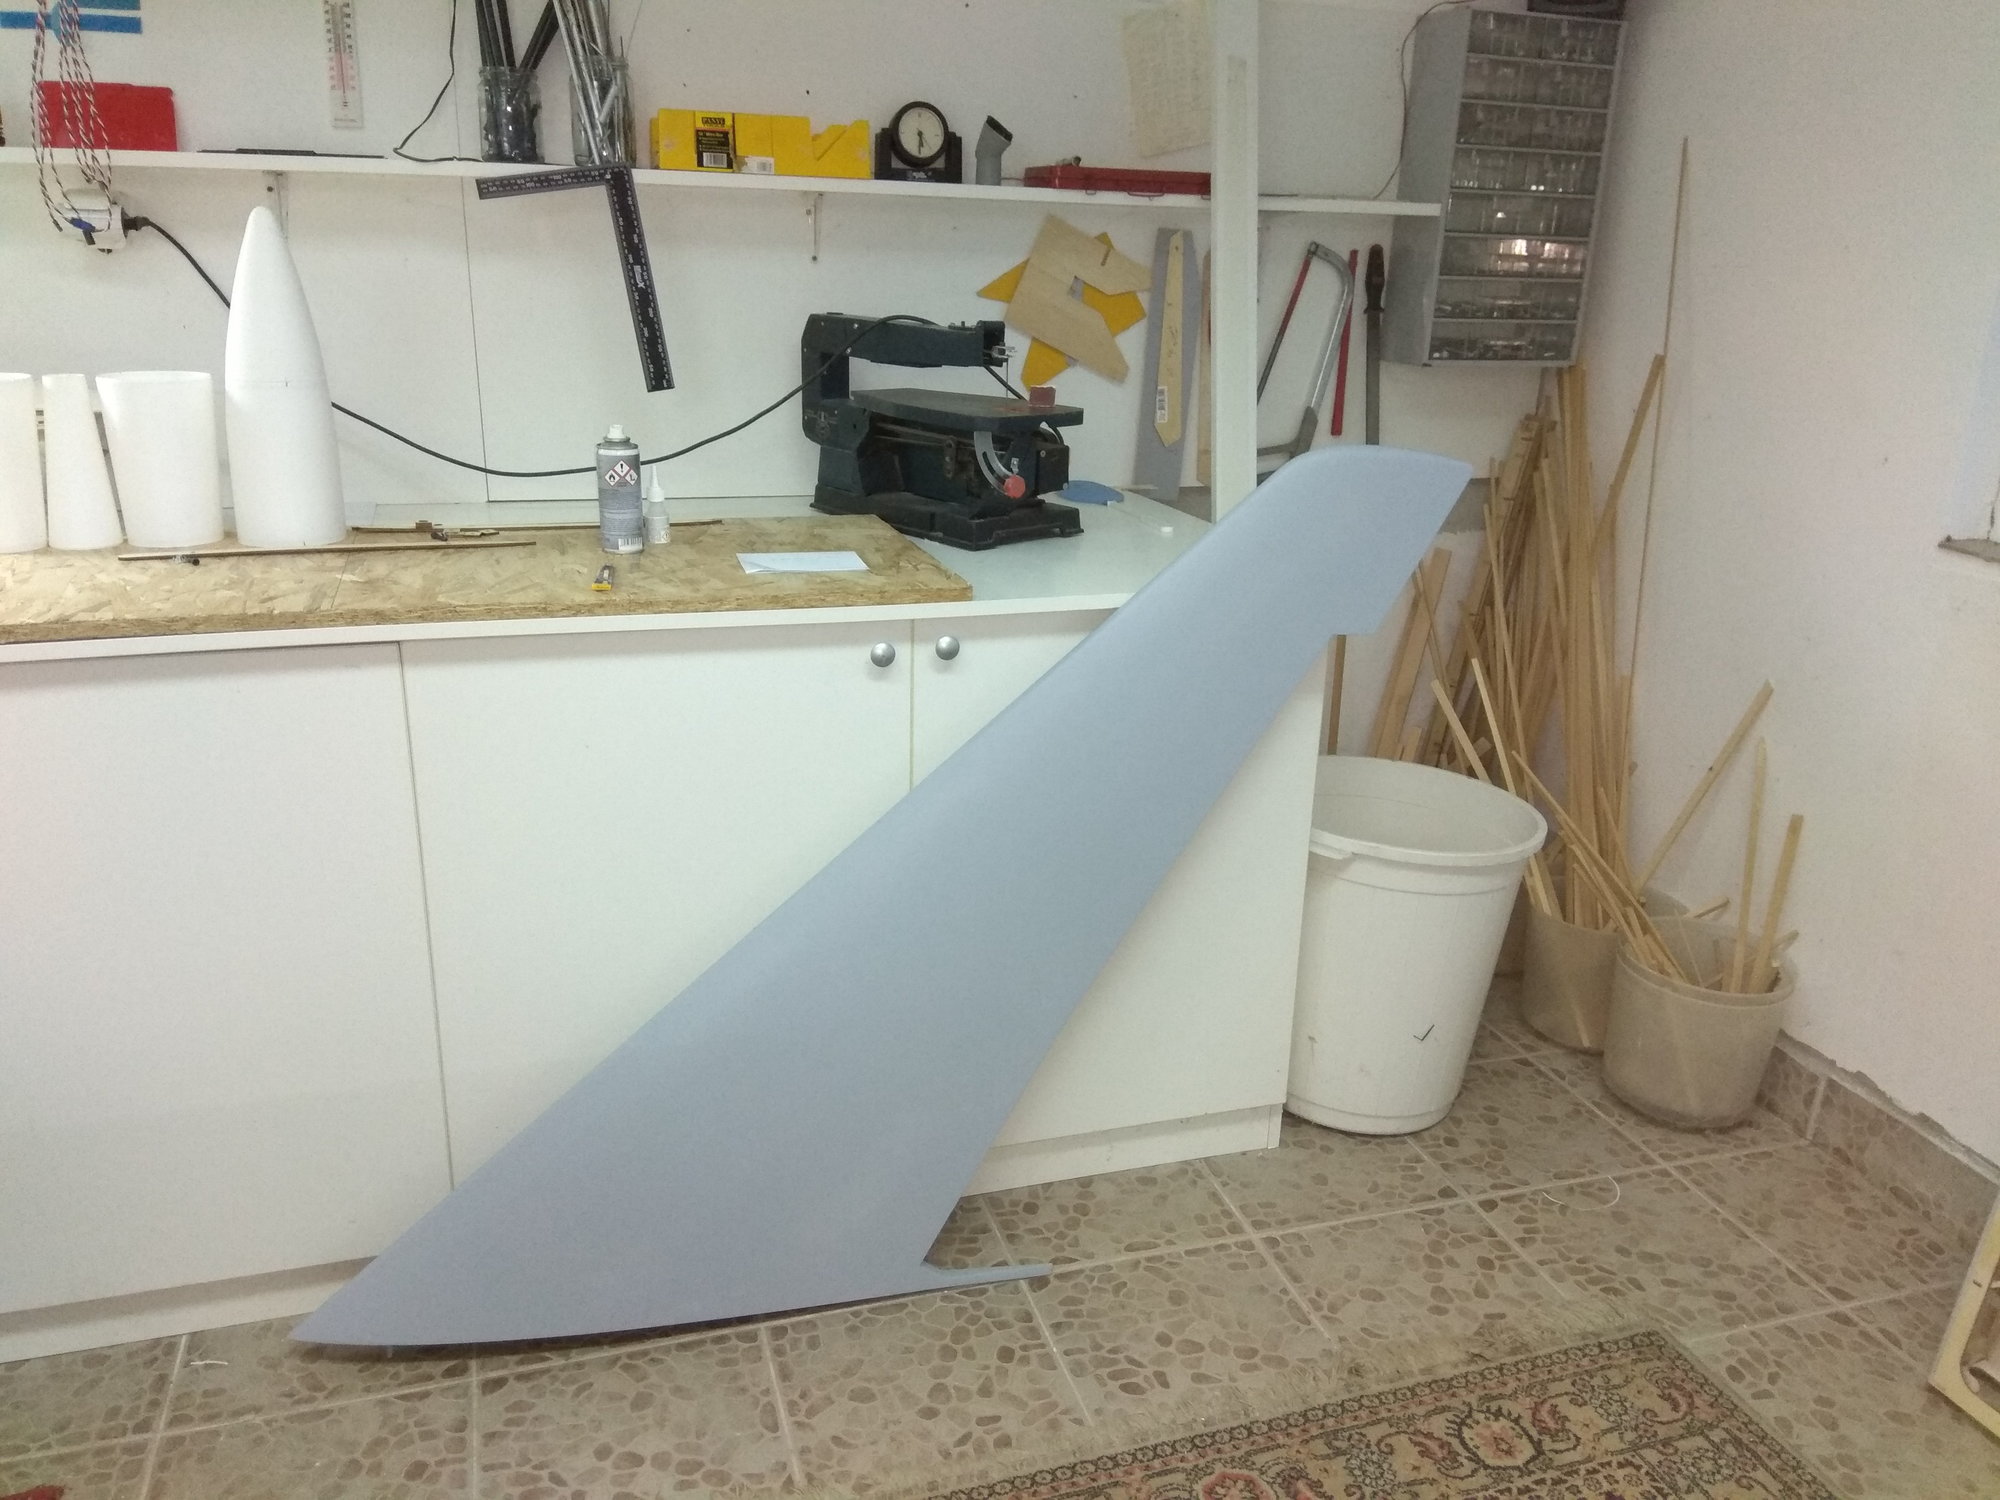
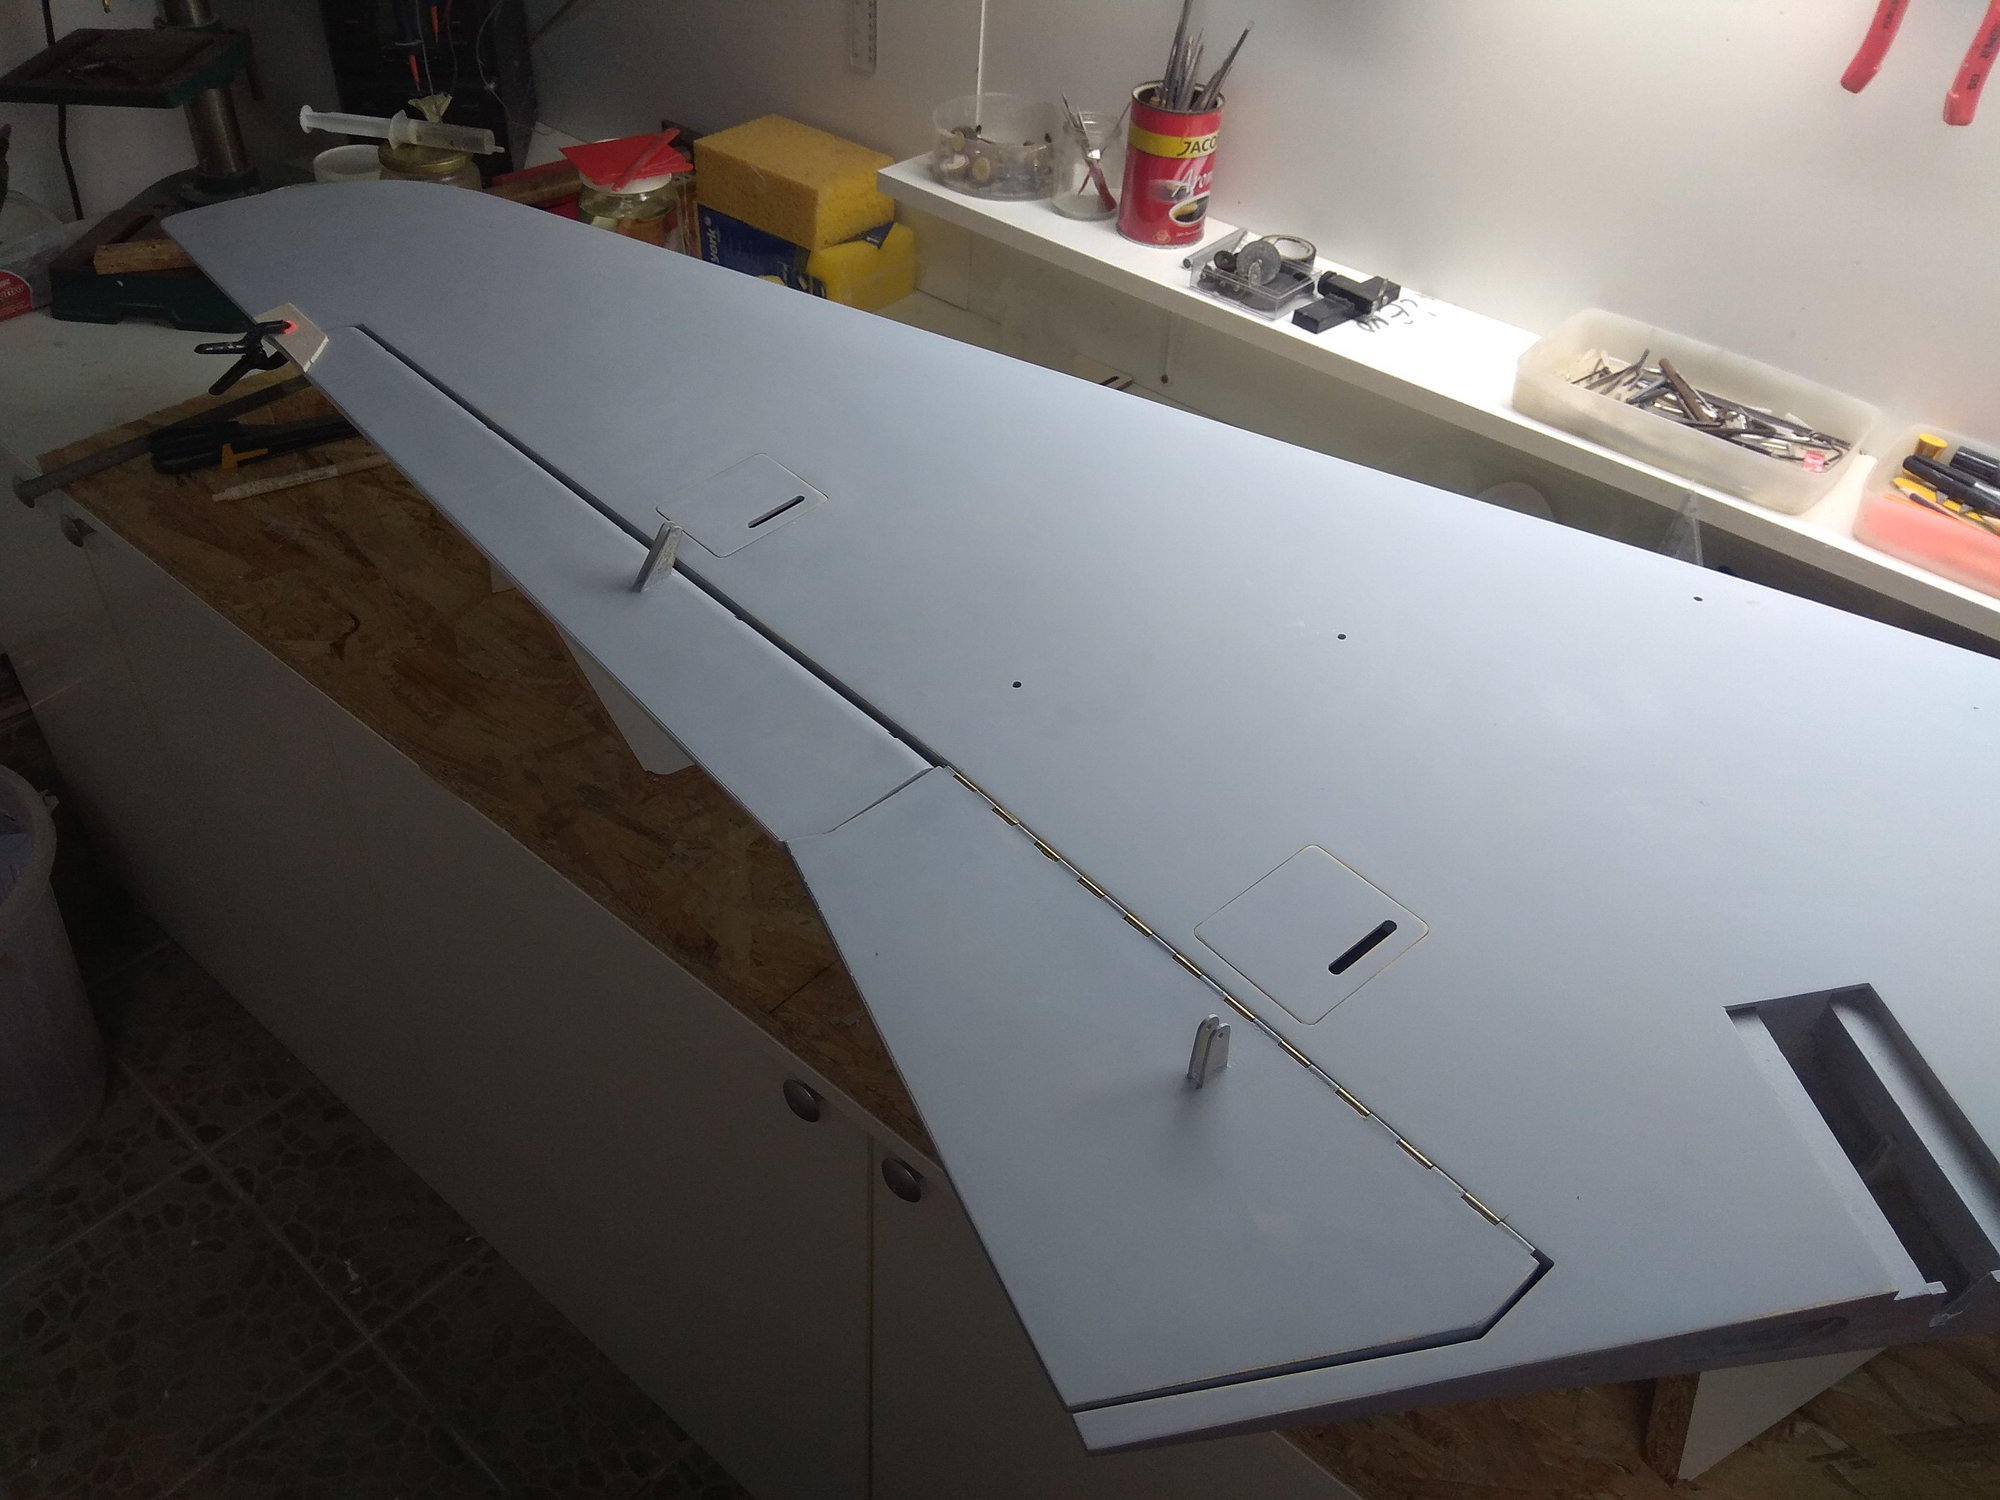
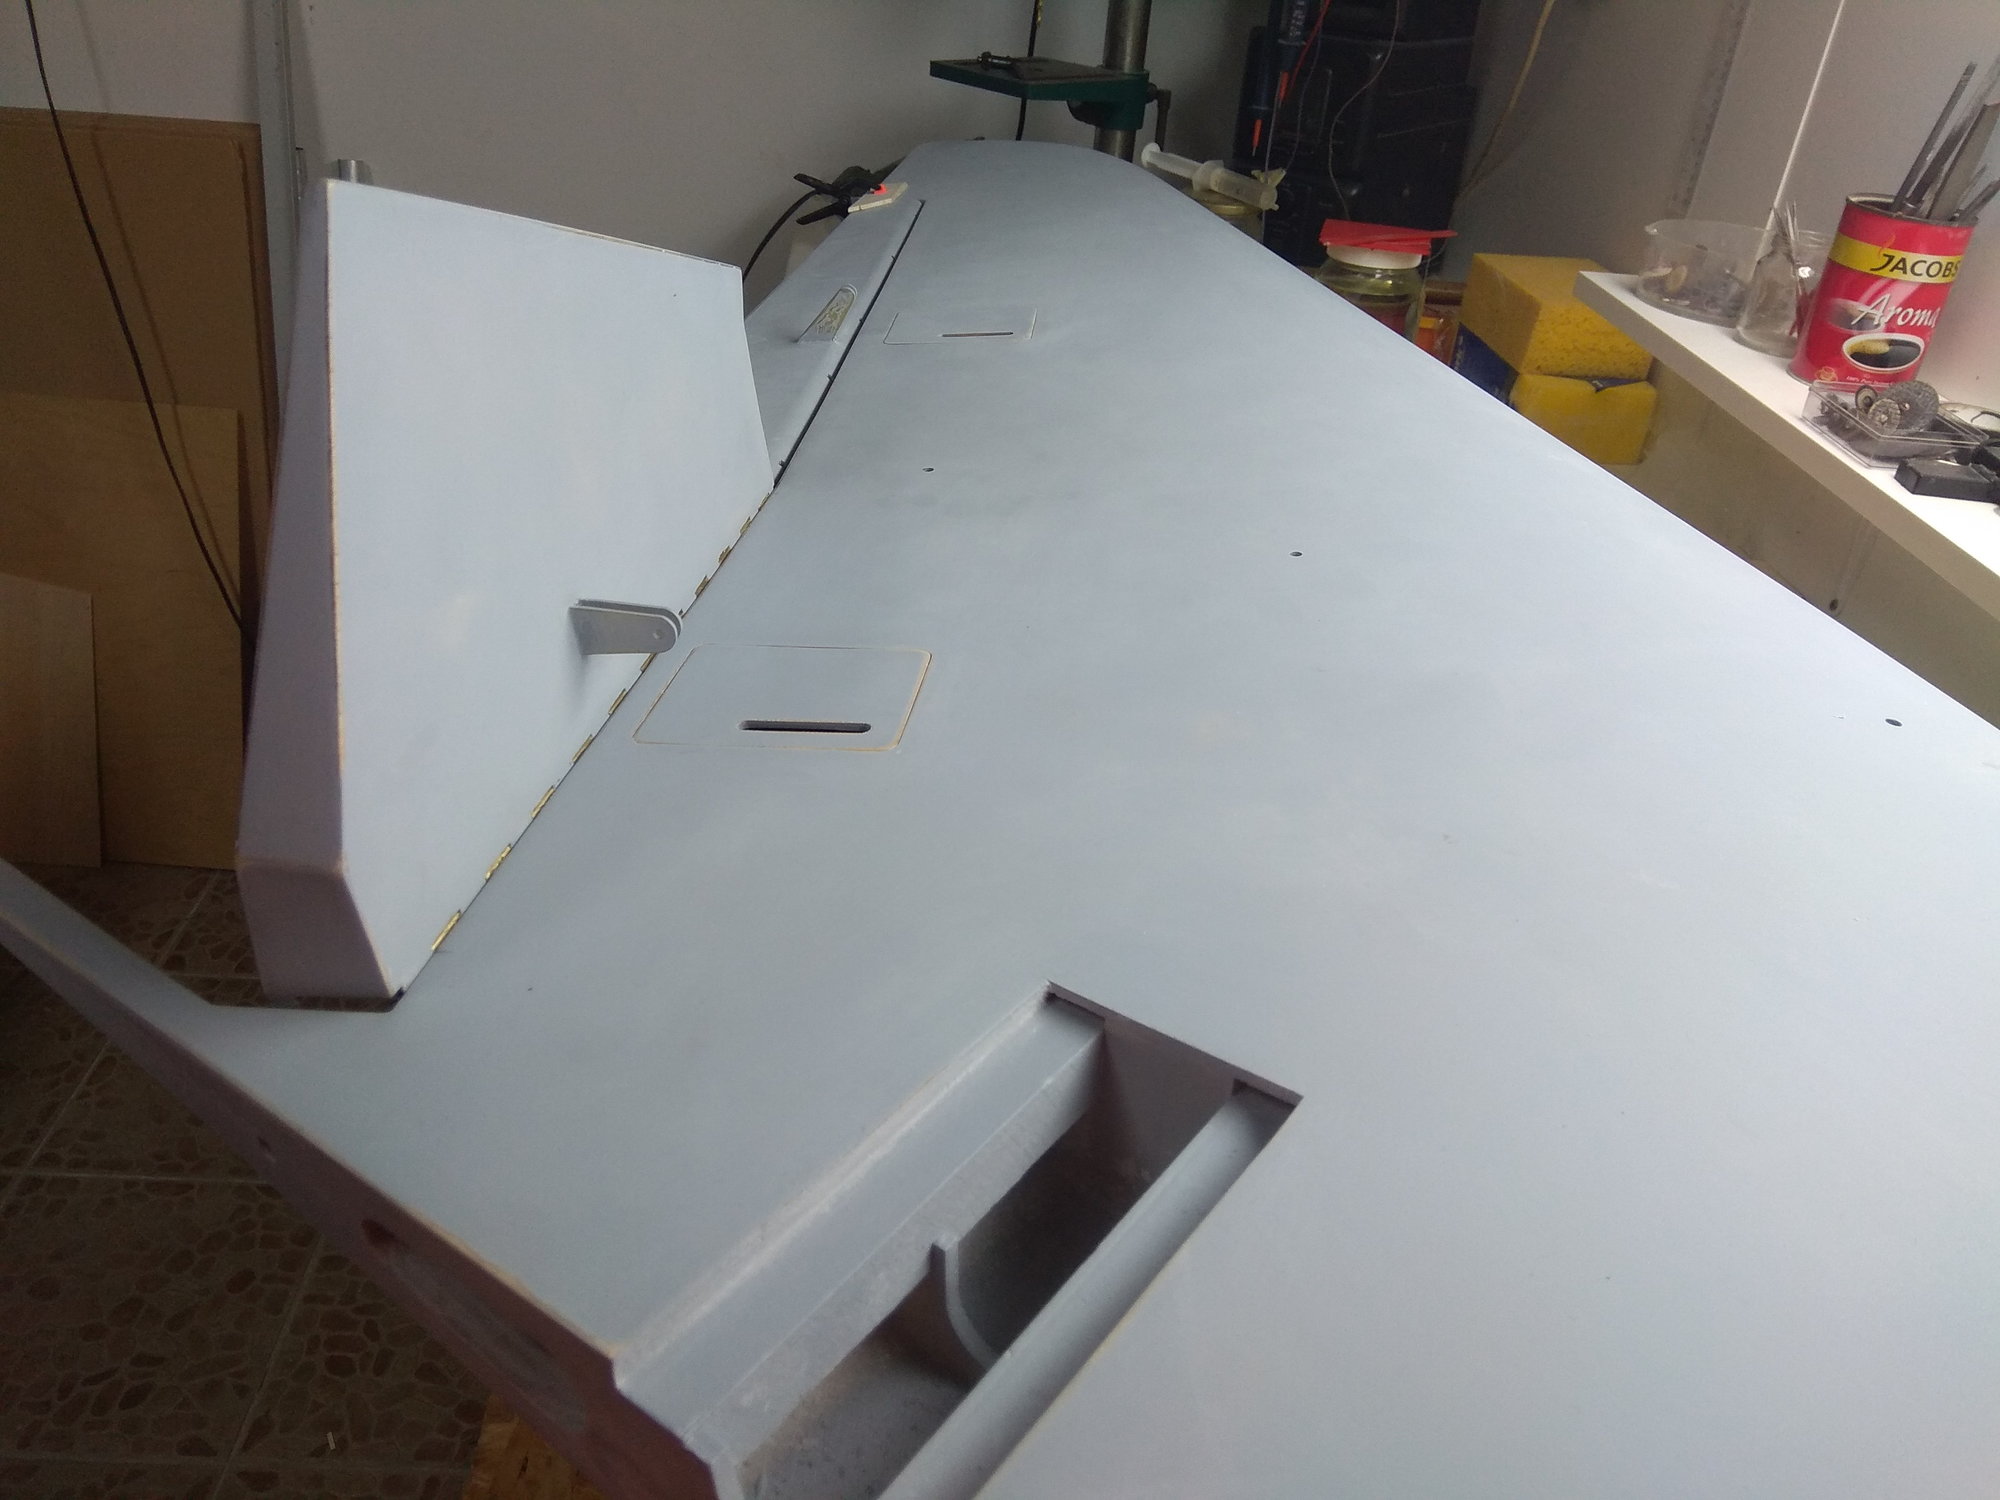
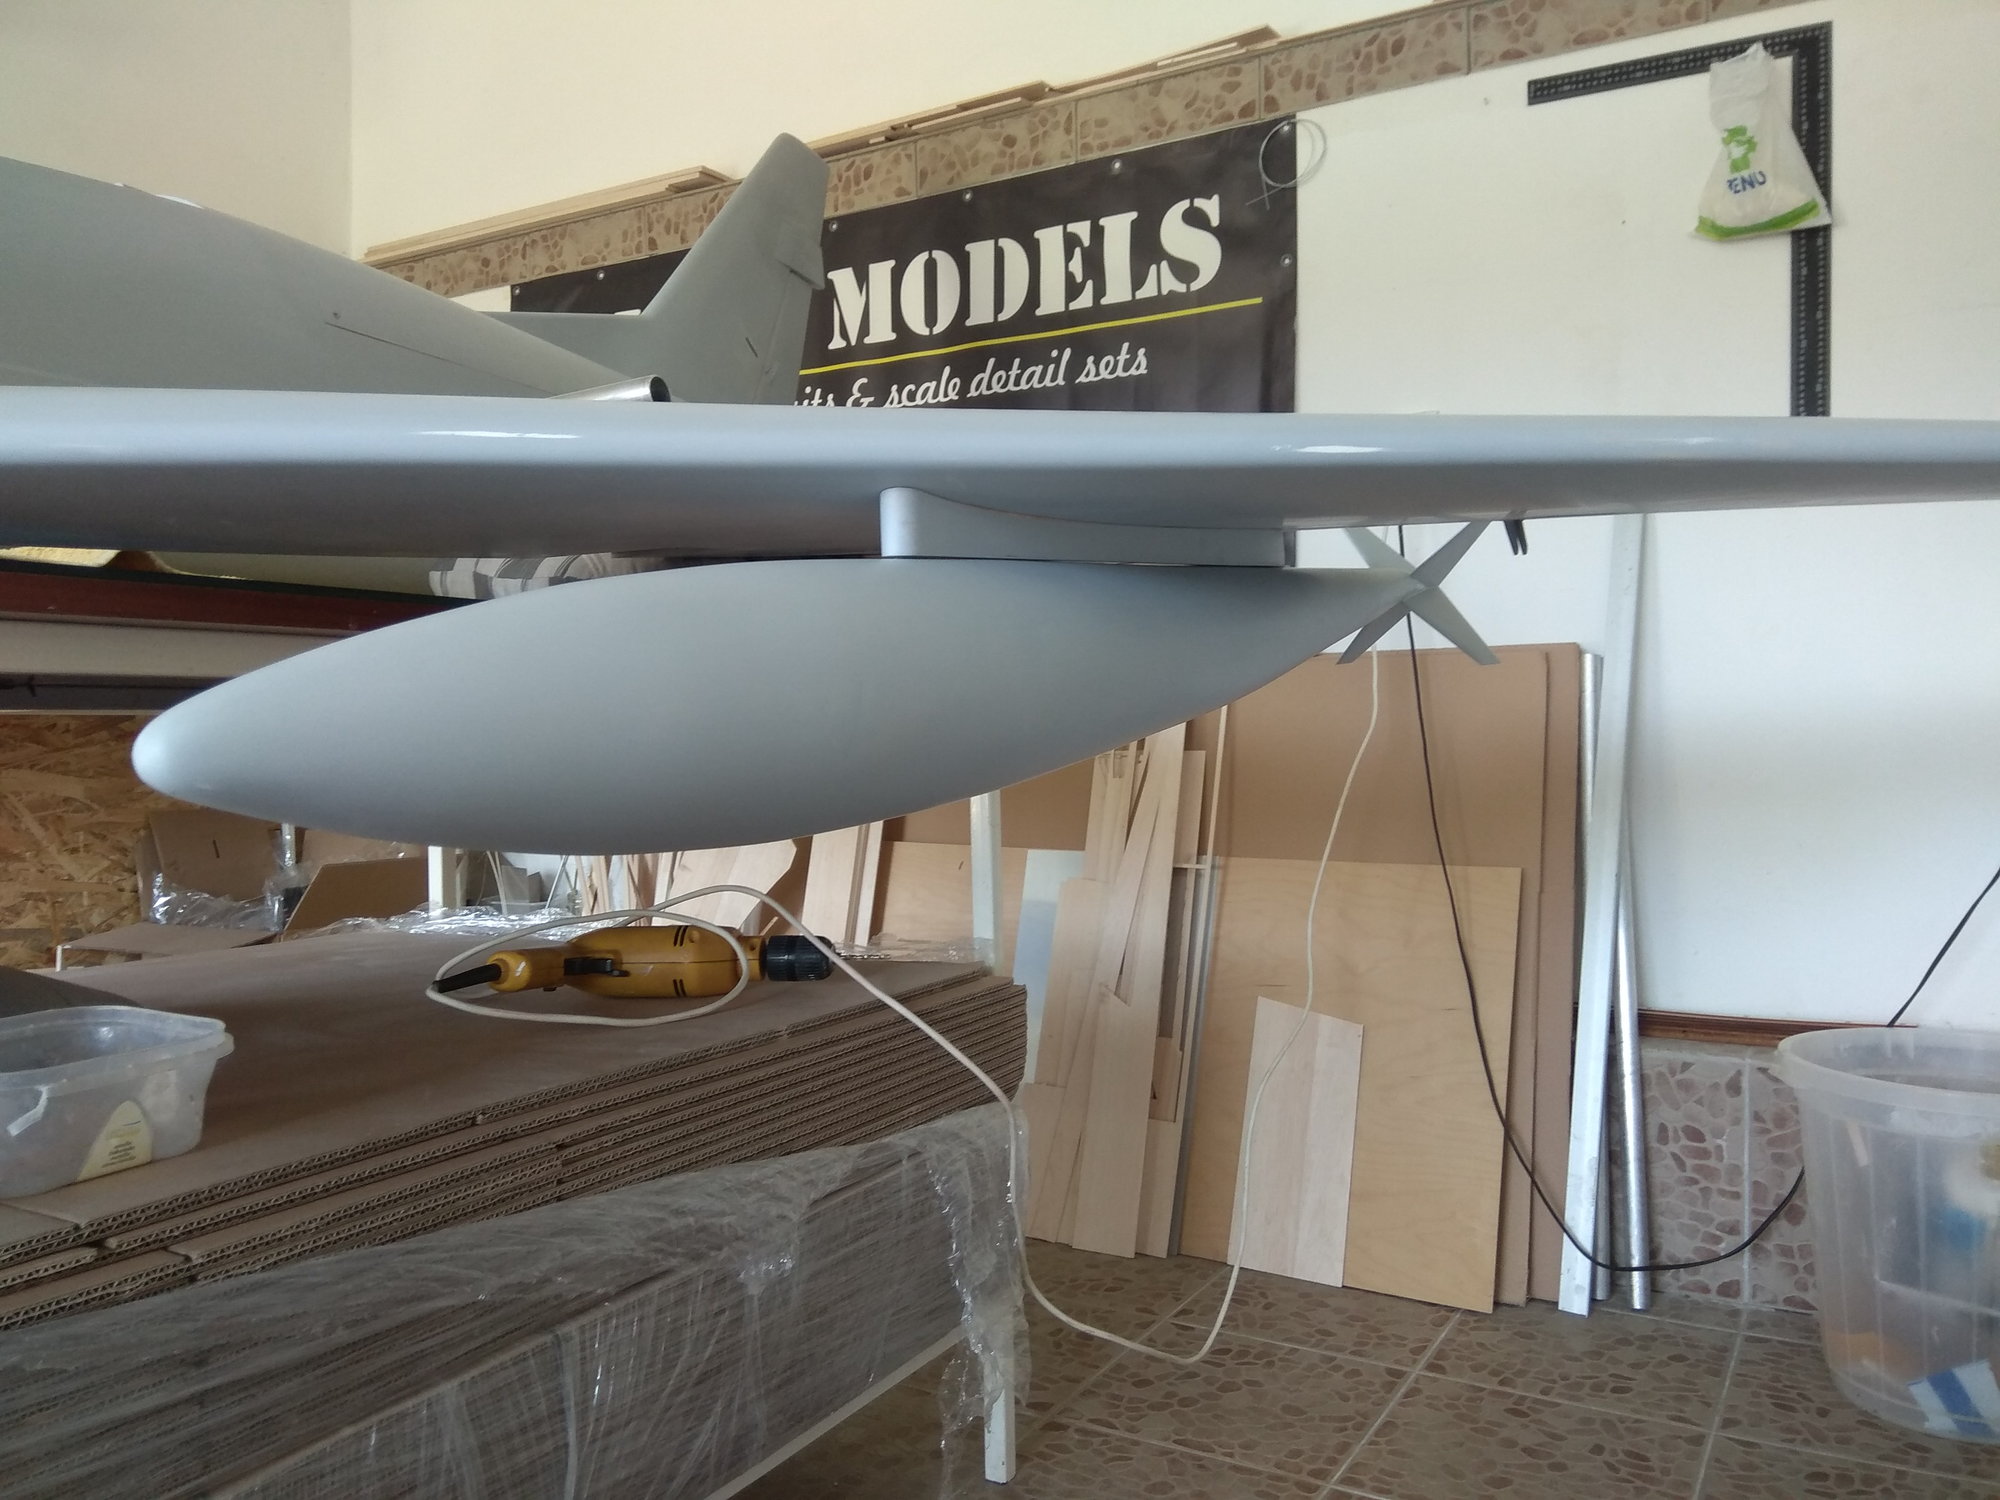
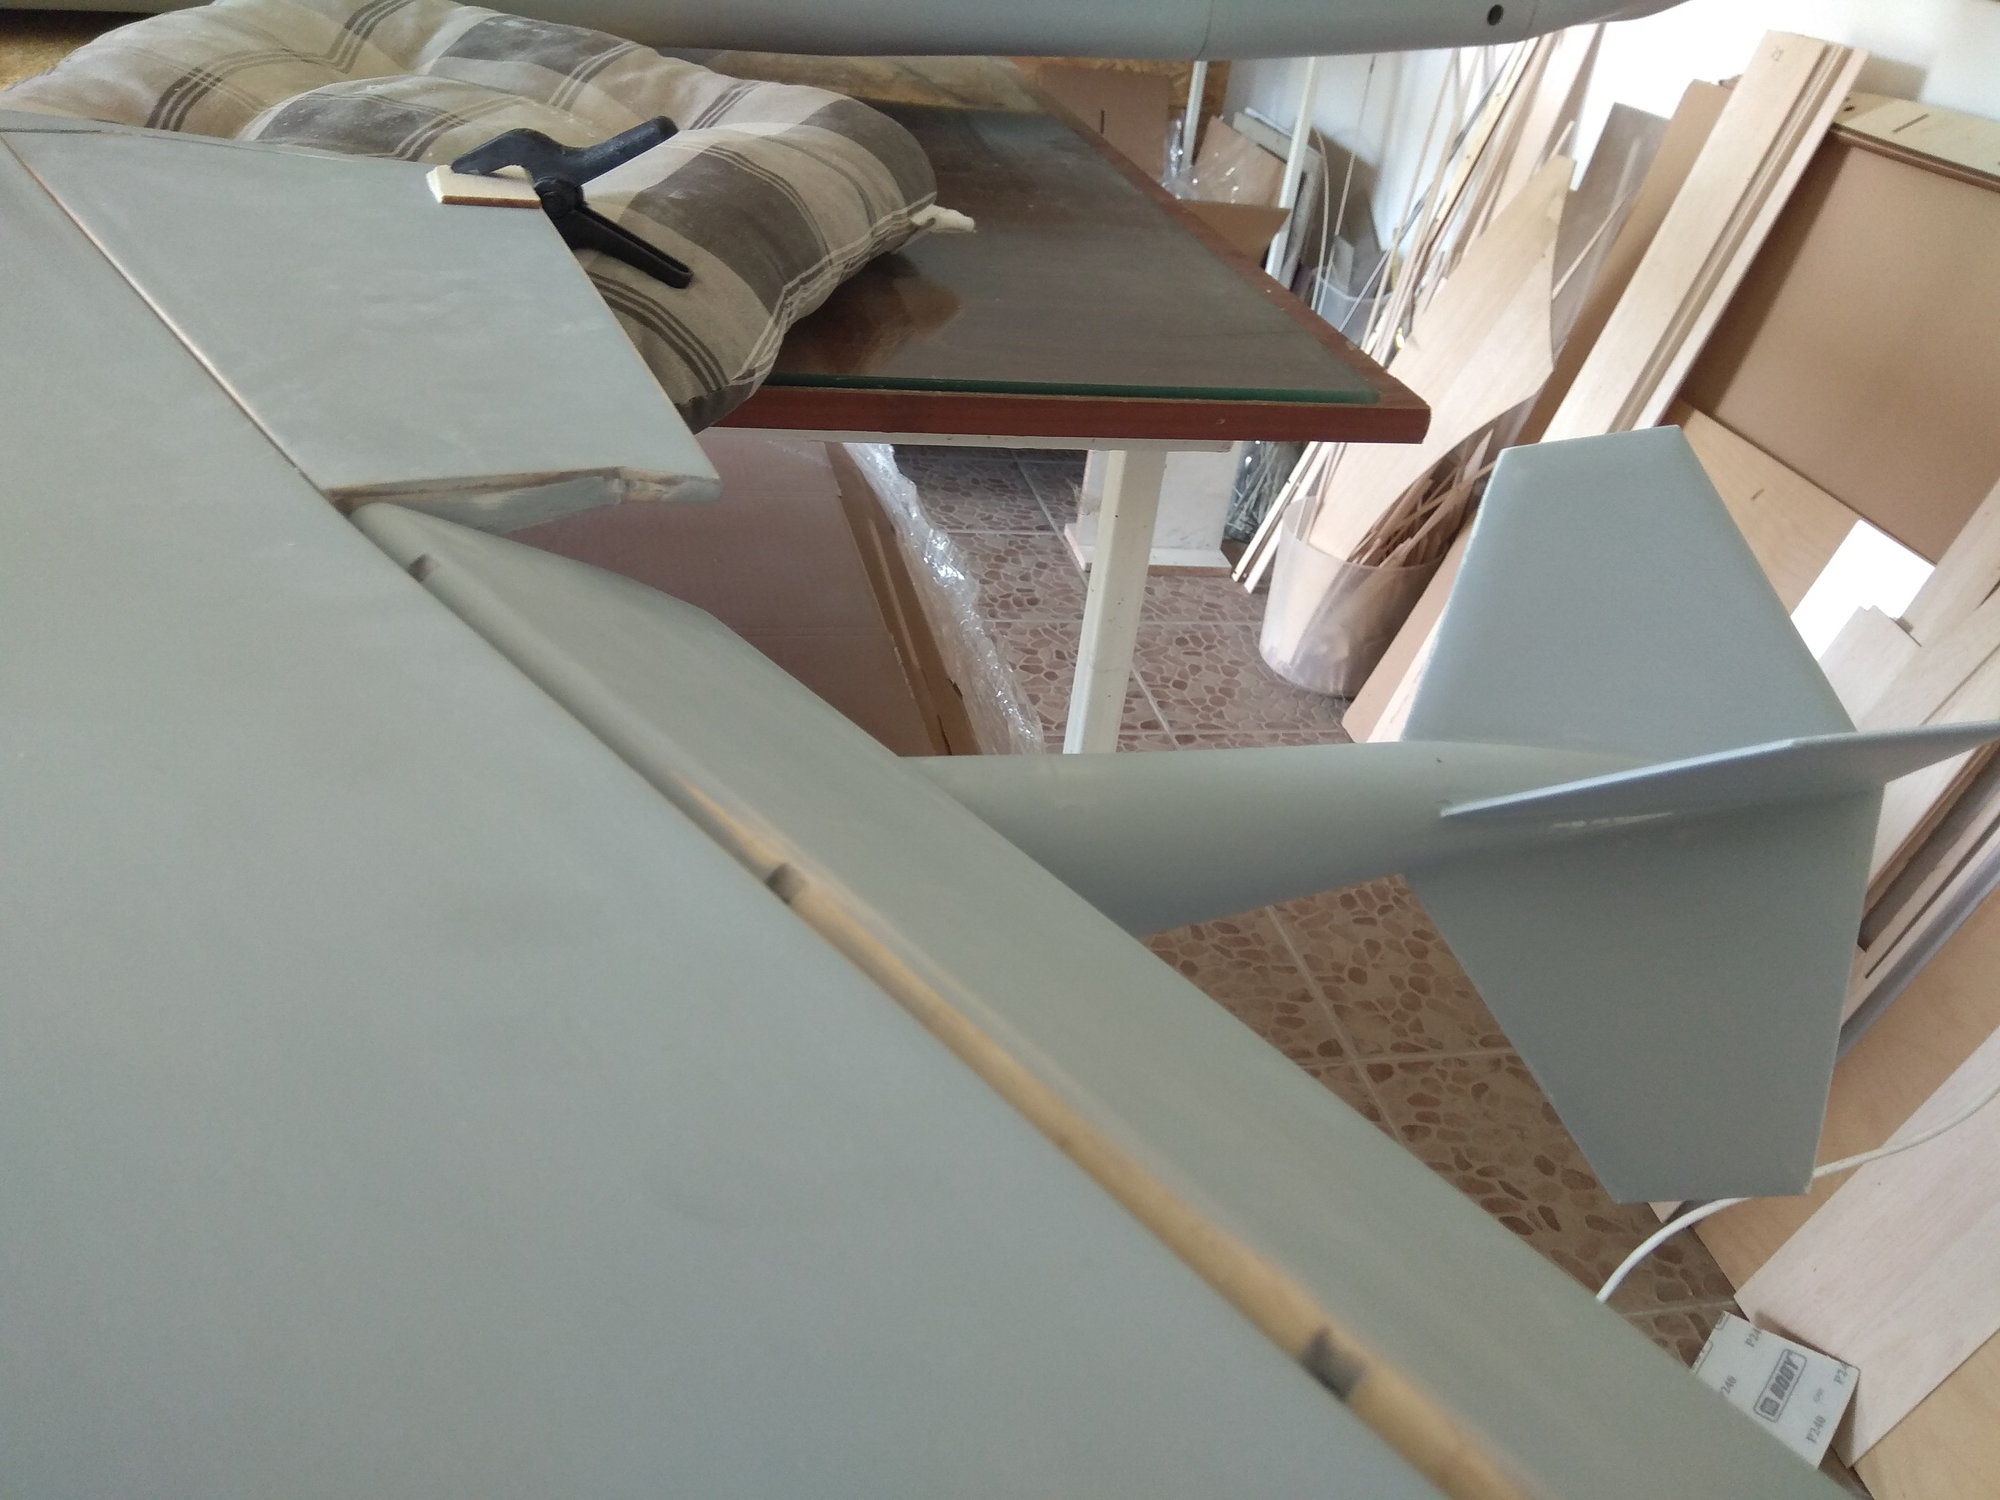
Thank you guys for so kind words, here's continuation of the work.
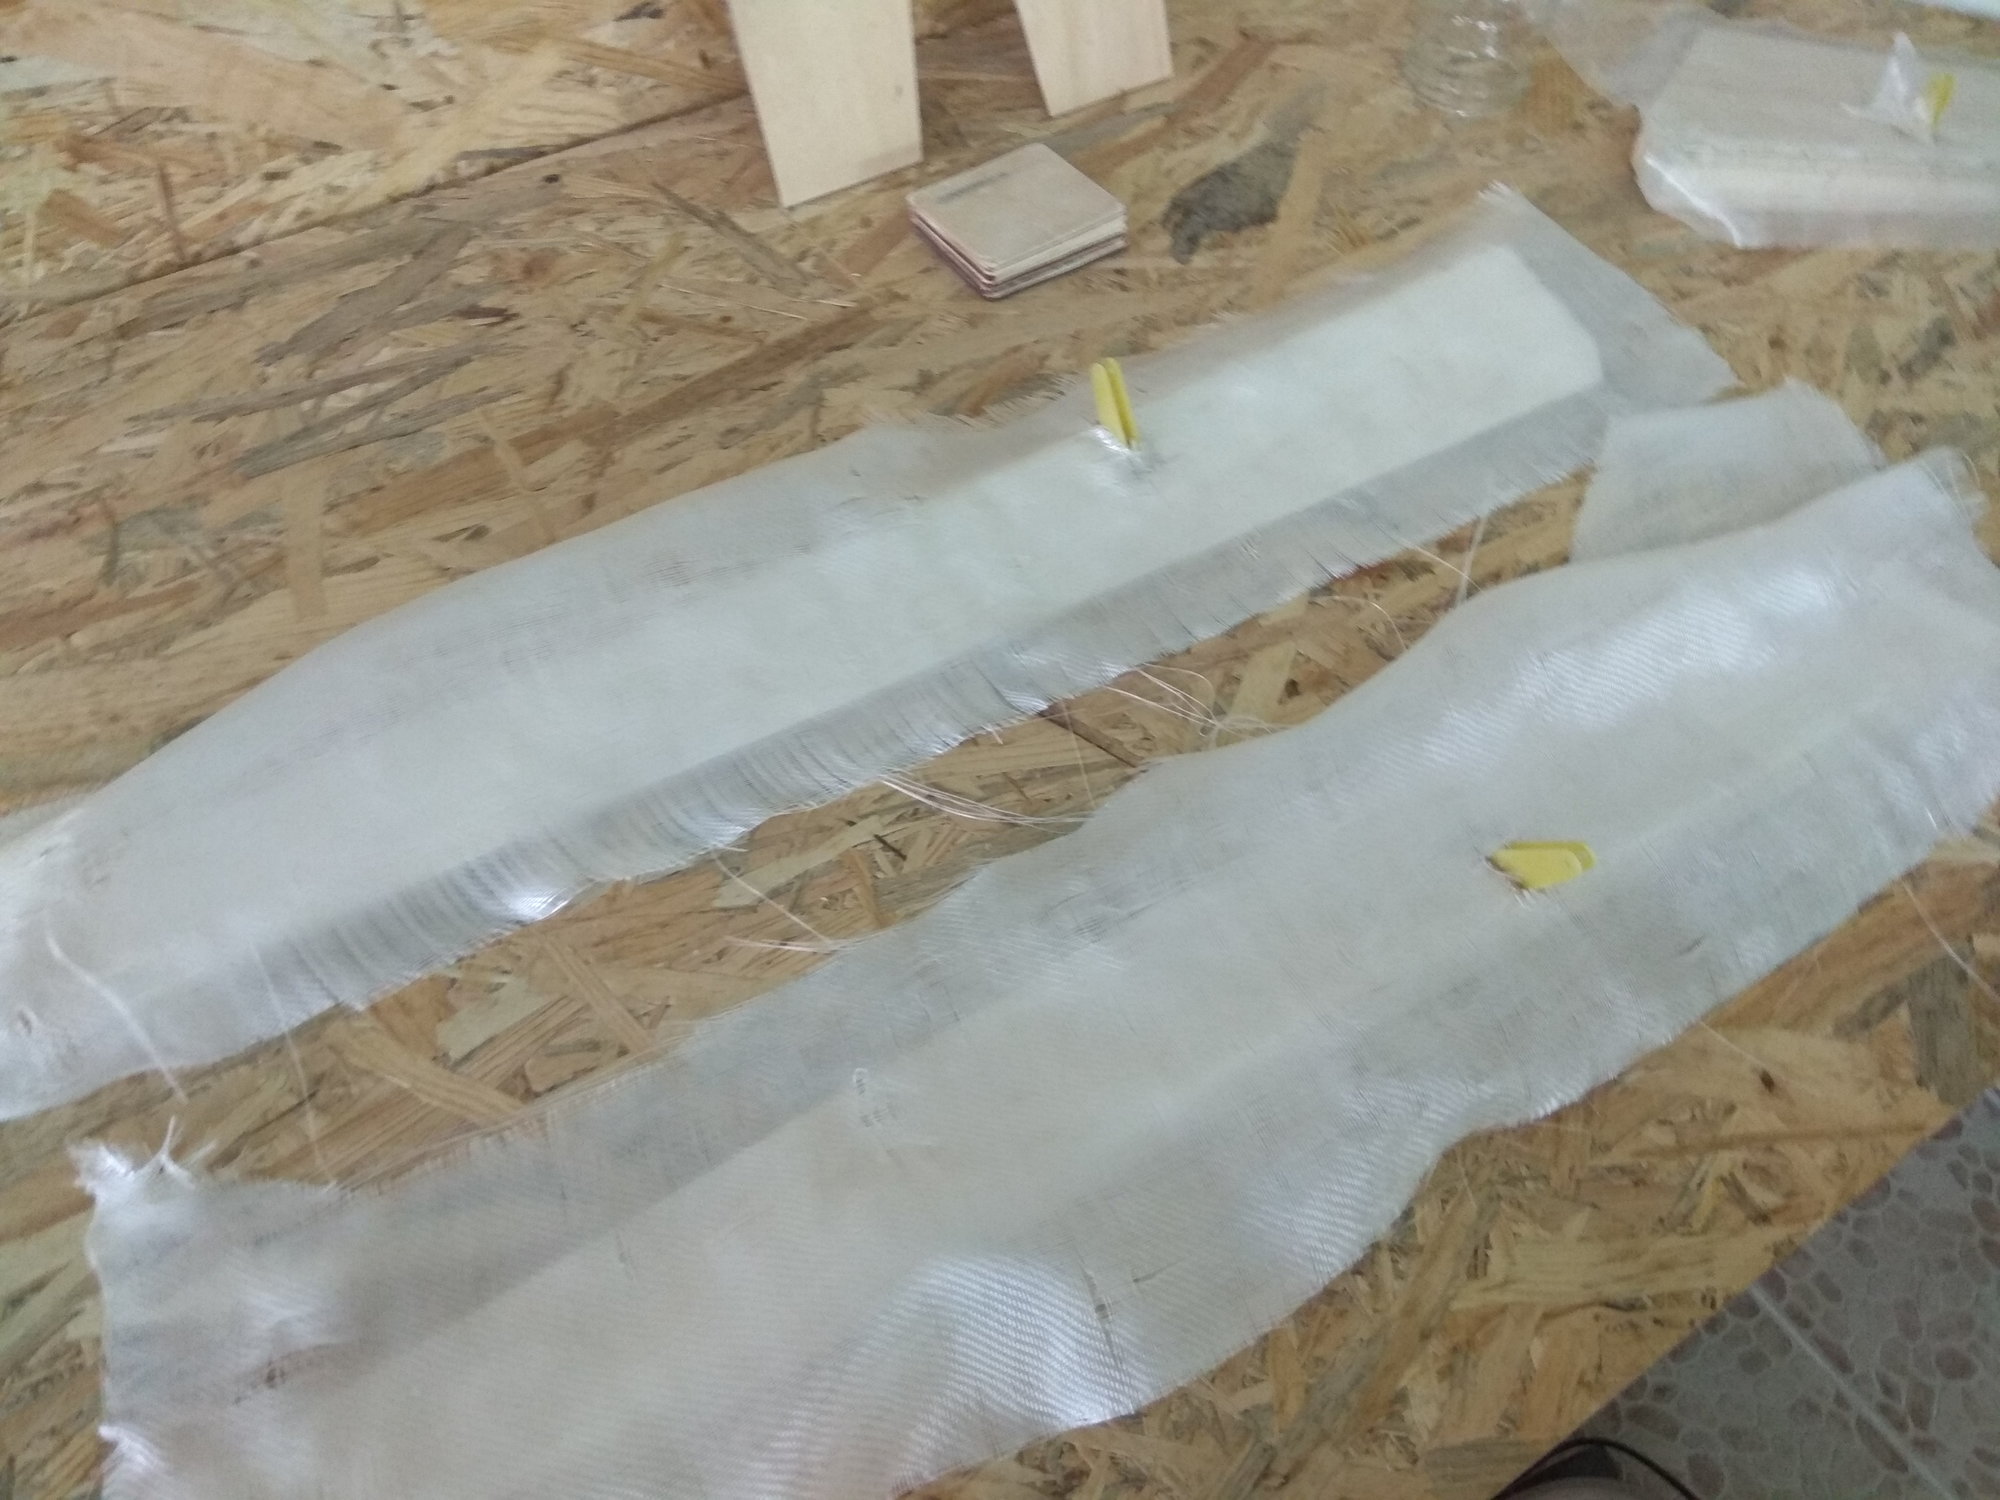
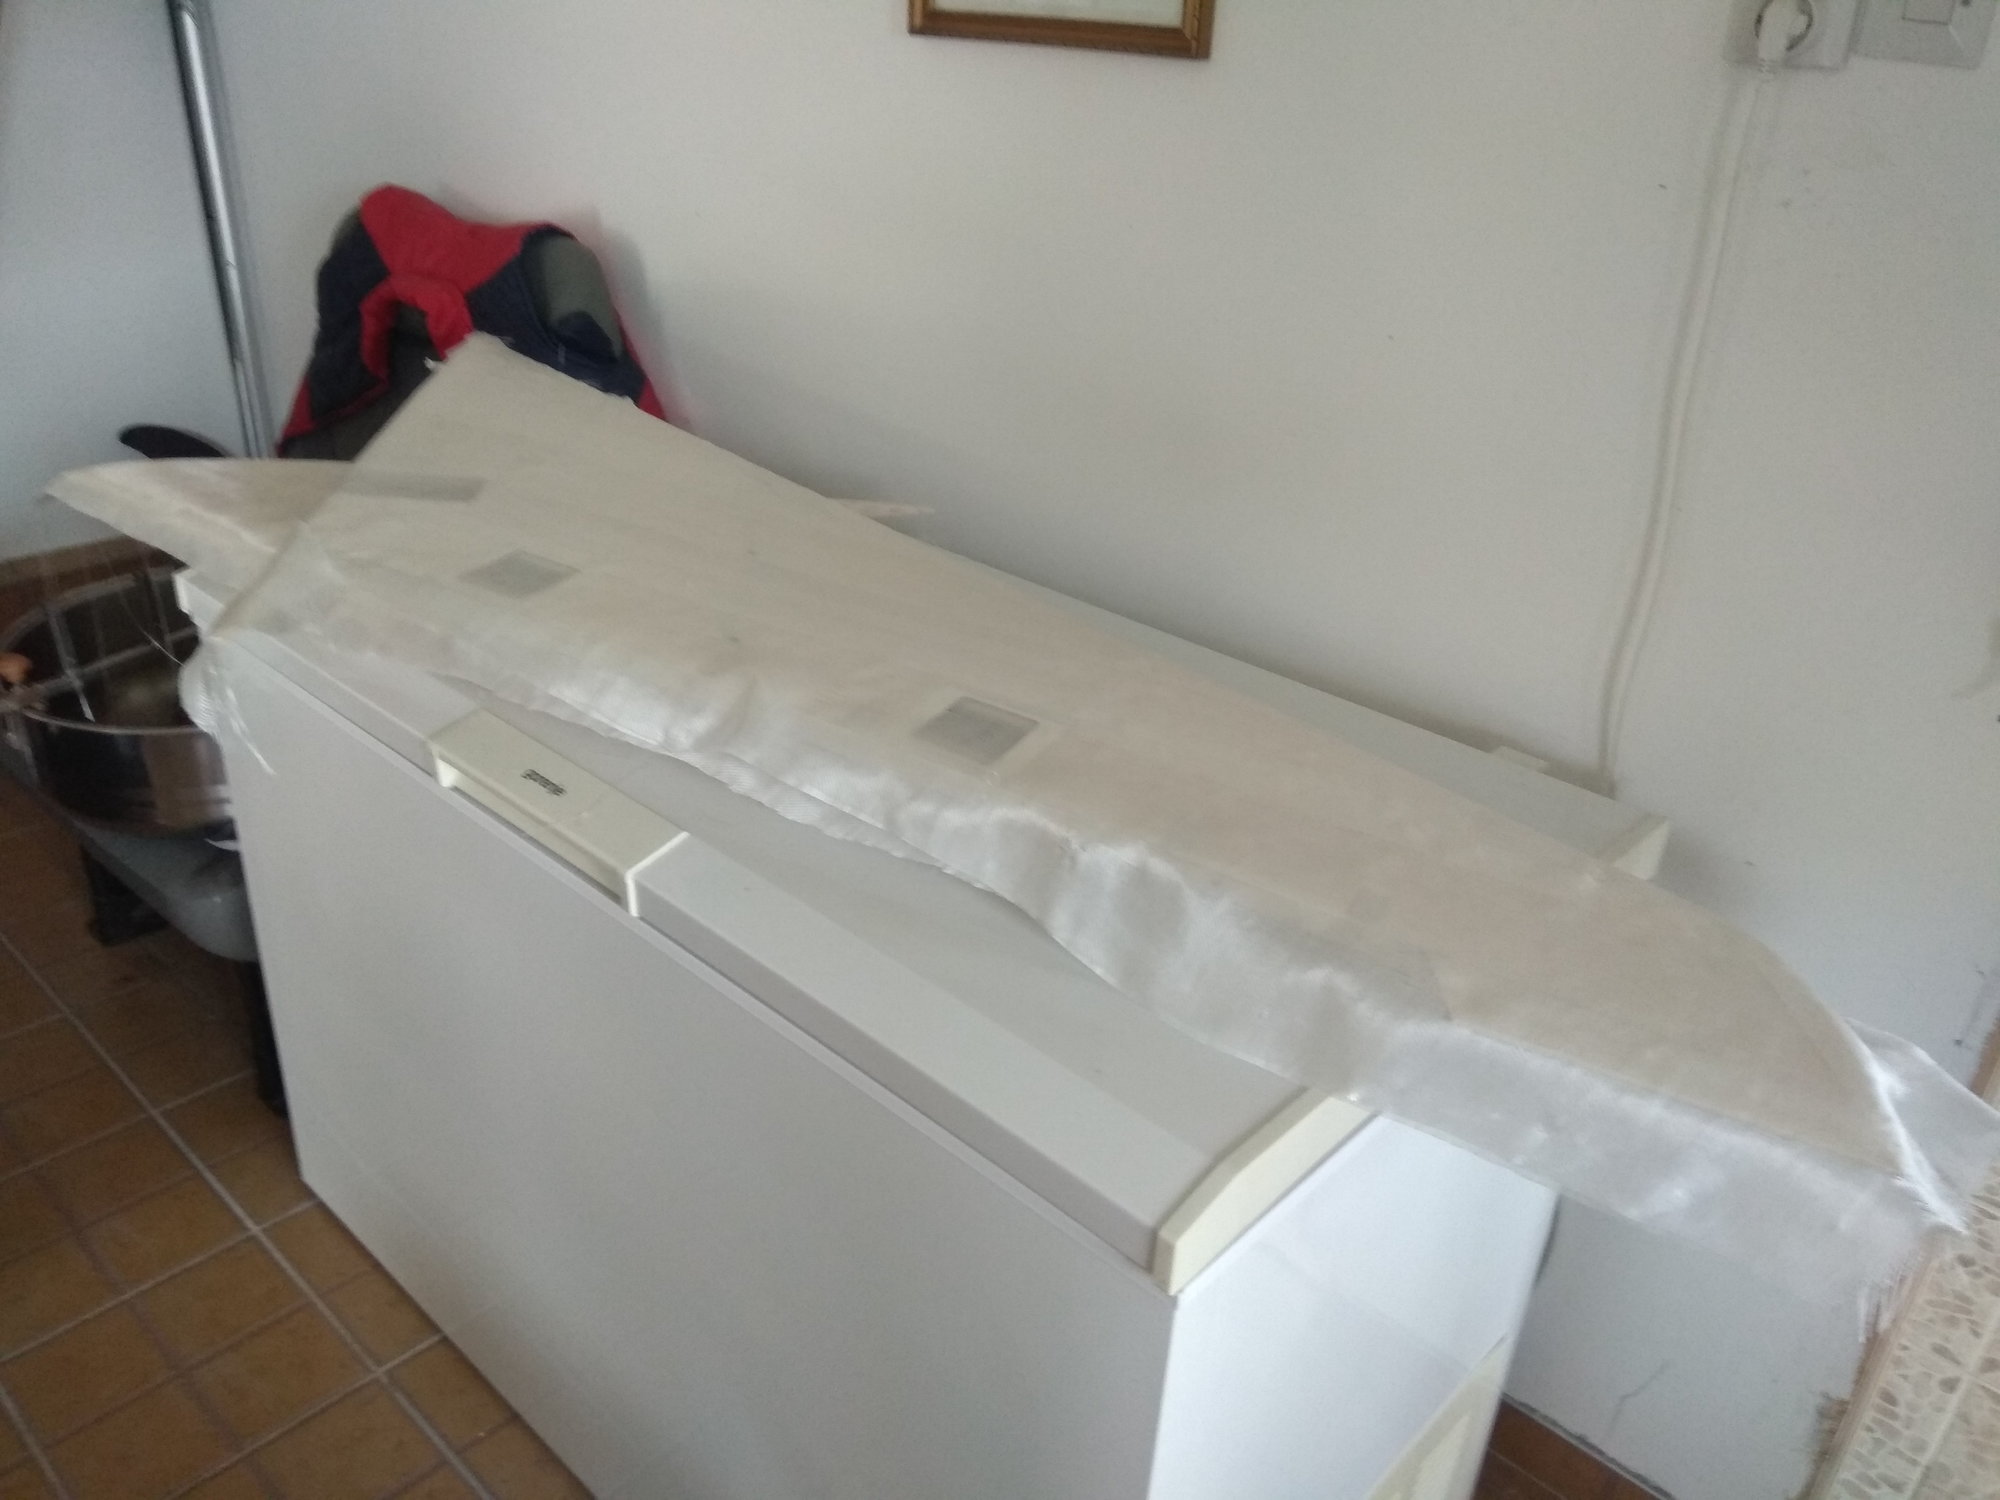
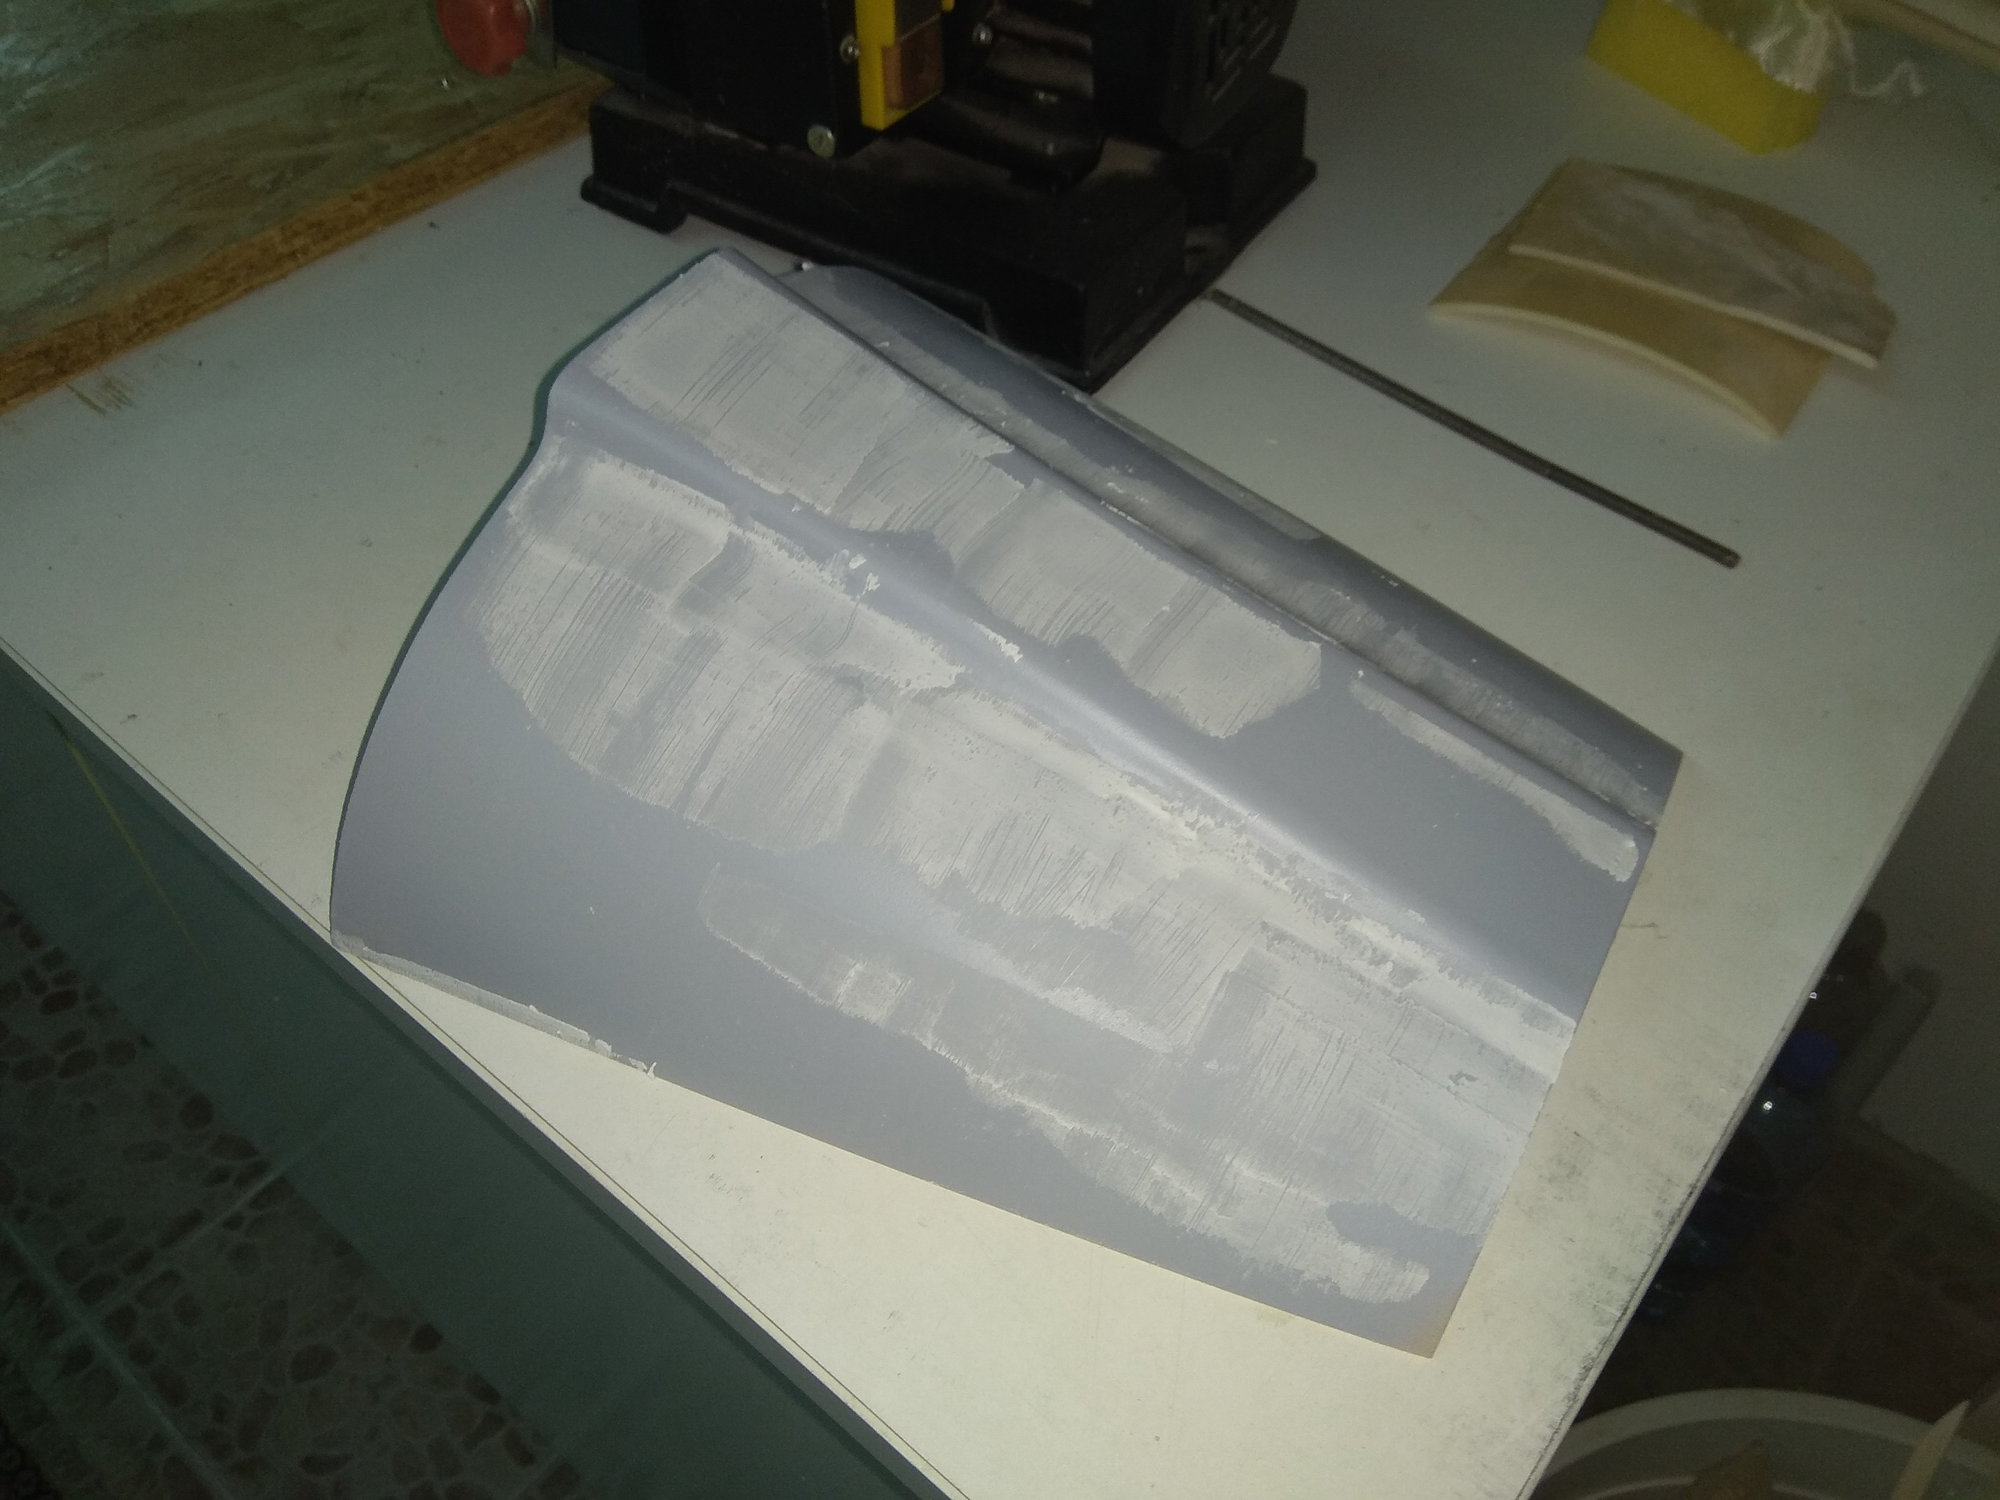
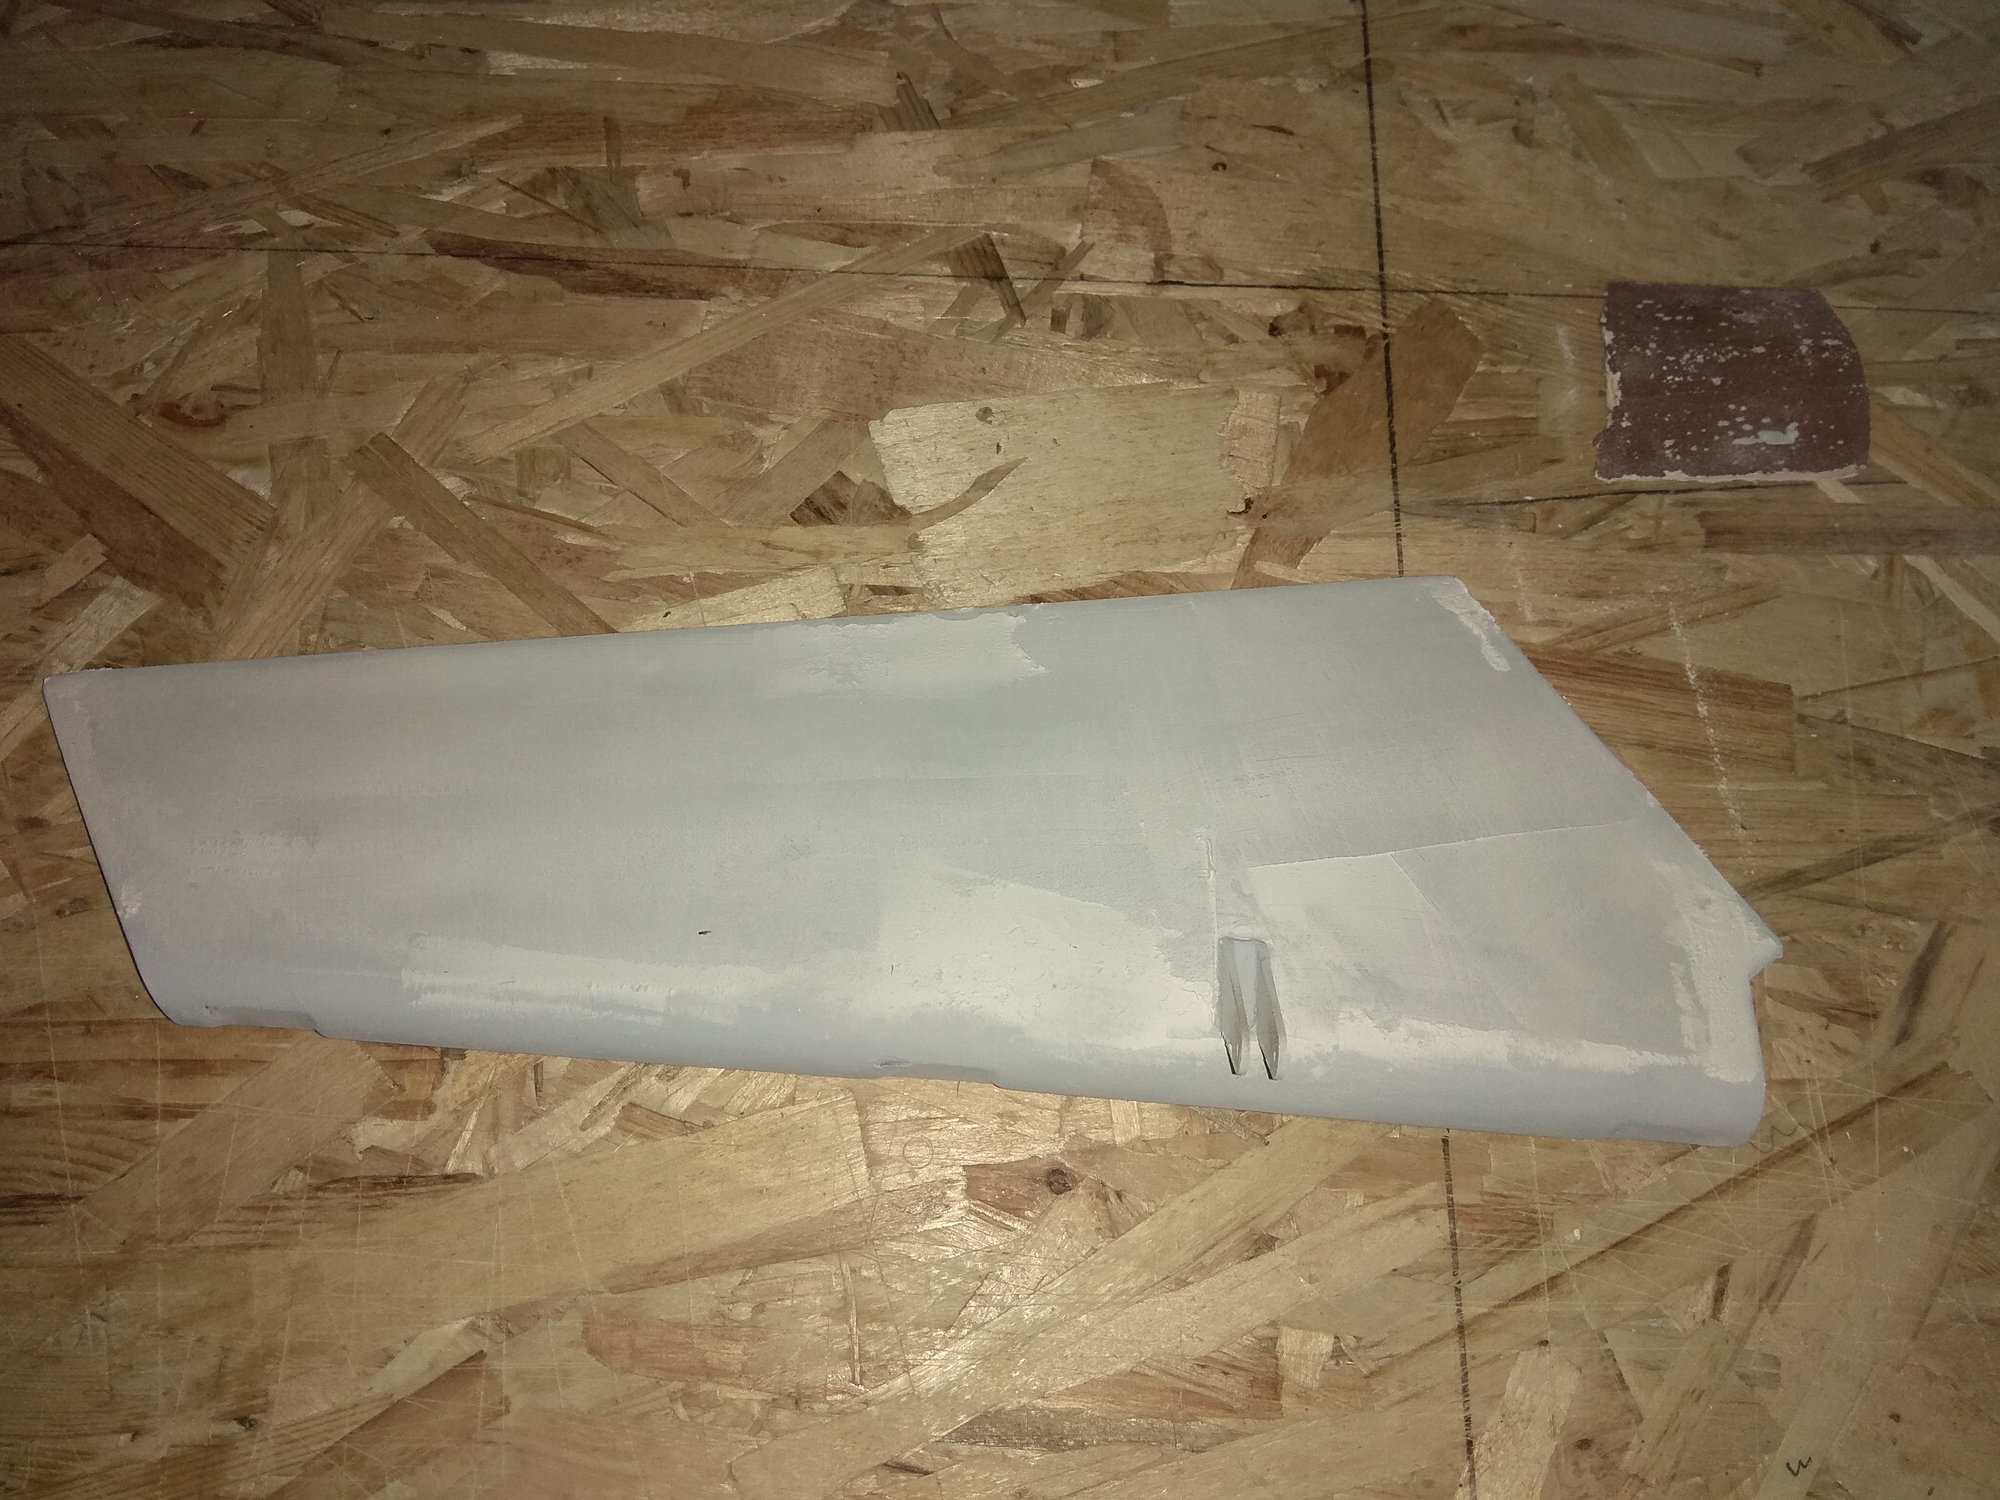
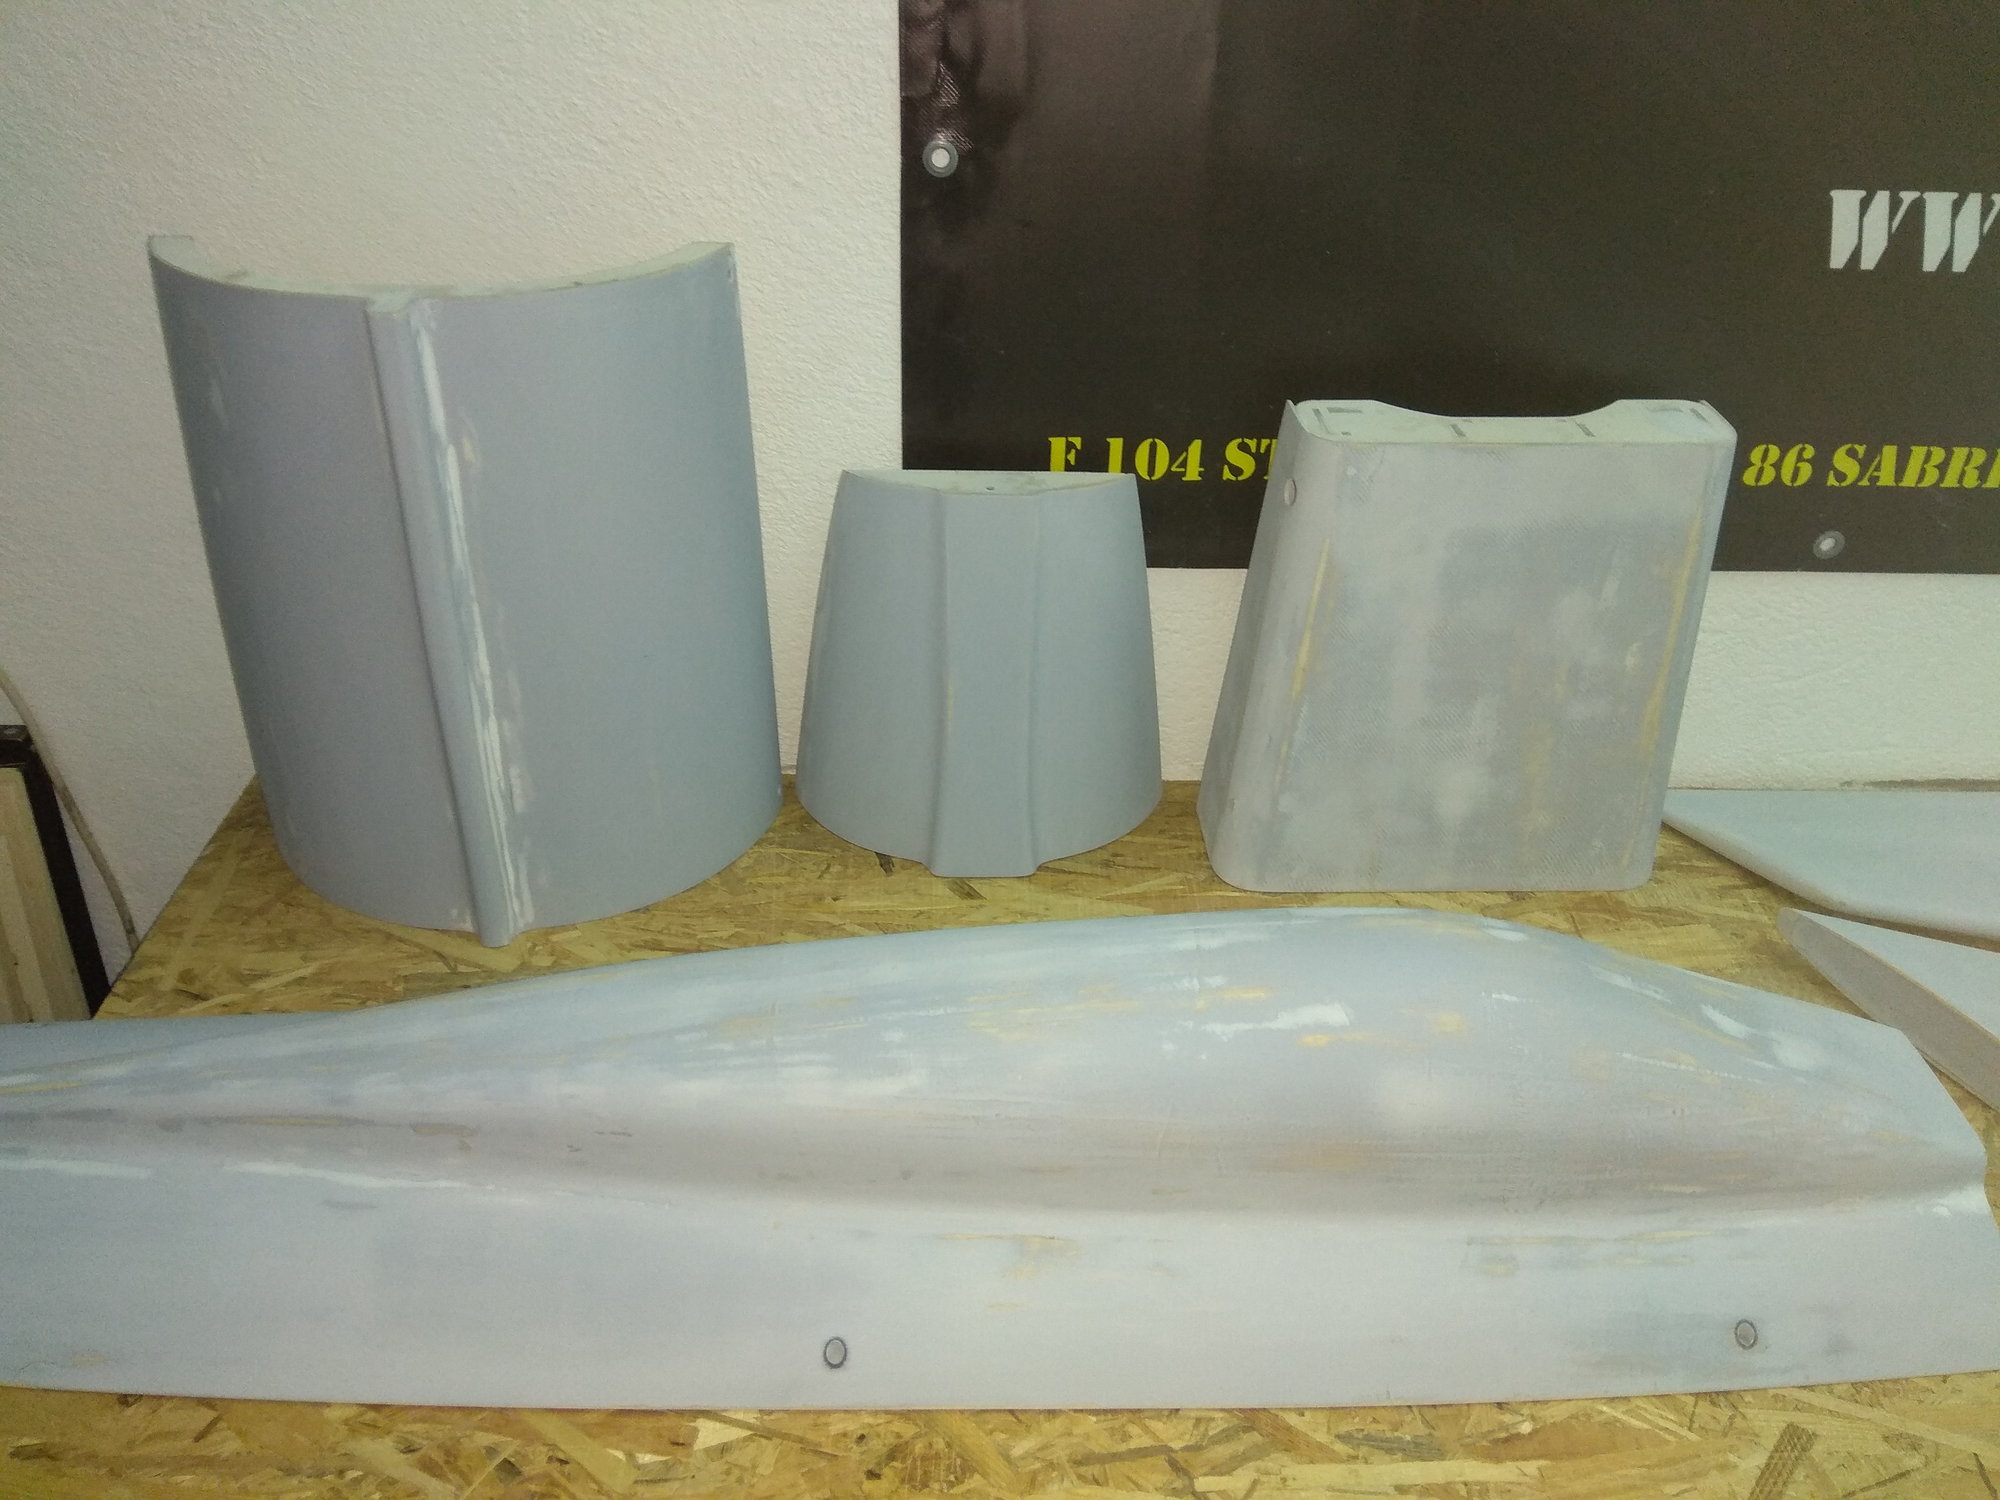
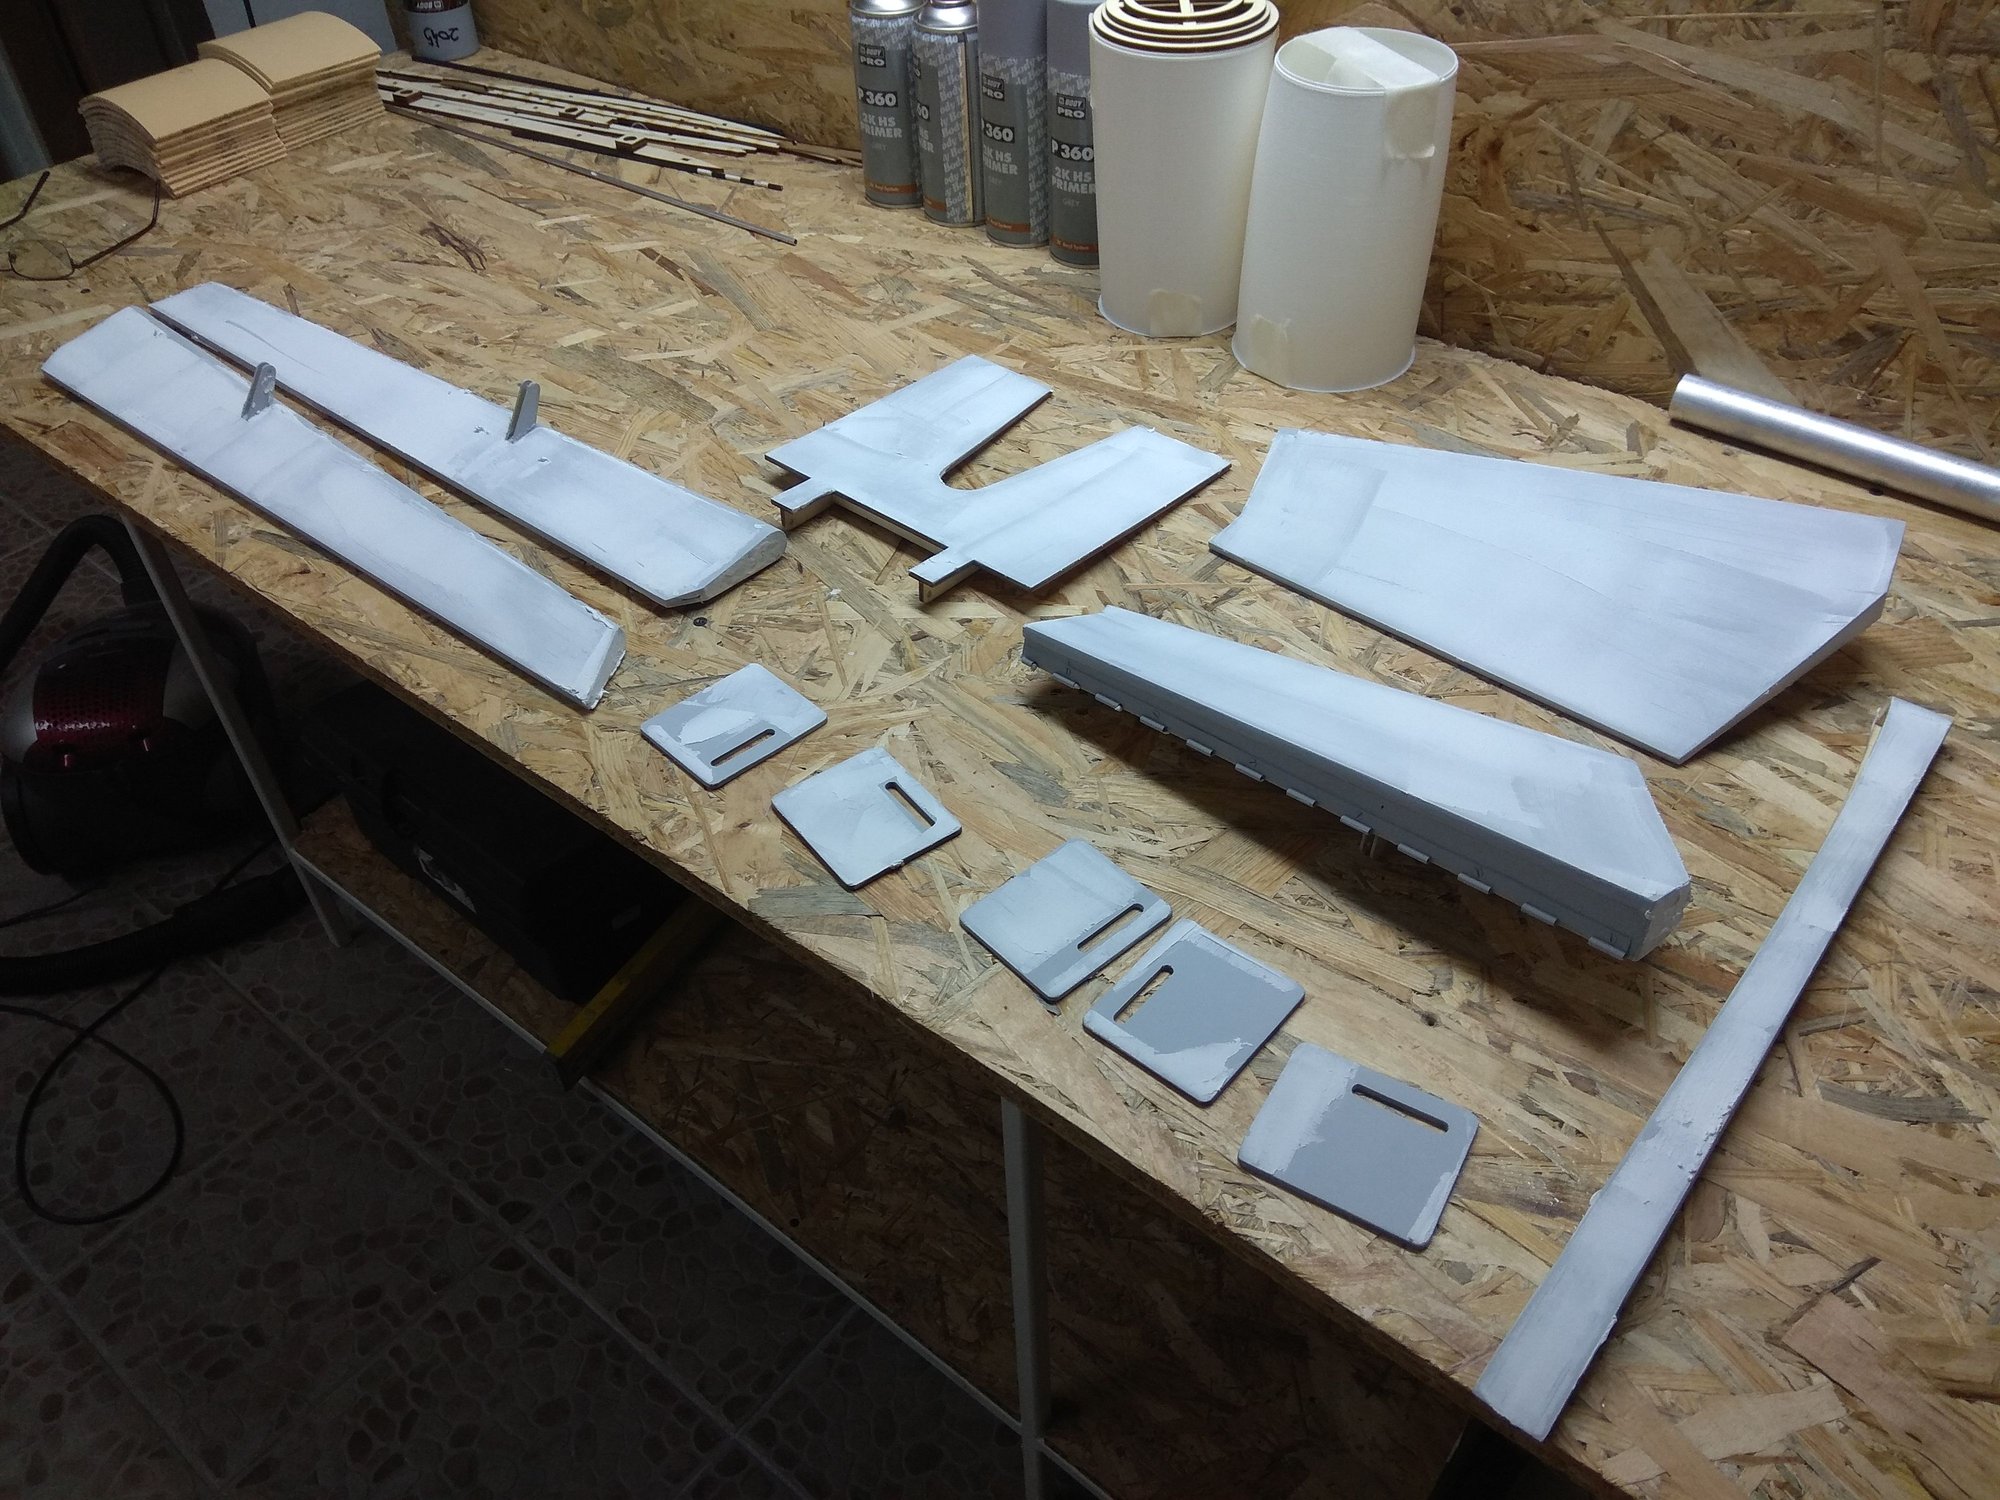
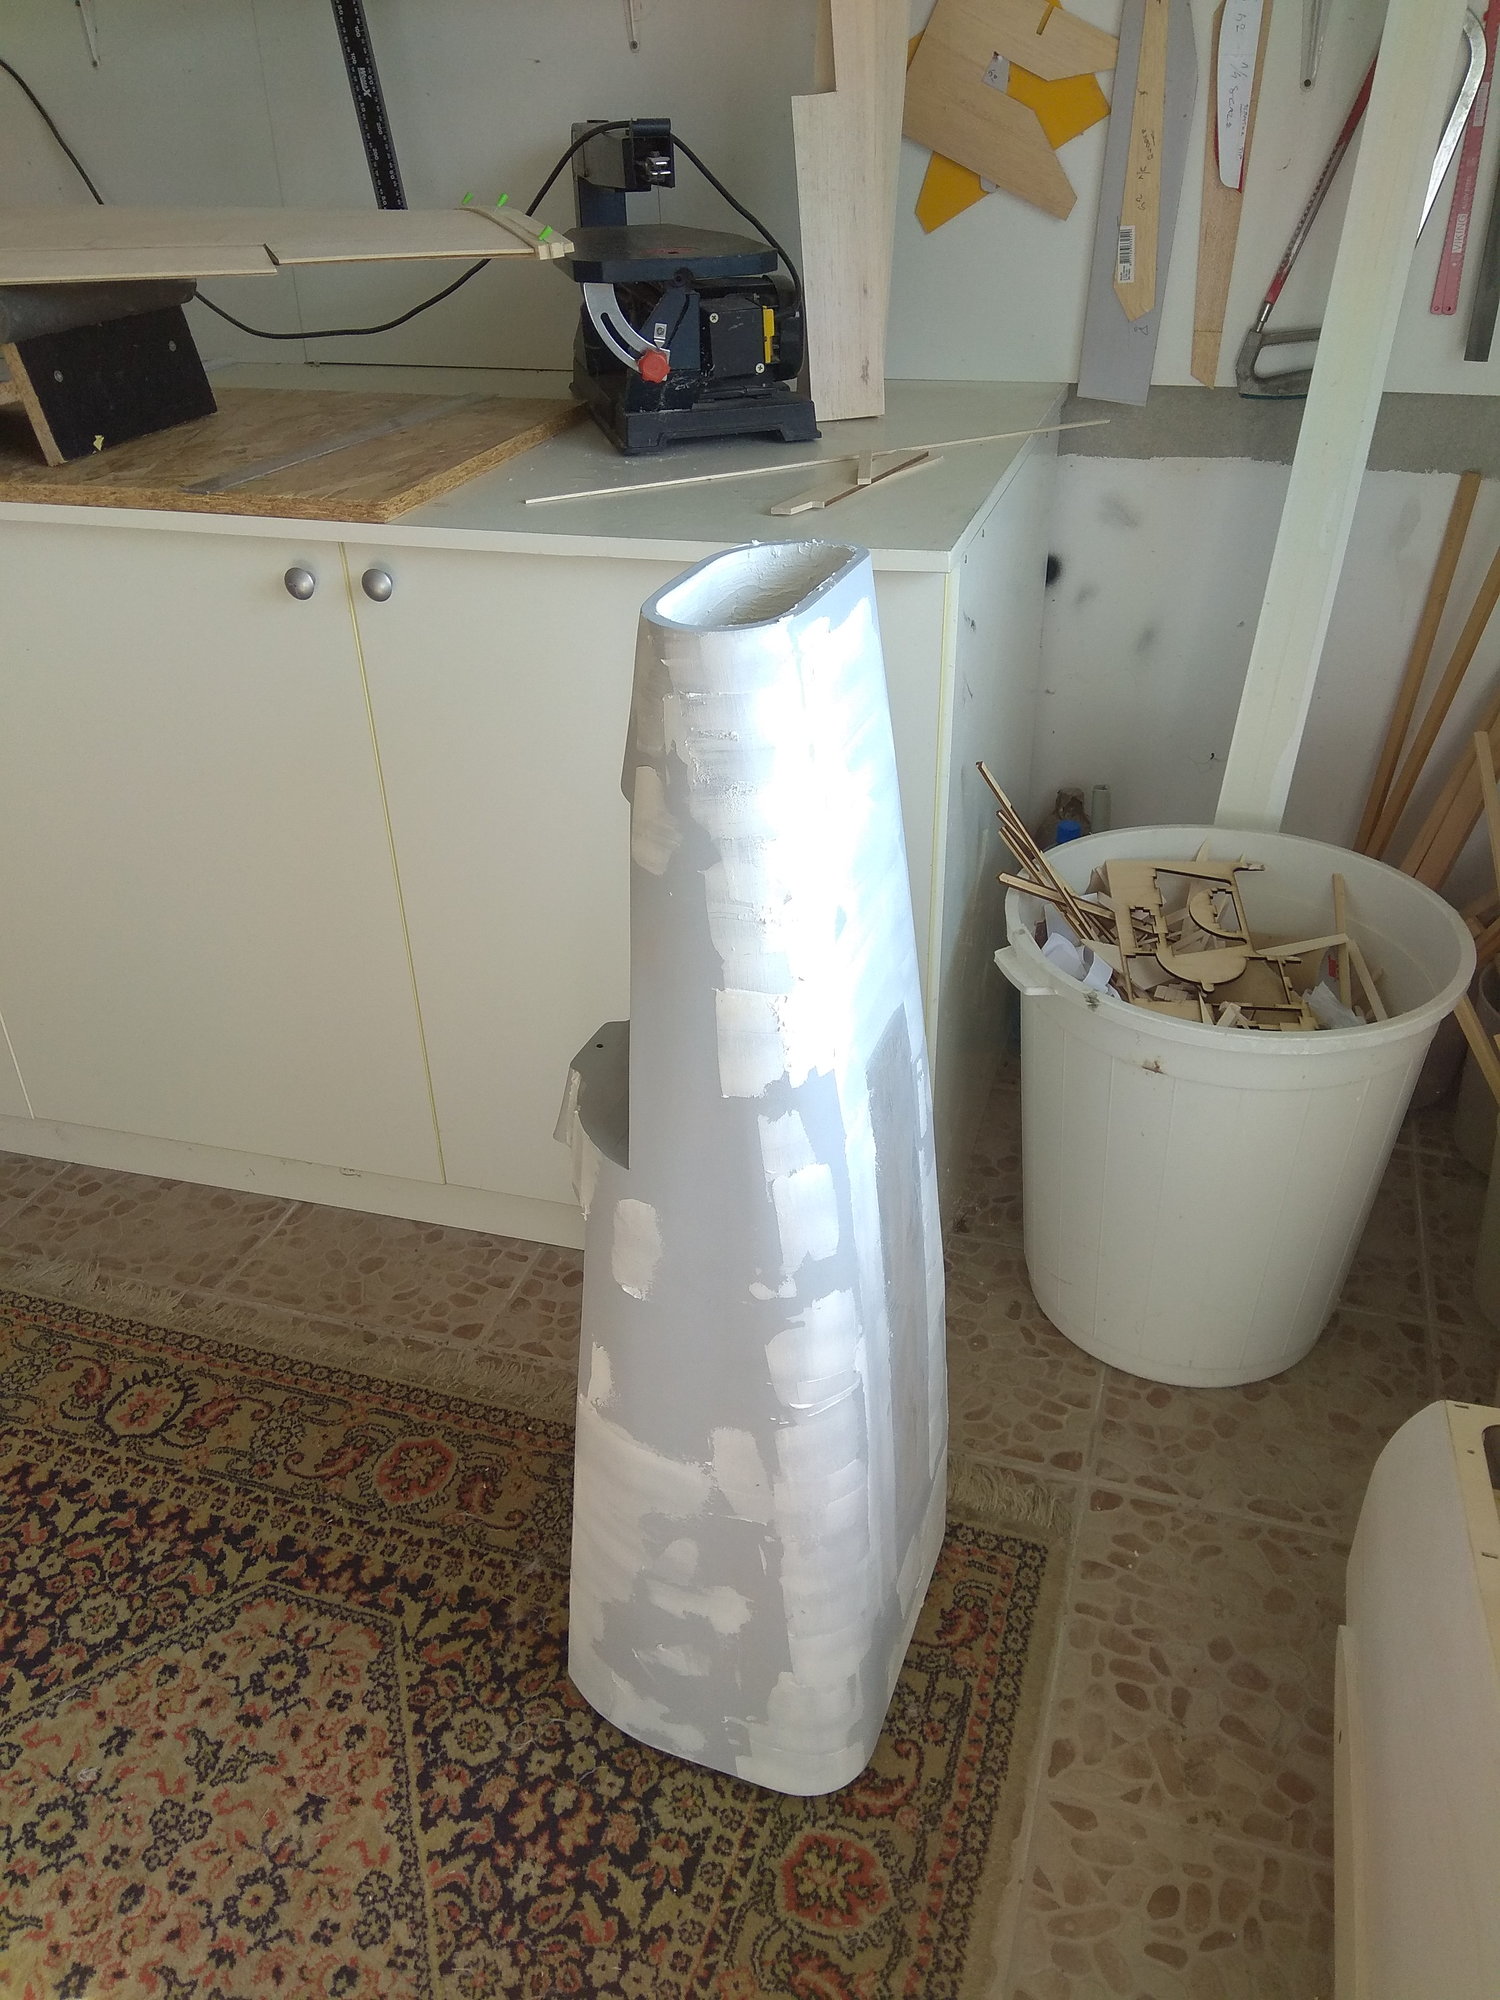
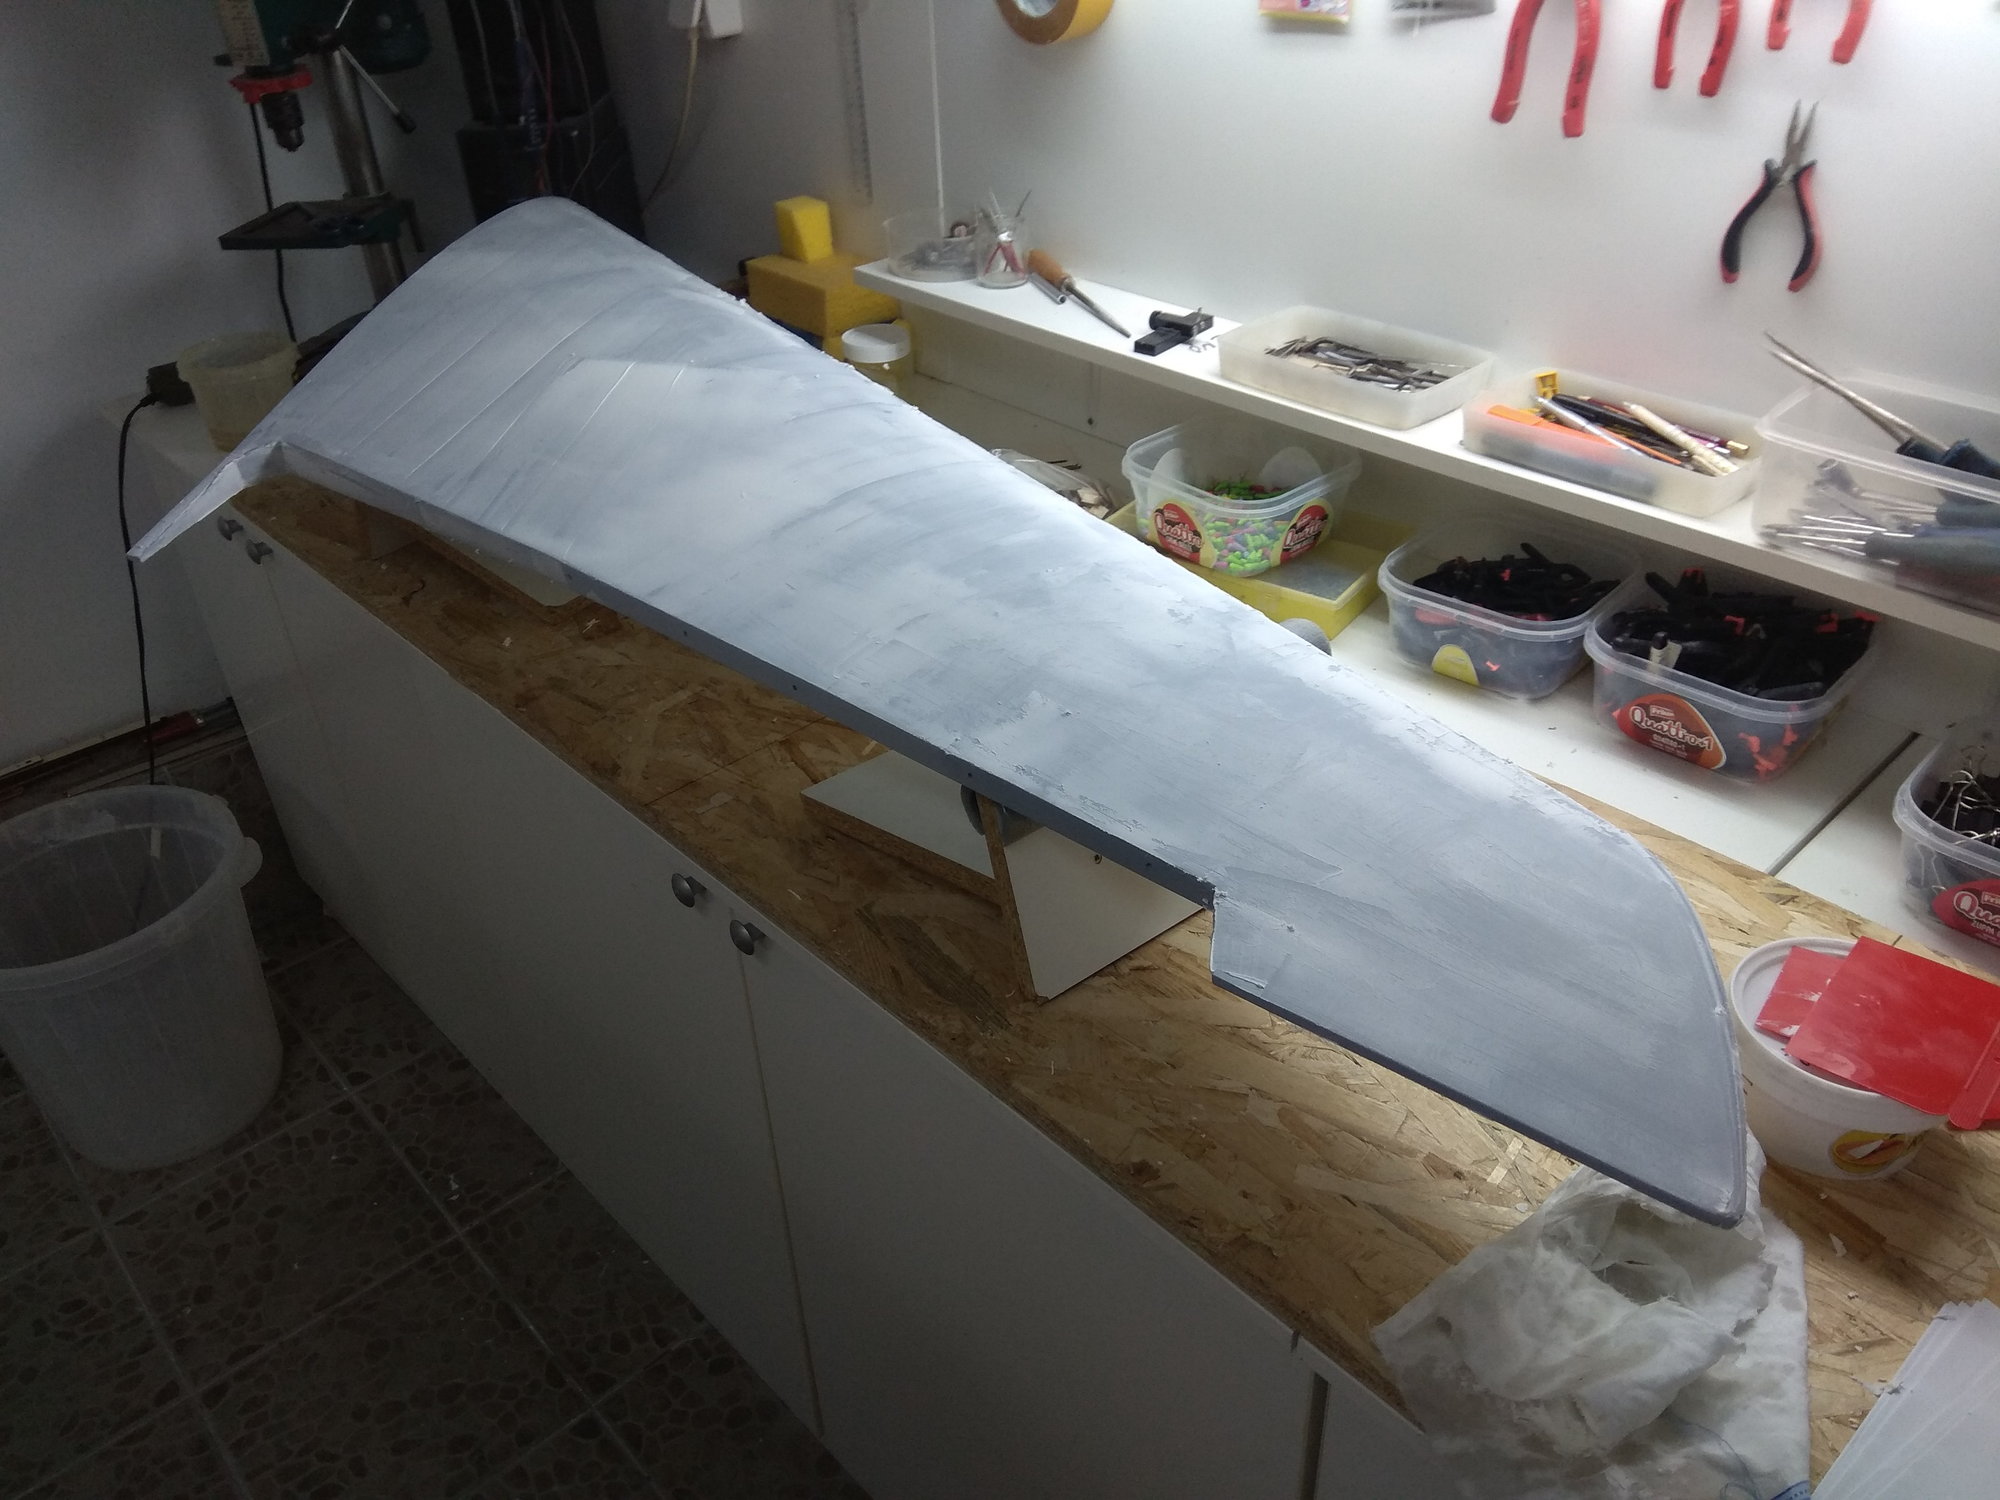
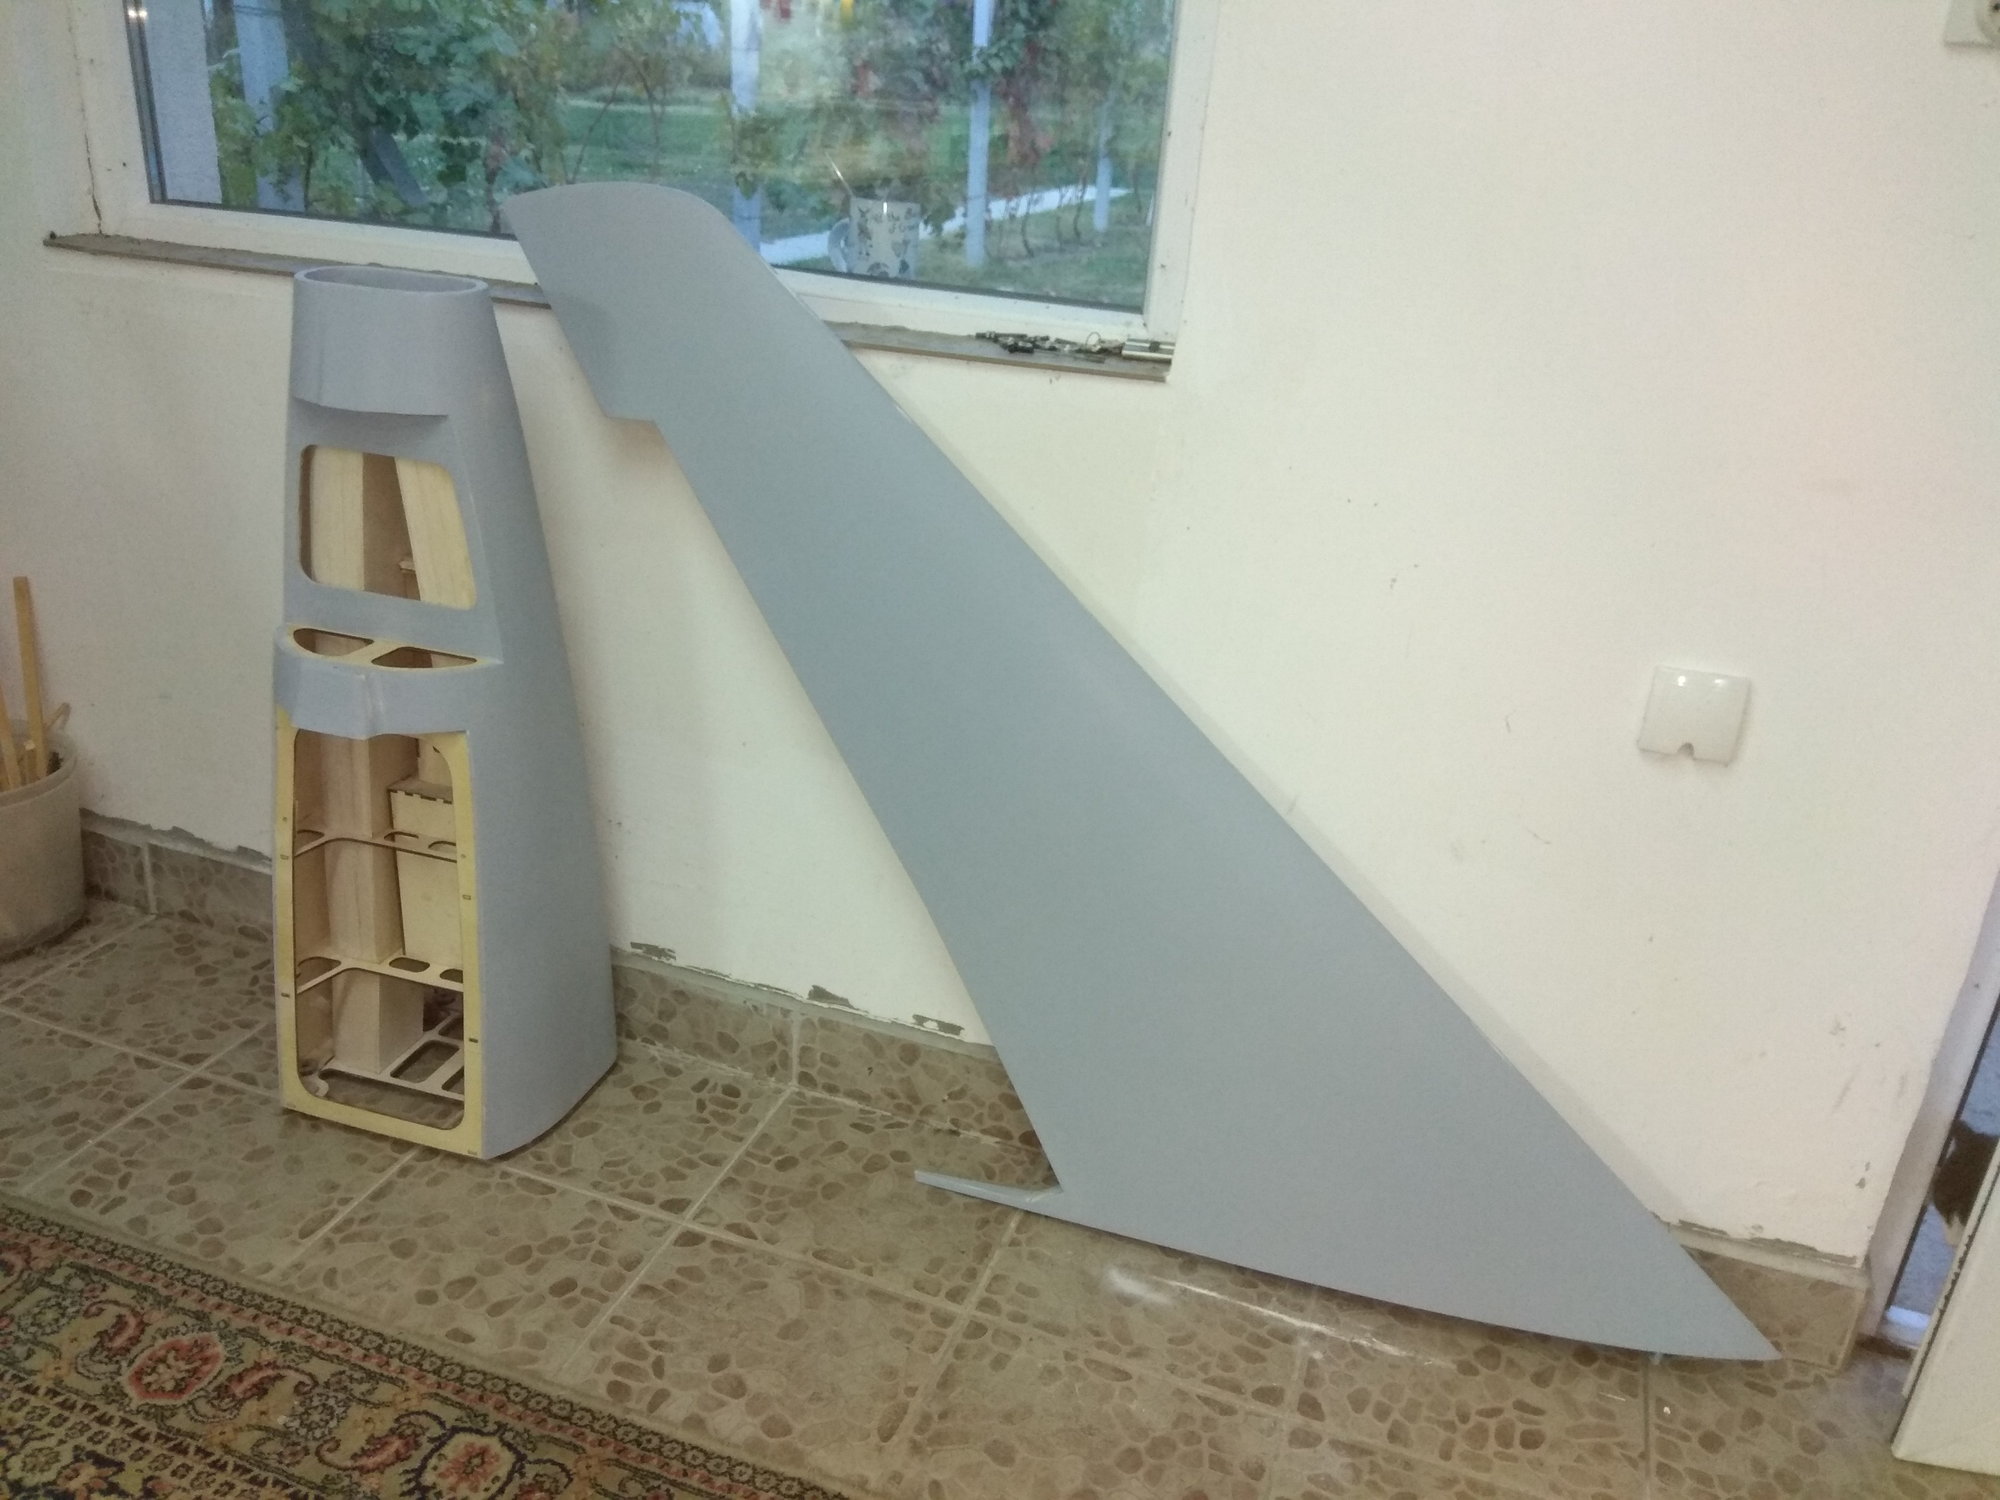
Next step in building process was glassing. I used two kind if glass cloth - 80 gr for wings, elevators, elevator box and ailerons. On all other parts I used 18 gr glass cloth.
Epoxy resin was as always German R&G.
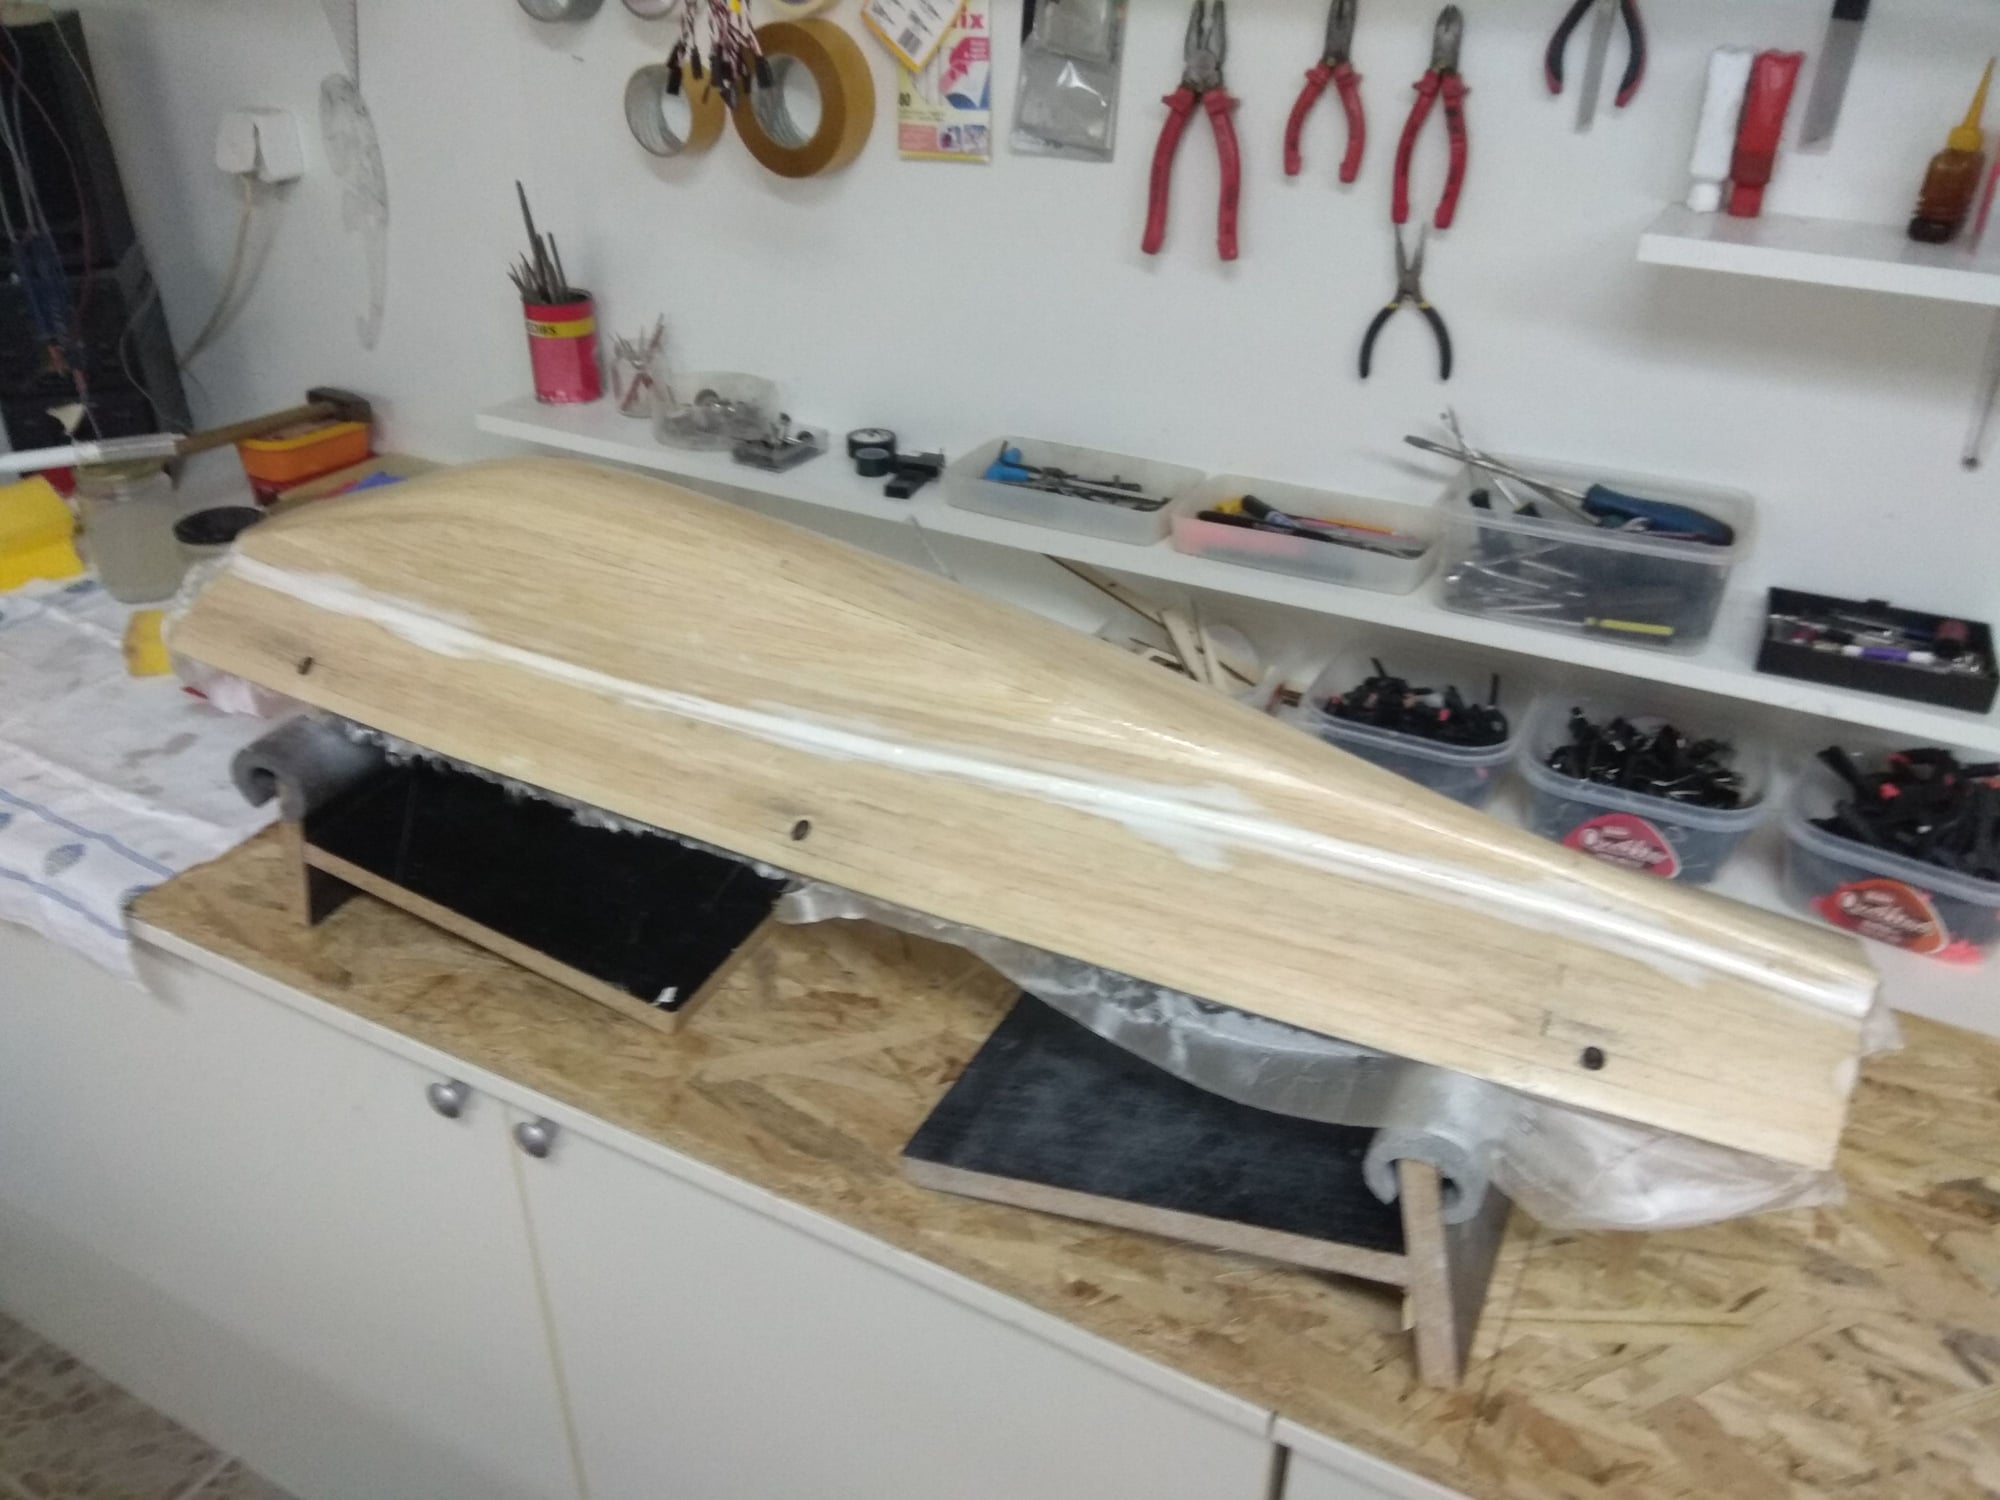
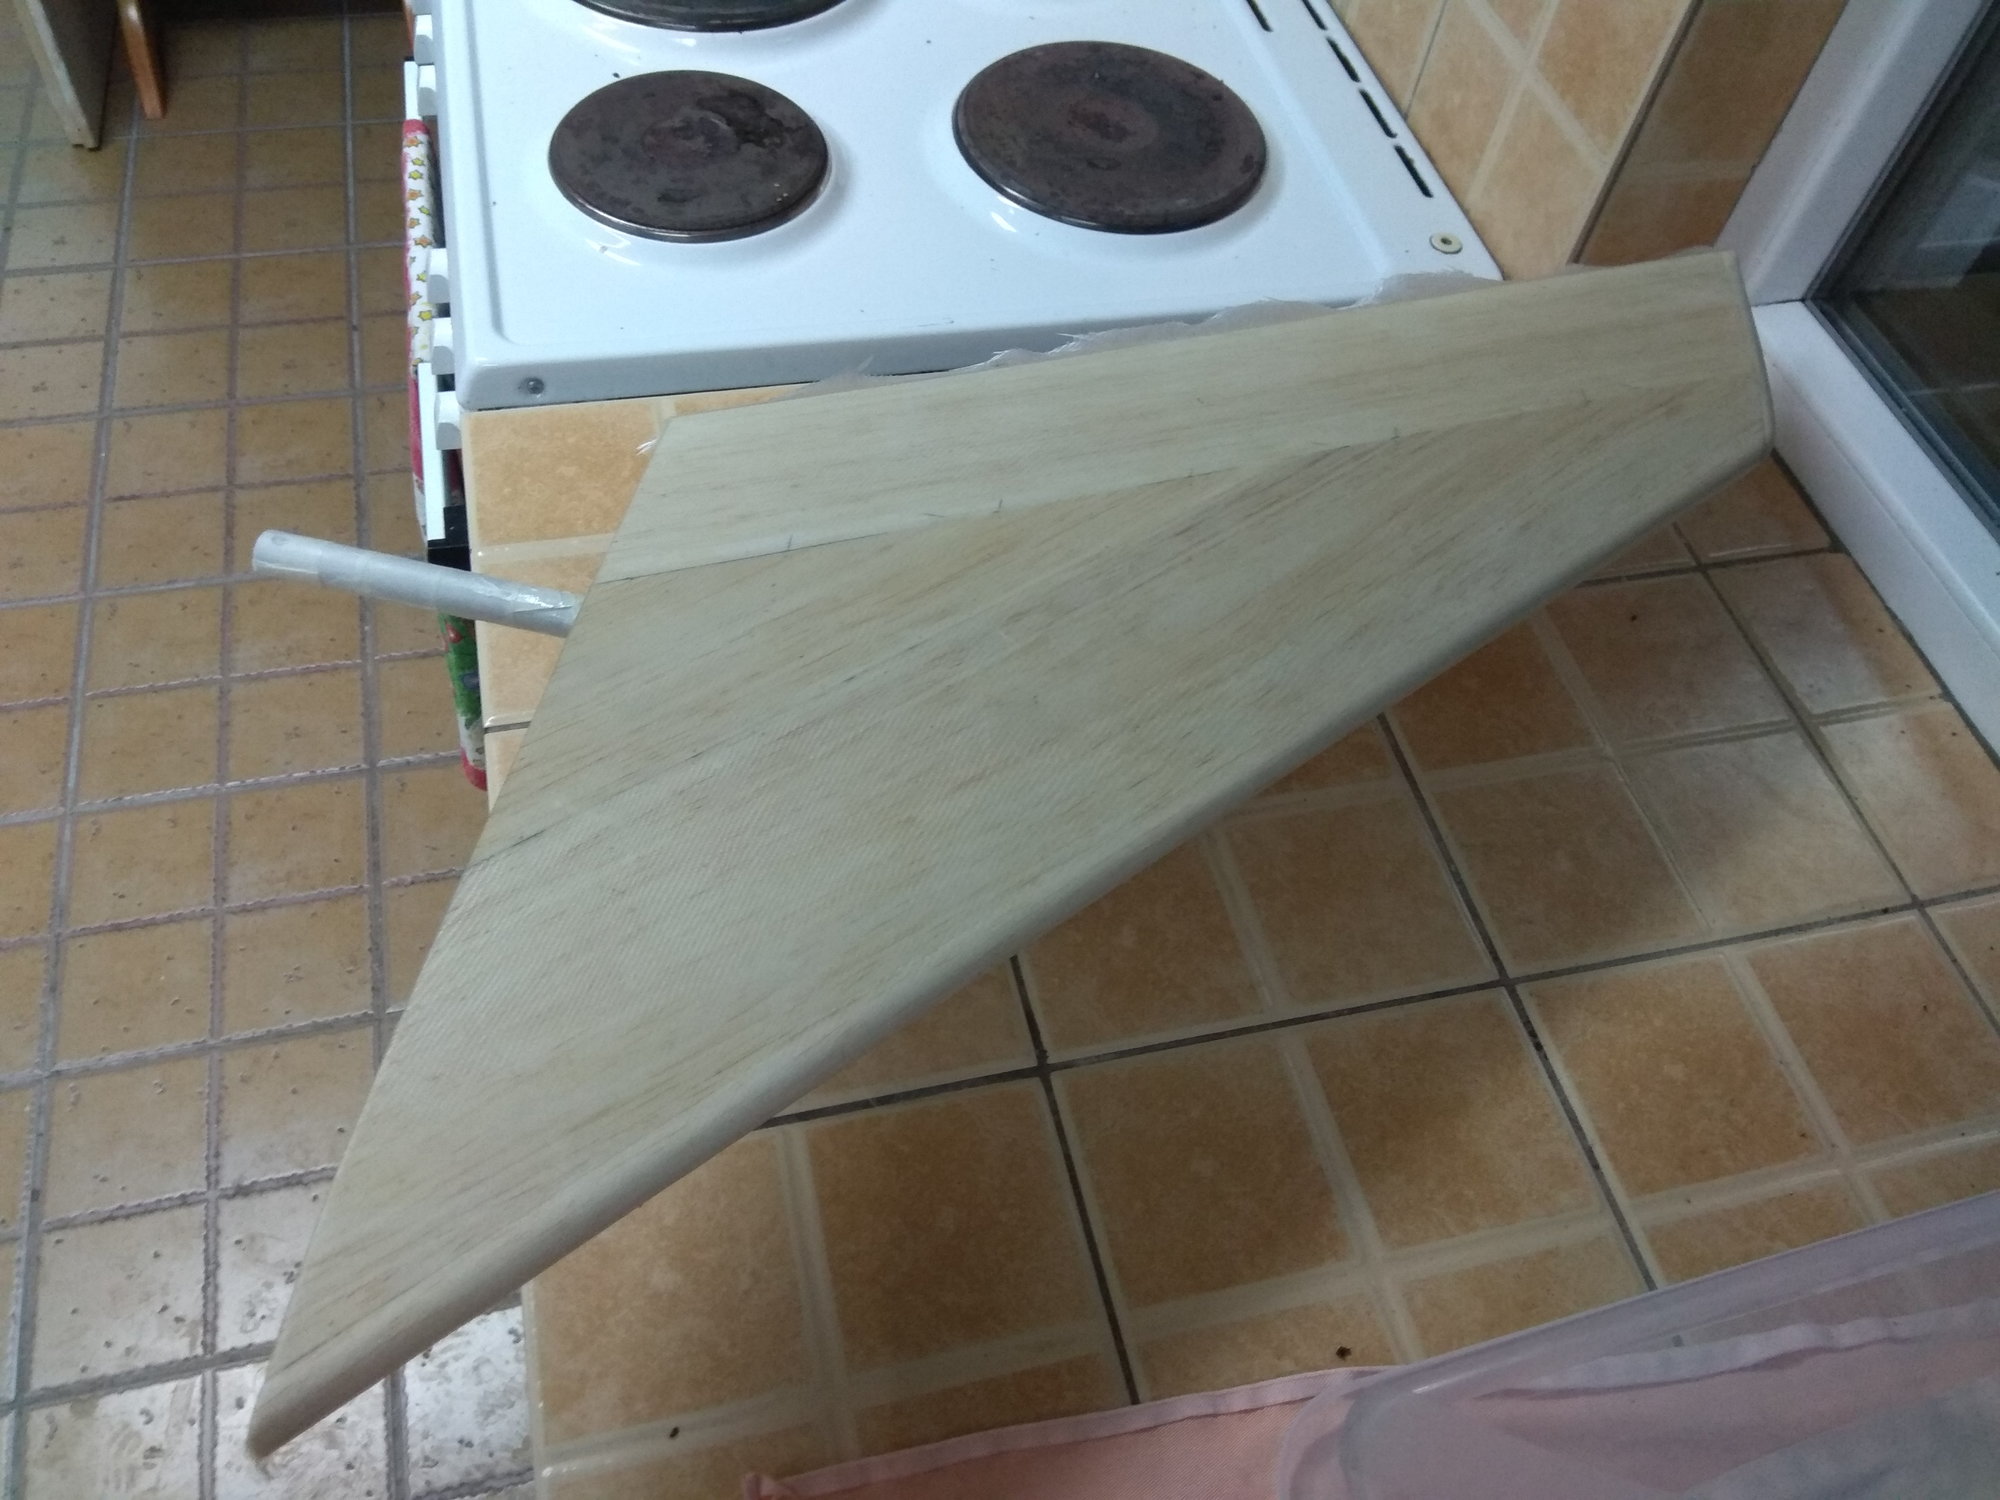
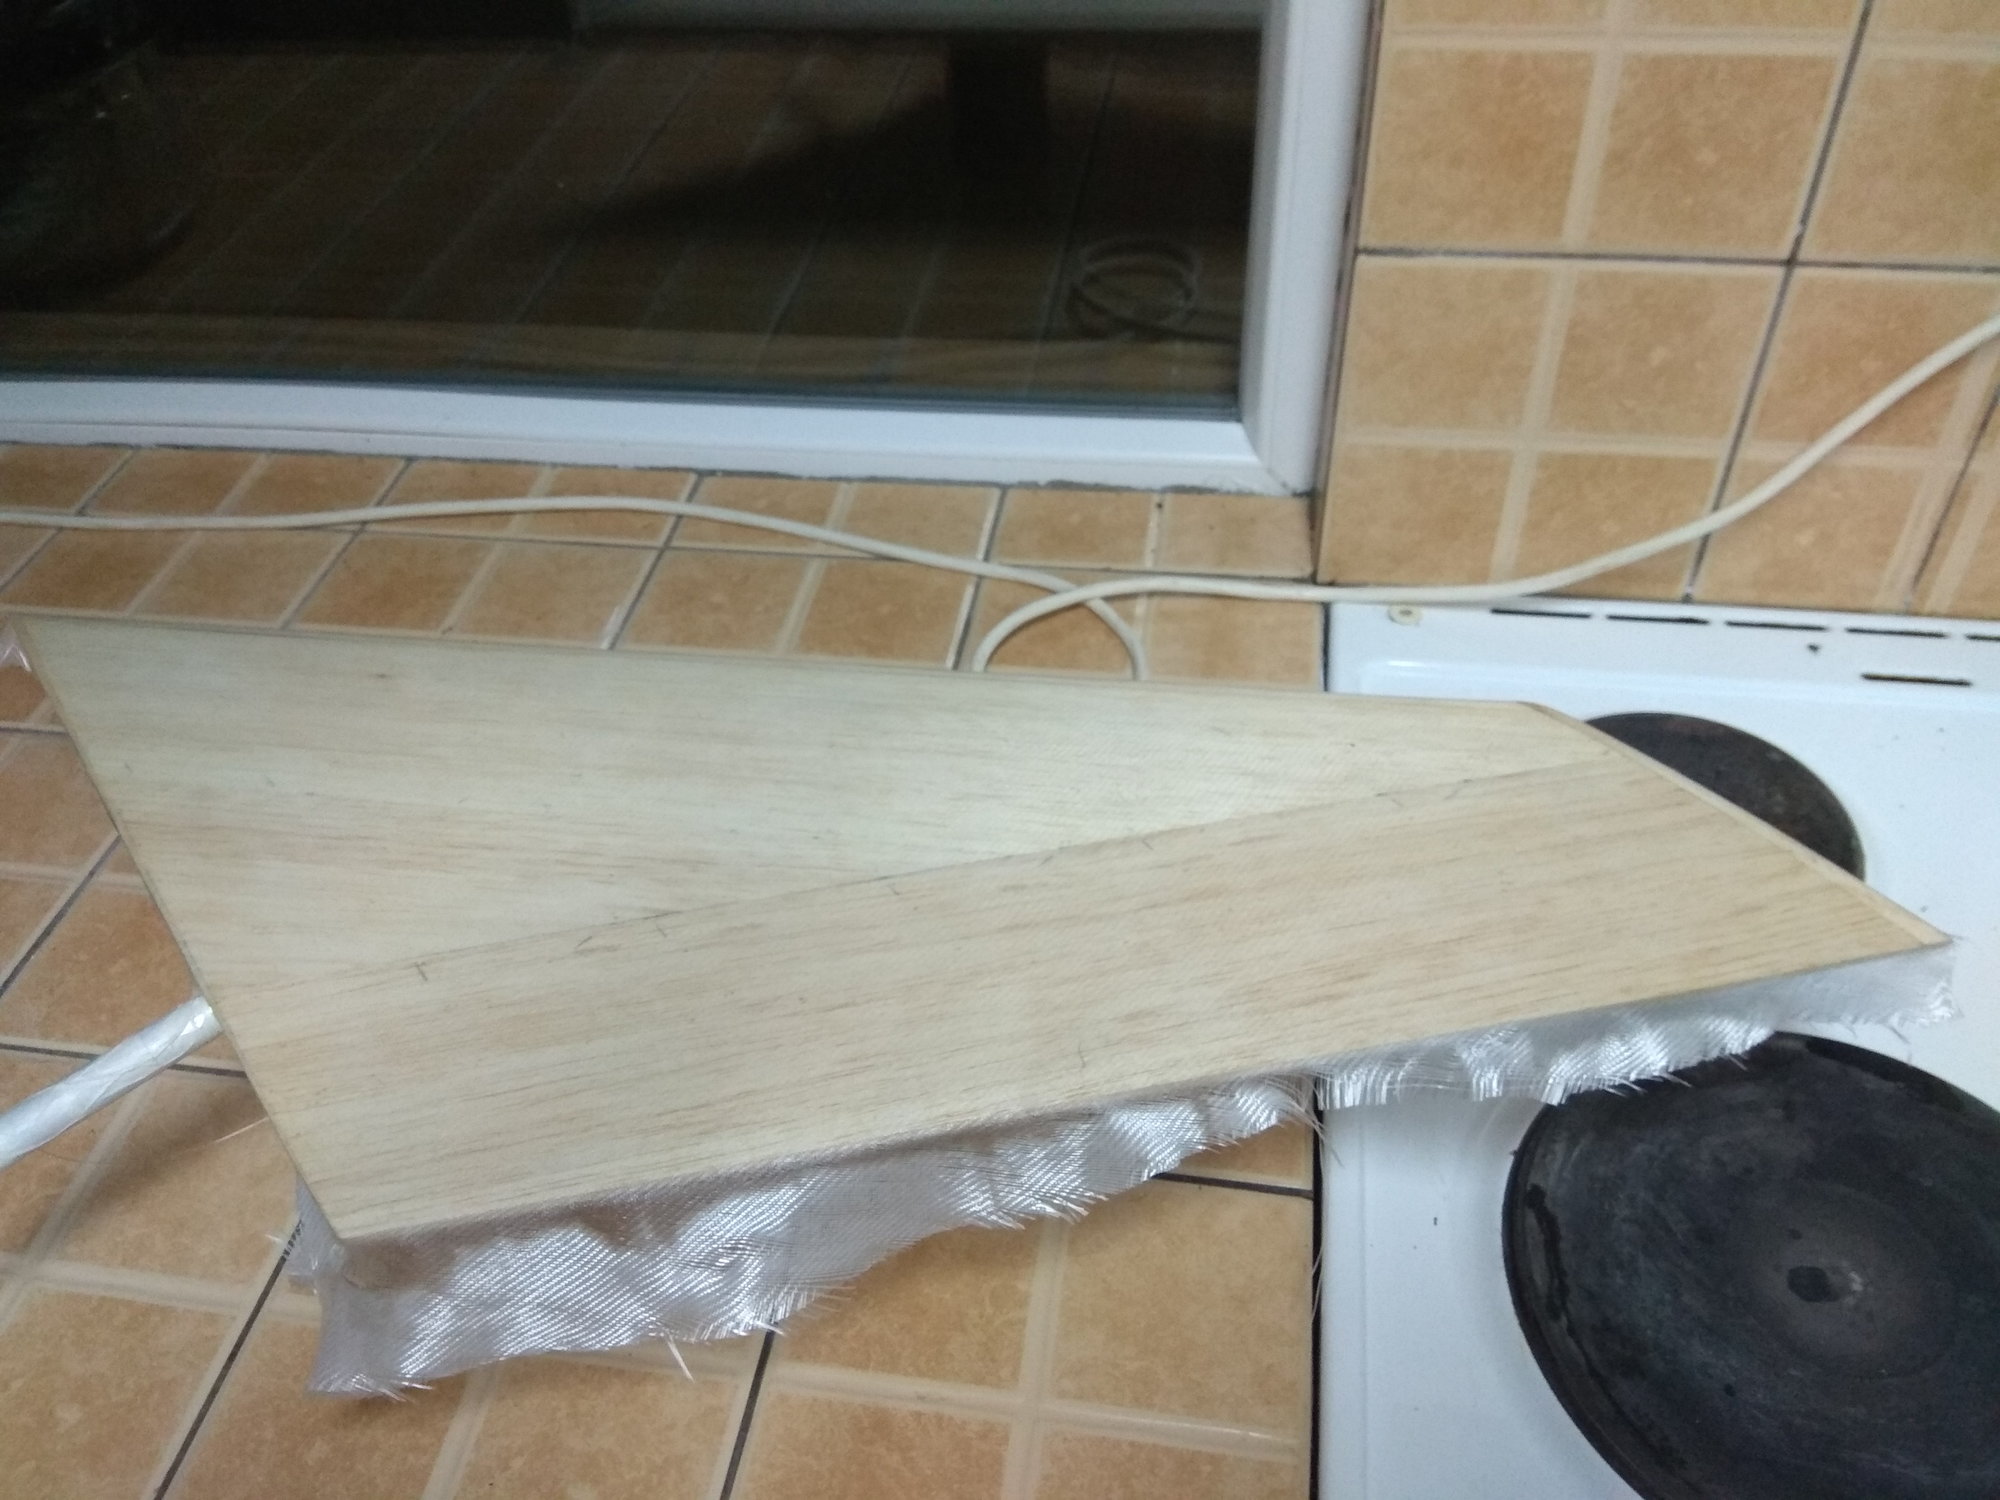
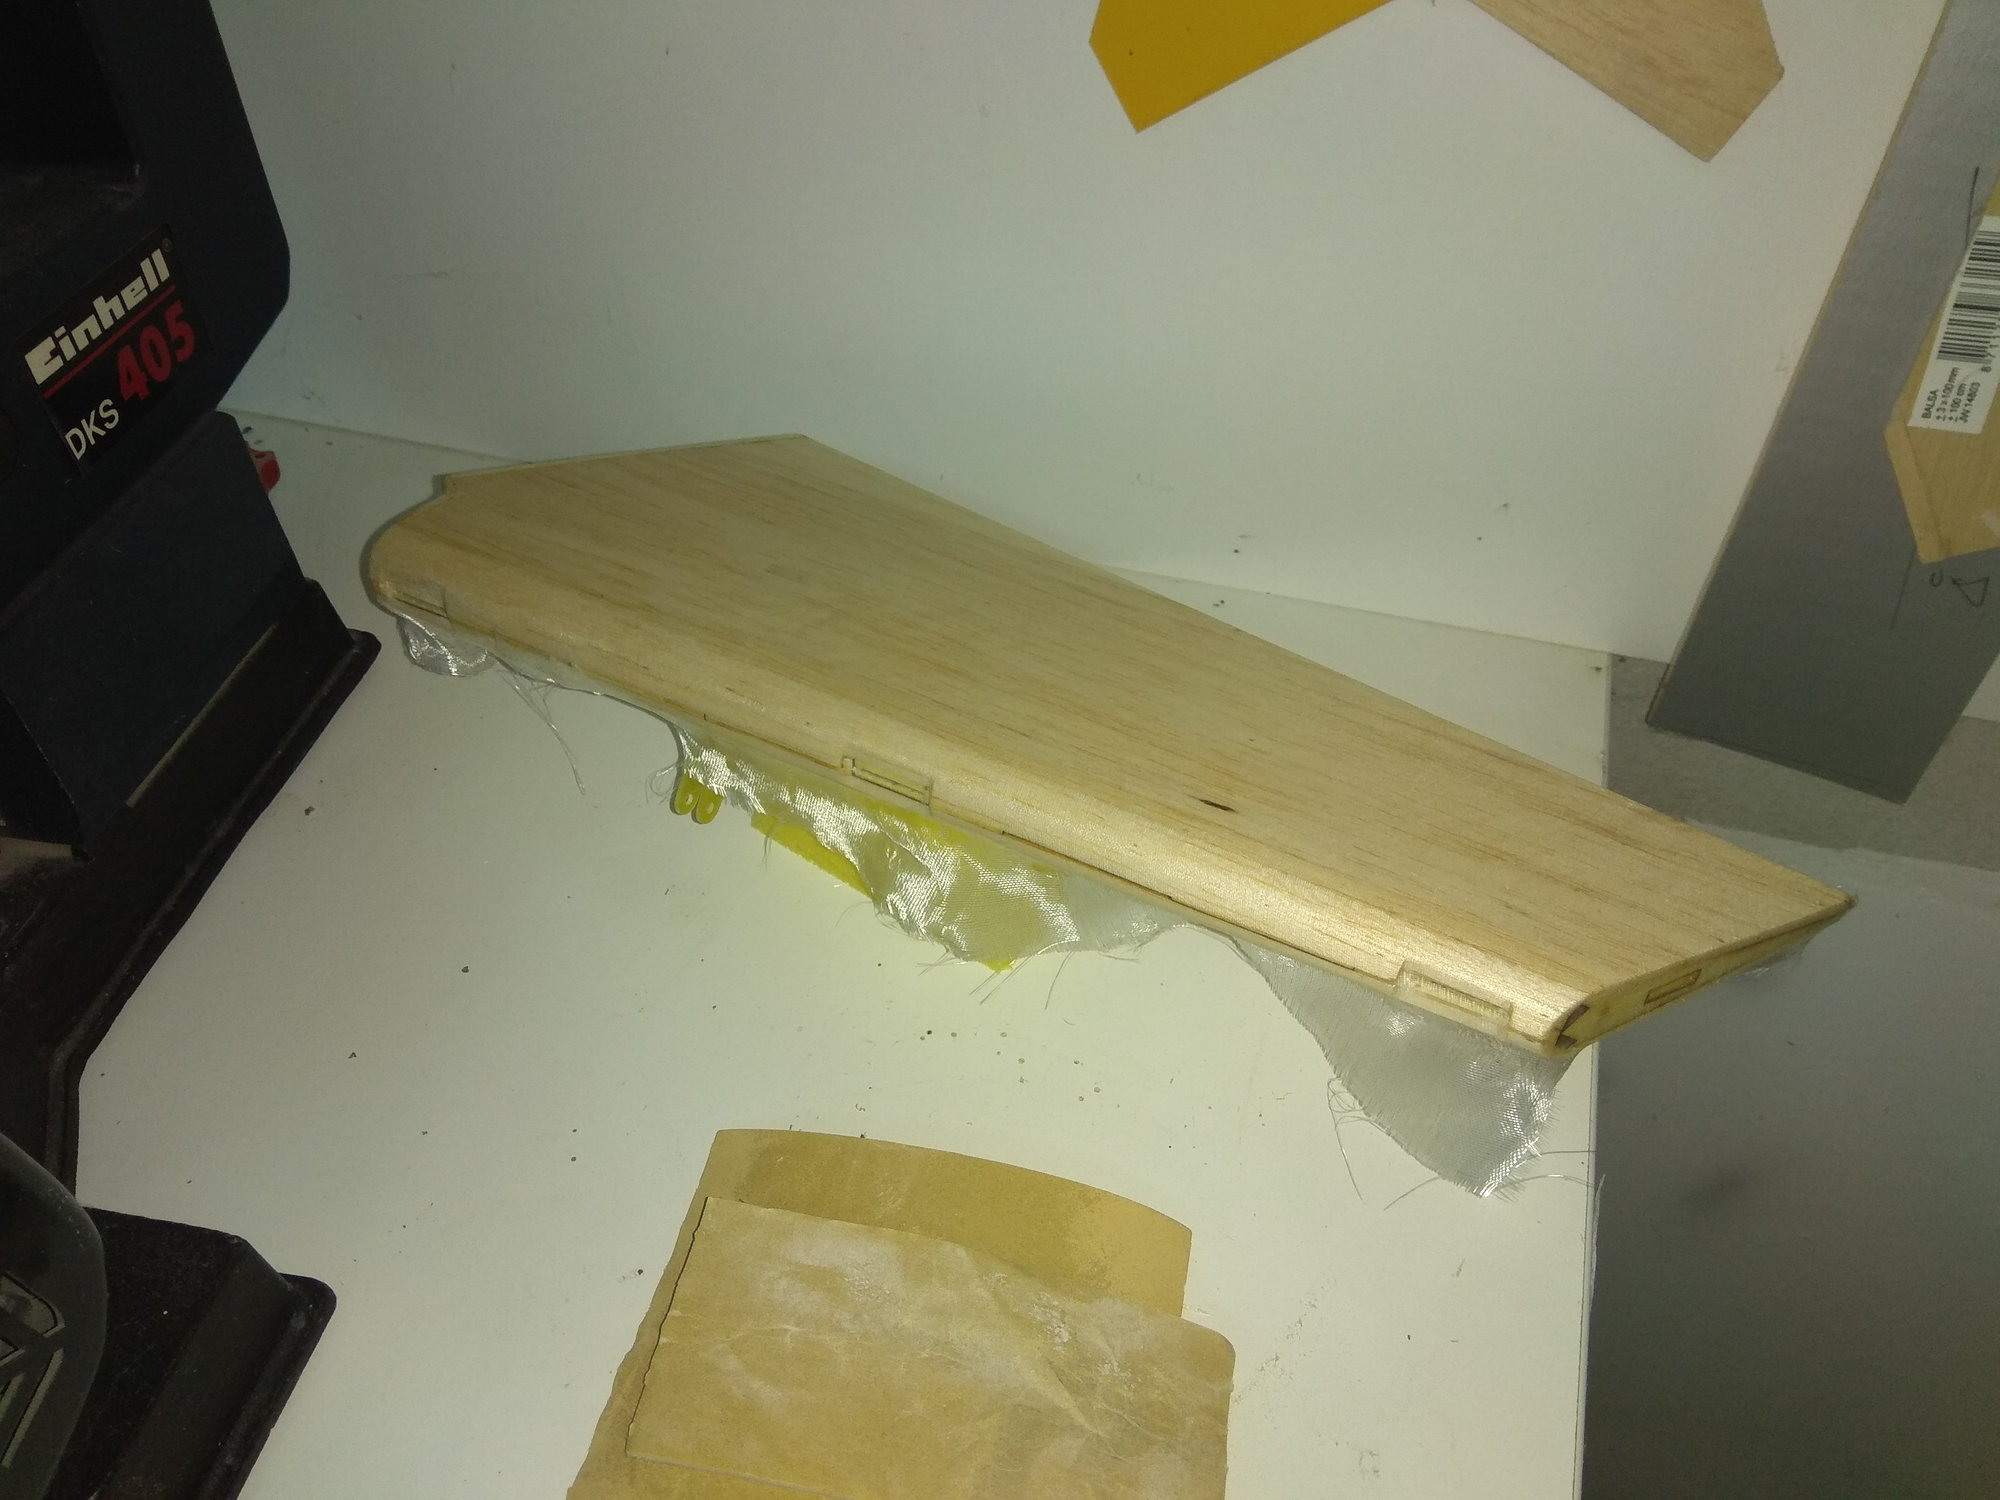

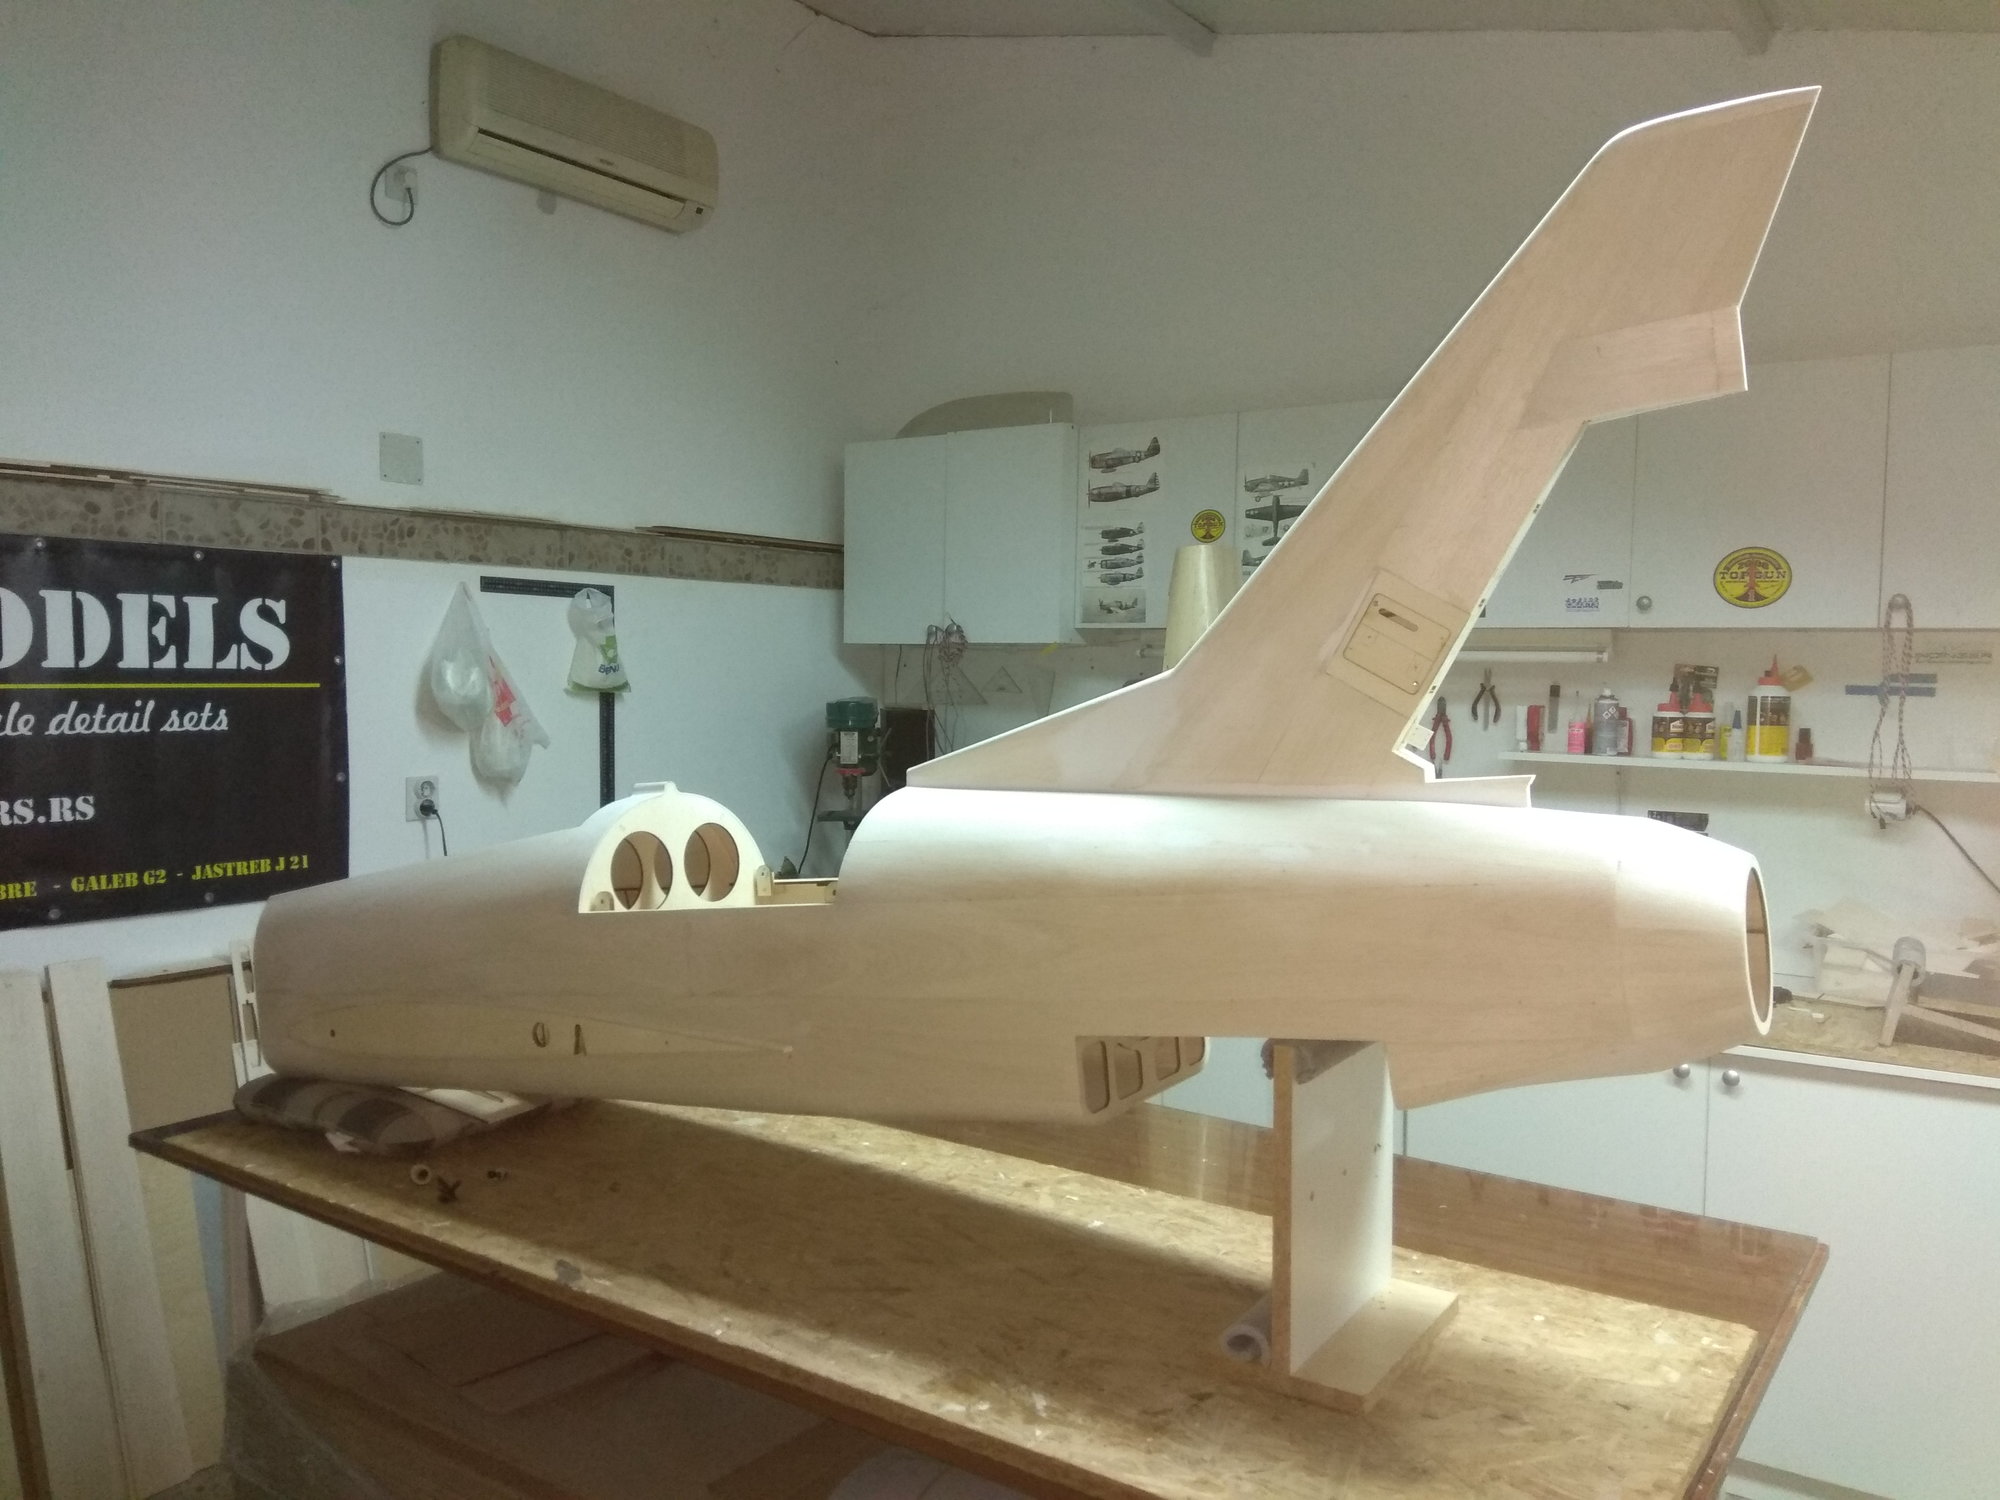

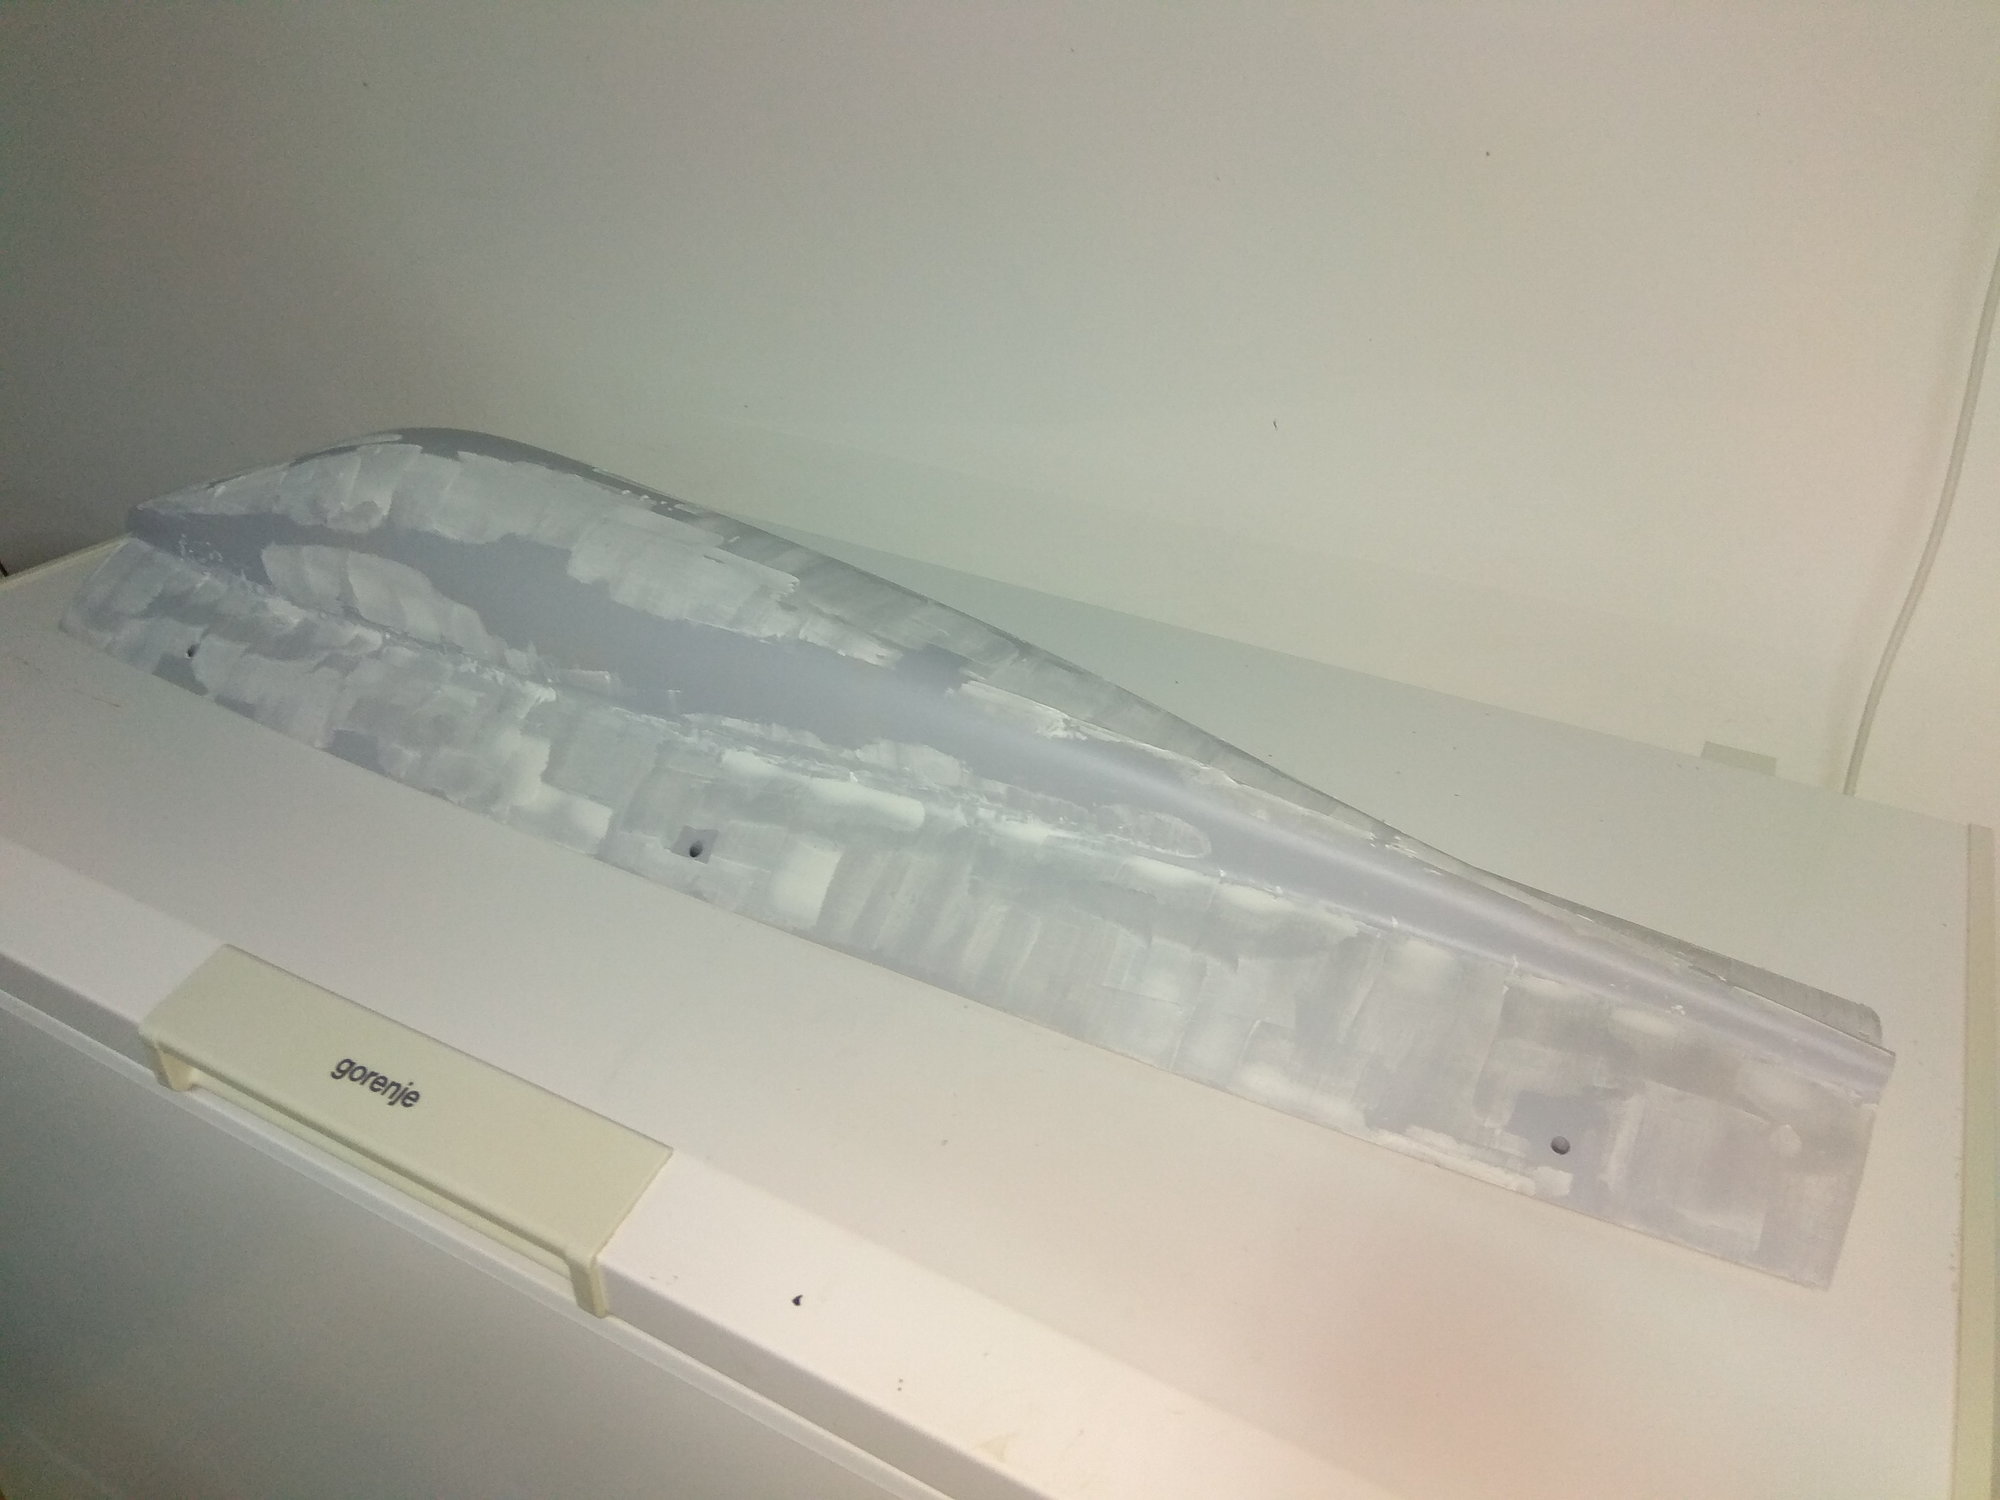
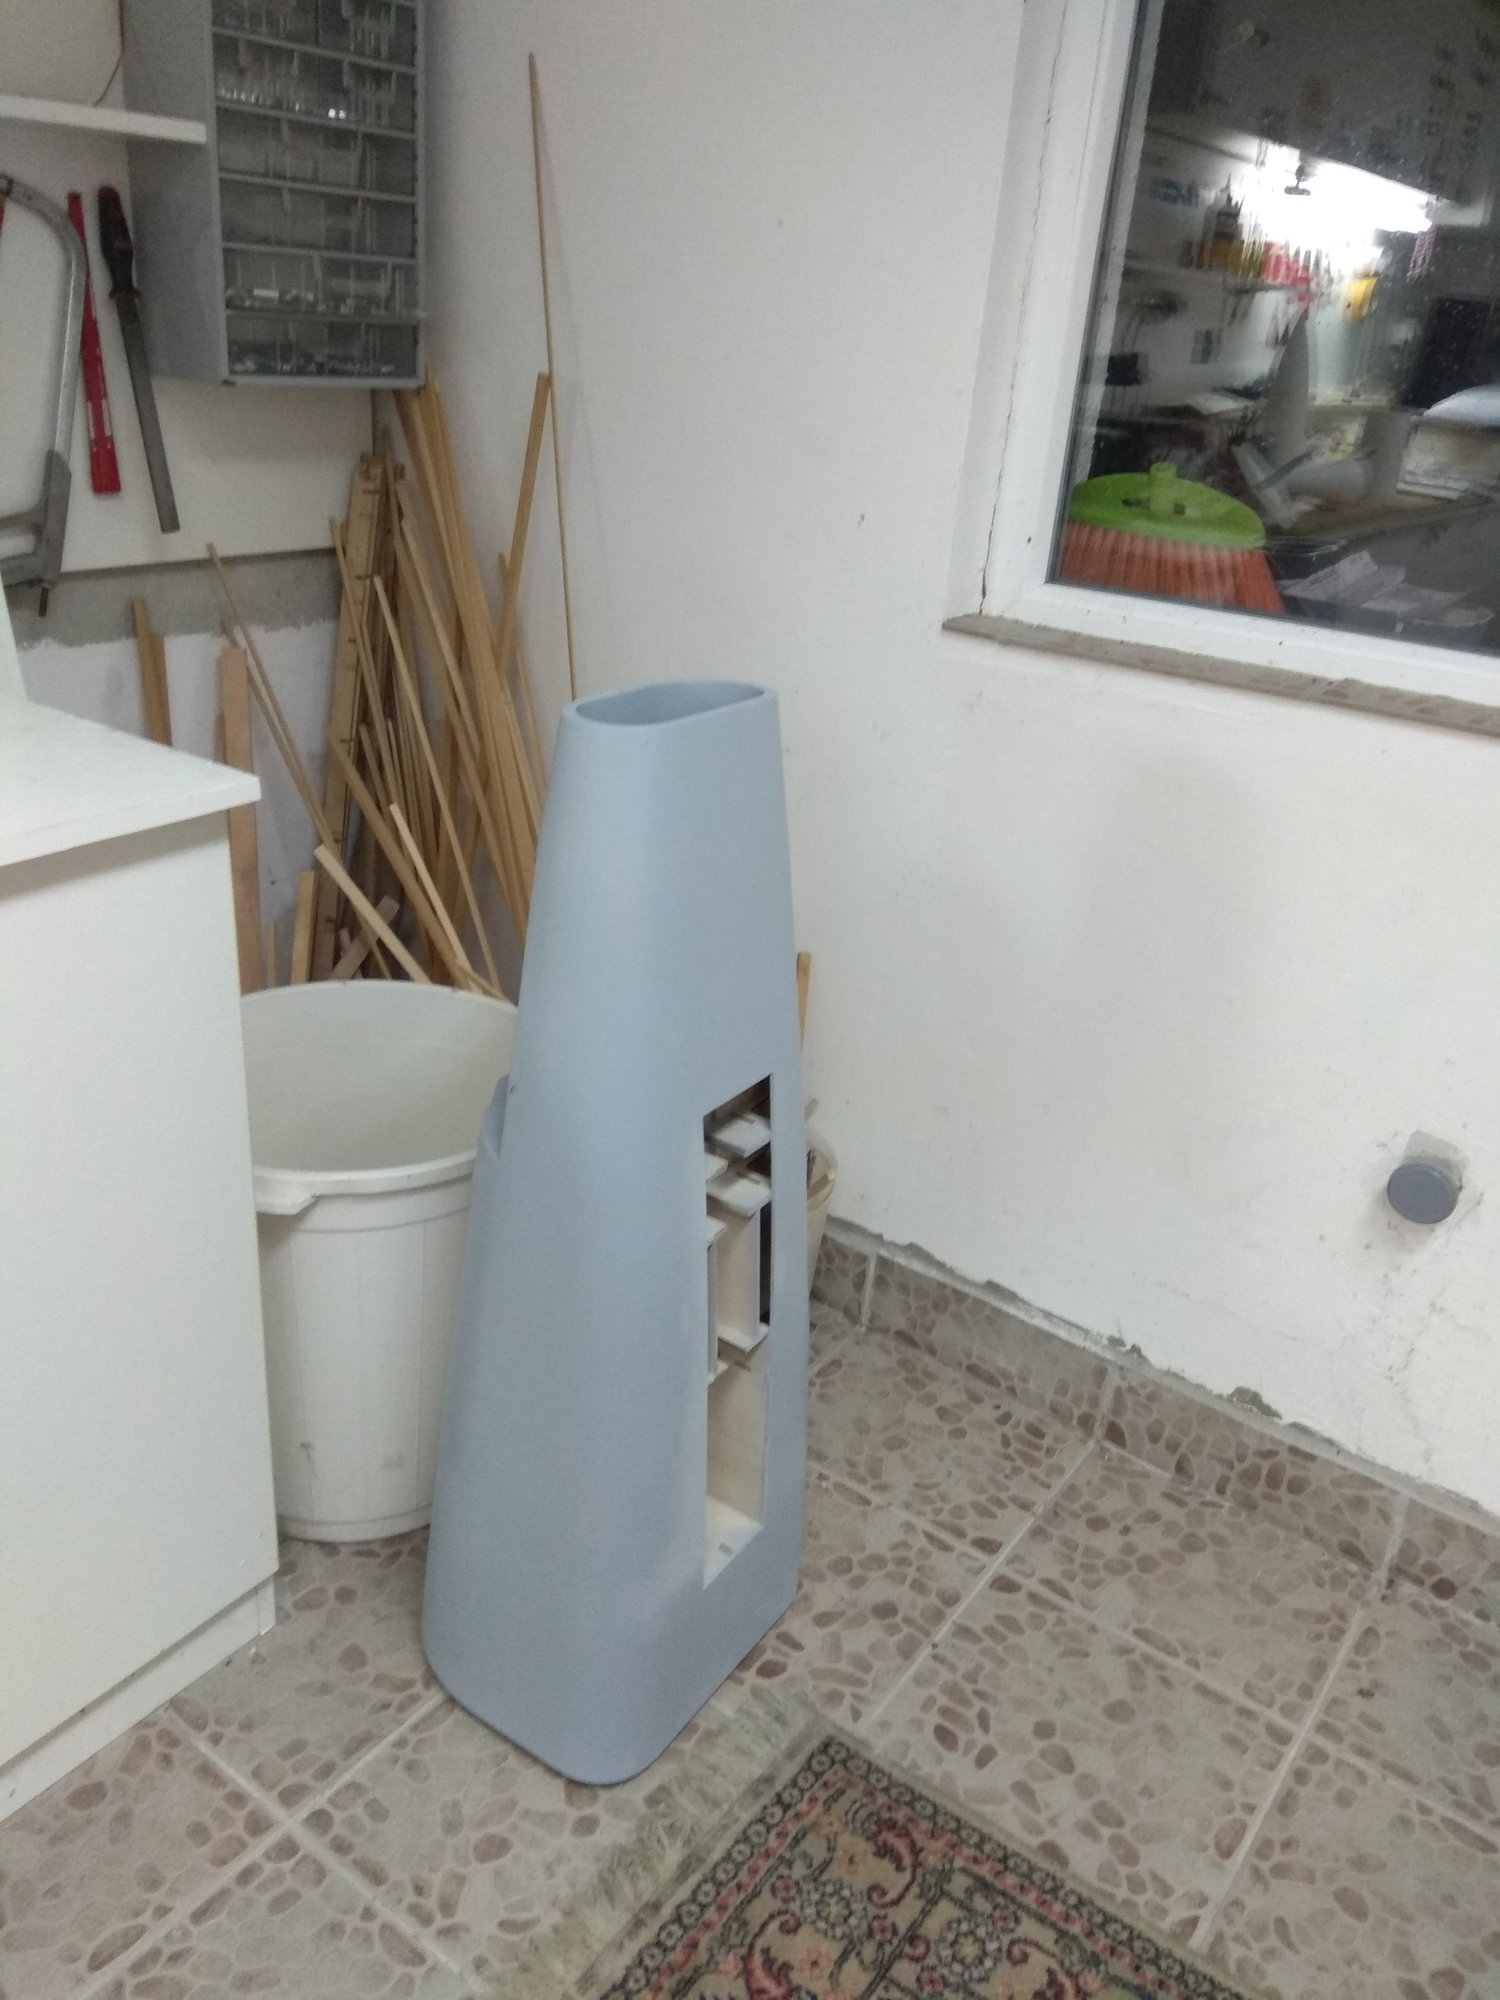
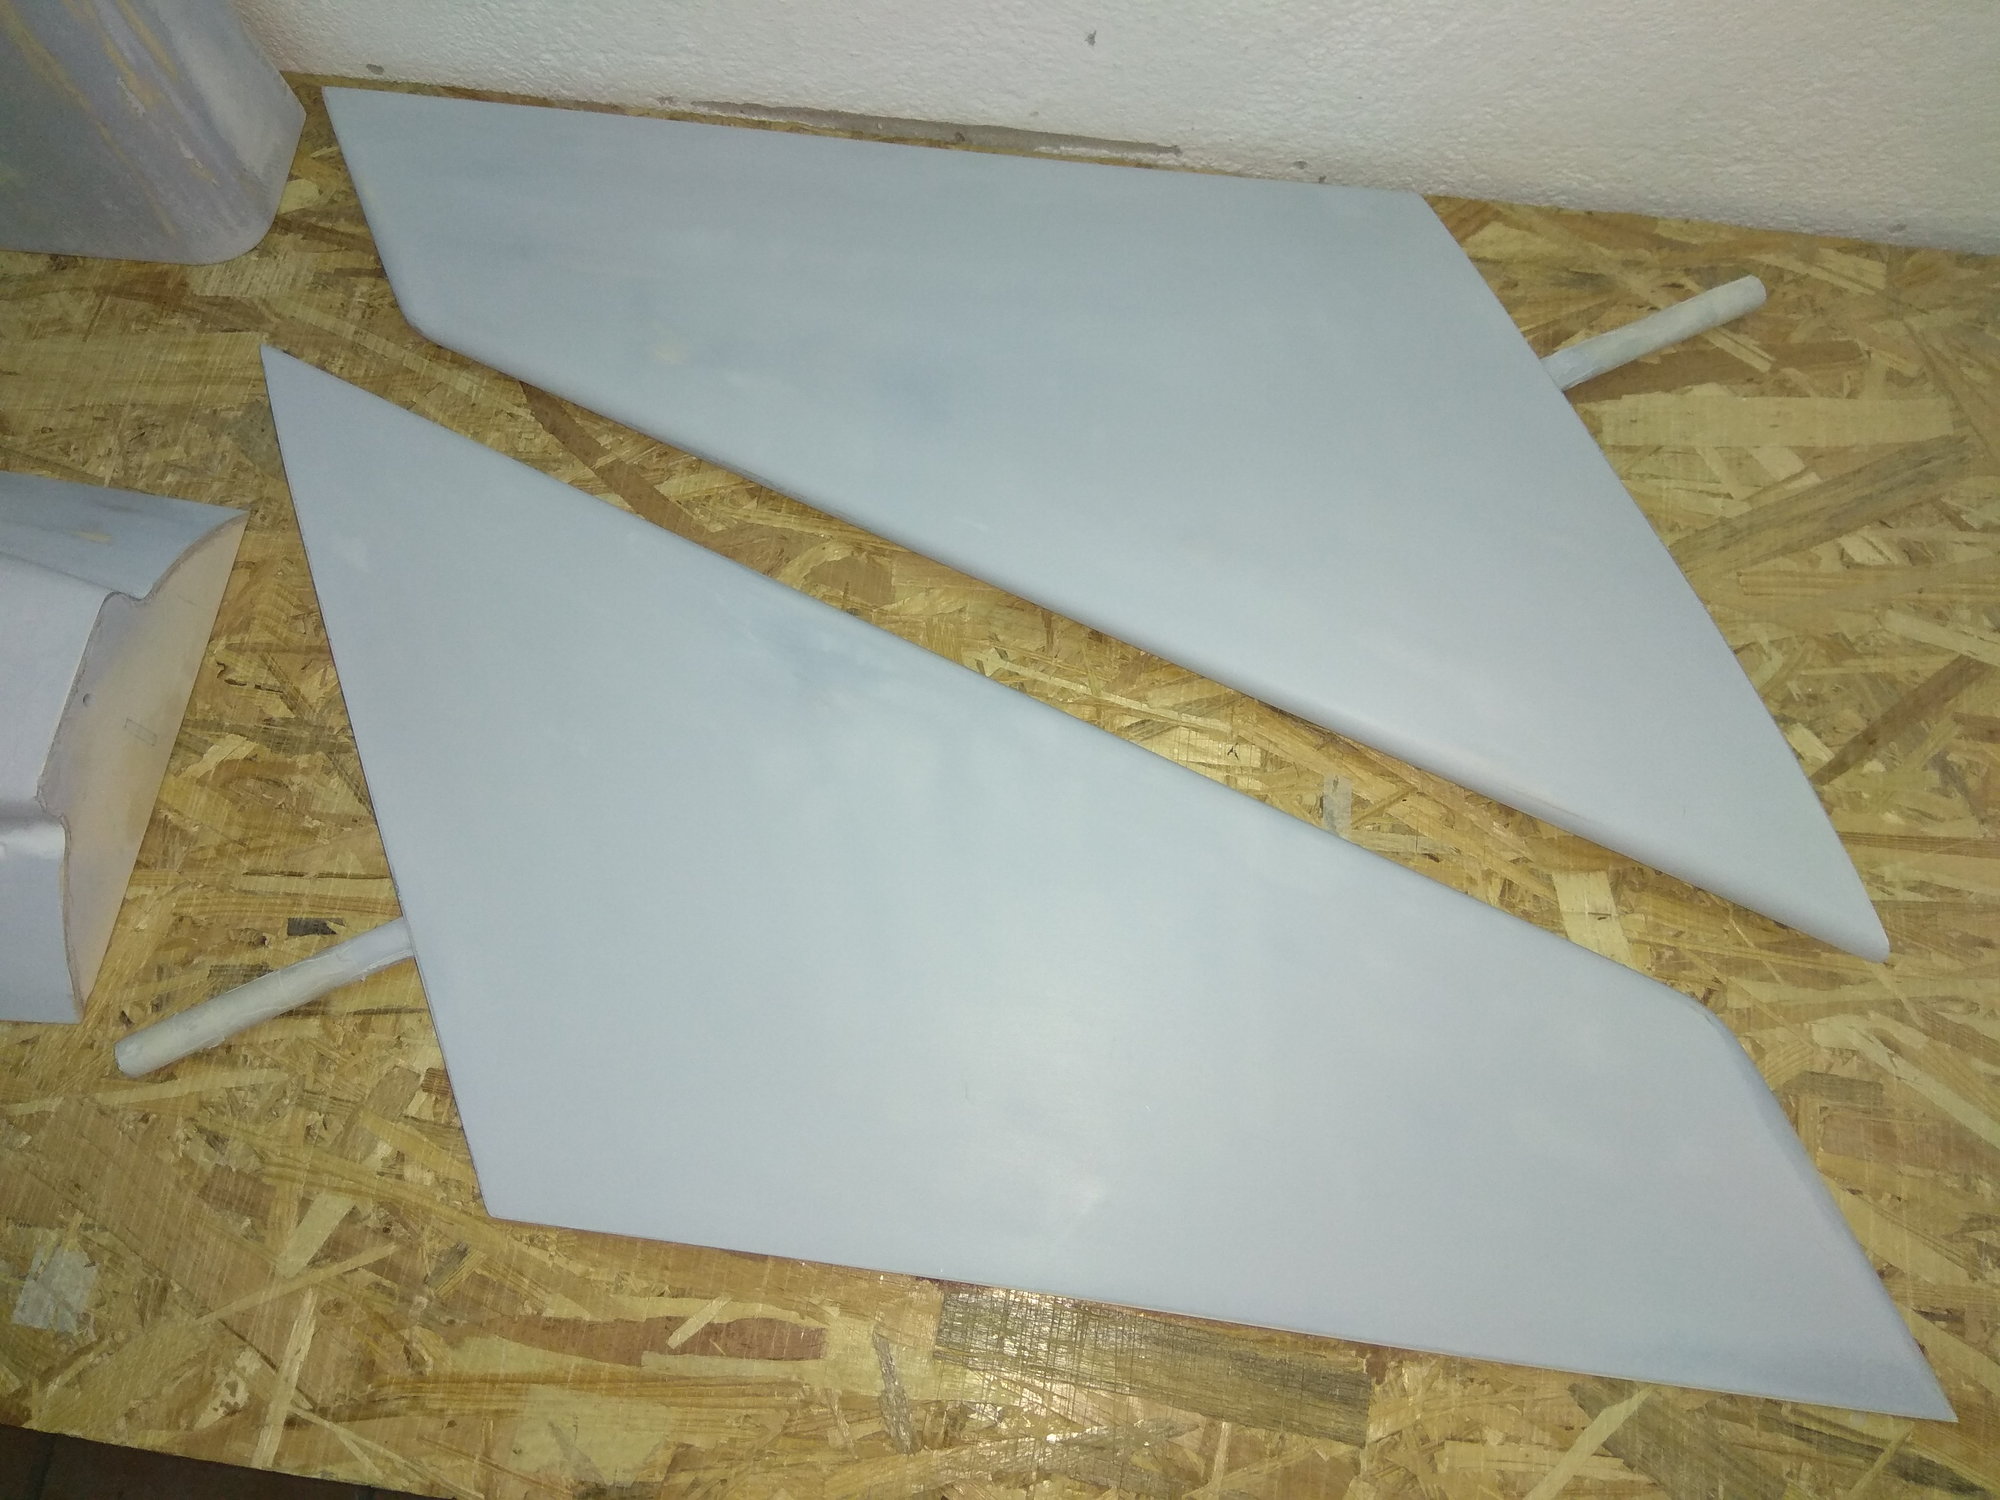
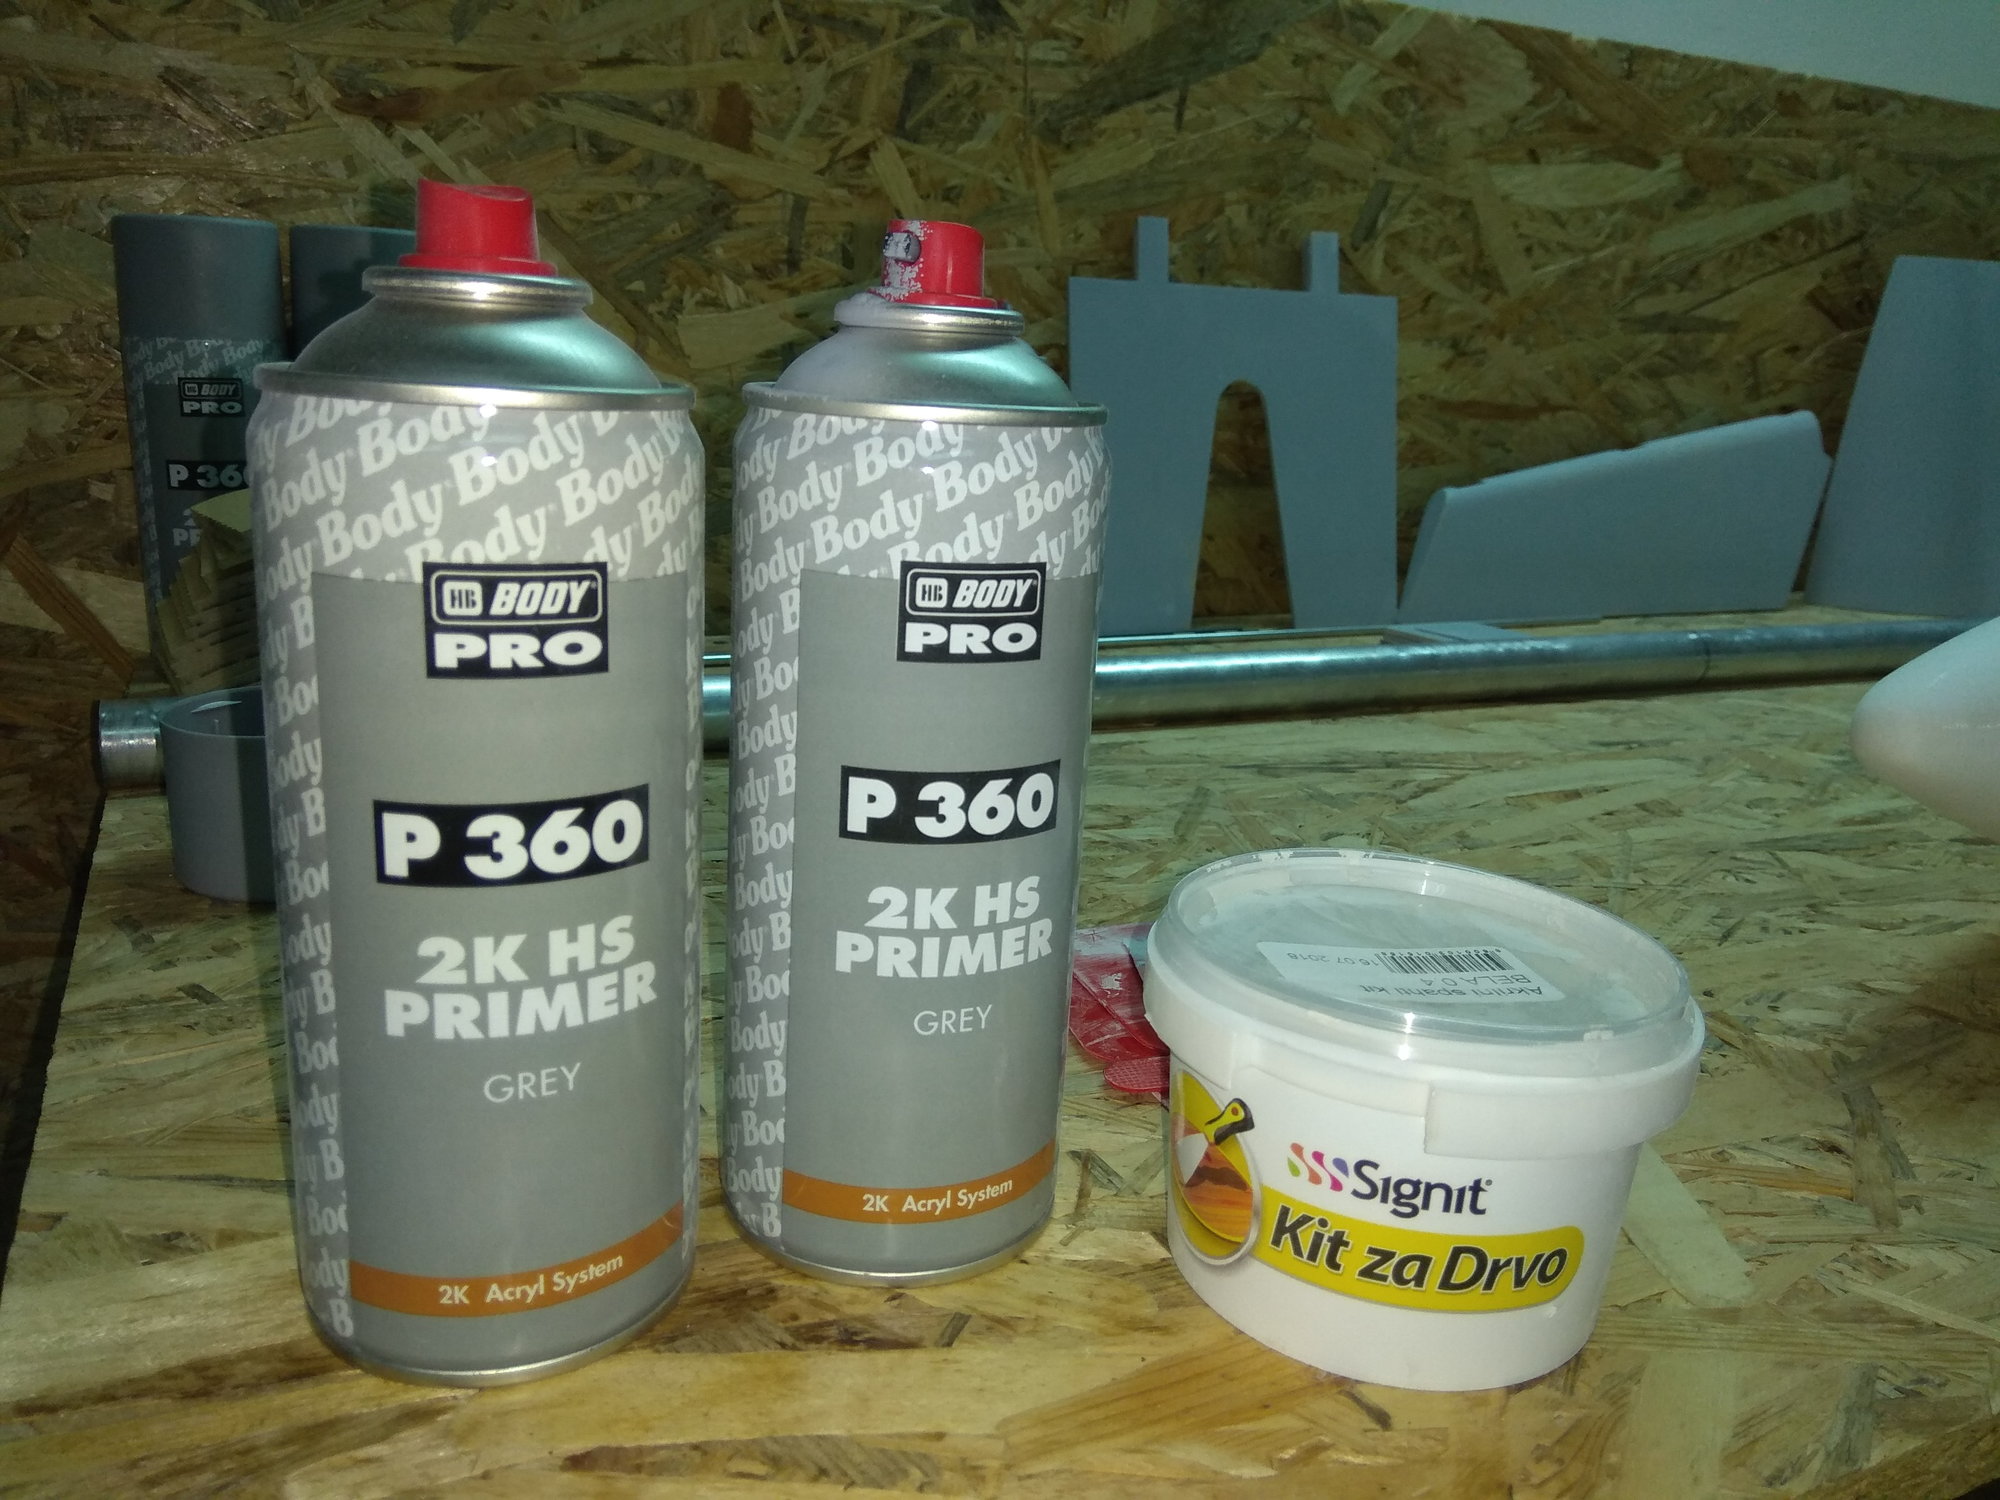
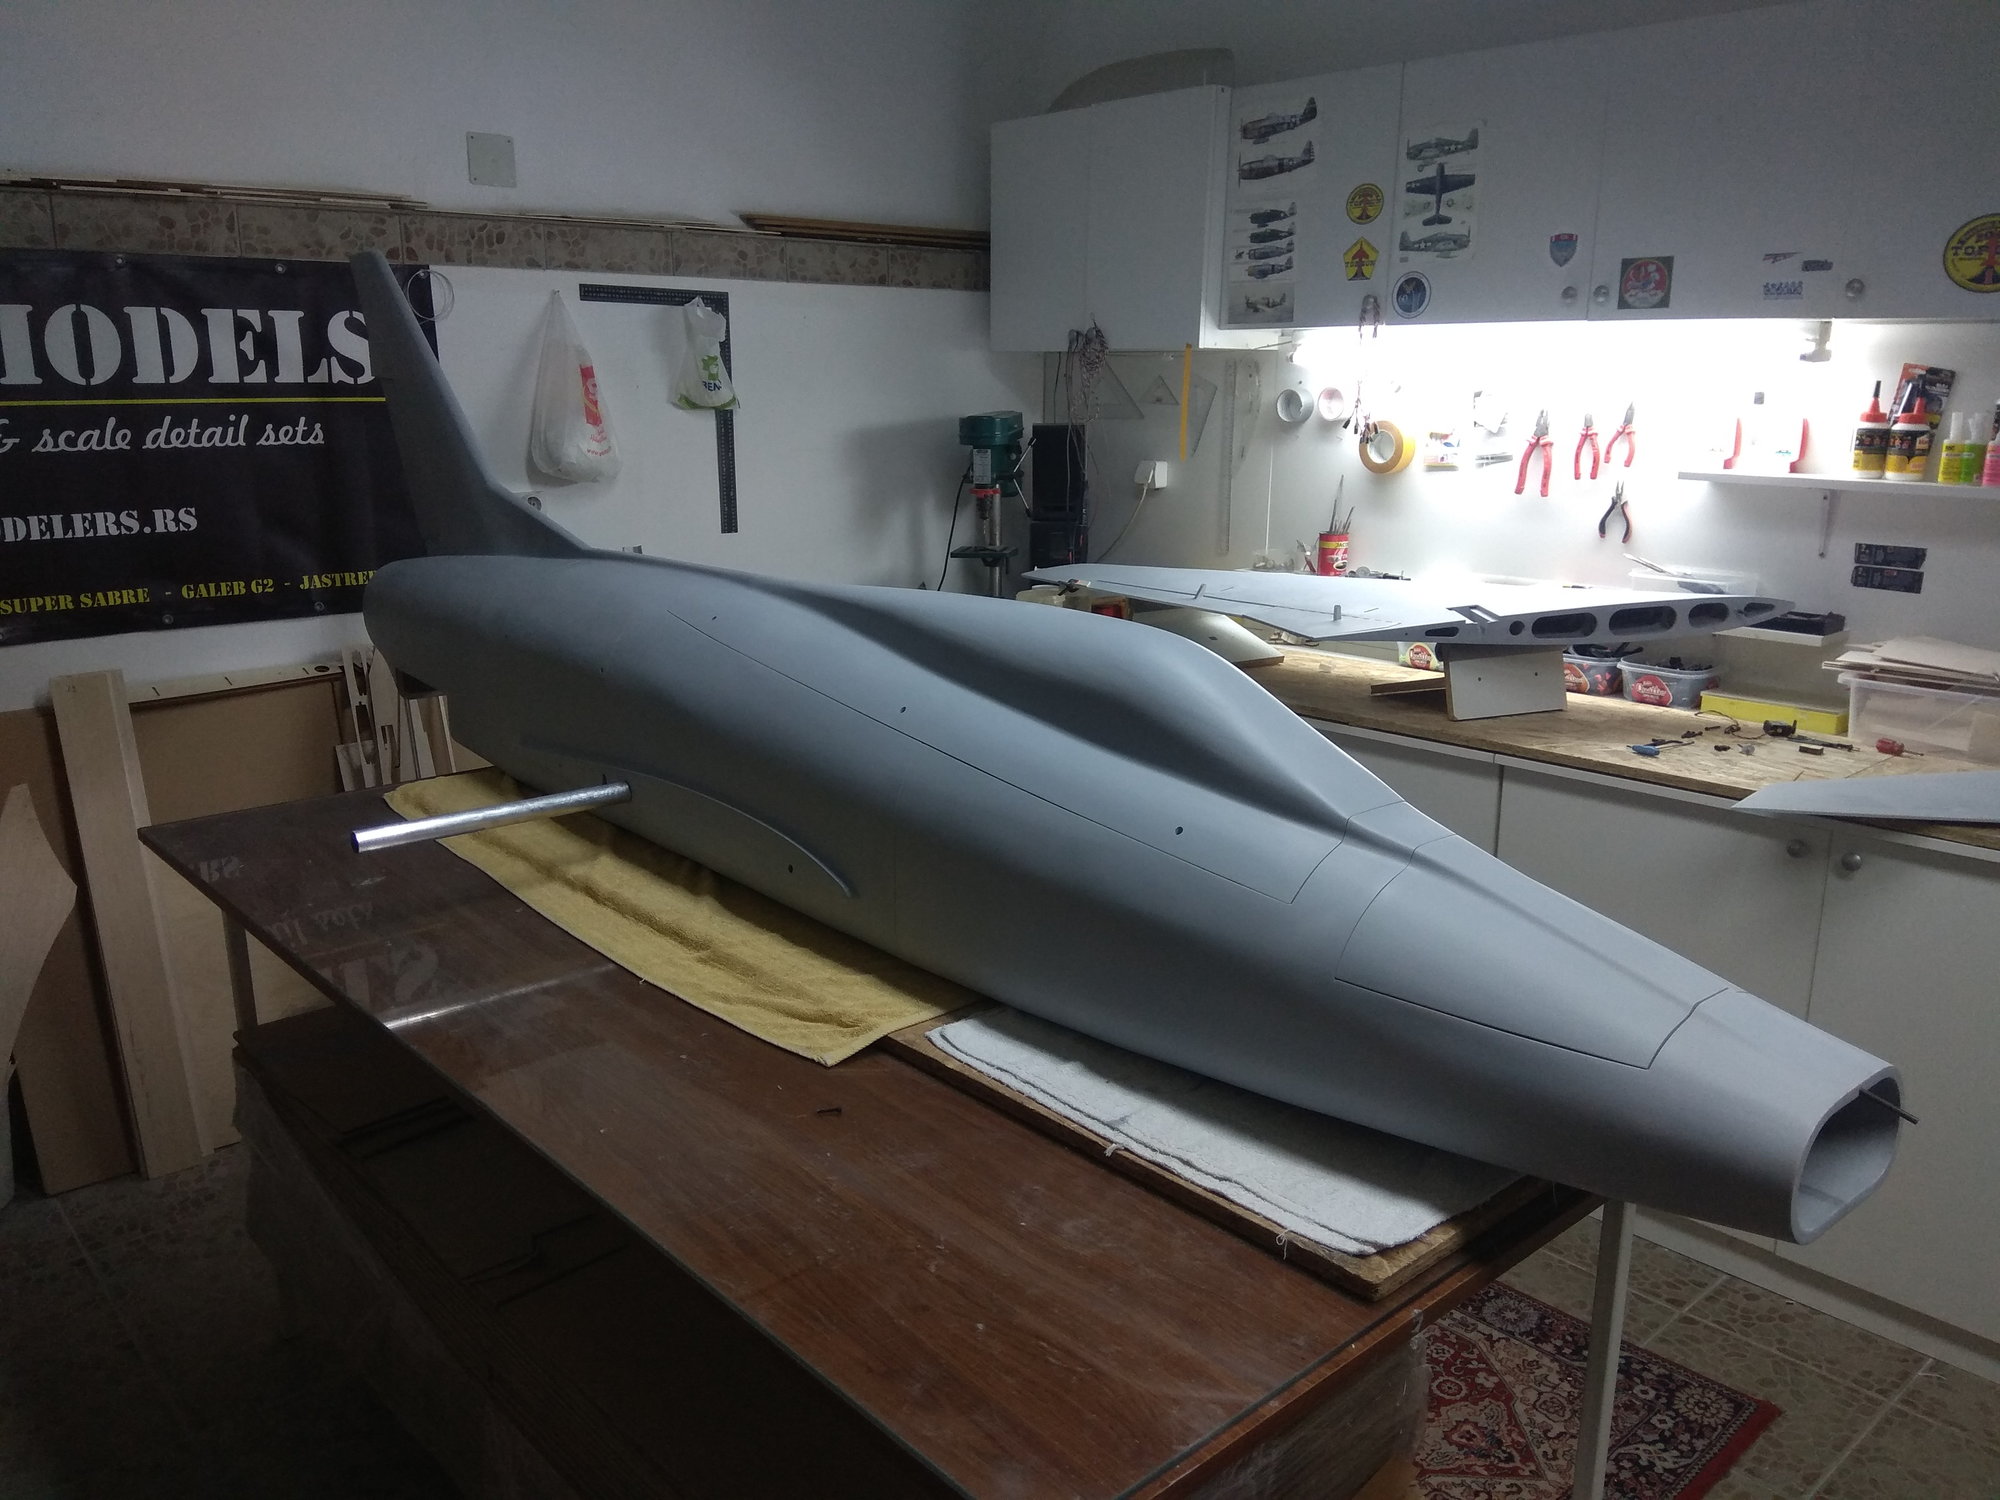
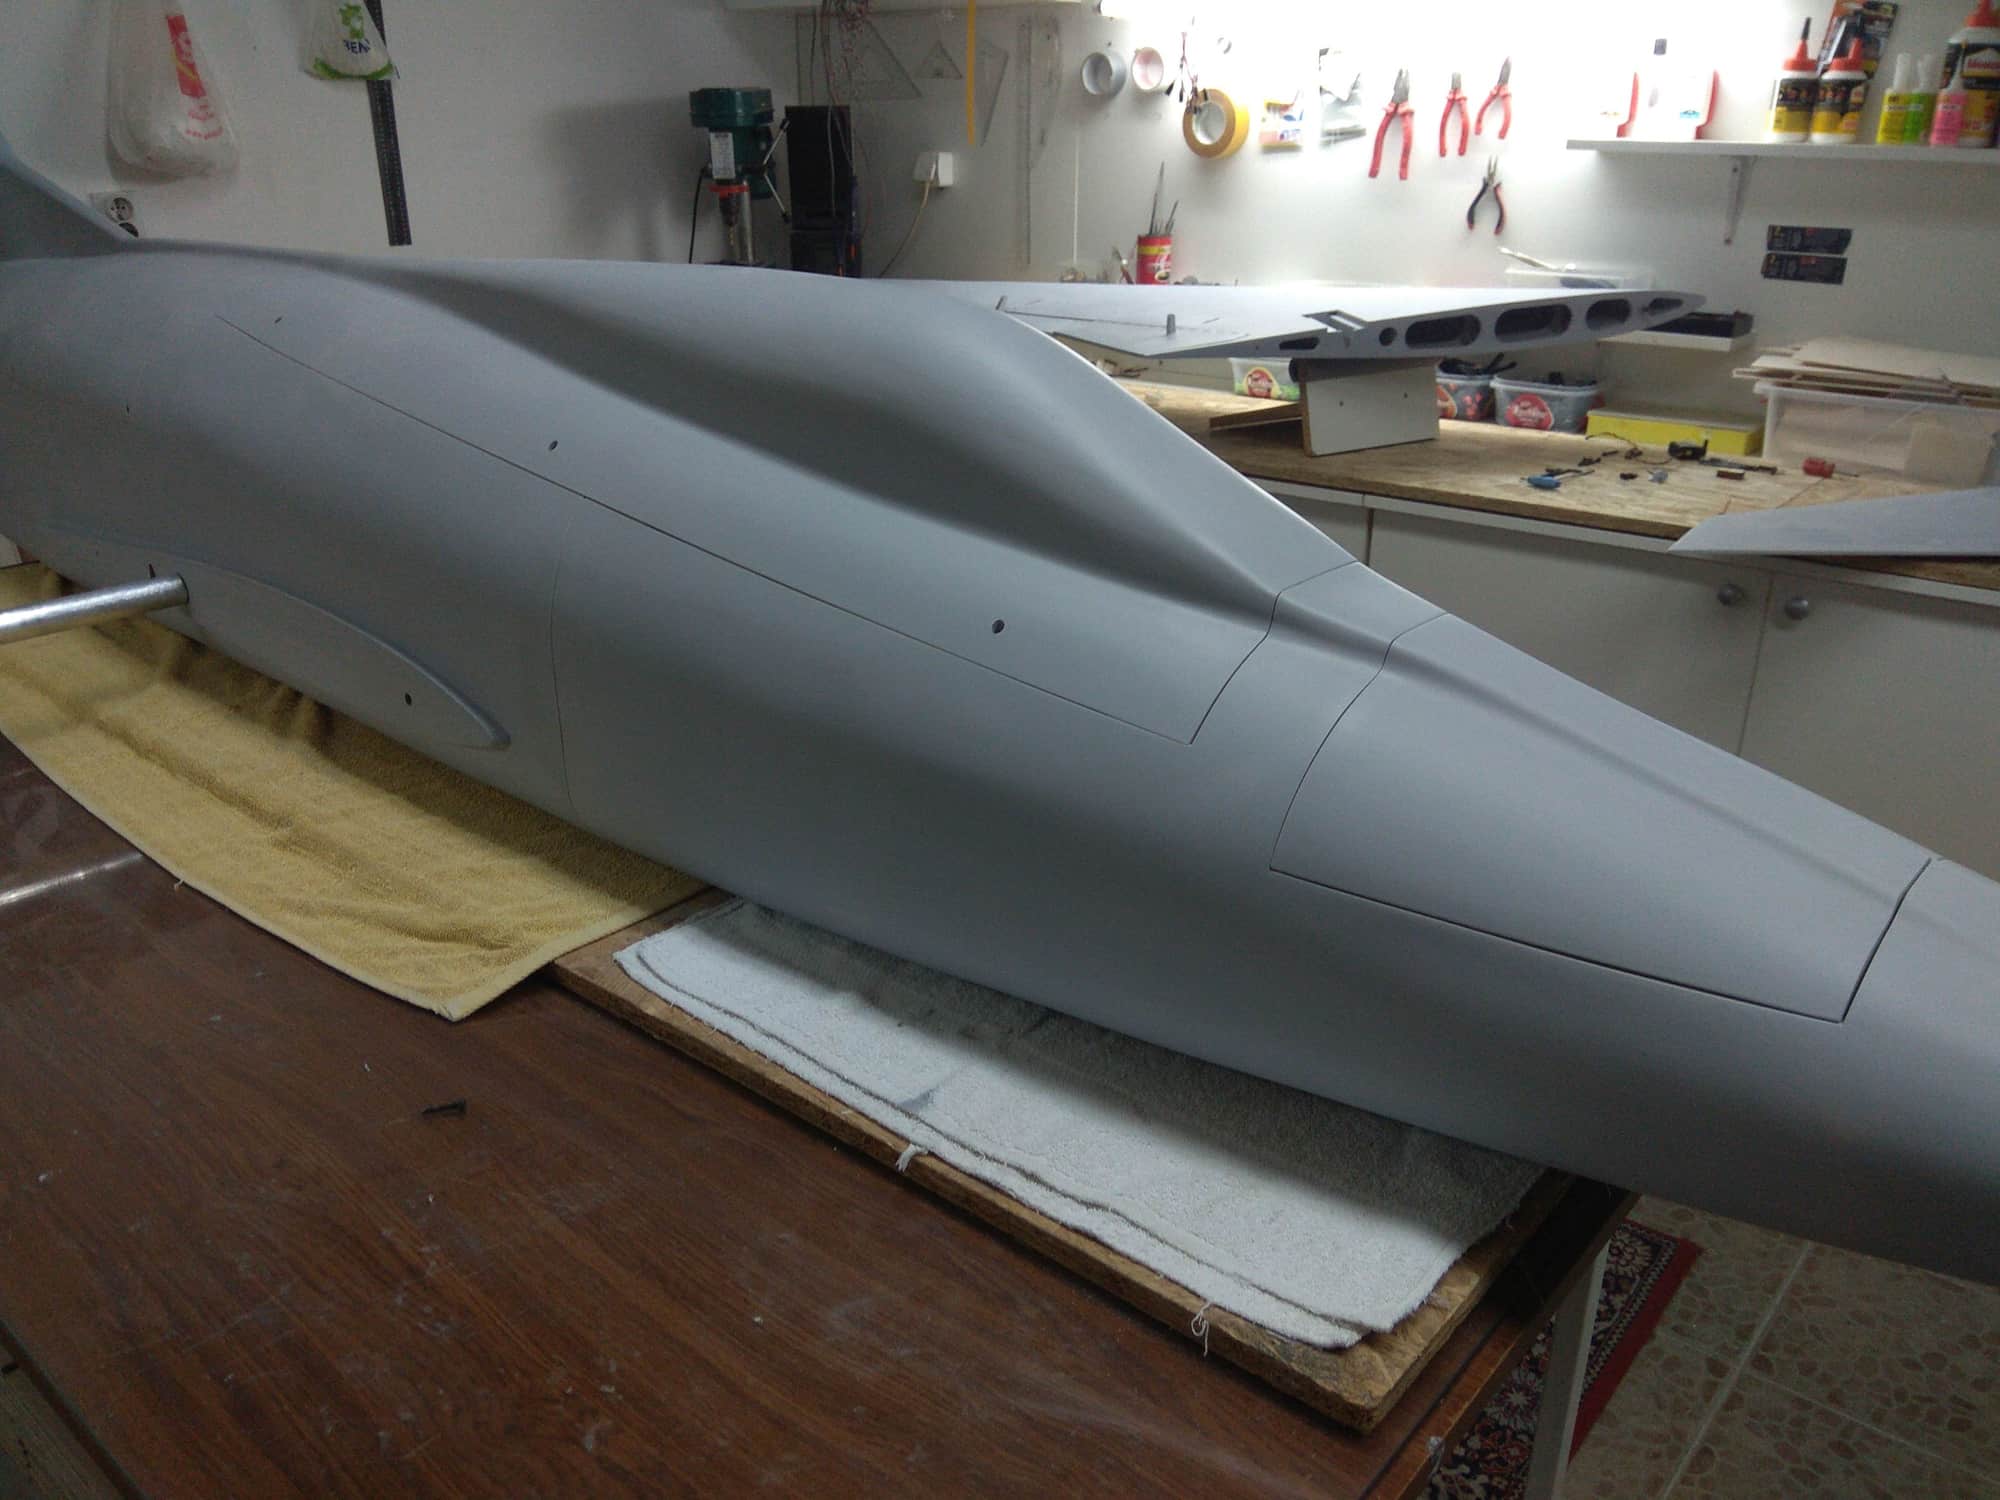
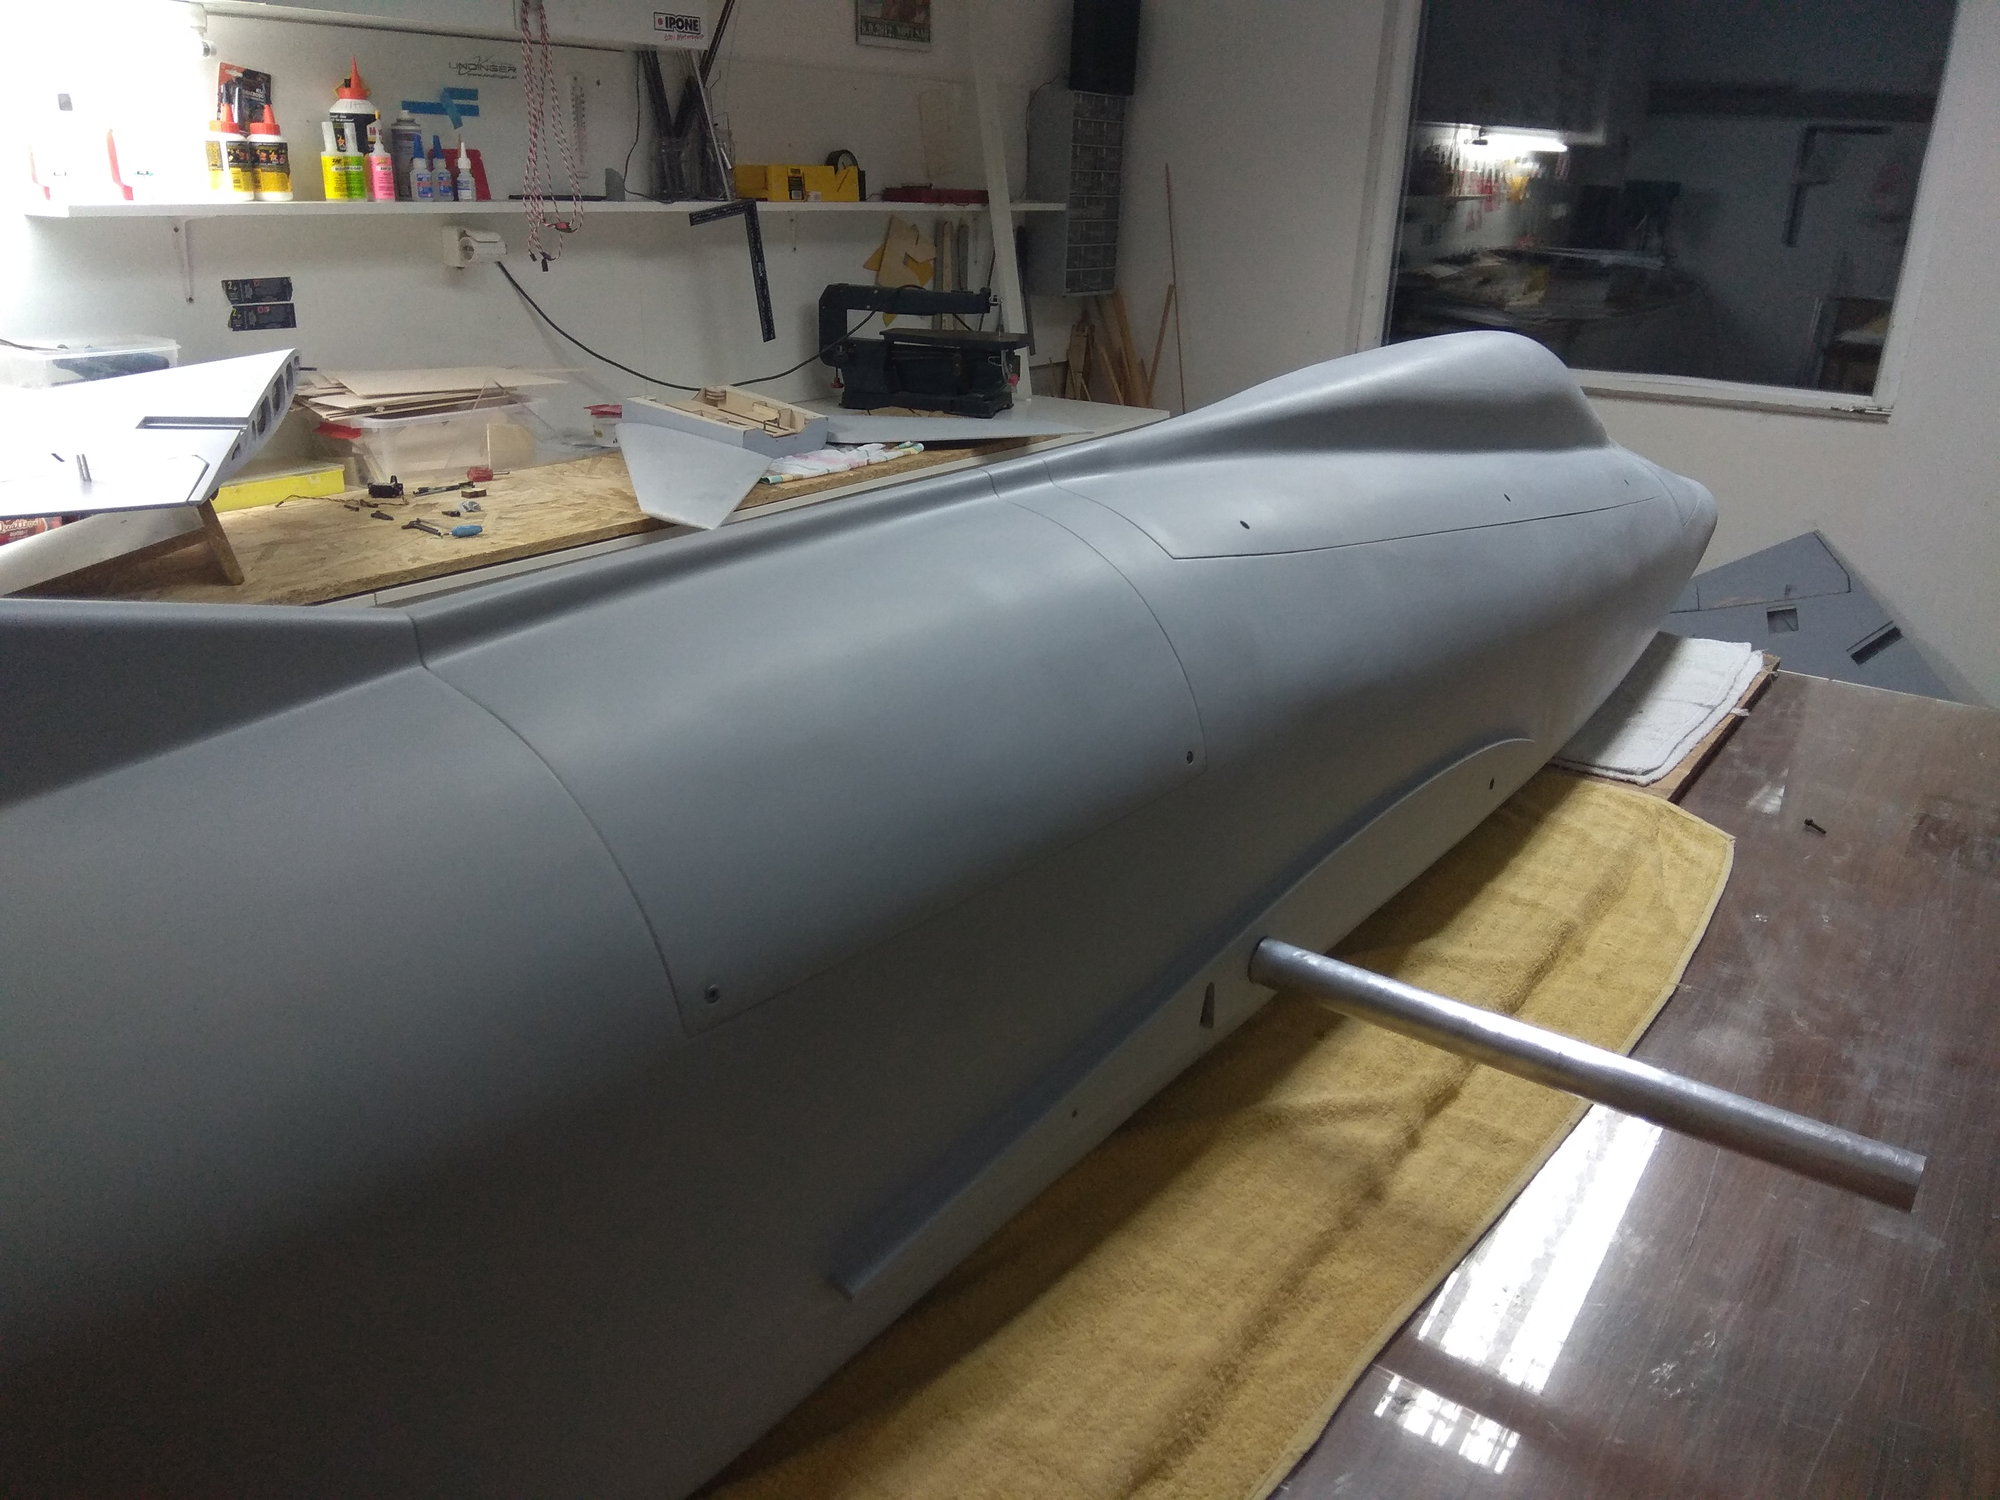
Than gray primer to show bad spots and after that filler, sanding, primer, filler, sanding, primer filler, sanding...

Next step in building process was glassing. I used two kind if glass cloth - 80 gr for wings, elevators, elevator box and ailerons. On all other parts I used 18 gr glass cloth.
Epoxy resin was as always German R&G.
Than gray primer to show bad spots and after that filler, sanding, primer, filler, sanding, primer filler, sanding...


 10-25-2018, 01:11 PM
#85
Thread Starter
Thank you for comments...
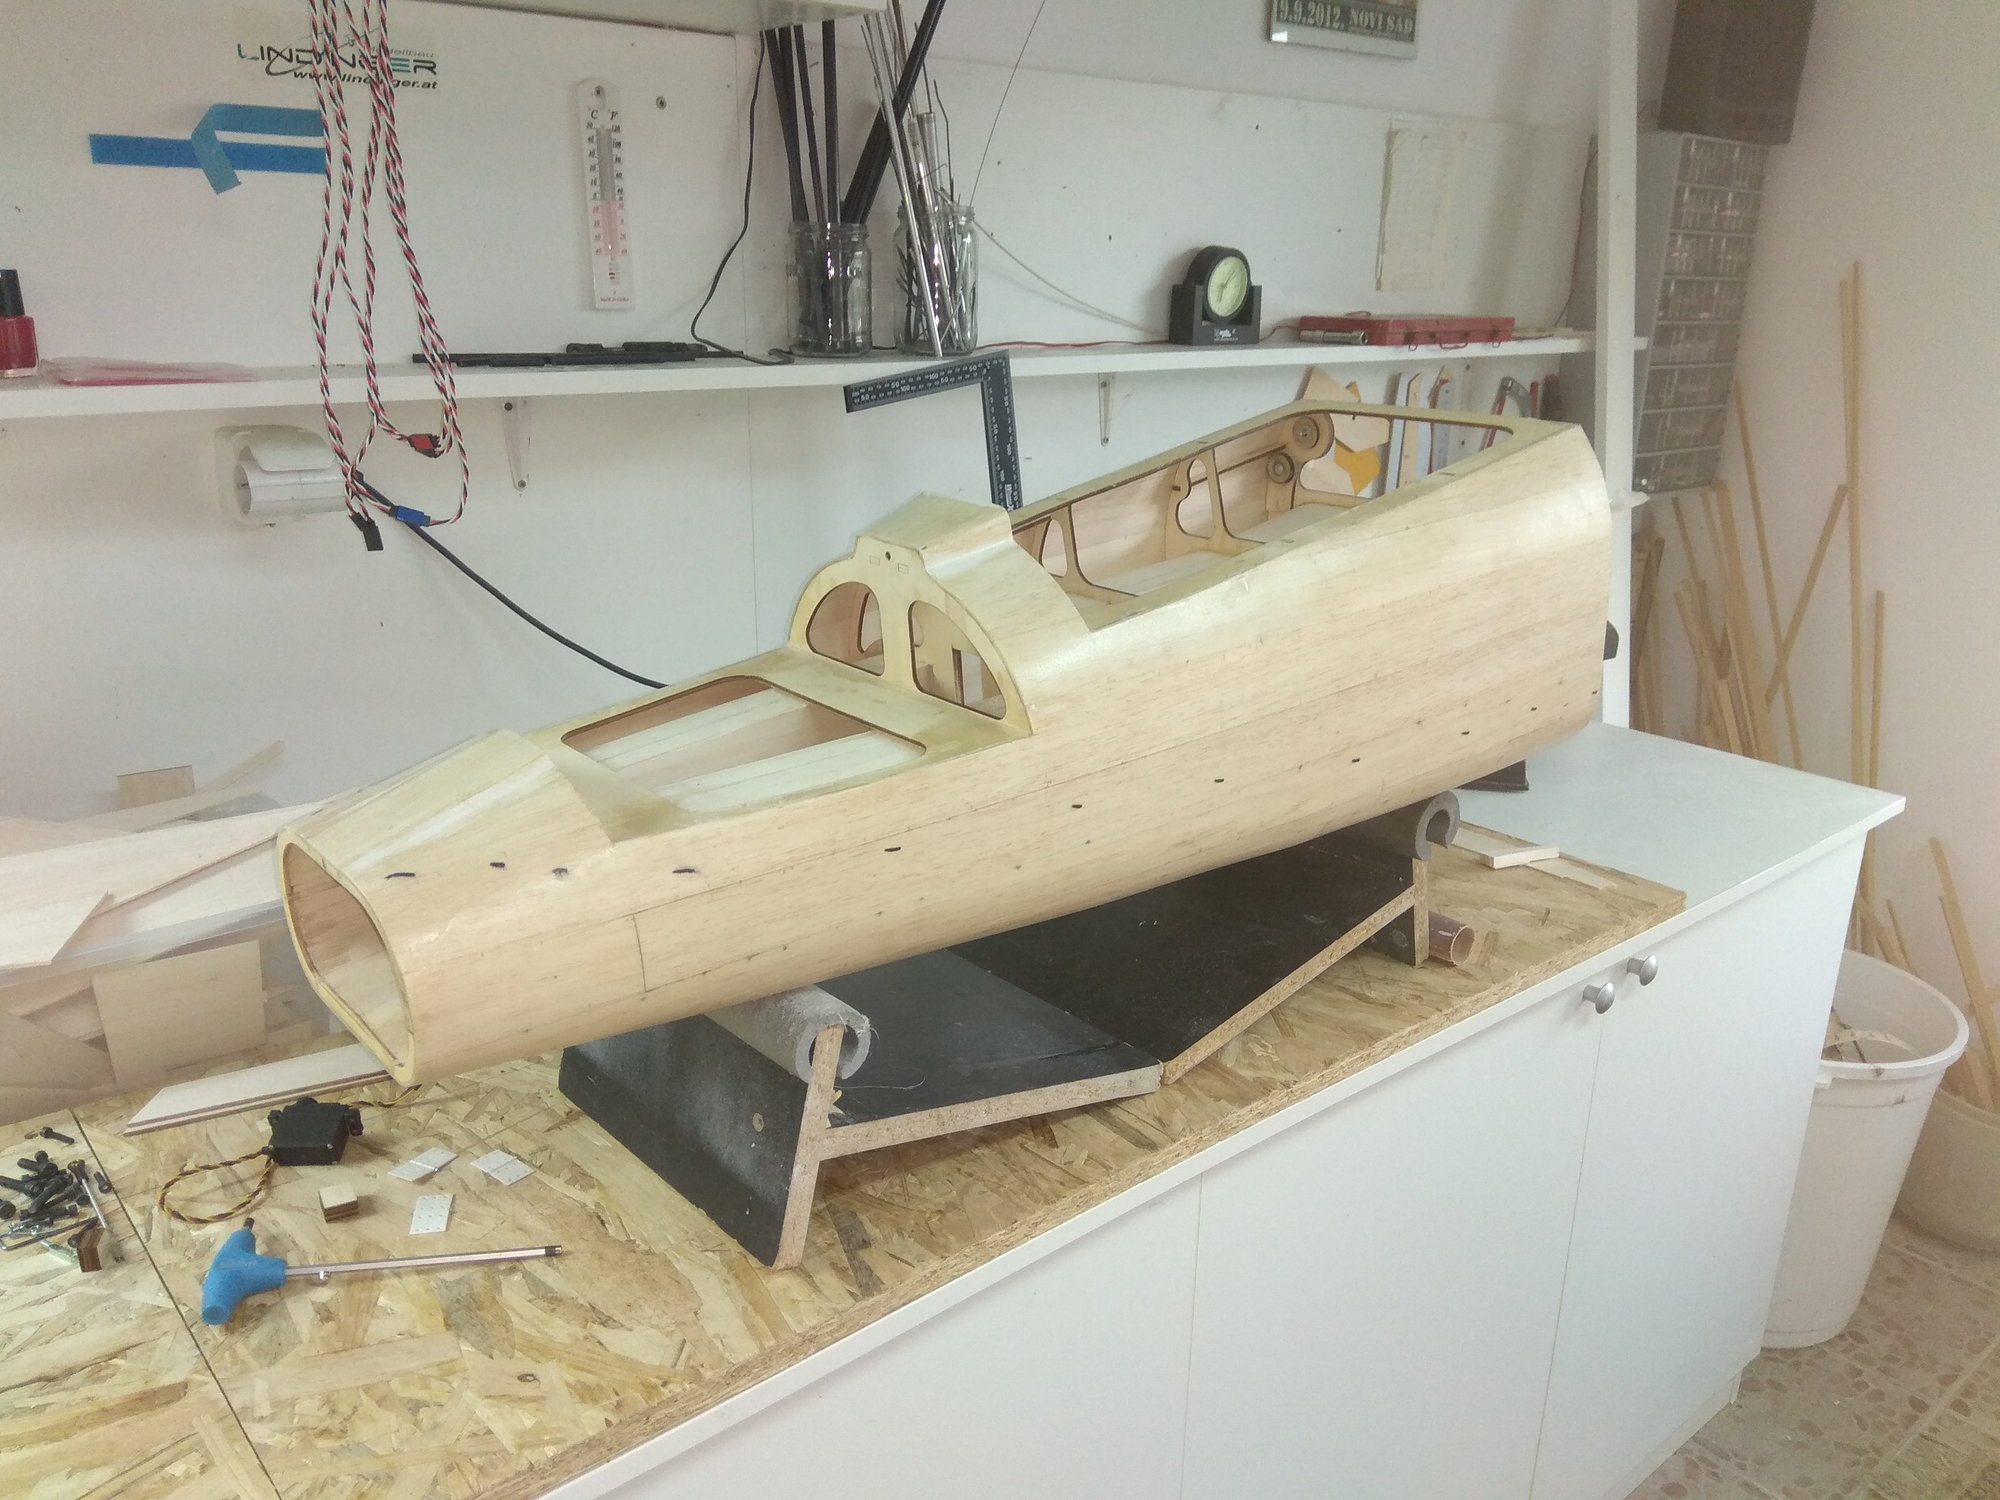
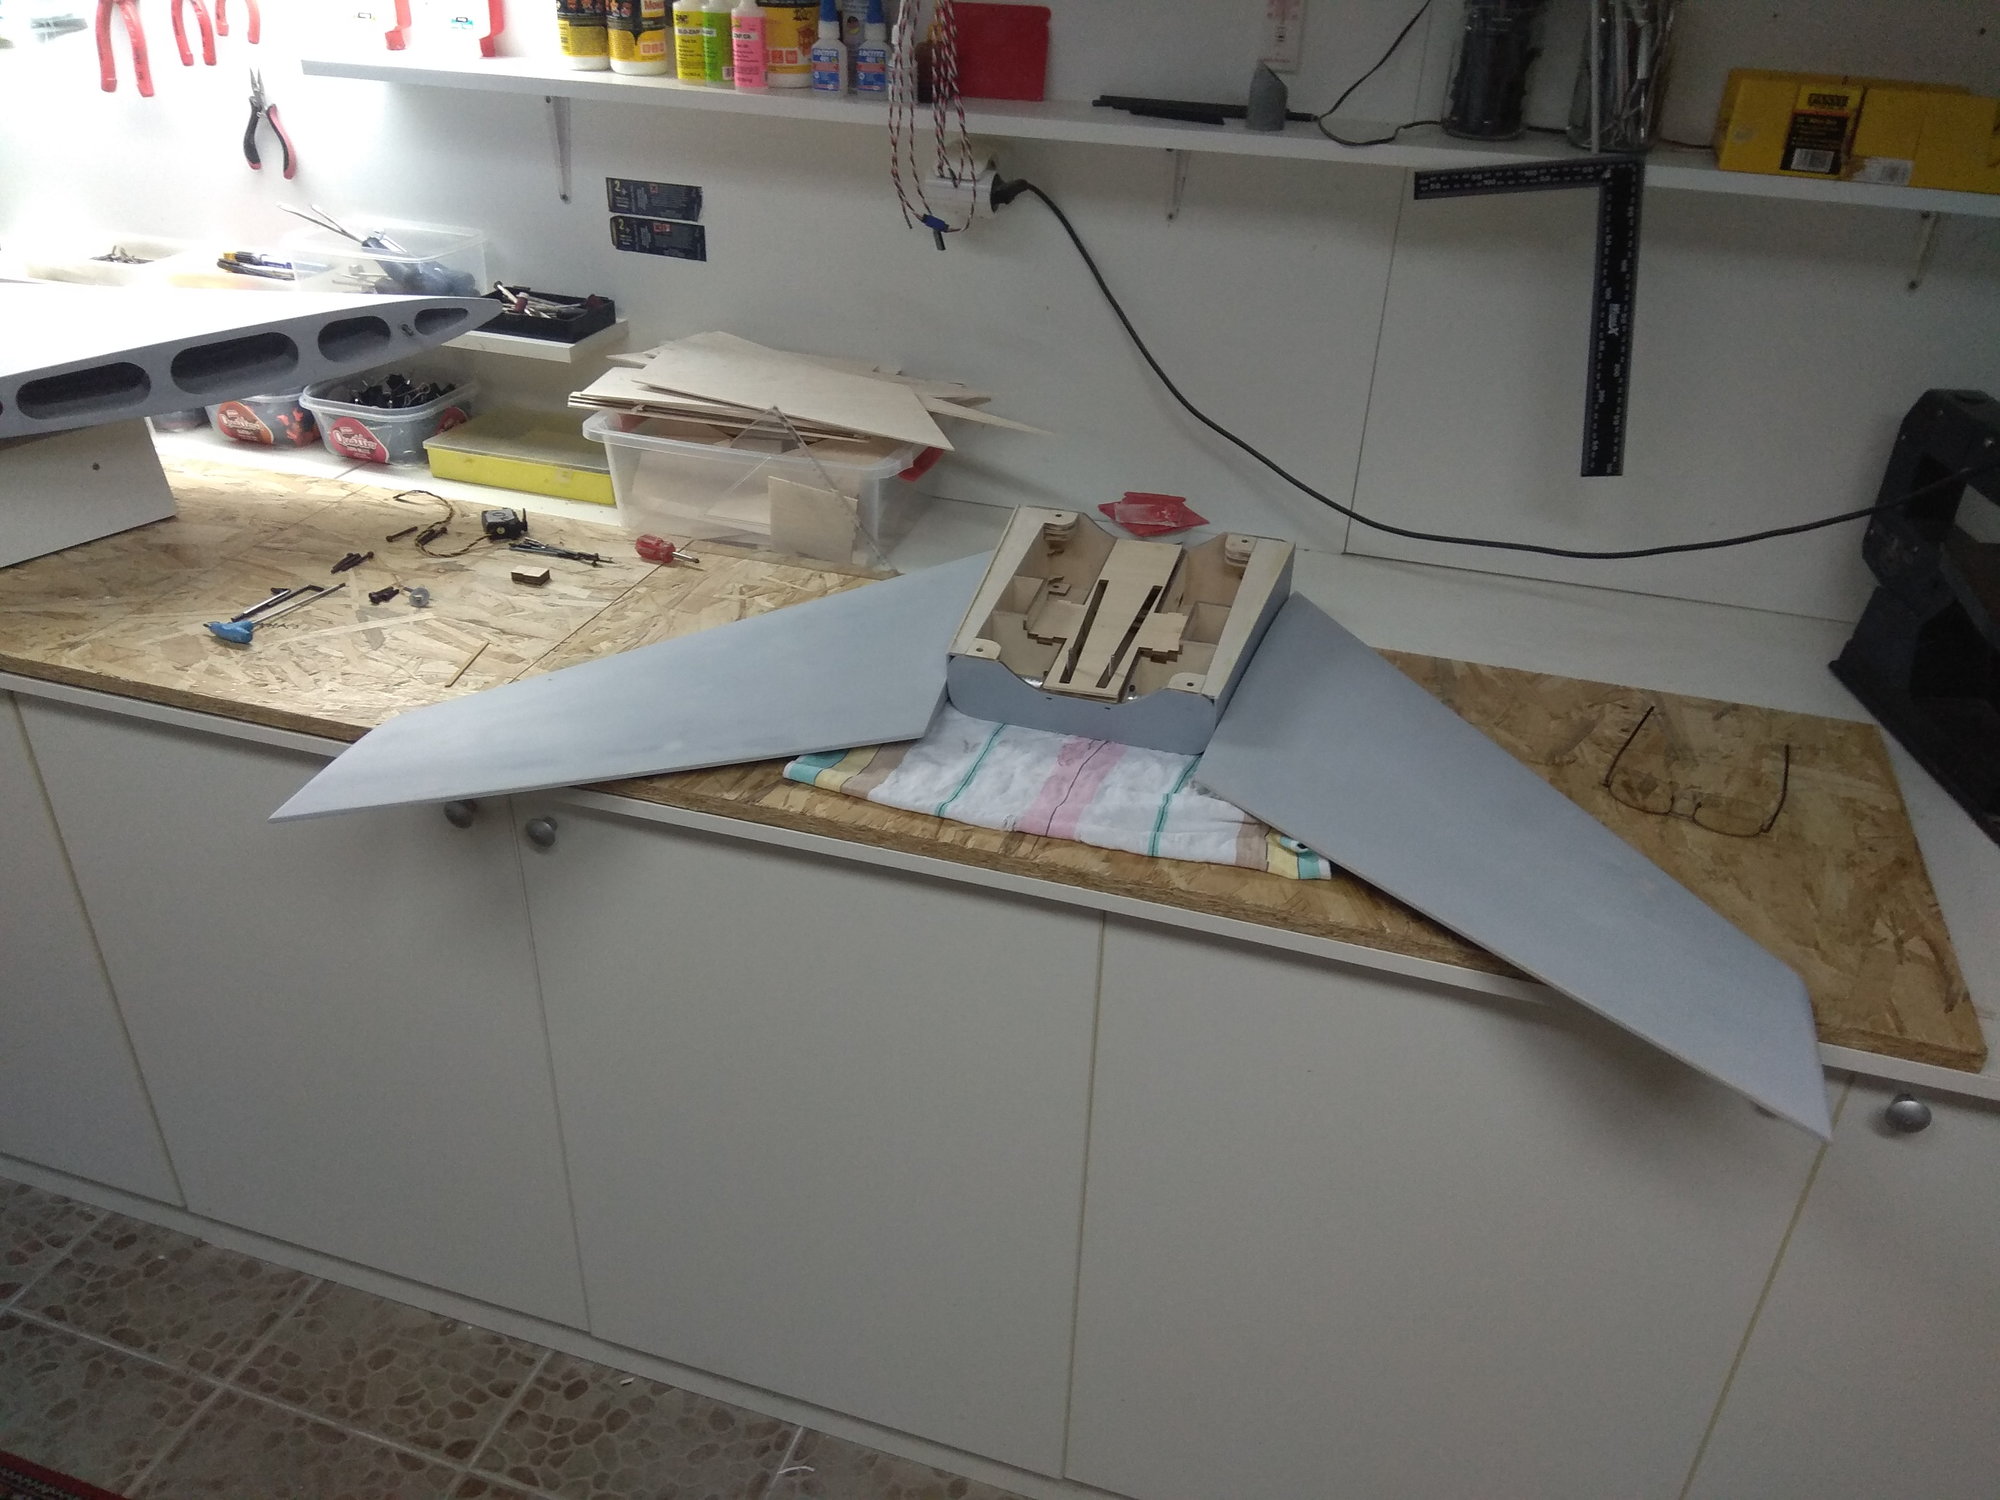
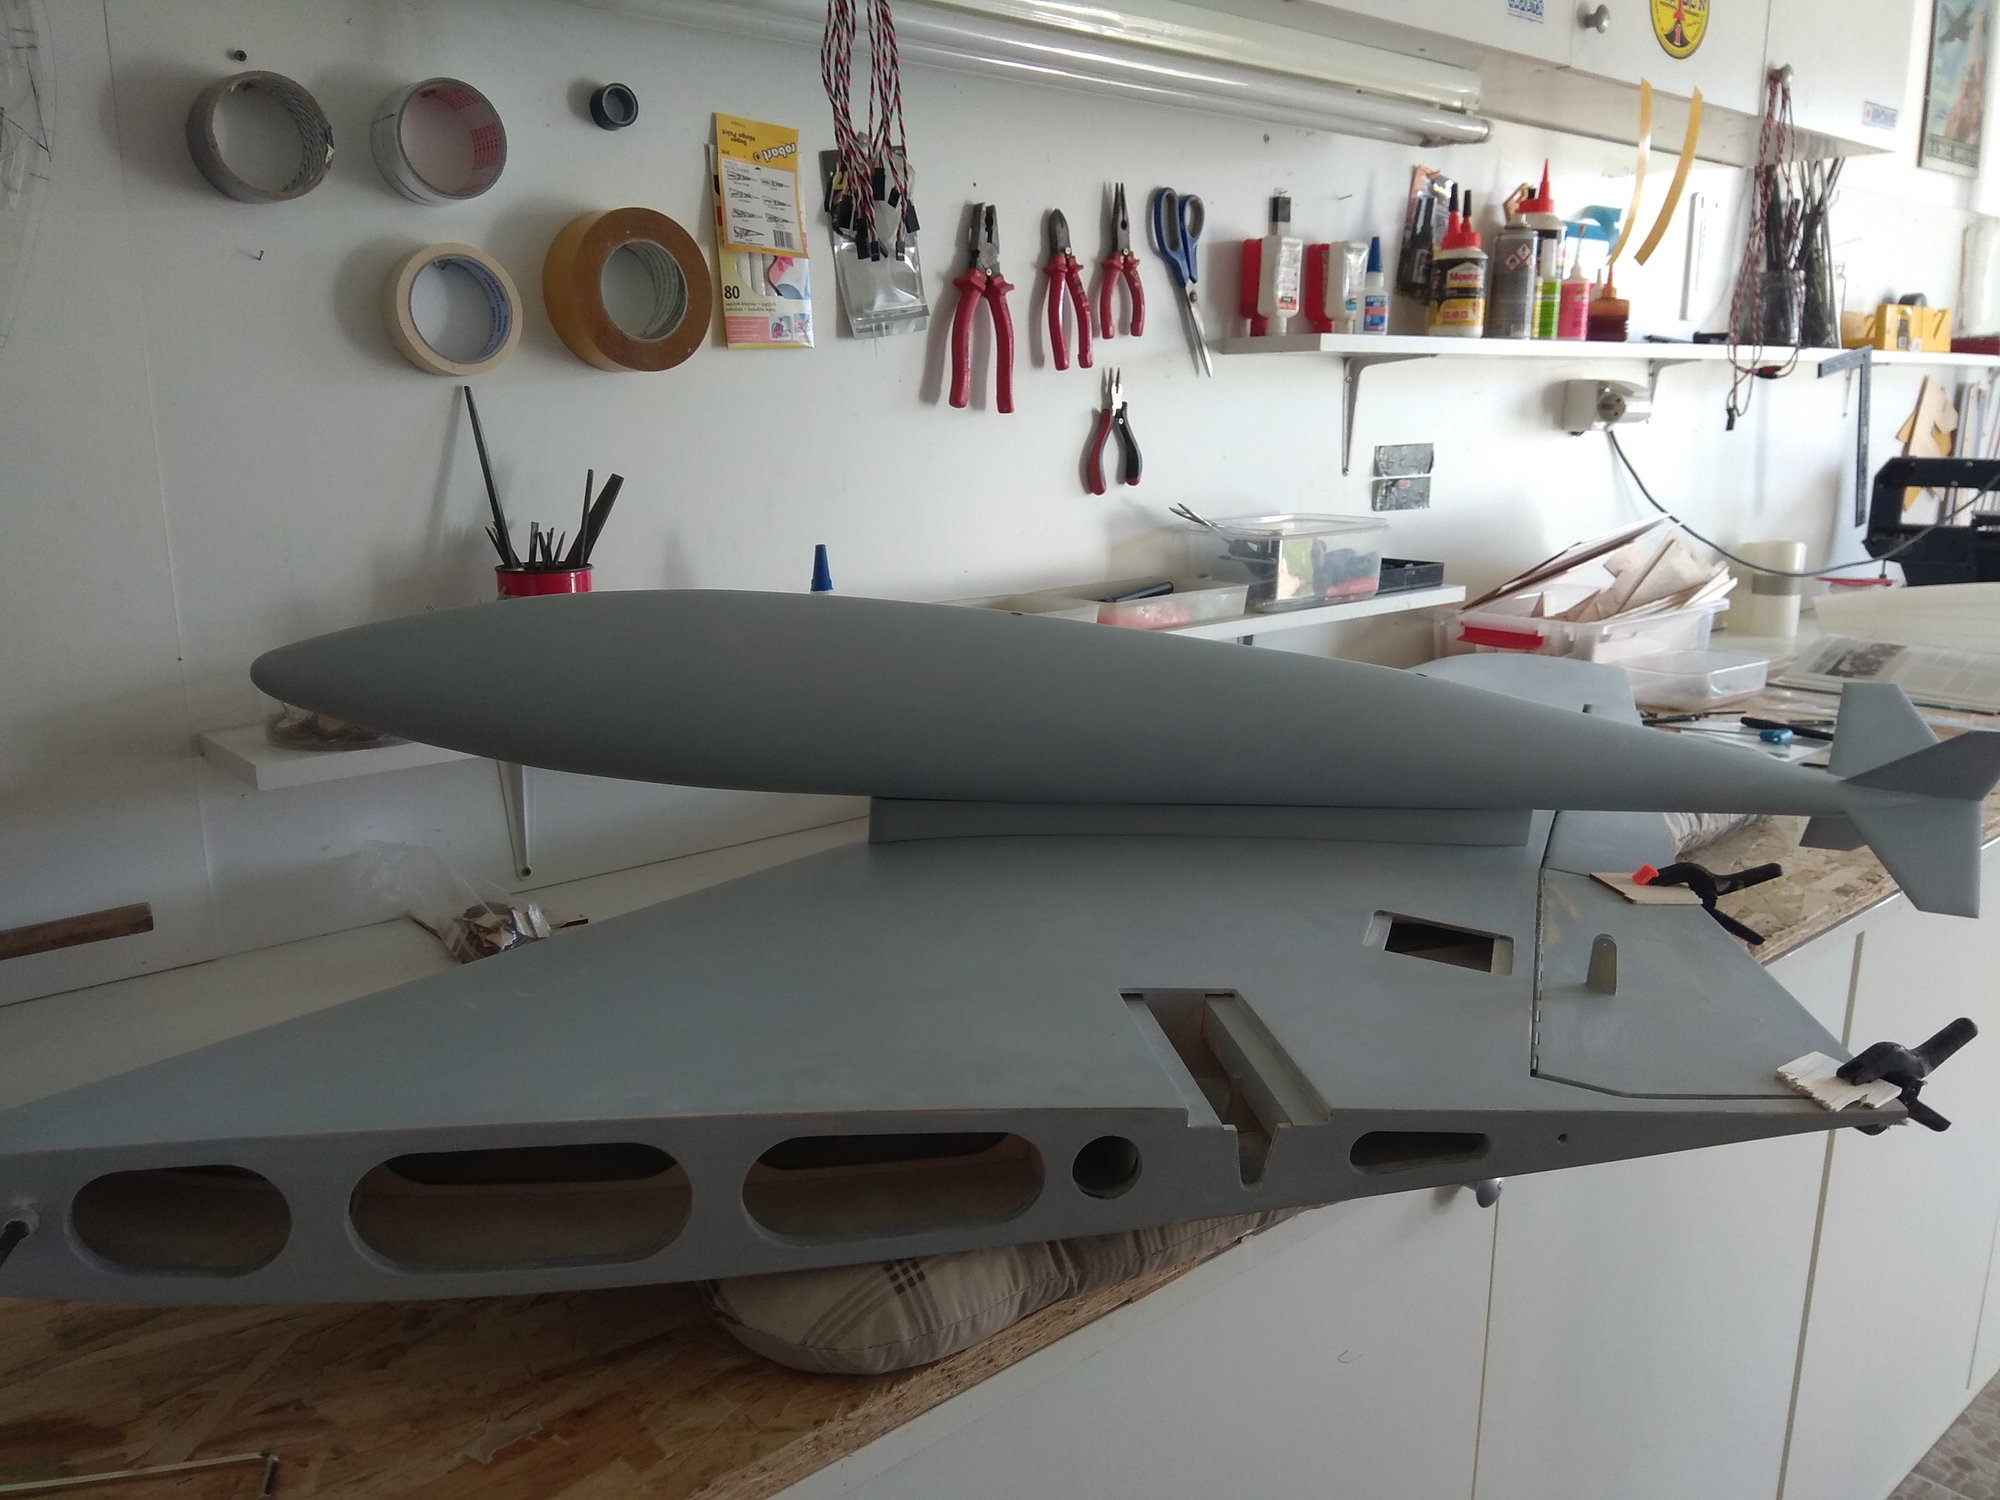
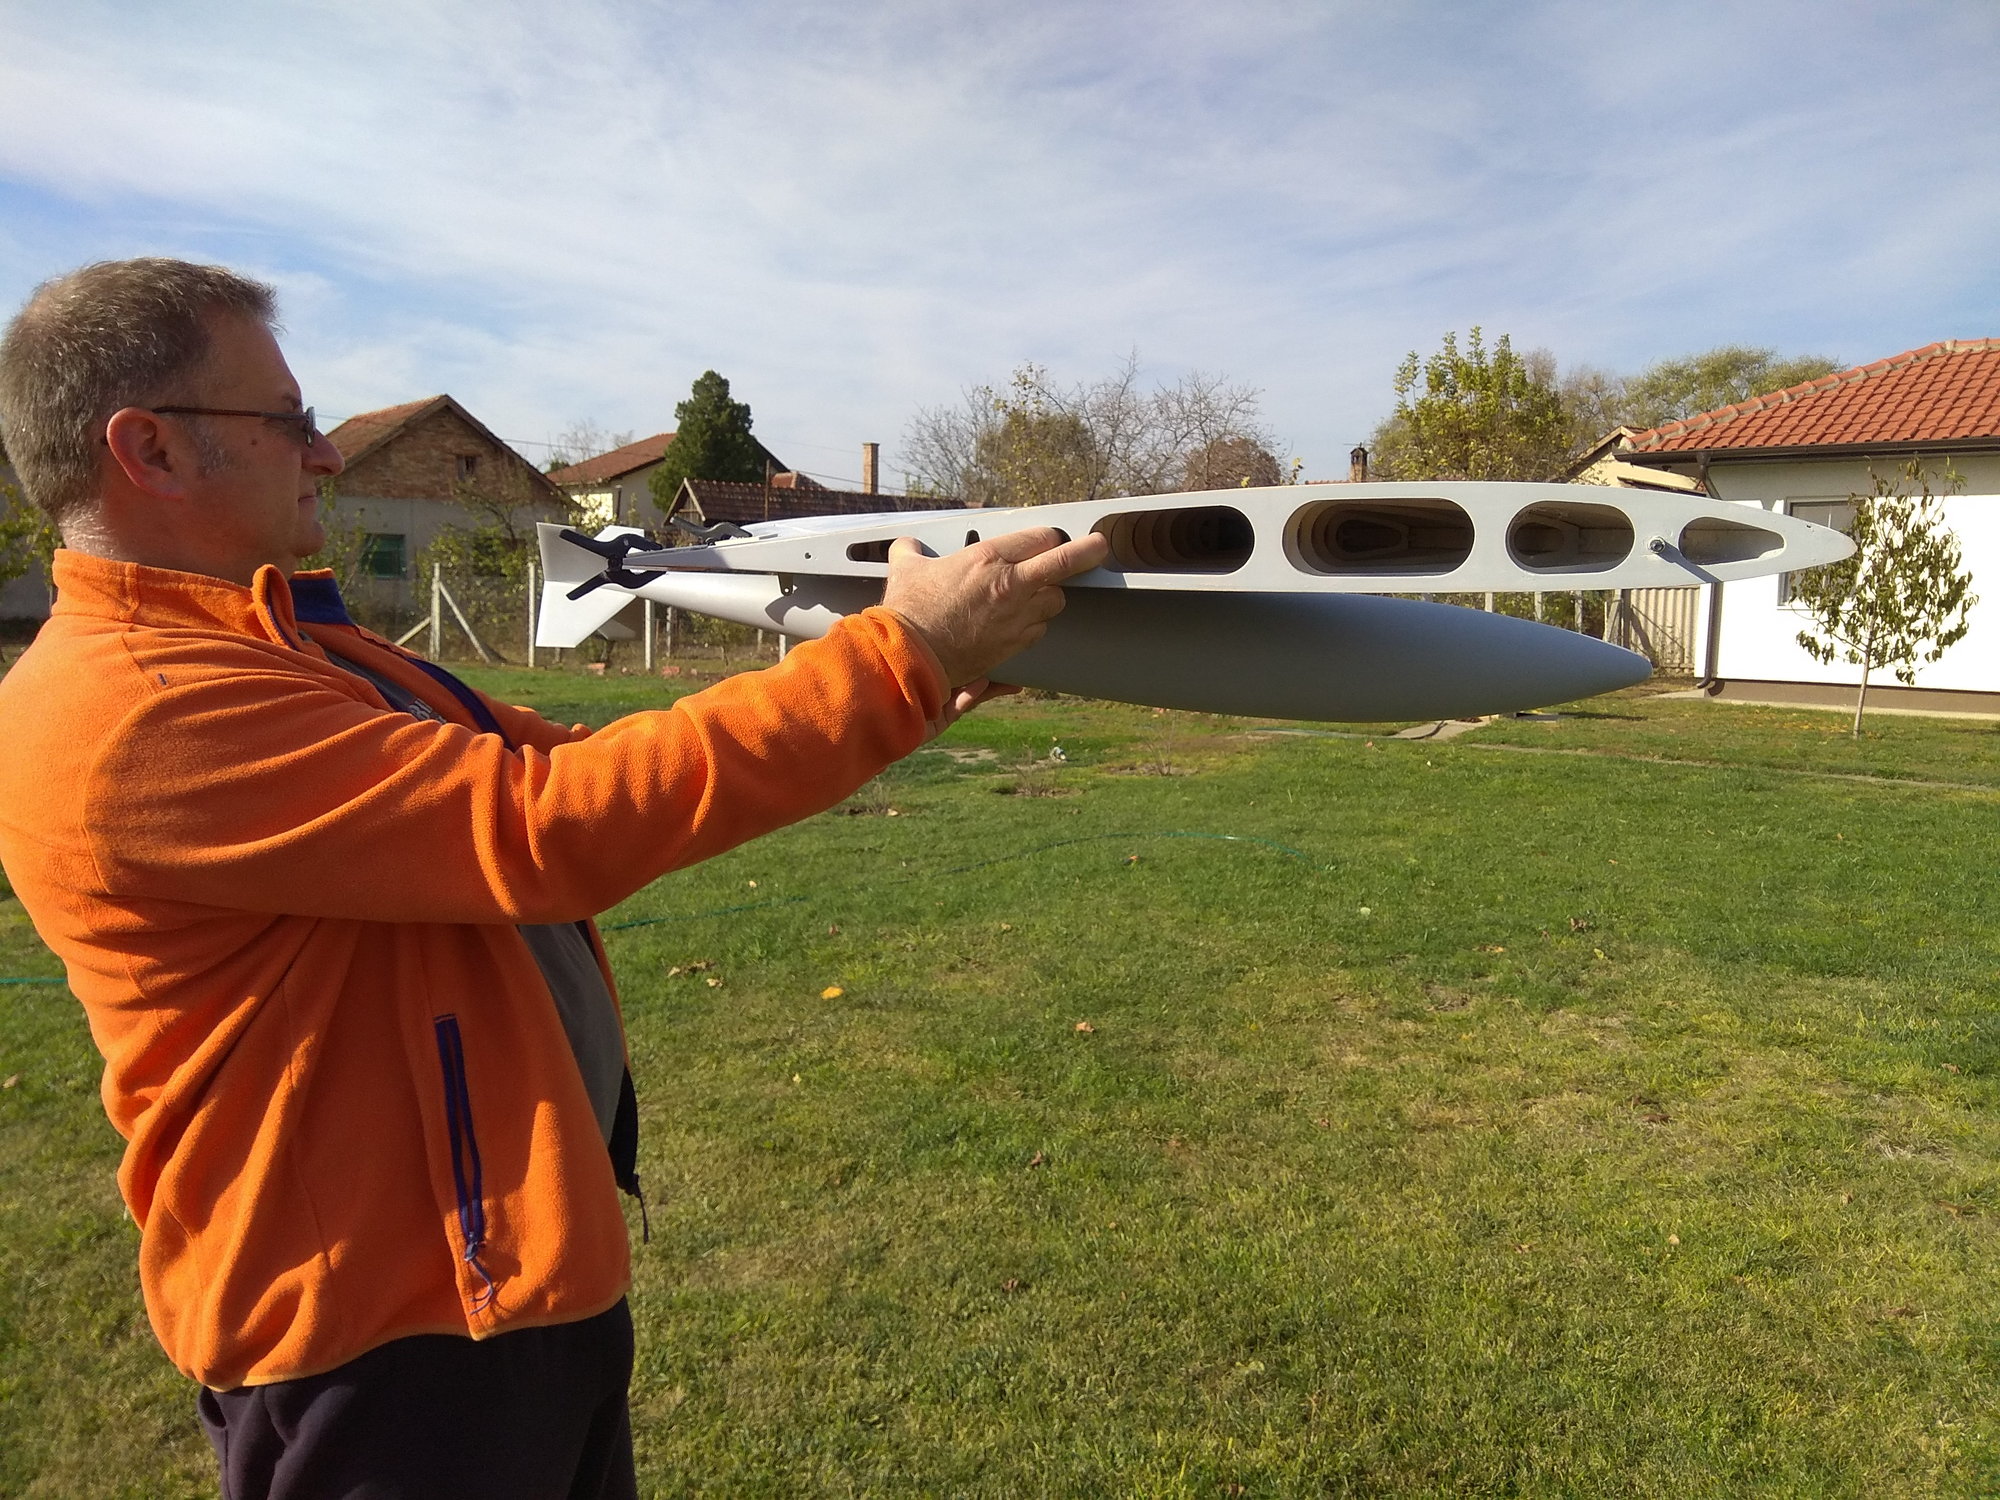
Here is weight in this stage without any equipment:
- right wing - 1730 gr
- left wing - 1768 gr
- elevators & elevators box - 1172 gr
- fuselage with aluminum wing joiner - 6588 gr
Total weight is: 11.344 gr
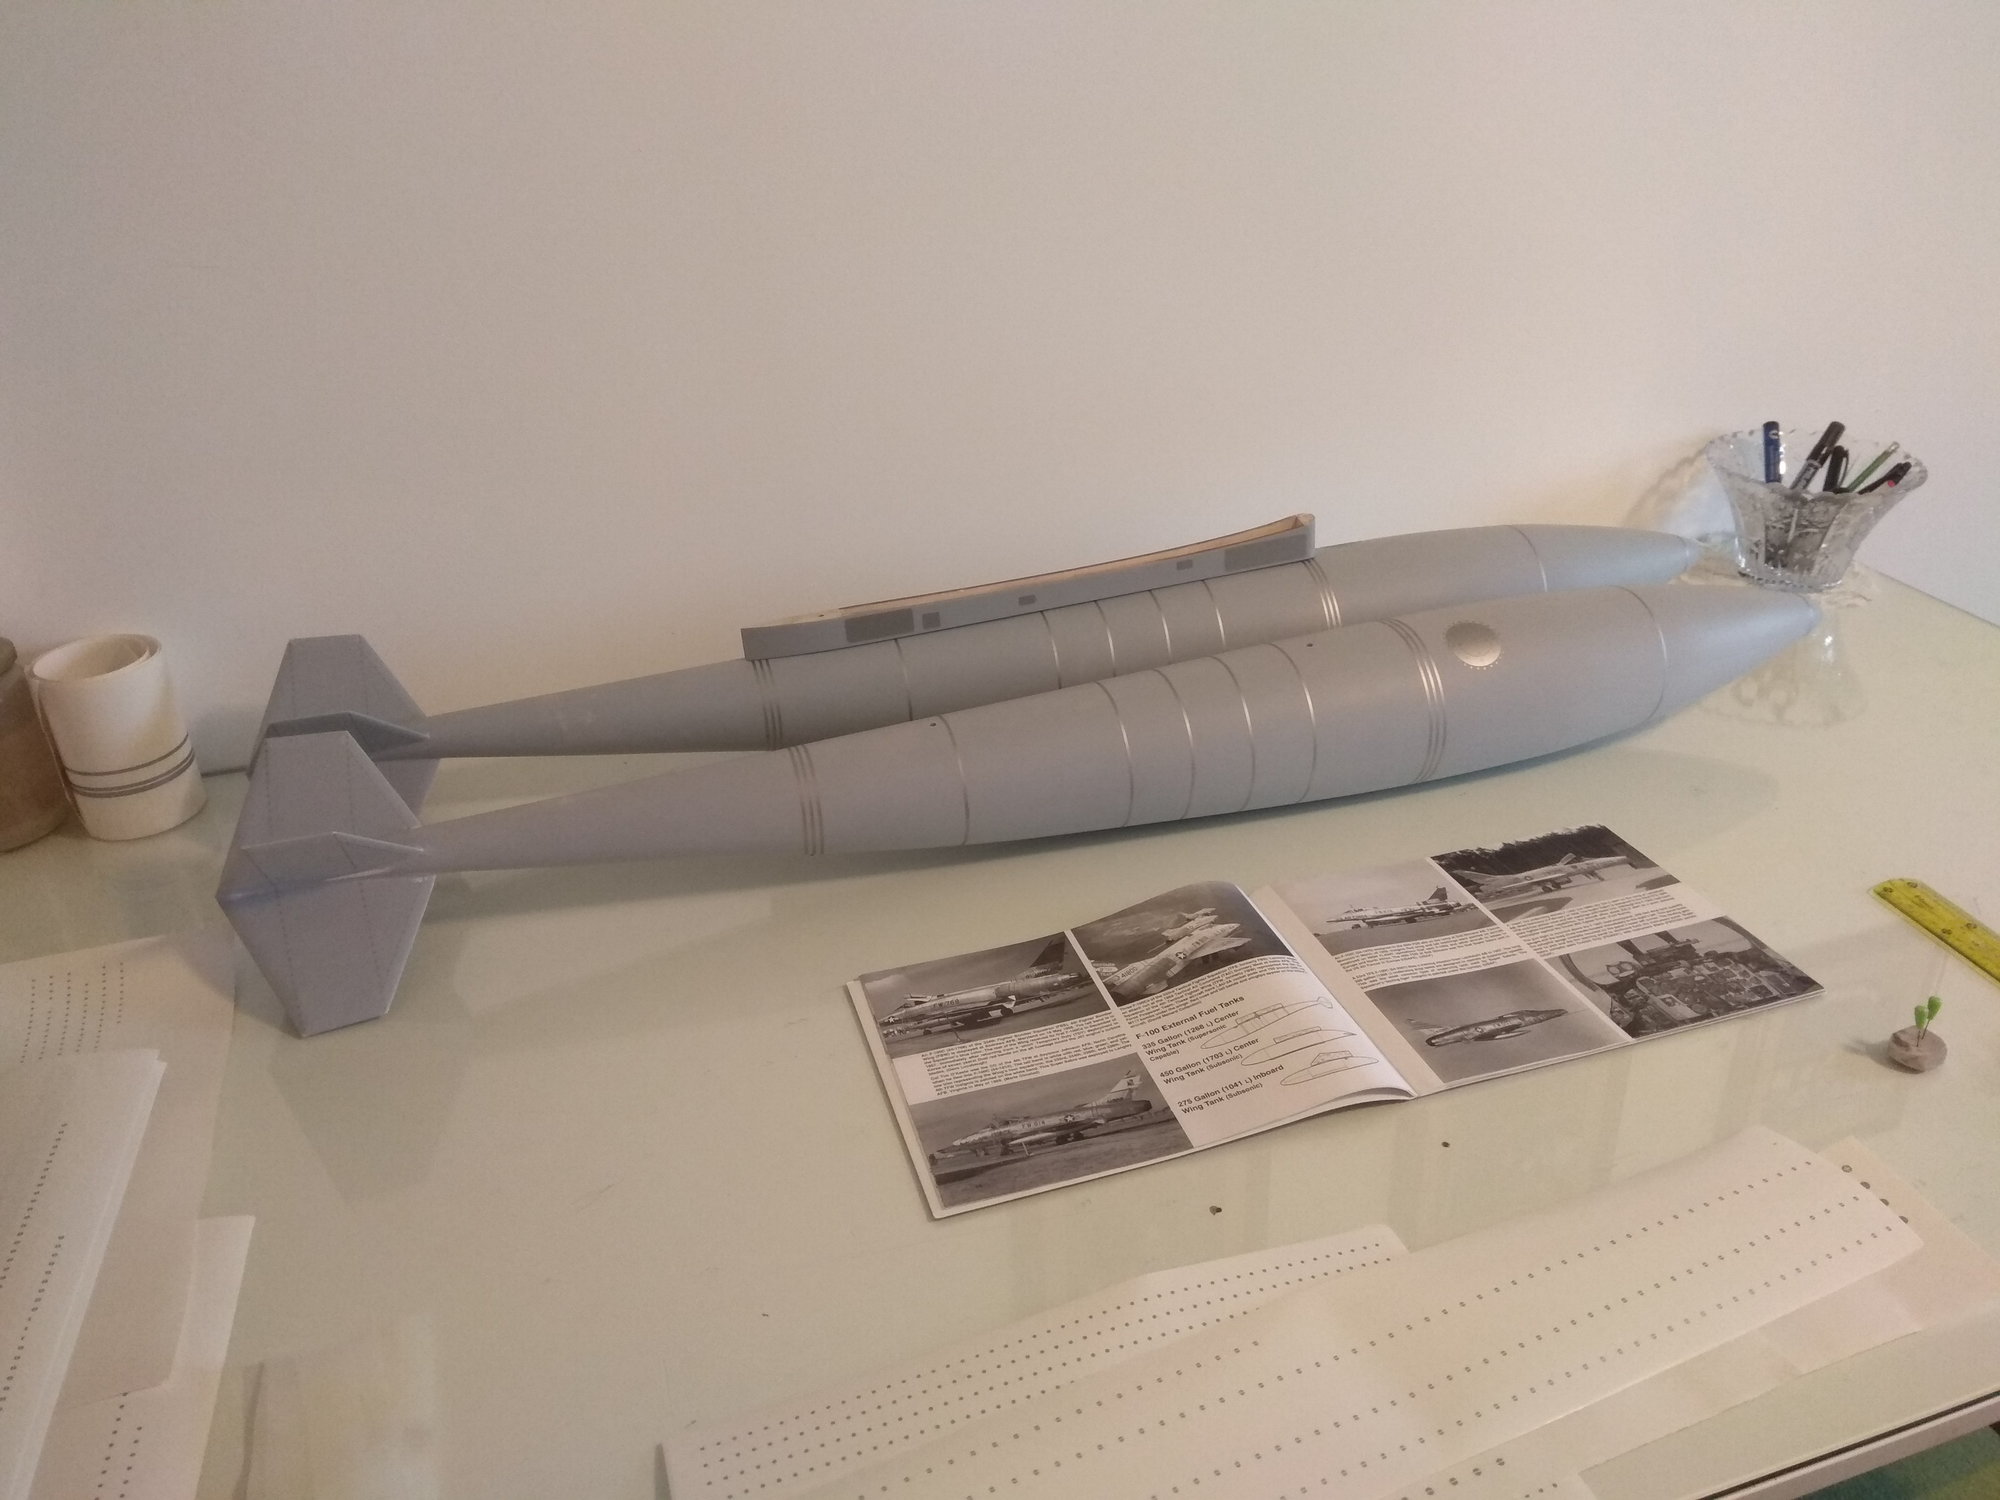
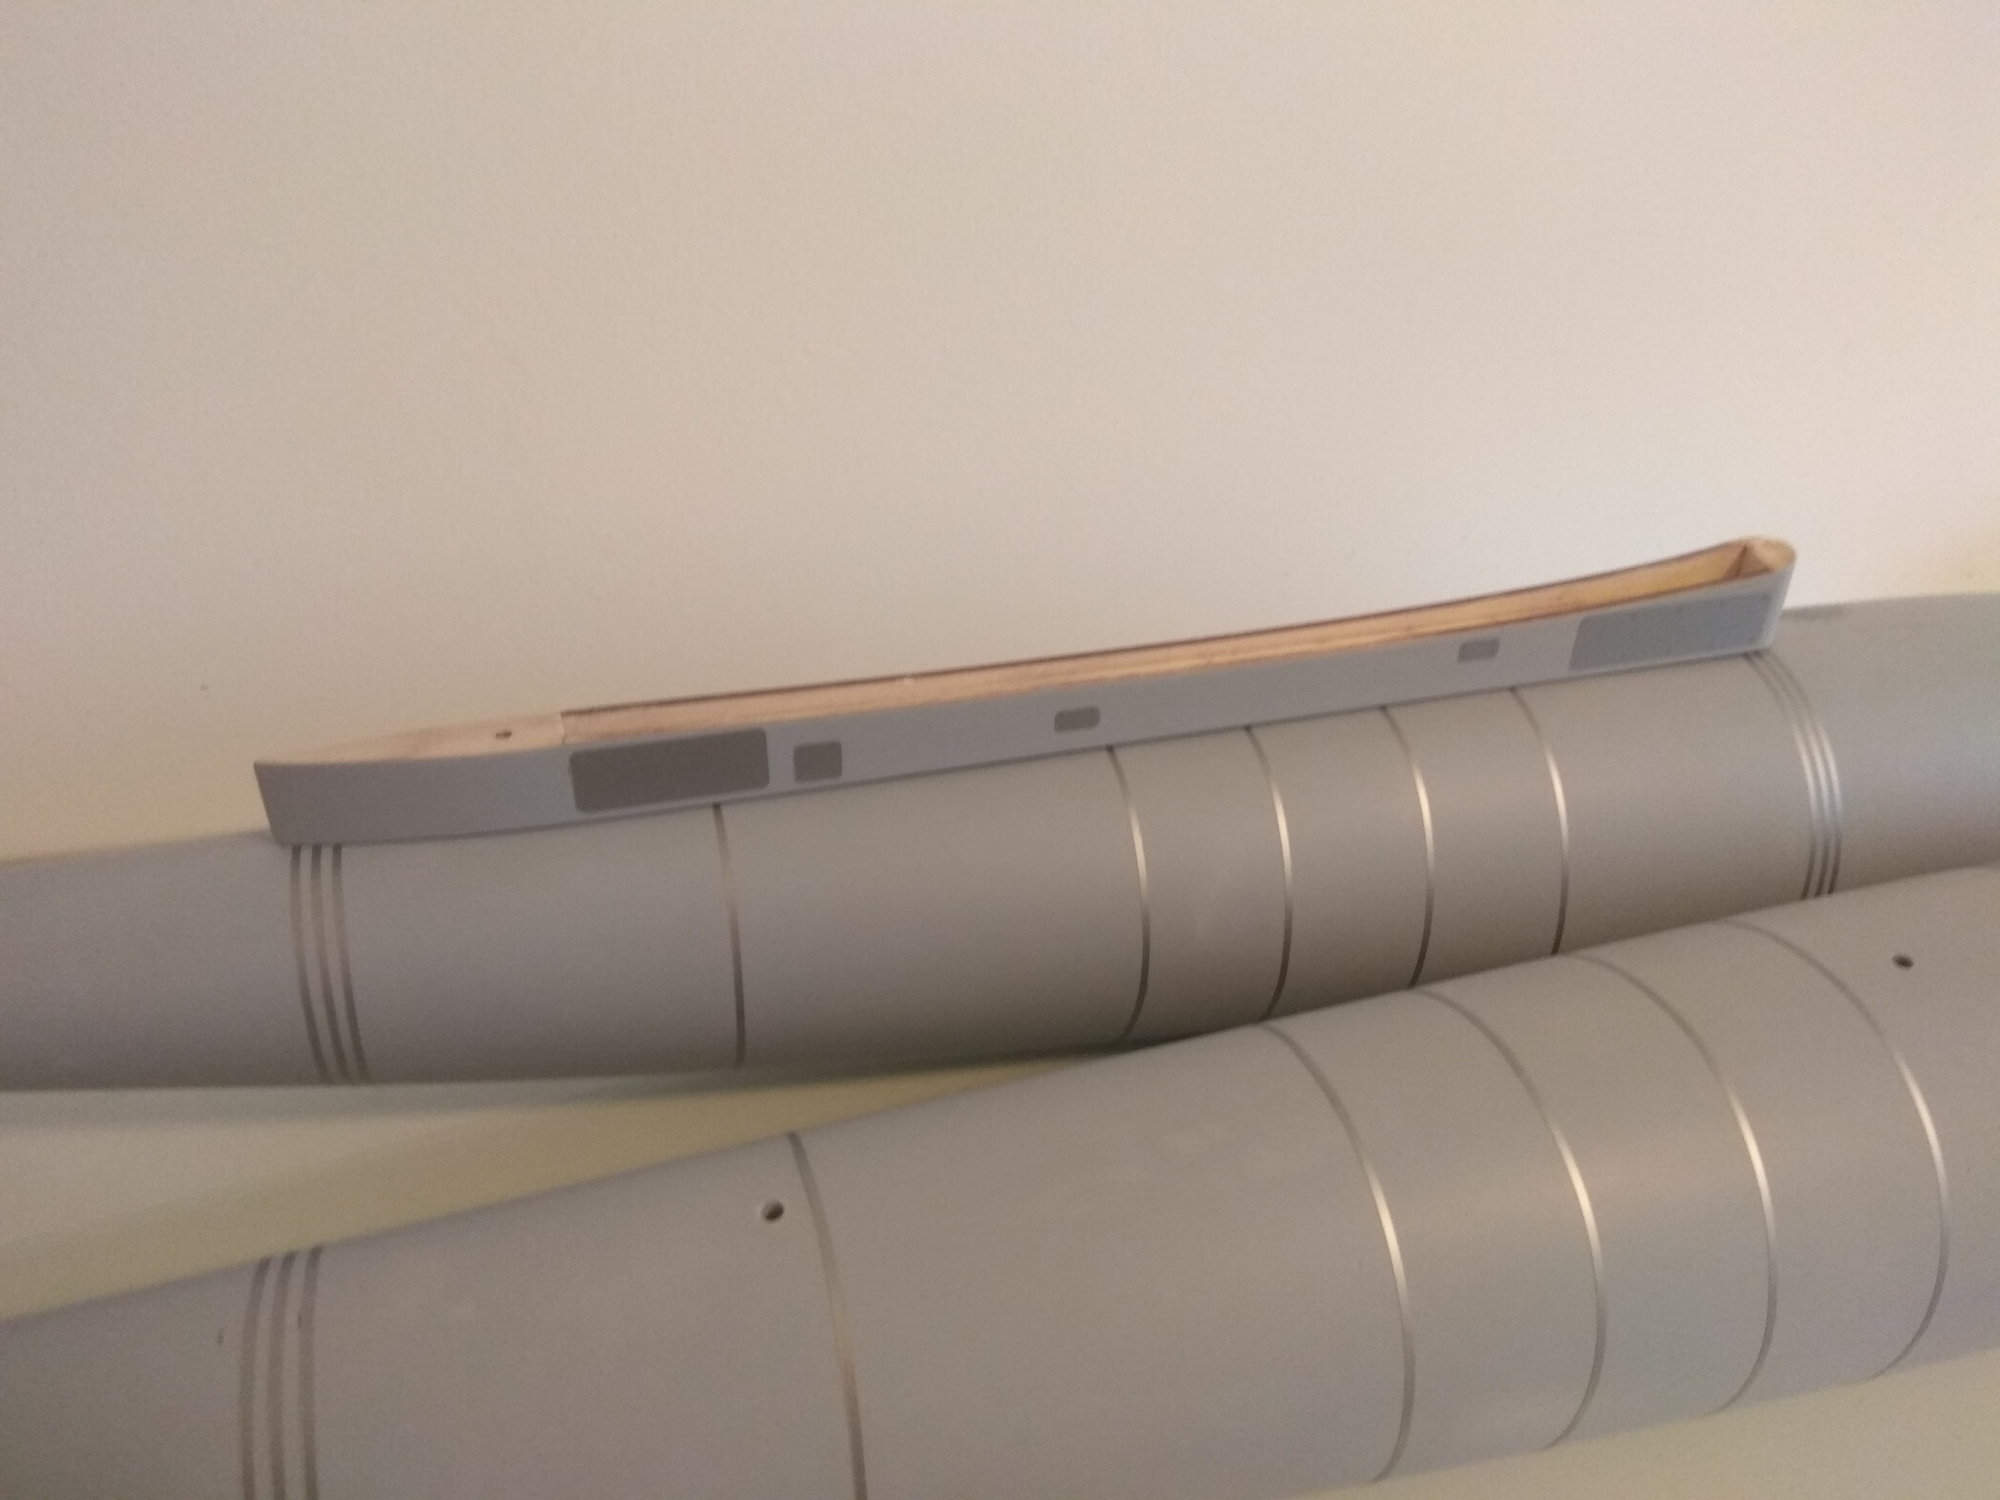
- pylons (both) - 136 gr
- 3D printed wing tanks (both) - 980 gr
With this parts, total weight is: 12.460 gr
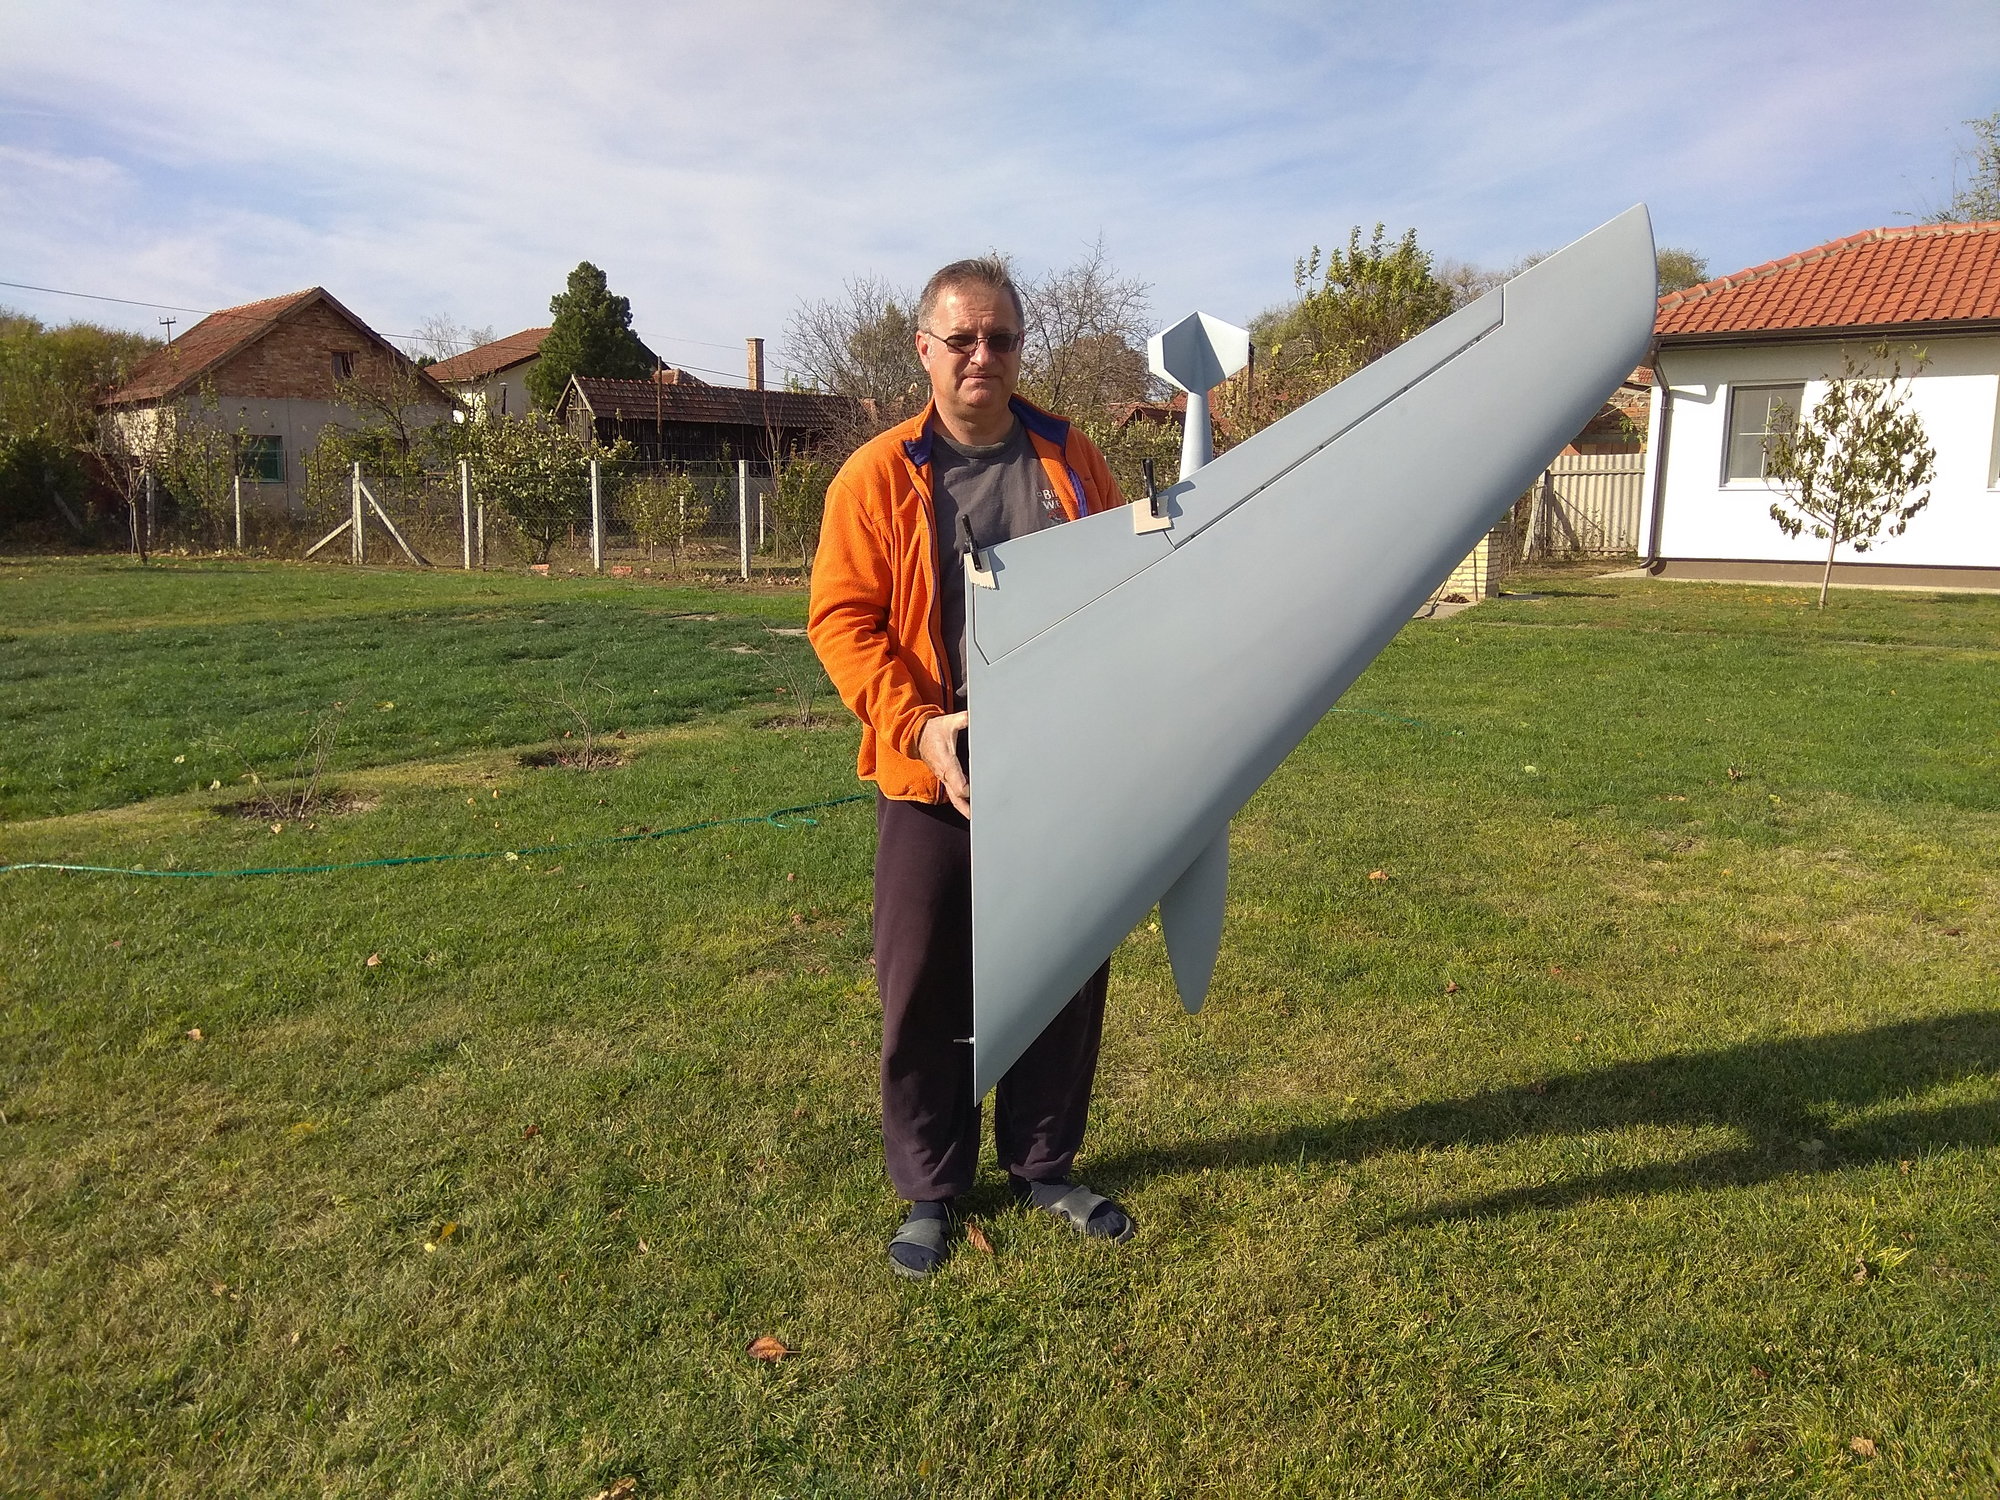
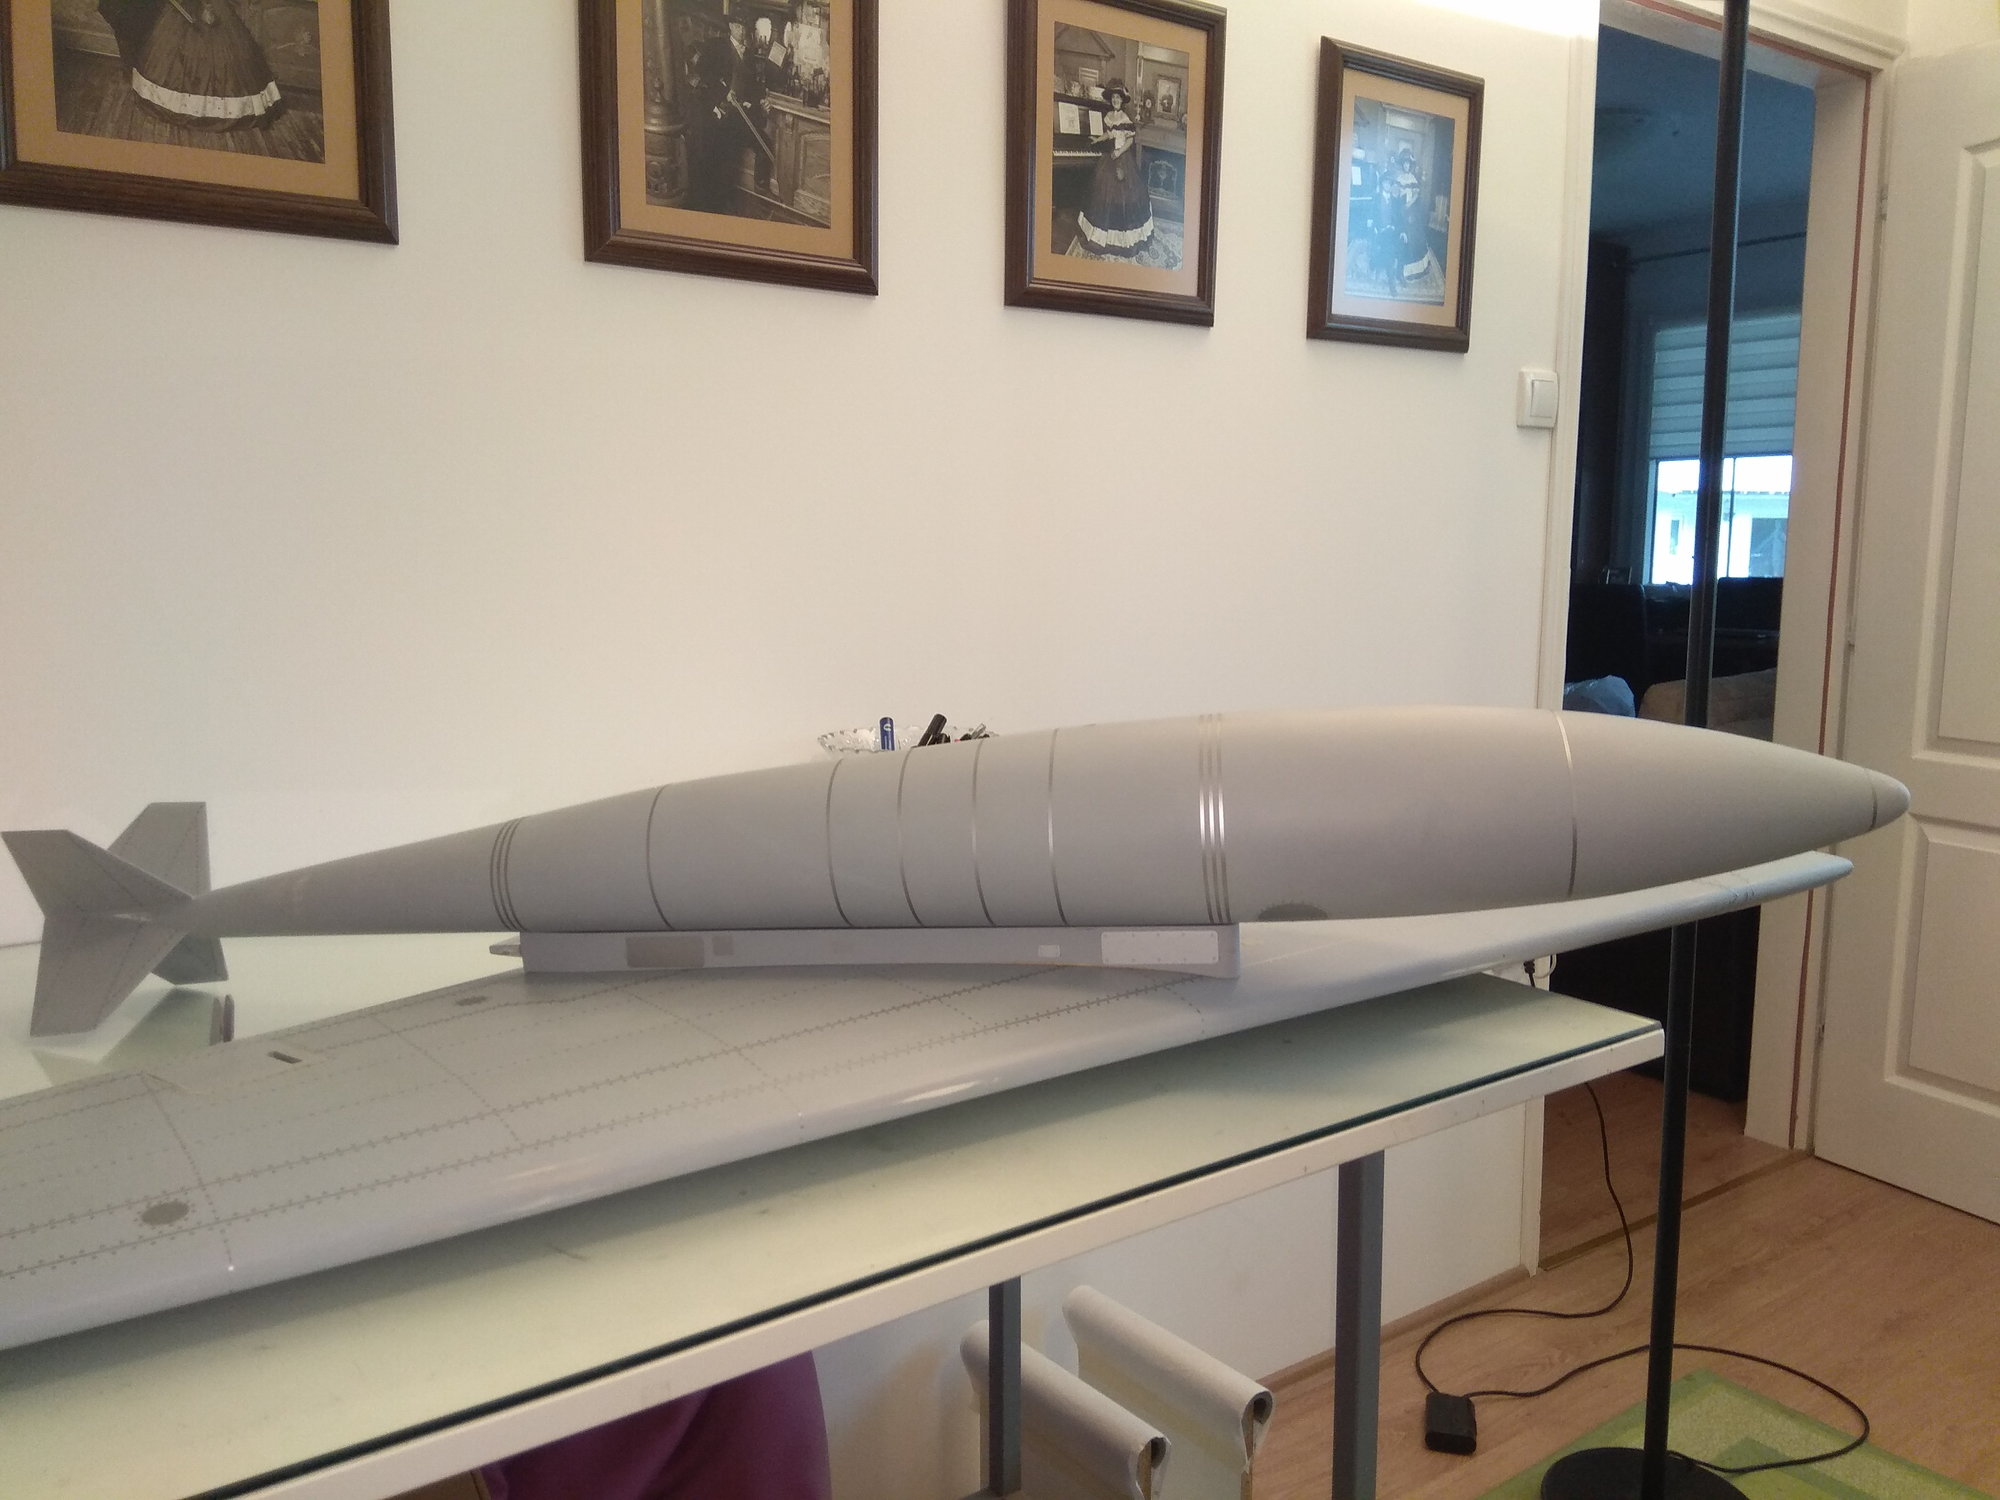
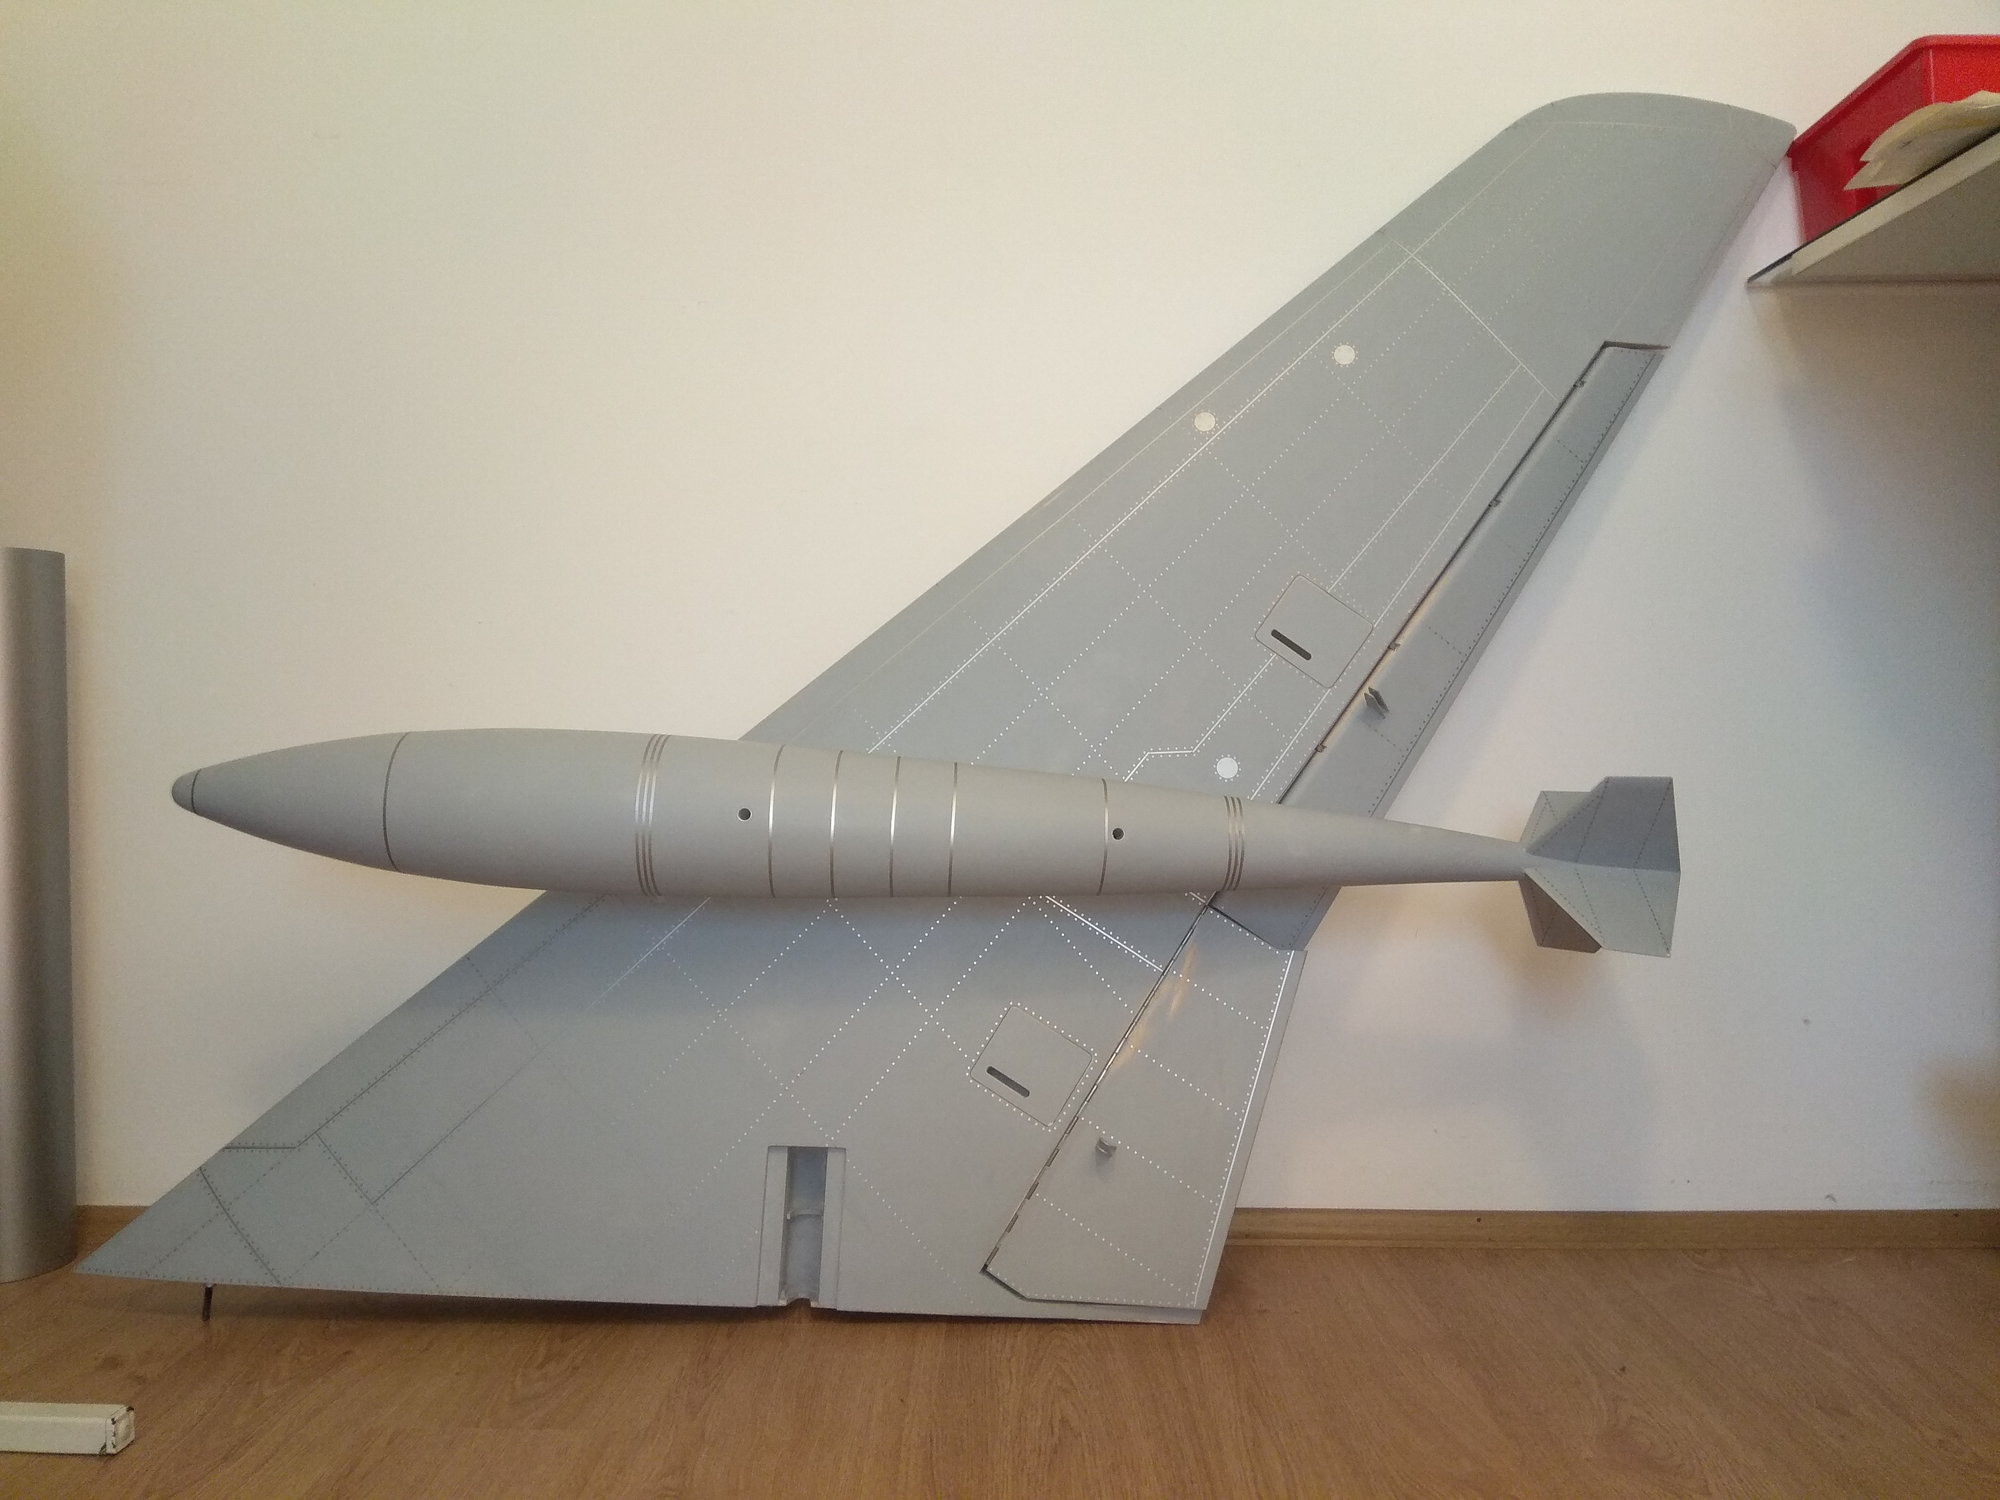
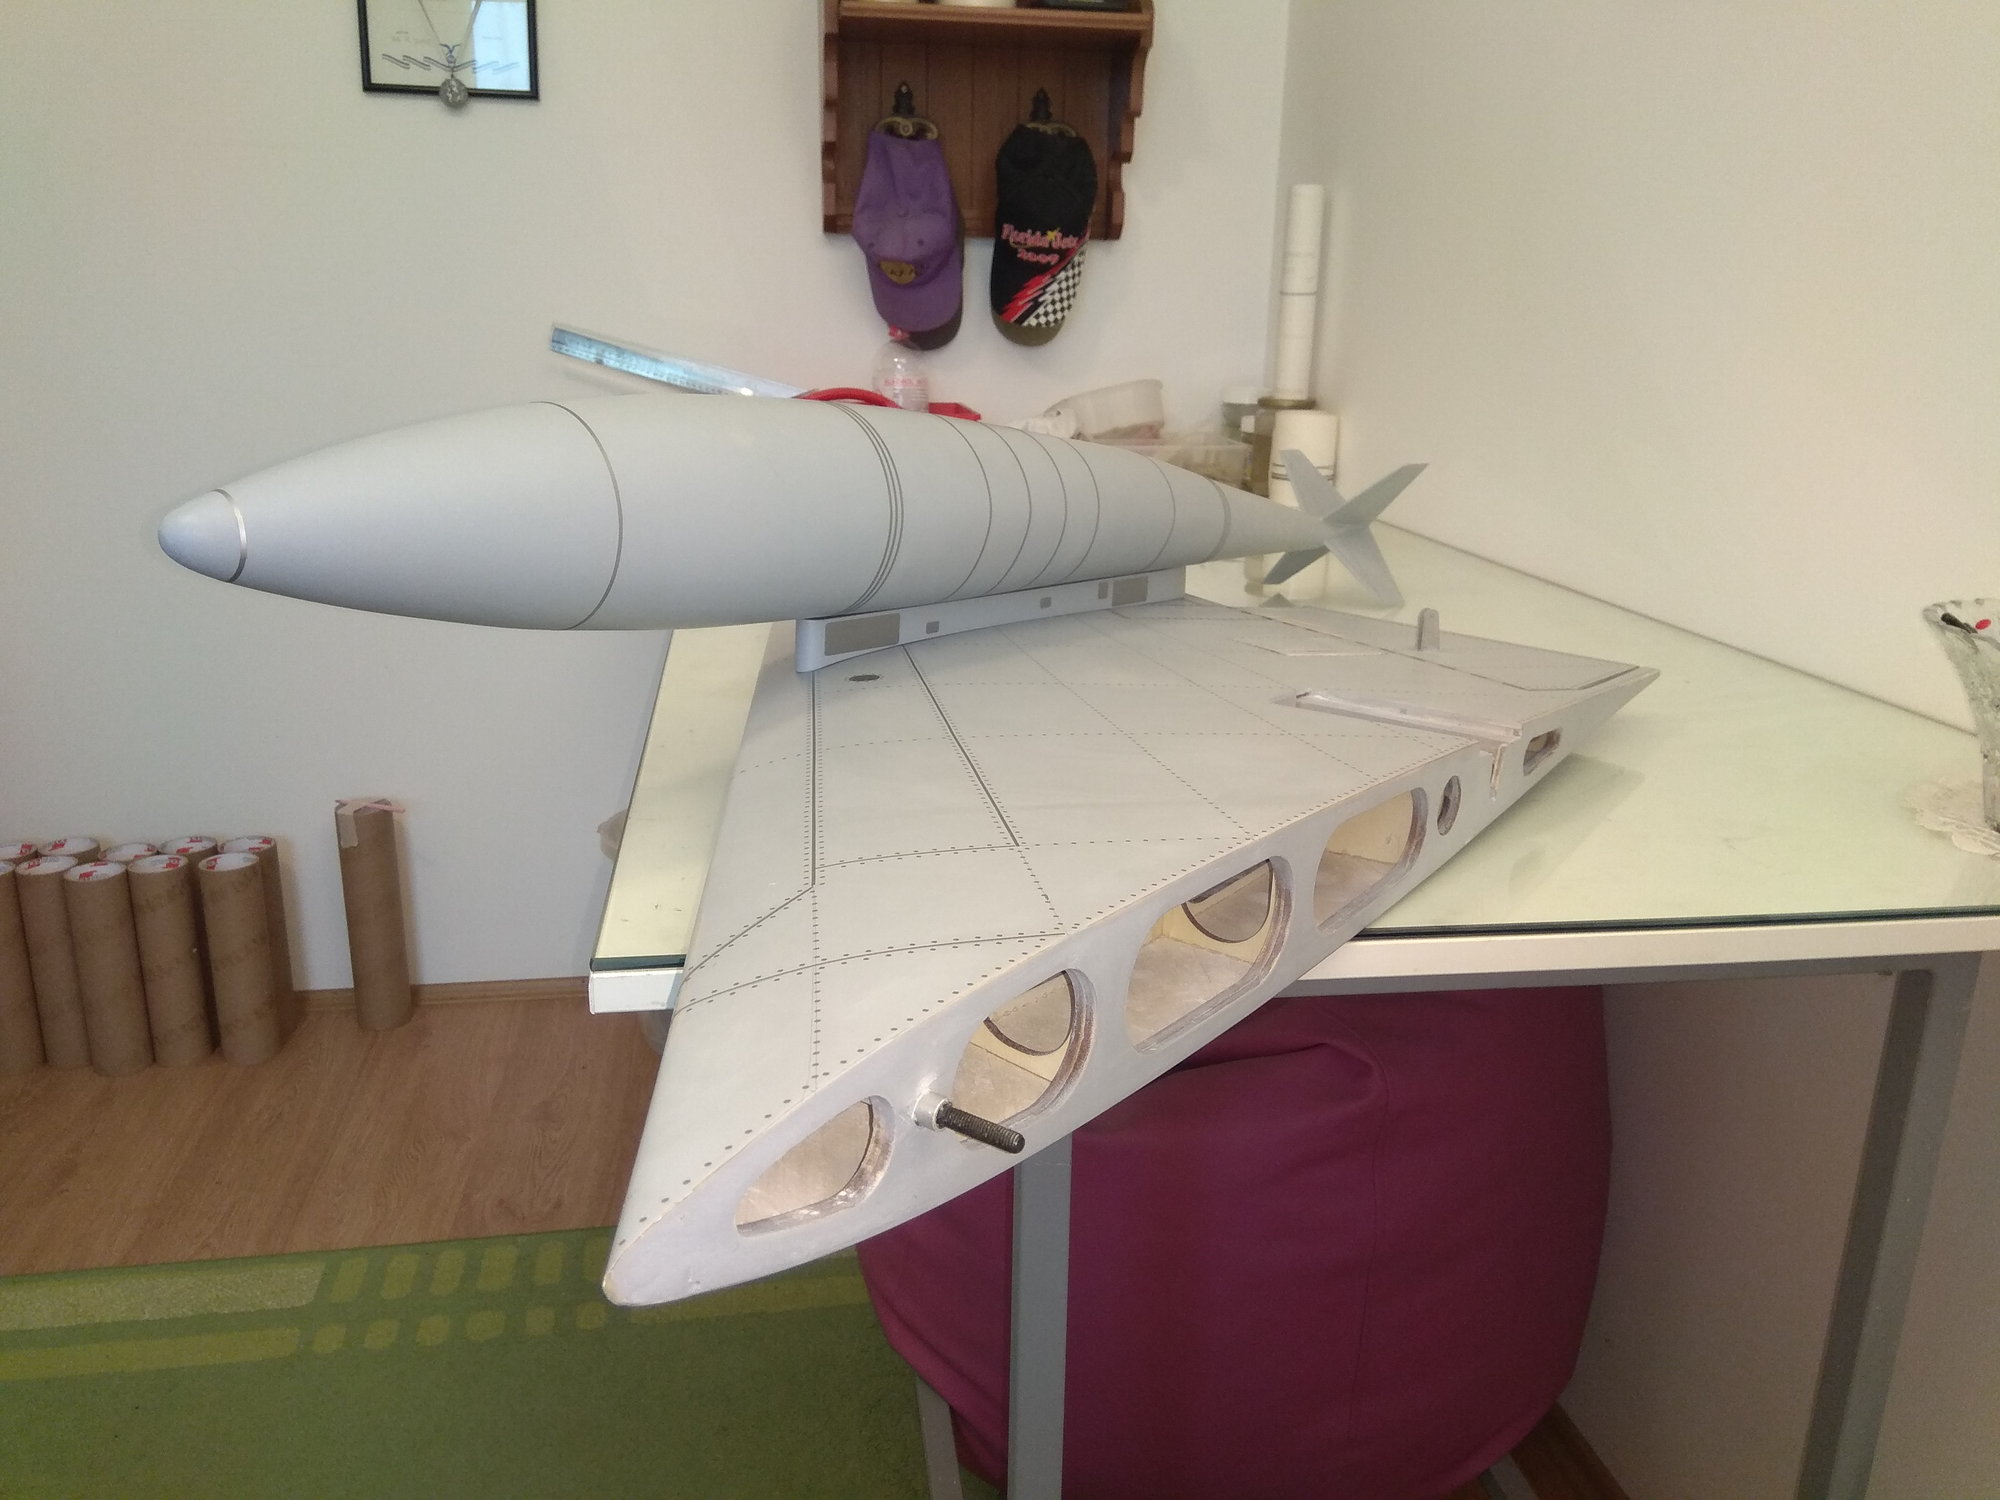
Fuselage is 2865 mm long and wing span is 2500 mm.
When I spoke with Damiano, he told me that he don't add any weight in his F 100 Super Sabre!!!
OK, his model is with foam wings, rudder and elevators, and to be honest, I don't know what is weight of those parts.
Mirce
Here is weight in this stage without any equipment:
- right wing - 1730 gr
- left wing - 1768 gr
- elevators & elevators box - 1172 gr
- fuselage with aluminum wing joiner - 6588 gr
Total weight is: 11.344 gr
- pylons (both) - 136 gr
- 3D printed wing tanks (both) - 980 gr
With this parts, total weight is: 12.460 gr
Fuselage is 2865 mm long and wing span is 2500 mm.
When I spoke with Damiano, he told me that he don't add any weight in his F 100 Super Sabre!!!
OK, his model is with foam wings, rudder and elevators, and to be honest, I don't know what is weight of those parts.
Mirce
10-26-2018, 12:06 PM
#87

My Feedback: (21)
Thank you for comments...
Here is weight in this stage without any equipment:
- right wing - 1730 gr
- left wing - 1768 gr
- elevators & elevators box - 1172 gr
- fuselage with aluminum wing joiner - 6588 gr
Total weight is: 11.344 gr
- pylons (both) - 136 gr
- 3D printed wing tanks (both) - 980 gr
With this parts, total weight is: 12.460 gr
Fuselage is 2865 mm long and wing span is 2500 mm.
When I spoke with Damiano, he told me that he don't add any weight in his F 100 Super Sabre!!!
OK, his model is with foam wings, rudder and elevators, and to be honest, I don't know what is weight of those parts.
Mirce
Mirce that is looking absolutely fantastic. Thank you for posting the weight this far. It gives me a better idea as to being able to build and fly with the AMA rules here in the USA. We are allowed up to 55 pounds with fuel. If weight is over that we have to have an experimental waiver for the jet. I really hope that it will be at the 55 pound weight or under with all equipment and fuel. I would really like to build this one.
Thanks
Joe
11-01-2018, 05:45 AM
#91
Thread Starter
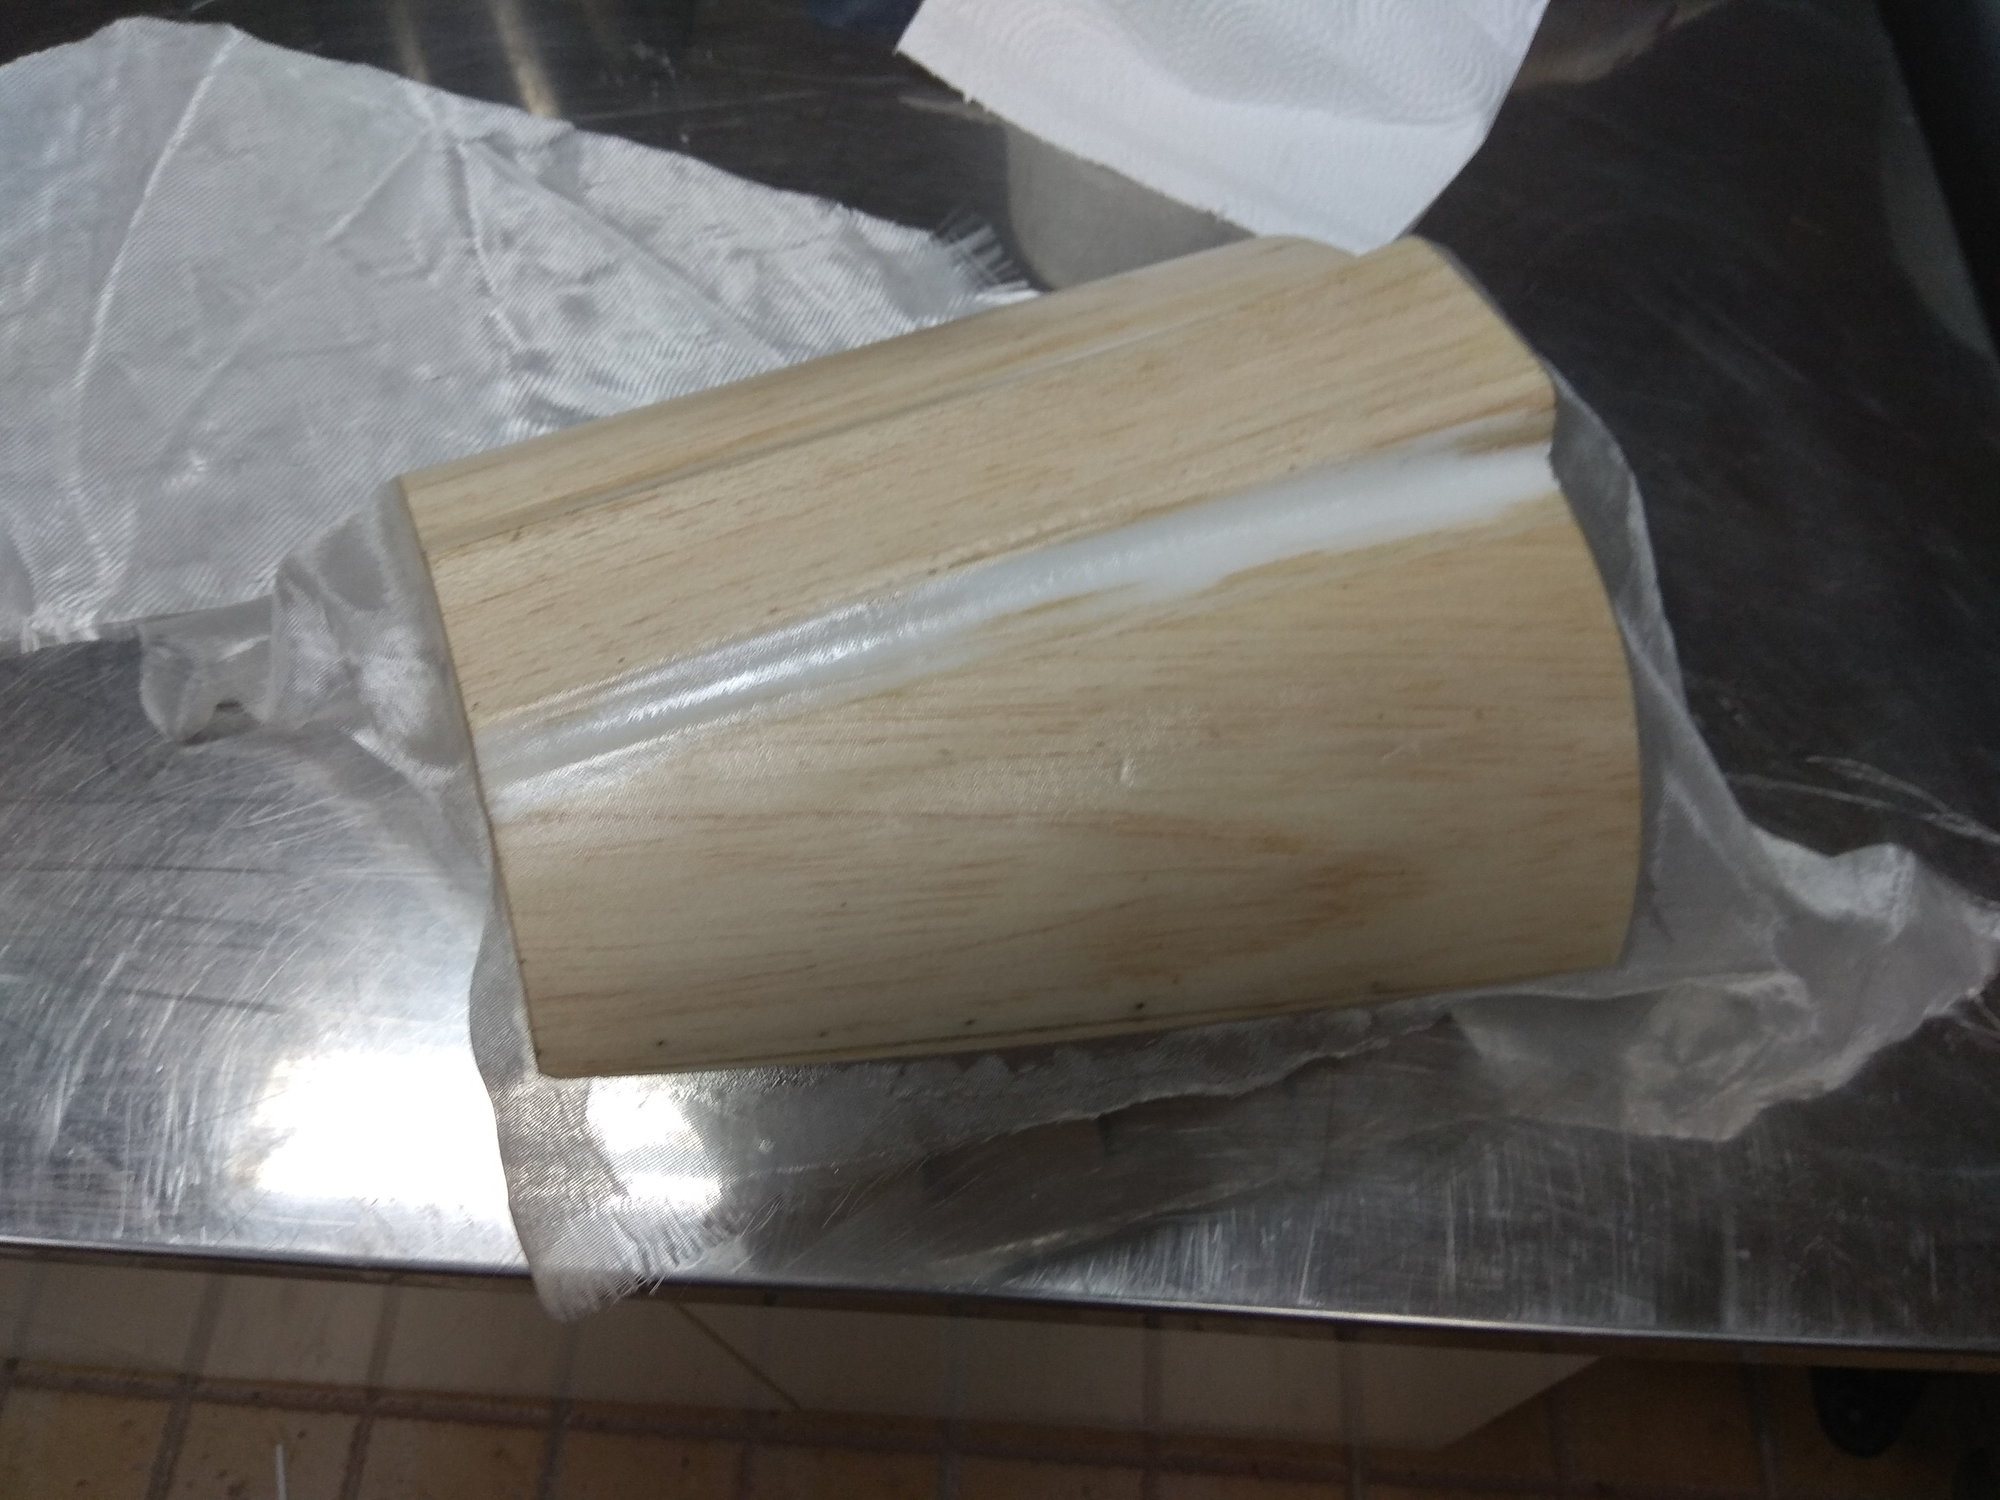
I have my "system", which is for sure same like many modelers do.
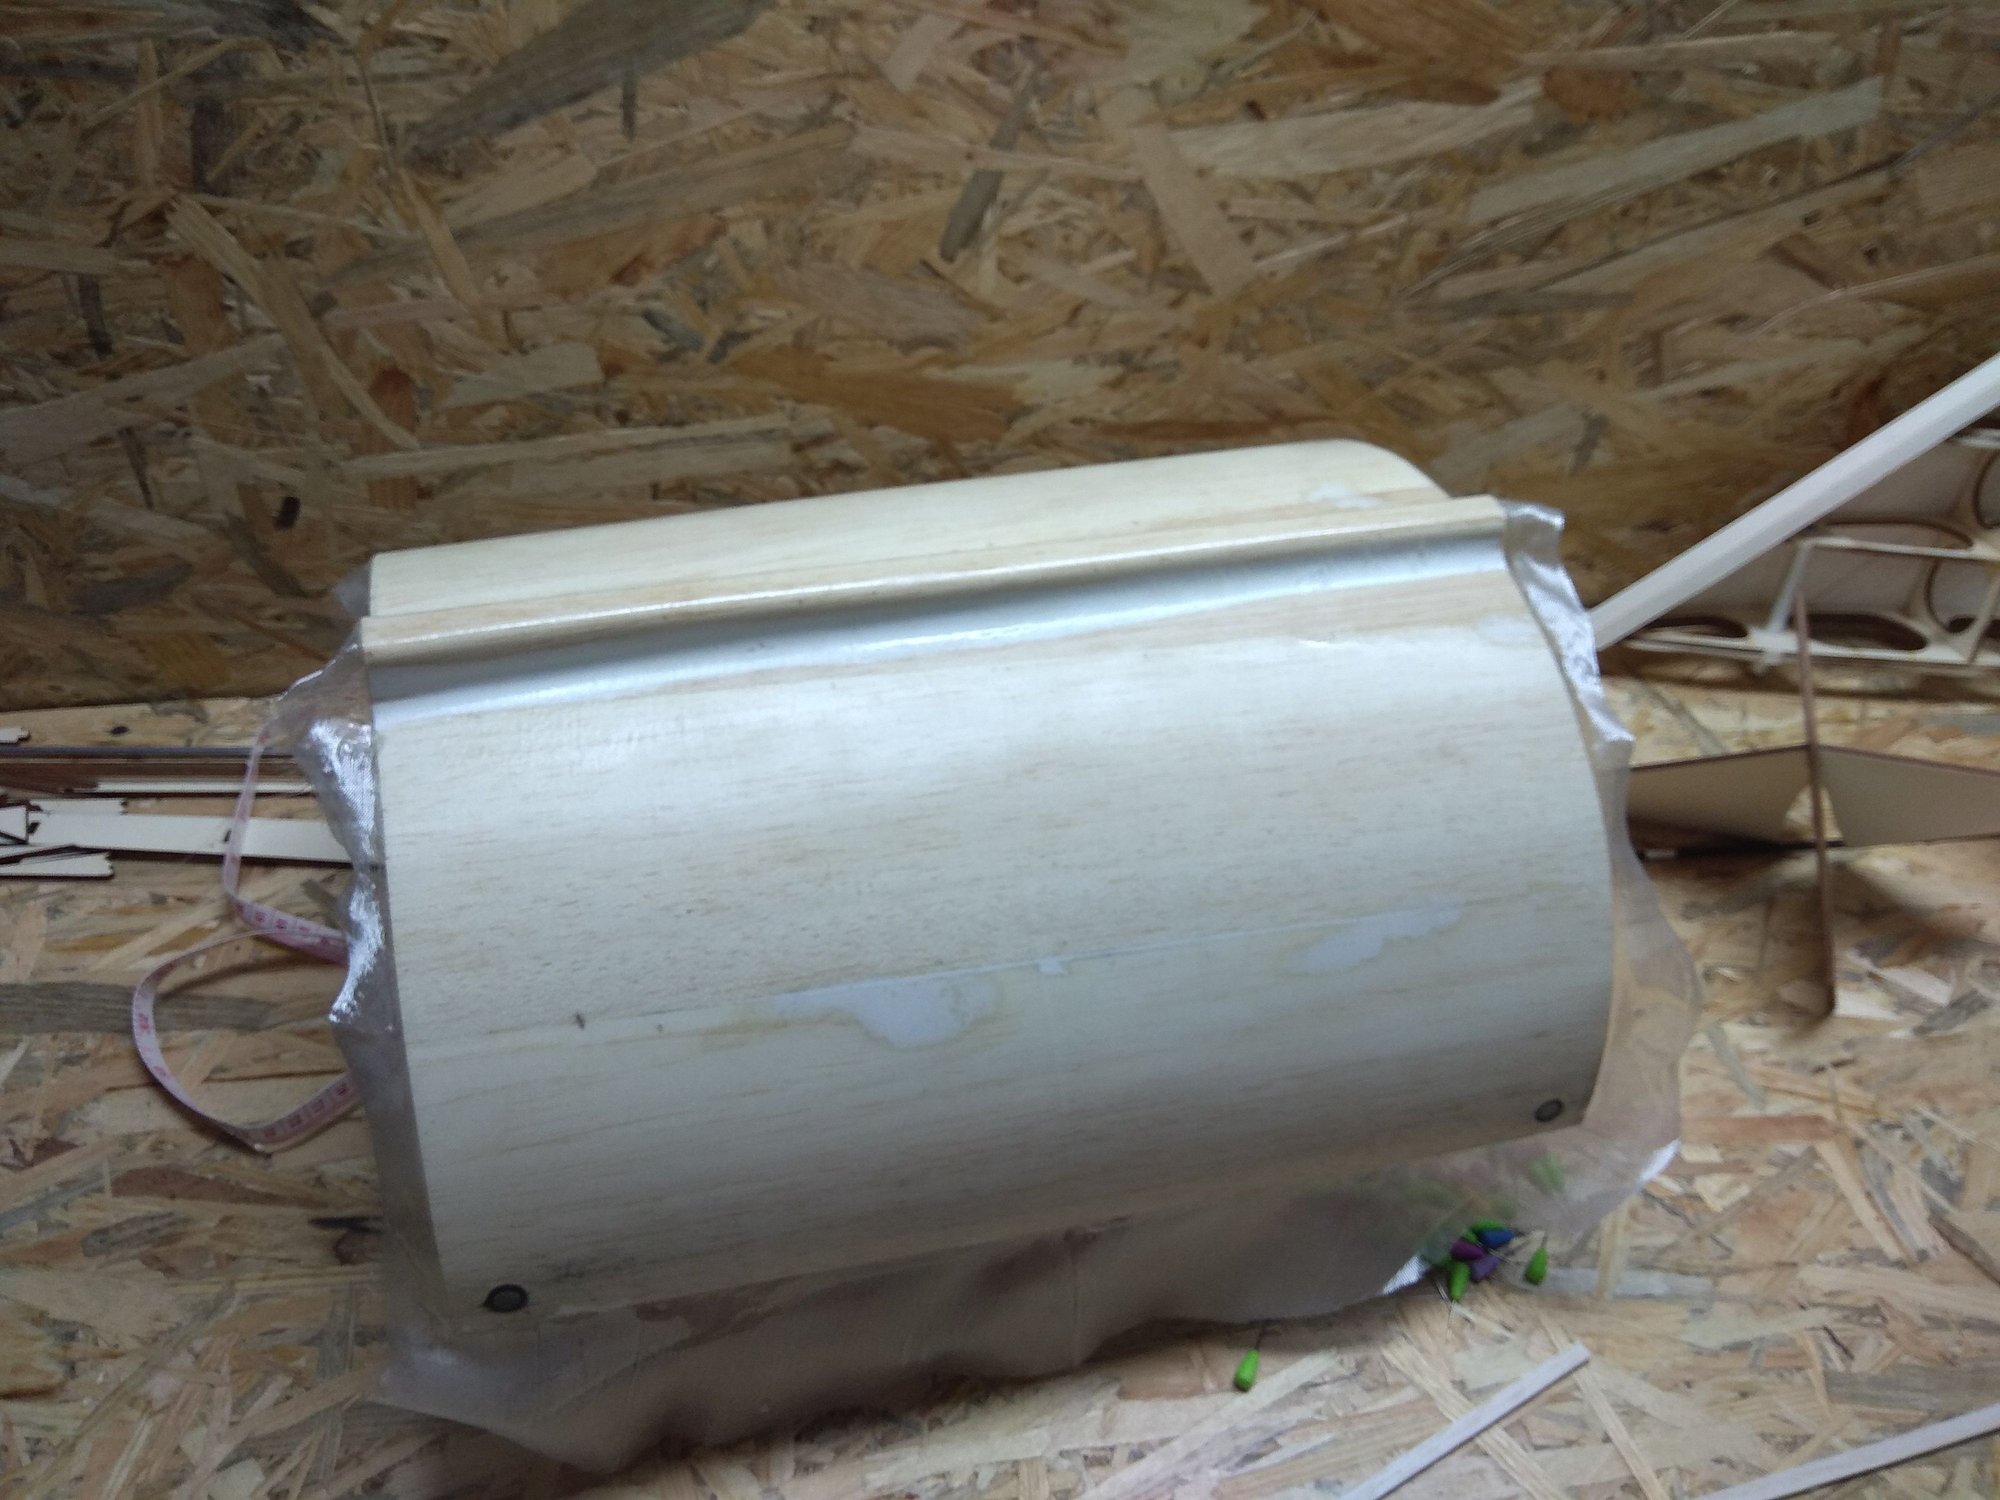
So, I sand balsa surface to be as much smooth, as it could be.
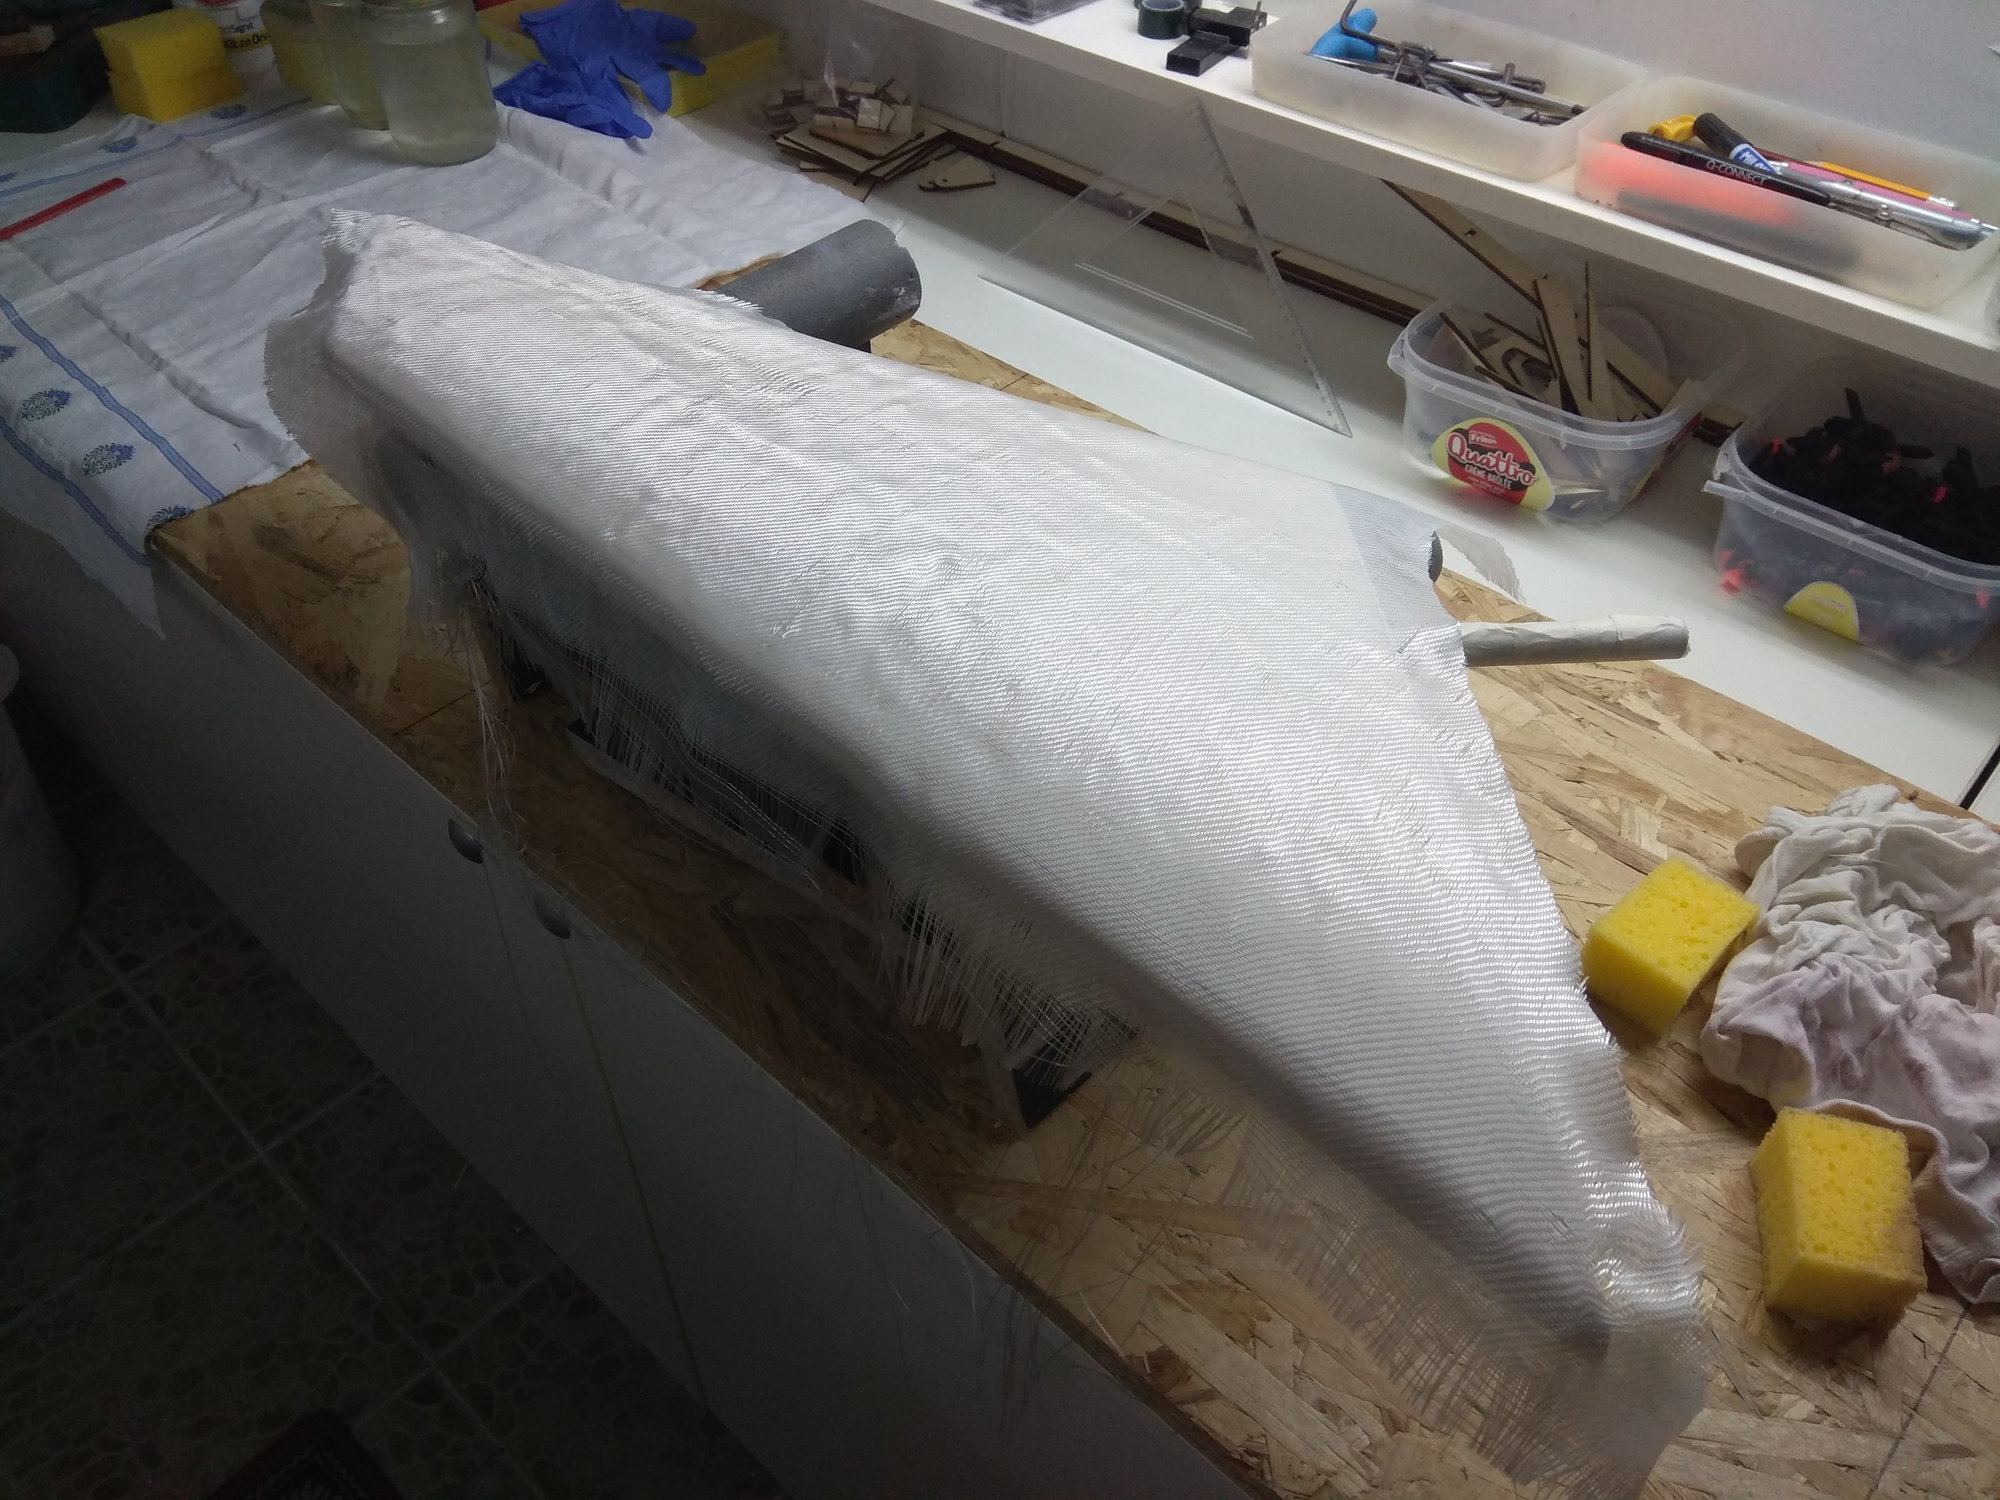
Than apply glass cloth and epoxy resin.
Next day I light sand surface, if there is some bubble I sand it down also (made hole on that spot) and than apply second resin layer.
Than I apply gray primer, which show me where I need to apply filler. That is almost on whole surface...
First sanding is with 100 grid paper. A lot of resin, filler and primer was take down after this stage.
Than again gray primer. Gray primer show small scratch, holes, waves, etc... exactly where I need again to add filler. Of course, now you don't need so many filler...
Sanding again first 100, than 240 sand paper.
After this stage a lot of area is gray and good, so you don't need to apply gray primer on whole surface. But on spaces where you apply filler or on areas which are "colorful" I add again gray filler.
After this stage, maybe you need to add on only few spots filler, but usually don't need to do that.
Last sanding is with 240 "bald" sand paper and that is it.
On this stage you try to not take down gray filler, because on next step, painting, sometime you need to add more color layers (weight) to cover that "colorful" spots. My painter told me that...
All in all, sanding is most important, and three times is minimum if you want to have smooth surface...
Sorry, little longer, but hope will help...
Mirce
So, I sand balsa surface to be as much smooth, as it could be.
Than apply glass cloth and epoxy resin.
Next day I light sand surface, if there is some bubble I sand it down also (made hole on that spot) and than apply second resin layer.
Than I apply gray primer, which show me where I need to apply filler. That is almost on whole surface...
First sanding is with 100 grid paper. A lot of resin, filler and primer was take down after this stage.
Than again gray primer. Gray primer show small scratch, holes, waves, etc... exactly where I need again to add filler. Of course, now you don't need so many filler...
Sanding again first 100, than 240 sand paper.
After this stage a lot of area is gray and good, so you don't need to apply gray primer on whole surface. But on spaces where you apply filler or on areas which are "colorful" I add again gray filler.
After this stage, maybe you need to add on only few spots filler, but usually don't need to do that.
Last sanding is with 240 "bald" sand paper and that is it.
On this stage you try to not take down gray filler, because on next step, painting, sometime you need to add more color layers (weight) to cover that "colorful" spots. My painter told me that...
All in all, sanding is most important, and three times is minimum if you want to have smooth surface...
Sorry, little longer, but hope will help...
Mirce
 11-22-2018, 03:01 AM
#95
Thread Starter
Thank you for kind words...
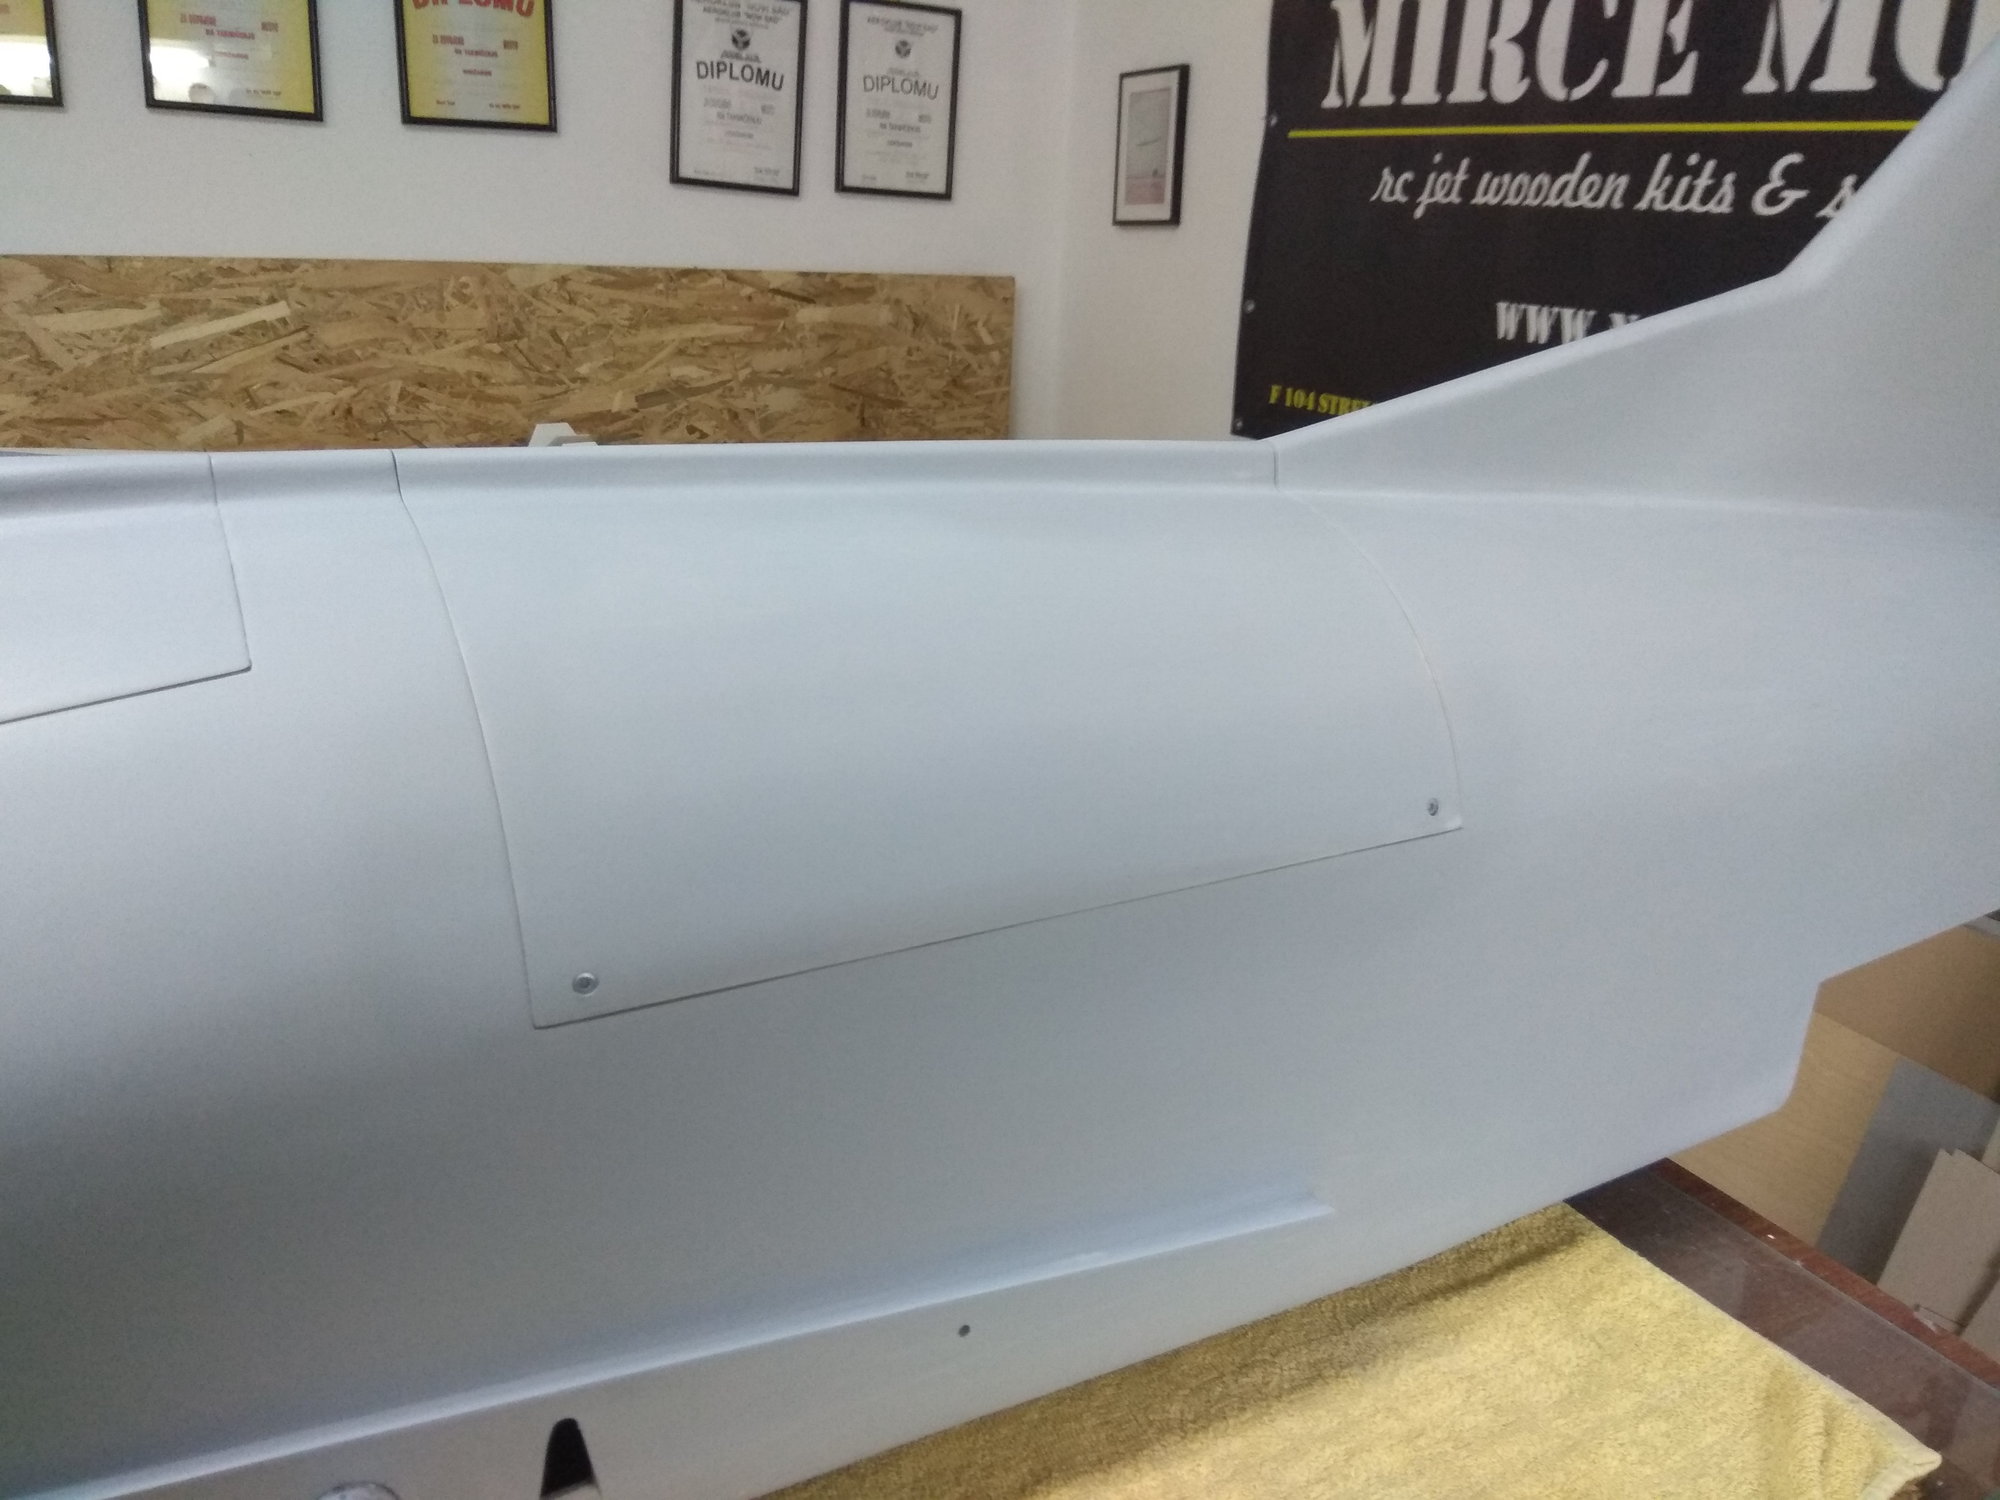
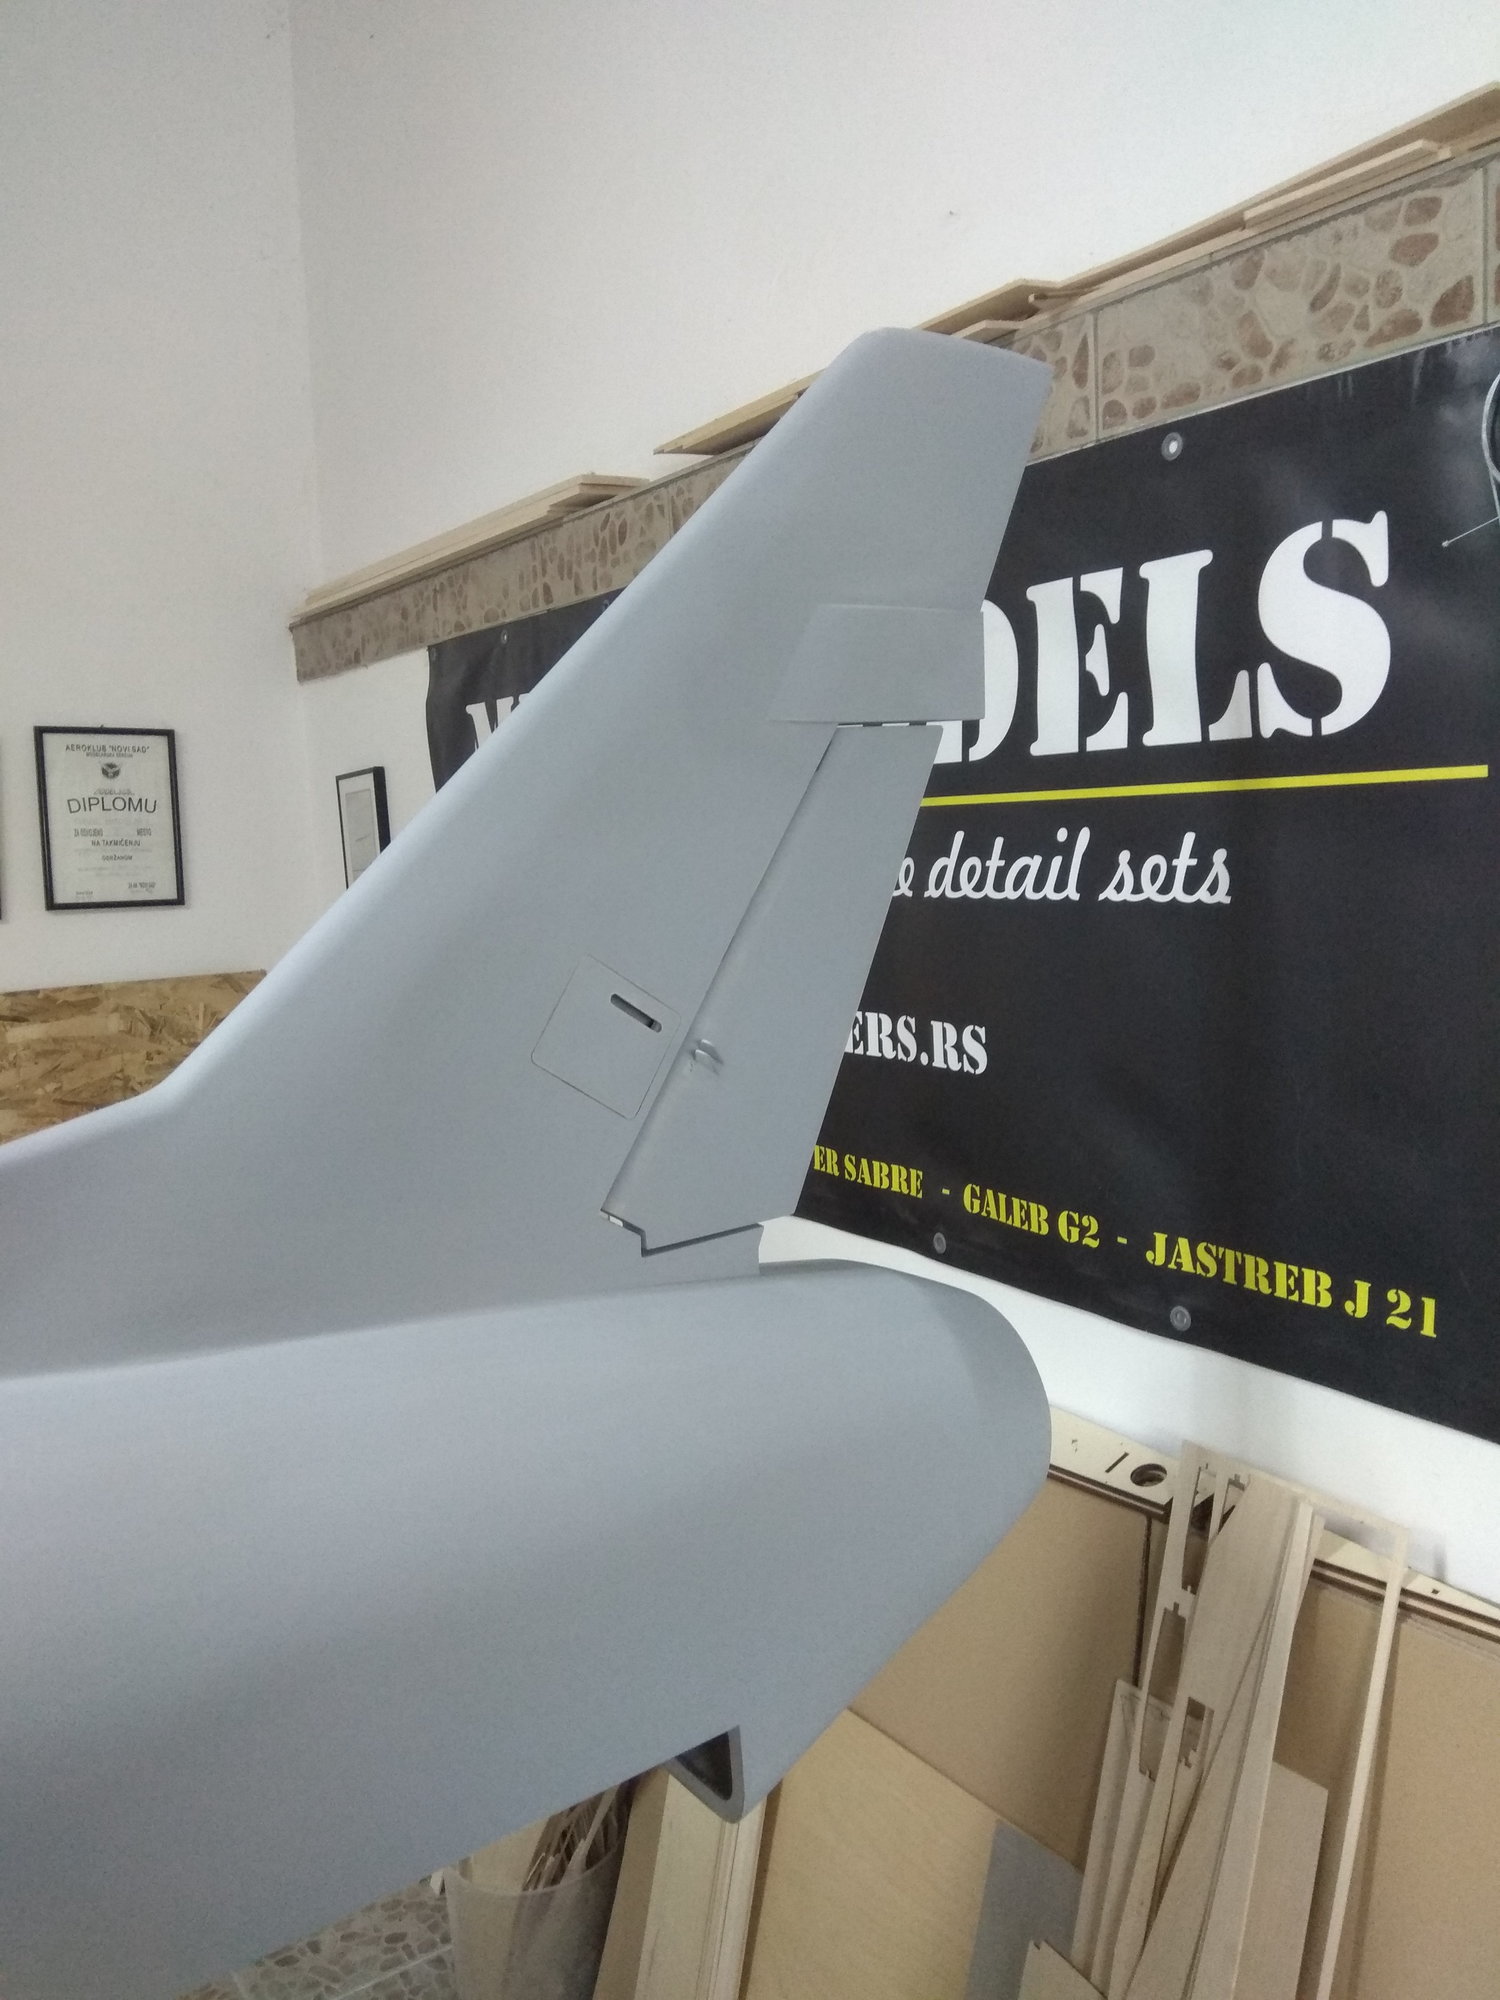
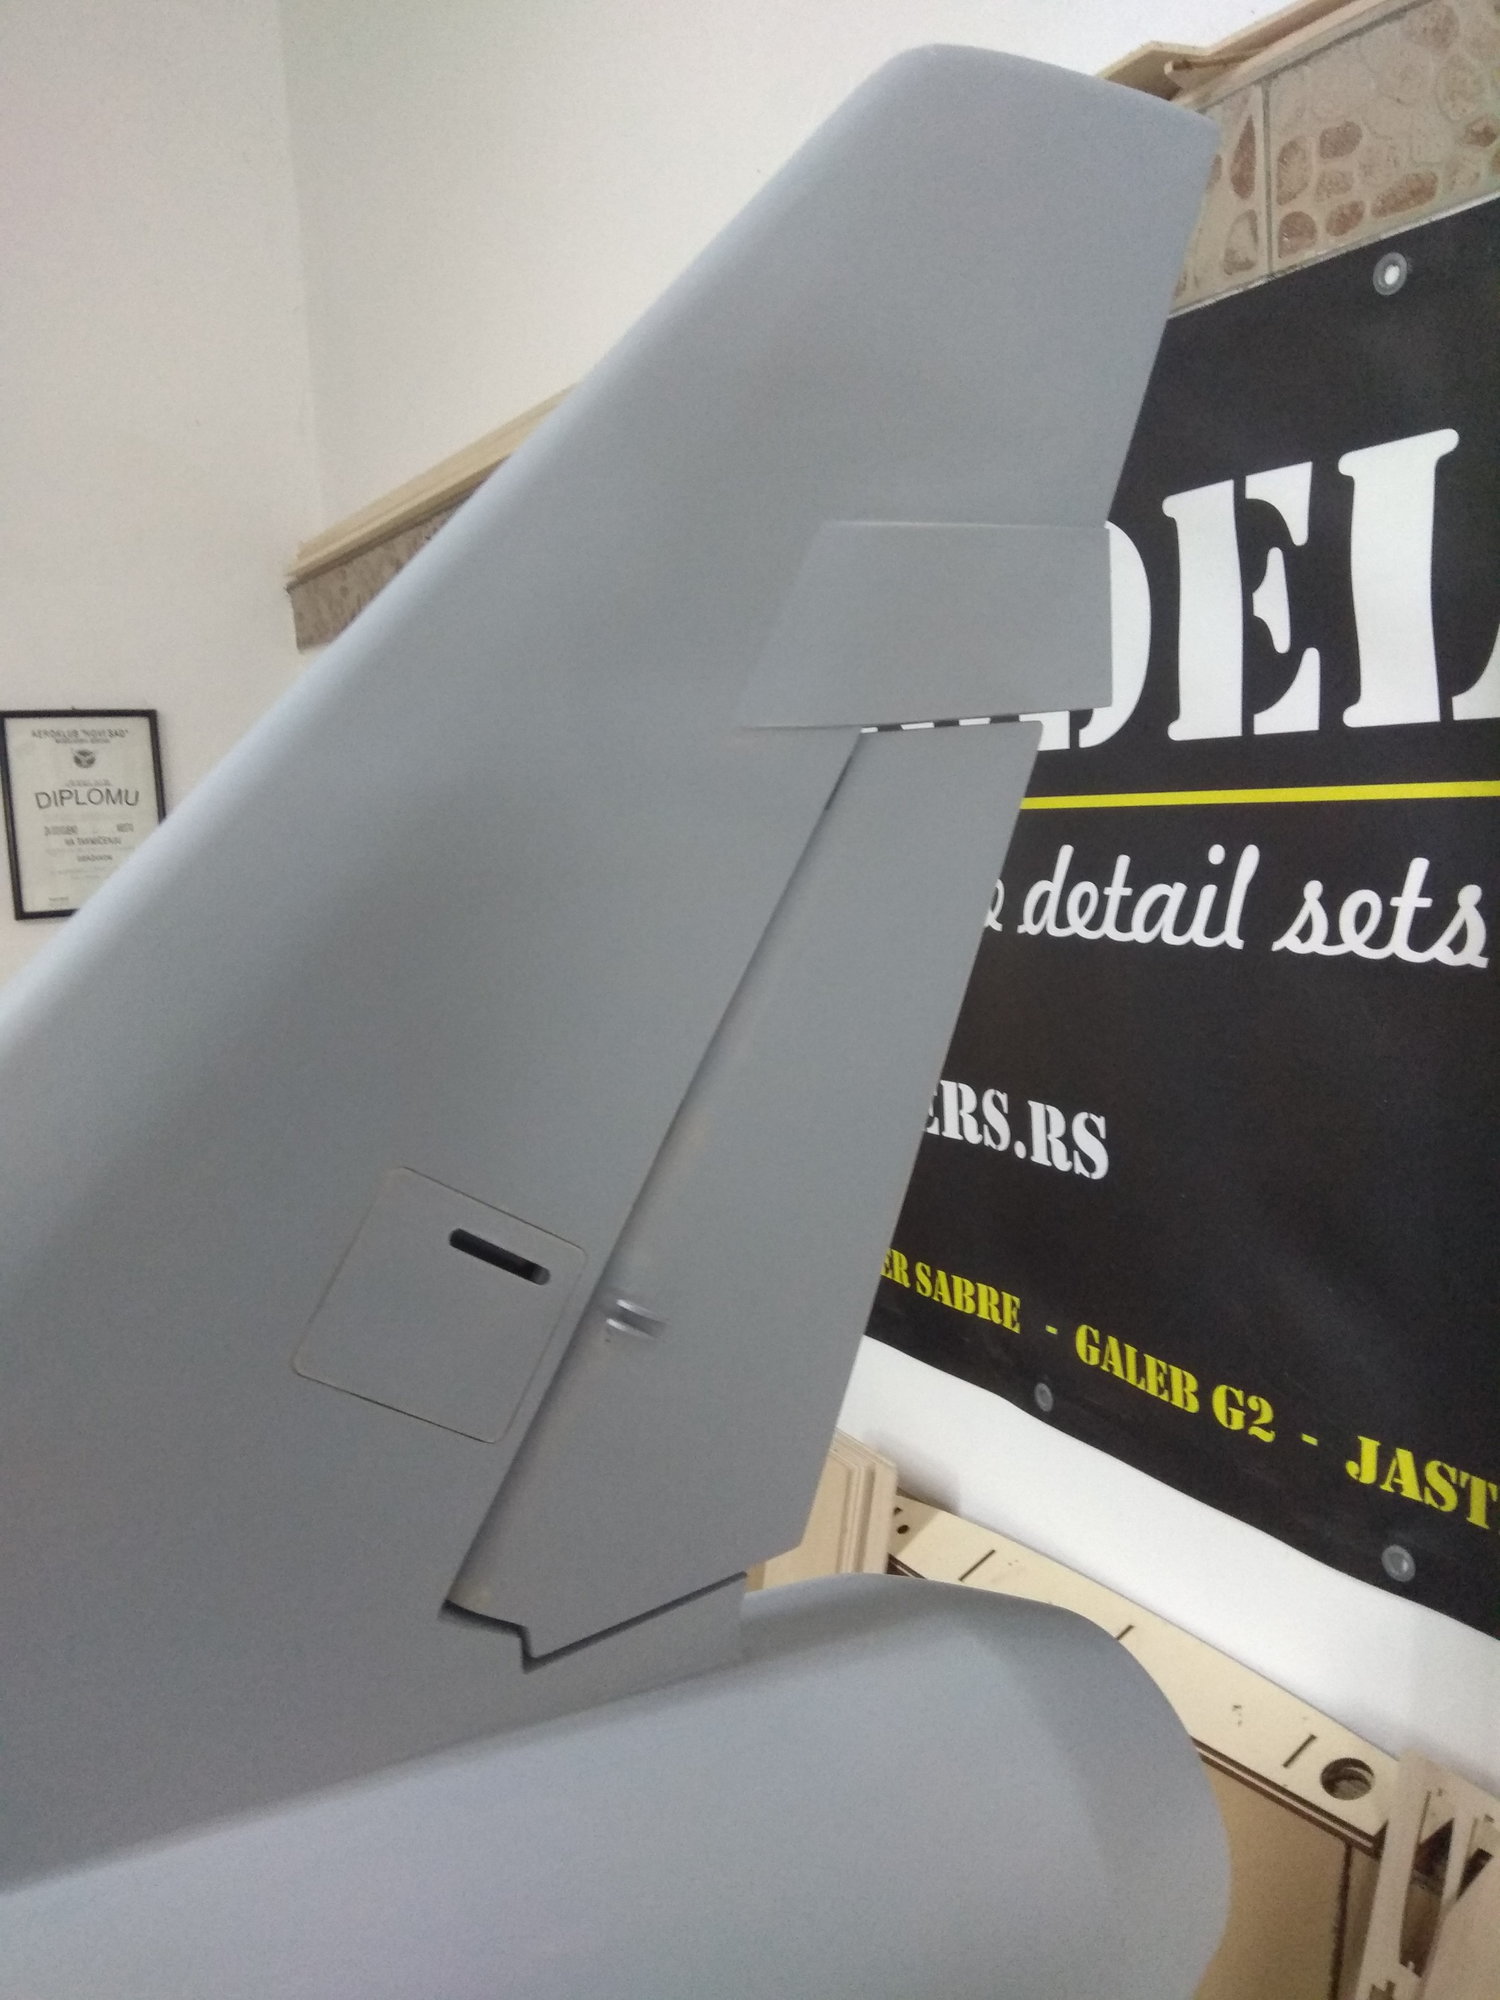
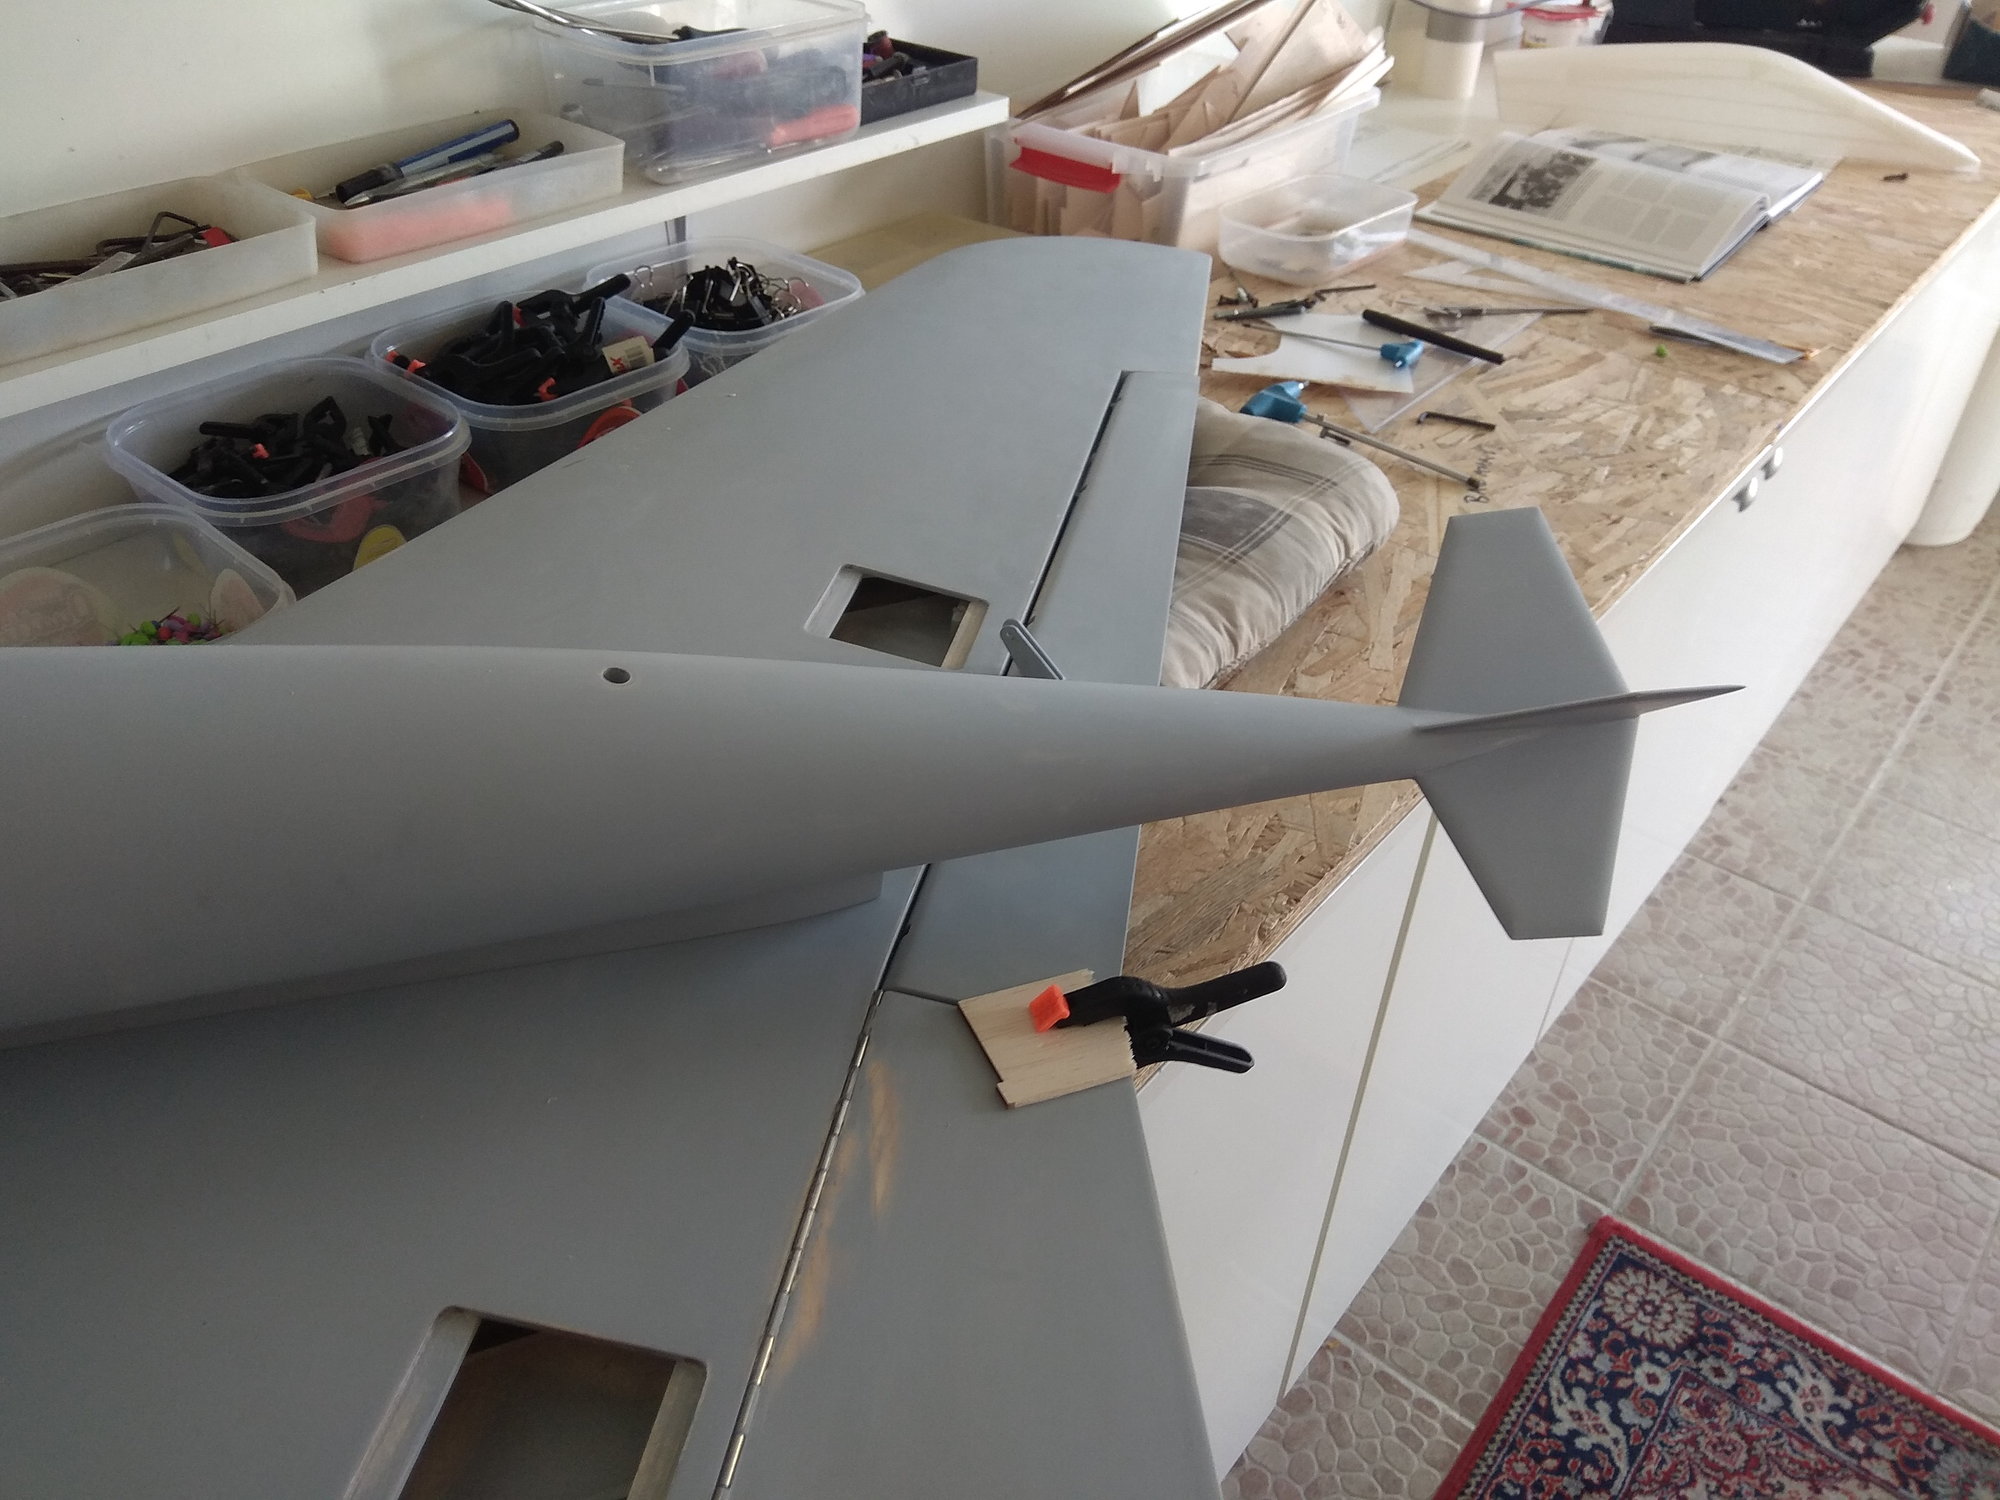
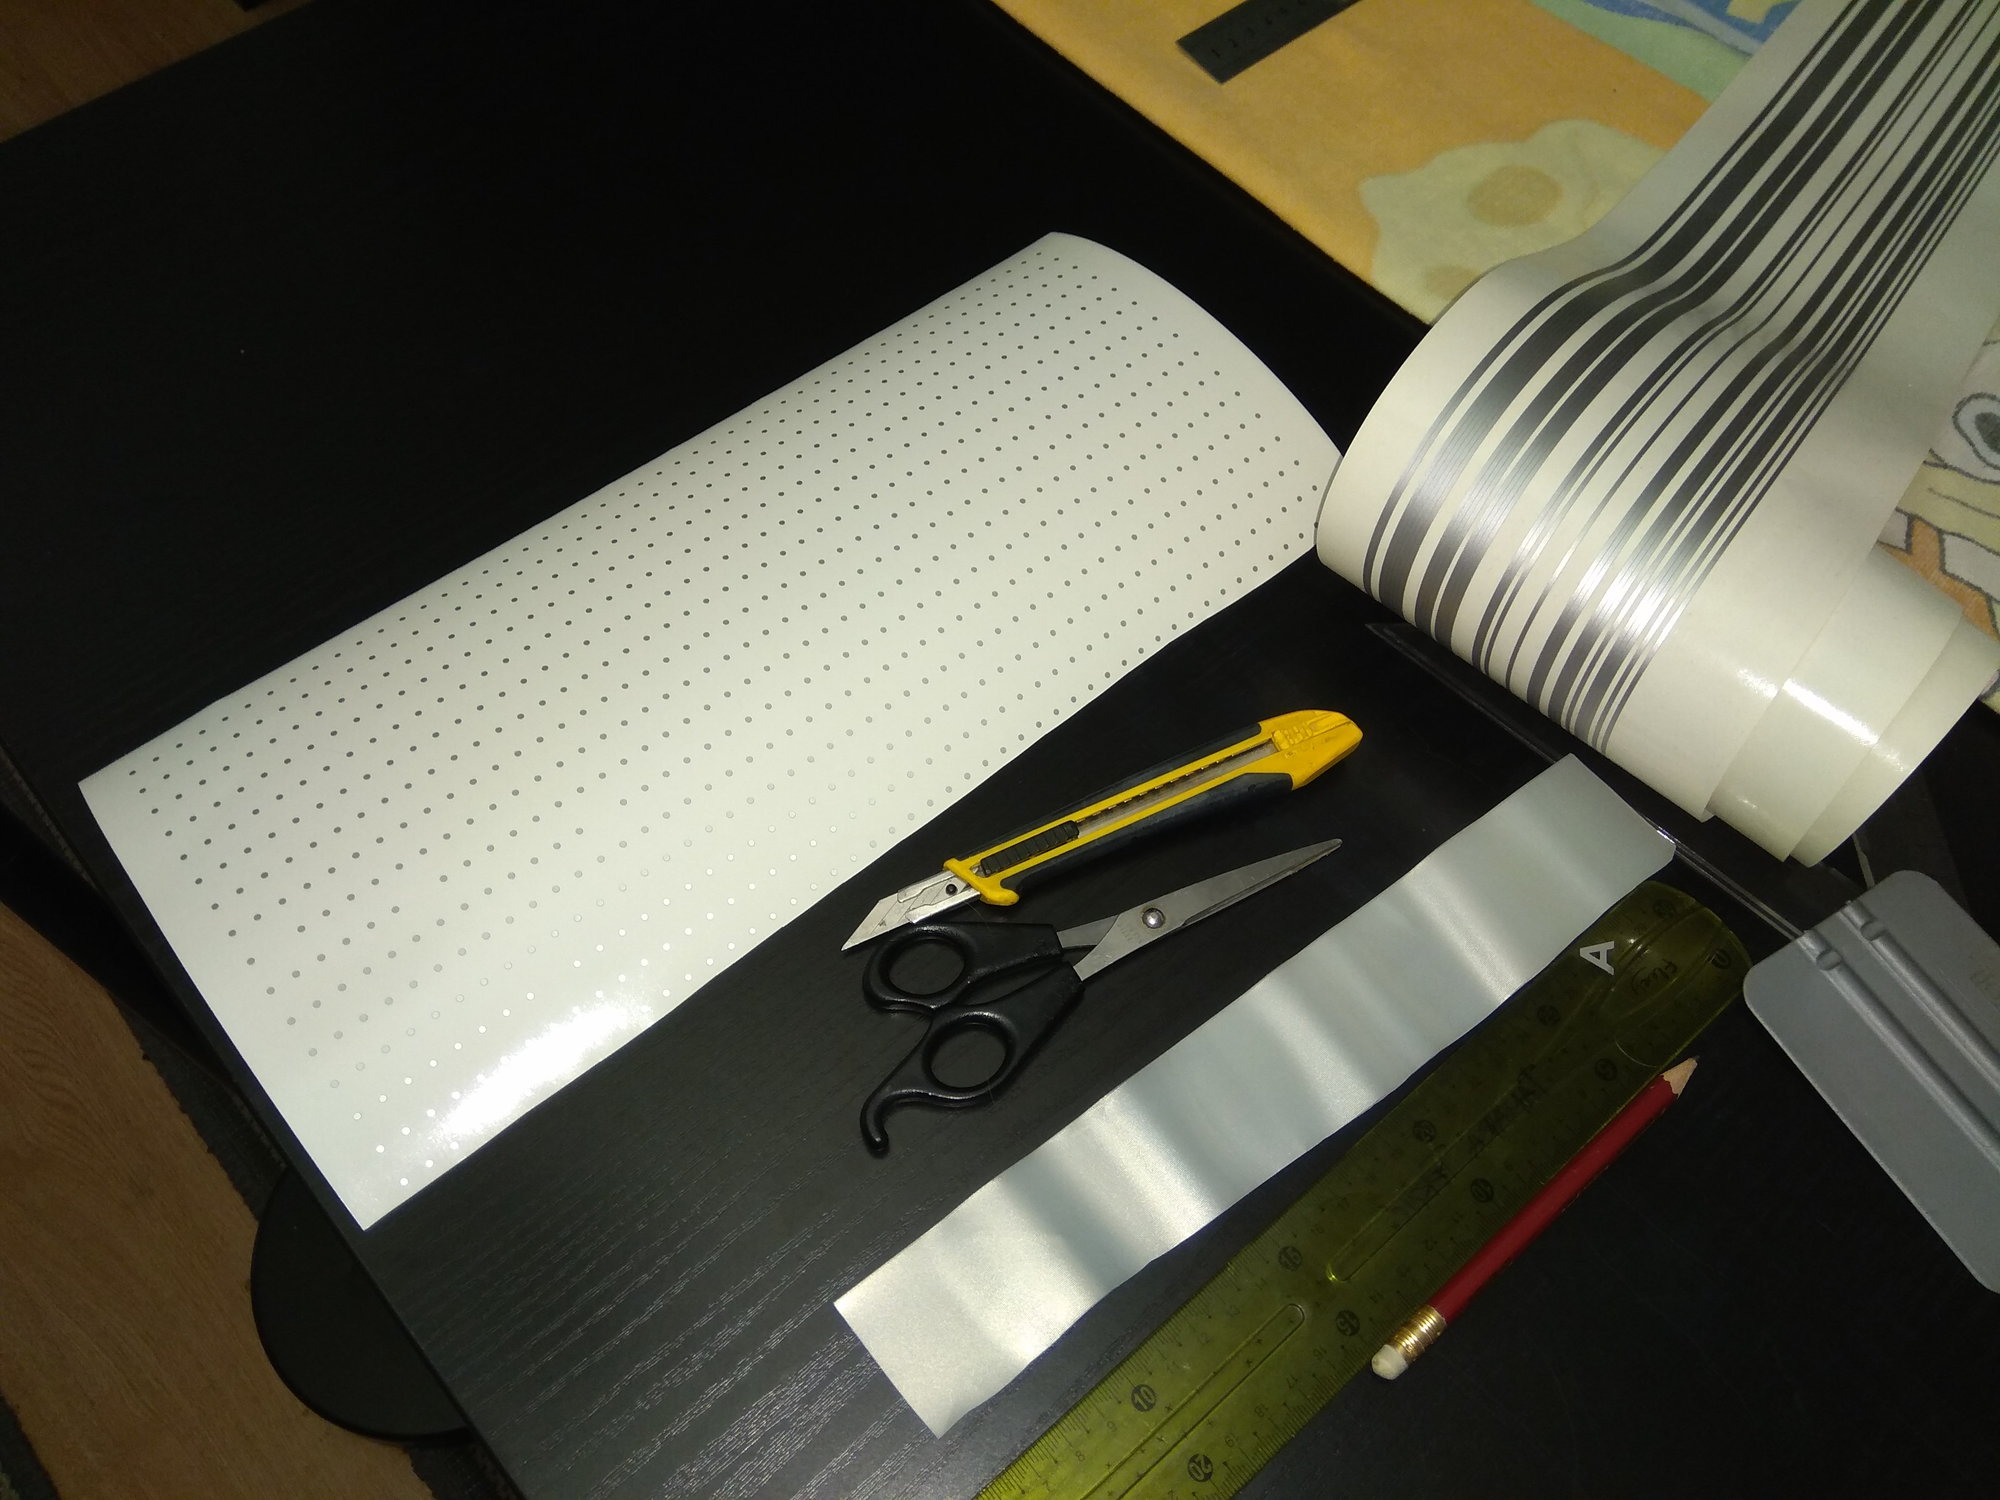
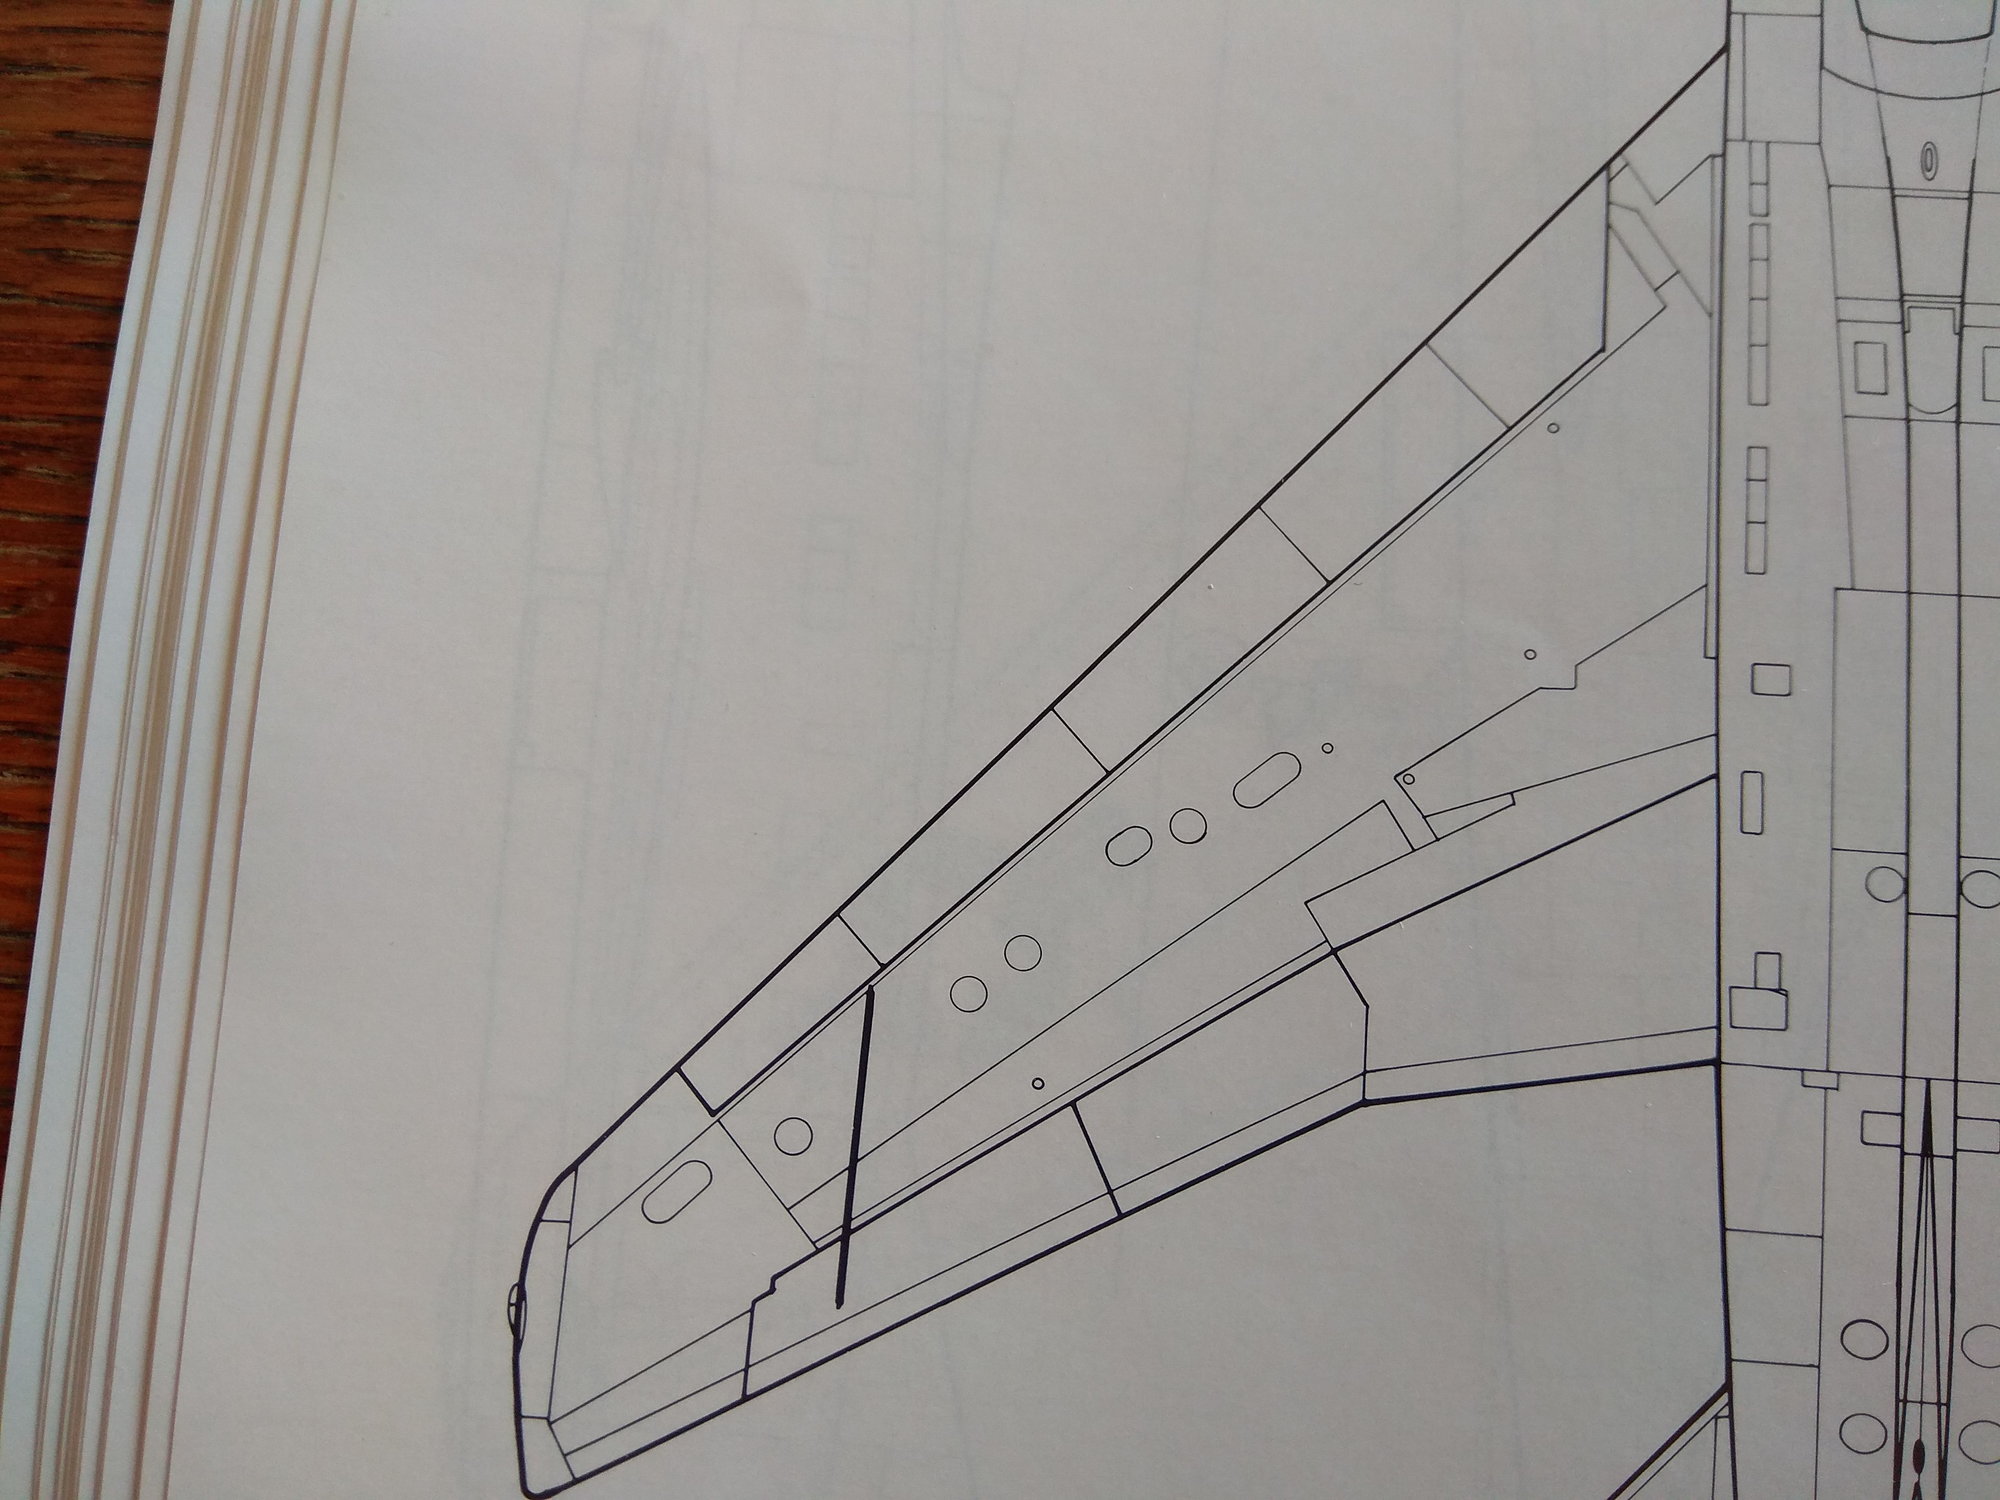
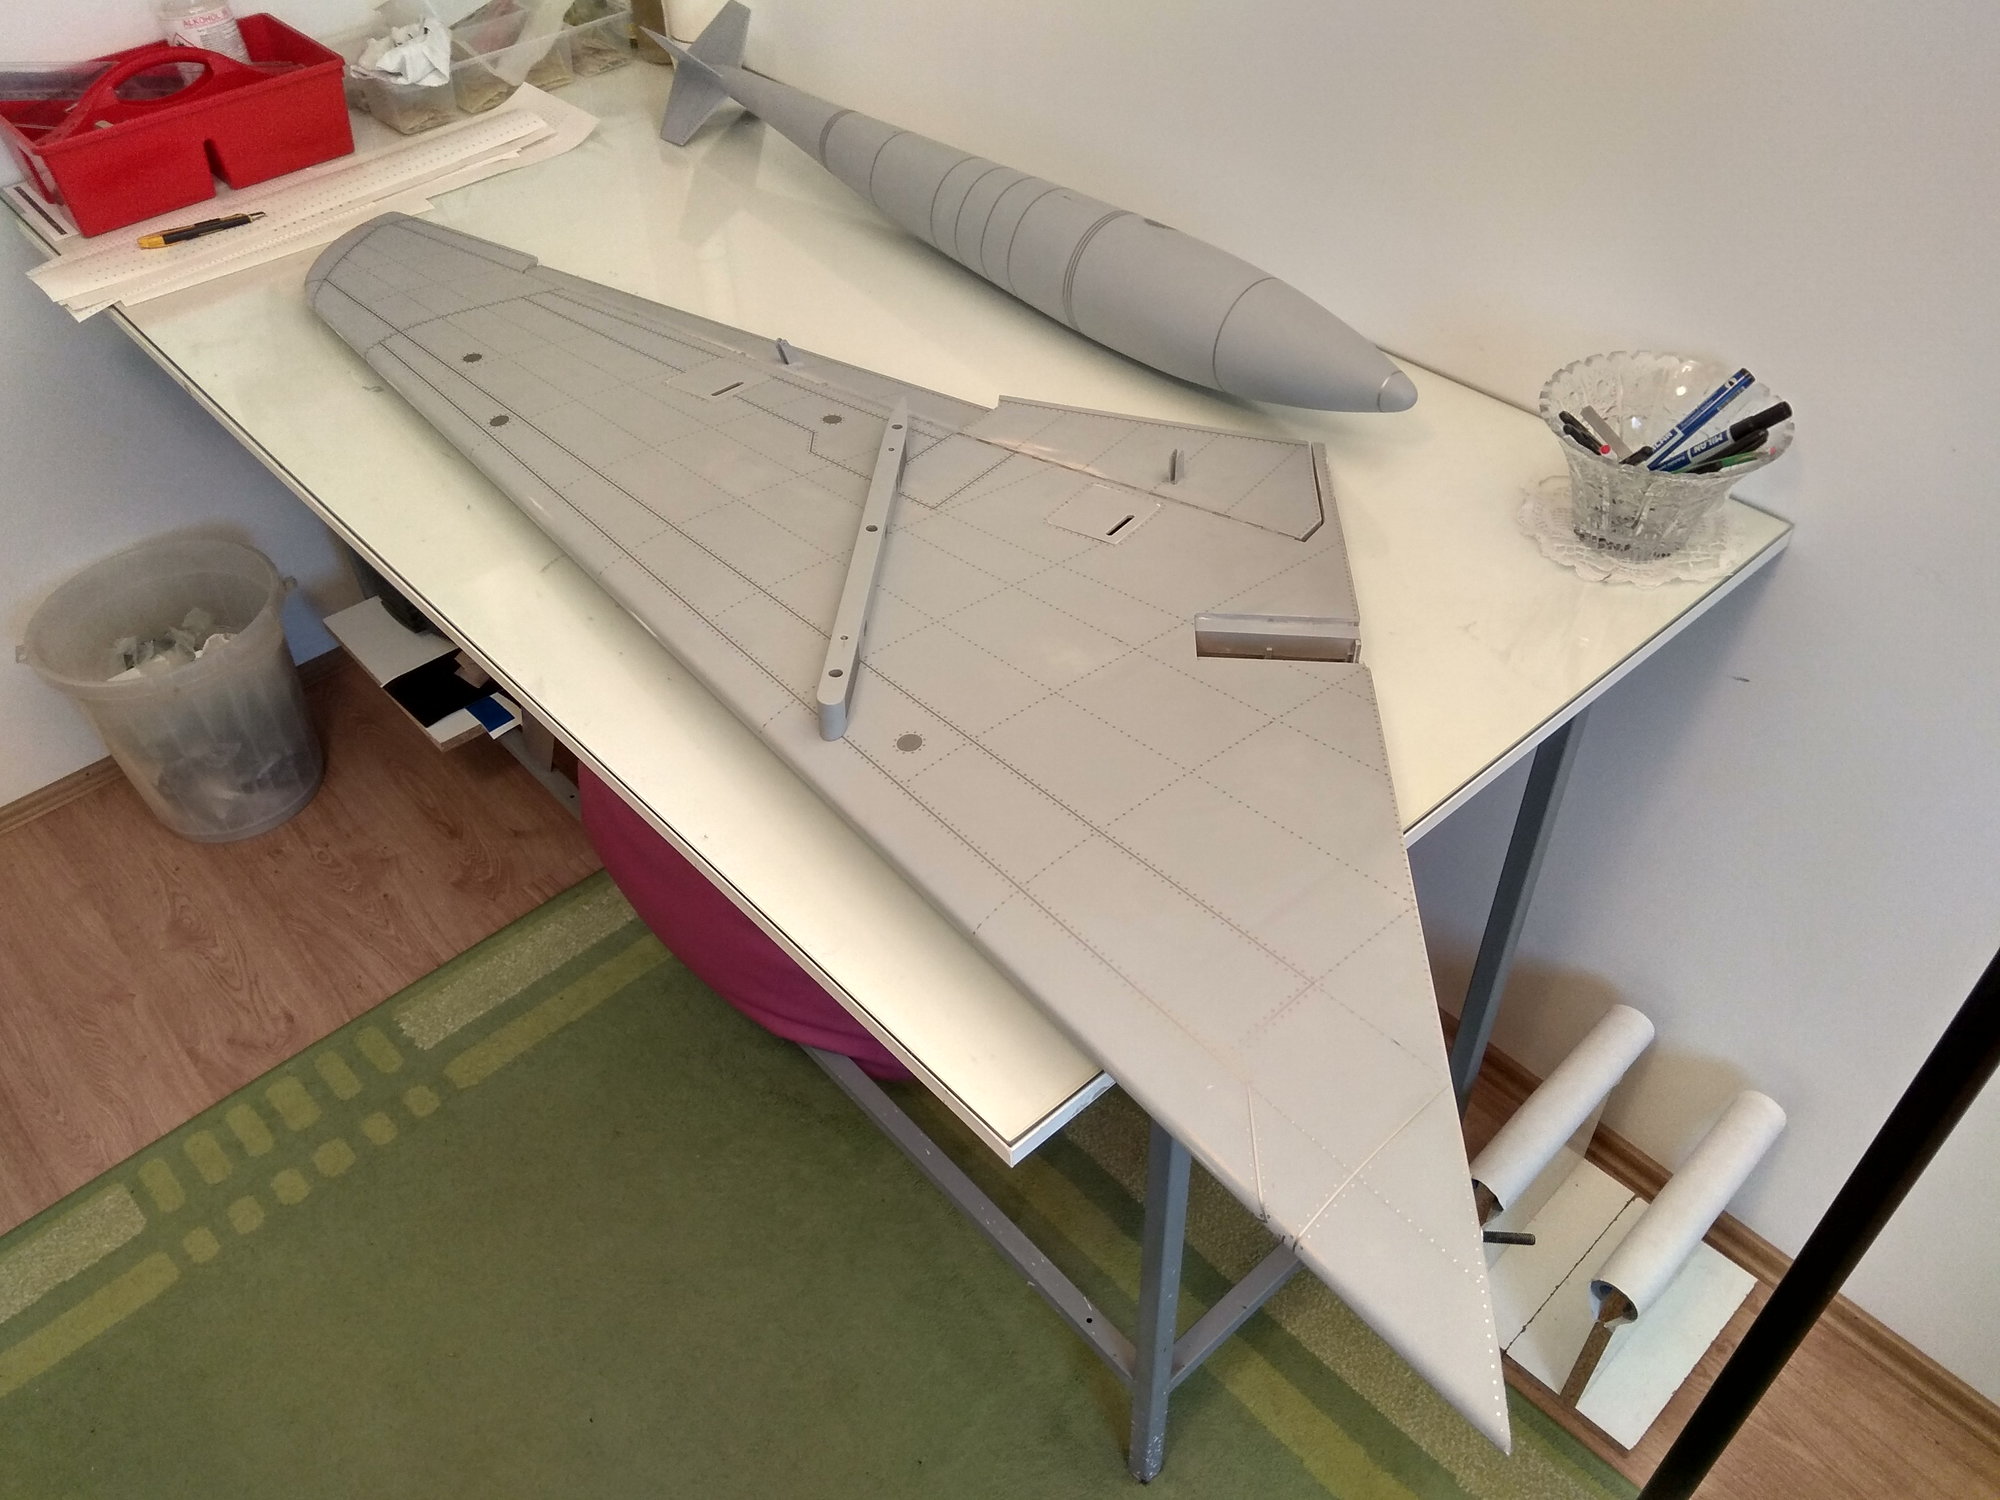
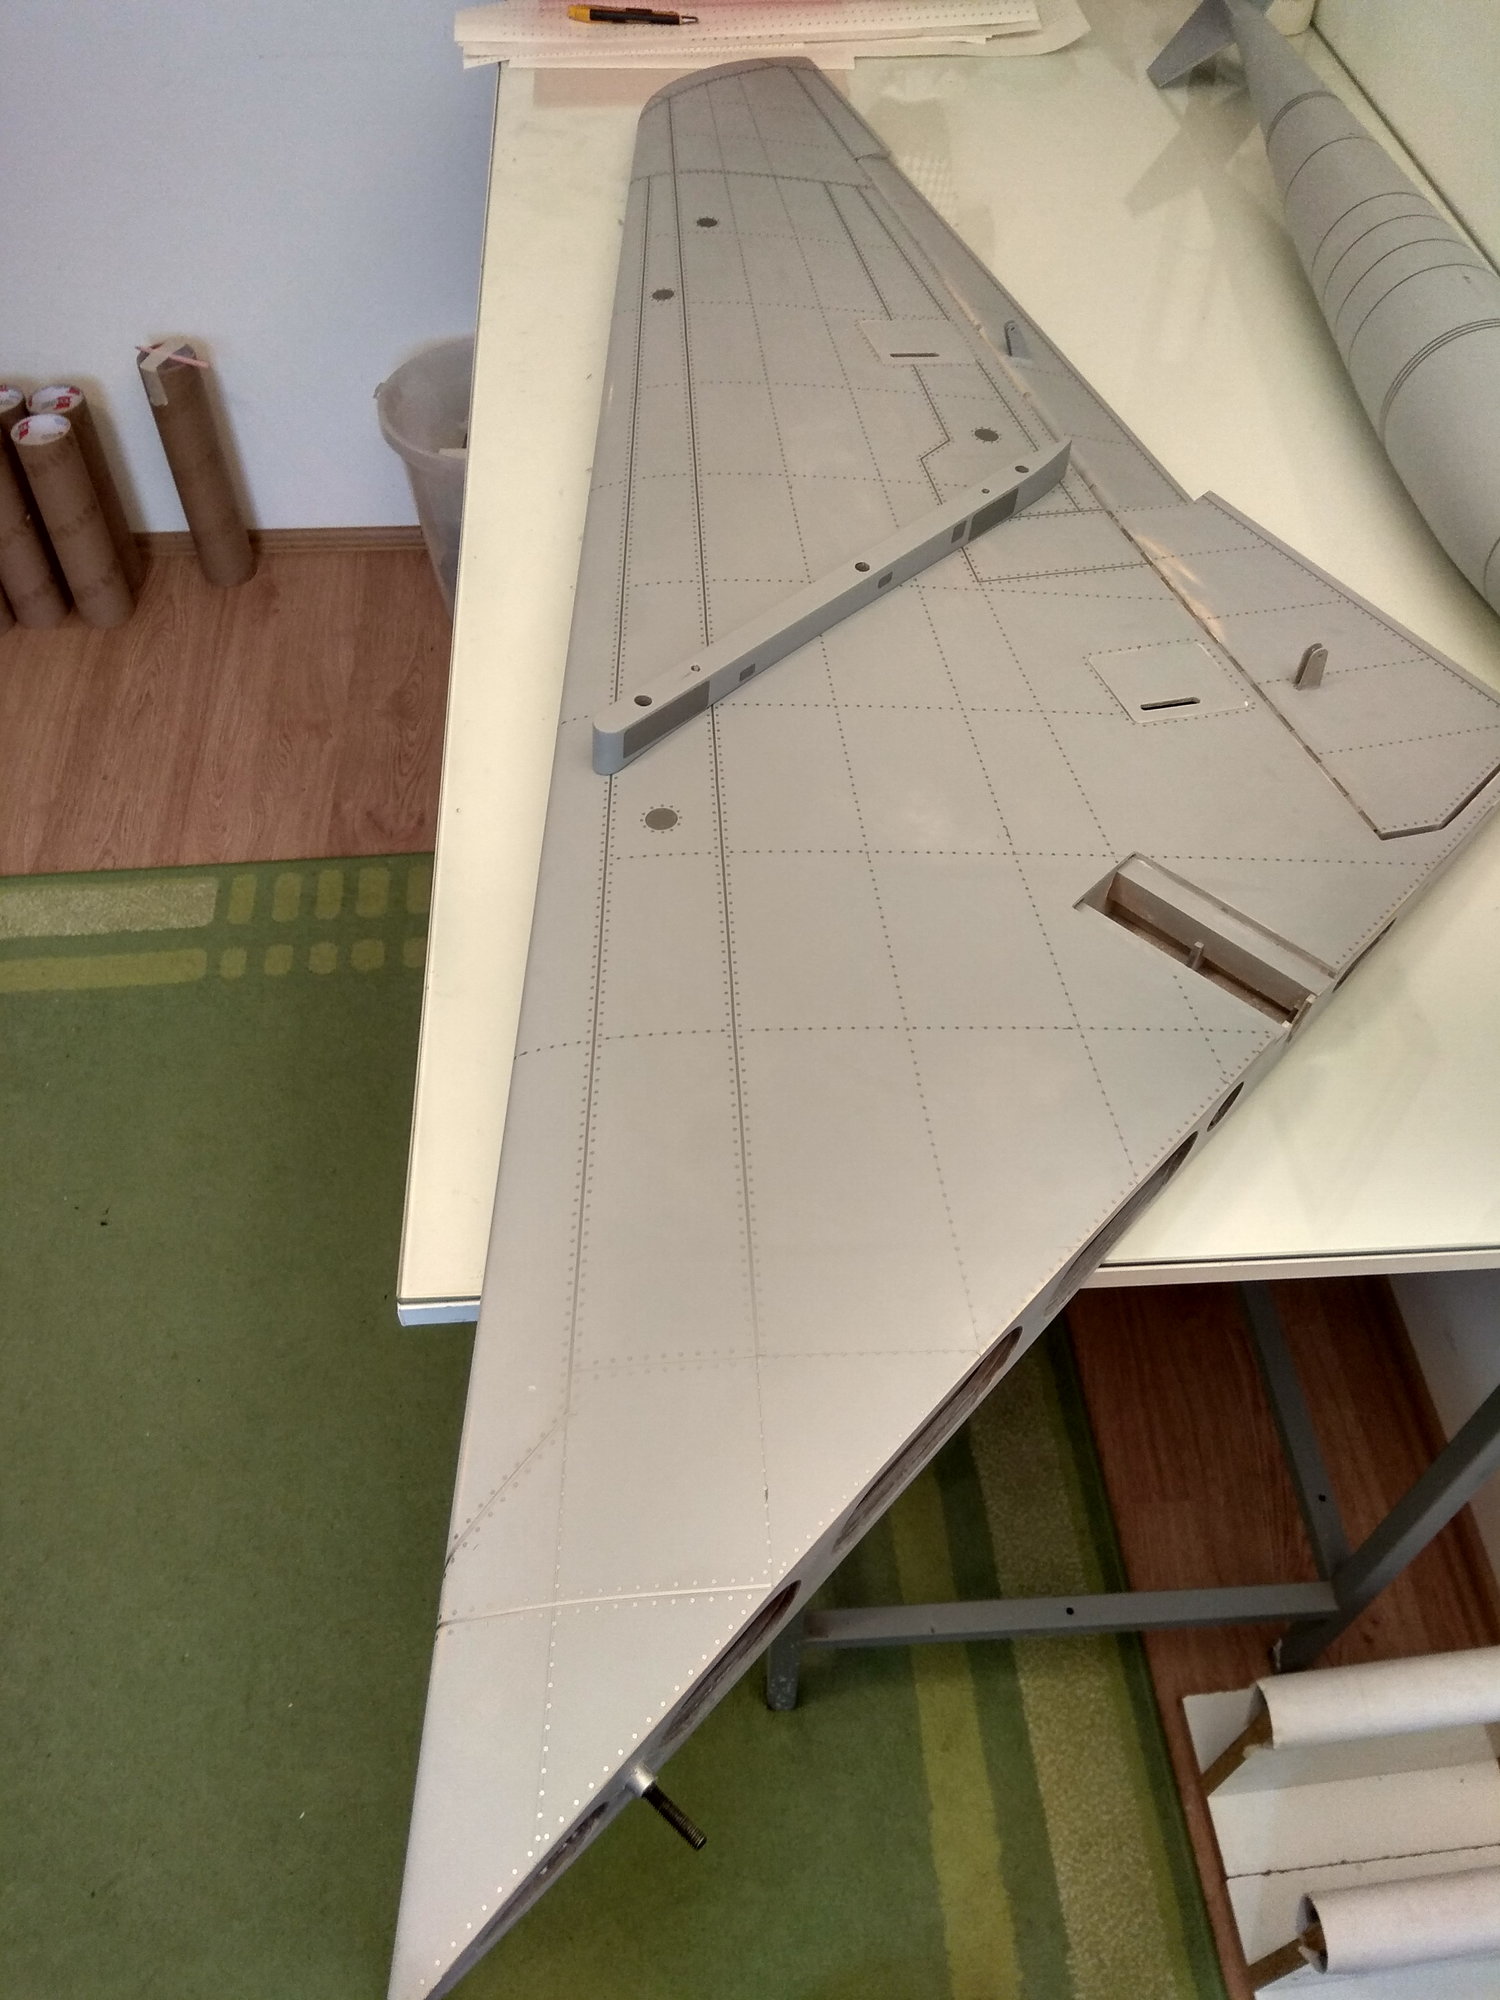
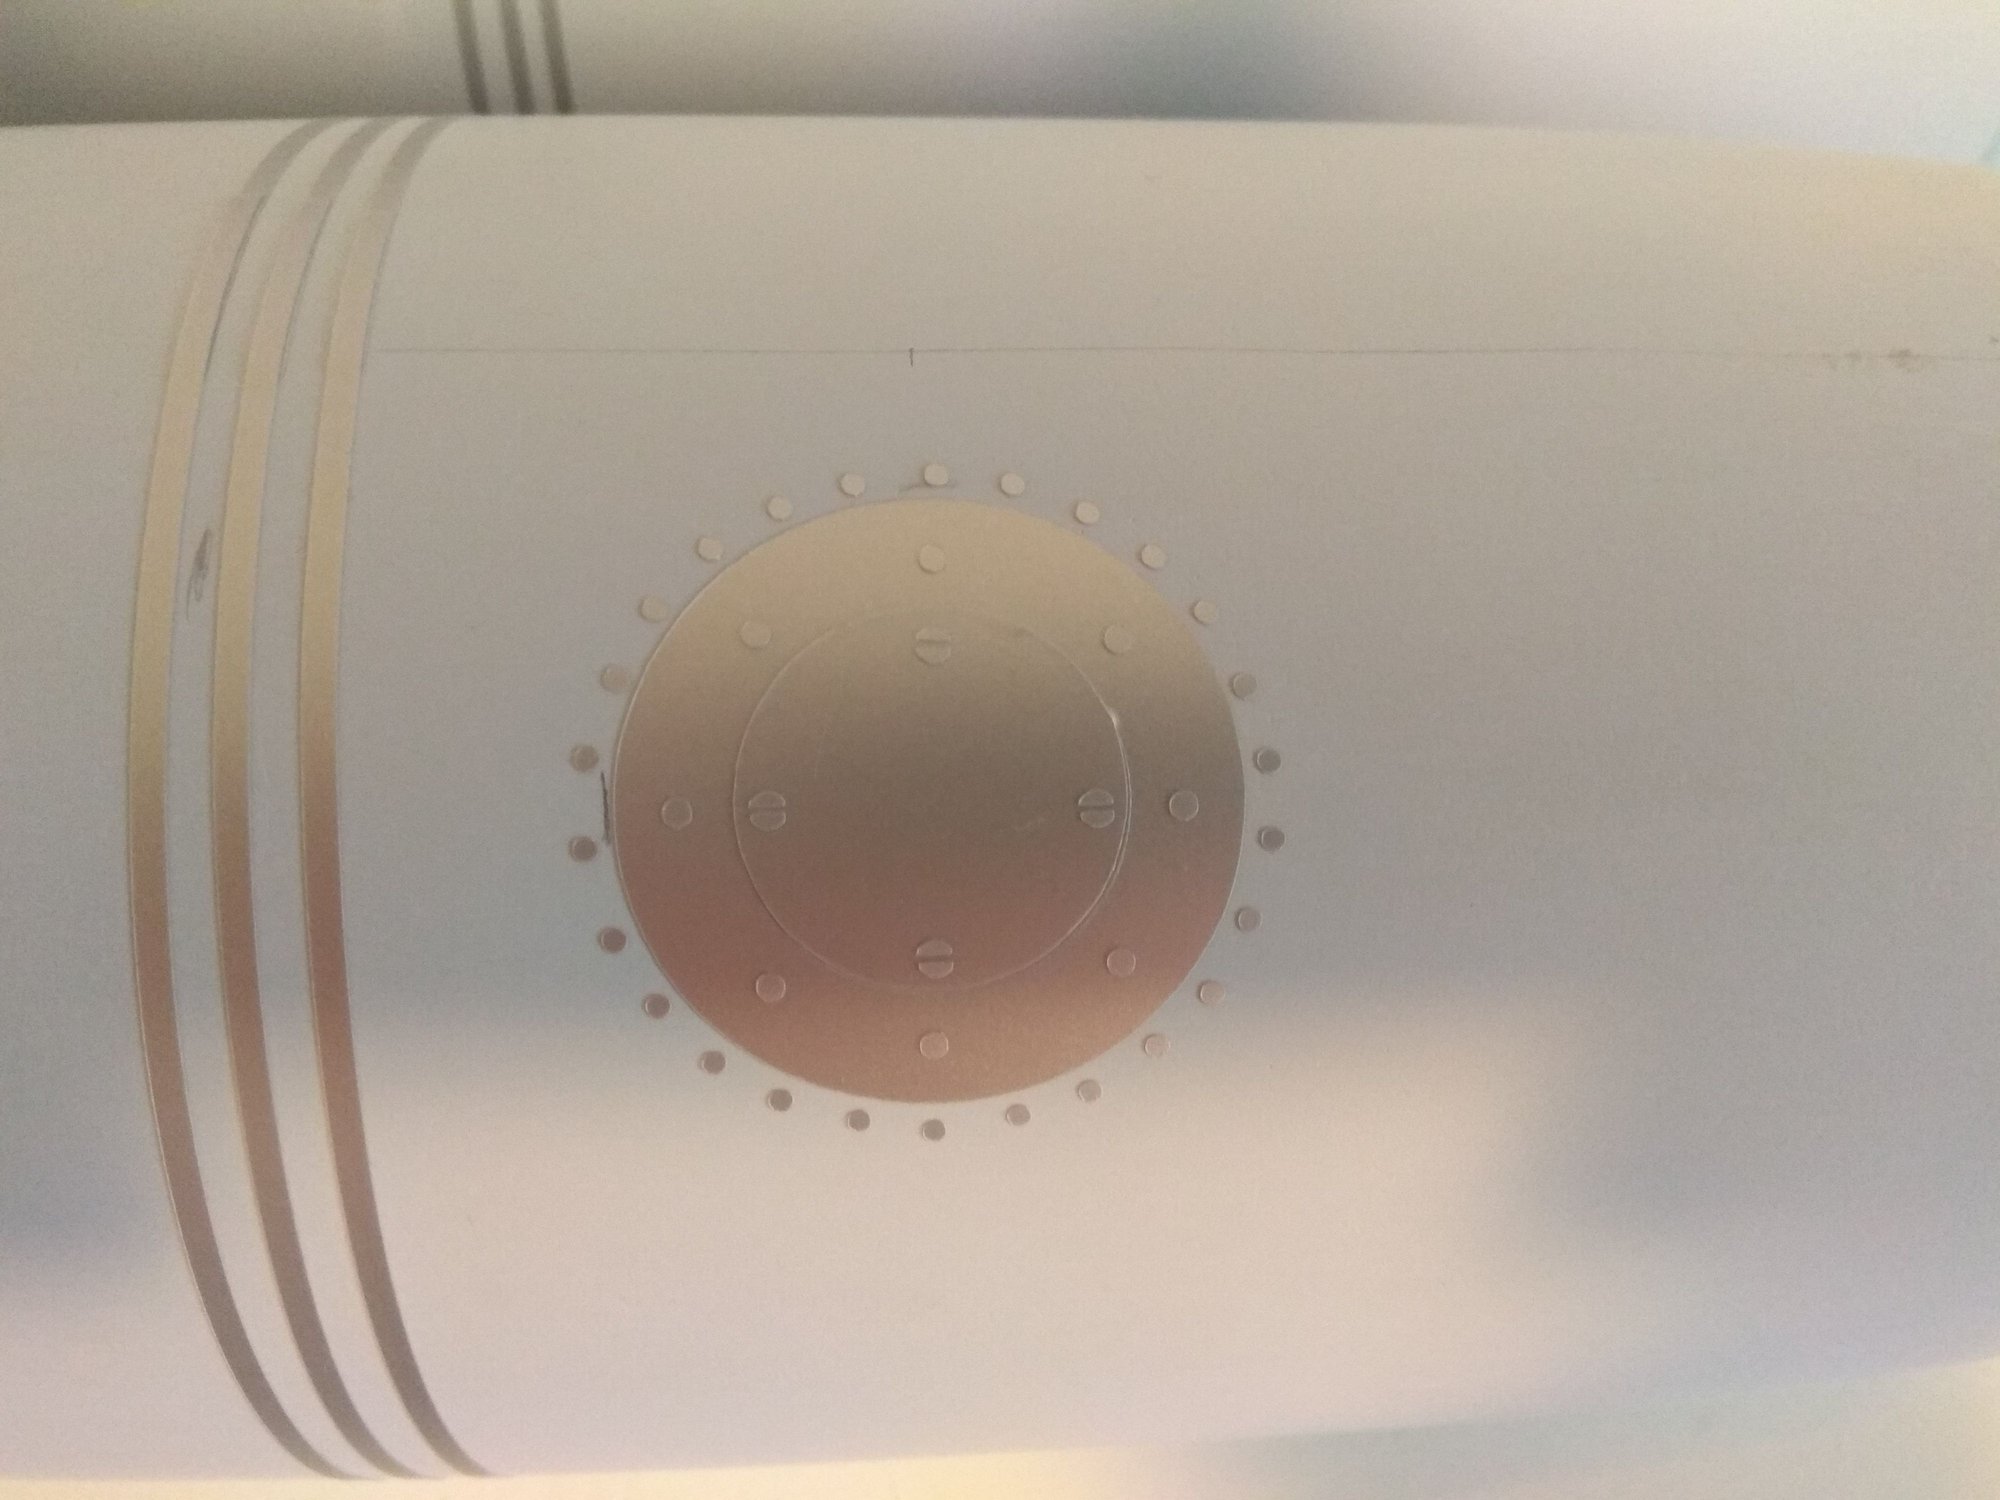
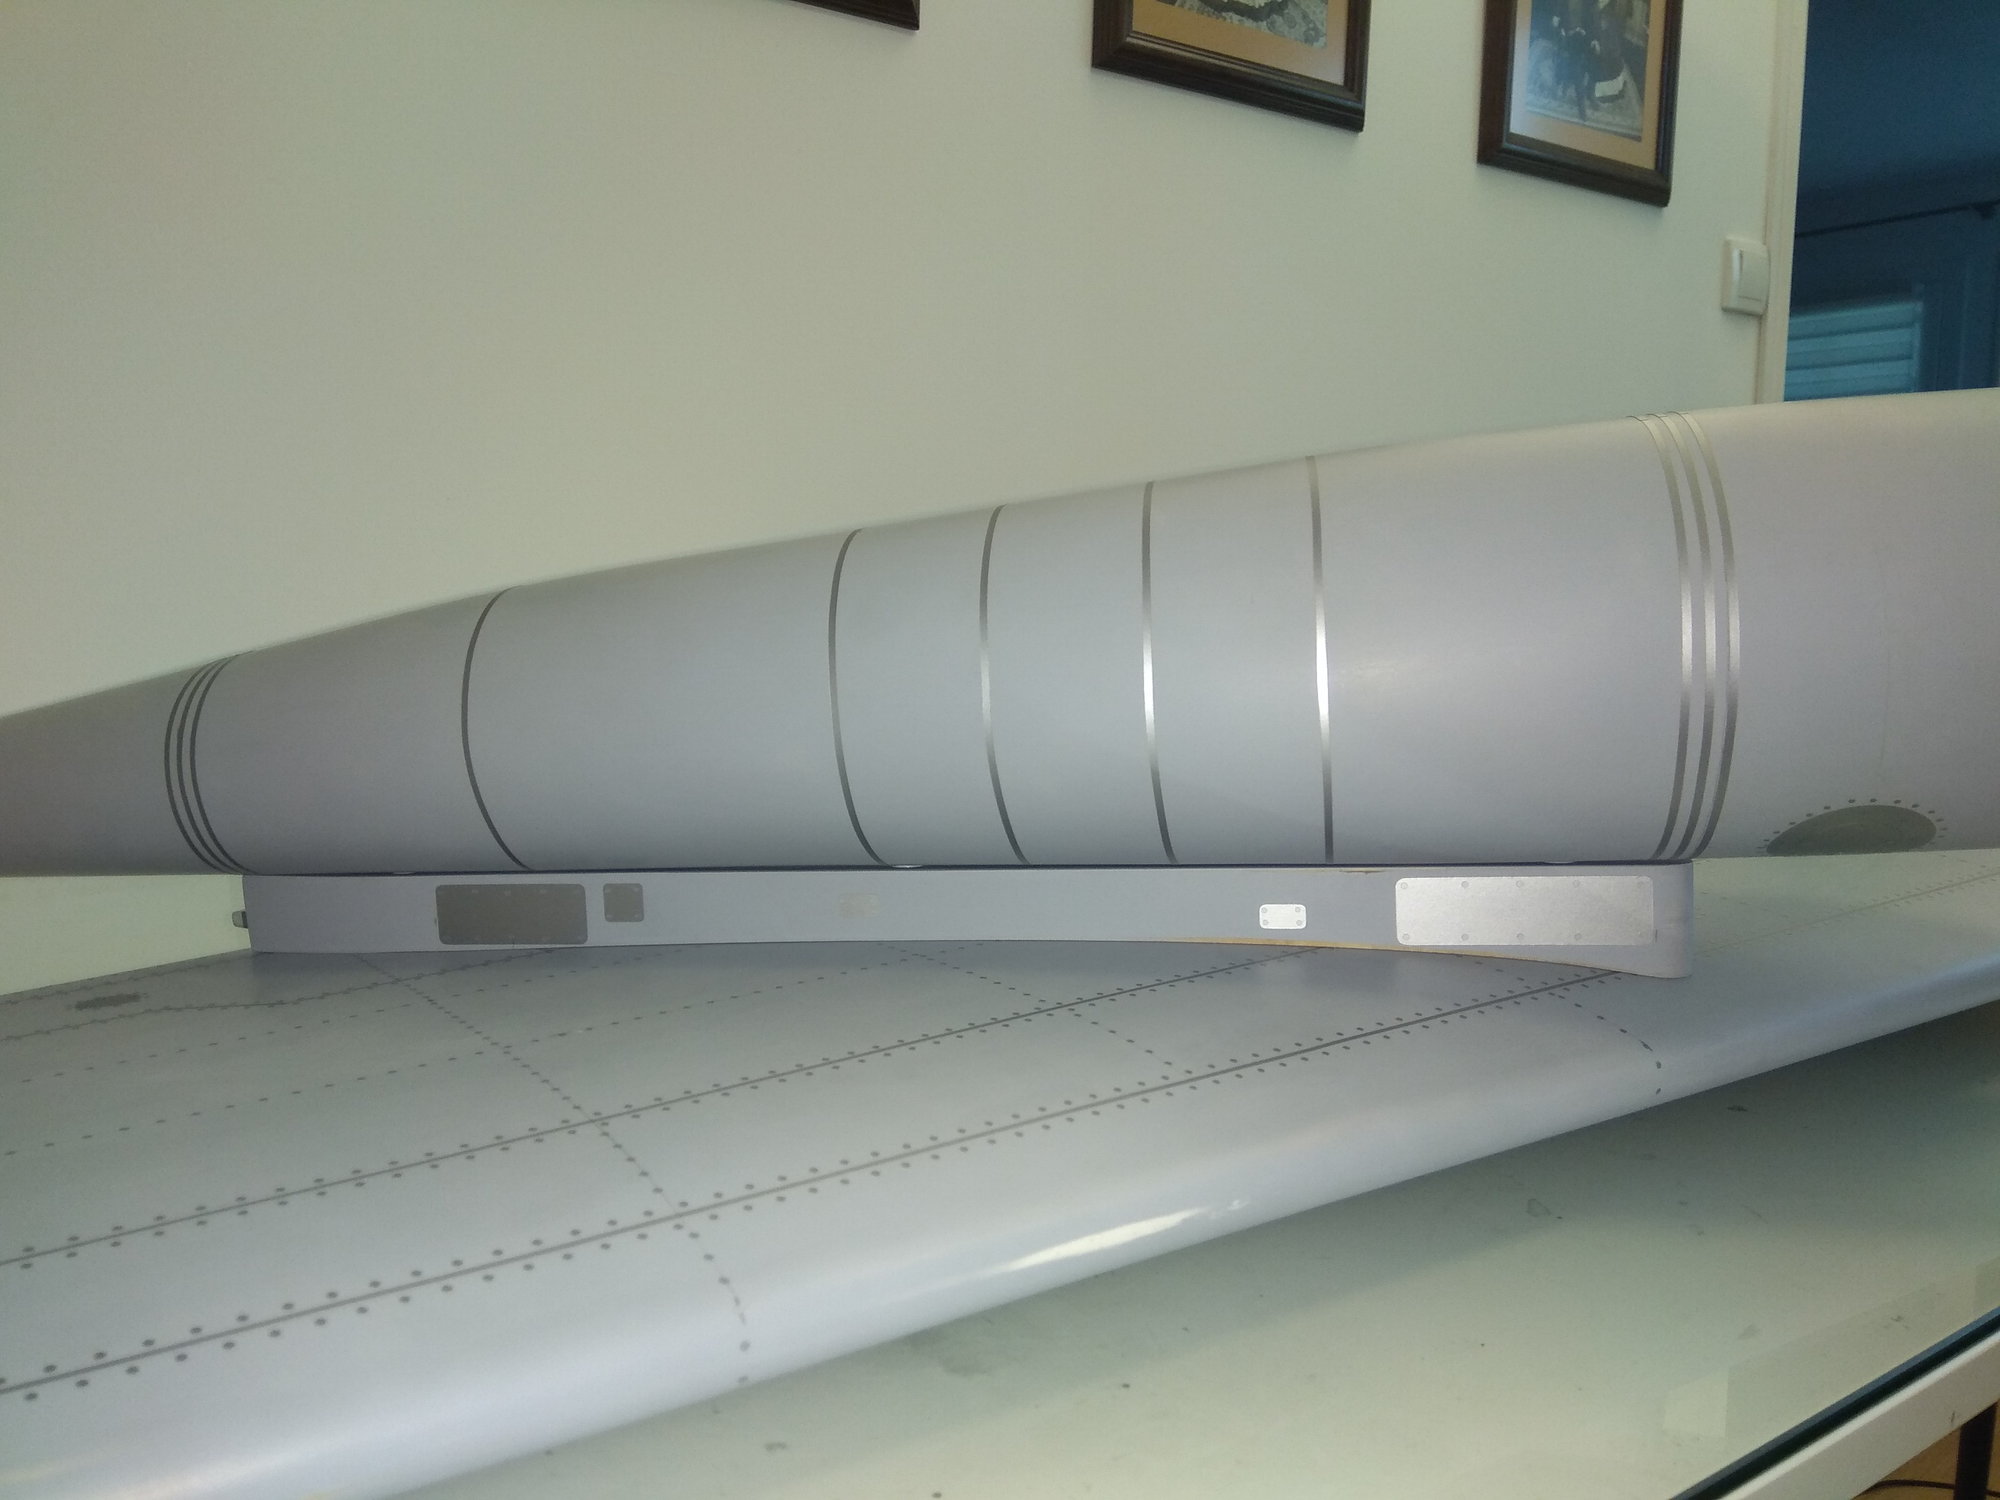
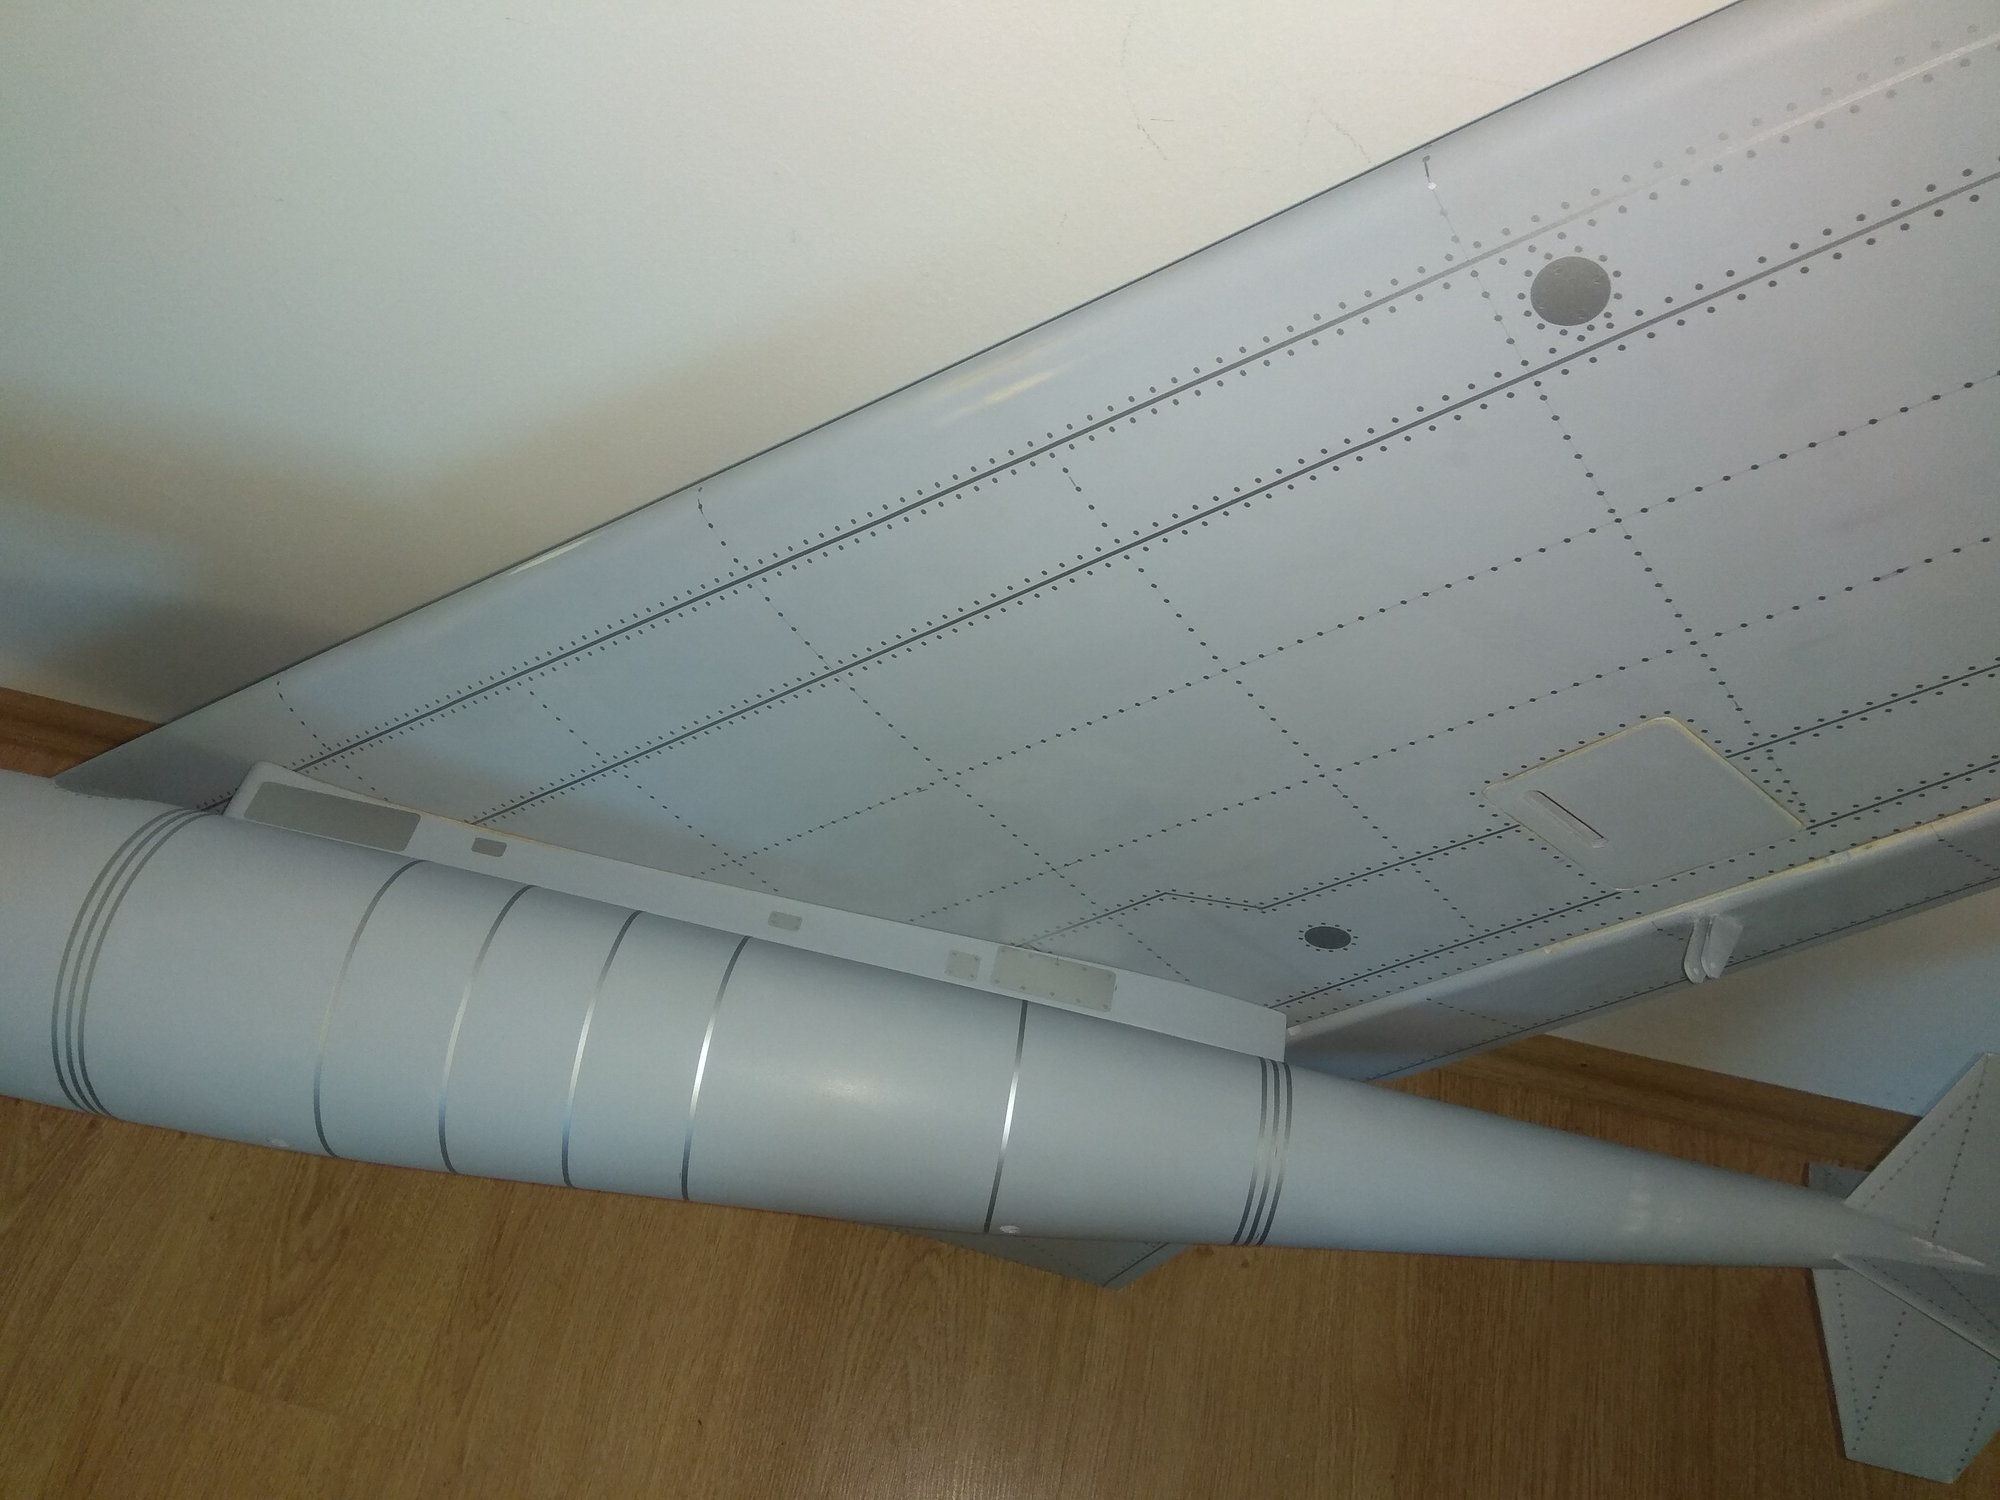
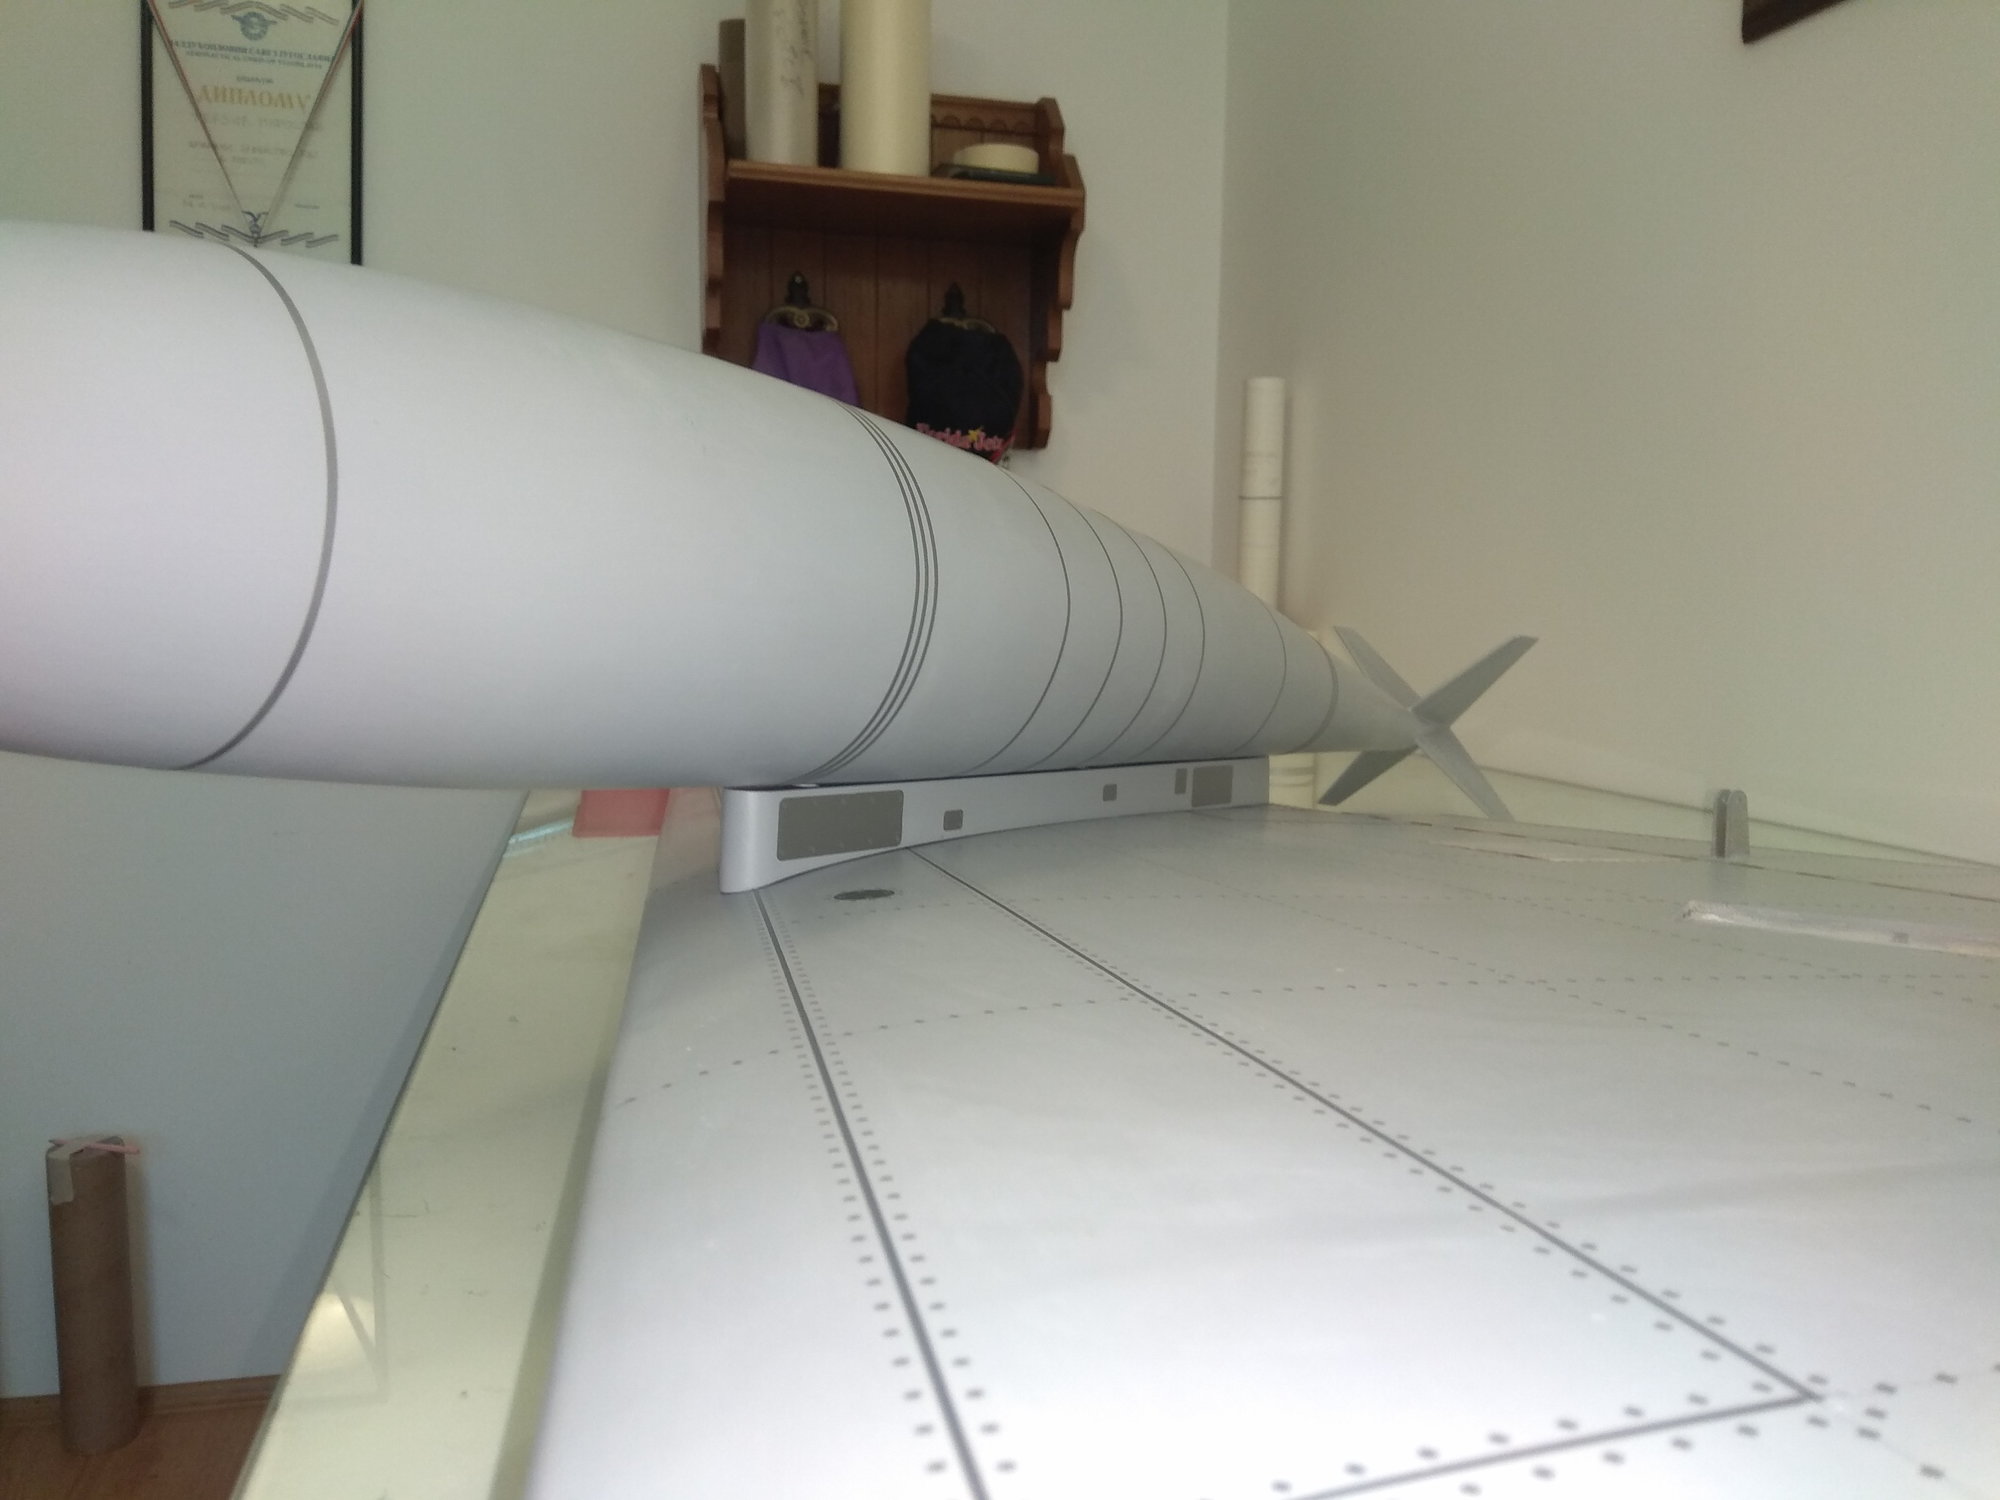
Next step is applying panel lines, rivets, details, etc...
For this job I use: Mirce Finish set, Rivets set, during this process I'll made Detail set for F 100.
Detail & Finish set - NS Modelers
Elevators was first...
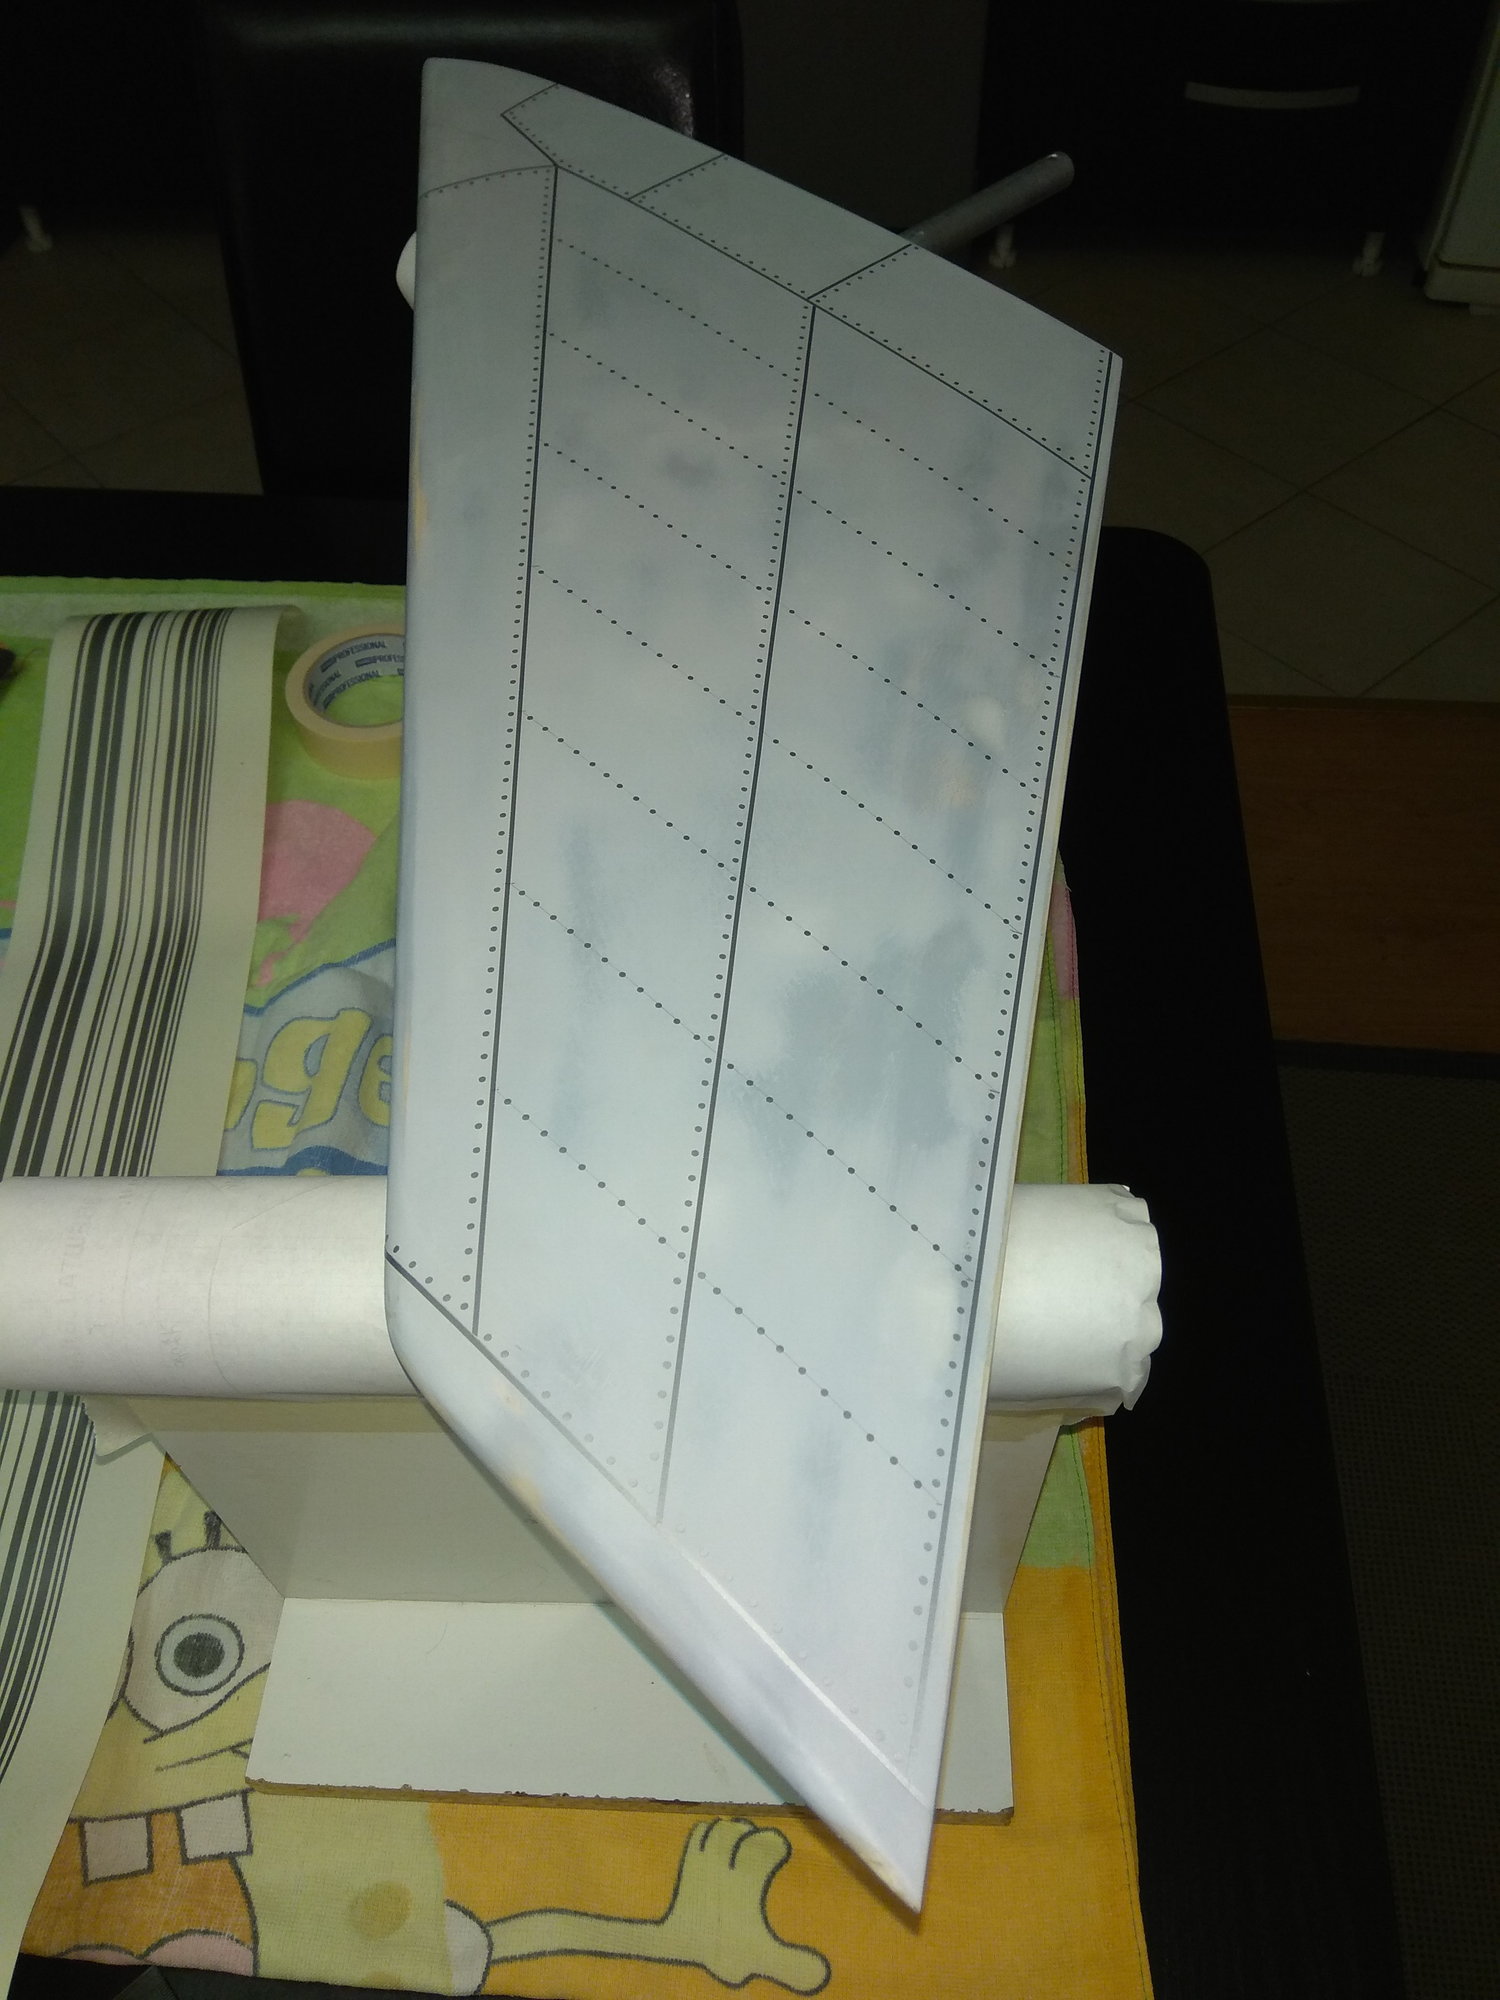
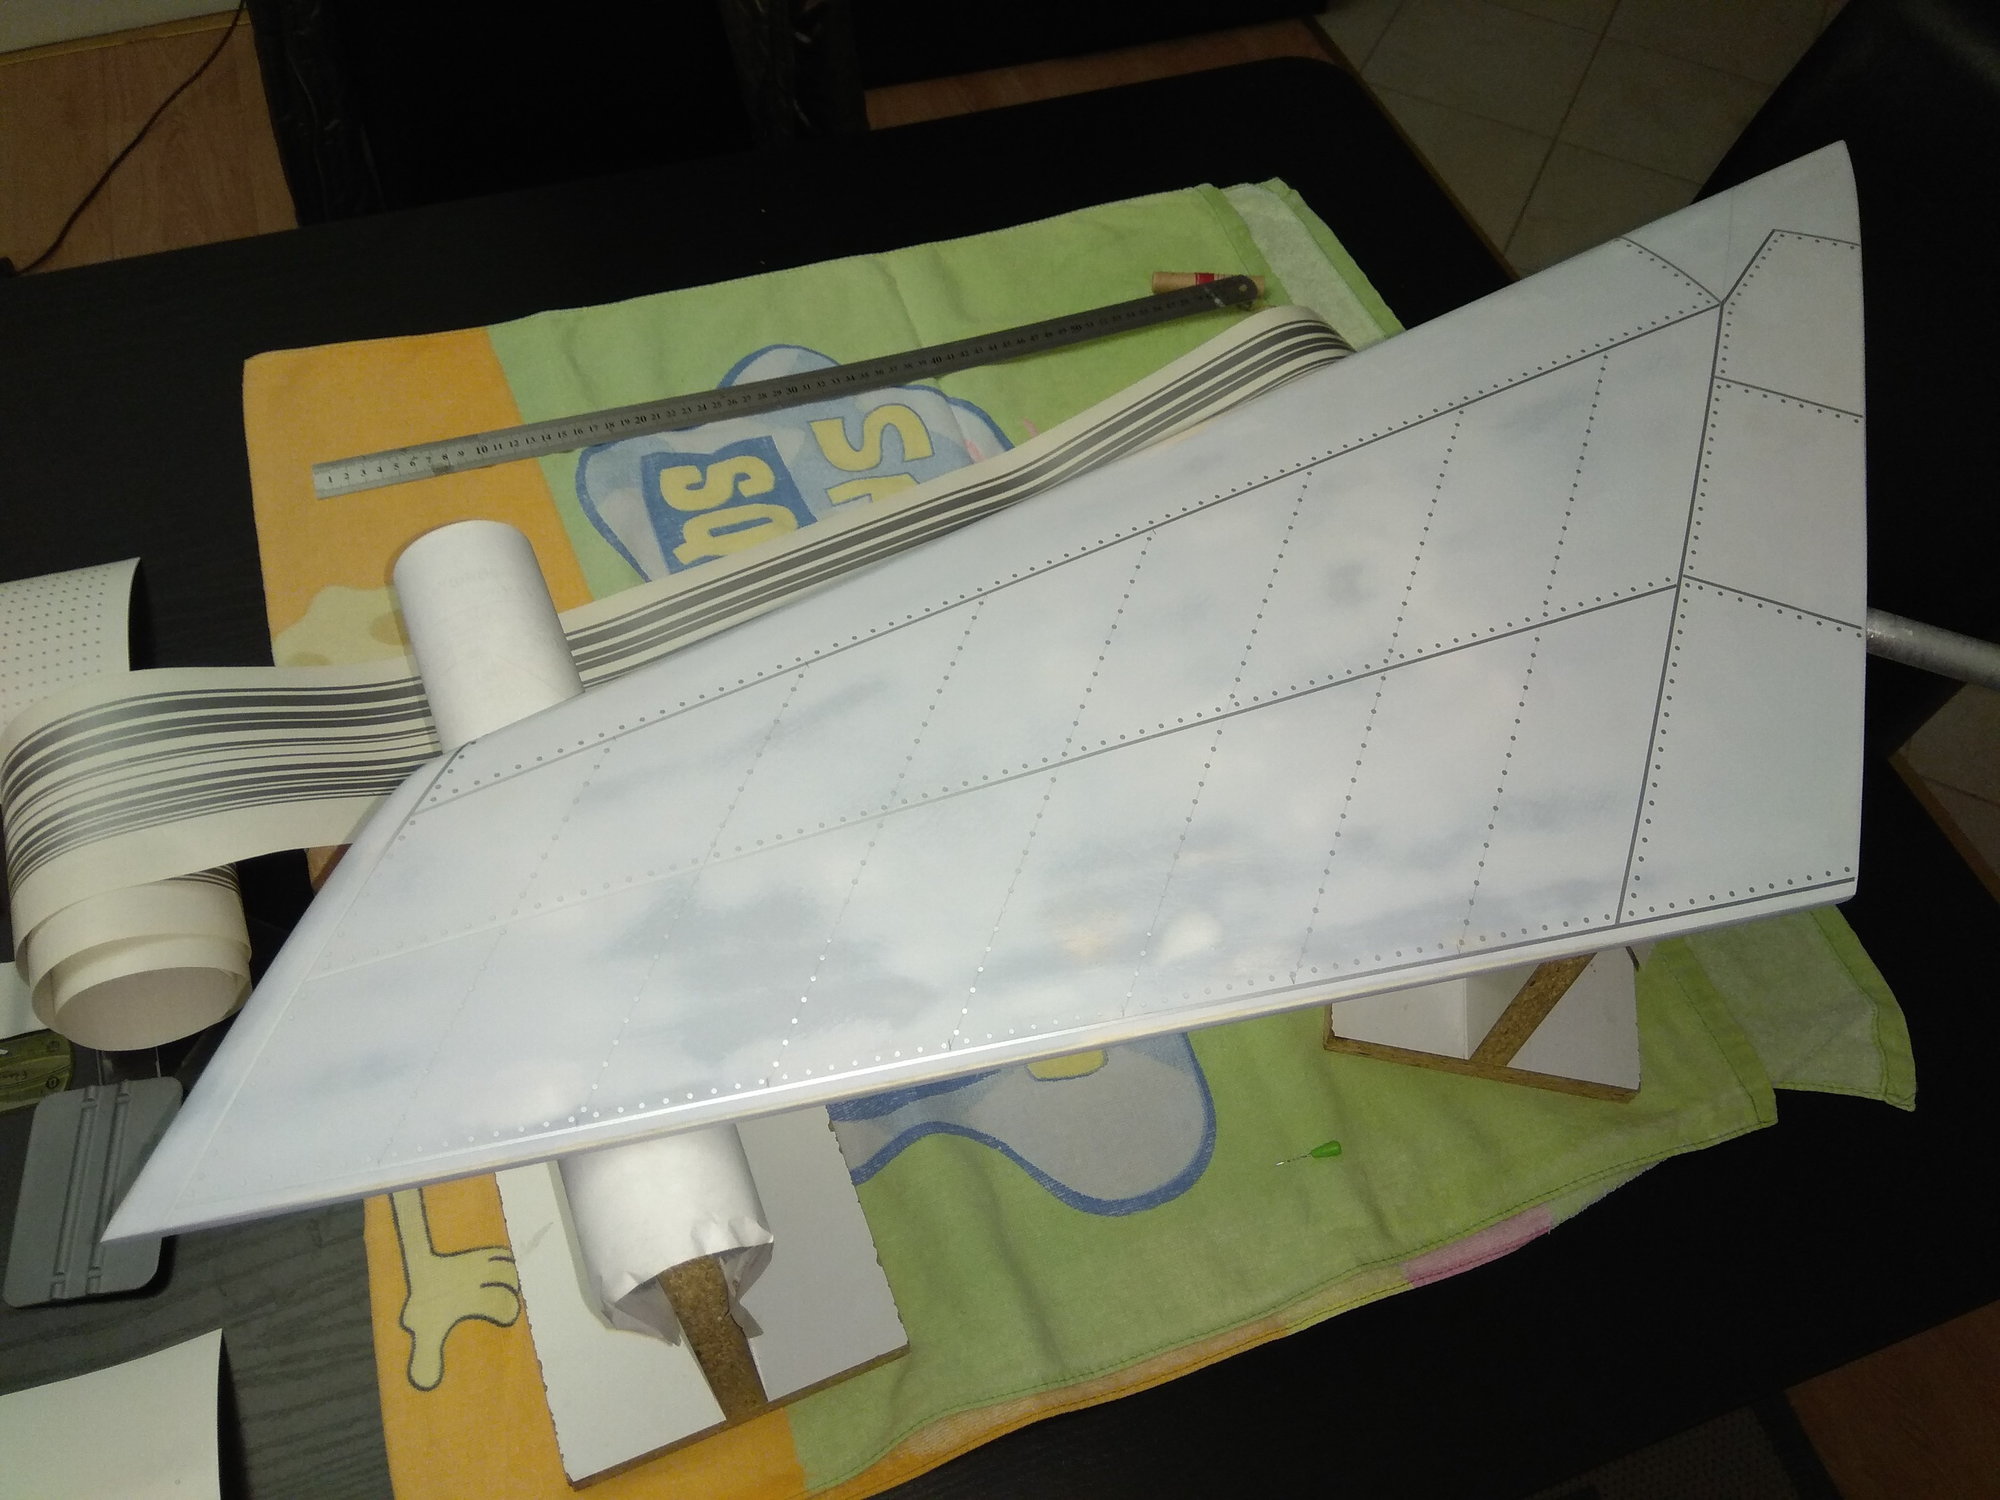
Than upper wing side...
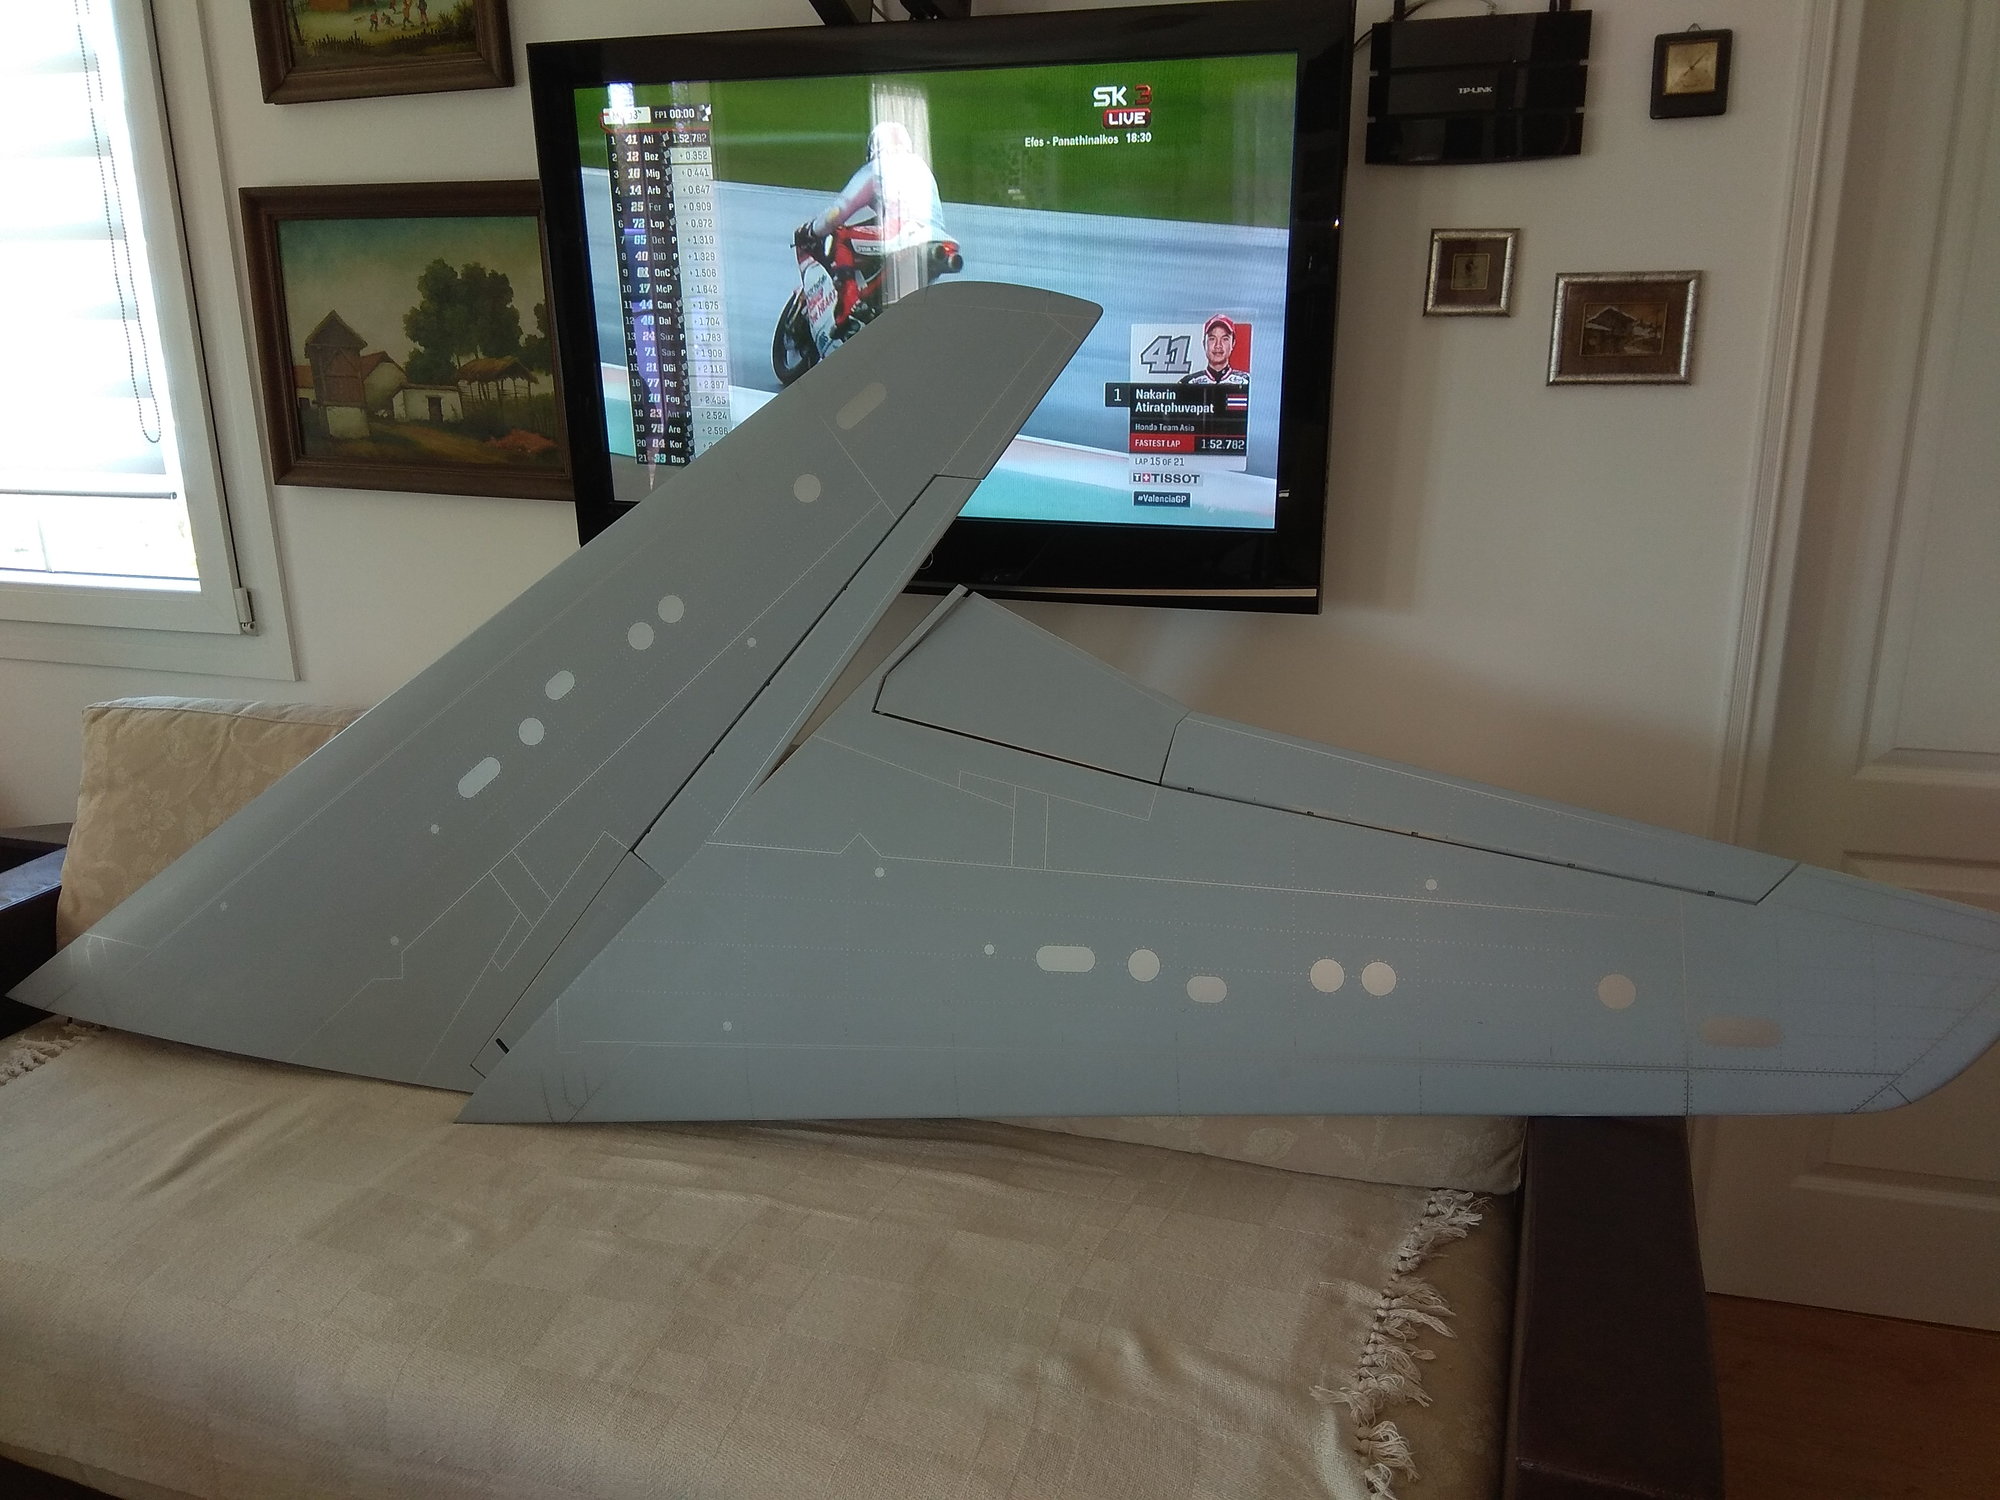
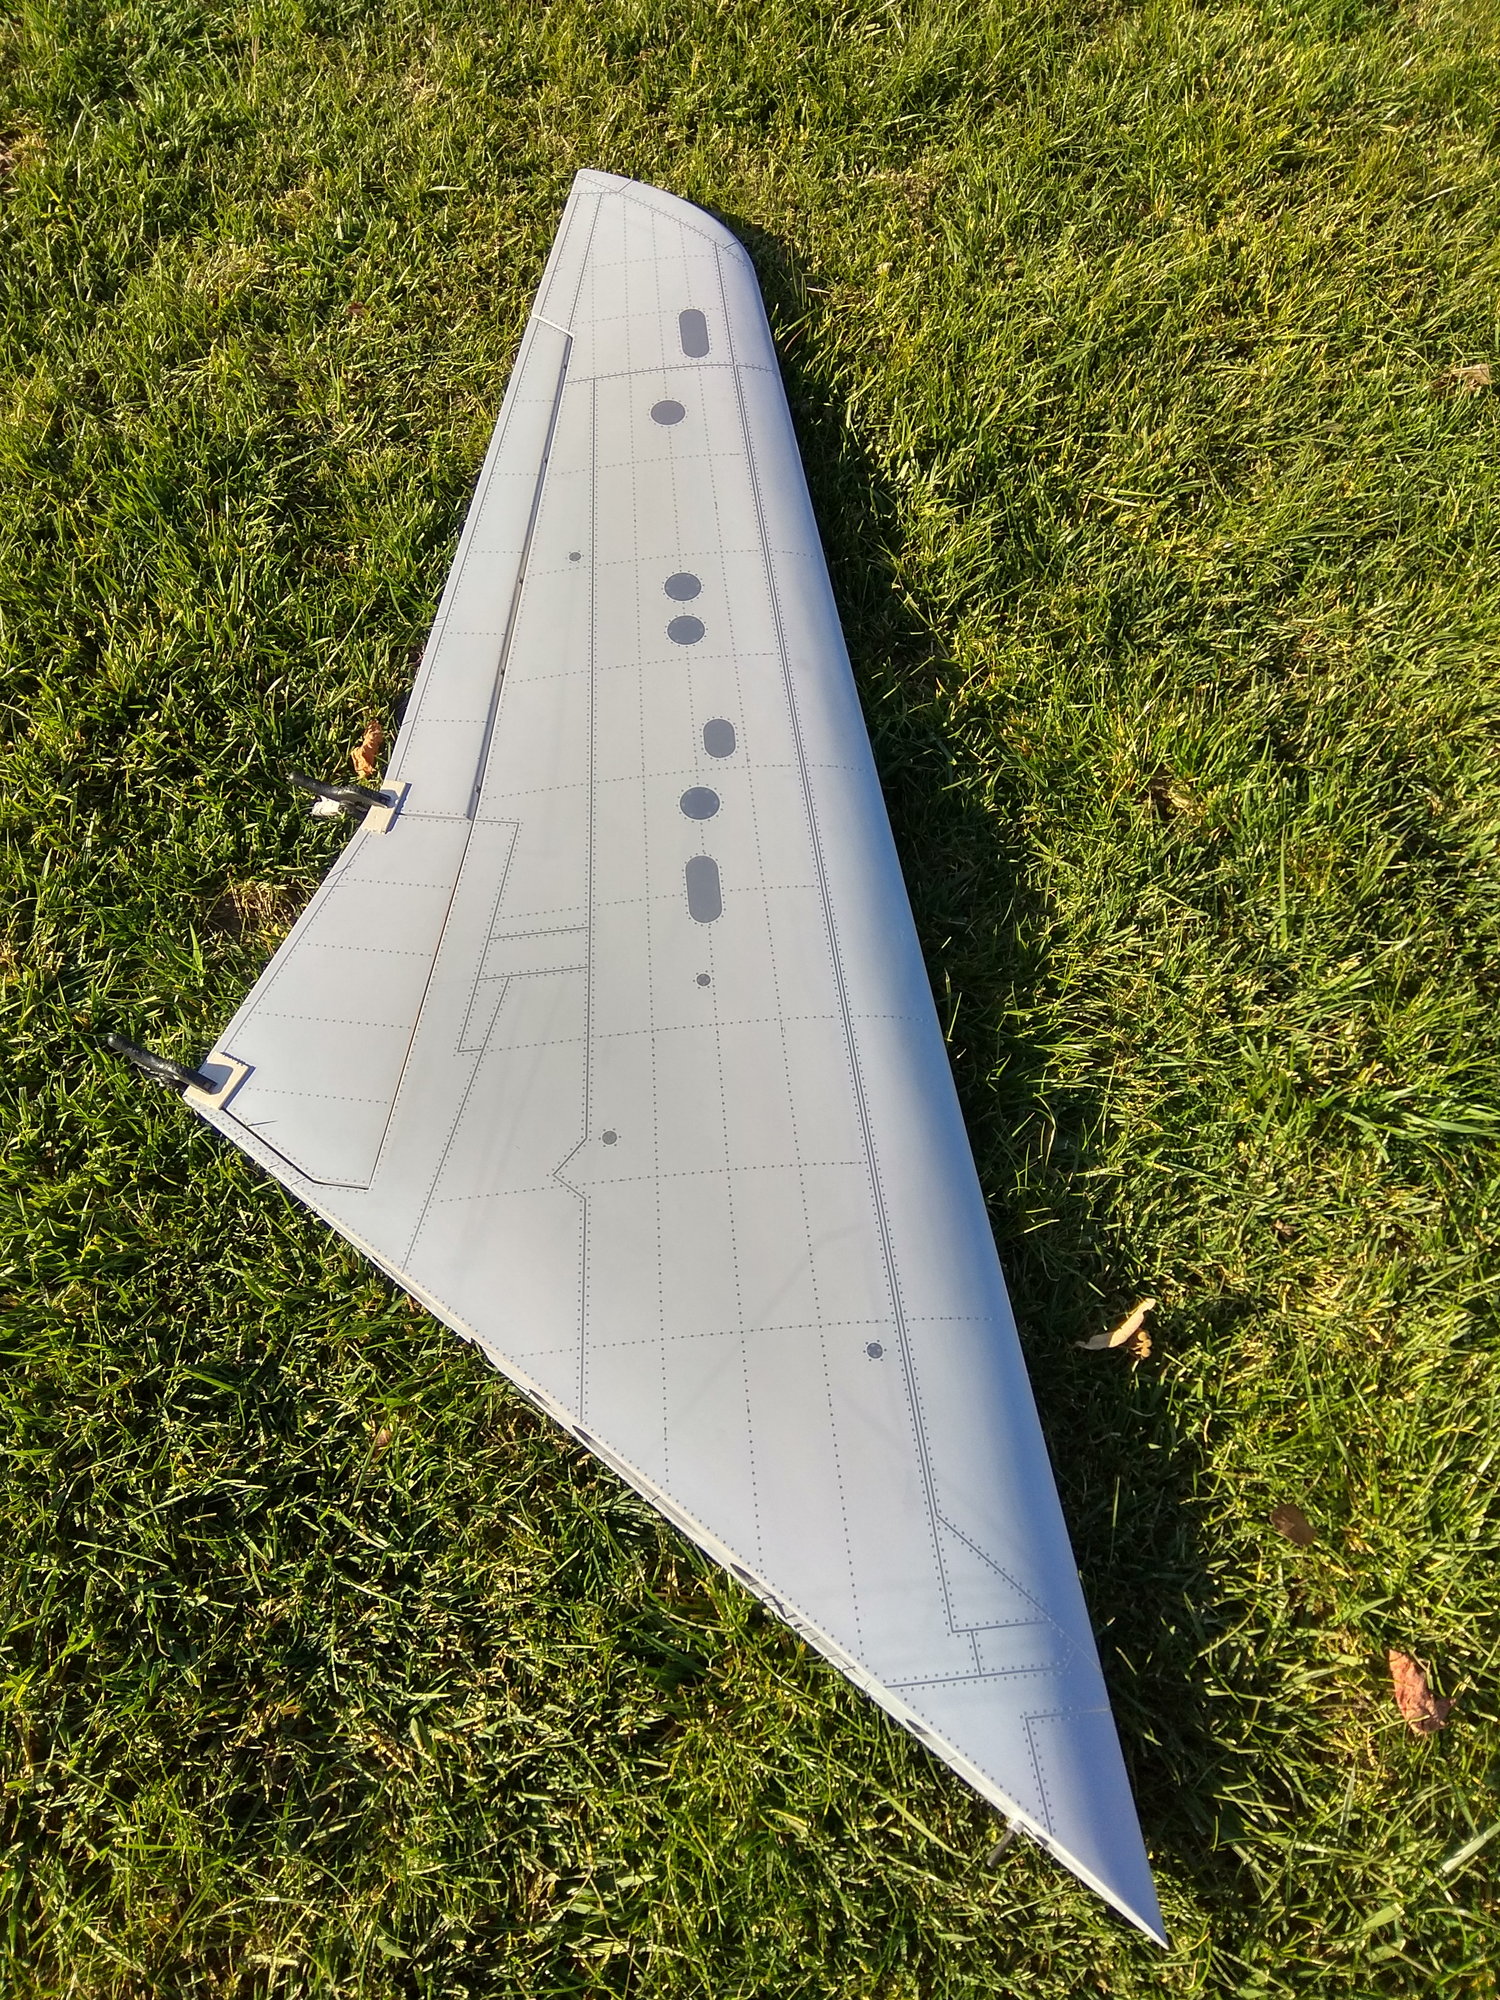
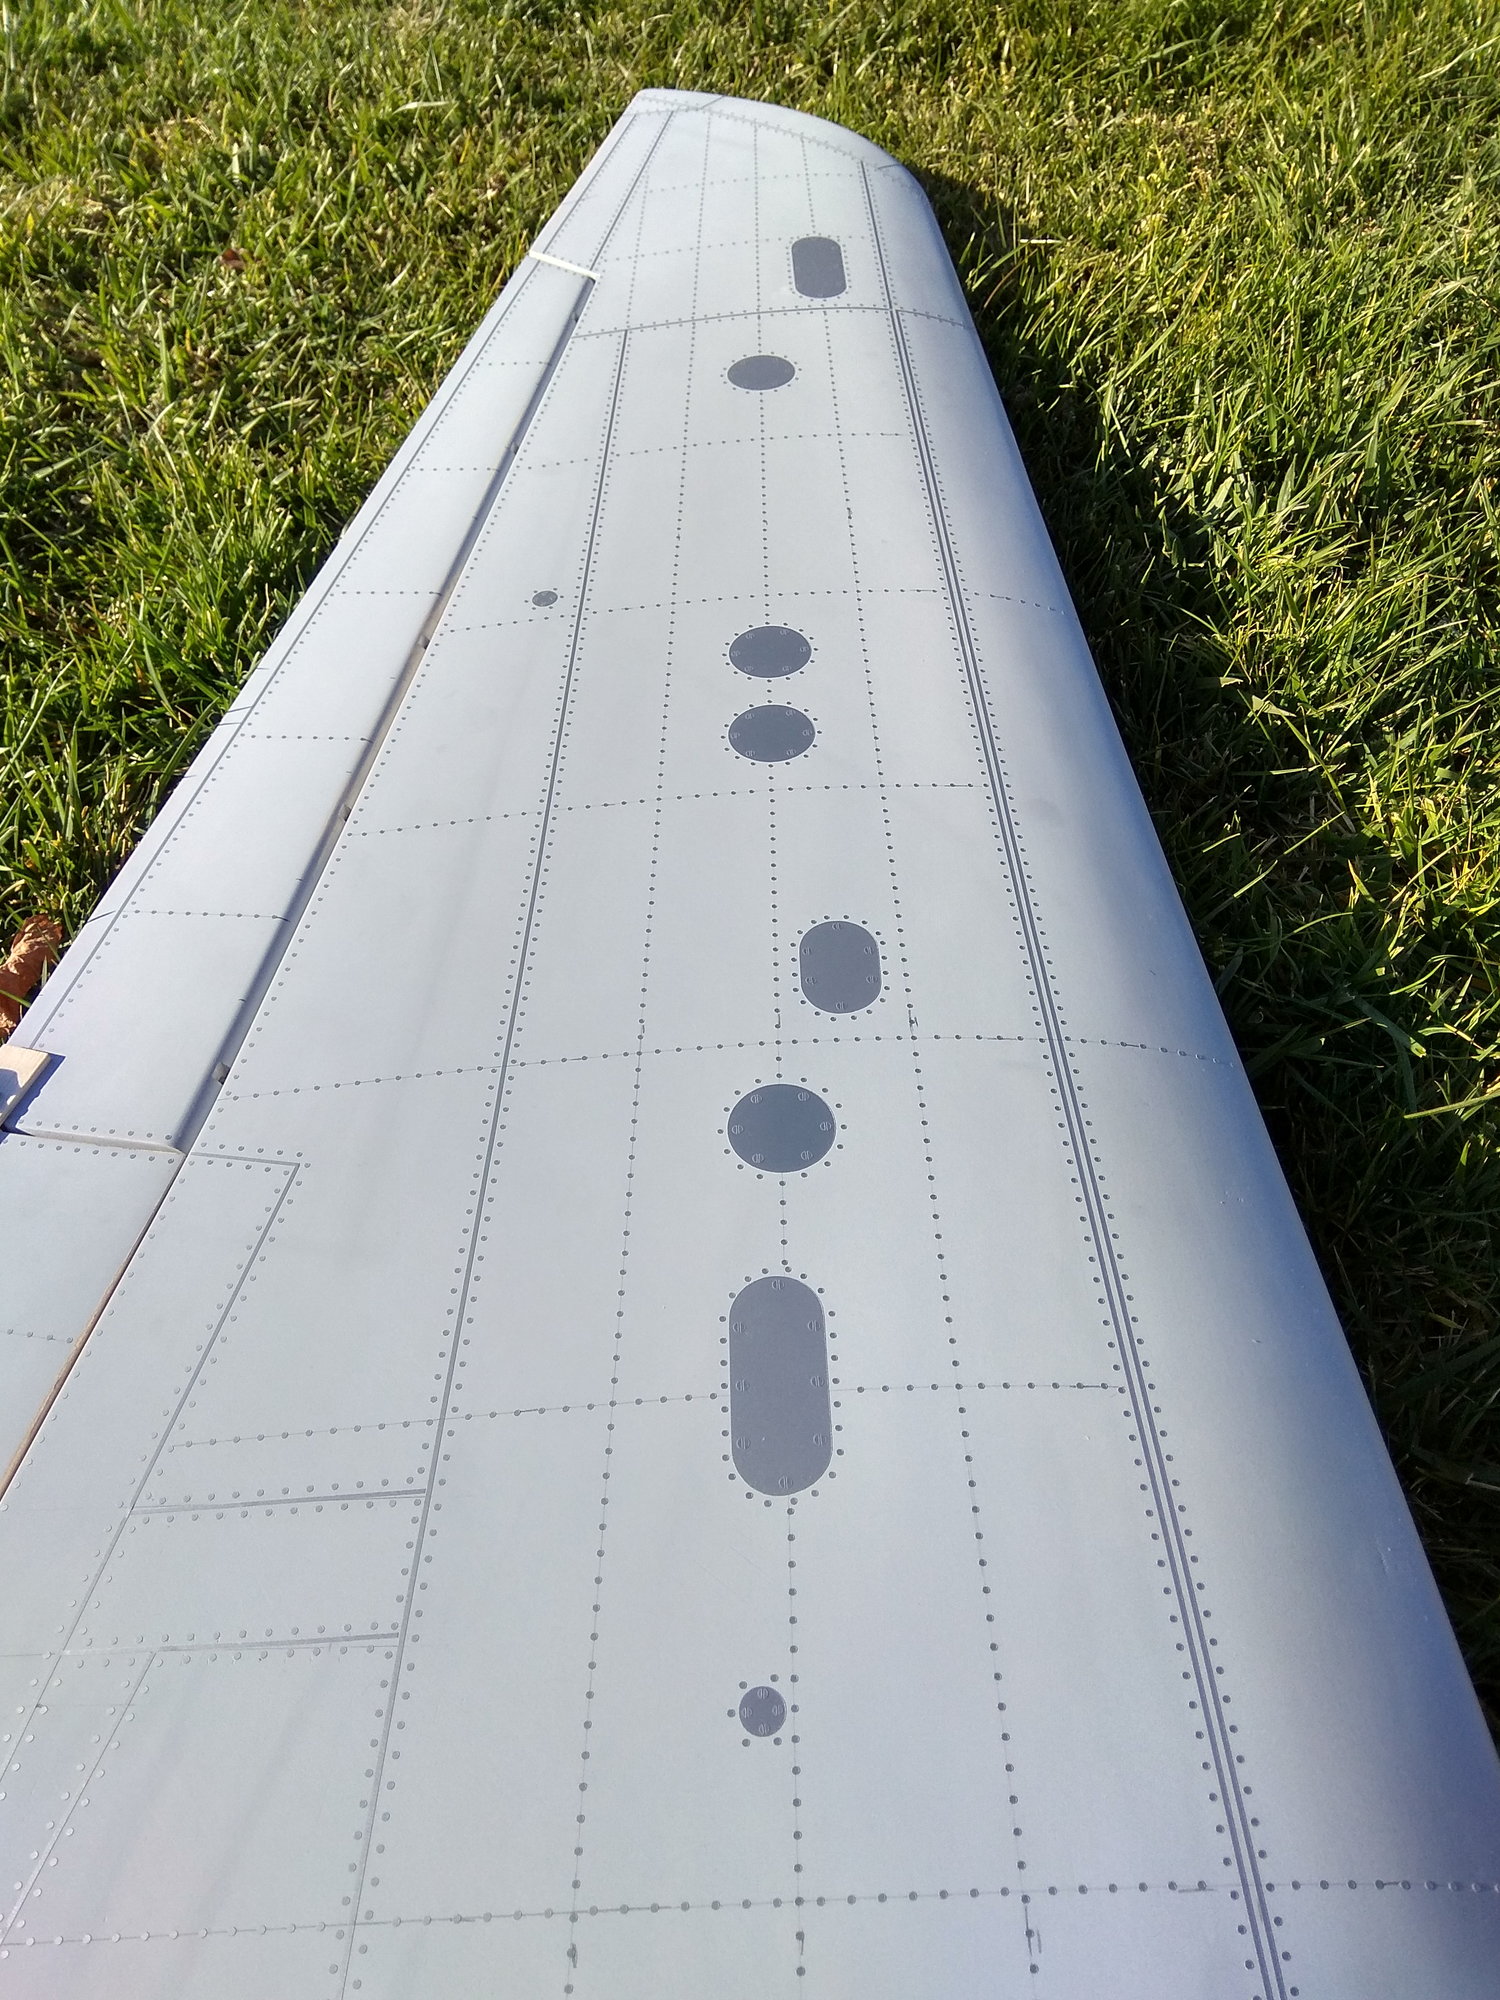
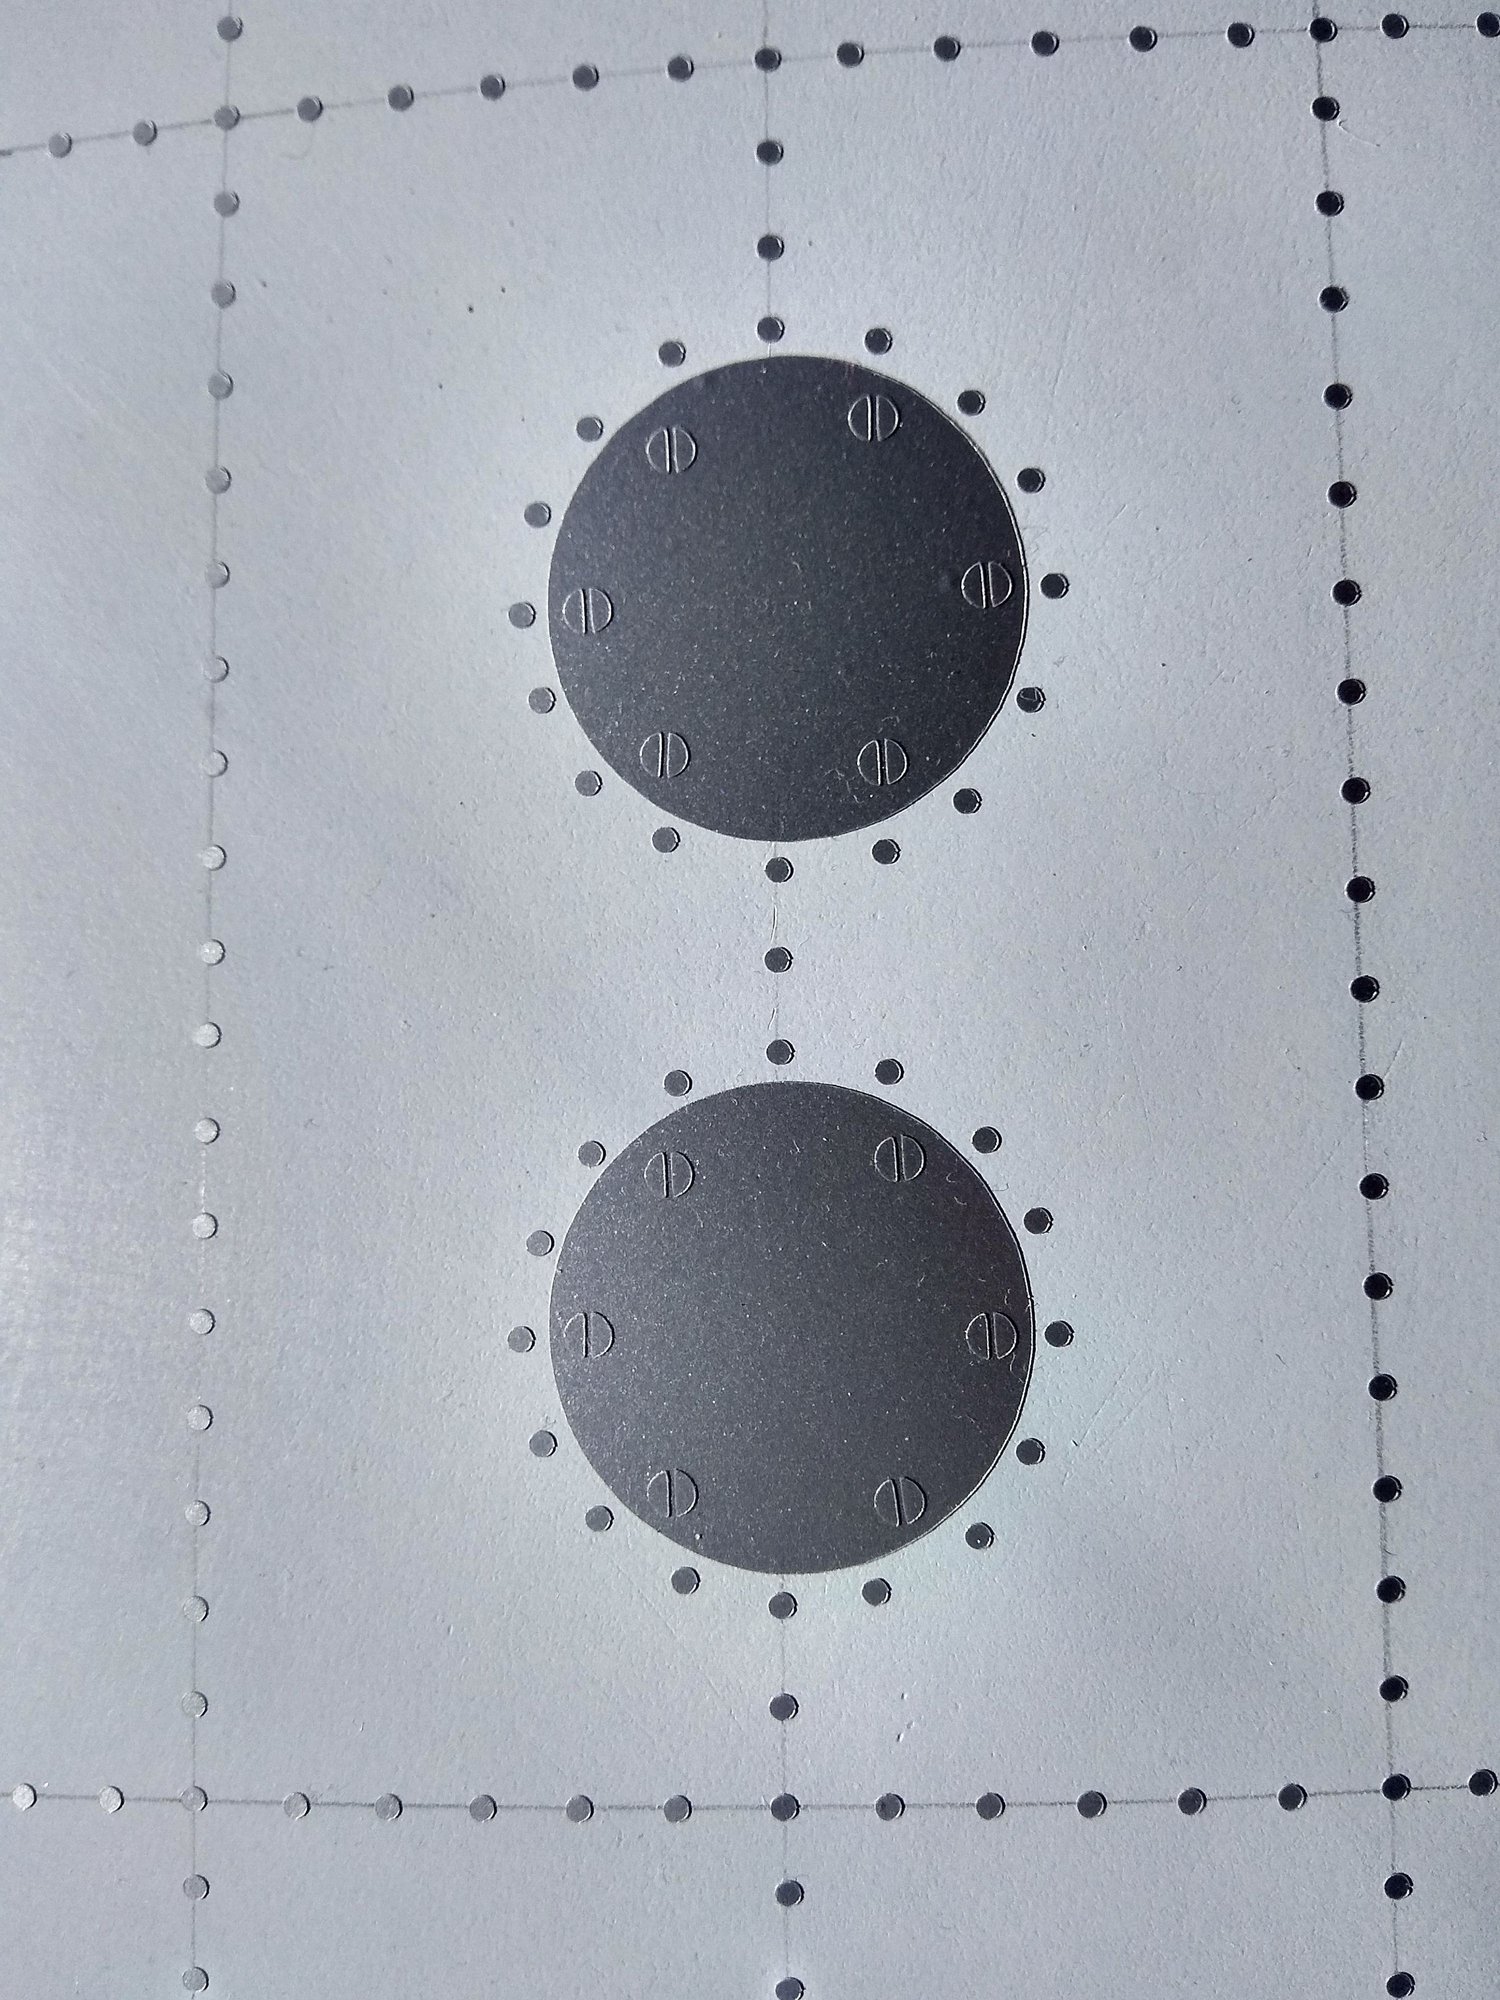
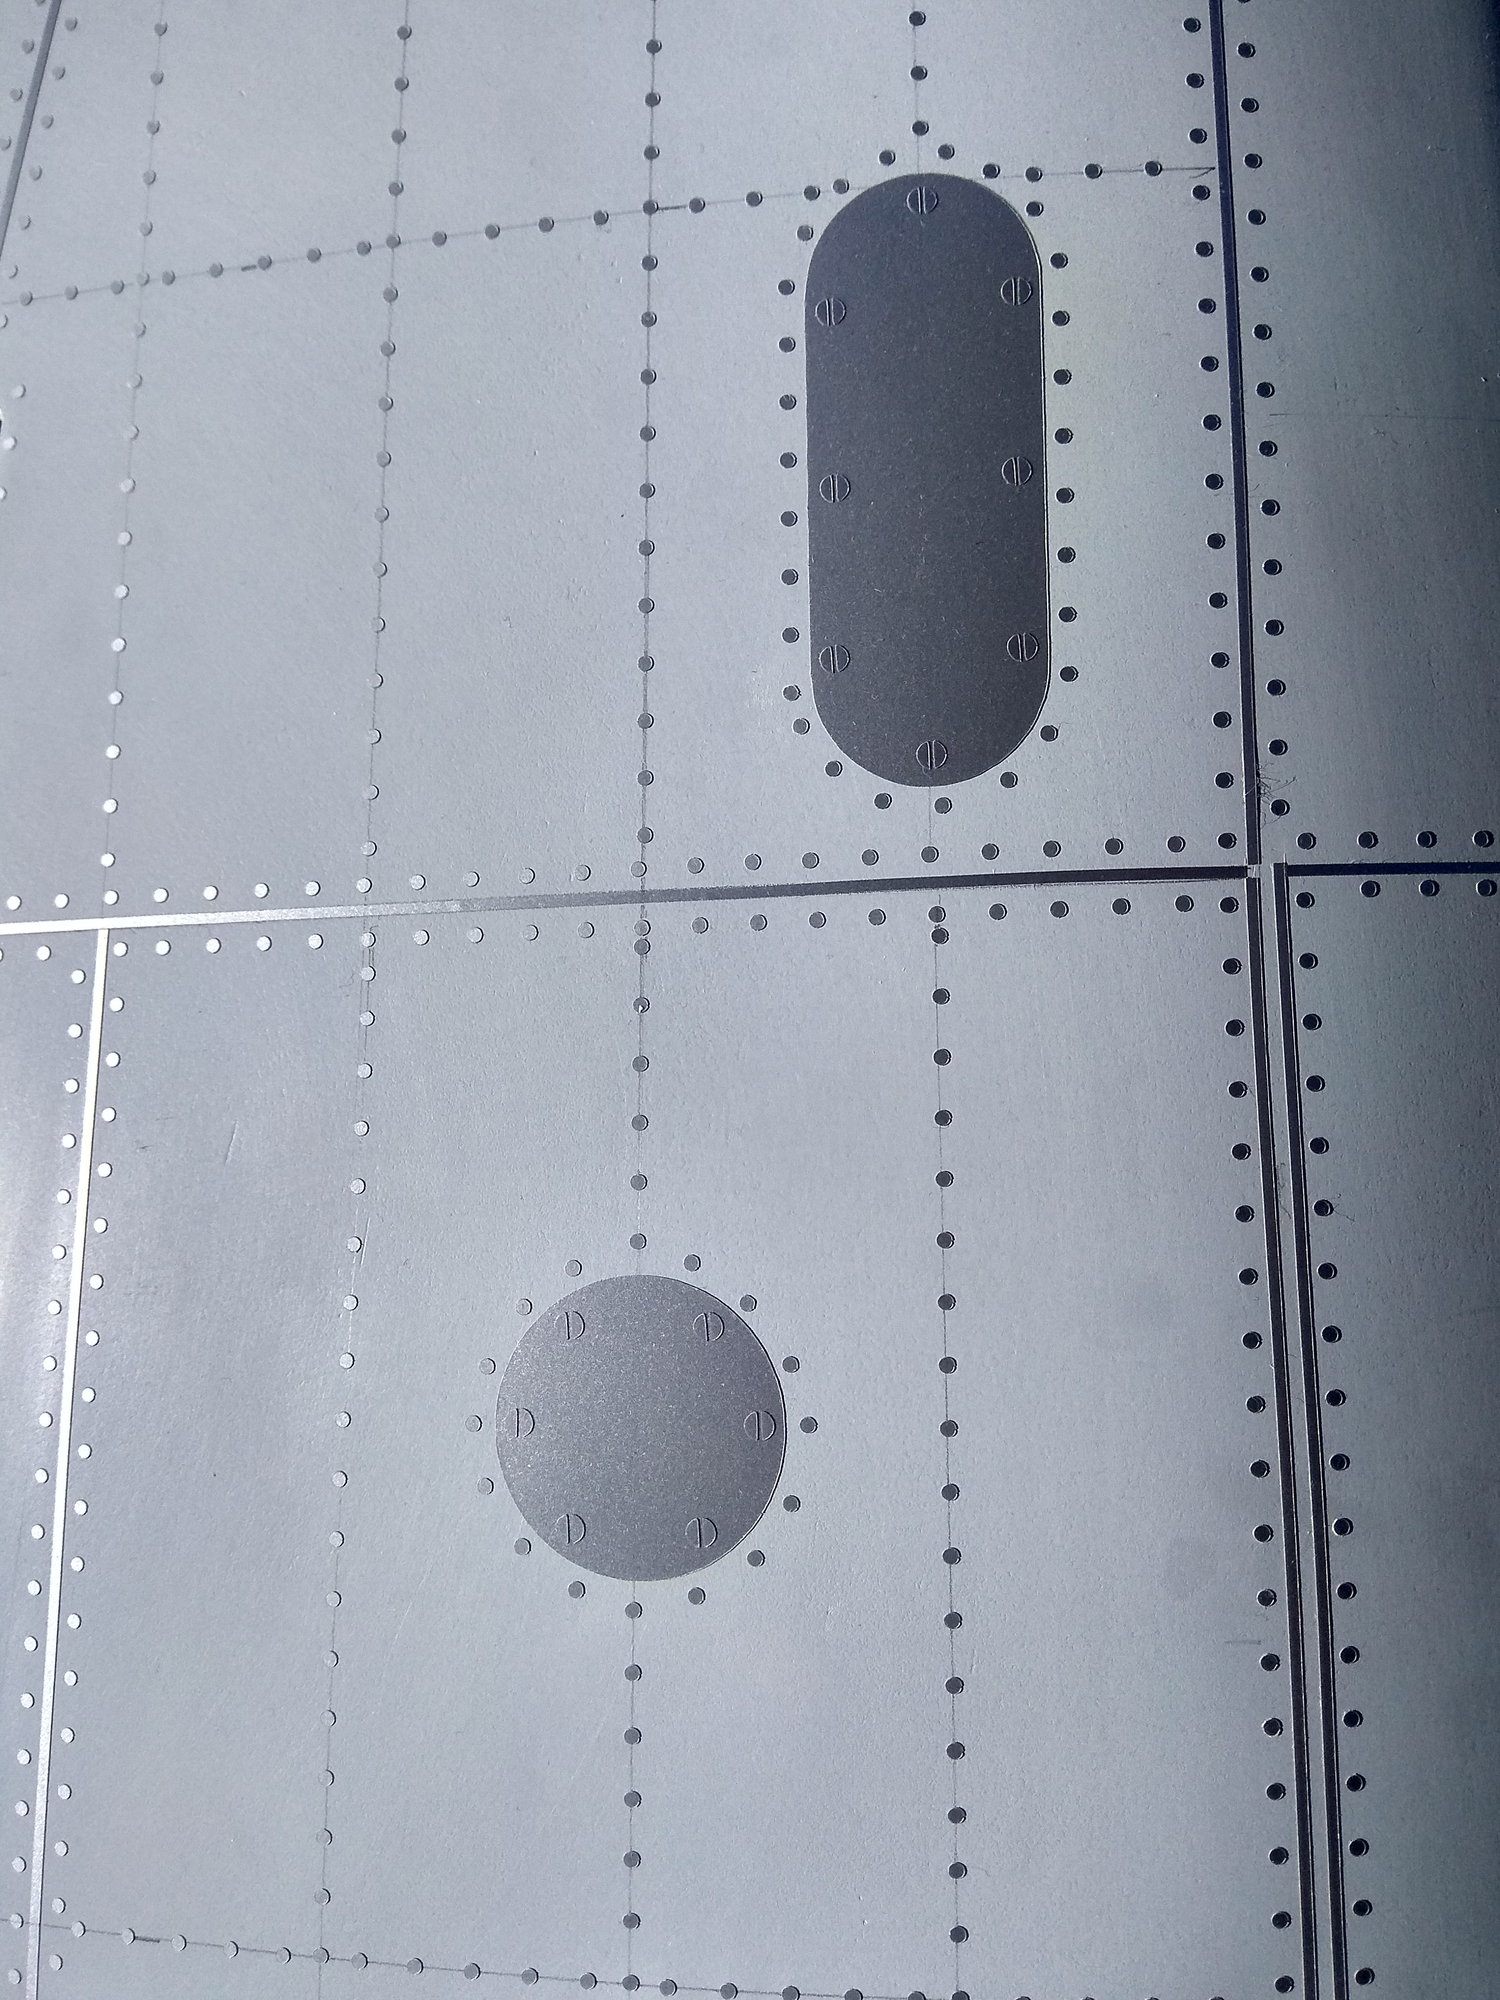
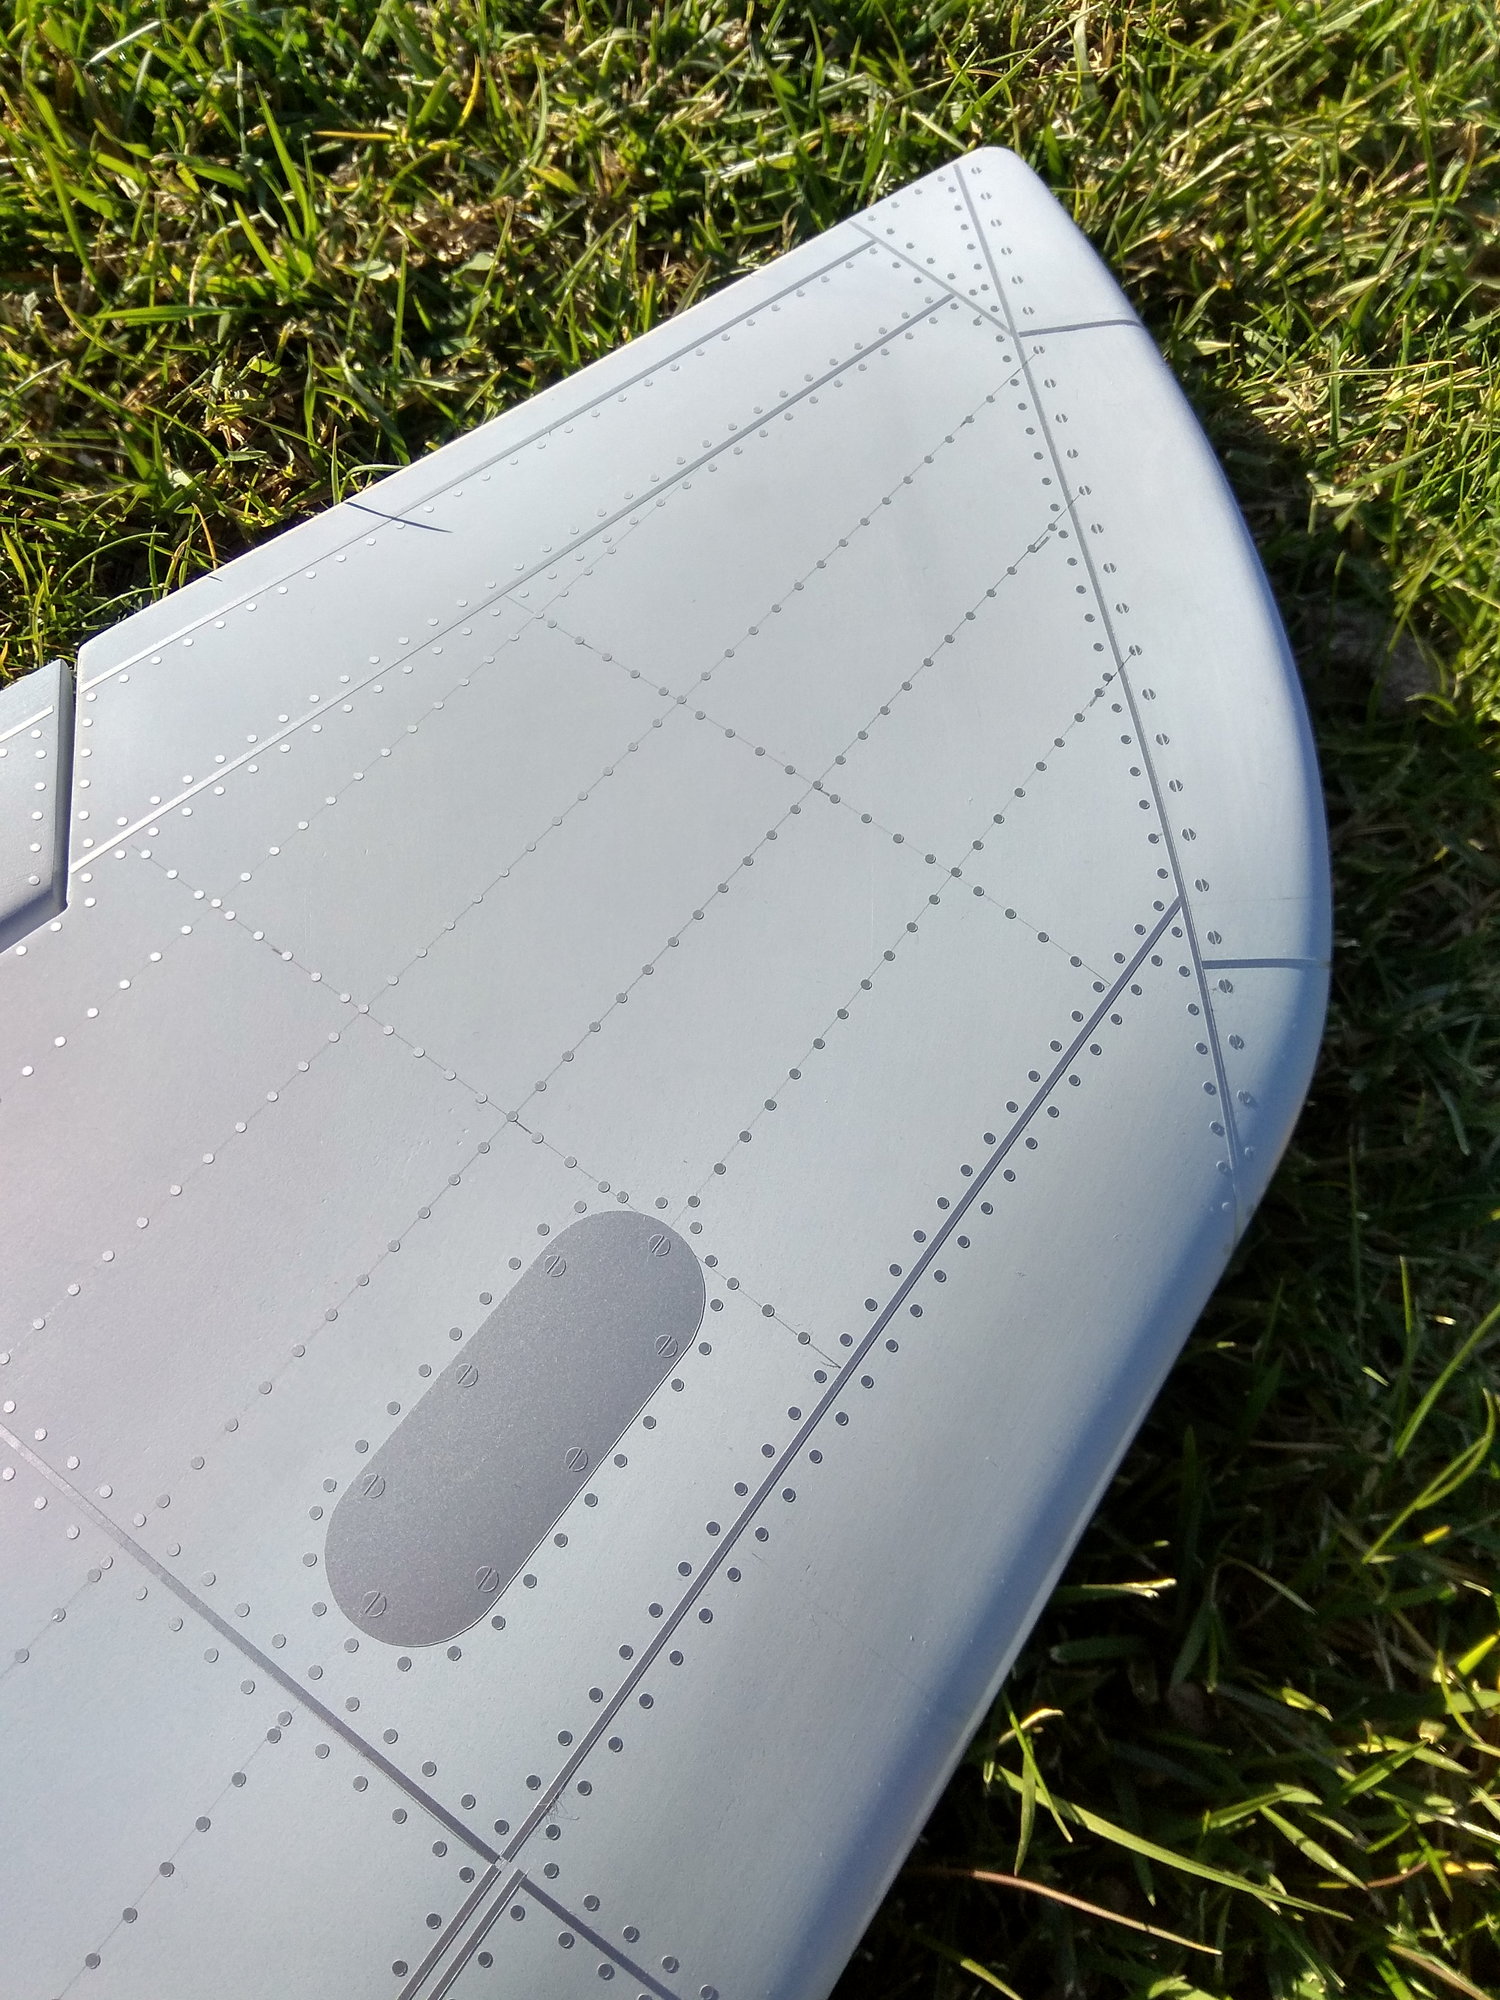
Dots are 2 mm in diameter.
Next step is applying panel lines, rivets, details, etc...
For this job I use: Mirce Finish set, Rivets set, during this process I'll made Detail set for F 100.
Detail & Finish set - NS Modelers
Elevators was first...
Than upper wing side...
Dots are 2 mm in diameter.

 12-22-2018, 04:14 AM
#99
Thread Starter
Marry Christmas and Happy New Year!!!
Like every year, "Mirce models" gives "CHRISTMAS DISCOUNT"
From today until January 15th on all wooden kits and all vinyl sets we give a discount of 20% at a regular price.
www.nsmodelers.rs

Like every year, "Mirce models" gives "CHRISTMAS DISCOUNT"
From today until January 15th on all wooden kits and all vinyl sets we give a discount of 20% at a regular price.
www.nsmodelers.rs
