


Jordan's Tomahawk F-86
 07-30-2018, 05:50 PM
#1

Thread Starter
Hi all,
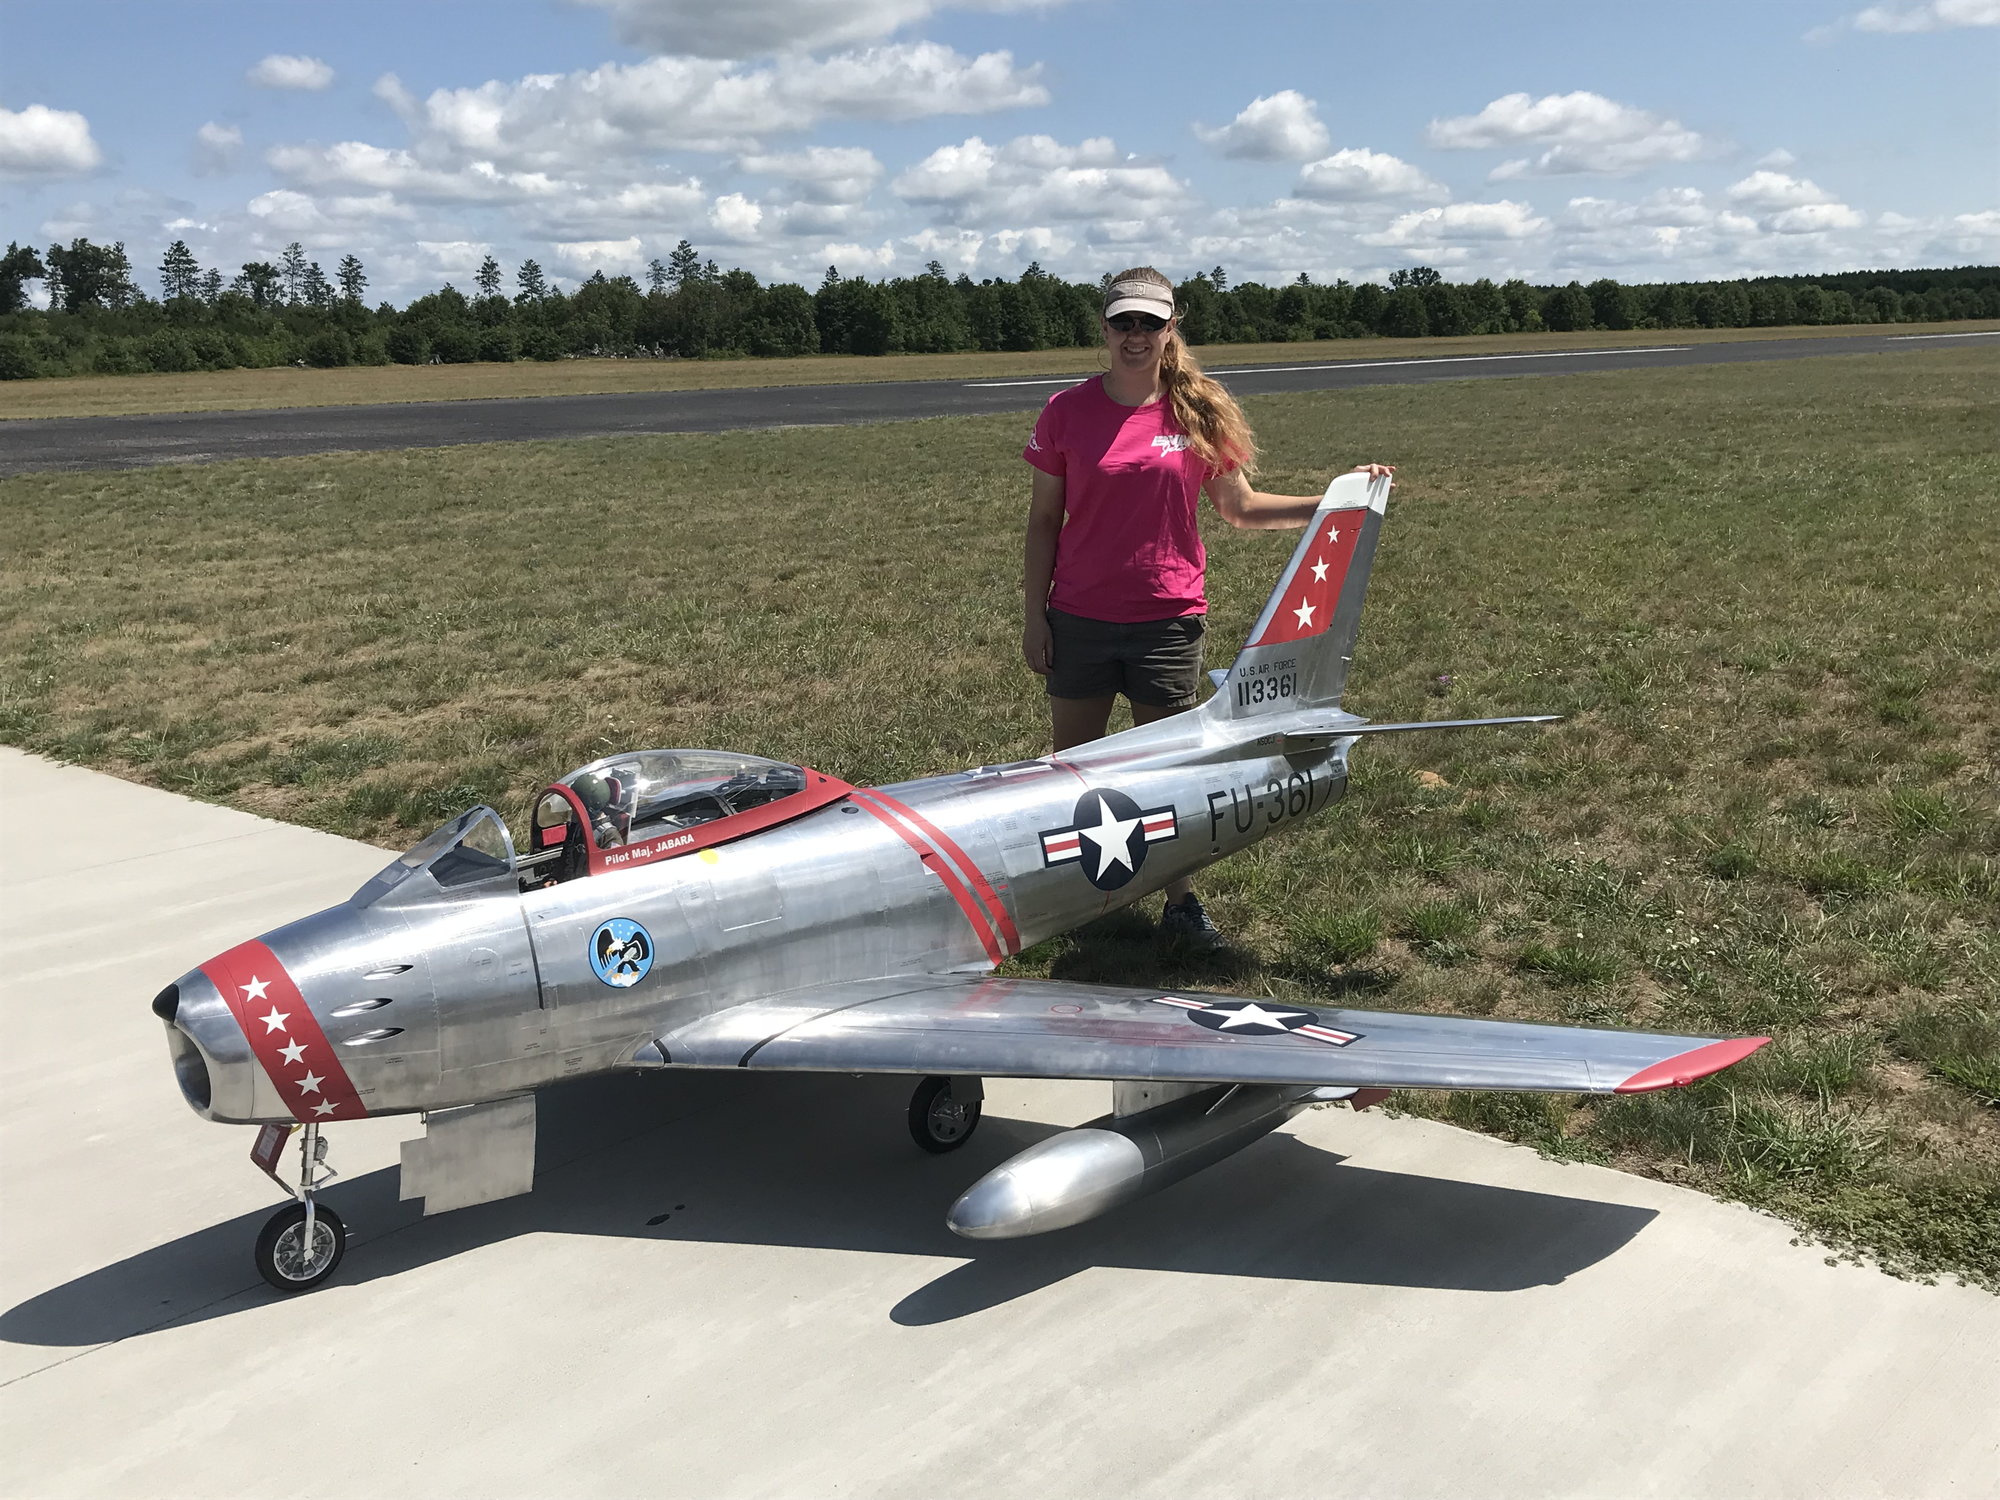
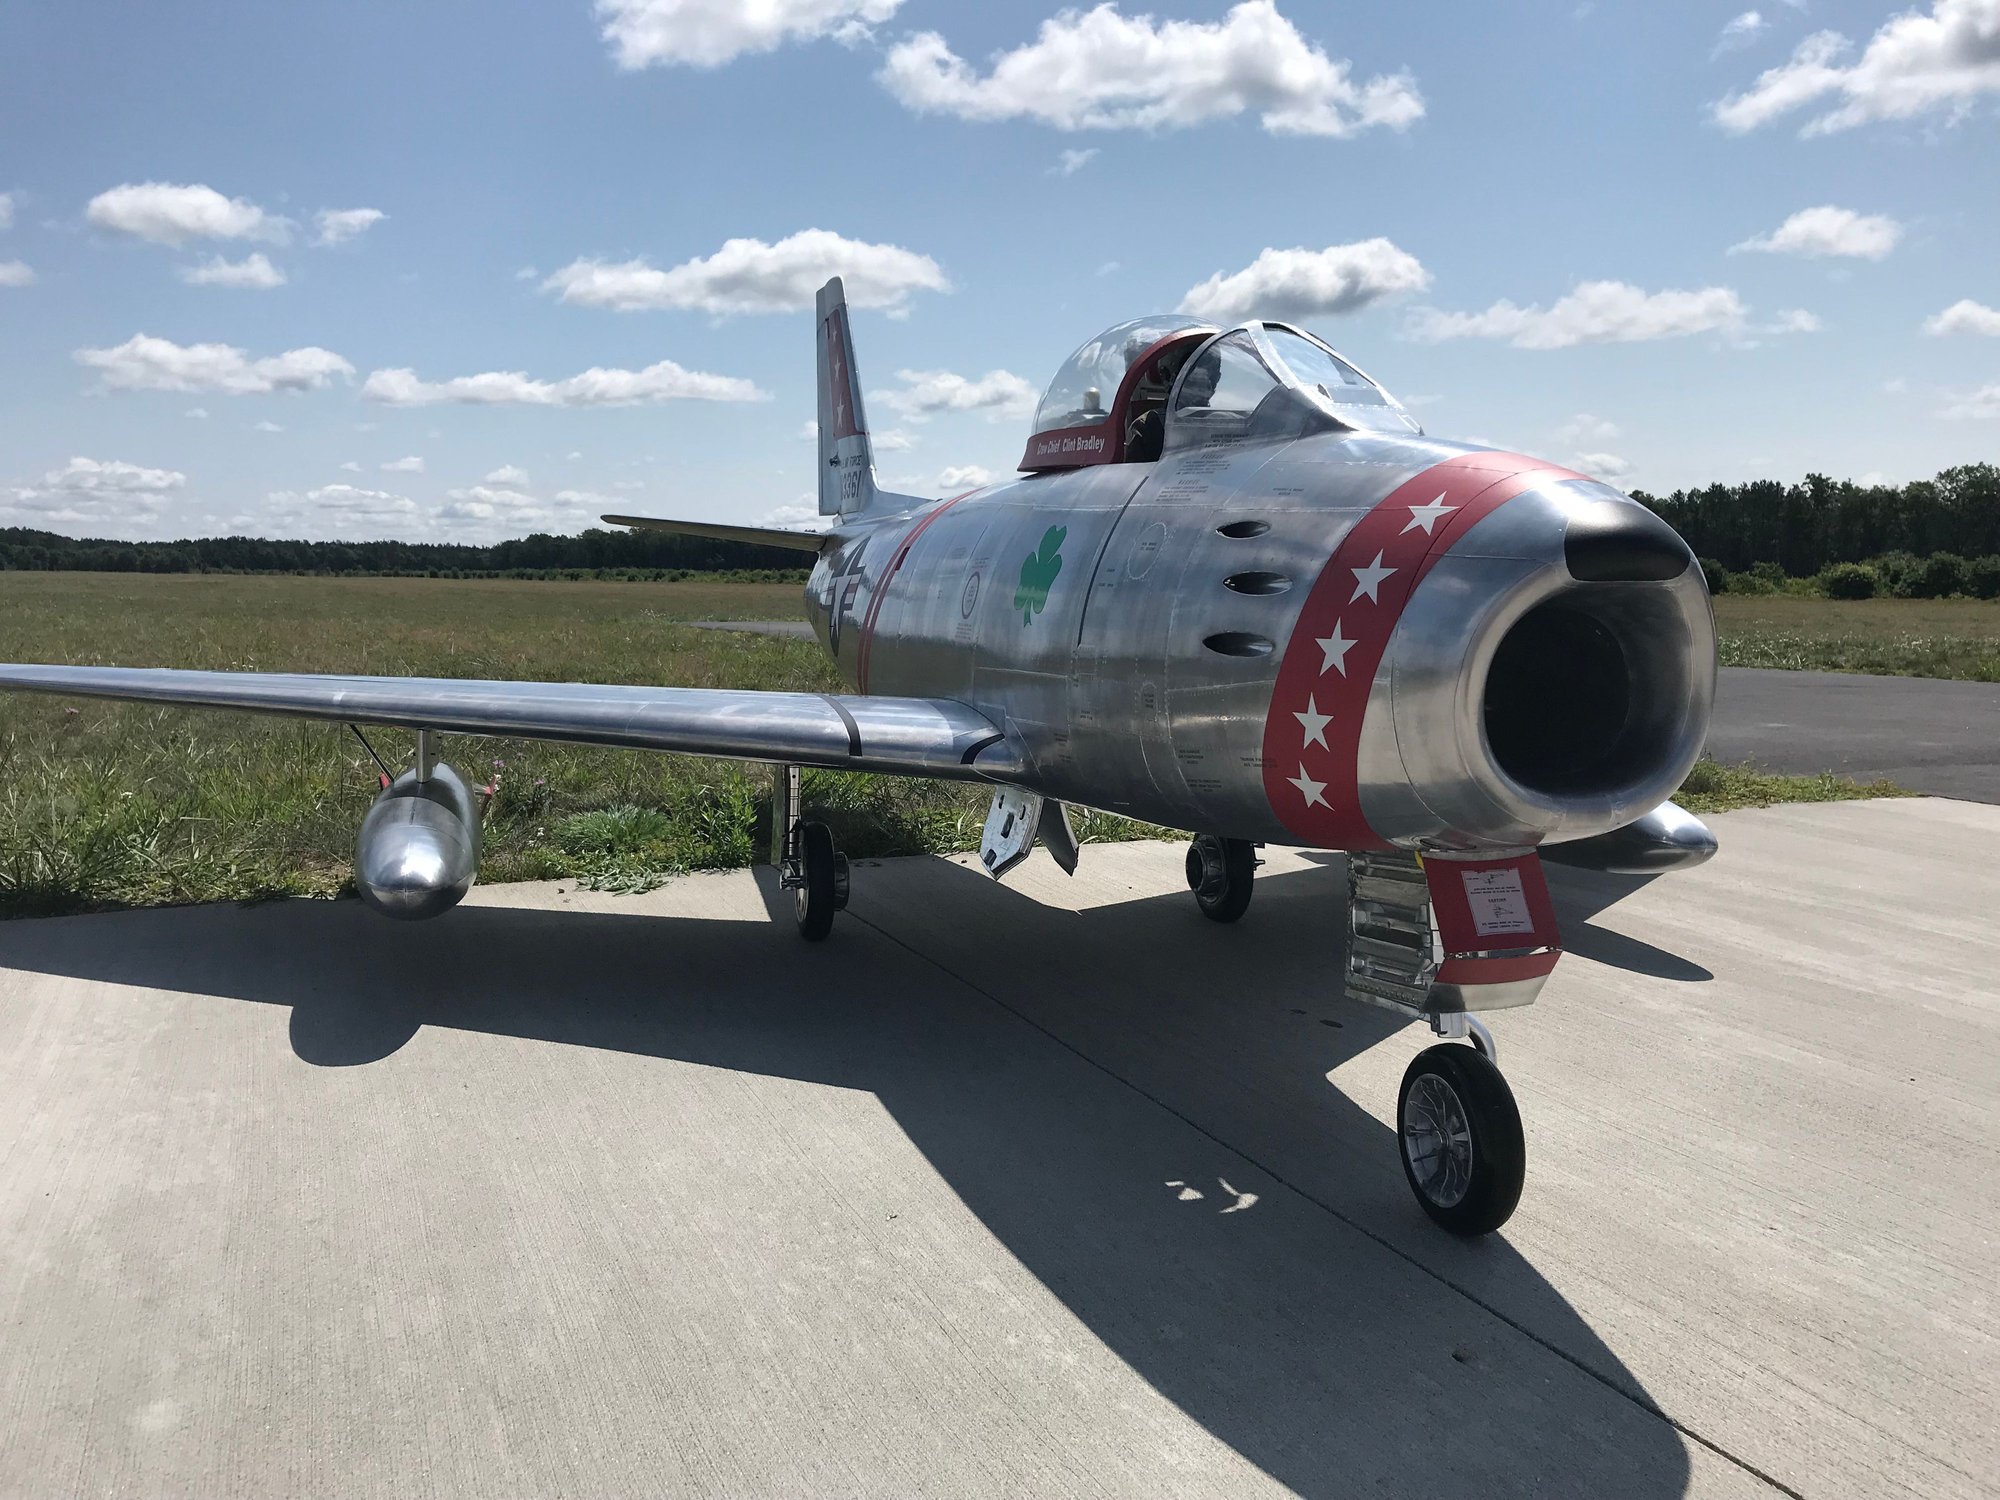
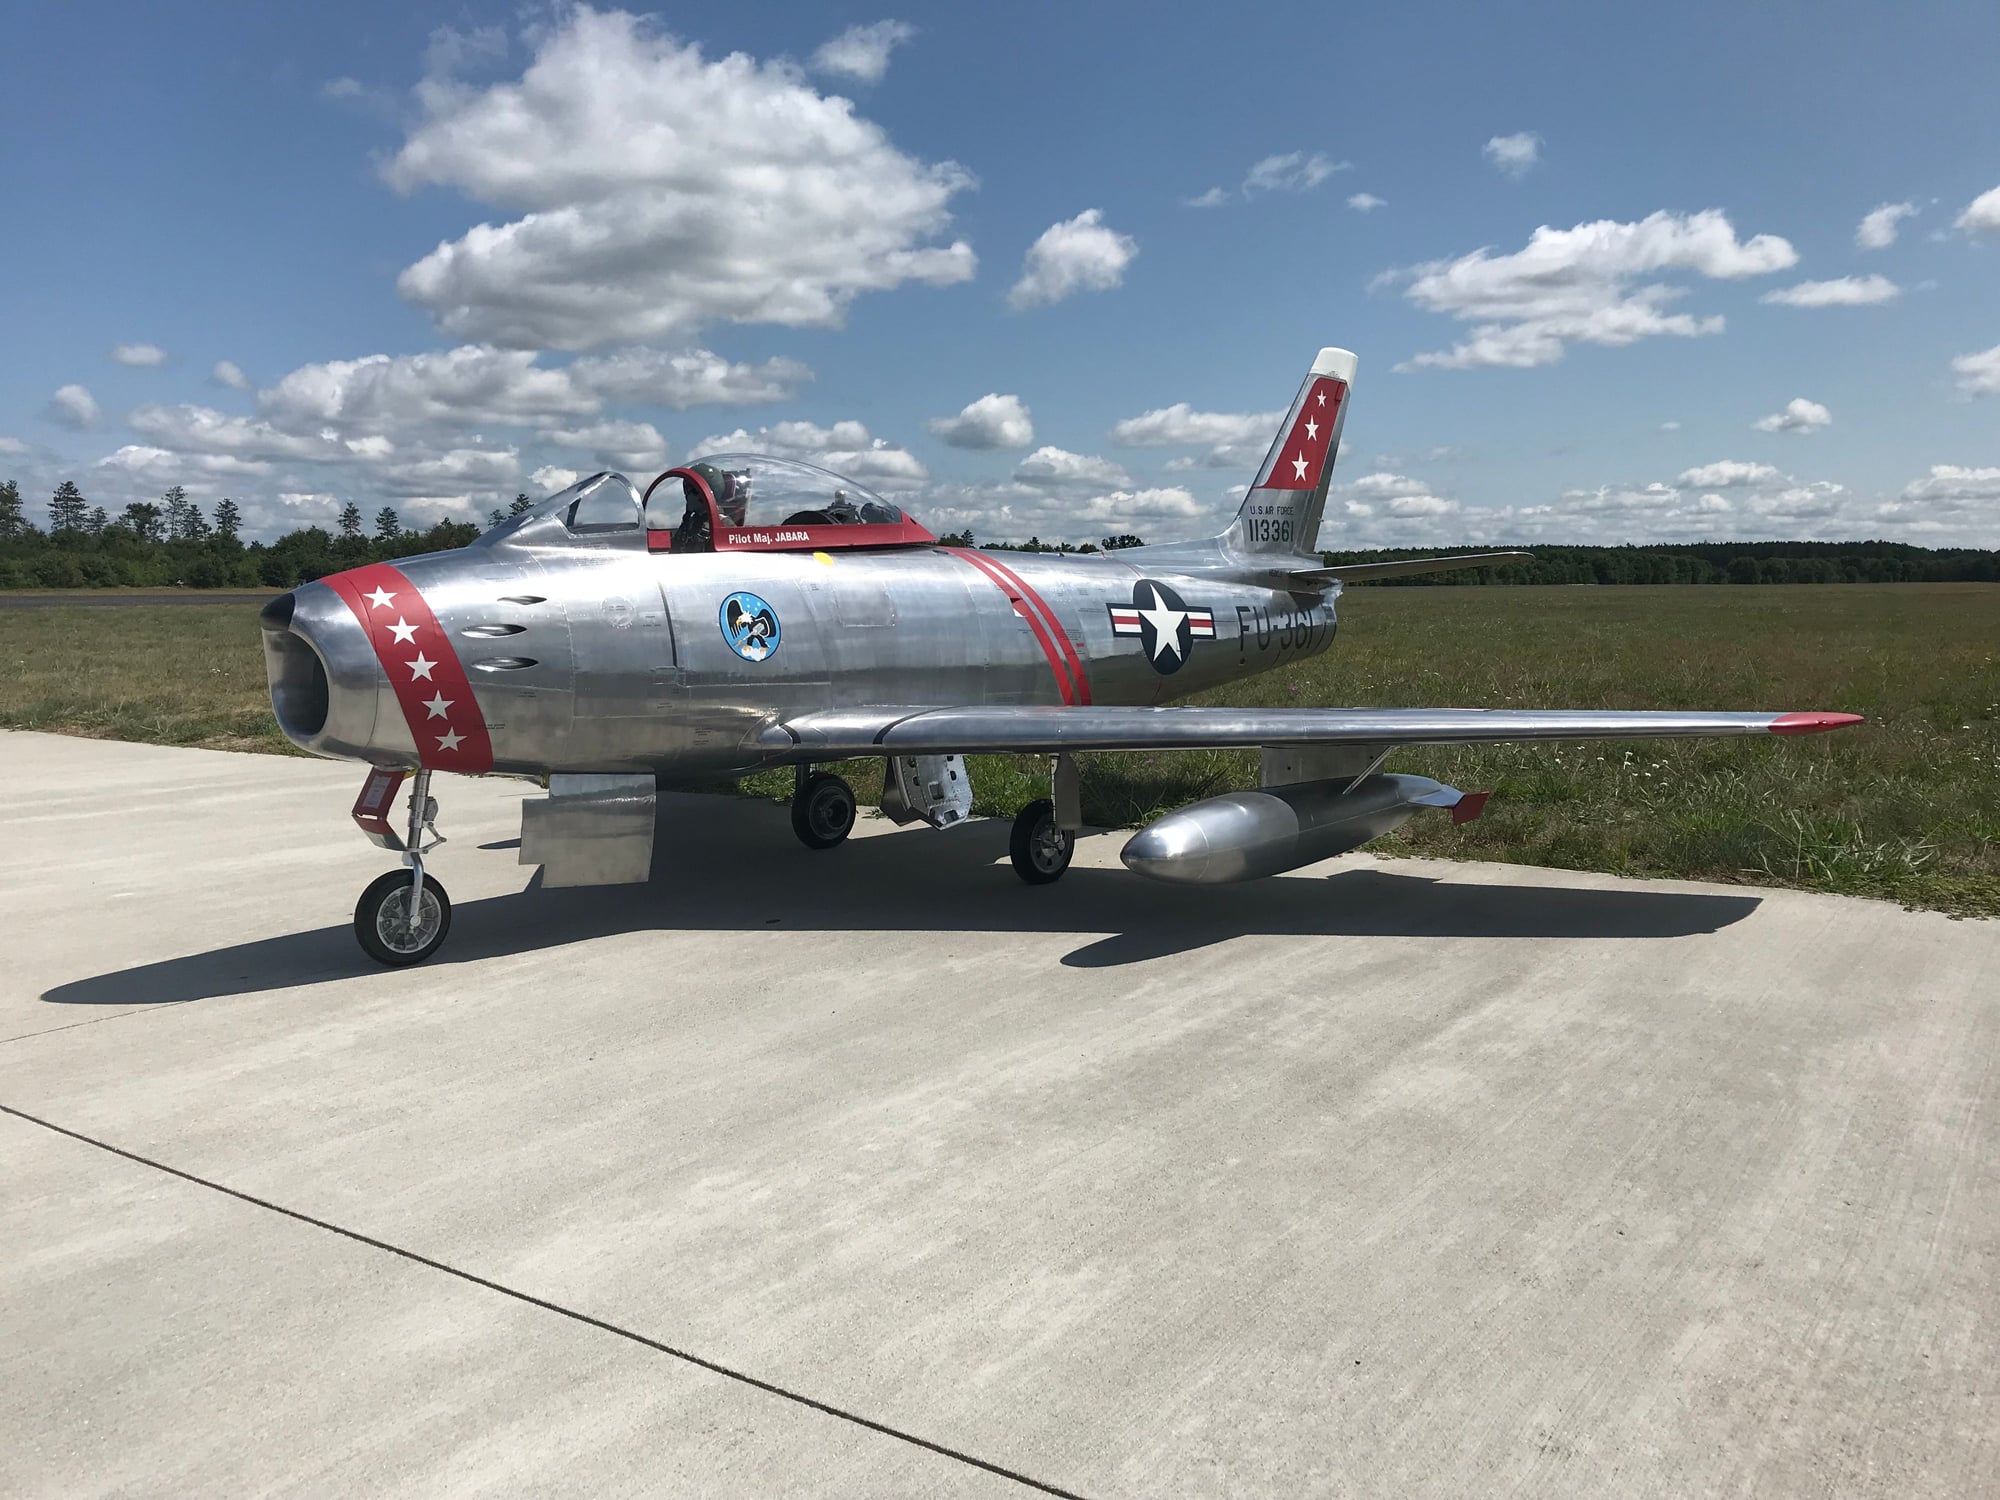
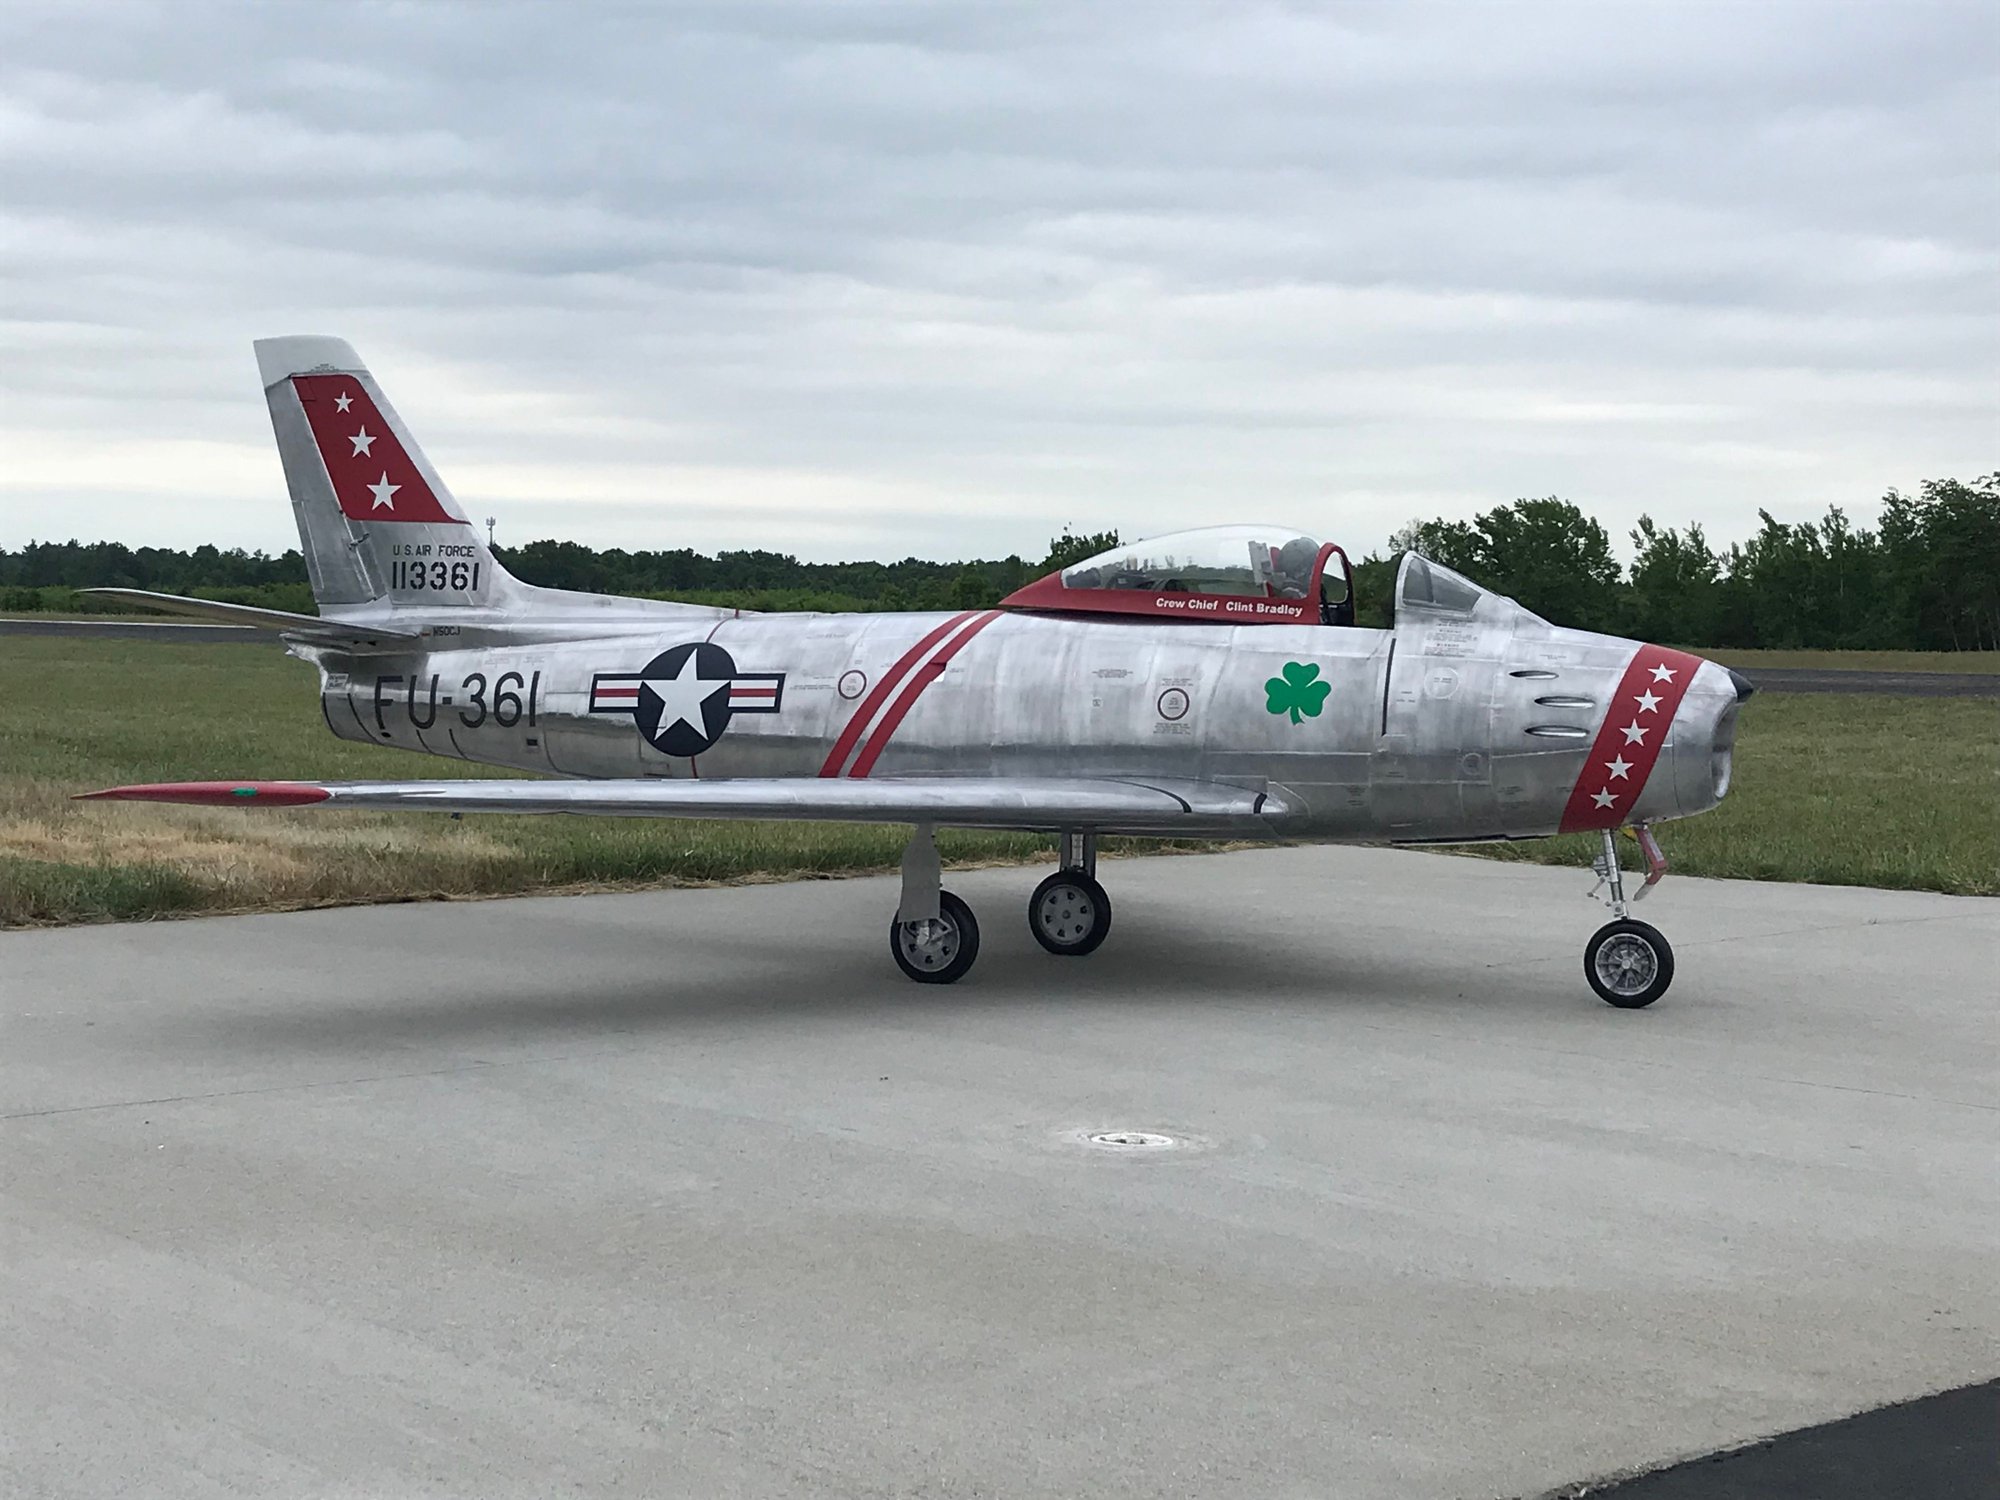
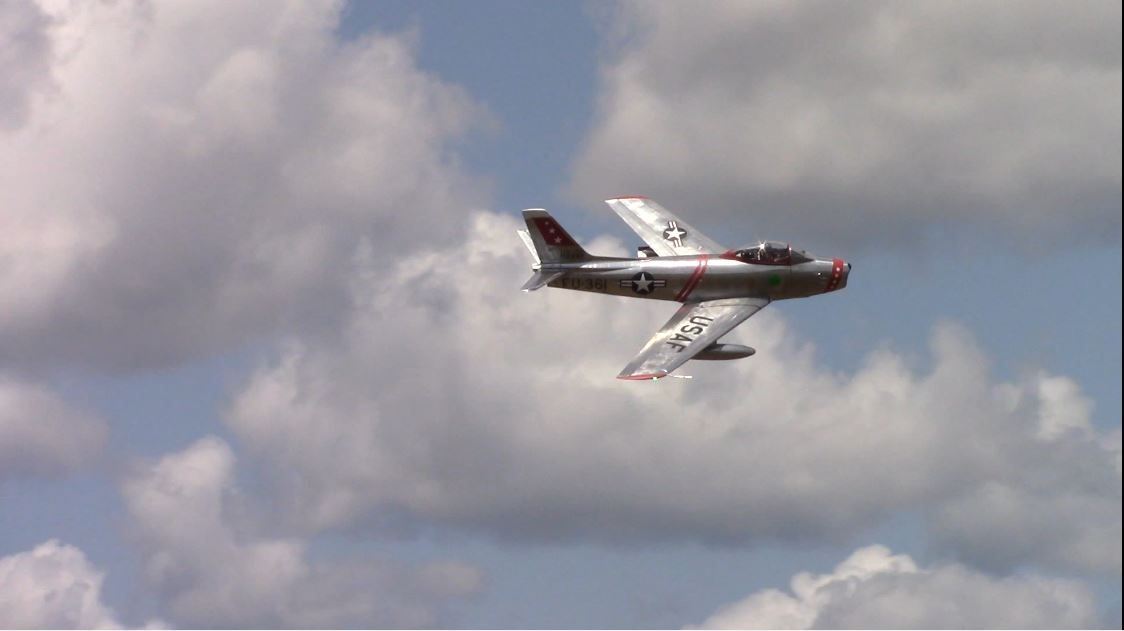
I didn't do a full build thread, but I wanted to post some pictures/video of my latest project anyway. I recently completed a 1:3.7 scale Tomahawk F-86 in Flite Metal. It is modeled after Paul Keppler's airshow scheme that is replicating the James Jabara scheme from the Korean war. I was fortunate to get the opportunity to take some video and pictures of the full scale model, ensuring the details are quite accurate. I hope to be able to get some pictures of the two of them together in the near future!
Here's a link to a video of it flying this past weekend:


 07-31-2018, 05:22 AM
#4
One really has to see this plane in person to realize the outstanding level of craftmanship that Jordan put into this project!
Jordan, if you make them any bigger, looks like we'll have to add a wider taxiway. Fifteen feet is starting to look a little narrow!
Larry, you are an excellent pilot! I have learned a lot from you.
We all are proud to have you in our organization! See you at the Boondoggle!


 Larry says thank you
07-31-2018, 05:32 PM
Larry says thank you
07-31-2018, 05:32 PM
#10
Thread Starter
08-01-2018, 08:58 AM
#13
Got an Airworld F104 to build and would like to do it with FM
In the past I used this stuff to cover the tail of a SM F4 and it was great, but a bit tricky to apply in round areas
Good job once again and congrats. May you enjoy it a lot
BR
Nuno
In the past I used this stuff to cover the tail of a SM F4 and it was great, but a bit tricky to apply in round areas
Good job once again and congrats. May you enjoy it a lot
BR
Nuno
08-02-2018, 03:37 AM
#15
Thread Starter
08-02-2018, 11:26 AM
#16
Thanks
I thought you were using a rotary hand tool and not making one by one....... ouchhhhh
Do you have any idea how many rolls you spent?
I am having a close look for my AW F104. Also building 3 x TD F86 and one will be covered in flite metal
Thanks
I thought you were using a rotary hand tool and not making one by one....... ouchhhhh
Do you have any idea how many rolls you spent?
I am having a close look for my AW F104. Also building 3 x TD F86 and one will be covered in flite metal
Thanks
08-02-2018, 01:48 PM
#17
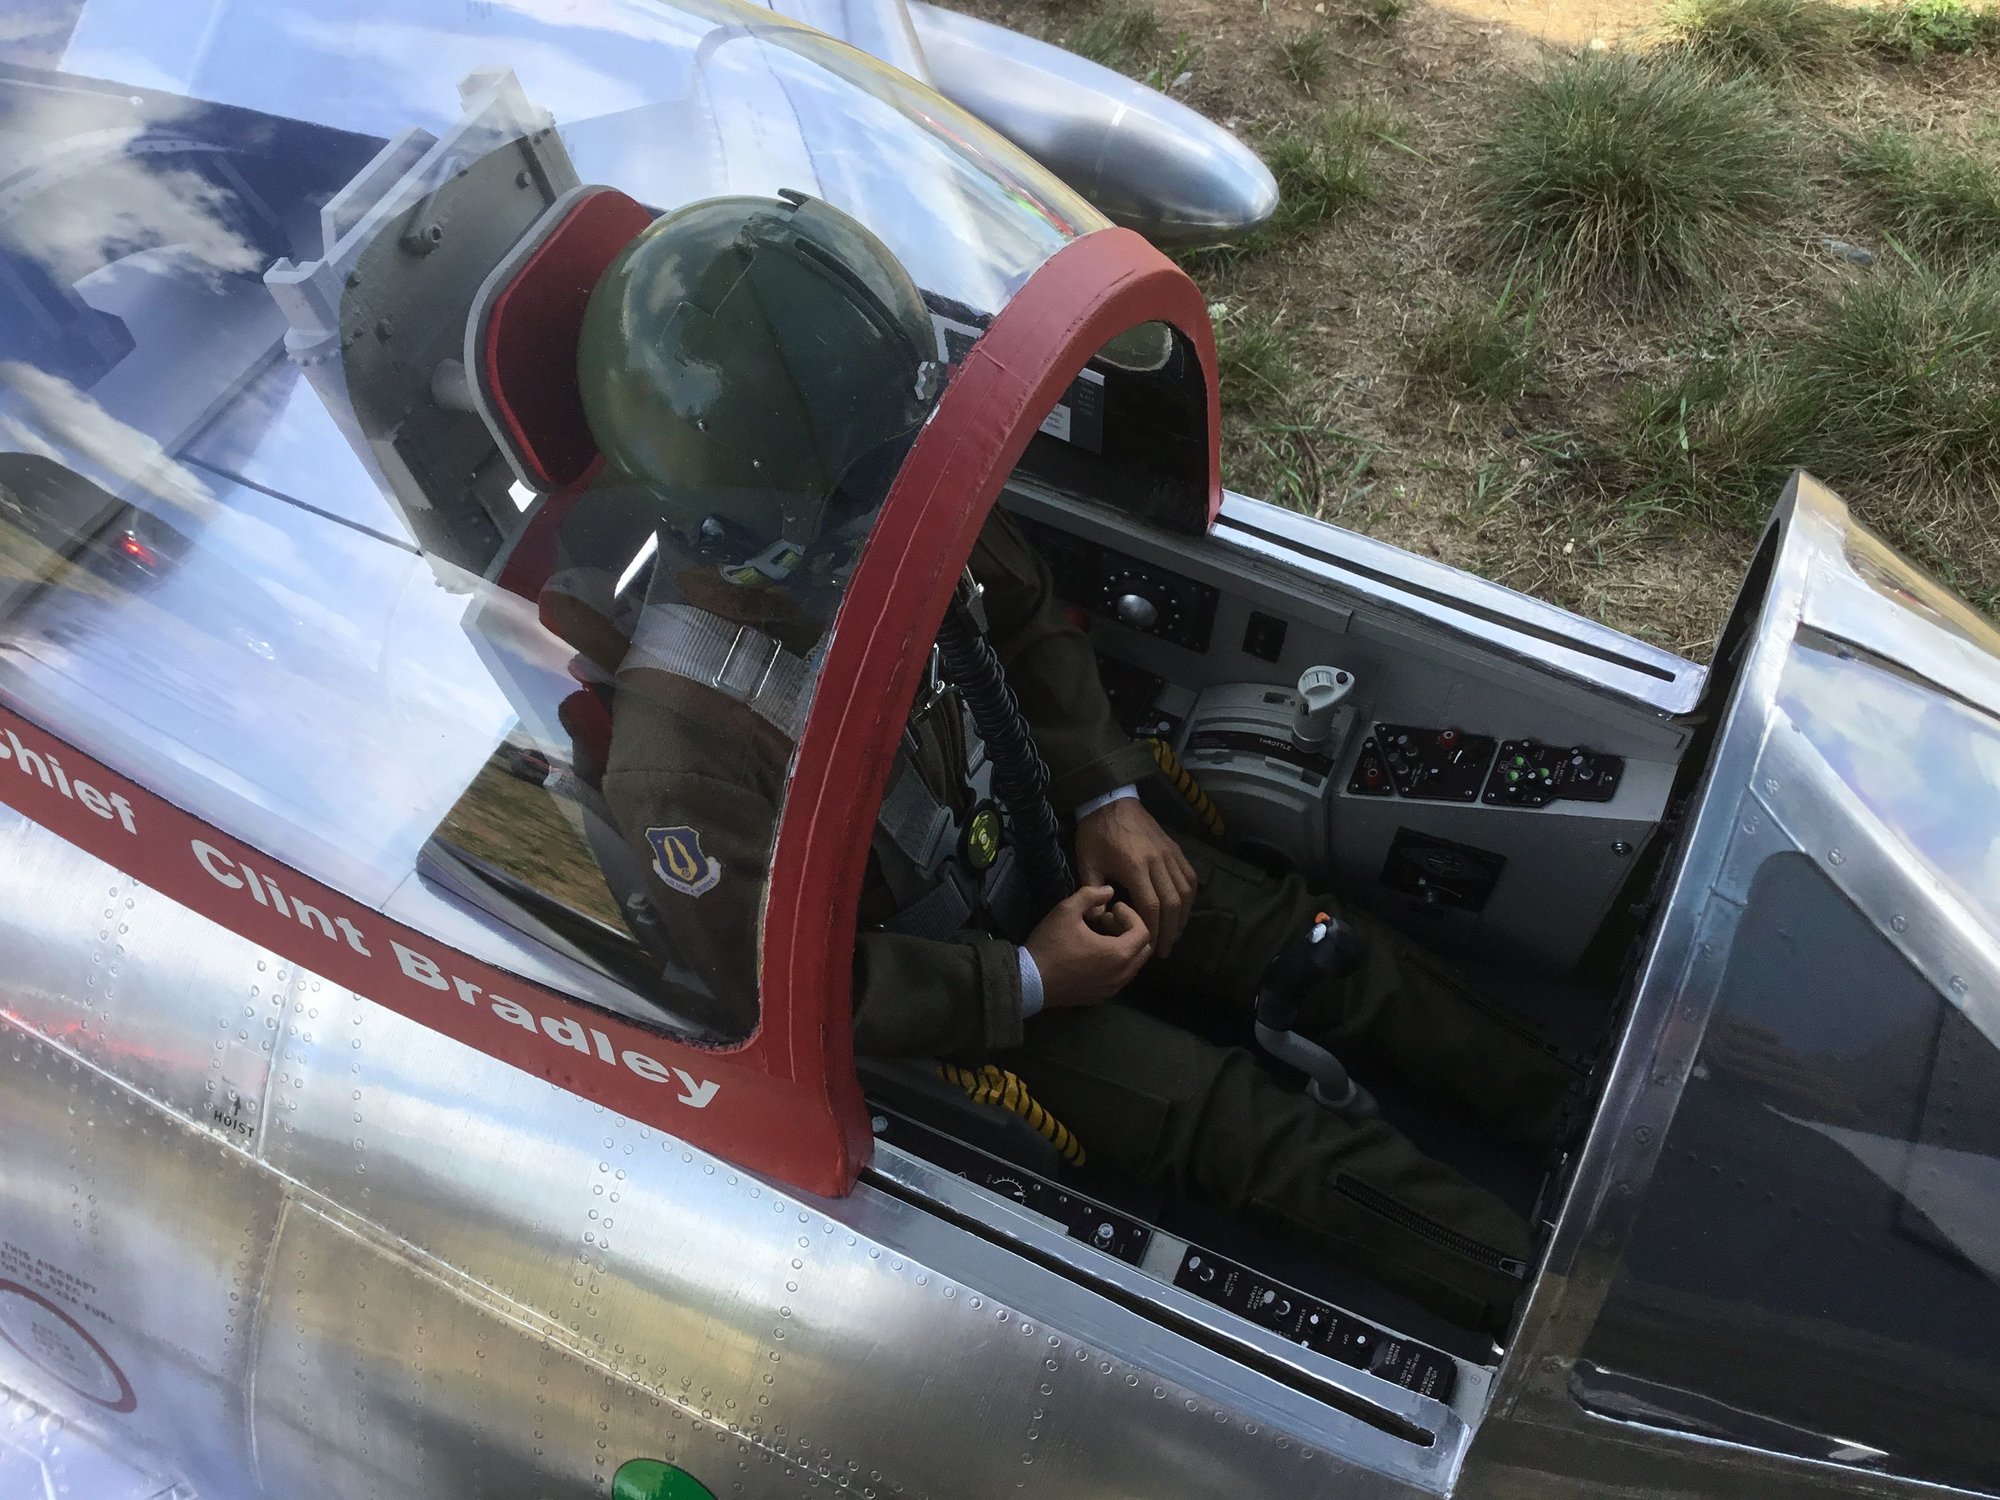
Hi Nuno- the rivet markings are made from various sized brass tubes. You don�t have to press very hard to get them to appear. The panel lines are in areas where two different pieces of Flite Metal overlap. I try to put these as close as I can to the scale location to match the real one.
08-03-2018, 03:29 AM
#18
Thread Starter
08-03-2018, 03:34 AM
#19
Thread Starter
08-03-2018, 01:27 PM
#20
Tomahawk did a pretty good job with the mold for this plane. There were a few areas where I did fill in the rivets and move/add panel lines. Mostly I could use what was there to begin with, but you still have to use a brass tube and re-punch in the rivets after Flite Metal to see them well. I�ve done other planes where the depth of the rivets is so inconsistent that yes I�ve filled in the entire plane and started from scratch.
08-03-2018, 05:59 PM
#21
Join Date: Feb 2006
Location: IN
Posts: 168
Likes: 0
Received 0 Likes
on
0 Posts
Your F-86 was my favorite plane at Jets Over the Heartland. I had to leave to get home and get the kids to another engagement that night, and was really disappointed that I wasn't able to see it fly. You guys were getting ready to go up just as I was leaving.
08-04-2018, 06:03 PM
#22
Thread Starter
08-06-2018, 05:26 PM
#24
Thread Starter

