Yellow Aircraft Stingray

 10-23-2019, 10:25 AM
#79
It's the way I up load my comments, some times I loose all that I have typed, my phone sucks big time, I type, upload then edit uploading the pictures a minute later or add more comments like two minutes later, so read my postings one more time a few minutes later because they my have more added to them, sorry.
I just did that with this post
I just did that with this post
10-23-2019, 10:27 AM
#80

Thread Starter
Join Date: Feb 2015
Posts: 208
Likes: 0
Received 0 Likes
on
0 Posts
It's the way I up load my comments, some times I loose all thatI have typed, my phone sucks big time, I type, upload the edit uploading the pictures a minute later or add more comments like two minutes later, so read my postimgs one more time a few minutes later because they my have more added to them, sorry.
Thanks for your valuable inputs!

 10-23-2019, 10:40 AM
#82
Thread Starter
Join Date: Feb 2015
Posts: 208
Likes: 0
Received 0 Likes
on
0 Posts
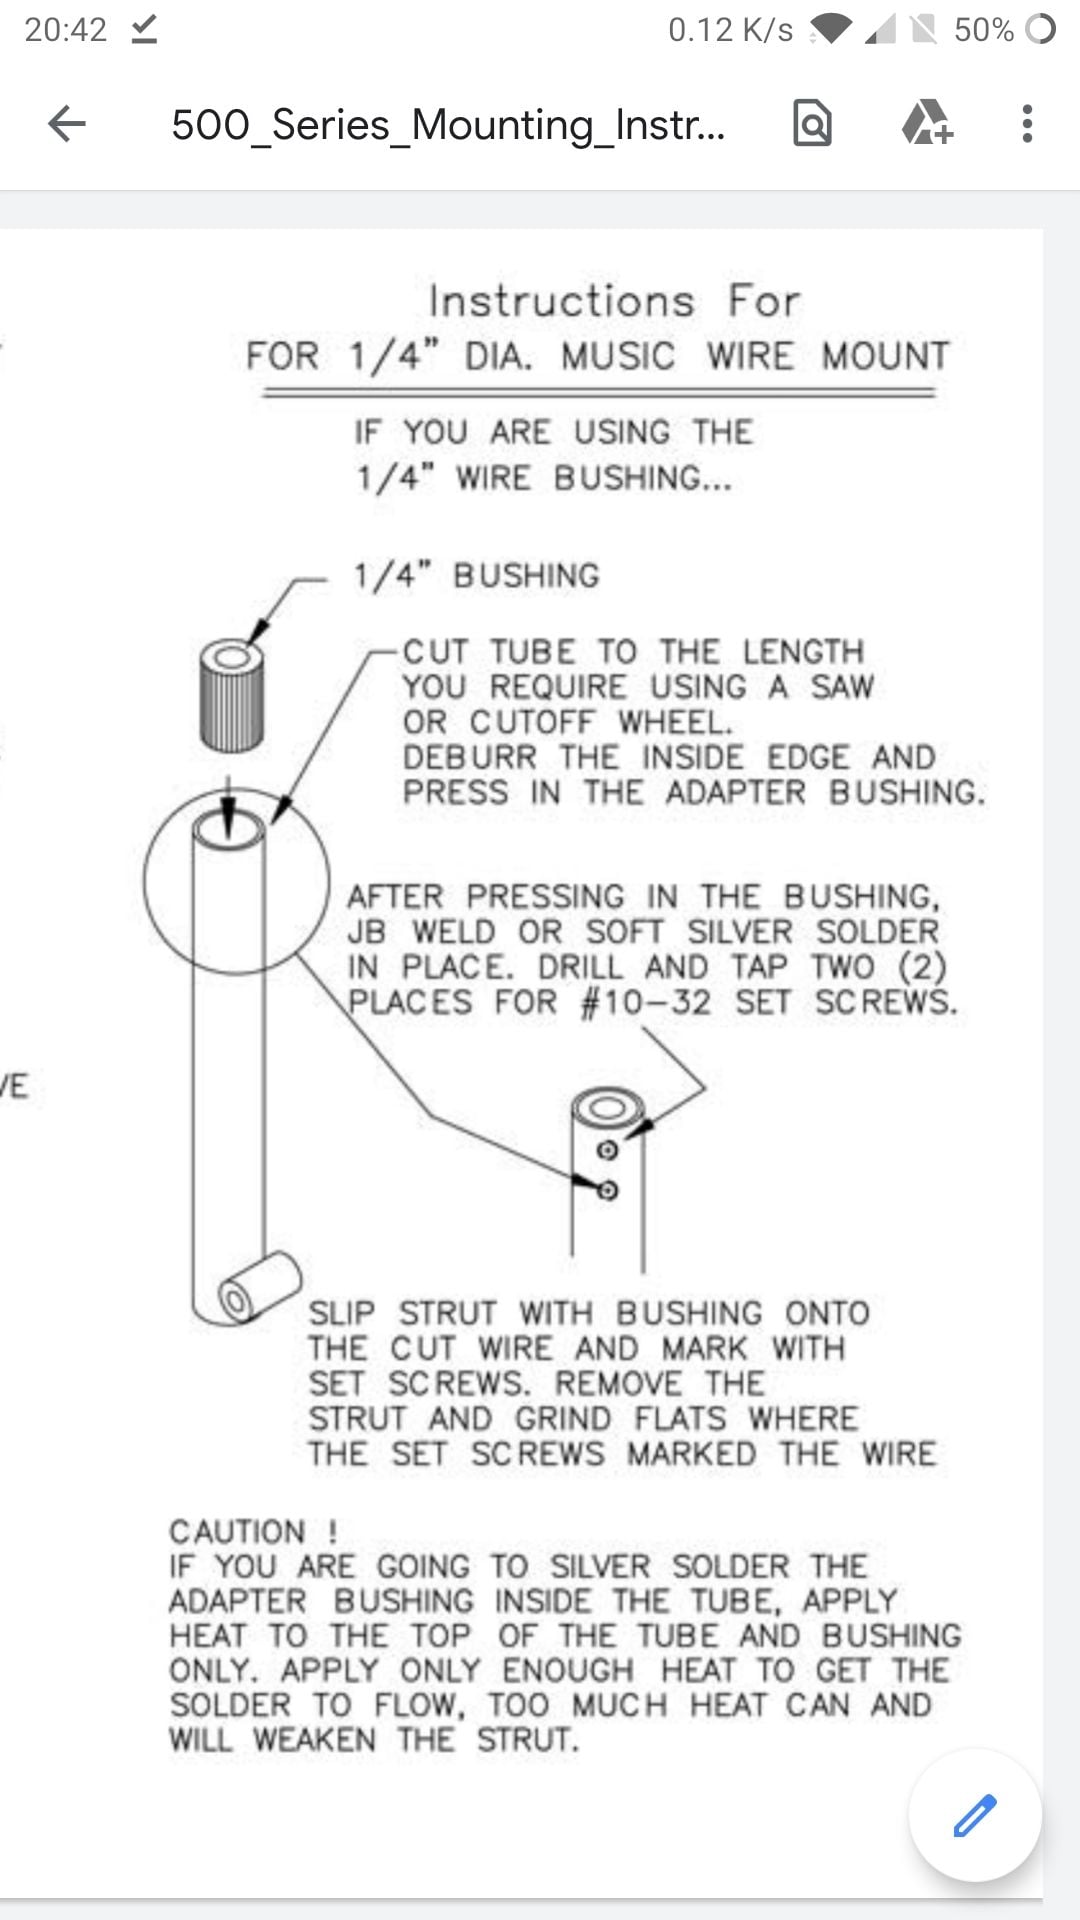
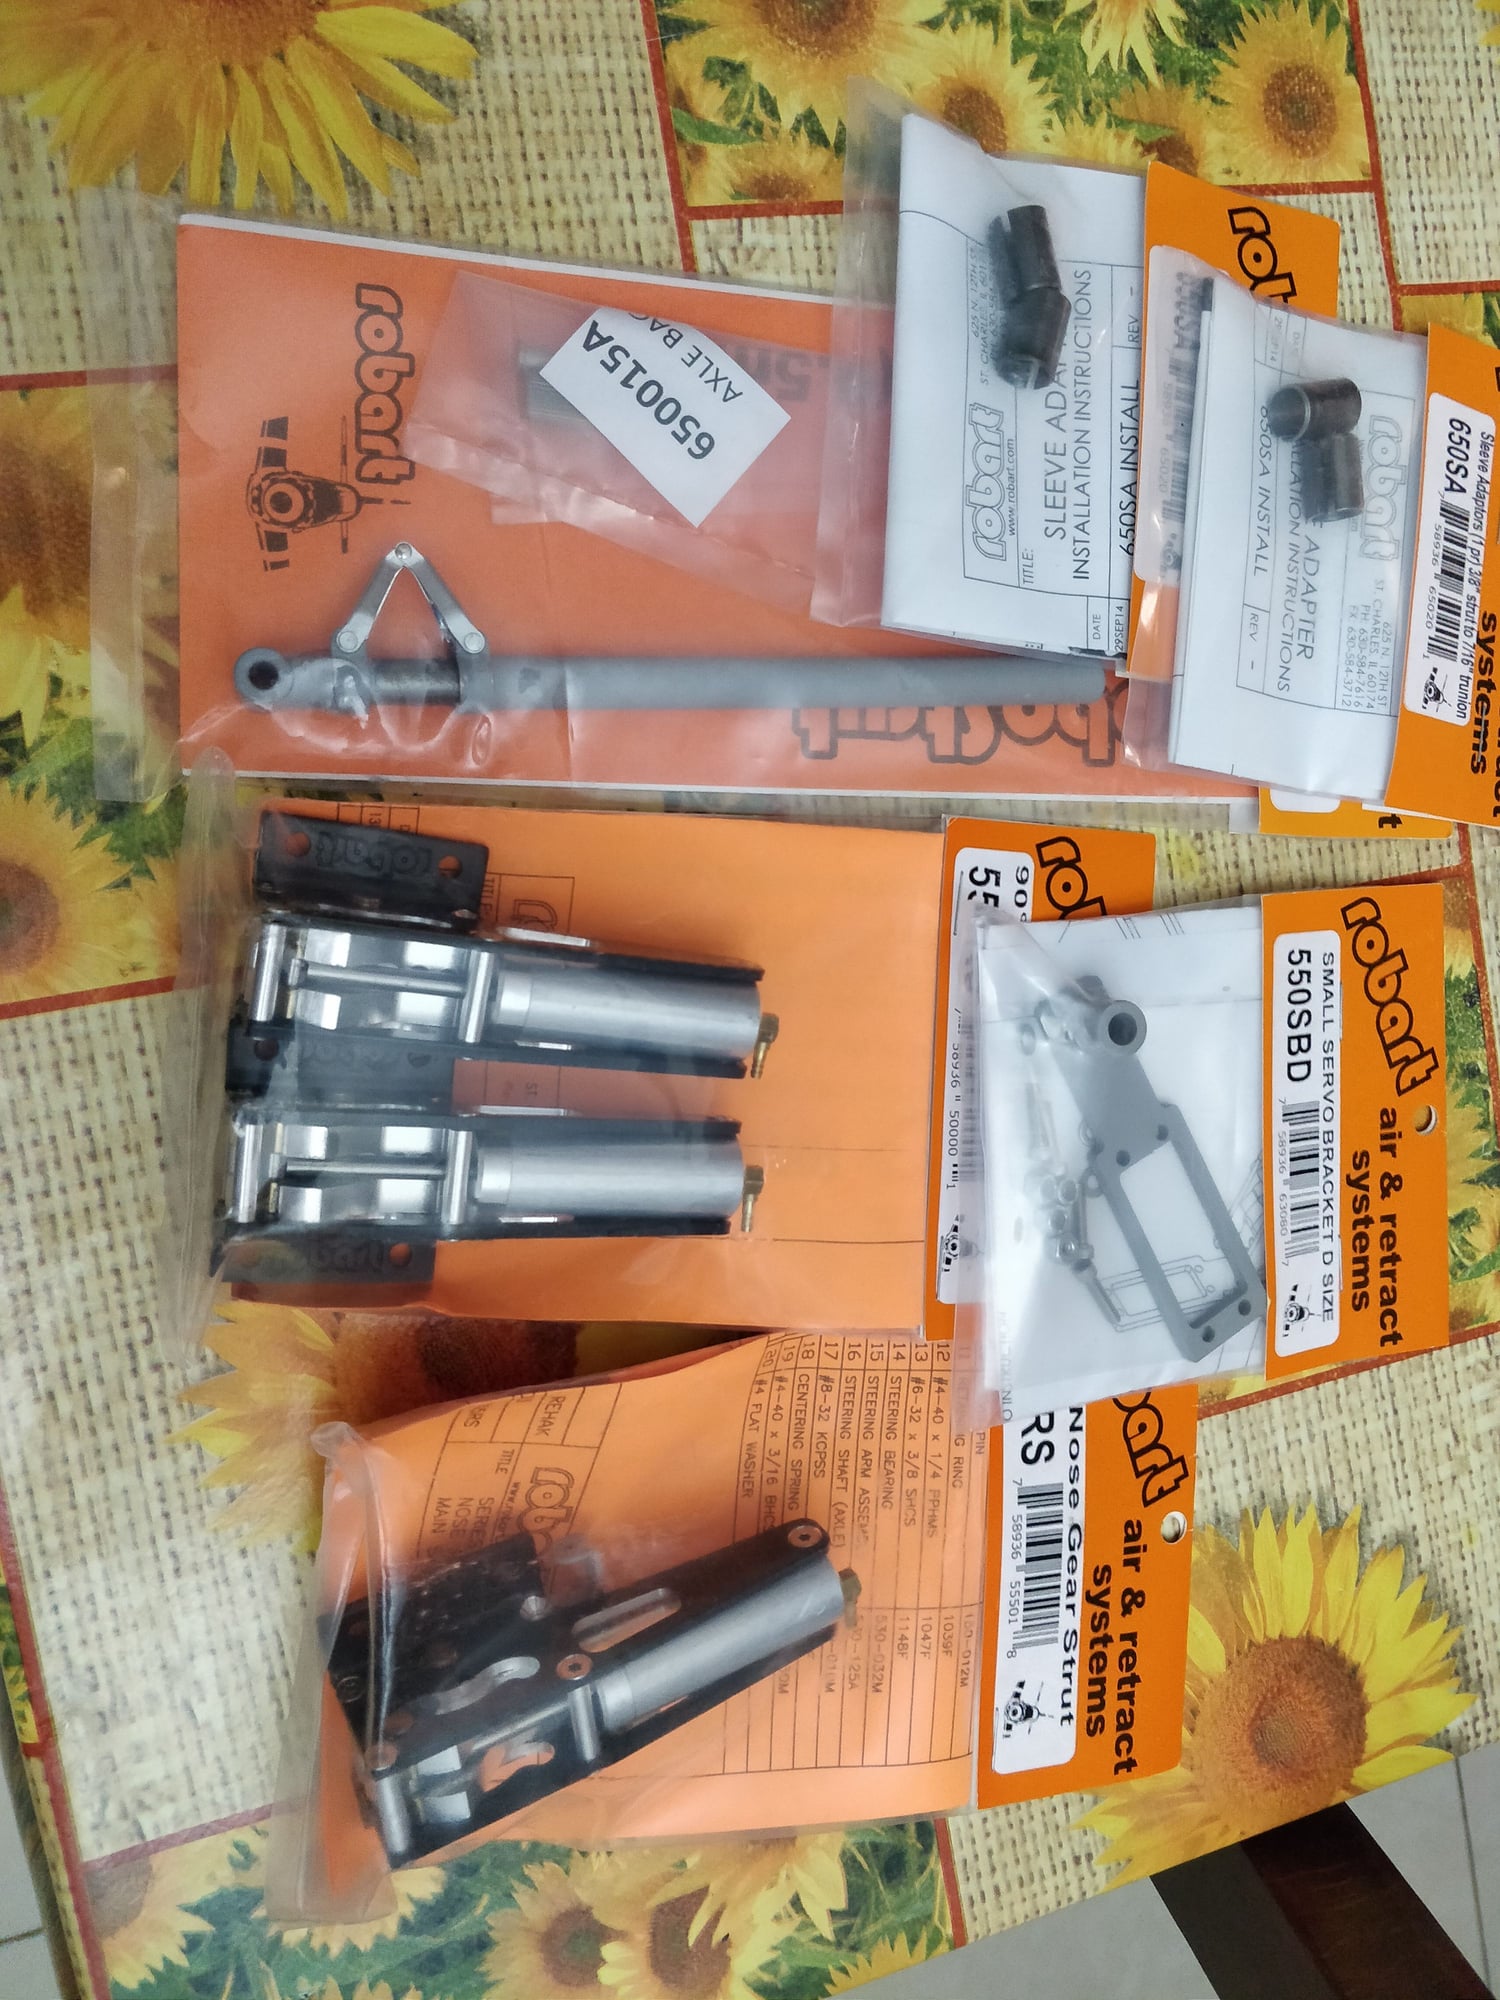
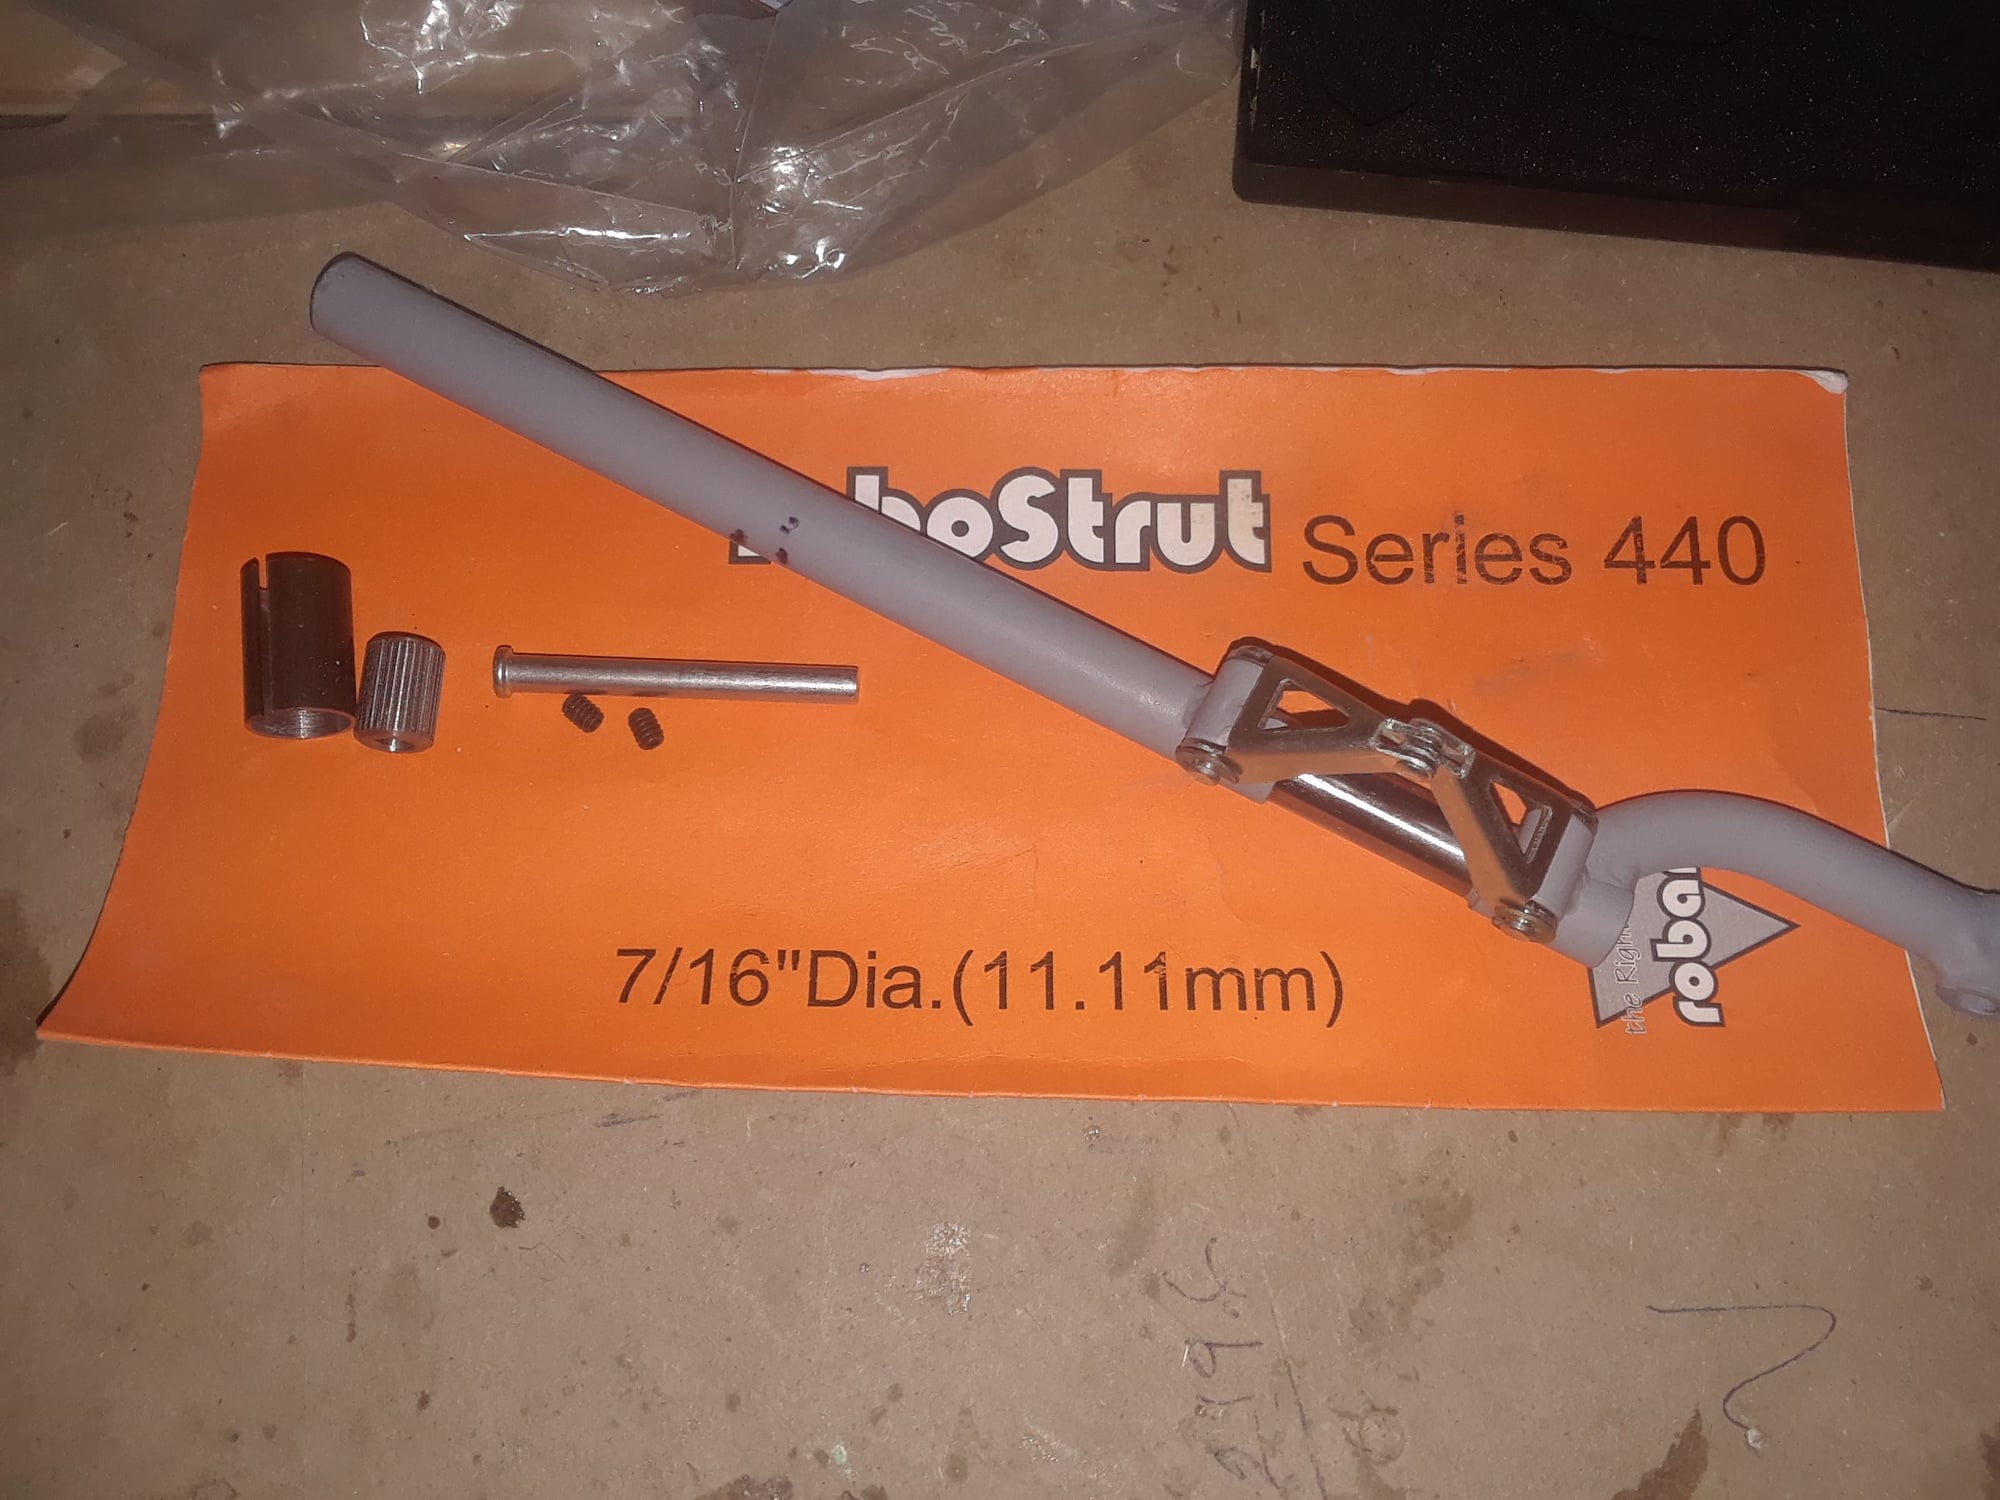
Found this on the Robart site...
Great! So the 3/8 strut should be same setup! And the pin being 1/4 to get stuck into the splined sleeve!
I think I am good to place the order.
Avoiding a pull pull is one of the pluses!
Last edited by Signofinfinity; 10-23-2019 at 10:43 AM.
10-23-2019, 10:45 AM
#83
How about mounting the steering servo back from the retract, oh, I forget that you dont want to use pull-pull, on these tailess airplanes we want to avoid at all cost adding weight at the front, my Kangaroo needed nearly 2 lbs on the aft fuse to balance, this one was repaired before thats why it needed so much.
Last edited by CARS II; 10-23-2019 at 10:48 AM.
10-23-2019, 10:52 AM
#85
Thread Starter
Join Date: Feb 2015
Posts: 208
Likes: 0
Received 0 Likes
on
0 Posts
I tried to gain my aft CG by,
- engine is about 1/2 back from standard.
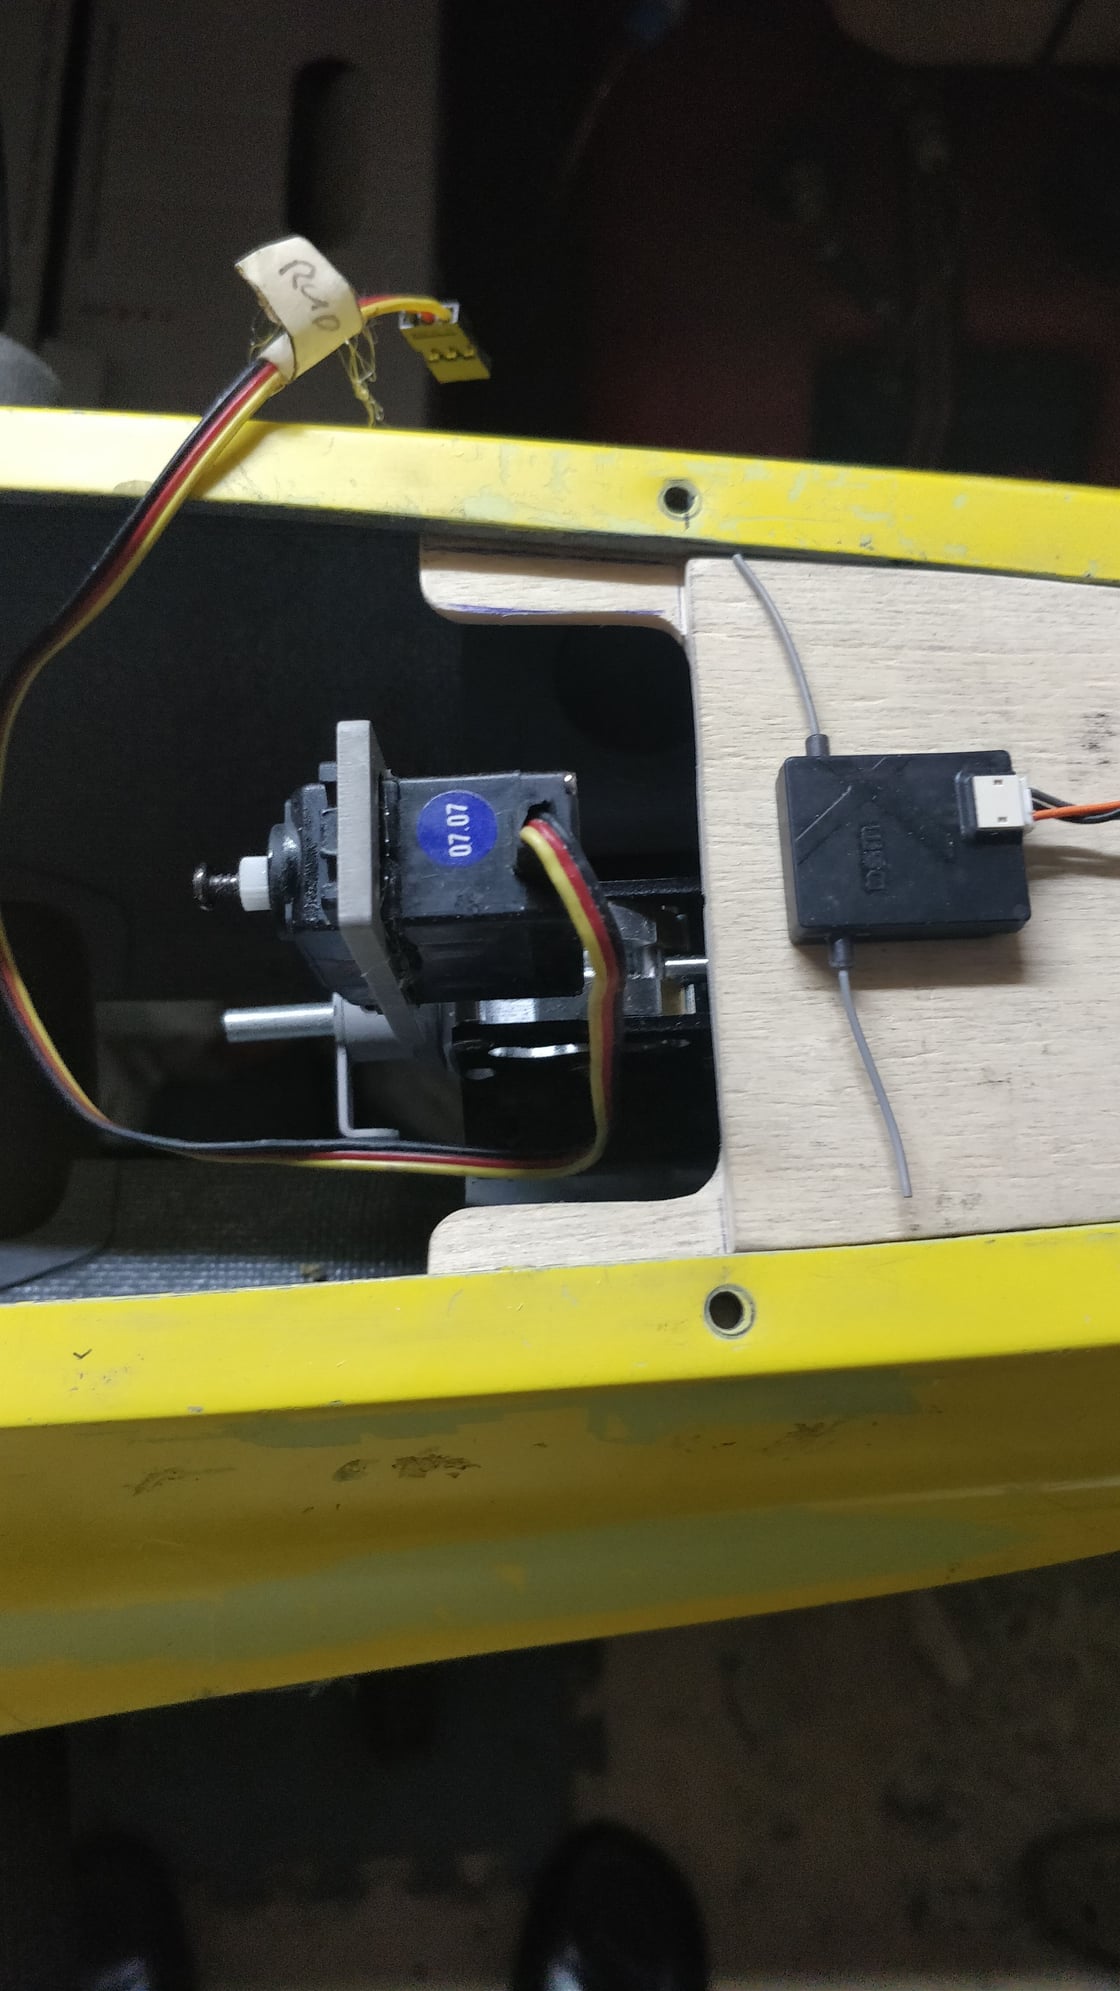
- Removal of rudder servo from in front the tank area
- The n/steering will be a Hitec HB225BB.
- The servo retract backwards... Towards the engine. Using a mini servo to reduce the weight Vs the standard servo.
- The air tank and jettronic valves plus brake module plus brake battery will be mounted instead of the stock nosewheel servo.
 10-25-2019, 10:18 PM
#88
My Feedback: (2)
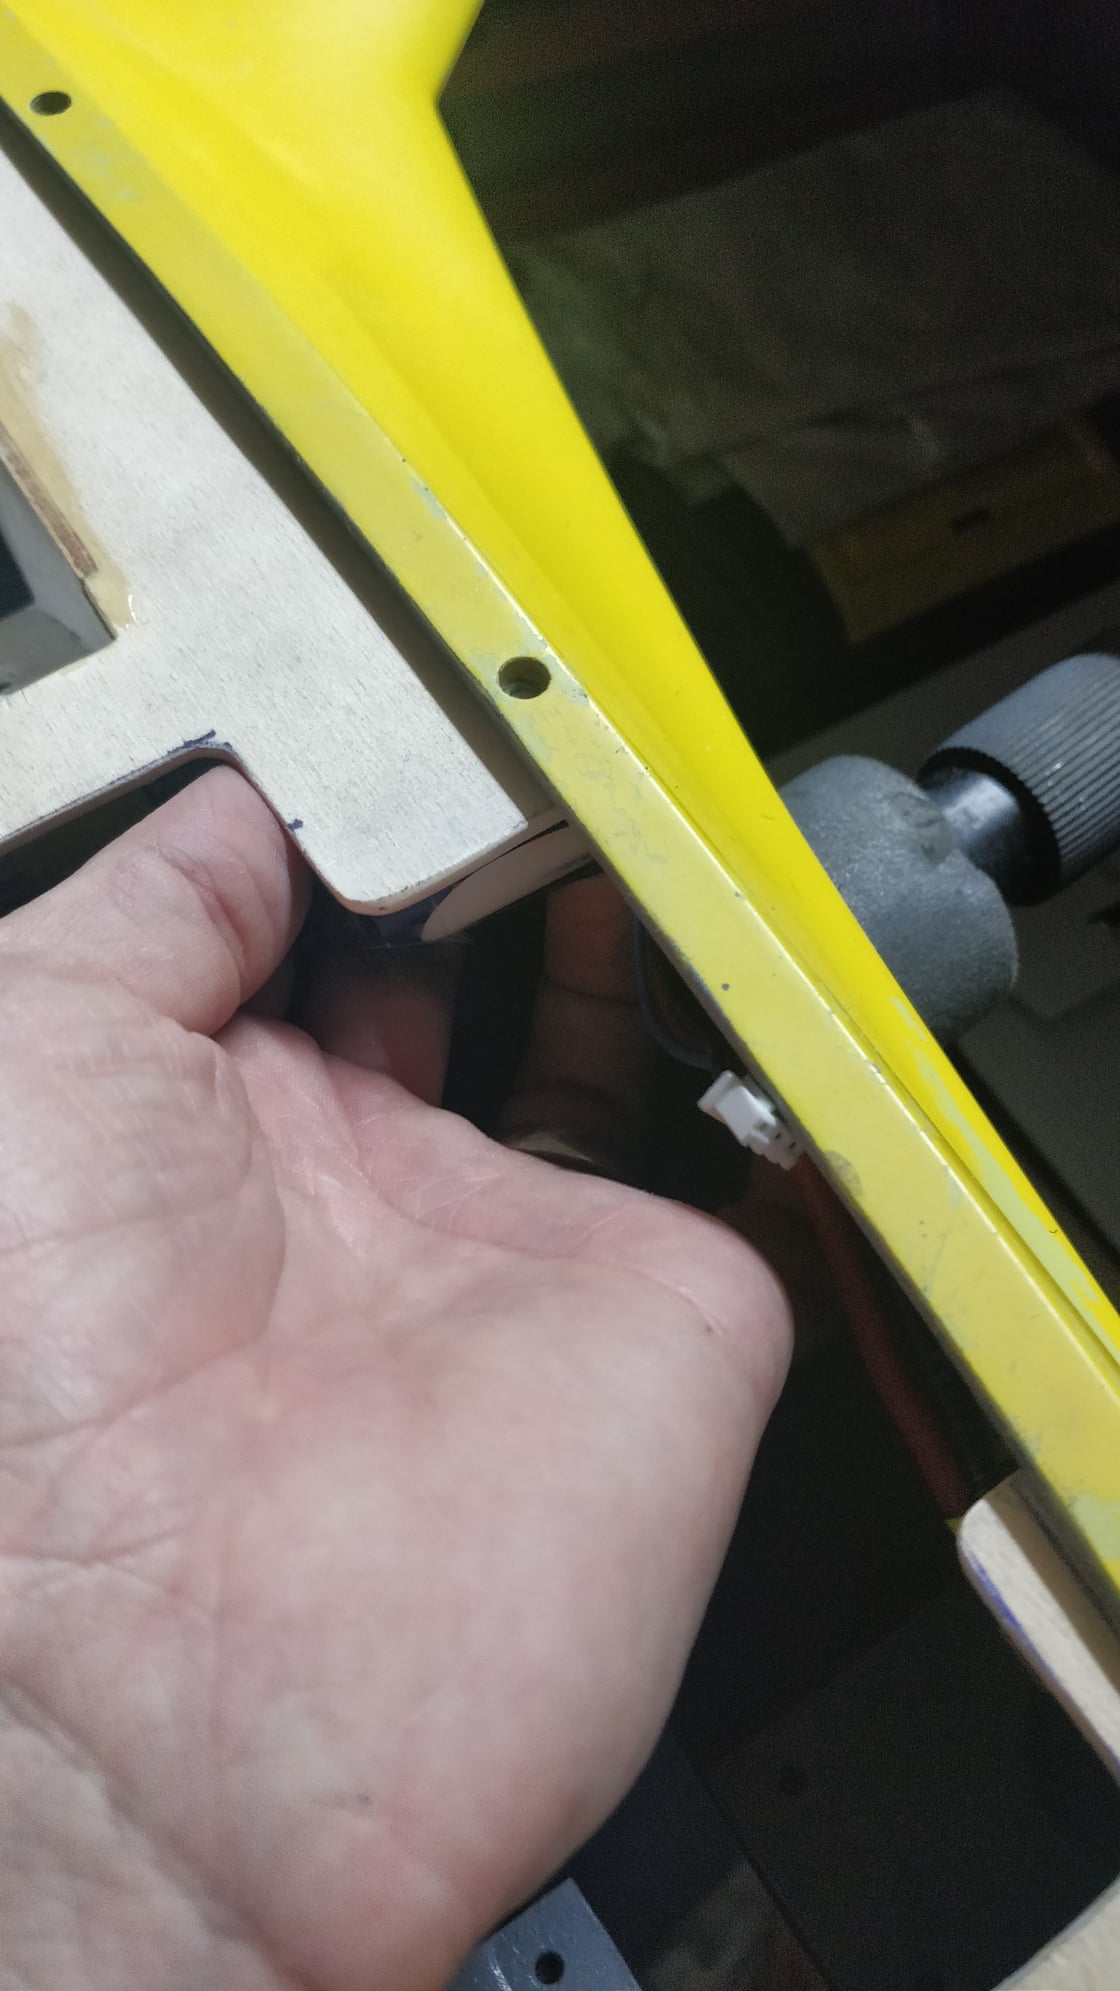
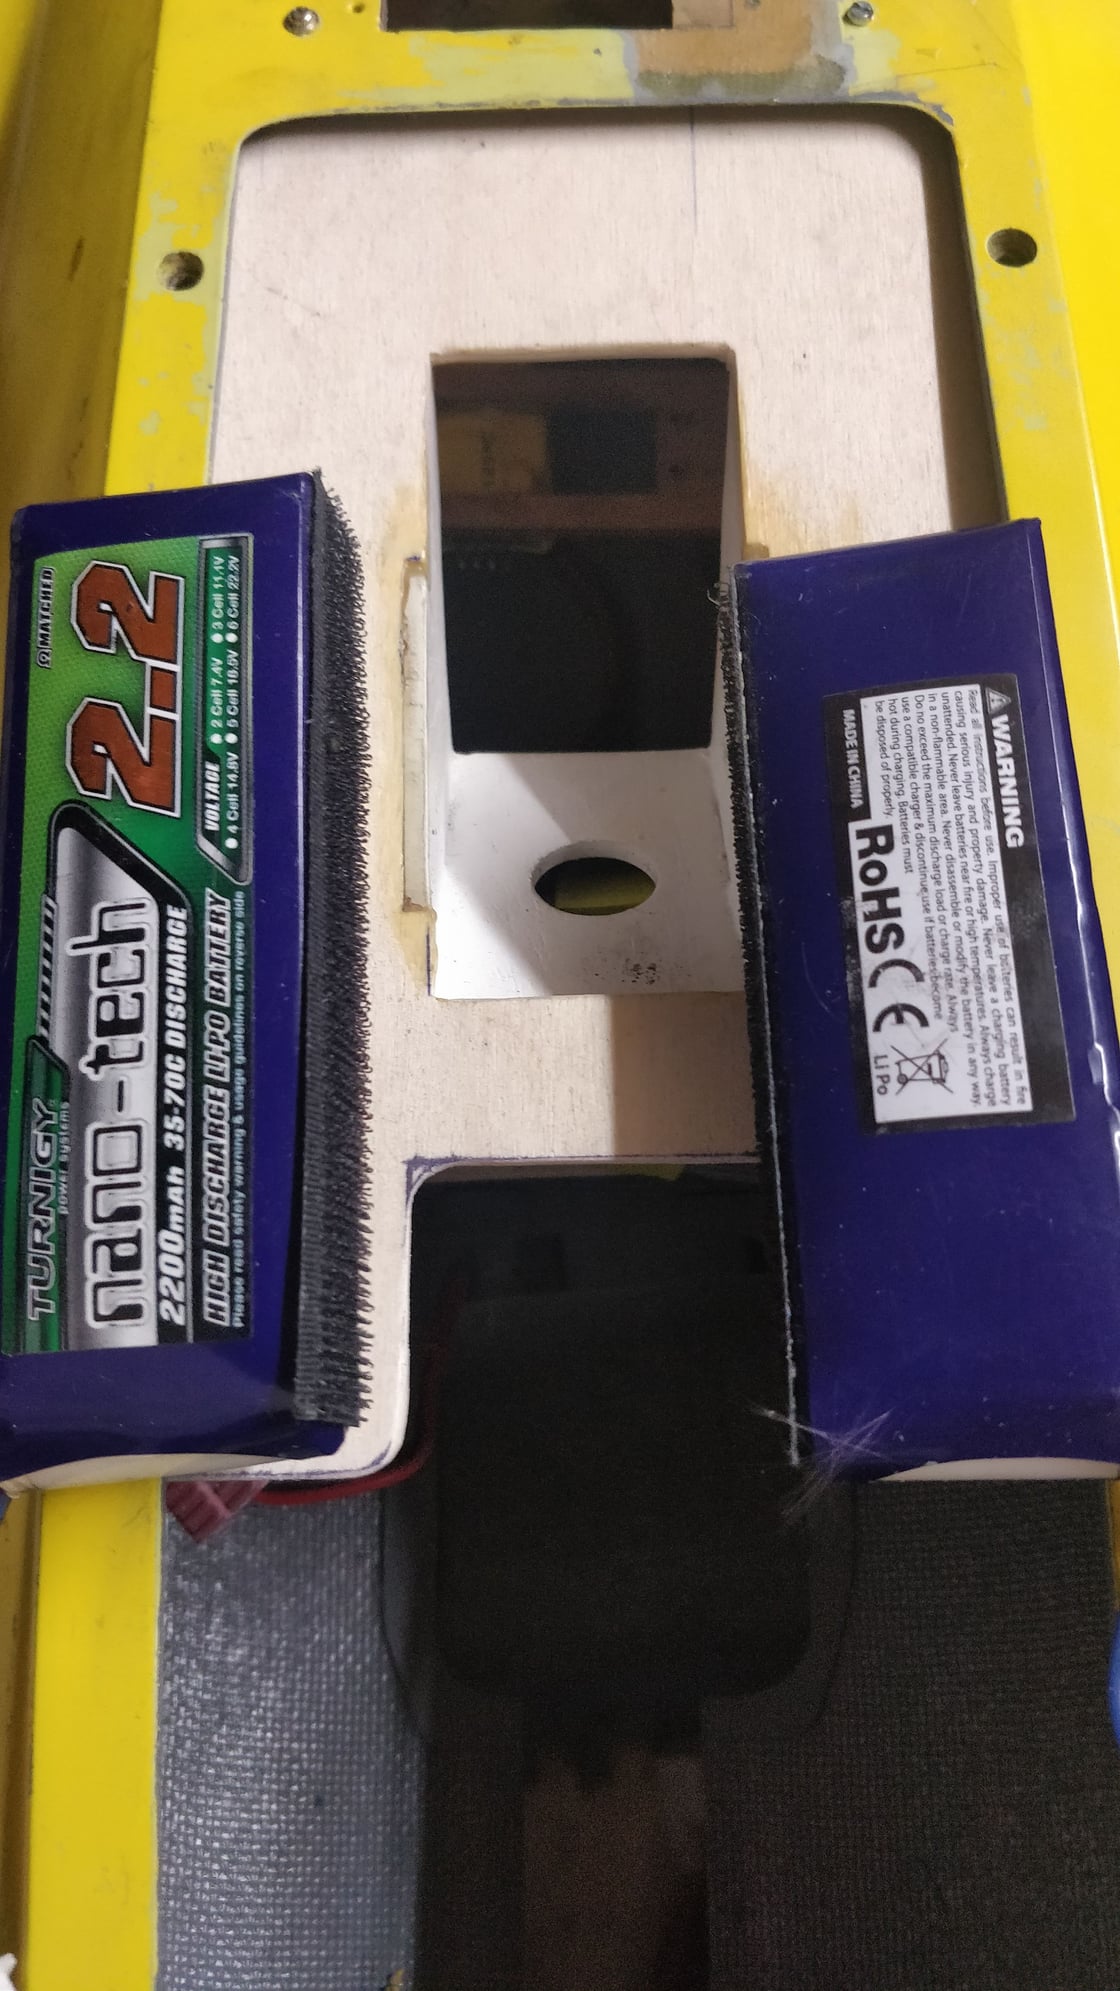
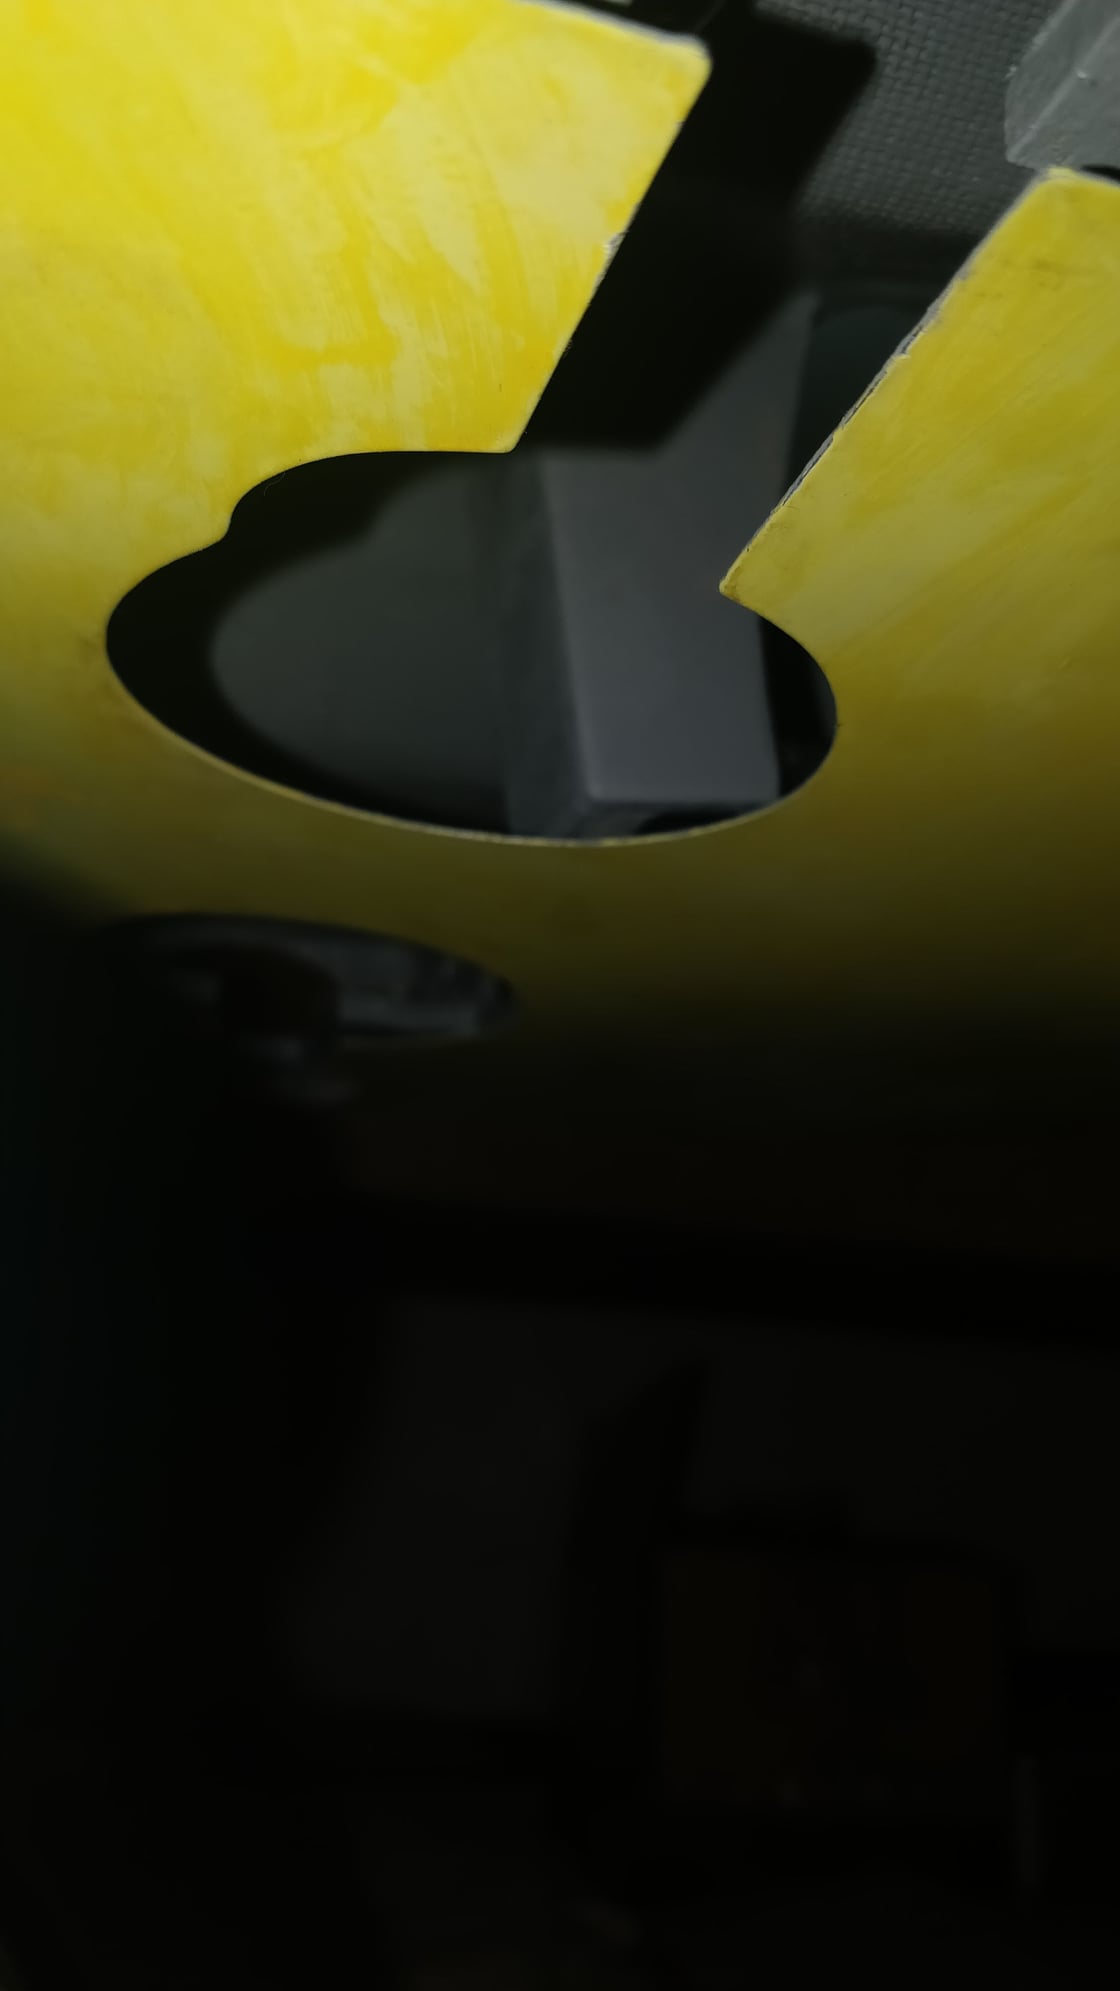
Do yourself a favor now, and at least ditch the stock retract in the nose. Mine got sloppy immediately. Here's what happens. The side frames are probably made out of some soft aluminum like 6061. That, in combination with the skinny web above the pin results in a really weak spot (Green line). The Robart's design and material choice is FAR better.
I switched out the nose retract for the 555, and it was perfect. Eventually, like ~30 flights later, my mains got really sloppy too. The sloppy main gear aggravated a 'kangaroo hop' down the runway on landing, and it did a bunch of damage all over.
KW

I switched out the nose retract for the 555, and it was perfect. Eventually, like ~30 flights later, my mains got really sloppy too. The sloppy main gear aggravated a 'kangaroo hop' down the runway on landing, and it did a bunch of damage all over.
KW
10-25-2019, 10:50 PM
#89
Thread Starter
Join Date: Feb 2015
Posts: 208
Likes: 0
Received 0 Likes
on
0 Posts
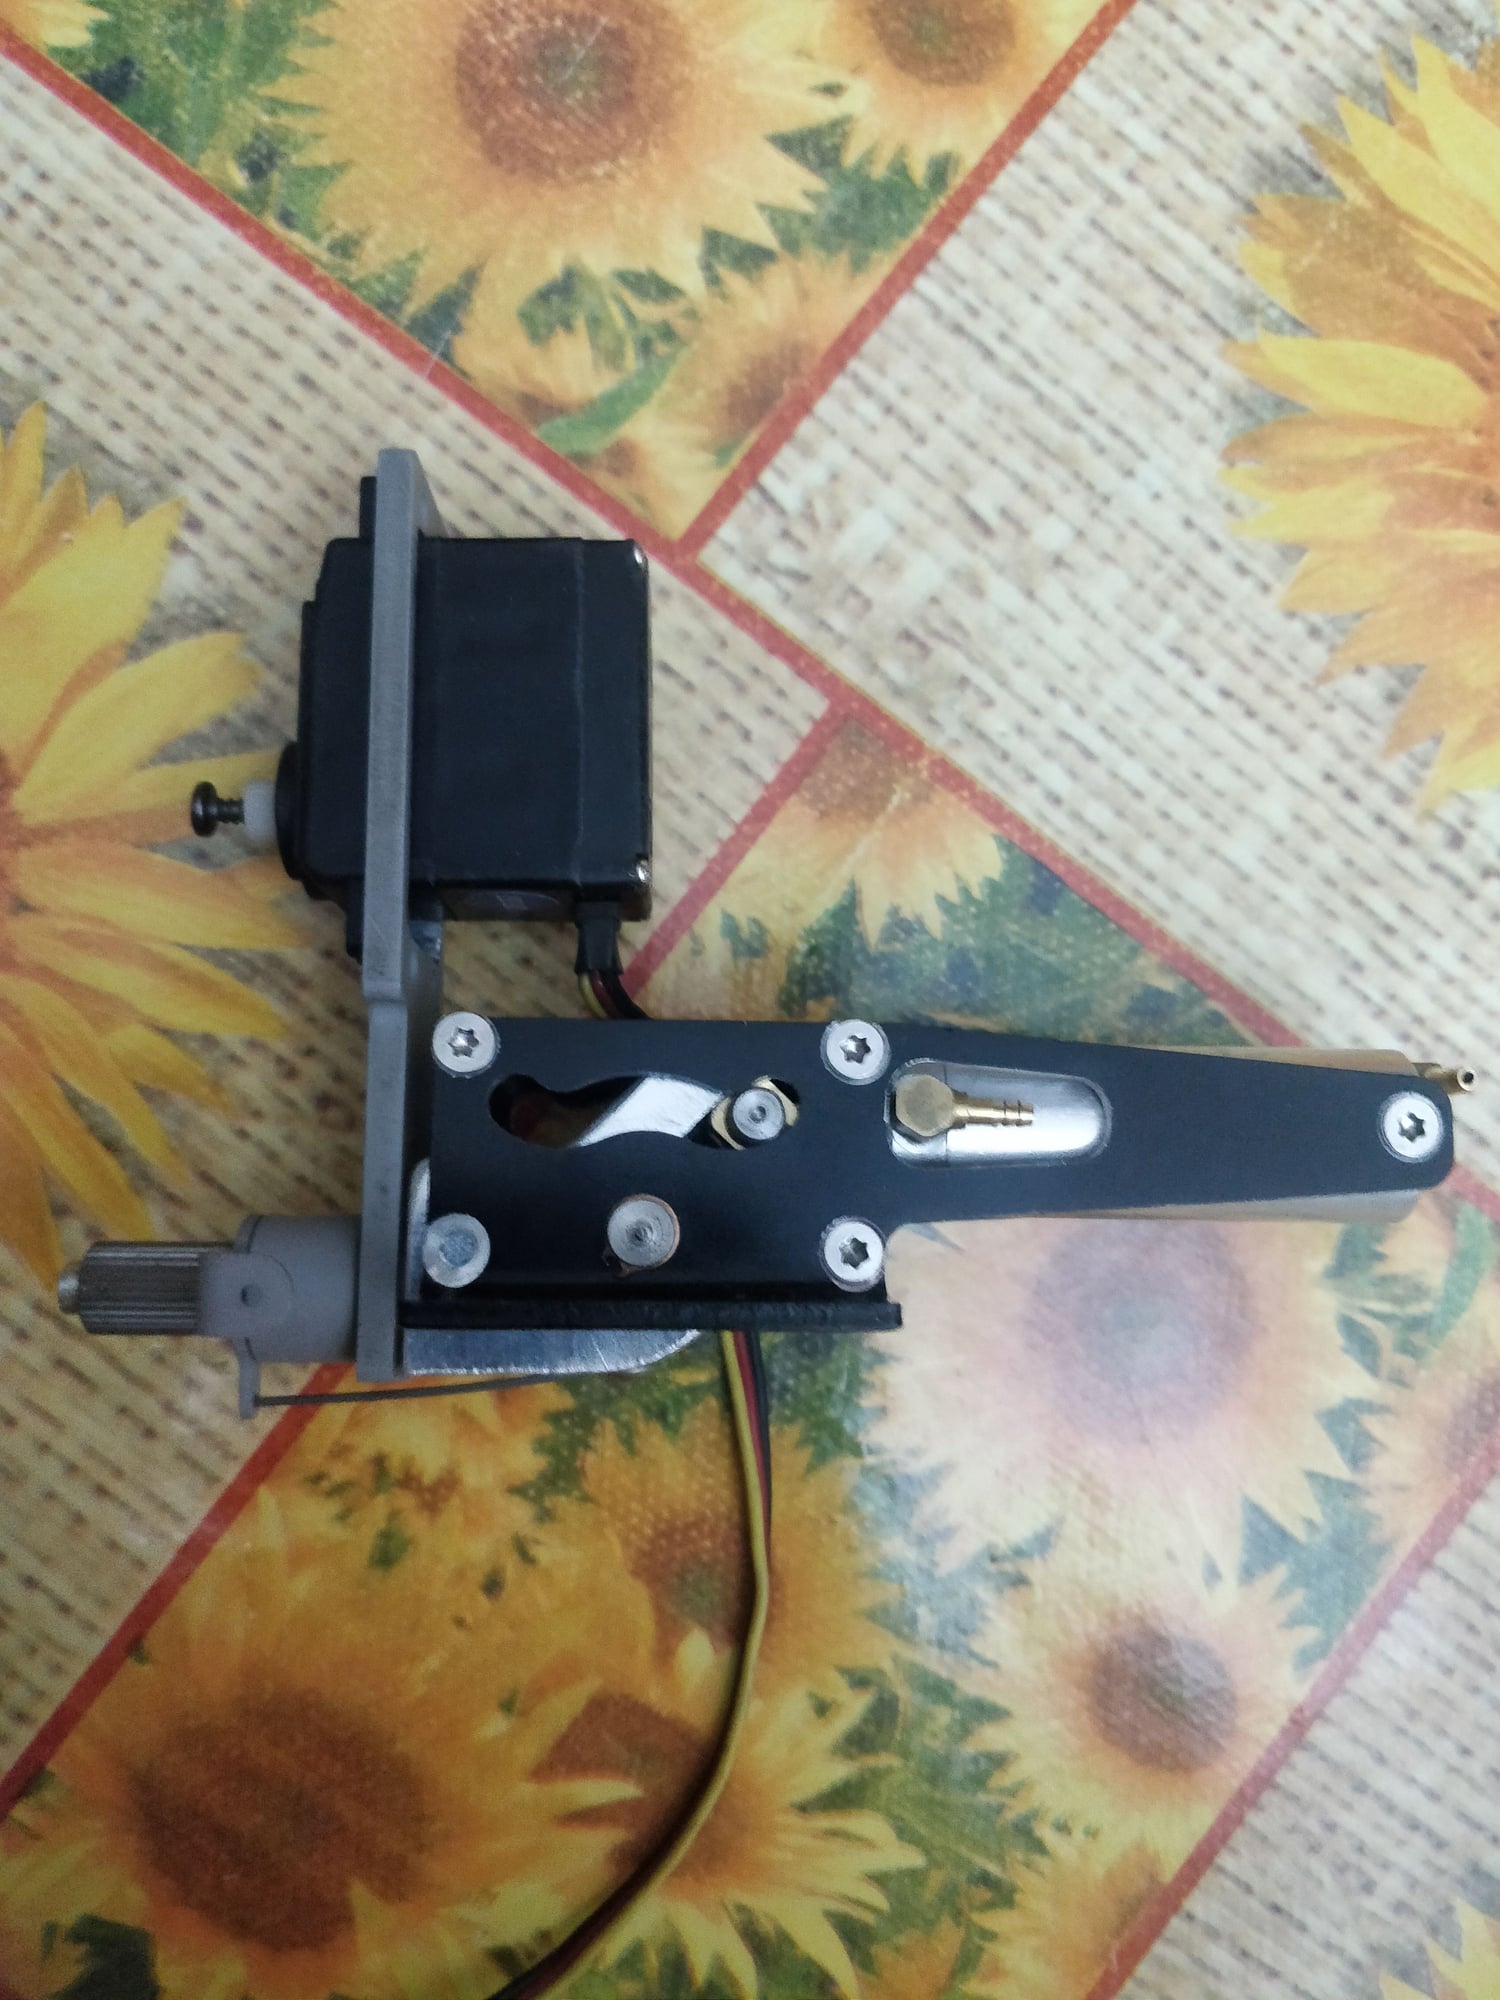
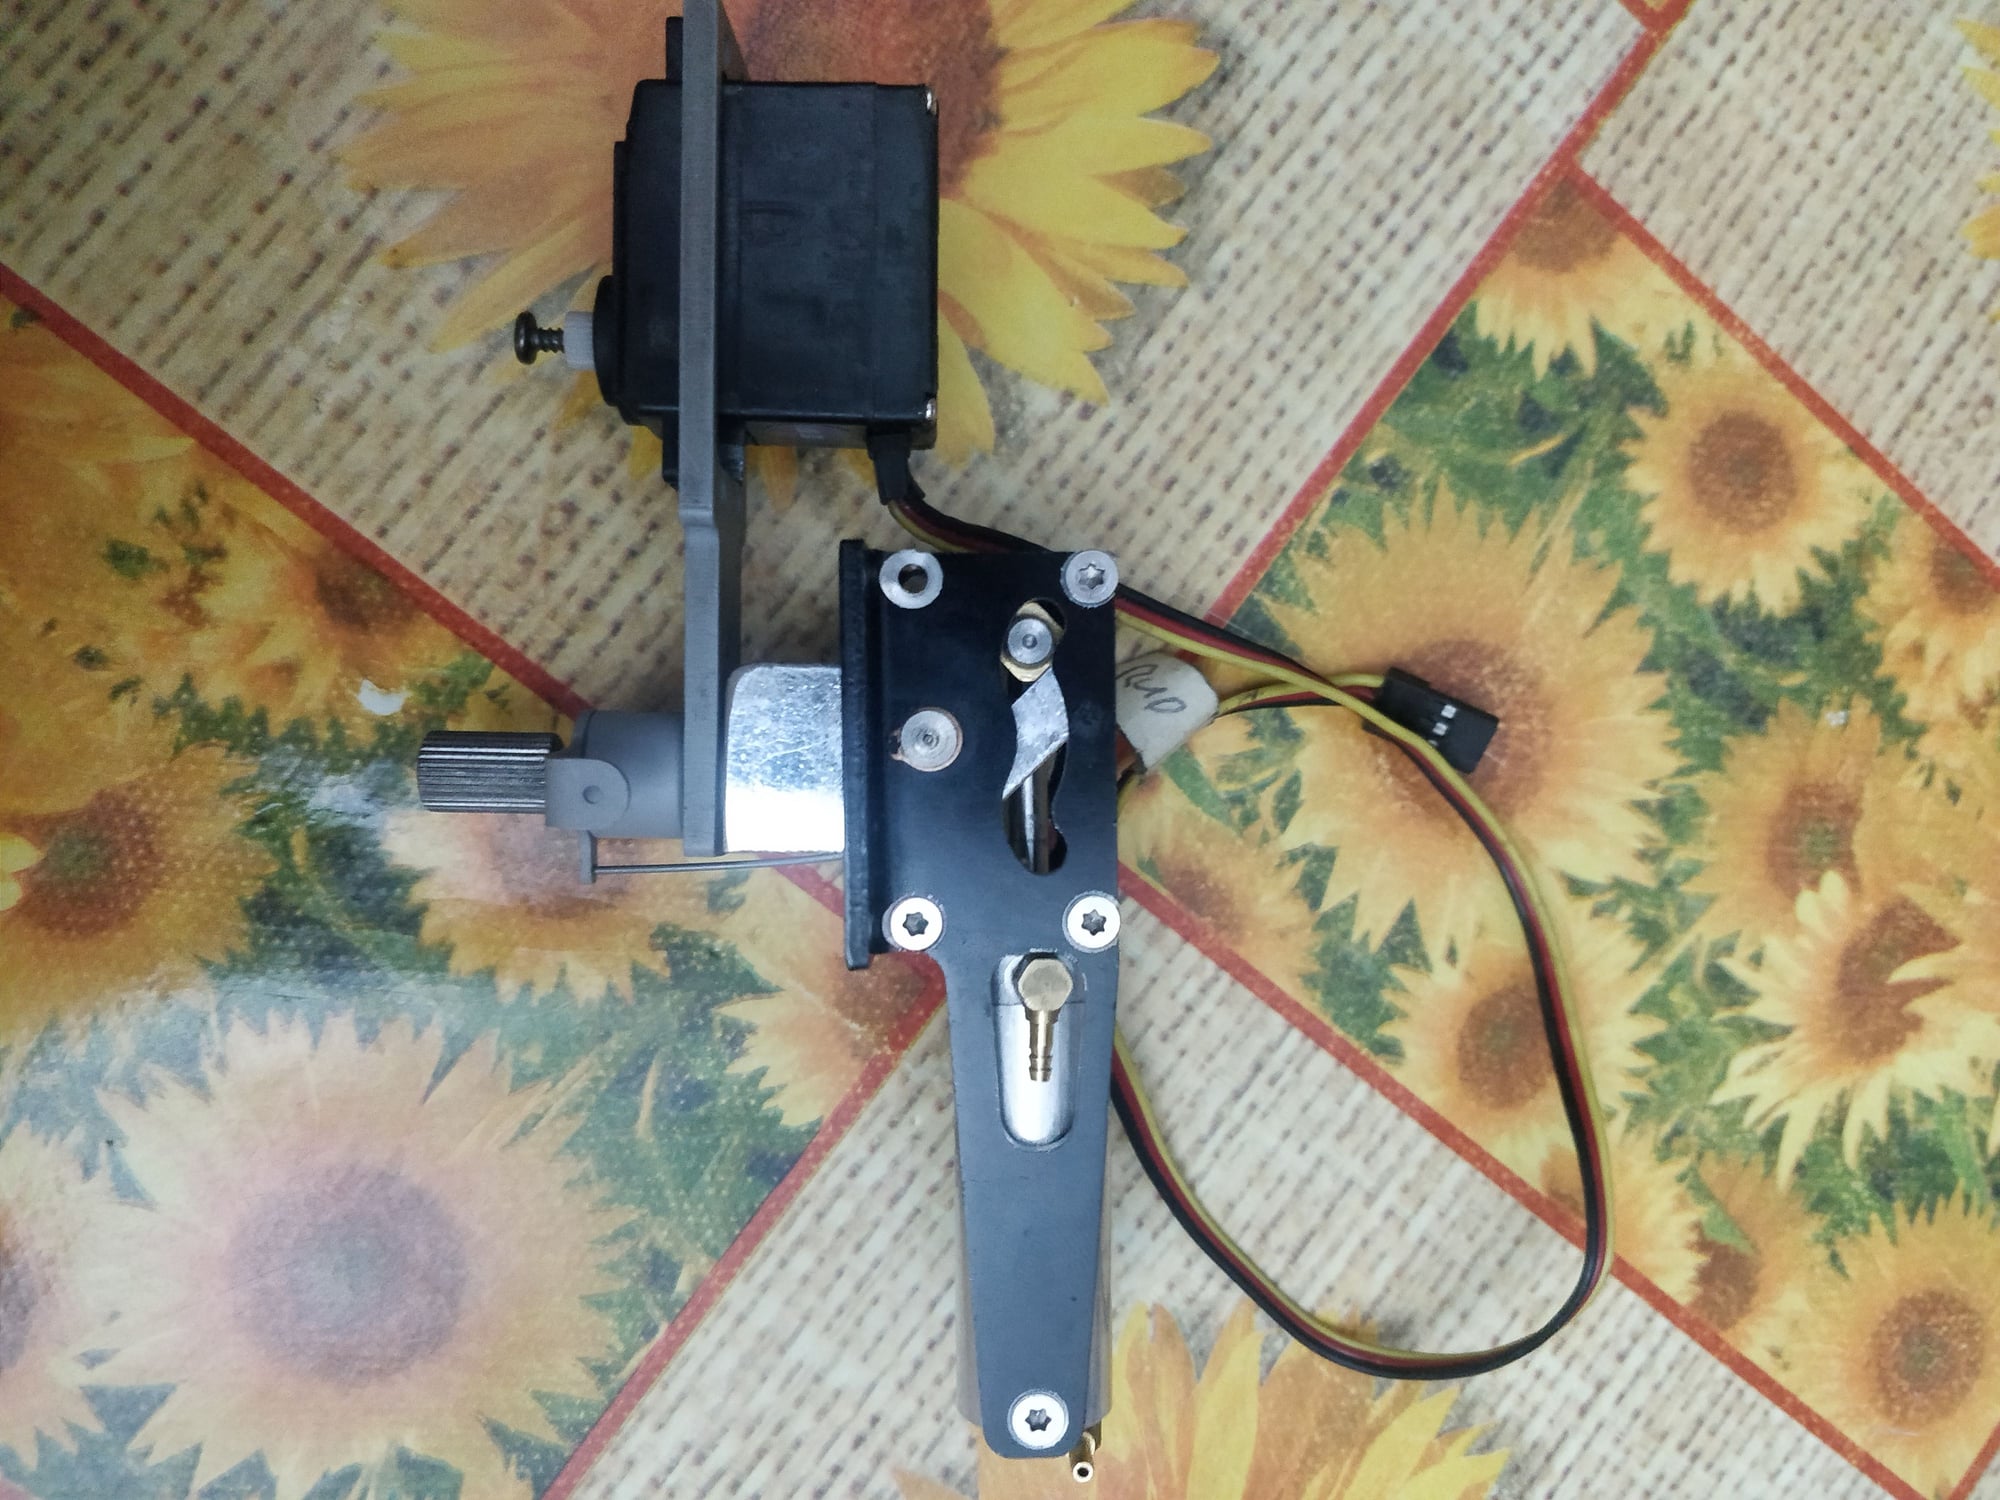
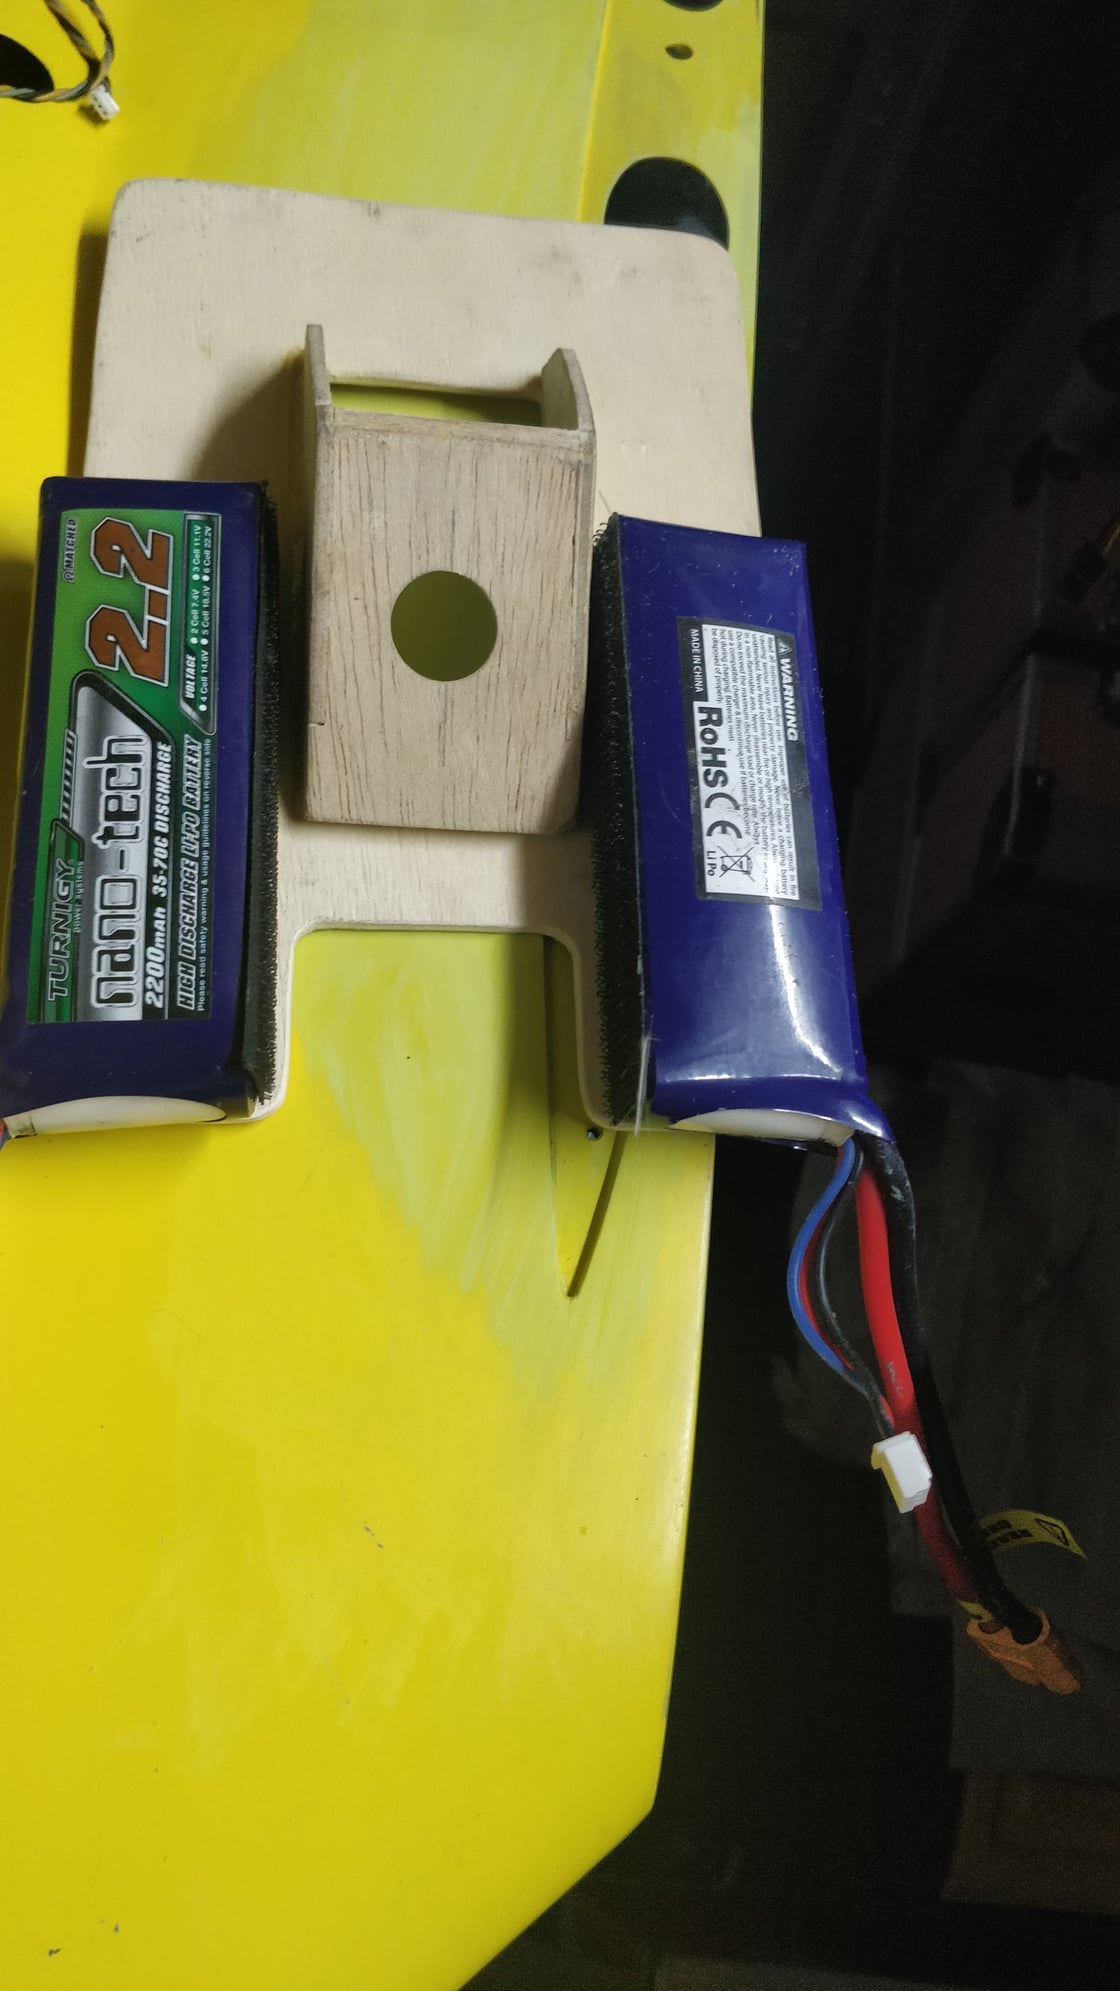
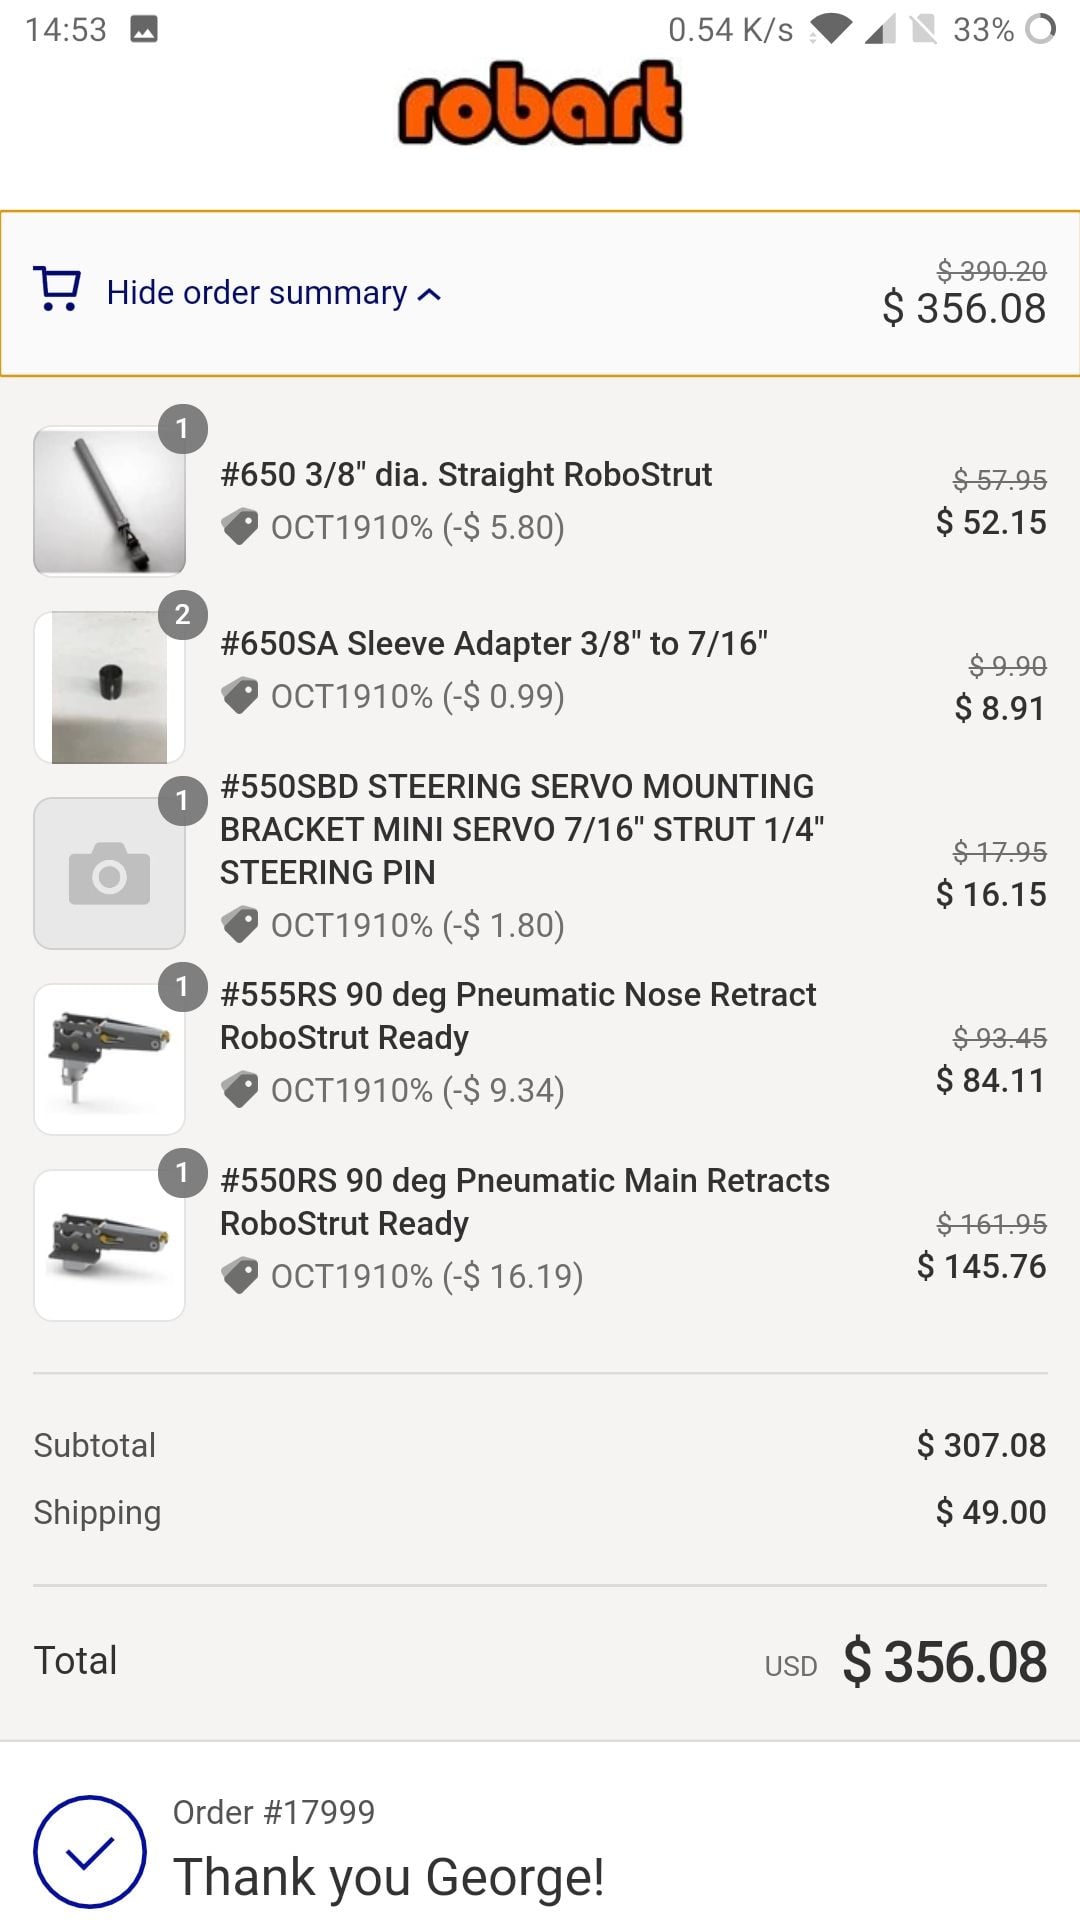
Yes, all retracts are replaced with robart!
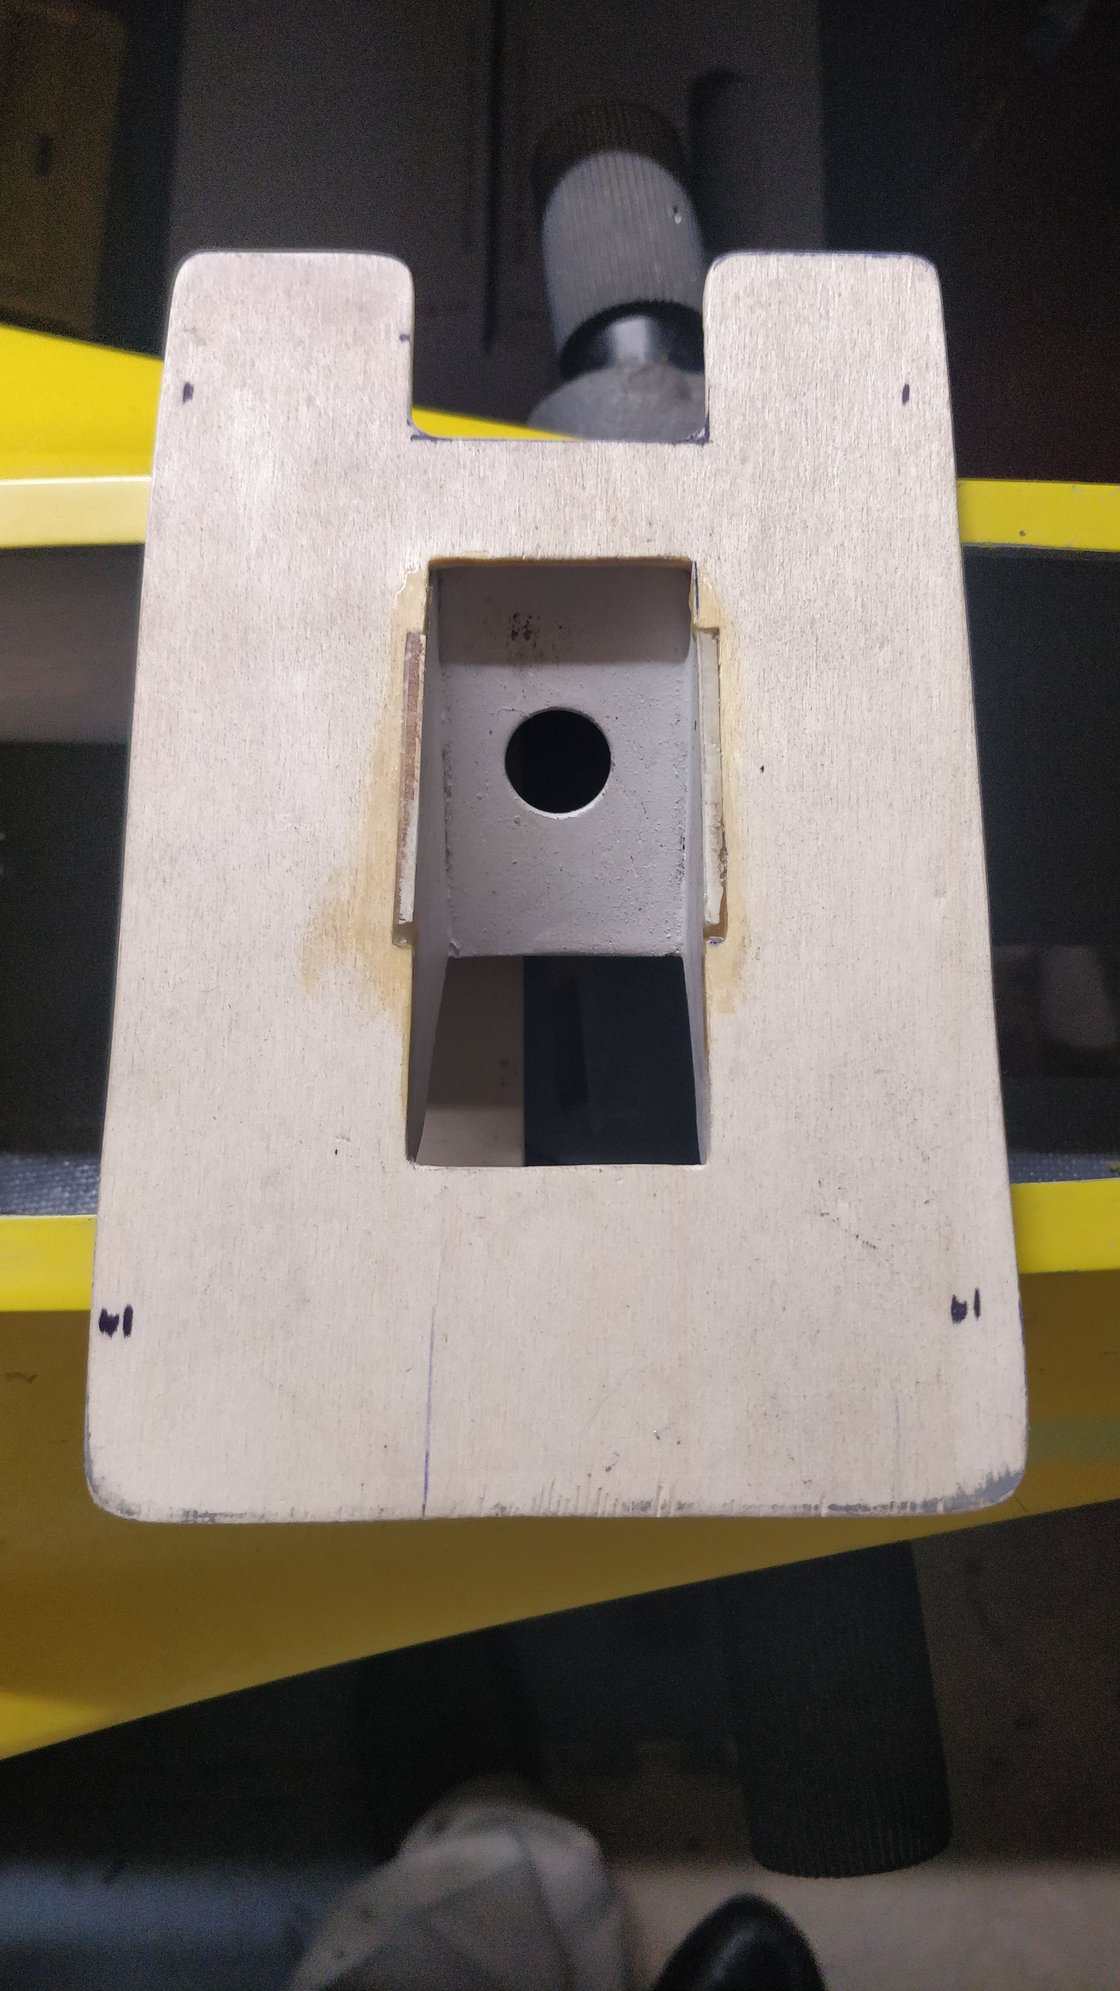
Nose strut is same as main, and will drop in two wheels.
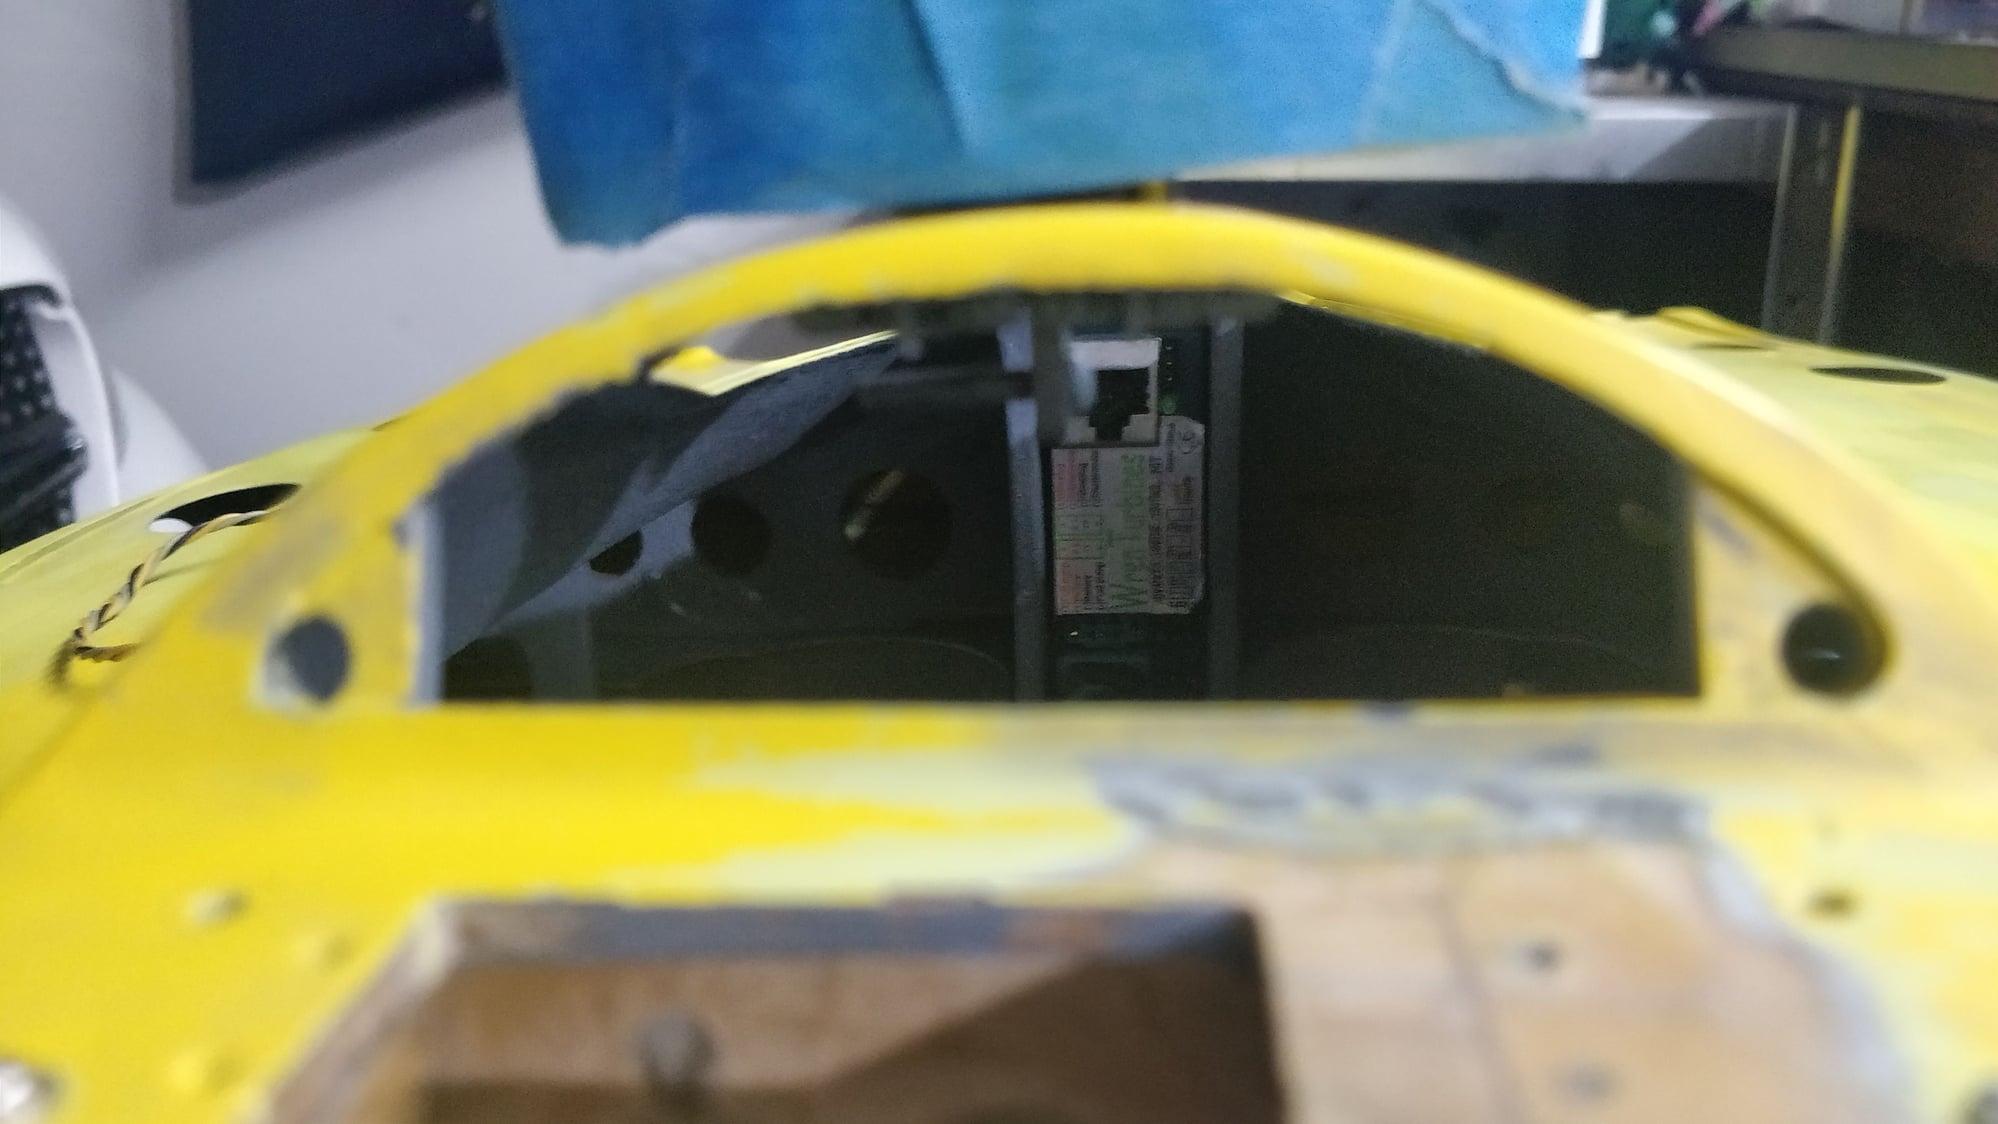
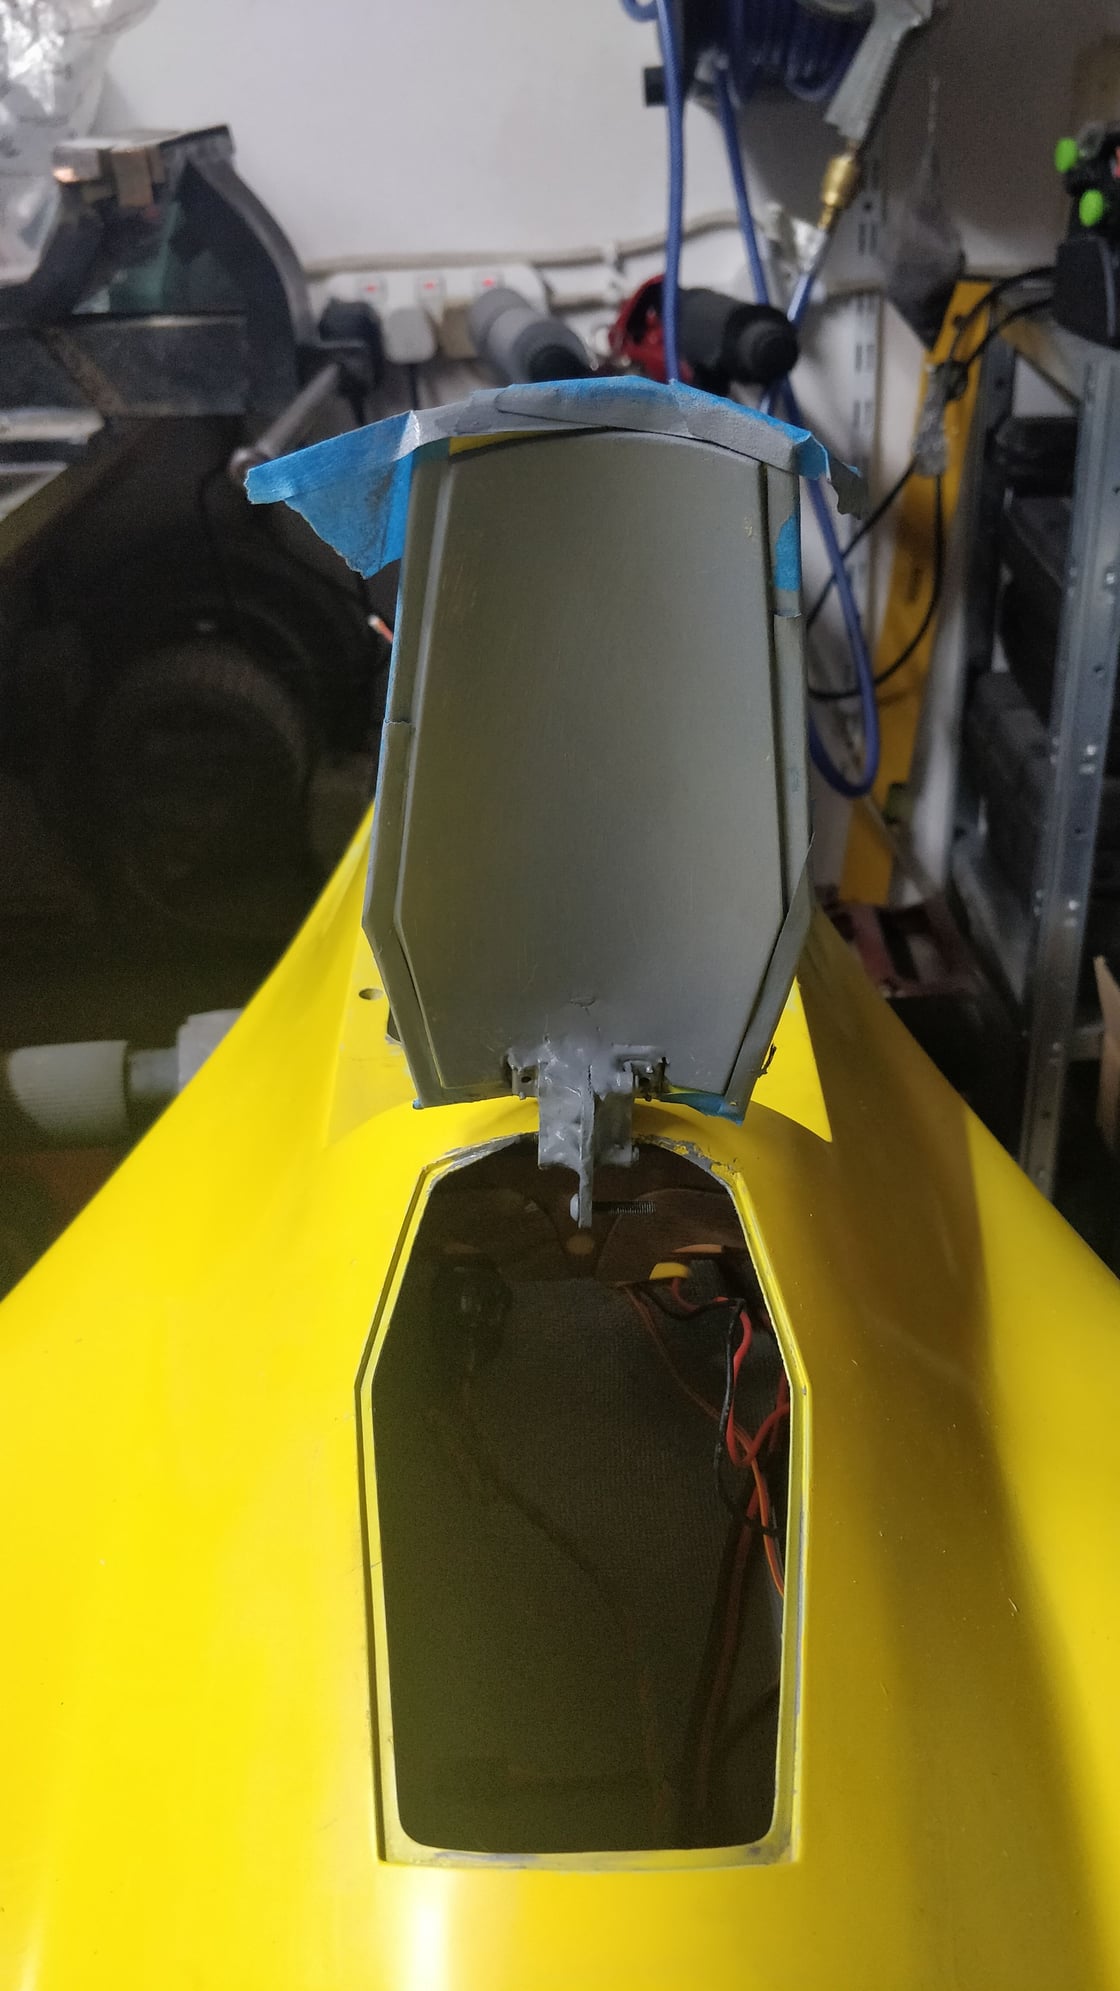
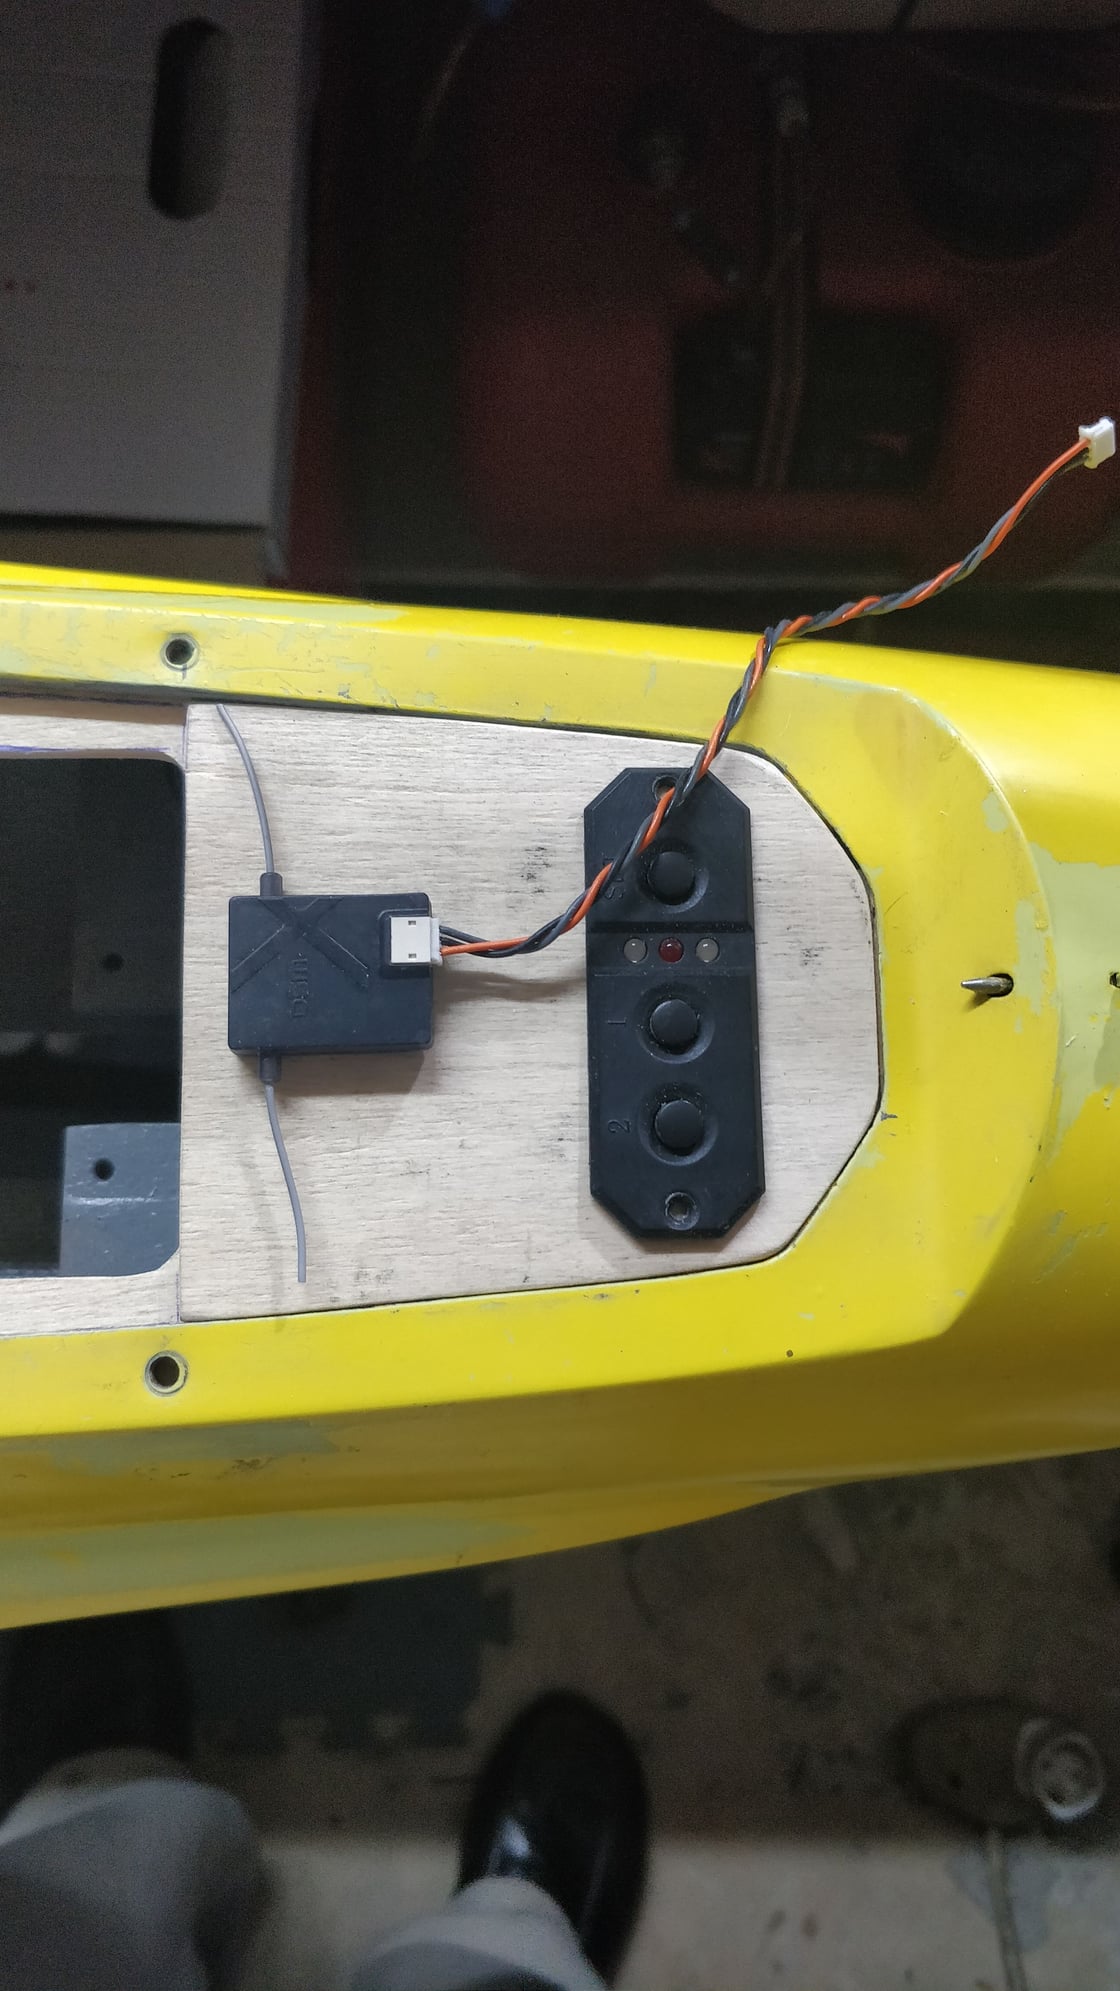
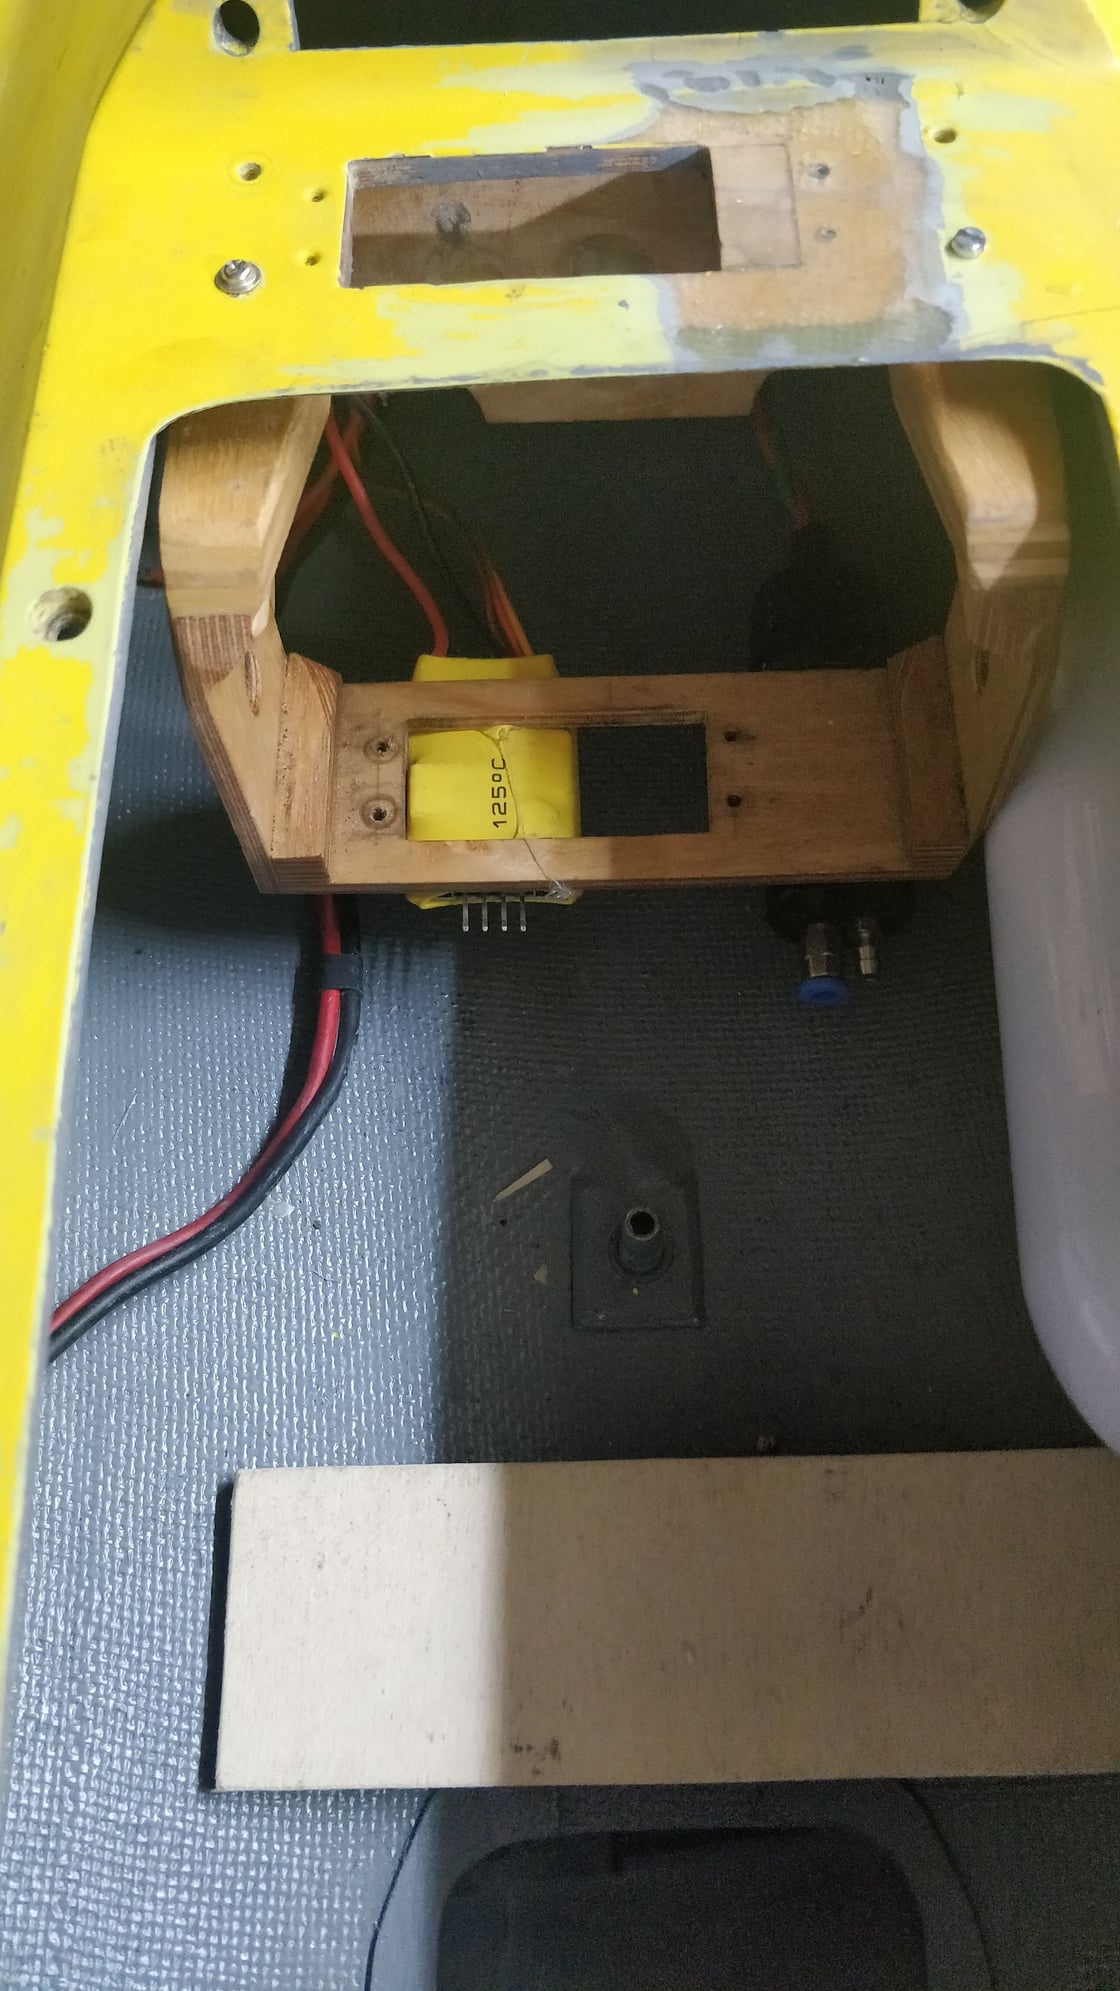
That picture was for measuring the servo plate for retractable nose wheel steering servo.
After all this work, I won't dunk it with crappy retracts. They should be here from Robart next Friday. FedEx
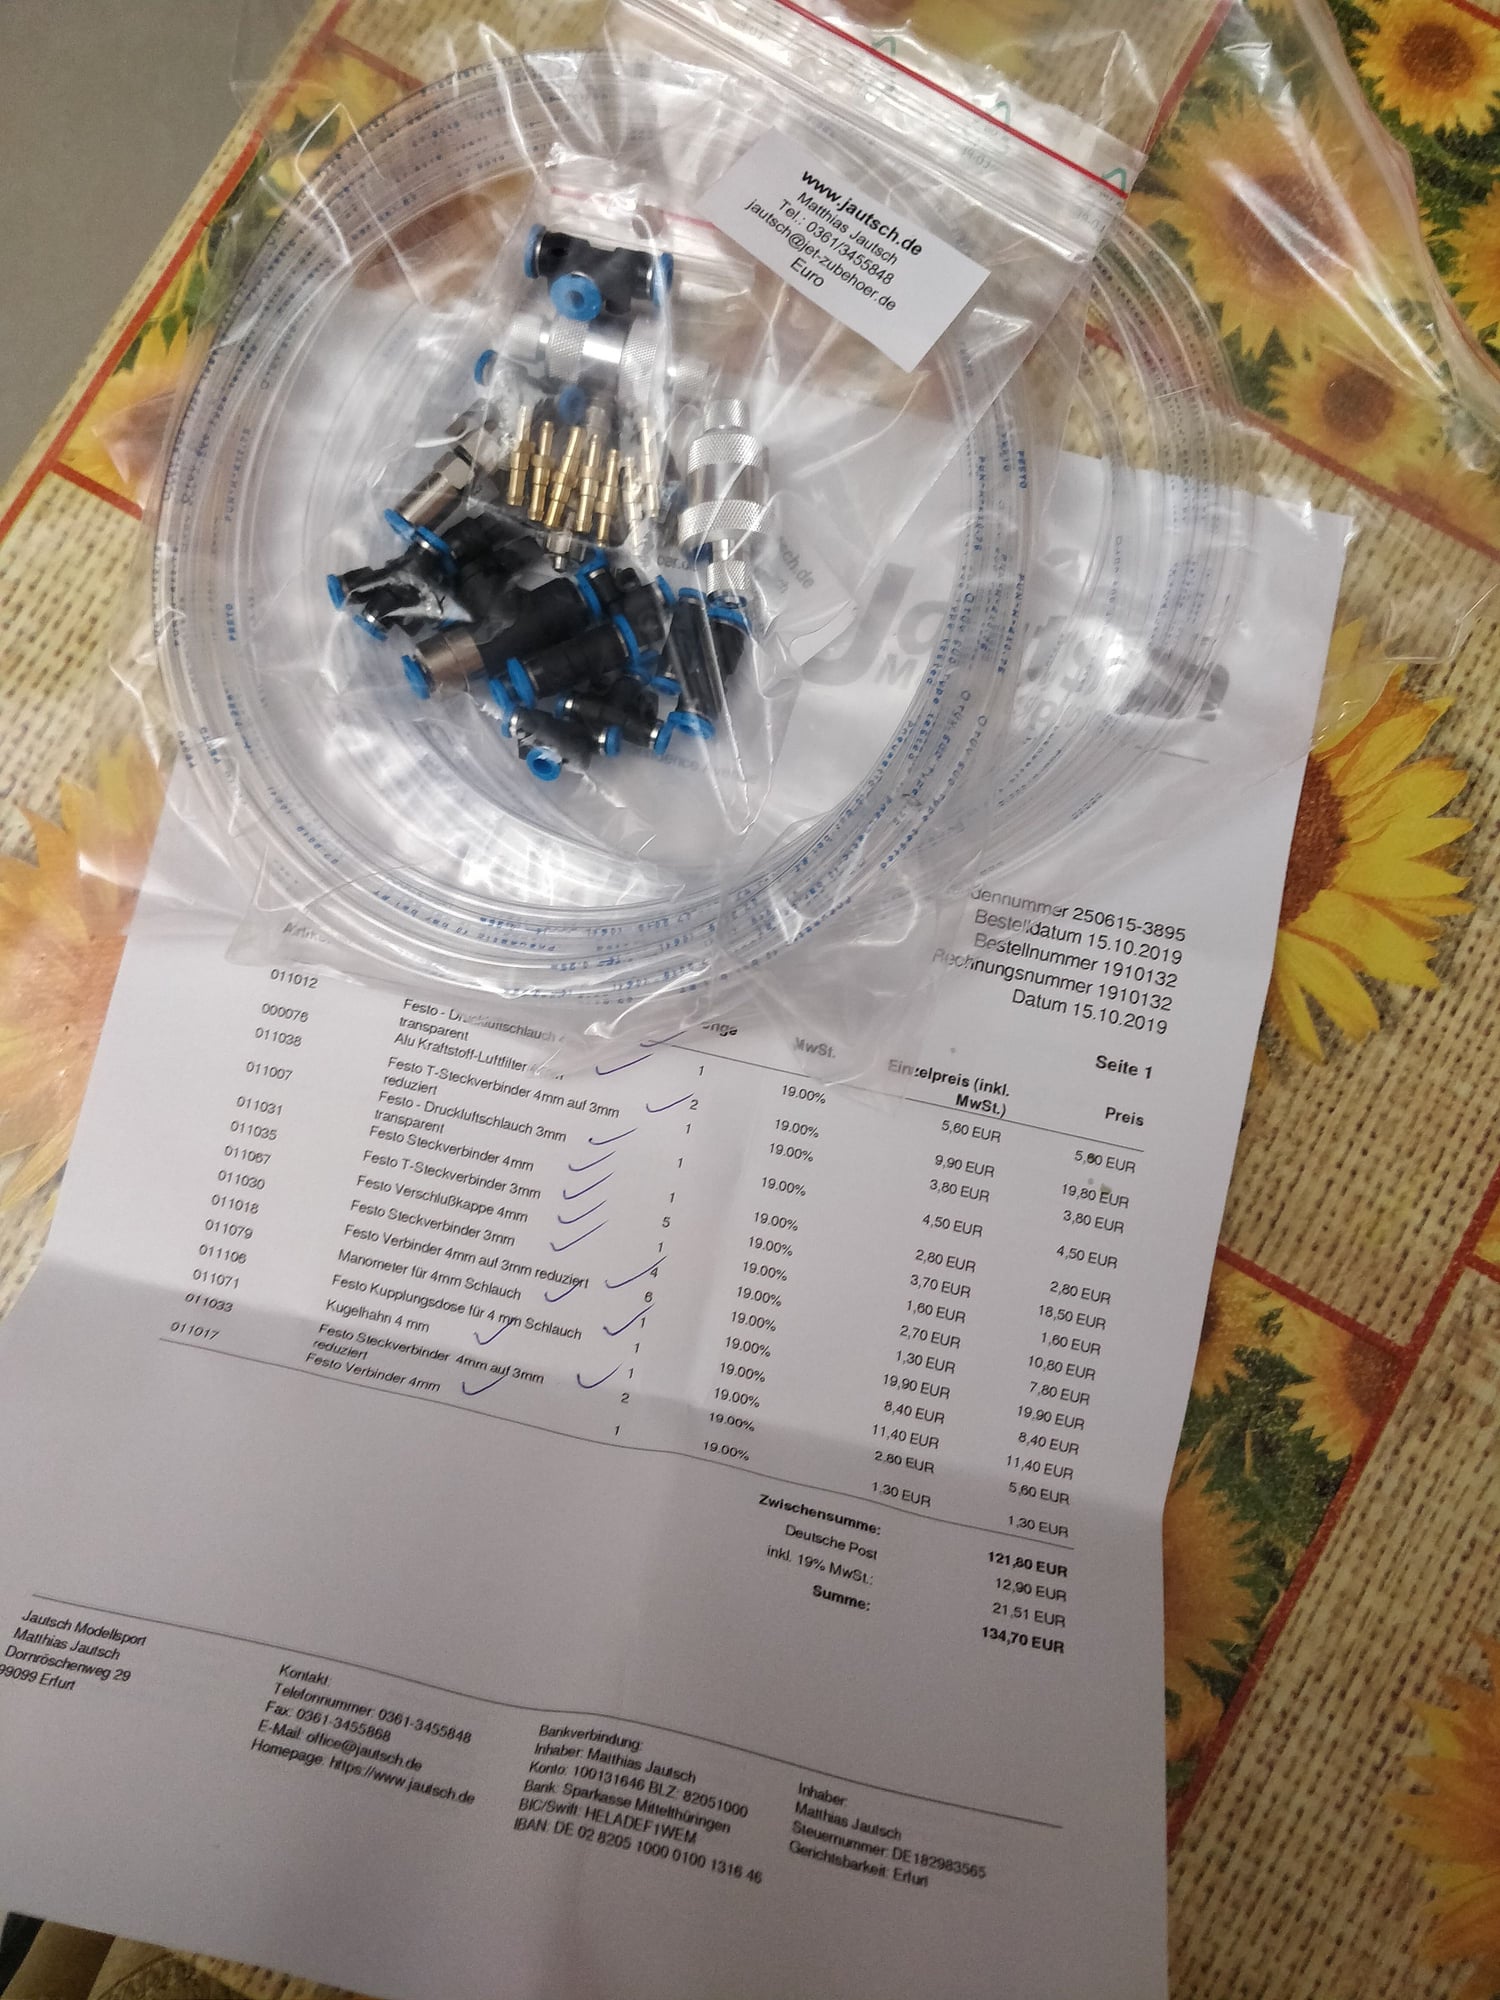
Festo fittings from Jautsch just here. Retracts, and fueling system covered!
Nose strut is same as main, and will drop in two wheels.
That picture was for measuring the servo plate for retractable nose wheel steering servo.
After all this work, I won't dunk it with crappy retracts. They should be here from Robart next Friday. FedEx
Festo fittings from Jautsch just here. Retracts, and fueling system covered!
10-26-2019, 02:18 AM
#90
Thread Starter
Join Date: Feb 2015
Posts: 208
Likes: 0
Received 0 Likes
on
0 Posts
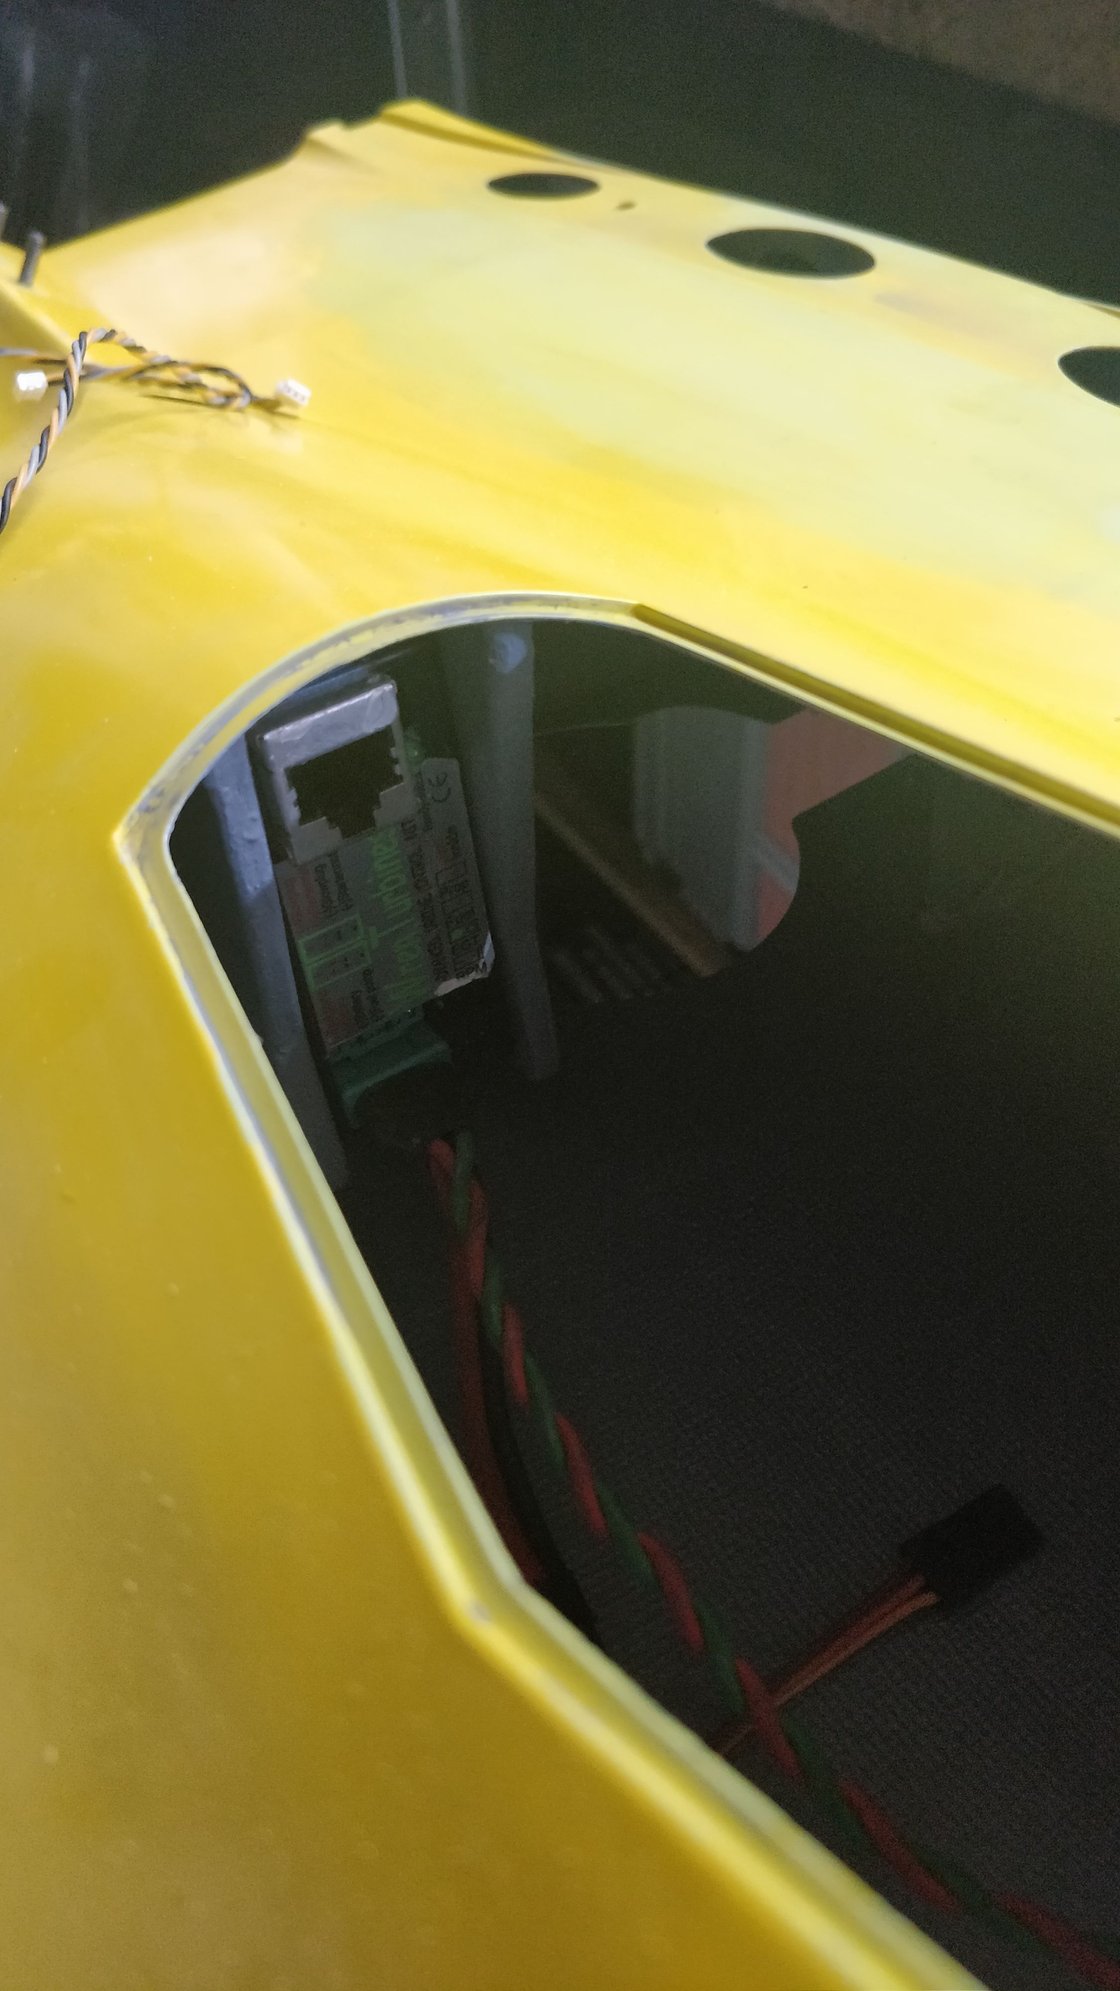
Fadec box fitted. Will grab a few pictures later. The 'phone connector' for the gsu is easily accessible from the speed brake hatch.
Now, like the hotspots, am reinforcing the flex plates with a thin layer of fiberglass. To give them an even spread of force and better withstanding to landing stresses. Will do it on the blind nut side.
Will post pictures soon.
I might actually freshen up the paint job while everything is still out. I might just get her sanded down and a nice day glow orange applied.... Black tips and fins, and will slap a day glow green on the underside, that is not visible from the ground.... For the color contrast up there!
 10-27-2019, 09:53 PM
#93
Thread Starter
Join Date: Feb 2015
Posts: 208
Likes: 0
Received 0 Likes
on
0 Posts
Indeed. I am after the high contract colours.... Yellow or orange.
I prefer orange, that nice bright dayglow McLaren orange...
Black from the wing chord down.... And possibly a white graphic arrow / strip design on the black.

Black and orange livery ....
I prefer orange, that nice bright dayglow McLaren orange...
Black from the wing chord down.... And possibly a white graphic arrow / strip design on the black.
Black and orange livery ....