


FB Jets L-39 build
 01-28-2020, 07:00 AM
#1

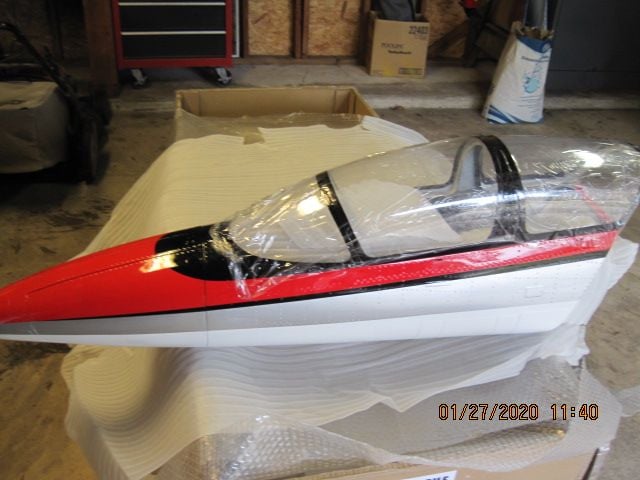
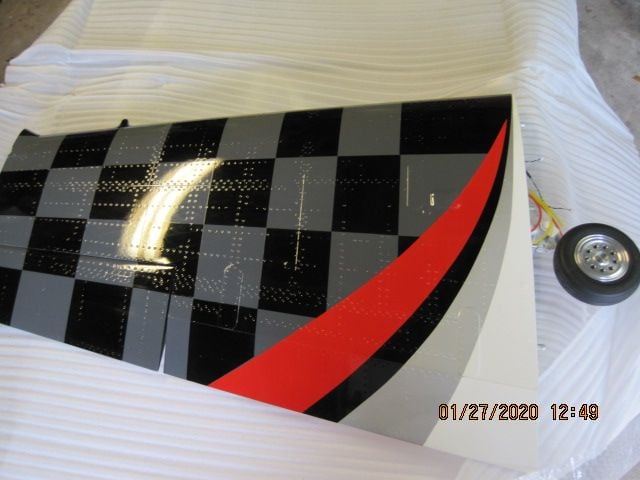
I have not seen any recent build threads for the FB Jets L-39 (large 2.53m). I purchased this new never started kit from JimZach here on RCU. At my request, he shipped the plane with Greyhound package express. It arrived in two days in pristine condition. This was the best package packng of any plane I have ever received. Kudos to Jim for a job well done.
I have a KingTech K160-G2 turbine I plan on using. The kit has pneumatic retracts. All of my jets have electric retracts and servo operated doors. Does anyone have information on part numbers or where to order a set of electro retracts? Attached are some unpacking photos.
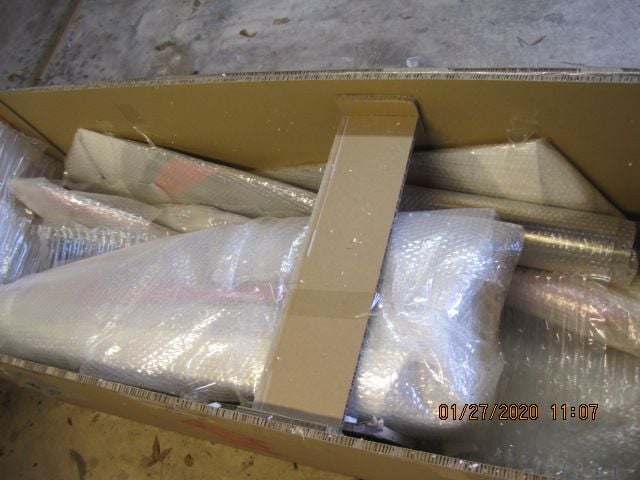
Well packed with plenty of bubble wrap

I have a KingTech K160-G2 turbine I plan on using. The kit has pneumatic retracts. All of my jets have electric retracts and servo operated doors. Does anyone have information on part numbers or where to order a set of electro retracts? Attached are some unpacking photos.
Well packed with plenty of bubble wrap
Last edited by BarracudaHockey; 01-29-2020 at 05:25 AM.
 01-28-2020, 11:55 AM
#2
I like to install horns, servos and linkages in the vertical fin and the horizontal stabilizer first. This allows me to route extension leads next. I do this to make sure the extensions are the right length and they also are routed to avoid any exhaust pipe issues. You may need to router out some flashing from the horn slots. Then I tape off the slots to make sure no excess glue gets on the control surfaces. Hysol 946
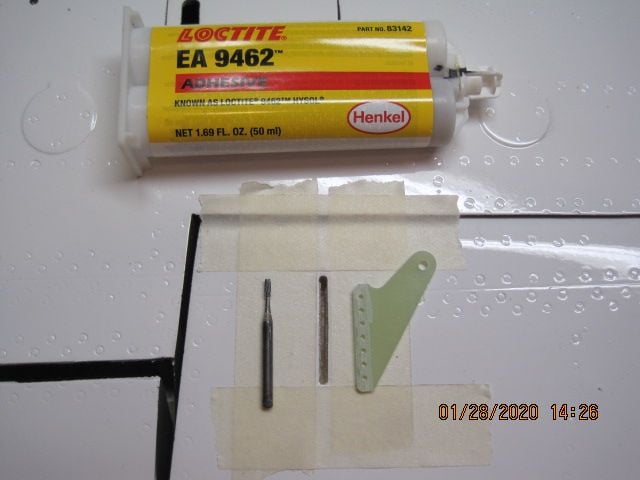
prepare horns and slots for Hysol 9462
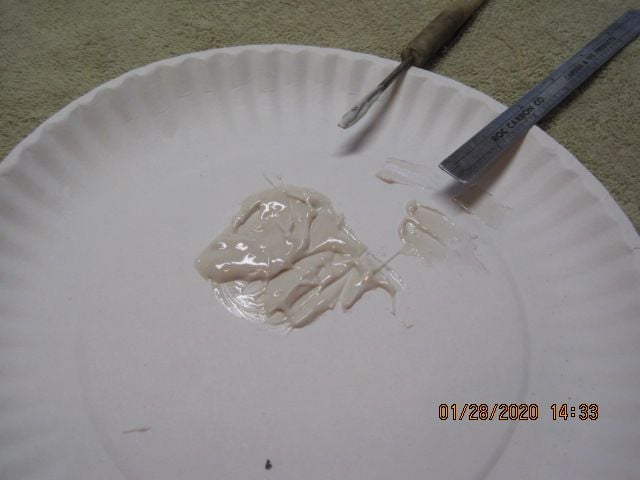
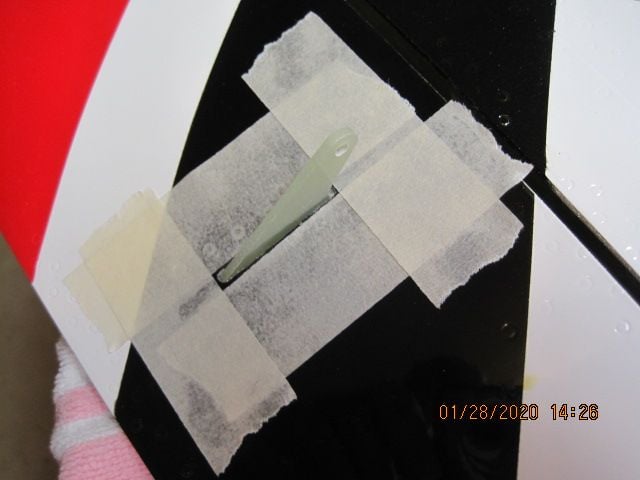
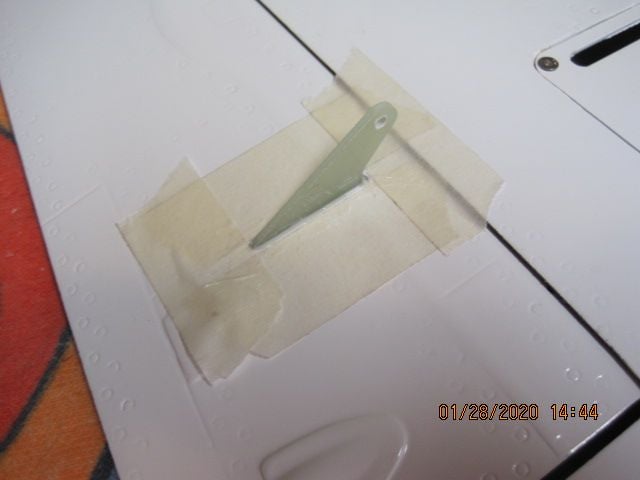
2 works good as there is plenty working time. Need to rough up the horn glue surfaces with a Dremel sanding drum.
prepare horns and slots for Hysol 9462
2 works good as there is plenty working time. Need to rough up the horn glue surfaces with a Dremel sanding drum.
 01-28-2020, 06:09 PM
#4
I believe FB still sells electric retracts as an option,.
have a brand new set for the Dolphin S that I believe also fit the L39, you would have to ask Cathrin at FB for price.
Unfortunately I believe they are shut down for their New years celebration at the moment.
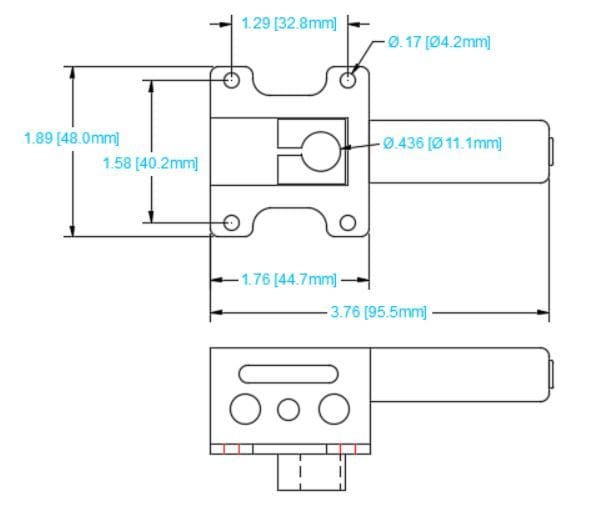
Below is a quick drawing i created of them.
have a brand new set for the Dolphin S that I believe also fit the L39, you would have to ask Cathrin at FB for price.
Unfortunately I believe they are shut down for their New years celebration at the moment.
Below is a quick drawing i created of them.

 01-29-2020, 02:30 PM
#7
I believe FB still sells electric retracts as an option,.
have a brand new set for the Dolphin S that I believe also fit the L39, you would have to ask Cathrin at FB for price.
Unfortunately I believe they are shut down for their New years celebration at the moment.
Below is a quick drawing i created of them.
have a brand new set for the Dolphin S that I believe also fit the L39, you would have to ask Cathrin at FB for price.
Unfortunately I believe they are shut down for their New years celebration at the moment.
Below is a quick drawing i created of them.
Last edited by swk550; 01-29-2020 at 04:20 PM. Reason: Spelling
01-29-2020, 04:27 PM
#9
I�ve corrected to Feb...my brain fade. It appears the Electron ec50 retracts are the right size. I�ve contacted them to see if they too could make a replacement set. The main issue is getting the main gear legs with approx 14mm offset.
01-30-2020, 06:51 PM
#10
Main gear
strut length to gear block 180mm
axel to mounting plate 194mm
axel offset 13mm
mounting plate 60mm wide, 55mm long
90 degree actuation
Nose gear
strut length to block 190mm
axel offset
18mm
100 degree actuation
Nose gear
194mm to mounting plate
Main gear mounting plate dimensions
01-30-2020, 07:01 PM
#11
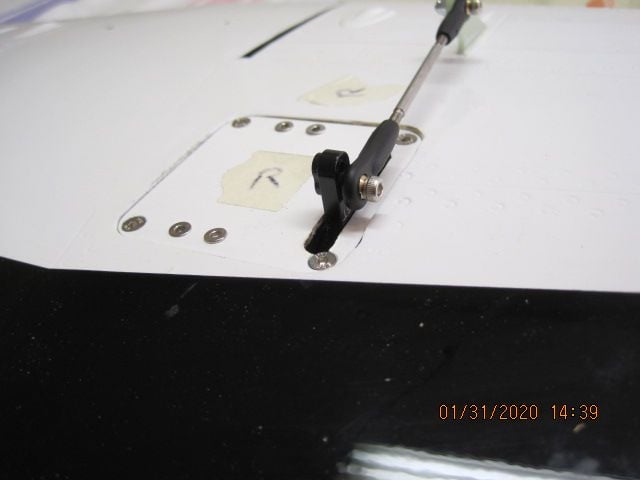
I had to elongate the servo slot for max servo endpoint. I'm using the Jeti DS-24 radio. The maximum travel is +/- 80% which keeps the servo arm from binding and is the proper rudder maximum deflection before it binds. I am installing Pilot PY-23AH servos. The black servo horn is 24mm servo screw to ball link.
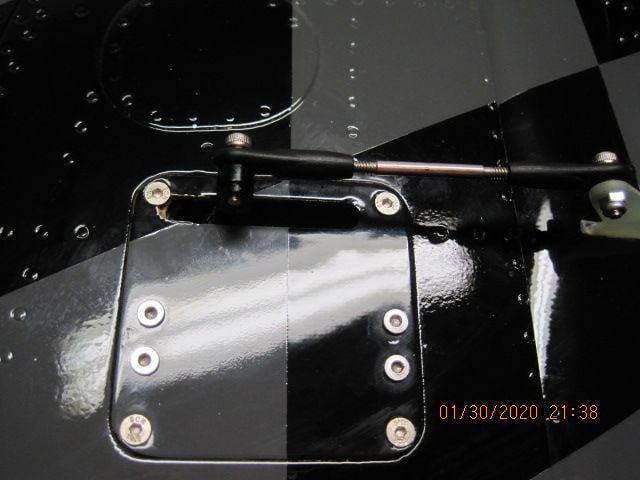
Need to elongate horn slot
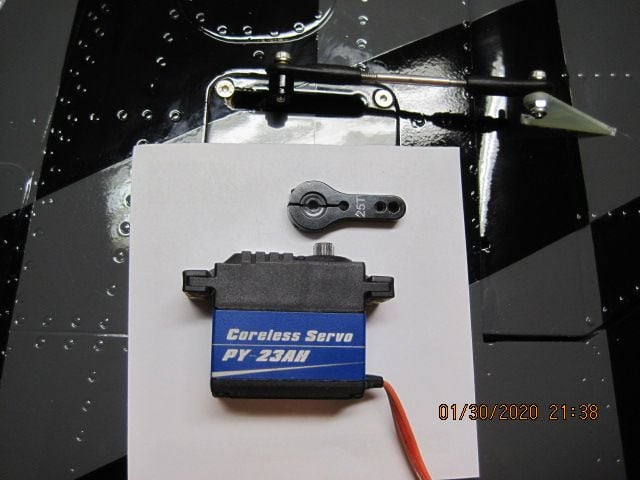
Need to elongate horn slot
01-31-2020, 11:48 AM
#12
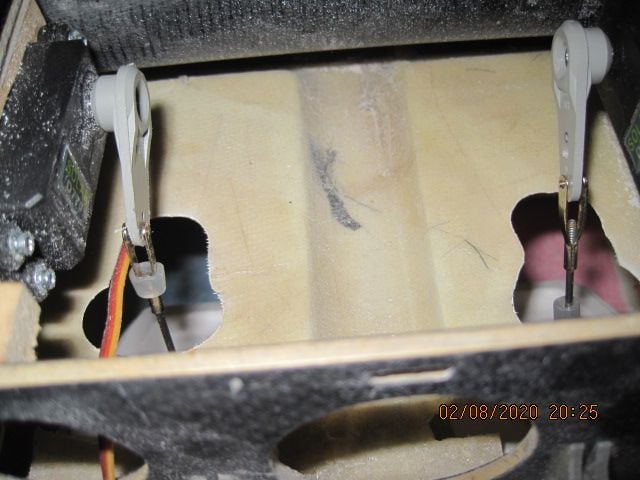
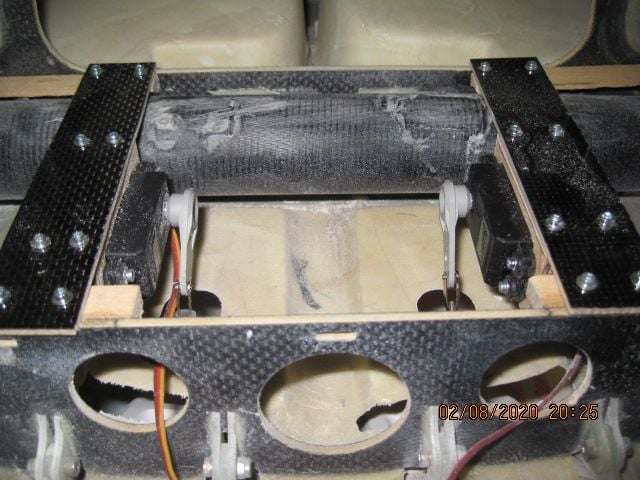
Same as the rudder servo installation, I had to elongate the servo slot in the mounting plate. I installed the control rod on the first hole from the servo (20mm to horn screw). I left the Jeti transmitter at +/- 100% max endpoints. The servo leads are routed thru the flange bulkhead. This will help keep the wires away from the exhaust pipe.
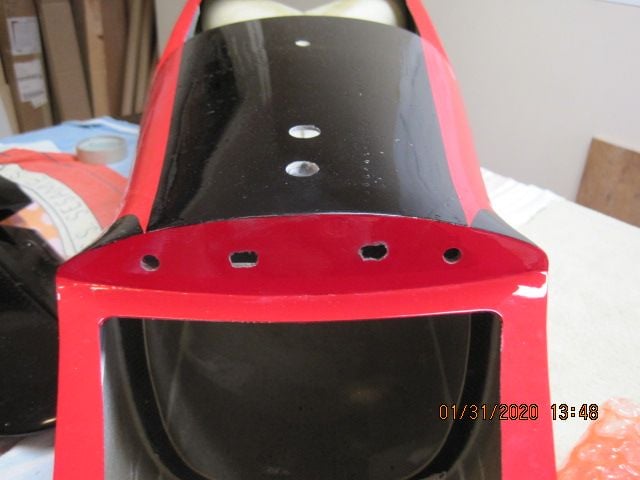
Added fuselage bulkhead slots for the servo leads
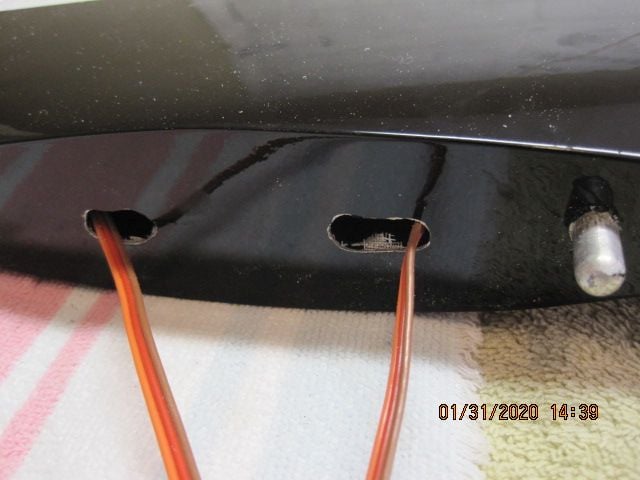
Horozontal stabalizer bulkhead slots for exit of servo leads
Control rod 20mm to servo screw + elongated mounting plate horn exit
Added fuselage bulkhead slots for the servo leads
Horozontal stabalizer bulkhead slots for exit of servo leads
Control rod 20mm to servo screw + elongated mounting plate horn exit
02-08-2020, 05:47 PM
#13
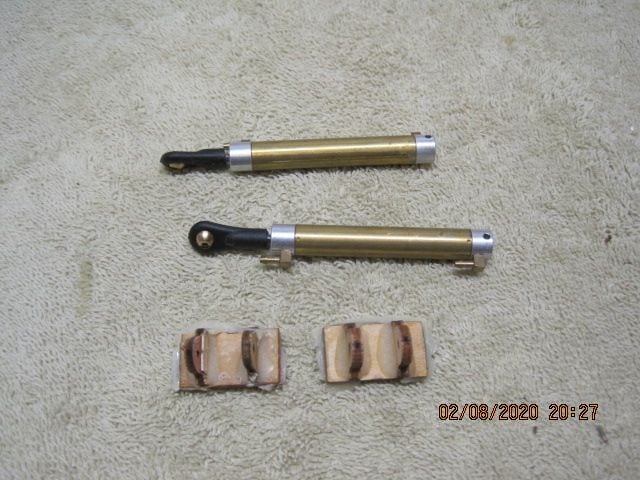
I have a few air cylinders that would not hold air pressure. I have ordered Electron electric retracts. For the air brake doors I am using Solar D770 180 oz-in servos @ 7.4v. I may replace these servos with Pro Modeler servos with higher torque. I made up servo mounting plates and removed the top air cylinder mounts. I am reusing the door mounts.
Removed air brake door cylinders
Removed air cylinders and top cylinder mount
need to open actuation holes to clear door mounting block and servo rod
servo mounting brackets
Air door full open
Removed air brake door cylinders
Removed air cylinders and top cylinder mount
need to open actuation holes to clear door mounting block and servo rod
servo mounting brackets
Air door full open
 02-13-2020, 06:30 AM
#15
The main gear door air cylinders had a stroke length of 93mm (3-5/8"). I used Solar D770 servos. I had to make extra long servo horns to match the cylinder travel. The servo installation works well.

Servo are made from aluminum plate bolted on a JR round wheel.
Servo mount
Servo are made from aluminum plate bolted on a JR round wheel.
Servo mount
 02-13-2020, 07:01 PM
#17
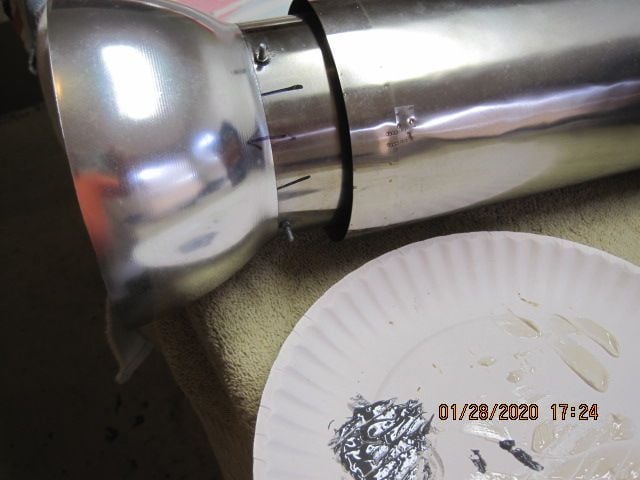
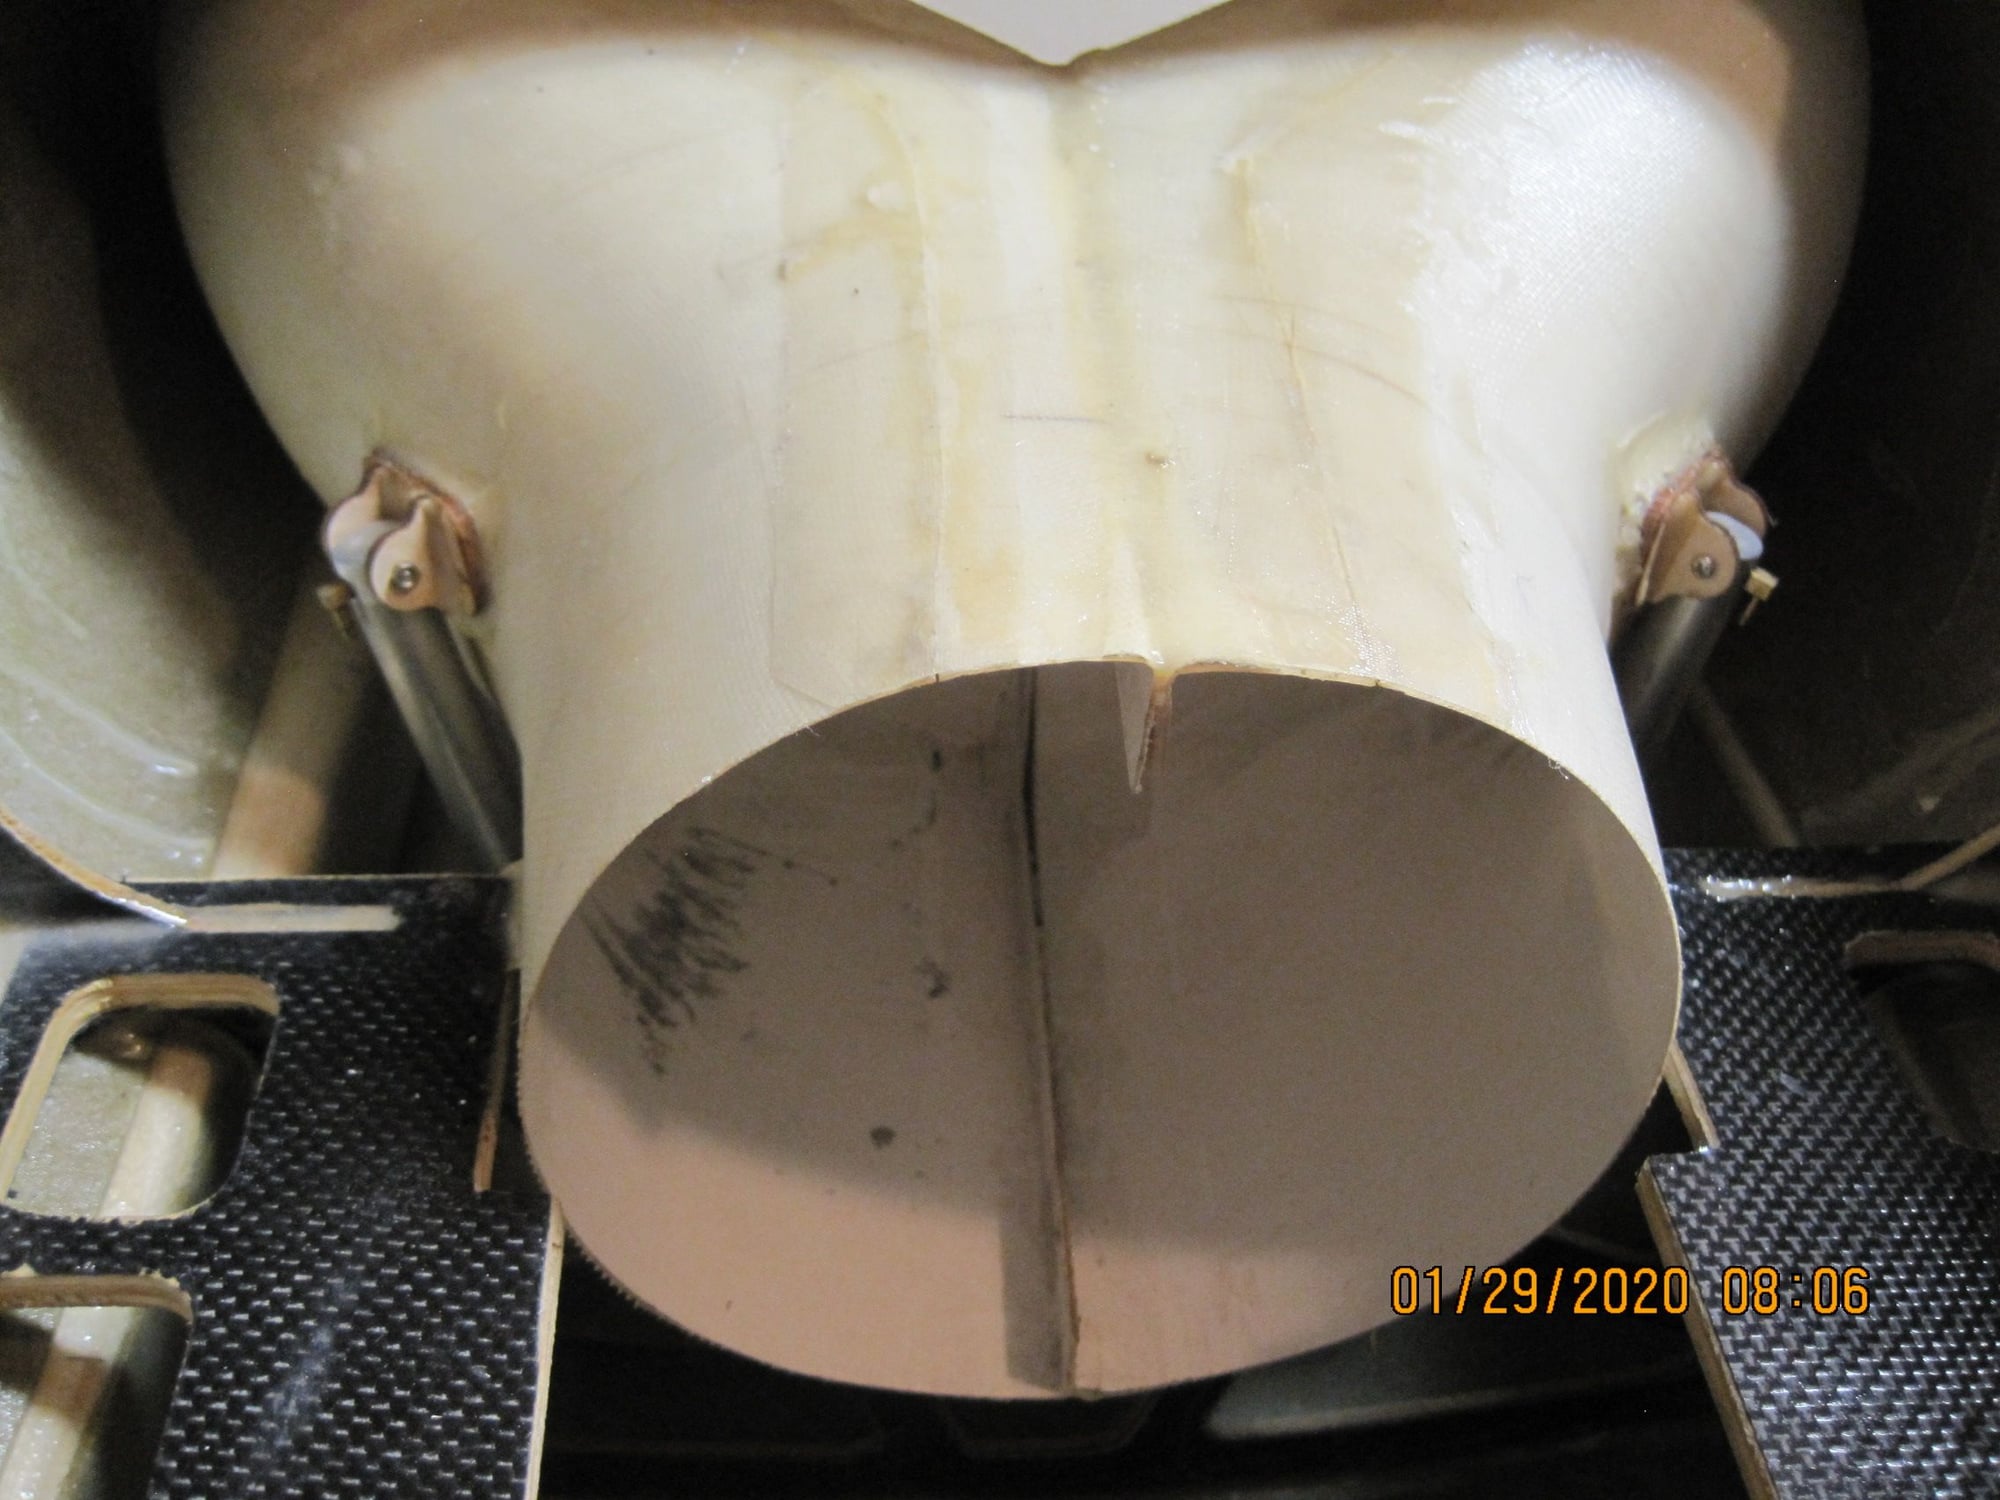
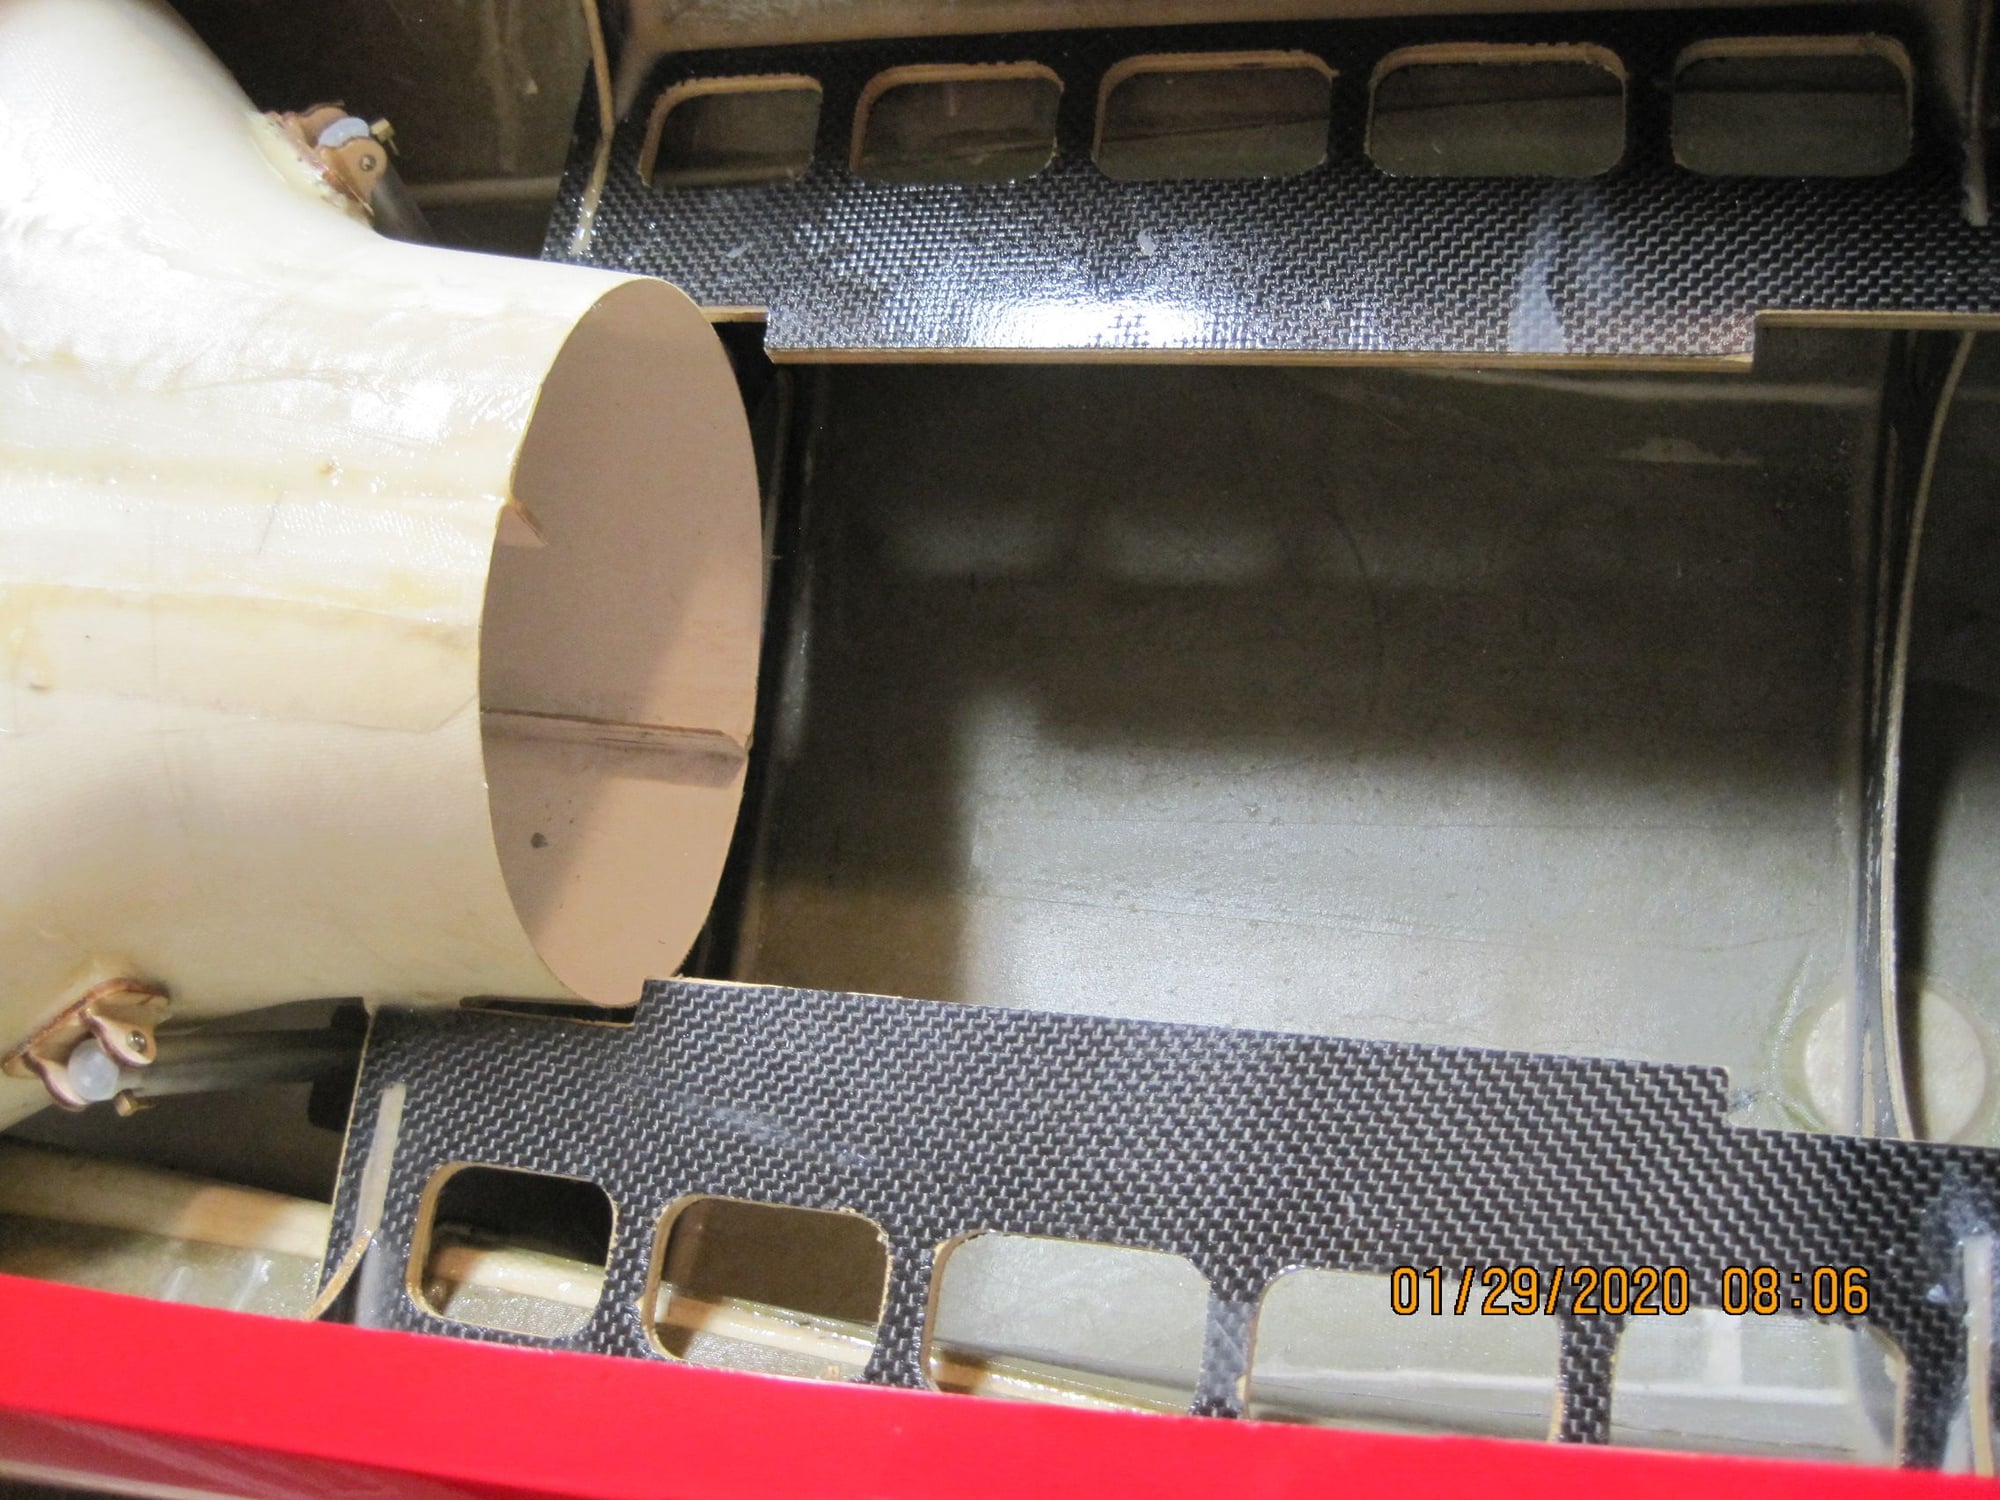
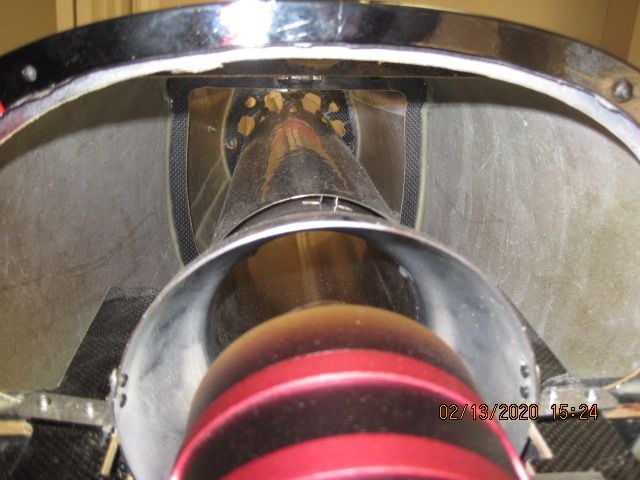
I made a turbine to exhaust pipe bell mouth centering ring. The ring resulted in near perfect centering. Then I had to slightly curve the bell mouth clips to match the curvature of the bell mouth. The exhaust of the turbine cone is set 25mm away from the start of the straight section of the exhaust pipe.
Centering ring
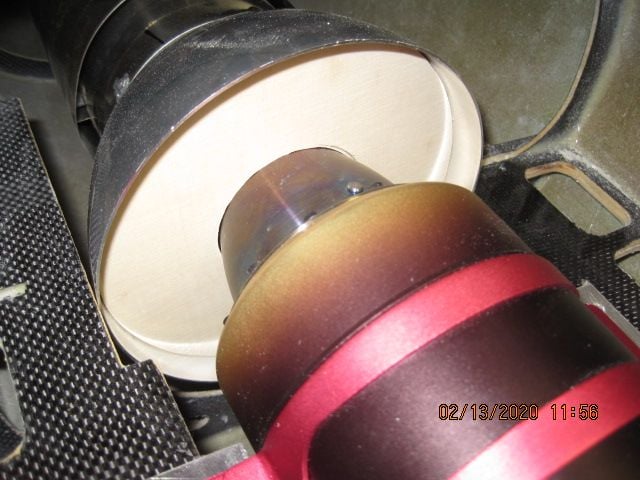
Center bell mouth with turbine exhaust cone
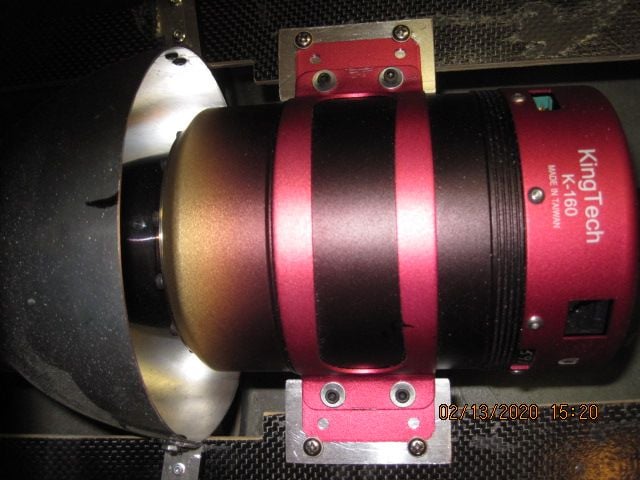
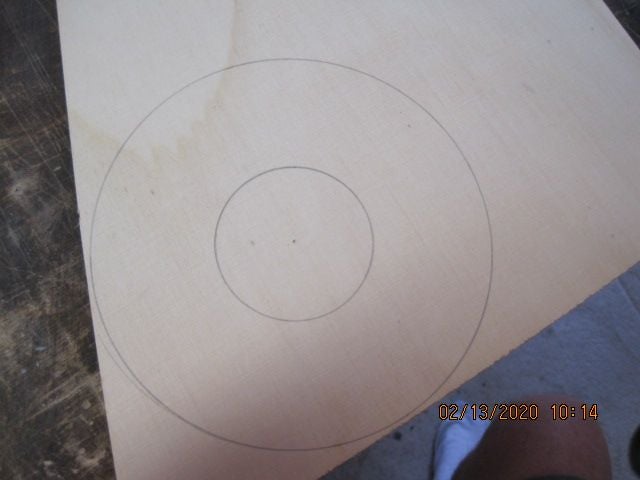
Made .062" thick turbine mounts to move hold down wood screws away from the edge of the plywood mounting rails.
Almost perfect centering
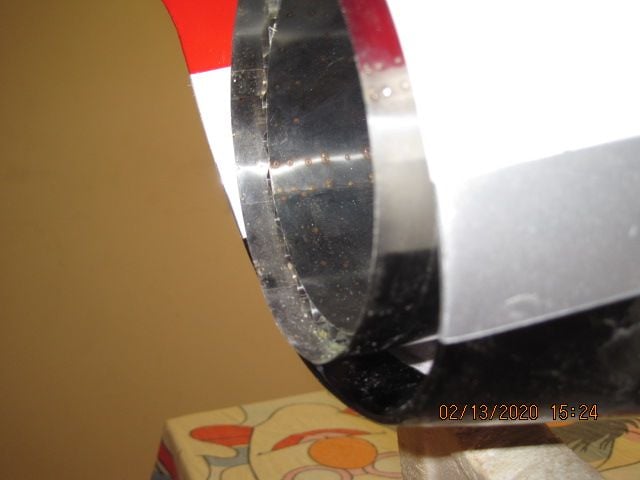
Exhaust pipe exiting the fuselage
Centering ring
Center bell mouth with turbine exhaust cone
Made .062" thick turbine mounts to move hold down wood screws away from the edge of the plywood mounting rails.
Almost perfect centering
Exhaust pipe exiting the fuselage
03-03-2020, 08:11 AM
#18
As it turns out FB Jets does not offer electric retracts for the large L-39. After two weeks of exchanging information with Electron retracts, I had to give up. They needed to make special parts to match geometry. It would take over four additional weeks to make the parts. So I decided to reinstall the air retracts. Had to replace two air cylinders that would not hold air pressure. This is a large jet. I needed to make an assembly stand to fit main gear air tubing and rout wing wiring.

Assembly stand
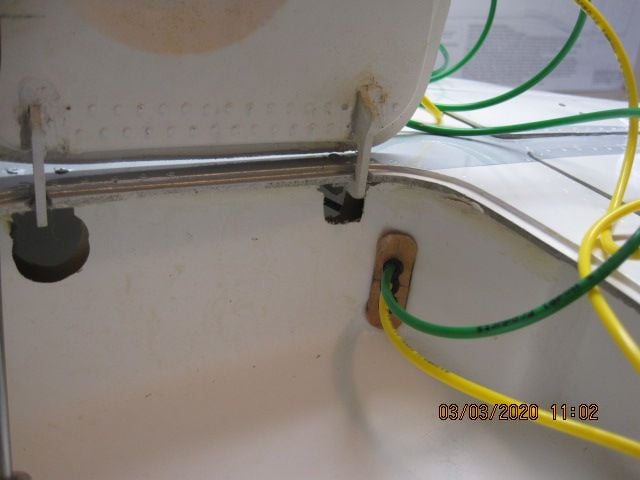
made tubing gromets to keep tubing from getting cut as it slides in the retract wheel well
Assembly stand
made tubing gromets to keep tubing from getting cut as it slides in the retract wheel well
05-03-2020, 11:48 PM
#19

Hi,
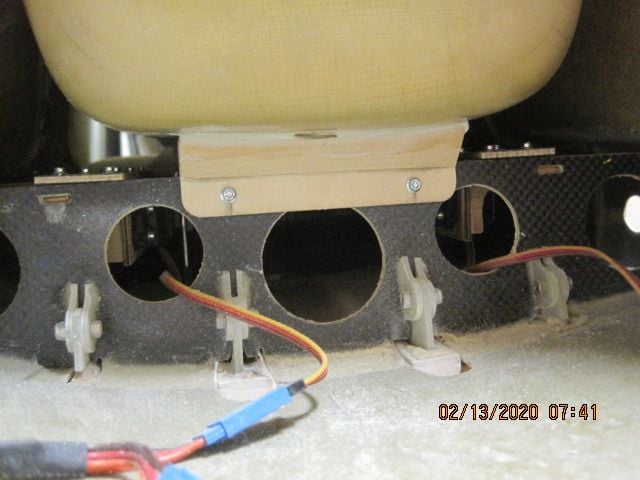
I'm building the same L-39 from FB. Thank you for the inspiration for attaching the tank :-) I will also rework everything into electricity. Have you flown with the L-39 yet? What is the weight of your L-39? Is the KingTech K-160 sufficient? I am from Europe from the Czech Republic. This is where the Albatros L-39 was born and manufactured :-)
Vita
The following users liked this post:
wing13z (01-05-2022)
