Go Back  RCU Forums > RC Airplanes > RC Jets
Reload this Page >

2008 the year of the Turbinator

Community
Search
Notices
RC Jets Discuss RC jets in this forum plus rc turbines and ducted fan power systems

2008 the year of the Turbinator

Thread Tools
 
Search this Thread
 
Old 02-08-2017, 07:19 PM
  #451  
CARS II
Thread Starter
My Feedback: (7)
 
CARS II's Avatar
 
Join Date: Oct 2002
Location: Sacramento CA
Posts: 6,589
Received 123 Likes on 106 Posts
Default

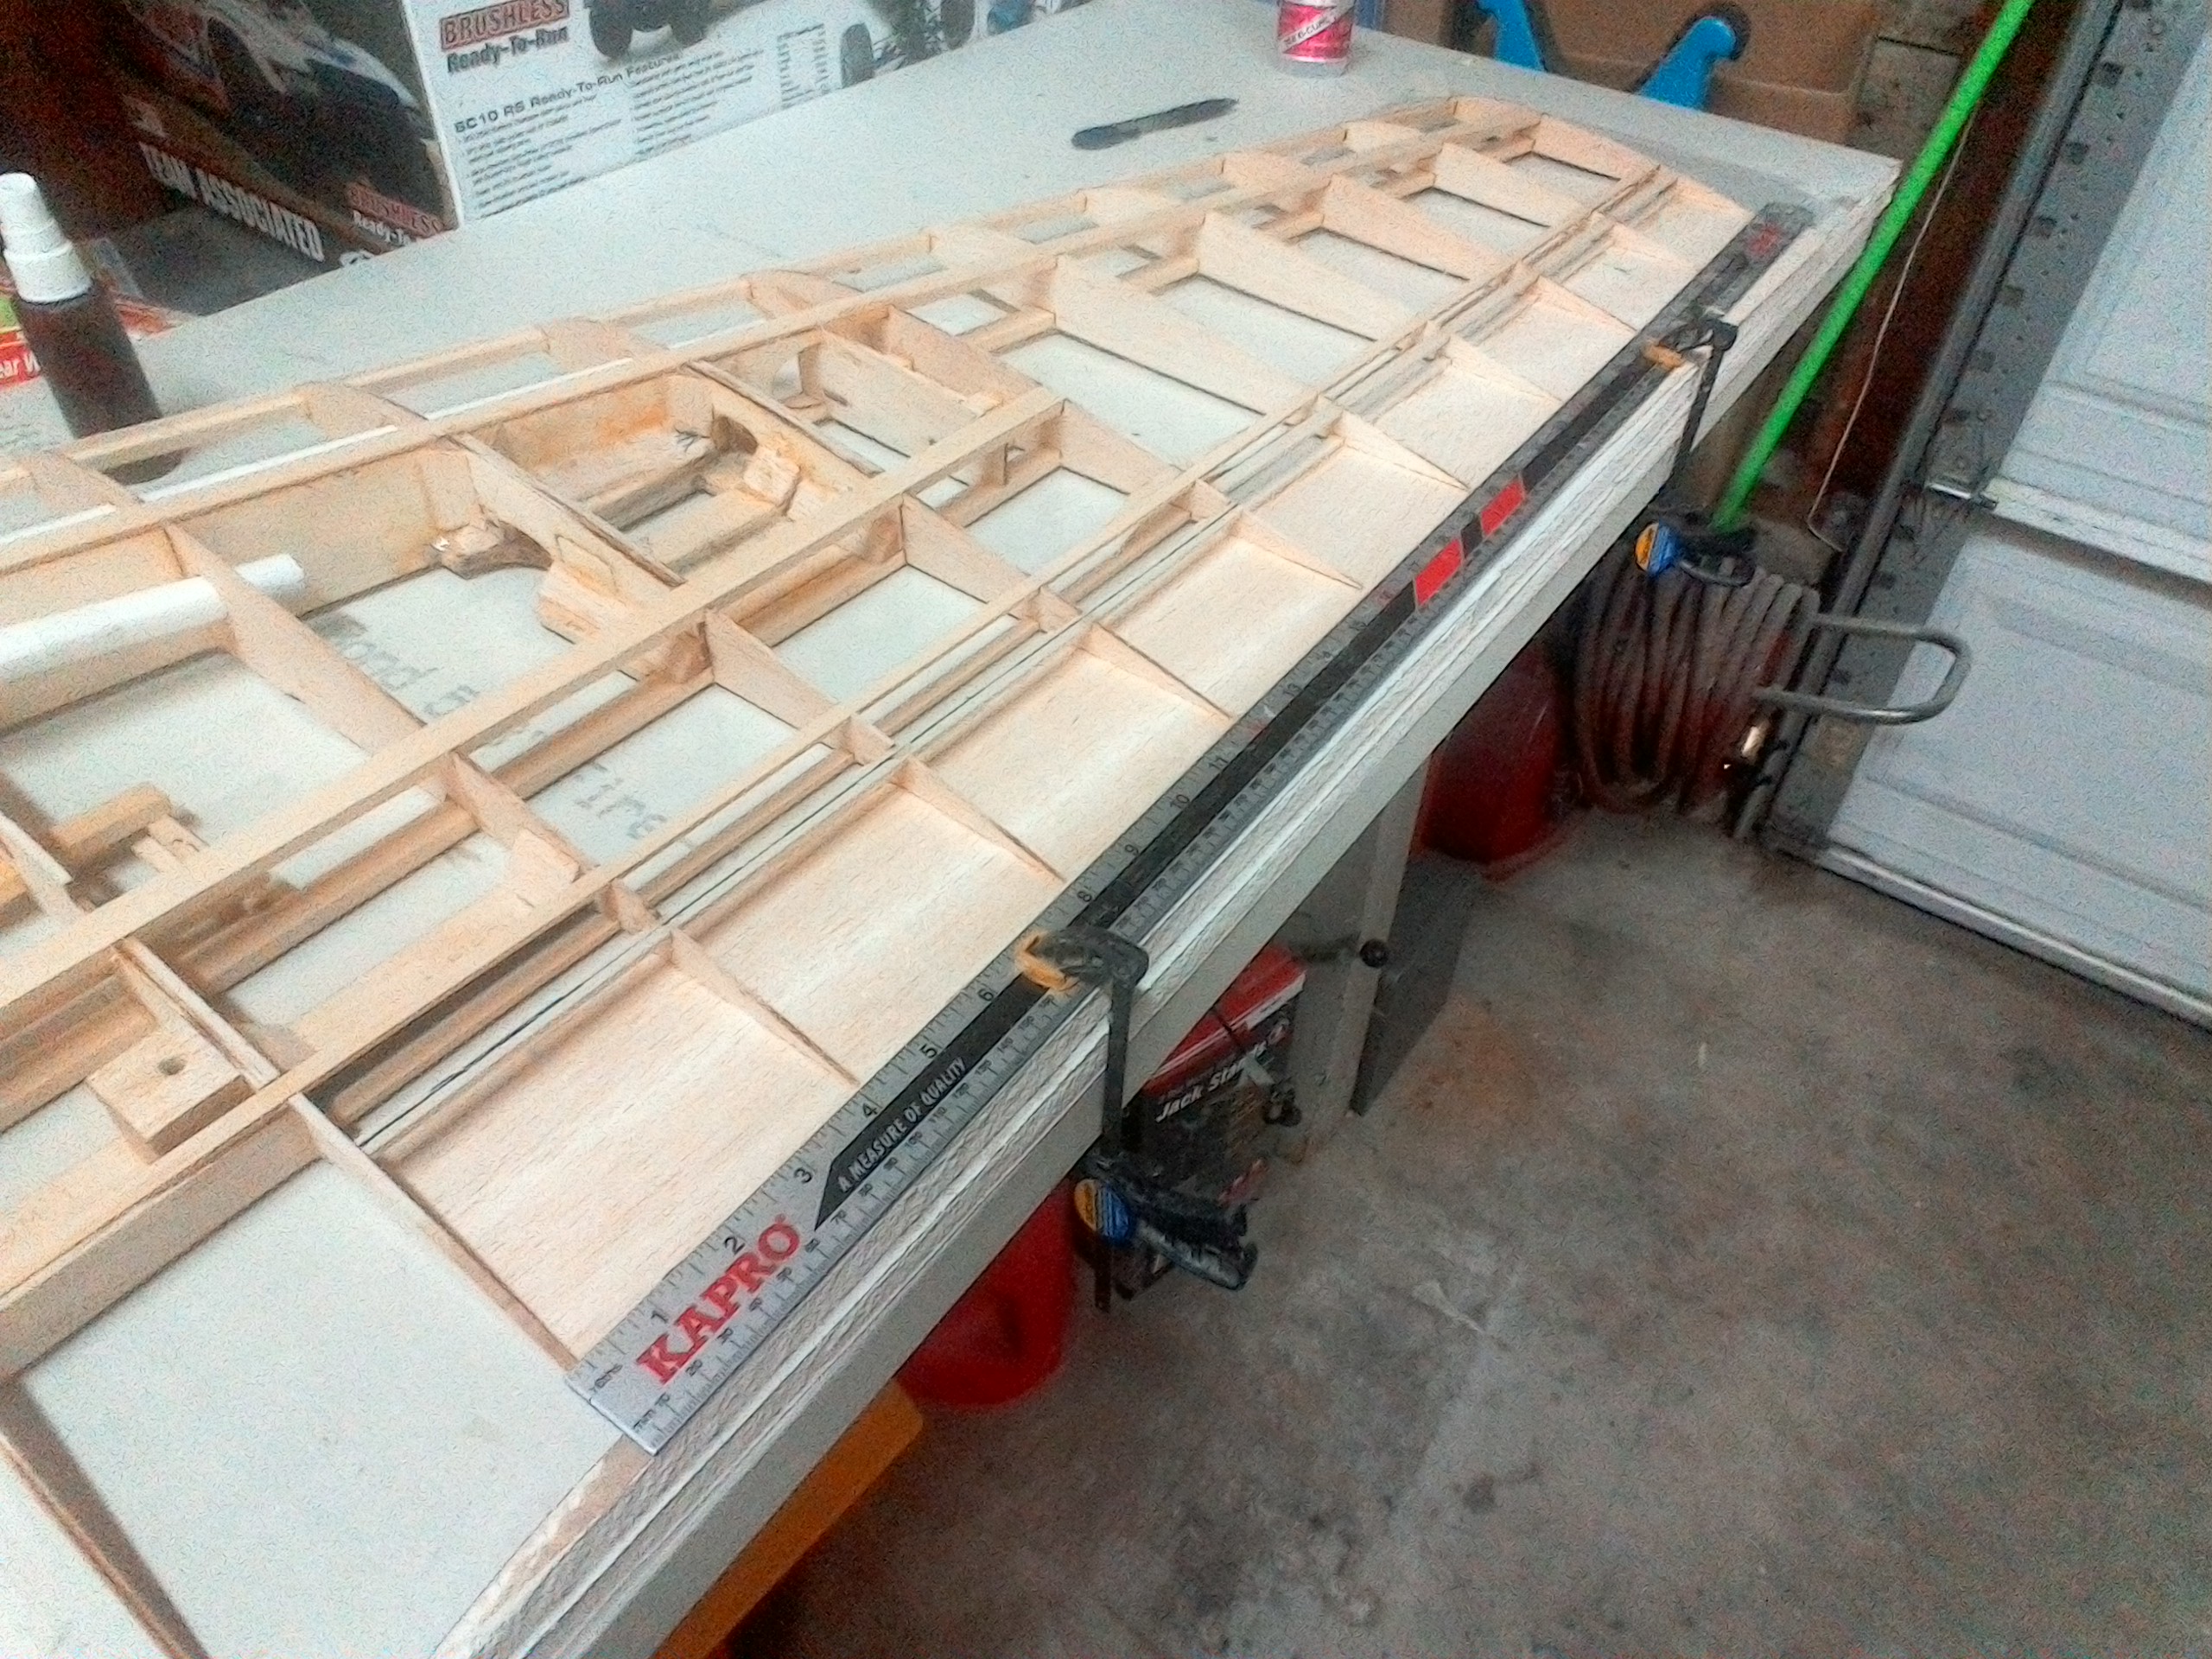
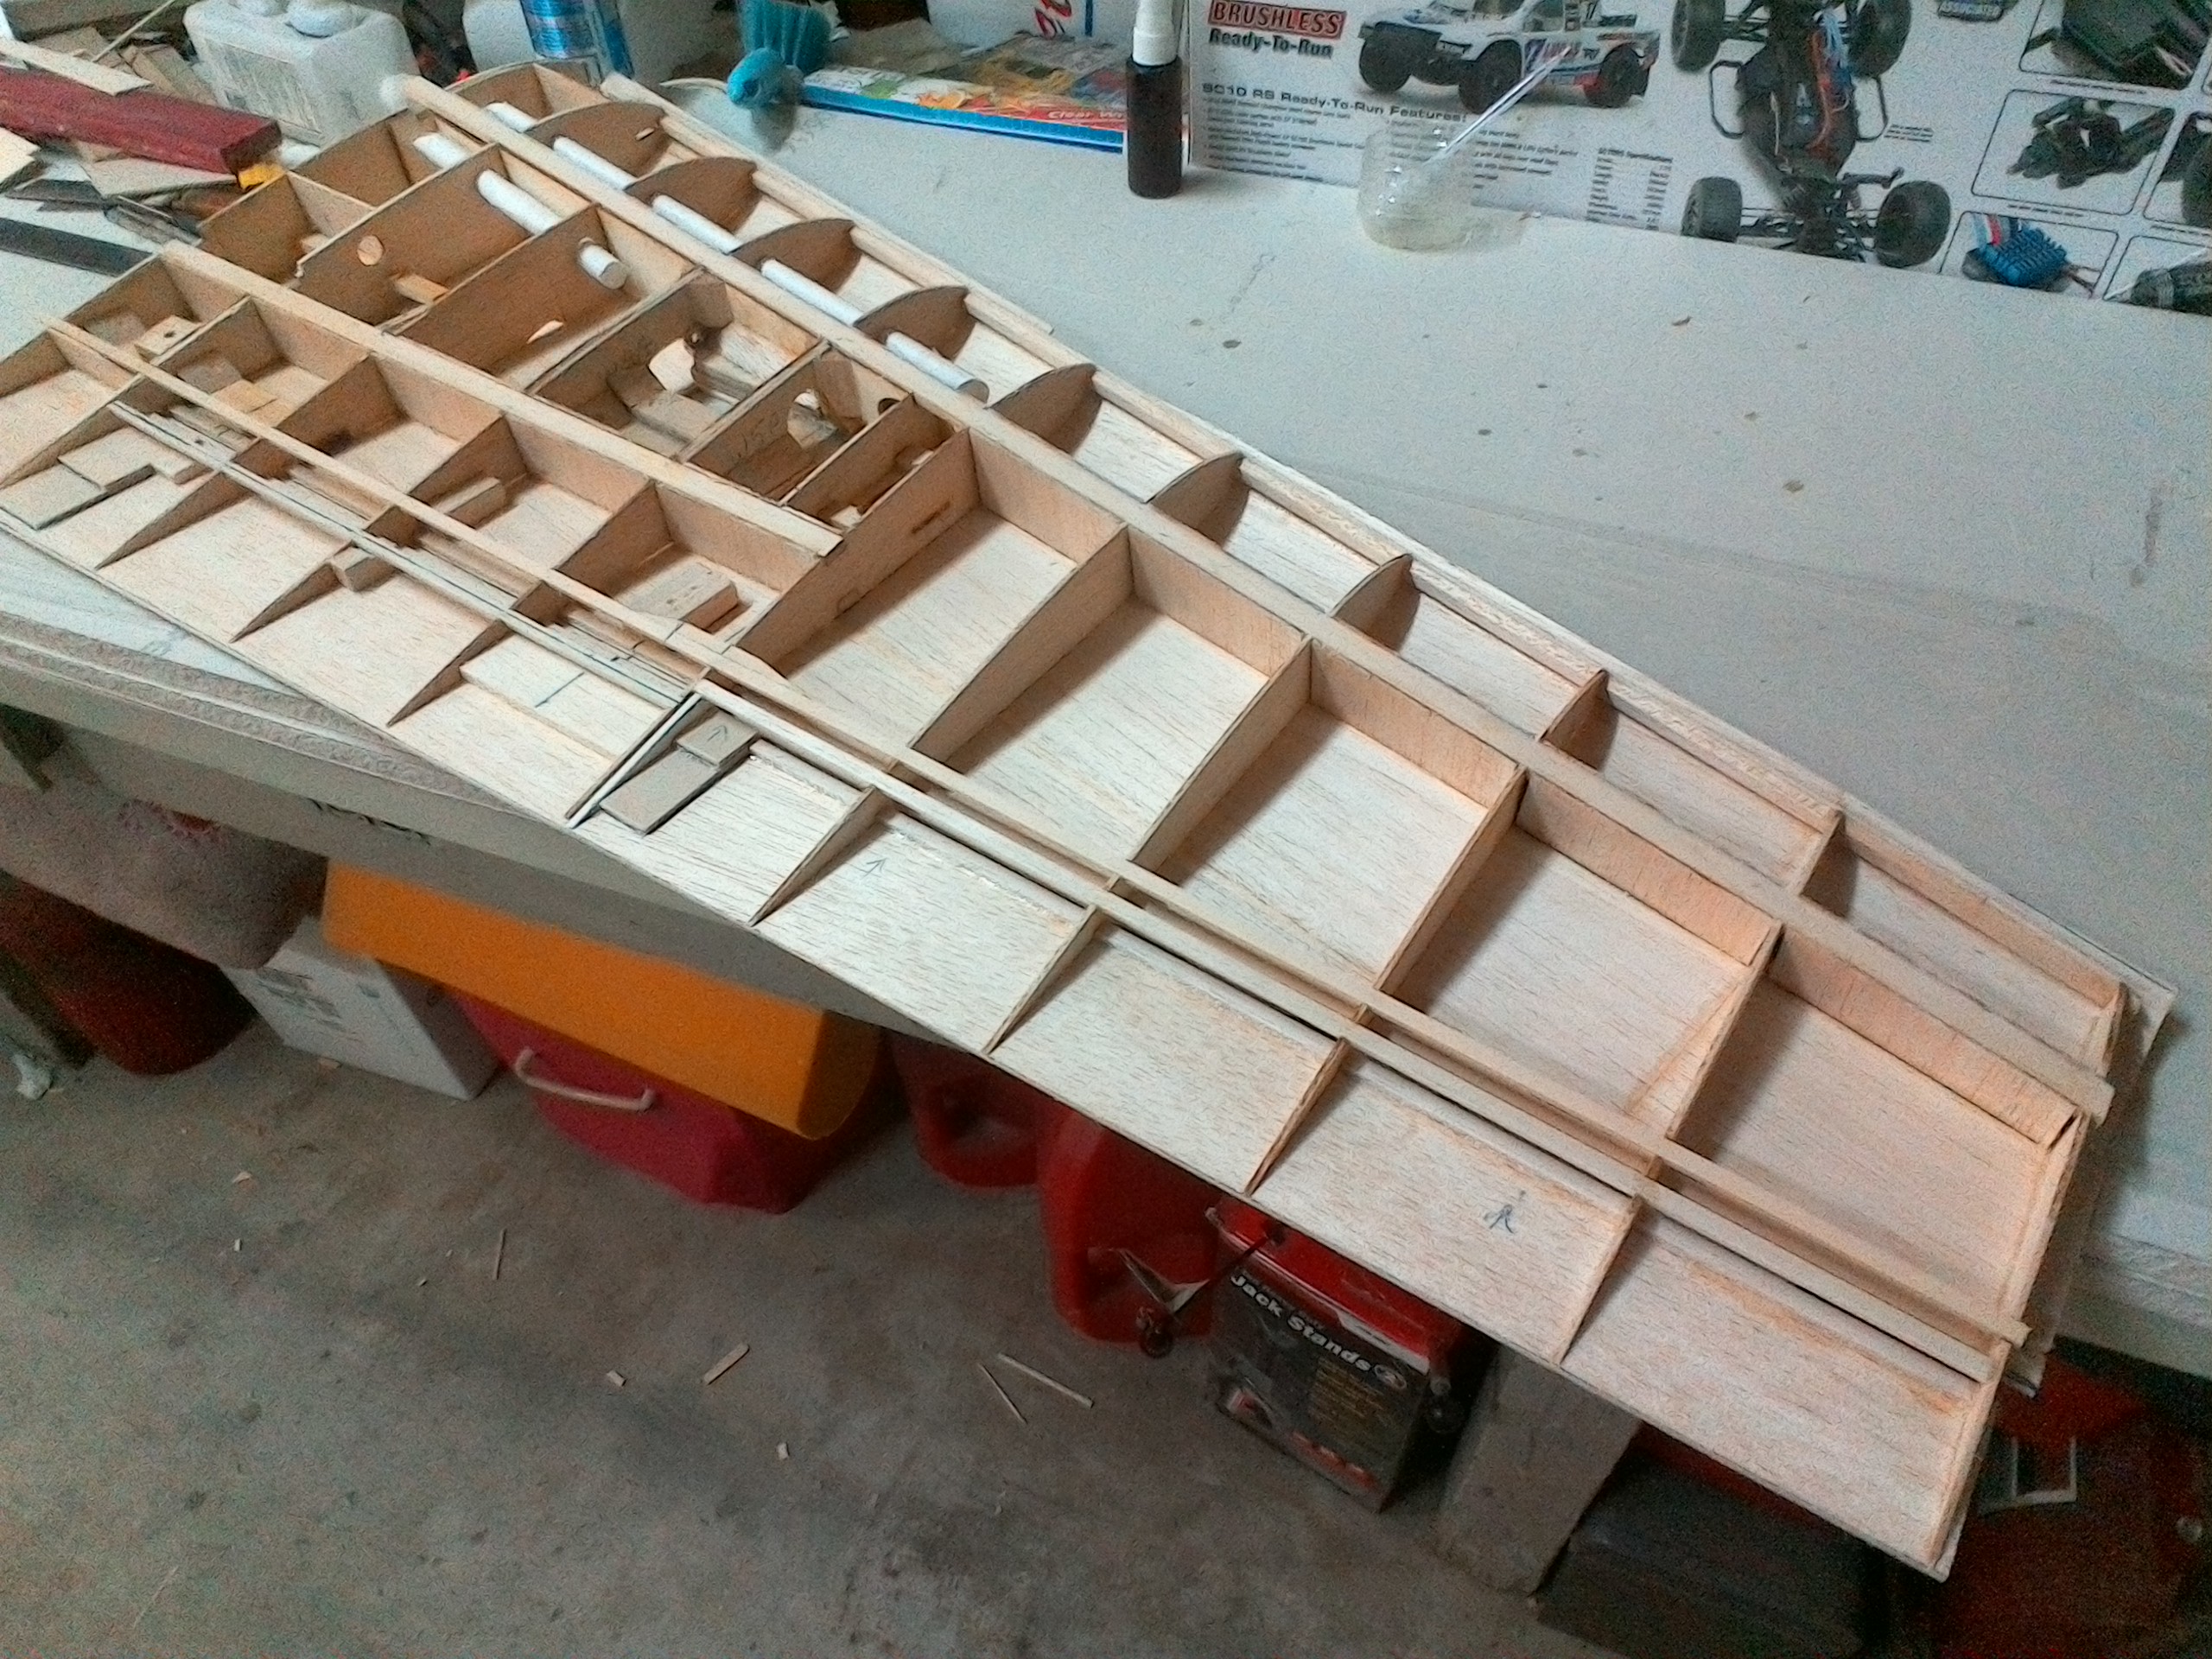
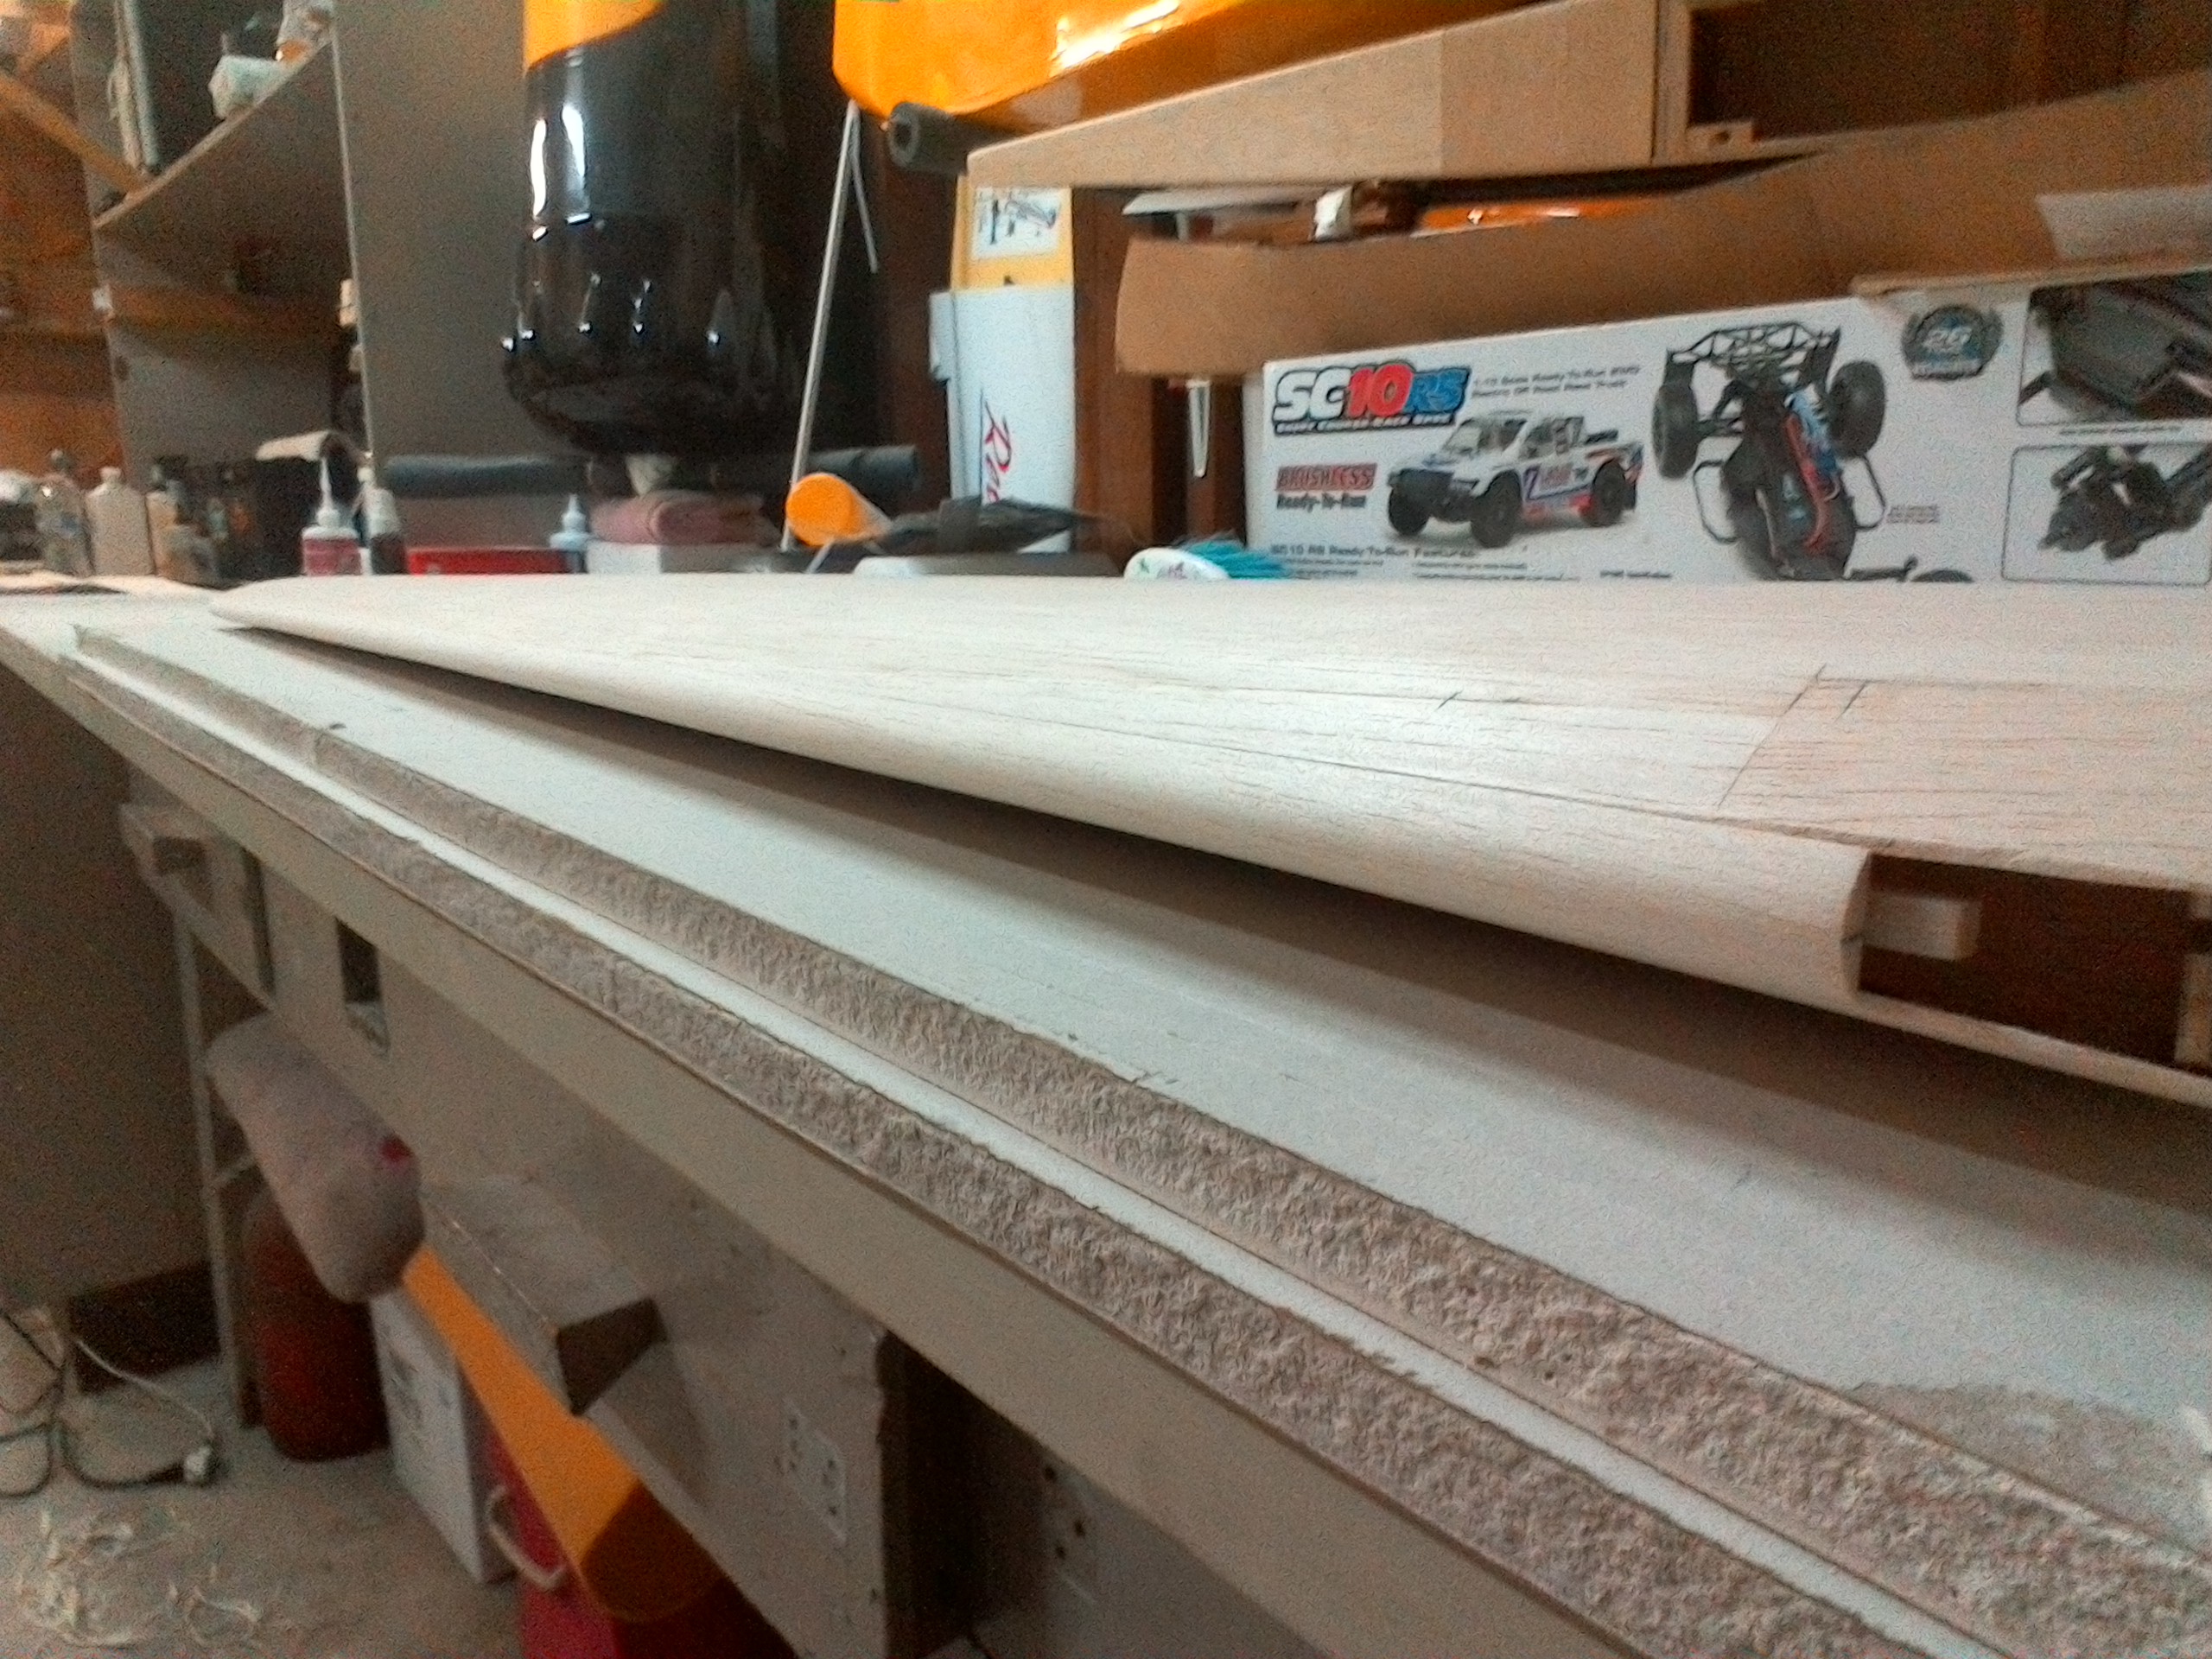
The bottom sheeting of the right wing is done, looks good from here, very easy and stress free, it took time to complete because I had to make sure all that need to be build on the frame was there before this step.

Before sheeting the wing make sure that the spaces for the wing joiners are free of any glue, it can be checked with a piece of 1/4 X 1/2 stick.


Attached Thumbnails Click image for larger version

Name:	IMG_20170208_134922.jpg
Views:	832
Size:	1.22 MB
ID:	2200291   Click image for larger version

Name:	IMG_20170208_135535.jpg
Views:	809
Size:	1.08 MB
ID:	2200292   Click image for larger version

Name:	IMG_20170208_144537.jpg
Views:	809
Size:	1.03 MB
ID:	2200293   Click image for larger version

Name:	IMG_20170208_153007.jpg
Views:	812
Size:	1.08 MB
ID:	2200294   Click image for larger version

Name:	IMG_20170208_171608.jpg
Views:	65
Size:	1.15 MB
ID:	2200295   Click image for larger version

Name:	IMG_20170208_140006.jpg
Views:	818
Size:	1.05 MB
ID:	2200300   Click image for larger version

Name:	IMG_20170208_135935.jpg
Views:	806
Size:	1.17 MB
ID:	2200302   Click image for larger version

Name:	IMG_20170208_143300.jpg
Views:	801
Size:	1.01 MB
ID:	2200306  

Click image for larger version

Name:	IMG_20170208_135318.jpg
Views:	809
Size:	1.12 MB
ID:	2200310  

Last edited by CARS II; 02-09-2017 at 12:34 PM.
Old 02-09-2017, 12:52 AM
  #452  
CARS II
Thread Starter
My Feedback: (7)
 
CARS II's Avatar
 
Join Date: Oct 2002
Location: Sacramento CA
Posts: 6,589
Received 123 Likes on 106 Posts
Default

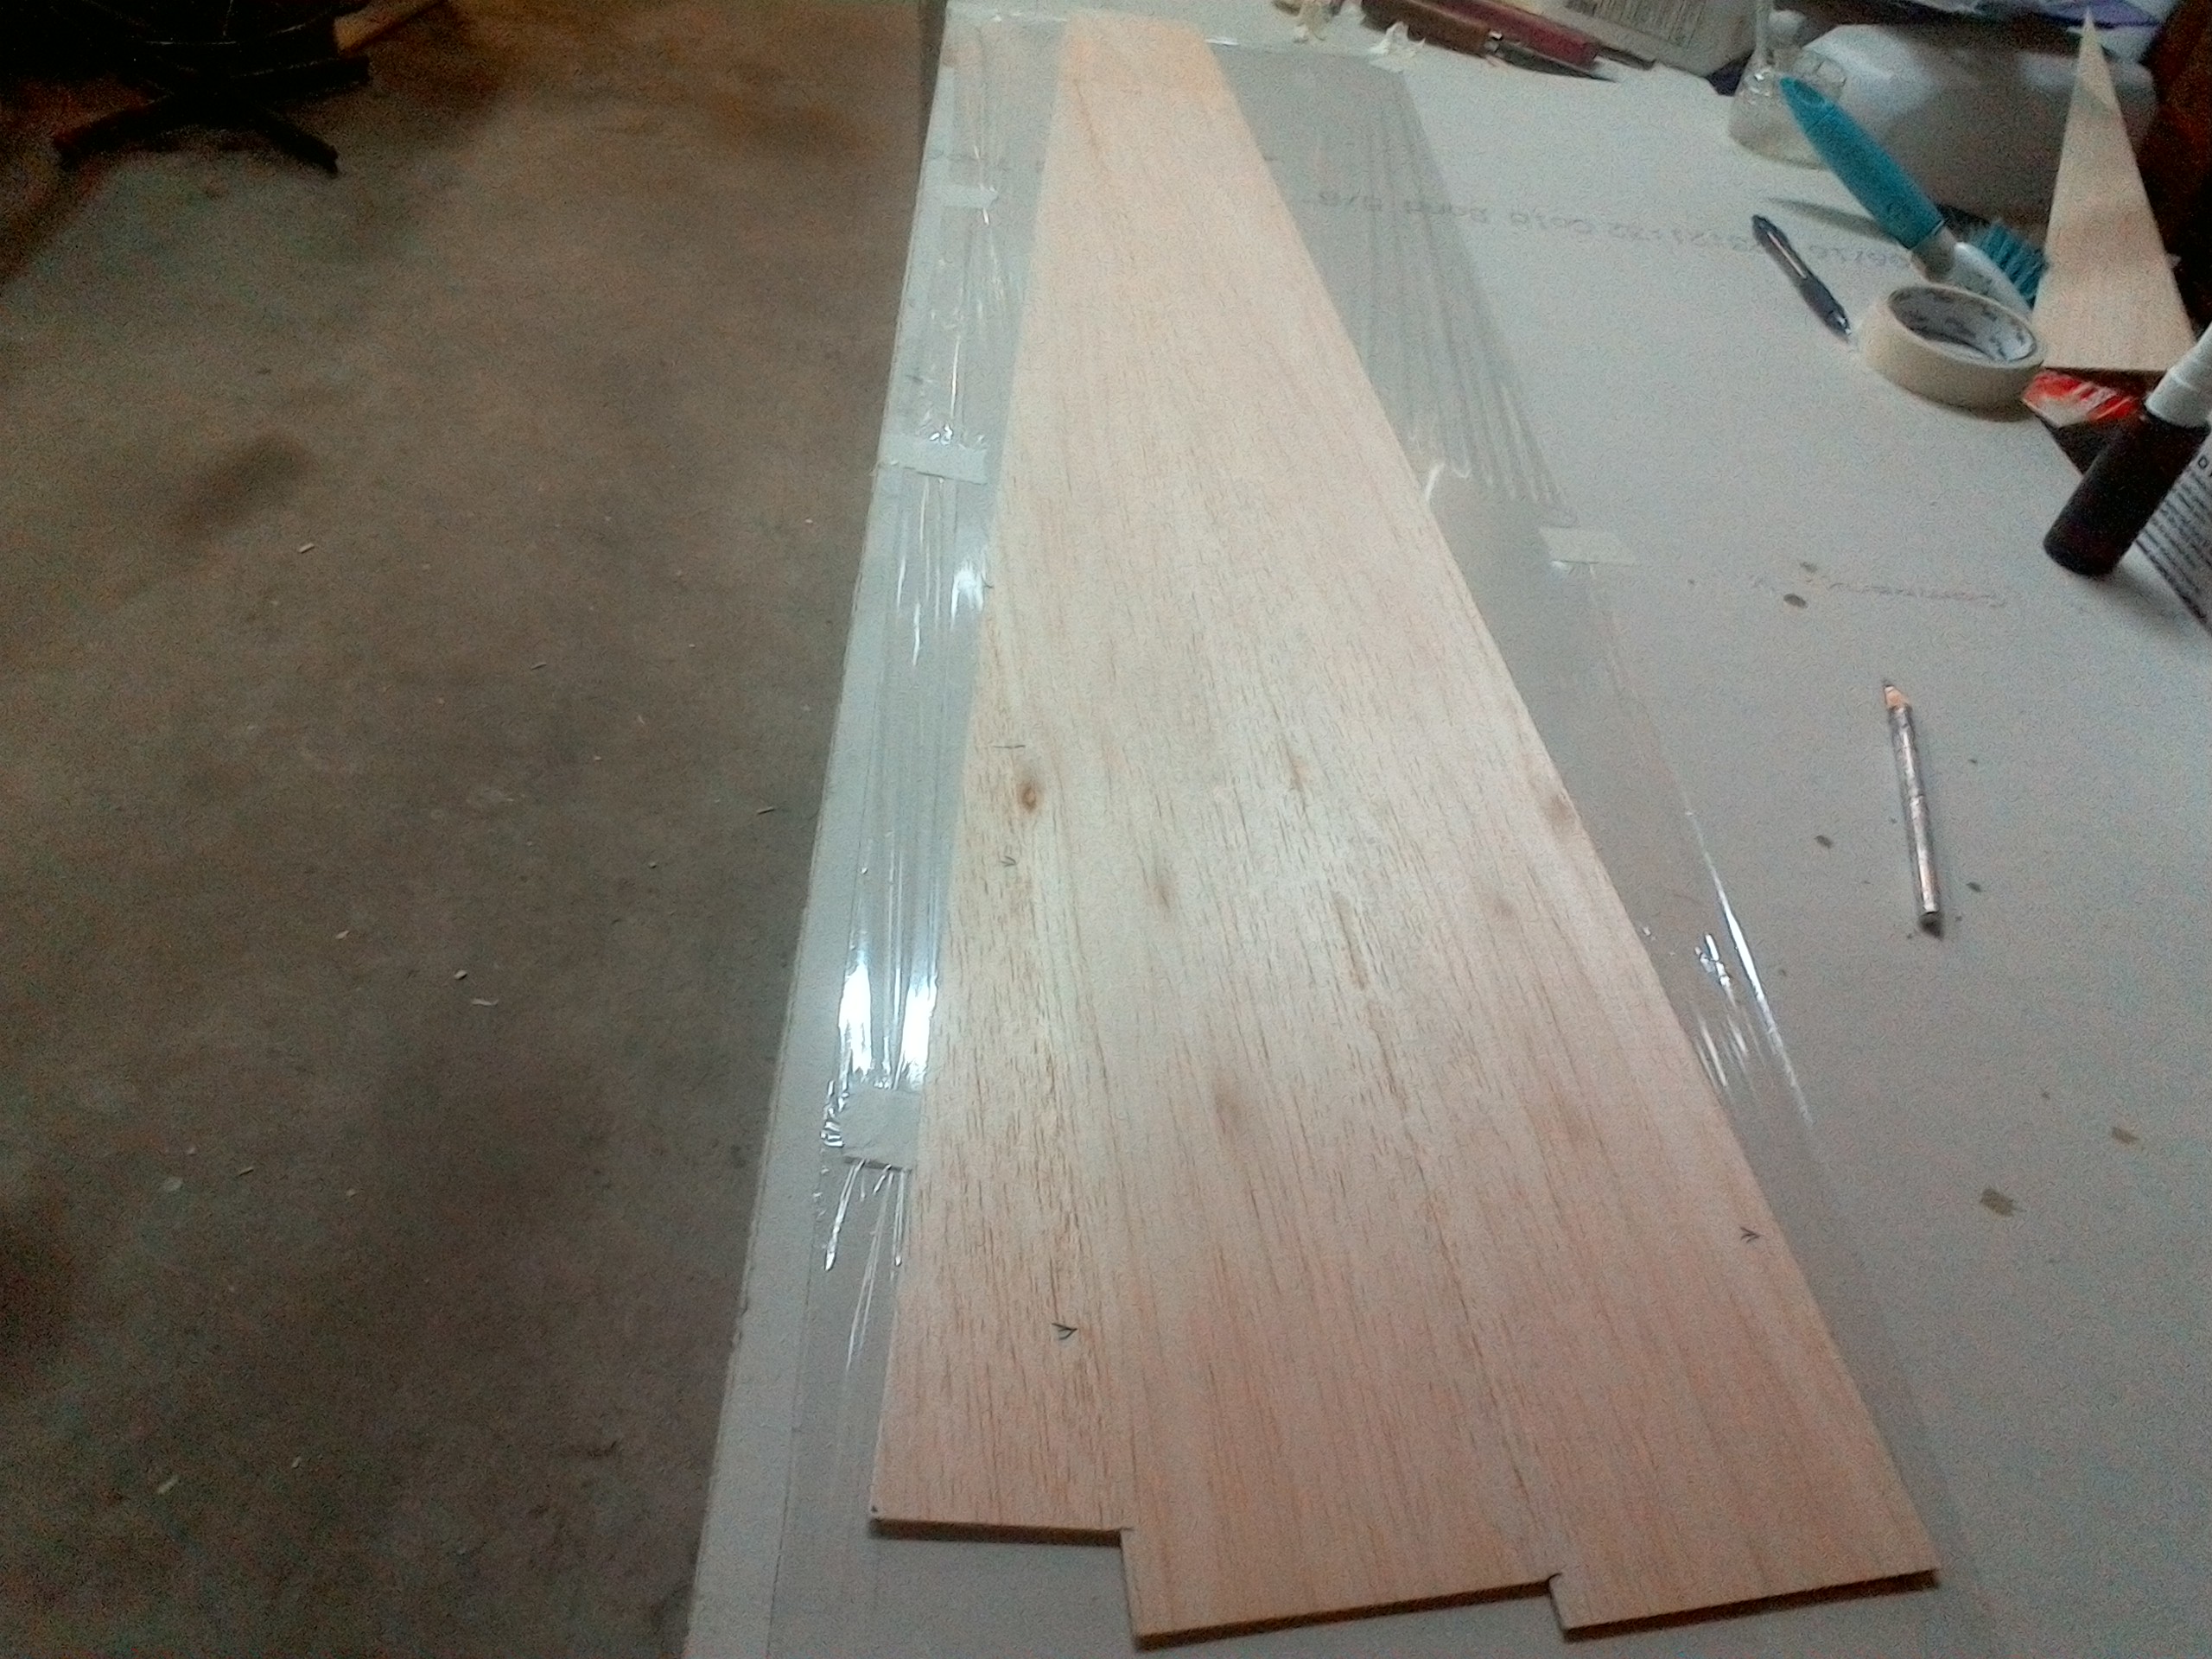
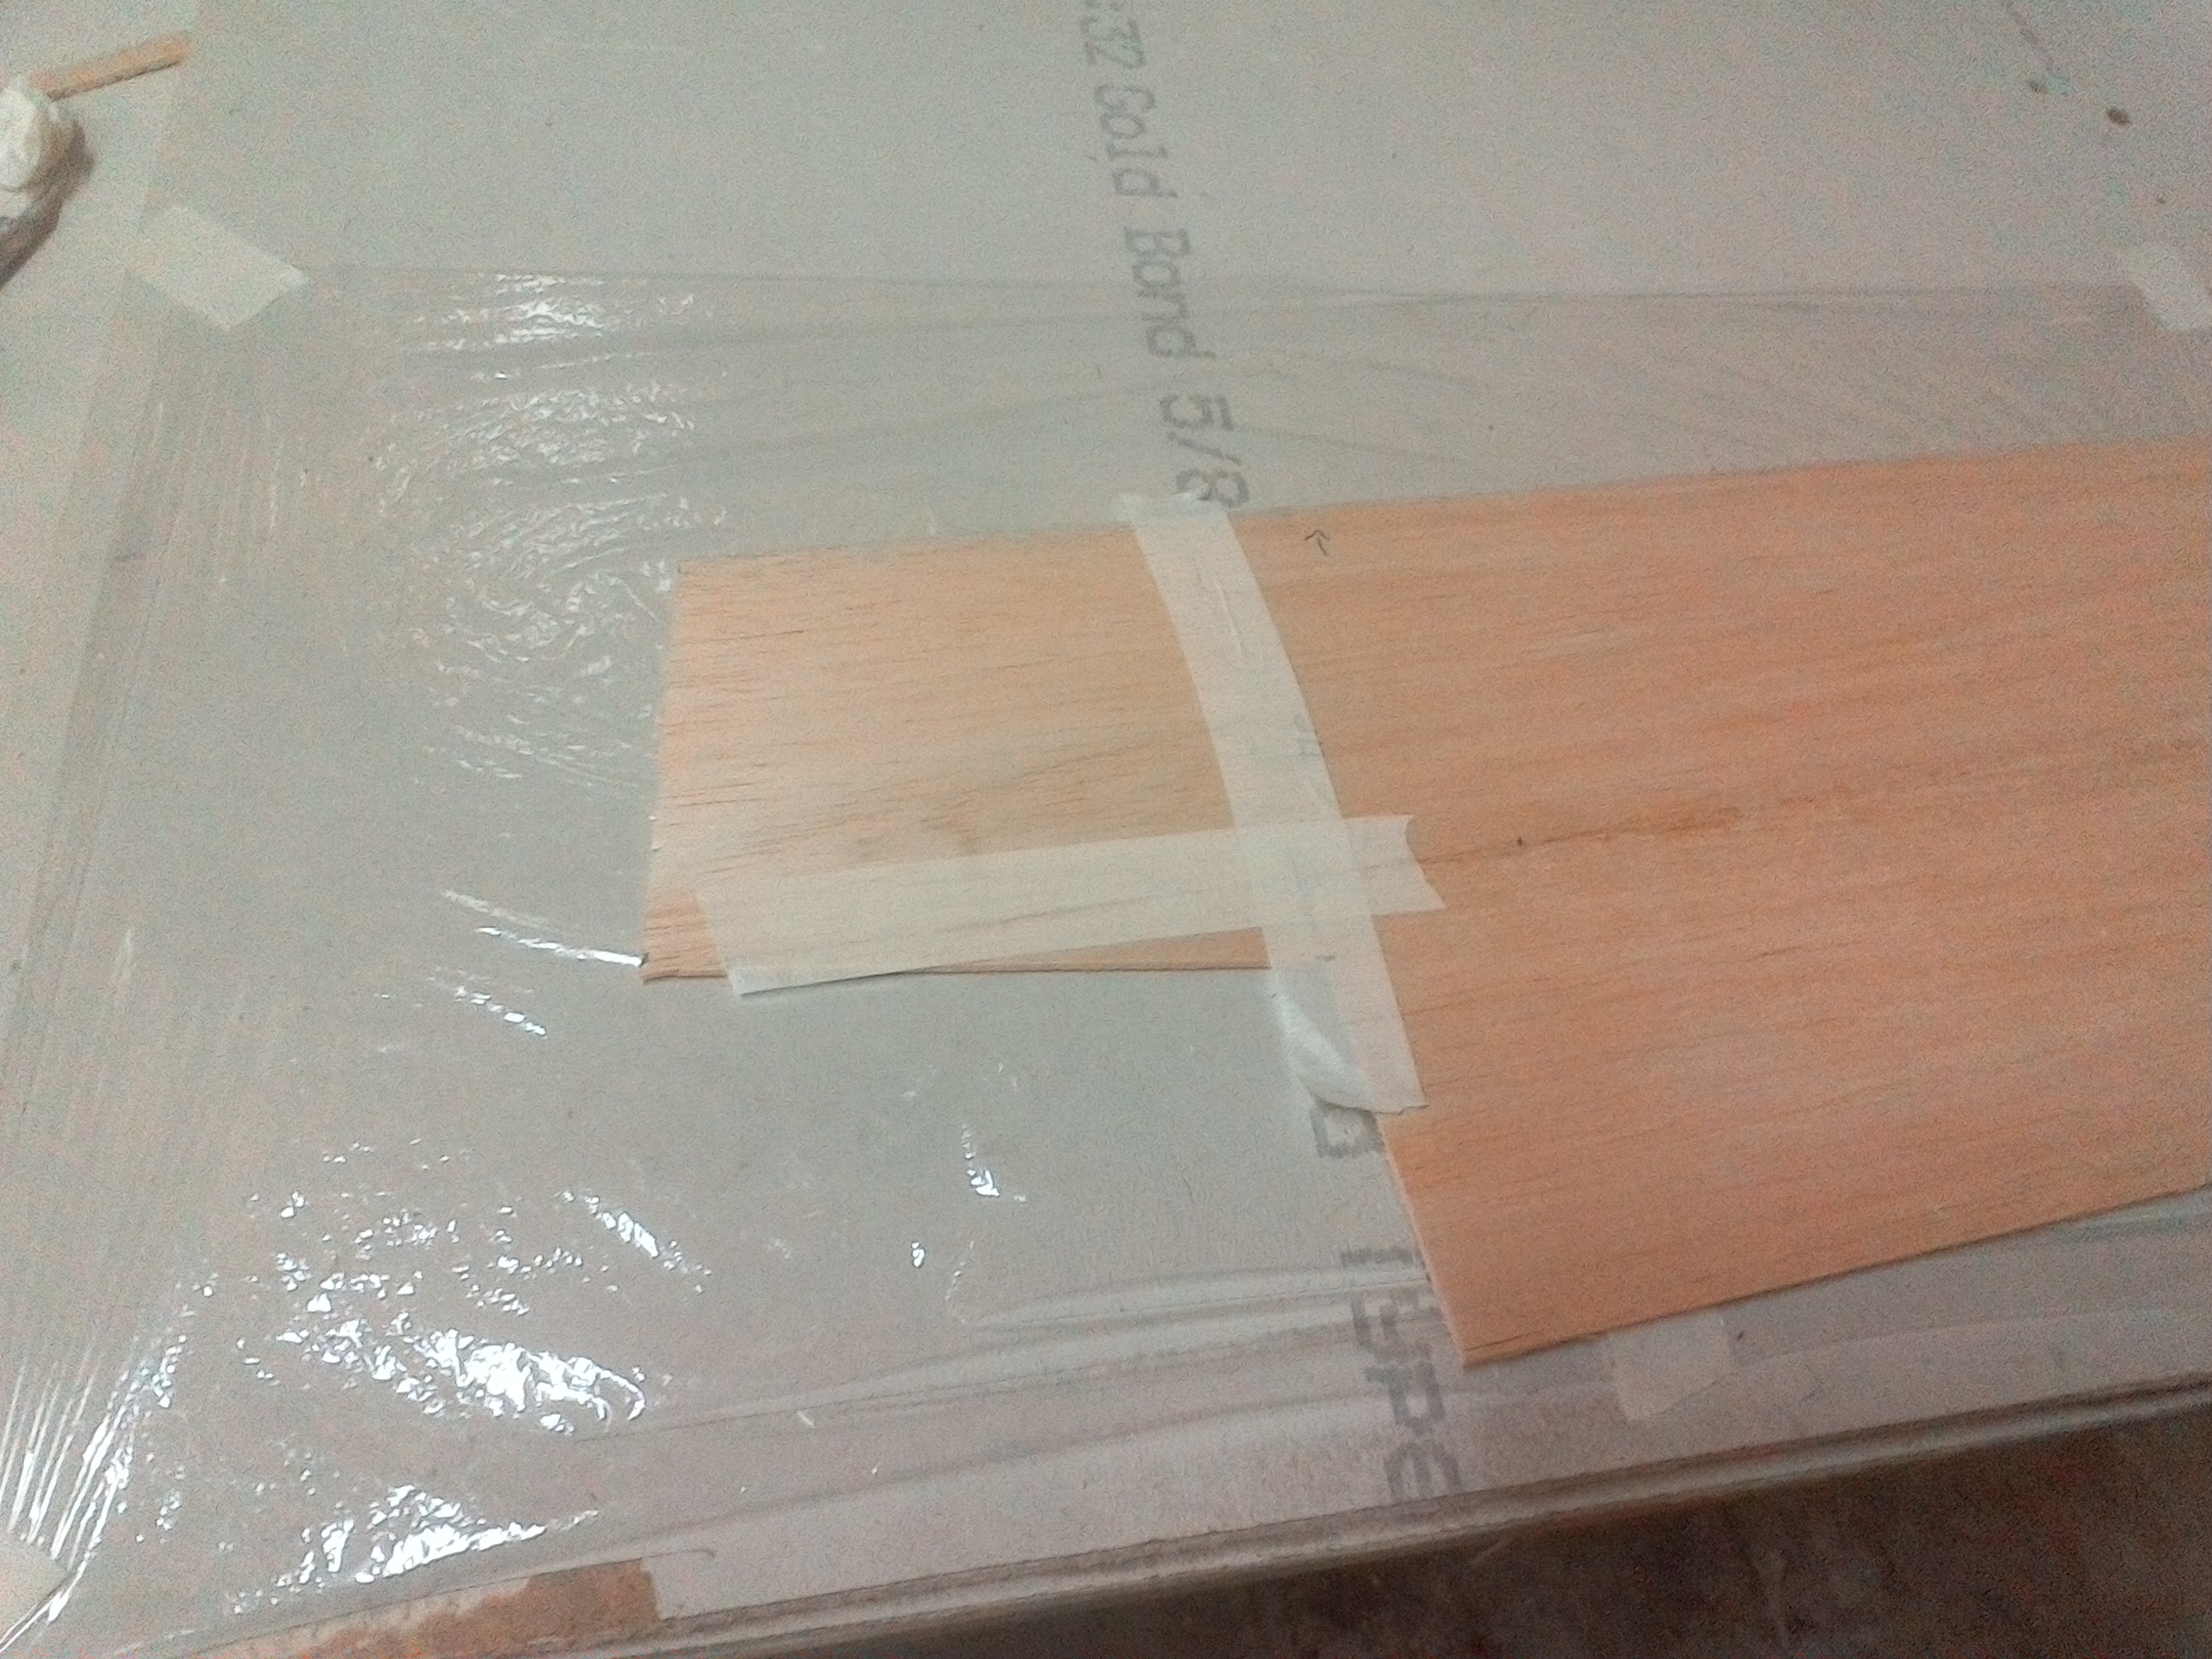
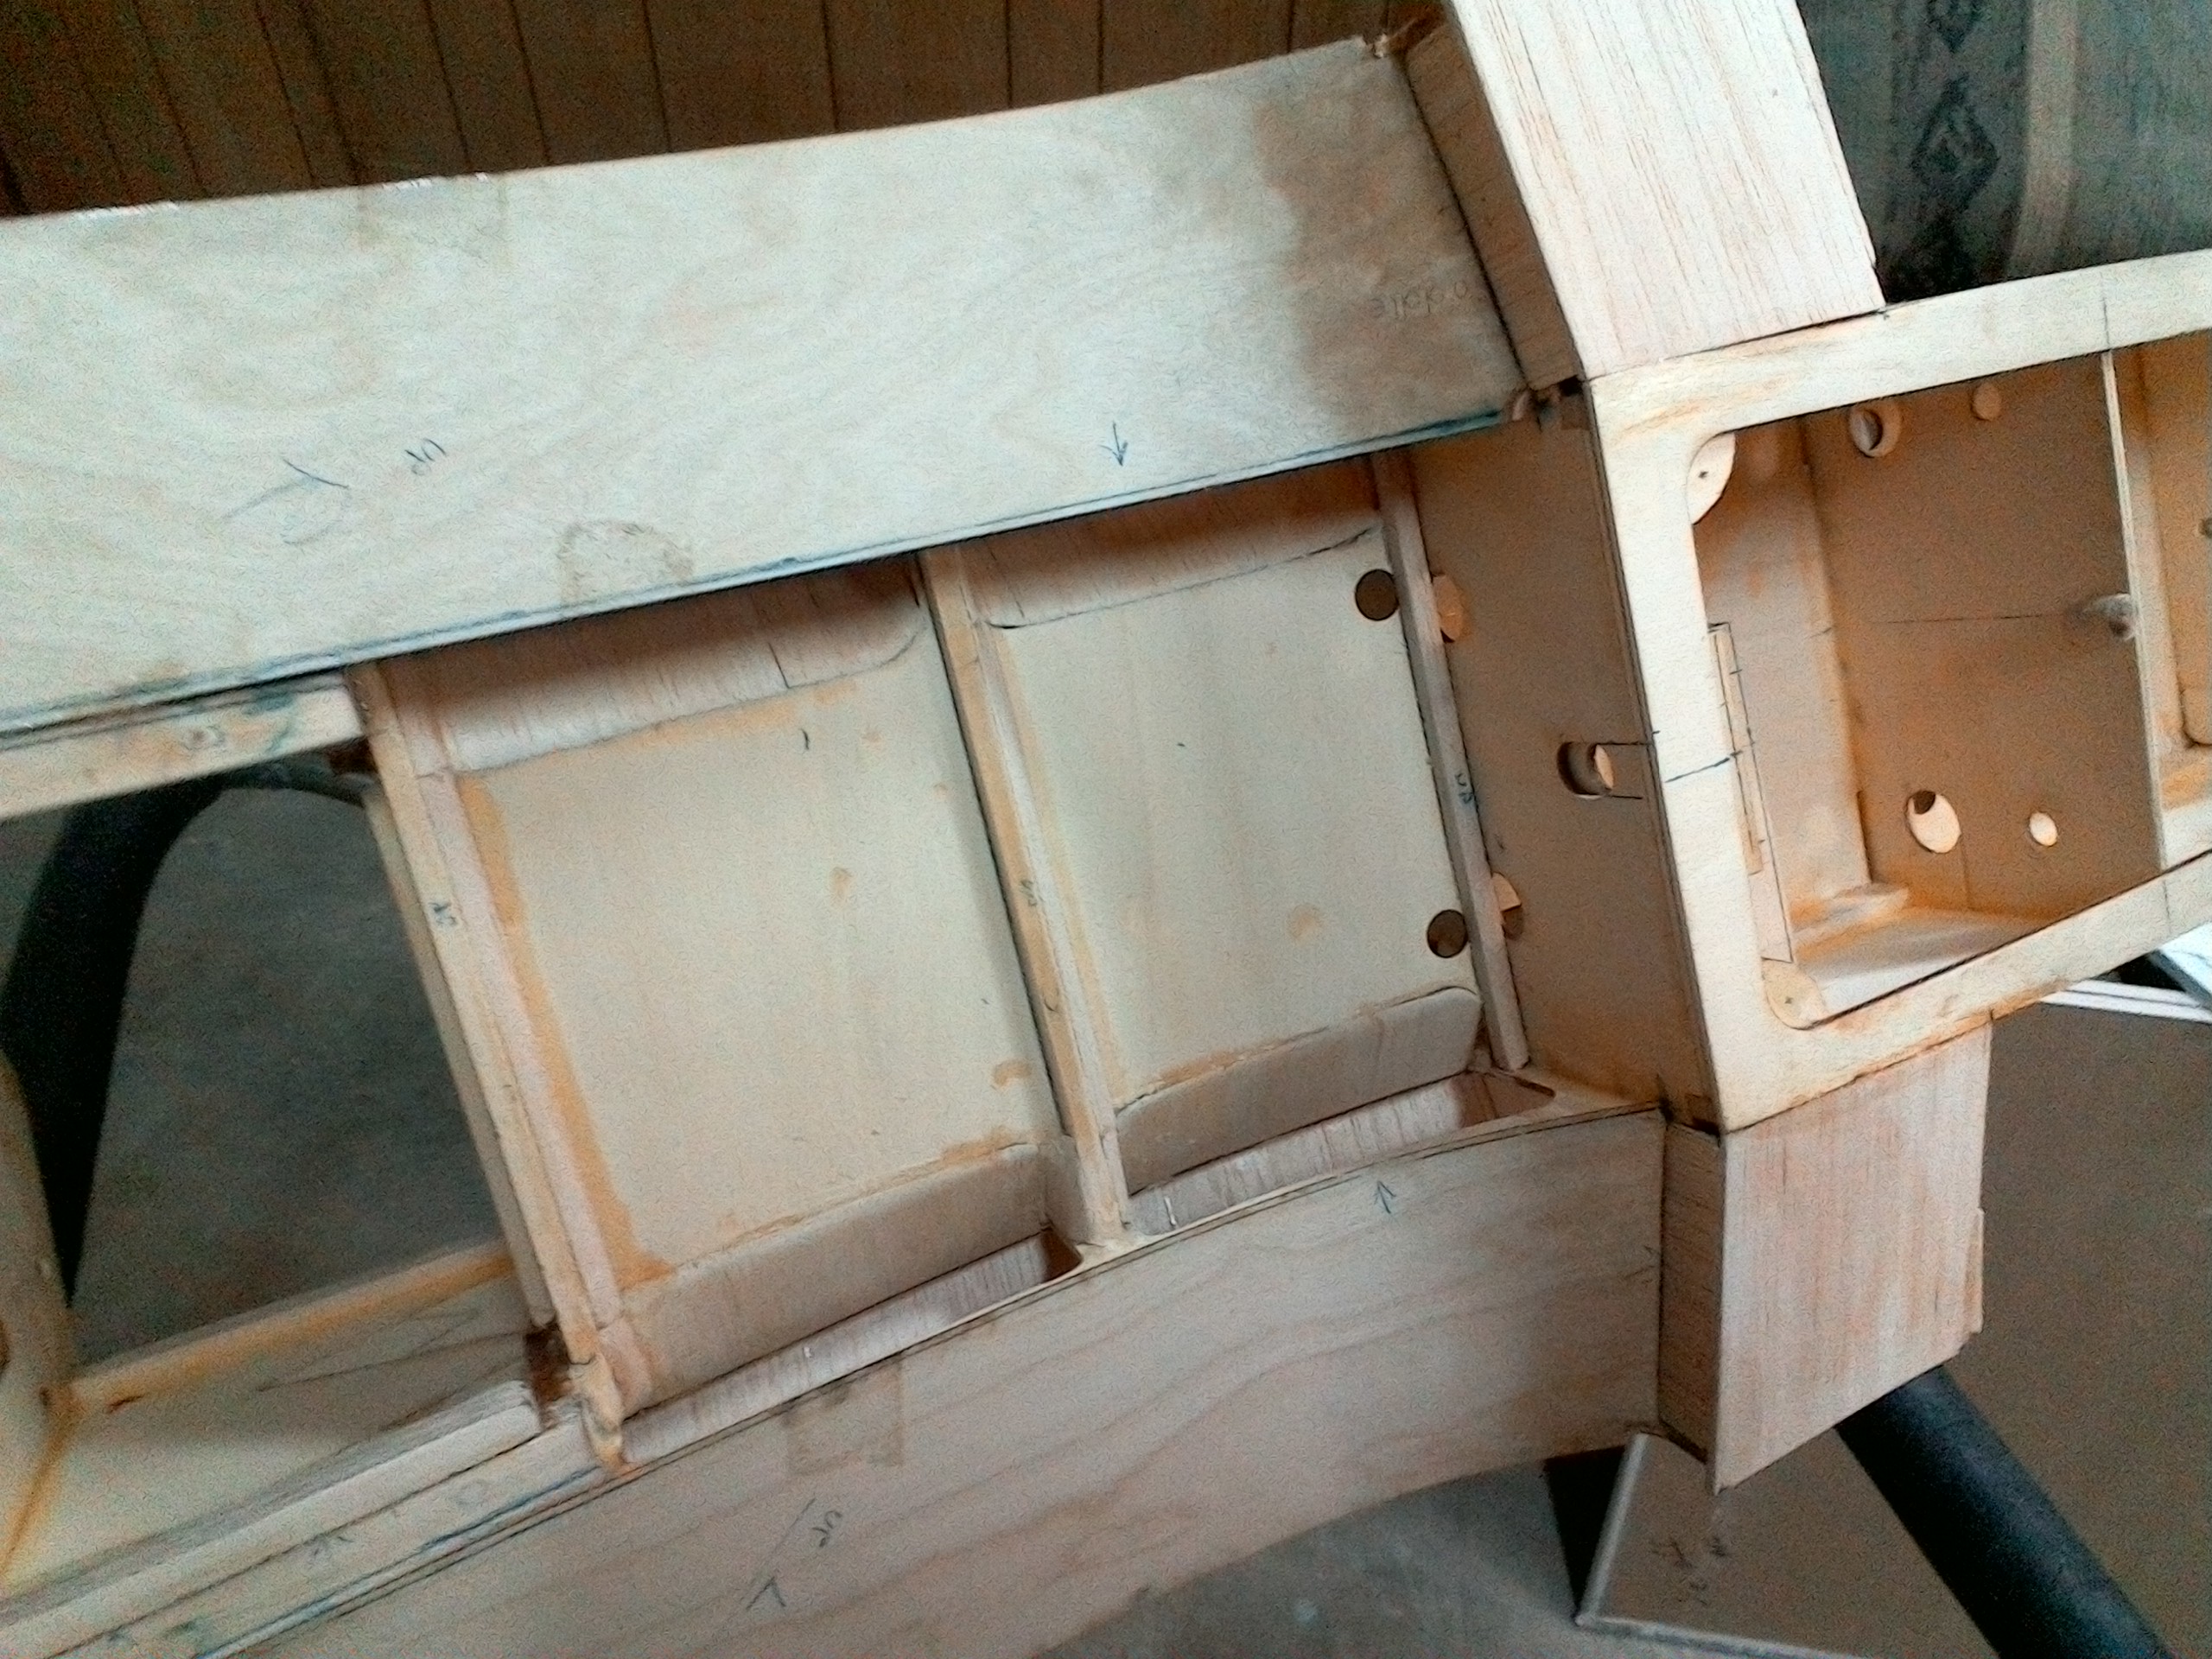
All the parts that needed to be in this half wing are there now, I added more sheer webs because I had the wood, glue and it only makes it stronger.

So far all looks good with this wing, there's still lots of things to do to complete this half wing.


Attached Thumbnails Click image for larger version

Name:	IMG_20170208_171608.jpg
Views:	790
Size:	1.15 MB
ID:	2200323   Click image for larger version

Name:	IMG_20170208_215717.jpg
Views:	794
Size:	1.09 MB
ID:	2200324   Click image for larger version

Name:	IMG_20170208_215806.jpg
Views:	770
Size:	895.3 KB
ID:	2200325   Click image for larger version

Name:	IMG_20170208_215800.jpg
Views:	795
Size:	853.6 KB
ID:	2200326   Click image for larger version

Name:	IMG_20170208_215806.jpg
Views:	789
Size:	1.10 MB
ID:	2200327   Click image for larger version

Name:	IMG_20170208_215800.jpg
Views:	783
Size:	1.05 MB
ID:	2200328   Click image for larger version

Name:	IMG_20170208_215813.jpg
Views:	786
Size:	1.09 MB
ID:	2200329   Click image for larger version

Name:	IMG_20170209_000256.jpg
Views:	787
Size:	1.17 MB
ID:	2200330  

Click image for larger version

Name:	IMG_20170209_000352.jpg
Views:	810
Size:	1.20 MB
ID:	2200331   Click image for larger version

Name:	IMG_20170209_000359.jpg
Views:	782
Size:	1.18 MB
ID:	2200332   Click image for larger version

Name:	IMG_20170209_000405.jpg
Views:	804
Size:	1.20 MB
ID:	2200333   Click image for larger version

Name:	IMG_20170209_000412.jpg
Views:	777
Size:	1.13 MB
ID:	2200334   Click image for larger version

Name:	IMG_20170209_000423.jpg
Views:	768
Size:	1.11 MB
ID:	2200335   Click image for larger version

Name:	IMG_20170209_000428.jpg
Views:	773
Size:	1.16 MB
ID:	2200336  

Last edited by CARS II; 02-09-2017 at 08:39 AM.
Old 02-09-2017, 12:37 PM
  #453  
CARS II
Thread Starter
My Feedback: (7)
 
CARS II's Avatar
 
Join Date: Oct 2002
Location: Sacramento CA
Posts: 6,589
Received 123 Likes on 106 Posts
Default

Next is to cover is the right wing.

Last edited by CARS II; 02-09-2017 at 06:19 PM.
Old 02-09-2017, 09:51 PM
  #454  
CARS II
Thread Starter
My Feedback: (7)
 
CARS II's Avatar
 
Join Date: Oct 2002
Location: Sacramento CA
Posts: 6,589
Received 123 Likes on 106 Posts
Default

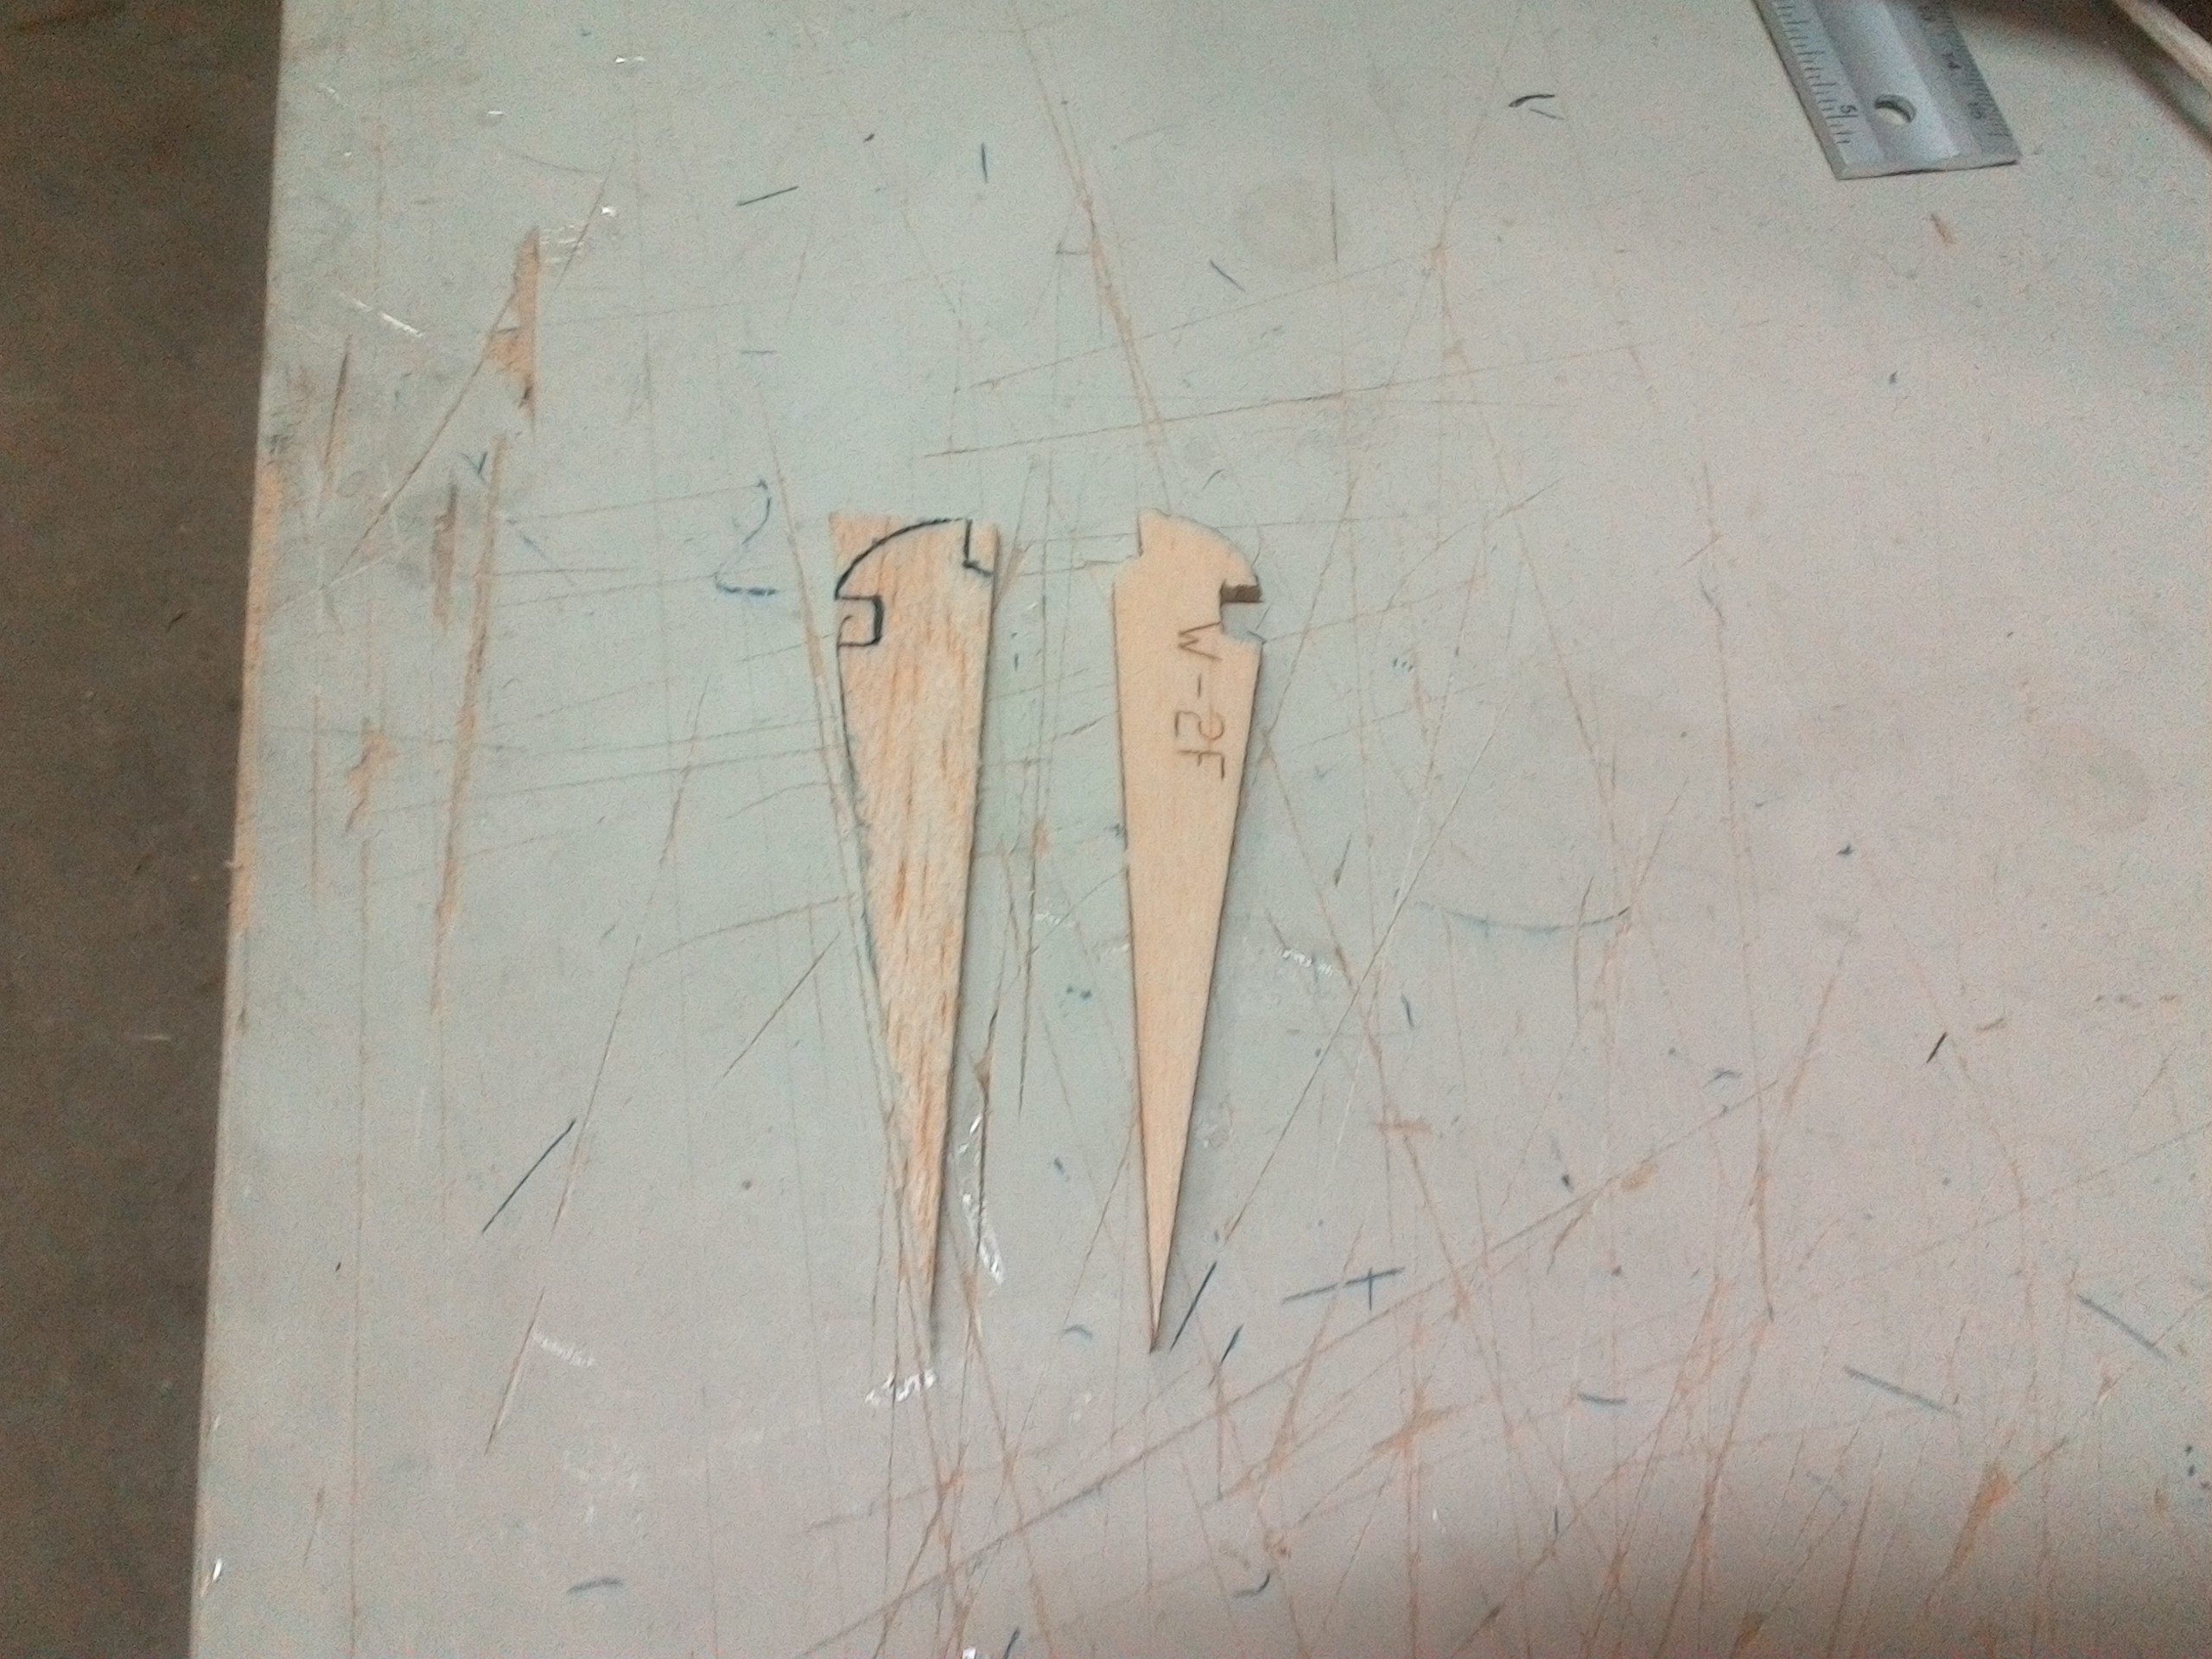
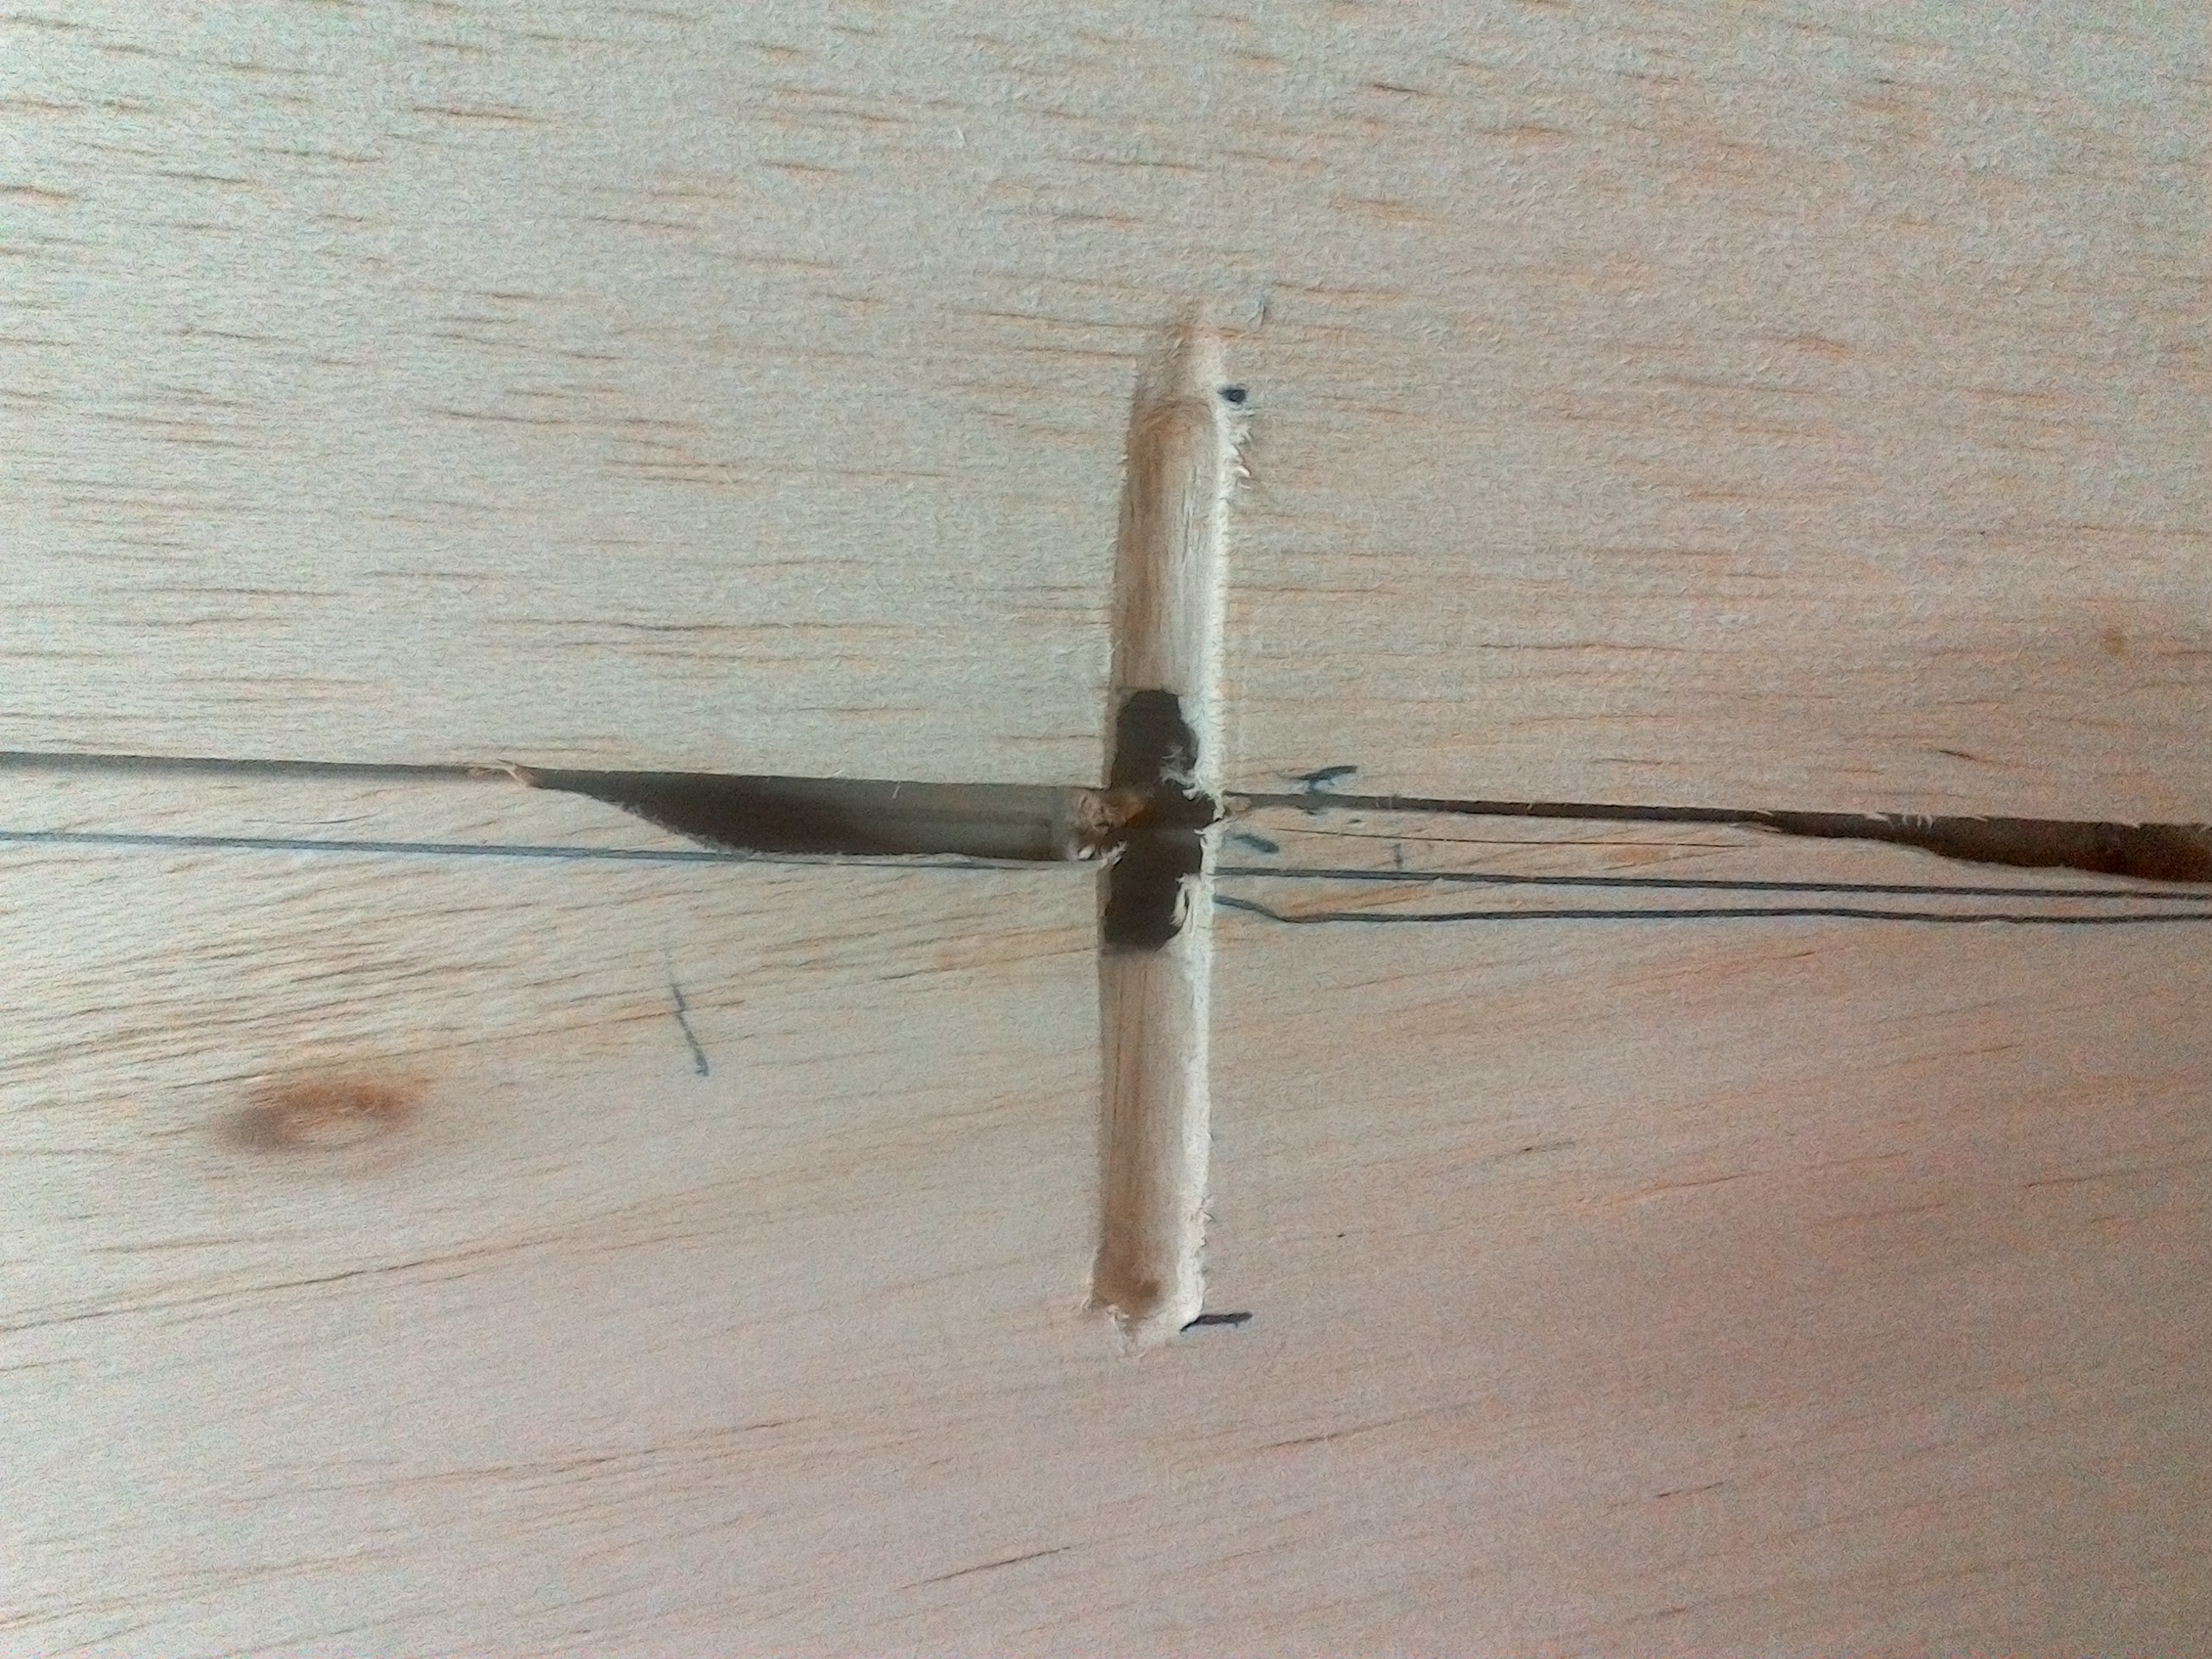
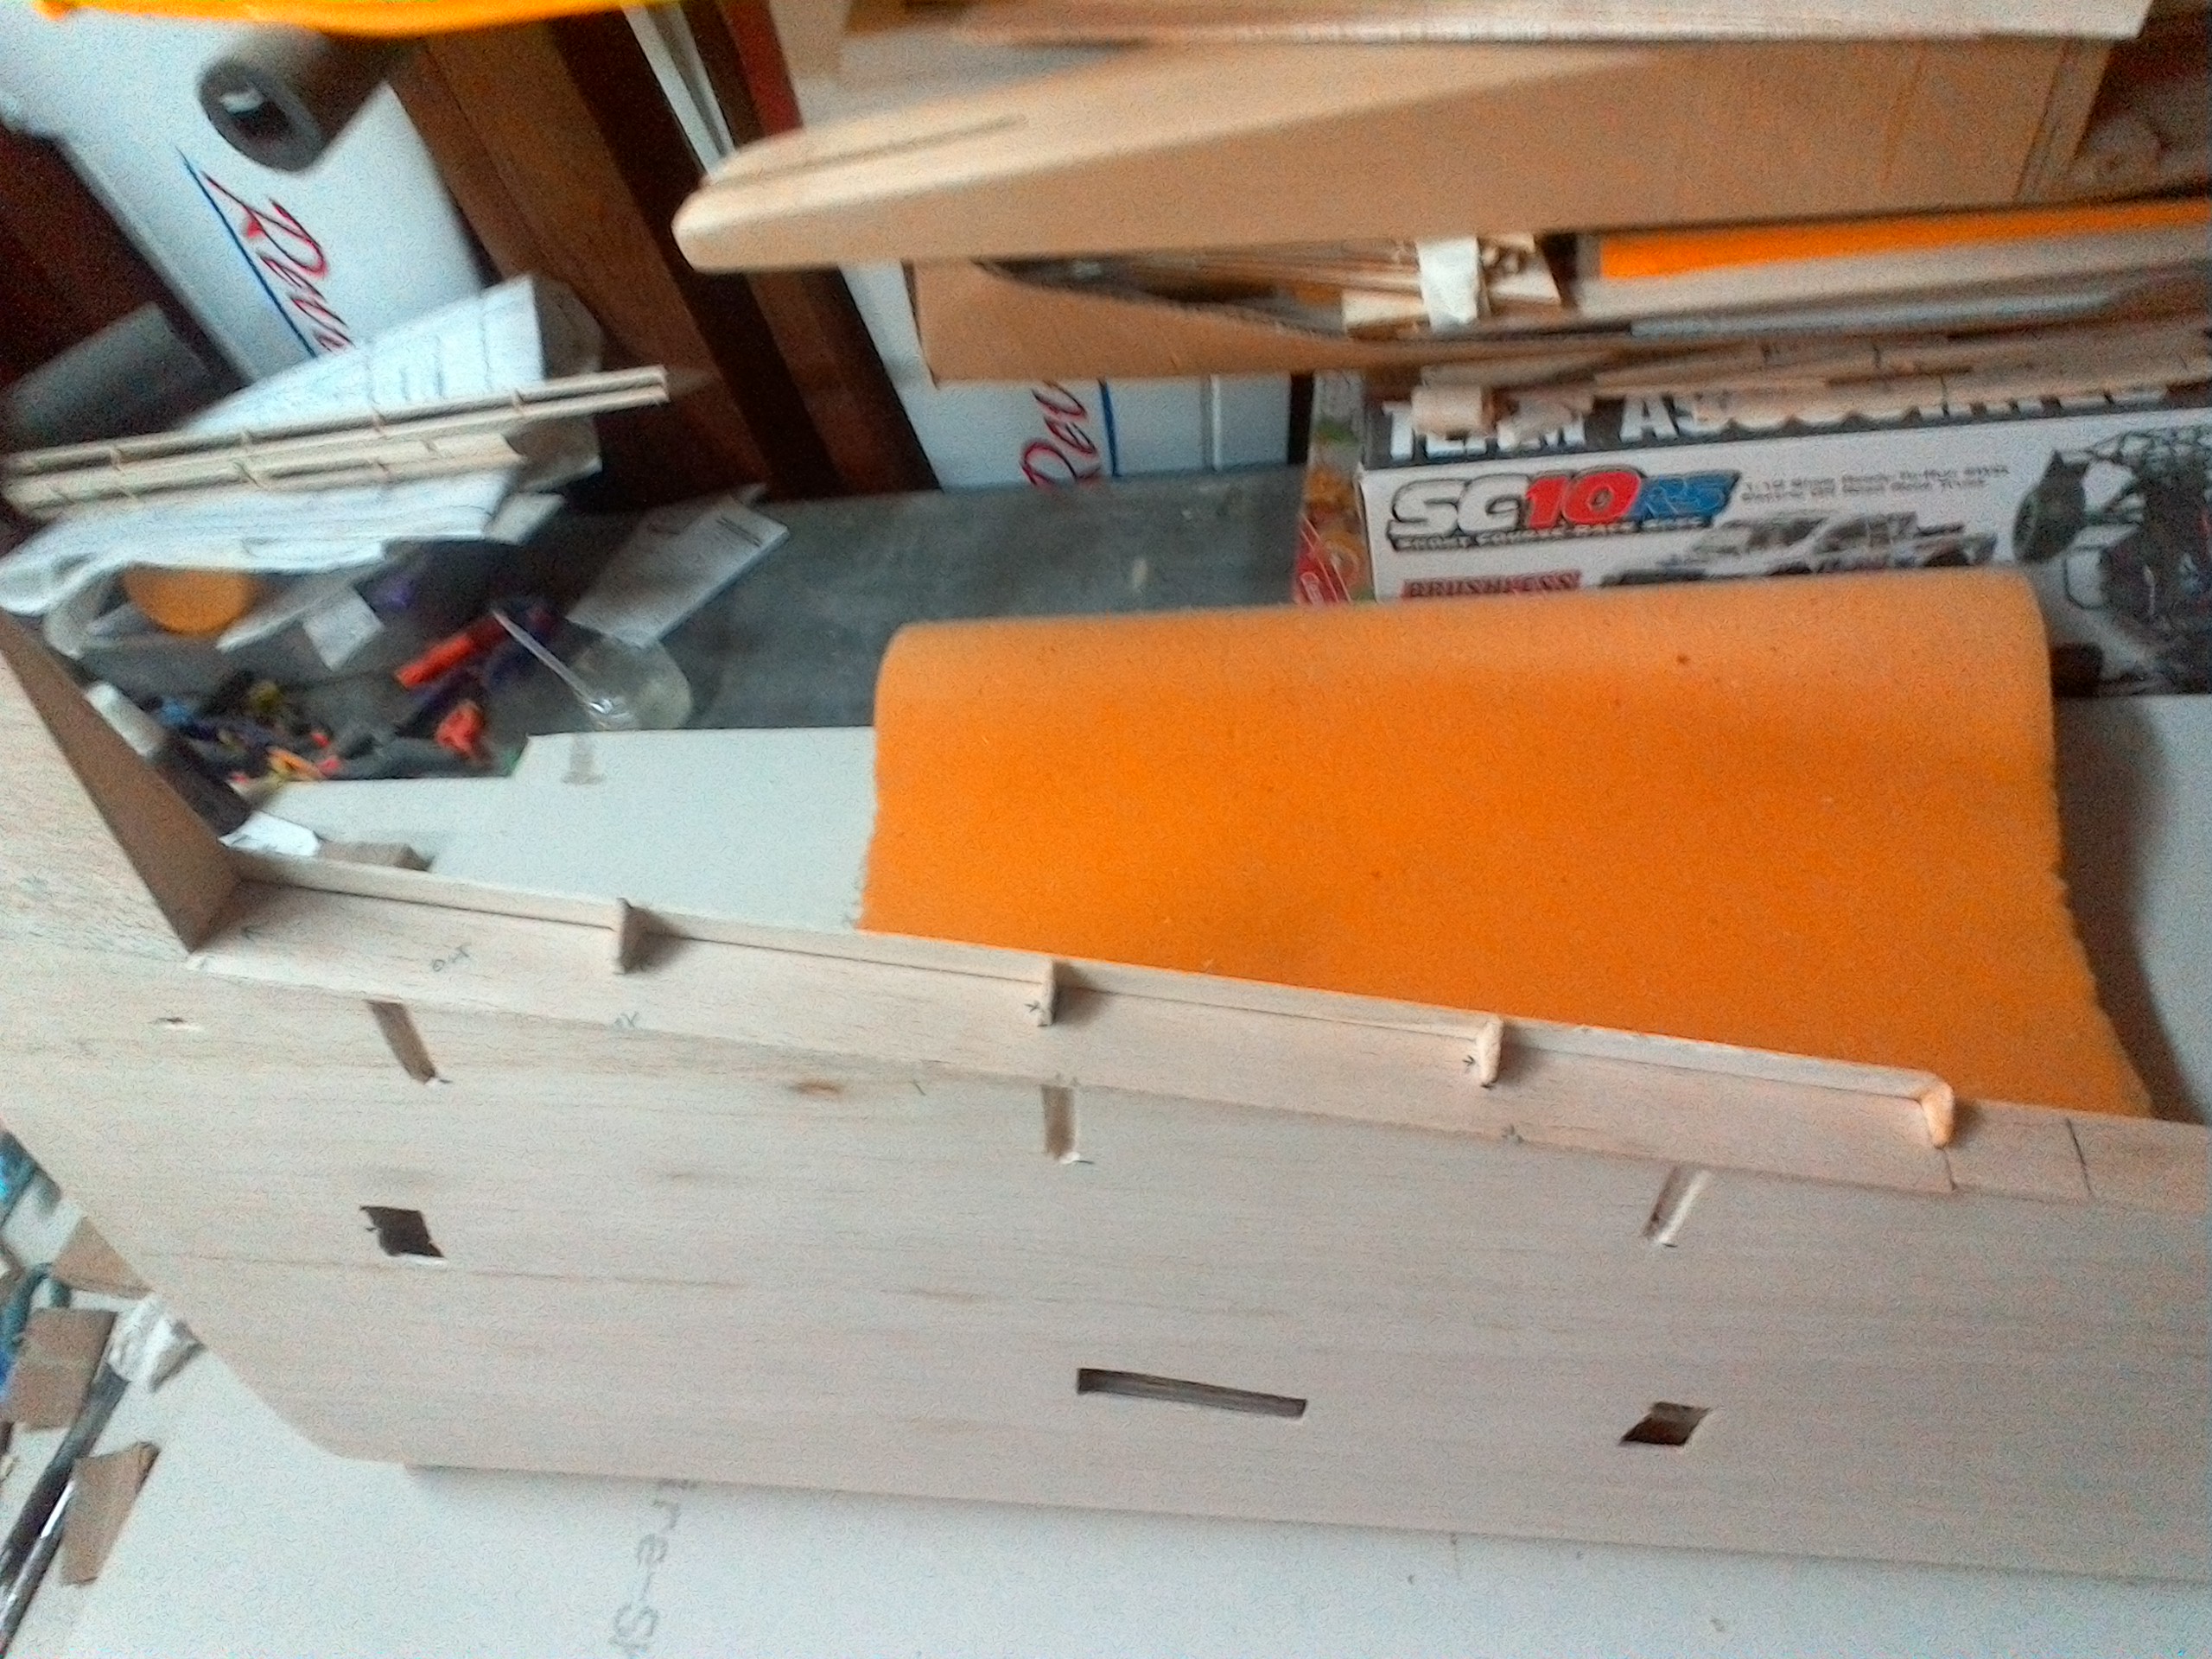
Very little done today on the left wing, now I can really start work on the right half, had to cut the wing hard wood joiners before I sheet the right wing, always thinking three steps ahead to prevent a mistake or an omission of a part or step.

I drew the pattern on the LE flap ribs with the last rib the gets glued after sheeting the bottom of it also mark the position of the flap hinges, the flap top skin gets glued at mid point of the 3/32X1/4 spar, the flap leading edge gets glue on the other half of the spar then it's bend downwards, the ribs gives it a round shape.

With this build you have to be three steps ahead also you have to review the plans constantly to thoroughly know how all the parts go and when.

Attached Thumbnails Click image for larger version

Name:	IMG_20170209_192927.jpg
Views:	748
Size:	959.9 KB
ID:	2200417   Click image for larger version

Name:	IMG_20170209_192837.jpg
Views:	775
Size:	1.18 MB
ID:	2200418   Click image for larger version

Name:	IMG_20170209_192729.jpg
Views:	750
Size:	995.6 KB
ID:	2200419   Click image for larger version

Name:	IMG_20170209_192653.jpg
Views:	751
Size:	1.07 MB
ID:	2200420   Click image for larger version

Name:	IMG_20170209_192644.jpg
Views:	753
Size:	1.09 MB
ID:	2200421   Click image for larger version

Name:	IMG_20170209_192636.jpg
Views:	737
Size:	909.5 KB
ID:	2200422   Click image for larger version

Name:	IMG_20170209_192602.jpg
Views:	763
Size:	1.05 MB
ID:	2200423  

Last edited by CARS II; 02-10-2017 at 01:55 AM.
Old 02-10-2017, 07:15 PM
  #455  
CARS II
Thread Starter
My Feedback: (7)
 
CARS II's Avatar
 
Join Date: Oct 2002
Location: Sacramento CA
Posts: 6,589
Received 123 Likes on 106 Posts
Default

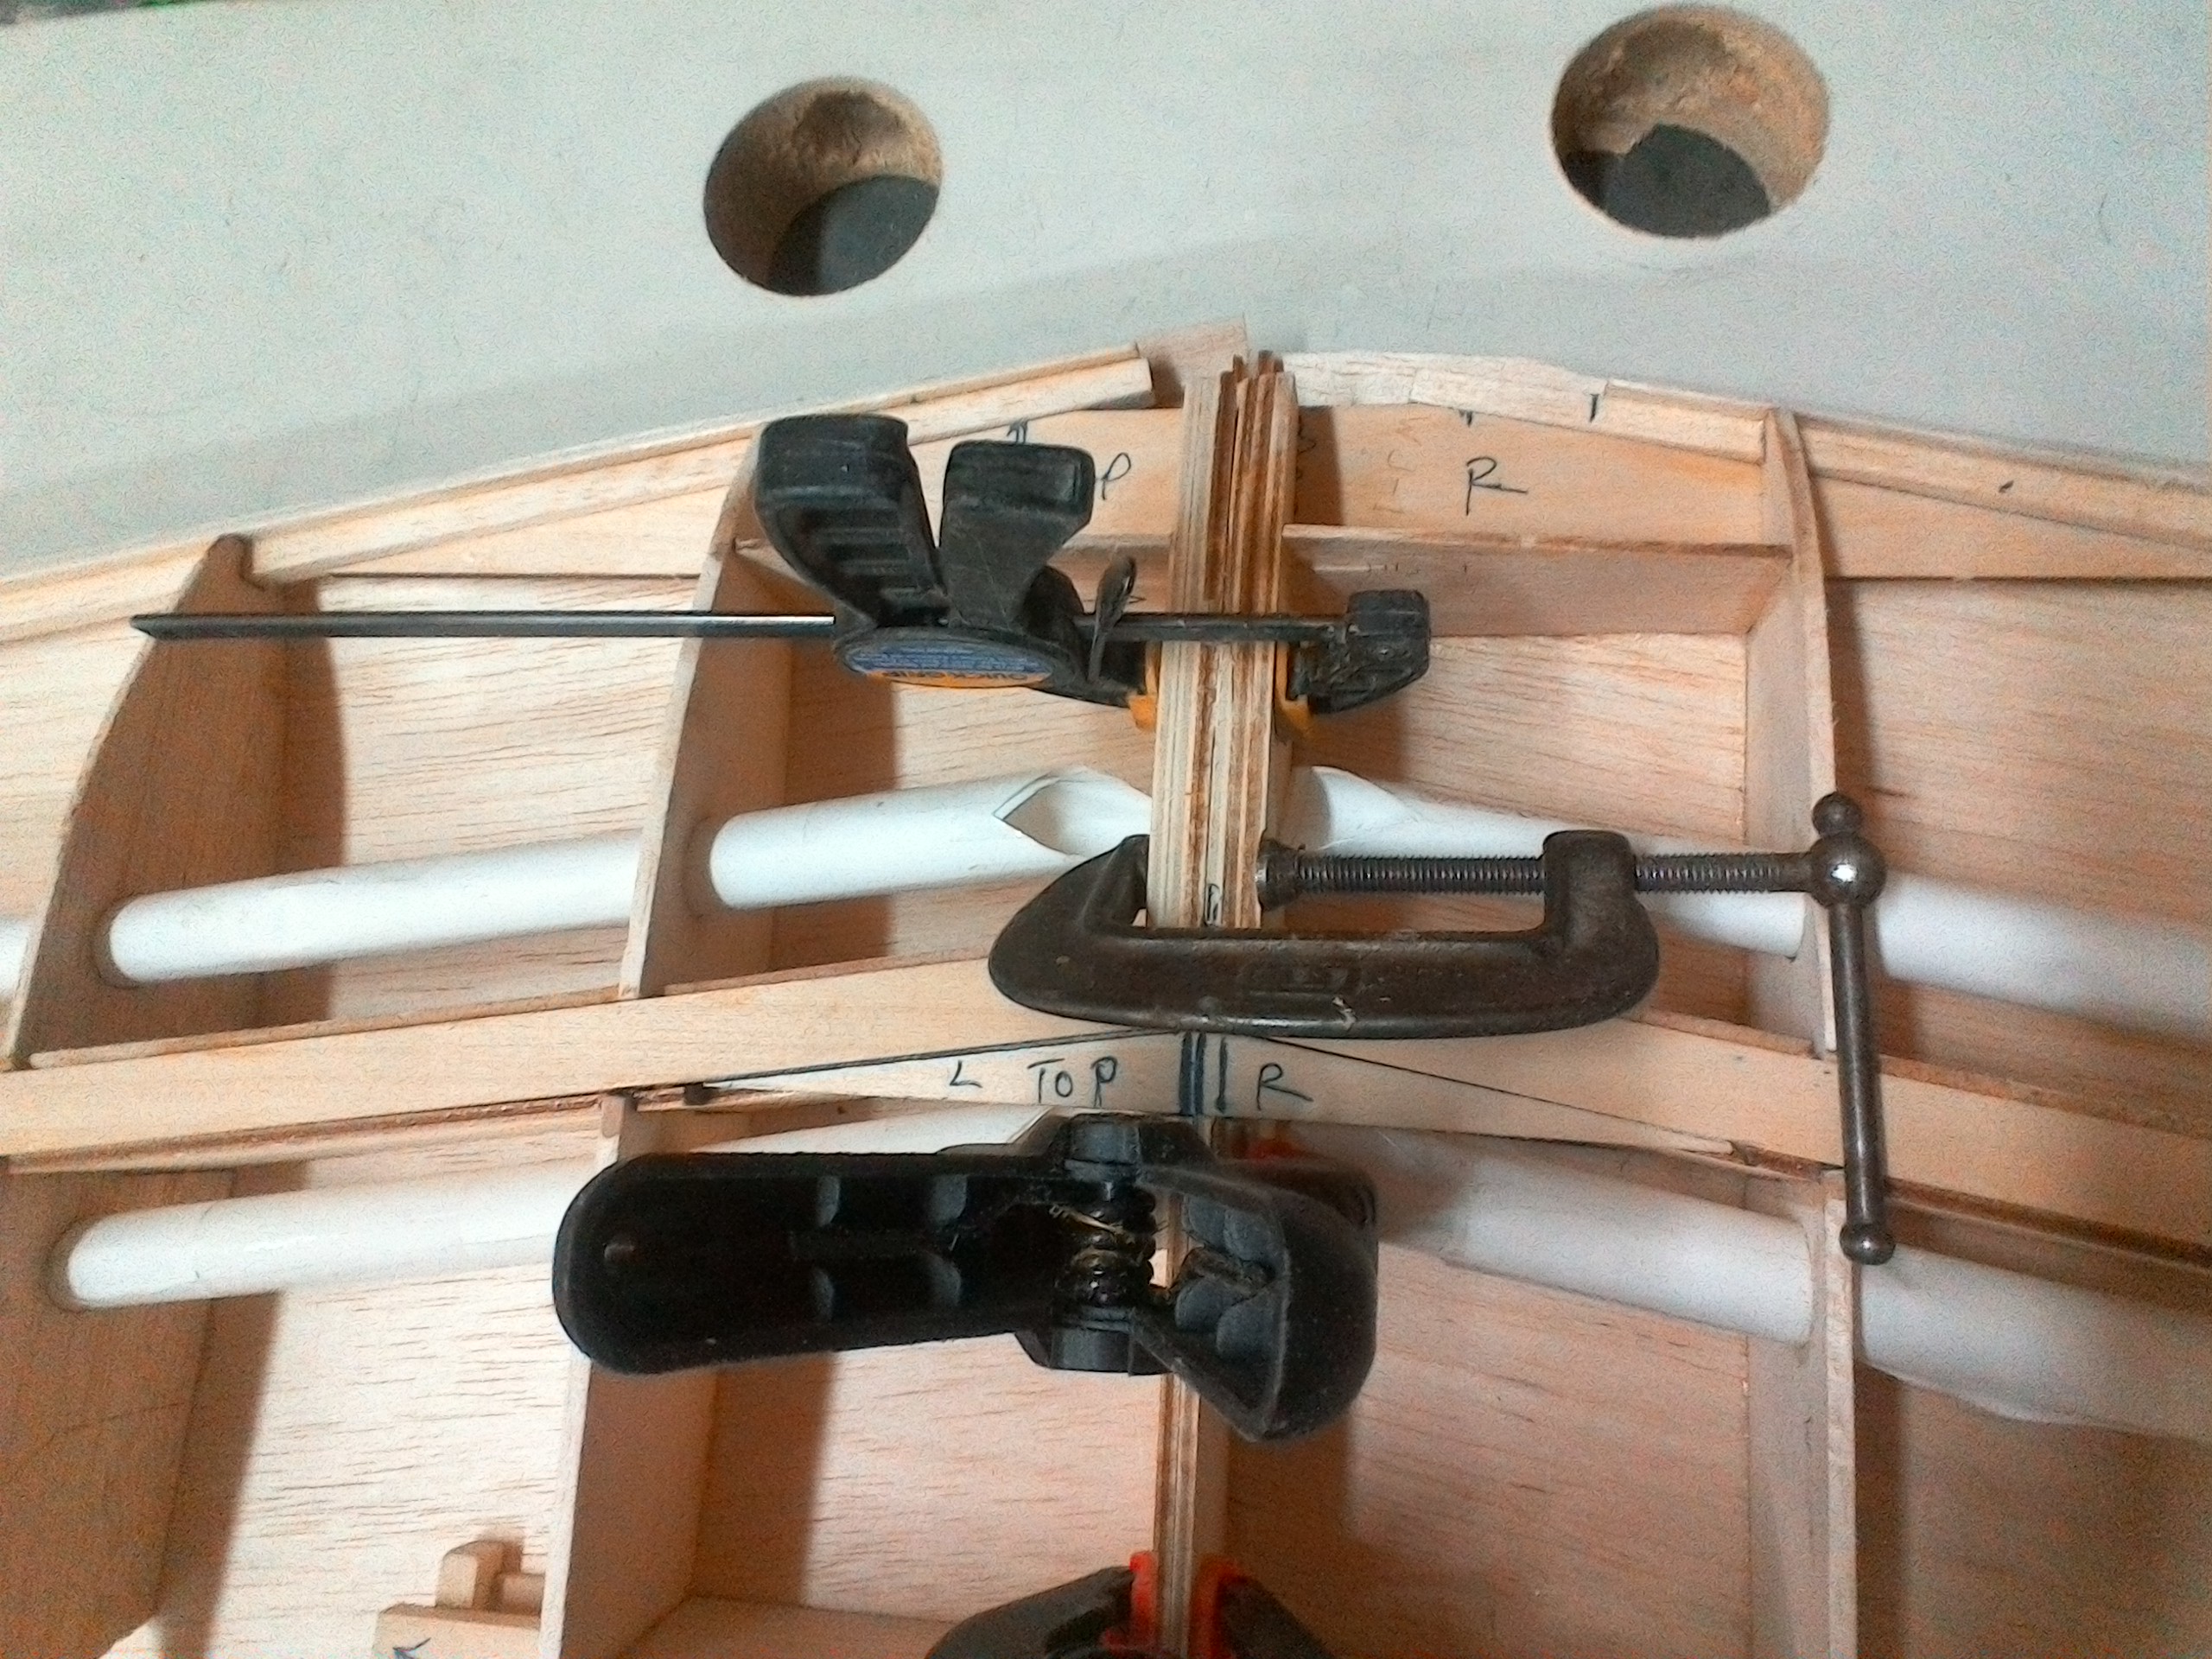
OK, the left wing is been prep now, one side has been sheeted, the aileron and flap internals are there, the wing joiners are cut, fitted and ready when needed, notice that the top wing joiner has one angled side and the lower one has two and they have to be cut before the sheeting of the wings starts, glueing the sheer webs at the moment but I need a break, I've been inhaling CA for the past 4 hours ( need some fresh air ) I will continue the build in the next hour or so

Attached Thumbnails Click image for larger version

Name:	IMG_20170210_150347.jpg
Views:	734
Size:	1.09 MB
ID:	2200497   Click image for larger version

Name:	IMG_20170210_150445.jpg
Views:	740
Size:	1,002.9 KB
ID:	2200498   Click image for larger version

Name:	IMG_20170210_150528.jpg
Views:	758
Size:	1.28 MB
ID:	2200499   Click image for larger version

Name:	IMG_20170210_185320.jpg
Views:	756
Size:	1.19 MB
ID:	2200500   Click image for larger version

Name:	IMG_20170210_185329.jpg
Views:	744
Size:	1.08 MB
ID:	2200501   Click image for larger version

Name:	IMG_20170210_185346.jpg
Views:	748
Size:	1.07 MB
ID:	2200502  

Last edited by CARS II; 02-10-2017 at 08:14 PM.
Old 02-11-2017, 01:08 AM
  #456  
CARS II
Thread Starter
My Feedback: (7)
 
CARS II's Avatar
 
Join Date: Oct 2002
Location: Sacramento CA
Posts: 6,589
Received 123 Likes on 106 Posts
Default

The left wing is at the same building step as the right one, the root ribs was cleared of the extra wood hanging past the rib, I was anxious to see if the wings had the 1 3/4 gap on both tips when the wing was joined on top of the work bench, it did, exactly the dihedral per the instructions/plans, I also fitted all of the wing joiners at the same time.

The wing without the tips measure 79".

Attached Thumbnails Click image for larger version

Name:	IMG_20170210_235543.jpg
Views:	780
Size:	1.12 MB
ID:	2200521   Click image for larger version

Name:	IMG_20170210_235640.jpg
Views:	771
Size:	1.20 MB
ID:	2200522   Click image for larger version

Name:	IMG_20170210_235736.jpg
Views:	773
Size:	1.11 MB
ID:	2200523   Click image for larger version

Name:	IMG_20170210_235744.jpg
Views:	757
Size:	1.13 MB
ID:	2200524   Click image for larger version

Name:	IMG_20170210_235413.jpg
Views:	758
Size:	1.15 MB
ID:	2200532   Click image for larger version

Name:	IMG_20170210_234053.jpg
Views:	794
Size:	1.14 MB
ID:	2200533   Click image for larger version

Name:	IMG_20170210_235437.jpg
Views:	749
Size:	1.10 MB
ID:	2200534  

Last edited by CARS II; 02-11-2017 at 03:48 AM.
Old 02-12-2017, 10:38 AM
  #457  
CARS II
Thread Starter
My Feedback: (7)
 
CARS II's Avatar
 
Join Date: Oct 2002
Location: Sacramento CA
Posts: 6,589
Received 123 Likes on 106 Posts
Default

Attached Thumbnails Click image for larger version

Name:	IMG_20170211_172405.jpg
Views:	752
Size:	1.16 MB
ID:	2200749  
Old 02-12-2017, 10:41 AM
  #458  
CARS II
Thread Starter
My Feedback: (7)
 
CARS II's Avatar
 
Join Date: Oct 2002
Location: Sacramento CA
Posts: 6,589
Received 123 Likes on 106 Posts
Default

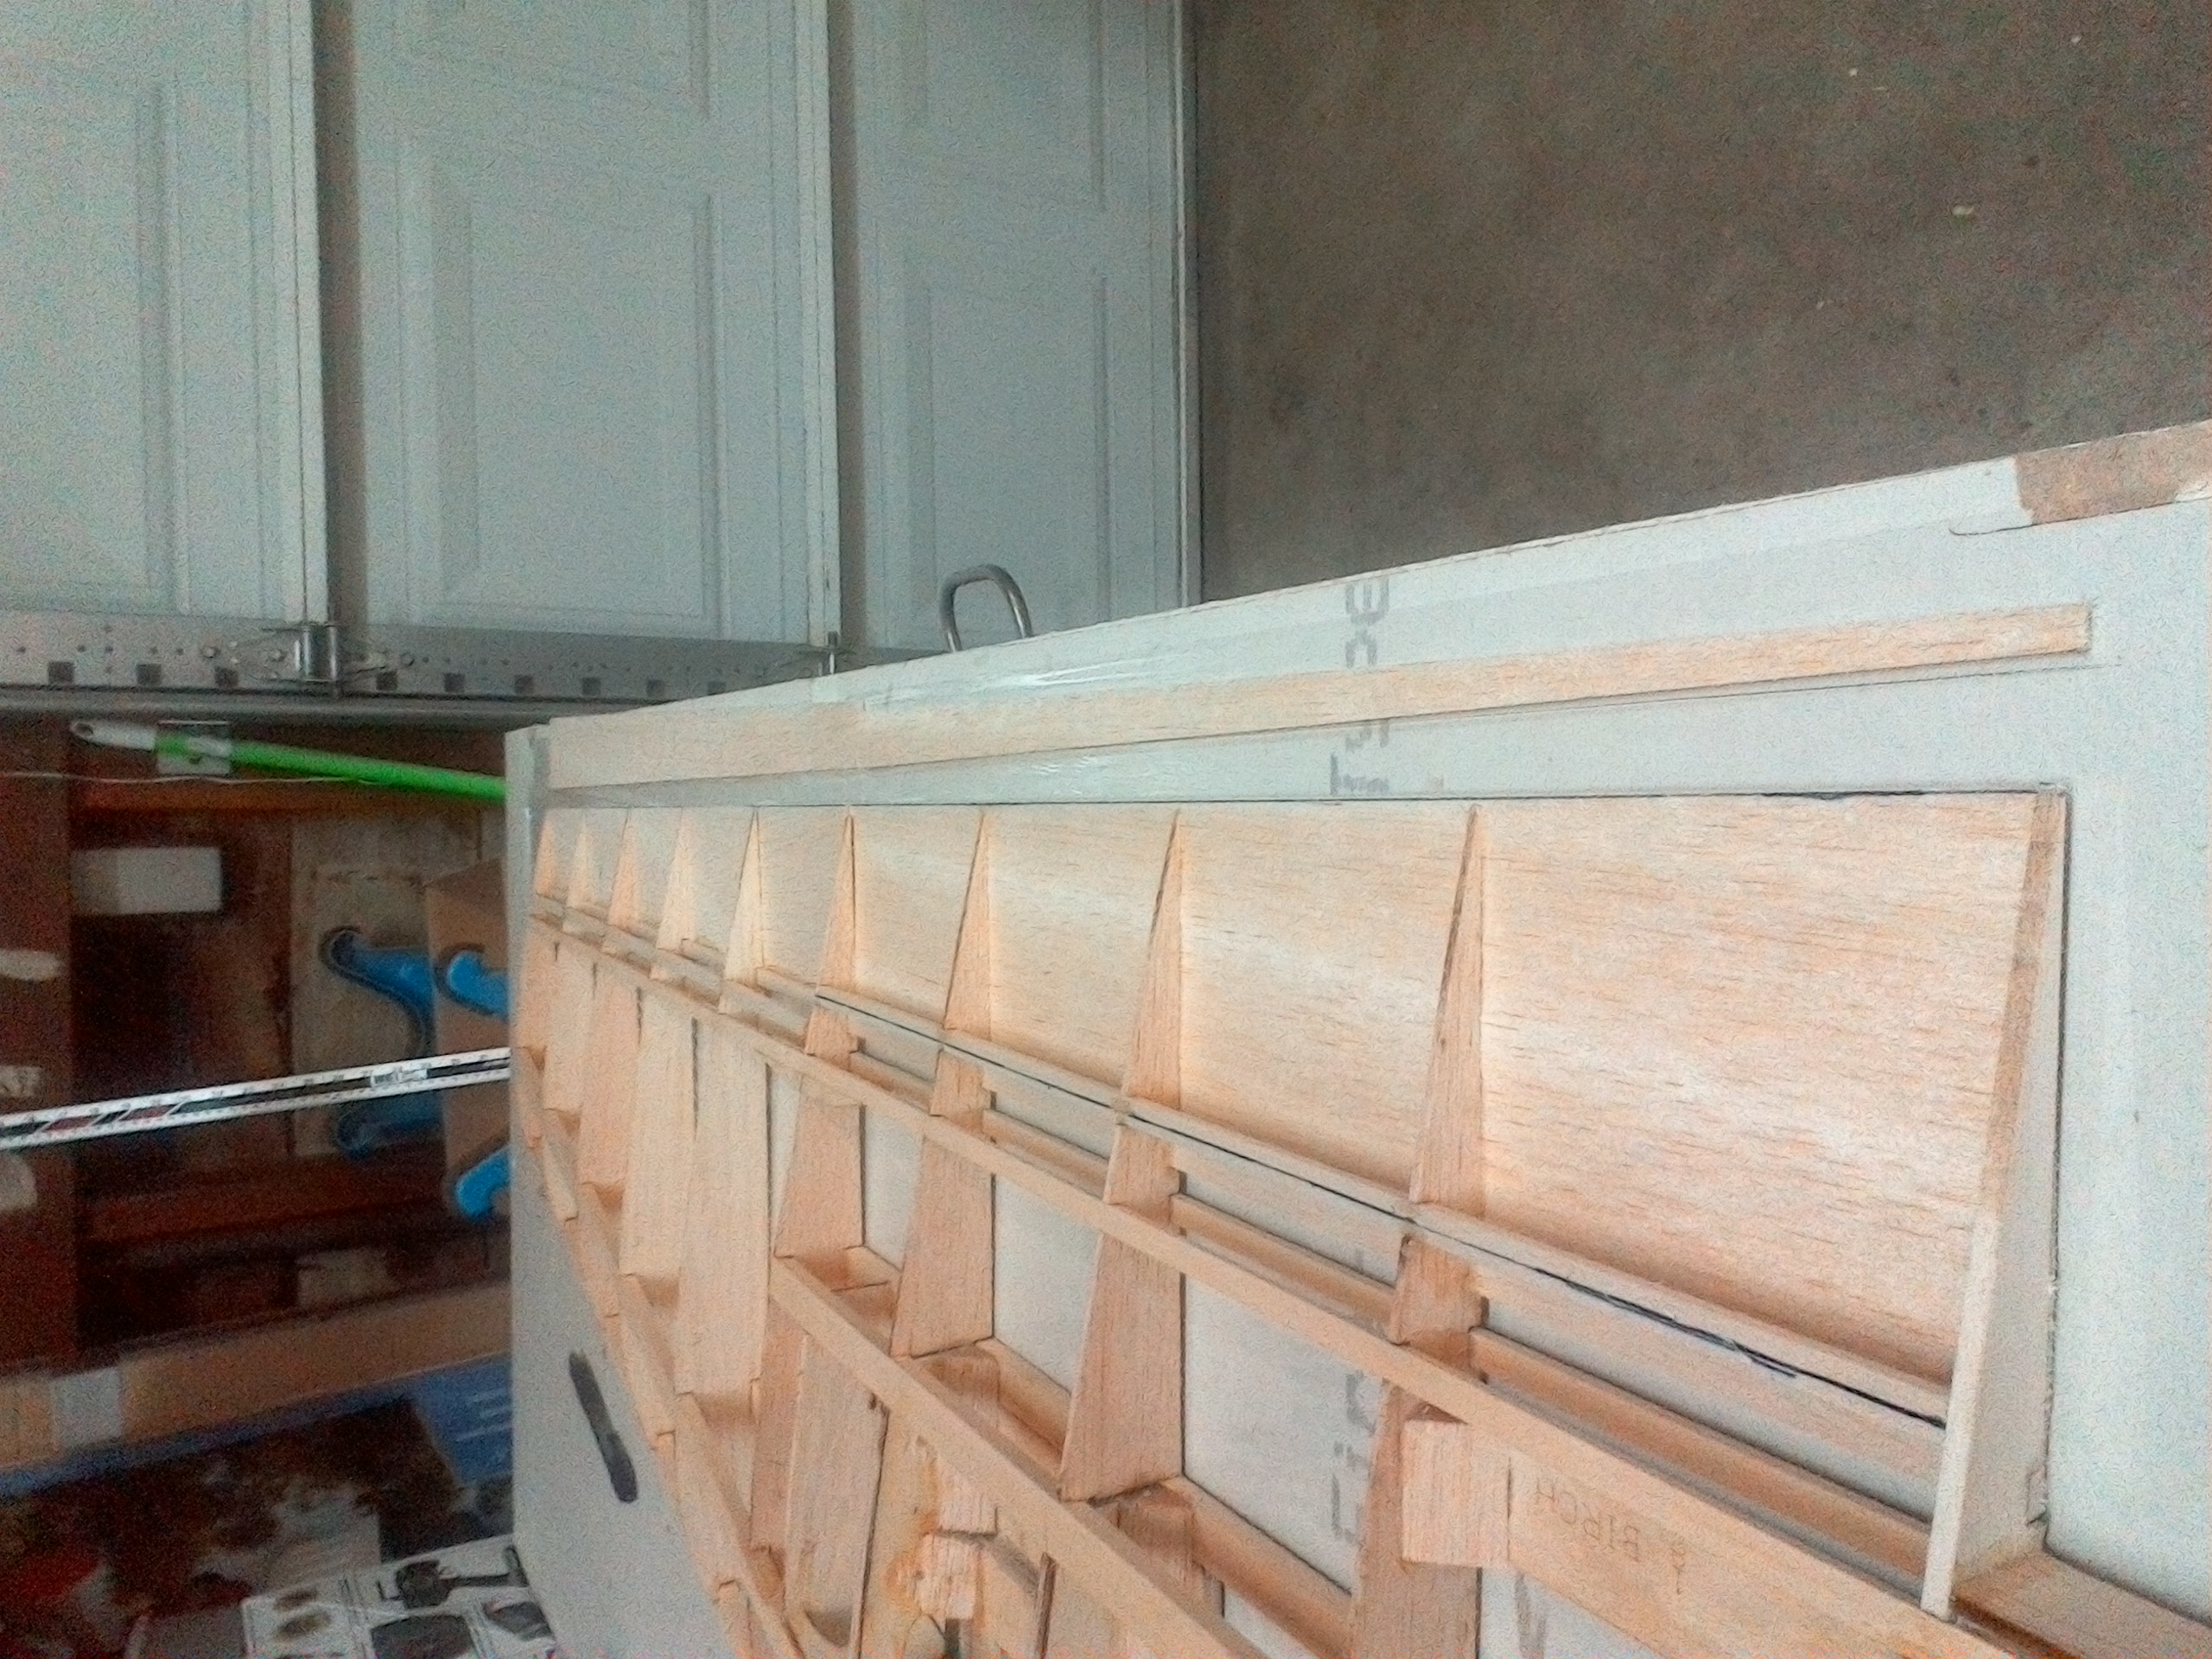
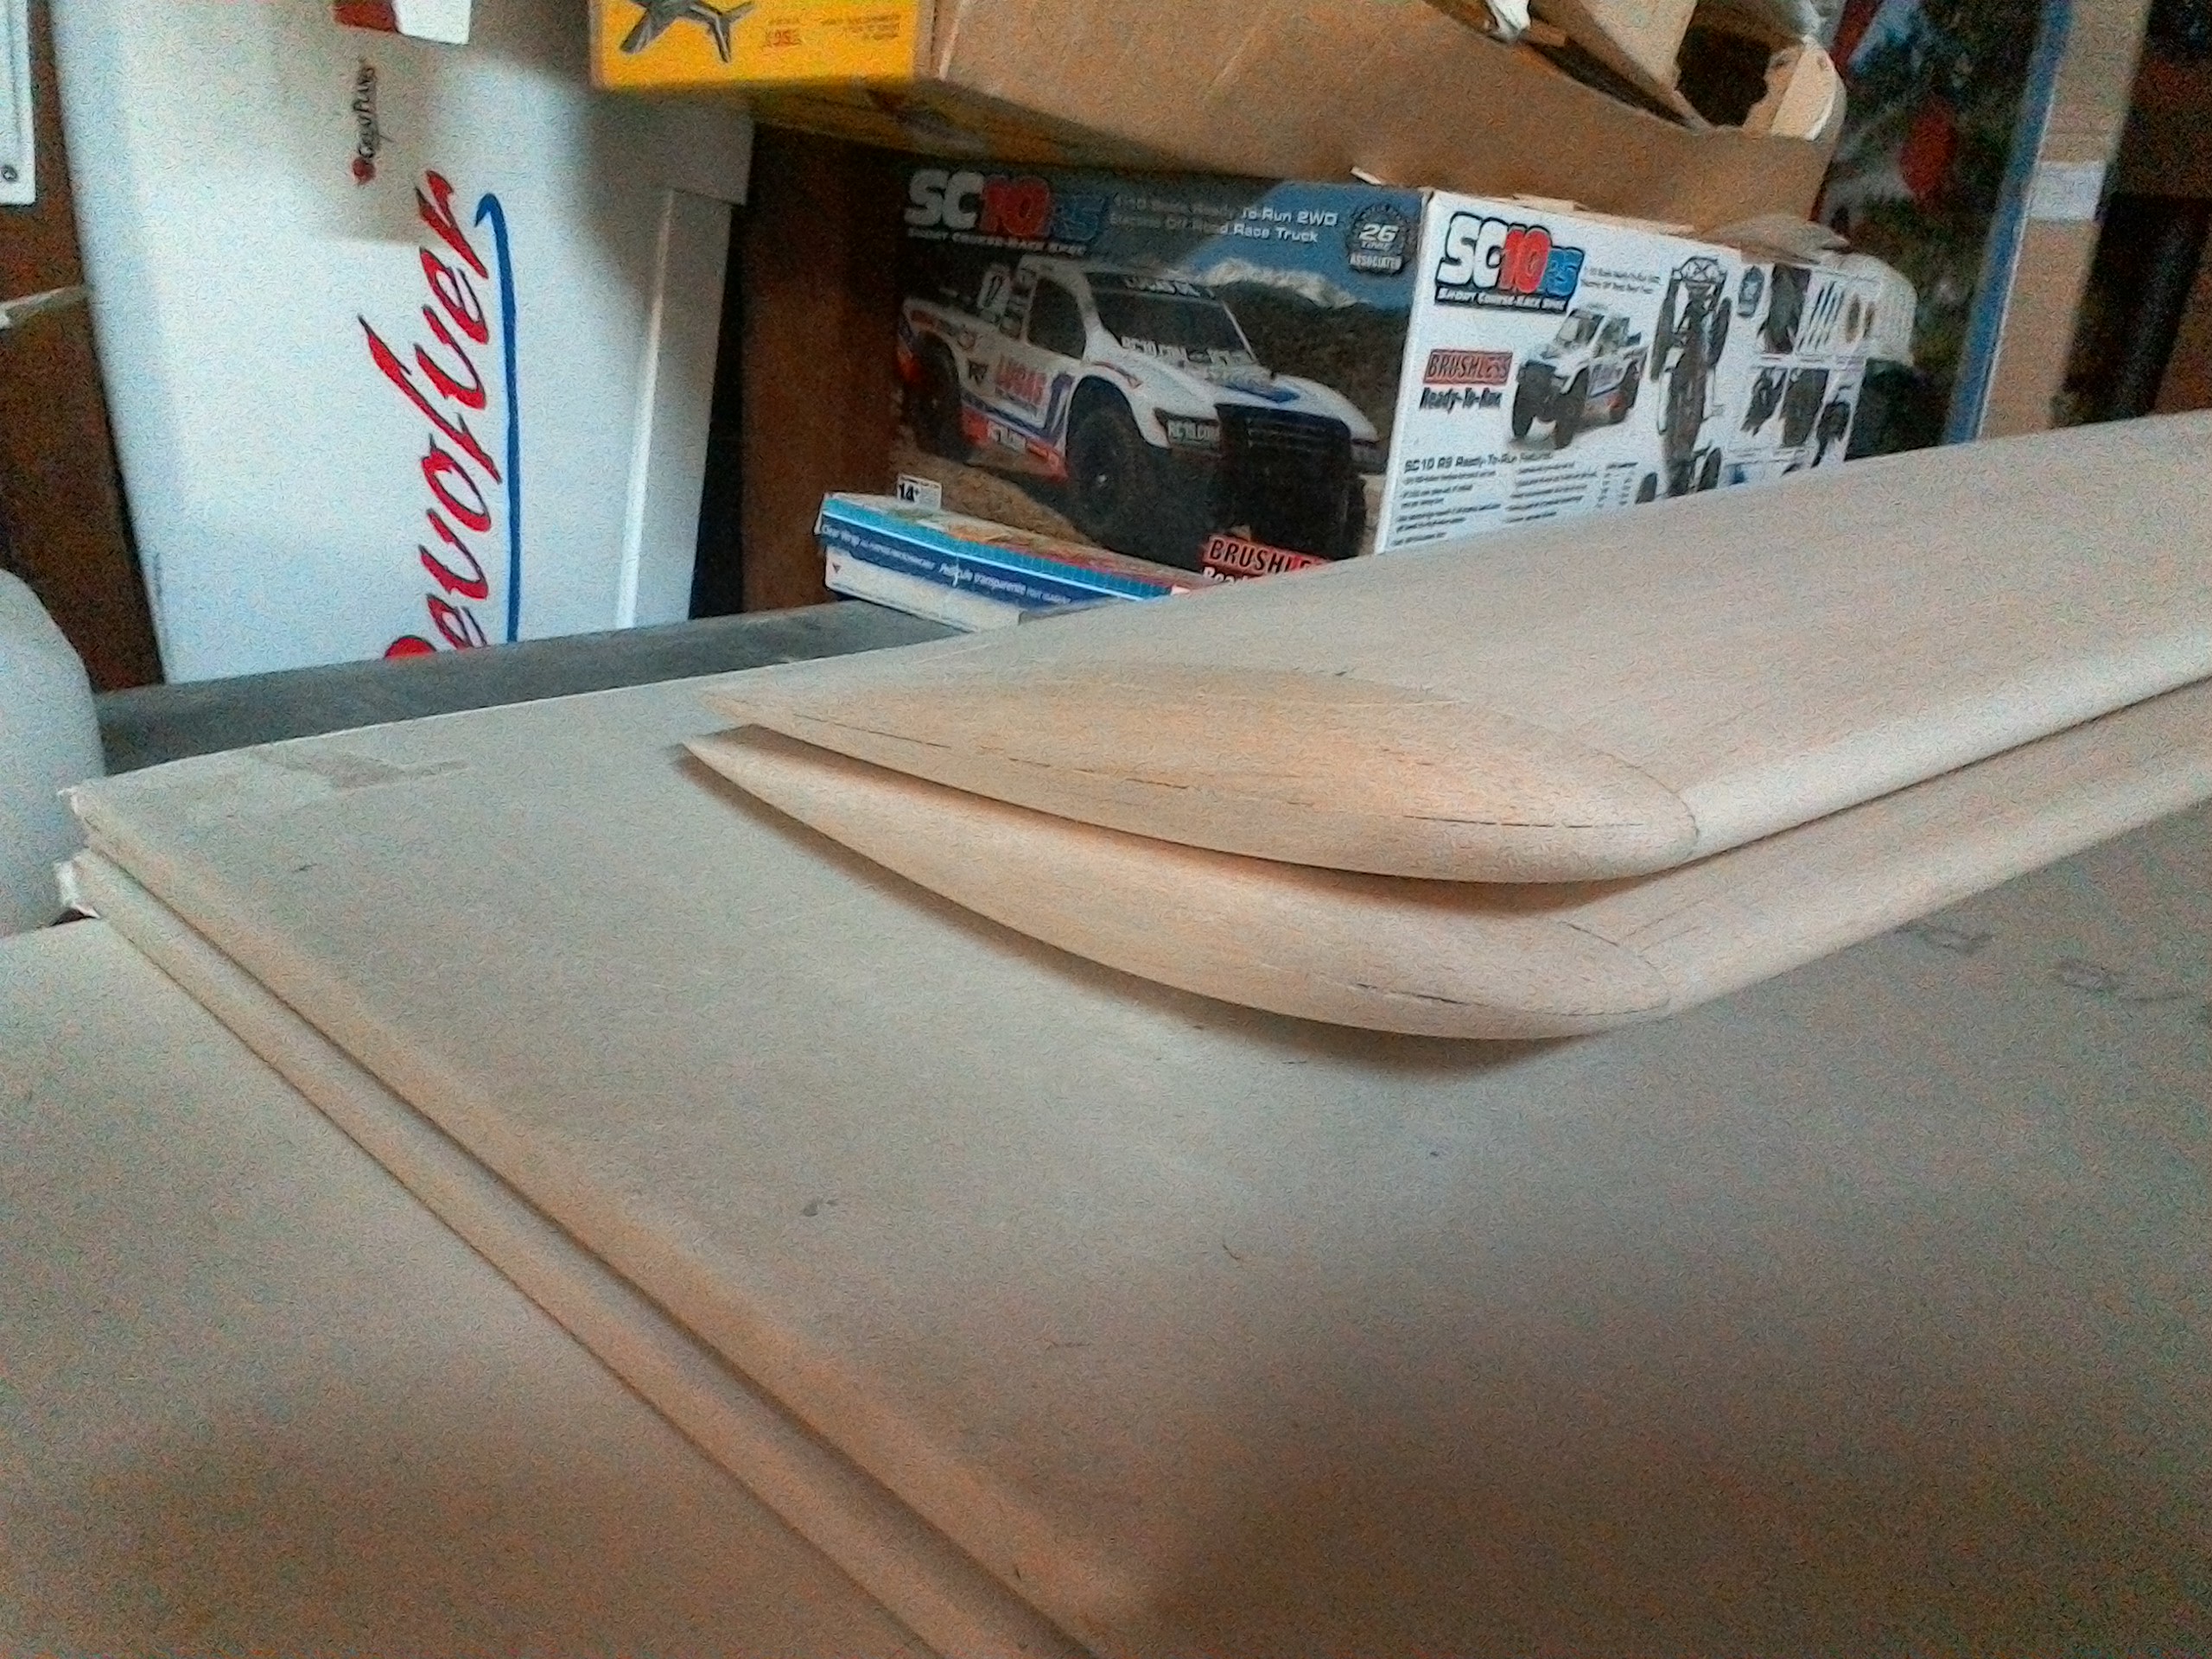
The right wing is fully sheeted and tip is on and shaped, the trailing edge hard wood is on and shaped, I had to use 1/4X1/4 hard wood stick for it to work the way it did, the 1/4X3/32 was not thick enough.

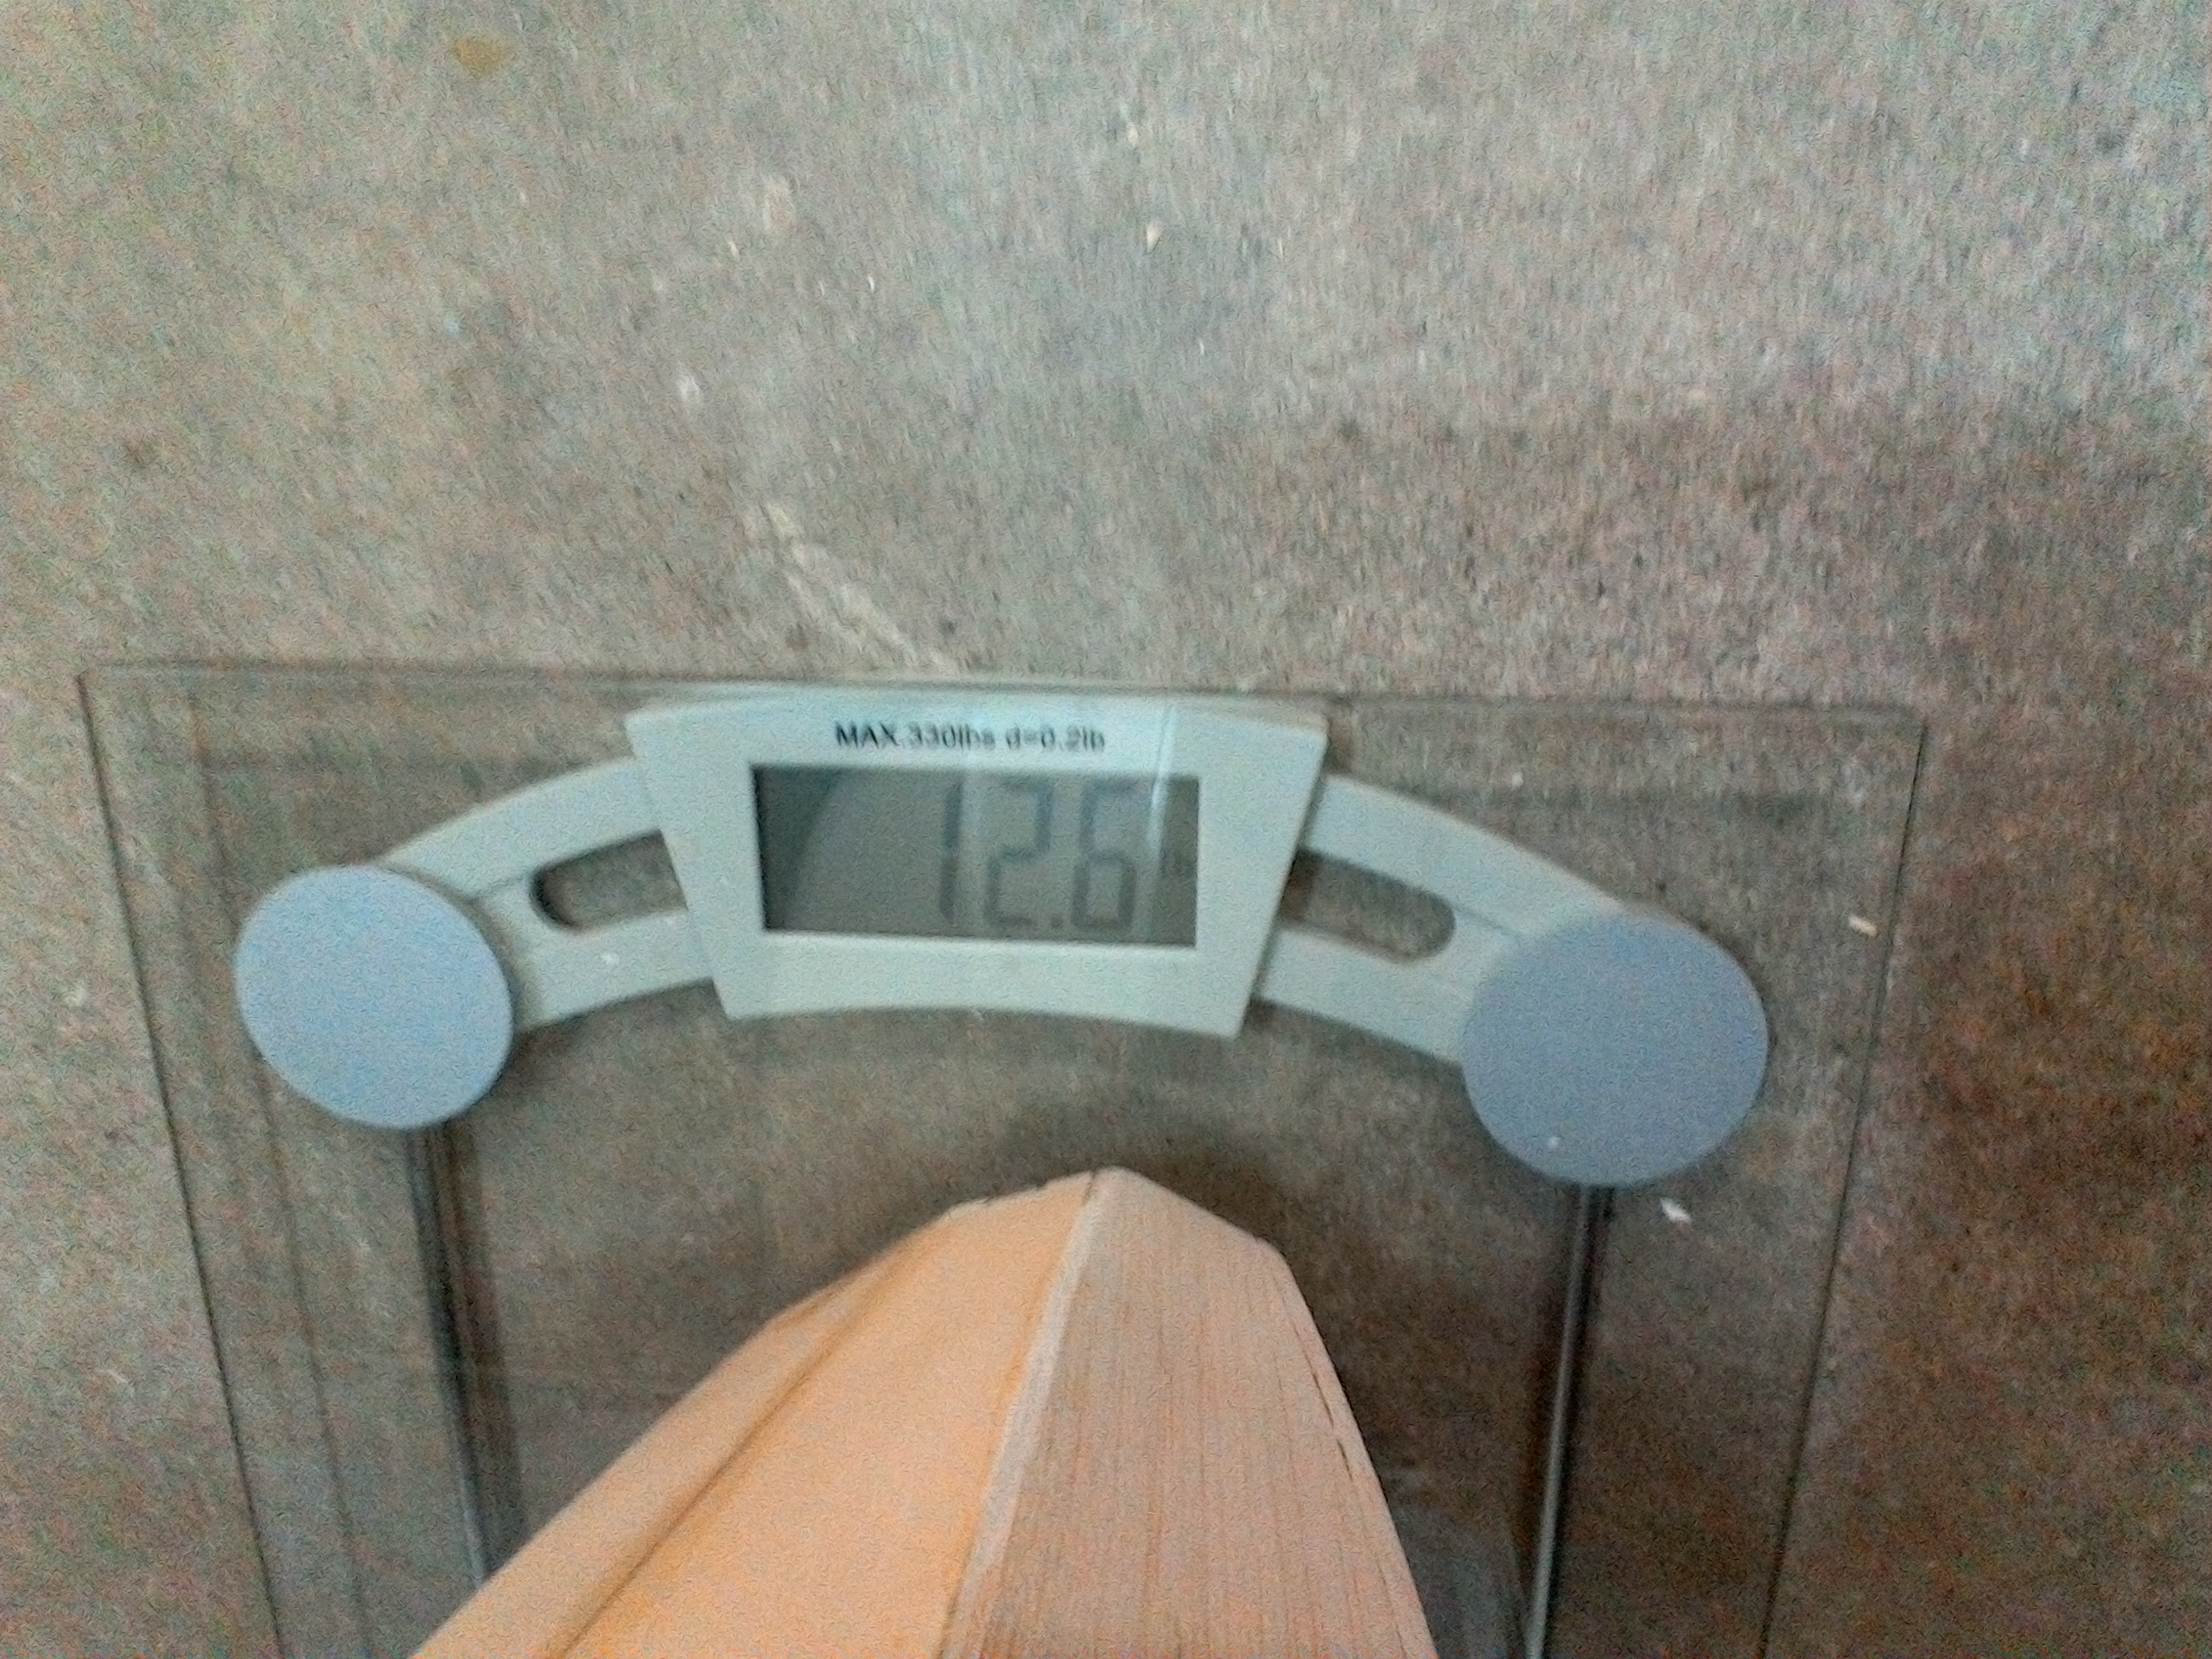
Making a little dust I'm very happy with this wing, very strong and straight, weights around 2 lbs as it seats on the table.

Attached Thumbnails Click image for larger version

Name:	IMG_20170211_193356.jpg
Views:	744
Size:	1.09 MB
ID:	2200750   Click image for larger version

Name:	IMG_20170211_193503.jpg
Views:	748
Size:	1.05 MB
ID:	2200751   Click image for larger version

Name:	IMG_20170211_212743.jpg
Views:	734
Size:	1.07 MB
ID:	2200752   Click image for larger version

Name:	IMG_20170211_212656.jpg
Views:	745
Size:	1.12 MB
ID:	2200753   Click image for larger version

Name:	IMG_20170211_230858.jpg
Views:	716
Size:	1.04 MB
ID:	2200754   Click image for larger version

Name:	IMG_20170211_230909.jpg
Views:	732
Size:	1.11 MB
ID:	2200755   Click image for larger version

Name:	IMG_20170211_230938.jpg
Views:	745
Size:	1.04 MB
ID:	2200756   Click image for larger version

Name:	IMG_20170211_230851.jpg
Views:	737
Size:	1.14 MB
ID:	2200757  

Click image for larger version

Name:	IMG_20170211_210101.jpg
Views:	732
Size:	1.08 MB
ID:	2200758  

Last edited by CARS II; 02-12-2017 at 10:46 PM.
Old 02-12-2017, 05:00 PM
  #459  
CARS II
Thread Starter
My Feedback: (7)
 
CARS II's Avatar
 
Join Date: Oct 2002
Location: Sacramento CA
Posts: 6,589
Received 123 Likes on 106 Posts
Default

Working on the right wing, top sheet, there is a chance that I may glue the two half together tonight.

Attached Thumbnails Click image for larger version

Name:	1486947605033-772972175.jpg
Views:	715
Size:	1.09 MB
ID:	2200796  

Last edited by CARS II; 02-12-2017 at 05:03 PM.
Old 02-12-2017, 10:53 PM
  #460  
CARS II
Thread Starter
My Feedback: (7)
 
CARS II's Avatar
 
Join Date: Oct 2002
Location: Sacramento CA
Posts: 6,589
Received 123 Likes on 106 Posts
Default

The wings are build, the next step is to release the flaps and ailerons and add their respective leading edge and trailing edge, with that done the intakes are next to be build, as soon as that is done I'll go back to each part to give them a final fitting and details in preparation for the monokote.

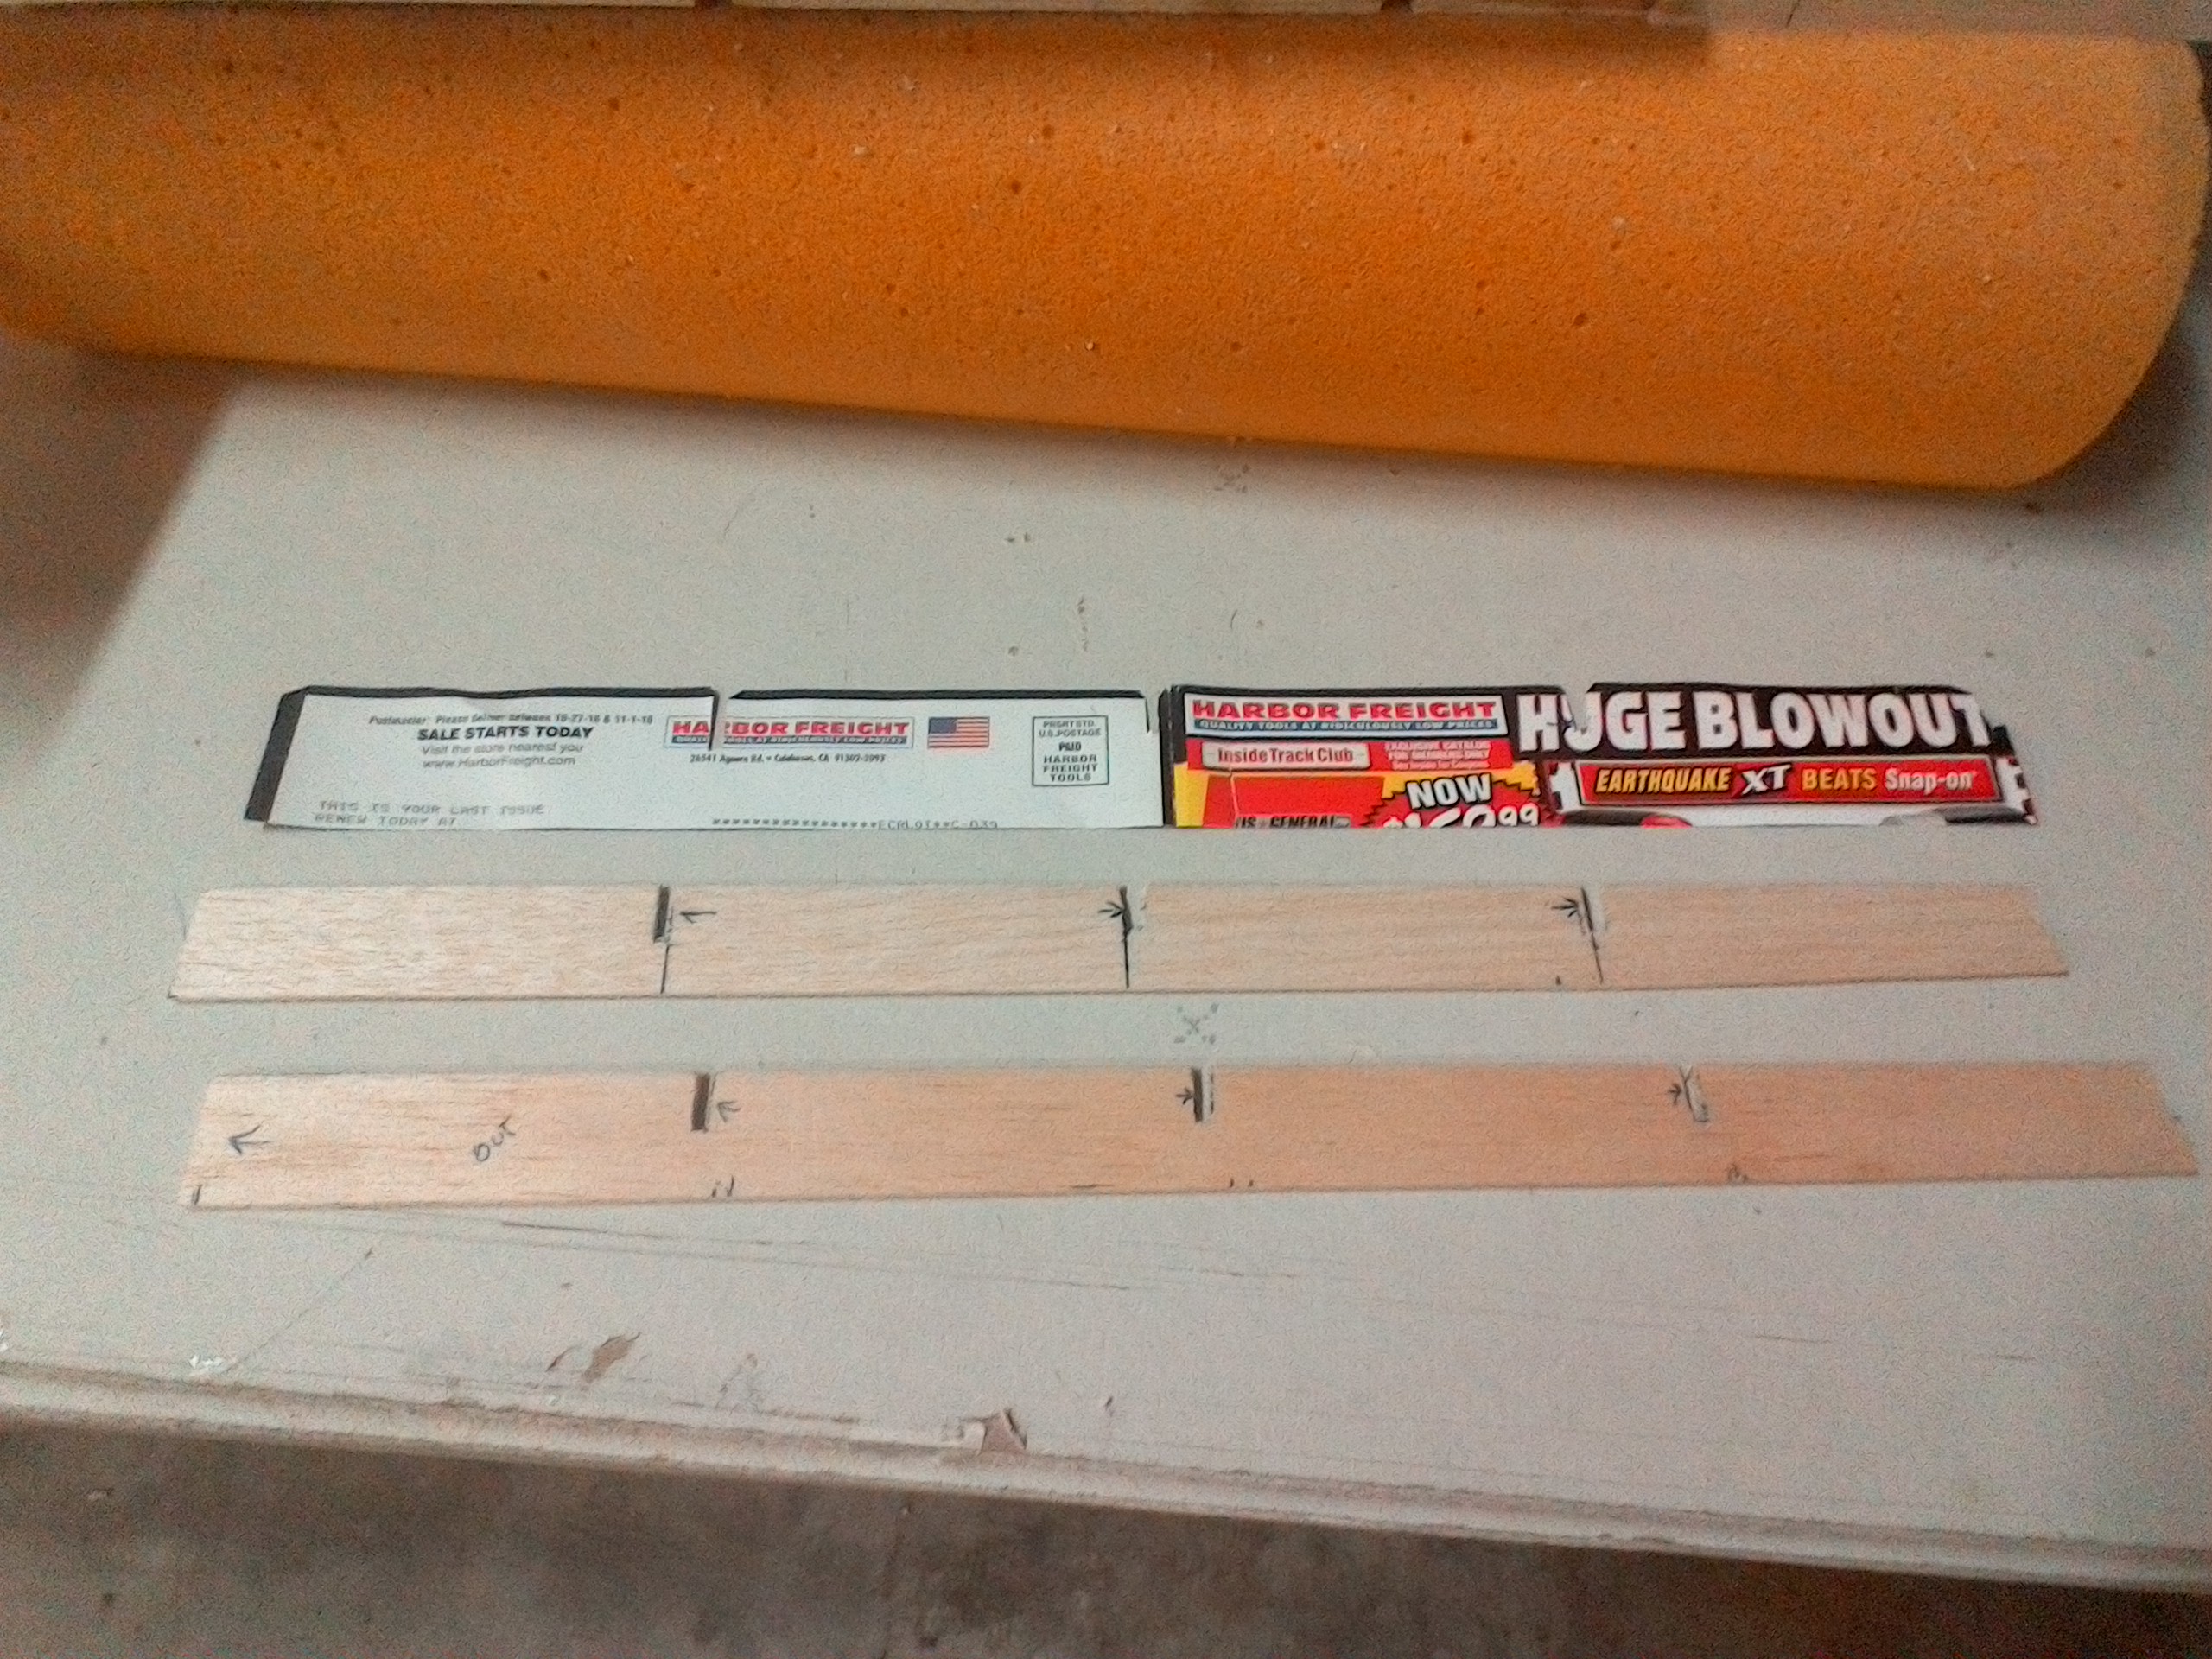
I ended up using 1/4X1/4 hard balsa stick for the wings trailing edge instead of the 1/8X1/4, it worked out better.

WOW! These wings very strong and straight and with the new enhance gear plate they are even better I would have to say that after adding the retract airlines, servos, extension and monokote I'm estimating a total weight for the wing of 6.25 lbs.


Attached Thumbnails Click image for larger version

Name:	IMG_20170212_222235.jpg
Views:	731
Size:	1.22 MB
ID:	2200820   Click image for larger version

Name:	IMG_20170212_222355.jpg
Views:	744
Size:	1.25 MB
ID:	2200821   Click image for larger version

Name:	IMG_20170212_222441.jpg
Views:	721
Size:	1.13 MB
ID:	2200822   Click image for larger version

Name:	IMG_20170212_222728.jpg
Views:	720
Size:	1.14 MB
ID:	2200823  

Last edited by CARS II; 02-14-2017 at 12:04 AM.
Old 02-14-2017, 12:10 AM
  #461  
CARS II
Thread Starter
My Feedback: (7)
 
CARS II's Avatar
 
Join Date: Oct 2002
Location: Sacramento CA
Posts: 6,589
Received 123 Likes on 106 Posts
Default

Very little done today, I had to go to the club's meeting to take over the safety officer chair 
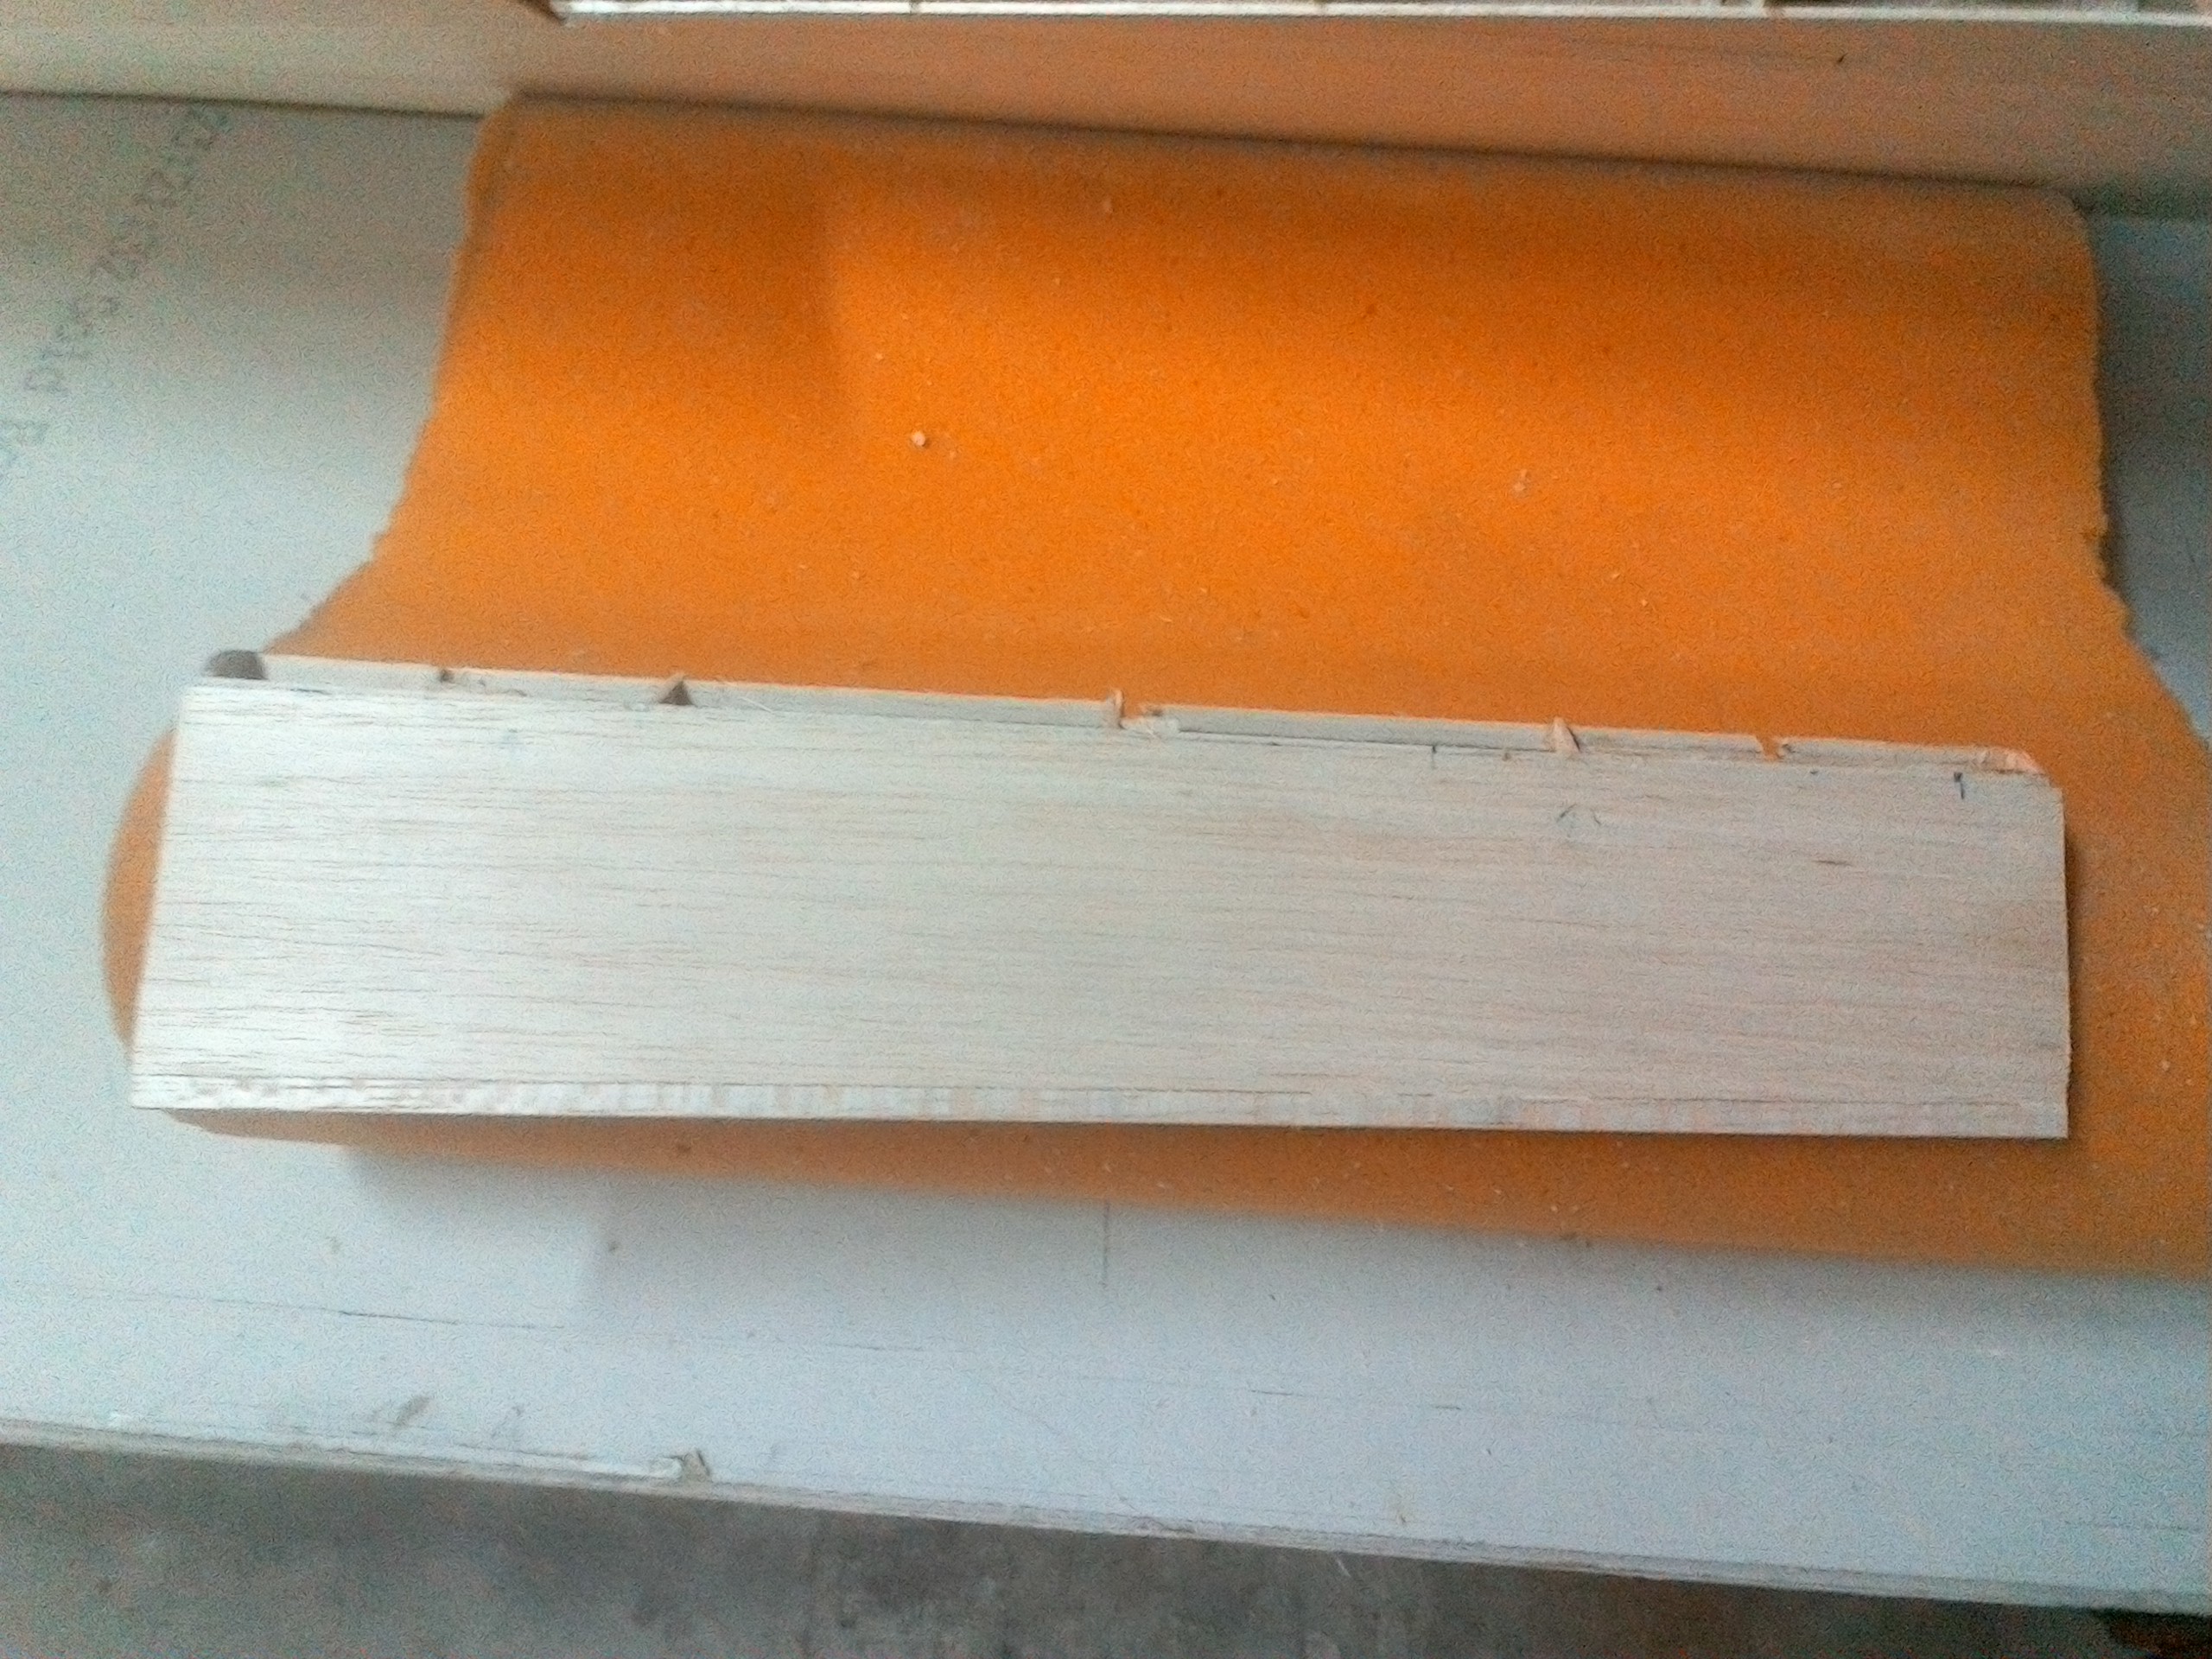
( look Ma, I'm the club's police officer now )

Again, moving slowly here, trying to find the best way to do things to get nice results, I think I did, I carved the grooves for the flap hinges for both wings, separated the flaps and ailerons, carefully cut the flap ribs on an angle to have enough flap ribs left on the wing for the next step, cap the trailing edge of the wings at the flap and aileron position, made a paper pattern to help me cut the wing trialing edge cap, and now I get to use the flap rib pattern that I save earlier.

Attached Thumbnails Click image for larger version

Name:	IMG_20170213_160302.jpg
Views:	712
Size:	1.16 MB
ID:	2200990   Click image for larger version

Name:	IMG_20170213_160332.jpg
Views:	713
Size:	1.12 MB
ID:	2200991   Click image for larger version

Name:	IMG_20170213_161020.jpg
Views:	704
Size:	1.10 MB
ID:	2200992   Click image for larger version

Name:	IMG_20170213_161056.jpg
Views:	714
Size:	1.16 MB
ID:	2200993   Click image for larger version

Name:	IMG_20170213_161422.jpg
Views:	699
Size:	1.08 MB
ID:	2200996   Click image for larger version

Name:	IMG_20170213_161105.jpg
Views:	702
Size:	1.08 MB
ID:	2200997   Click image for larger version

Name:	IMG_20170213_222154.jpg
Views:	699
Size:	1.12 MB
ID:	2200998   Click image for larger version

Name:	IMG_20170213_231417.jpg
Views:	702
Size:	1.24 MB
ID:	2200999  

Click image for larger version

Name:	IMG_20170213_231436.jpg
Views:	700
Size:	1.17 MB
ID:	2201000   Click image for larger version

Name:	IMG_20170209_192927.jpg
Views:	681
Size:	959.9 KB
ID:	2201001   Click image for larger version

Name:	IMG_20170213_160250.jpg
Views:	680
Size:	1.09 MB
ID:	2201002   Click image for larger version

Name:	IMG_20170213_222130.jpg
Views:	688
Size:	1.11 MB
ID:	2201003  

Last edited by CARS II; 02-14-2017 at 09:35 AM.
Old 02-14-2017, 11:32 PM
  #462  
CARS II
Thread Starter
My Feedback: (7)
 
CARS II's Avatar
 
Join Date: Oct 2002
Location: Sacramento CA
Posts: 6,589
Received 123 Likes on 106 Posts
Default

Attached Thumbnails Click image for larger version

Name:	IMG_20170214_135633.jpg
Views:	670
Size:	1.07 MB
ID:	2201166   Click image for larger version

Name:	IMG_20170214_165024.jpg
Views:	688
Size:	1.24 MB
ID:	2201167   Click image for larger version

Name:	IMG_20170214_165033.jpg
Views:	687
Size:	1.07 MB
ID:	2201168   Click image for larger version

Name:	IMG_20170214_170805.jpg
Views:	684
Size:	1.23 MB
ID:	2201169   Click image for larger version

Name:	IMG_20170214_170811.jpg
Views:	694
Size:	1.20 MB
ID:	2201170   Click image for larger version

Name:	IMG_20170214_170903.jpg
Views:	686
Size:	1.10 MB
ID:	2201171   Click image for larger version

Name:	IMG_20170214_213315.jpg
Views:	675
Size:	1.03 MB
ID:	2201172   Click image for larger version

Name:	IMG_20170214_213337.jpg
Views:	684
Size:	1.09 MB
ID:	2201173  

Click image for larger version

Name:	IMG_20170214_213839.jpg
Views:	669
Size:	1.08 MB
ID:	2201175   Click image for larger version

Name:	IMG_20170214_222851.jpg
Views:	668
Size:	1,016.5 KB
ID:	2201176   Click image for larger version

Name:	IMG_20170214_222956.jpg
Views:	663
Size:	1.12 MB
ID:	2201177   Click image for larger version

Name:	IMG_20170214_225447.jpg
Views:	662
Size:	1,002.3 KB
ID:	2201178   Click image for larger version

Name:	IMG_20170214_225525.jpg
Views:	663
Size:	1.08 MB
ID:	2201179   Click image for larger version

Name:	IMG_20170214_225543.jpg
Views:	647
Size:	986.3 KB
ID:	2201180   Click image for larger version

Name:	IMG_20170214_225628.jpg
Views:	651
Size:	1.05 MB
ID:	2201181  

Last edited by CARS II; 02-14-2017 at 11:43 PM.
Old 02-15-2017, 10:16 PM
  #463  
CARS II
Thread Starter
My Feedback: (7)
 
CARS II's Avatar
 
Join Date: Oct 2002
Location: Sacramento CA
Posts: 6,589
Received 123 Likes on 106 Posts
Default

The right wing is now complete ( for real ) one small sentence can accumulate to lots of work doing details ( like the holes for the servos and retracts ) it's not just open them, there is tons of small details and adjustments be made to make sure the retract is centered and so on which can amount to days of small work but necessary to make sure it will be reliable and it looks good..

In the end, if you like to build then it's not a problem, the other thing is that I've been scratching my head so many times to figure out how to build it that I've lost some hair LOL

Anyhow, the left wing is next but, it isn't going to take as nearly the same amount of time as the right one because I've already figured out all the little things that took time to do.

The other thing is that you as a builder have to use whatever is around your work area, even in the kitchen to complete the step you are working on, like my coffee mug, perfect circumference to wrap the wet wheel well wall.


Attached Thumbnails Click image for larger version

Name:	IMG_20170215_152340.jpg
Views:	638
Size:	1.00 MB
ID:	2201427   Click image for larger version

Name:	IMG_20170215_161623.jpg
Views:	646
Size:	1.06 MB
ID:	2201430   Click image for larger version

Name:	IMG_20170215_170424.jpg
Views:	653
Size:	1,006.7 KB
ID:	2201431   Click image for larger version

Name:	IMG_20170215_170455.jpg
Views:	645
Size:	1,013.7 KB
ID:	2201433   Click image for larger version

Name:	IMG_20170215_213230.jpg
Views:	660
Size:	1.15 MB
ID:	2201434   Click image for larger version

Name:	IMG_20170215_214152.jpg
Views:	694
Size:	1.06 MB
ID:	2201435  

Last edited by CARS II; 02-17-2017 at 10:44 PM.
Old 02-17-2017, 12:43 AM
  #464  
CARS II
Thread Starter
My Feedback: (7)
 
CARS II's Avatar
 
Join Date: Oct 2002
Location: Sacramento CA
Posts: 6,589
Received 123 Likes on 106 Posts
Default

The left wing is complete ( for real this time ) both wings are build to the point where they can be glue together, I will do that tomorrow andI believe I will have time to build the intakes also.

When I was building the wheel wells I noticed that I had to route the airlines for the retracts and brakes before I close the well completely.

Attached Thumbnails Click image for larger version

Name:	IMG_20170217_001050.jpg
Views:	635
Size:	1.10 MB
ID:	2201594   Click image for larger version

Name:	IMG_20170217_001101.jpg
Views:	638
Size:	1.09 MB
ID:	2201595   Click image for larger version

Name:	IMG_20170217_001159.jpg
Views:	646
Size:	1.09 MB
ID:	2201596  

Last edited by CARS II; 02-17-2017 at 11:44 AM.
Old 02-17-2017, 07:11 PM
  #465  
CARS II
Thread Starter
My Feedback: (7)
 
CARS II's Avatar
 
Join Date: Oct 2002
Location: Sacramento CA
Posts: 6,589
Received 123 Likes on 106 Posts
Default

As you can see waiting for the 30 min epoxy to dry, I Checked the wings incident, they are within 1/2 ° of each other, the wing joiners were glue to one wing or the other, it worked out better better way, the wood blocks are keeping the wing tips at 1 3/4" above the table, I also clamped the trailing edge of the wings at the center to maintain the aligned.


Attached Thumbnails Click image for larger version

Name:	IMG_20170217_175600.jpg
Views:	645
Size:	1.09 MB
ID:	2201639   Click image for larger version

Name:	IMG_20170217_175633.jpg
Views:	671
Size:	1.00 MB
ID:	2201640   Click image for larger version

Name:	IMG_20170217_185310.jpg
Views:	641
Size:	1.08 MB
ID:	2201647   Click image for larger version

Name:	IMG_20170217_185324.jpg
Views:	643
Size:	1.08 MB
ID:	2201652   Click image for larger version

Name:	IMG_20170217_185341.jpg
Views:	673
Size:	1.13 MB
ID:	2201653   Click image for larger version

Name:	IMG_20170217_190542.jpg
Views:	649
Size:	1.08 MB
ID:	2201654  

Last edited by CARS II; 02-17-2017 at 07:27 PM.
Old 02-17-2017, 07:31 PM
  #466  
csandt051196
My Feedback: (35)
 
Join Date: Feb 2002
Location: Cheyenne, WY
Posts: 443
Received 0 Likes on 0 Posts
Default

Good for you. It's close. Keep going.

Scott
Old 02-17-2017, 07:43 PM
  #467  
CARS II
Thread Starter
My Feedback: (7)
 
CARS II's Avatar
 
Join Date: Oct 2002
Location: Sacramento CA
Posts: 6,589
Received 123 Likes on 106 Posts
Default

Thanks, will do
Old 02-18-2017, 10:56 PM
  #468  
CARS II
Thread Starter
My Feedback: (7)
 
CARS II's Avatar
 
Join Date: Oct 2002
Location: Sacramento CA
Posts: 6,589
Received 123 Likes on 106 Posts
Default

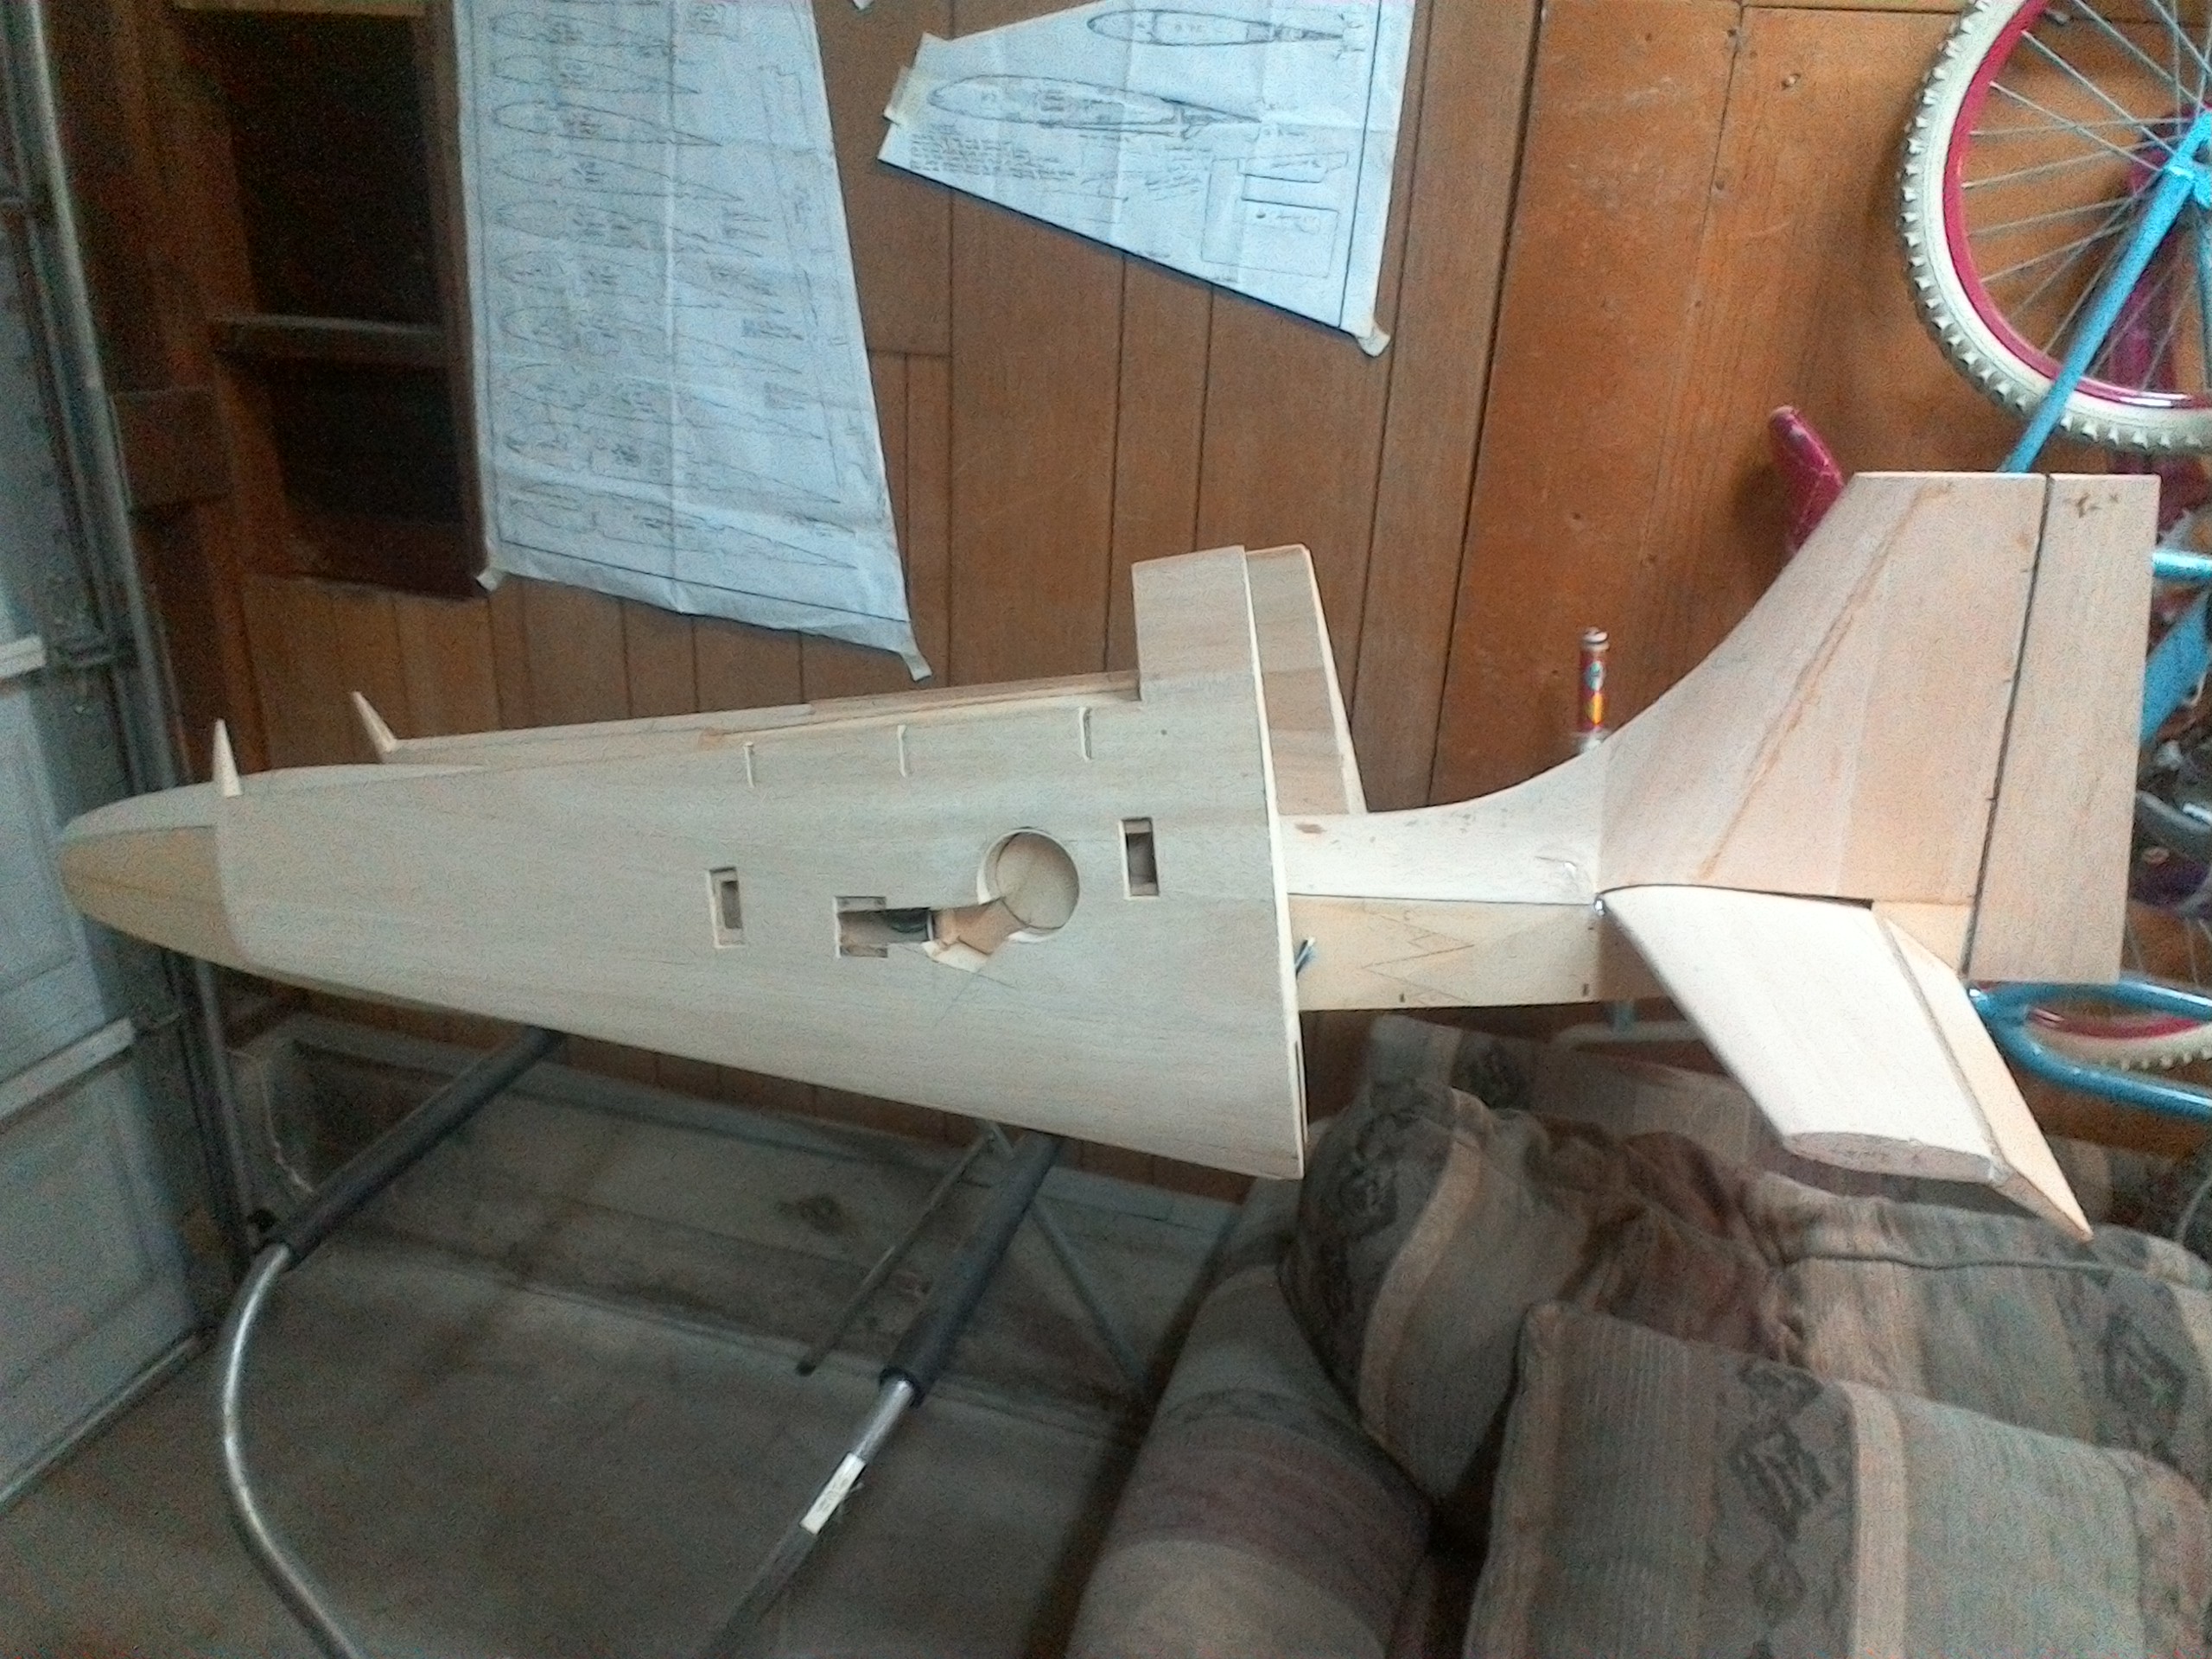
The wing has been mated to the fuse, a 4" fiberglass strip will be added to the center section, before covering the wing a final check will be given to the flaps and ailerons.

Tomorrow I will start building the intakes, it is the last part that has to be constructed.

The 20th will be one month since I restarted the building of the Turbinator


Attached Thumbnails Click image for larger version

Name:	IMG_20170218_220203.jpg
Views:	655
Size:	1.09 MB
ID:	2201775   Click image for larger version

Name:	IMG_20170218_220428.jpg
Views:	650
Size:	1.09 MB
ID:	2201776   Click image for larger version

Name:	IMG_20170218_220545.jpg
Views:	658
Size:	1.08 MB
ID:	2201777  

Last edited by CARS II; 02-18-2017 at 11:09 PM.
Old 02-19-2017, 04:27 PM
  #469  
CARS II
Thread Starter
My Feedback: (7)
 
CARS II's Avatar
 
Join Date: Oct 2002
Location: Sacramento CA
Posts: 6,589
Received 123 Likes on 106 Posts
Default

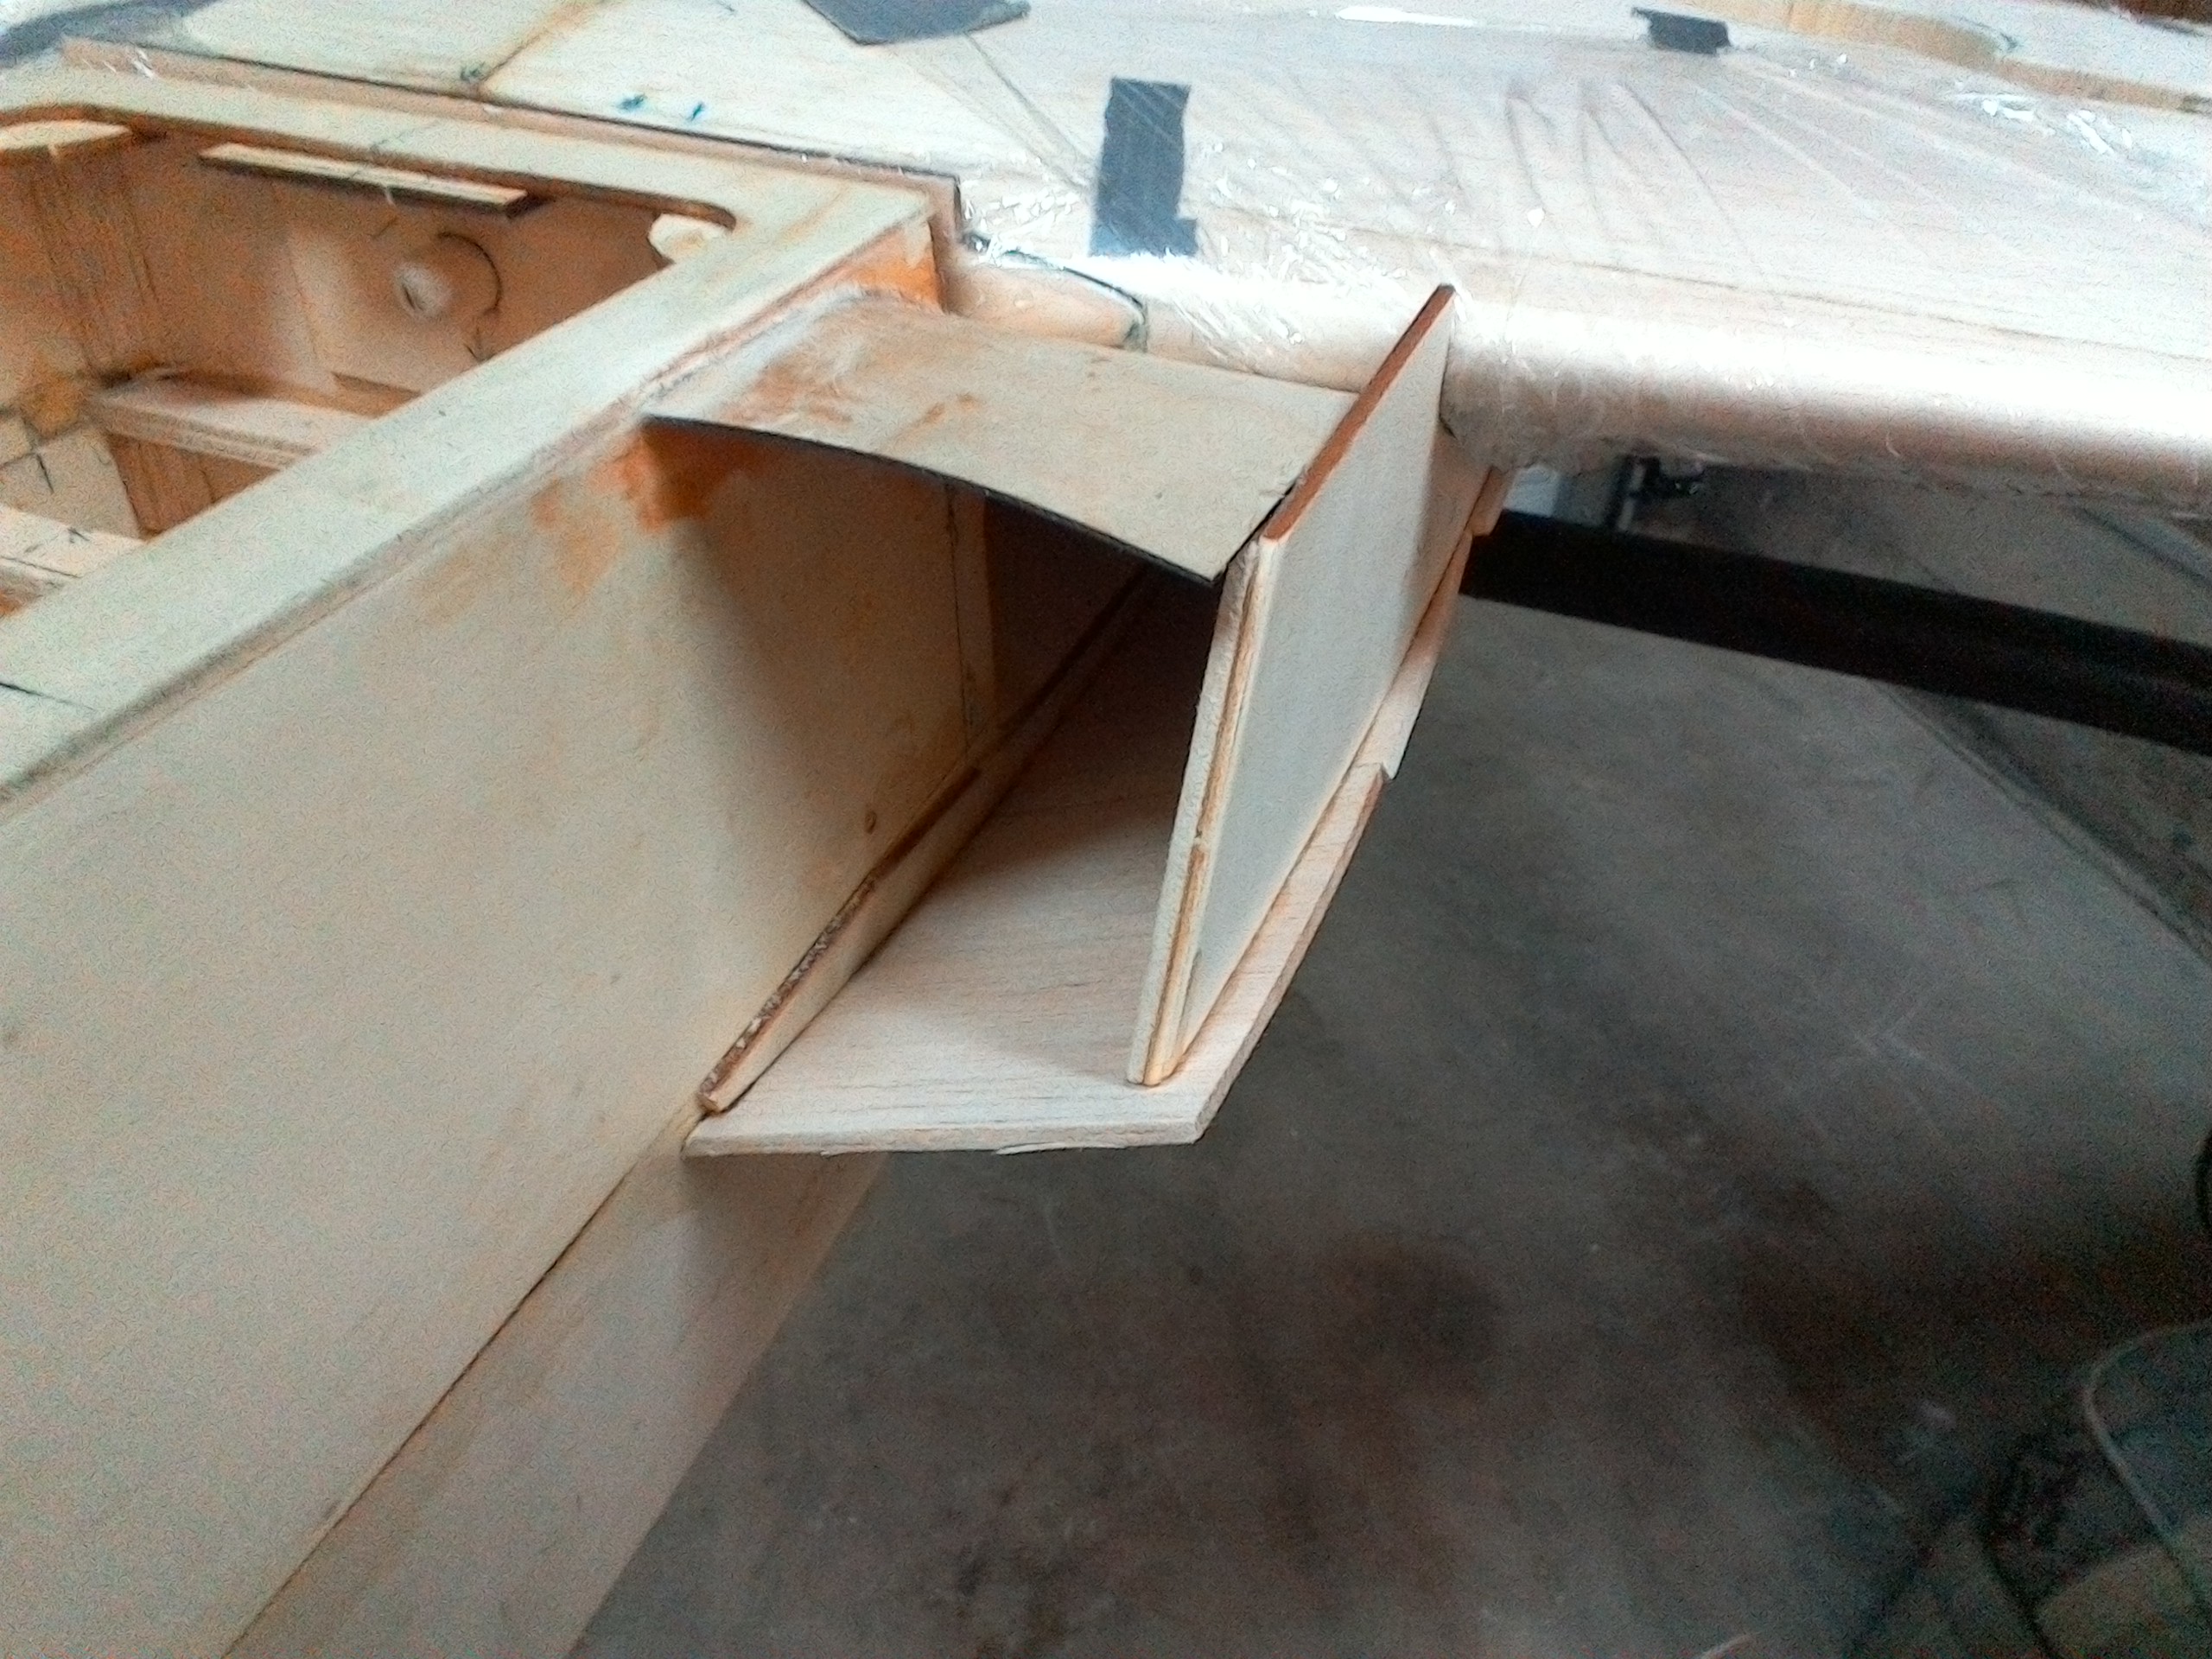
The bottom of the intakes have been glued with 30 minutes epoxy, to get them to stay on the wing saddle before bolting the wing down on them, I used mid CA on two spots about 1/2 long each, this keep them right were they go and the wing aligned them.

Once they're dried I will pull the front up to glue it to the fuse side, and will use water to soften the ply since it's kind of stiff.

After that it should be simple to construct the rest of the intakes.

Attached Thumbnails Click image for larger version

Name:	IMG_20170219_162357.jpg
Views:	648
Size:	1.12 MB
ID:	2201878   Click image for larger version

Name:	IMG_20170219_162407.jpg
Views:	43
Size:	1.11 MB
ID:	2201879   Click image for larger version

Name:	IMG_20170219_162419.jpg
Views:	644
Size:	1.06 MB
ID:	2201880  

Last edited by CARS II; 02-21-2017 at 01:04 PM.
Old 02-20-2017, 06:52 PM
  #470  
CARS II
Thread Starter
My Feedback: (7)
 
CARS II's Avatar
 
Join Date: Oct 2002
Location: Sacramento CA
Posts: 6,589
Received 123 Likes on 106 Posts
Default

Working on the intakes.

Attached Thumbnails Click image for larger version

Name:	IMG_20170220_172755.jpg
Views:	629
Size:	1.07 MB
ID:	2202017   Click image for larger version

Name:	IMG_20170220_172739.jpg
Views:	628
Size:	1.10 MB
ID:	2202018   Click image for larger version

Name:	IMG_20170220_172614.jpg
Views:	634
Size:	1.14 MB
ID:	2202019   Click image for larger version

Name:	IMG_20170220_172609.jpg
Views:	639
Size:	1.11 MB
ID:	2202020  

Last edited by CARS II; 02-20-2017 at 06:56 PM.
Old 02-21-2017, 12:17 AM
  #471  
CARS II
Thread Starter
My Feedback: (7)
 
CARS II's Avatar
 
Join Date: Oct 2002
Location: Sacramento CA
Posts: 6,589
Received 123 Likes on 106 Posts
Default

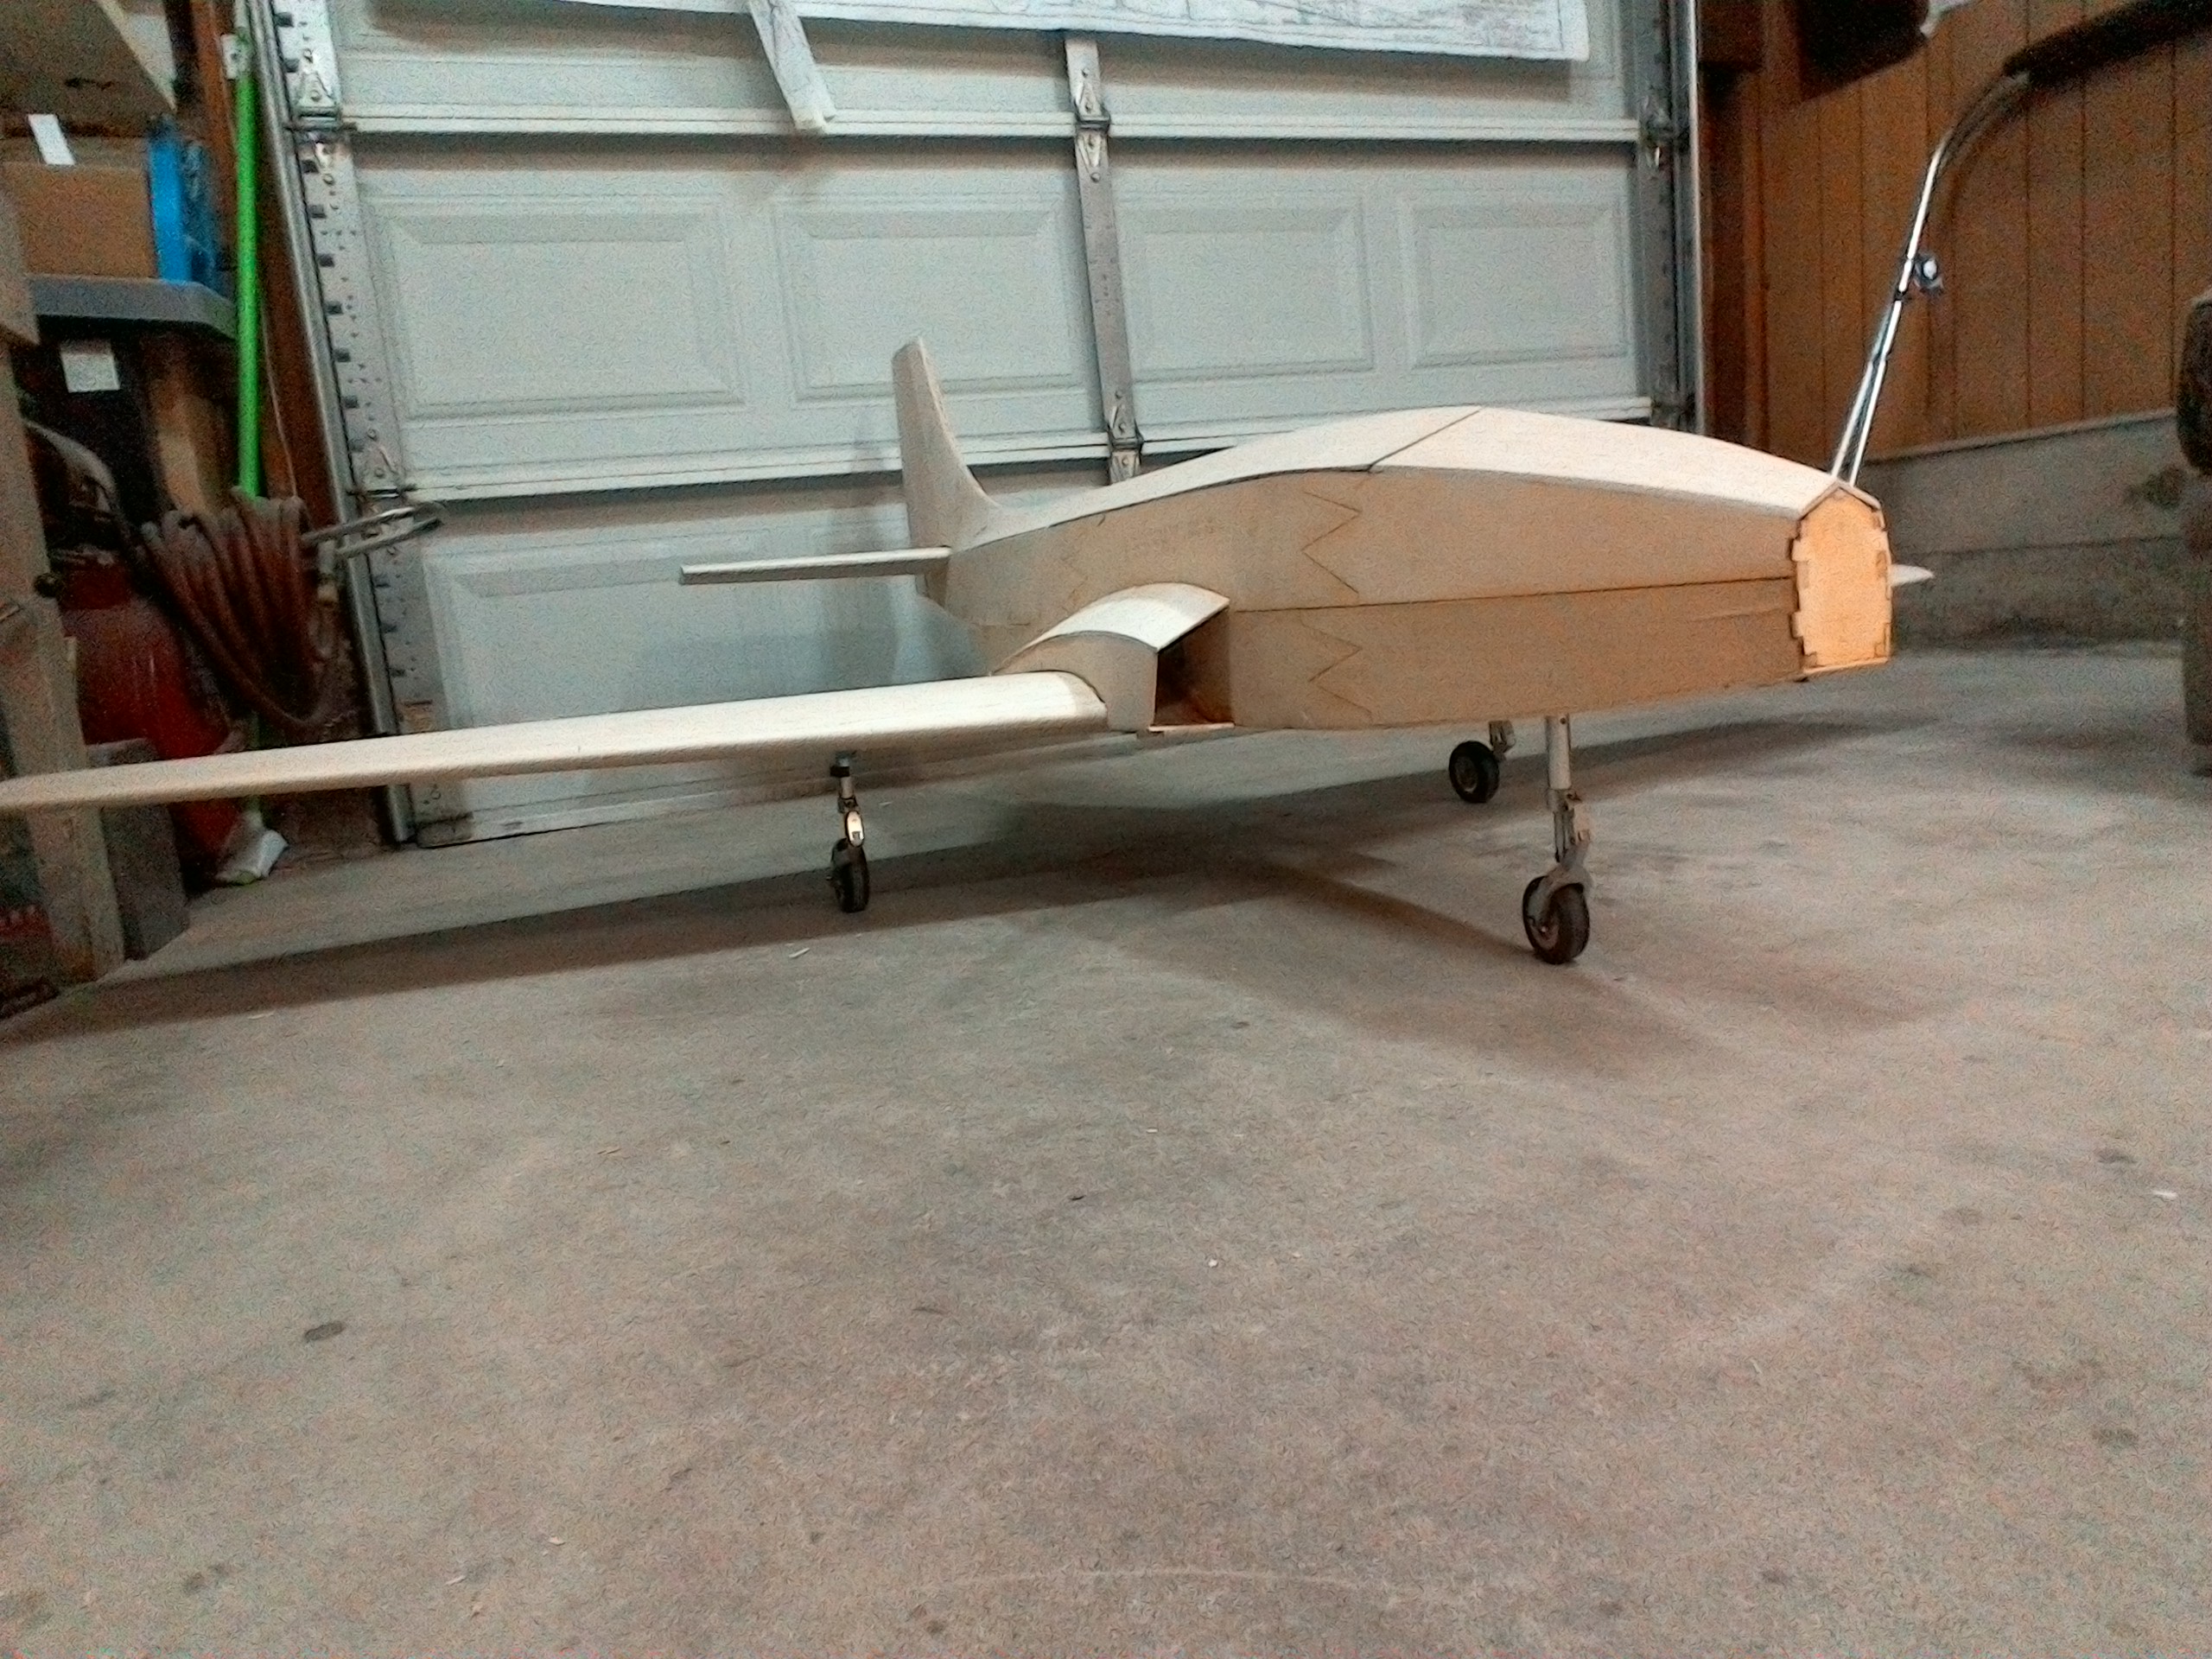
The intakes are build, they need trimming, the fitting of the wing on the fuse with the intakes is good.

Next is to go over all the parts to finalize each one and to make sure everything fits as it's supposed to in preparation for the monokote.


Attached Thumbnails Click image for larger version

Name:	IMG_20170220_215033.jpg
Views:	49
Size:	1.13 MB
ID:	2202055   Click image for larger version

Name:	IMG_20170220_194336.jpg
Views:	653
Size:	1.15 MB
ID:	2202056   Click image for larger version

Name:	IMG_20170220_195324.jpg
Views:	628
Size:	1.08 MB
ID:	2202057   Click image for larger version

Name:	IMG_20170220_222517.jpg
Views:	632
Size:	1.12 MB
ID:	2202058   Click image for larger version

Name:	IMG_20170220_205836.jpg
Views:	644
Size:	1.08 MB
ID:	2202059   Click image for larger version

Name:	IMG_20170220_223826.jpg
Views:	627
Size:	1.04 MB
ID:	2202060   Click image for larger version

Name:	IMG_20170220_235355.jpg
Views:	657
Size:	1.11 MB
ID:	2202061   Click image for larger version

Name:	IMG_20170220_235422.jpg
Views:	643
Size:	1.08 MB
ID:	2202062  

Click image for larger version

Name:	IMG_20170220_235539.jpg
Views:	632
Size:	1.10 MB
ID:	2202063   Click image for larger version

Name:	IMG_20170220_235455.jpg
Views:	637
Size:	1.07 MB
ID:	2202064   Click image for larger version

Name:	IMG_20170220_204512.jpg
Views:	660
Size:	1.10 MB
ID:	2202065   Click image for larger version

Name:	IMG_20170220_200417.jpg
Views:	642
Size:	1.08 MB
ID:	2202066   Click image for larger version

Name:	IMG_20170220_215051.jpg
Views:	635
Size:	1.08 MB
ID:	2202067  

Last edited by CARS II; 02-21-2017 at 12:37 AM.
Old 02-21-2017, 09:03 PM
  #472  
CARS II
Thread Starter
My Feedback: (7)
 
CARS II's Avatar
 
Join Date: Oct 2002
Location: Sacramento CA
Posts: 6,589
Received 123 Likes on 106 Posts
Default

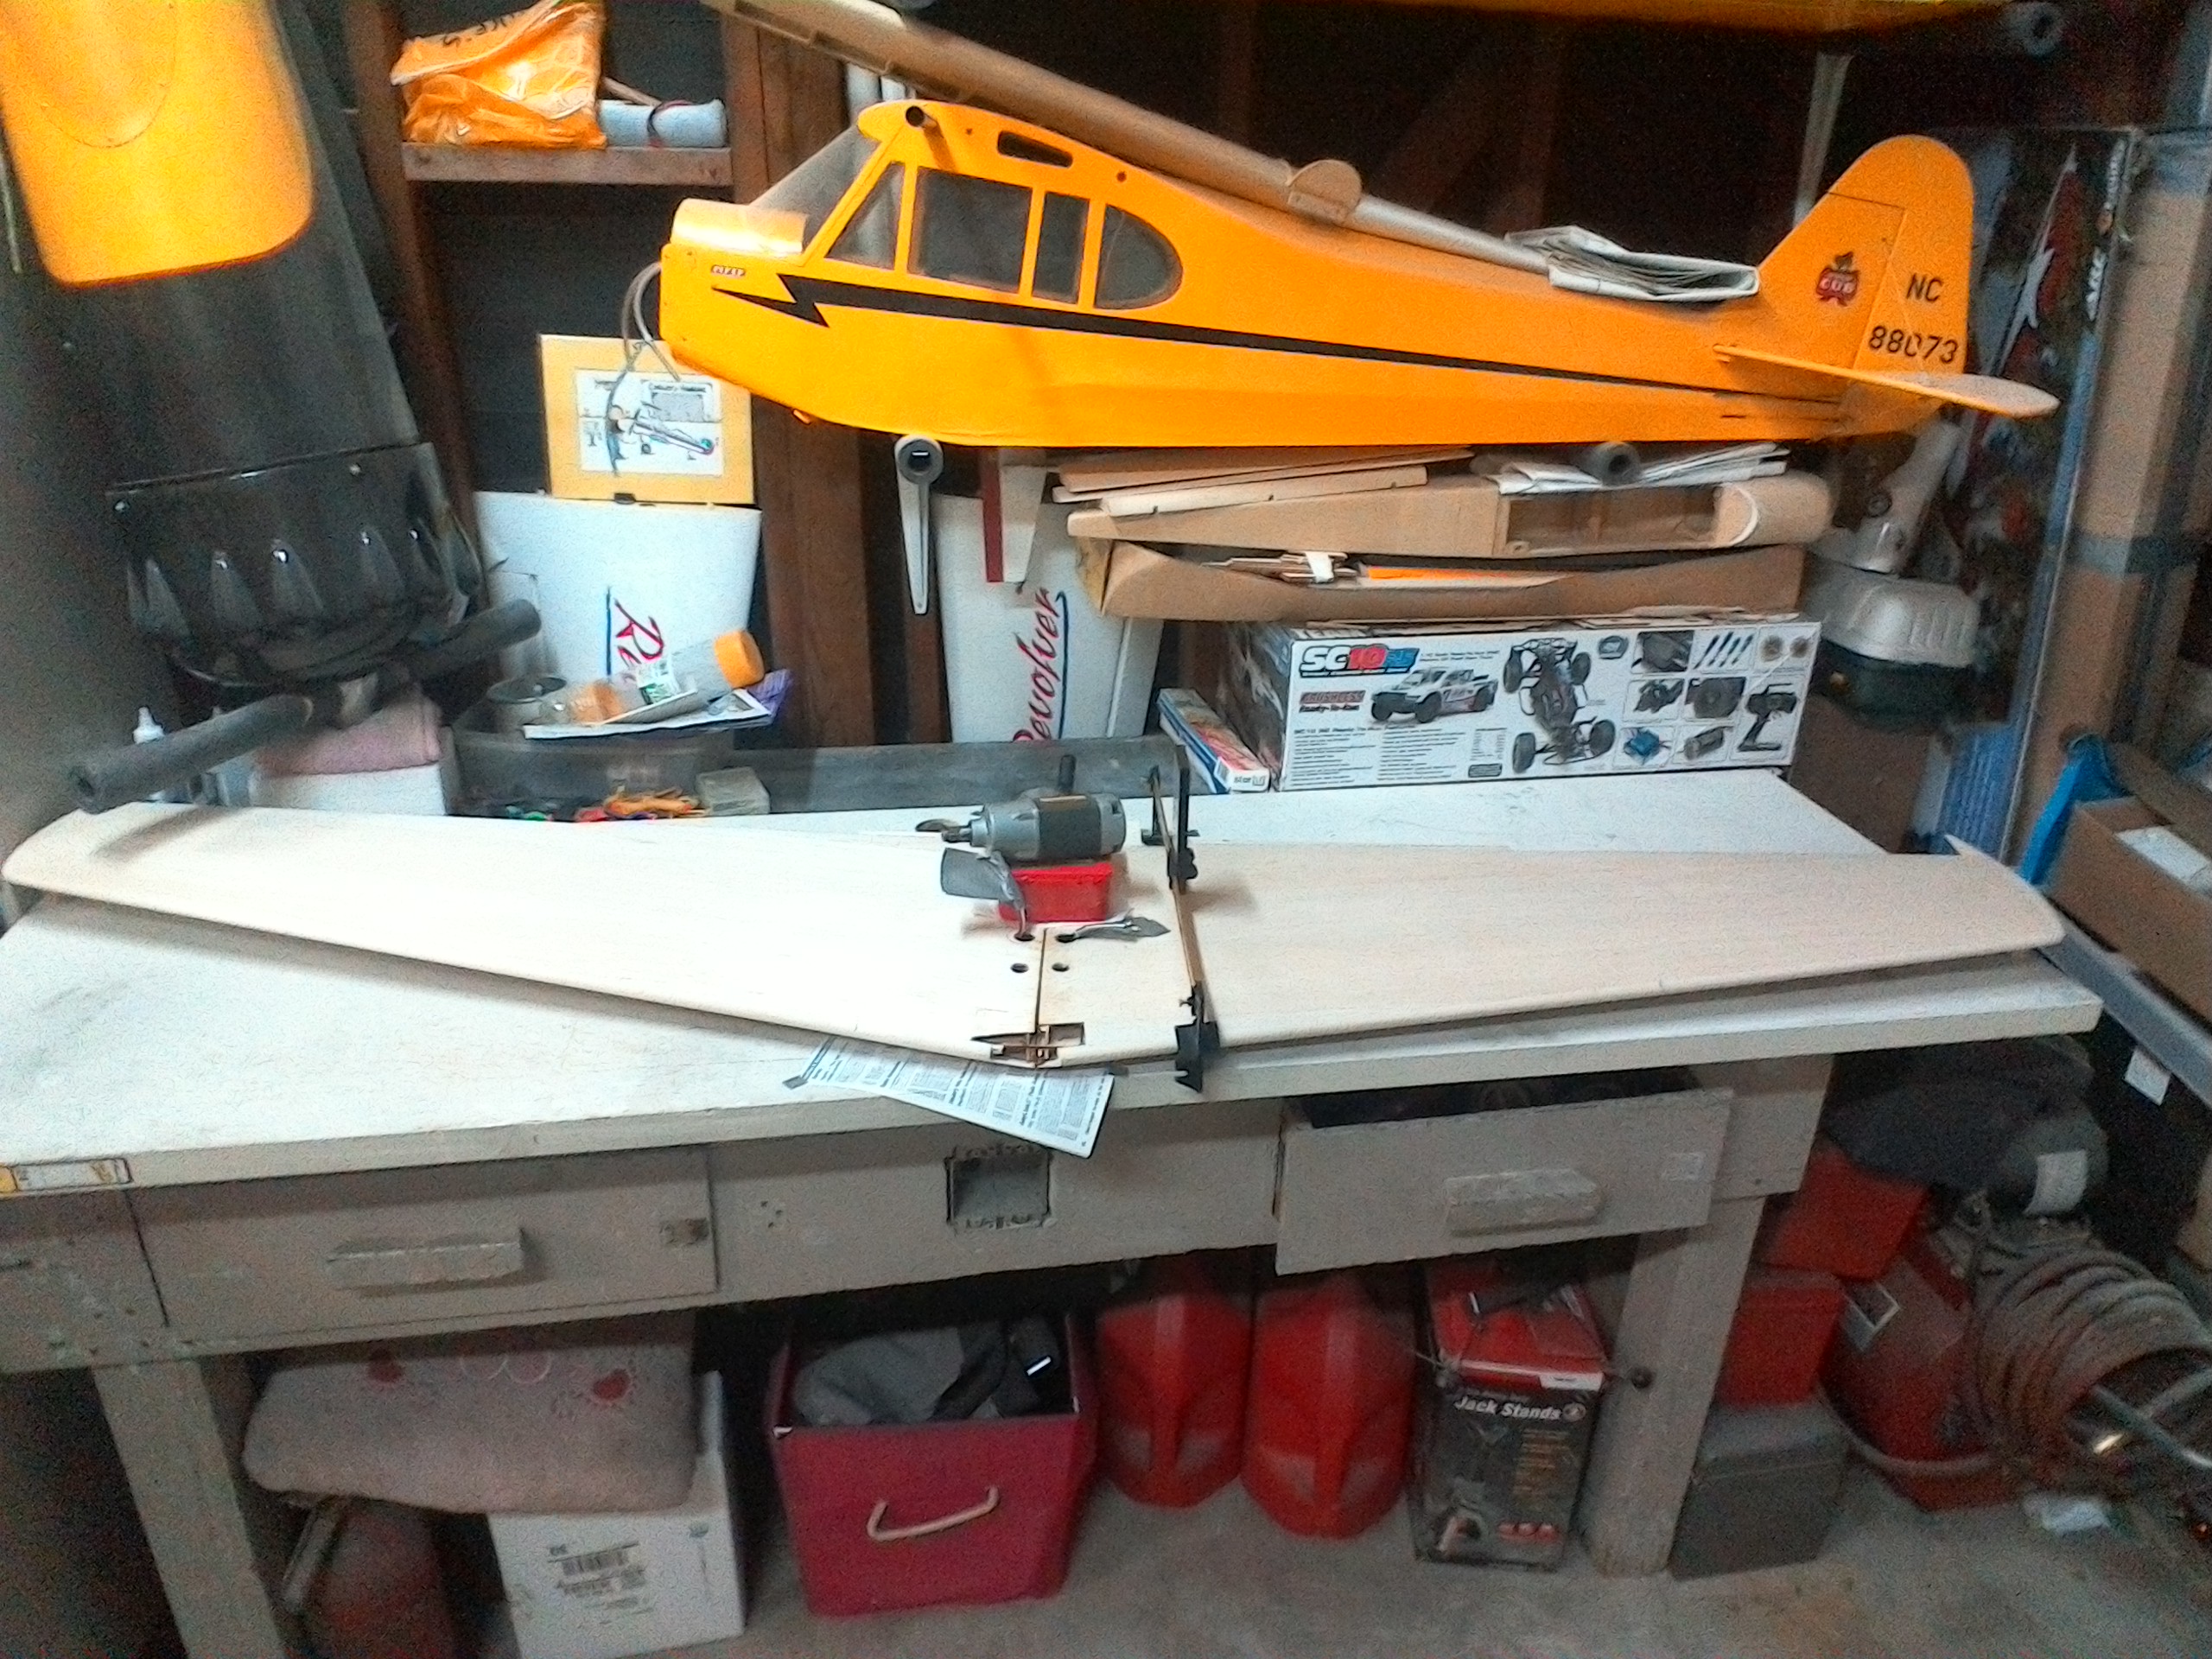
Some eye candy for the builders

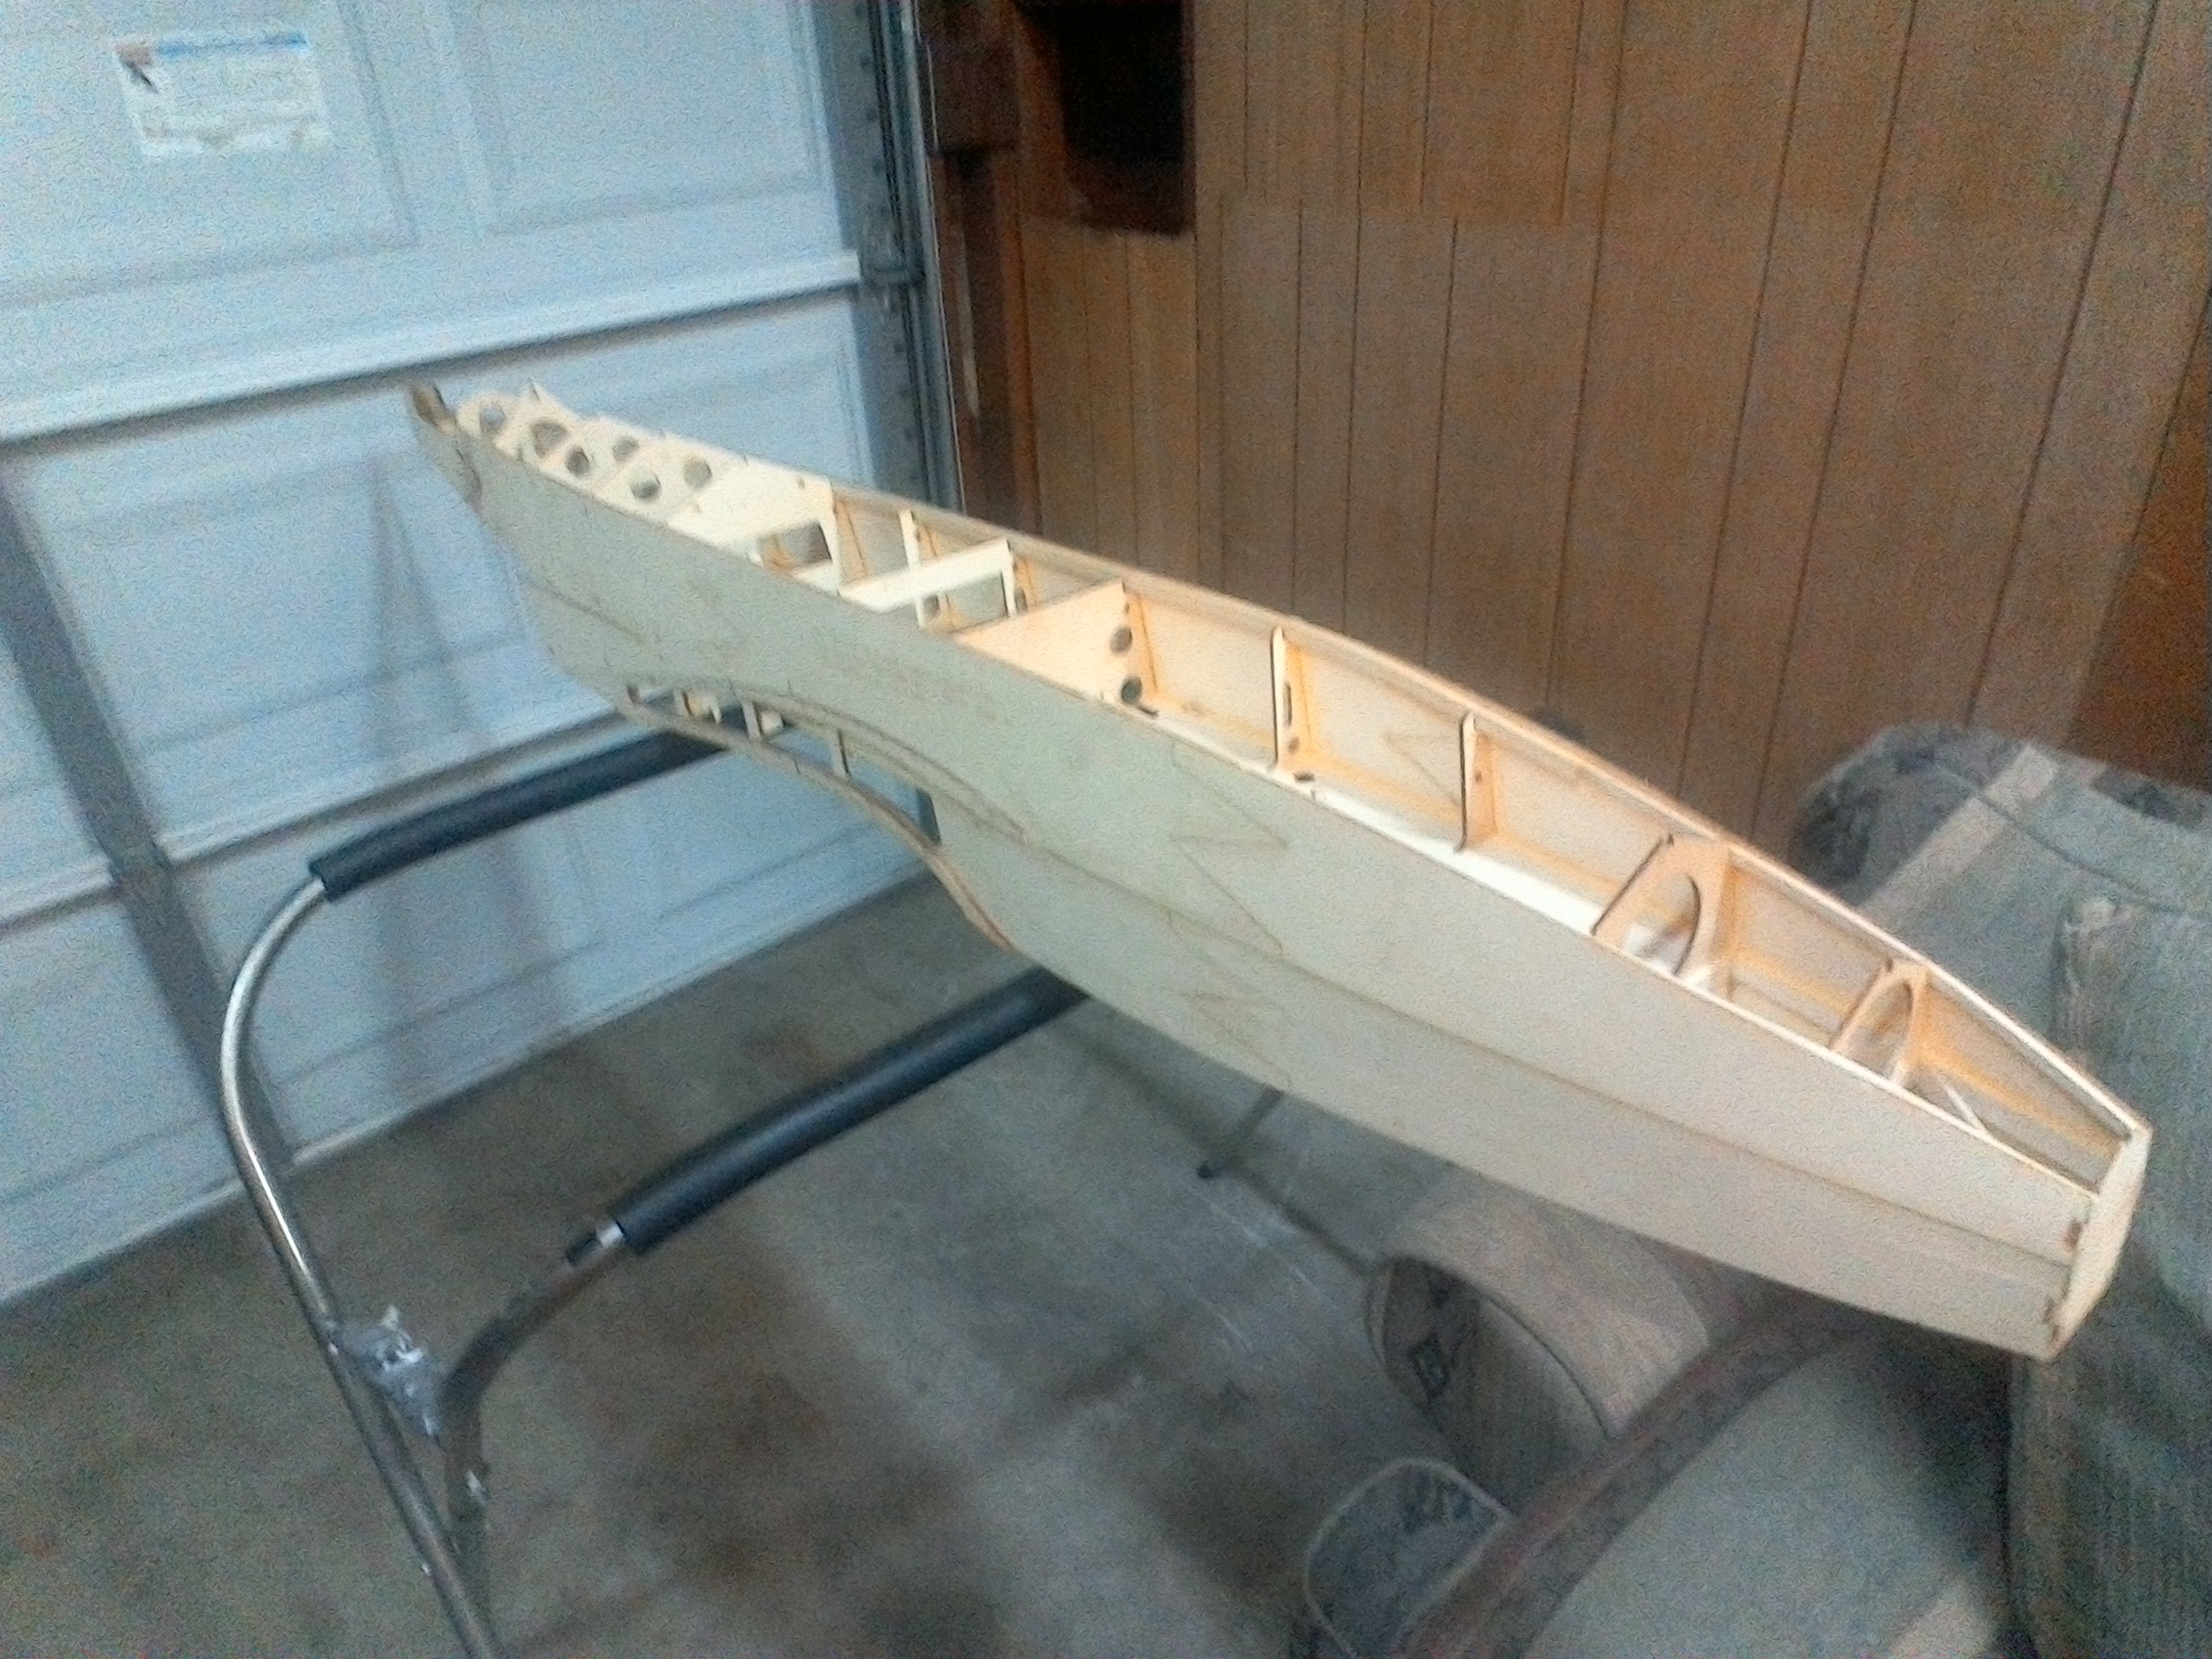
The building of the main components is done, I will now go back to all the parts to make sure all is done and are fitted correctly before the monokote.

One month as of yesterday since I restarted the building of the Turbinator.


Attached Thumbnails Click image for larger version

Name:	IMG_20170221_203517.jpg
Views:	618
Size:	1.08 MB
ID:	2202232   Click image for larger version

Name:	IMG_20170221_203537.jpg
Views:	632
Size:	1.13 MB
ID:	2202234   Click image for larger version

Name:	IMG_20170221_203555.jpg
Views:	635
Size:	1.16 MB
ID:	2202235   Click image for larger version

Name:	IMG_20170221_203841.jpg
Views:	632
Size:	1.11 MB
ID:	2202236   Click image for larger version

Name:	IMG_20170120_181229.jpg
Views:	620
Size:	1.07 MB
ID:	2202237   Click image for larger version

Name:	IMG_20170120_181253.jpg
Views:	639
Size:	1.14 MB
ID:	2202238   Click image for larger version

Name:	IMG_20170221_212521.jpg
Views:	625
Size:	1.17 MB
ID:	2202242  

Last edited by CARS II; 02-21-2017 at 09:47 PM.
Old 02-24-2017, 08:05 PM
  #473  
DMehalko
My Feedback: (42)
 
DMehalko's Avatar
 
Join Date: Nov 2003
Location: Denver, CO
Posts: 1,493
Received 8 Likes on 5 Posts
Default

Looking wonderful! I still have yet to order a laser kit, down to national Balsa or LDS. I did pick up the fuel tank, hinges, control horns, and Robart 630 series retracts. I am excited to get building!

I am glad you have been keeping up with the build and pictures i have enjoyed looking through them and the progress you are making.
Old 02-24-2017, 08:33 PM
  #474  
CARS II
Thread Starter
My Feedback: (7)
 
CARS II's Avatar
 
Join Date: Oct 2002
Location: Sacramento CA
Posts: 6,589
Received 123 Likes on 106 Posts
Default

Thank you.

I have at least 150-200 pictures on my tablet that I will be downloading to a micro card, they cost around $3 for one big enough for the pictures and they come with the adaptor card to insert in a computer, if you like I can send you a card with all the pictures I have so far.

Last edited by CARS II; 02-24-2017 at 10:52 PM.
Old 02-24-2017, 11:20 PM
  #475  
CARS II
Thread Starter
My Feedback: (7)
 
CARS II's Avatar
 
Join Date: Oct 2002
Location: Sacramento CA
Posts: 6,589
Received 123 Likes on 106 Posts
Default

I'm doing some work on the DV8R, flap and aileron drawings, as soon as I'm done with that I will resume the work on the Turbo.

Attached Thumbnails Click image for larger version

Name:	IMG_20170223_212045.jpg
Views:	642
Size:	1.19 MB
ID:	2202735  


Contact Us - Archive - Advertising - Cookie Policy - Privacy Statement - Terms of Service -

Copyright © 2024 MH Sub I, LLC dba Internet Brands. All rights reserved. Use of this site indicates your consent to the Terms of Use.