


Color scheme on Bravo from lorenz
 03-31-2012, 05:41 AM
#1

Thread Starter
Last few days I spent working on color scheme on my friends F3A model Bravo.
He bought it from Lorenz Modell from Germany. Model was white, and I have job to design and made finish on this model.
Model are extremely easy, so painting it wasn't option, because first must add primer, than color, and everything must be paint with clear cote. So many layers will add to much weight, so we decided to made finish with self adhesive foils.
Self adhesive foils are grate on flat surfaces but it can't be apply on rounded shapes. So, I must create design which will match with model...
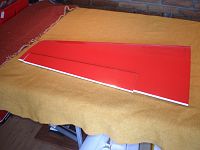
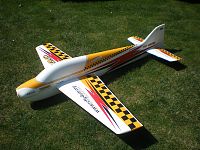
On Bravo upper surface and complete fuselage are white, and botom side of wings and elevators are red.
My friend have wish to color scheme be totally different on upper and lower side.
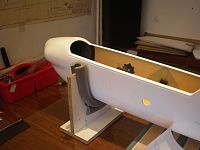
But before story about color scheme, look few pictures about model...
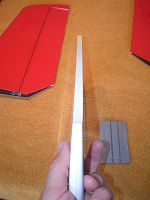
Bravo is last generation in full composite F3A model...
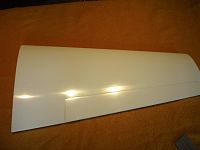


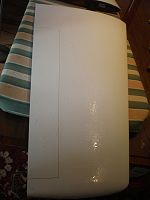
Bottom wing side...
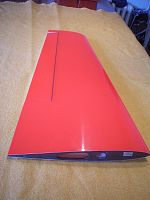

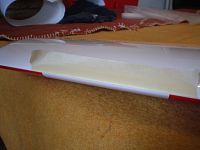
Trailing edge...

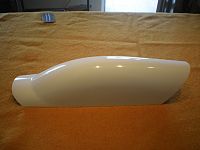
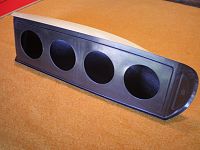
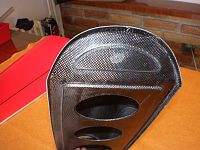
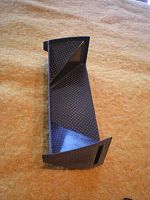
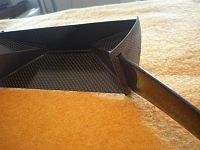
Cabin is made from thin carbon...

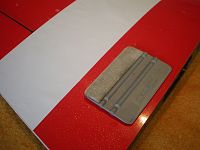
Elevators was made with same technology as wings...


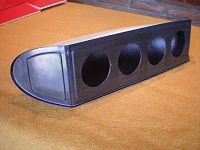
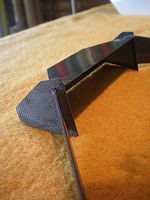
Few details about landing gear...


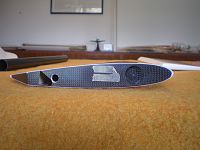
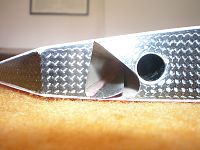
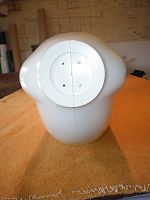
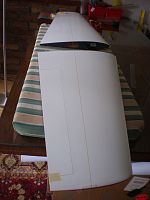
And finally fuselage...


OK, now when we know how model look, lets start with work.
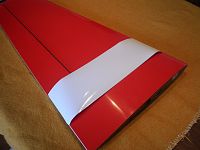
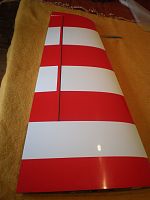
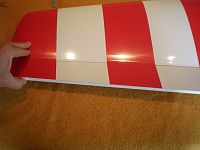
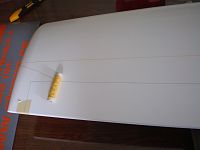
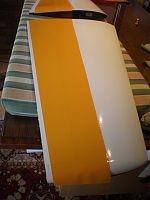
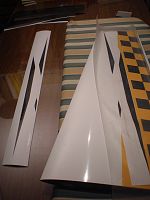
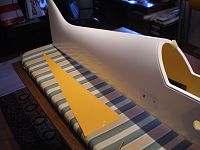
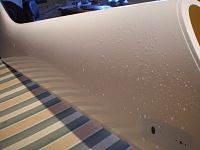
I start working on lower wing side, and apply three white stripes...
I use Oracal 641 self adhesive foils. Because wing surface are plastic, very thin and gentle, I use water for applying foil. System is simple, add water on surface, add water on sticky foil side, and aplly foil on surface. Bacause foil is wet, I could position white line very precise on wing...

Than I used this little tool, and squeeze out water...

Surface are without any bubble...
When water dryed I add masking foil in edges which I want cut...


On ailerons I must move white line from edge where aileron come inside in the wing. Gap is so small that foil will stuck on the edge...
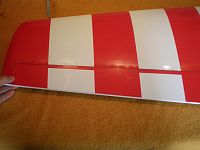
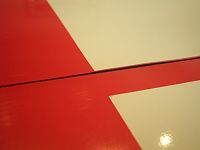
Finally, I add one red stripe on first white line to made all lines same...

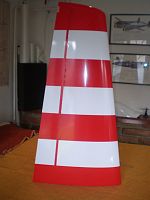

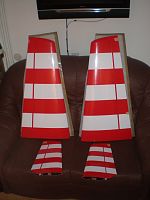
Than I made this process few more times, and get white lines on bottom sides... Same procedure was for elevators, but for applying white stripes I was not using water...
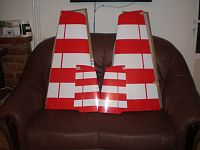
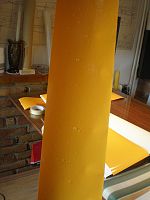
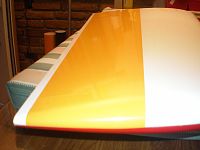
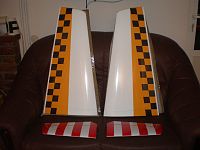
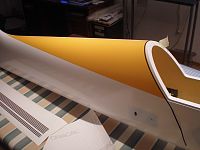
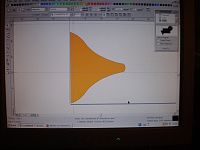
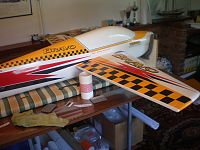
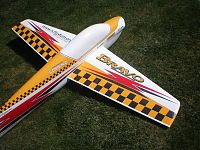
For upper surface I made totally different color scheme. First I draw everything in computer in Corel... I made few proposals, to enable my friend to choose colors, but for me, and for him also, yellow and black was the best combination...

I bought yellow foil, and instead off black I take foil like carbon...


On white wing side, first I add yellow areas, but before that I put together wings to draw a straight line. For that operation I use very "high tech" tool...


Gluing was again with water...

Technique was same like on bottom side...
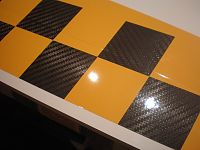
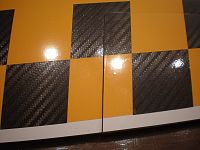
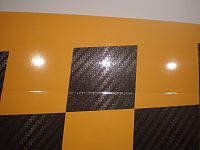
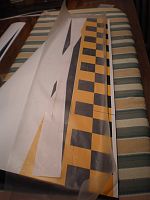
Than I apply cubes made from carbon foil...

I used transfer foil for this...

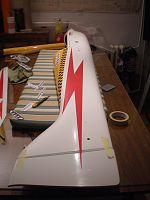
Than I made and apply lightning shadow, which was again from carbon foil...
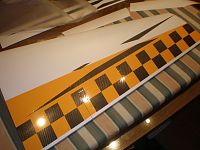
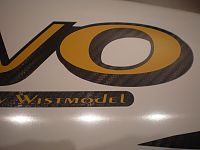
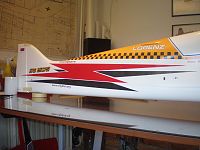
After that letters and finally red lightning...


Same procedures was on elevators...


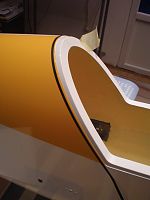
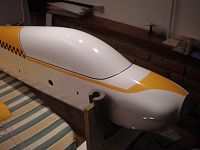
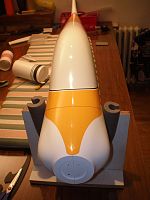
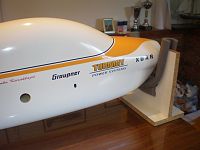
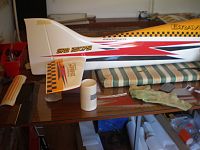
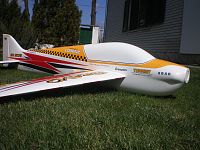
Next was fuselage...


First yellow areas...


I add black stripe for easier cutting...

Than copy - paste everything on other side...

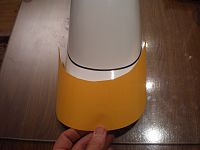
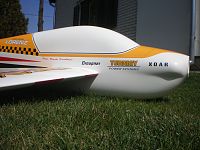
Next was front end of the fuselage...
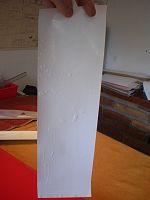
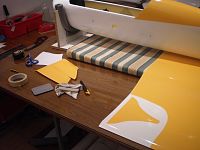
I must made paper template...

Than I scan it in computer and finally cut on my Roland cutter......
Next step was easy...
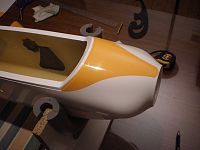

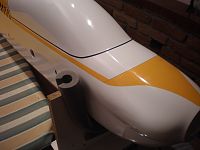
Than I add yellow and black line on cabine. Yellow line connect front and rear yellow fuselage areas...
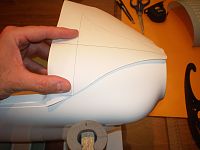
But, when I add cabin on fuselage I saw that in fron was big white area...
Paper templates again...
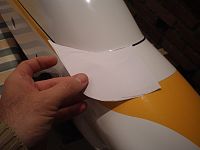

...little cutting, little trimming and...


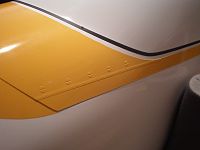
On the foil lap I add "warbird" details - screws...
Next steps was to add letters, lightning with shadow, and all other details...
I always made letters first on paper...

But, when I put wings on, I saw that right elevator is to much color full for my taste, so I change design...


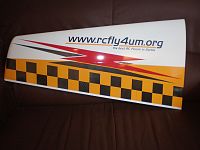
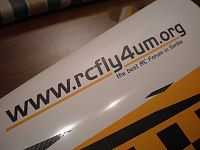
Last touch was adding authors logo...

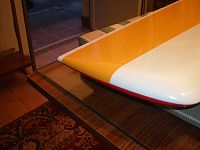
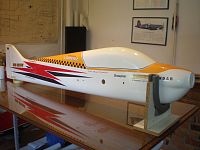
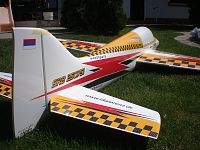
And finally Bravo in full shine...
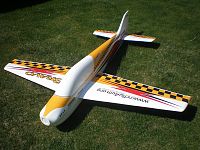
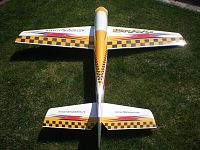

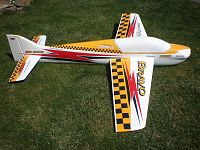


30 hours of work, and full bag of excess foils...

Best regards from Serbia
Mirce
He bought it from Lorenz Modell from Germany. Model was white, and I have job to design and made finish on this model.
Model are extremely easy, so painting it wasn't option, because first must add primer, than color, and everything must be paint with clear cote. So many layers will add to much weight, so we decided to made finish with self adhesive foils.
Self adhesive foils are grate on flat surfaces but it can't be apply on rounded shapes. So, I must create design which will match with model...
On Bravo upper surface and complete fuselage are white, and botom side of wings and elevators are red.
My friend have wish to color scheme be totally different on upper and lower side.
But before story about color scheme, look few pictures about model...
Bravo is last generation in full composite F3A model...
Bottom wing side...
Trailing edge...
Cabin is made from thin carbon...
Elevators was made with same technology as wings...
Few details about landing gear...
And finally fuselage...
OK, now when we know how model look, lets start with work.
I start working on lower wing side, and apply three white stripes...
I use Oracal 641 self adhesive foils. Because wing surface are plastic, very thin and gentle, I use water for applying foil. System is simple, add water on surface, add water on sticky foil side, and aplly foil on surface. Bacause foil is wet, I could position white line very precise on wing...
Than I used this little tool, and squeeze out water...
Surface are without any bubble...
When water dryed I add masking foil in edges which I want cut...
On ailerons I must move white line from edge where aileron come inside in the wing. Gap is so small that foil will stuck on the edge...
Finally, I add one red stripe on first white line to made all lines same...
Than I made this process few more times, and get white lines on bottom sides... Same procedure was for elevators, but for applying white stripes I was not using water...
For upper surface I made totally different color scheme. First I draw everything in computer in Corel... I made few proposals, to enable my friend to choose colors, but for me, and for him also, yellow and black was the best combination...
I bought yellow foil, and instead off black I take foil like carbon...
On white wing side, first I add yellow areas, but before that I put together wings to draw a straight line. For that operation I use very "high tech" tool...
Gluing was again with water...
Technique was same like on bottom side...
Than I apply cubes made from carbon foil...
I used transfer foil for this...
Than I made and apply lightning shadow, which was again from carbon foil...
After that letters and finally red lightning...
Same procedures was on elevators...
Next was fuselage...
First yellow areas...
I add black stripe for easier cutting...
Than copy - paste everything on other side...
Next was front end of the fuselage...
I must made paper template...
Than I scan it in computer and finally cut on my Roland cutter......
Next step was easy...
Than I add yellow and black line on cabine. Yellow line connect front and rear yellow fuselage areas...
But, when I add cabin on fuselage I saw that in fron was big white area...
Paper templates again...
...little cutting, little trimming and...
On the foil lap I add "warbird" details - screws...
Next steps was to add letters, lightning with shadow, and all other details...
I always made letters first on paper...
But, when I put wings on, I saw that right elevator is to much color full for my taste, so I change design...
Last touch was adding authors logo...
And finally Bravo in full shine...
30 hours of work, and full bag of excess foils...
Best regards from Serbia
Mirce

 04-02-2012, 12:44 AM
#4
Junior Member
Join Date: Mar 2011
Location: SERBIA, YUGOSLAVIA
Posts: 4
Likes: 0
Received 0 Likes
on
0 Posts
As a proud owner of this grate plane I only have to say that Mirce and his skills are great. Plane looks amazing, and whole job is done perfectly.
Idid not expect in my best dreams that everything will be this good.
Mirce, all respect!
I will keep you informed about build progress.
Branek
Idid not expect in my best dreams that everything will be this good.
Mirce, all respect!
I will keep you informed about build progress.
Branek
04-02-2012, 03:32 AM
#5

Join Date: Jul 2006
Location: Ossining,
NY
Posts: 2,819
Likes: 0
Received 0 Likes
on
0 Posts
Fantastic job with an unusual technique!
Awesome scheme, and the visibility should be excellent. Looking forward to some photos of it airborne.
Awesome scheme, and the visibility should be excellent. Looking forward to some photos of it airborne.
04-12-2012, 05:26 AM
#7
 04-13-2012, 10:03 AM
#8
Thread Starter
Thanks guys...
Scott, square meter of this Oracal foil is 135 gr. For sure I'm not spent so much...
Regards from Serbia
Mirce
Scott, square meter of this Oracal foil is 135 gr. For sure I'm not spent so much...
Regards from Serbia
Mirce


