


Audax F3A - new project for 2013
 10-04-2015, 11:24 PM
#126

Thread Starter
The battery tray is the last thing to install on the model because it defines the position of the CG.
But first i had to figure out the mean aerodynamic chord (MAC), its position along the wingspan and CG placement.
The simple geometric method doesn't work for this complex wing shape so i had to brush up on my math skills a little:


I started with a cardboard template and cut the final battery tray from a 4mm balsa-carbon sheet. It is supported by 6mm carbon tubes and secured with 4 cable ties.


But first i had to figure out the mean aerodynamic chord (MAC), its position along the wingspan and CG placement.
The simple geometric method doesn't work for this complex wing shape so i had to brush up on my math skills a little:
I started with a cardboard template and cut the final battery tray from a 4mm balsa-carbon sheet. It is supported by 6mm carbon tubes and secured with 4 cable ties.
Last edited by Alex Voicu; 10-04-2015 at 11:33 PM.
 10-09-2015, 09:21 AM
#127
Thread Starter
The flying season will be over soon and i didn't want to wait until spring for the test flights, so i started assembling the plane. Some details like the wheelpants will be added later and the fuselage will be painted over the winter.
Final motor and ESC installation:


Propeller and spinner install:


Adding some soft self-adhesive material at the wing and stab root:


Plywood roundels are used to fill the space between the wing root rib and the fuselage side. This prevents stressing the fuselage side wall and the wing root rib when tightening the wing retaining screws.

Receiver tray and support:


Final motor and ESC installation:
Propeller and spinner install:
Adding some soft self-adhesive material at the wing and stab root:
Plywood roundels are used to fill the space between the wing root rib and the fuselage side. This prevents stressing the fuselage side wall and the wing root rib when tightening the wing retaining screws.
Receiver tray and support:
10-10-2015, 08:36 AM
#129
Thread Starter
I took a few pictures at the flying field today. The weather was really bad: overcast, cold, windy, and even a slight drizzle from time to time. But flying was great 


10-10-2015, 04:36 PM
#130


Join Date: Mar 2015
Location: Charlotte, NC
Posts: 90
Likes: 0
Received 0 Likes
on
0 Posts
Man thats one good looking plane. Even with the white fusealge.
So since the project took two years are you happy with the end product. Also could you give some more details about how it felt in the air.
-sam
So since the project took two years are you happy with the end product. Also could you give some more details about how it felt in the air.
-sam
10-11-2015, 10:30 AM
#131
Thread Starter
Thank you Sam.
In fact the maiden flight took place a week ago in very good weather conditions, using a 2 blade propeller and a spinner borrowed from my Radiance. So far i only have around 15 flights on the model and it's very early in the trimming process, but i tested it in both good and bad weather conditions and i think i have a good picture of what the model is capable of. In many ways it's exceeded my expectations, but of course there are also things to improve. I'm not sure anyone will have the patience to read all this, but anyway, here we go...
The aspect that i'm most pleased with is the knife edge performance. The model needs very little fuselage incidence to maintain horizontal knife edge flight and as a consequence it rolls axially and requires very little rudder input. All the knife edge maneuvers i tried were performed on rudder low rates (set at 60% of the max rudder throw) and i never had to use full stick deflection. The knife edge loops are very easy to perform without any mix; i also tried a knife edge exit at the end of a long vertical downline and the model followed my command without hesitation. I simply added rudder, the model performed a 1/4 KE loop, exit horizontally and that was it - there was no fighting with the model, no twisting, no visible bad habits.
The LR and RR knife edge seem to pull a little in opposite directions, but this was only visible from behind the model, when i was flying KE directly away from me. When flying KE in front of me, from one end of the box to the other, this is almost invisible. I did the best i could with the incidence meter, but there's probably still some difference in stab halves incidence.
What amazes me the most is that i got the wing dihedral angle almost perfect, because in my experience the swept wings are very different in this aspect. In general, pattern models have a flat top surface on the wing, and the dihedral angle results from the difference in thickness between the root and tip airfoils. But if you do the same for a swept wing, you will have a strong proverse roll tendency, so using my experience with the swept wings of the Radiance V4 (the kit version), i went with a much lower dihedral angle on the Audax (around half, if i remember correctly).
One of the ideas behind the Audax was creating a clean, streamlined design - and as a result, there's no built-in drag to significantly slow down the model on the vertical downlines. The 2 blade propeller doesn't provide enough braking to keep the speed constant on the downlines but i expected that and ordered a 3 blade propeller long before the first flight of the model. The 3 blade Falcon propeller had visibly better braking and provided the constant-speed feeling i was looking for.
The rudder max throw is around 40 degrees and it is very effective for performing stall turns. The model pivots nicely on the CG with 0 airspeed, but i need to keep some throttle on.
I started with 0 degrees right thrust and the vertical uplines were pulling a little to the left, but it only took 3% of mix (around 2.5 mm of rudder deflection, measured at the trailing edge) to fix this. Considering that my Radiance has 3.5 degrees of right thrust and still needs 1% of mix to keep the verticals straight, i think this is not a bad trade-off. The P-factor effect induced by the 3.5 degrees right thrust has opposite effects in LR and RR knife edge and can cause some trimming problems. Maybe i will add some right thrust to minimize or eliminate the need for throttle-rudder mix, but not more than 1 degree.
The only real problem i experienced was a pull to canopy on the uplines. The causes were traced back to the wide trailing edge of the flared rudder. I was half expecting this, because i tested a flared rudder on my Radiance with the same results. I was hoping that since the Audax is radically different and other models are using it succesfully, maybe the flared rudder will work for me too. It does give a nice, soft feeling around neutral with reduced sensitivity, but at least in my case the drawbacks are overcoming the advantages. Obviously the only fix for this is to design and build a new rudder this winter.
The model seems to fly well in bad weather, compared to my experience with Radiance the pilot workload is significantly reduced. As with any model, there is some small wing rocking in turbulent conditions but it always seems to come back to horizontal, so it needs less pilot corrections.
That's all i could gather so far, will post more later.
Last edited by Alex Voicu; 10-11-2015 at 11:00 AM.
03-27-2016, 09:31 AM
#132
Thread Starter
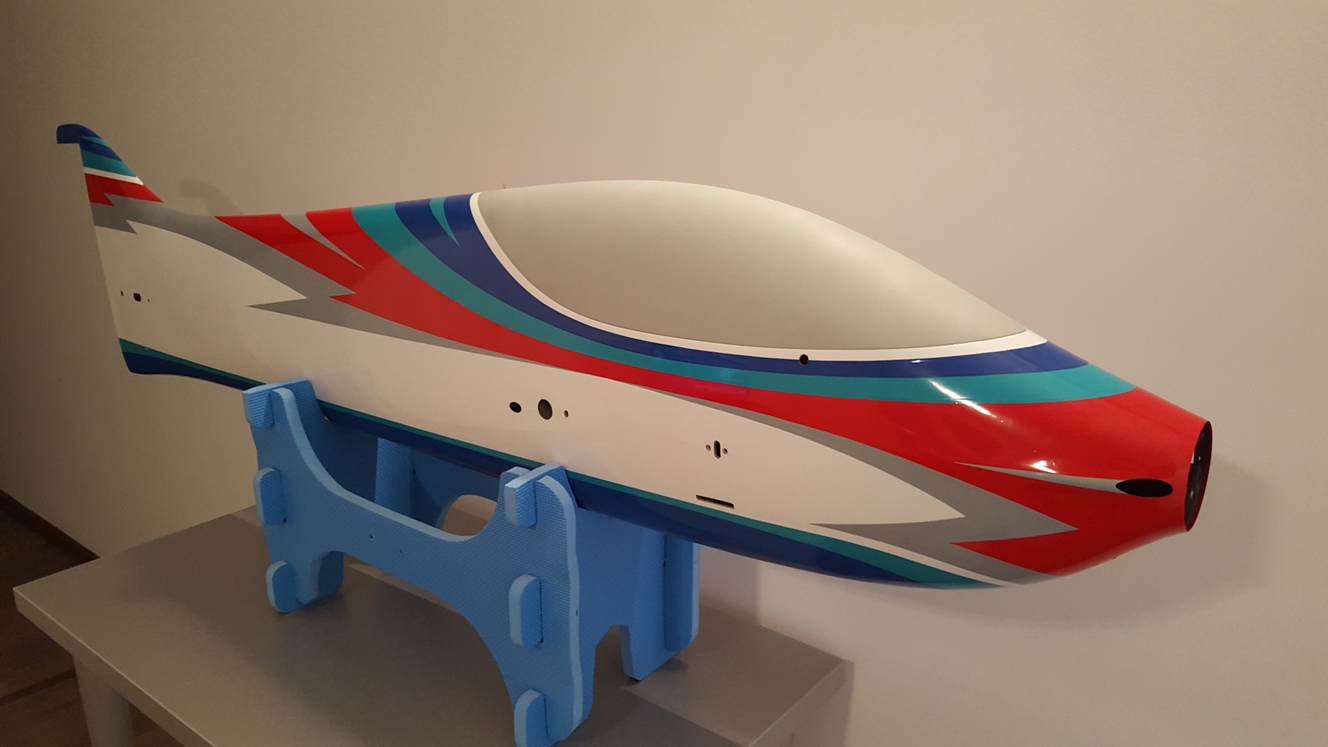
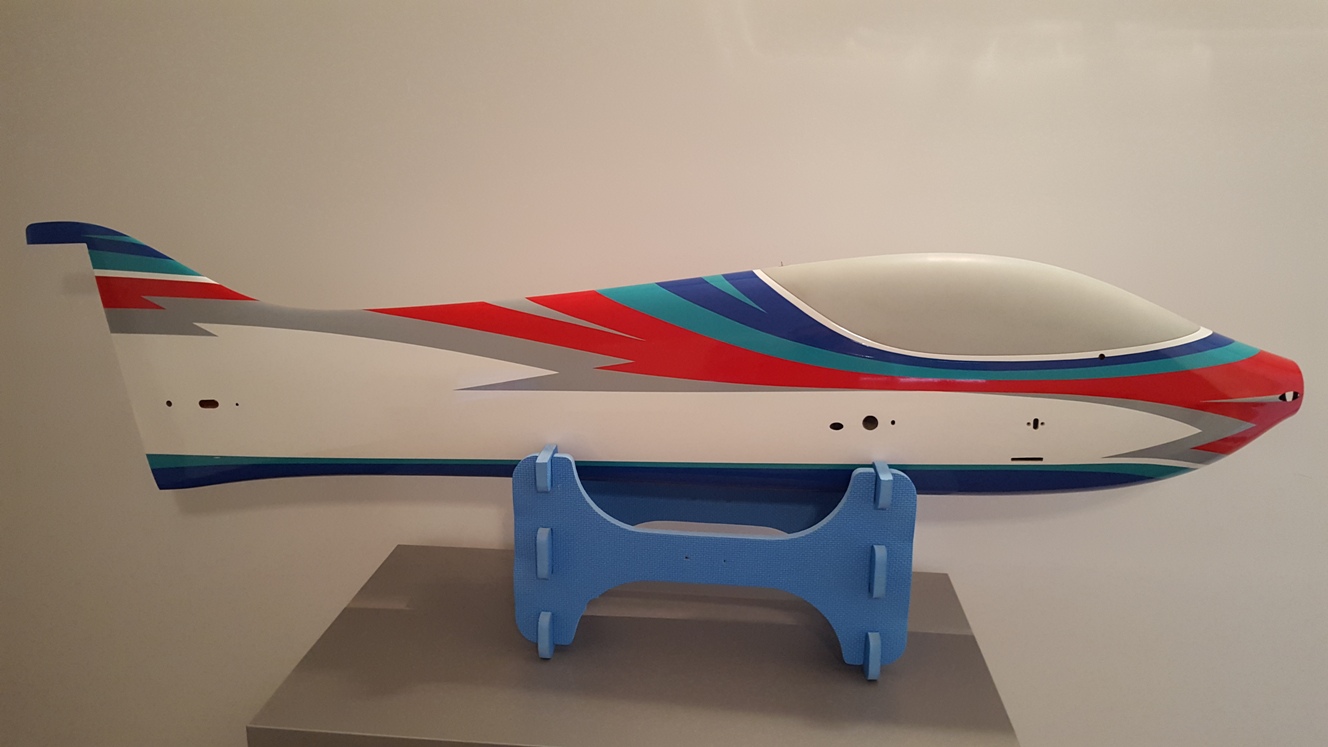
I initially planned to have the fuselage painted by a professional, but he became busy with other projects so i decided to film cover the fuselage.
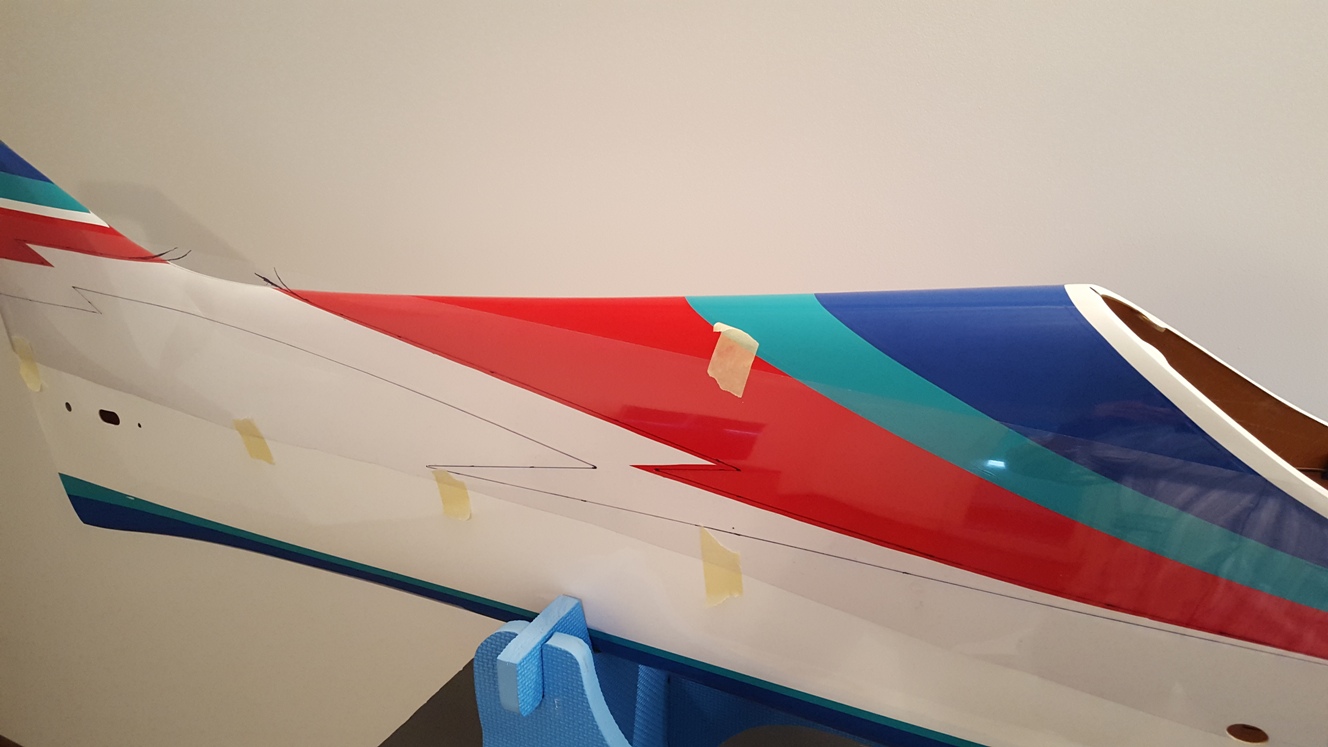
I started by cutting the cardboard templates and sanding the fuselage with 300 grit sandpaper:
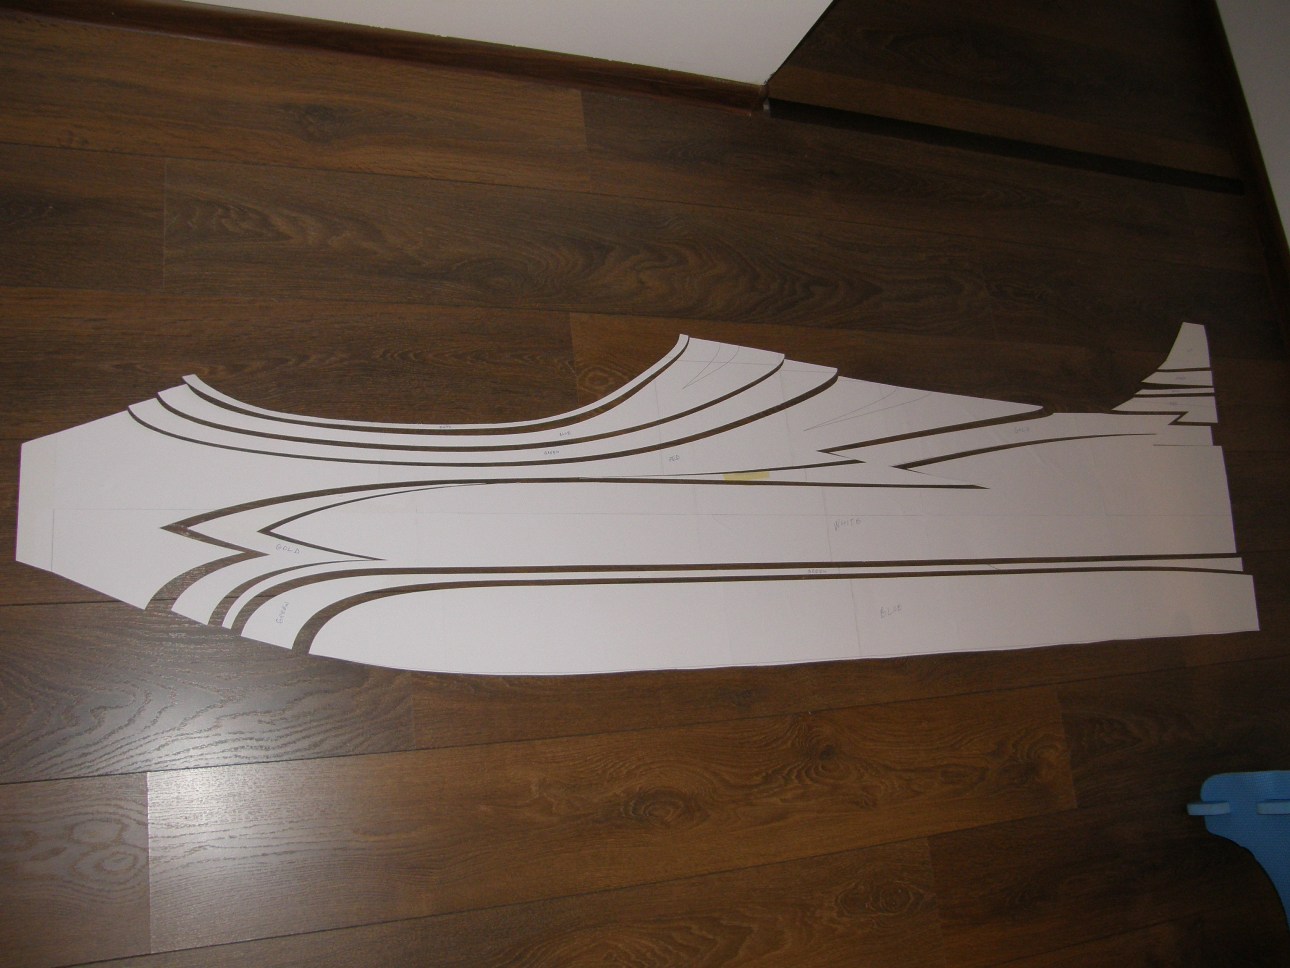

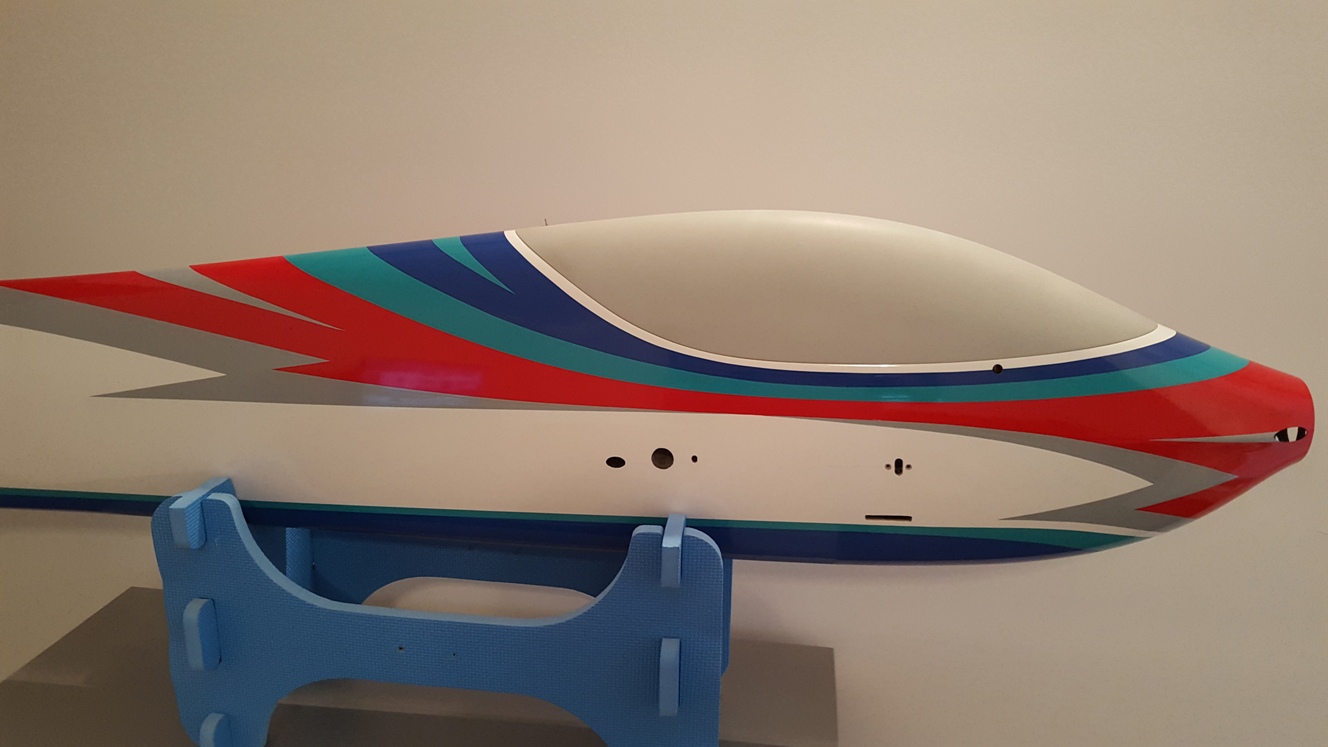
The first color applied was white, followed by the other colors:
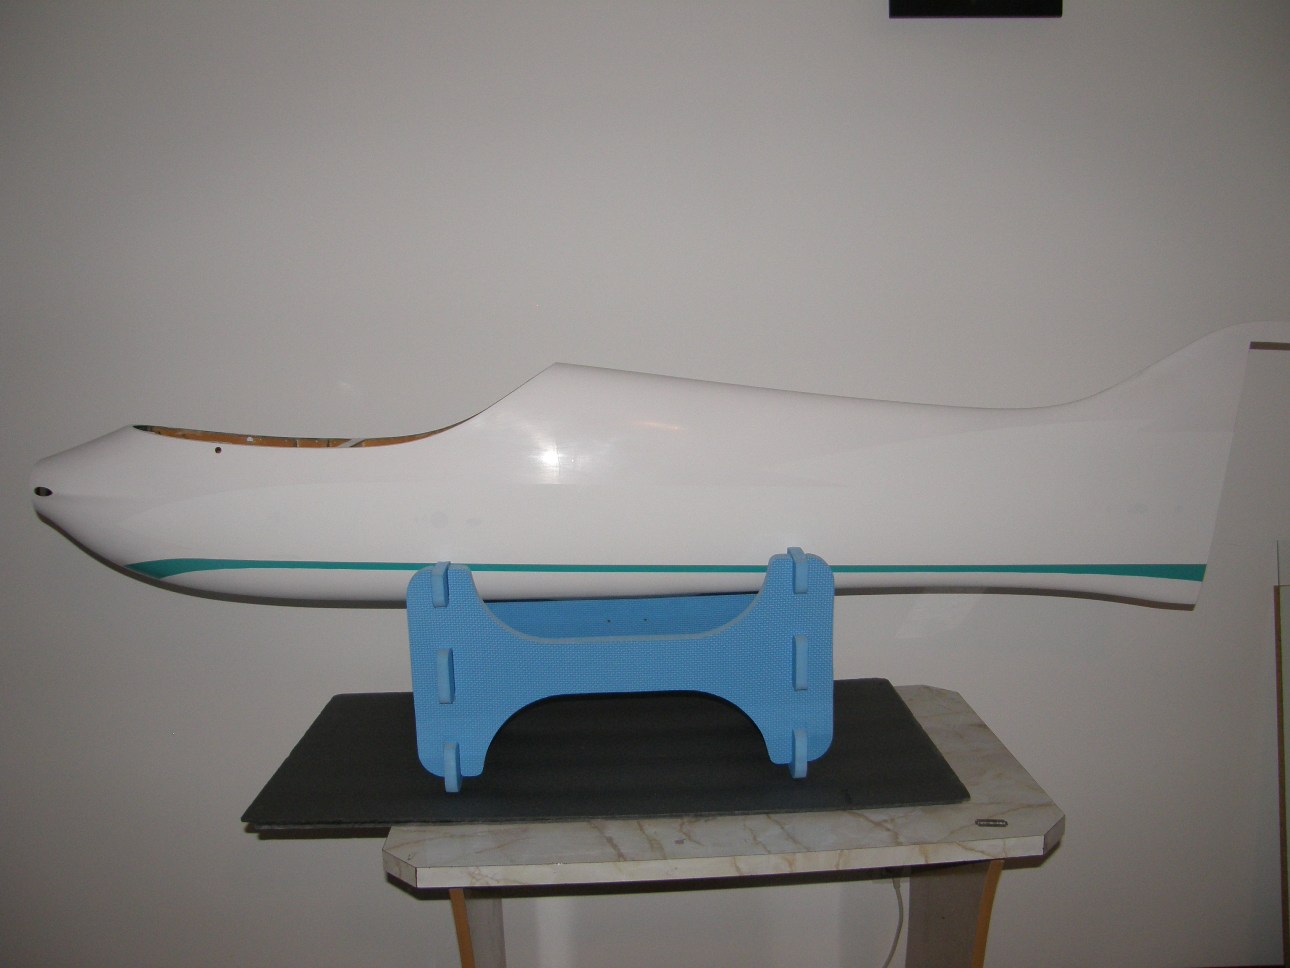
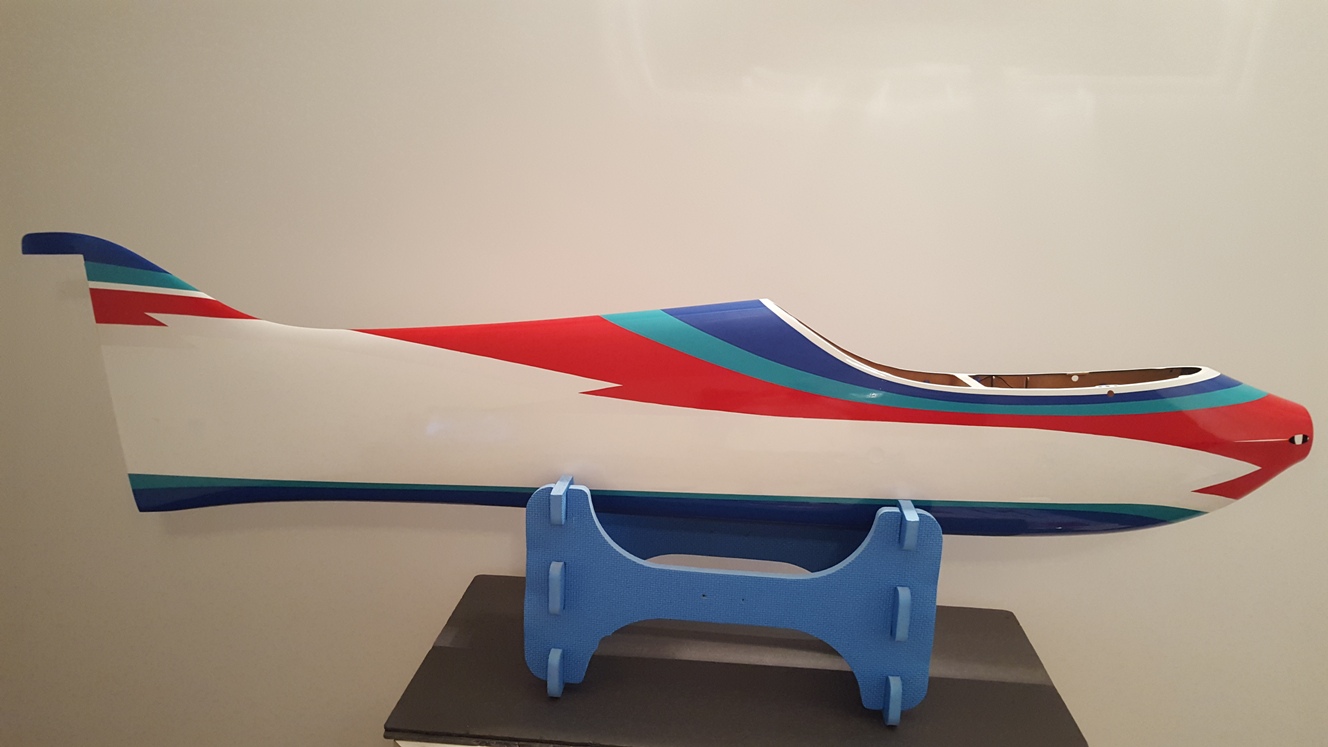
I had to give up on the gold color used on the wings because when applied to the fuselage sides, from most angles and in most lighting conditions it looked more like dark brown. It also highlighted too much the areas where it overlapped the other colors, so i chose to use a light grey instead.
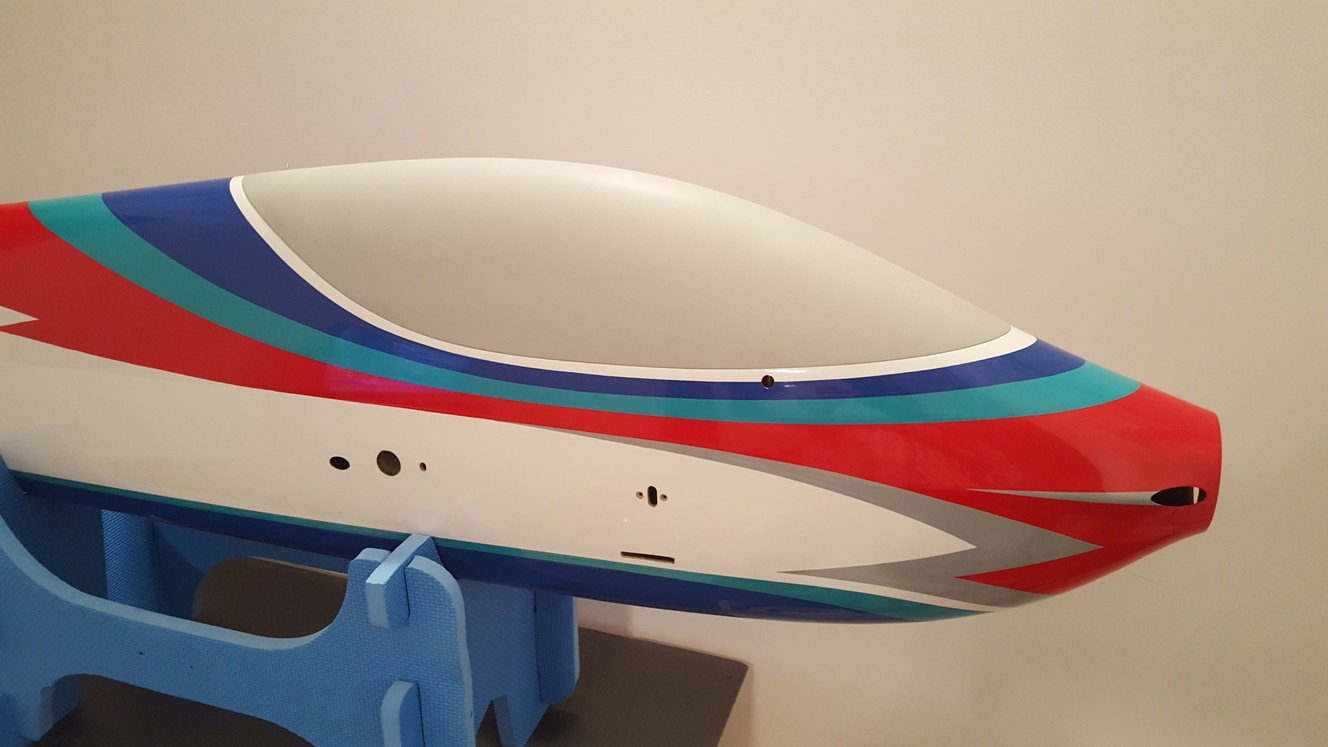
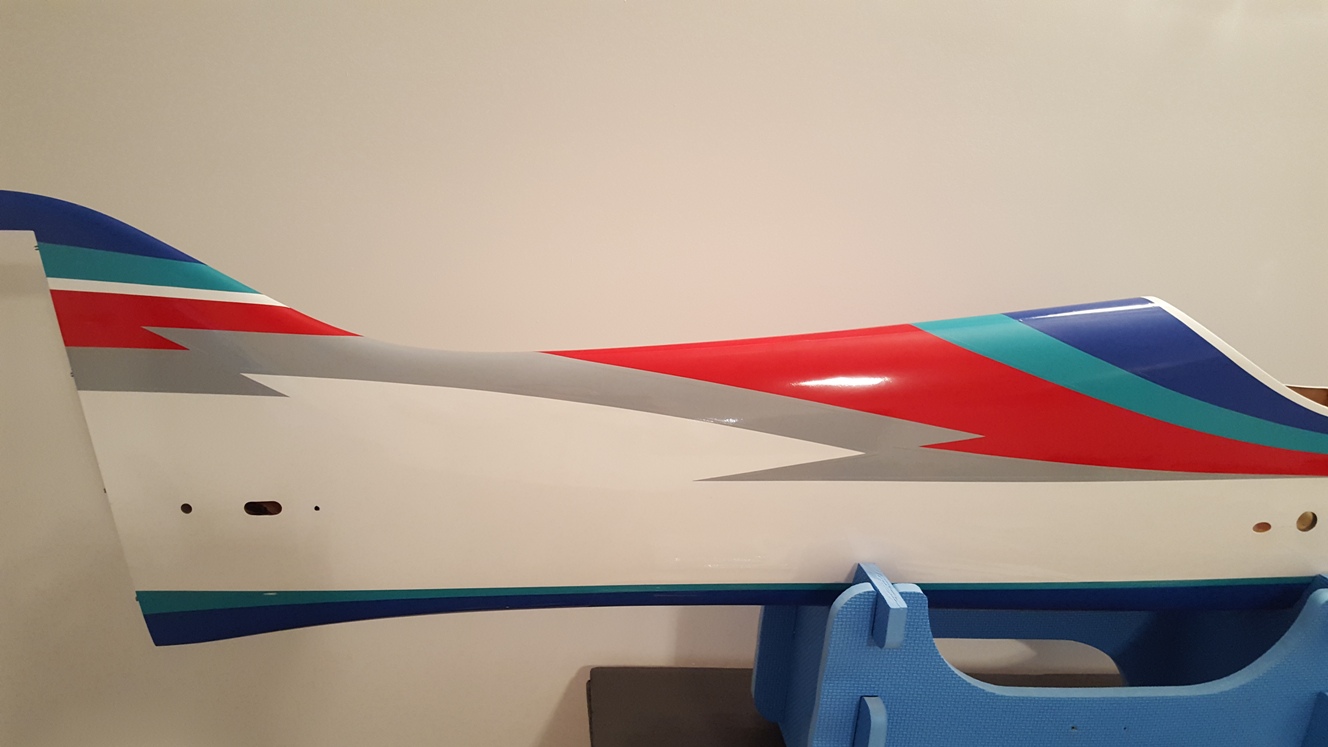
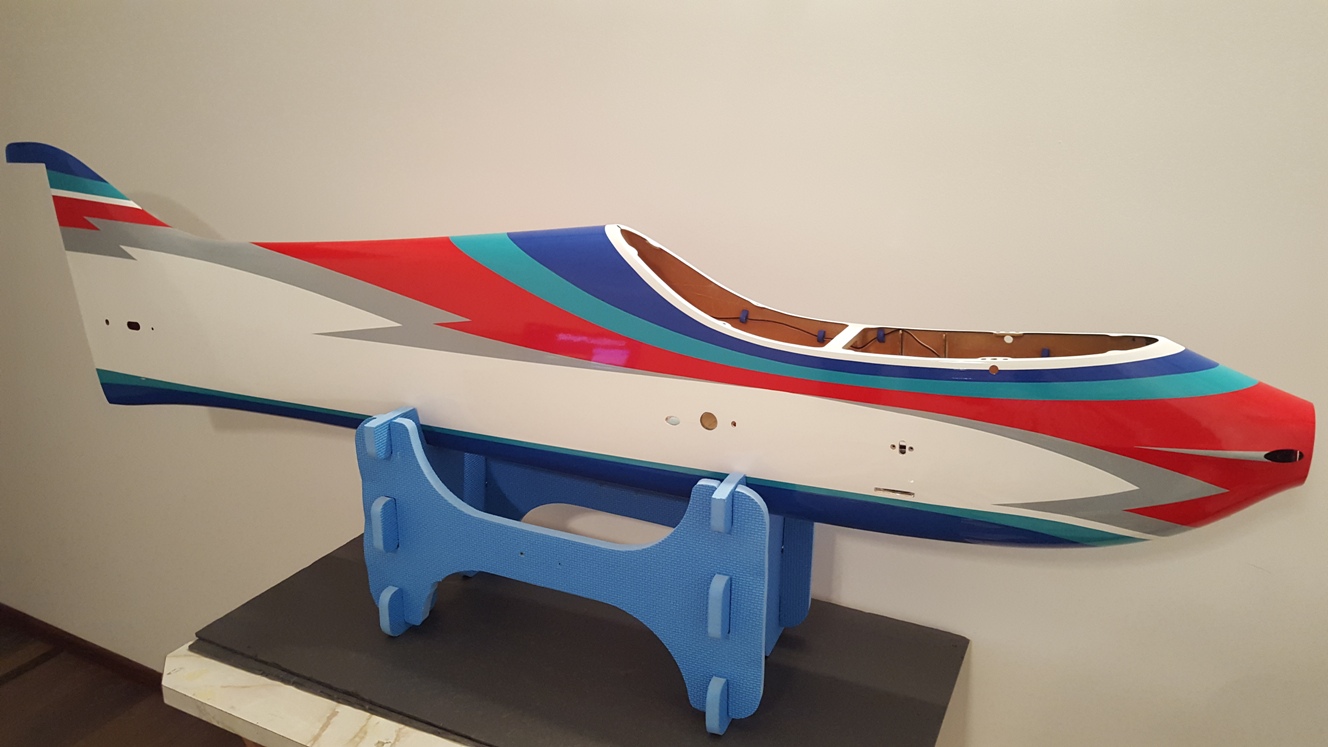
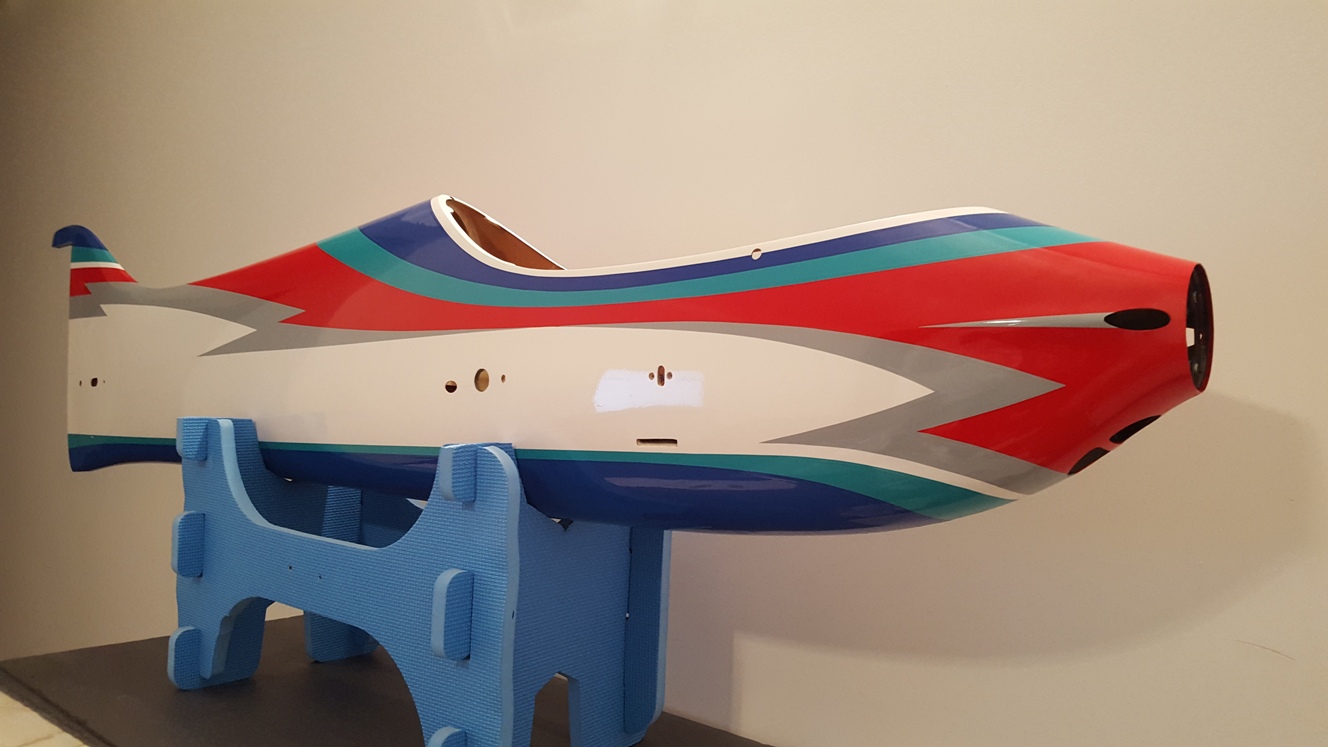
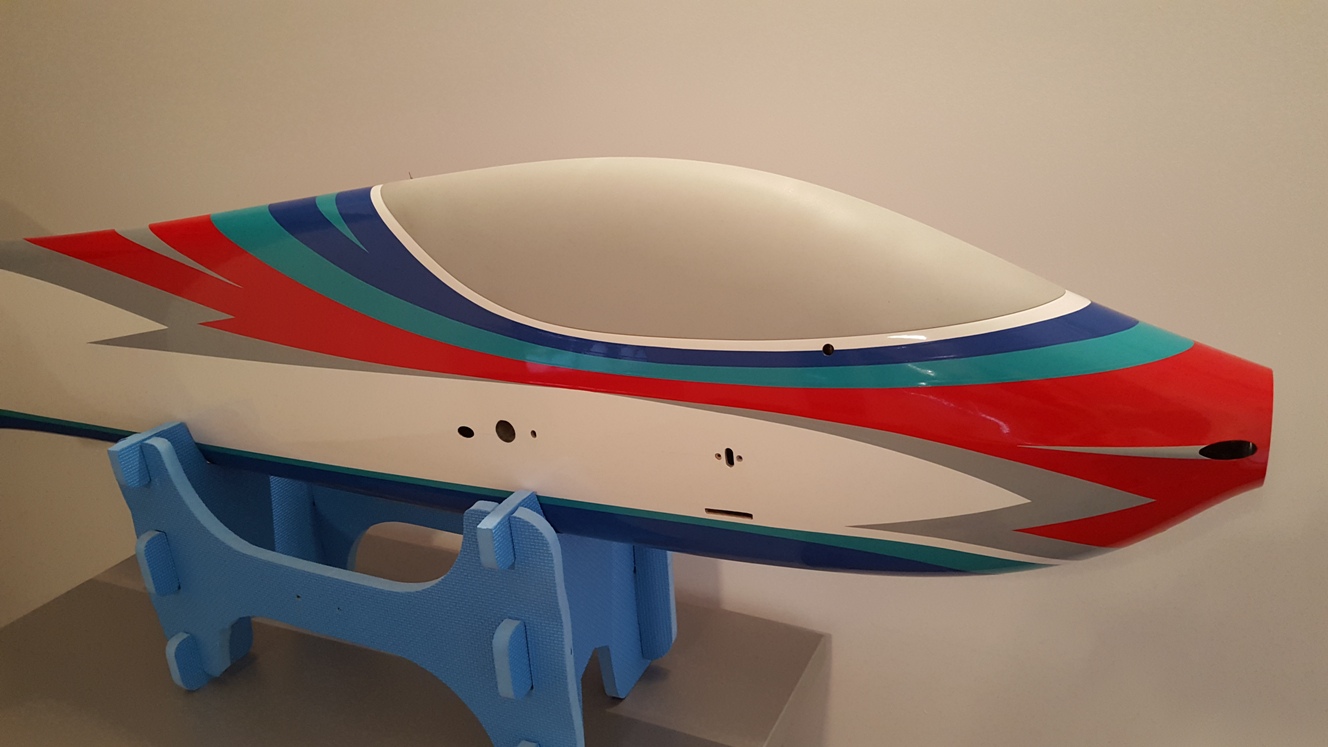
The canopy will be painted later, for now it is just sprayed with primer.
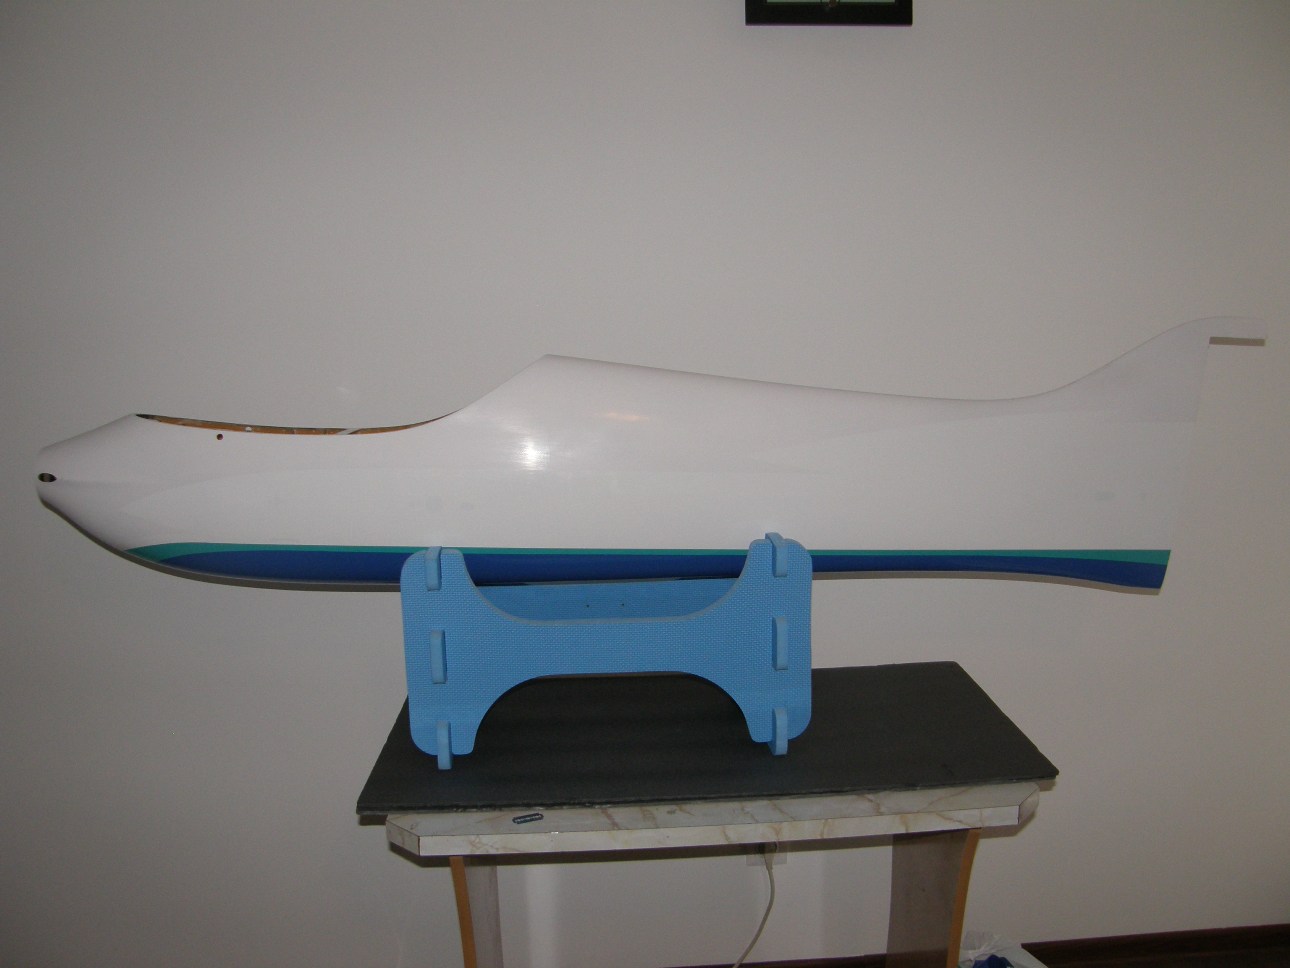
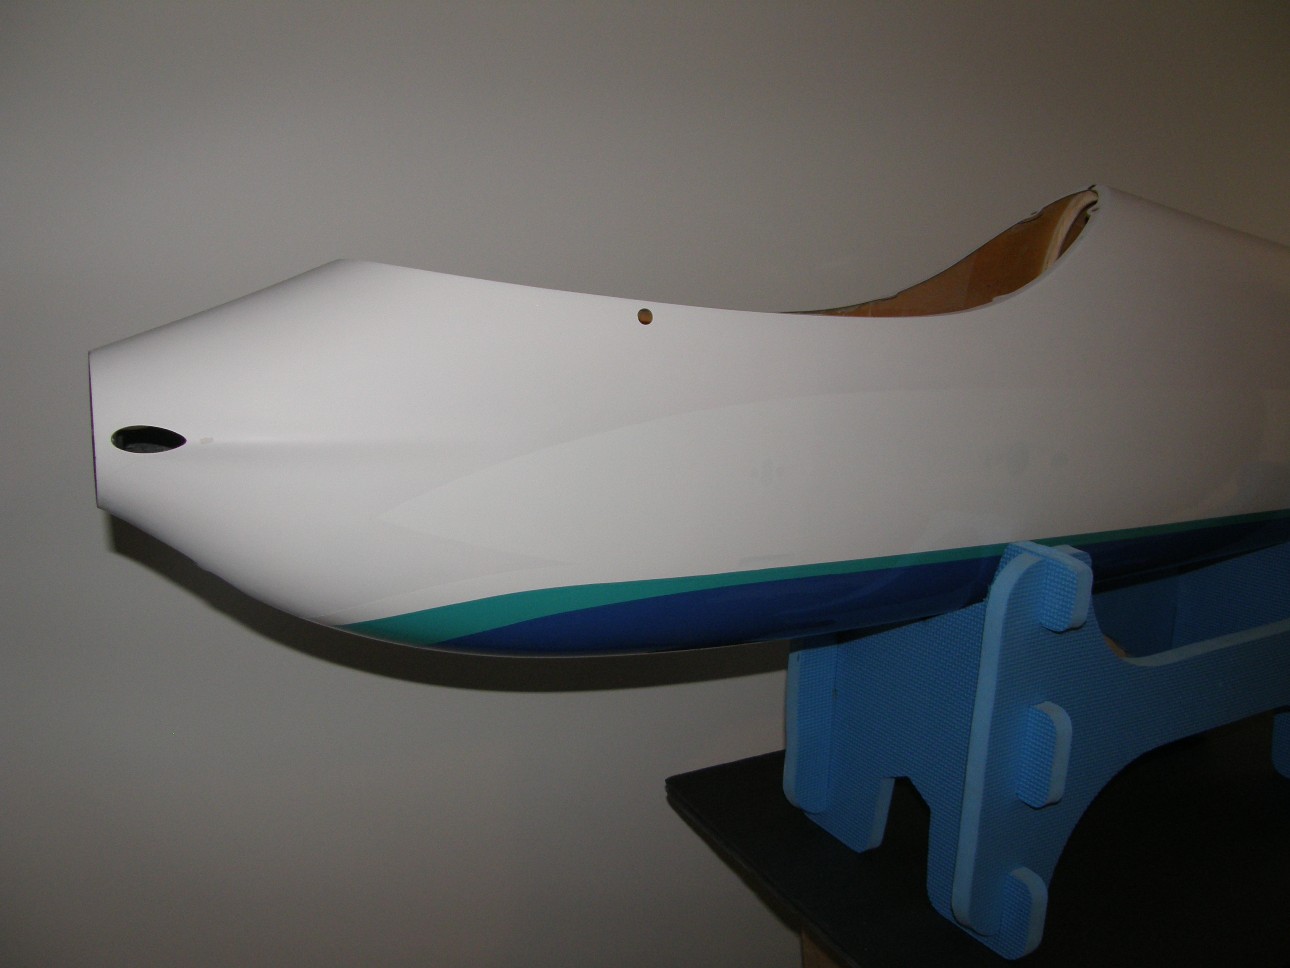
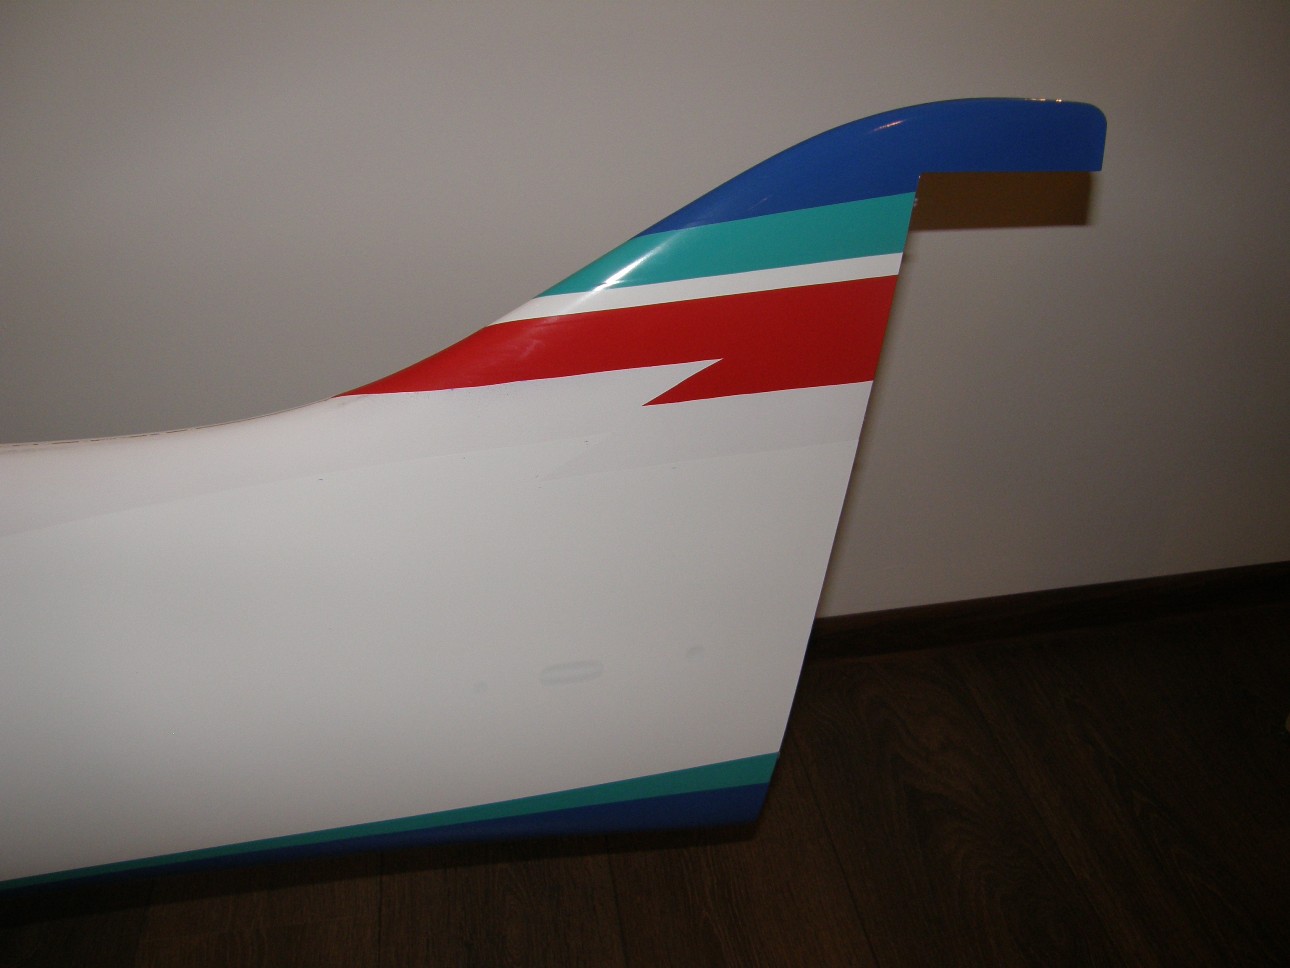
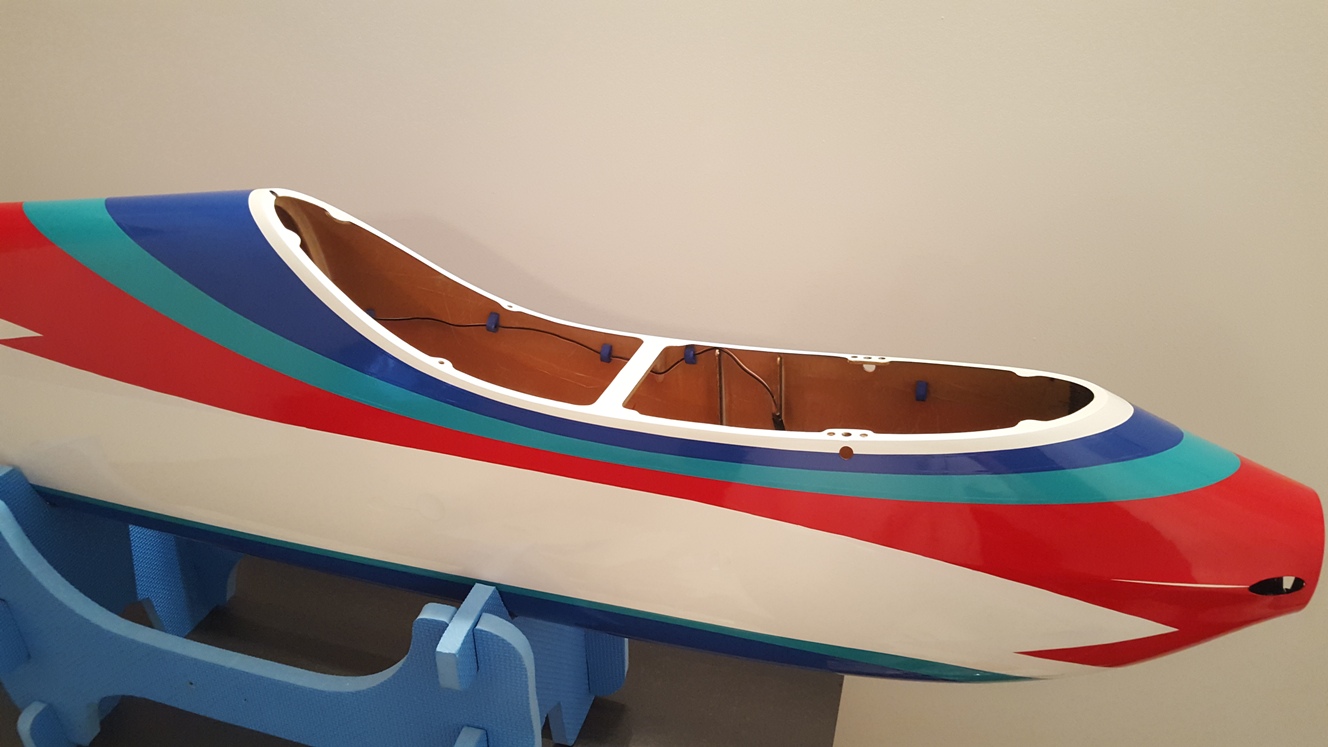
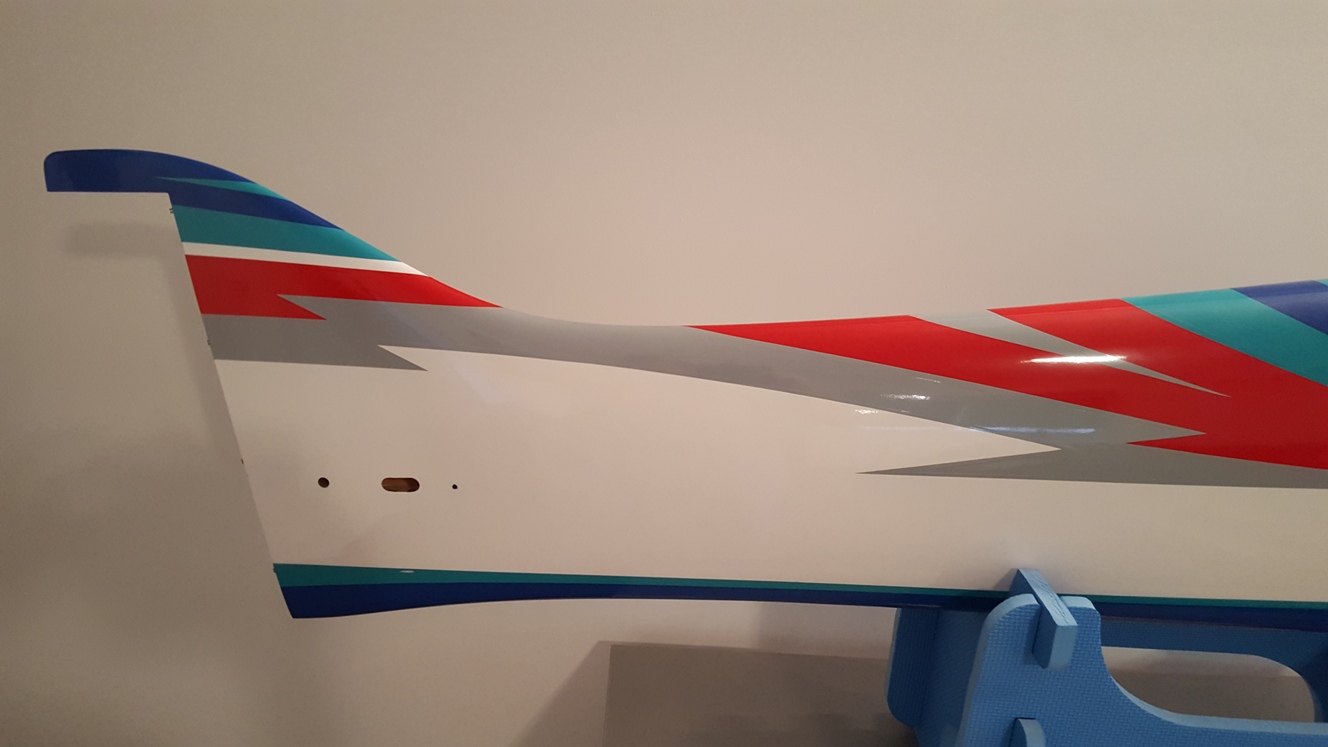
Some images of the finished covering job:

I started by cutting the cardboard templates and sanding the fuselage with 300 grit sandpaper:
The first color applied was white, followed by the other colors:
I had to give up on the gold color used on the wings because when applied to the fuselage sides, from most angles and in most lighting conditions it looked more like dark brown. It also highlighted too much the areas where it overlapped the other colors, so i chose to use a light grey instead.
The canopy will be painted later, for now it is just sprayed with primer.
Some images of the finished covering job:
Last edited by Alex Voicu; 03-27-2016 at 10:22 AM.
 05-16-2016, 11:48 PM
#135
Thread Starter
The rudder i built last year was cut and modified at the field for testing purposes, so i had to build a new one:


Film covered wheelpants:

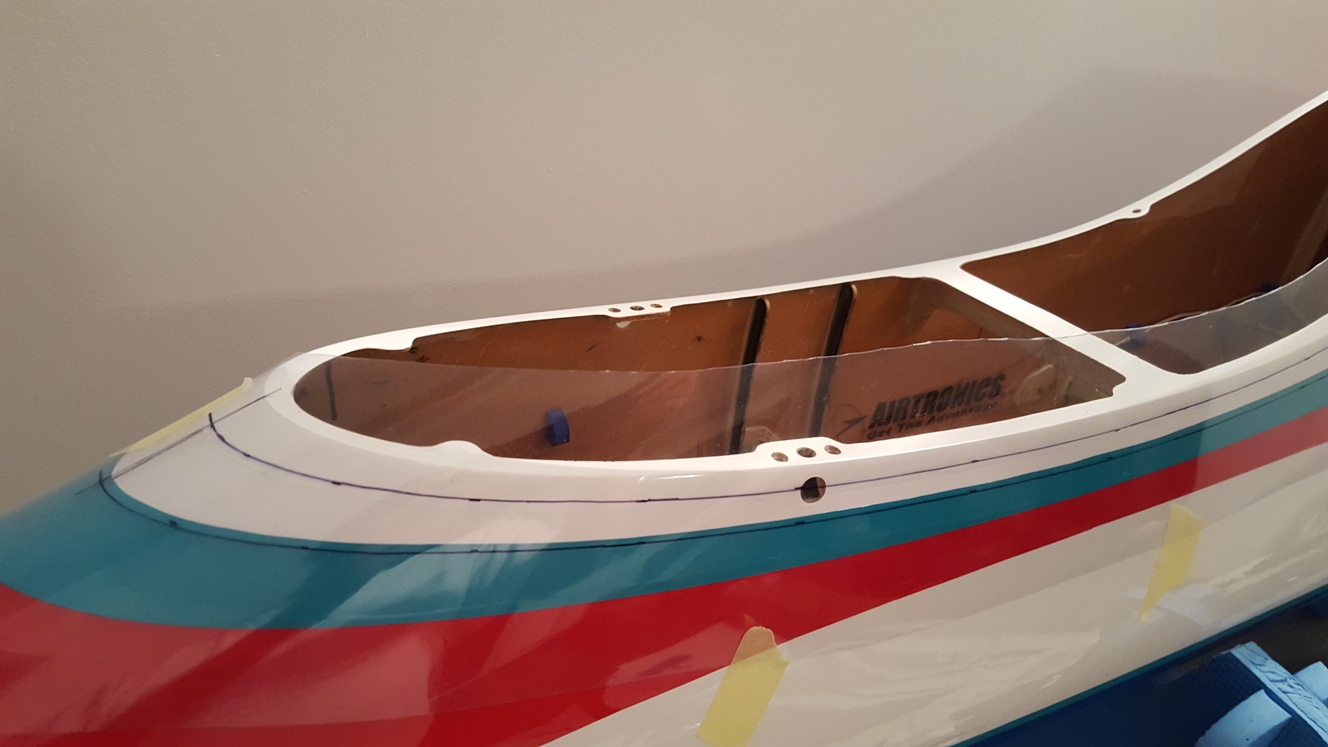
The spinner was painted red matching the fuselage film cover and the canopy was painted using a light blue metallic color:


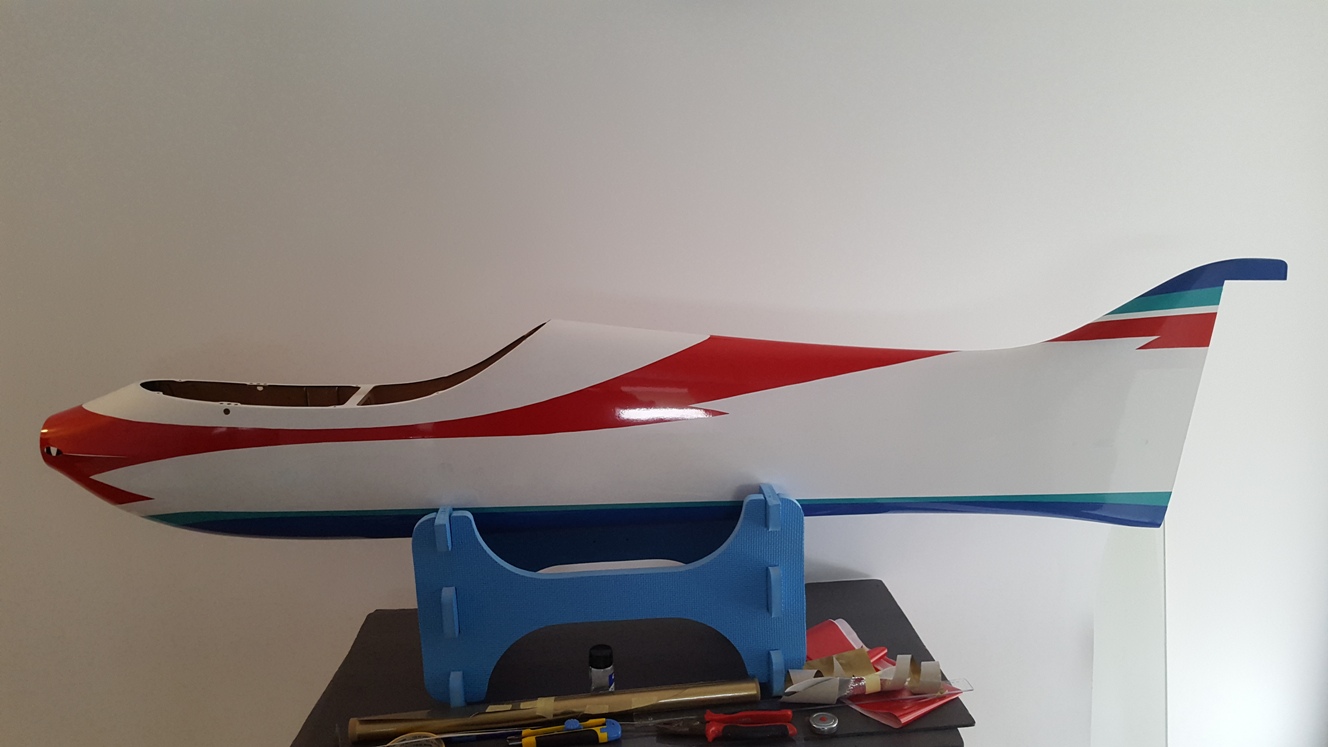
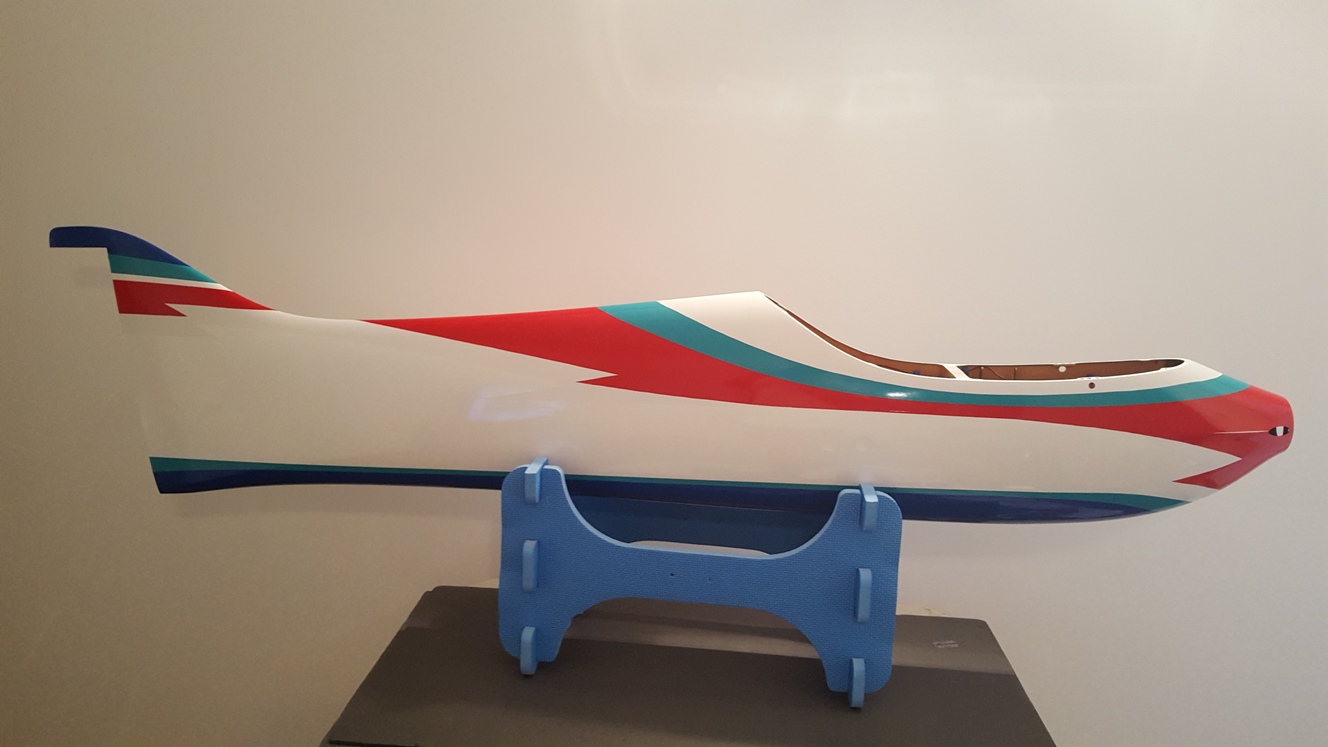
A few images of the assembled fuselage:


Film covered wheelpants:
The spinner was painted red matching the fuselage film cover and the canopy was painted using a light blue metallic color:
A few images of the assembled fuselage:
05-17-2016, 10:54 AM
#137
Thread Starter
Thanks Will !
I wish i could paint the fuselage but film covering doesn't look bad either. It's probably a lot less work too because film covering doesn't go inside the small scratches and you don't have to sand the whole surface to a perfect finish. I didn't even bother to add filler at the seam lines and they are almost invisible after covering.
I wish i could paint the fuselage but film covering doesn't look bad either. It's probably a lot less work too because film covering doesn't go inside the small scratches and you don't have to sand the whole surface to a perfect finish. I didn't even bother to add filler at the seam lines and they are almost invisible after covering.
The following users liked this post:
robin24 (02-28-2021)
05-27-2016, 09:49 AM
#140
Thread Starter
Setting the incidence angles with the TLL-90S angle meter.
I measured all incidences 4 times and repeatability is very good (approx. 0.005 - 0.007 degrees for the wings). Elevators are clamped in neutral position only at the stab tip and they flex a little under the weight of the angle meter and bar, so variation in measurements is a little larger (around 0.01 - 0.02 degrees).

I measured all incidences 4 times and repeatability is very good (approx. 0.005 - 0.007 degrees for the wings). Elevators are clamped in neutral position only at the stab tip and they flex a little under the weight of the angle meter and bar, so variation in measurements is a little larger (around 0.01 - 0.02 degrees).
 06-12-2016, 08:26 AM
#145

There should be no shame on your part Alex. Your film covering job looks nothing less than amazing. I'm lucky to be able to lay on a second color with only strait lines. VERY nice and you should be very proud of your accomplishment. If it flies half as good as it looks you should be a champ by years end!!
ken
ken
06-13-2016, 08:37 AM
#146
Thread Starter
Thanks Ken !
This is only my second attempt at film covering; the previous model (Radiance) was fully covered in white film so it's a vast improvement. My prototype Radiance didn't look like much but it was very successful in our national competitions, so i can only hope Audax will bring me the same amount of satisfaction as its predecessor.
This is only my second attempt at film covering; the previous model (Radiance) was fully covered in white film so it's a vast improvement. My prototype Radiance didn't look like much but it was very successful in our national competitions, so i can only hope Audax will bring me the same amount of satisfaction as its predecessor.
09-11-2016, 11:25 PM
#147
Thread Starter
Video of the Audax F3A going through some of the P17 maneuvers.
We tried to make a video of the whole P17 schedule but the cameraman couldn't follow the plane all the way through. This is all i could gather from the raw video:
https://www.youtube.com/watch?v=oEY7pQUbNlQ
We tried to make a video of the whole P17 schedule but the cameraman couldn't follow the plane all the way through. This is all i could gather from the raw video:
https://www.youtube.com/watch?v=oEY7pQUbNlQ