


Painted wing, stabs and advanced graphics
 04-07-2017, 05:00 AM
#376

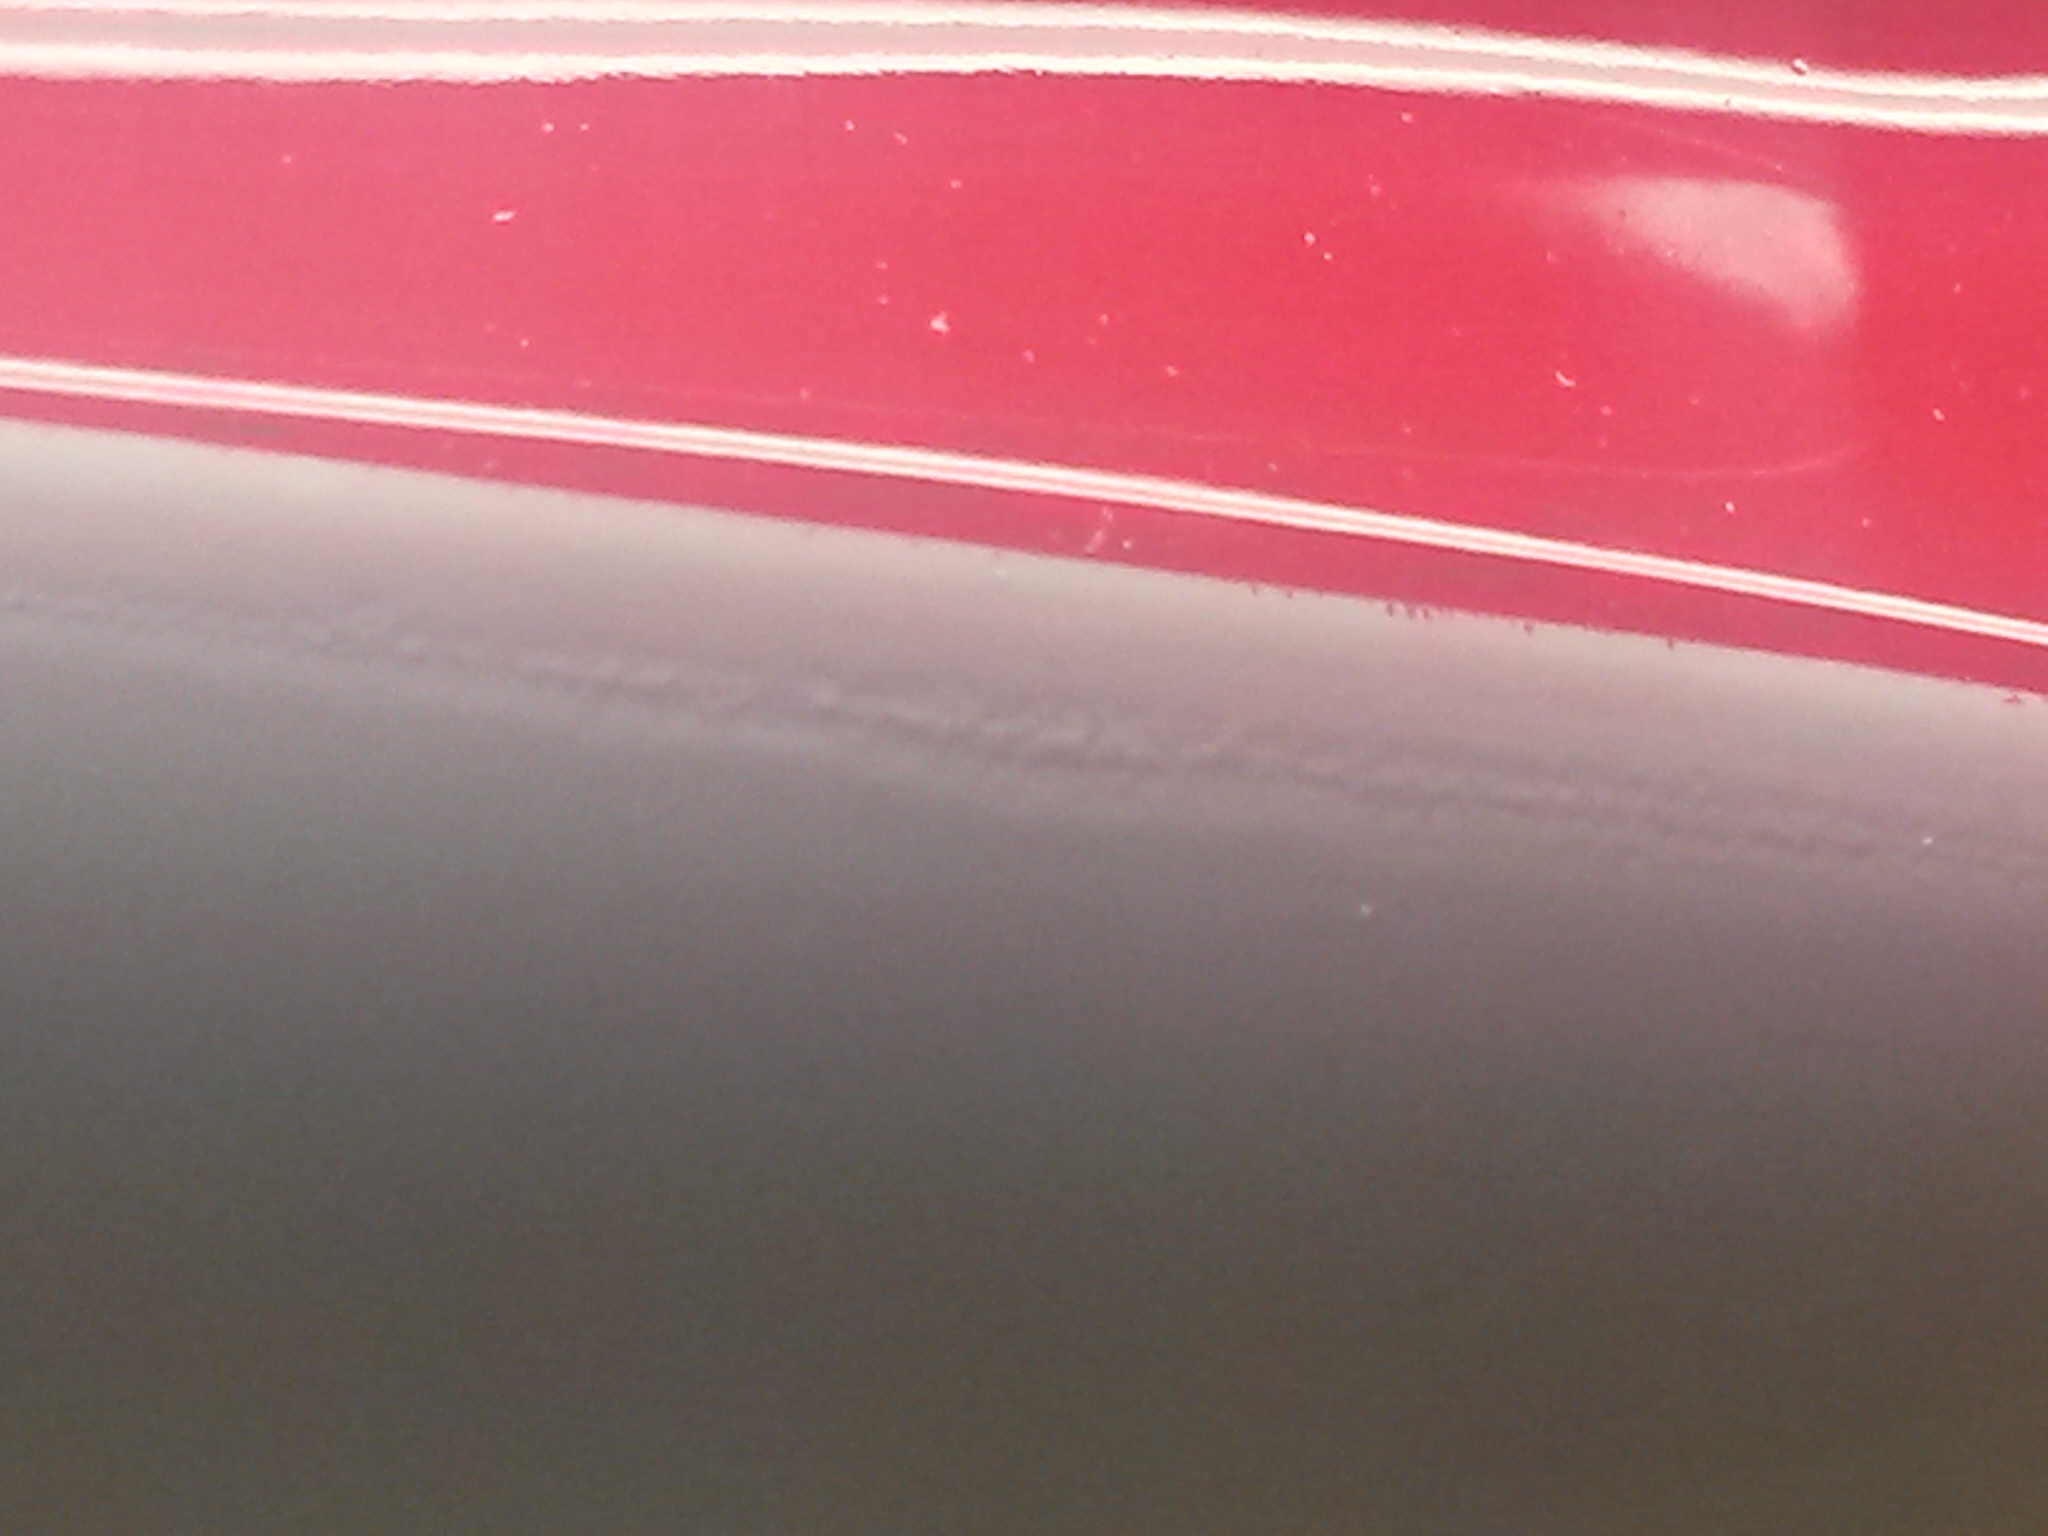
After repairing my pattern plane I got this funny little line in the paint. The color is acrylic from hobby lobby and cleared with automotive urethane. It's funny the mark is on the opposite side of the color change. I have several spots that did this but only on the white. Maybe a total of 12 to 14 inches of this phenomenon. The tape is 3M Fineline.
I don't mean to hijack your thread but thought this would be the best place to get an opinion
Ken
I don't mean to hijack your thread but thought this would be the best place to get an opinion
Ken
Last edited by kenh3497; 04-07-2017 at 05:49 PM.
 04-07-2017, 07:35 AM
#377
Senior Member

Join Date: Nov 2003
Location: Olathe,
KS
Posts: 165
Likes: 0
Received 0 Likes
on
0 Posts
Hi Ken,
Not sure that I am the best answer but here is my experience.
I am curious, is the paint you used the Testor's Acrylic airbrush paint in the squarish bottles? like this? https://www.amazon.com/Testors-Airbr...airbrush+paint
If so, I had the same problem on my first paint job. It bled under the mactac vinyl masking leaving some spots like that, only worse. the base paint was the duplicolor white that I got from the auto store. Earlier in this thread I have pics showing what it came out like.
Hopefully someone else has some better explanation.
Doug
04-07-2017, 11:25 AM
#378
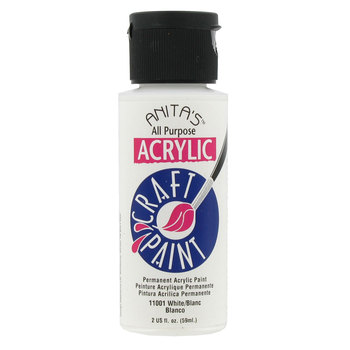
I used craft paint. Anitas I think. Goes on nice.
EDIT: I placed a photo of the exact paint I used as a base color in my previous post.
Ken
EDIT: I placed a photo of the exact paint I used as a base color in my previous post.
Ken
Last edited by kenh3497; 04-07-2017 at 05:51 PM.
09-21-2017, 05:04 AM
#379
Junior Member
Join Date: Sep 2006
Location: Libertyville,
IL
Posts: 15
Likes: 0
Received 0 Likes
on
0 Posts
I am moving into the wonderful world of electics. Any suggestions for waterbased spray paints. I am starting out with a few inexpensive kits. Thanks for any Suggestions...
Pete..in Chicago..
Pete..in Chicago..
09-21-2017, 06:26 AM
#380

Thread Starter
Pete,
By far the best stuff out there is Createx Auto Air. There is a ton of information available on them. They do require some special handling just like any water base paint. They need to be put on with light to medium coats and let dry before you hit them again. In other words, they need to be built up. You can't just lay on a heavy wet coat or you will have big problems. The folks at Coast Airbrush are experts on the stuff. There is a major shift in the car and motor cycle graphic guys to water base. The stuff has advanced to the point that is just as good as solvent based.
Auto Air Colors™
Pat
02-04-2021, 07:34 AM
#381
Pat
I have used your methods to do an Agenda and it came out great. However it didn't last long due to a dumb mistake on my part. I am attempting to use it again on a scratch built plane I have. It has a 60 inch built up wing and fully sheeted. Due to some soft balsa skins on the bottom of the wing I decided to use the carbon fiber tissue you and Matt discussed here, for added strength. I put 2 Coats of Lacquer on all surfaces first, and then sanded with 220. However when I put the carbon tissue down with Poly, using the same method as with silkspan, the fiber started separating and moving so I didn't get the poly squeesed out as well as I would have liked. And the panels buckeled.
Not sure if the buckle is because of the excess Poly or bad glue job on the sheeting, or perhaps I should have added a third coat of Lacquer.. Any insite from you would be greatly appricated before I do the top and mess it up too.
Thanks Bill
Last edited by Bubblehead575; 02-04-2021 at 07:39 AM.
 02-04-2021, 05:16 PM
#384
Thread Starter
Bill
I don't have a lot for you. It's been many years sense I used the carbon matt. My guess is the buckling (warping) was due to the water base poly. I had it happen on ailerons and a bit on thin wings. The way I stopped it was to put a coat of poly on both sides of the surface and put some weight on them for a few hours. In fact, that's the reason I moved over to bedding the silkspan with lacquer. Once I started doing that I eliminated the warping issues.
From what I can recall, I do remember a bit of the delaminating of the carbon matt, but nothing significant.
02-05-2021, 07:46 AM
#385
Pat
I did use the water based Poly for laying up the carbon tissue. I had no problem with it when I did the Agenda wings and stab, with the Silkspan. Did you thin the Lacquer when you layup the Silkspan and if so, how much?
Thanks for your help
I did use the water based Poly for laying up the carbon tissue. I had no problem with it when I did the Agenda wings and stab, with the Silkspan. Did you thin the Lacquer when you layup the Silkspan and if so, how much?
Thanks for your help
11-27-2021, 07:35 PM
#387

Bill
I don't have a lot for you. It's been many years sense I used the carbon matt. My guess is the buckling (warping) was due to the water base poly. I had it happen on ailerons and a bit on thin wings. The way I stopped it was to put a coat of poly on both sides of the surface and put some weight on them for a few hours. In fact, that's the reason I moved over to bedding the silkspan with lacquer. Once I started doing that I eliminated the warping issues.
From what I can recall, I do remember a bit of the delaminating of the carbon matt, but nothing significant.
I don't have a lot for you. It's been many years sense I used the carbon matt. My guess is the buckling (warping) was due to the water base poly. I had it happen on ailerons and a bit on thin wings. The way I stopped it was to put a coat of poly on both sides of the surface and put some weight on them for a few hours. In fact, that's the reason I moved over to bedding the silkspan with lacquer. Once I started doing that I eliminated the warping issues.
From what I can recall, I do remember a bit of the delaminating of the carbon matt, but nothing significant.
I just applied the silkspan with poly not more than an hour ago, LOL. It sounds like you are laying the the silkspan in a clear lacquer directly on the balsa with no sealer applied first?
Can you briefly outline the steps you now use?
11-27-2021, 09:52 PM
#388
Thread Starter
Portland flyer, first let me thank you for the wonderful thread. I have had this printed out since last year and just started working on a set of wings using your guidance but I just noticed this reply above... Are you saying you no longer use the poly at all?
I just applied the silkspan with poly not more than an hour ago, LOL. It sounds like you are laying the the silkspan in a clear lacquer directly on the balsa with no sealer applied first?
Can you briefly outline the steps you now use?
I just applied the silkspan with poly not more than an hour ago, LOL. It sounds like you are laying the the silkspan in a clear lacquer directly on the balsa with no sealer applied first?
Can you briefly outline the steps you now use?
If you get some warping of the wings and surfaces, I just put some weight on the opposite side and they are fine a few days. If you are silk spanning both sides of the wings and control surfaces it will even out the stress and limit the warping.
One other bedding material that works well is non taunting dope like a lot of used years ago. I did a wing with it, and it worked fine, but the stuff will kill you from the smell without a respirator. After working with this stuff for several years, the Poly has been the best for longevity.
Good luck. Anything else, let me know. BTW, I'm in Colorado now, so I guess I need to change my online name!
The following users liked this post:
kregan (11-28-2021)
11-28-2021, 08:16 AM
#389
Thank you for the quick reply,
I am doing both sides and sealed everything with clear lacquer. The ailerons are not as thin as the ones you were working with and so far no warping.
One thing I discovered when applying the silk. As I was working out a wrinkle with my finger I could feel more clear under the silk in some areas then in others. Instead of trying to use a credit card or something as a squeegee I just rubbing the silk down with my fingers. That helped even out the distribution of the clear polly across the entire wing and it seemed to really set the silk in place. Of course gloves are required to do it that way.
11-28-2021, 04:53 PM
#390
Thread Starter
Kelly
I have done it with fingers as well, but my best method is to use the foam brushes with the plastic stiffener inside as a squeegee. I put on a coat of Poly, lay the silk span on and squeegee it out all in one step wit the same brush.
I have done it with fingers as well, but my best method is to use the foam brushes with the plastic stiffener inside as a squeegee. I put on a coat of Poly, lay the silk span on and squeegee it out all in one step wit the same brush.

