Notices
RC Pattern Flying Discuss all topics pertaining to RC Pattern Flying in this forum.

Pattern Biplane

Old 01-27-2018, 09:07 PM
  #276  
speedracerntrixie
Thread Starter
My Feedback: (29)
 
speedracerntrixie's Avatar
 
Join Date: Jun 2010
Location: Happy Valley, Oregon
Posts: 9,513
Received 175 Likes on 150 Posts
Default

More good progress. I got the stab guide tube in and stabs leveled. The lower wing mounts are done as well. Tomorrow's tasks will be to glue in the fin post and lay up the hatch and a wheel pant.
Attached Thumbnails Click image for larger version

Name:	IMG_4037.JPG
Views:	294
Size:	1.01 MB
ID:	2252422   Click image for larger version

Name:	IMG_4036.JPG
Views:	214
Size:	997.0 KB
ID:	2252423   Click image for larger version

Name:	IMG_4038.JPG
Views:	216
Size:	1.10 MB
ID:	2252424  
Old 01-28-2018, 05:25 PM
  #277  
speedracerntrixie
Thread Starter
My Feedback: (29)
 
speedracerntrixie's Avatar
 
Join Date: Jun 2010
Location: Happy Valley, Oregon
Posts: 9,513
Received 175 Likes on 150 Posts
Default

A hatch is born. The fit is pretty darned good.
Attached Thumbnails Click image for larger version

Name:	IMG_4039.JPG
Views:	207
Size:	728.0 KB
ID:	2252575  
Old 01-31-2018, 06:57 PM
  #278  
speedracerntrixie
Thread Starter
My Feedback: (29)
 
speedracerntrixie's Avatar
 
Join Date: Jun 2010
Location: Happy Valley, Oregon
Posts: 9,513
Received 175 Likes on 150 Posts
Default

Getting closer.
Attached Thumbnails Click image for larger version

Name:	IMG_4042.JPG
Views:	321
Size:	1.01 MB
ID:	2253014  
Old 02-08-2018, 07:02 PM
  #279  
speedracerntrixie
Thread Starter
My Feedback: (29)
 
speedracerntrixie's Avatar
 
Join Date: Jun 2010
Location: Happy Valley, Oregon
Posts: 9,513
Received 175 Likes on 150 Posts
Default

All the wood surfaces have been finish sanded and are now ready for glassing. It's in the home stretch.
Attached Thumbnails Click image for larger version

Name:	IMG_4052.JPG
Views:	169
Size:	1.88 MB
ID:	2253961   Click image for larger version

Name:	IMG_4055.JPG
Views:	200
Size:	2.05 MB
ID:	2253962  
Old 02-08-2018, 08:11 PM
  #280  
Pylonracr
 
Pylonracr's Avatar
 
Join Date: Apr 2011
Location: Reno, NV
Posts: 918
Likes: 0
Received 5 Likes on 5 Posts
Default

OK, I give up. Where the Hel* did you fine green grass???
Getting there, still on the path for target weight?

Scott
Old 02-09-2018, 07:03 AM
  #281  
speedracerntrixie
Thread Starter
My Feedback: (29)
 
speedracerntrixie's Avatar
 
Join Date: Jun 2010
Location: Happy Valley, Oregon
Posts: 9,513
Received 175 Likes on 150 Posts
Default

Pretty sure this one will make it. I threw all servos, batteries, speed control, prop RX and anything else I could think of that will eventually go into it and it came out at 10 lbs even. That gives me a pound for glassing and painting along with some hardware. I'm pretty certain that with some changes to the fuse layup I can pull a half pound out of the next one.
Old 02-11-2018, 07:06 PM
  #282  
speedracerntrixie
Thread Starter
My Feedback: (29)
 
speedracerntrixie's Avatar
 
Join Date: Jun 2010
Location: Happy Valley, Oregon
Posts: 9,513
Received 175 Likes on 150 Posts
Default

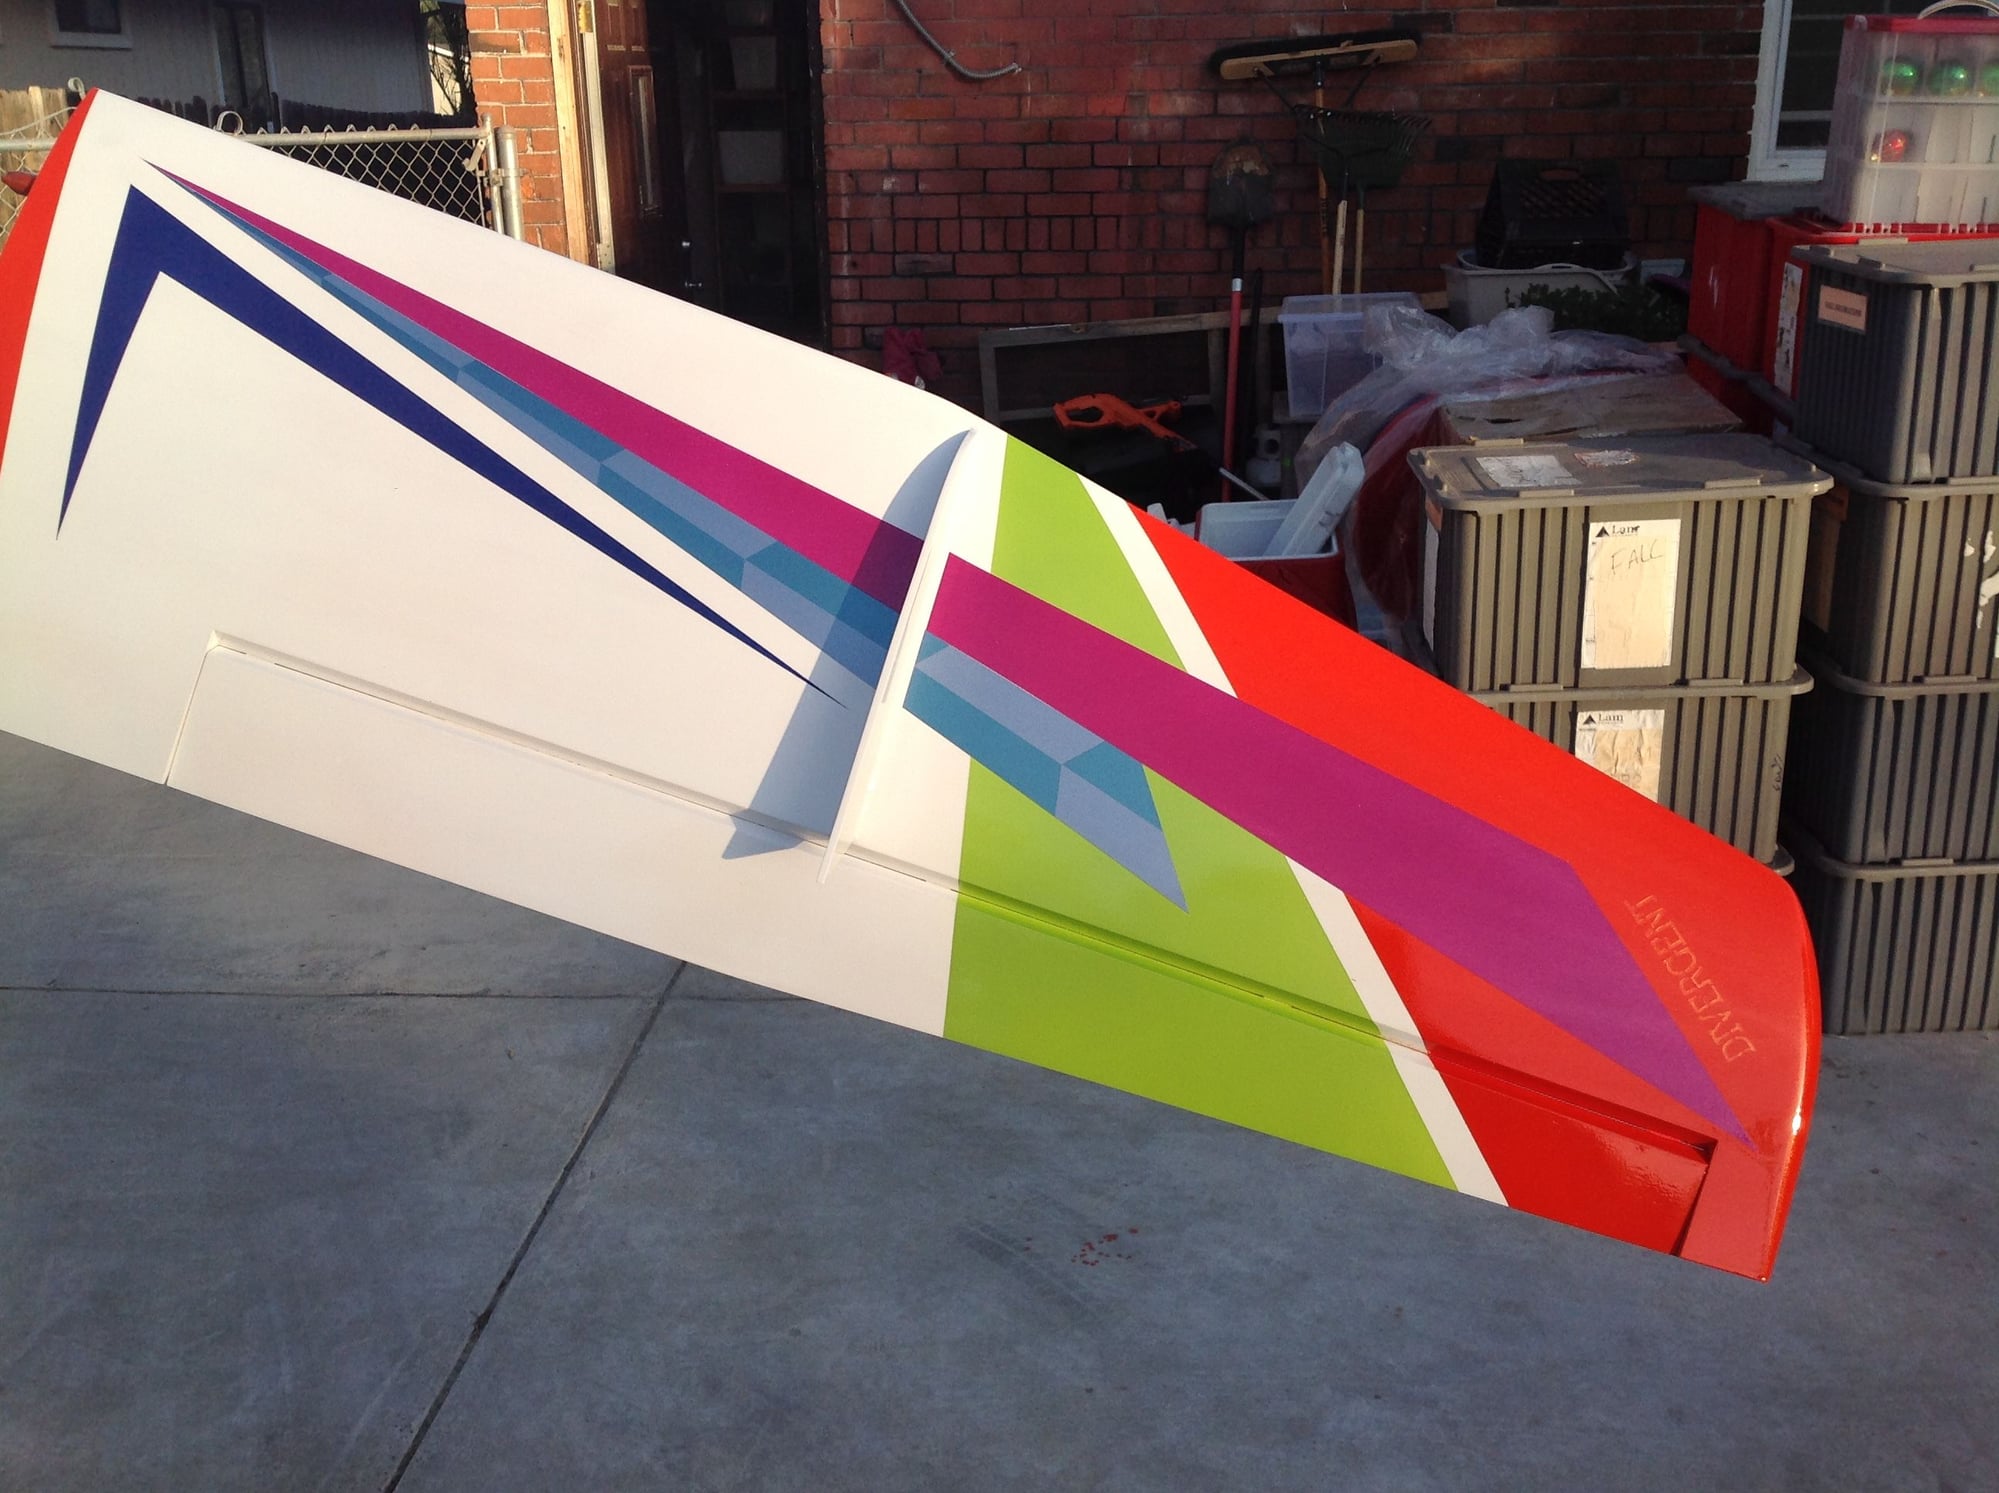
All the surfaces are glassed. I will give them a couple days to cure and then they will get blocked out with some 320 grit. I haven't removed the ailerons or elevators as of yet. I figured it would reduce the numbe of parts that I would have to glass and it should keep the control surfaces a better fit when they get hinged. I also fabricated up some wing fences that have tabs that will protrude through the outer surface of the wings tomthe inner surface where these tabs will become the strut mounts. I still have to finish the strut plug and then pull a mold from it. I also felt the need to put some bushings into the fuselage where the upper wing anti rotation pins insert. Right now the CF pins interface with a CF plate, not the best for long life. Problem was I could not find any the correct size. Solution? Make them myself out of fiberglass.
Attached Thumbnails Click image for larger version

Name:	IMG_4056.JPG
Views:	147
Size:	1.00 MB
ID:	2254354   Click image for larger version

Name:	IMG_4058.JPG
Views:	177
Size:	1.68 MB
ID:	2254355   Click image for larger version

Name:	IMG_4057.JPG
Views:	182
Size:	1.25 MB
ID:	2254356  
Old 03-13-2018, 06:05 PM
  #283  
speedracerntrixie
Thread Starter
My Feedback: (29)
 
speedracerntrixie's Avatar
 
Join Date: Jun 2010
Location: Happy Valley, Oregon
Posts: 9,513
Received 175 Likes on 150 Posts
Default

Things have been progressing a bit slow but I am on a good pace now. All surfaces have been hinged, everything is in primer and I am waiting for some nice painting weather. We have rain for the next couple days.
Attached Thumbnails Click image for larger version

Name:	IMG_4074.JPG
Views:	109
Size:	993.0 KB
ID:	2259141   Click image for larger version

Name:	IMG_4075.JPG
Views:	116
Size:	1.15 MB
ID:	2259142   Click image for larger version

Name:	IMG_4092.JPG
Views:	143
Size:	1.03 MB
ID:	2259143   Click image for larger version

Name:	IMG_4112.JPG
Views:	128
Size:	1.94 MB
ID:	2259144  
Old 04-02-2018, 08:16 PM
  #284  
speedracerntrixie
Thread Starter
My Feedback: (29)
 
speedracerntrixie's Avatar
 
Join Date: Jun 2010
Location: Happy Valley, Oregon
Posts: 9,513
Received 175 Likes on 150 Posts
Default


Painting is progressing well.
Old 04-03-2018, 04:24 AM
  #285  
flywilly
My Feedback: (121)
 
Join Date: Feb 2002
Location: glen allen, VA,
Posts: 2,264
Likes: 0
Received 30 Likes on 29 Posts
Default

Looks Great! What are you using for paint? Will you clear coat? Thanks!
Old 04-04-2018, 06:58 AM
  #286  
apereira
 
apereira's Avatar
 
Join Date: Jun 2002
Posts: 1,739
Received 5 Likes on 4 Posts
Default

Looking really good!
Old 04-04-2018, 08:20 PM
  #287  
speedracerntrixie
Thread Starter
My Feedback: (29)
 
speedracerntrixie's Avatar
 
Join Date: Jun 2010
Location: Happy Valley, Oregon
Posts: 9,513
Received 175 Likes on 150 Posts
Default

Most of the paint is Duplicolor lacquer over Klass Kote primer. There will be a urethane gloss clear applied.
Old 04-05-2018, 05:26 AM
  #288  
kenh3497
 
kenh3497's Avatar
 
Join Date: Jan 2010
Location: Rockwell, IA
Posts: 1,517
Received 2 Likes on 2 Posts
Default

FWIW.... On one of the FB groups somebody was using white epoxy primer and adding West Systems 410 microlight filler. I believe he mixed equal VOLUME of filler and primer. It was used as a high build primer. Very easy sanding and very little weight gain. A normal mix of primer was then used as a white base to paint on.

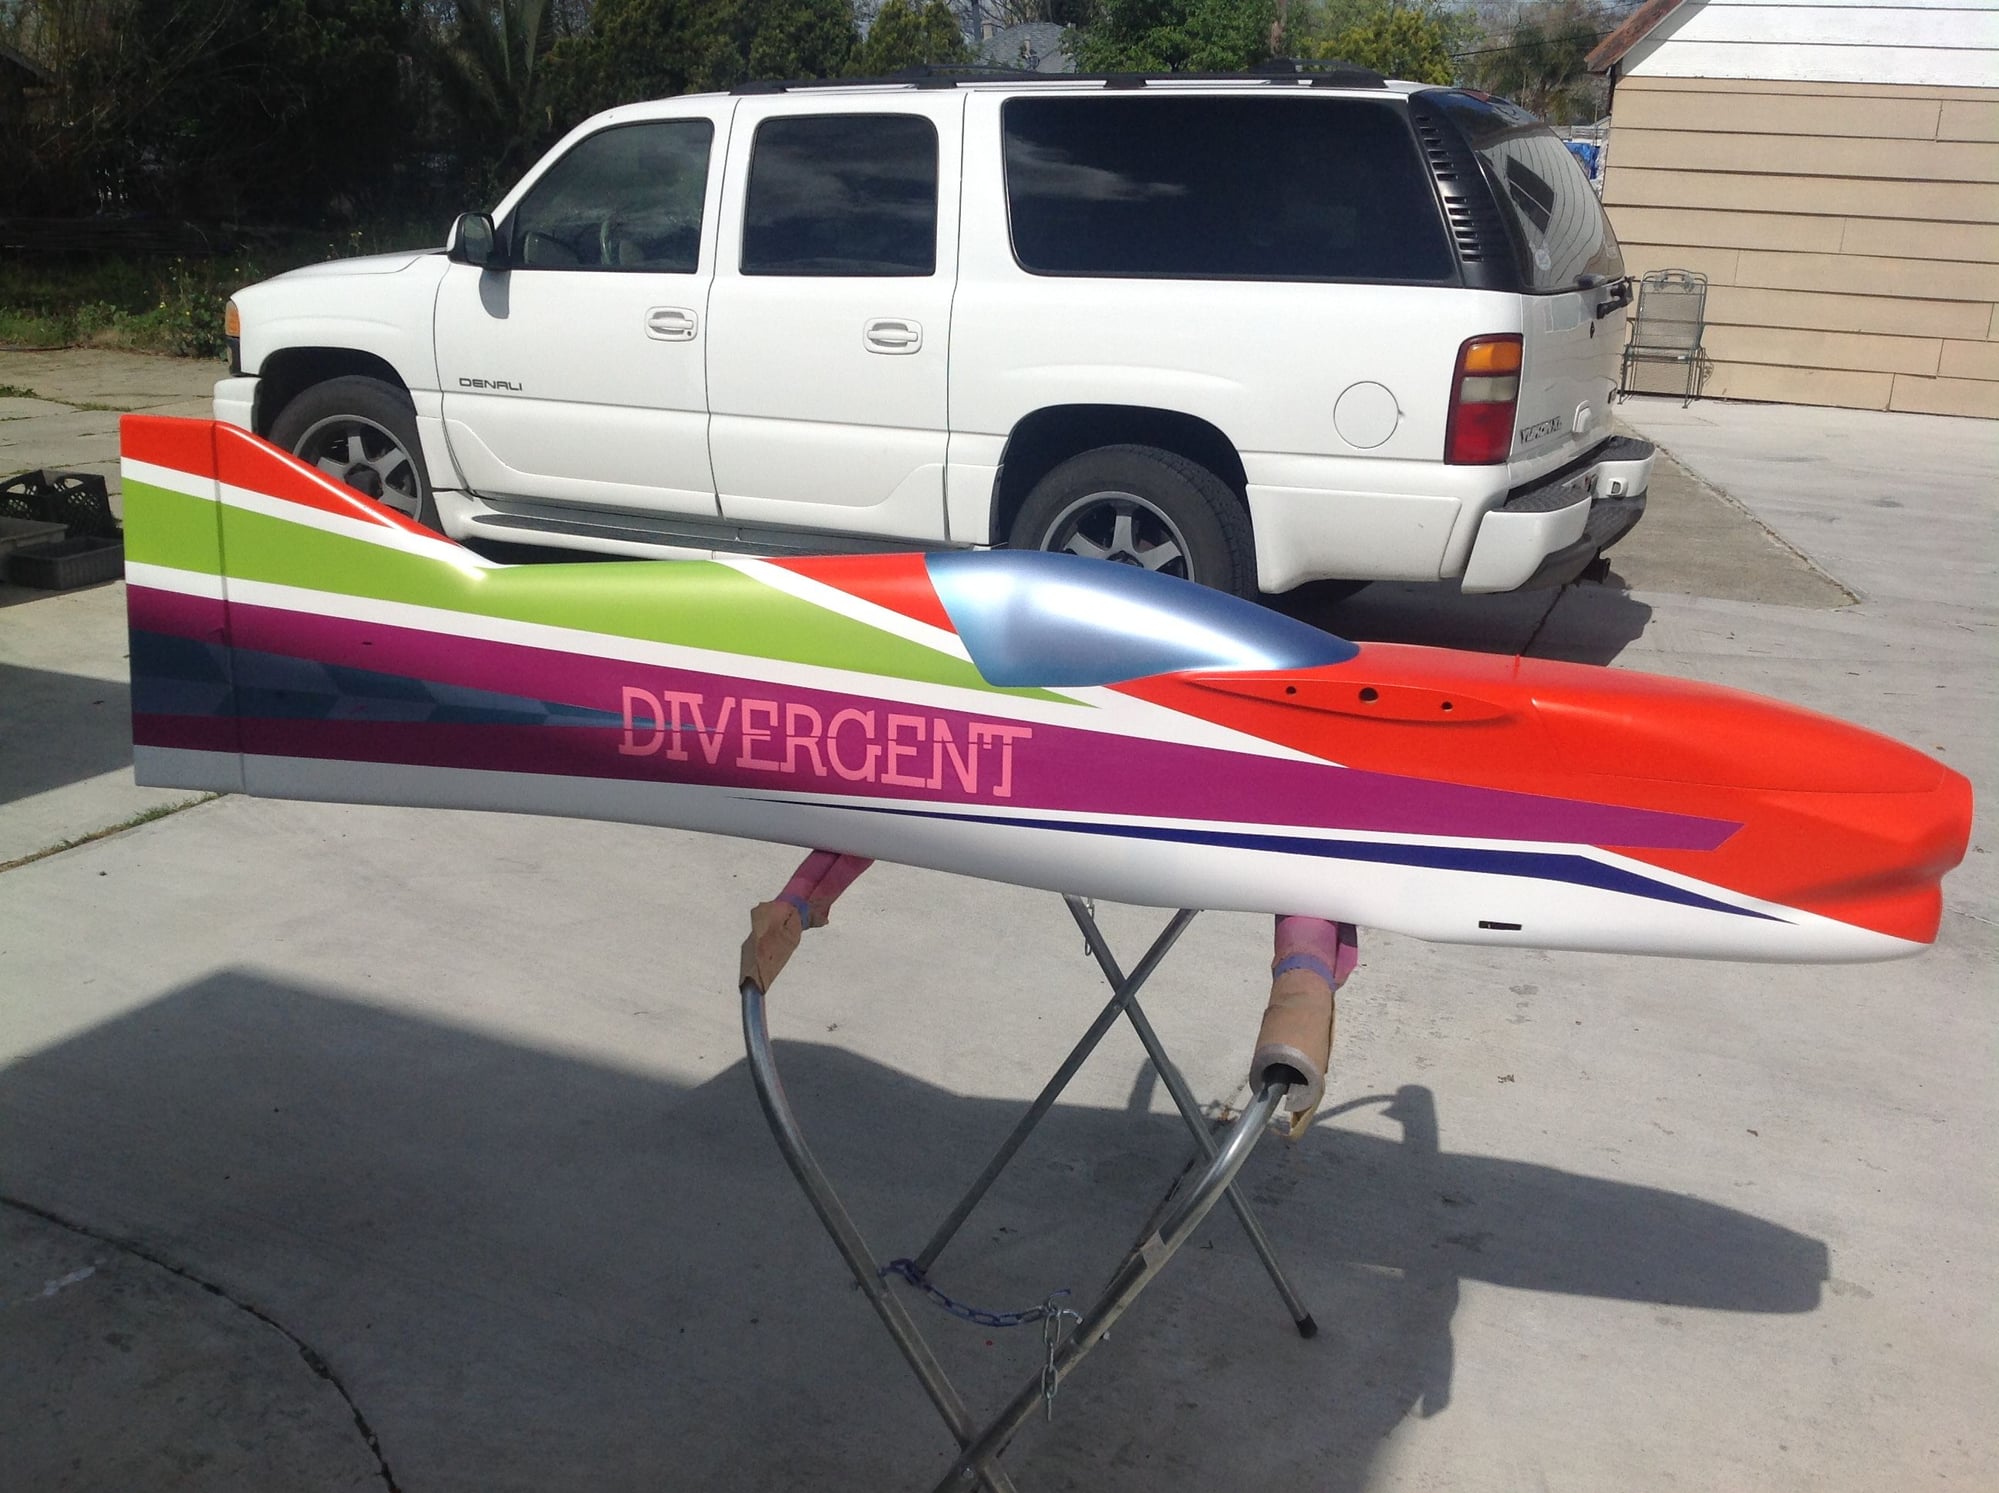
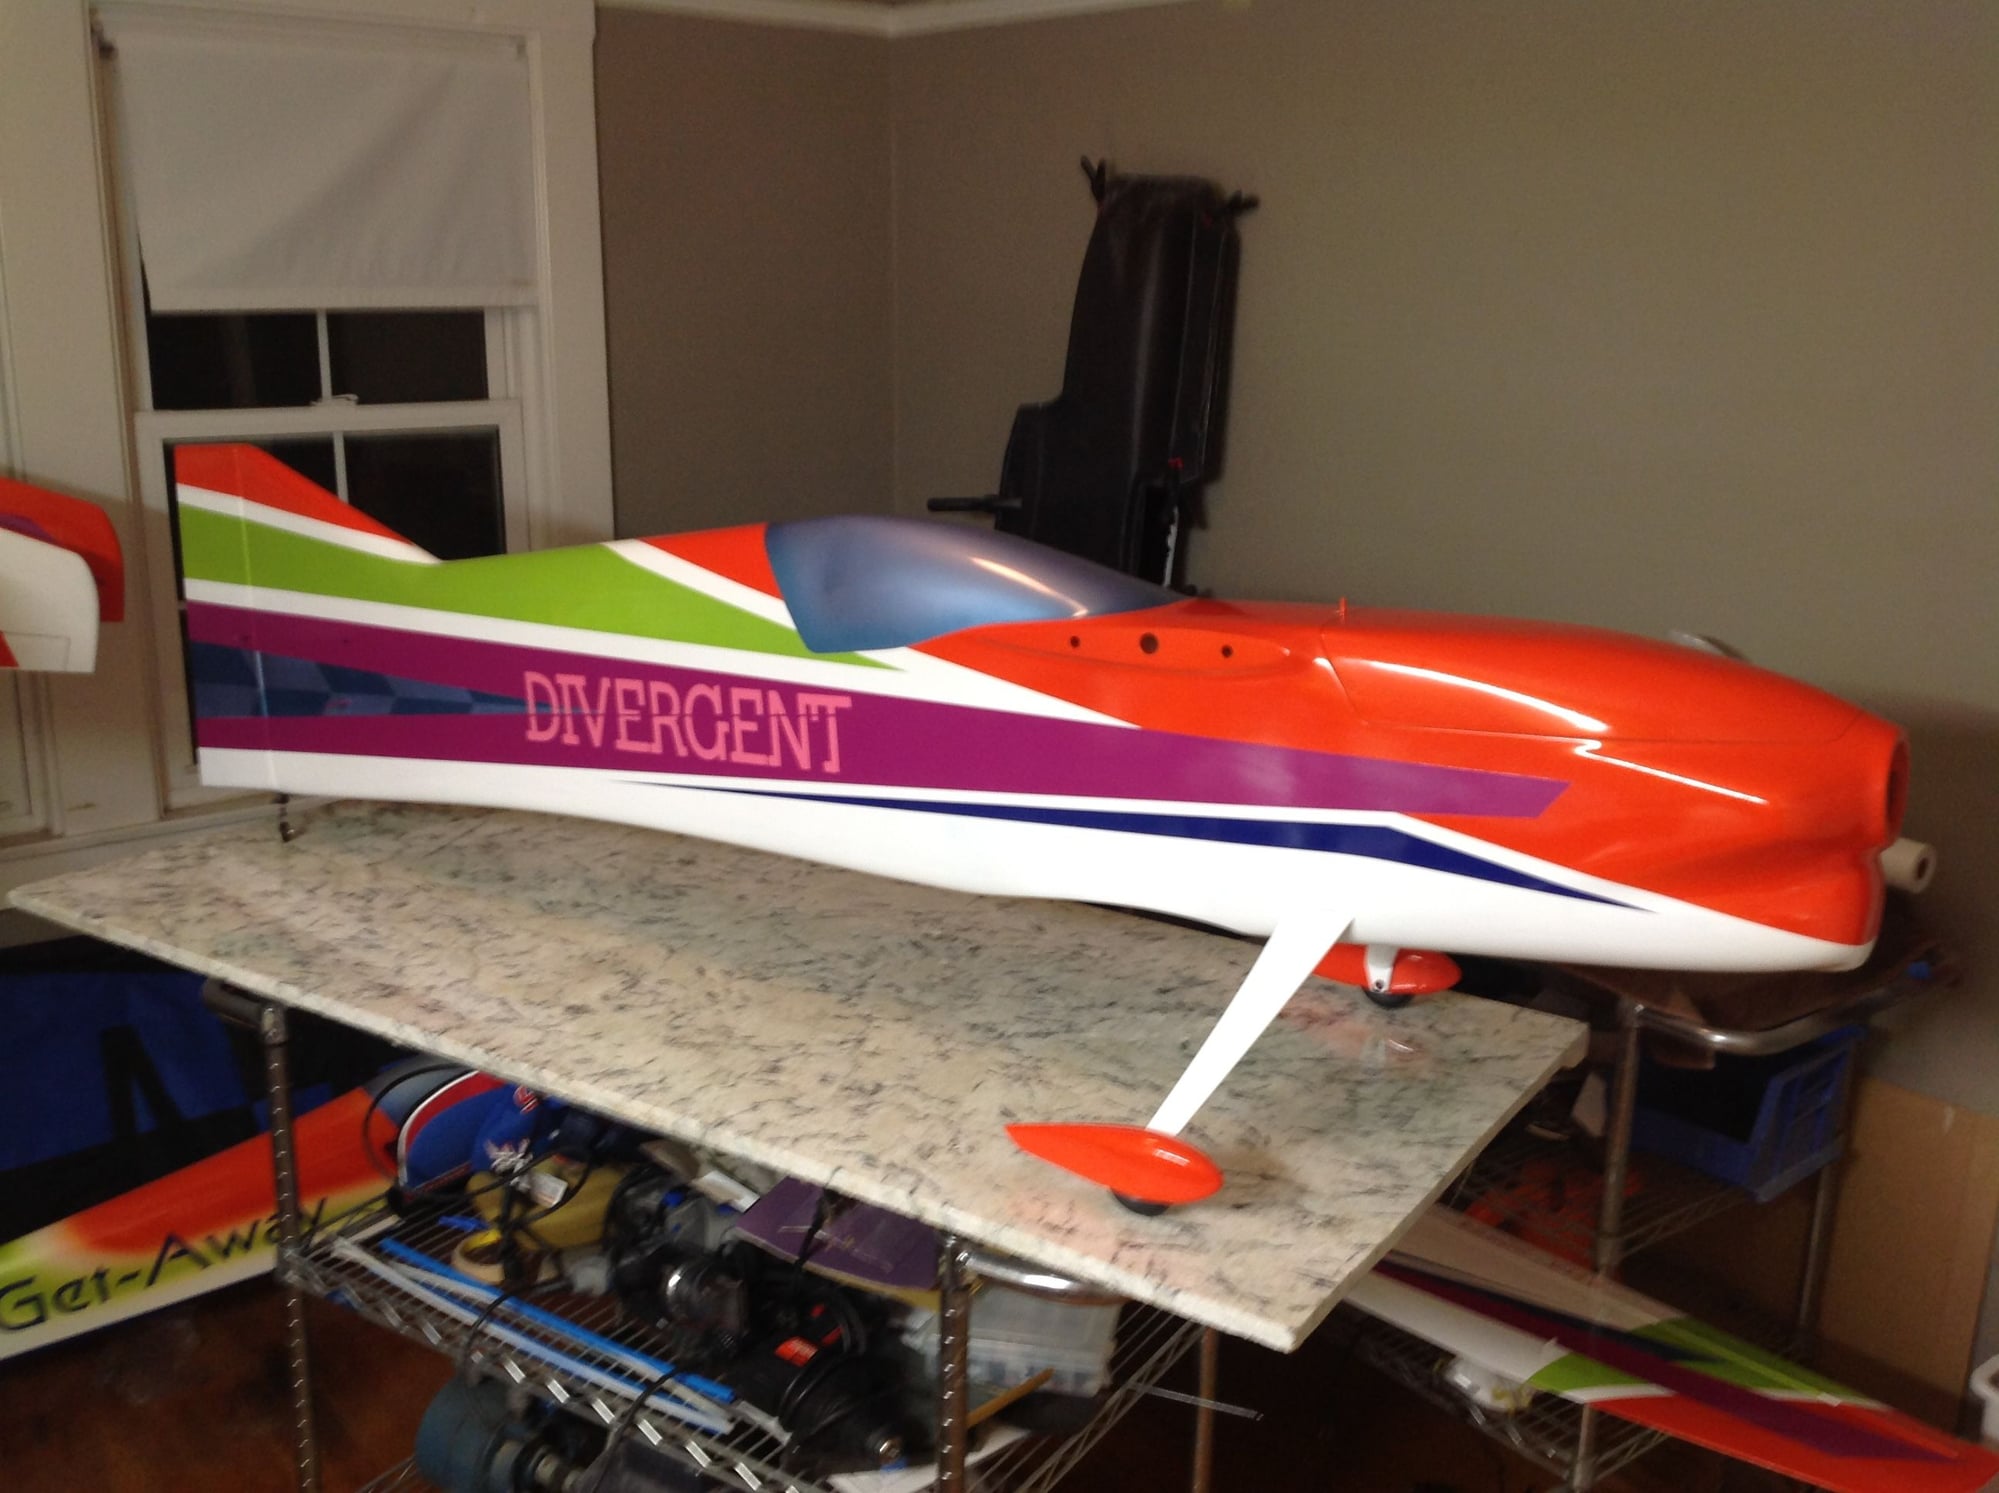
The Divergent is looking very good Shawn! Can't wait for it to get some clear on and assembled.

Ken
Old 04-06-2018, 06:34 AM
  #289  
speedracerntrixie
Thread Starter
My Feedback: (29)
 
speedracerntrixie's Avatar
 
Join Date: Jun 2010
Location: Happy Valley, Oregon
Posts: 9,513
Received 175 Likes on 150 Posts
Default


Ken, I've done the same thing with Klass Kote primer and micro balloons. I managed to get the shiny stuff on and get her on her legs. Servo/linkage install is the only thing left. Now if only the weather would cooperate.
Old 04-06-2018, 07:19 PM
  #290  
Pylonracr
 
Pylonracr's Avatar
 
Join Date: Apr 2011
Location: Reno, NV
Posts: 918
Likes: 0
Received 5 Likes on 5 Posts
Default

Weather??? What, you can't install servos if it is raining outside?? The plane is inside your house. Stop me if I am going too fast for you.

Scott
Old 04-07-2018, 06:43 AM
  #291  
speedracerntrixie
Thread Starter
My Feedback: (29)
 
speedracerntrixie's Avatar
 
Join Date: Jun 2010
Location: Happy Valley, Oregon
Posts: 9,513
Received 175 Likes on 150 Posts
Default

Ha ha, I would rather not maiden in the rain........ that and I would really like to get some pictures of it fully assembled in the grass.
Old 04-07-2018, 11:12 AM
  #292  
Pylonracr
 
Pylonracr's Avatar
 
Join Date: Apr 2011
Location: Reno, NV
Posts: 918
Likes: 0
Received 5 Likes on 5 Posts
Default

Wait, Wait, Wait.....You are going to fly this thing????? I thought it was a static display plane to hang from the ceiling.
I was expecting you to bring it to my lake house this summer, fill it with candy, and use it for a pinata......

Where did I go wrong????? I was sure we talked about that last year........

Seriously, it is looking good. How is the weight? Still under?

Scott
Old 04-08-2018, 10:31 AM
  #293  
speedracerntrixie
Thread Starter
My Feedback: (29)
 
speedracerntrixie's Avatar
 
Join Date: Jun 2010
Location: Happy Valley, Oregon
Posts: 9,513
Received 175 Likes on 150 Posts
Default


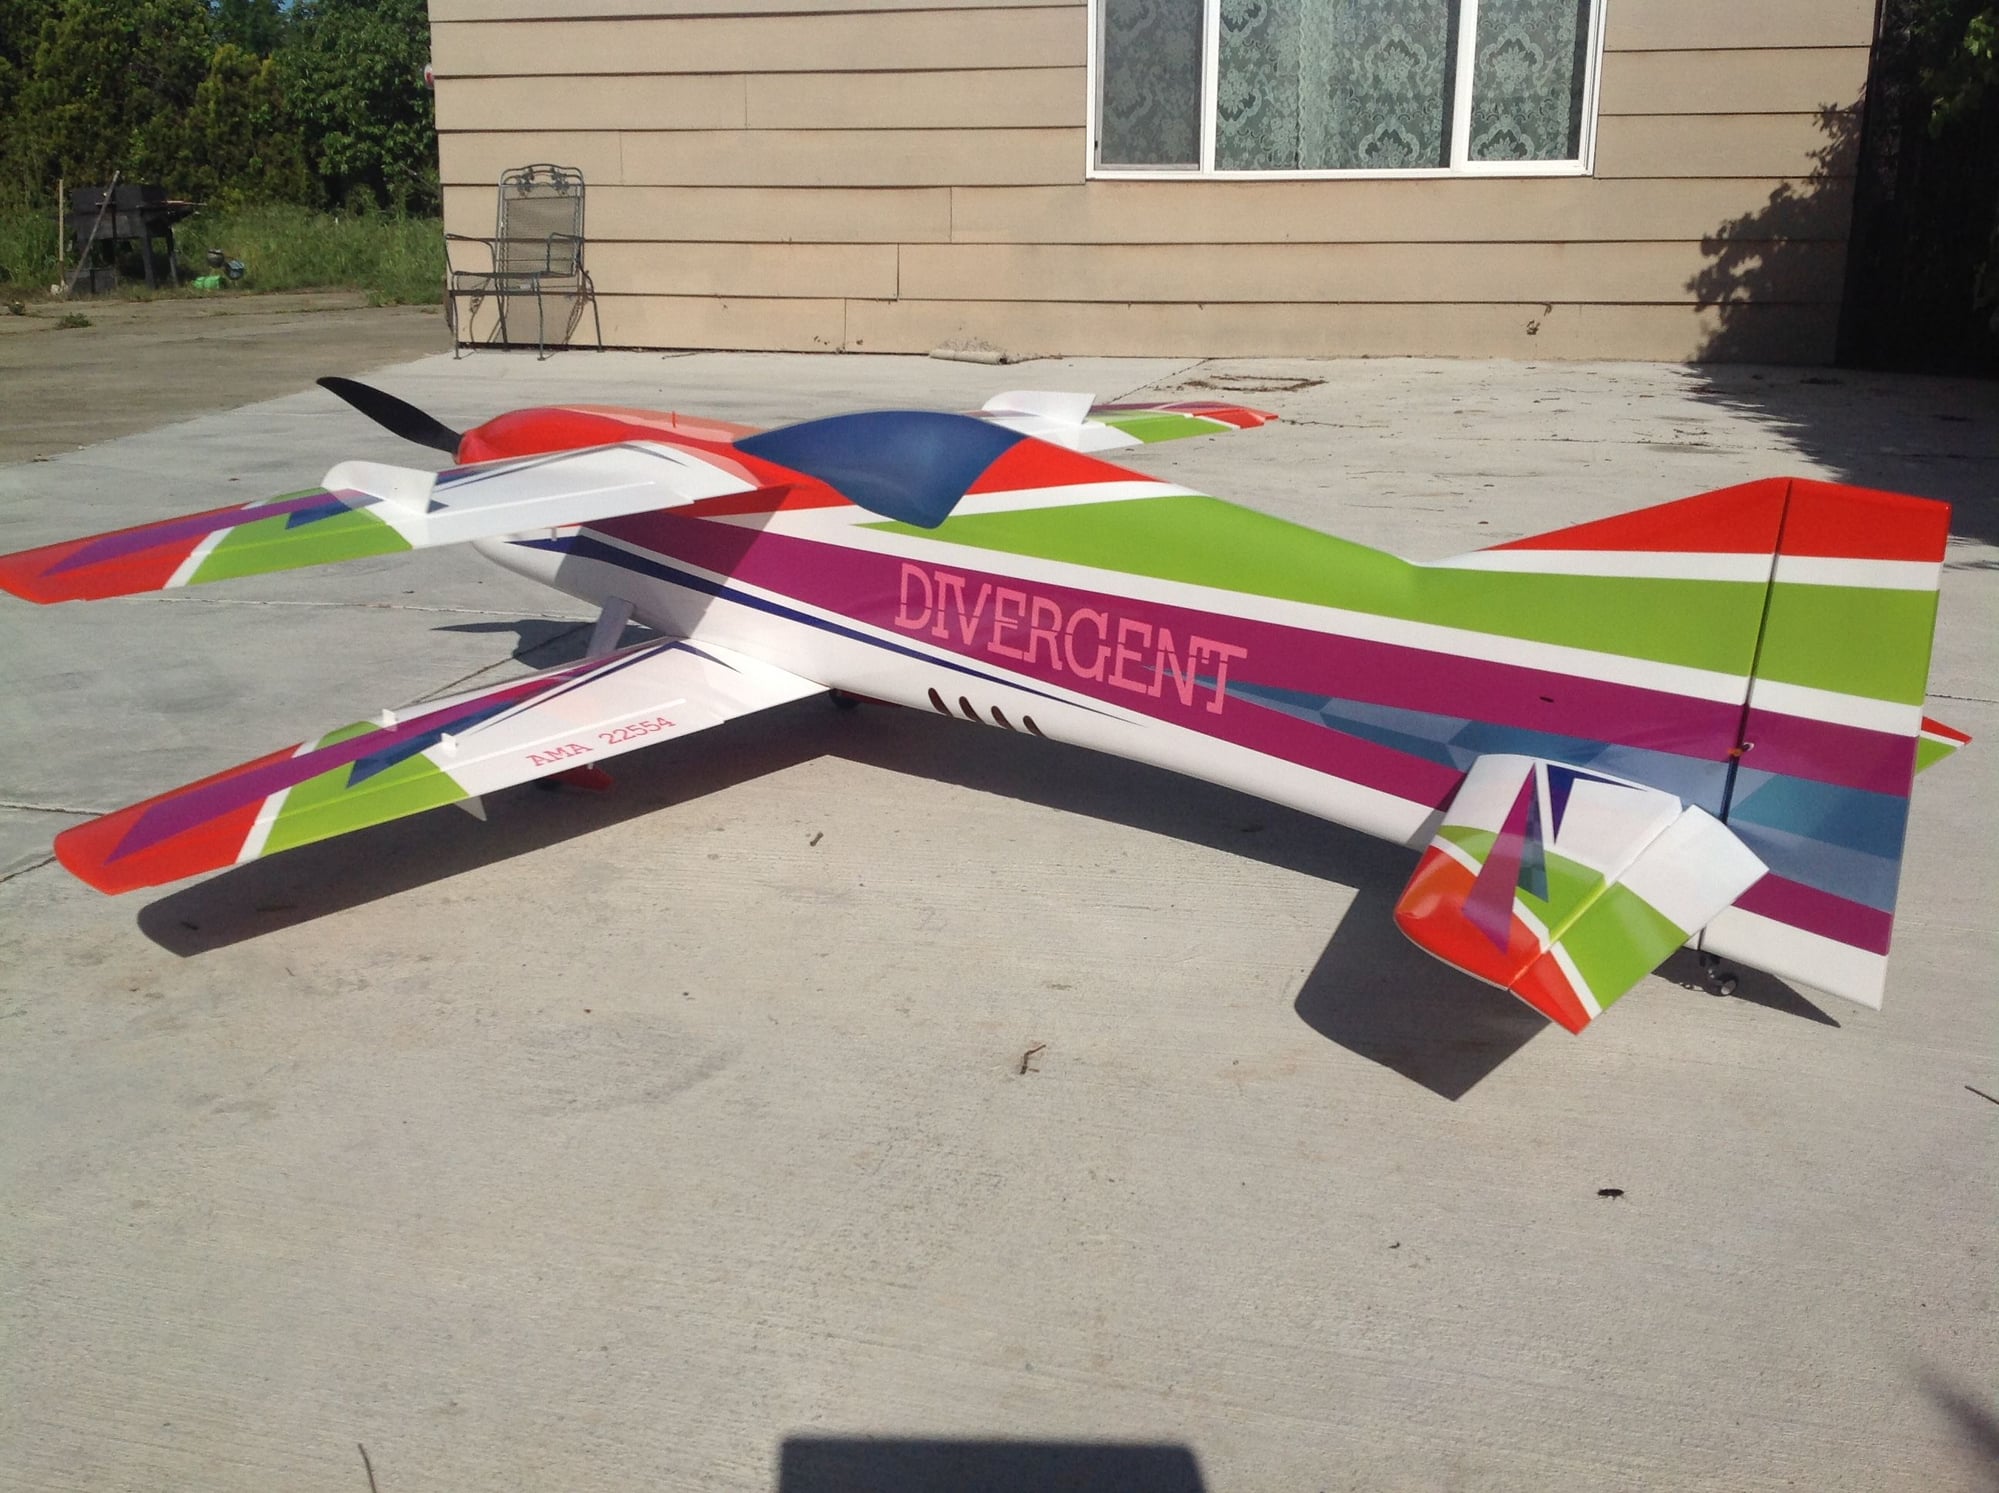
It's getting close, all that's really left is the servo and linkage install. It is a bit heavy according to my bathroom scale but that is with my heavy 5000 mah batteries and a few items that could be lighter such as wheels and some additional wire. I can also do a bit of cut and polish on the clear to remove a bit of weight. With a few minor changes it can be brought down to 11 1/3 lb. I have learned enough building this one that I can apply and with a less flashy paint job and film covering on the wings and stabs it is possible to have one come out at 10.5 lbs.
Old 04-08-2018, 10:37 AM
  #294  
R_G
My Feedback: (1)
 
R_G's Avatar
 
Join Date: Dec 2004
Location: Farrell, PA
Posts: 825
Likes: 0
Received 0 Likes on 0 Posts
Default

Beautiful workmanship! Very nice!

Ralph
Old 04-08-2018, 10:47 AM
  #295  
Pylonracr
 
Pylonracr's Avatar
 
Join Date: Apr 2011
Location: Reno, NV
Posts: 918
Likes: 0
Received 5 Likes on 5 Posts
Default

Looks good Shawn. Not going to have any trouble seeing it.

Scott
Old 04-08-2018, 03:49 PM
  #296  
kenh3497
 
kenh3497's Avatar
 
Join Date: Jan 2010
Location: Rockwell, IA
Posts: 1,517
Received 2 Likes on 2 Posts
Default

My OH MY..... That is really sharp. I LIKE IT!!!!!! With the wings on it's look changes completely. It looked good before but now is awesome!

Ken
Old 04-17-2018, 08:13 PM
  #297  
Pylonracr
 
Pylonracr's Avatar
 
Join Date: Apr 2011
Location: Reno, NV
Posts: 918
Likes: 0
Received 5 Likes on 5 Posts
Default

Yo Shawn, have you flown the Pinata yet. Are we going to fill it with candy this July at my lake house????????
Old 04-18-2018, 12:35 PM
  #298  
speedracerntrixie
Thread Starter
My Feedback: (29)
 
speedracerntrixie's Avatar
 
Join Date: Jun 2010
Location: Happy Valley, Oregon
Posts: 9,513
Received 175 Likes on 150 Posts
Default First flight

I’m just finishing up on the radio install now and then the only thing left is stut mounting and then a good bench setup. The first flights will happen on Friday.
Old 04-18-2018, 01:45 PM
  #299  
Pylonracr
 
Pylonracr's Avatar
 
Join Date: Apr 2011
Location: Reno, NV
Posts: 918
Likes: 0
Received 5 Likes on 5 Posts
Default

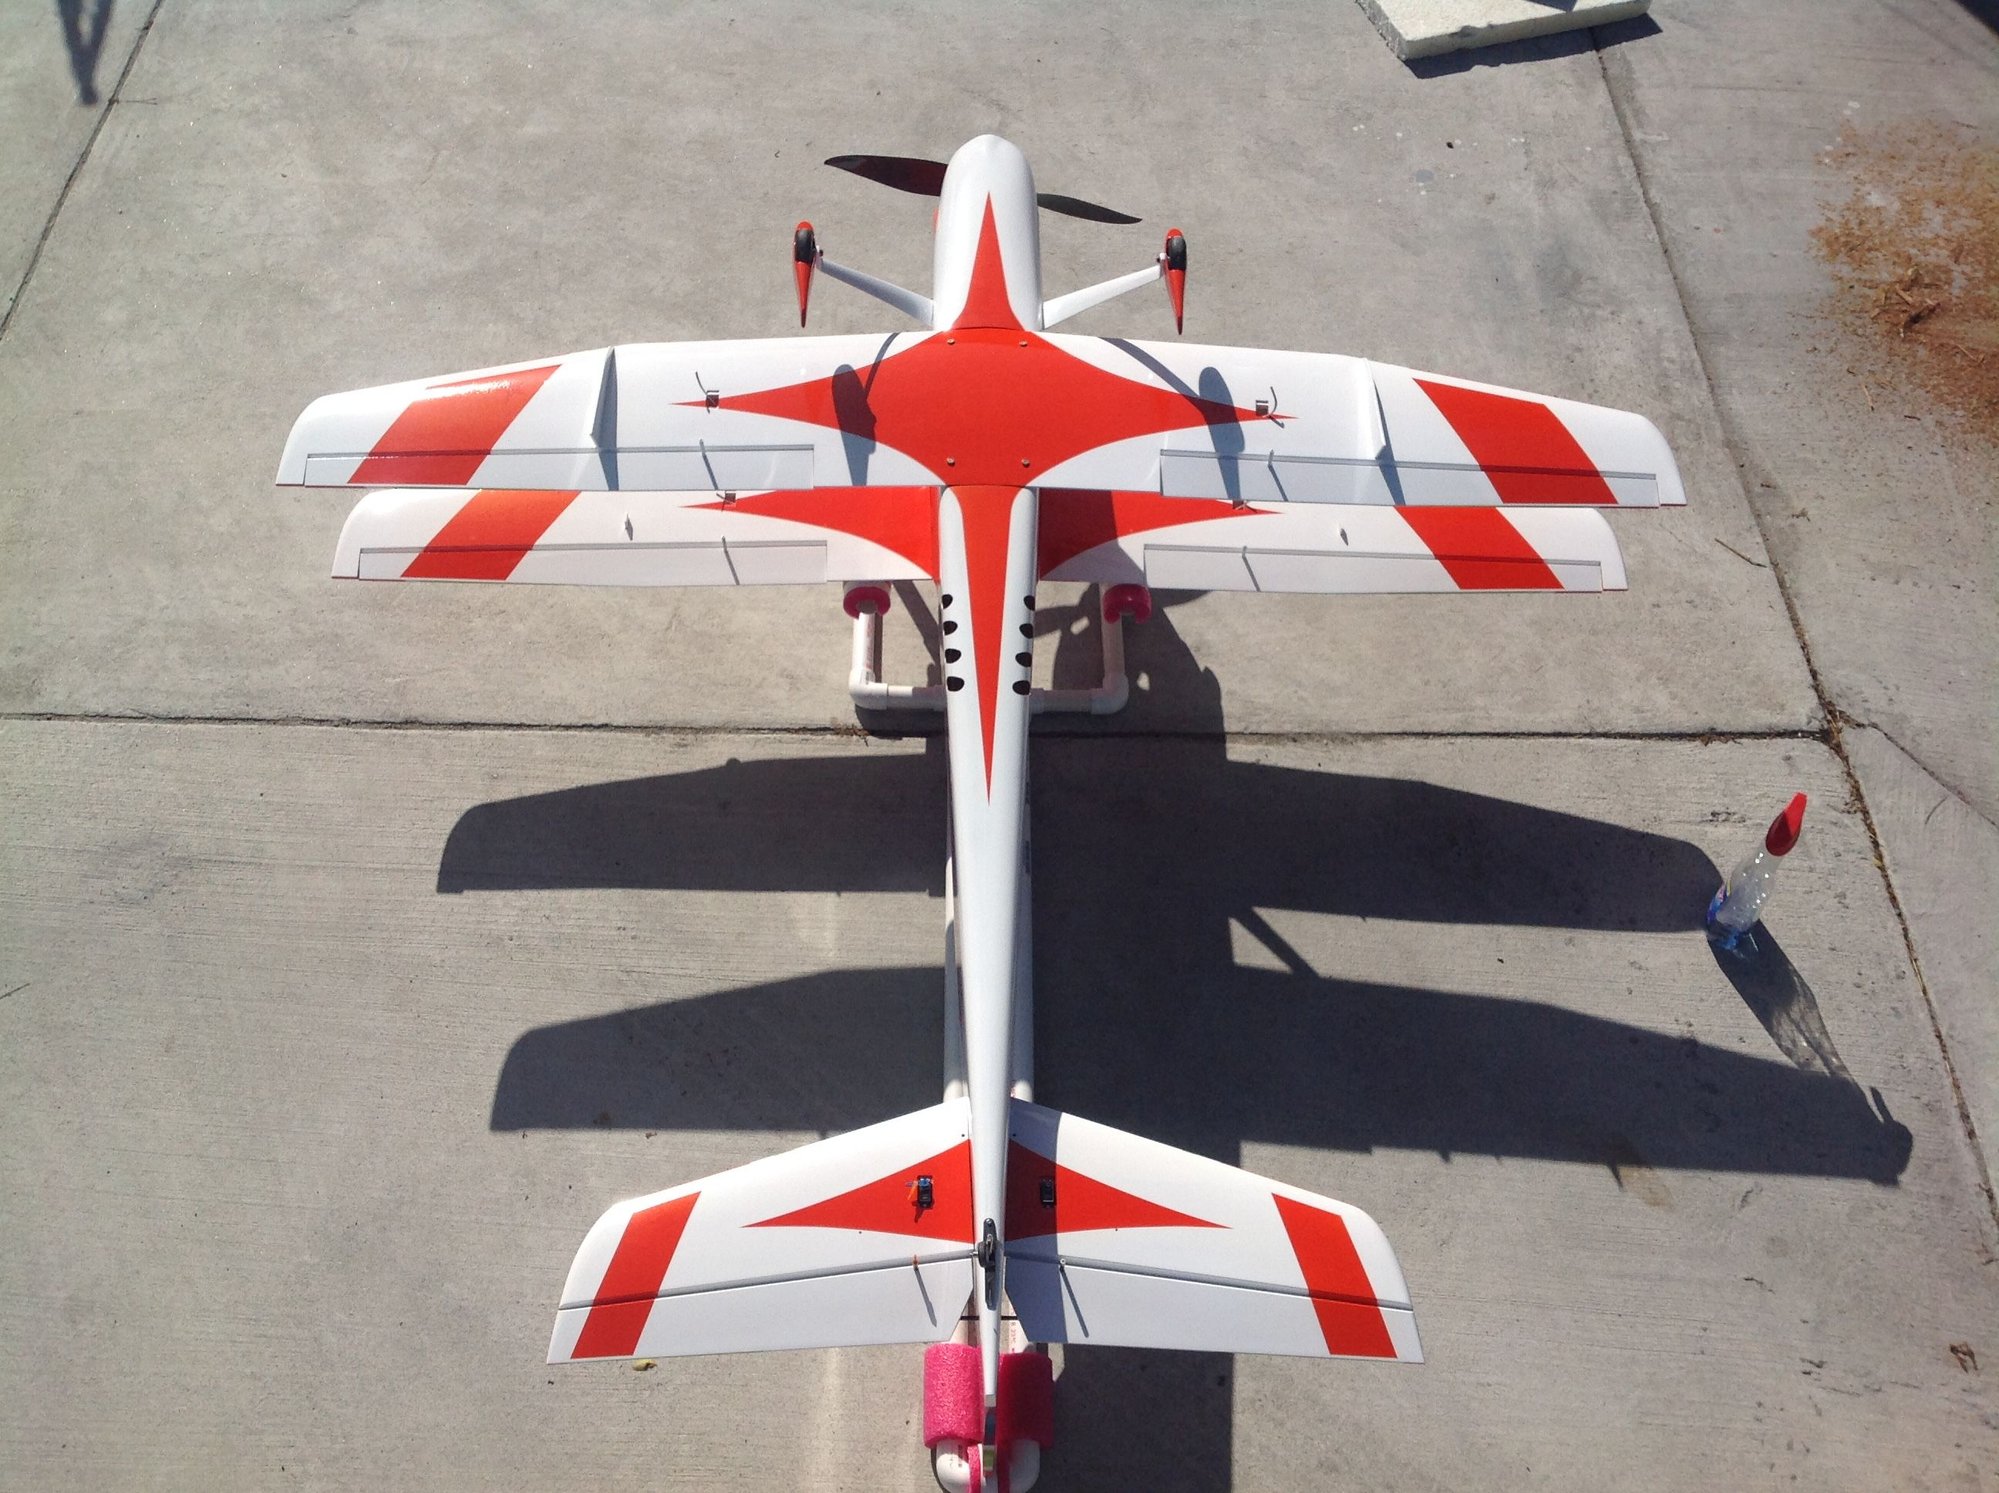
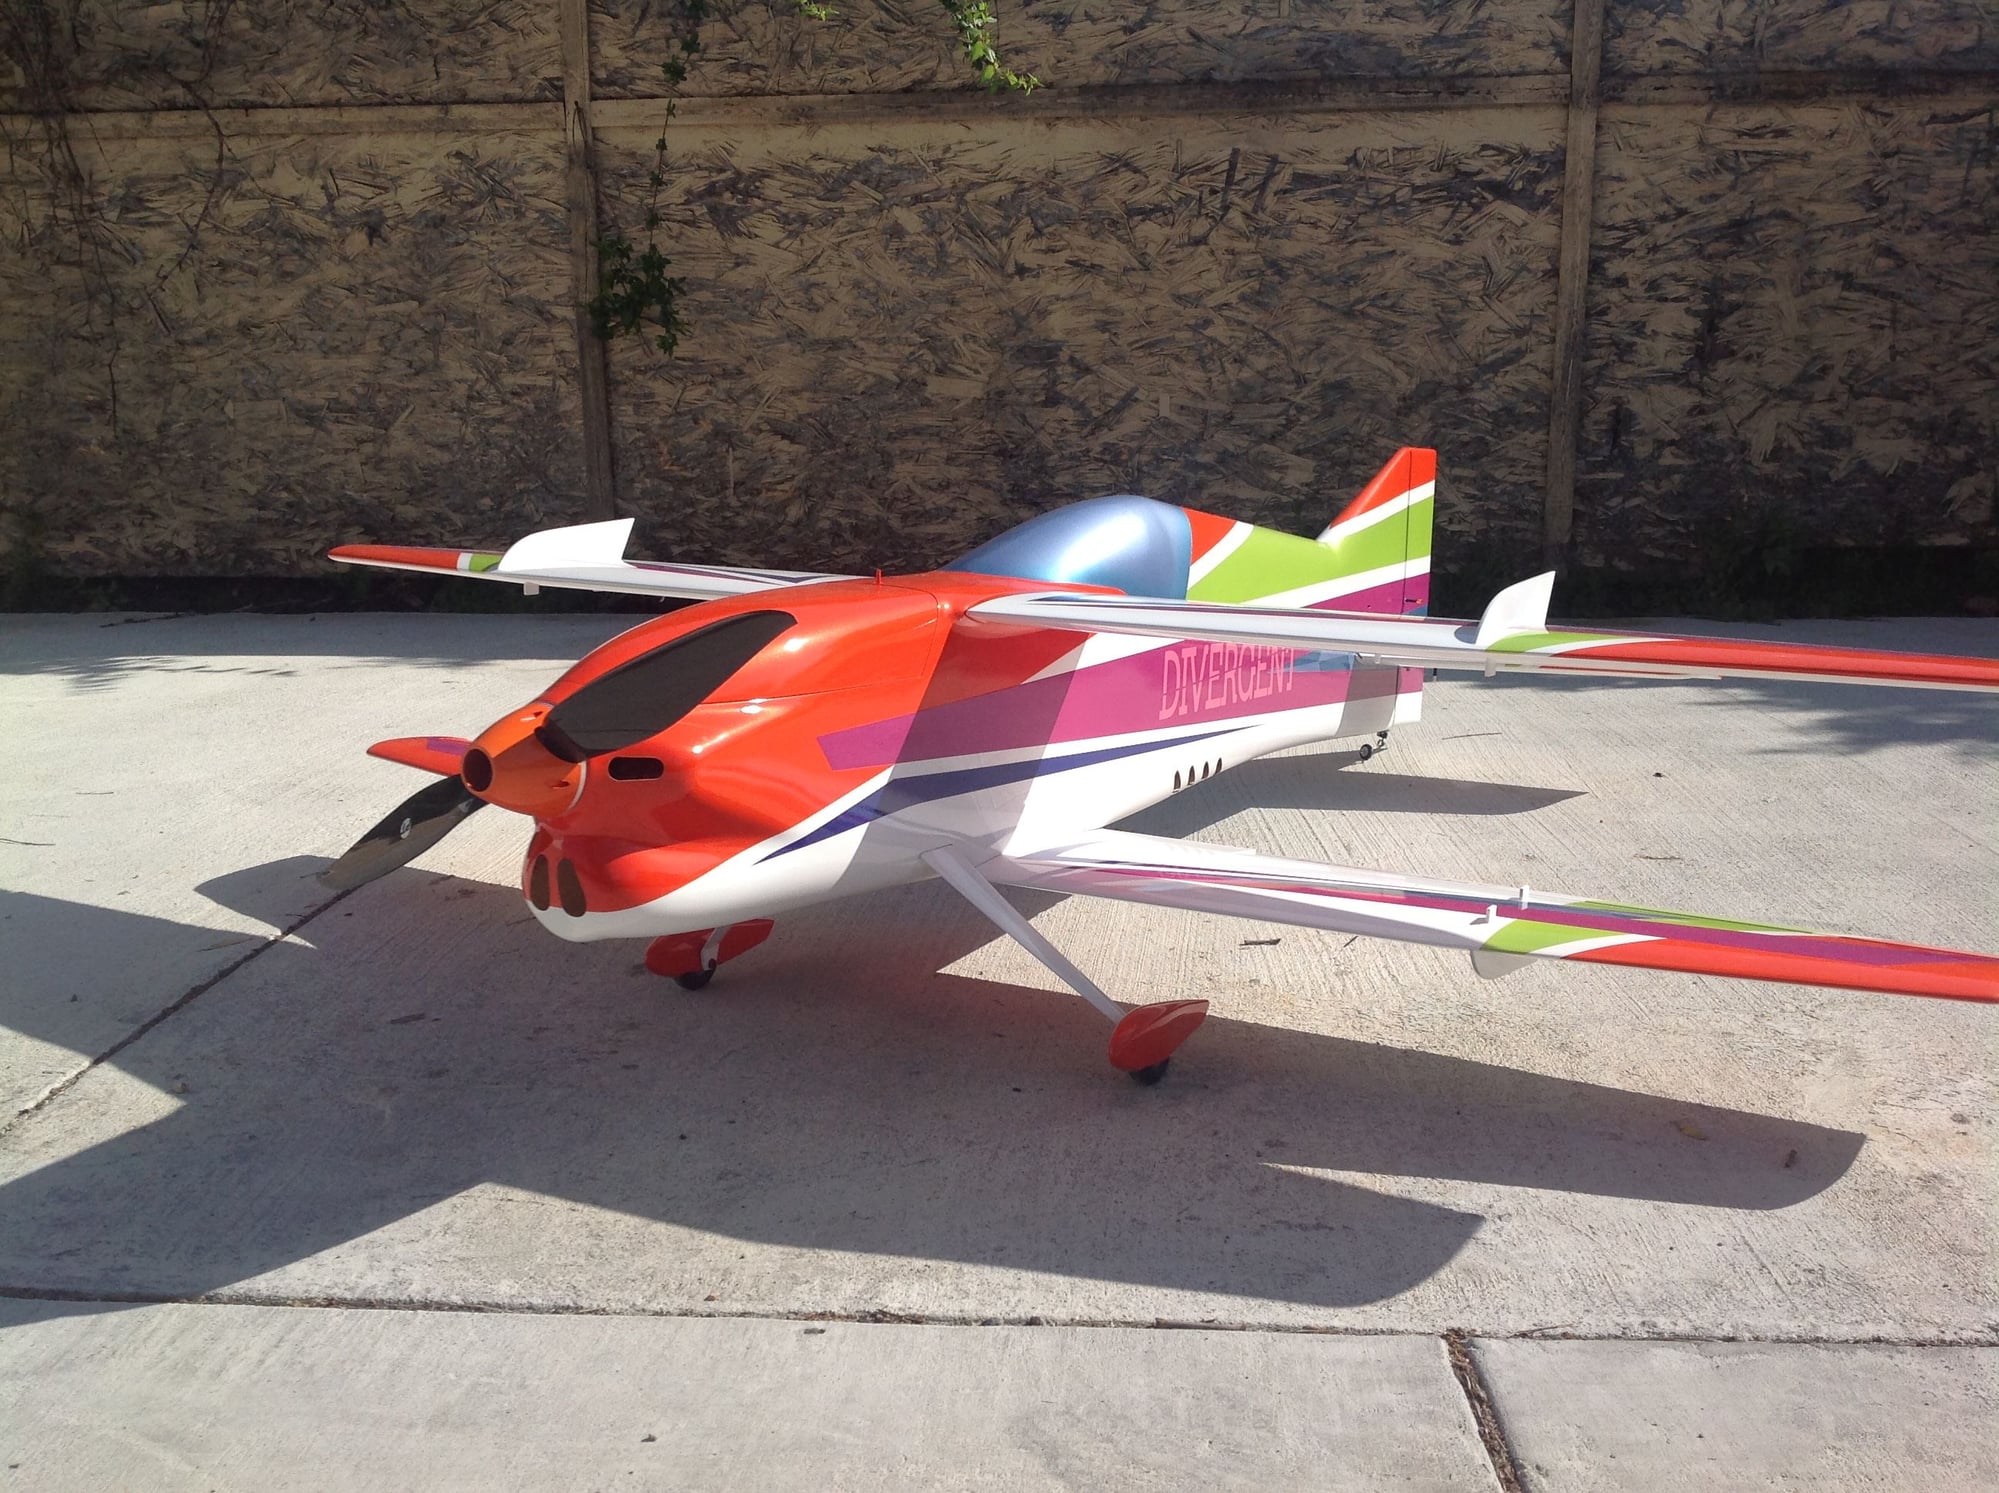
Not too bad Shawn. Last July that thing was an idea and some drawings on a piece of paper and we were kicking around composite ideas and methods at my lake house. Less than a year later and it is ready to fly with production molds. I like it. Still ugly, but I like it......

Scott
Old 04-18-2018, 04:46 PM
  #300  
kenh3497
 
kenh3497's Avatar
 
Join Date: Jan 2010
Location: Rockwell, IA
Posts: 1,517
Received 2 Likes on 2 Posts
Default

Originally Posted by Pylonracr
Not too bad Shawn. Still ugly, but I like it...Scott

I always liked it. Sometimes less and sometimes more. haha Now that it is complete and painted it all comes together nicely. From my perspective it was quite the effort to do. From Shawn's perspective I'll bet he is glad the project is almost complete. I would have been burned out long ago. I can't wait for the first impression flight report. Of course with a pattern or any plane for that matter you never really know how it flies until you get 30 or 40 flights on it.
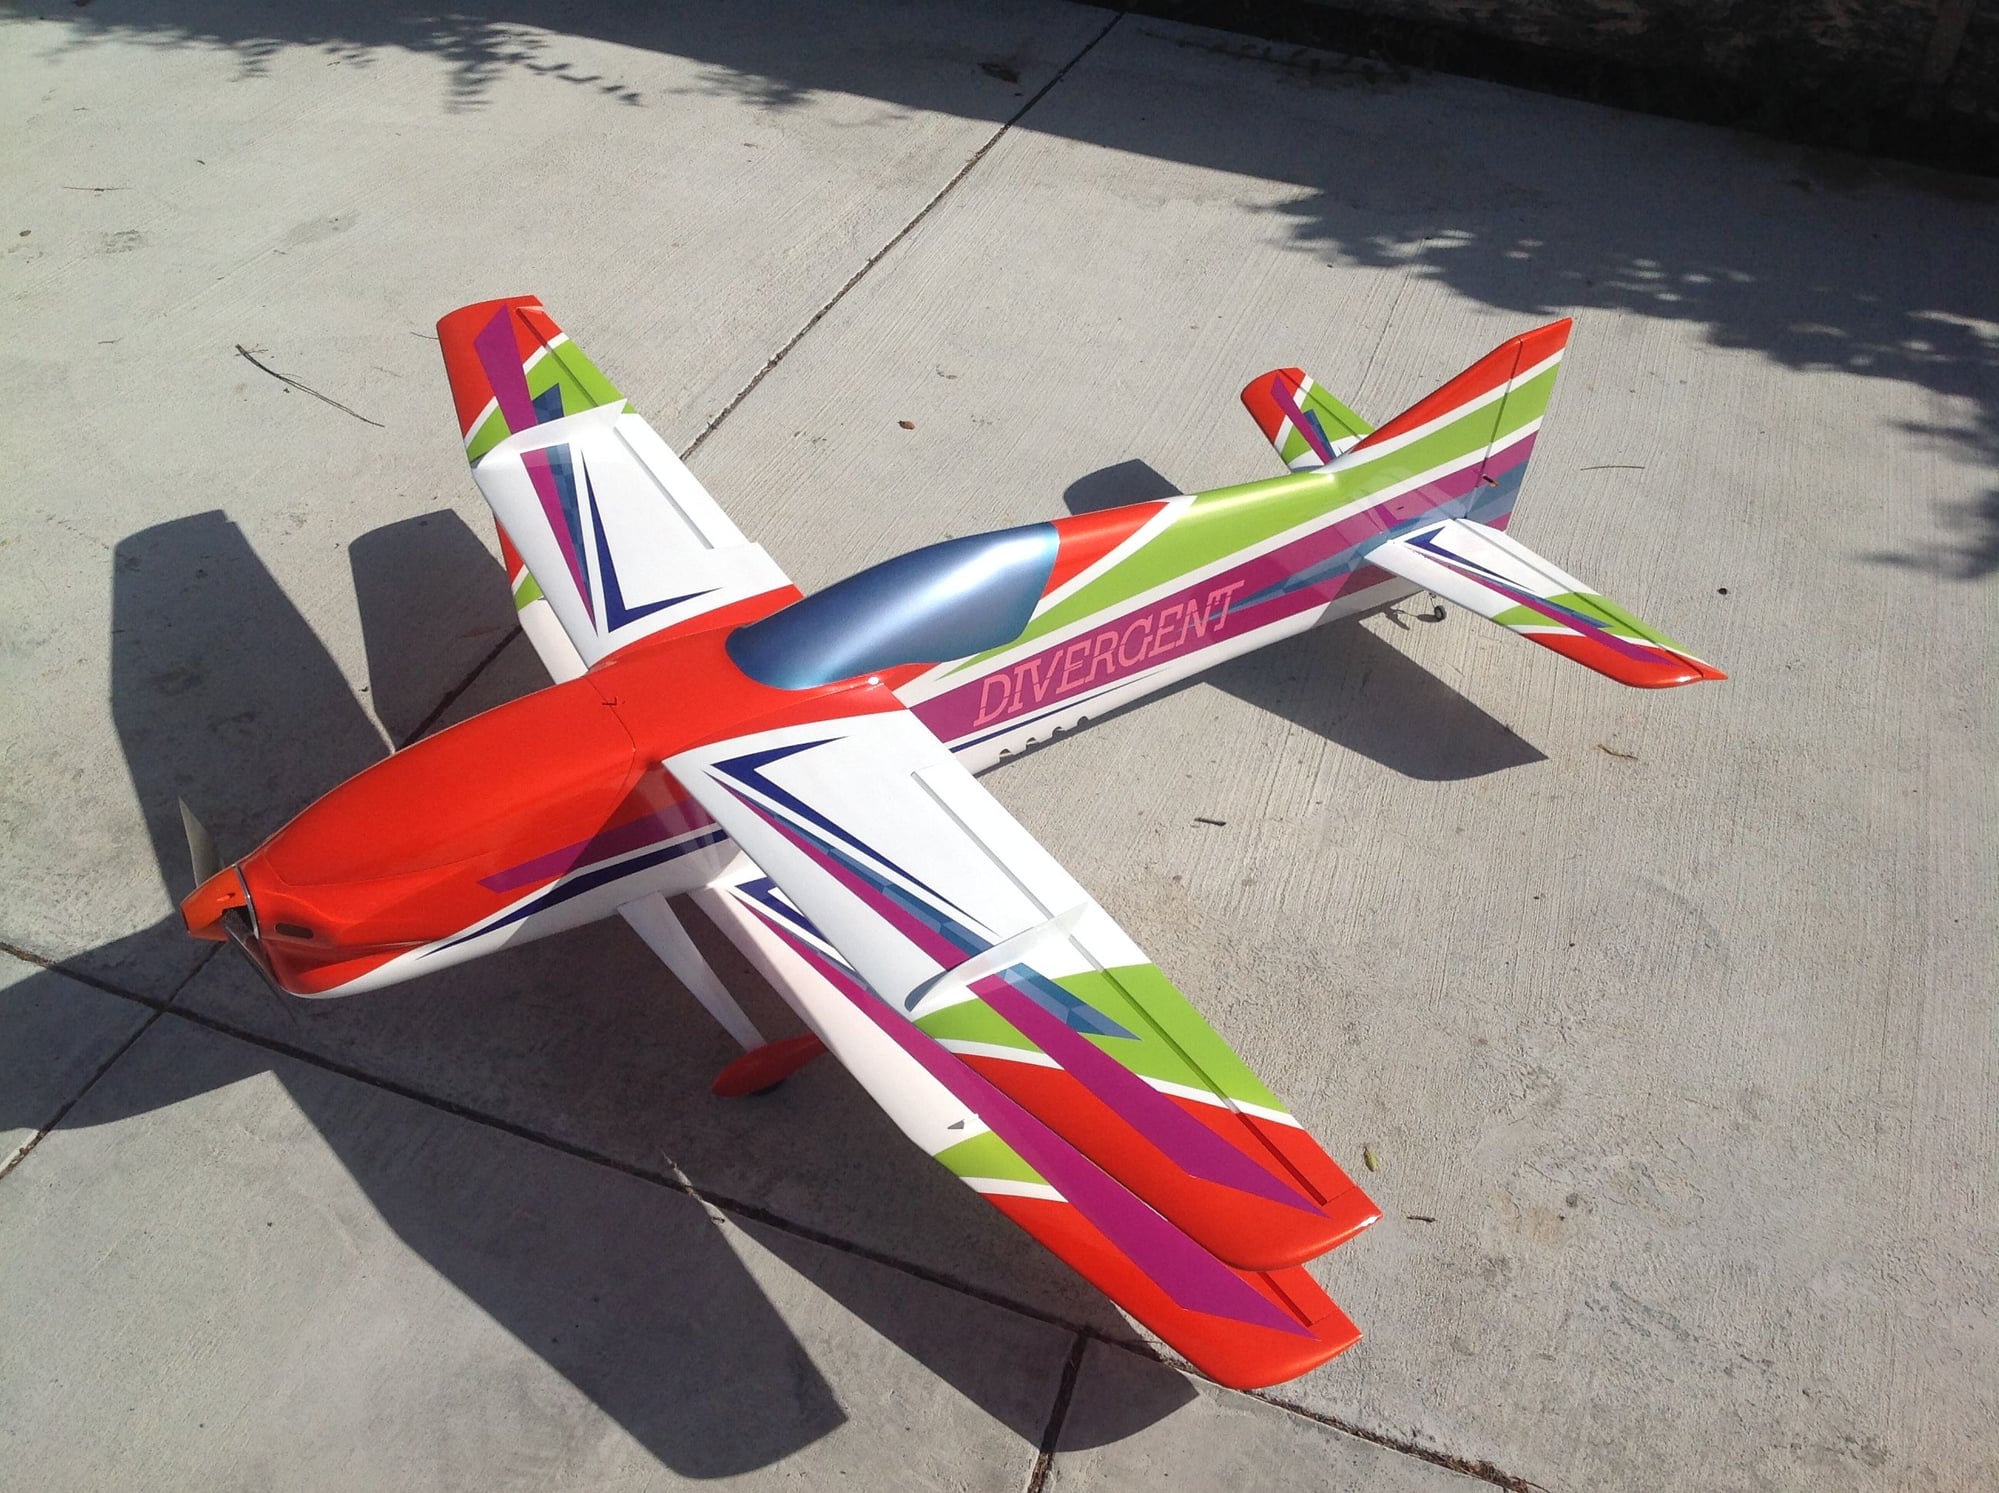
Great job Shawn!

Ken

Thread Tools
Search this Thread

Contact Us - Archive - Advertising - Cookie Policy - Privacy Statement - Terms of Service -

Copyright © 2024 MH Sub I, LLC dba Internet Brands. All rights reserved. Use of this site indicates your consent to the Terms of Use.