


Zeus
 04-05-2018, 11:59 AM
#76

Thread Starter
Hi Ken.I just stay with epoxy all the way. I've got an epoxy gel coat recipe that works for me. It is a mixture of epoxy West high density fill and graphite powder plus a little white tinter in the second coat to change the colour so I have a visual que for coverage.
 04-07-2018, 01:24 PM
#77
Thread Starter
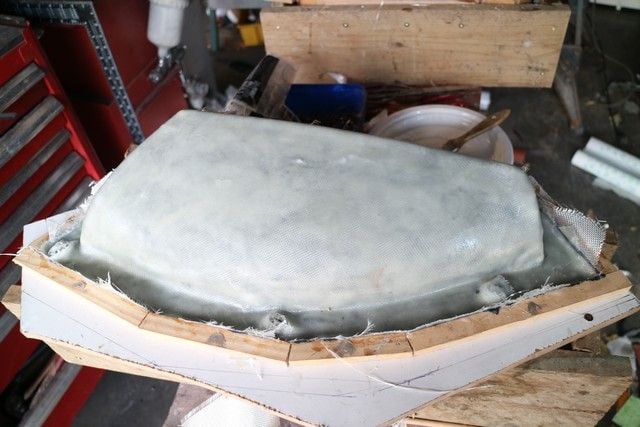
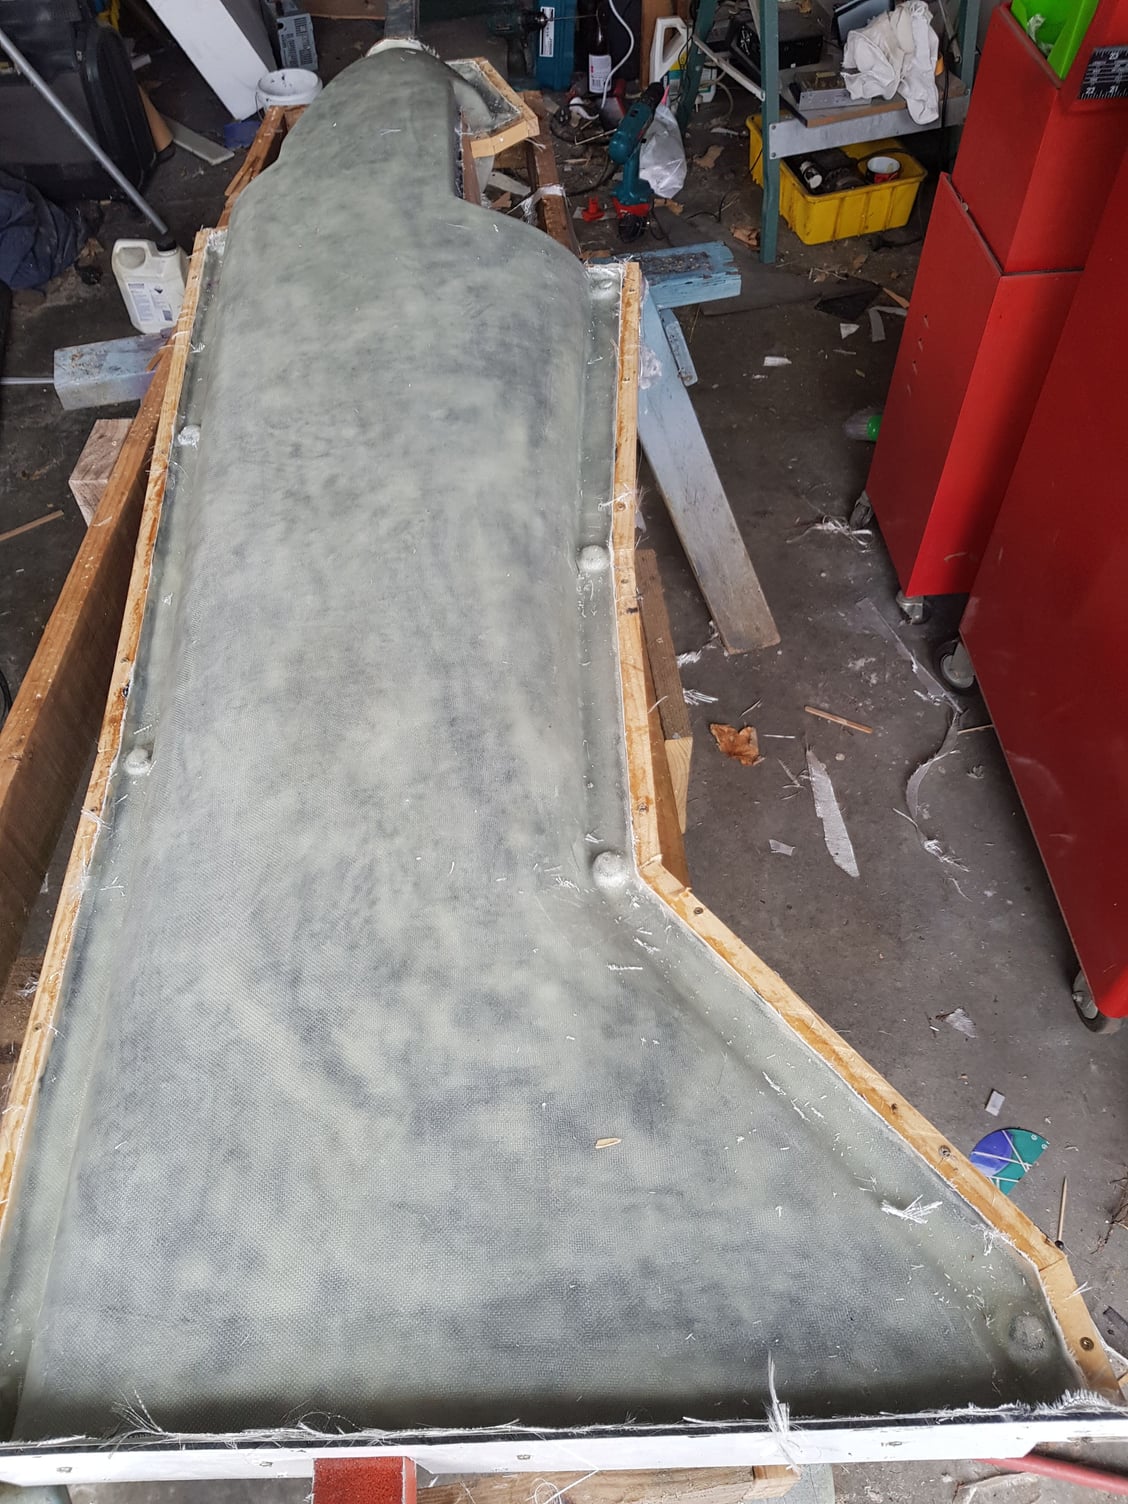
Got the first mold halves done. The vortex mixer is really good at mixing in the high density filler.
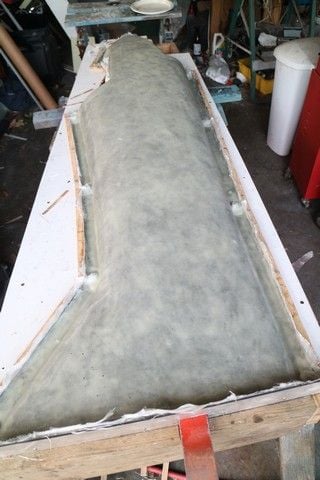
Not difficult work but pretty intense.I will be doing my best to make these vacuum bag friendly.
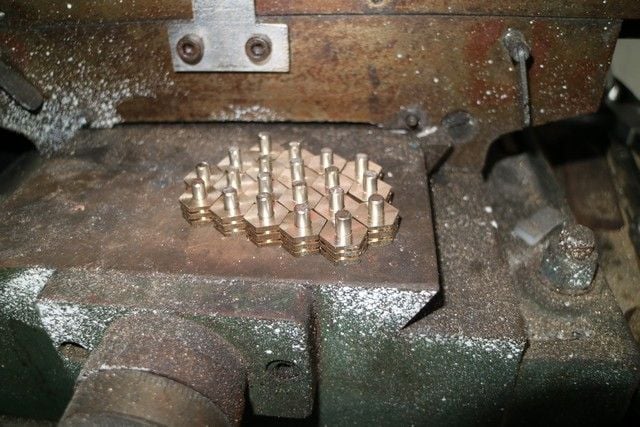
I will leave these a couple of days to cure which will give me time to make the registration pins and sockets for the other side.
Last edited by RodneyFord; 04-07-2018 at 01:48 PM.

 04-15-2018, 05:56 PM
#82
Thread Starter
I'm giving the molds a cook. This is a boat builders trick. Masking film bag with weights around the edges.
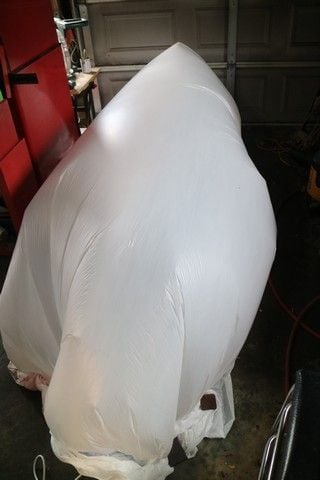
Blow heater to heat and inflate it.
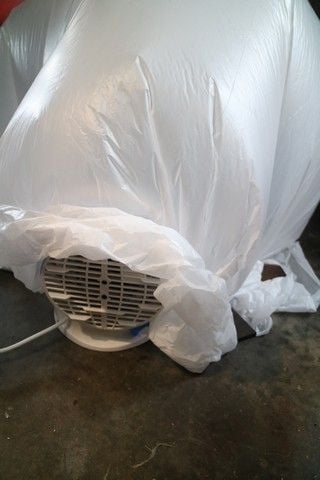
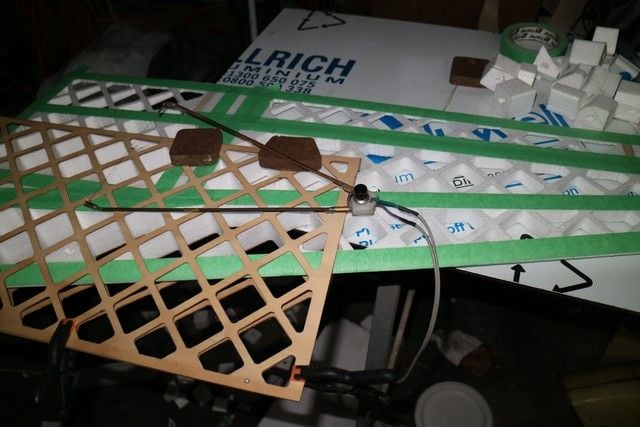
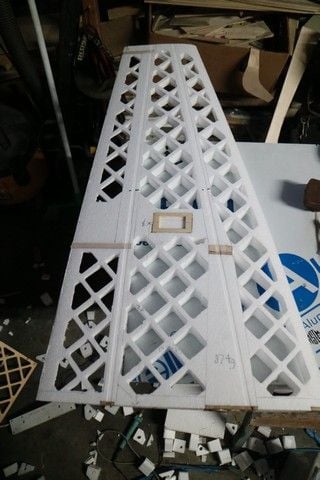
Foam wing tests.
Blow heater to heat and inflate it.
Foam wing tests.
Last edited by RodneyFord; 04-15-2018 at 05:59 PM.

 04-25-2018, 06:02 PM
#87
Thread Starter
Small parts molded first to get my process sorted The Amadeus fuselage is light but prone to bruising easily so I am testing 1oz kevlar over 3/4 oz cloth. Core is 1.5mm Rohacell.
Started on the canopy.

Paper templates
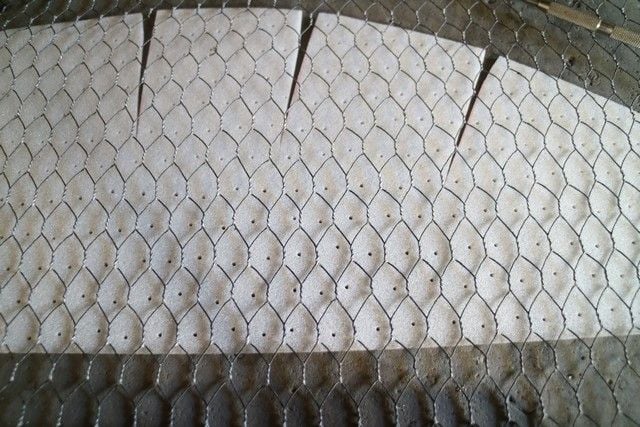
Mesh for even perforations in the Rohacell
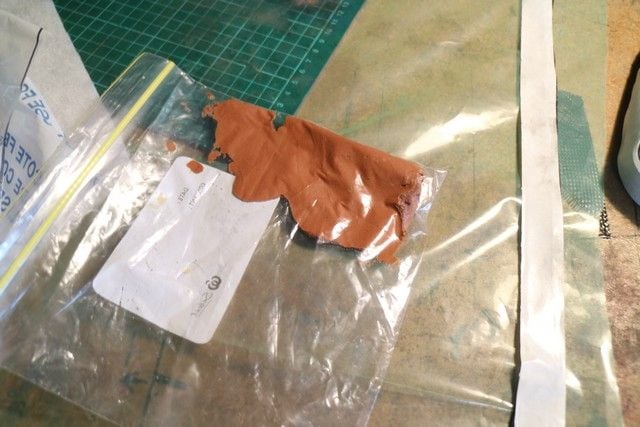
Epoxy micro balloons piped into the corners with zip lock bag with corner cut off.
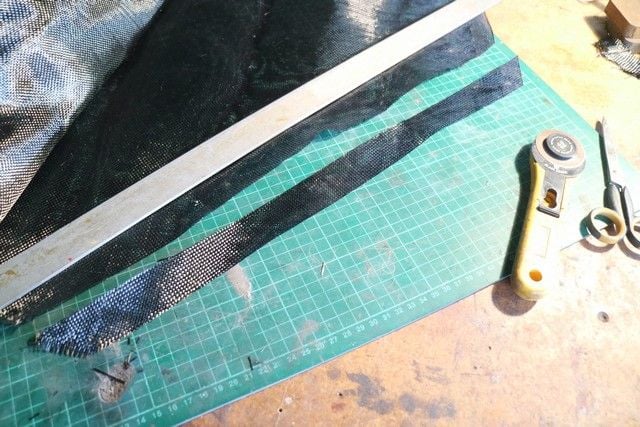
100 gm carbon cut on bias to reinforce the edges.

Started on the canopy.
Paper templates
Mesh for even perforations in the Rohacell
Epoxy micro balloons piped into the corners with zip lock bag with corner cut off.
100 gm carbon cut on bias to reinforce the edges.
Last edited by RodneyFord; 04-25-2018 at 10:12 PM.
 04-26-2018, 05:12 AM
#89
The zip lock bag trick is pretty slick. Cheap and totally disposable. The "chicken wire", your wire mesh, confused me for a second. I couldn't fathom why that was going to be incorporated in the layup. THEN, I read the description. It was all clear then. I couldn't see the forest for all the trees! LOL
Ken
Ken
04-26-2018, 11:48 AM
#90
Thread Starter
Yes Ken the zip lock is great. I used to think I had all the answers when I used this.
Of course now I do all my icing with the 3D printer

Last edited by RodneyFord; 04-26-2018 at 11:52 AM.
04-26-2018, 12:10 PM
#91
Thread Starter
I've been thinking about props. I would think the DA50 will be hard to keep within the noise limit. DA suggests a 20x12 3 blade so I thought a wide 2 blade would have the same load. I made a 30x13 wide for my first Slick which was quiet and performed pretty well, so it is worth trying.
30x13 on DLE170
30x13 on DLE170
04-26-2018, 12:17 PM
#92
Thread Starter
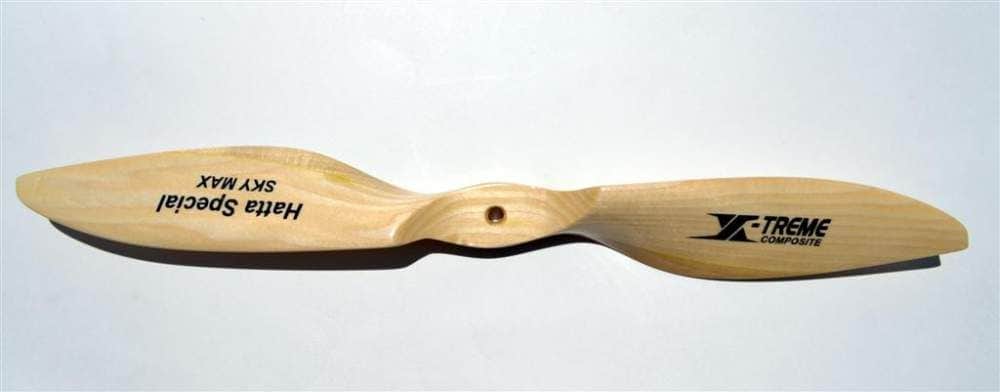
I'm copying this Hatta prop
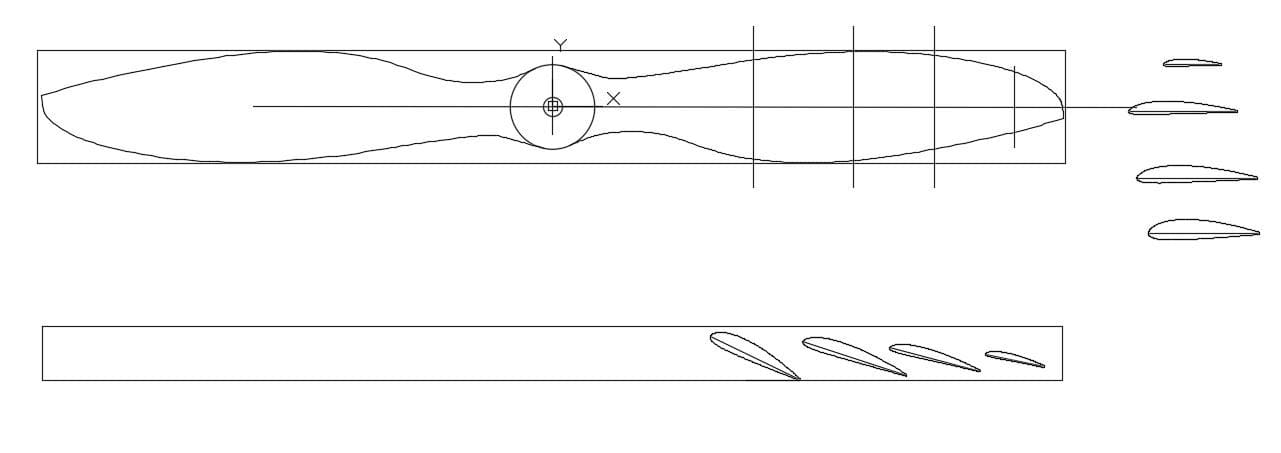
Basic drawing in Autocad 20x12 Clark Y foils with thick TE.
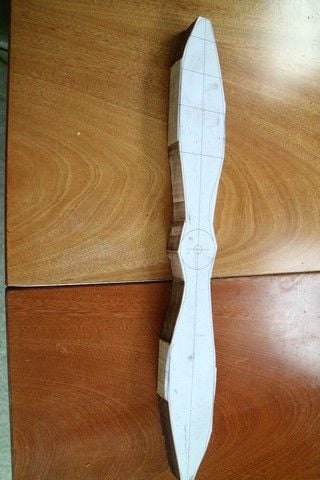
Print it out and glue onto a piece of maple.
More to come on this side project.
Last edited by RodneyFord; 04-26-2018 at 12:20 PM.
04-26-2018, 08:38 PM
#93
Thread Starter
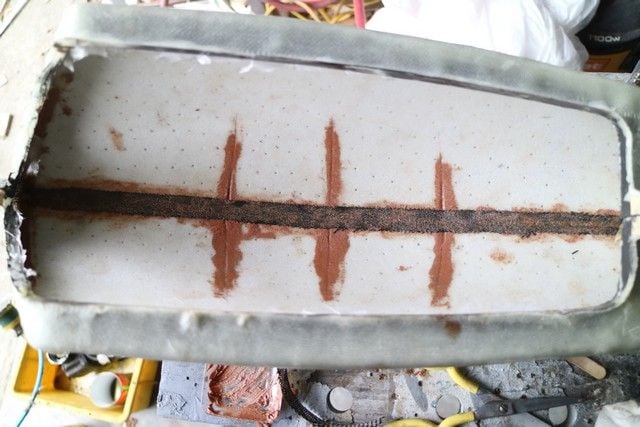
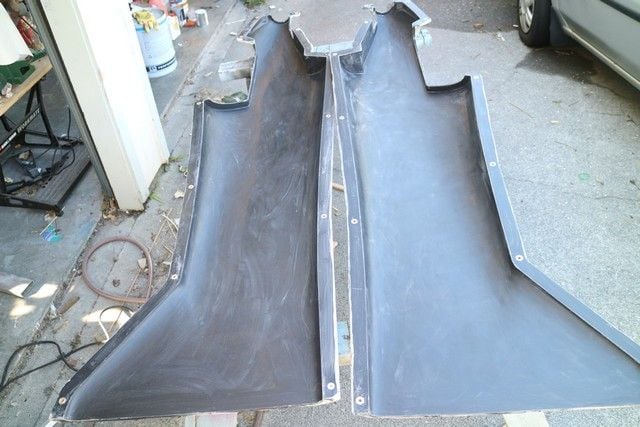
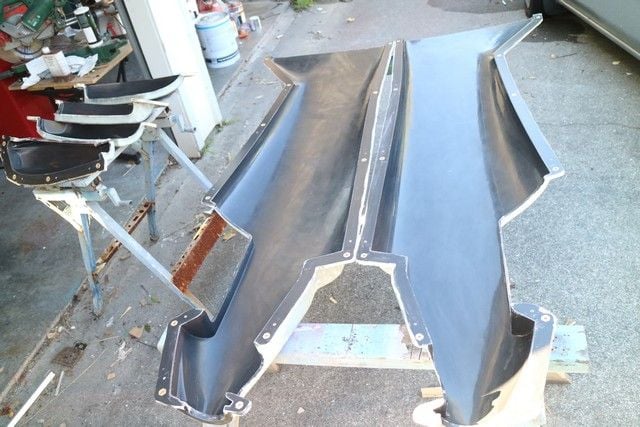
Joined the halves with a strip of 100gm carbon. Not too keen on the brown micro balloons.

94 gms. very stiff and strong. It sustained some damage getting it out of the mold. the first half was OK but the second half not so much. I' m going to do another one and spray some PVA release agent into the mold for an easier release. Would like to lose 20 gms too.
04-26-2018, 08:57 PM
#94

I had decided not to use a core material on my Divergent hatch. It's laid up of just two layers of 3.2oz 120 style cloth. With paint it weighs 72 grams. The brown phenolic micro balloons are heavier as well. I do admire your determination, after making the molds for the Divergent I wouldn't dream of jumping right back in on another such project.
04-30-2018, 05:39 AM
#95
Thread Starter
Gone to one part at a time. Lowered the complexity level and raised the quality. I am using PVA release agent for this part now. After some research I tried spraying 3 coats of water/detergent mix into the mold first to lower the surface tension and allow the PVA to flow. PVA is thinned 25% water 25% alcohol. Seems to work. Layup is 50gm glass 2mm rohacell core 26gm glass on the inside, a bead of microspheres and a tow of 24K carbon in edges of the flange. Deresined the 50 gm before inserting the rohacell. The 26gm inner surface is a separate operation which makes it easier and cleaner. Electric blanket to cure the resin.

05-03-2018, 05:27 PM
#96
Thread Starter
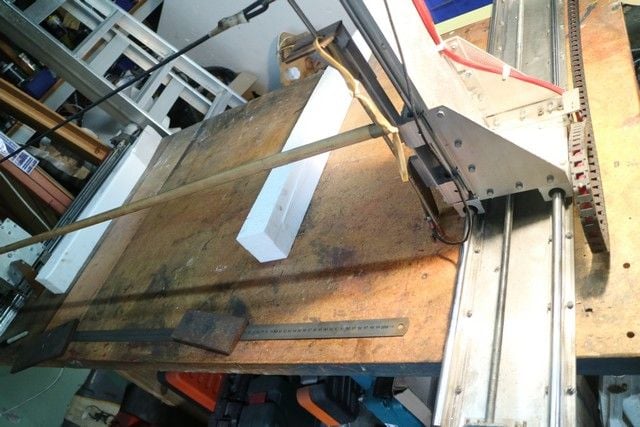
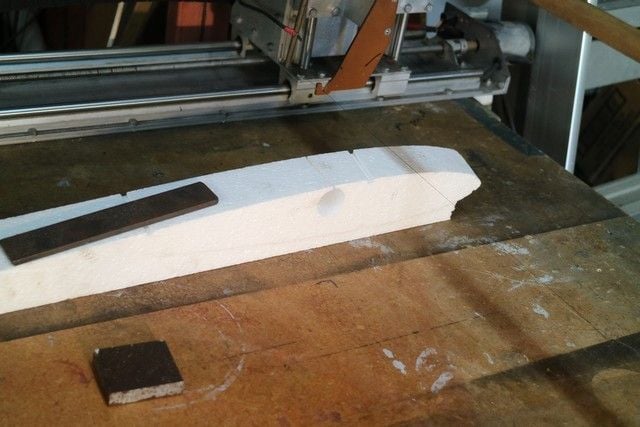
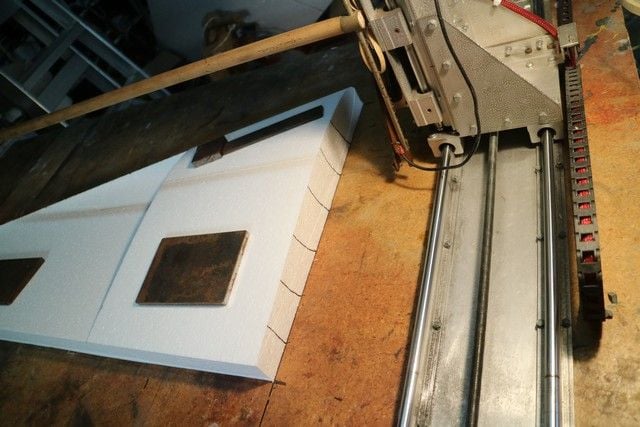
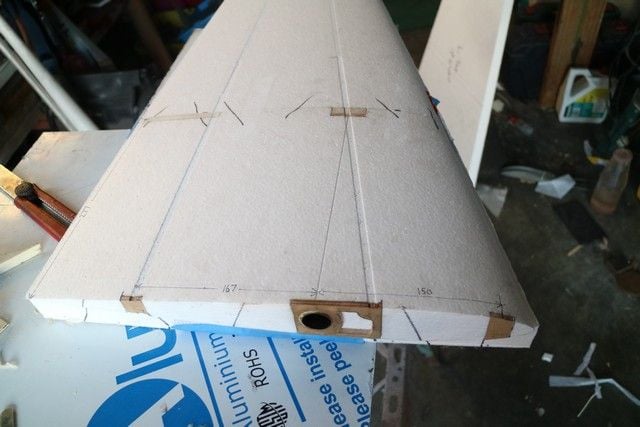
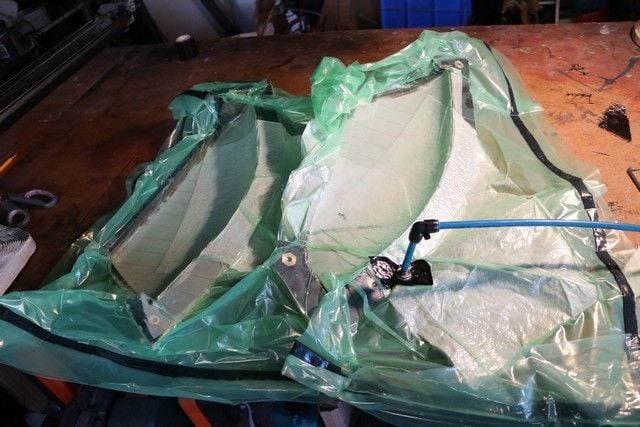
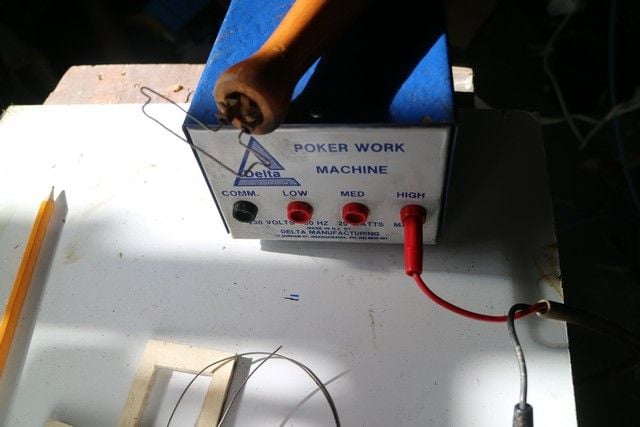
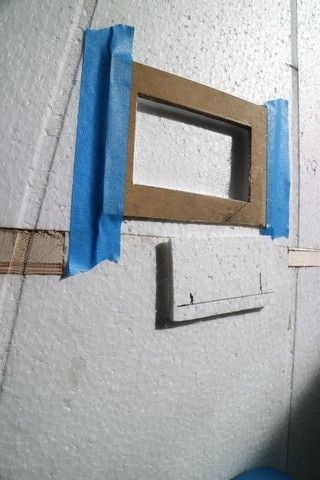
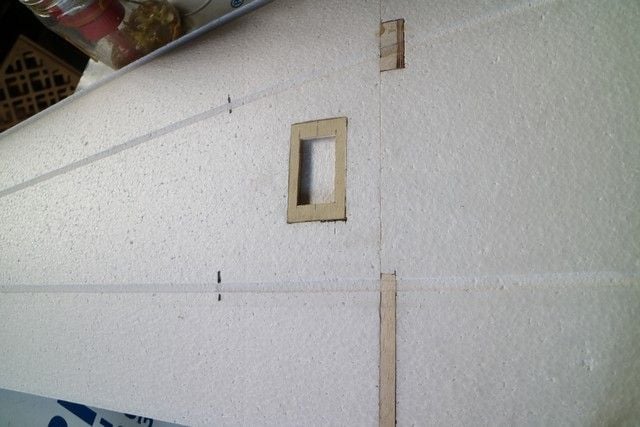
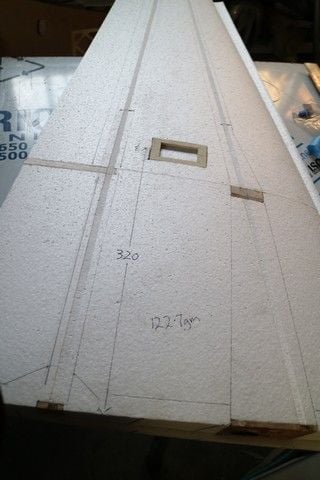
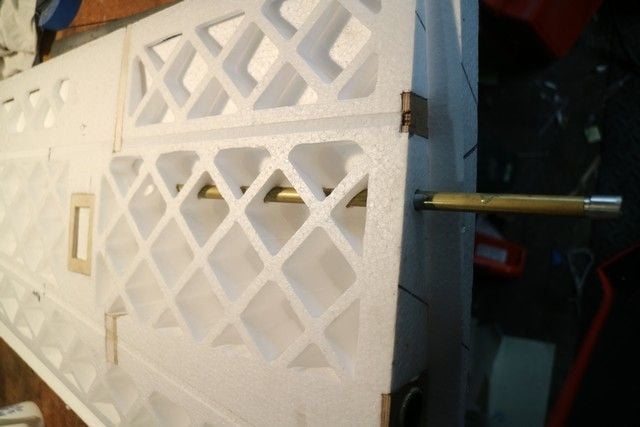
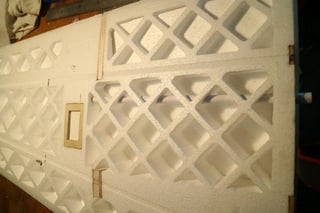
Got another canopy out of the mold again with some difficulty. 74 gms this time. I'm waiting on some new release agent so working on wings. Made a hot wire tool to cut the foam for the servo mounting plate.
 05-13-2018, 12:39 PM
#98
Thread Starter
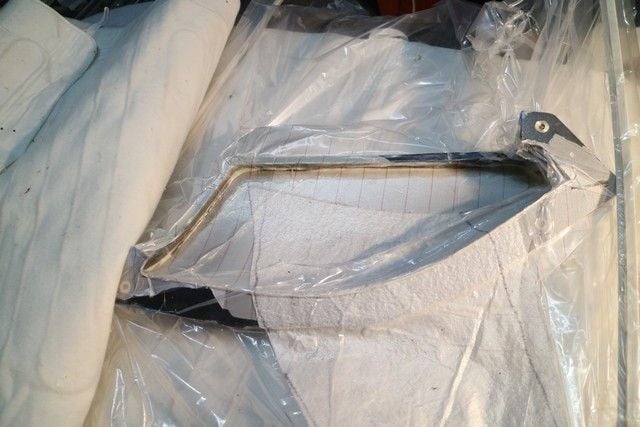
Finally a part out of the mold I am able to use.It's been a frustrating couple of weeks getting the release working properly but this part came out very easily. Pleased with the weight too.
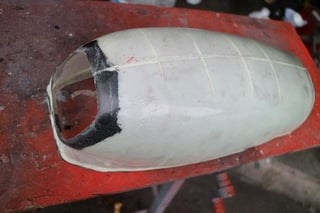

Chin cowl
Chin cowl
 05-15-2018, 08:45 PM
#100
Thread Starter
Nearly ready to lay up a fuselage (finally). I'm going to have 50gm glass/rohacel/26gm glass from the tail to the canopy and 26gm glass/34gm kevlar/rohacel(1.5mm)/26gm glass from rear of canopy forward also local carbon reinforcement for the wing UC and motor mounts.

Rohacel heat forms easily with a heat gun and a hot glove.
Heavy brown paper patterns for the Rohacel and fabric.
Rohacel heat forms easily with a heat gun and a hot glove.
Heavy brown paper patterns for the Rohacel and fabric.