


1/6 G.I. Joe Jeep
 10-05-2014, 06:33 PM
#1

Thread Starter

I've been working on this for the last couple of months. I found a 1960's era Hasbro G.I. Joe Jeep at a garage sale in town, with the trailer, for $5. I used the scx10 chassis from my wroncho for the build. Purchased a wraith skid and replaced the scx10 skid to give the frame a wider stance, and the Jeep a bit more stability overall. In doing so I had to use 91mm links for crossbraces, but I also re-used the rear scx10 crossbrace and added the extensions from the forward battery box conversion to make up the difference in space. I was going to forward mount the motor and trans, and use a divorced transfer case, but decided instead on cutting out the floor boards and use what I had on hand. I used hardware store angle brackets to hold the body to the chassis, made a crossover brace between the front shock towers to stiffen them up, zip tied an ax10 receiver box to that and zip tied the axial esc to that( it aint pretty, but it works). The battery is actually sitting atop the transmission case and 2 slots were cut into the floorboard for the straps, to hold it to the front floorboard. wheels are 2.2 axial rocksters, with tsl-sx tires. I didn't want to comp cut the rear fenders, like I've seen on other early Hasbro builds, so instead I modified them a little to clear the tires.
Still have to fabricate a rollcage and front bumper/stinger, replace the windshield, make a steering wheel, and waiting for a longer rear driveshaft. I forgot that the wraith skid is longer in the rear than an scx10 skid.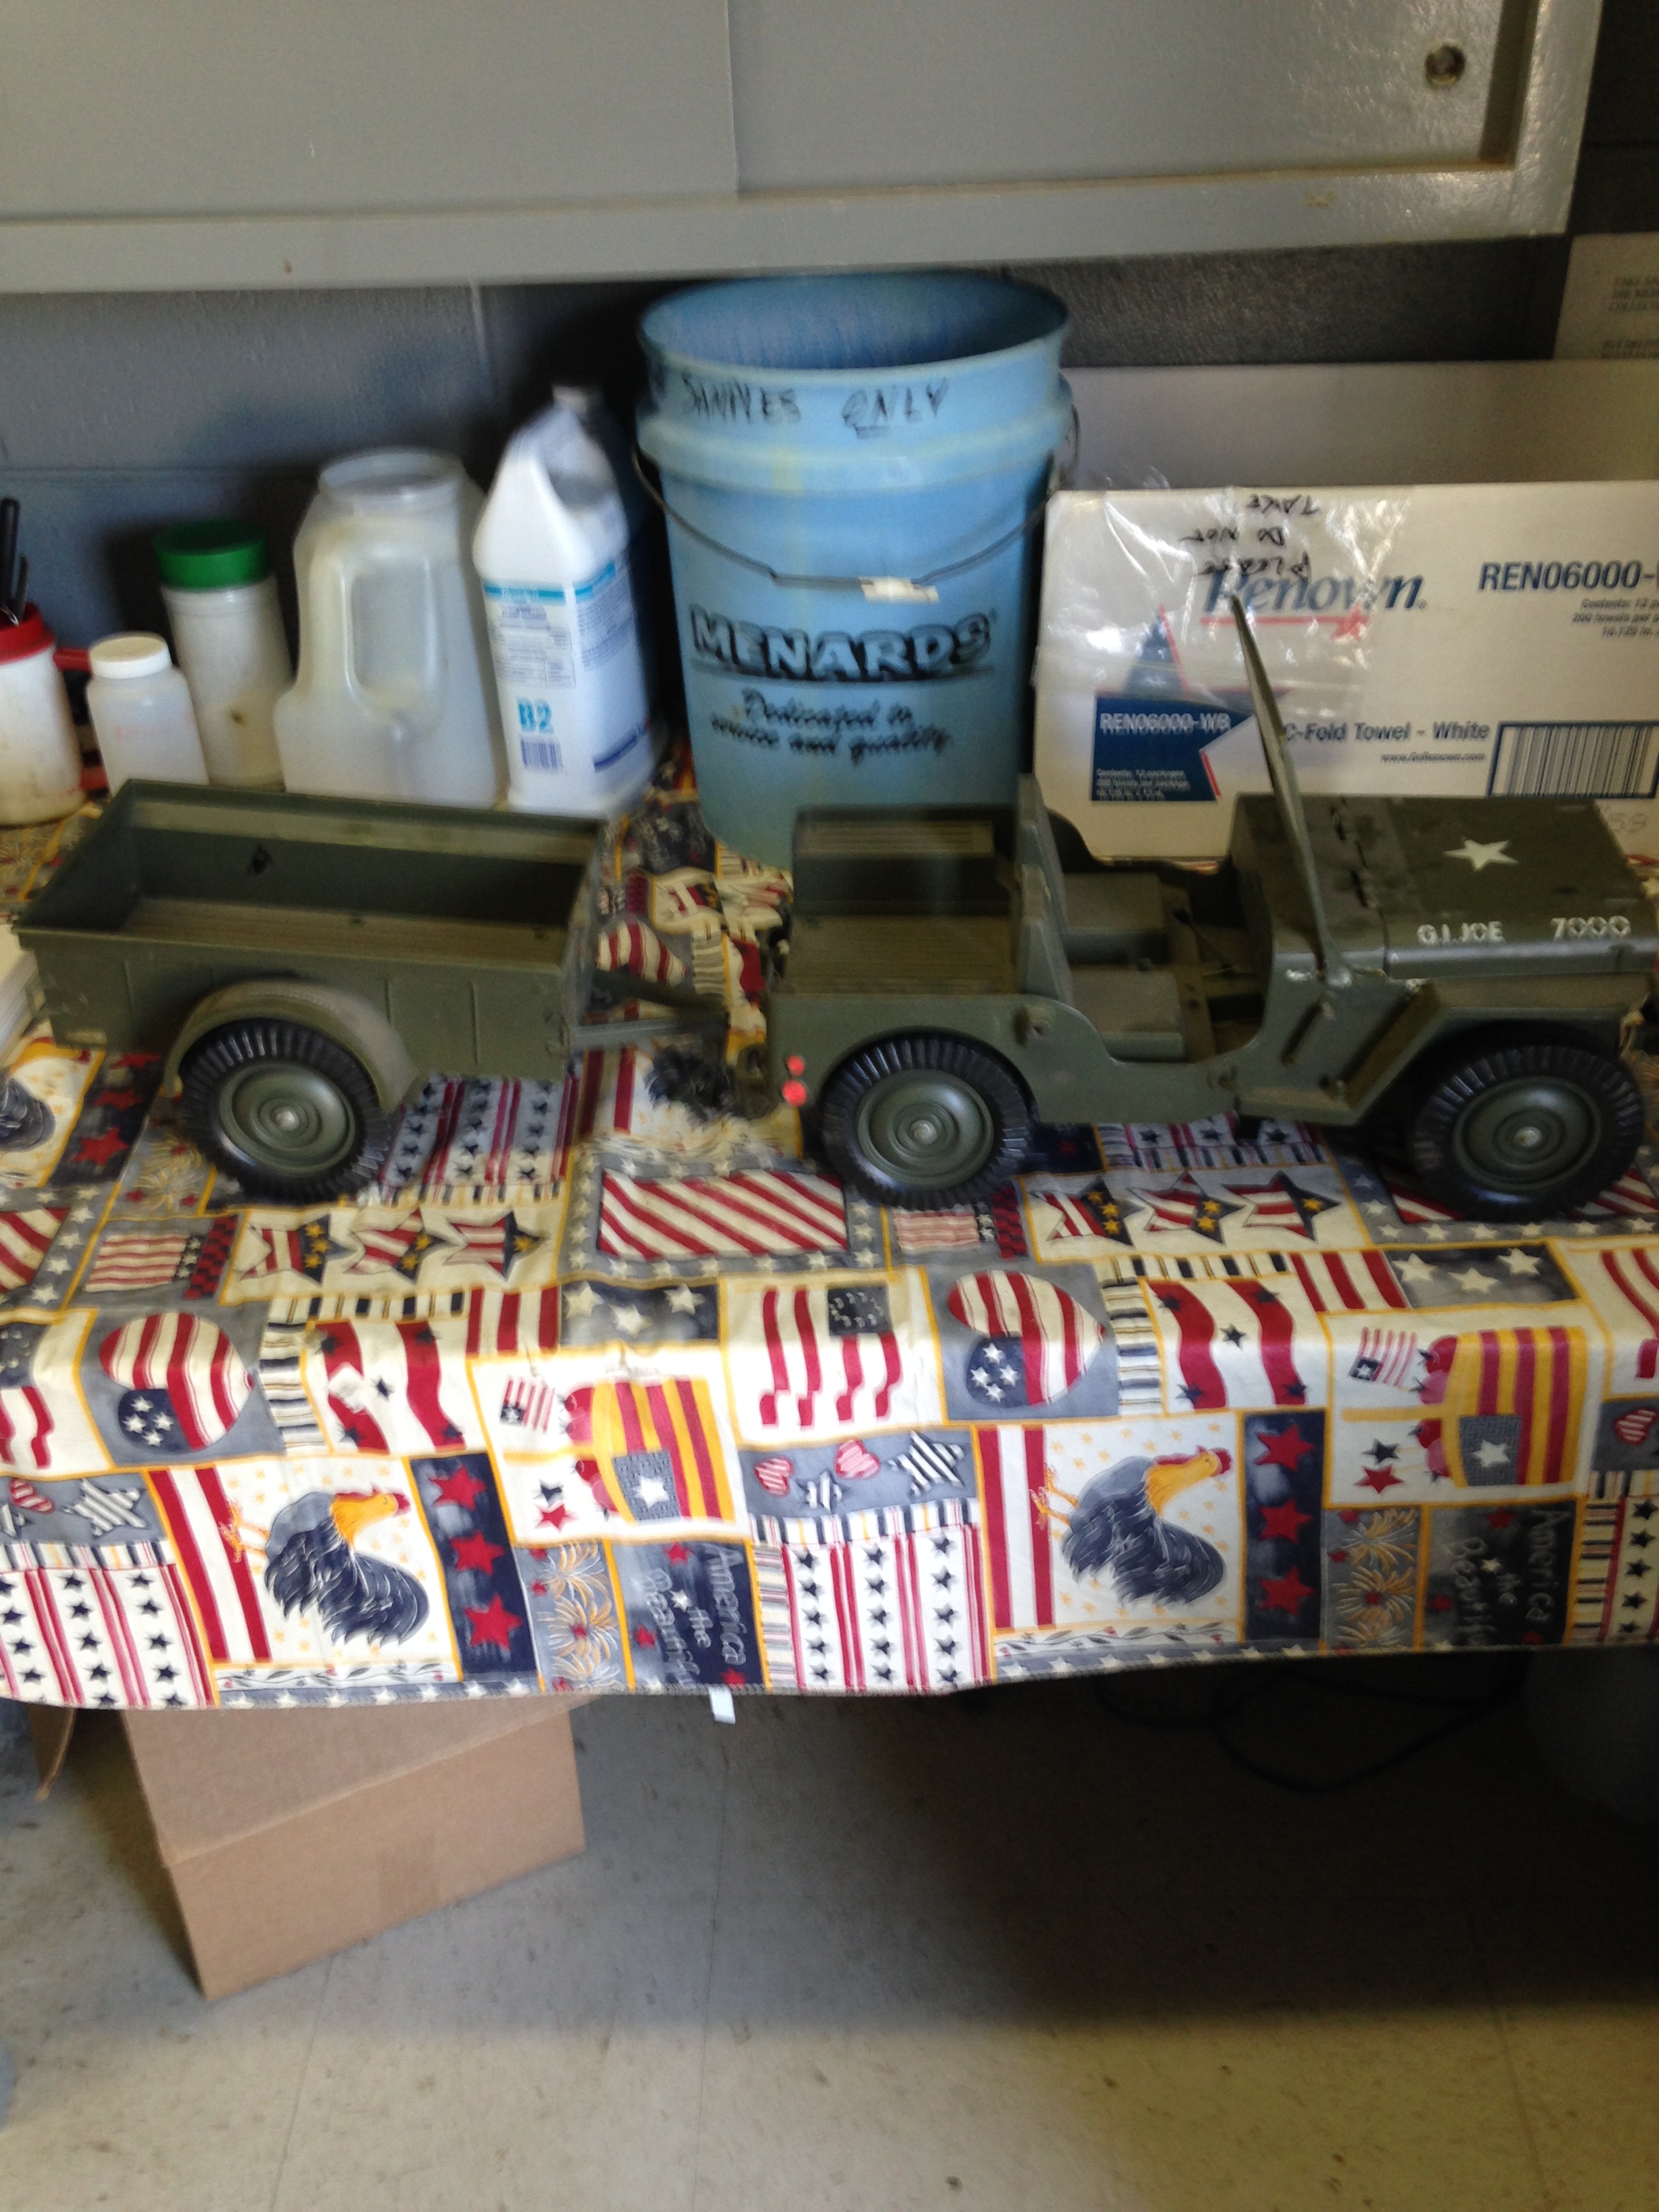


Still have to fabricate a rollcage and front bumper/stinger, replace the windshield, make a steering wheel, and waiting for a longer rear driveshaft. I forgot that the wraith skid is longer in the rear than an scx10 skid.
 10-06-2014, 02:57 PM
#2


Looks pretty good mike flea. i to like to mix toys with hobby RC parts. i made the mudstang in the toy forum. still looking for some parts to finish it. but your's came out great. good job.
10-07-2014, 04:29 PM
#5
Thread Starter
Too cool! I've got a buddy in my club that did a couple of those a couple years ago on a Tamiya juggernaut and clod buster chassis.
http://customrcmodels.com/id354.htm
http://customrcmodels.com/id354.htm
10-09-2014, 04:55 PM
#7
Thread Starter
Thank you, Benny, I'm hoping to finish it out as scale looking as possible, despite the one-piece molded to body seats that are in it. I'm starting to work on the rollcage now, and once I get it, and the front bumper brazed up, I'll work on the styrene work. That's inside work, the brazing I have to do outside, so while the temps are still fairly mild here in Chicagoland, that's what I'll work on next.
10-13-2014, 05:09 PM
#8
Thread Starter
It's been a long time since I bent tube, and bending it to precise dimensions like what is needed for the Willy's is a pain-in-the-butt. The first piece I bent was for the front tube that runs from the floorboard up to the window frame, and back down to the floorboard on the right side of the body. Made my marks on the tube, but ended up making the top tube too short, so it ended up being 1" too short...eh, I'll cut it up and use it for a cross brace. The second one I made was the right length across the top of the window frame. The last time I bent tube was for a '40 Chevy I was building, you don't have to be so accurate bending tube along framerails and under the engine. Still have more to do, no pics 'til I finish it.
10-18-2014, 06:20 PM
#9
Thread Starter
Started on the rollcage yesterday, worked on it most of the day today, and just about have it completed. Still want to put a couple more crossbraces on it, and despite my crappy brazing job, it actually turned out well.

10-19-2014, 04:38 PM
#11
Thread Starter
Finished the rollcage this afternoon by adding a couple braces across the doors, and 1 out back between the kickers. I'll start on the front bumper next weekend, also using 1/4" tube. Was going to use 3/16 for the grill guard, but it's too flimsy, as it was bending just cutting the flare off one end. The actual bumper will be a short piece of 3/8.

10-25-2014, 06:52 PM
#12
Thread Starter
Got tired of waiting for the WB8-HD driveshaft that I ordered from the local hobbytown, so last Sunday I ordered a Punisher shaft from RC4WD, received it on Tuesday, and installed it today. The Jeep climbs like a mountain goat on my backyard rock pile, although I don't think I had a full charge on the battery because I was having steering issues. I'm running a Hi-Tec 645mg, and never had problems before, I'll troubleshoot tomorrow.
10-25-2014, 08:11 PM
#13
i was trying to look in the last pic but couldn't tell if your servo horn was metal or plastic. if it's plastic that might be the problem. when i got my rock slide i got the same servo's and thought i had a steering issue but the were so strong that they were just spinning in the horns. got some metal ones and that solved the problem. could also be a power issue. if you trouble shoot it and it still has problems contact hi tec they should help.
10-26-2014, 03:46 PM
#14
Thread Starter
The servo horn is aluminum, and it has a top and bottom cinch bolt as well as the screw in the middle. Actually there were 3 problems. 1) battery was almost dead, 2) in my haste to put the servo back on, I didn't center it, and 3) on the first test drive, the Jeep still had it's original plastic bumper on it and I had turned down the set points for lock-to-lock steering so the tires wouldn't jam up on the bumper. All better now.
 10-27-2014, 04:39 PM
#16
Thread Starter
Primered the cage tonight, still have to work on the front bumper. I was going to use a piece of 3/8 brakeline for the front bumper, but it looks too small. The original plastic bumper was 1/2in wide, so I think I'm going to look for a piece of 1/2in "c" channel or find some 1/2in pipe.
11-08-2014, 04:29 PM
#17
Thread Starter
Still working on getting the front bumper together. Going to try using a 4" piece of 1/2 in pipe nipple with endcaps as the bumper with a shorter piece of 3/4 in pipe to use as a roller, sort of like on a WWII Halftrack. I need to run to the hardware store and pick up some 3/16 roundstock, as opposed to the 3/16 brakeline. I found that the thinner brakeline was too flimsy, and I should be able to make a jig to bend the 3/16 coldrolled into a decent grillgaurd.
11-28-2014, 05:37 PM
#19
Thread Starter
I'll get some pics up by the end of the weekend, still working on front bumper, started working on styrene work today, boxing in the tunnel, and rear shocks, & filling in body holes.
11-29-2014, 09:26 PM
#21
Thread Starter
Ok, here's my "new" bumper concept, I have a couple pieces of 1/2" flat stock attached to each frame rail, and a 4" pipe nipple with a couple slots ground half way through, so the flat stock sits into the pipe. I still have to get a friend to put a tack weld on each end where the flat stock joins the pipe. In between the flat stock on the half inch pipe, sits a 3" pipe nipple used as a roller. I also started the body work yesterday, filling in holes, adding a rear panel where the missing tailgate was, constructed a center tunnel to hide the motor and trans, and built a couple boxes to hide the rear shock towers. I'm thinking of adding some smaller strips of styrene to the boxes to make them look like crates, just unsure how I would do a wood look. Tried to take a picture of the headlights lit up, but the flash on the camera was brighter than the headlights, so it didn't turn out. the headlights are those little book lights that you get from the dollar store, epoxied into a small piece of 1/2" PVC, and then epoxied to the back of the lights on the grill.


11-29-2014, 09:47 PM
#22
Very cool. the back of the jeep came out great. a coat of paint and you could never tell it wasn't factory.
the lights would be brighter if you ran them from a 9v battery. you just need a resistor so the lights don't blow. google rc light kit.
cool idea with the bumper i'd like to see it on the trail to see it working in action.
again great job man!
the lights would be brighter if you ran them from a 9v battery. you just need a resistor so the lights don't blow. google rc light kit.
cool idea with the bumper i'd like to see it on the trail to see it working in action.
again great job man!
12-05-2014, 05:50 PM
#25
Thread Starter
What really sucks, is the original sound unit that came in the early Hasbro Jeeps, still worked in this one, but I removed it to make room for the shock towers and electrics. It was just a simple motor with a pair( 180 degree ) of plastic balls molded on a pair of pins, that rotated and hit a piece of tin. It actually sounded like a stock 4 banger jeep motor from the 40's.