Gee Bee Conquistador

 01-15-2019, 09:39 AM
#102
The wood parts are completely lasered, but the real build need to be shift a few month, due the moulding and fibre worx all need to be finished before and some wood for covering need to be purchsed...
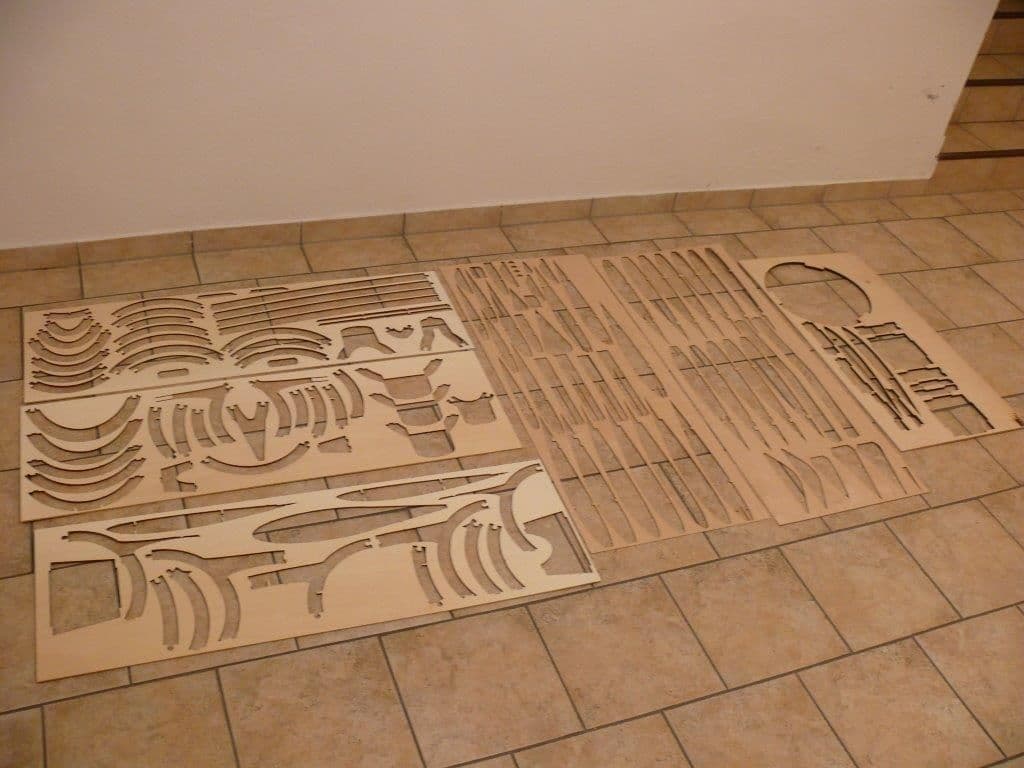
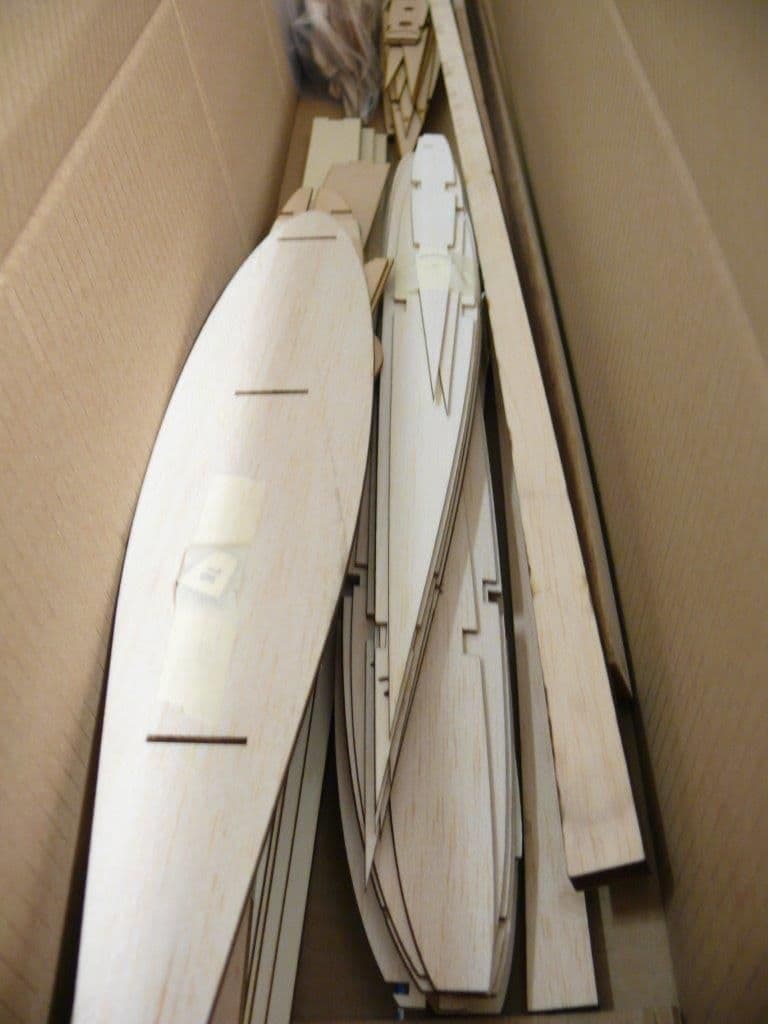
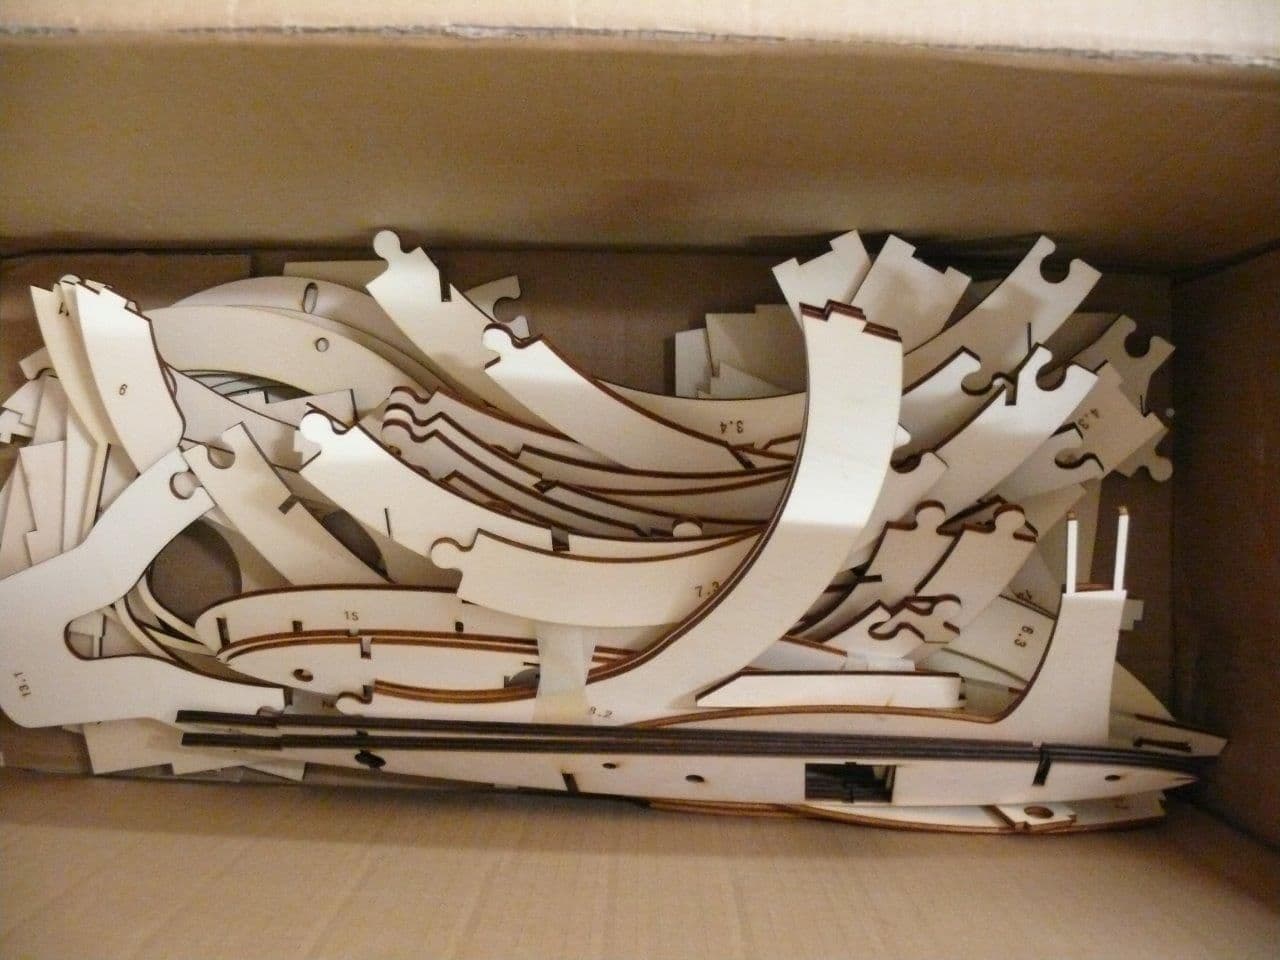
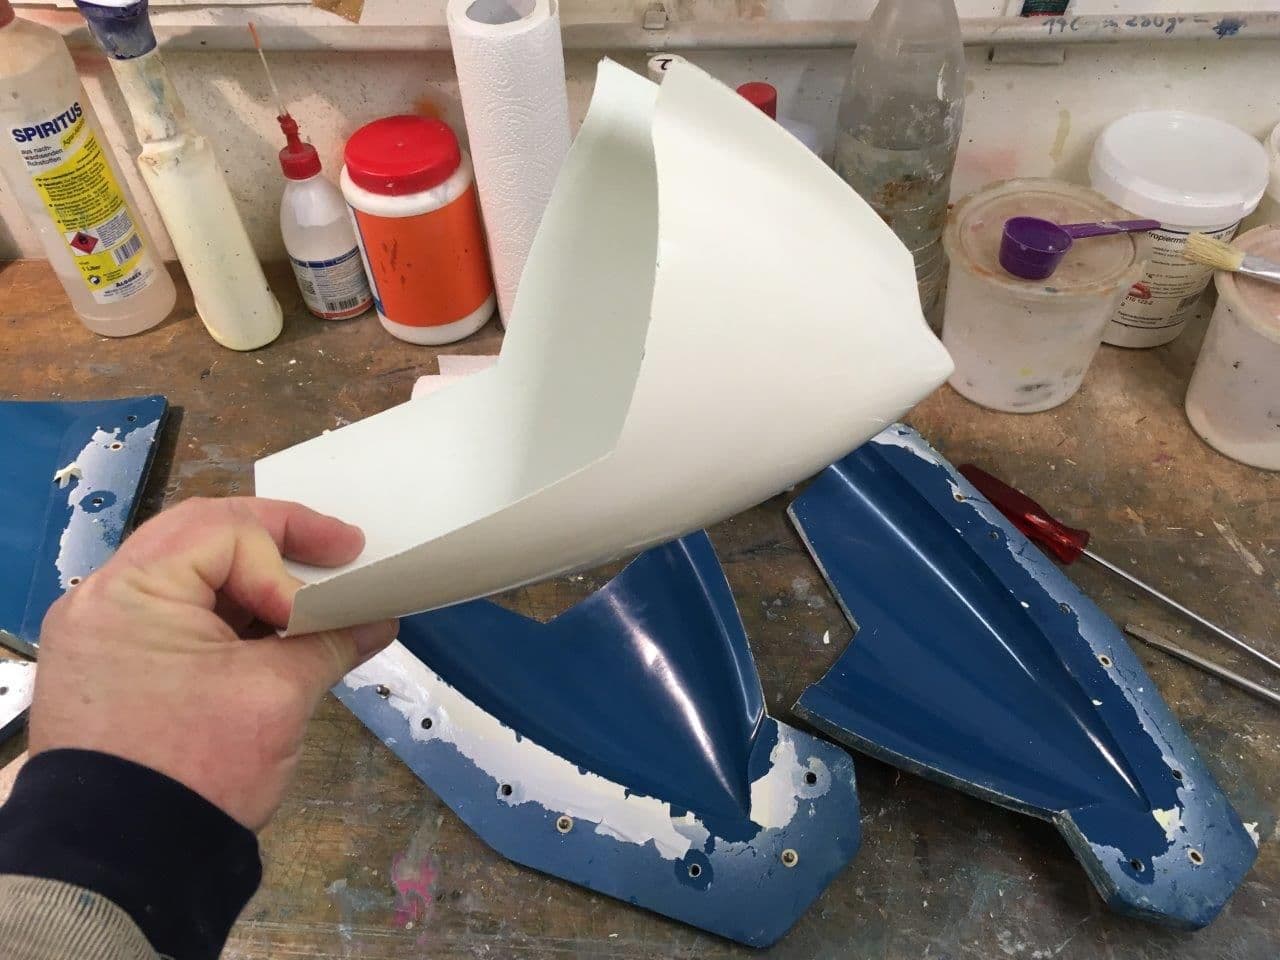
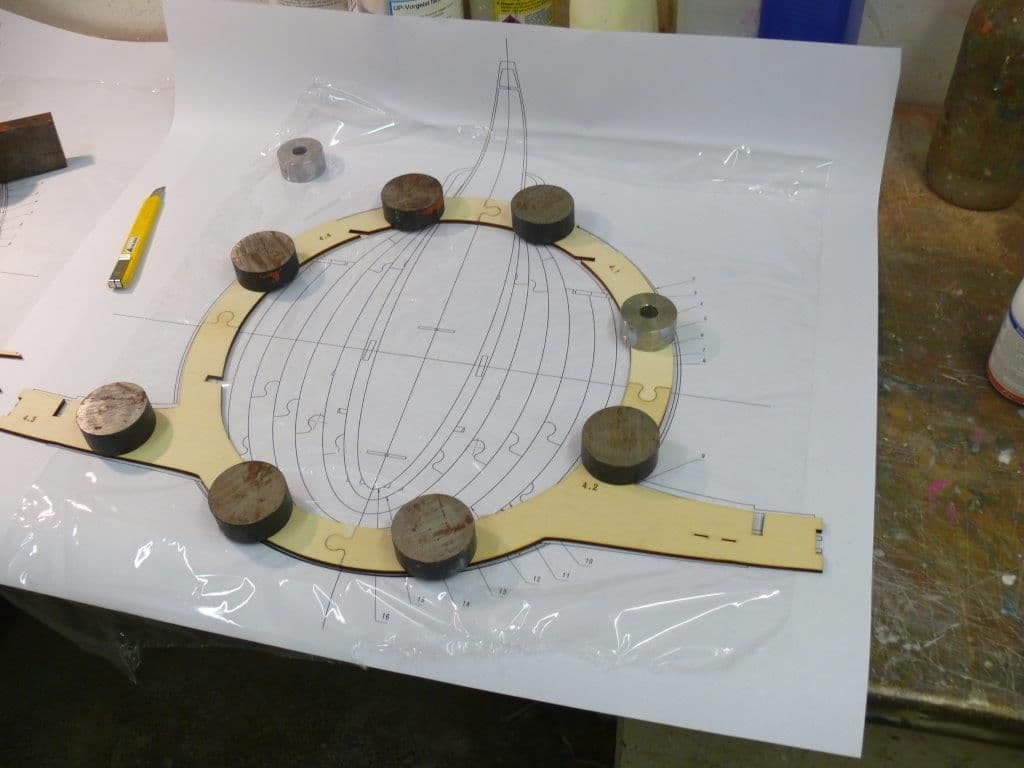
Parts fit good together:

Parts fit good together:

 01-15-2019, 09:47 AM
#104
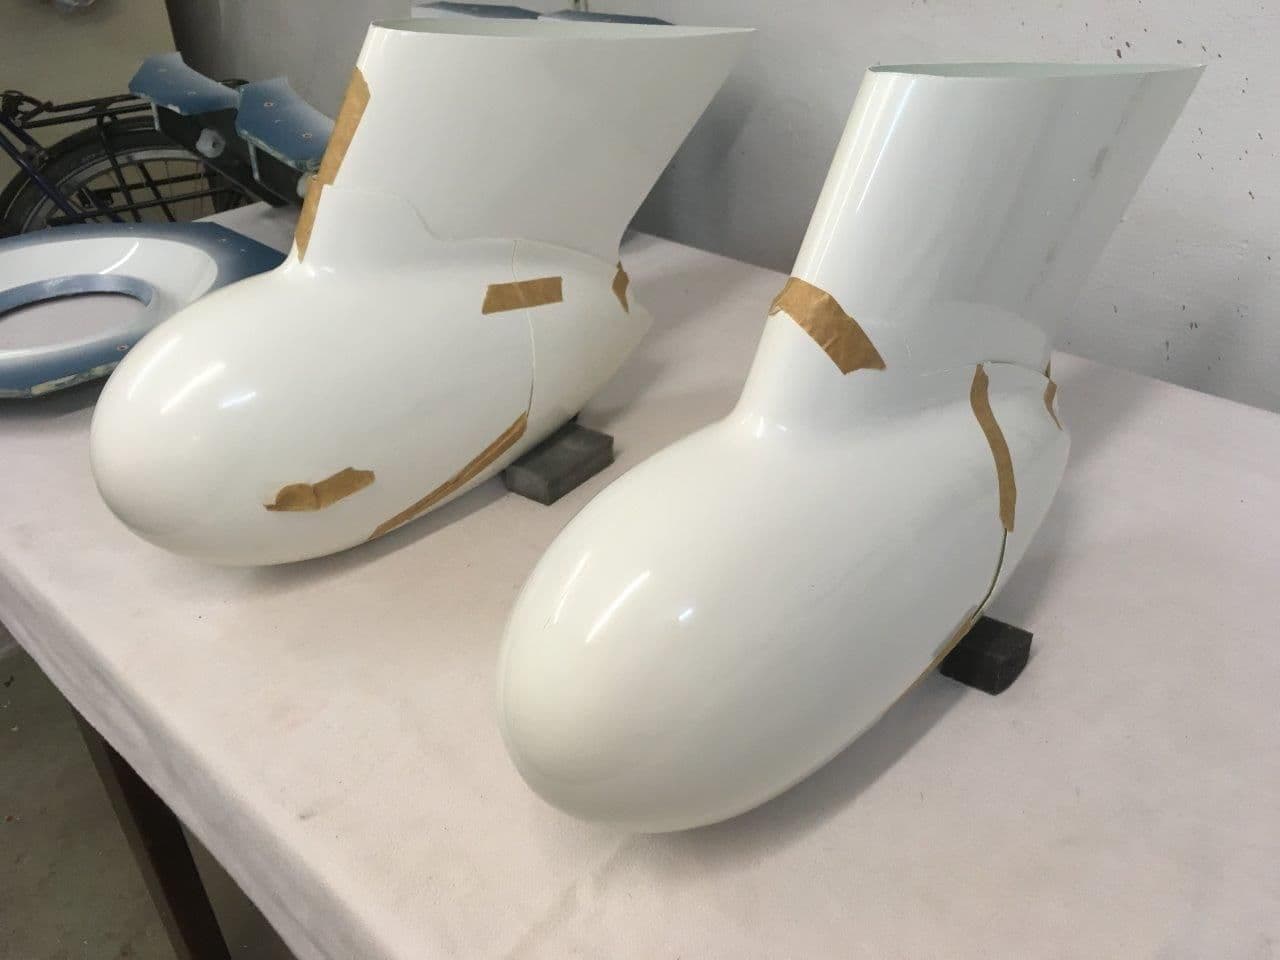
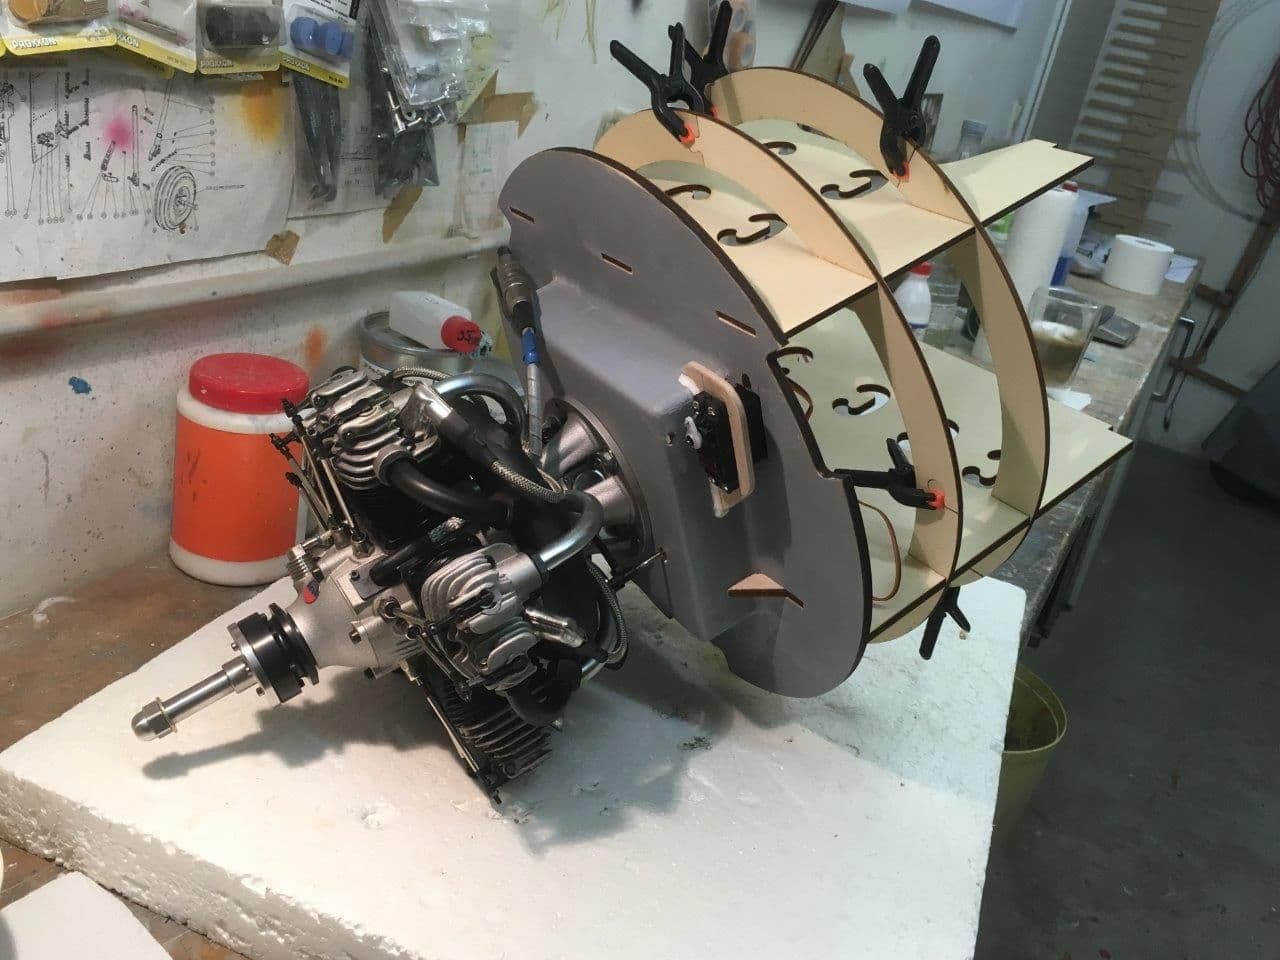
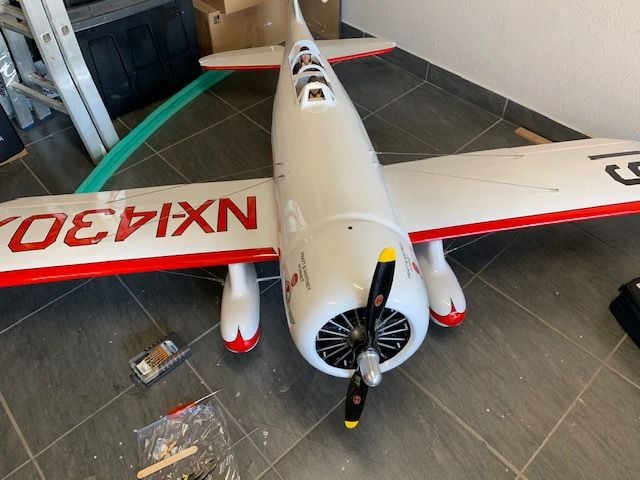
I have a Moki 5 cylinder with 150ccm for it and the plane with 100inch span was blown up so far due the 250ccm Moki 7 cyl does also fit inside, and the plan considder both enginge to be build in there a 2 diffrerent domes for it.

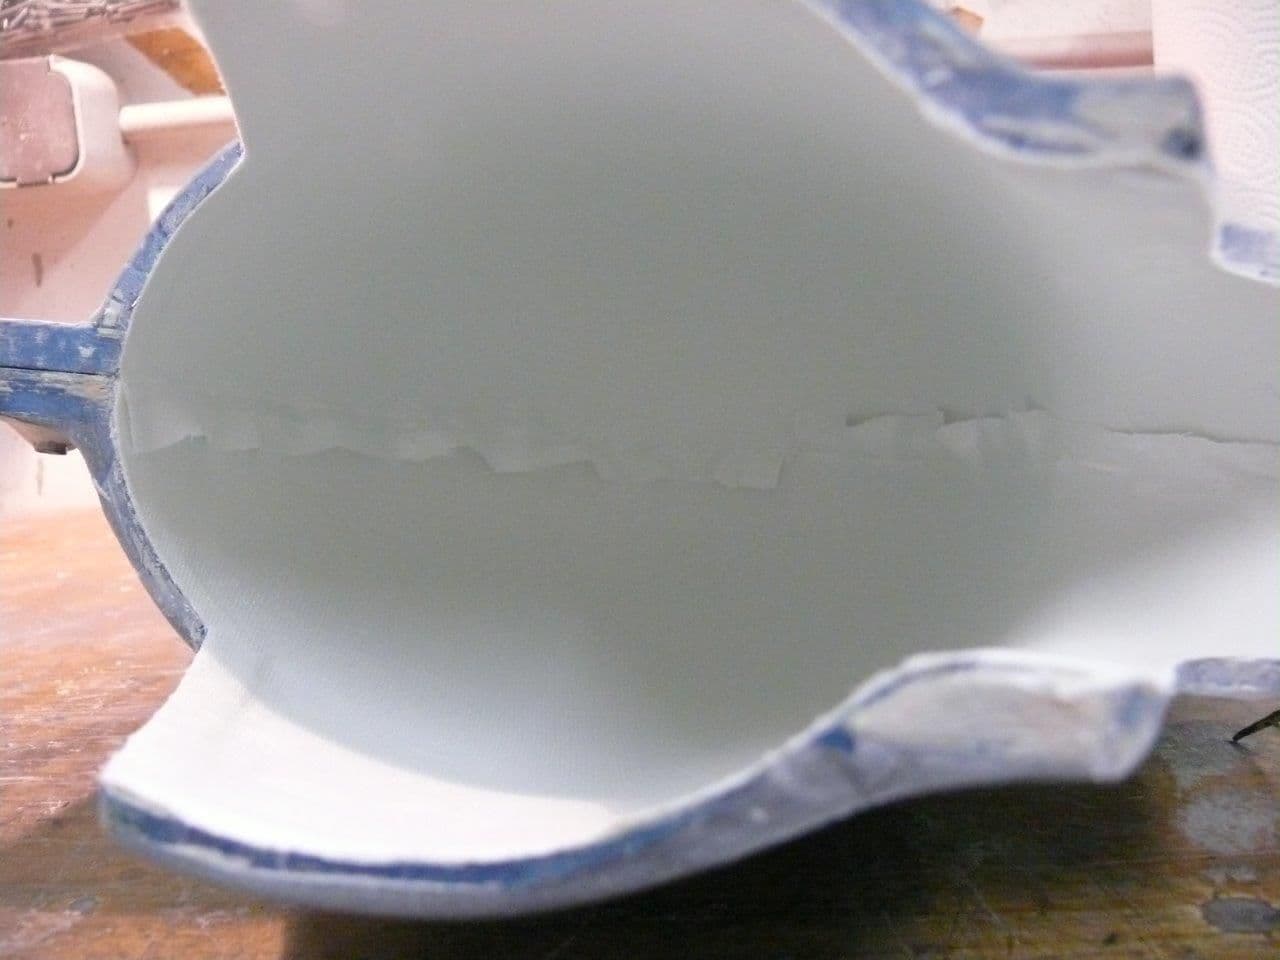
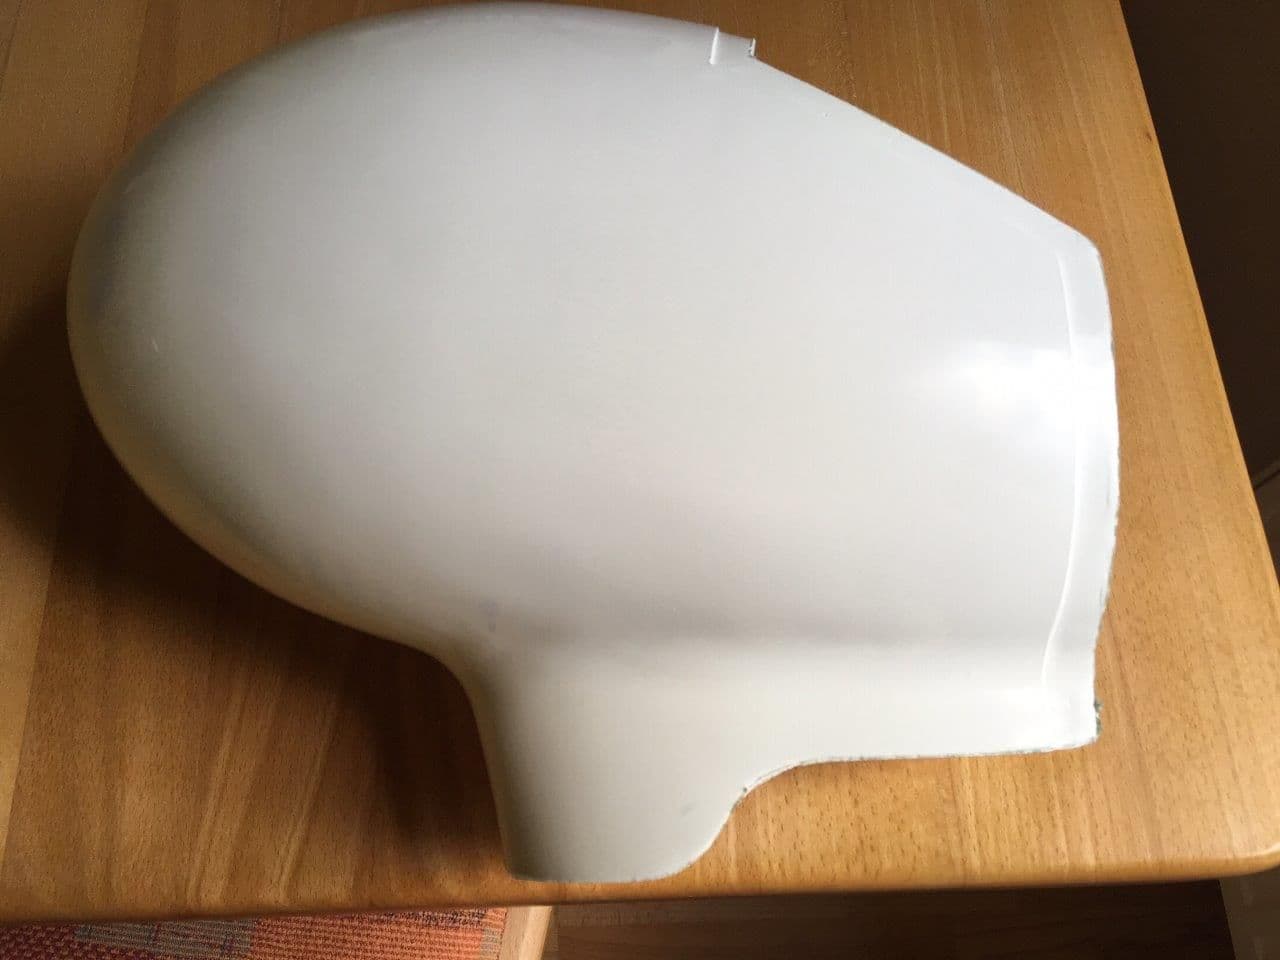
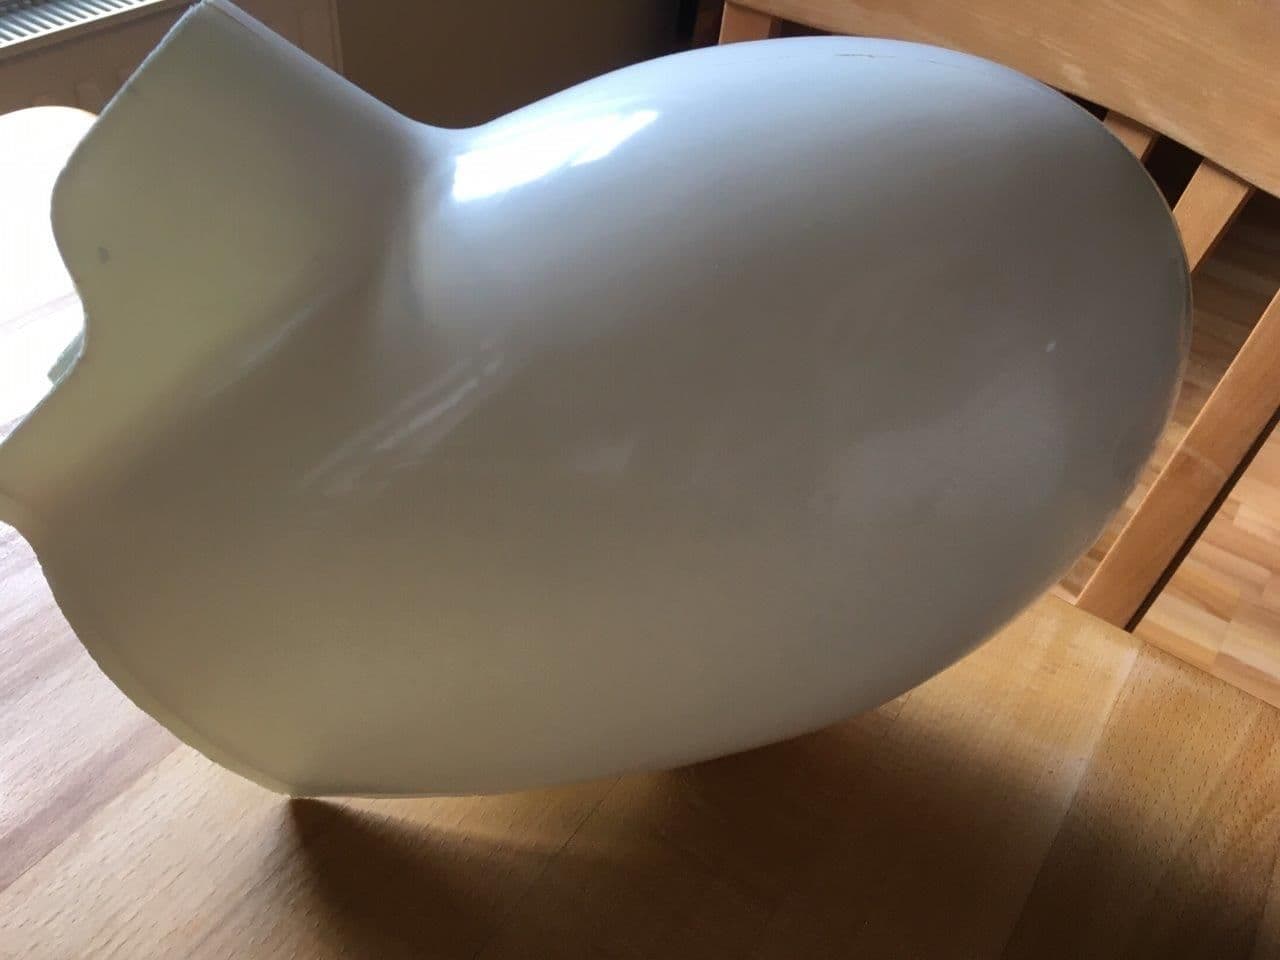
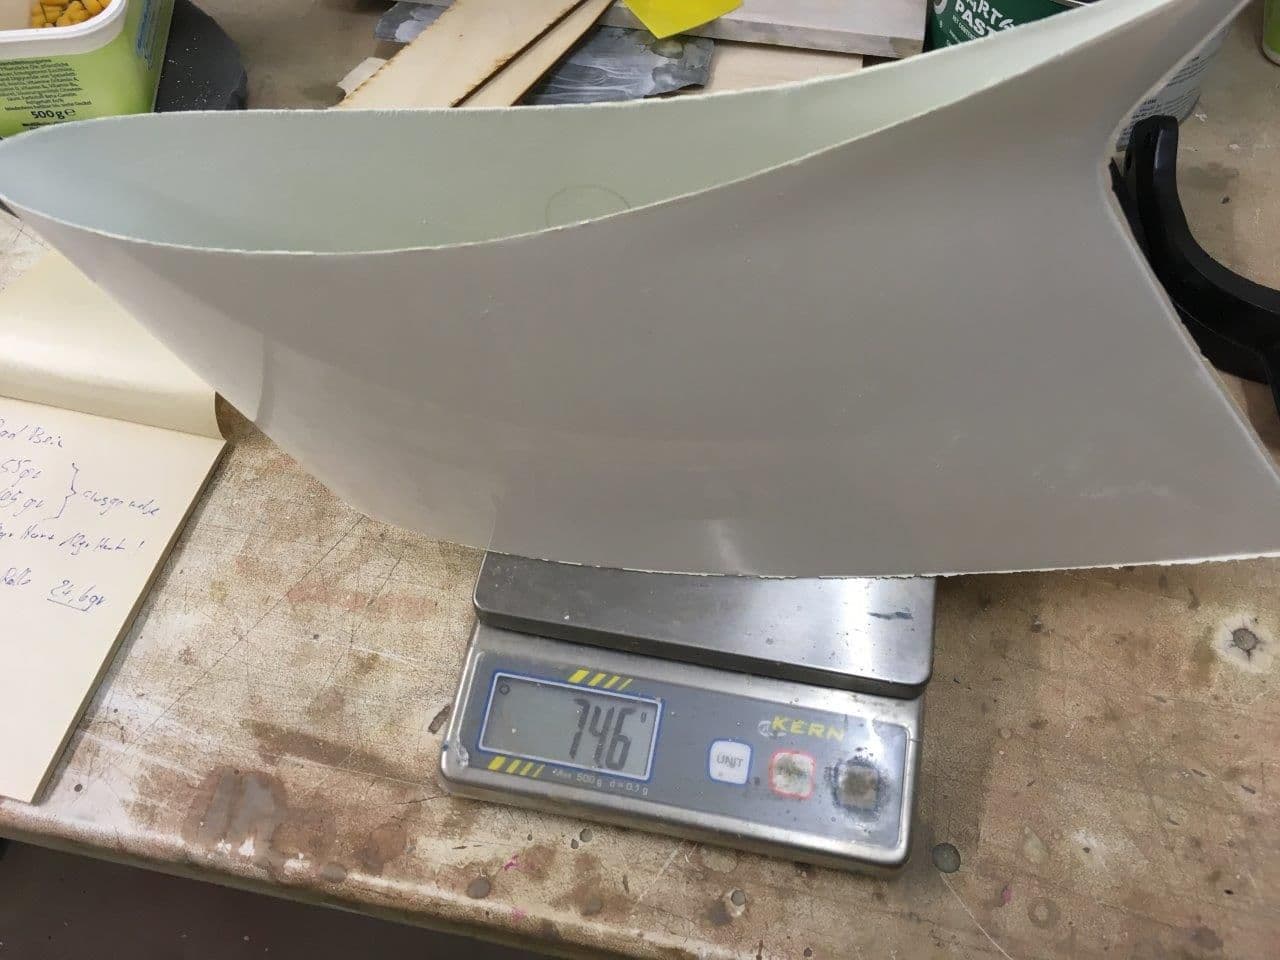
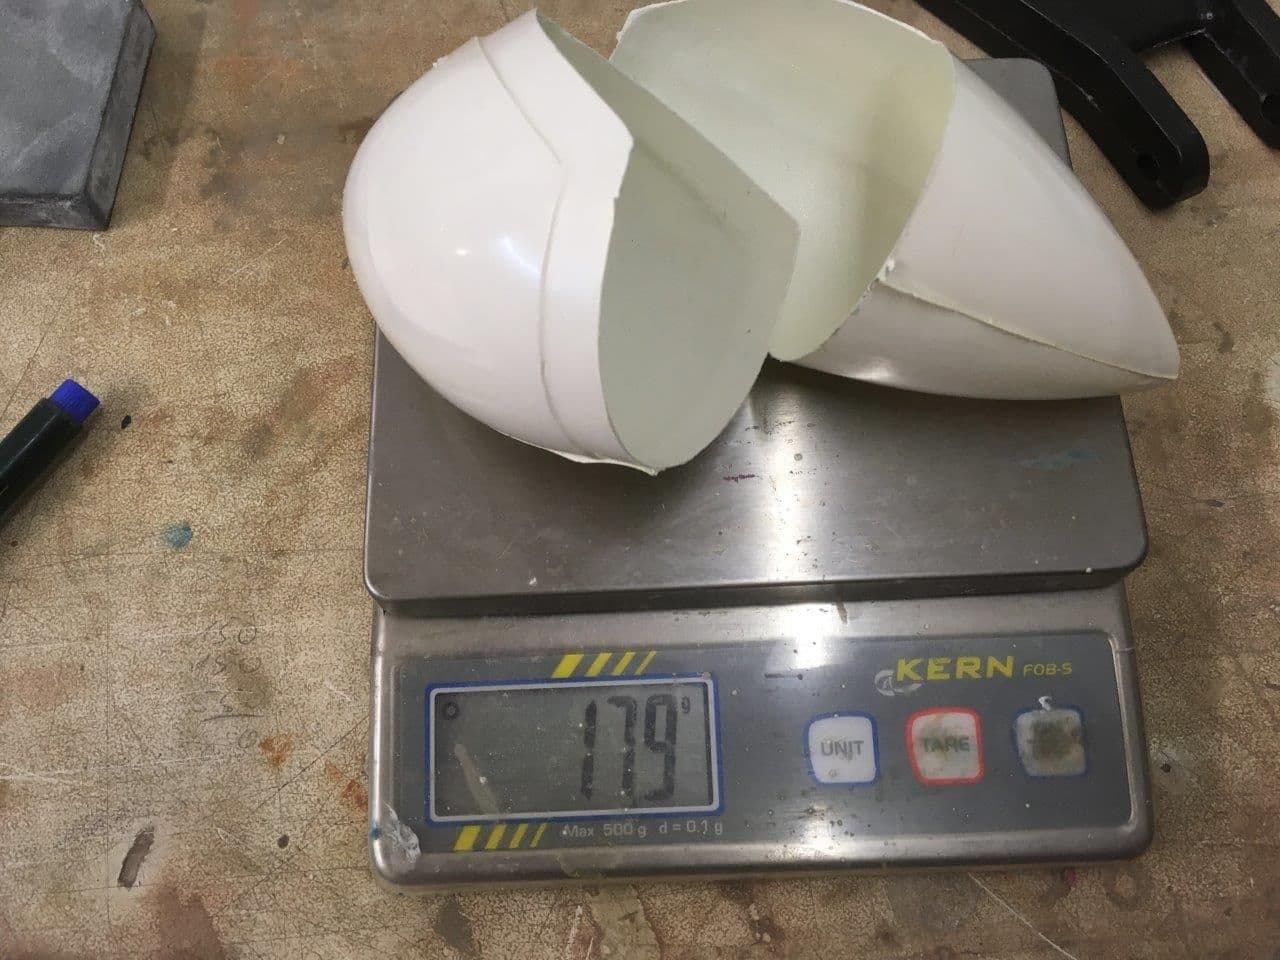
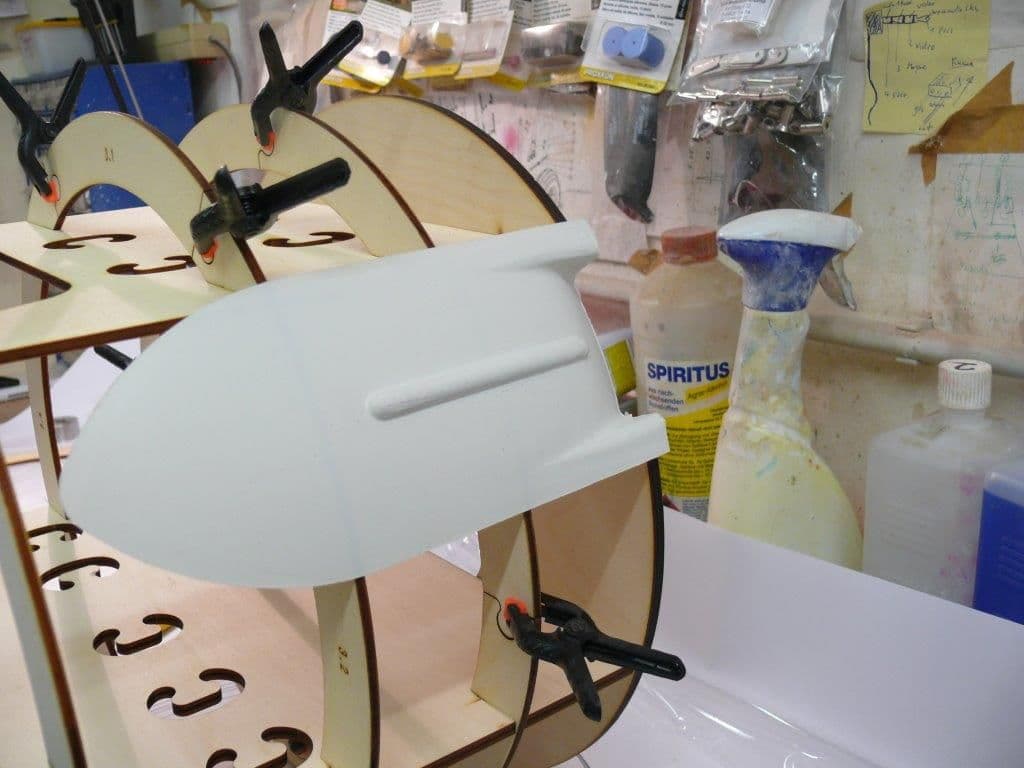
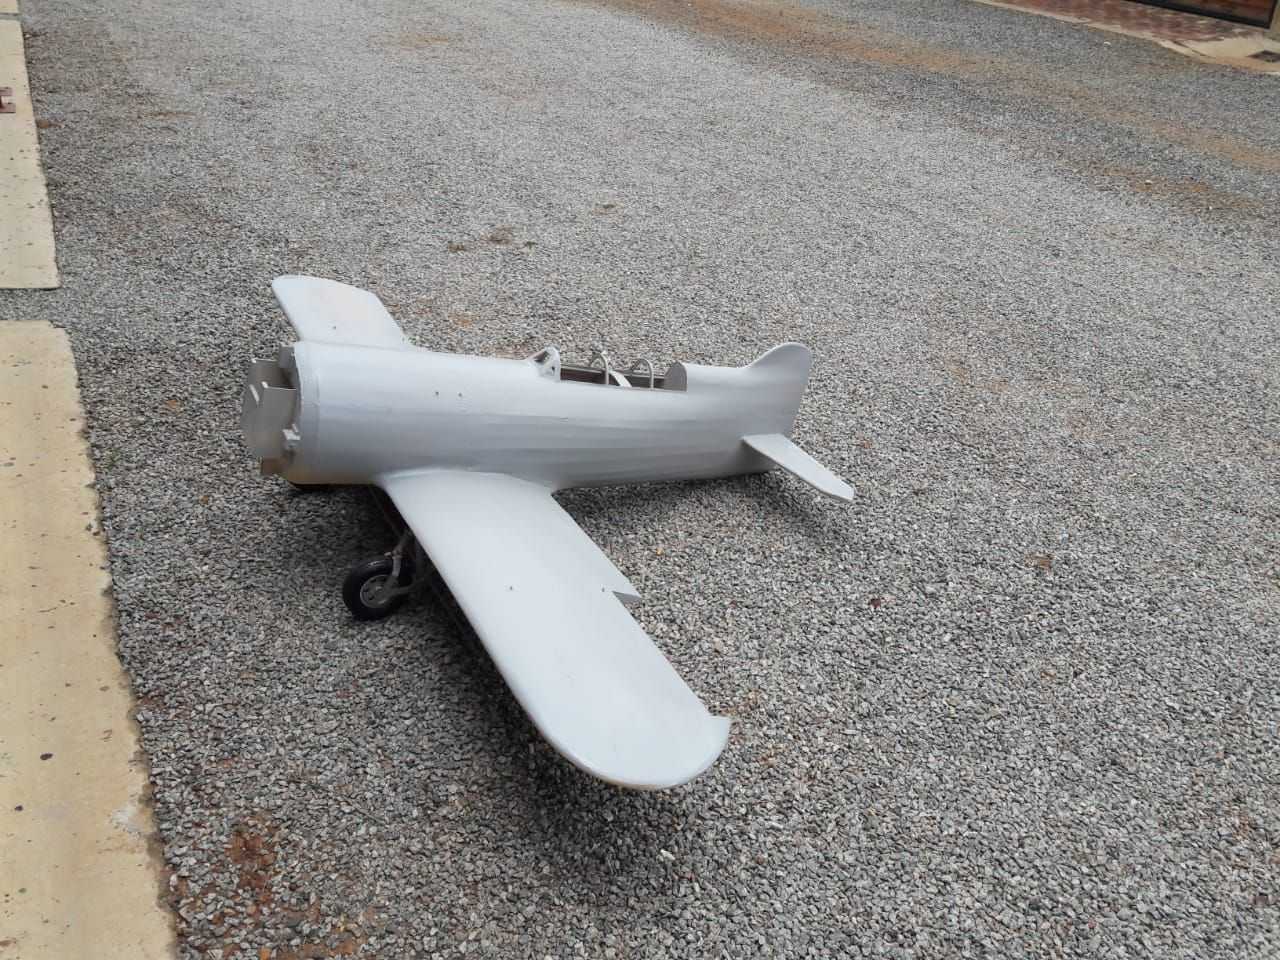
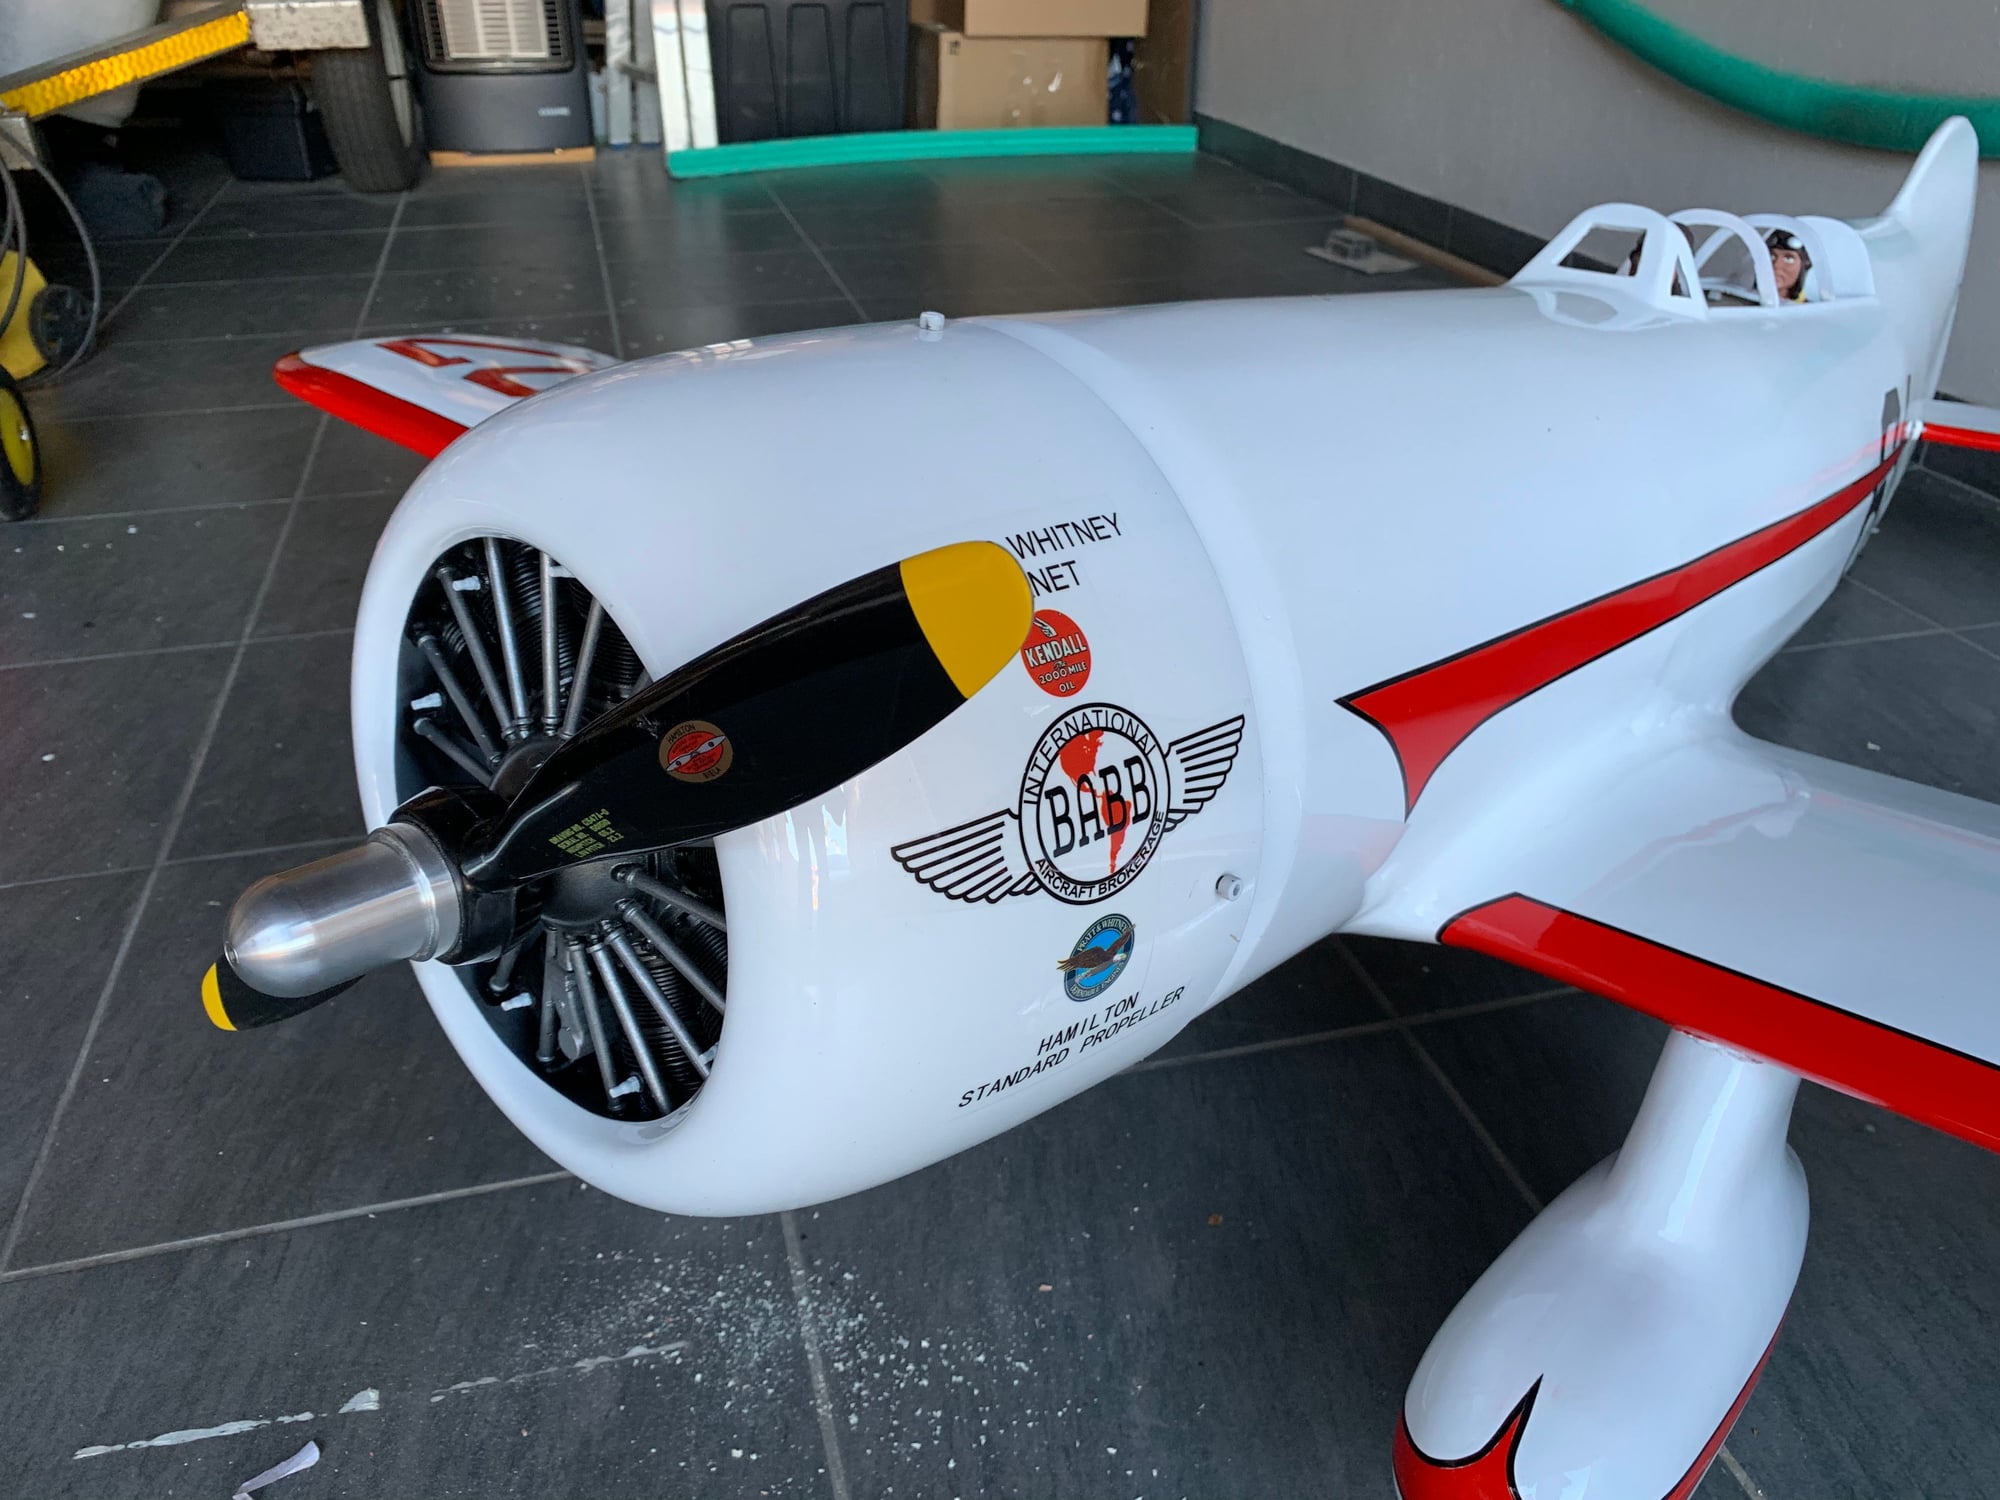
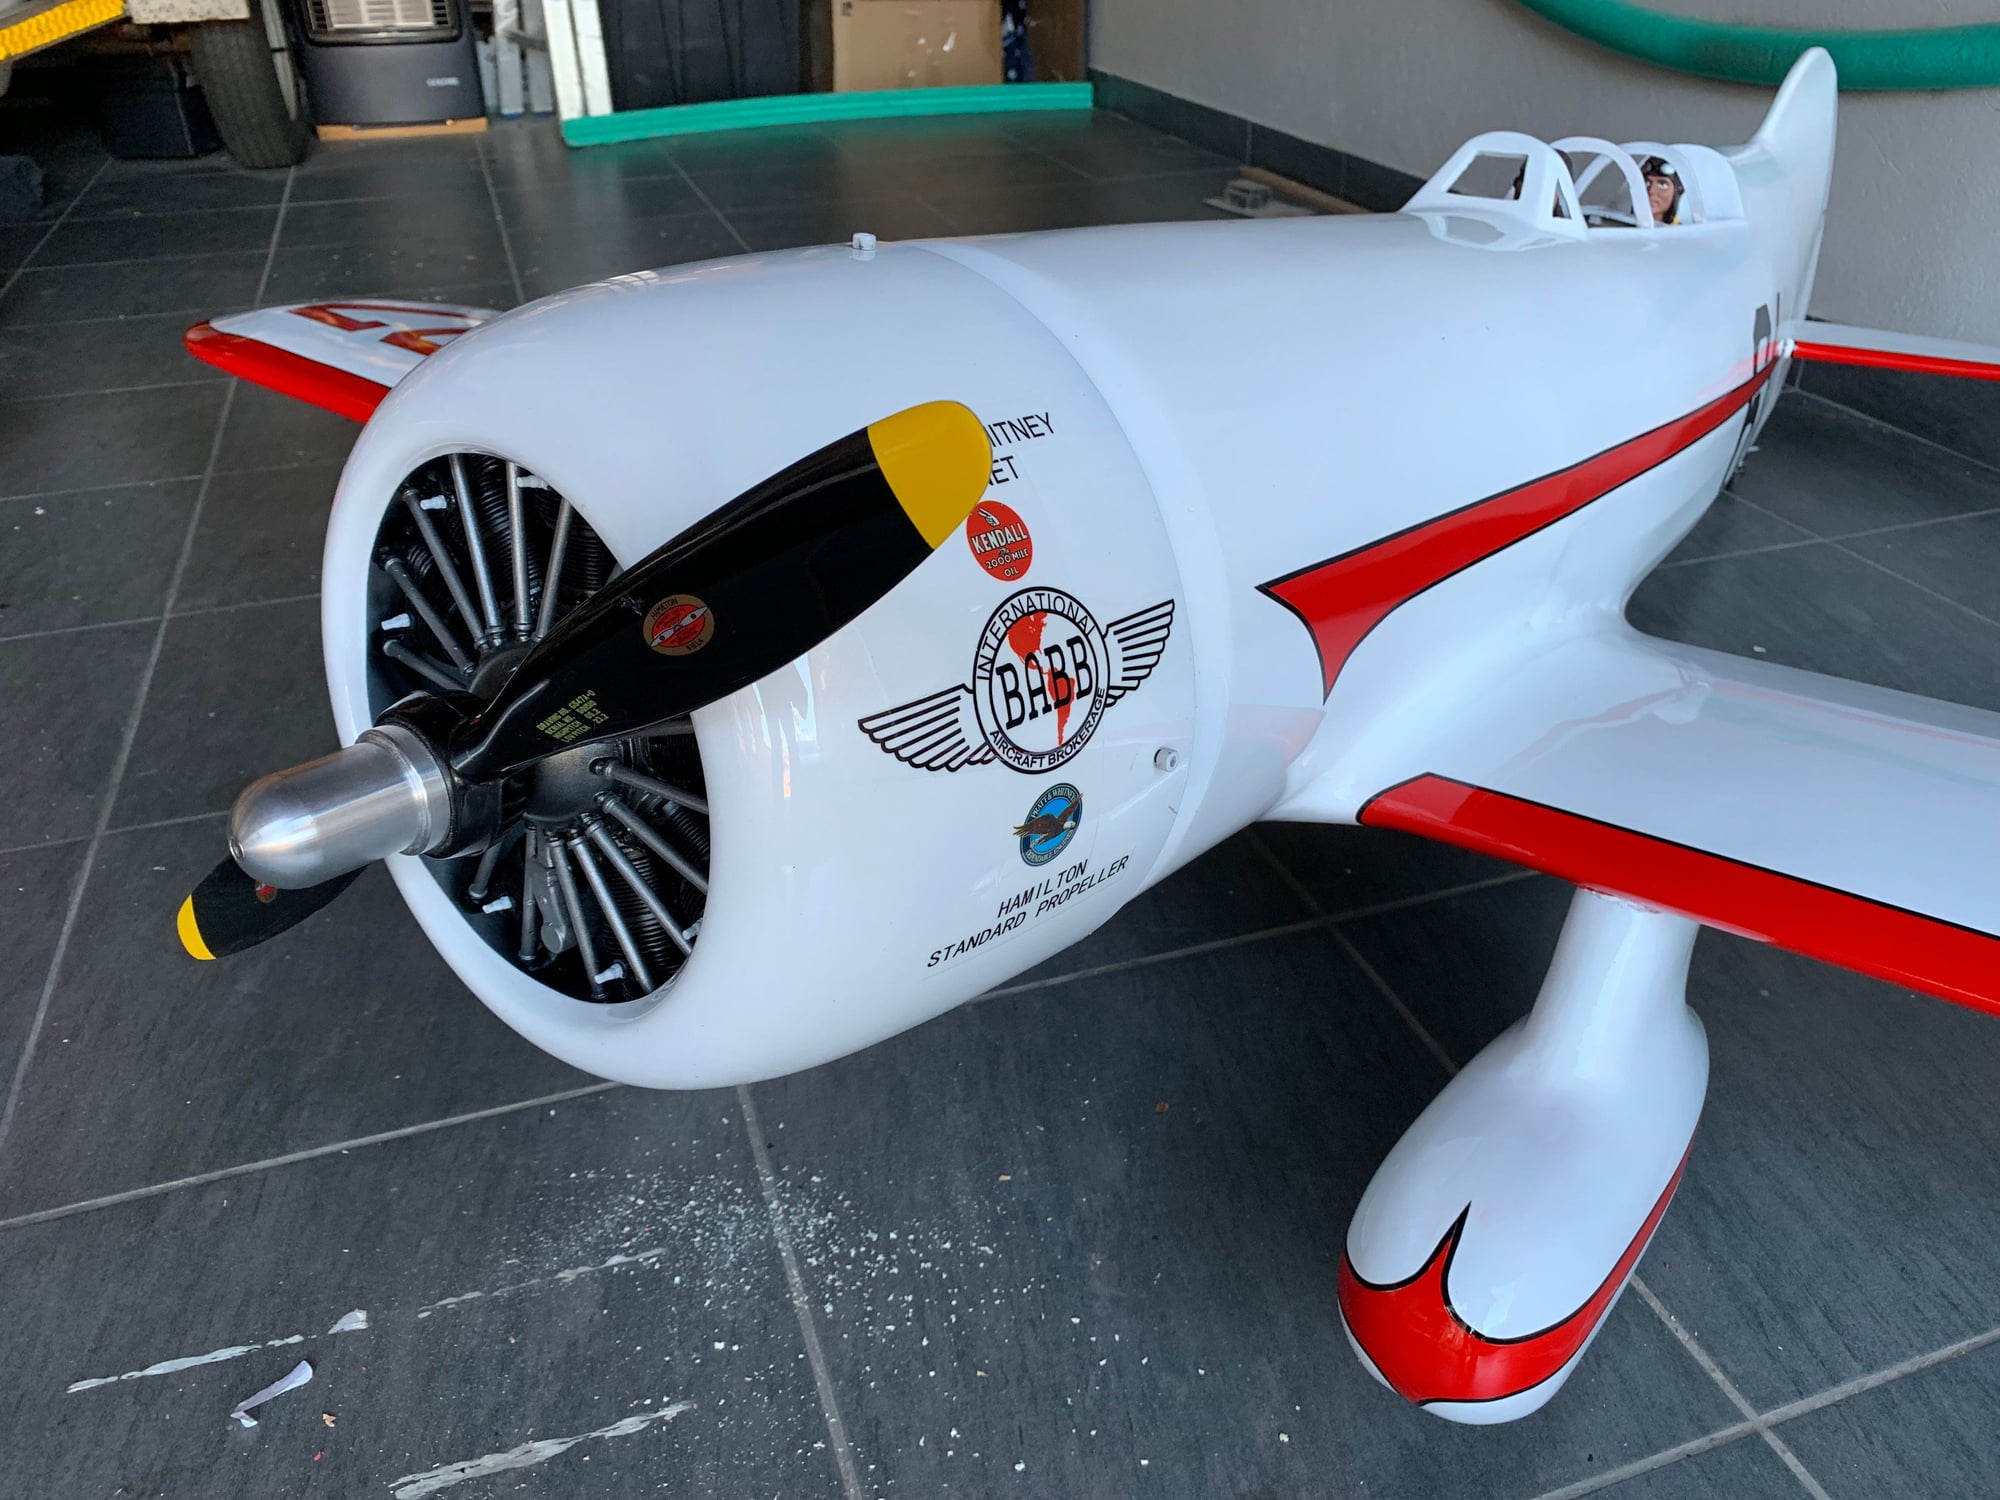
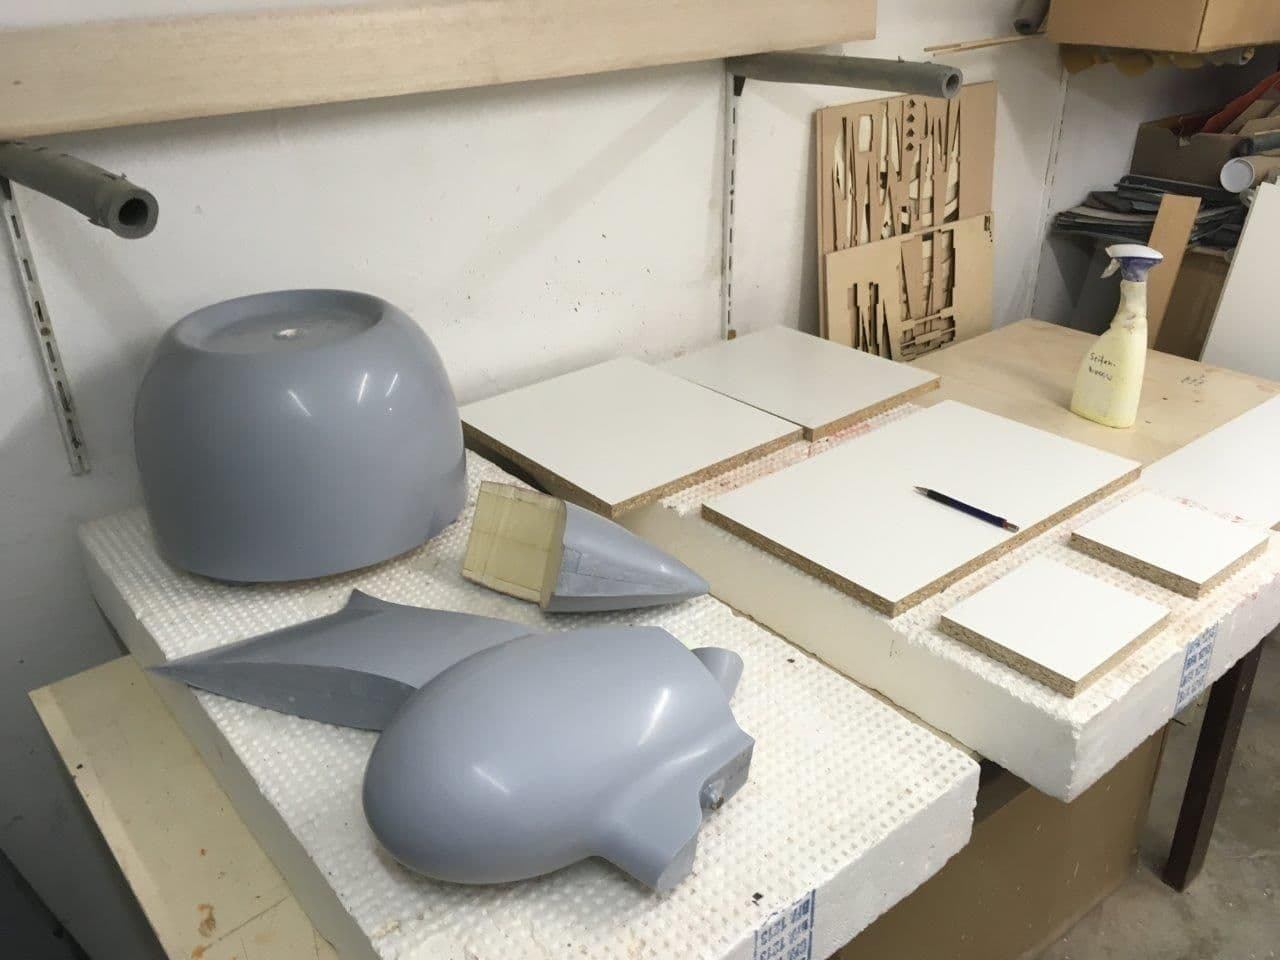
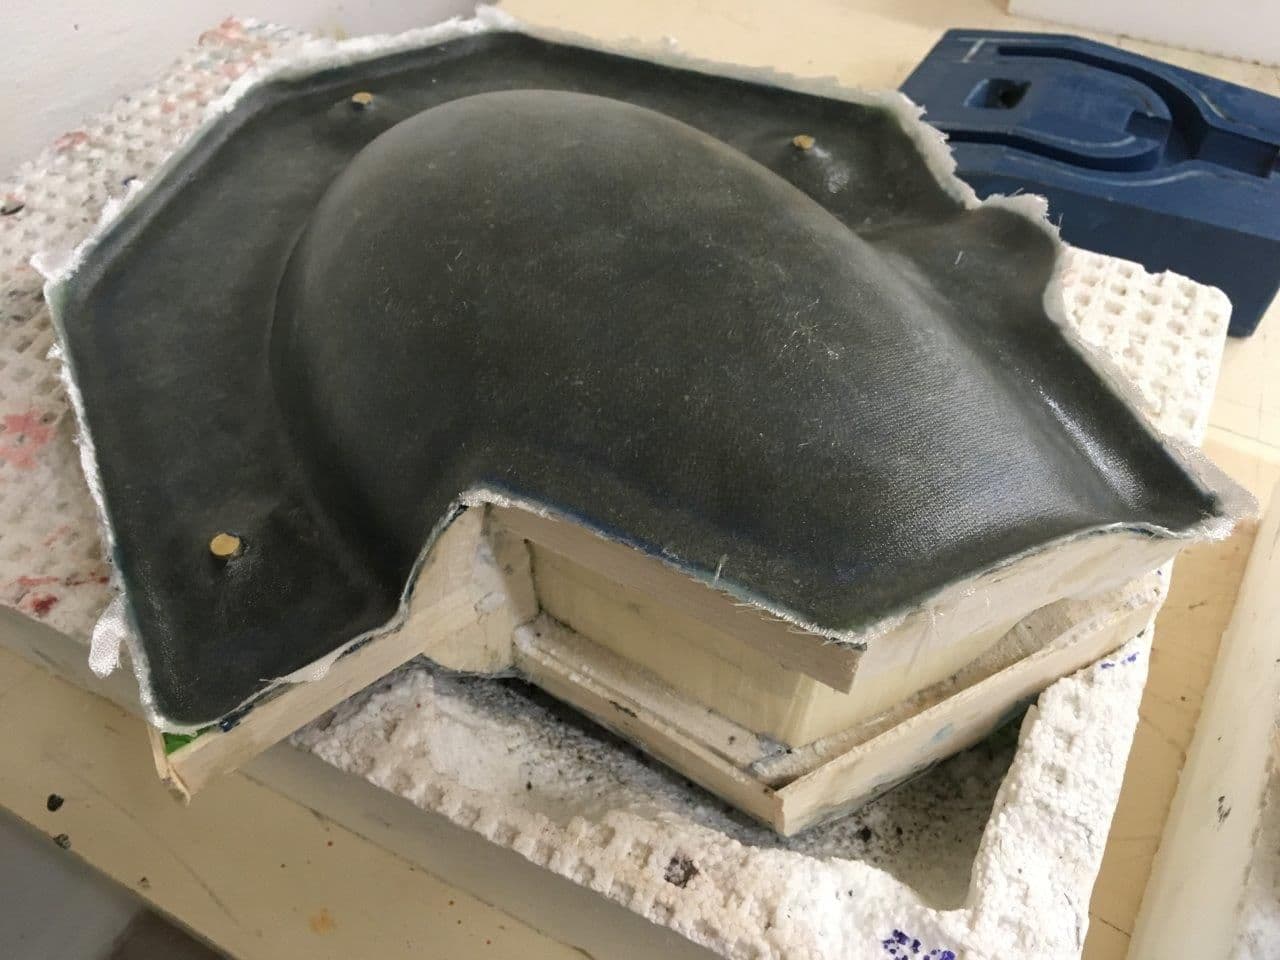
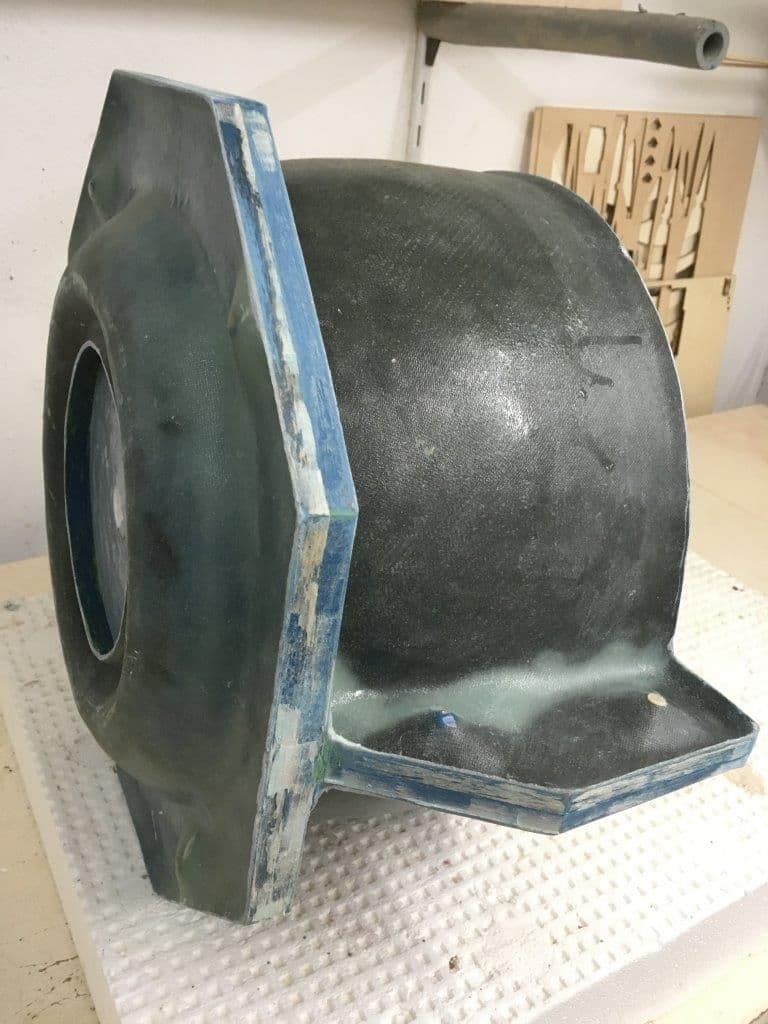
Here the foam master for the cowling and the Moki, I bought thin prop approx10-15 years agoe from a company in USA / could be Florida / but I cannot remember the hub and the blades are no longer made ;-(
Here the foam master for the cowling and the Moki, I bought thin prop approx10-15 years agoe from a company in USA / could be Florida / but I cannot remember the hub and the blades are no longer made ;-(
01-15-2019, 11:48 AM
#106
Hi Marc,
yes thank you, was hard to learn ;-)
will post some progress from time to time.
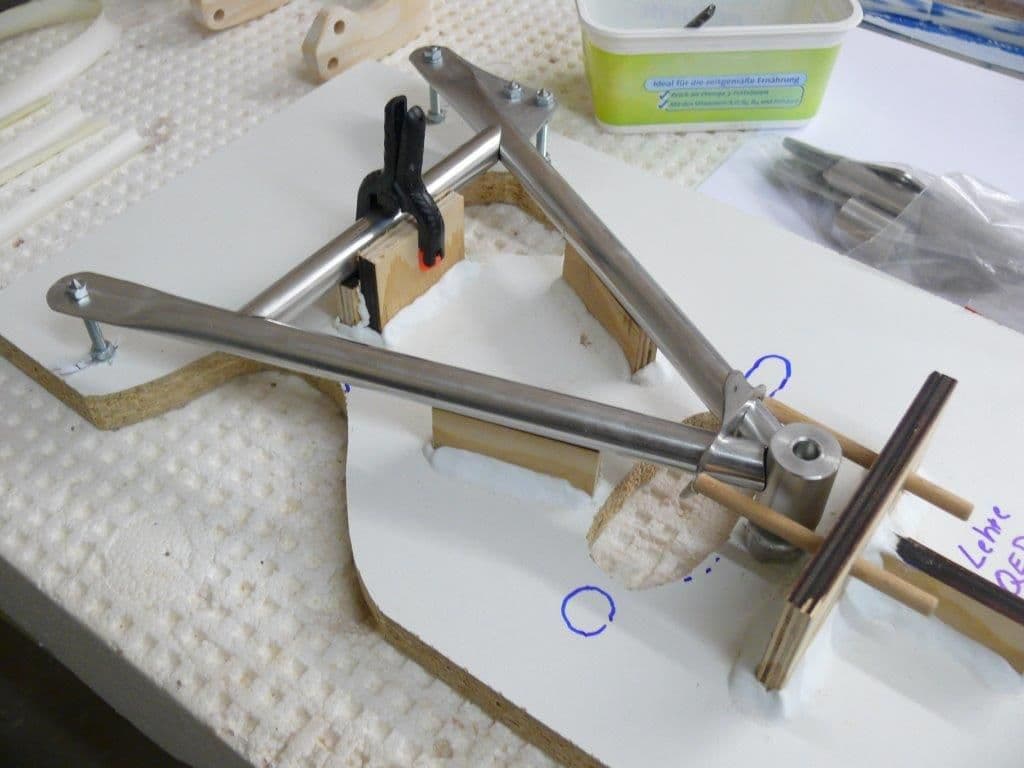
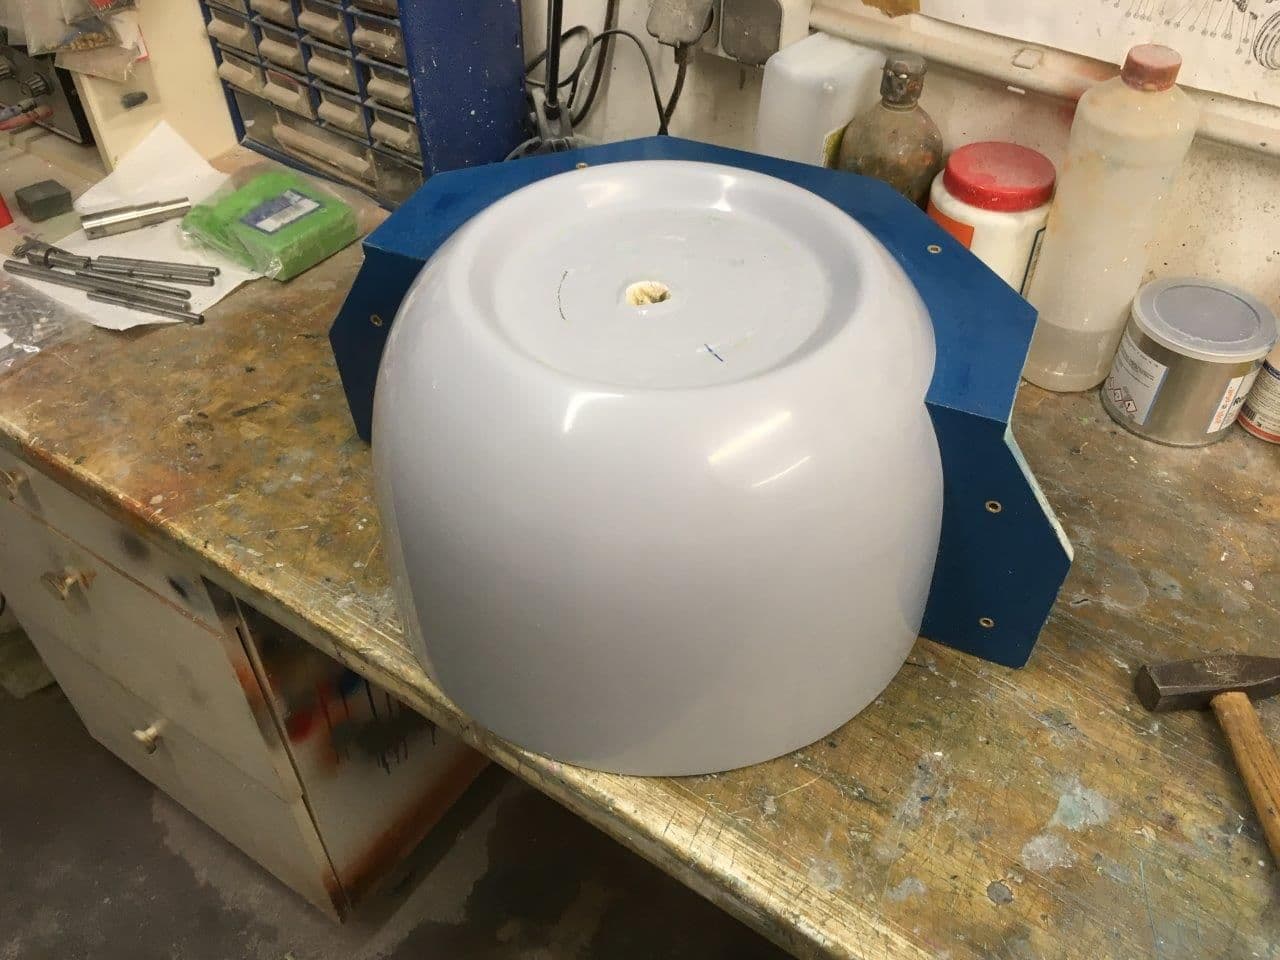
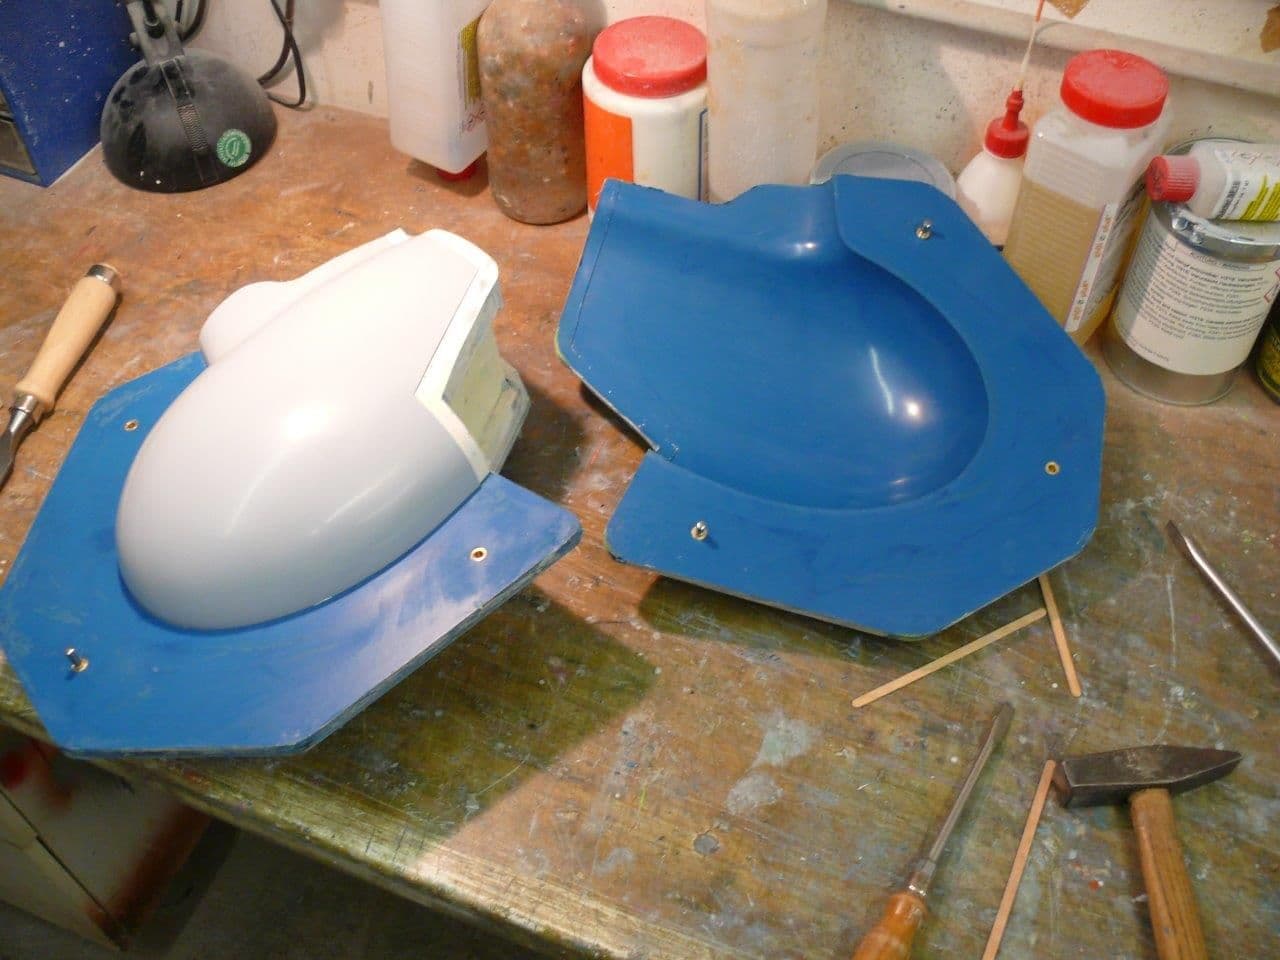
Next steps will be lots of GFK and mould work, so not that interesting. And little work on the gear, think by end of the week the bushing is ready and I add it to the the Jig so I can go hard soldering.
I just dig out som wooden parts and sorted the ribs for the rudder, will see what to do while waiting for the 2nd walk to the paint shop for filler on GFK master mould Parts.
yes thank you, was hard to learn ;-)
will post some progress from time to time.
Next steps will be lots of GFK and mould work, so not that interesting. And little work on the gear, think by end of the week the bushing is ready and I add it to the the Jig so I can go hard soldering.
I just dig out som wooden parts and sorted the ribs for the rudder, will see what to do while waiting for the 2nd walk to the paint shop for filler on GFK master mould Parts.
01-16-2019, 12:57 PM
#107
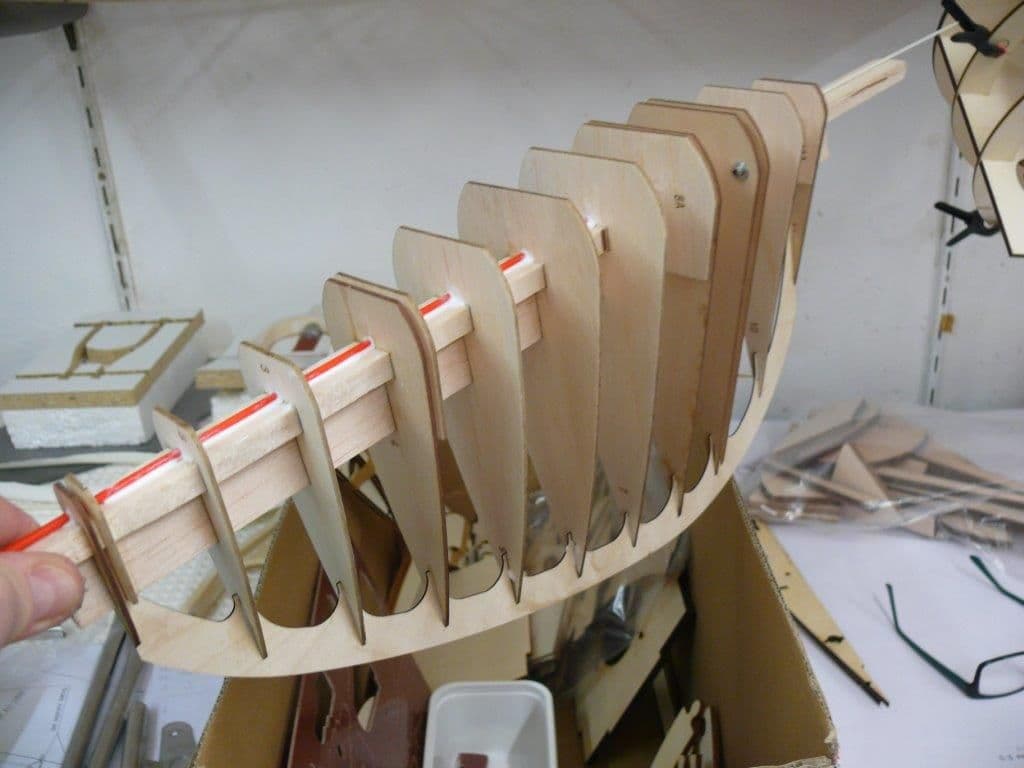
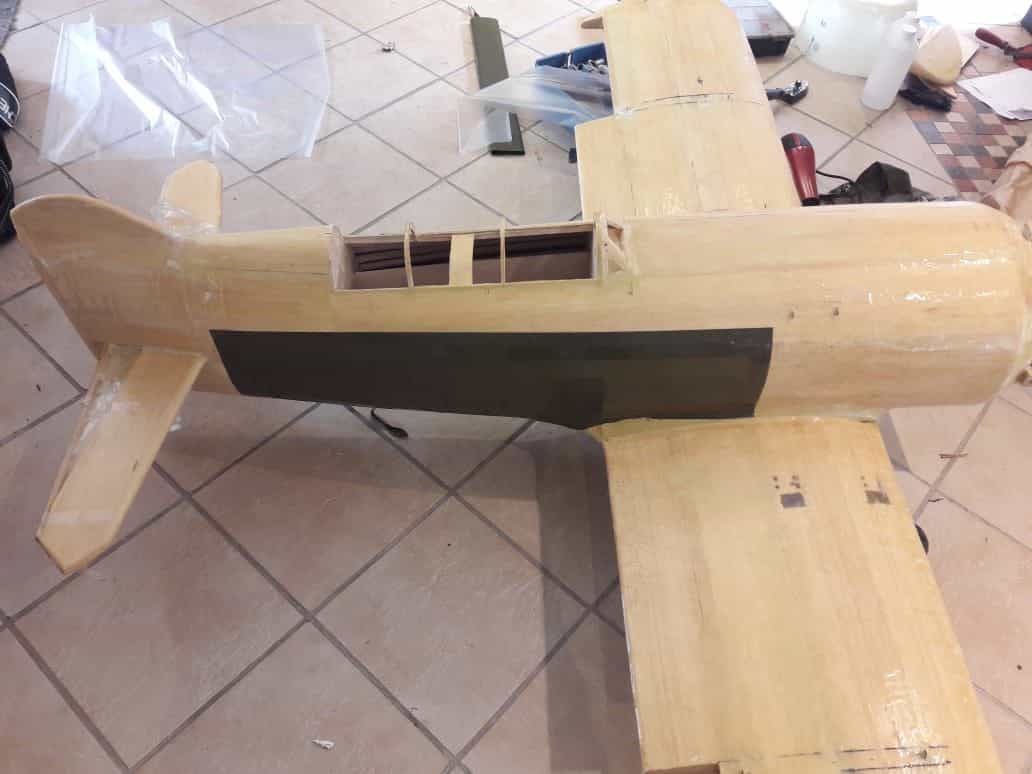
The last bushing was done ready for hard soldering now:
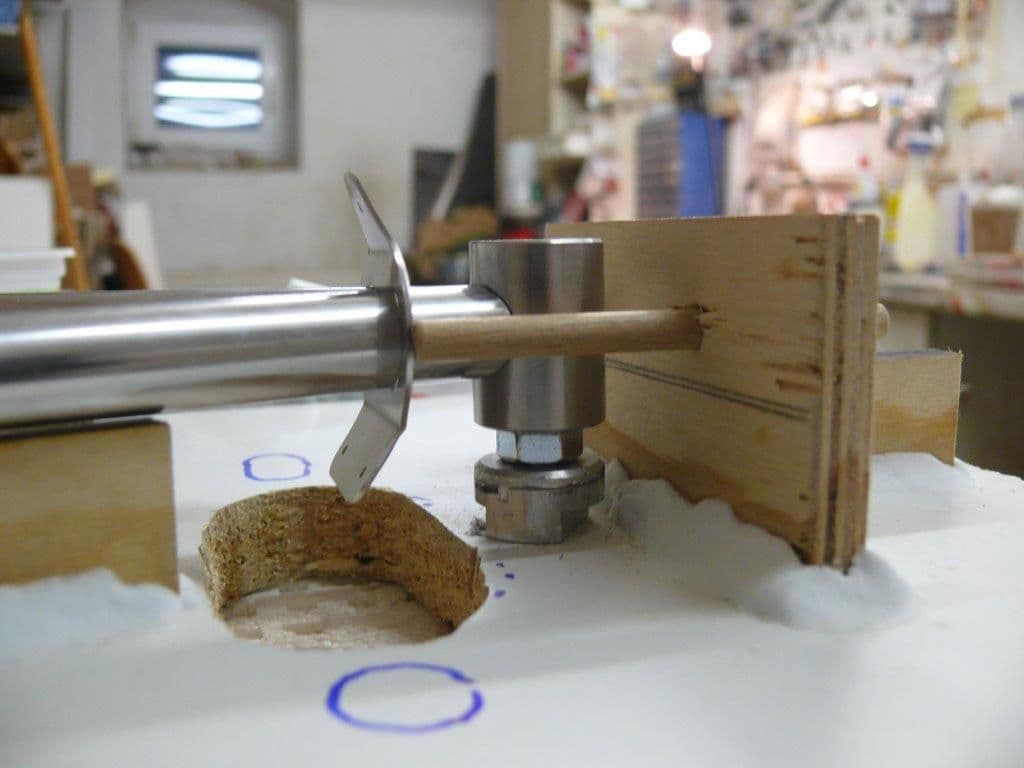

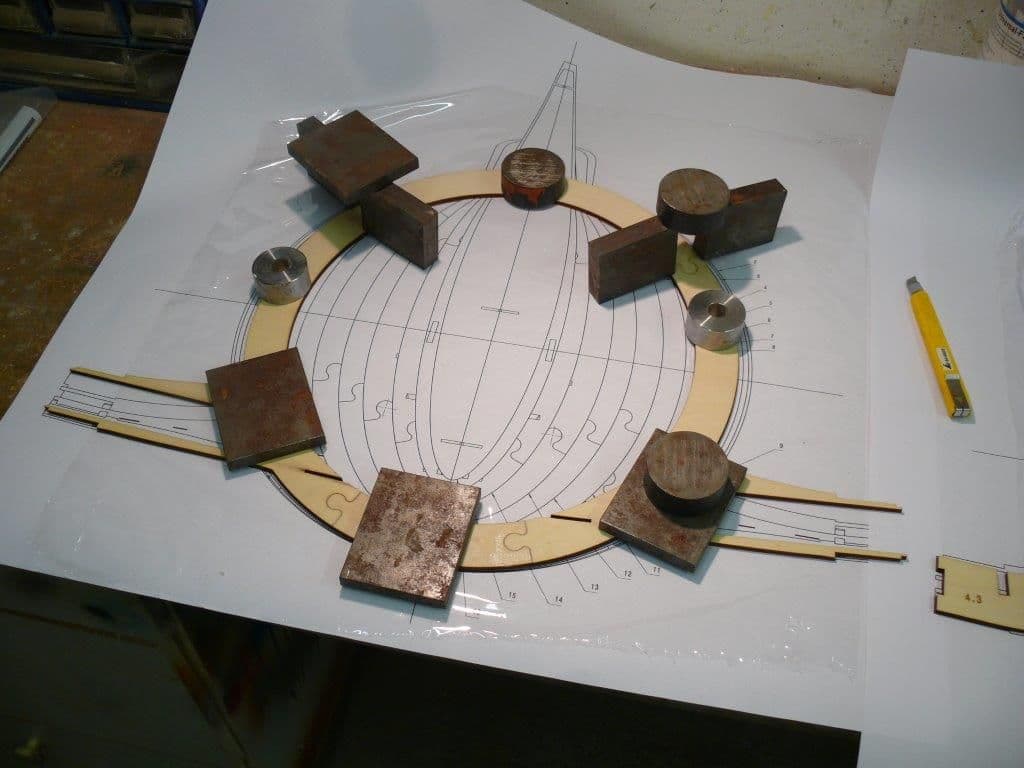
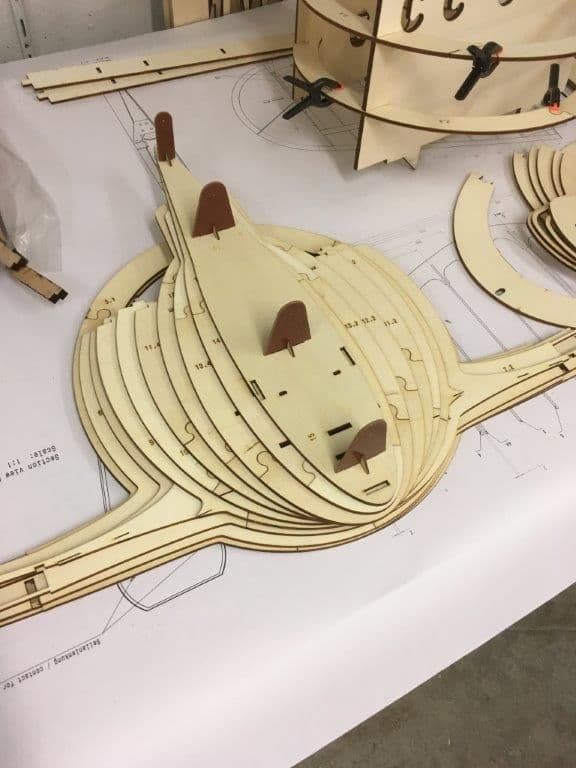
Test how parts fit together:
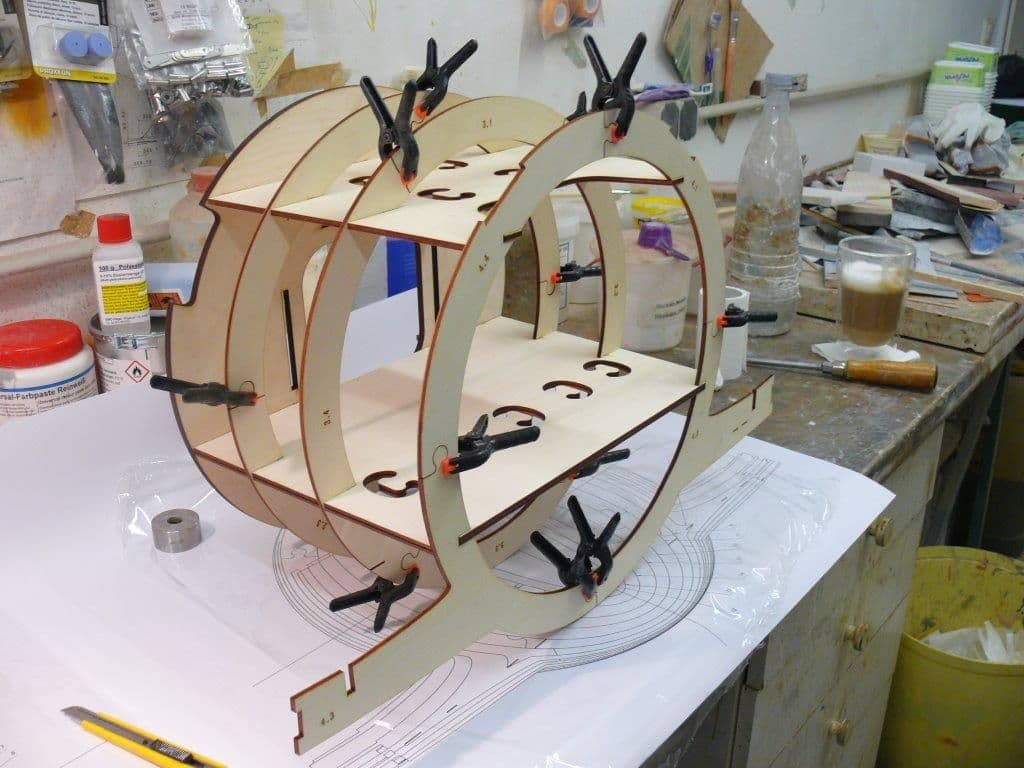
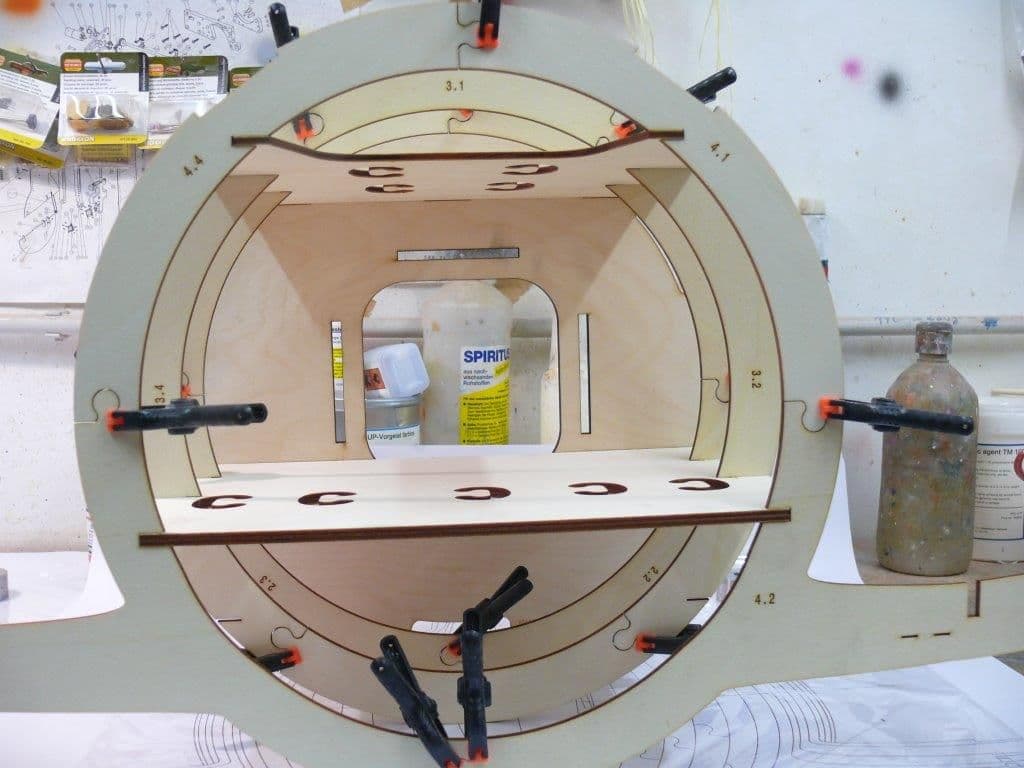
Adequate fit
Spar no 4 and 5 can be completed, 1,2 and 3have to come together in the complete asy
Test how parts fit together:
Adequate fit
Spar no 4 and 5 can be completed, 1,2 and 3have to come together in the complete asy
01-17-2019, 10:25 AM
#108
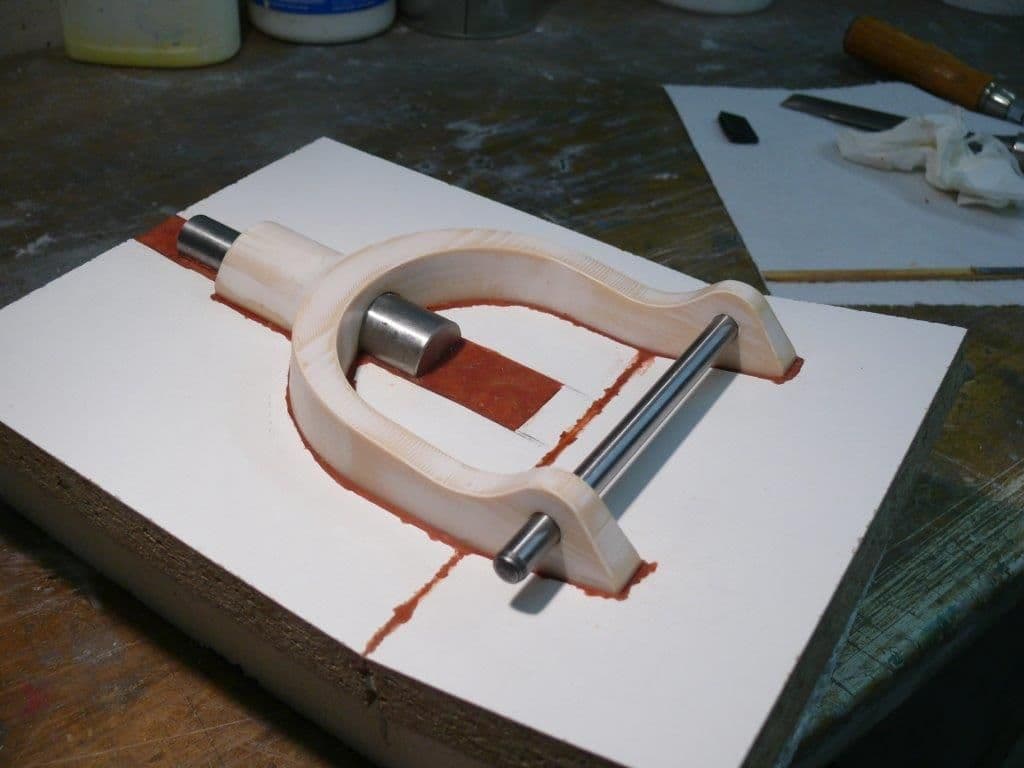
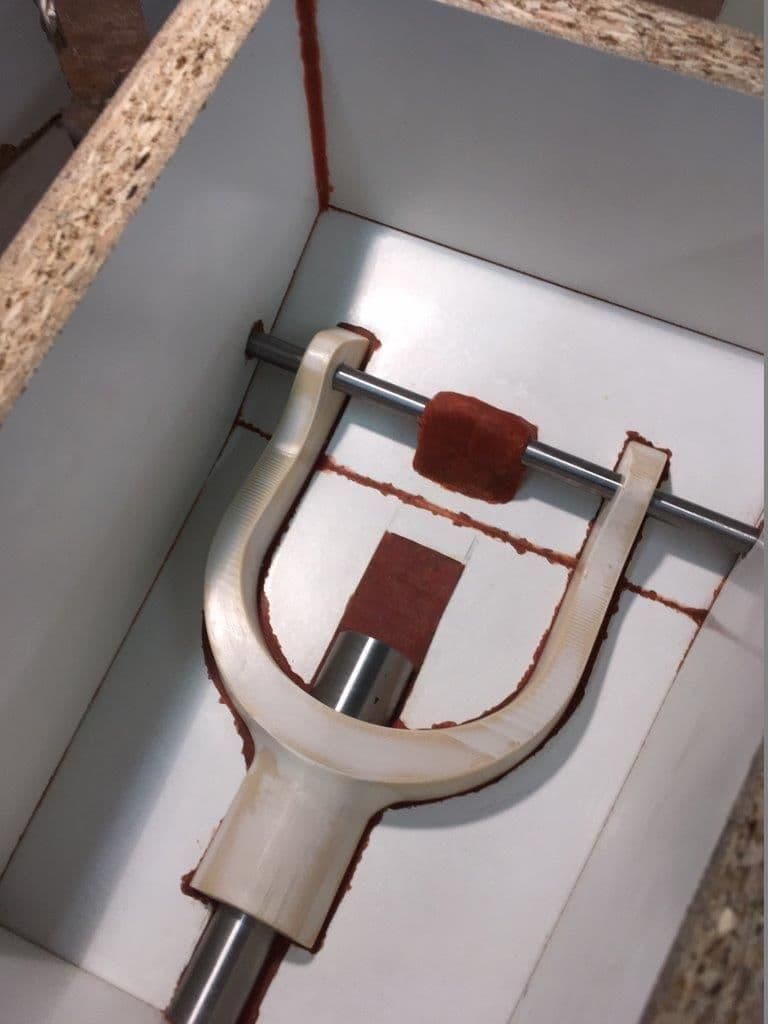
steped bolt was ready so the fork could be beded into the splitline
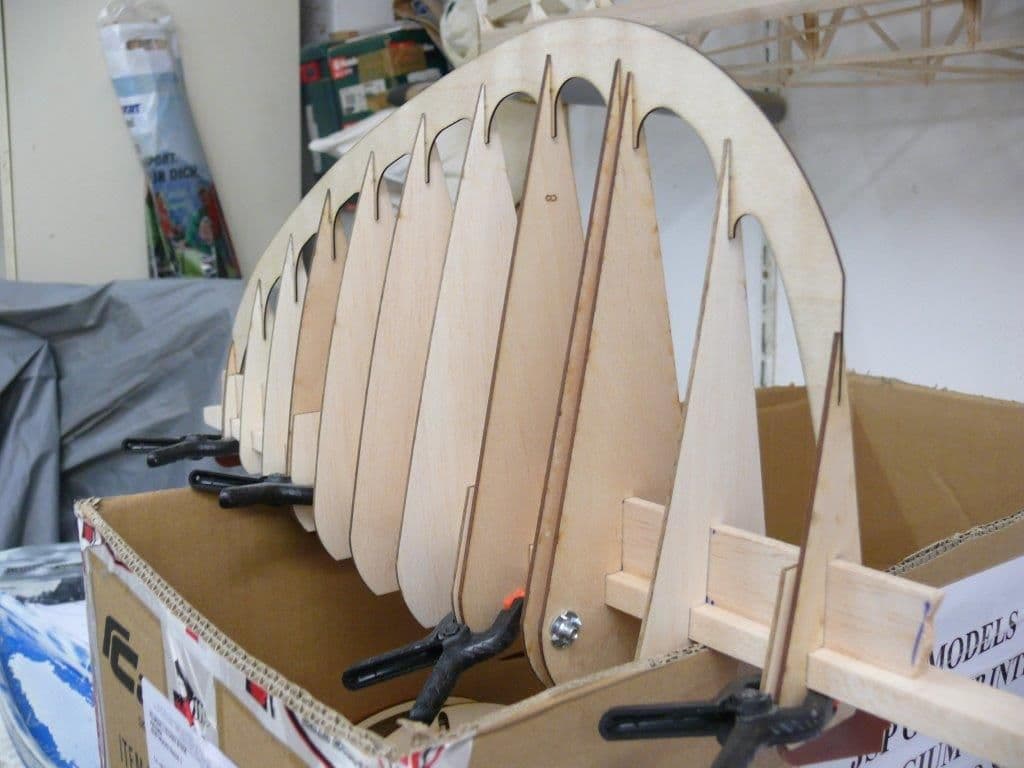
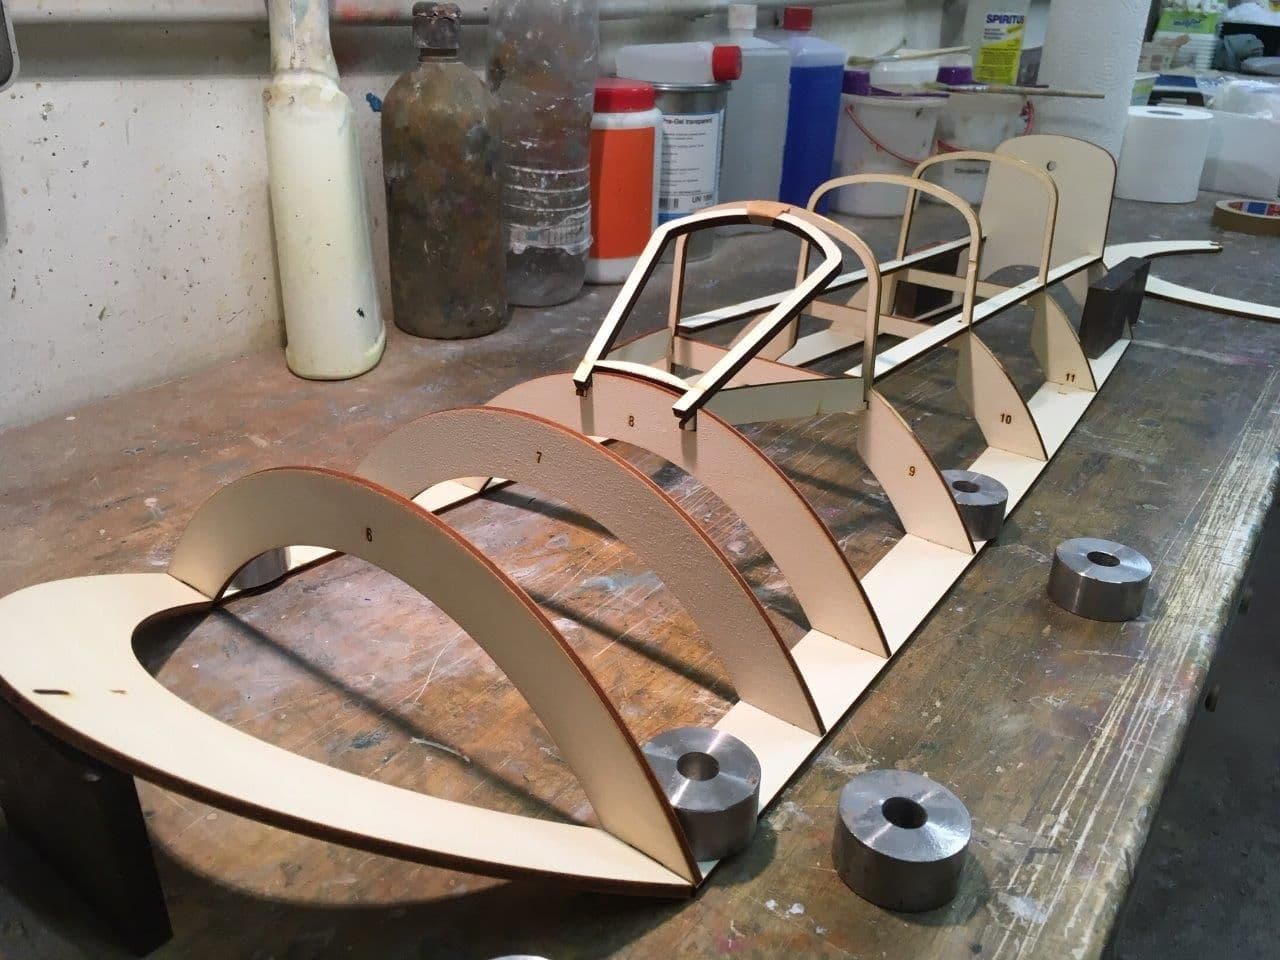
Rudder main construction easy to build in your hands with the help of 2 stringers:
Next spars glued together...
...and the blocks for Rudder upr and lwr side.

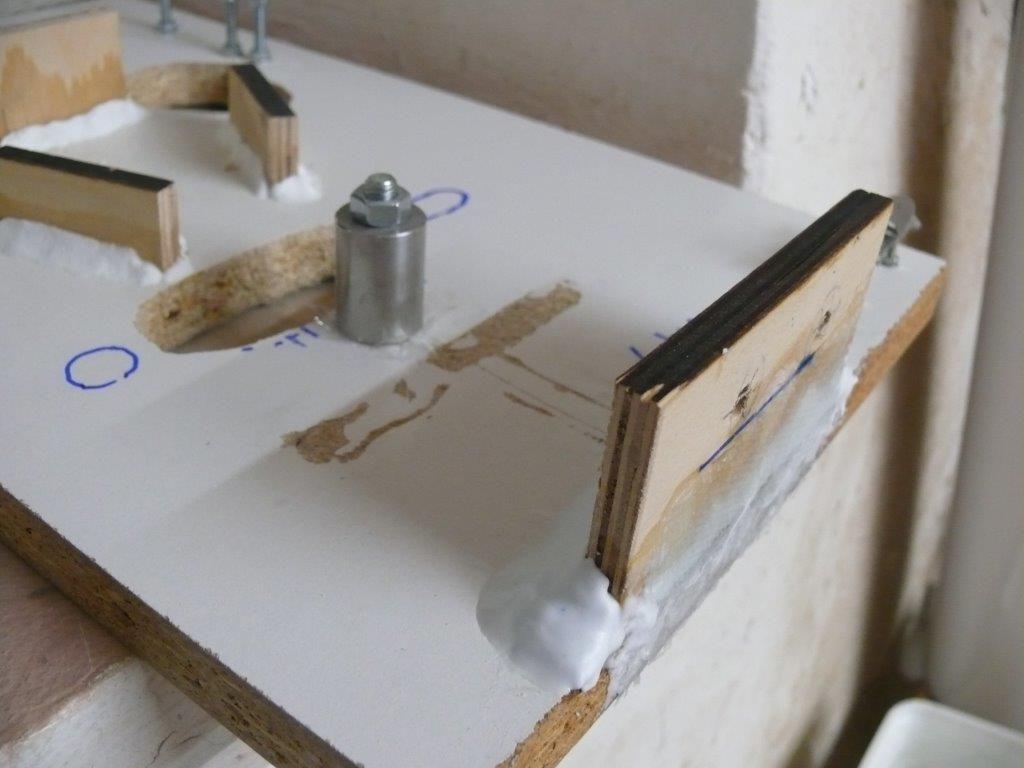
The gear jig neede rework, the bushing cam last and was0,5mm off the V-tubes and the massive part will have to heat up so the wood needs to clear off a bit... spoken to the Solder guy today.
01-23-2019, 01:39 PM
#109
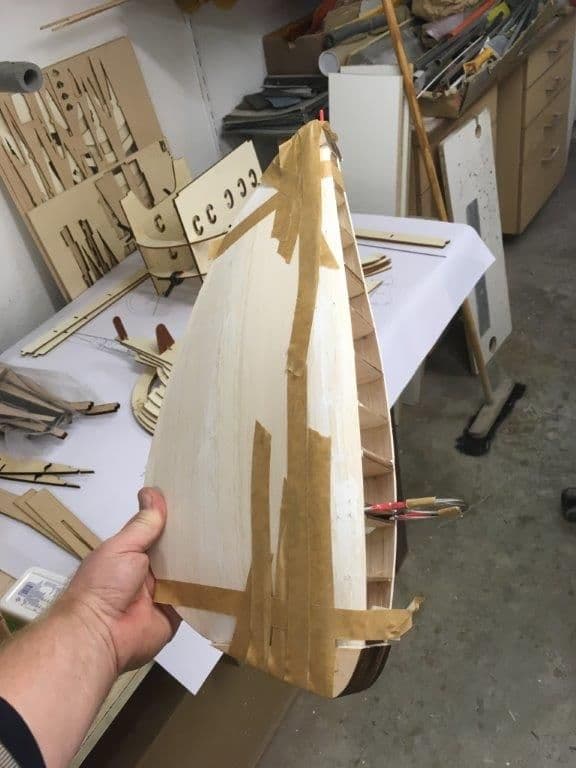
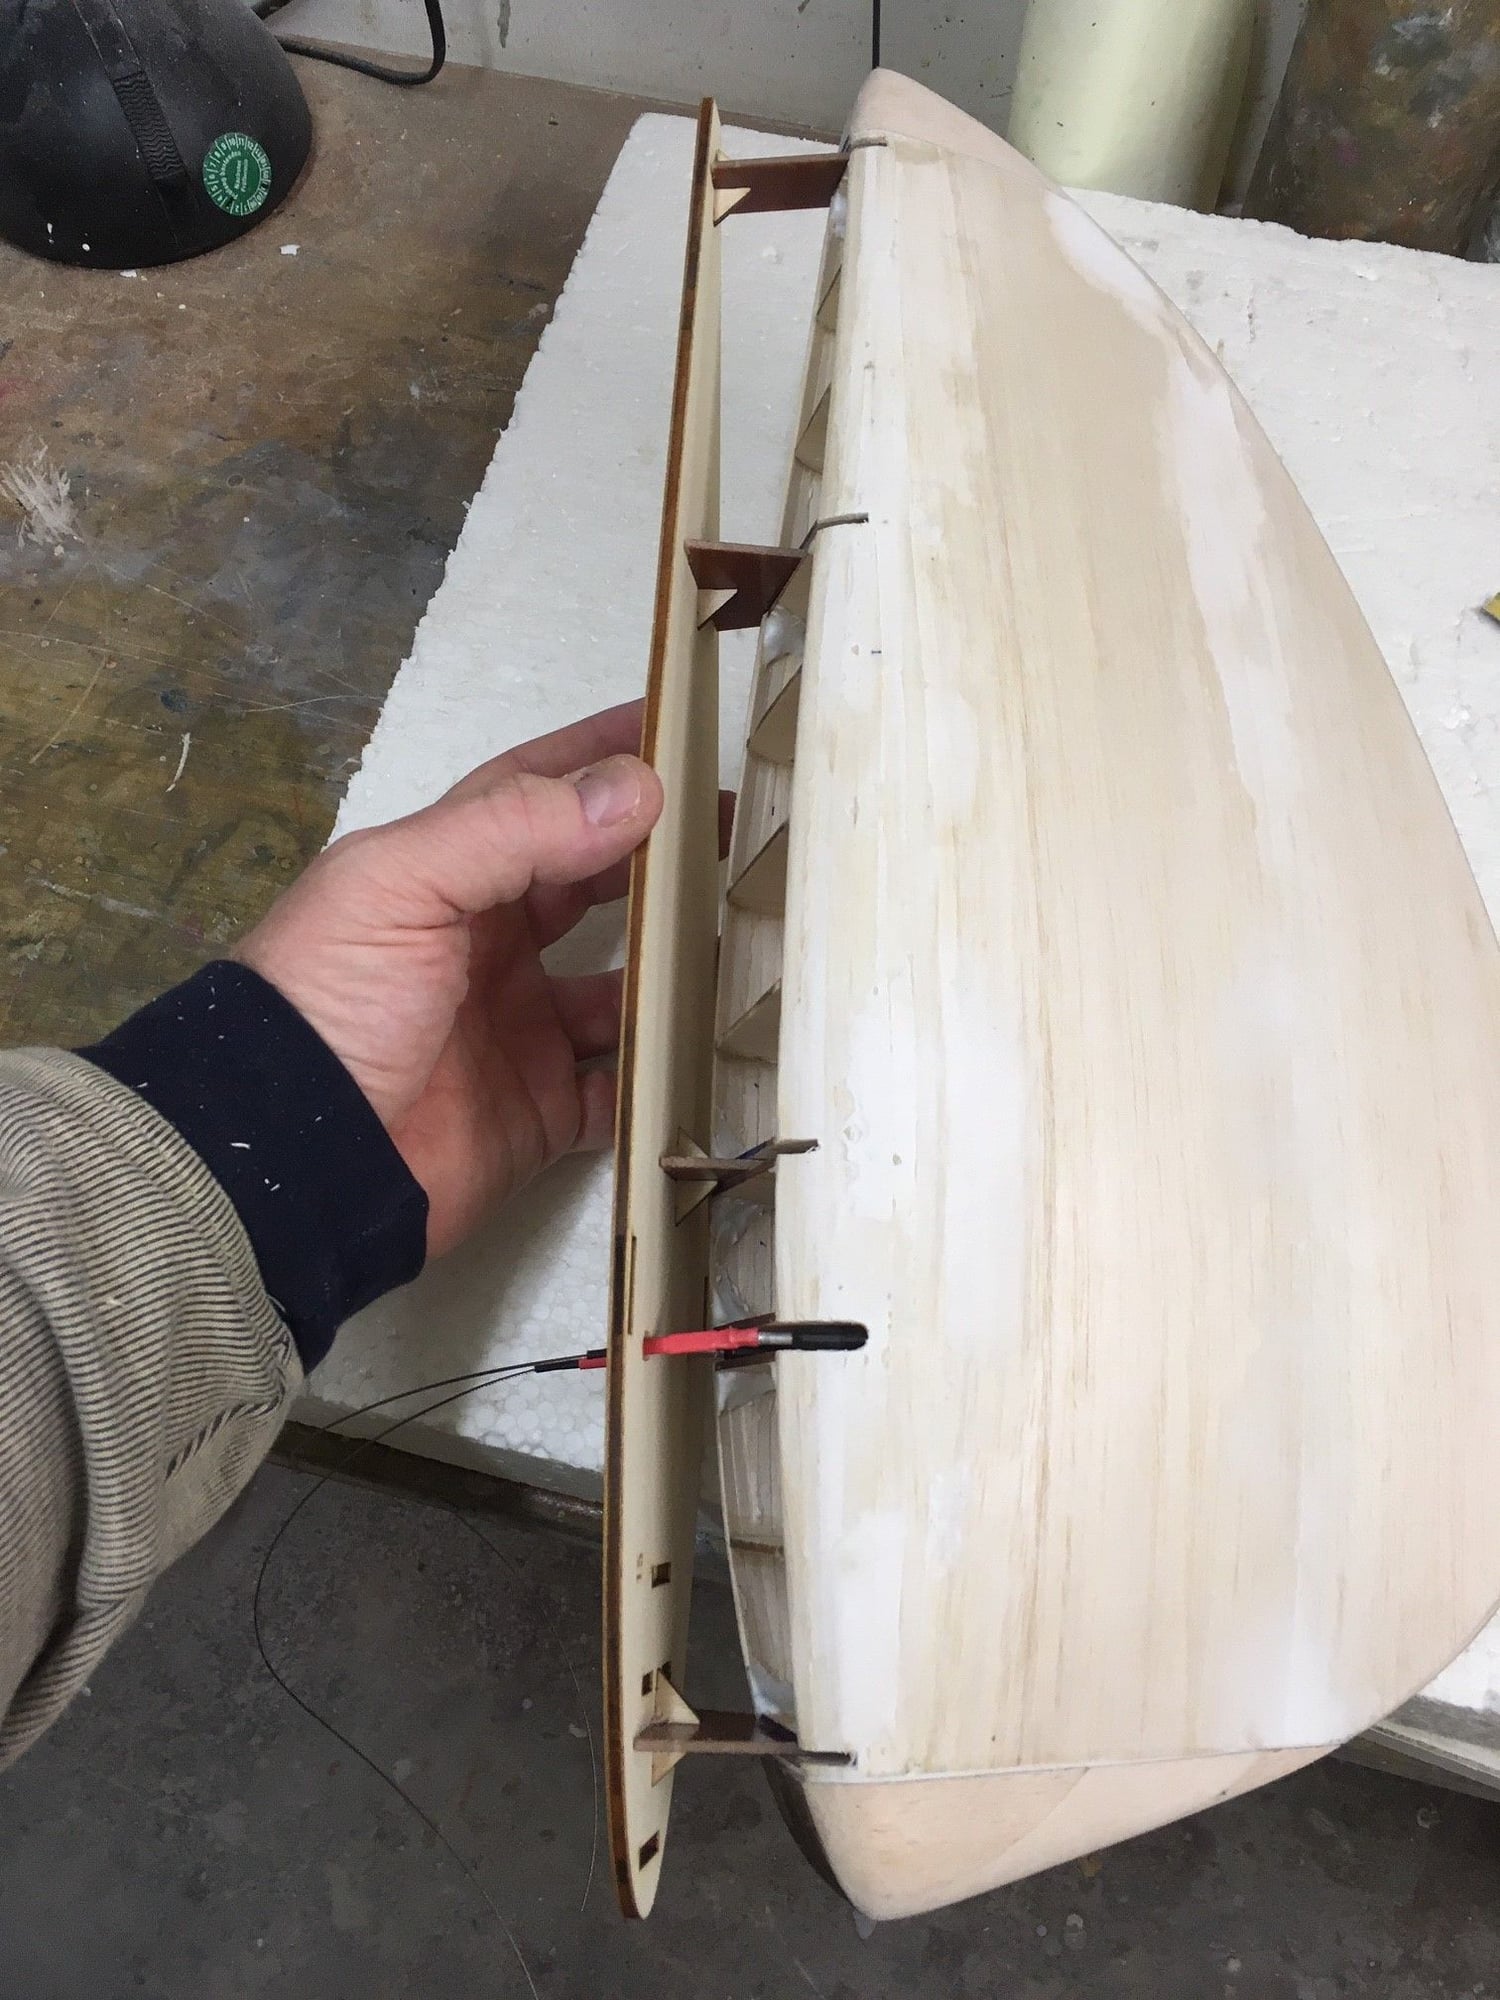
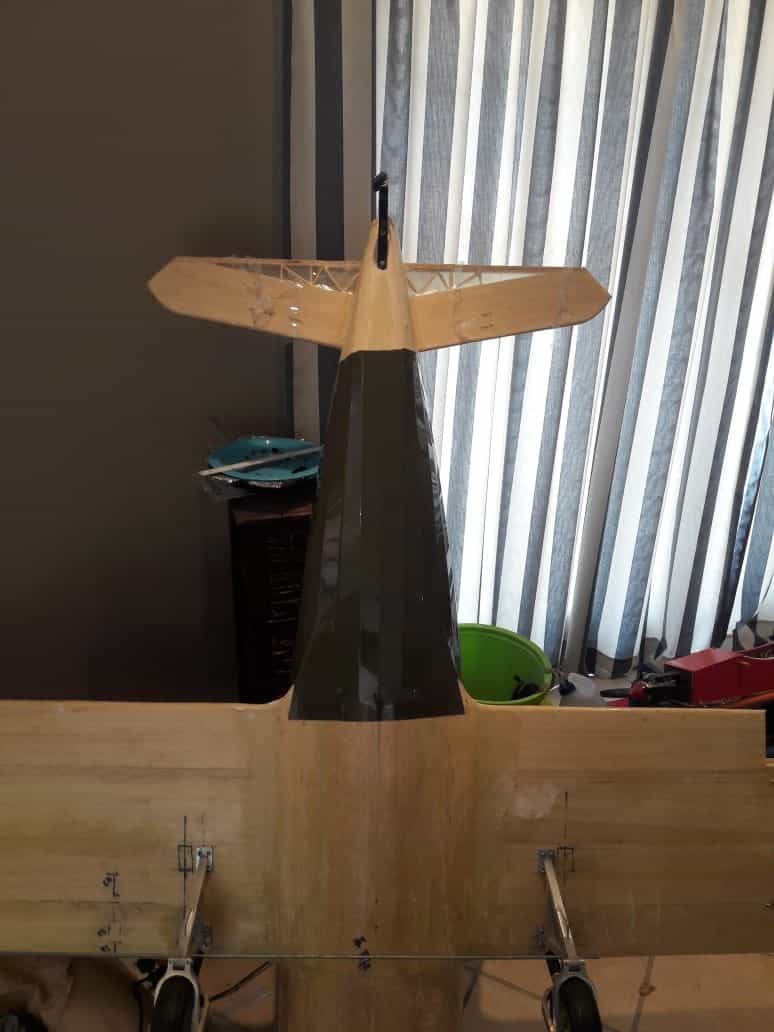
The Rudder after planking, upr and lower balsa block glued to position...
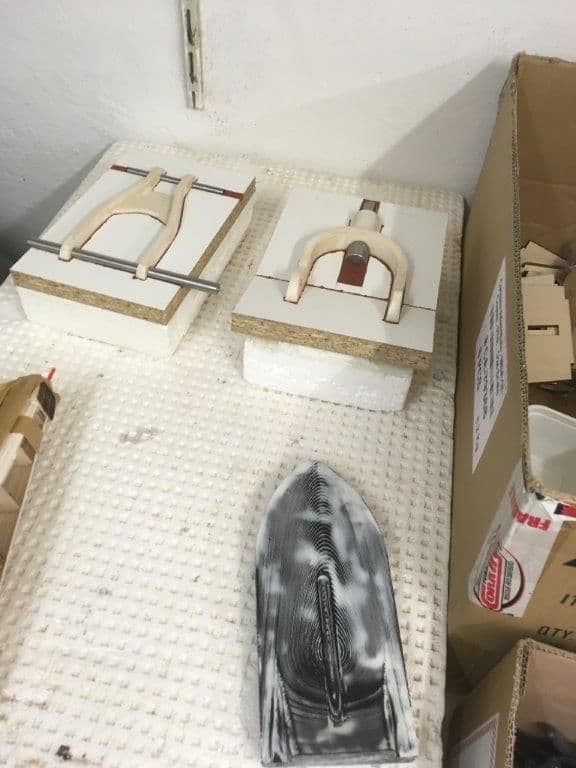
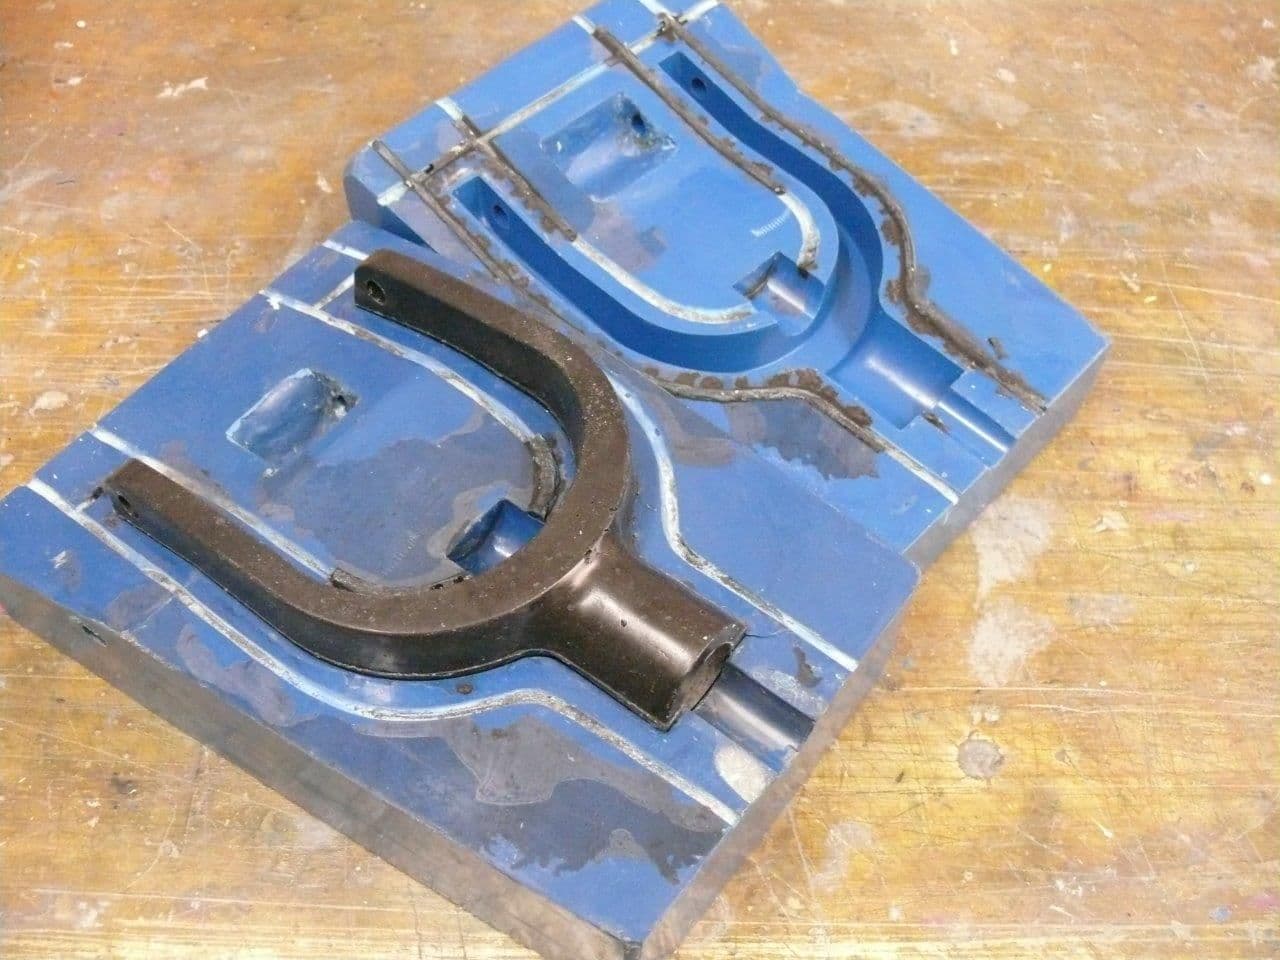
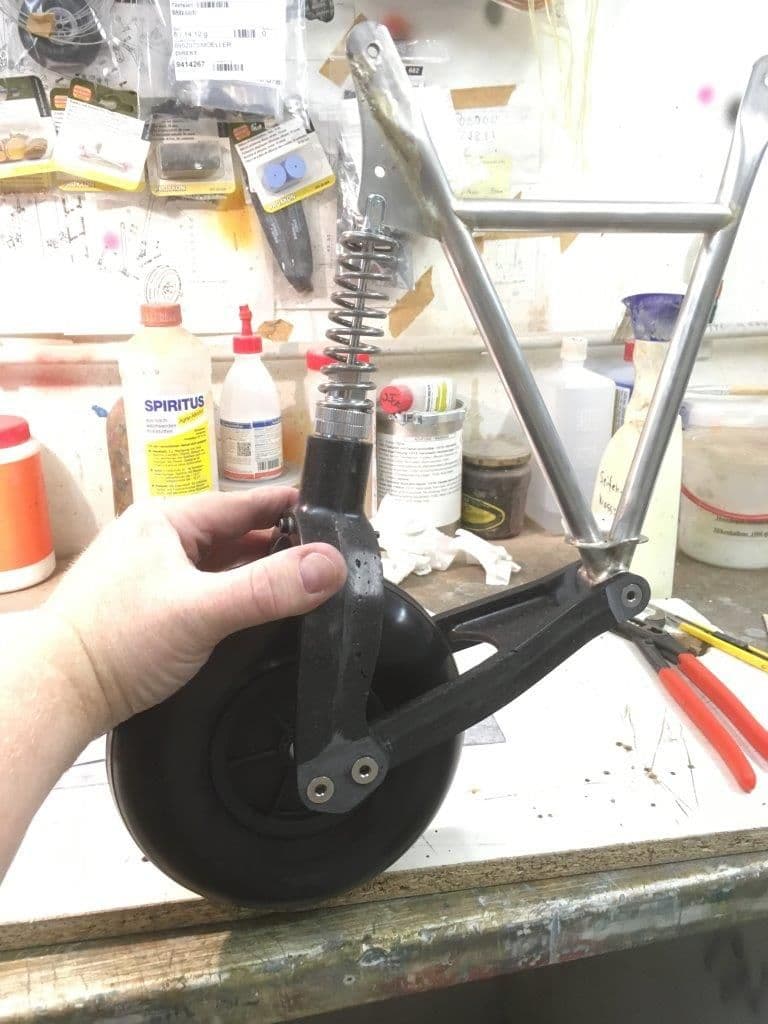
Gear parts waxed and polished another time...
all spars ready, the last spar will carry all rudder hinges, glued in position later, than the fuselage can be build.
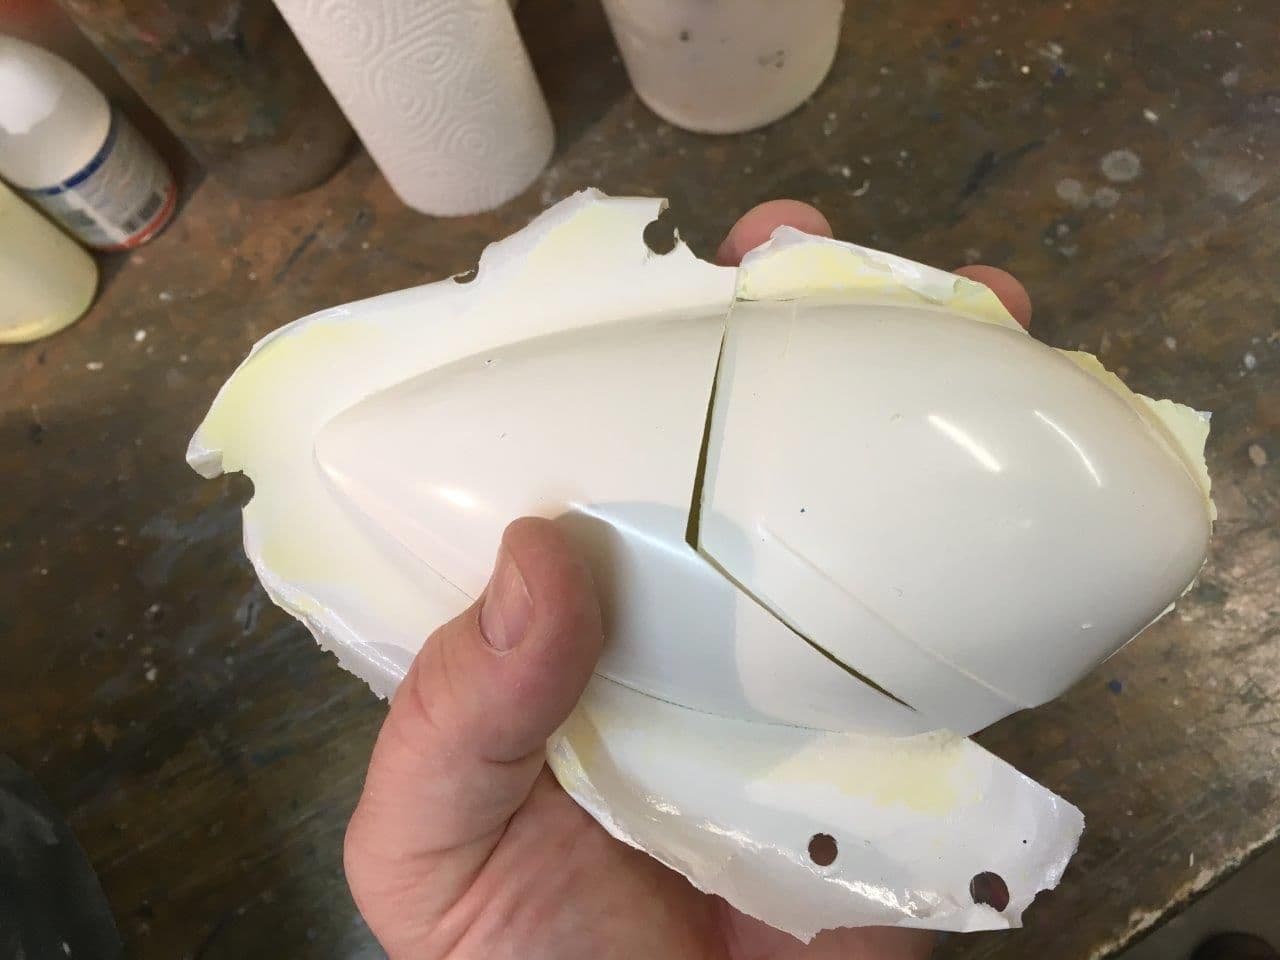
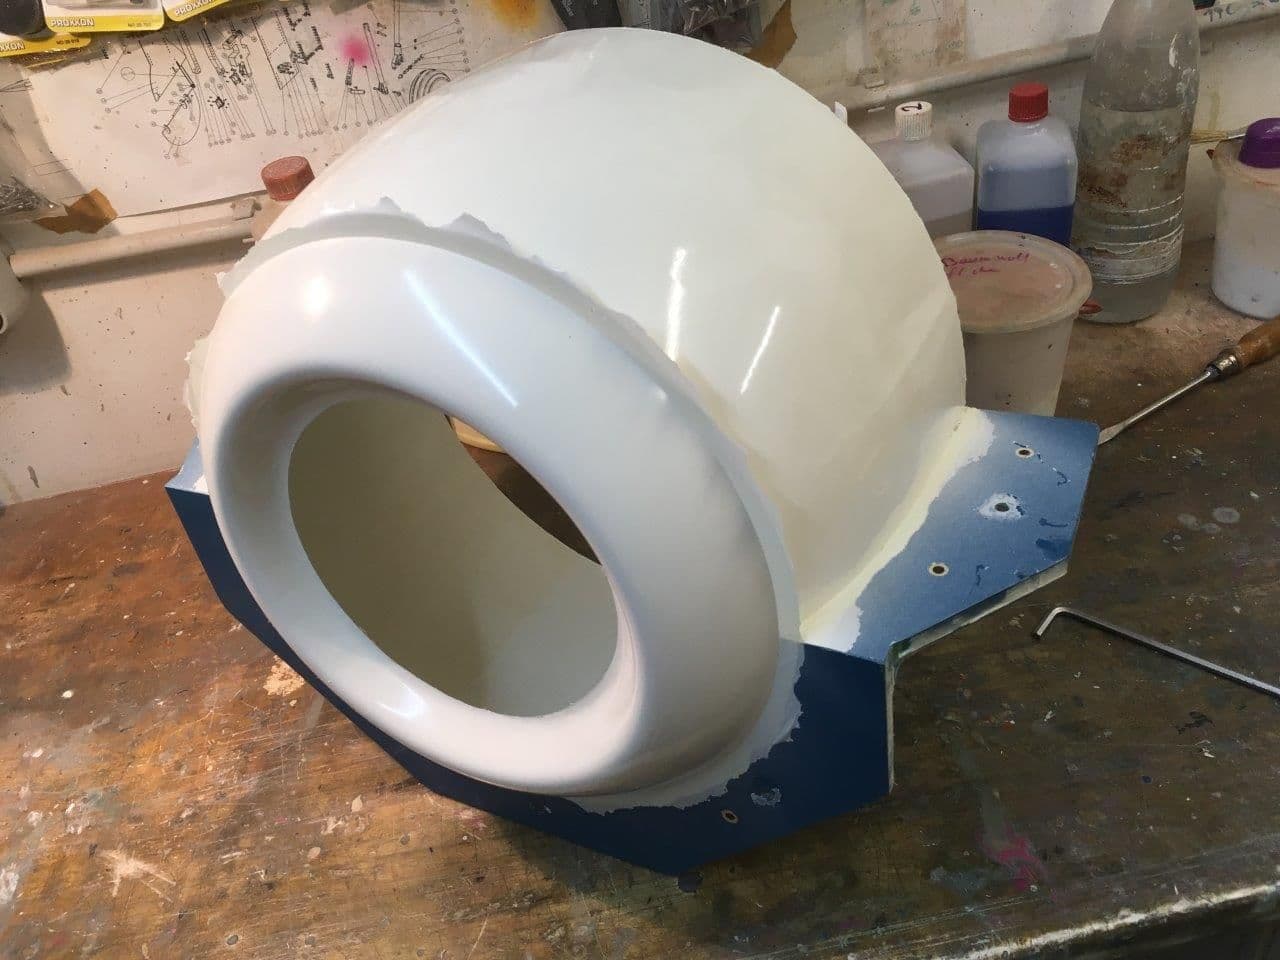
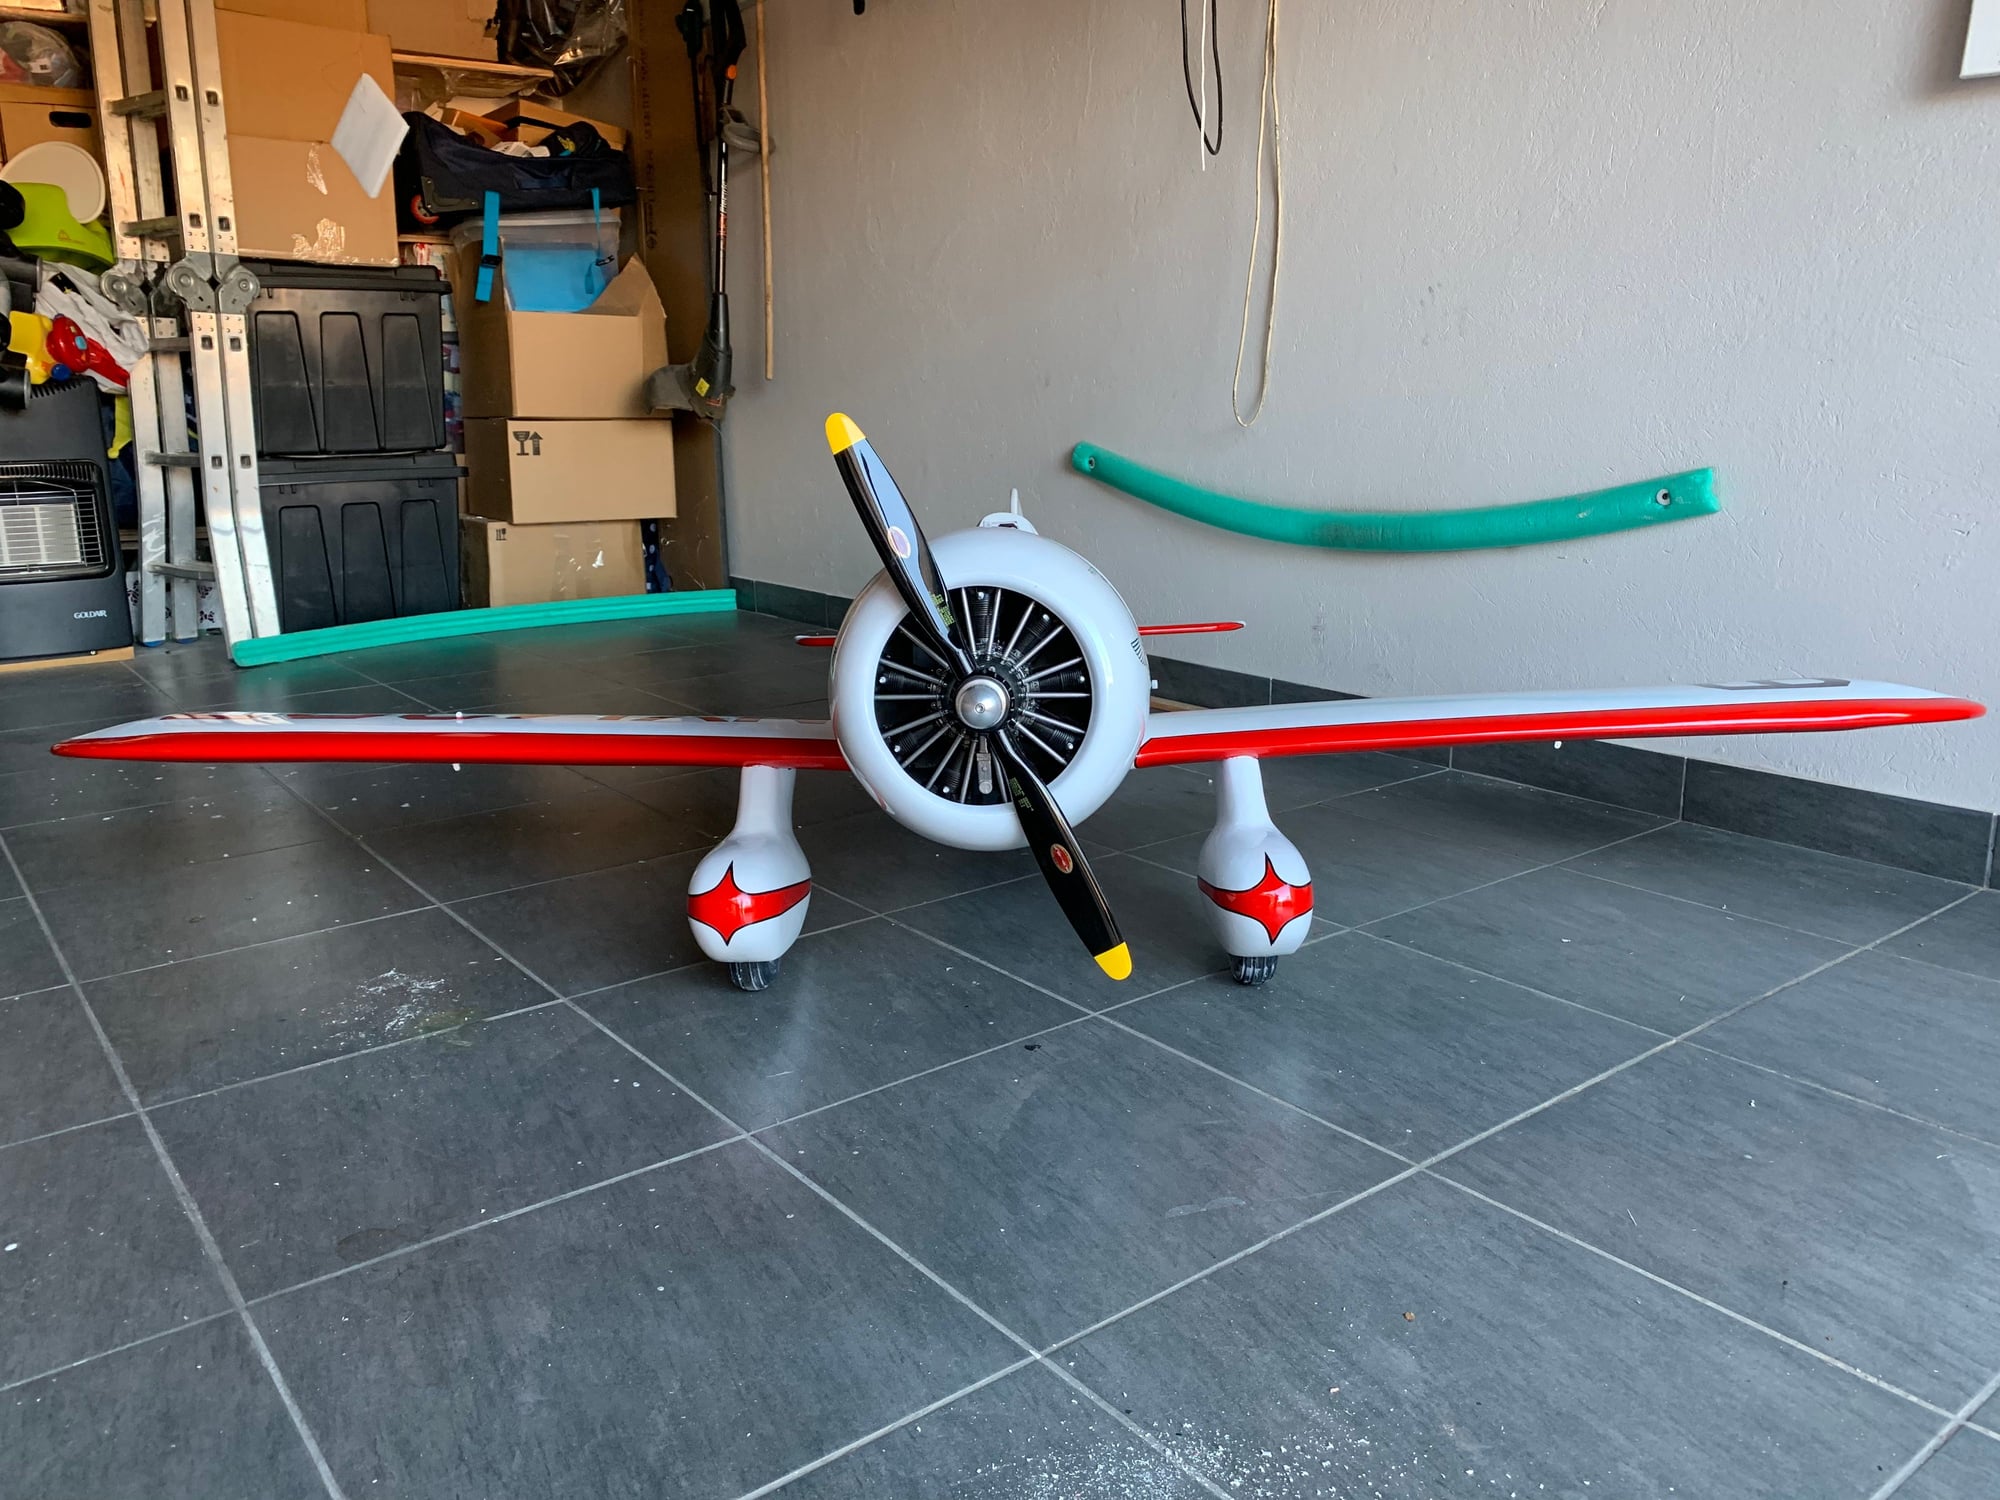
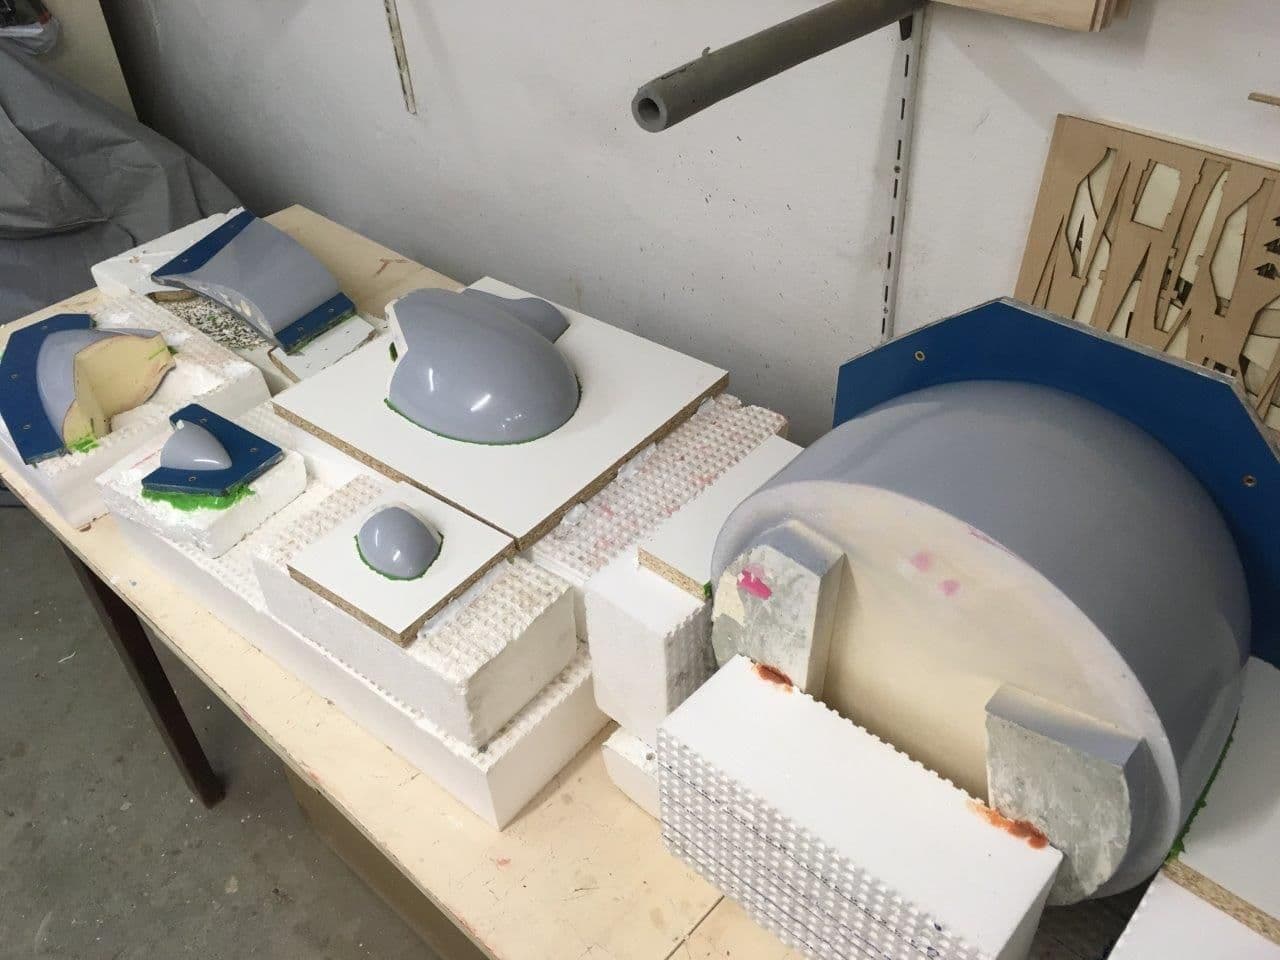
Engine dome for 150ccm Moki 5 cyl radial glued to position
Gear parts waxed and polished another time...
all spars ready, the last spar will carry all rudder hinges, glued in position later, than the fuselage can be build.
Engine dome for 150ccm Moki 5 cyl radial glued to position

 01-28-2019, 01:33 PM
#112
Rudder with working hinges not jet glued to spar finding the correct max angle for each single novotex hinge:
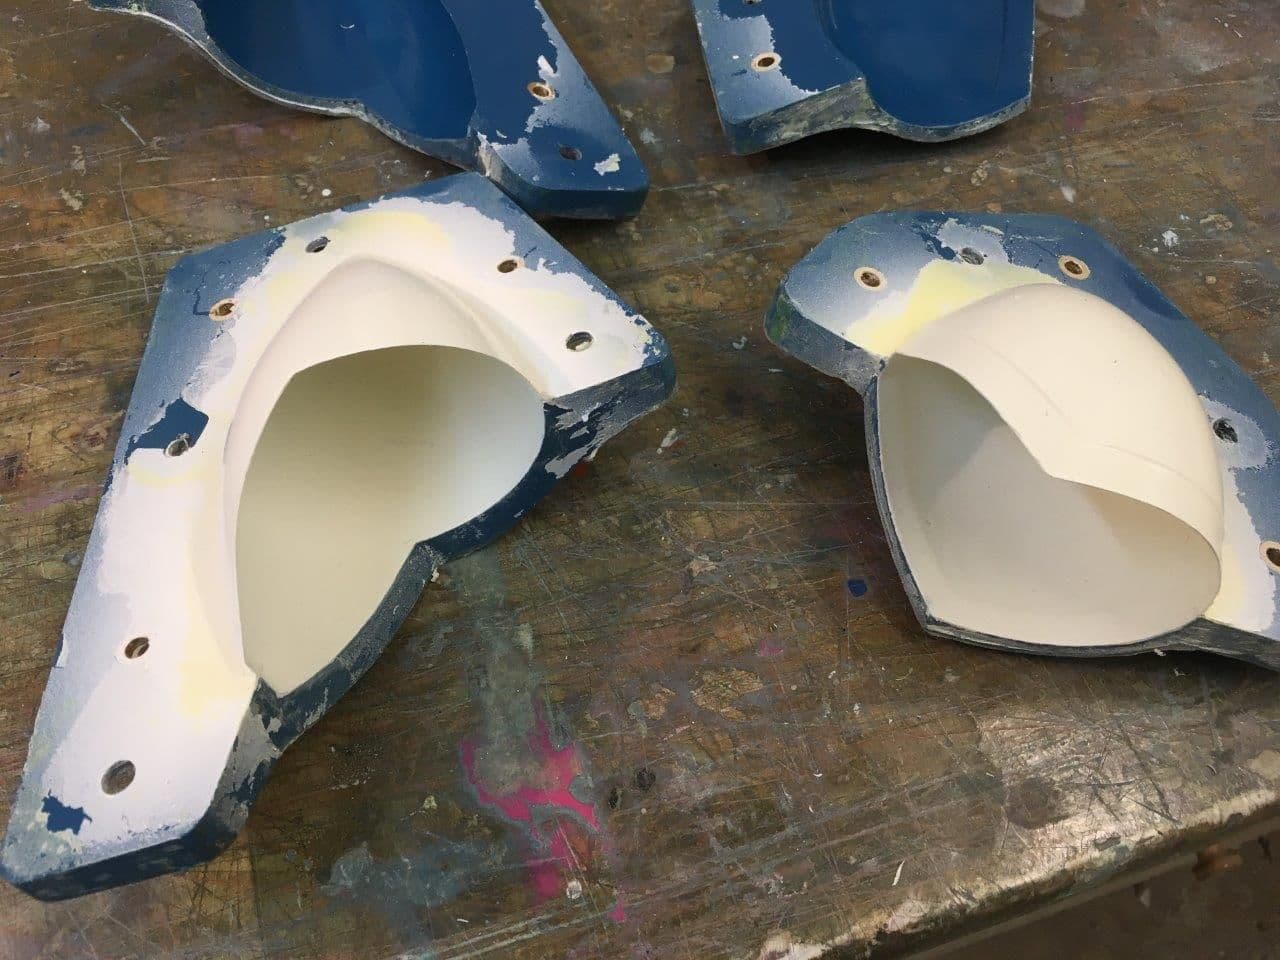
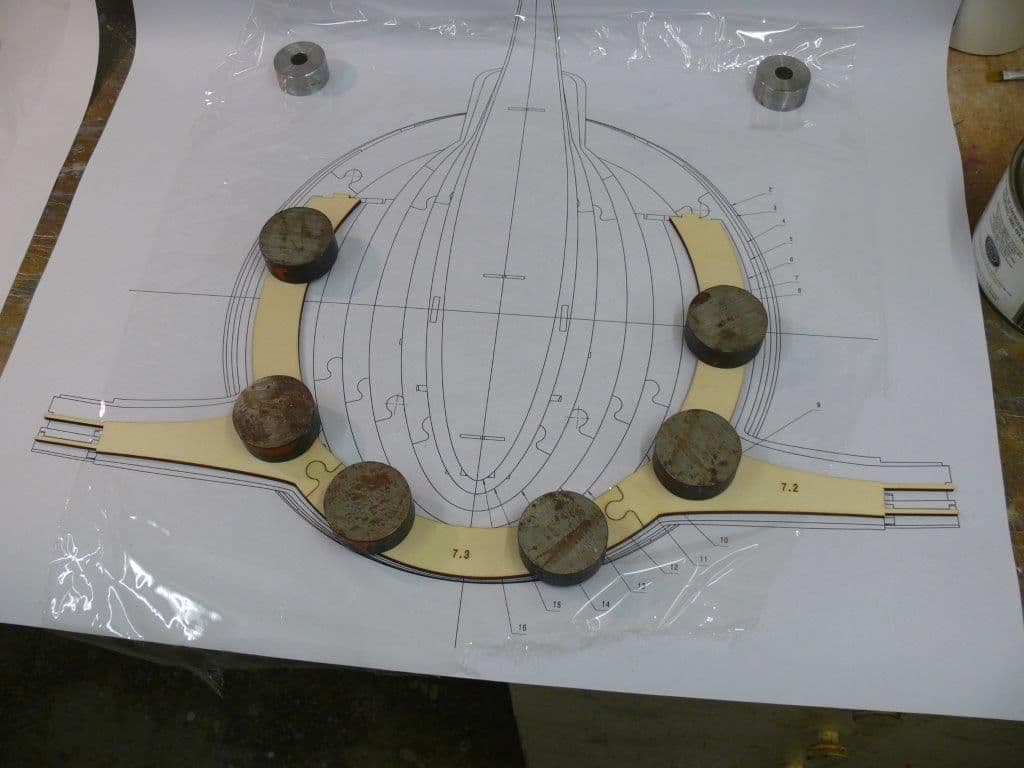
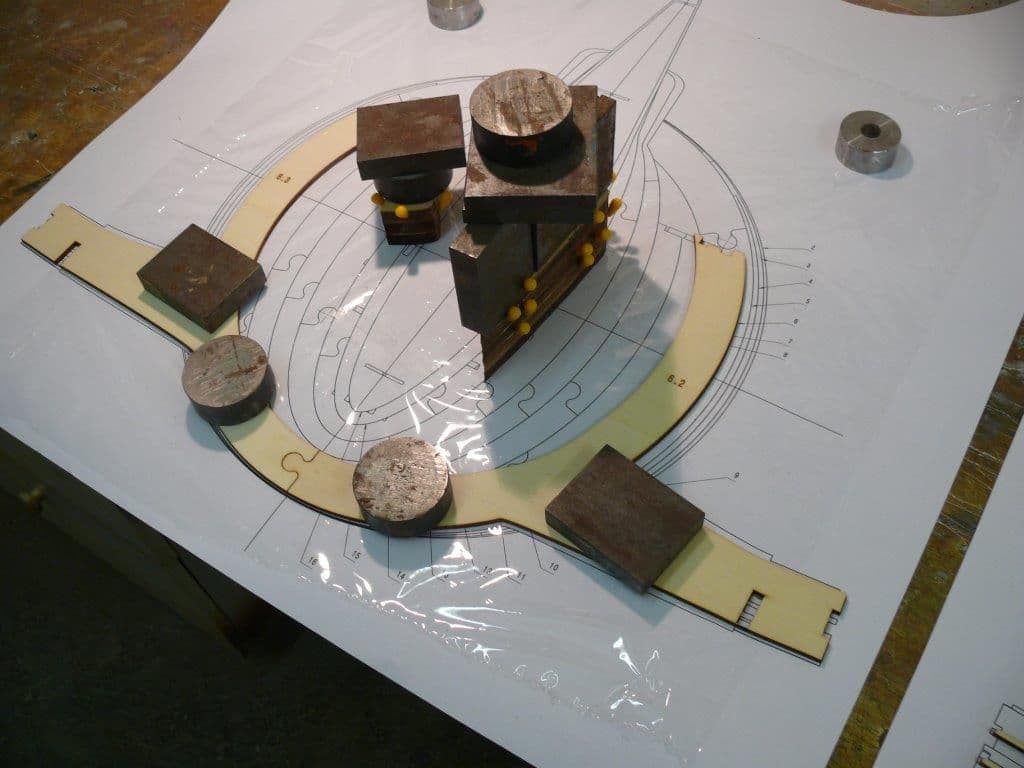
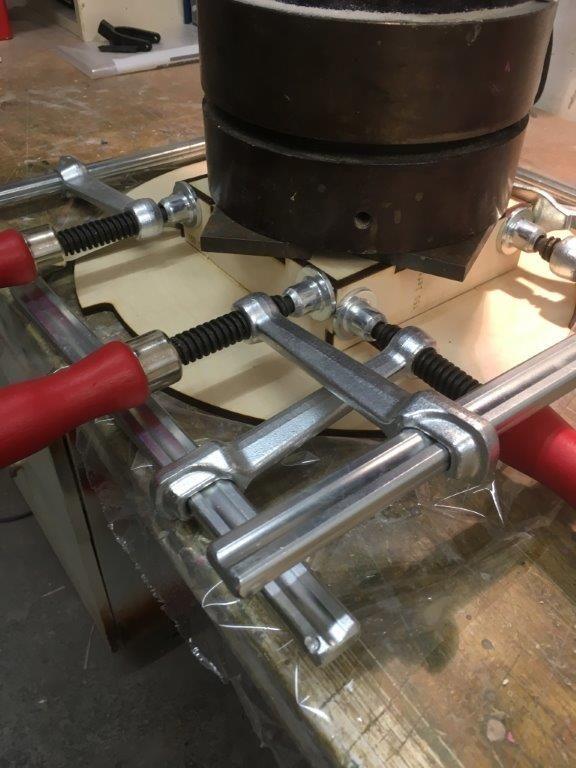
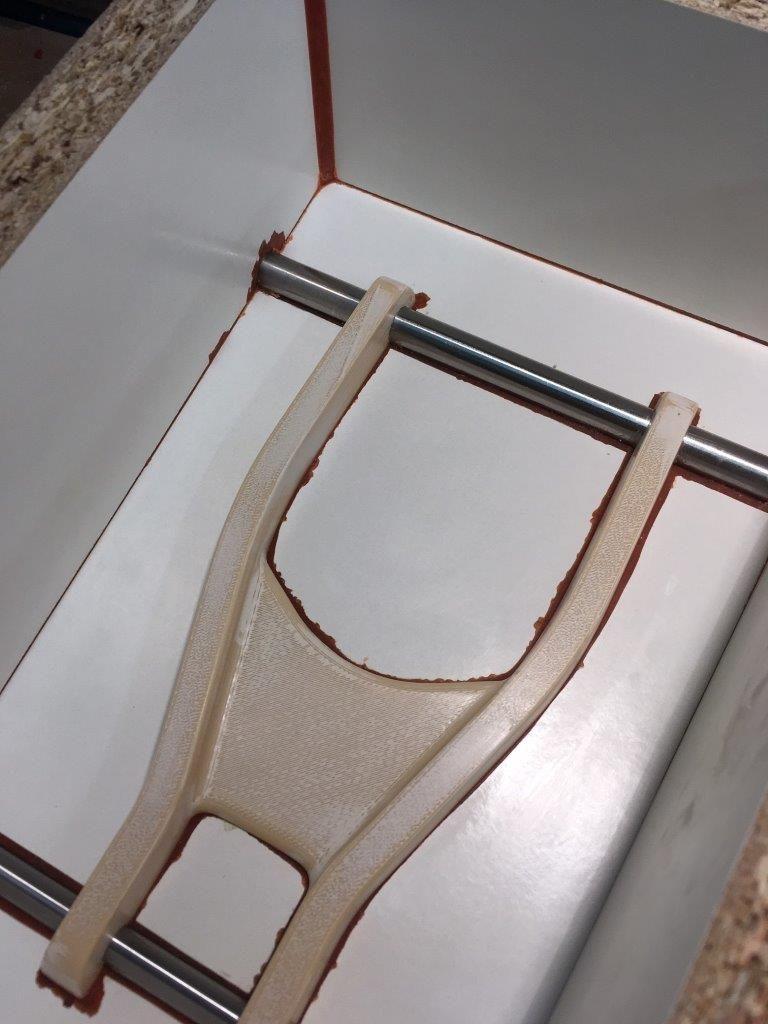
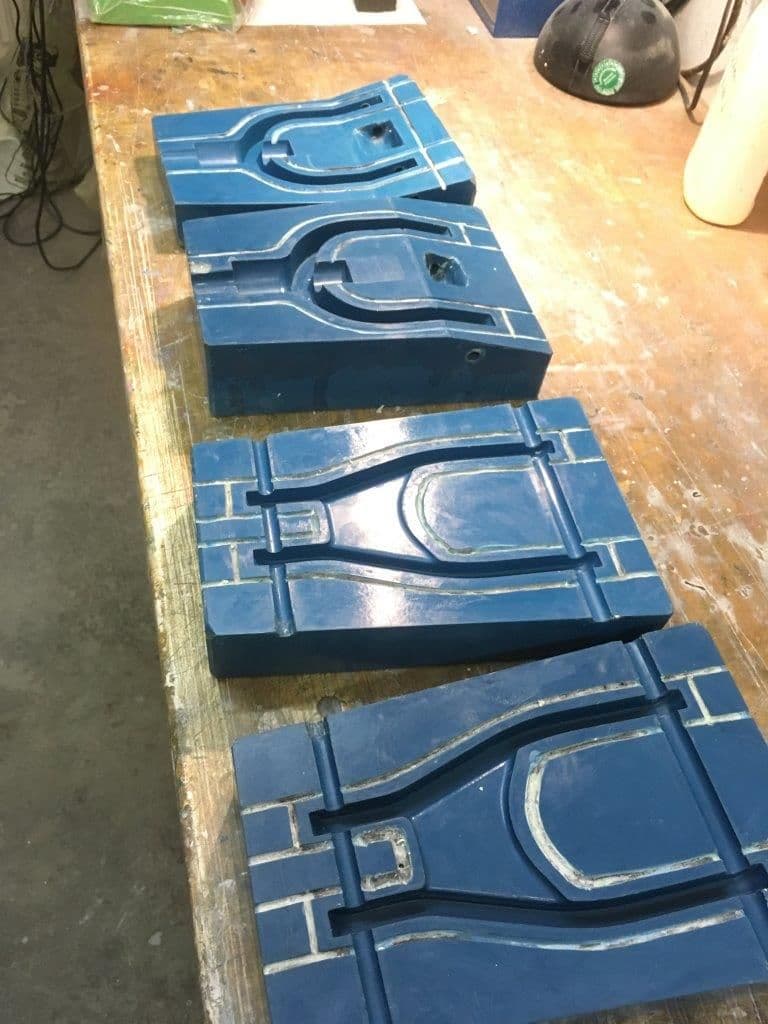
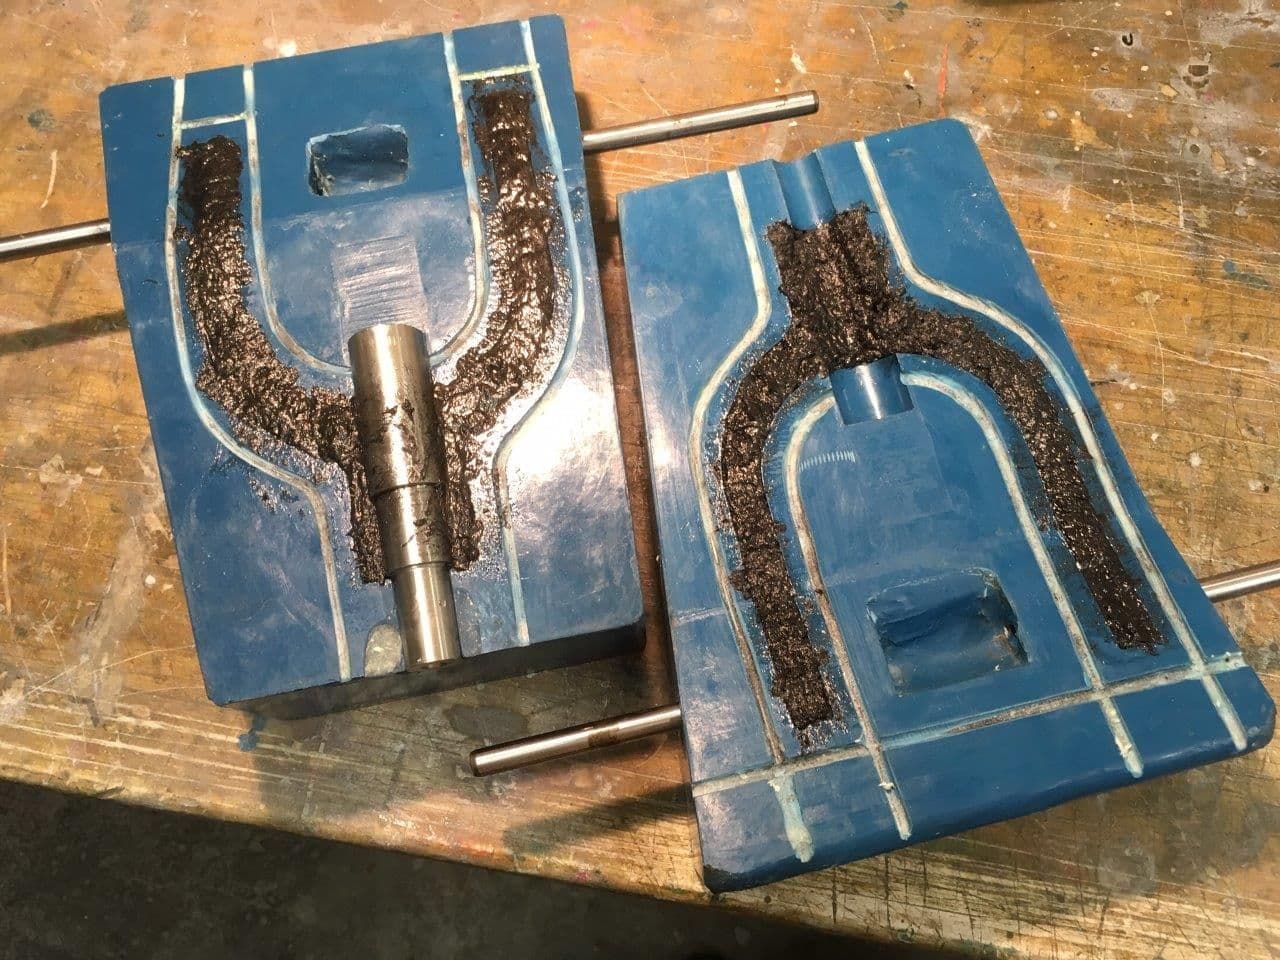
gear parts ready to start mouldings
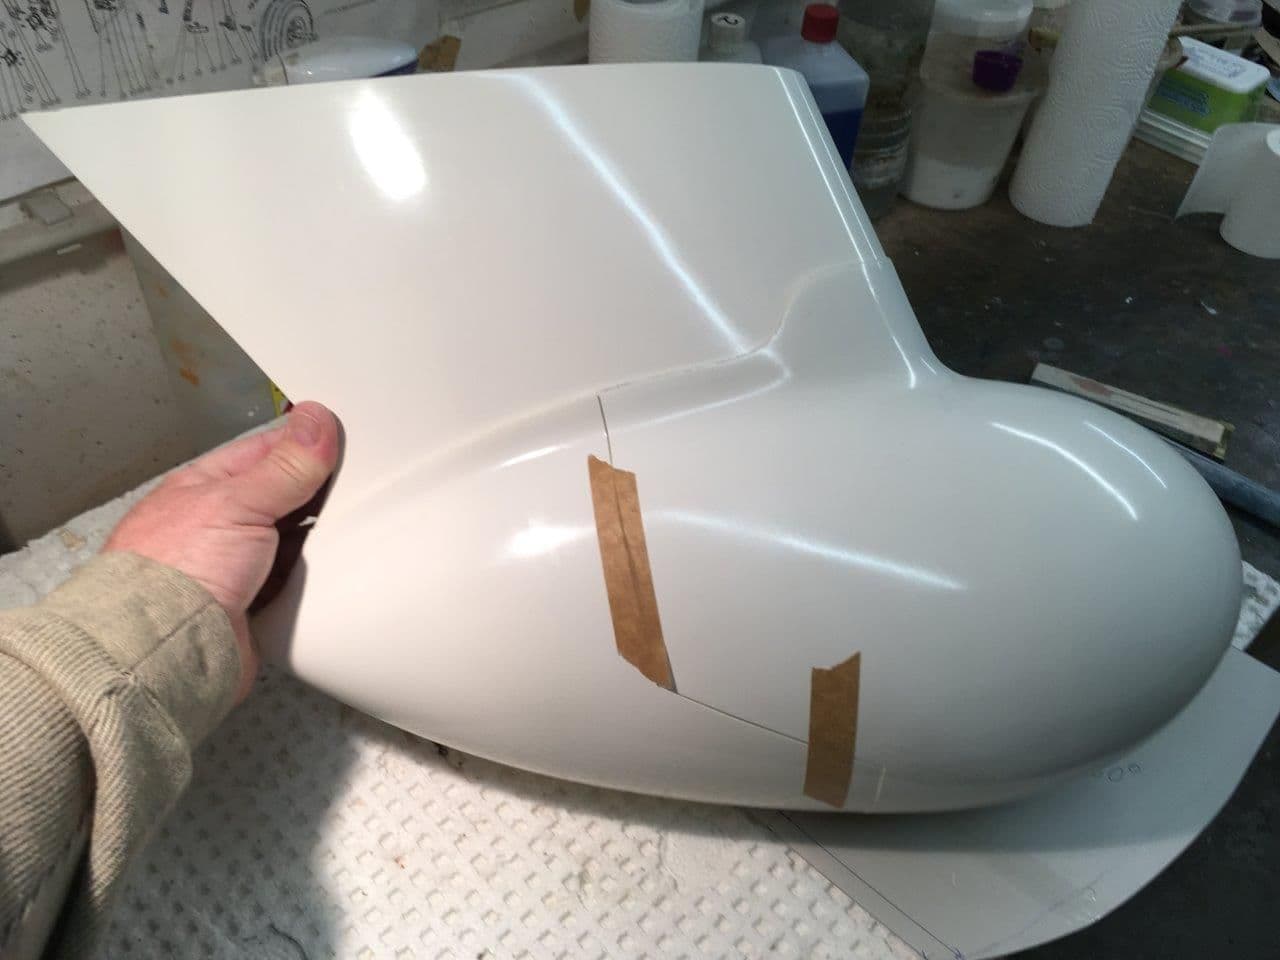
canopy test build no glue
forgot to douple spar 9, a few mistakes came up from time to time")
gear parts ready to start mouldings
canopy test build no glue
forgot to douple spar 9, a few mistakes came up from time to time
Last edited by Matzito; 01-28-2019 at 01:36 PM. Reason: addig


The following users liked this post:
Planet (03-16-2022)


The following users liked this post:
Planet (03-16-2022)


The following users liked this post:
Planet (03-16-2022)


The following users liked this post:
Planet (03-16-2022)
06-22-2019, 12:46 AM
#119
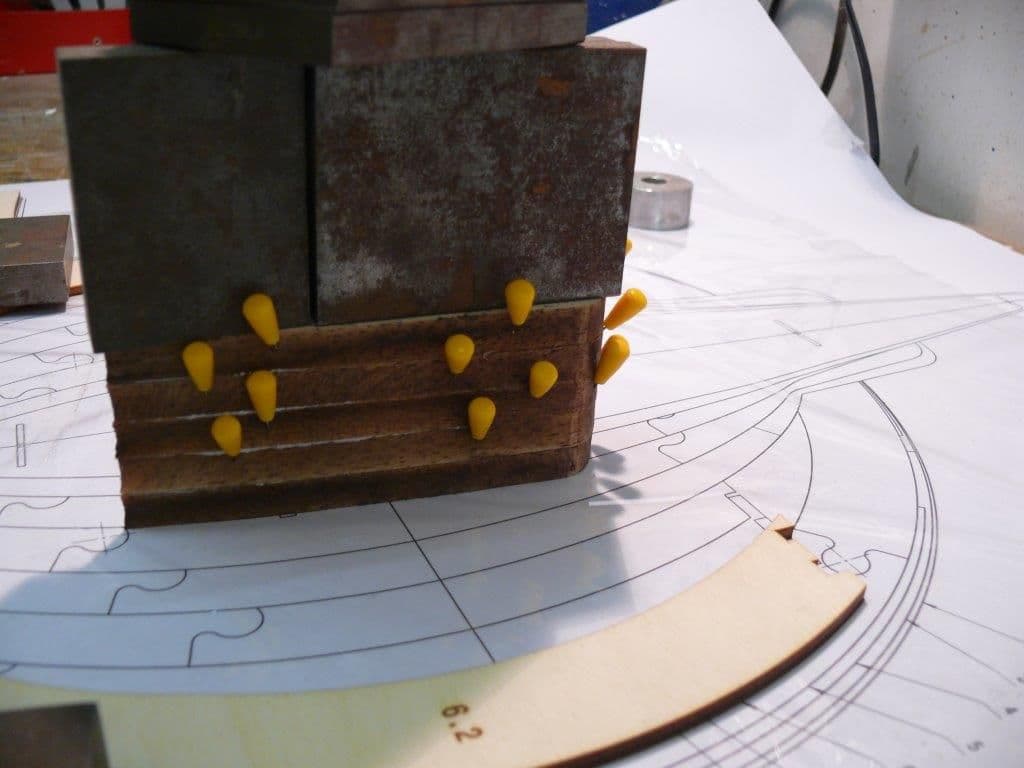
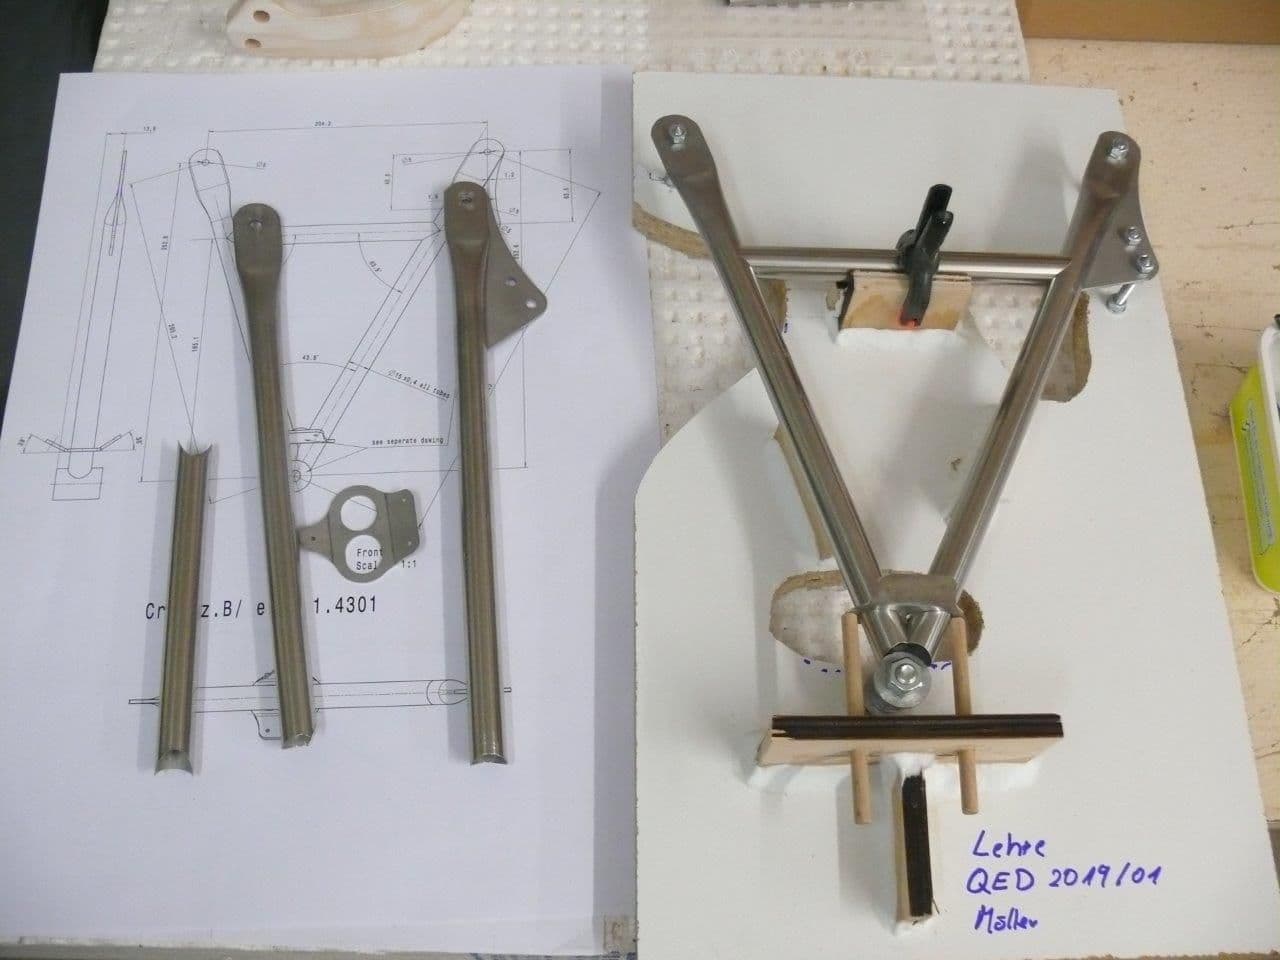
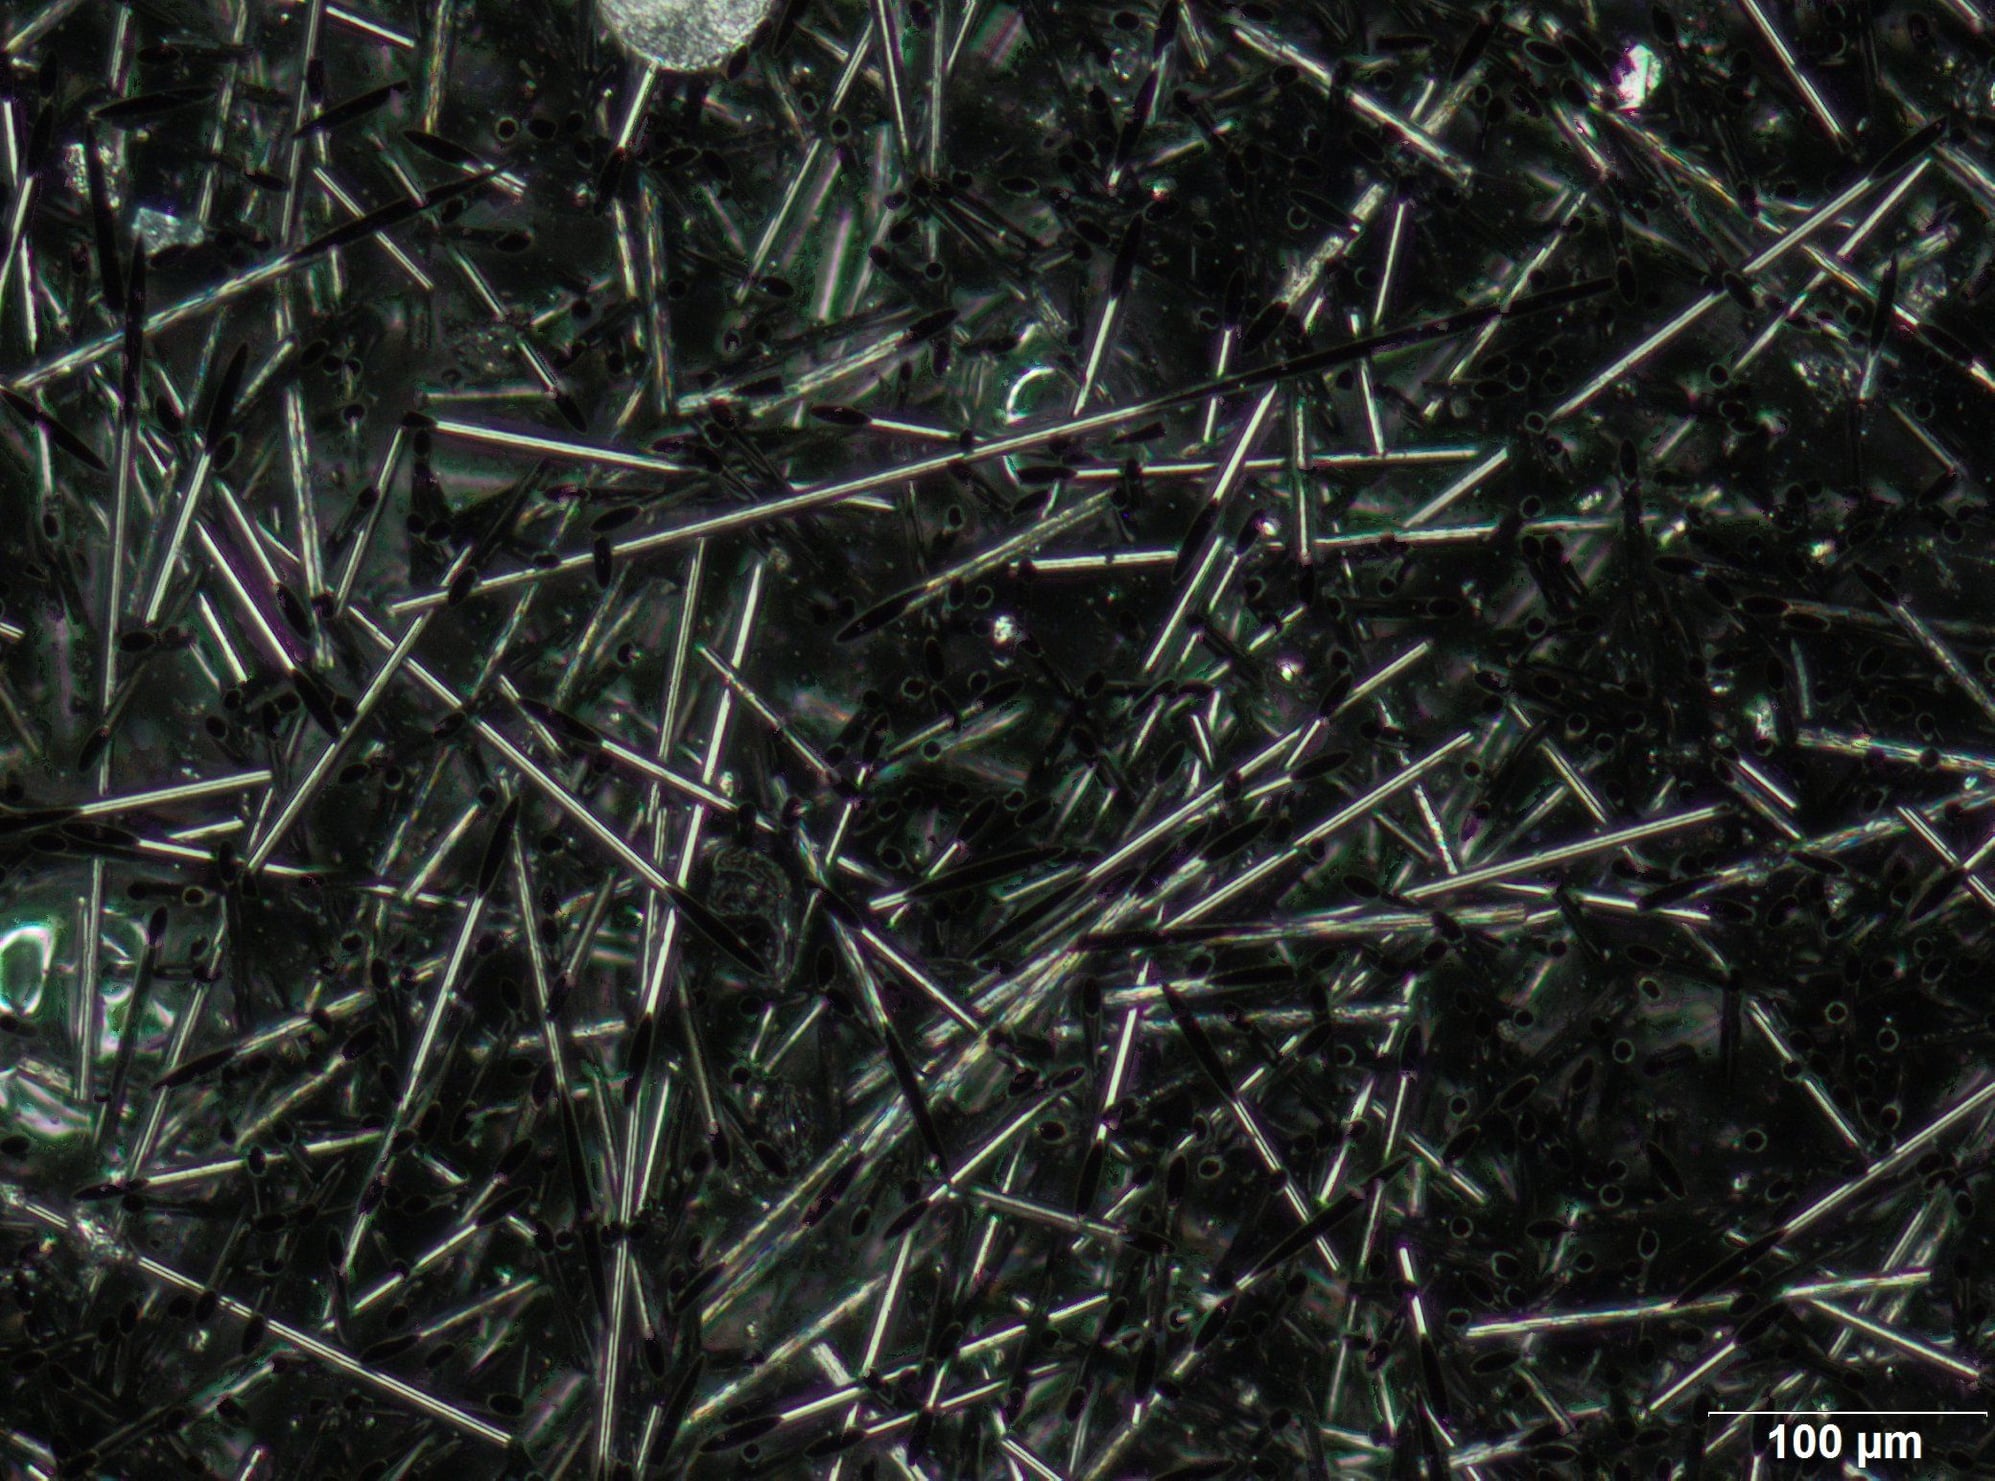
A friend made an analysation of the microstructur of fork and trailungarm, you can see the milled carbon fibres 0,2mm long mixed with the resin MGS L285 and H285 and it reminds me to the very hard steel structure called "Dendriten" shows where the strengs and stiffness comes from. all gear parts were placed in the ove 1h heat up hold for 3 hours at max 80� and then 1h cool down, the finger proved stiffnes raised incredible.


 06-22-2019, 01:28 AM
#123

Join Date: Dec 2007
Location: South Africa, SOUTH AFRICA
Posts: 57
Likes: 0
Received 10 Likes
on
10 Posts
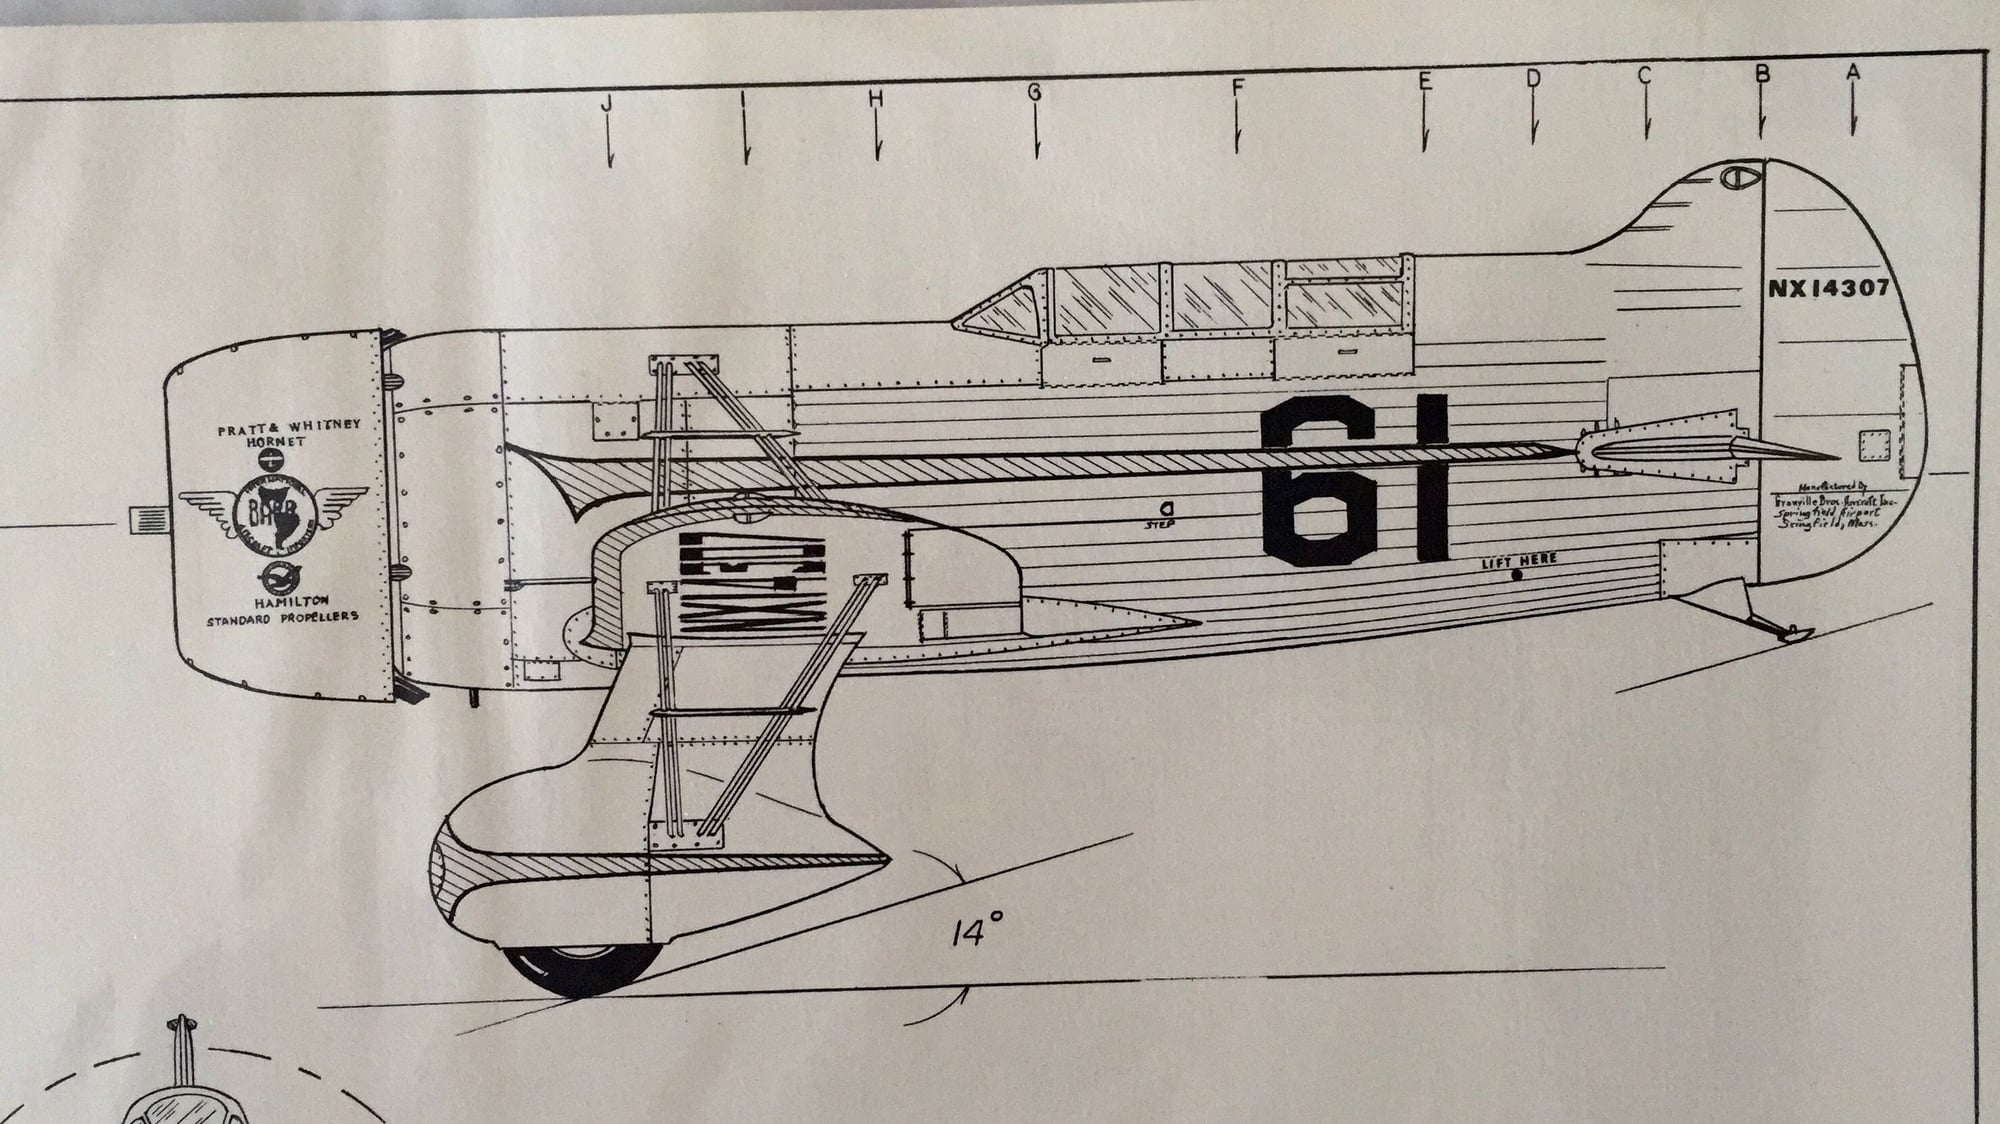
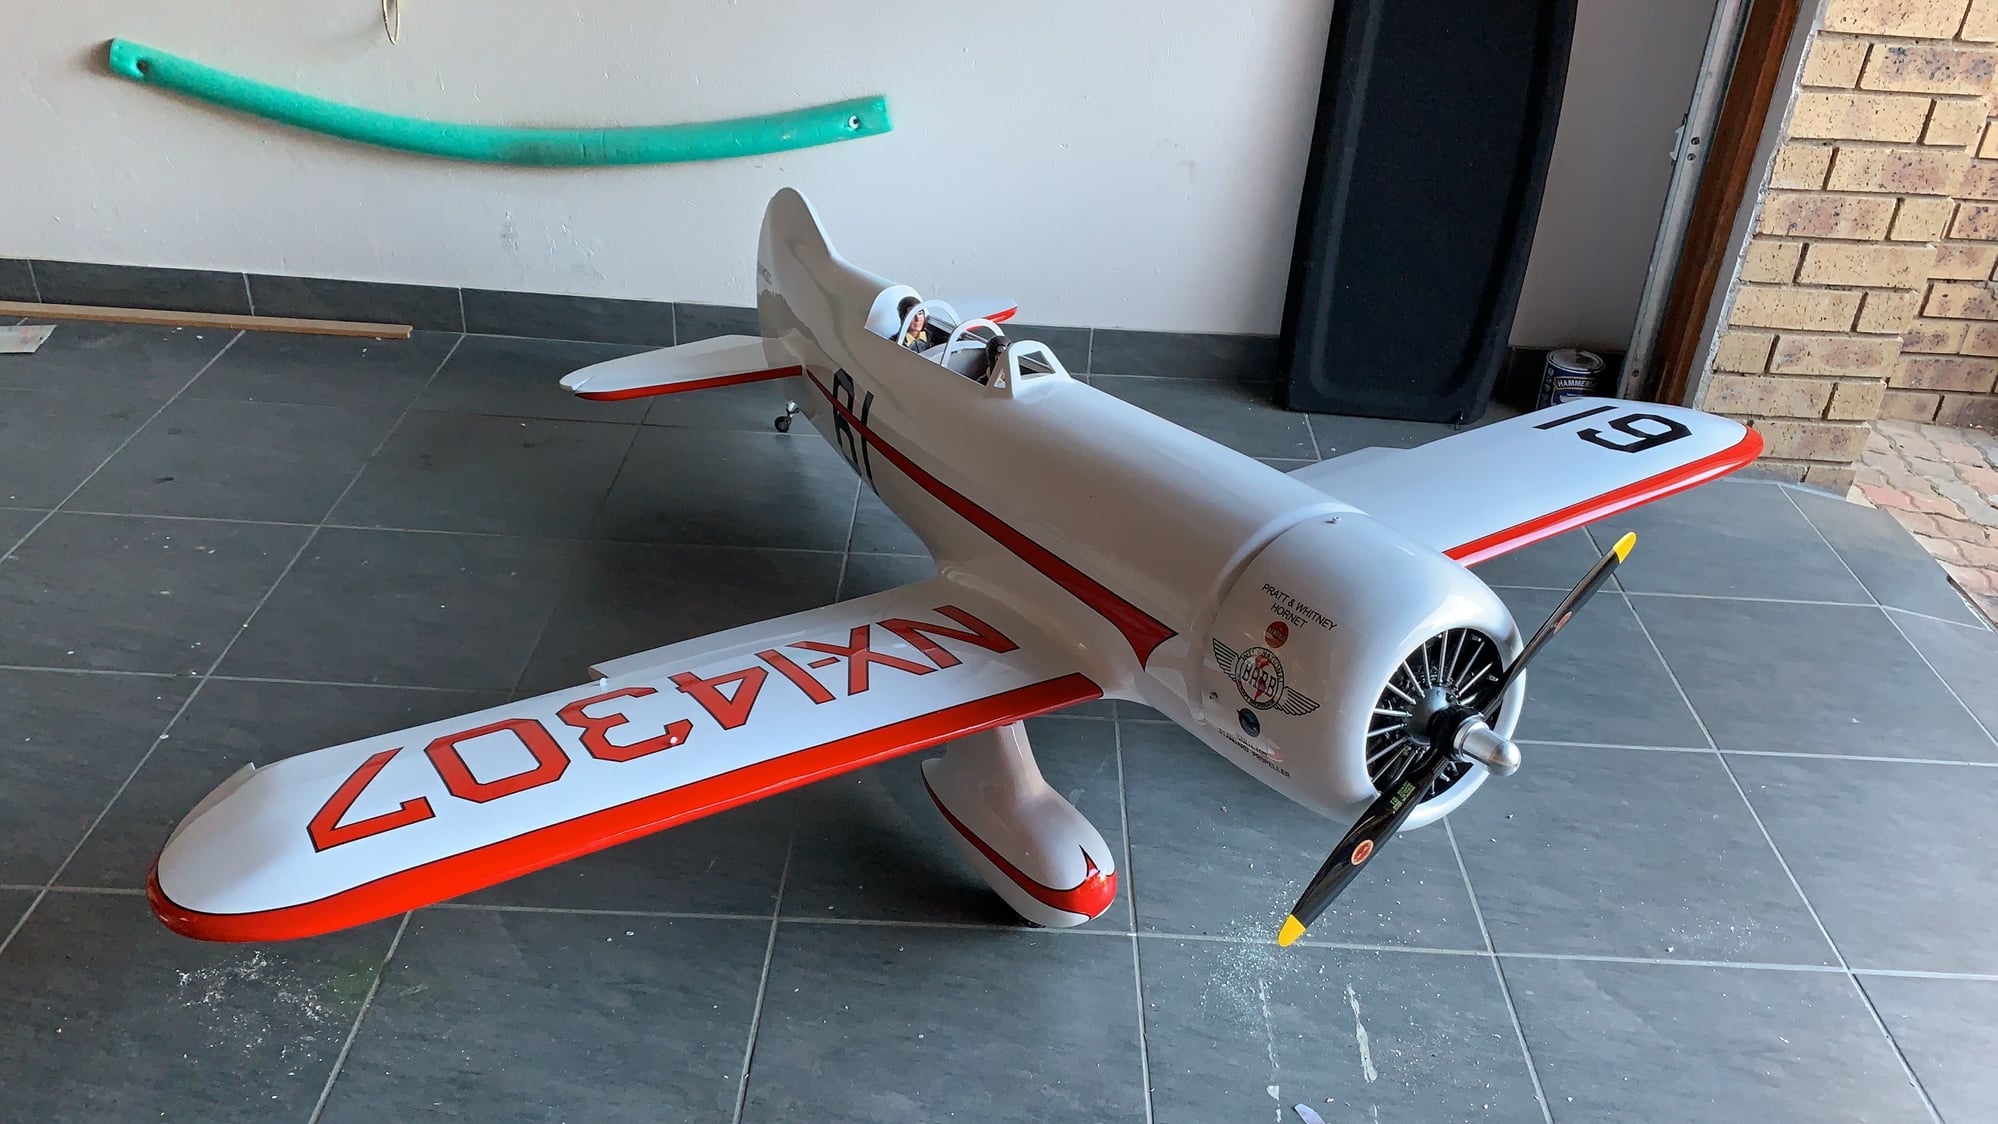
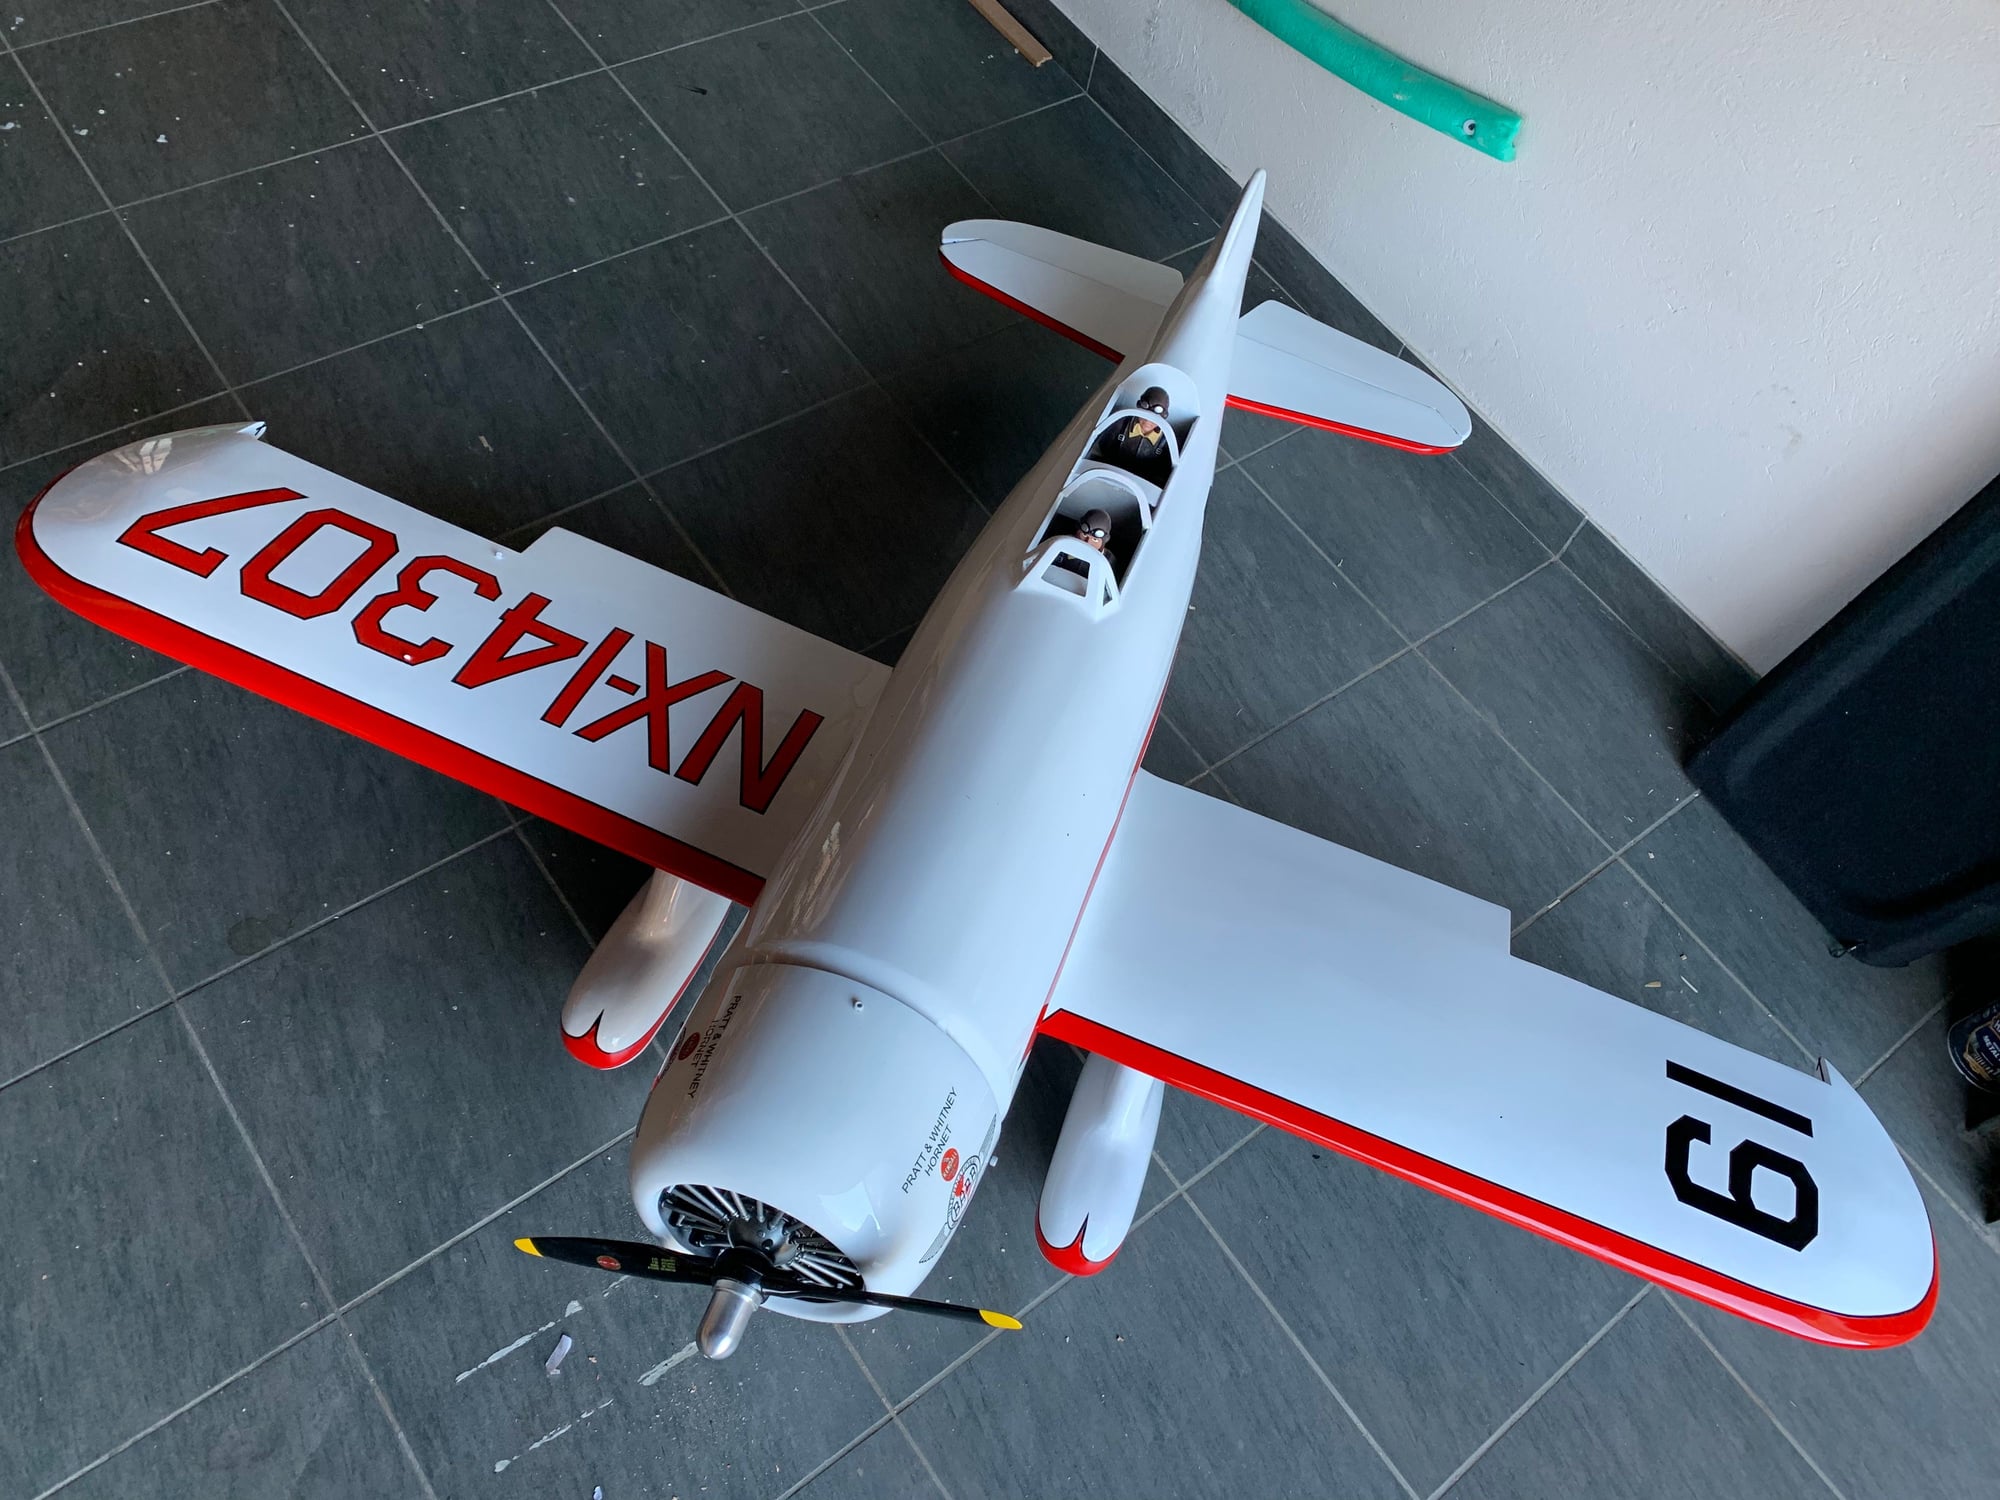
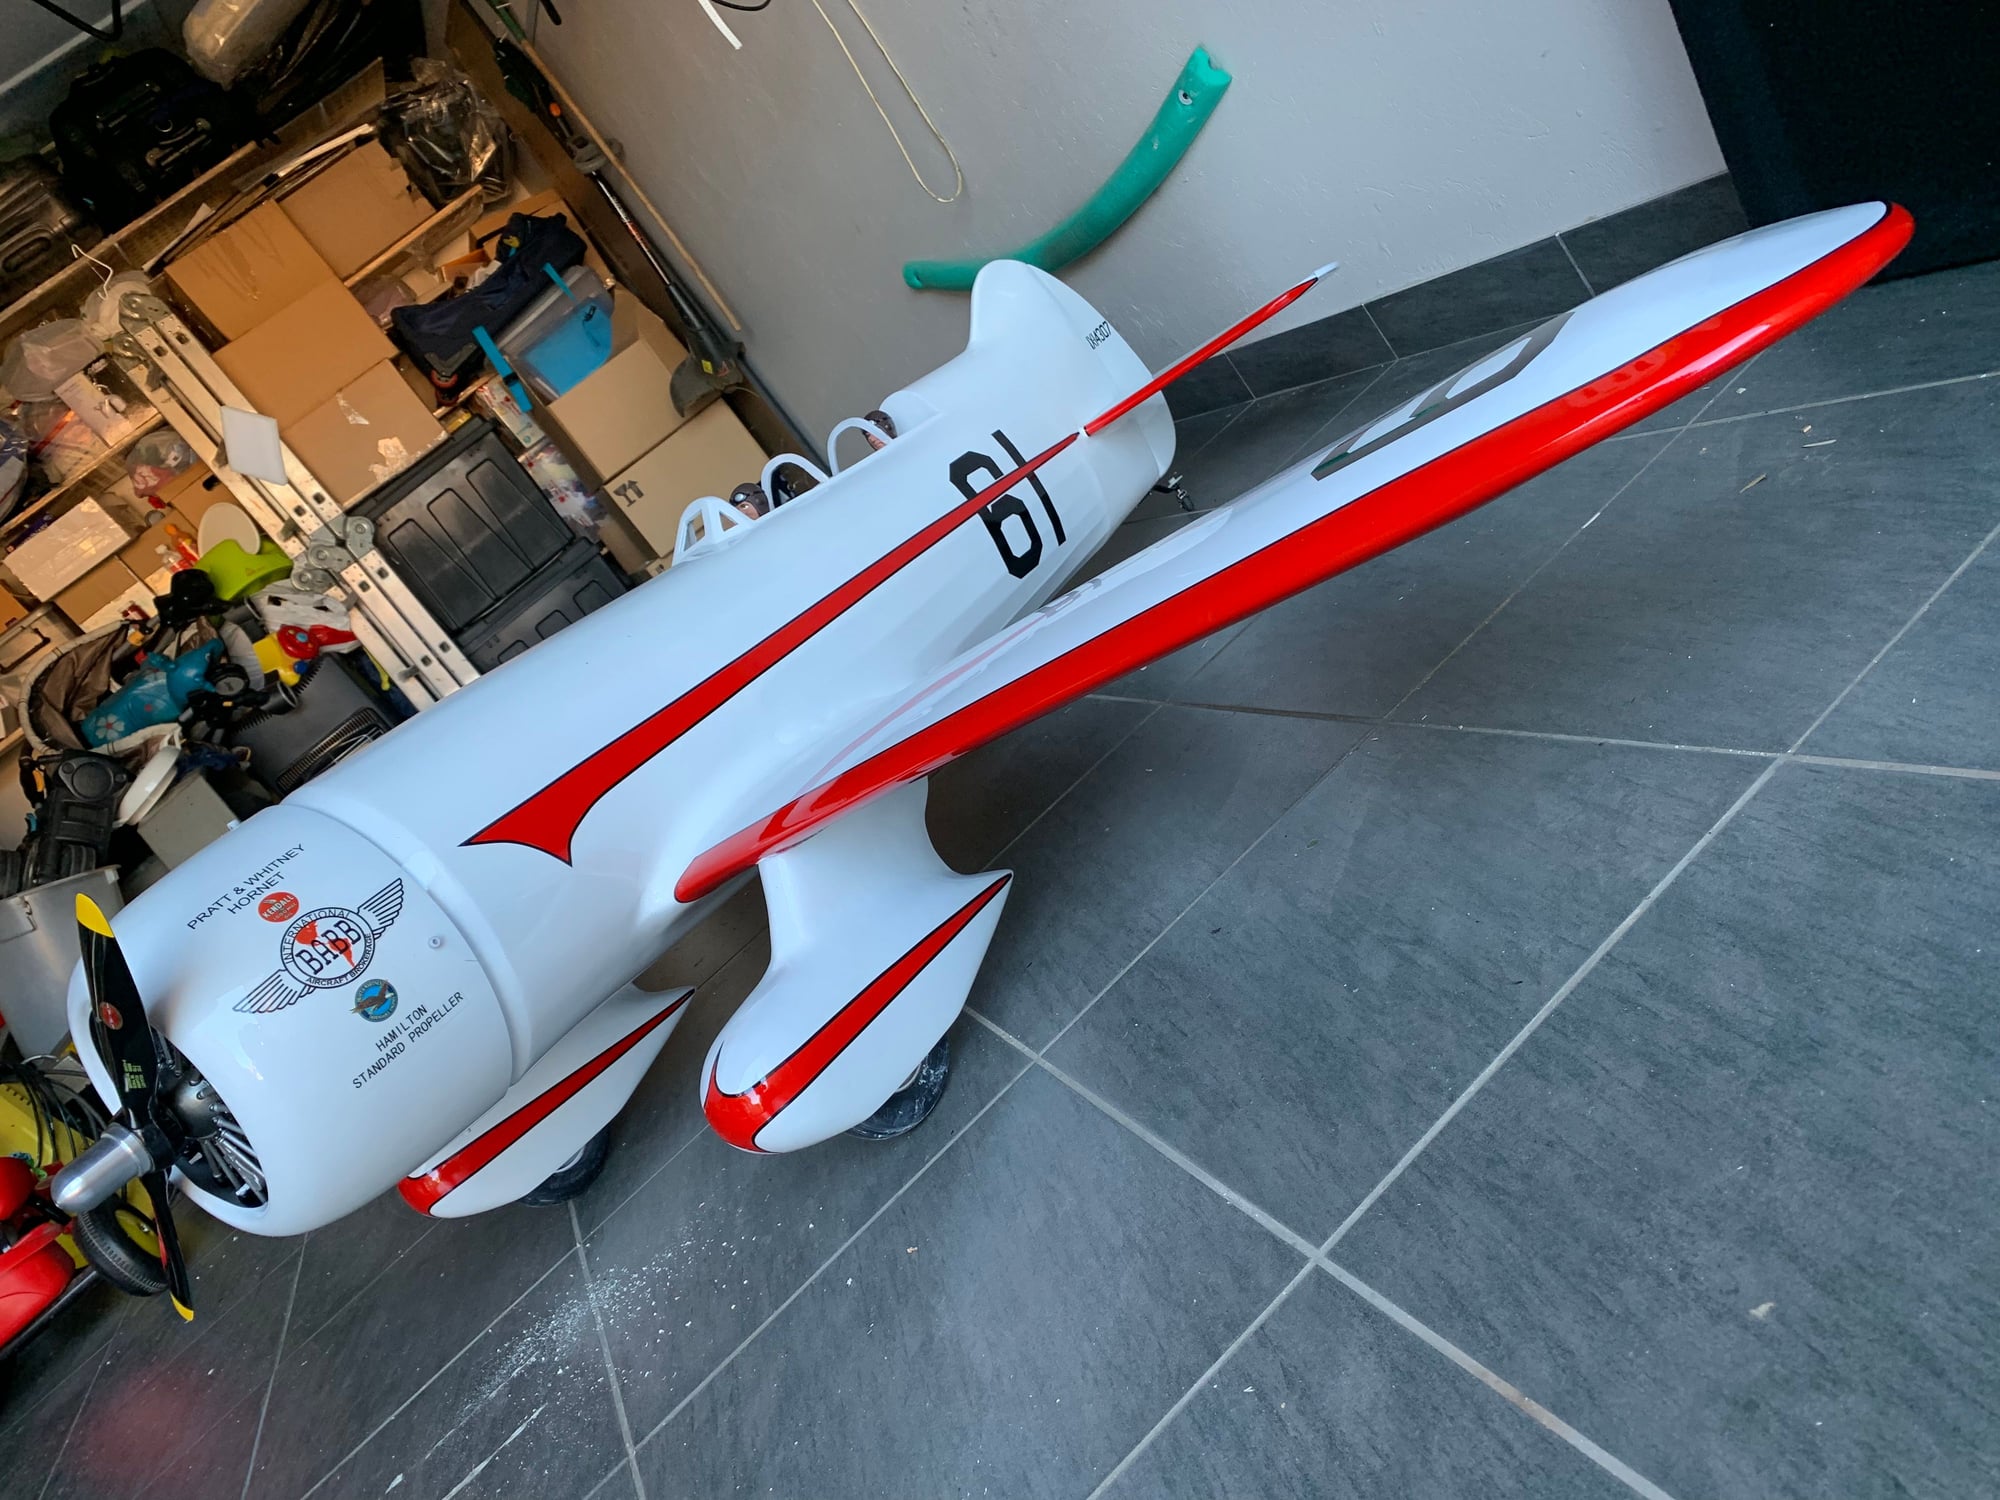
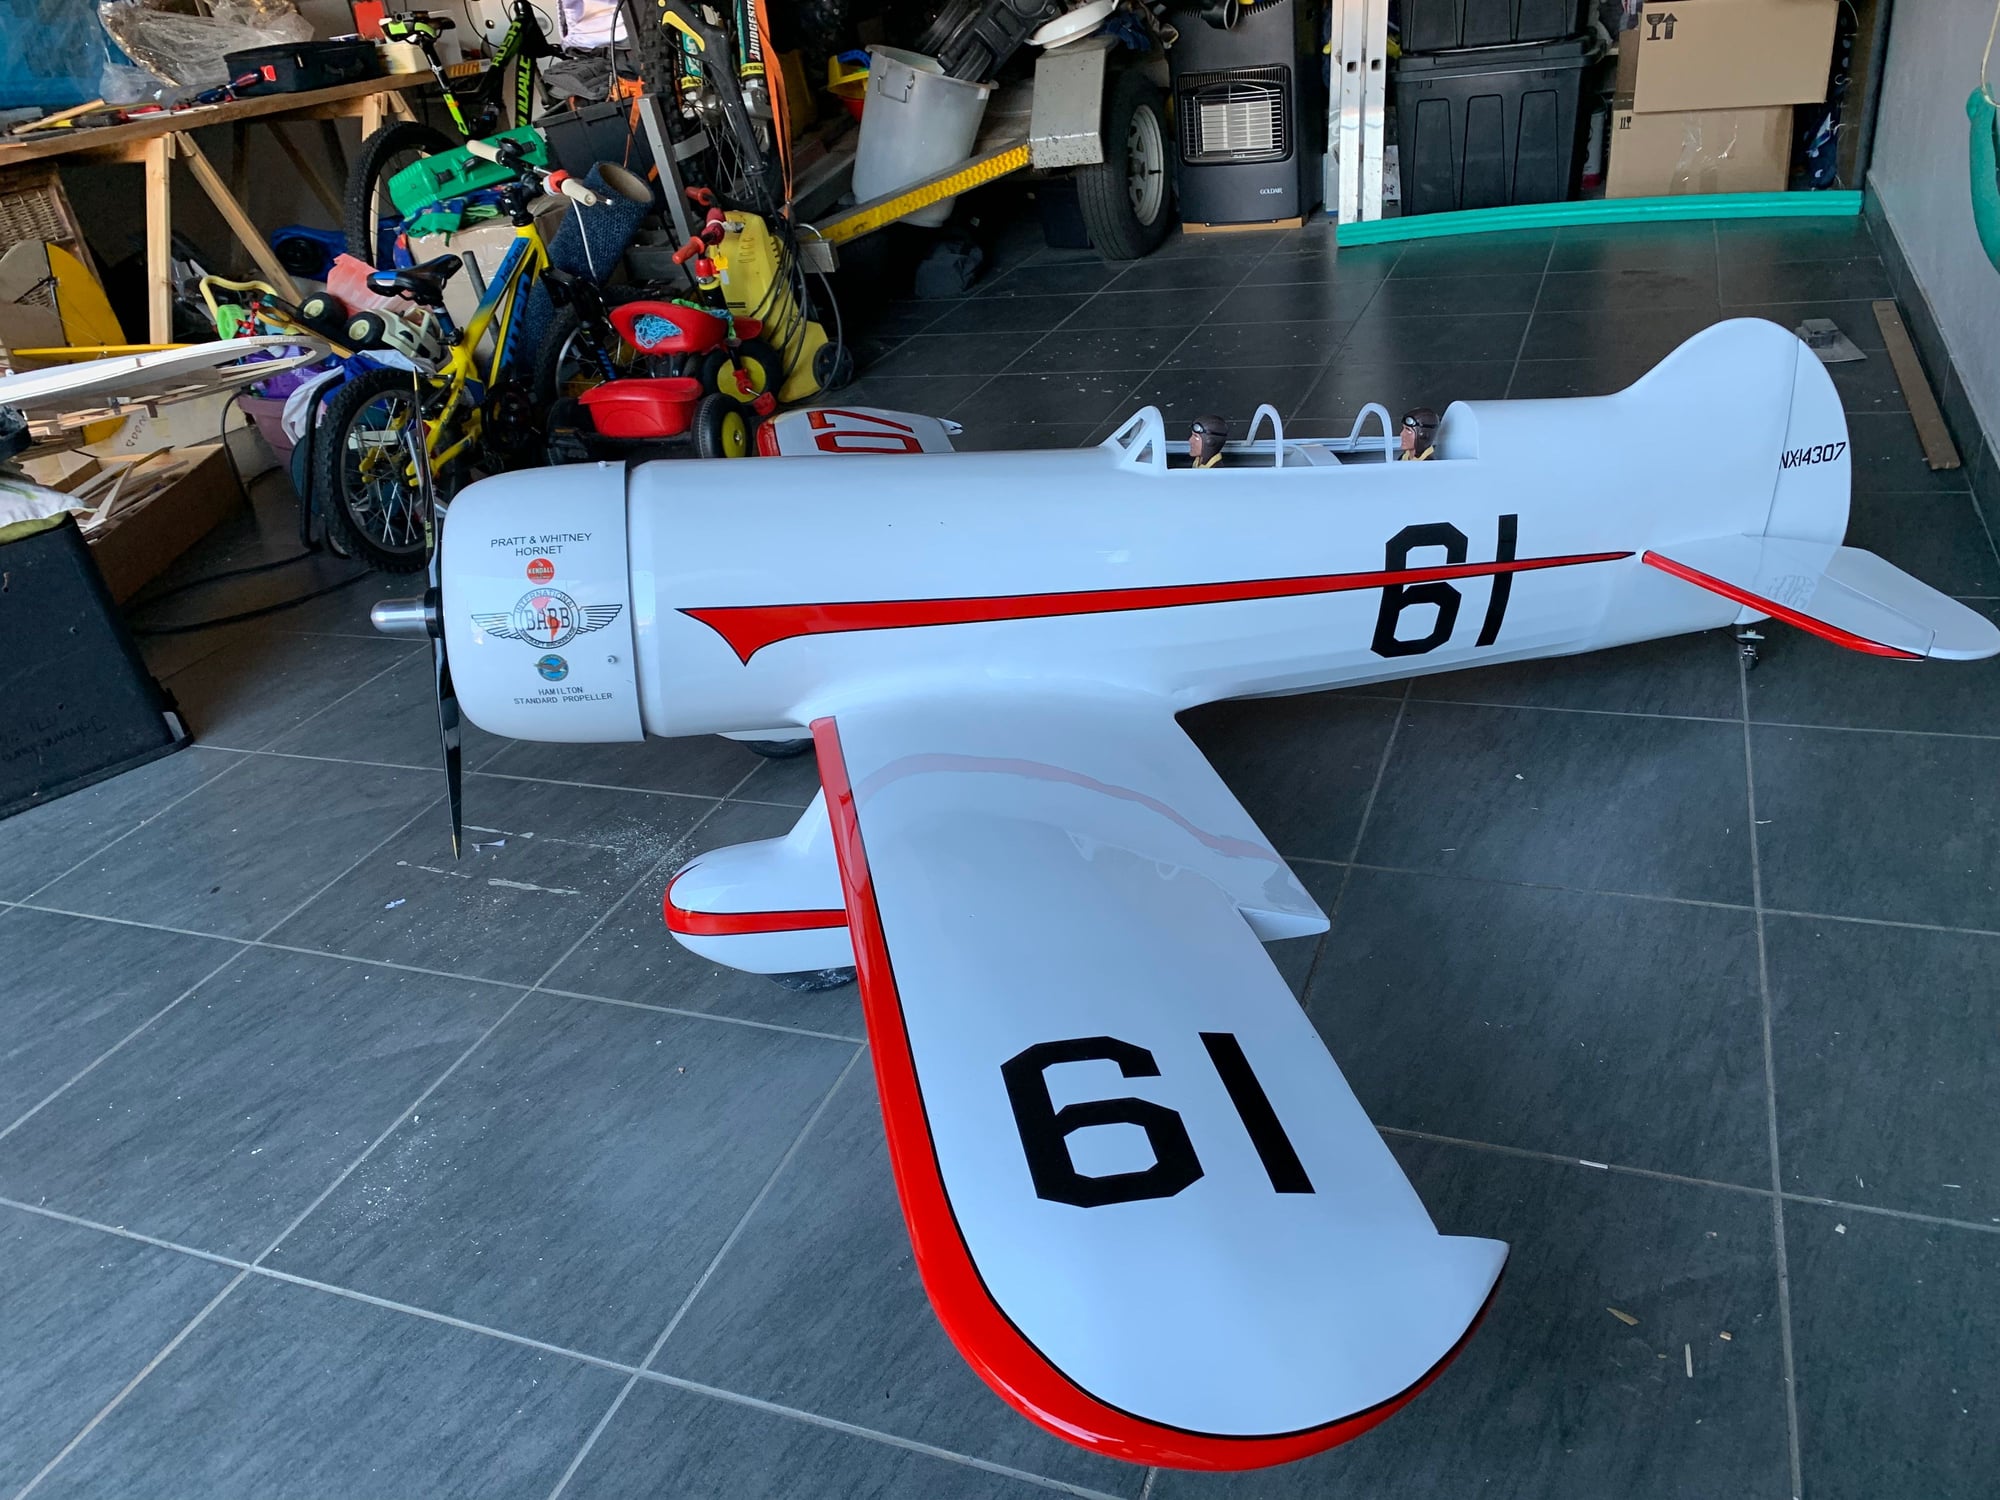
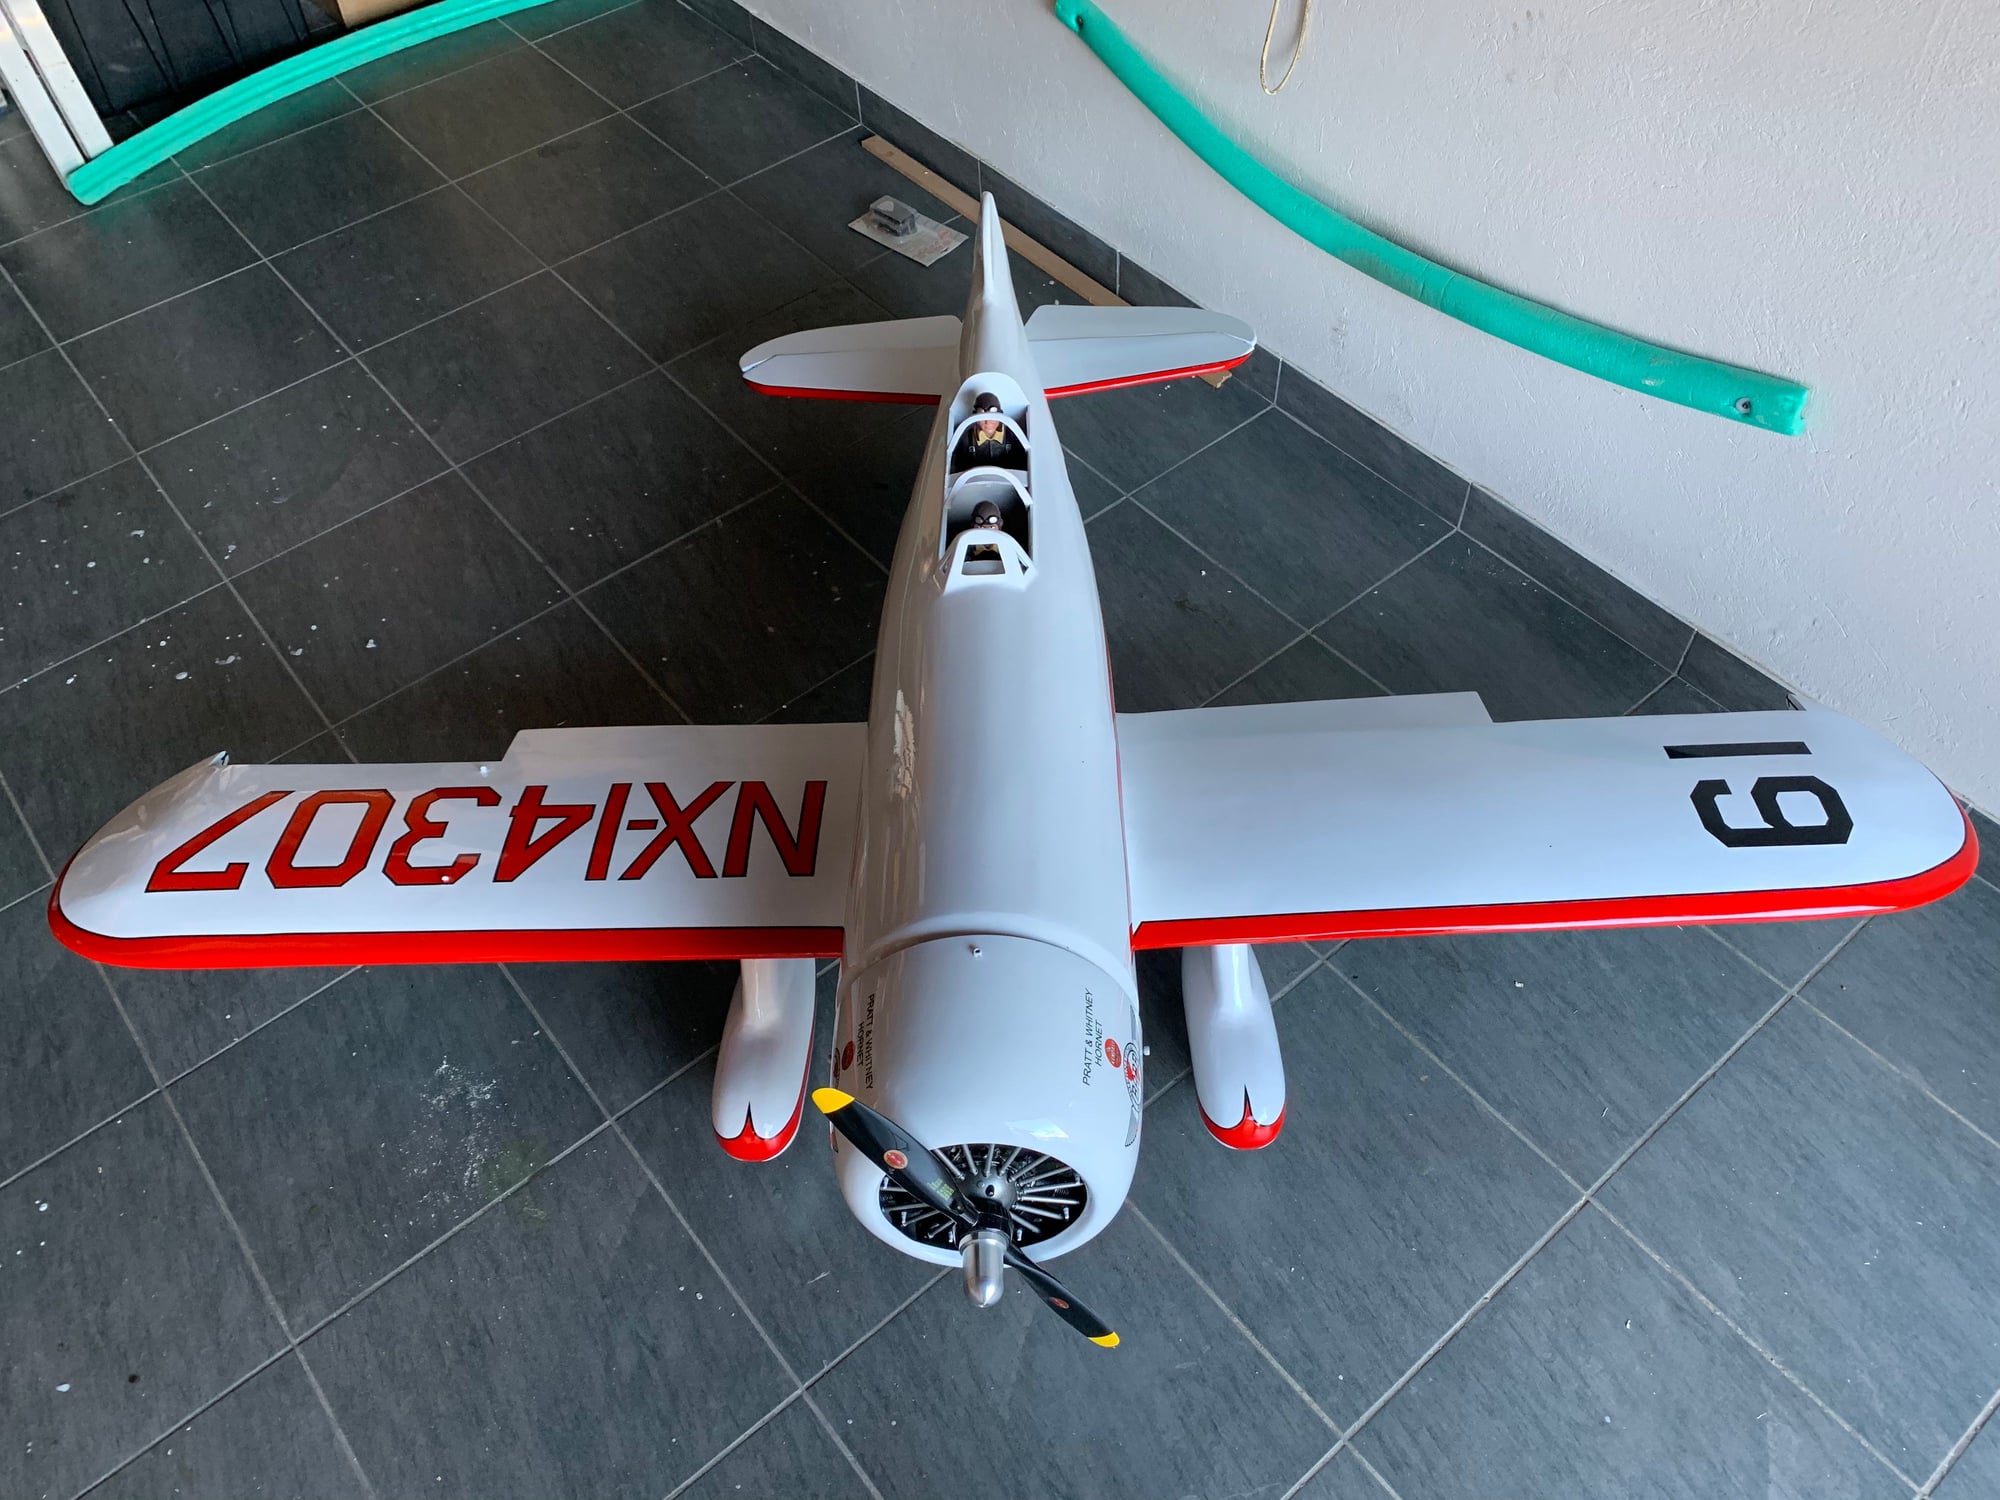
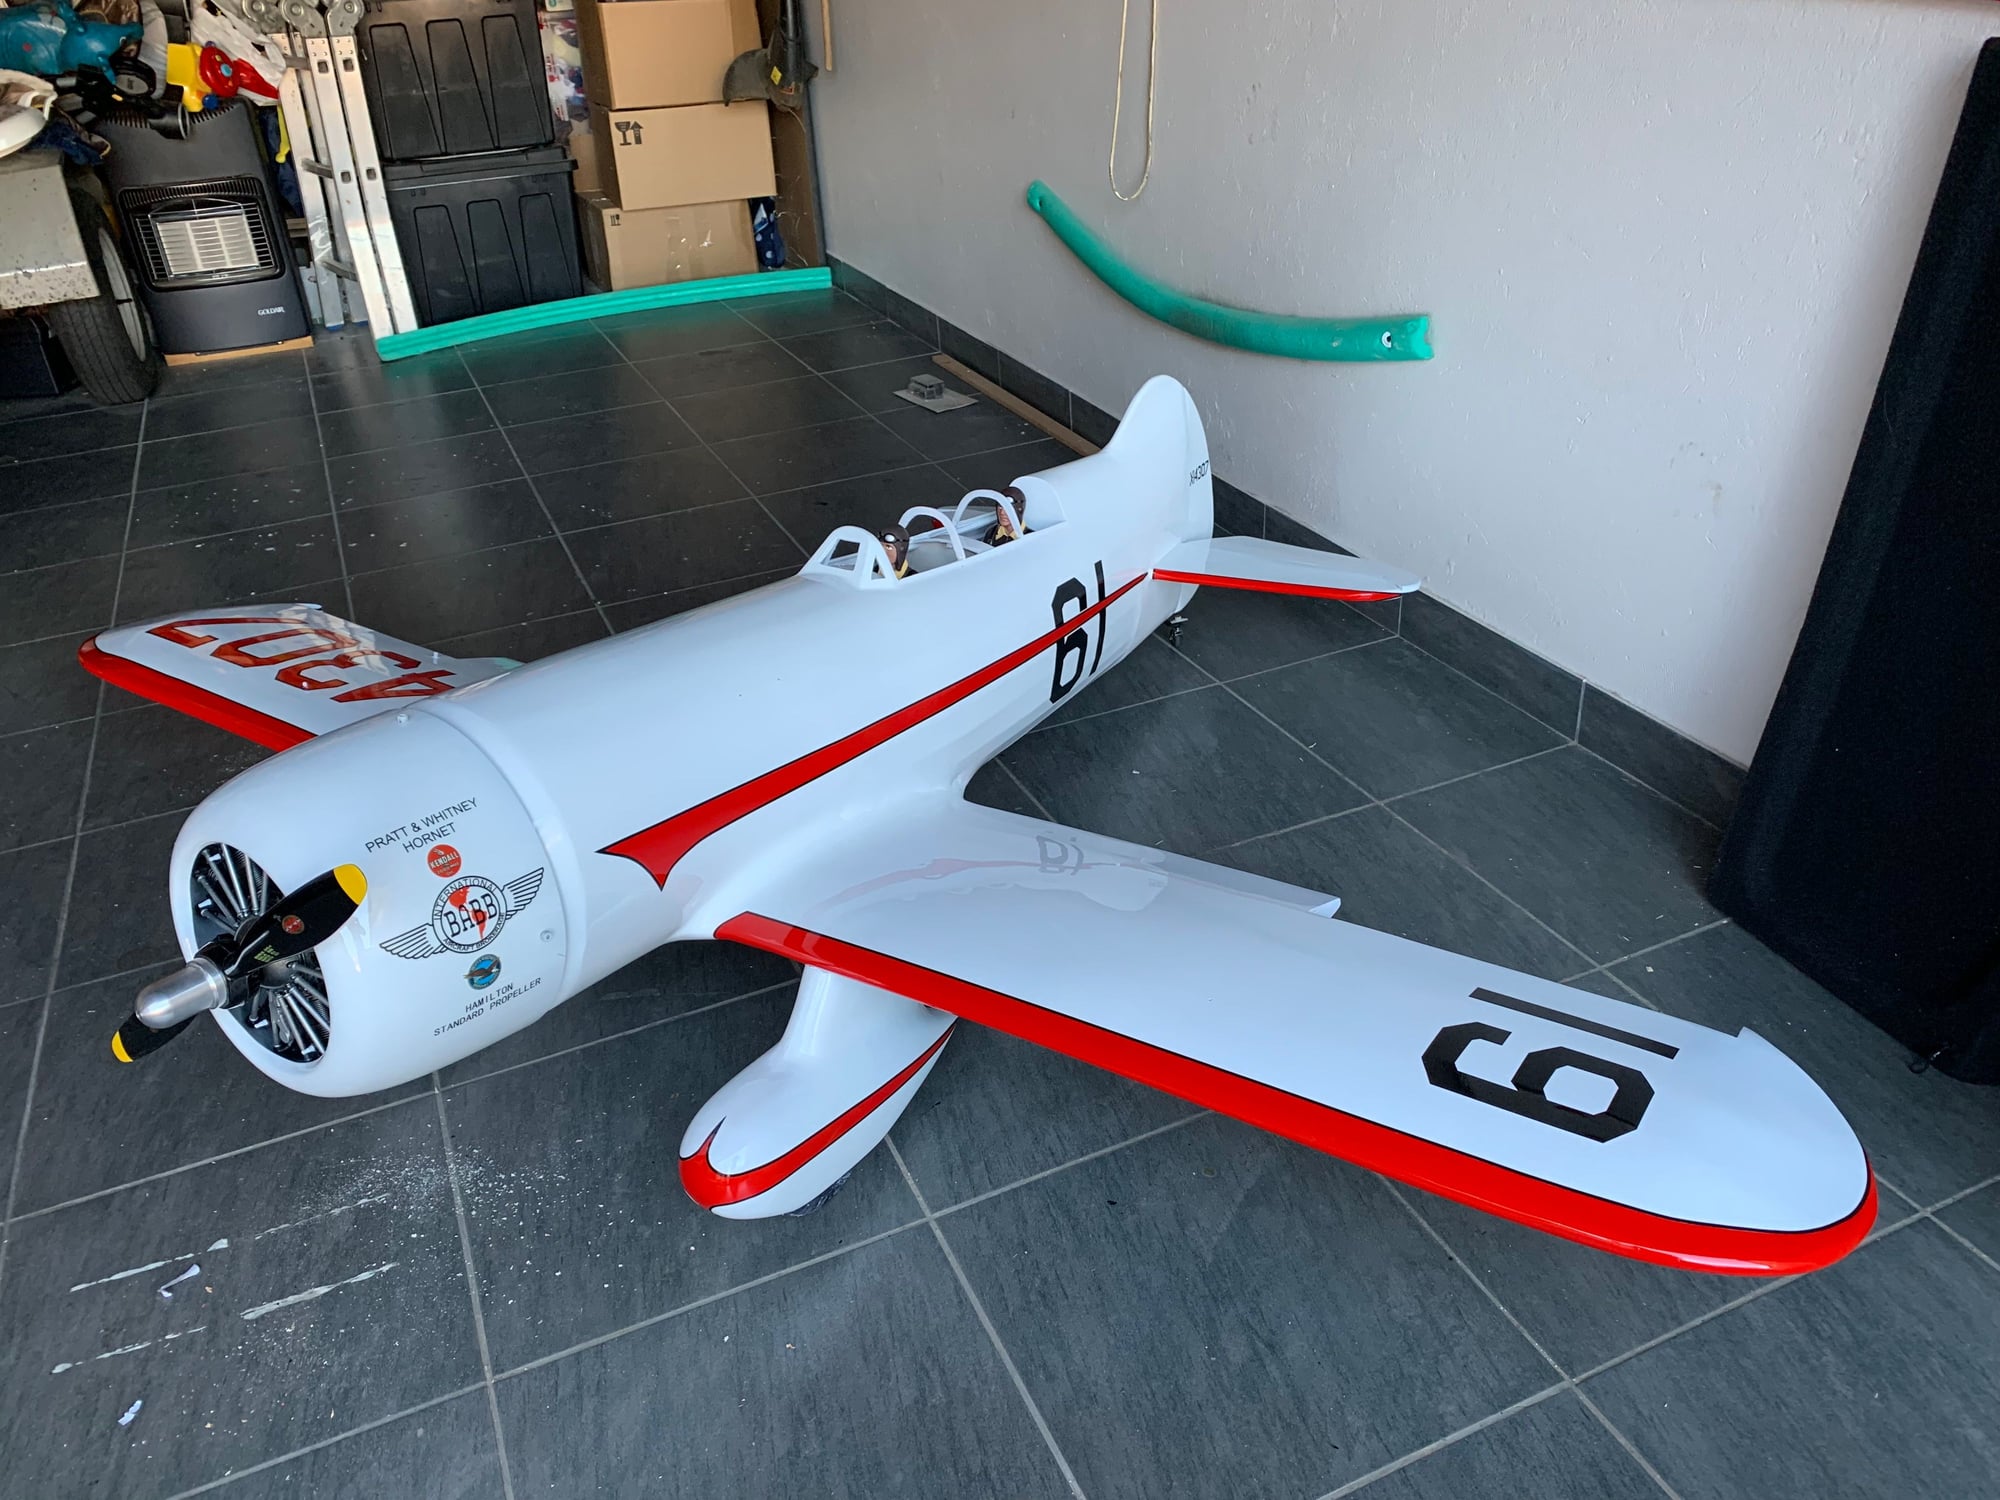
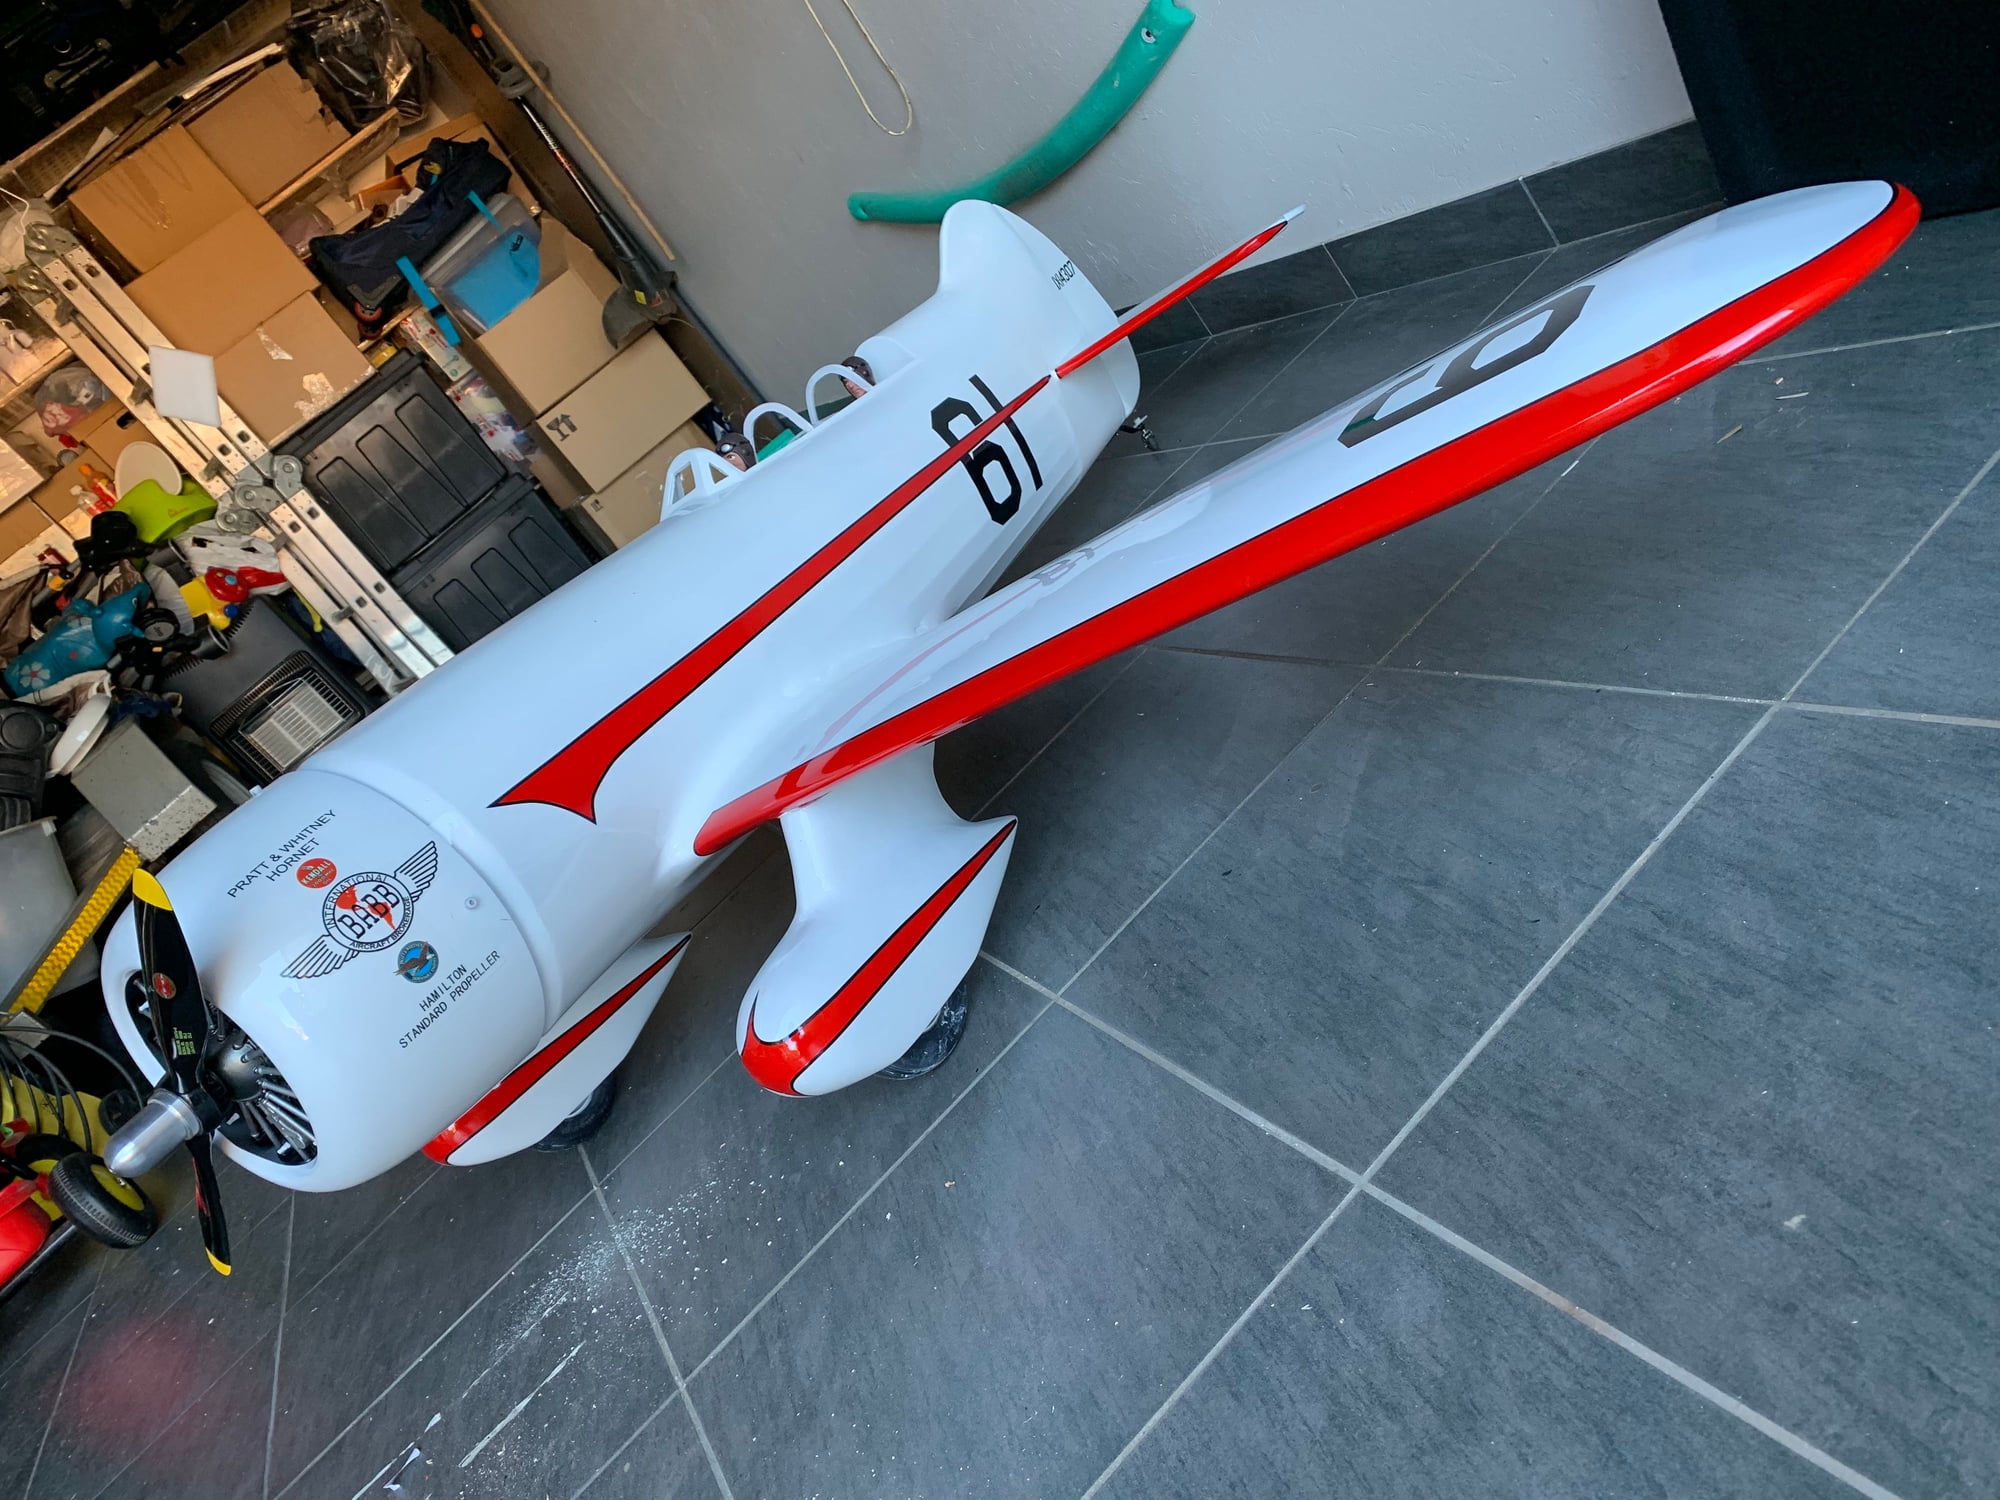
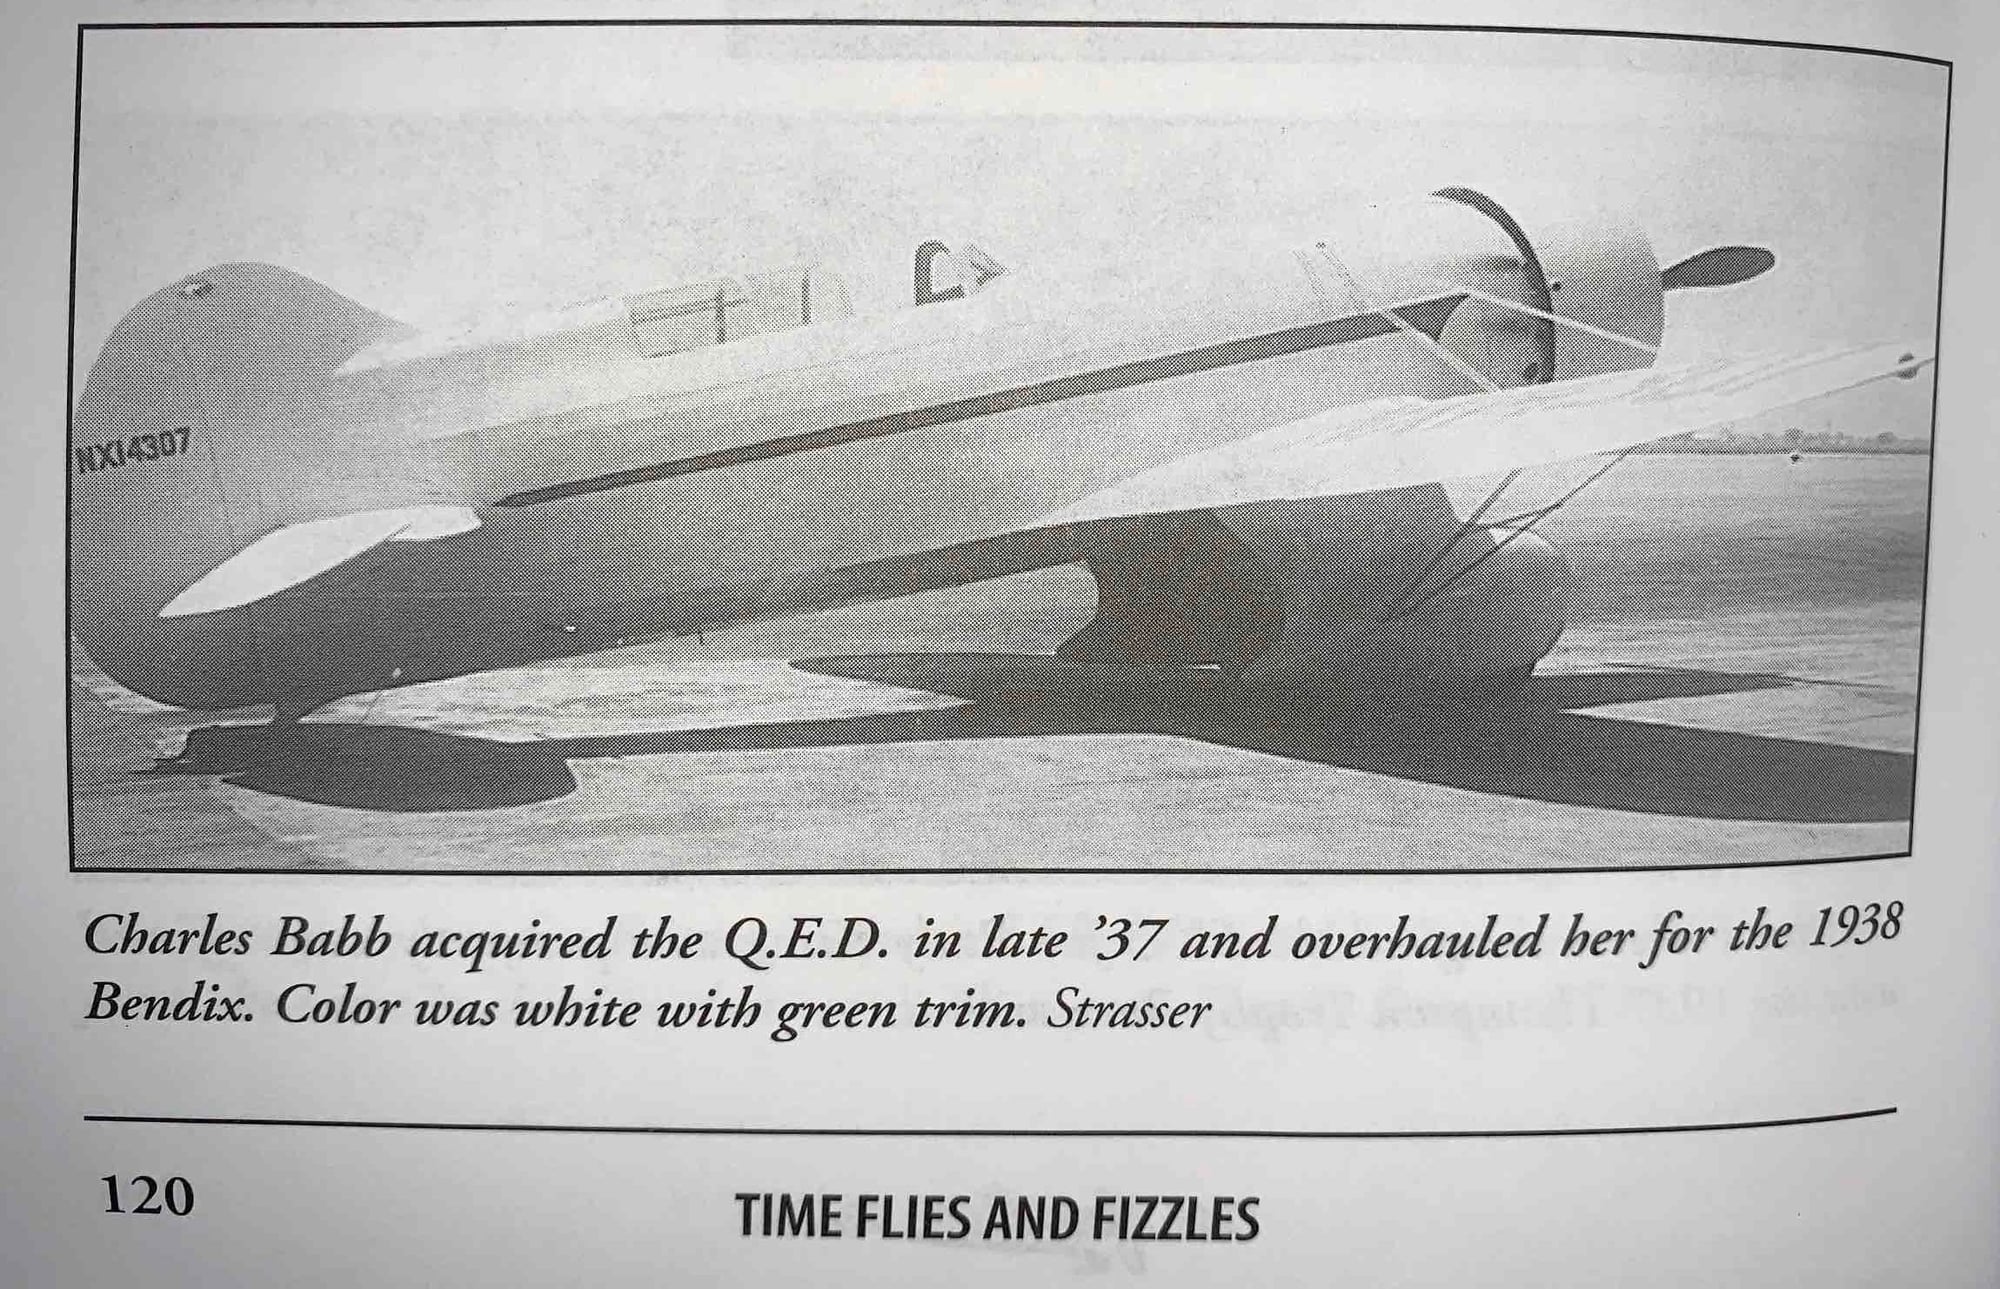
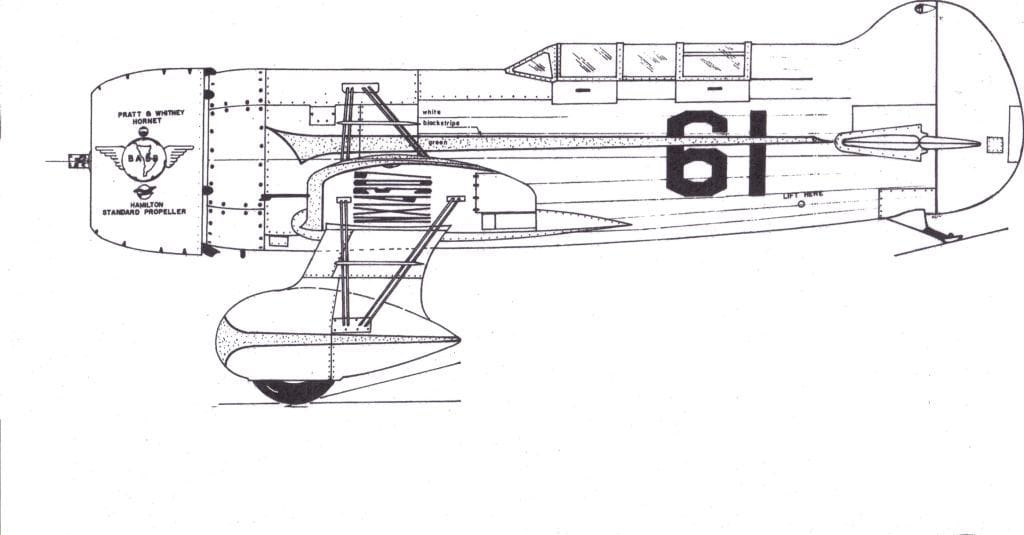
According to "A Legacy of Speed The Gee Bee Racers" By Mendenhall/Murphy the R6/QED was built for Jackie Cochran and painted "lucky Strike green" since she was there spokes model. It was meant to race from London to Melbourn in the Mac Robertson air race. She flew it a little then it was sold to Charles Babb. He repainted it white with a green stripe. Later (1938) he added 61 to the side and right wing tip bottom for racing (not sure of the numbers color). Then Babb sold it to Capt. DA Francisco Sarabia who painted it "gleaming high-gloss white" with red speed lines (stripes) on the sides along with the script also he added the cowl art work (crossed American and Mexican flags).