My HL Leo build....
 01-16-2014, 01:11 AM
#51
Junior Member
Join Date: Feb 2013
Location: SydneyNSW, AUSTRALIA
Posts: 5
Likes: 0
Received 0 Likes
on
0 Posts
Wow mcm, it's a fantasic build. The primer coat brings out the detail
The elevation in the gun tube after firing is for the spent shell ejection, the Tamis do it as part of the DMD and MF units
I'm looking forward to your turret build.....
The elevation in the gun tube after firing is for the spent shell ejection, the Tamis do it as part of the DMD and MF units
I'm looking forward to your turret build.....
 01-16-2014, 04:01 AM
#52

Thread Starter
Join Date: Jul 2013
Location: sayreville, NJ
Posts: 378
Likes: 0
Received 0 Likes
on
0 Posts
Thanks! I am making progress on the turret. I have the rear done. I bent up some of the tubular rails on the top side. I dont have much time during the week to work on it. I need to get some .040 hex rod to make all the bolt heads. Im looking forward to that!
I should get the mesh for the baskets today or tomorrow. I ordered Aber S18 drilled plate from a supplier in Canada(Air Connection).
I have the correct smoke launchers from AFV model. They are resin pieces that need alot of trimming and finish work. I thought they would have the chains for the caps but they dont. I have some chain that might work although it might be slightly larger then what its suppose to be. Atleast I dont have to scratch build the entire units.
Stay tuned...
01-16-2014, 04:23 AM
#53
Junior Member

Join Date: Dec 2013
Posts: 10
Likes: 0
Received 0 Likes
on
0 Posts


 05-01-2014, 11:42 PM
#59
Member
Join Date: Apr 2014
Location: Warren, Manitoba
Posts: 30
Likes: 0
Received 0 Likes
on
0 Posts
don't know if my question went thru but I have the metal track too but put the plastic black one's back on because silver didn't look good with a dark green cam leopard..lol..do you or would you paint the metal track? Id like to but don't want to screw it up. Idea's?
 08-11-2015, 05:06 AM
#64
Thread Starter
Join Date: Jul 2013
Location: sayreville, NJ
Posts: 378
Likes: 0
Received 0 Likes
on
0 Posts
I have to totally regroup on this. All the old pictures are gone so I will upload some current status pictures. I might need some help figureing out how some of the internals were assembled. All the screws and small parts are in a bowl and I forget whats what..lol
Picking up where I left off, A good chunk of the turret construction is done. I need to finish some of the top side and detail. Then I can prime and see where I stand. Probably have to add some filler here and there...
Picking up where I left off, A good chunk of the turret construction is done. I need to finish some of the top side and detail. Then I can prime and see where I stand. Probably have to add some filler here and there...


 08-14-2015, 03:47 PM
#67
Thread Starter
Join Date: Jul 2013
Location: sayreville, NJ
Posts: 378
Likes: 0
Received 0 Likes
on
0 Posts
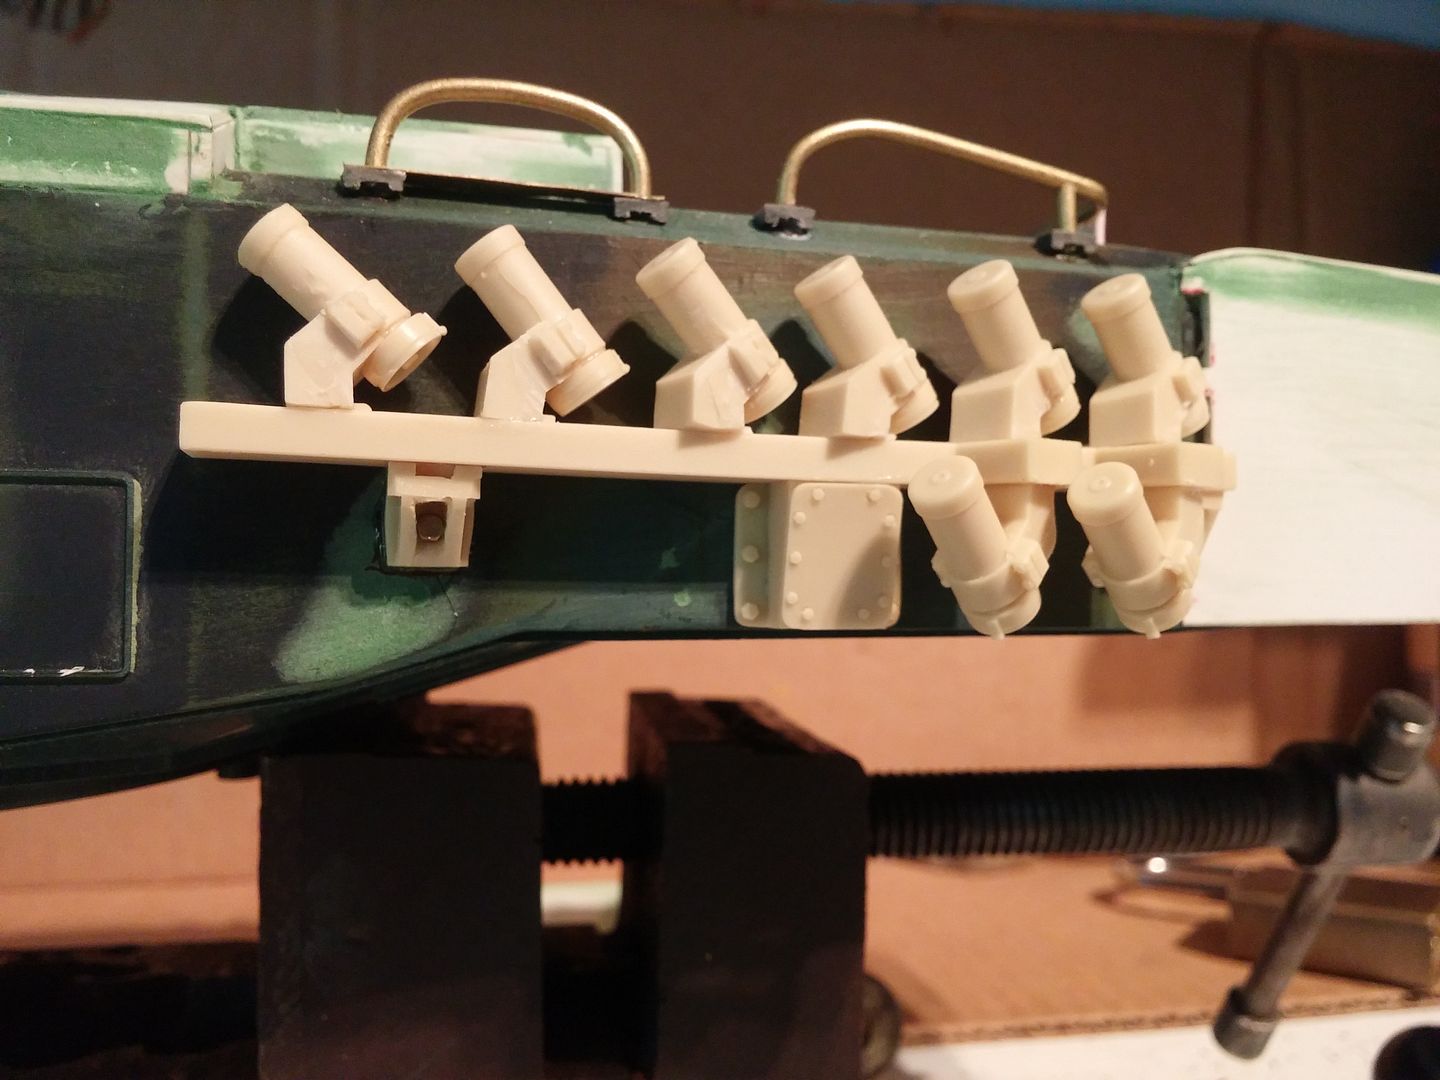
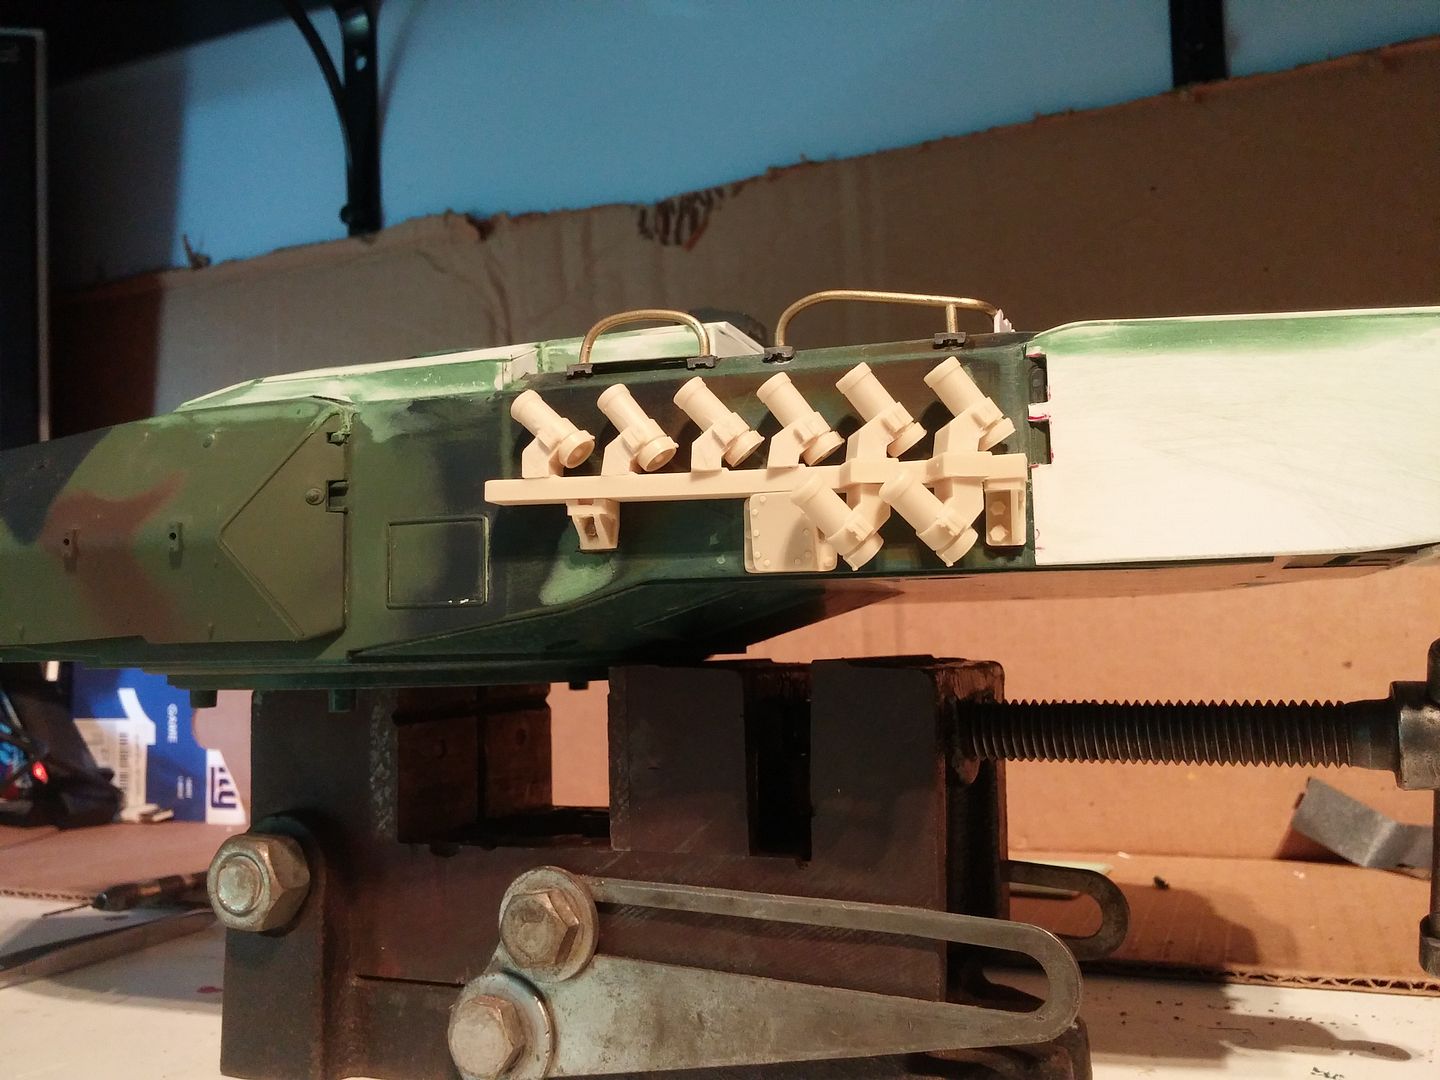
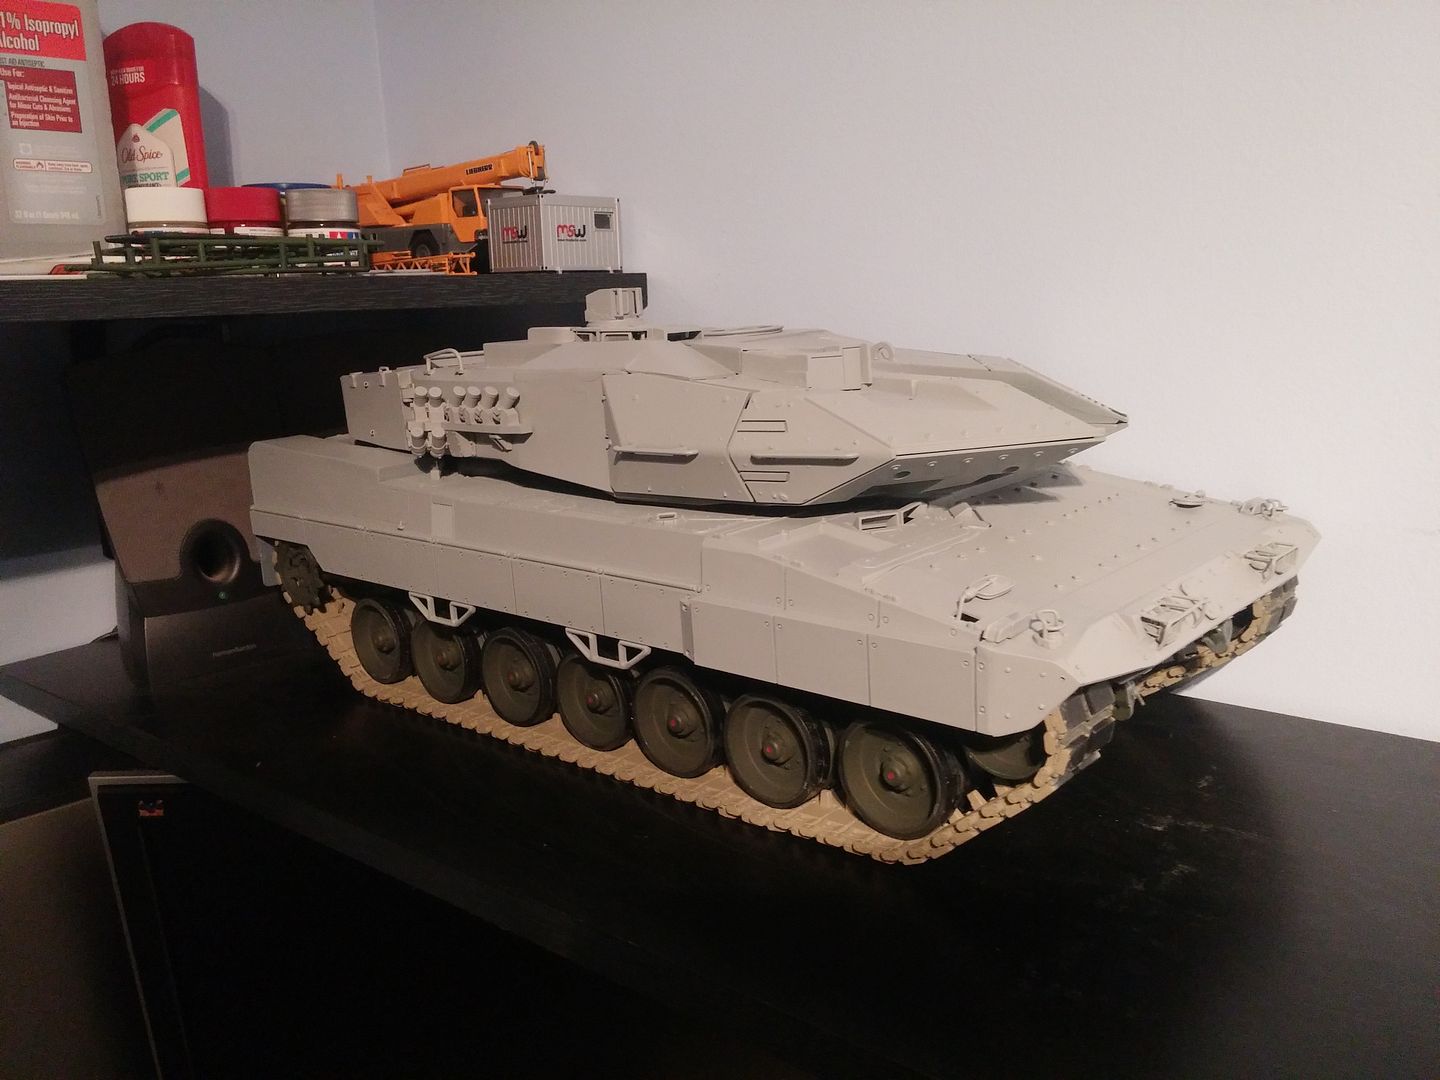
Squeaked a couple hours of work in today. I added the smoke launchers and some detail items to the turret. I really need to get a coat of primer on the turret to see how smooth it looks and where I need filler and some sanding. Primer makes everything pop.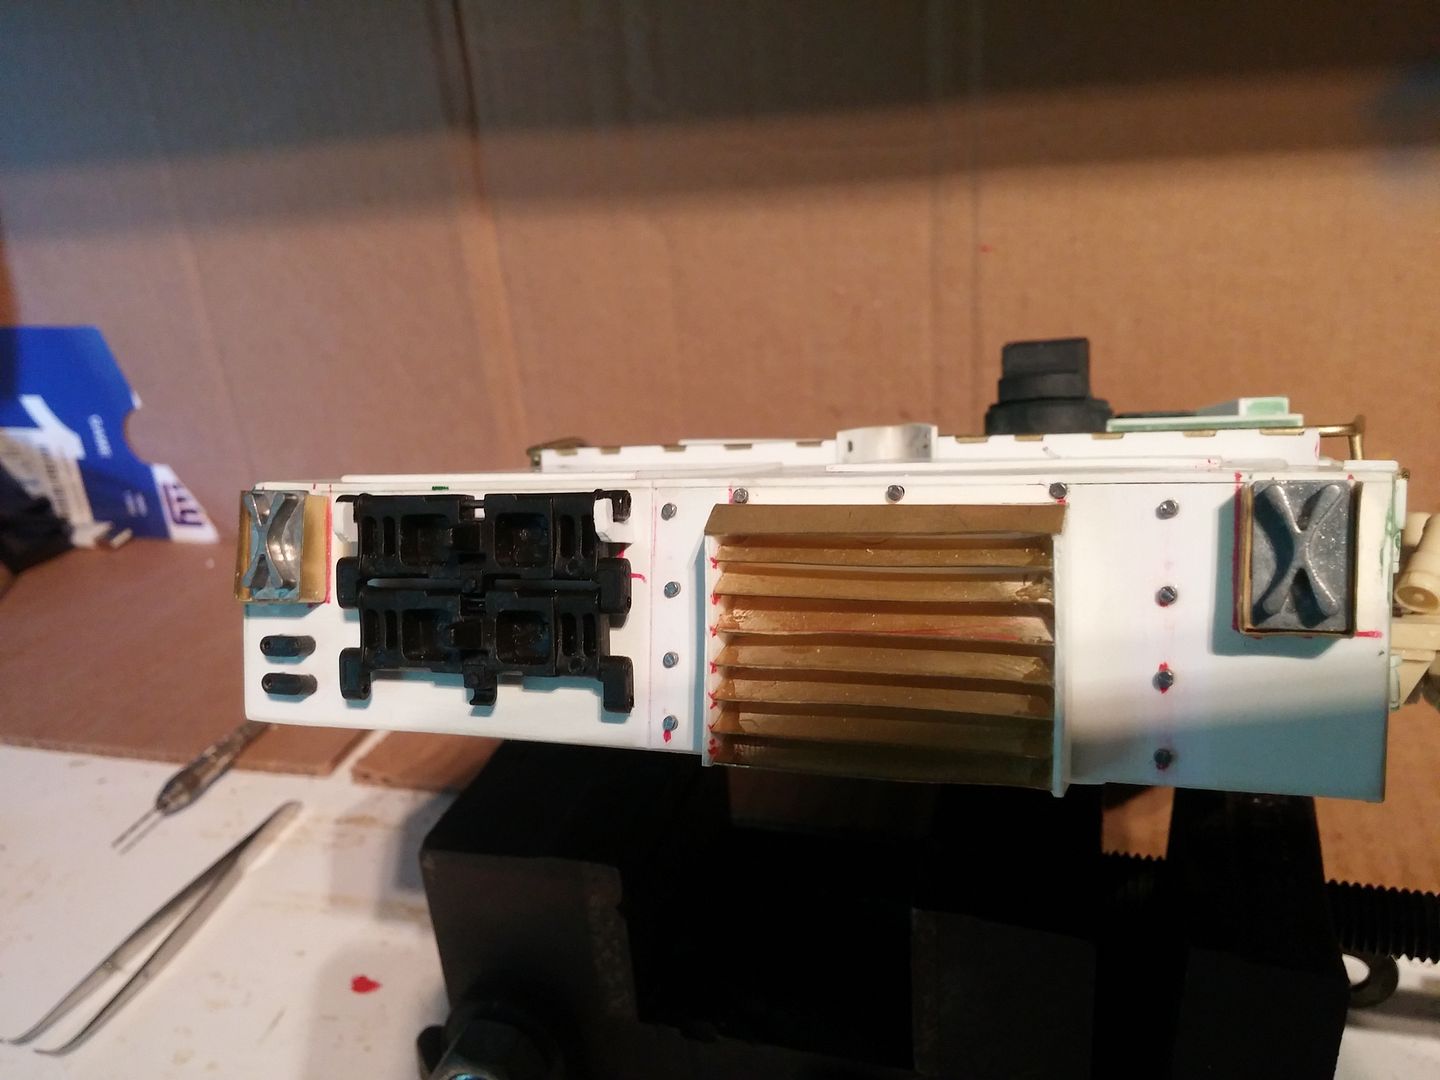


 08-16-2015, 05:43 AM
#70
Thread Starter
Join Date: Jul 2013
Location: sayreville, NJ
Posts: 378
Likes: 0
Received 0 Likes
on
0 Posts


 08-16-2015, 05:59 PM
#72
Thread Starter
Join Date: Jul 2013
Location: sayreville, NJ
Posts: 378
Likes: 0
Received 0 Likes
on
0 Posts
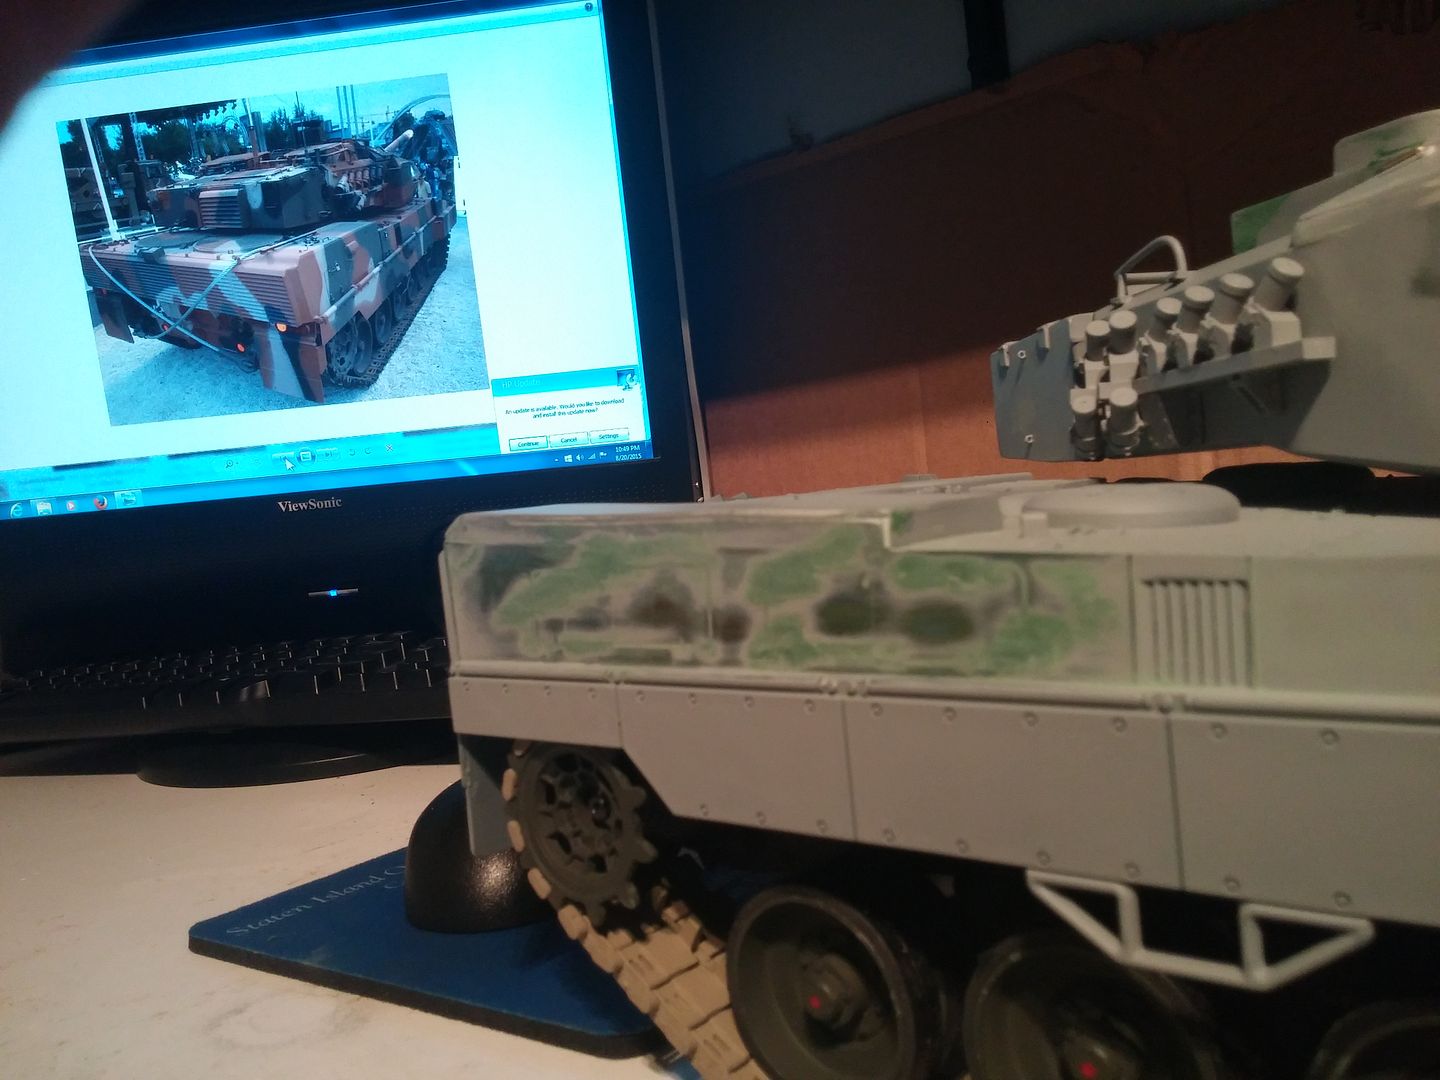
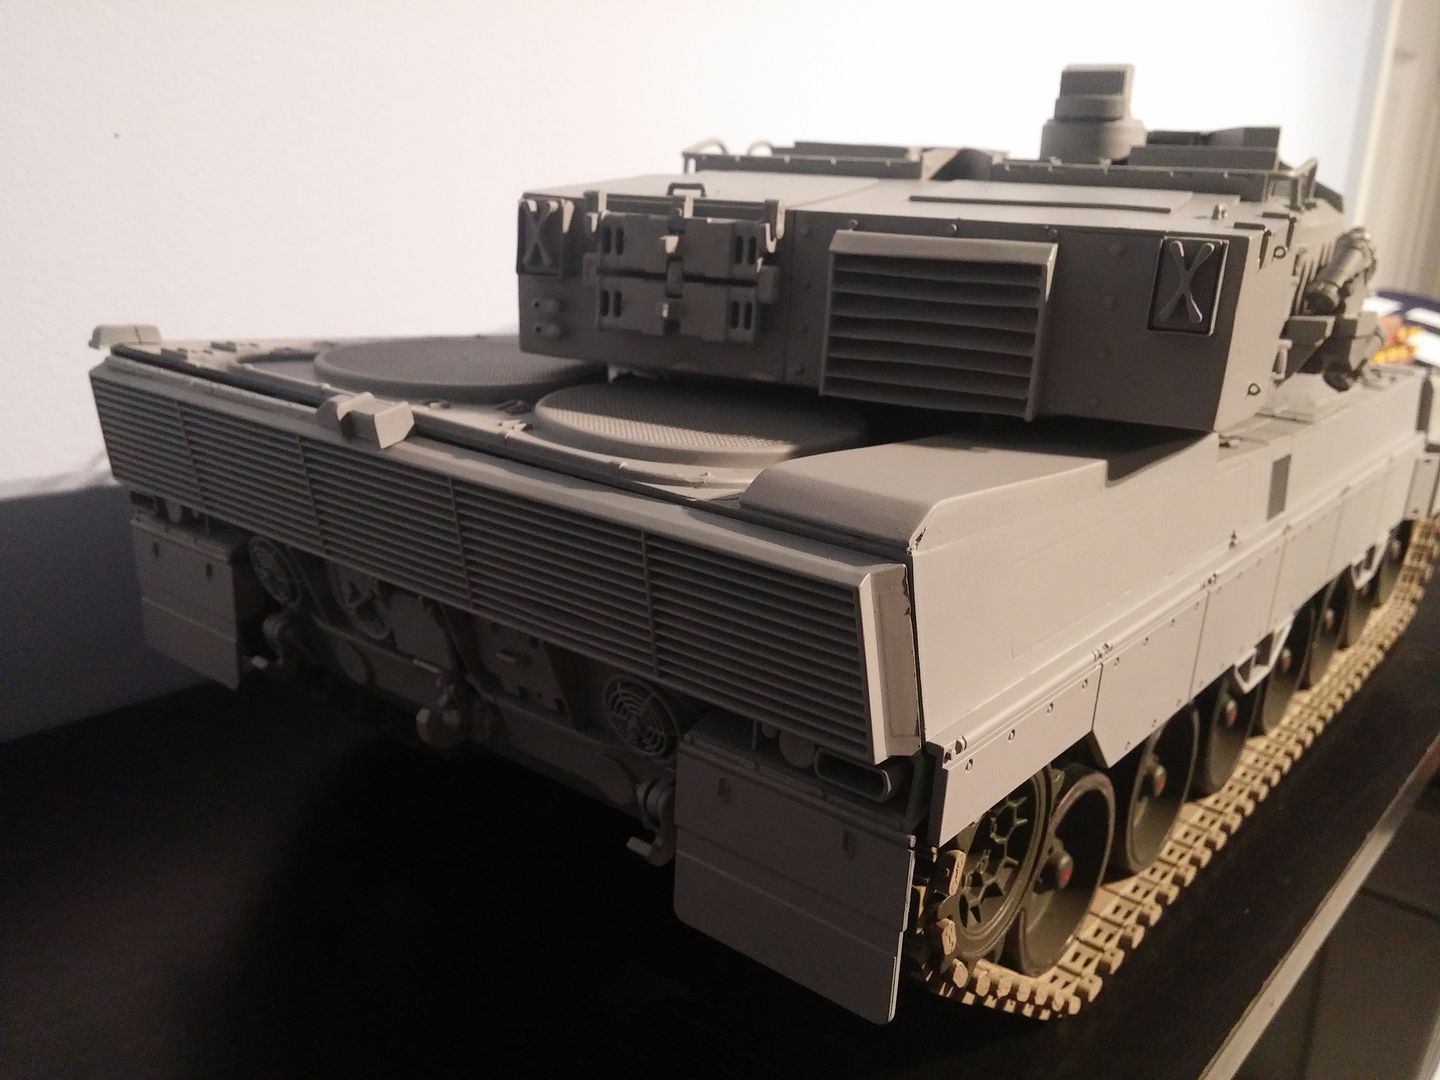
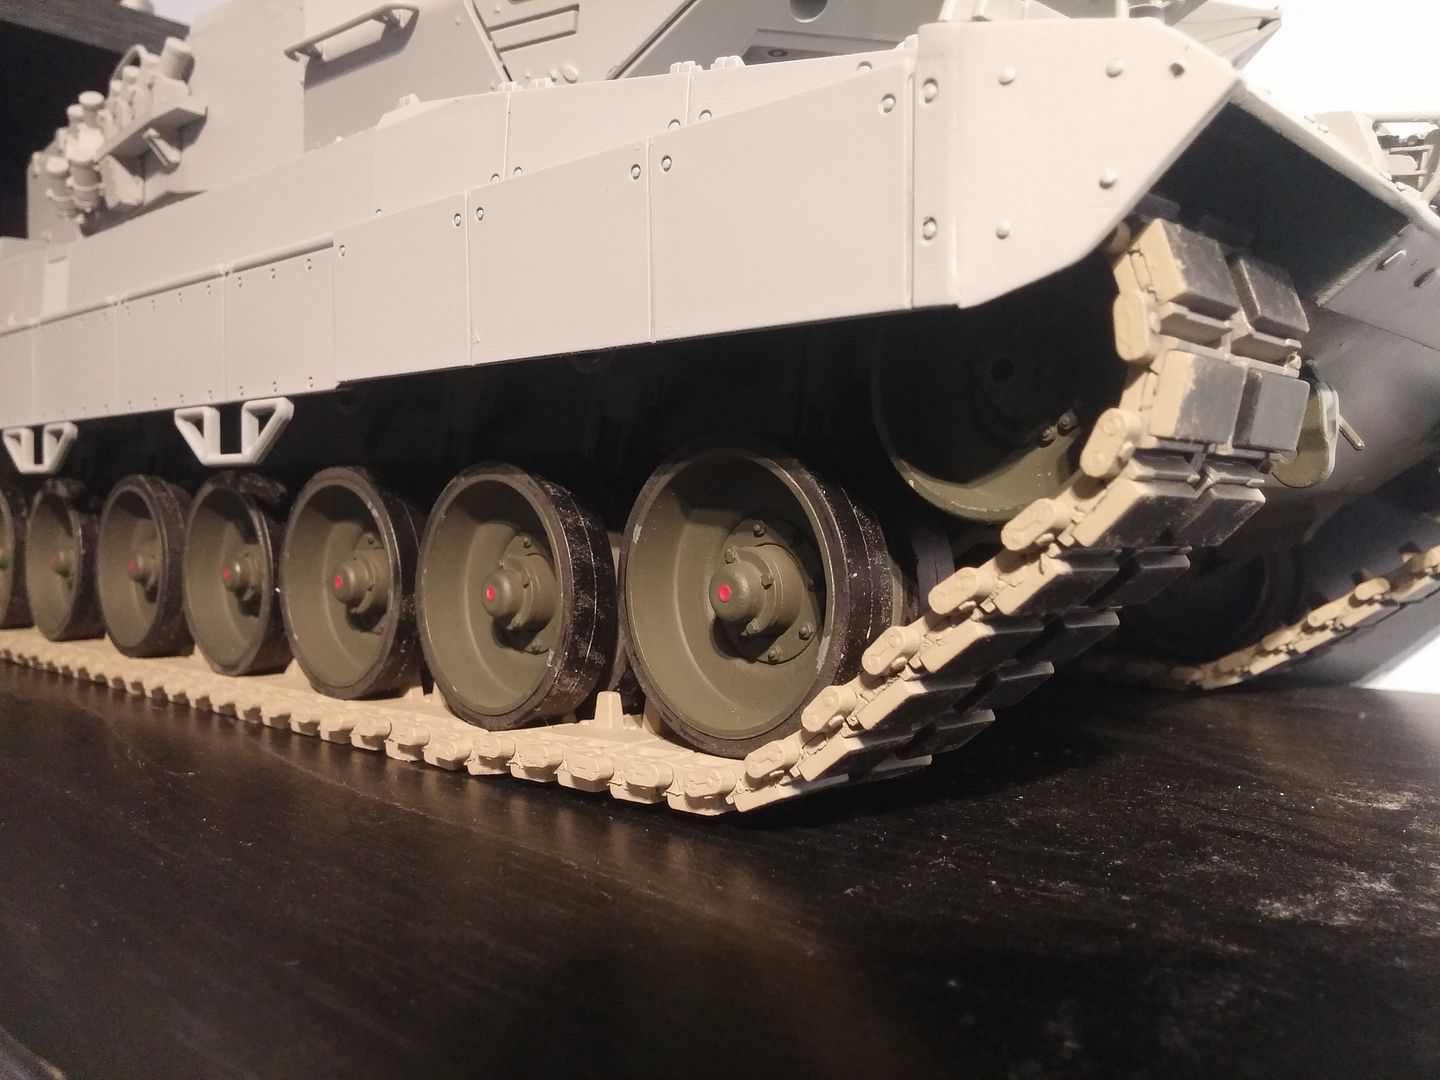
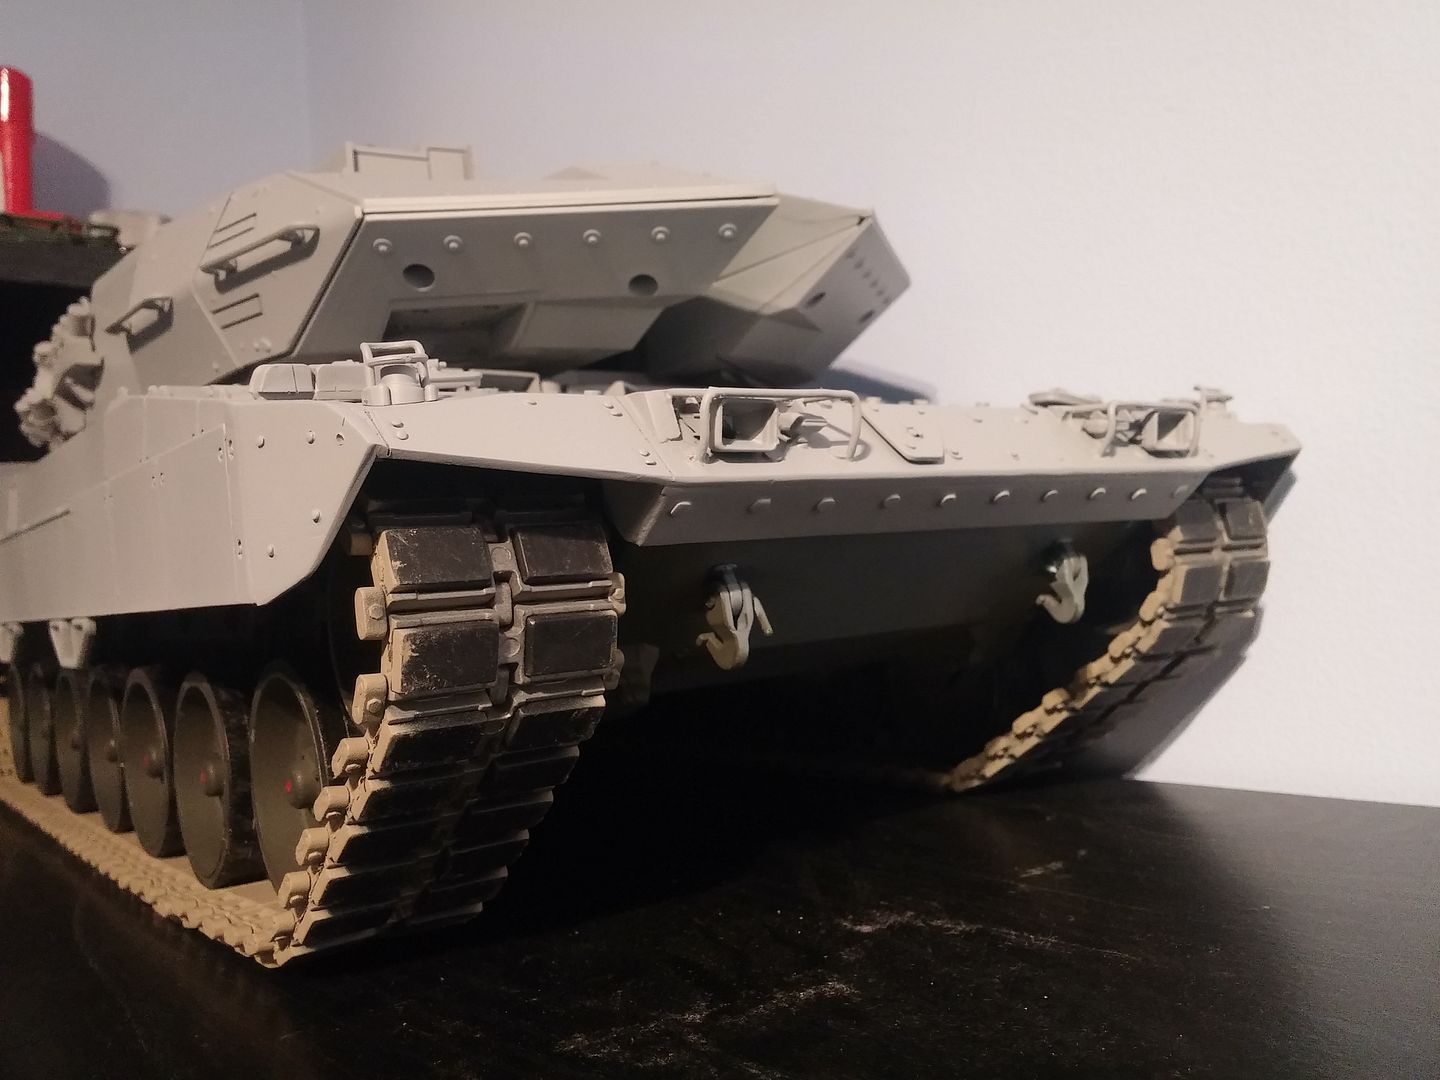
I did manage to paint the tracks. Mainly just did the insides and sides. The outsides are going to get hammered up anyway and let natural wear take its course from here. Now for more filler, sanding and then detail items like bolt heads, grab bars, levers on the top side boxes, etc. After I am satisfied, a quick final coat of primer and the camo. Im not a rivet counter so some of the very tiny stuff that my fat fingers have a hard time with might not get done but I try for the effect. It is starting to look good..I must say...lol


 08-20-2015, 07:02 PM
#74
Thread Starter
Join Date: Jul 2013
Location: sayreville, NJ
Posts: 378
Likes: 0
Received 0 Likes
on
0 Posts
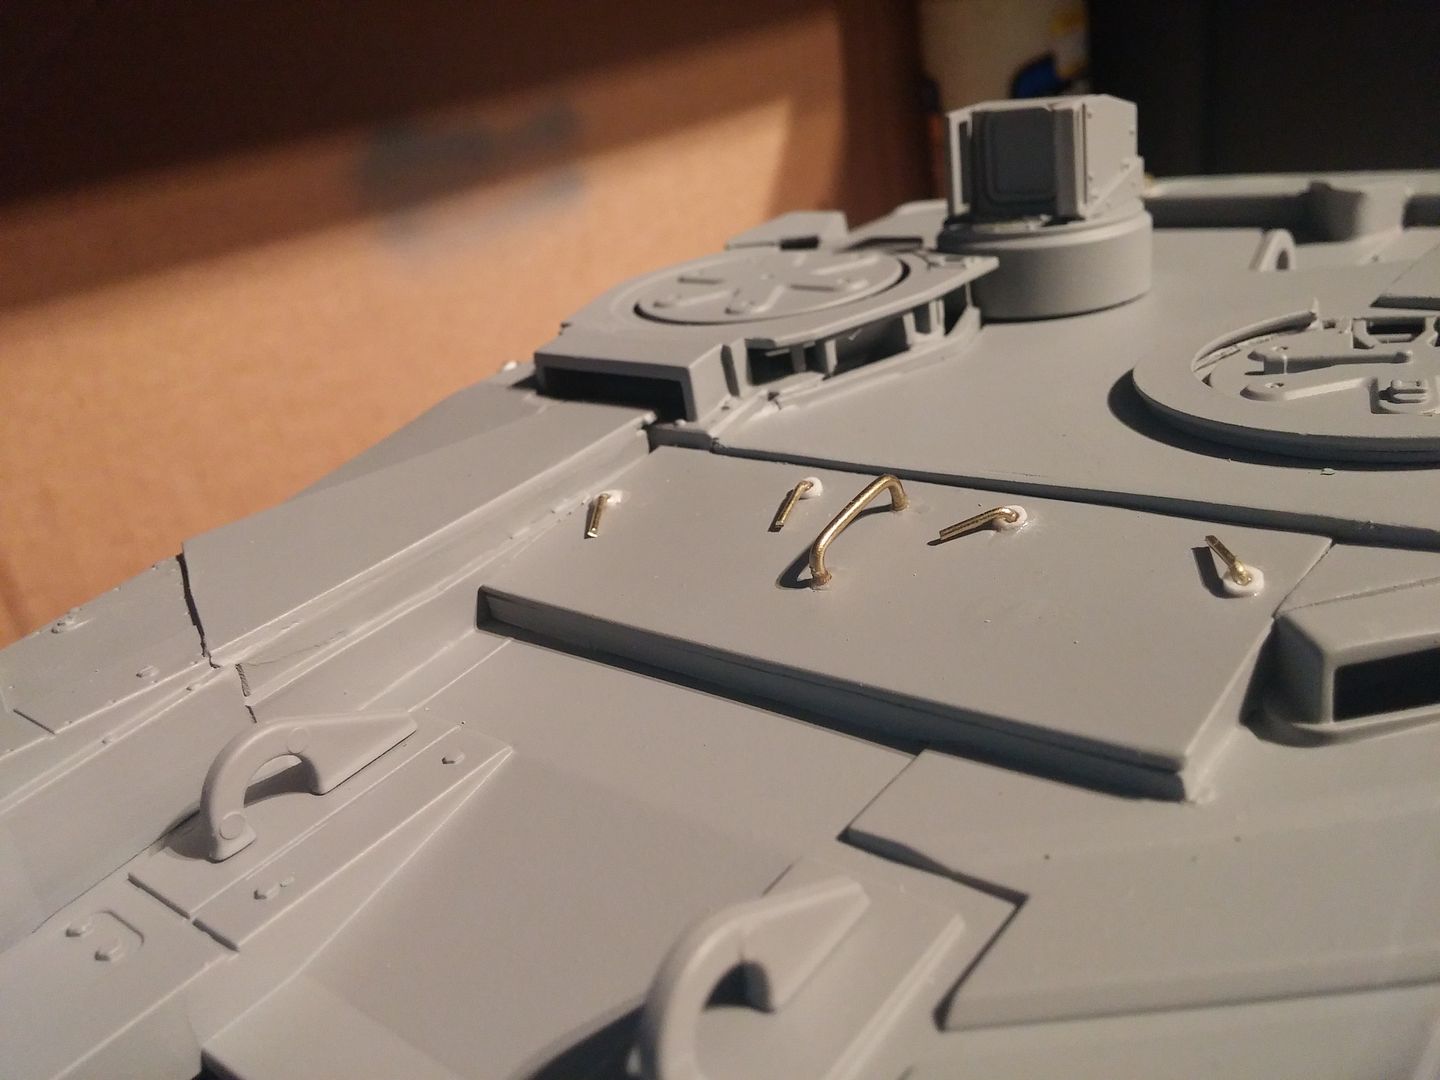
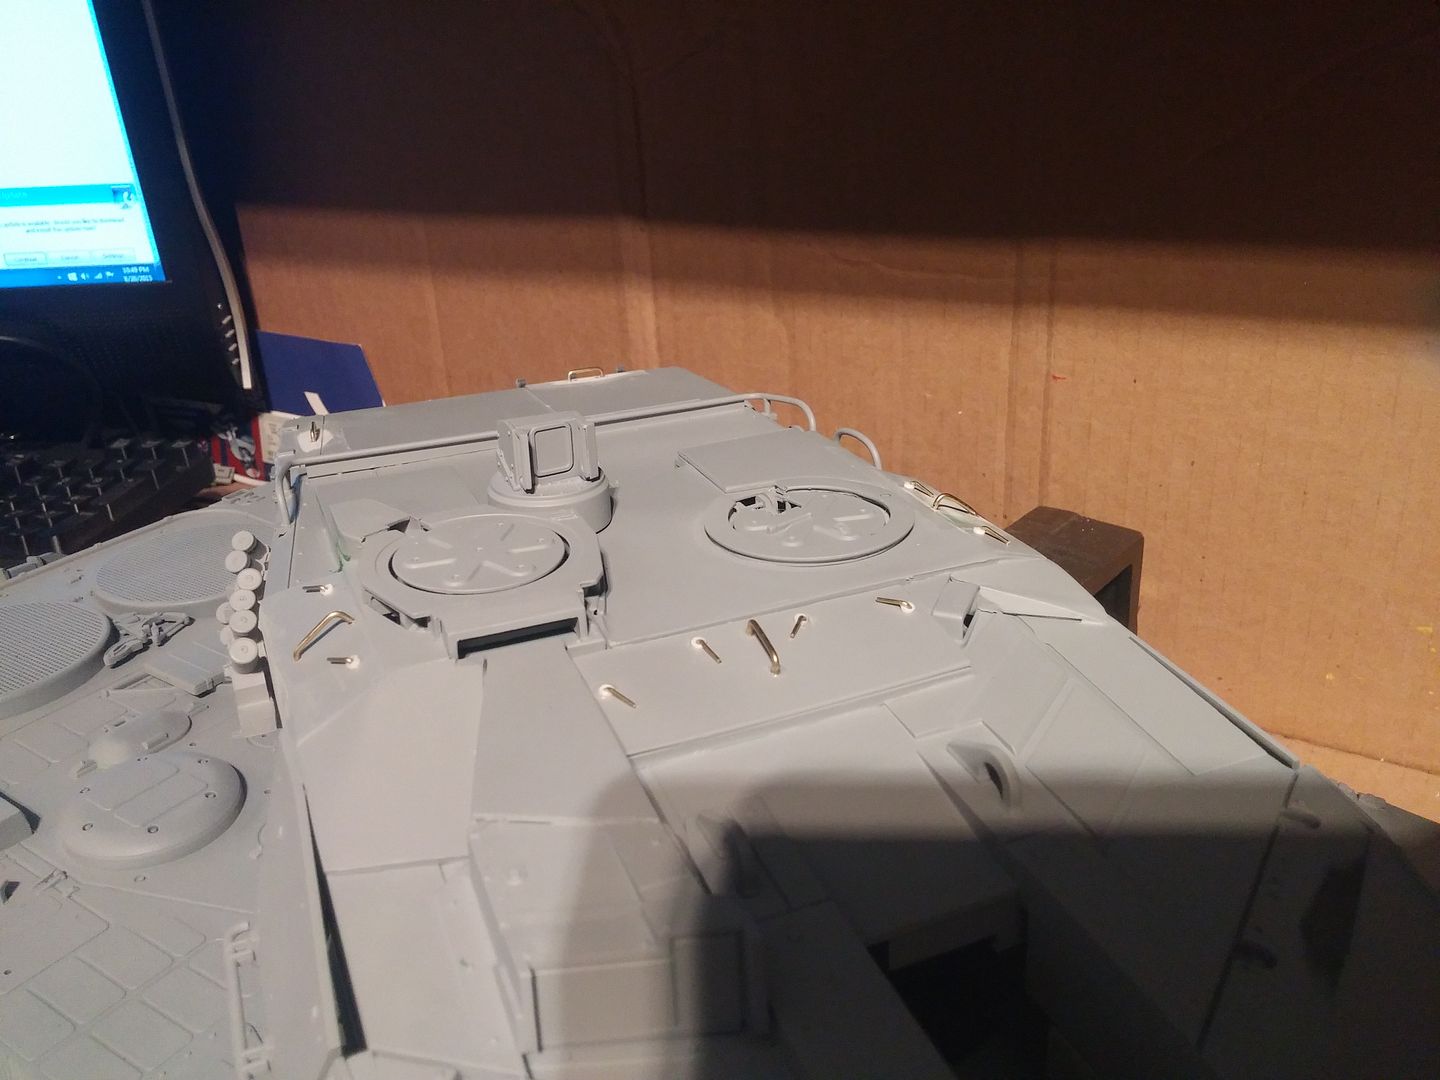
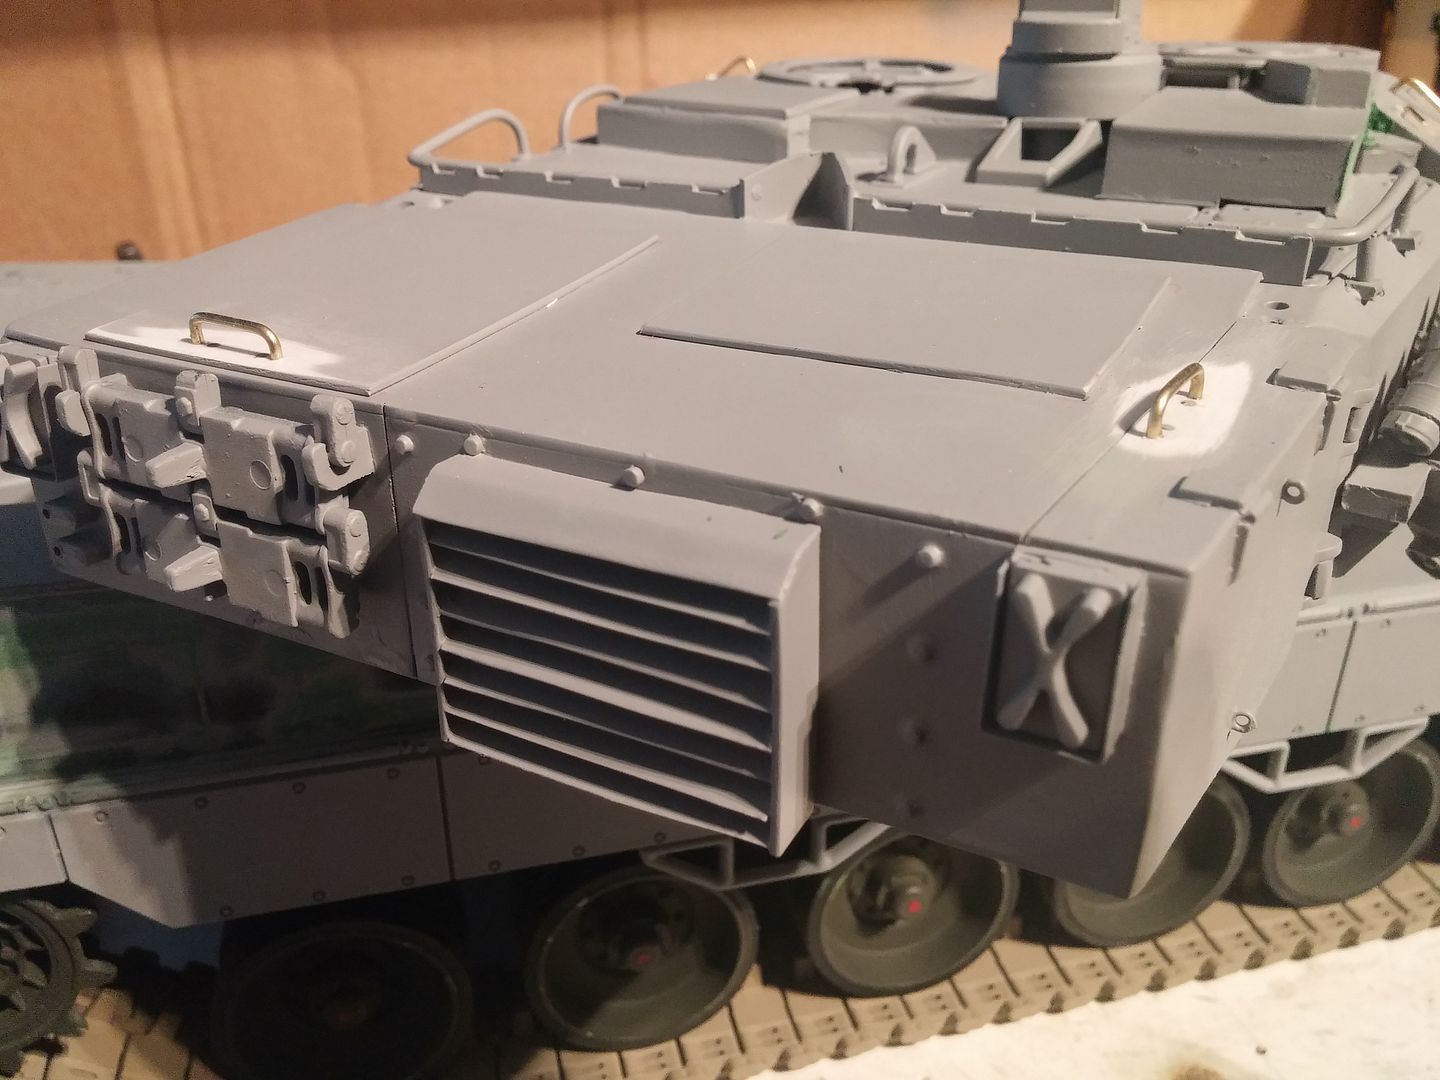
Tonights work.. Latches and grab irons for the top side boxes. Maybe tomorrow I can make the hinges. Also added a couple grab bars to the rear of turret and smoothed out that rear quarter a bit.