


My HL Leo build....
 09-10-2015, 09:17 PM
#101


 09-15-2015, 01:50 PM
#102
Thread Starter
Join Date: Jul 2013
Location: sayreville, NJ
Posts: 378
Likes: 0
Received 0 Likes
on
0 Posts
Ok..heres the latest update. Since the Tk22 cooked on the launch pad, I am upgrading it to the Tk22G2 with GBS. Not knowing exactly what servos to use, I ordered a bunch of MG90s units for recoil and elevation. They were cheap. So that means I have to rebuild the turret internals to work with the GBS unit. I am also going to order a couple Turnigy remote switches to control lighting and other functions via TX. I am using a Turnigy 9x setup for tanks from Curtis so I should be able to assign the toggle switches to channels. I am not sure of voltage output of the receiver but I may need to find a way to regulate it down to 2.5-3V for the incandescent light bulbs. I will test when I have everything.
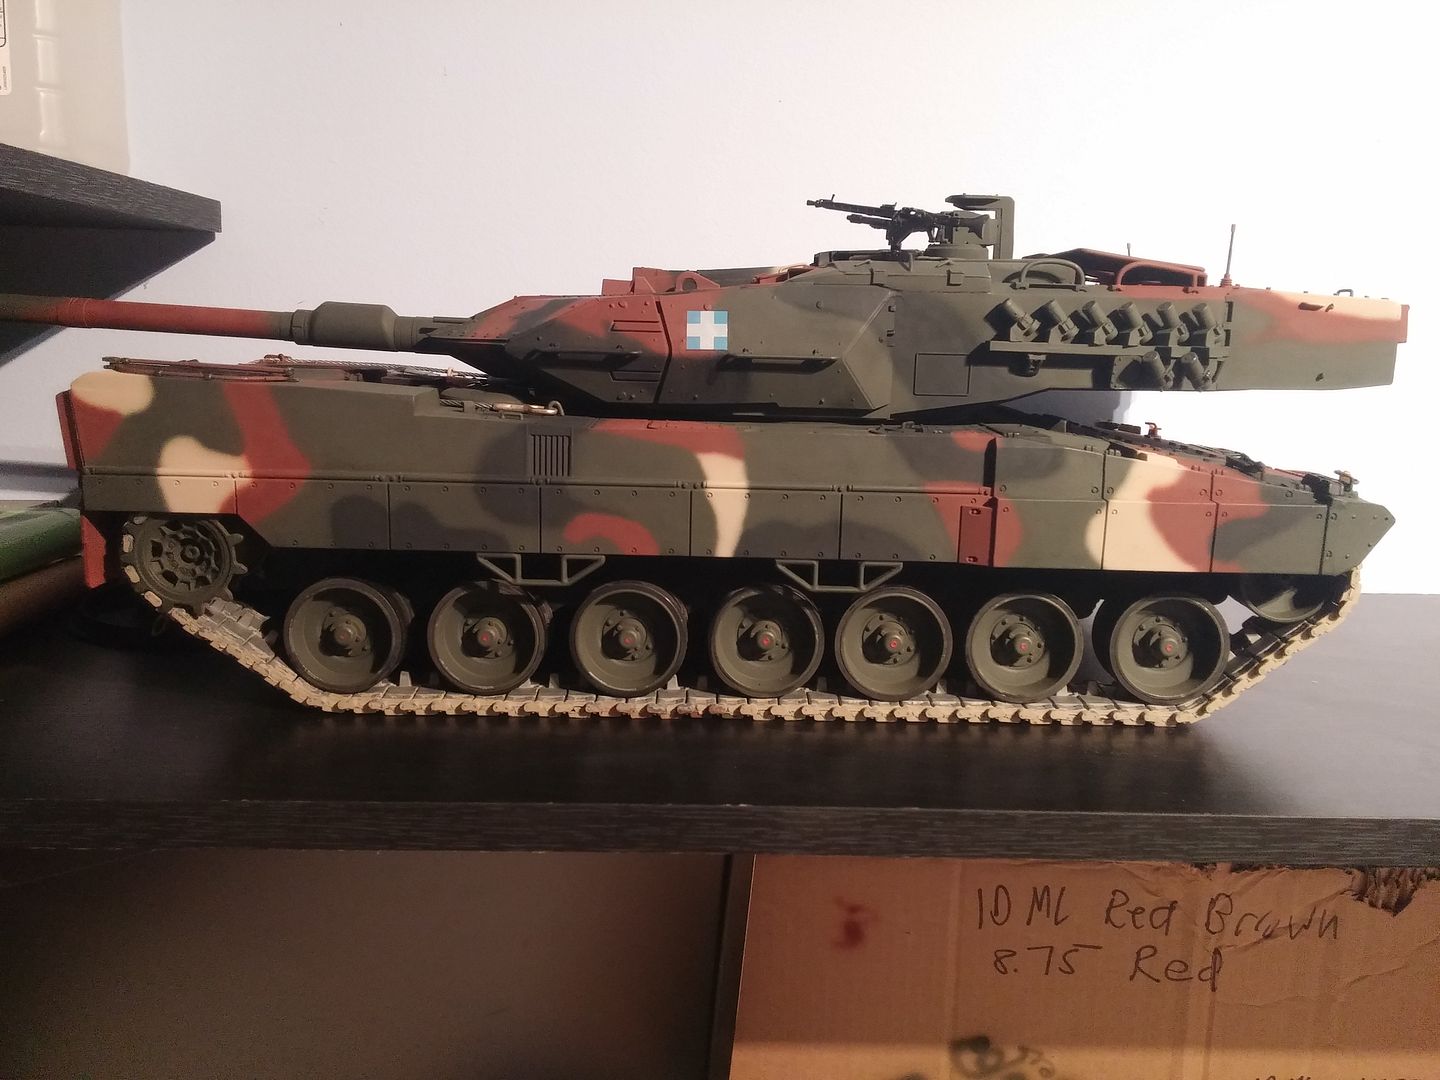
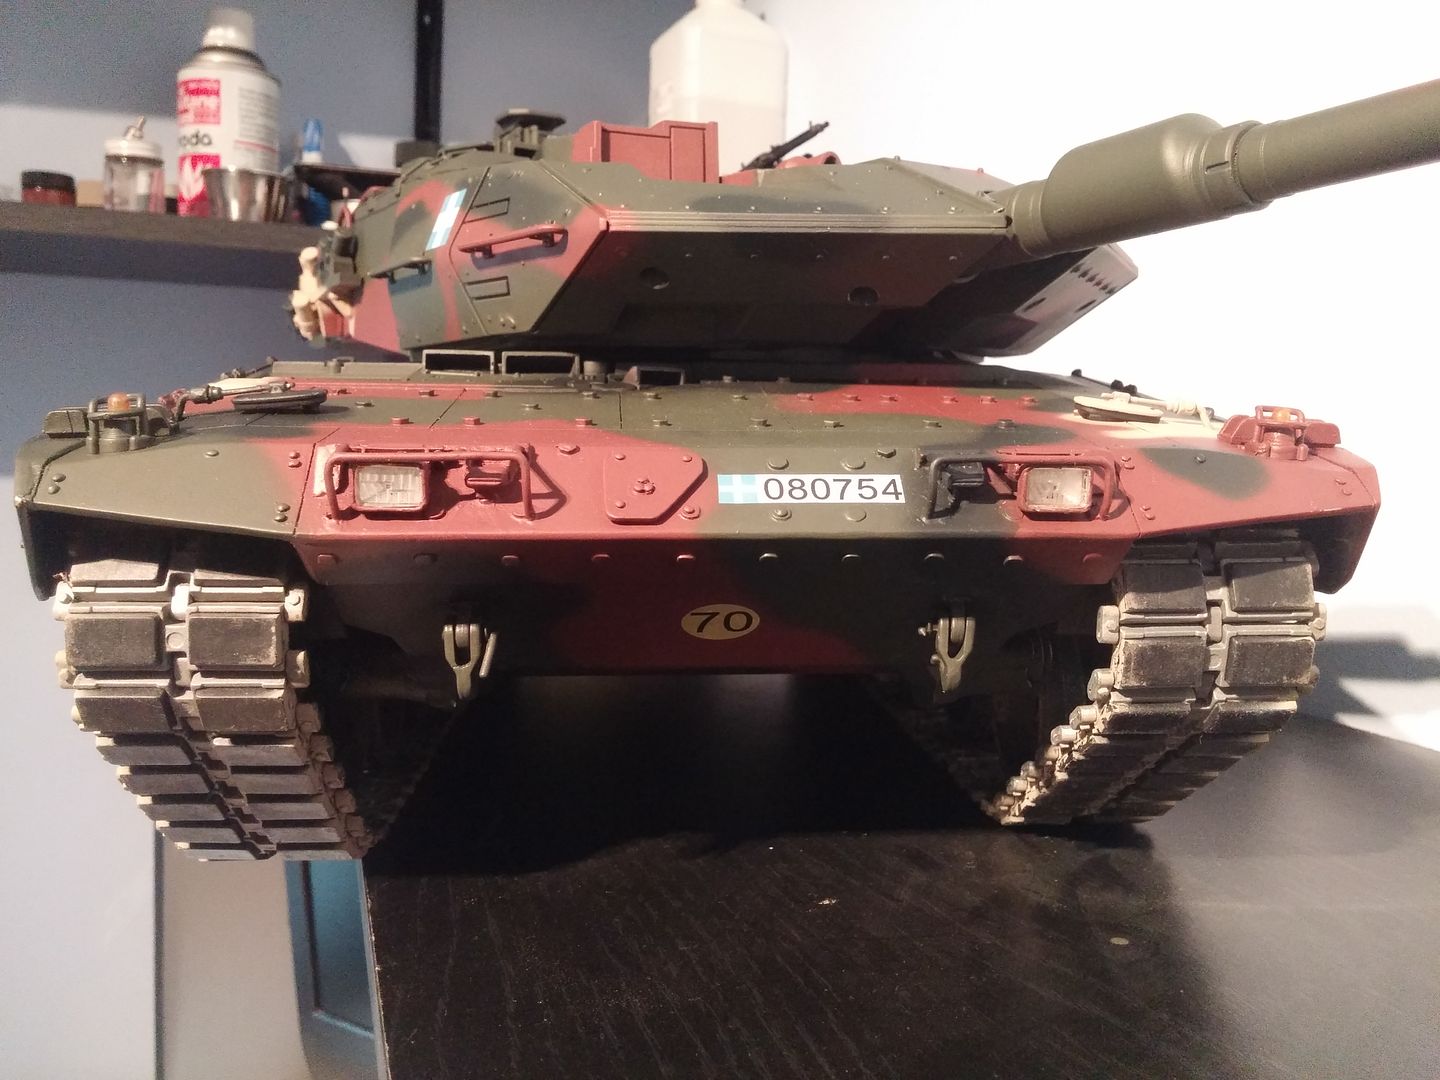
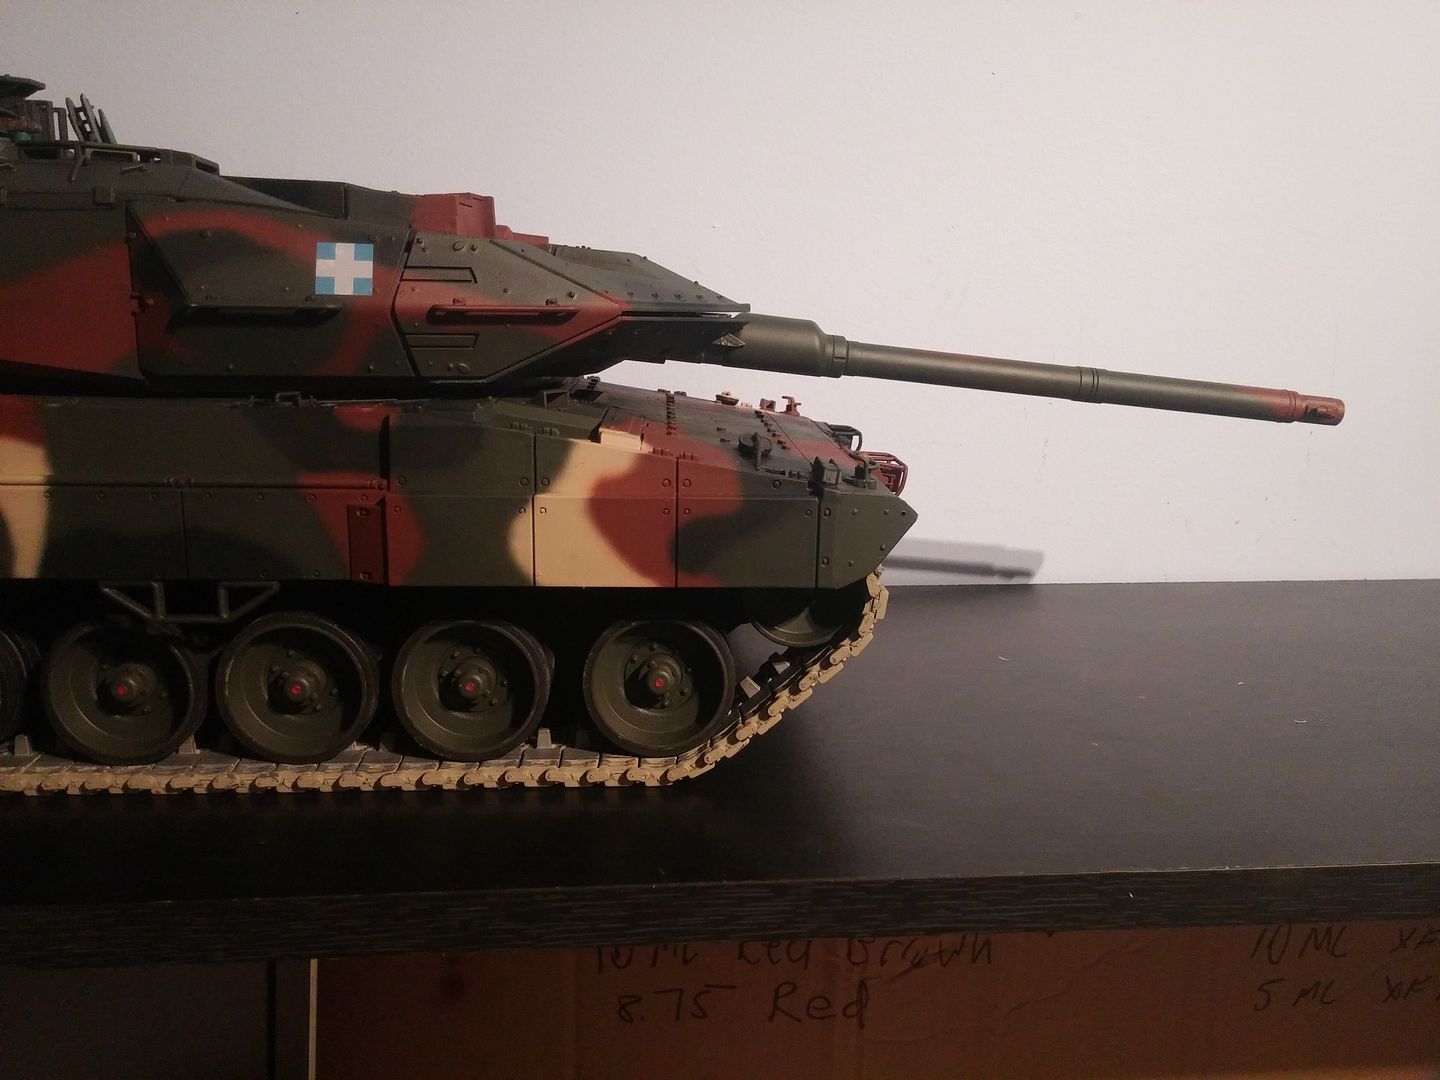
Just some small tidbits for turret exterior. There is a post in the center I need to make. Looks like some type of periscope. Ive seen pictures of the real one covered in a protective canvas sleeve it looks like. And the side baskets...those side baskets...i need to get crackin on those...lol
Other then that, I think I can Dullcoat the lower hull and deck and atleast get that protected.
The decals are done..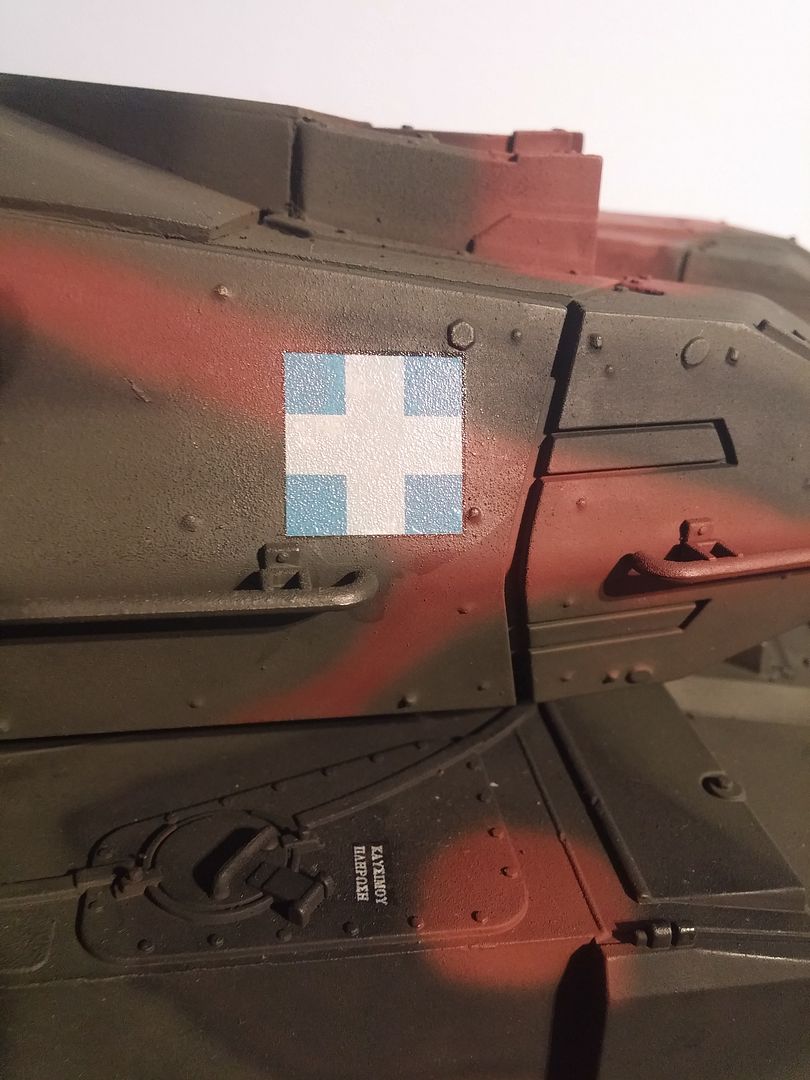
Oh, and hopefully Dan can hook it up with a Benedini TBS for the engine sounds.
Just some small tidbits for turret exterior. There is a post in the center I need to make. Looks like some type of periscope. Ive seen pictures of the real one covered in a protective canvas sleeve it looks like. And the side baskets...those side baskets...i need to get crackin on those...lol
Other then that, I think I can Dullcoat the lower hull and deck and atleast get that protected.
The decals are done..


Oh, and hopefully Dan can hook it up with a Benedini TBS for the engine sounds.
09-20-2015, 05:42 PM
#103
Thread Starter
Join Date: Jul 2013
Location: sayreville, NJ
Posts: 378
Likes: 0
Received 0 Likes
on
0 Posts
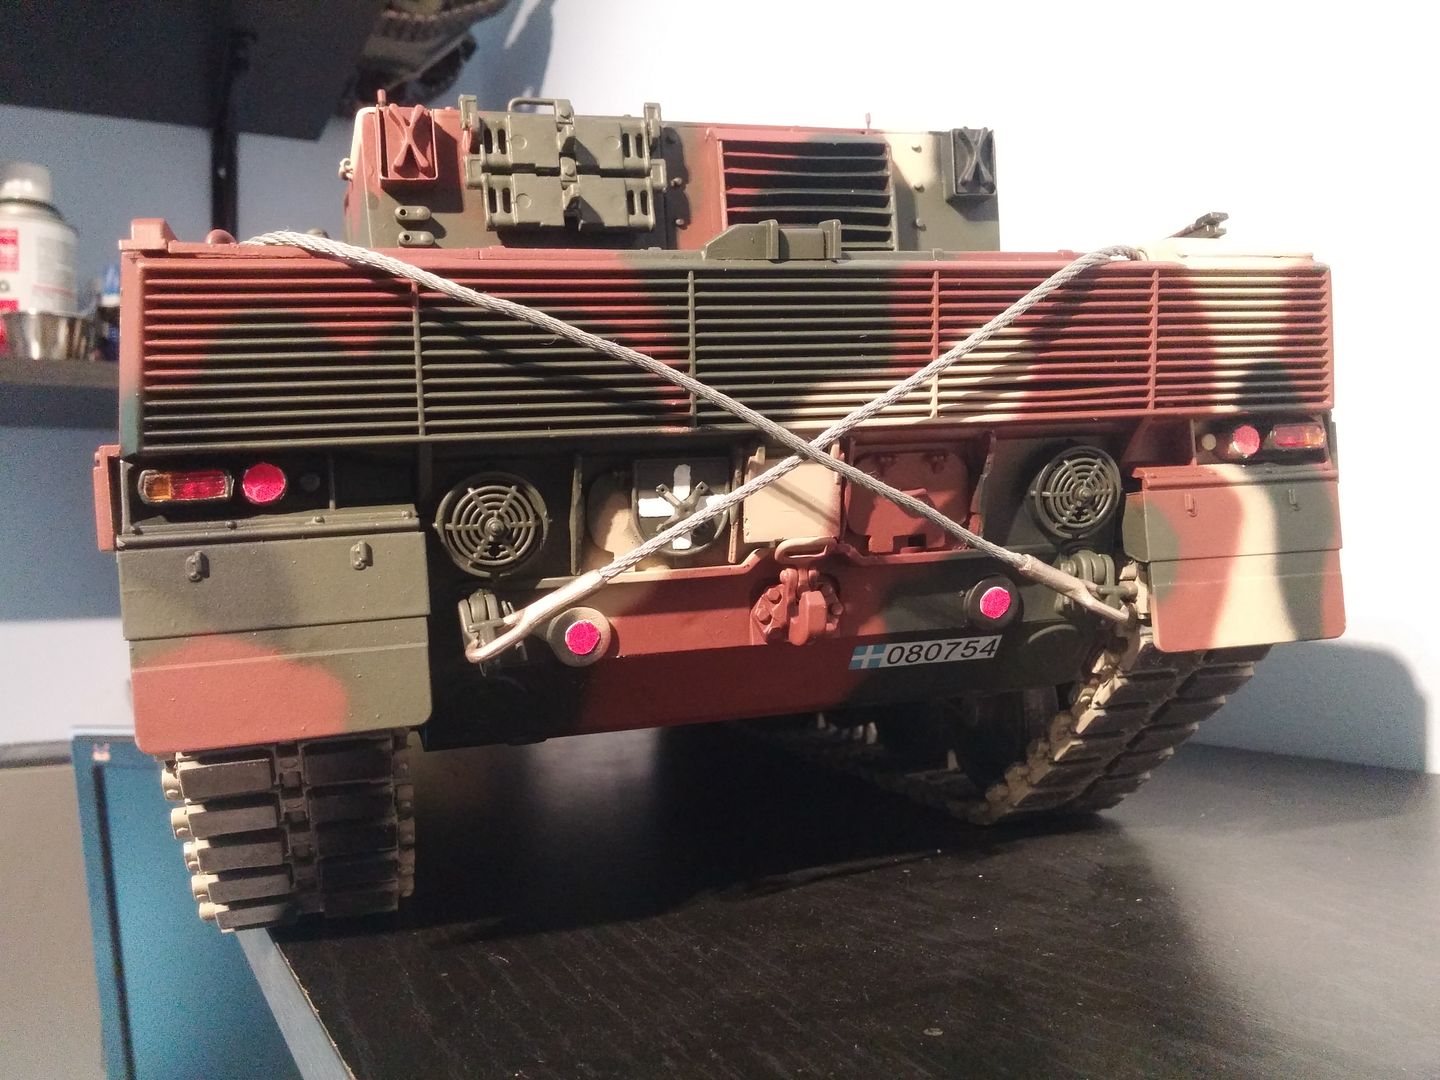
I shot the whole tank with this acrylic floor sealer I found at work. I kind of like the sheen. It gave the paint some depth. I dont know if I will dullcote it..lol This stuff I found works great at sealing a finish. Its suppose to act like a sealer before the top coat floor finish goes down.
And all new electronics are inbound.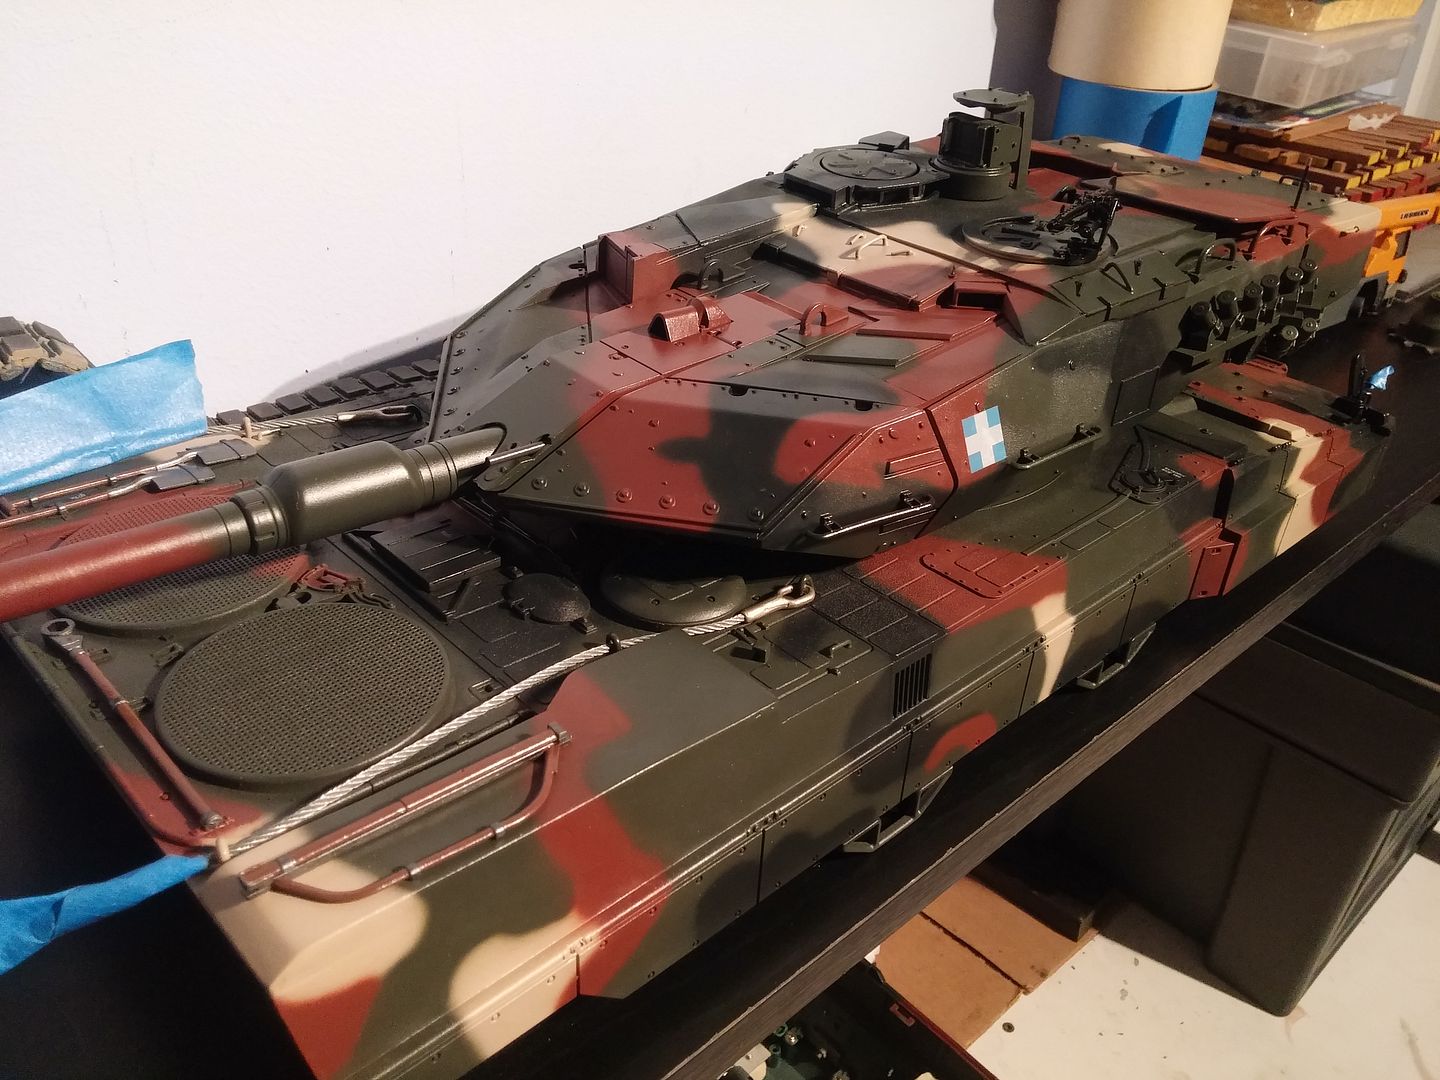
And all new electronics are inbound.

 09-21-2015, 02:49 PM
#104
Thread Starter
Join Date: Jul 2013
Location: sayreville, NJ
Posts: 378
Likes: 0
Received 0 Likes
on
0 Posts
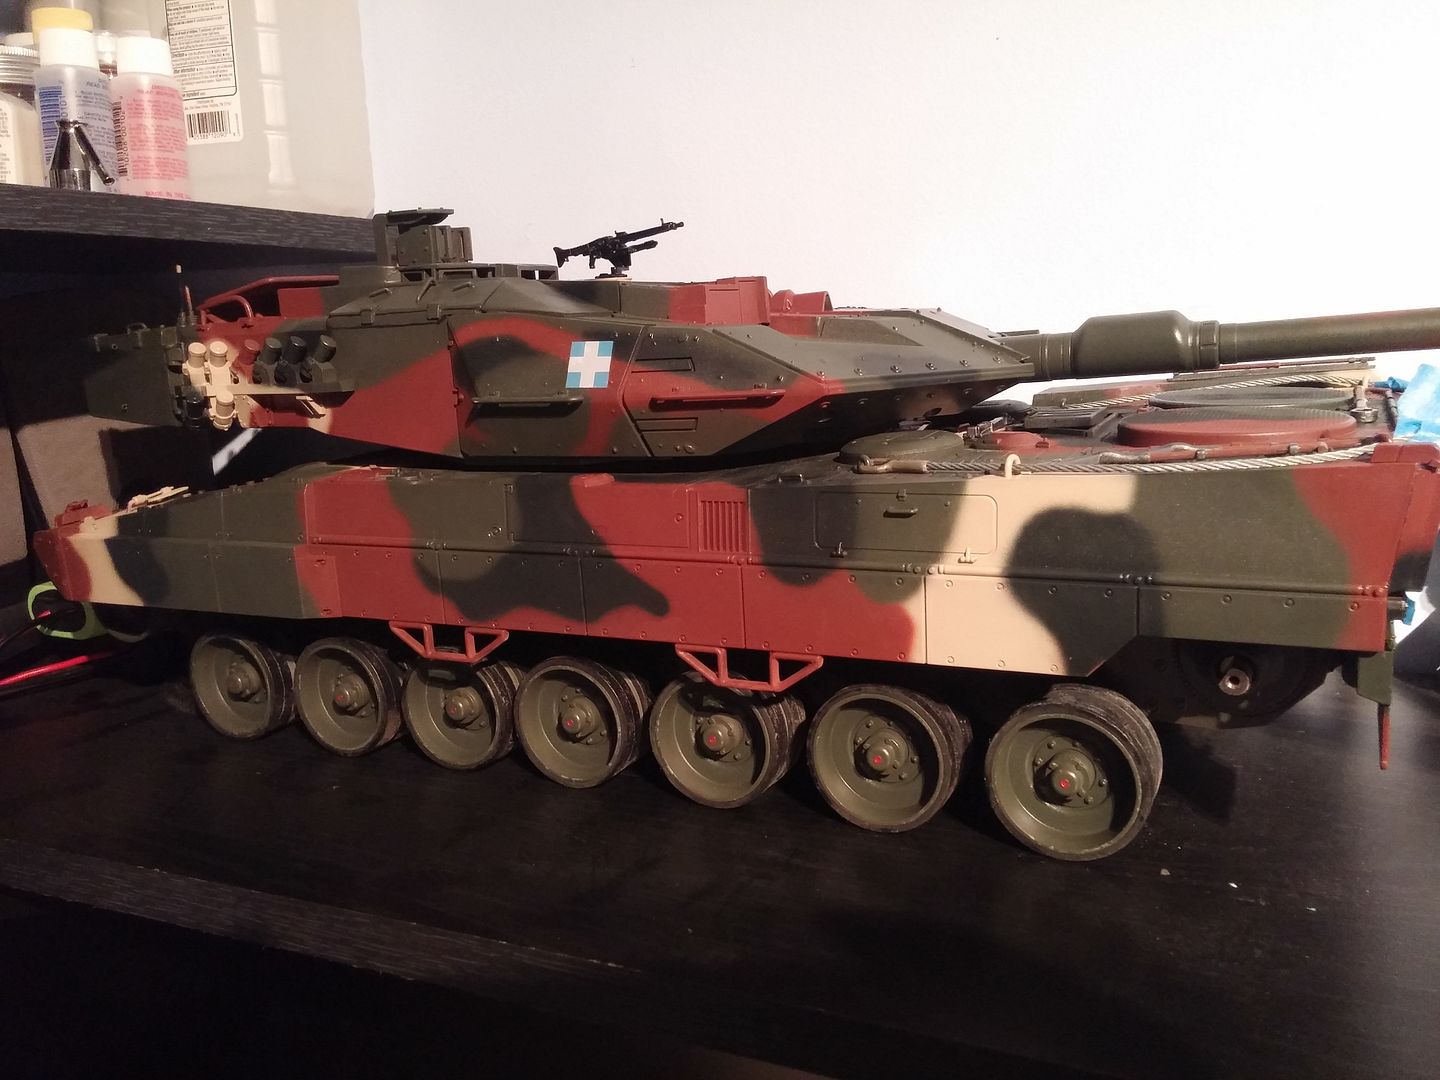
I hit it with dullcote today. Some spots just had to much shine. That stuff is hardcore. Can be difficult to apply.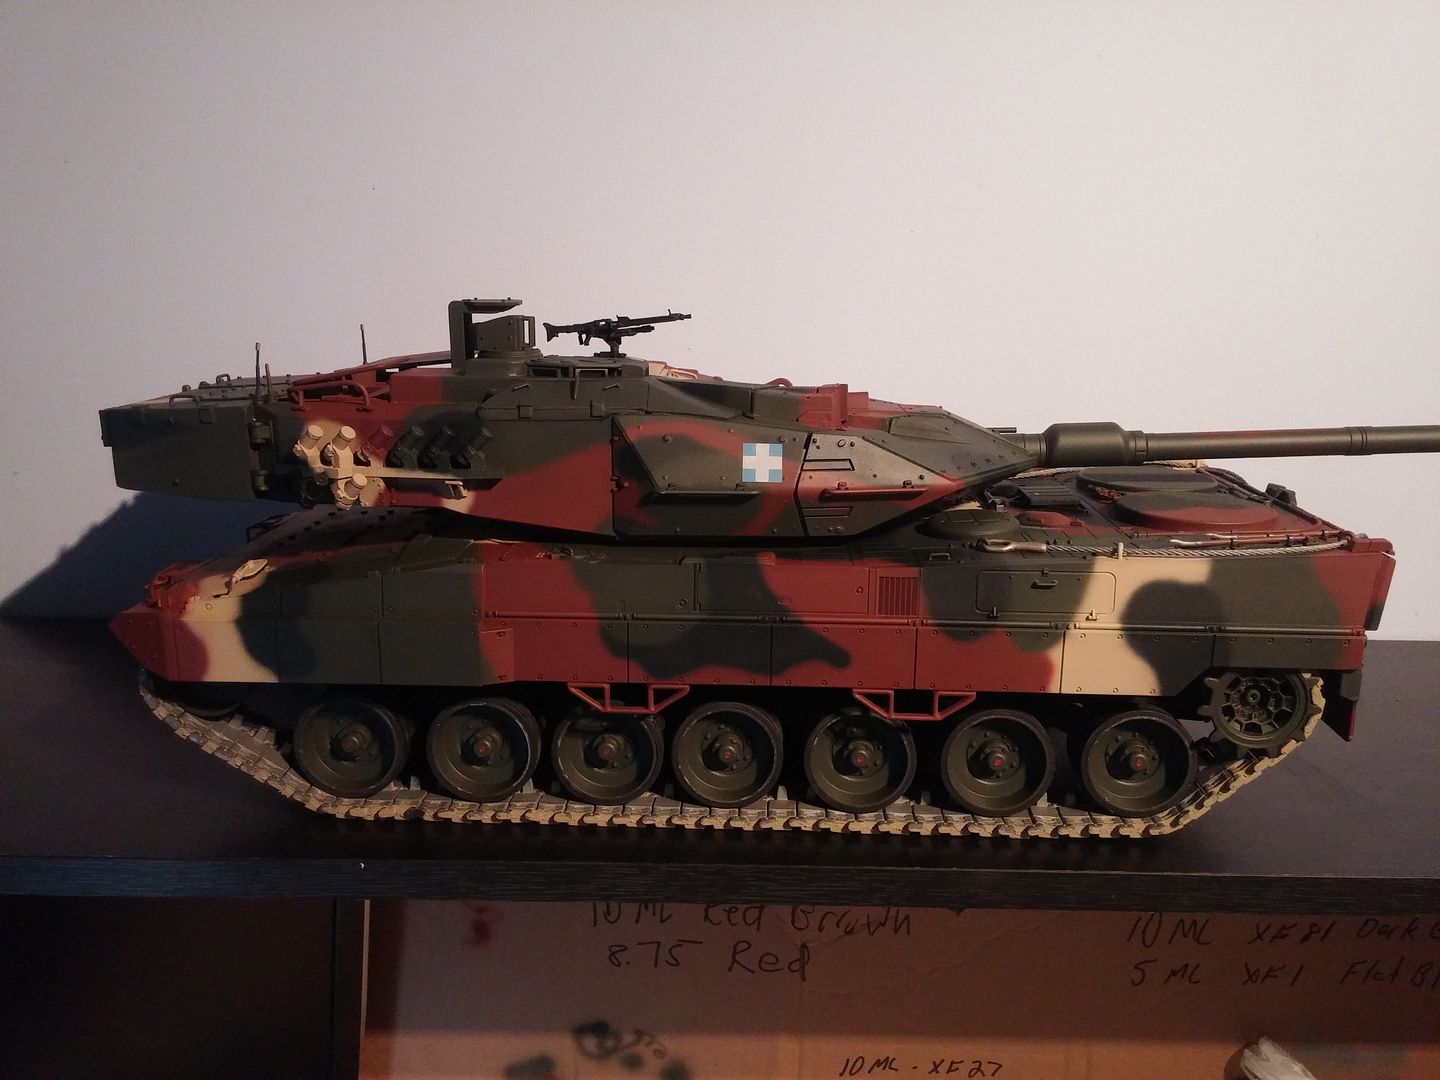
I got my package of servos today so I can rebuild the turret guts. The MG90 servos are a little smaller then expected but should still work. I will balance the barrel in the pivot so the servo doesn't really have a weight on it. I will make a simple brass linkage designed to bend if I run the barrel into a solid object or go thrashing through buildings..lol


I got my package of servos today so I can rebuild the turret guts. The MG90 servos are a little smaller then expected but should still work. I will balance the barrel in the pivot so the servo doesn't really have a weight on it. I will make a simple brass linkage designed to bend if I run the barrel into a solid object or go thrashing through buildings..lol
 09-22-2015, 02:54 AM
#106
Thread Starter
Join Date: Jul 2013
Location: sayreville, NJ
Posts: 378
Likes: 0
Received 0 Likes
on
0 Posts
09-26-2015, 09:09 PM
#109
Thread Starter
Join Date: Jul 2013
Location: sayreville, NJ
Posts: 378
Likes: 0
Received 0 Likes
on
0 Posts
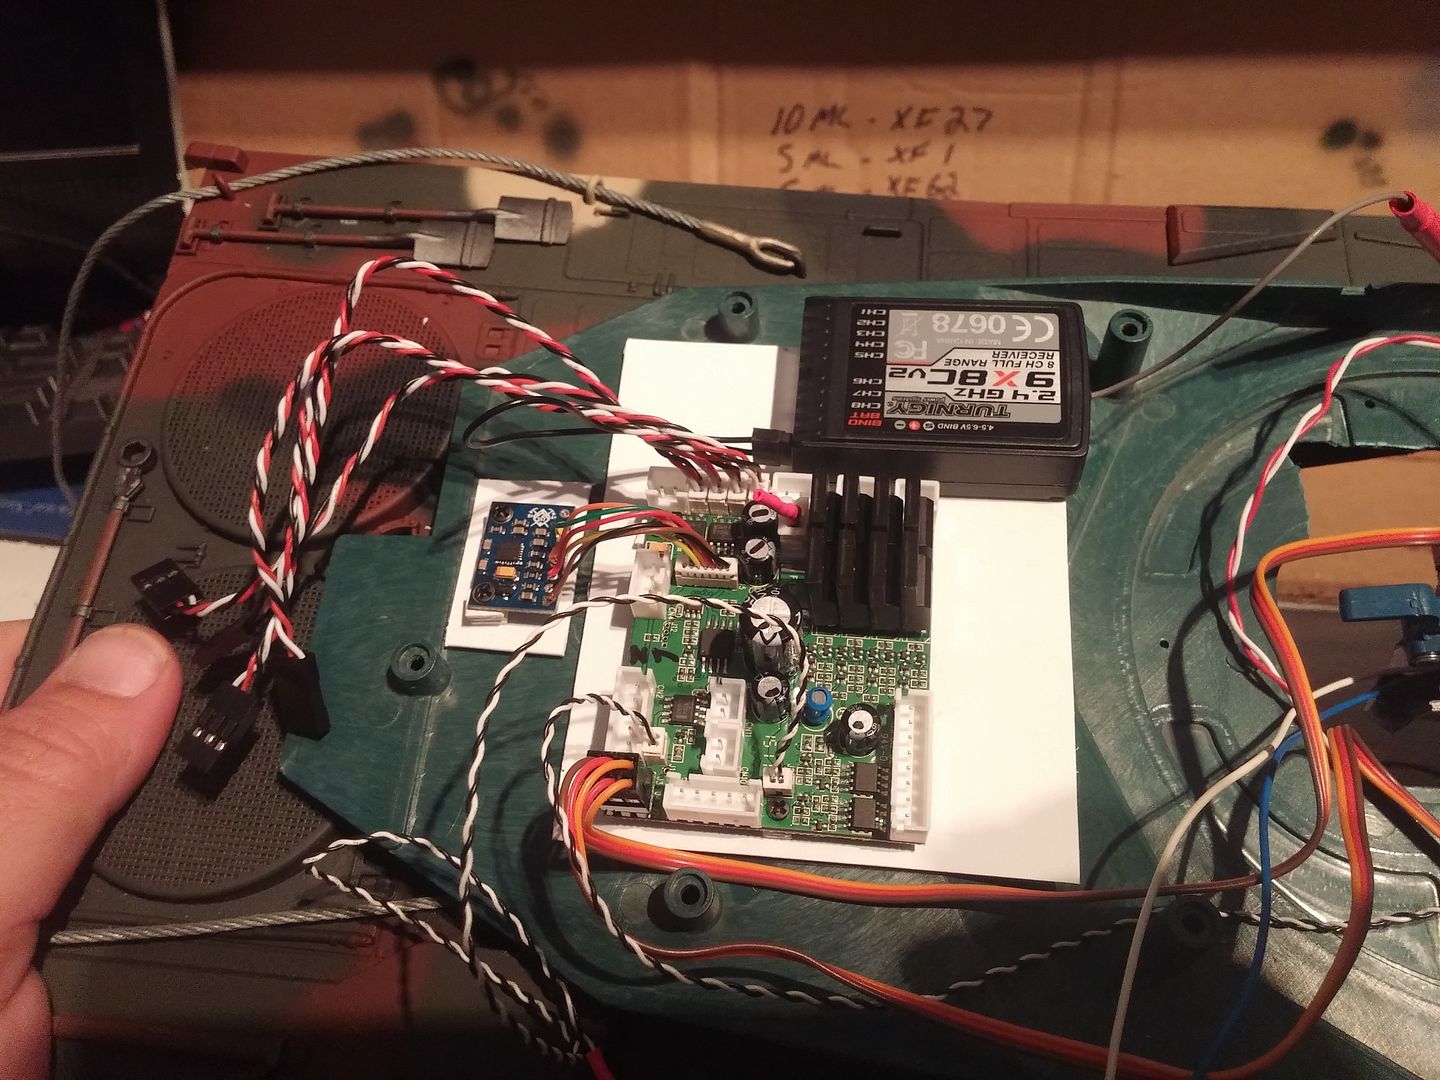
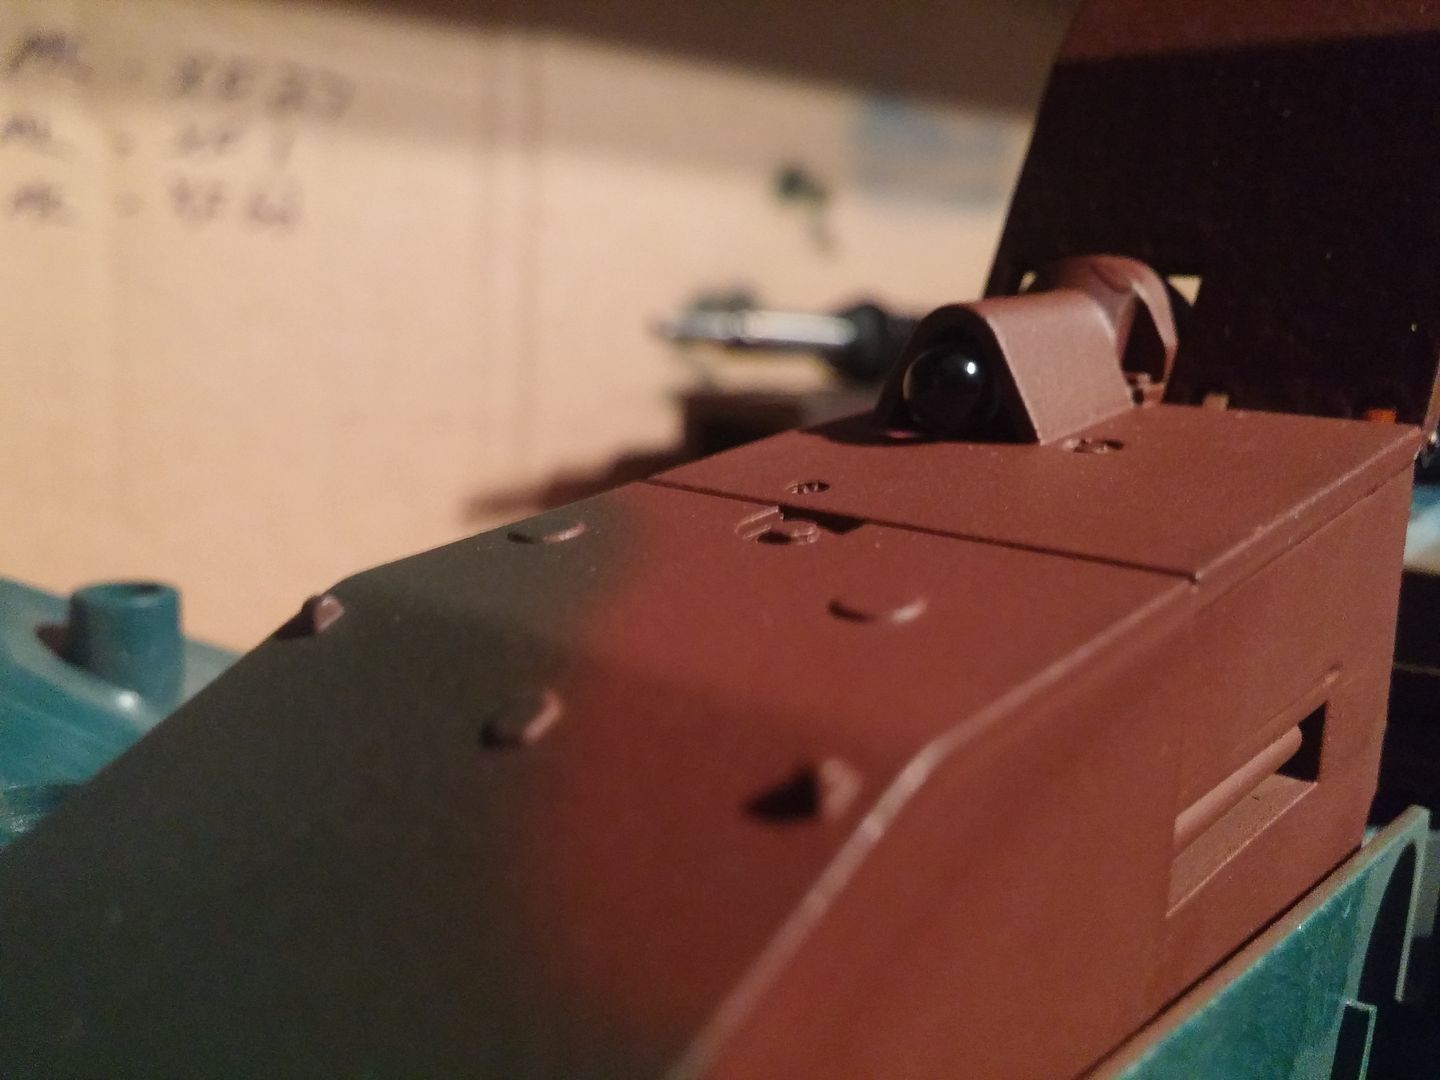
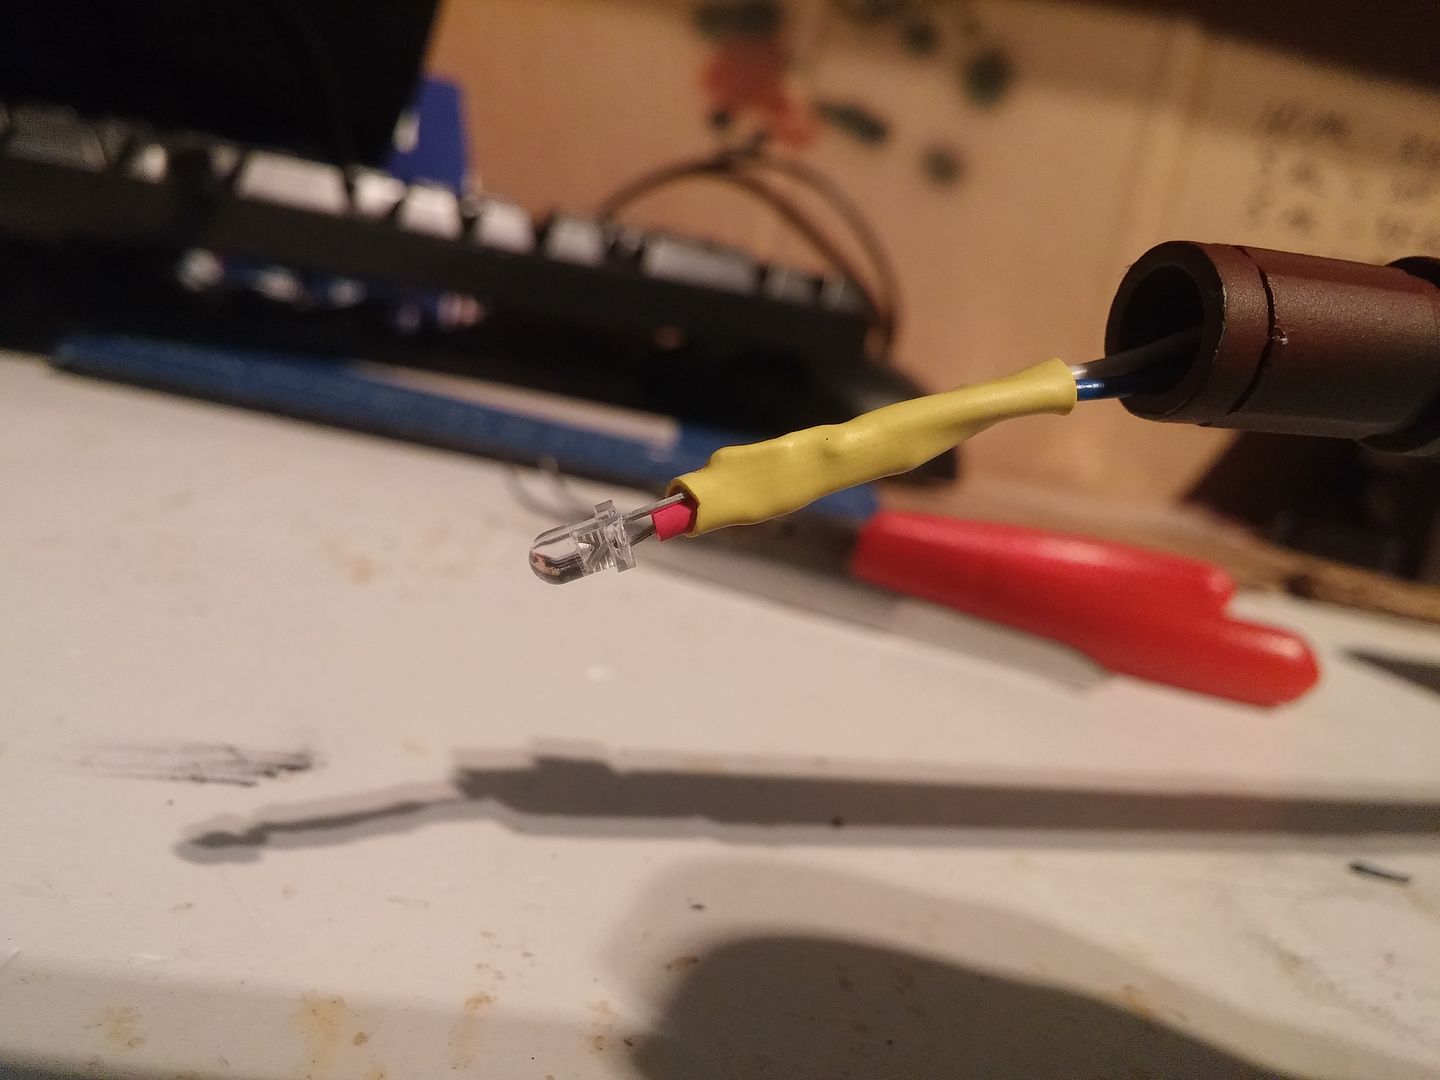
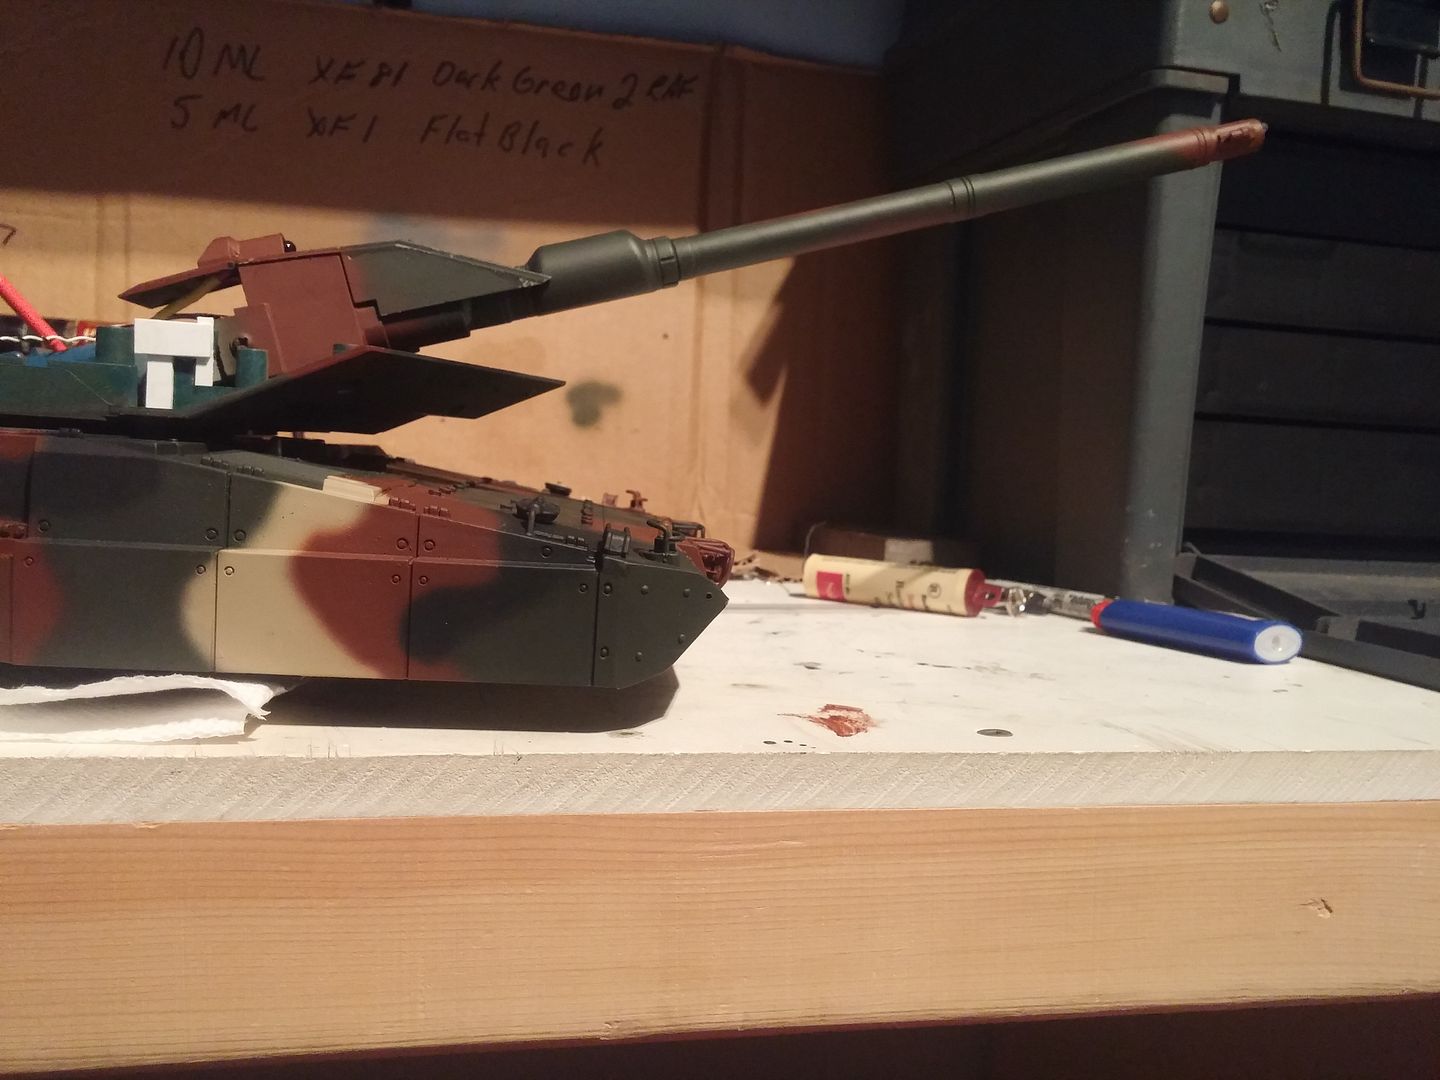
I got a box from Clarky the other day and I've been working on the electronics. The GBS unit forced me to install everything into the turret. I made a styrene plate with standoffs to screw the boards to. So they get airflow underneath and are secure. Made the servo elevation linkage, swapped out the recoil servo to one of these minis, installed machine gun led, main gun flash led, IR emitter into the top of the mantlet, and I had to redo the trunion so its entirely on the turret base. Now I need to come up with a quick detach for the turret top for quick servicing. Thinking of magnets. And the last two pictures is max elevation and depression. I could probably squeak out more if I fine tune the linkage but I am happy with it. The most difficult thing will probably be rigging the rear deck switch to lift the barrel when it passes over the rear.
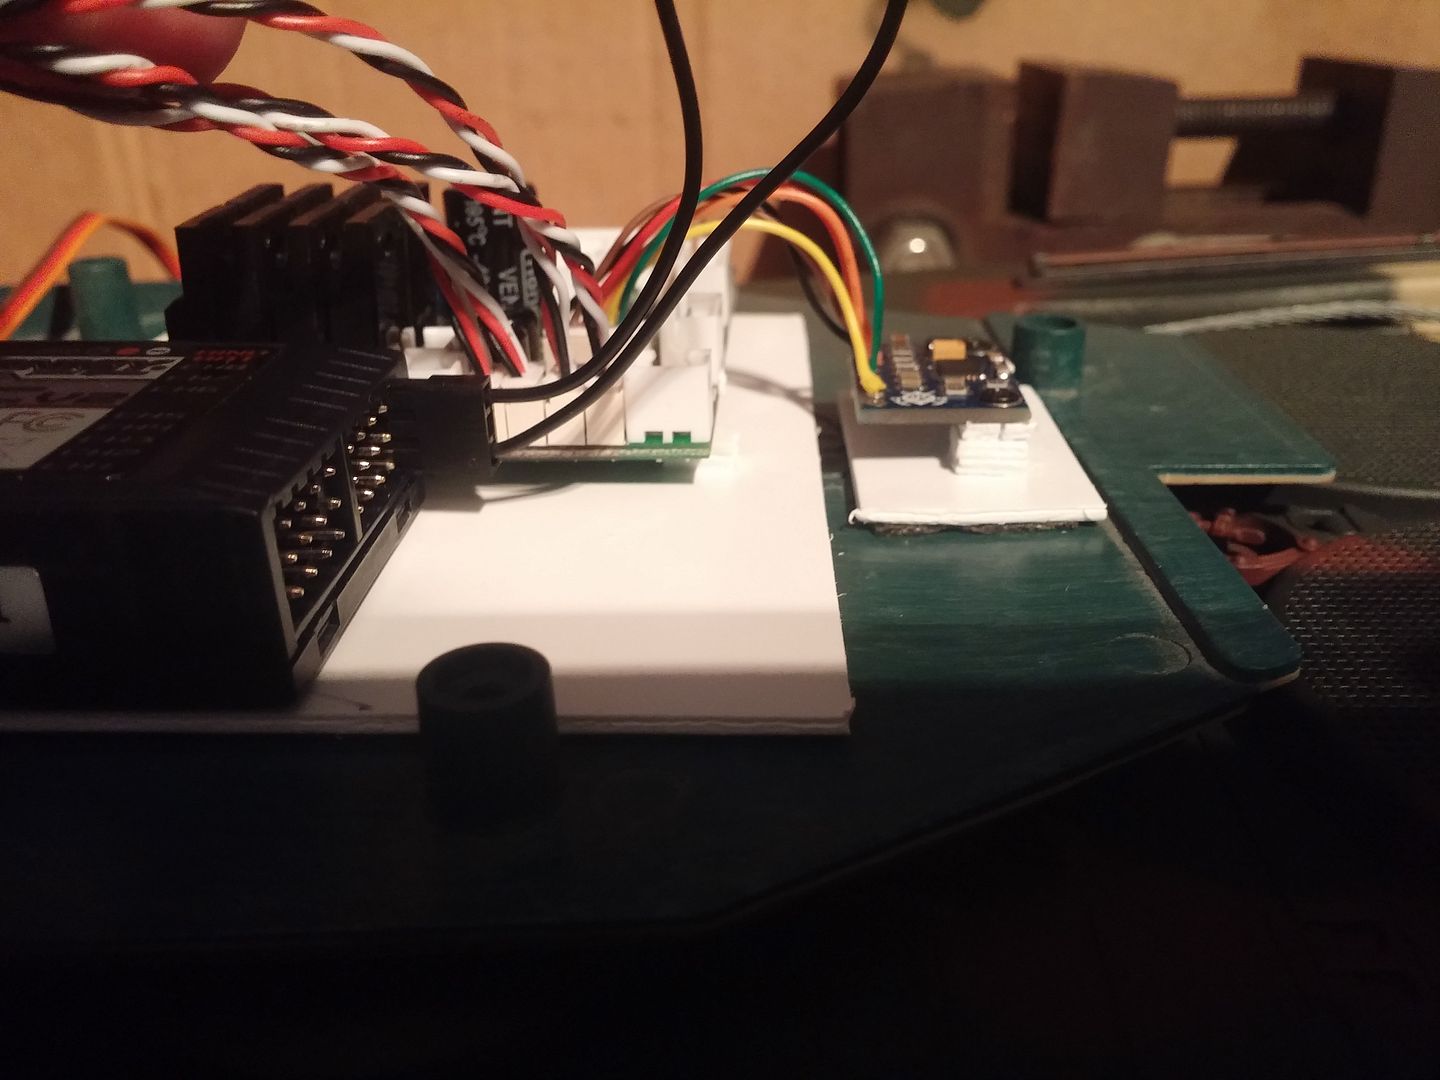


Last edited by mcm308; 09-26-2015 at 09:21 PM.
09-26-2015, 09:17 PM
#110
Thread Starter
Join Date: Jul 2013
Location: sayreville, NJ
Posts: 378
Likes: 0
Received 0 Likes
on
0 Posts
And some more stuff is inbound, A package from Dan with a Benedini and other goodies, I got the rotators for this and the Leo 1 and voltage regulators for lights from Mitosal , a Tamiya battle unit with apple, and Being I ordered from Mitosal, I added the Impact tracks for the Leo 1 to make the shipping charge worth it..lol
09-27-2015, 07:50 PM
#112
Thread Starter
Join Date: Jul 2013
Location: sayreville, NJ
Posts: 378
Likes: 0
Received 0 Likes
on
0 Posts
Yeaaaaaaaaaa! We are ROLLIN! Now that we are operating, I can go back and spend time tidying up the wiring and finalizing the install of some things for reliability. Then I can start work on the lighting circuits, accessories, speaker box, etc...
I have to say, the auto elevate after the gun firing is pretty sick... You can see the IR emitter working. Waiting for the apple to arrive and then I can program the board and gbs with remote.https://youtu.be/p0R3yCyAZmM
I have to say, the auto elevate after the gun firing is pretty sick... You can see the IR emitter working. Waiting for the apple to arrive and then I can program the board and gbs with remote.https://youtu.be/p0R3yCyAZmM
10-02-2015, 02:58 AM
#113
Thread Starter
Join Date: Jul 2013
Location: sayreville, NJ
Posts: 378
Likes: 0
Received 0 Likes
on
0 Posts
Alright, got the Mitosal rotator but I think its a little big for 1/16 scale. What an effect though!
And then I finally managed to wrap my head around the TX settings and got the Clark board up and running after sorting out an issue. The polarity on the turret traverse motor needed to get reversed. The GBS was going haywire but we are good now. I need to play with the settings to get smooth operation. Sorry for the dark video.
https://youtu.be/qH0DOIp8wgU
https://youtu.be/3IbjZa1o2BY
10-02-2015, 04:12 PM
#115
Thread Starter
Join Date: Jul 2013
Location: sayreville, NJ
Posts: 378
Likes: 0
Received 0 Likes
on
0 Posts
Dan, yea..its pretty cool but like I said, I think a tad to large. Multiple flash patterns strobe and rotate. Works just like a full size, a 3rd wire you touch to ground to change the pattern.
http://www.mitosal.com/beaconmain.htm
I got your box yesterday! I will email you, just been busy as heck.
http://www.mitosal.com/beaconmain.htm
I got your box yesterday! I will email you, just been busy as heck.
10-04-2015, 12:35 PM
#116
Thread Starter
Join Date: Jul 2013
Location: sayreville, NJ
Posts: 378
Likes: 0
Received 0 Likes
on
0 Posts
So I went to radio shack yesterday for some stuff and found me a nice little motor to try out for the turret. Sure enough...Turret got some speed now!
https://youtu.be/dn7vJbZXBvc
Heres a couple videos of driving around. It'll take a bit to master the controls. When she hits a fast spin, its too quick for turret to keep up but the GBS does a nice job at moderate speeds where the turret motor can keep up. Elevation works good. I still have to fine tune the GBS settings. It can work better. Takes some time trial and error.
https://youtu.be/y24mB2_84AY
https://youtu.be/s-2BKf134dM
Next up is the TBS mini install. And I have to figure out the lighting circuits.
10-04-2015, 01:13 PM
#117
Thread Starter
Join Date: Jul 2013
Location: sayreville, NJ
Posts: 378
Likes: 0
Received 0 Likes
on
0 Posts
So I went to radio shack yesterday for some stuff and found me a nice little motor to try out for the turret. Sure enough...Turret got some speed now!
https://youtu.be/dn7vJbZXBvc
Heres a couple videos of driving around. It'll take a bit to master the controls. When she hits a fast spin, its too quick for turret to keep up but the GBS does a nice job at moderate speeds where the turret motor can keep up. Elevation works good. I still have to fine tune the GBS settings. It can work better. Takes some time trial and error.
https://youtu.be/y24mB2_84AY
https://youtu.be/s-2BKf134dM
https://youtu.be/FO7yuCH6Ebo
Next up is the TBS mini install. And I have to figure out the lighting circuits.
10-14-2015, 05:44 AM
#118
Member

Join Date: Apr 2015
Posts: 33
Likes: 0
Received 0 Likes
on
0 Posts
Hi mcm308,
Thanks for commenting on my Leo thread. I love the way you have your CB setup inside the turret. I'm going to take a good long look at what I have. Maybe I'll re-wire everything similar to what you've done. Your wiring looks so neat compared to the way my Leo is currently wired. I think I'll also use smaller servo's for the recoil and elevation. That will give me more room and save a bit on weight as well.
After looking at a few builds of this tank and watching a few video's of the real Leopard's in operation, I might hold onto this tank instead of selling it when I get it back together. It's amazing how these RC tanks tend to multiply after you get started on your first build!!!!LOL
I wish I got started in RC tanks sooner than I did. I also wish I found your build in the beginning so I didn't miss all your photos at the start of your build. You have done an amazing job with your Leo!!! Keep em rolling and I'm interested to see what you do next.
Roger/Rebel 1
