


First shot at full camo paint(Lots of pics)
 07-18-2015, 11:08 PM
#1
Senior Member
Thread Starter

Join Date: Dec 2006
Location: Lee\'s Summit, MO
Posts: 201
Likes: 0
Received 0 Likes
on
0 Posts
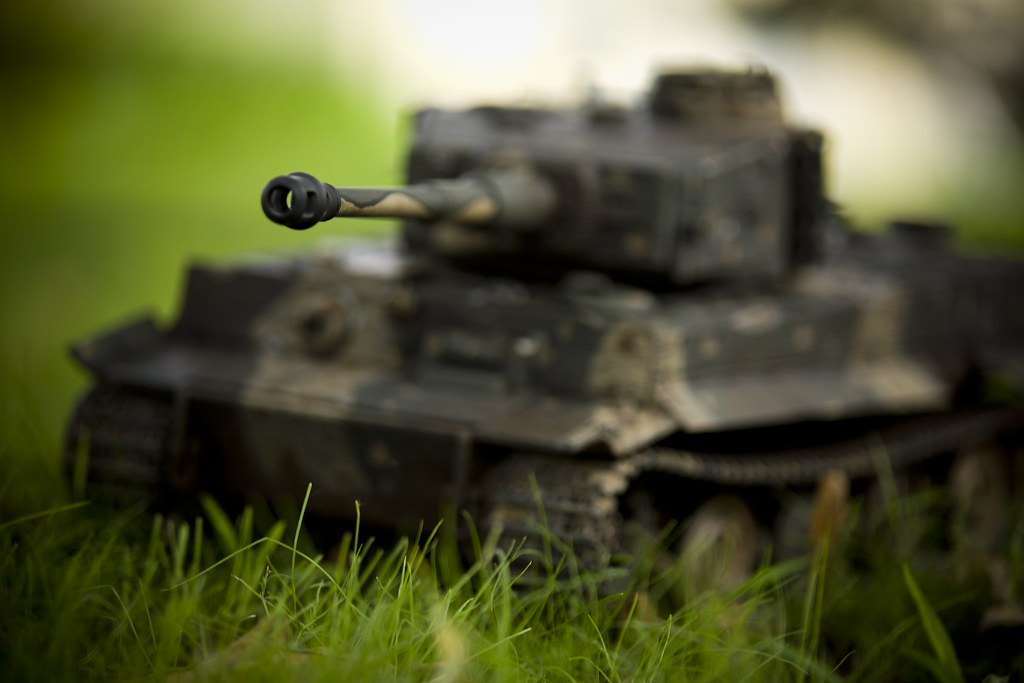
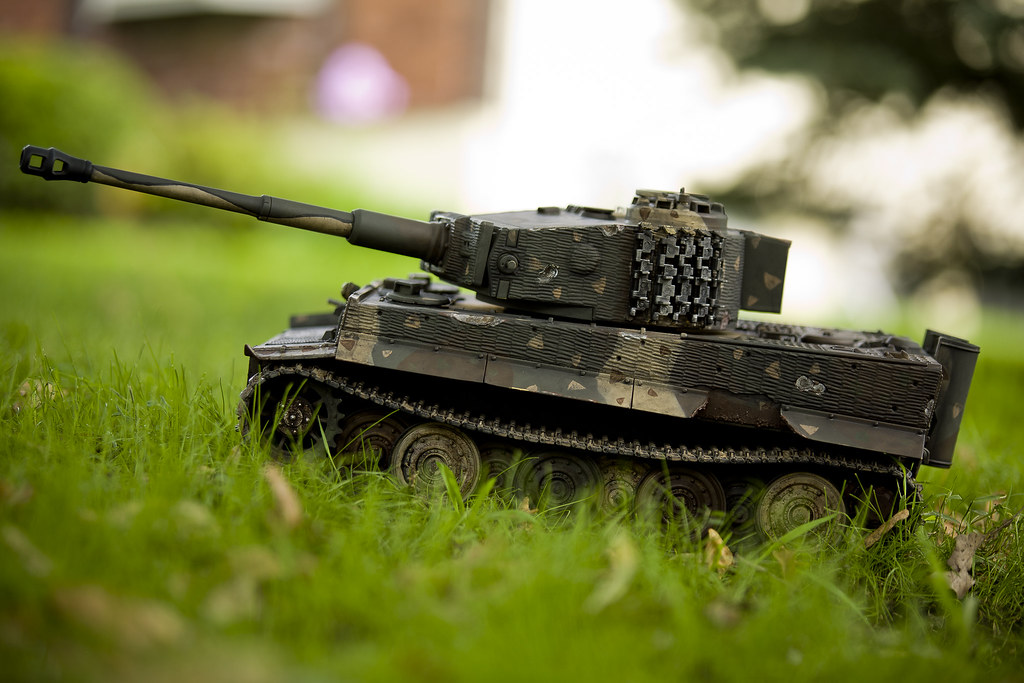
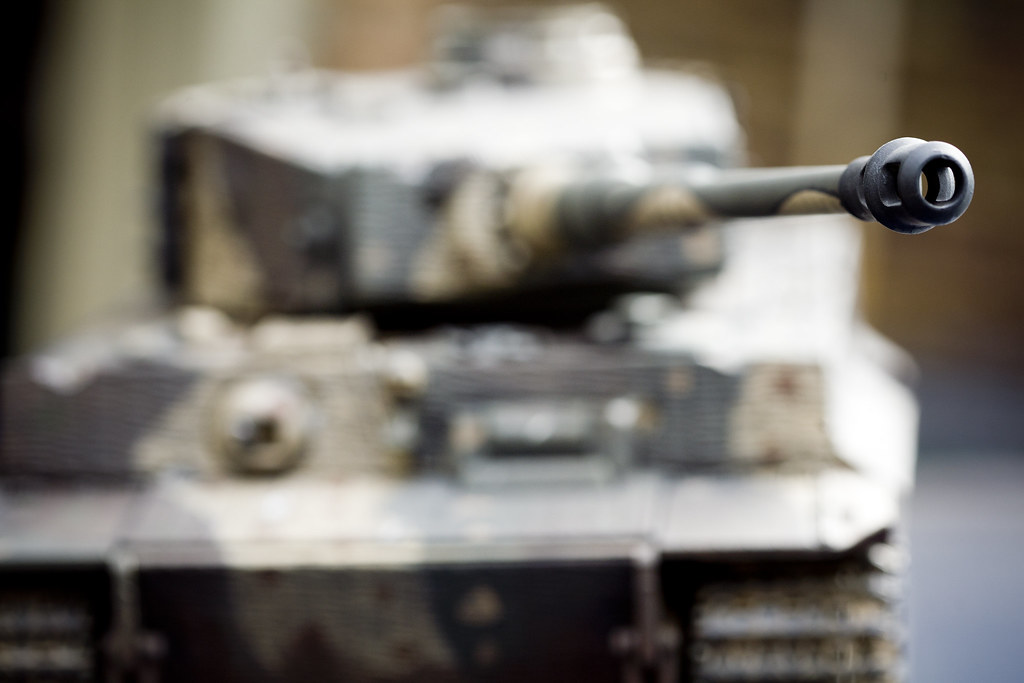
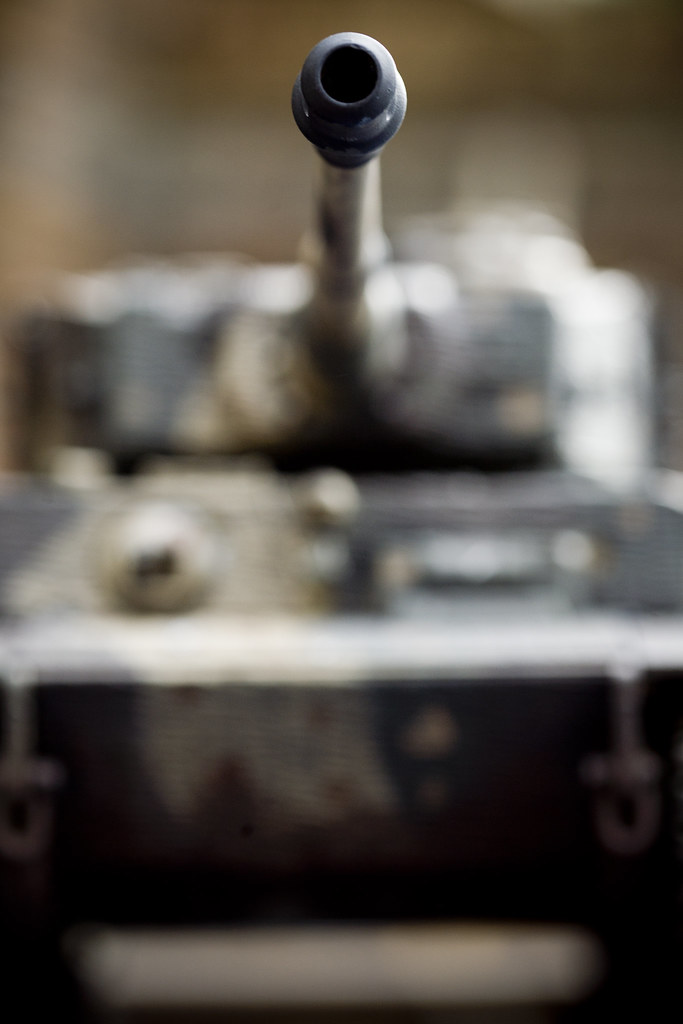
Well, my buddy wanted to change up his all tan Taigen Tiger 1. It's my first time trying to do a 3 color camo pattern so we didn't try to specifically follow a specific tiger pattern. He also wanted it fairly heavily battle damaged so we cut out some of the Zemmerit and carved into the plastic a bit.
Anyways, just thought I would share.
Stock
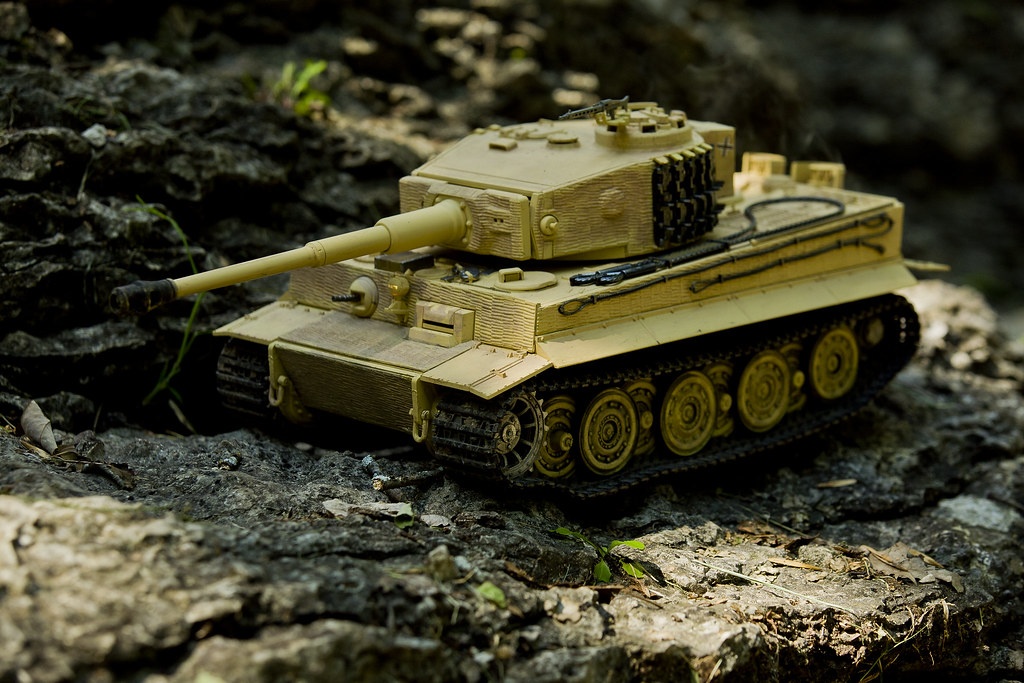


And on to the tan.....boy did it stand out more than expected!


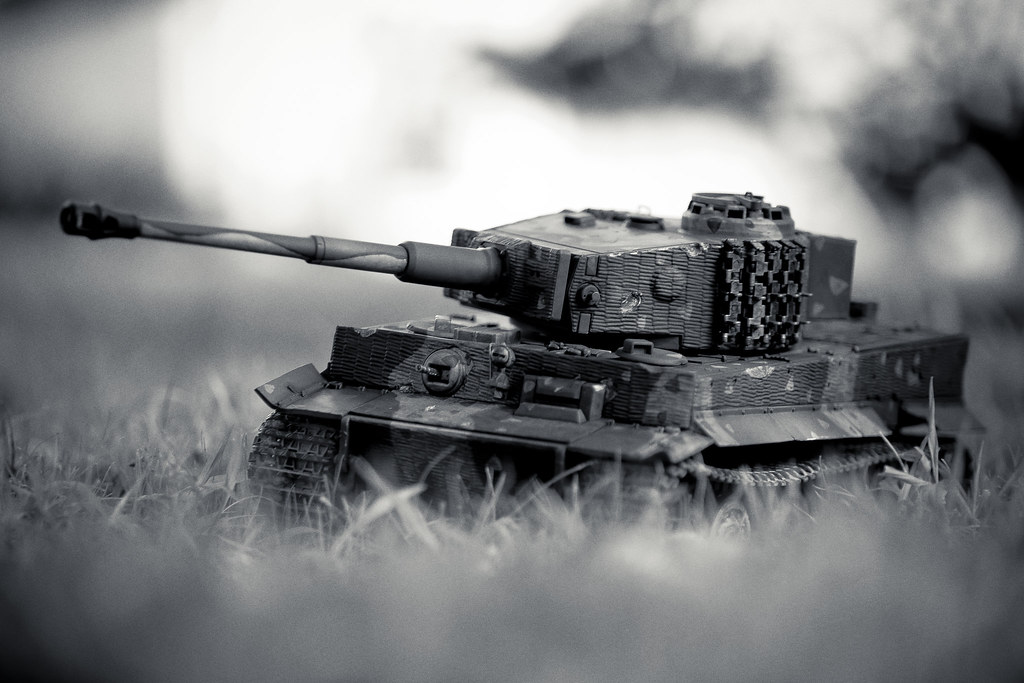
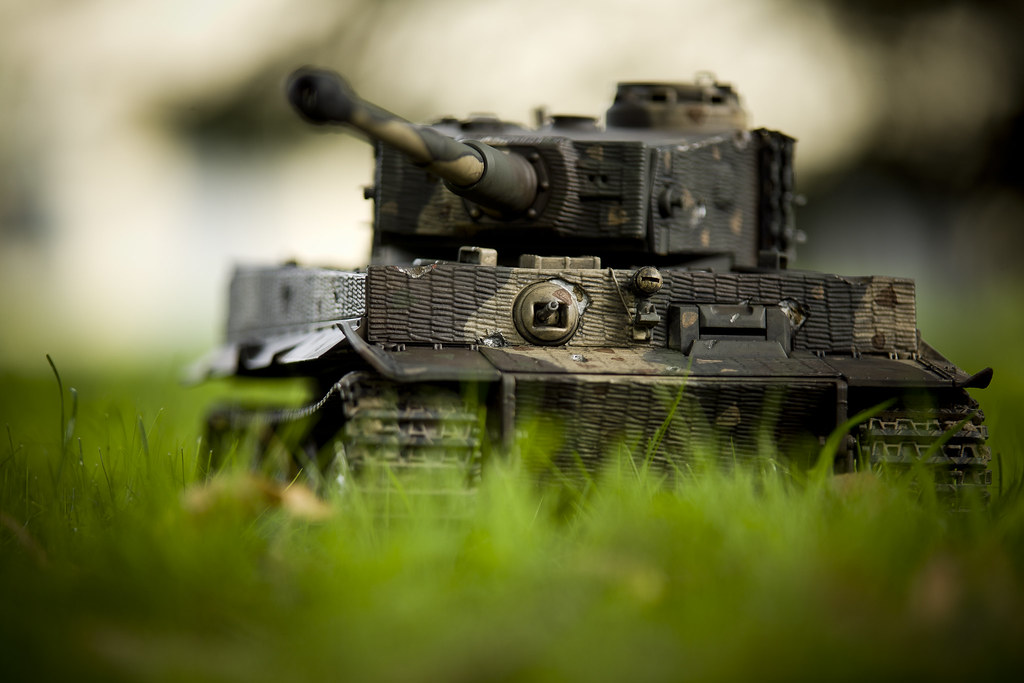
After some brown and black wash and a bit of pigments


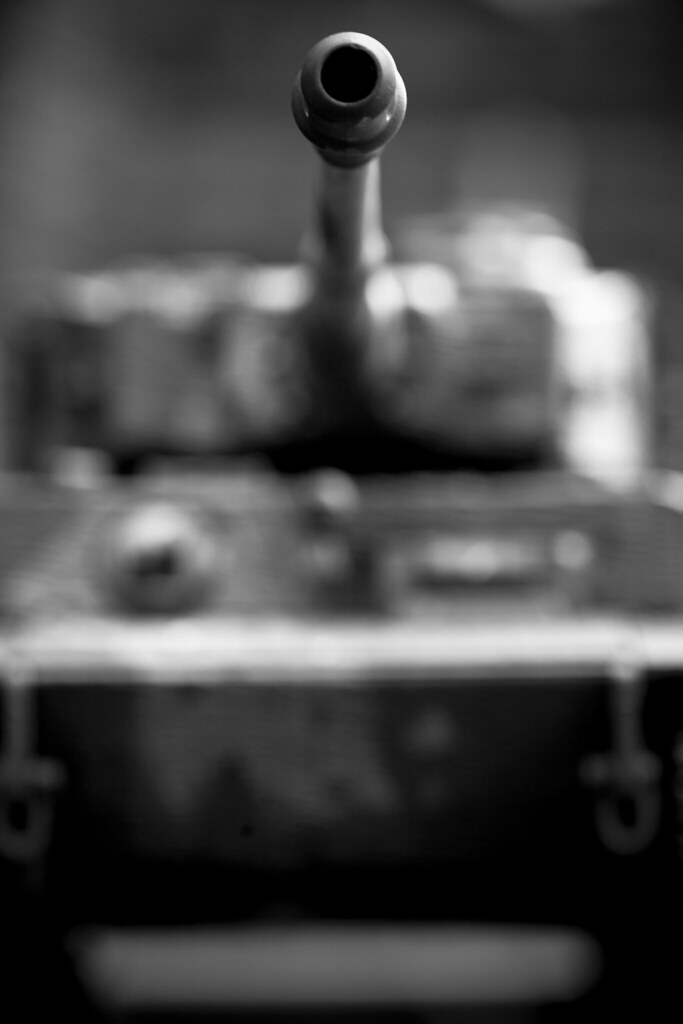
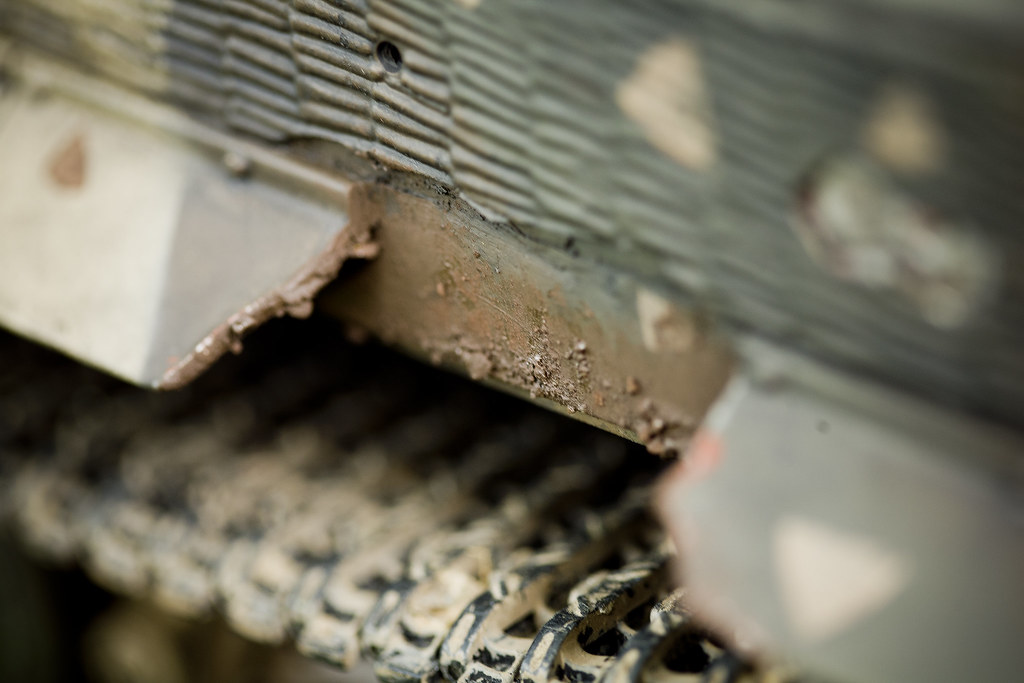
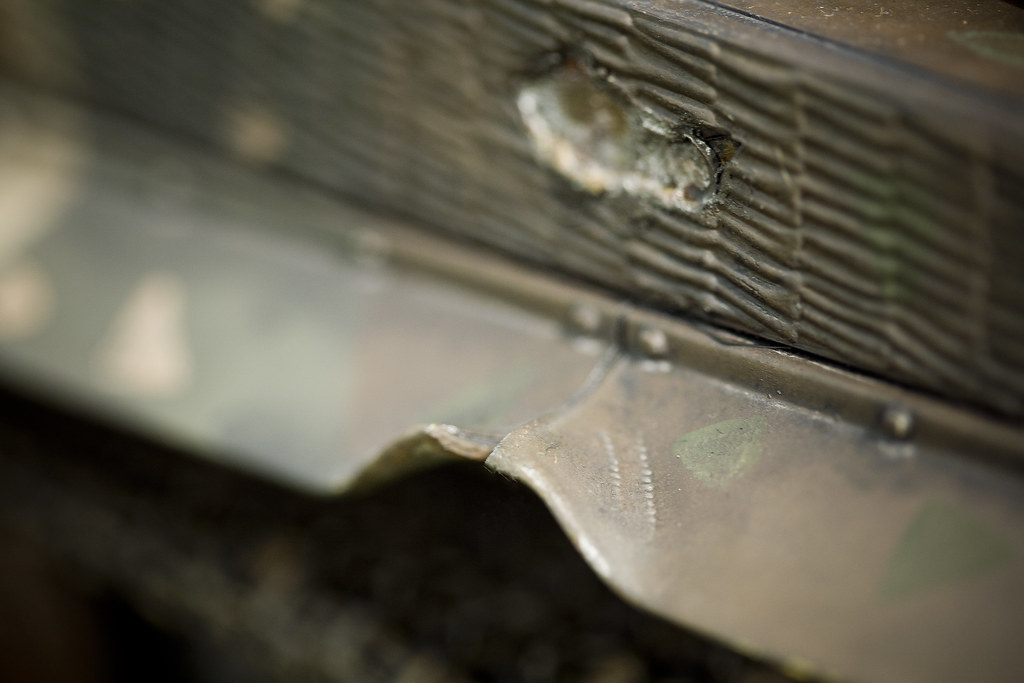
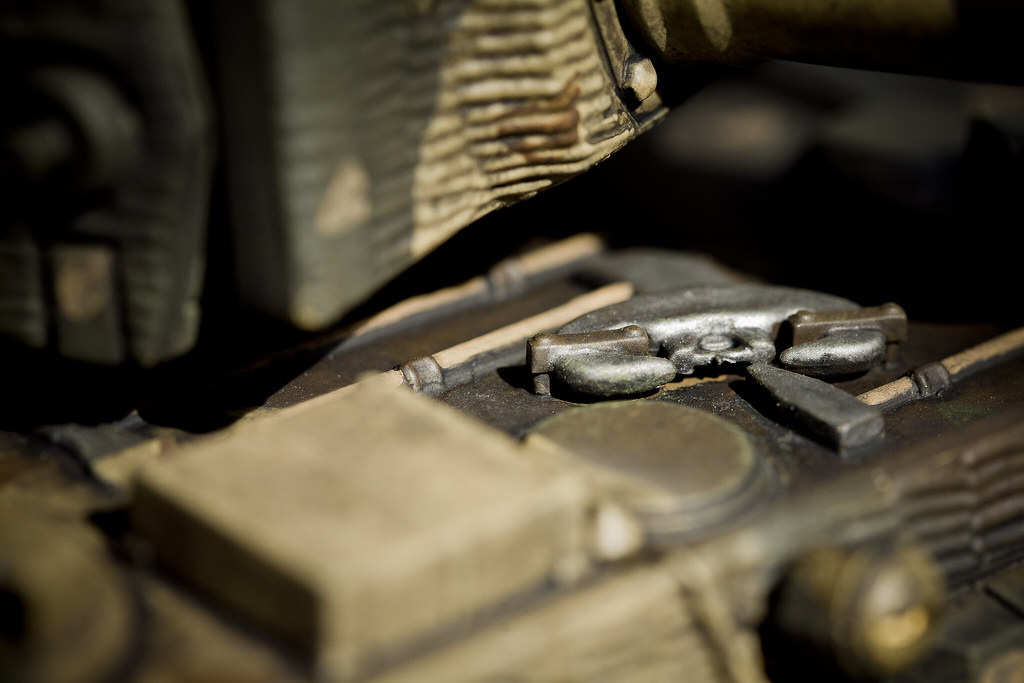
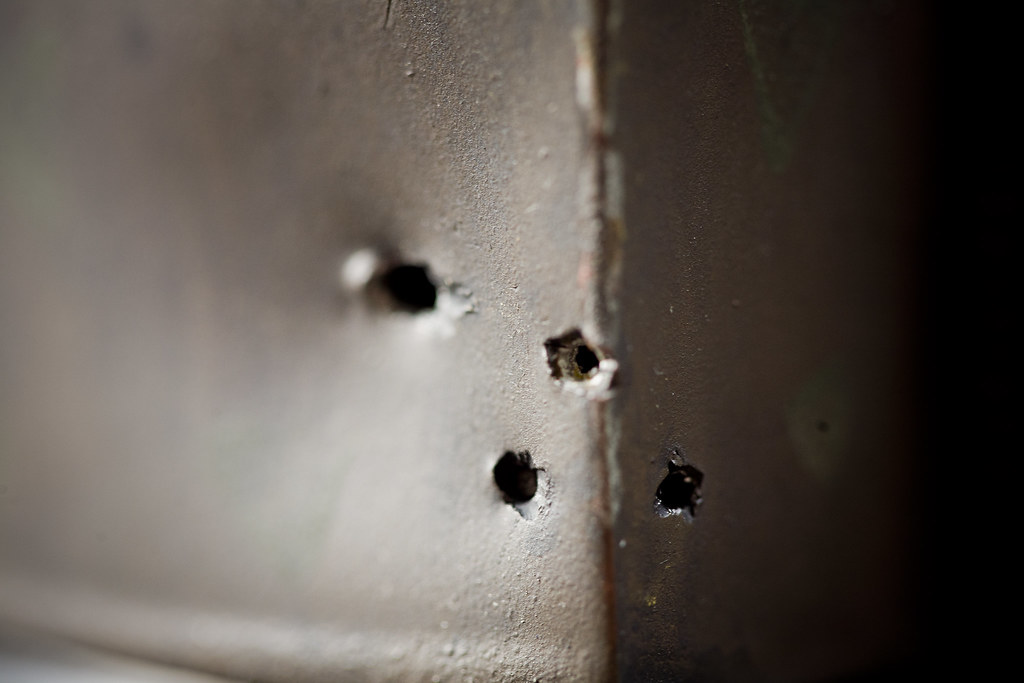
And added in some paint to the battle damage and some chipping. My buddy wanted to make sure some iron oxide red was slightly visable in the damage areas and chips here and there to simulate the primer.


Still need to add a lil true rust to some of the damaged and chipped areas. And then paint all the lil tidbits and add what was removed.
Anyways, please don't be too harsh, like I said, this was a first for me! lol
Anyways, just thought I would share.
Stock
And on to the tan.....boy did it stand out more than expected!
After some brown and black wash and a bit of pigments
And added in some paint to the battle damage and some chipping. My buddy wanted to make sure some iron oxide red was slightly visable in the damage areas and chips here and there to simulate the primer.
Still need to add a lil true rust to some of the damaged and chipped areas. And then paint all the lil tidbits and add what was removed.
Anyways, please don't be too harsh, like I said, this was a first for me! lol
 07-19-2015, 05:25 AM
#2


Join Date: Oct 2014
Location: Roseville, CA
Posts: 888
Likes: 0
Received 0 Likes
on
0 Posts
I always put a little battle damage on my tanks. Your first attempt looks fine in my opinion. If it were mine, I'd give it another brown wash to tone down the light color just a bit. But, if your friend is happy, that's all that really matters.
07-19-2015, 06:28 AM
#3
That looks really good, Ryan. You might want to tone down the metal in the damaged areas, There's something about the heat of impact that darkens the metal. Color photos of actual battle damage are really hard to find. I've always thought a reference thread on that would be a good idea, lots of color photos gathered in one place, ya know?
If you want some tips for future paint jobs you should check out Finescale Modeler Magazine and their website www.finescale.com and if you look hard enough you might even find some of my stuff.
One thing I learned from Finescale is that it's always best to start a camo job by painting the lightest color first. I tried it and they're right, it makes things a lot easier. Dark colors cover light colors better and faster than light colors cover dark. Wish I could take credit for the idea, but that's just one of the things you'll find useful at the fsm site.
Again, good job. If you hadn't told me I would never have guessed it was your first attempt.
 07-19-2015, 03:19 PM
#4
Senior Member
Thread Starter
Join Date: Dec 2006
Location: Lee\'s Summit, MO
Posts: 201
Likes: 0
Received 0 Likes
on
0 Posts
That looks really good, Ryan. You might want to tone down the metal in the damaged areas, There's something about the heat of impact that darkens the metal. Color photos of actual battle damage are really hard to find. I've always thought a reference thread on that would be a good idea, lots of color photos gathered in one place, ya know?
If you want some tips for future paint jobs you should check out Finescale Modeler Magazine and their website www.finescale.com and if you look hard enough you might even find some of my stuff.
One thing I learned from Finescale is that it's always best to start a camo job by painting the lightest color first. I tried it and they're right, it makes things a lot easier. Dark colors cover light colors better and faster than light colors cover dark. Wish I could take credit for the idea, but that's just one of the things you'll find useful at the fsm site.
Again, good job. If you hadn't told me I would never have guessed it was your first attempt.
If you want some tips for future paint jobs you should check out Finescale Modeler Magazine and their website www.finescale.com and if you look hard enough you might even find some of my stuff.
One thing I learned from Finescale is that it's always best to start a camo job by painting the lightest color first. I tried it and they're right, it makes things a lot easier. Dark colors cover light colors better and faster than light colors cover dark. Wish I could take credit for the idea, but that's just one of the things you'll find useful at the fsm site.
Again, good job. If you hadn't told me I would never have guessed it was your first attempt.
 07-19-2015, 05:45 PM
#5
Yeah, it's Gary, and I really think you'll like the FSM site. I've learned a ton of stuff there, like you can mask and still get really great soft edges. I've found several different techniques there for that, one of them even using Silly Putty, believe it or not.
I'm no expert on Zim, but I think part of it is trying to get those crisp edges that the actual paste made. Ausf knows quite a bit about Zim (as well as several other guys here) so maybe he'll chime in and give you some tips.
Have you seen the Jagdpanther I've been working on? It's on the bench right now, the souped up smoker finally made noise for attention so I have to see what it wants.
07-19-2015, 05:45 PM
#6
Junior Member
Join Date: Jul 2015
Posts: 14
Likes: 0
Received 0 Likes
on
0 Posts
As far as I know, near all German camo patterns were soft edged, so airbrush would be best. I work mostly in 1/35th, and free hand unless I need a hard edge, but the silly puddy approach above can work nicely if you want to be more controlled.
Last edited by migmadmarine; 07-19-2015 at 05:49 PM.
07-19-2015, 05:48 PM
#7
07-19-2015, 07:18 PM
#8
Senior Member
Thread Starter
Join Date: Dec 2006
Location: Lee\'s Summit, MO
Posts: 201
Likes: 0
Received 0 Likes
on
0 Posts
From what I have read so far was German tanks had both. If it was a factory applied camo it was hard edged, if it was field applied it would be either. Soft when they sprayed but also they did brush painted as well at times creating a harder edge.
07-20-2015, 04:49 AM
#9

The only rule to German camo is that there are more exceptions than rules.
Soft edge, hard edge, disc, ambush, whitewash, mud, chalk, toothpaste (not kidding), you name it.
Colors changed with the solvent and application. Paint was thinned with gas, water, waste oil, slopped on with spray guns, brushes and sometimes mops. I've seen Stug Schurzen that you'd swear was painted by Pablo Picasso himself.
A great reference is a three volume set called 'Panzer Colors'. It's out of print, but you can usually find individual copies online around $10. It's also a good weathering ref too since they cover a wide range vehicles in all sorts of conditions.
 07-20-2015, 09:23 AM
#11
Senior Member
Thread Starter
Join Date: Dec 2006
Location: Lee\'s Summit, MO
Posts: 201
Likes: 0
Received 0 Likes
on
0 Posts
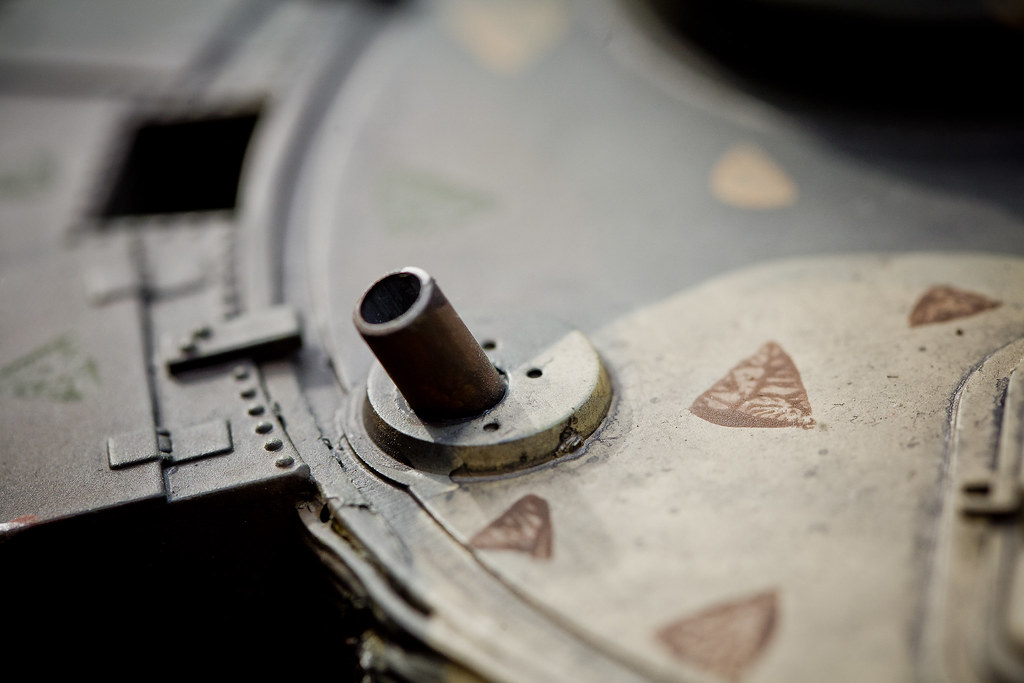
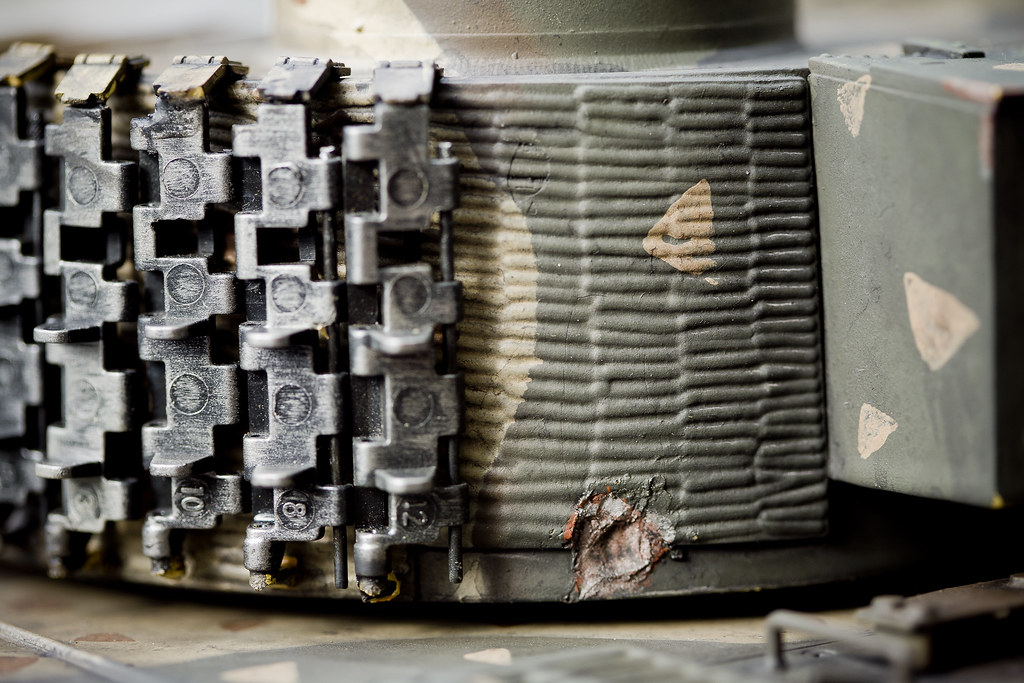
Well my buddy had me change it up just a bit....I will post photos after I get another wash or two on it, but basicly we added the "dorito" dots to make it more like an ambush pattern. We had talked about doing it before and the more we looked at the camo pattern the more we thought it fit with it.
 07-20-2015, 07:19 PM
#14
Senior Member
Thread Starter
Join Date: Dec 2006
Location: Lee\'s Summit, MO
Posts: 201
Likes: 0
Received 0 Likes
on
0 Posts
Well........here she is after a crude "ambush pattern" and another wet wash.


I will probably throw the tracks back on it and get some legit photos tomorrow, its still a bit wet in spots right now.
I will probably throw the tracks back on it and get some legit photos tomorrow, its still a bit wet in spots right now.


 07-22-2015, 02:50 PM
#19
Senior Member
Thread Starter
Join Date: Dec 2006
Location: Lee\'s Summit, MO
Posts: 201
Likes: 0
Received 0 Likes
on
0 Posts
