


Centurion Tank 1:16


 10-30-2016, 03:59 PM
#177

Join Date: Nov 2010
Location: HamiltonWaikato, NEW ZEALAND
Posts: 937
Likes: 0
Received 78 Likes
on
55 Posts
Been a bit slack with keeping up with posting.
Replaced the nail hinge pin on the TC’s hatch with a 2mmsolid brass rod. Coiled a piece of 1mm wire around it to replicate the springon the real one
Cut an aperture for the gunners sight in the lip of theturret roof
Then got on to the turret stowage bins, RHS one – having assembled it, decided it really needed reinforcement, so added 2mm X 2mmrod to the corner

 May have been better to use L angle. This is one of the parts that hasbeen changed compared to the prototype, originally there were a number ofinternal partition/reinforcement parts, which would also marry up with theslots in the side of the turret
It was useful to have a made up set of bins to compare to –in this case Tamiya 1/35[SUP]th[/SUP]
Then the left hand twin bin unit – cut 2mm X 2mm forreinforcement –
 glued in place –
 assembled, less lids –
 should have left the lid off the RHS one too.
Coated the outer T/C’s hatch with WAJ, being a casting,& added a handle - staple - Also added a cover over the outer spring,but the spring still shows when the hatch is opened
Mal
Replaced the nail hinge pin on the TC’s hatch with a 2mmsolid brass rod. Coiled a piece of 1mm wire around it to replicate the springon the real one
Cut an aperture for the gunners sight in the lip of theturret roof
Then got on to the turret stowage bins, RHS one –
It was useful to have a made up set of bins to compare to –in this case Tamiya 1/35[SUP]th[/SUP]
Then the left hand twin bin unit –
Coated the outer T/C’s hatch with WAJ, being a casting,& added a handle - staple -
Mal
10-30-2016, 04:46 PM
#178
Join Date: Nov 2010
Location: HamiltonWaikato, NEW ZEALAND
Posts: 937
Likes: 0
Received 78 Likes
on
55 Posts
More progress
Used someL angle to make these – and made a hook type bracket to attach the rearpart of the bin –
  & the left bin –
 Will have to chamfer thebottom of the left rear bin, though that doesn’t apply to the RHS bin
Mal
Used someL angle to make these –
Mal
10-30-2016, 04:52 PM
#179
Join Date: Nov 2010
Location: HamiltonWaikato, NEW ZEALAND
Posts: 937
Likes: 0
Received 78 Likes
on
55 Posts
Bit more done, needed to redo the bend of the deck plate sothat it fits properly – used my work table clamp to hold the piece – 


 There was a bit of cracking over the under deckslots, but put glue on/in them.
Cut out the under deck supports had to trim the tabs to fit & clamp themwhile gluing
 –
–
Cut out the fenders & side pieces – the fendersneed 3 bends per side to enable the side pieces to be added – 2 at the front, 1at the back
  the 1[SUP]st[/SUP] front one is quite extreme
Still working on those.
Also started cutting out the fender stowage boxes parts –lots of them & lots of clean up needed – still in progress.
Mal
Still working on those.
Also started cutting out the fender stowage boxes parts –lots of them & lots of clean up needed – still in progress.
Cut out the under deck supports
Cut out the fenders & side pieces –
Still working on those.
Also started cutting out the fender stowage boxes parts –lots of them & lots of clean up needed – still in progress.
Mal
Still working on those.
Also started cutting out the fender stowage boxes parts –lots of them & lots of clean up needed – still in progress.
11-03-2016, 06:23 PM
#180
Join Date: Nov 2010
Location: HamiltonWaikato, NEW ZEALAND
Posts: 937
Likes: 0
Received 78 Likes
on
55 Posts
More progress, finally got around to chamfering the LHS rearstowage box 
 though still need to fill the resultant hole.
Added some backing plates to the stowage boxes to help withattaching them to the hooks I made

Was going to make the attachment fairlyelaborate, with a rotate-able hook up front, but that may not be necessary now– these are held in place by just the rear hook or by rear hook & L angle
The fly in the ointment was finding these

 seems like quite a large gap.
Glued the side pieces to the fenders
 not 100%happy about the finish, the extreme bend unbent, think metal would work better.
Held in place with a pill bottle for now
Had a thought about the bending, next time willtry dipping the part in hot water before bending.
Mal
Added some backing plates to the stowage boxes to help withattaching them to the hooks I made
Was going to make the attachment fairlyelaborate, with a rotate-able hook up front, but that may not be necessary now– these are held in place by just the rear hook
The fly in the ointment was finding these
Glued the side pieces to the fenders
Held in place with a pill bottle for now
Had a thought about the bending, next time willtry dipping the part in hot water before bending.
Mal
11-06-2016, 06:12 PM
#181
Join Date: Nov 2010
Location: HamiltonWaikato, NEW ZEALAND
Posts: 937
Likes: 0
Received 78 Likes
on
55 Posts
A while back, I got some Tamiya PLA paper –
 (actually sheet plastic 0.1mm thick,so acts like paper). Thought it would be good for making belts & straps forsecuring stuff to the vehicle. Anyway, what I used it for in this case was topaper over the cracks in the stowage boxes


Decided to go with ‘gap-ing’ the stowage boxes, by adding1.5mm X 2.00mm rod to the back of each – at which stage it becameapparent that I needed to add more backing plates to the boxes –


As a result of the gap-ing, the current ‘hooks’ I’d made,were too short, so made new bases out of the 2.5mm sheet


Had added the LHS L angle to the turret
Decided to try making hinges with the PLA paper – added masking tape to the edge of the lids before gluing, so the lid would open& not weld in place
  –
–
Decided to paint the box interiors, but got a bit carriedaway –
 which is when I found the PLA hinge left a bit to bedesired – it split.
Might have to go the piano hinge route, the required lengths-
Turret
LH front box - 46mm
LH Rear Box – 50mm
RH Box – 120mm
Fender
Large box – 89mm X 2 (LH & RH) = 180mm
Medium Box – 53mm X 2 (LH & RH) = 110mm
Short Box – 29mm X 2 (LH & RH) = 60mm
Total hinge length - 570mm
Mal
Decided to go with ‘gap-ing’ the stowage boxes, by adding1.5mm X 2.00mm rod to the back of each –
As a result of the gap-ing, the current ‘hooks’ I’d made,were too short, so made new bases out of the 2.5mm sheet
Had added the LHS L angle to the turret
Decided to try making hinges with the PLA paper –
Decided to paint the box interiors, but got a bit carriedaway –
Might have to go the piano hinge route, the required lengths-
Turret
LH front box - 46mm
LH Rear Box – 50mm
RH Box – 120mm
Fender
Large box – 89mm X 2 (LH & RH) = 180mm
Medium Box – 53mm X 2 (LH & RH) = 110mm
Short Box – 29mm X 2 (LH & RH) = 60mm
Total hinge length - 570mm
Mal
11-07-2016, 04:23 AM
#182
Well, gotta say... soooo jealous! This is looking really good. 
Jeff
Jeff
11-21-2016, 07:40 PM
#184
Join Date: Nov 2010
Location: HamiltonWaikato, NEW ZEALAND
Posts: 937
Likes: 0
Received 78 Likes
on
55 Posts
Apologies for the lack of posts, my PC wouldn't recognise my camera via USB, bu seem to have fixed that - attached the camera via USB 3 port extender, so is not adirect connection to the PC & didn’t generate the warning error. Hooray!
The other weekend, Stephen White posted a thread on his 1/6[SUP]th[/SUP]Armortek Cent, which I’ve used for inspiration & para phrased a lot - http://www.armortek.co.uk/Forum3b/viewtopic.php?f=23&t=3931&sid=207ee067ef2b3b027112b7d392b83dbb&start=735-
Following on from my Scorpion build, I re used the hatchpadding idea, using the computer wrap foam, made a solid circle & horseshoe,stuck the solid circle to a piece of lithograph plate, having drilled 6 holes,the horseshoe to cardboard


Then drilled 6 holes into the hatch, fitted simulated hexhead bolts they were a bit too long, so had to cut them down
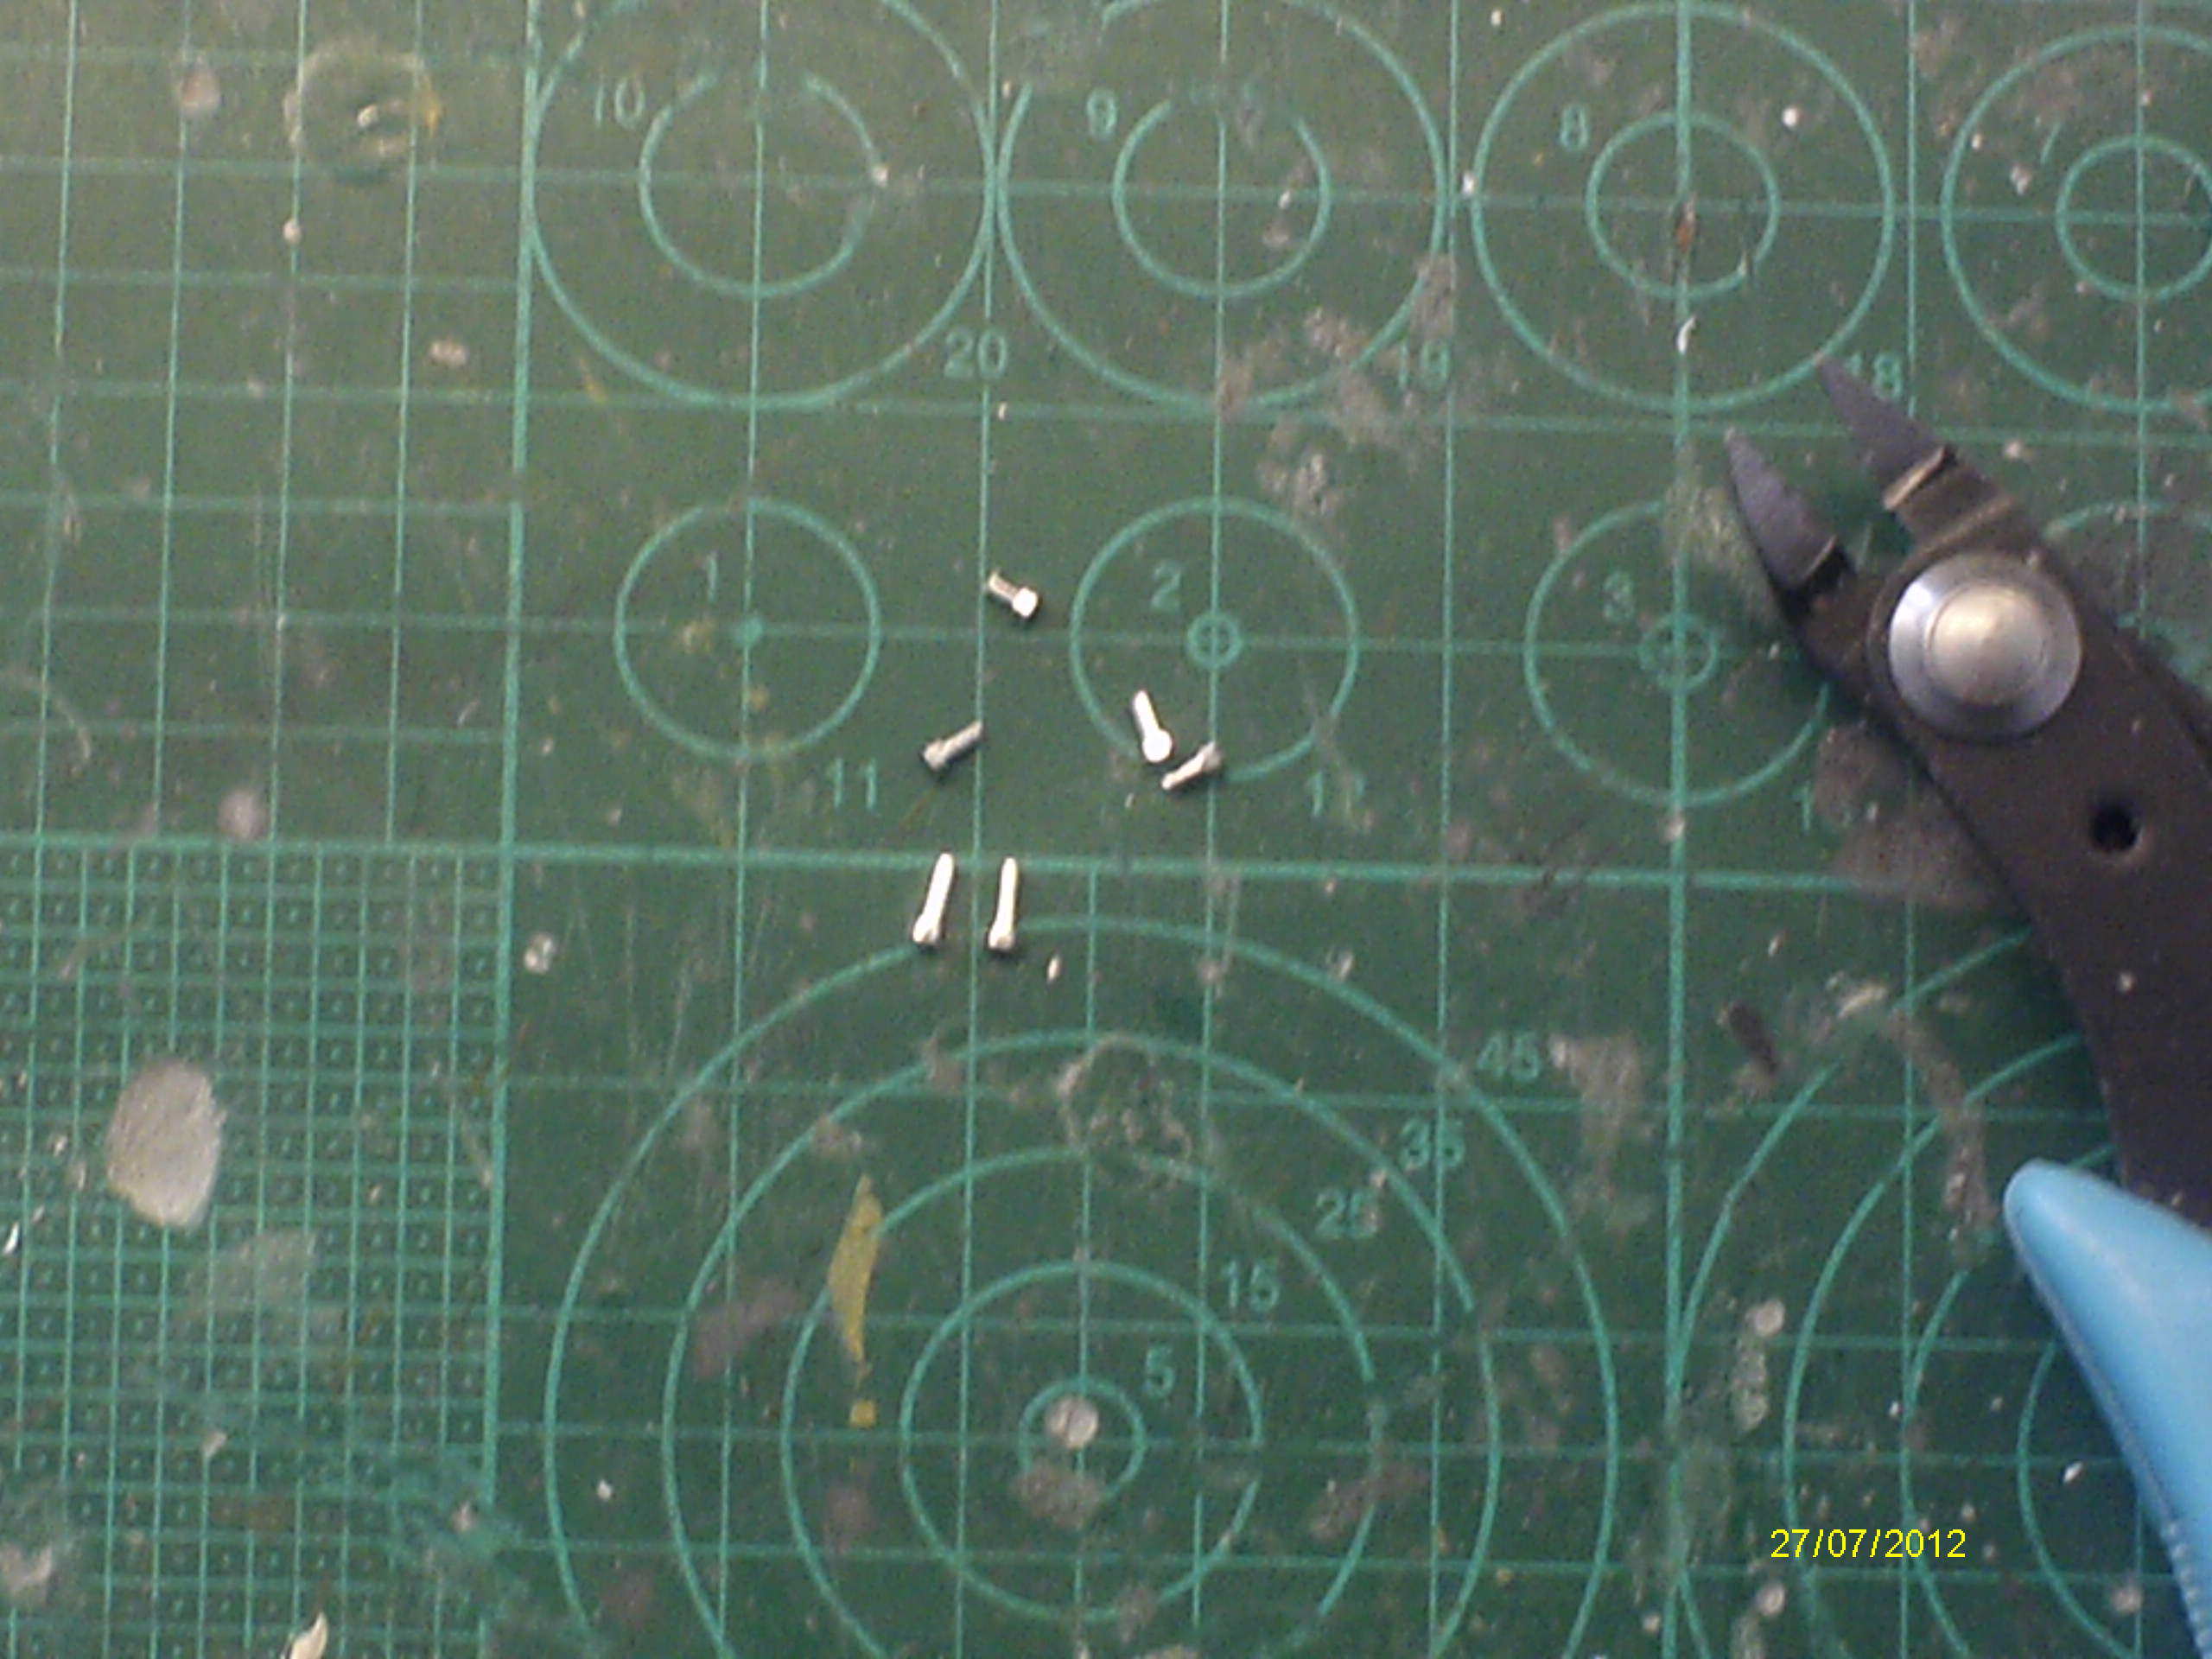
Glued the solid circle & horseshoe together overnite,with a bottle of bolts sitting on top, then made a strap handle from PLA paper& assembled the parts


Cut out & cleaned up the fender stowage boxparts –
 and assembled –
  attached to the fenders

Mal
The other weekend, Stephen White posted a thread on his 1/6[SUP]th[/SUP]Armortek Cent, which I’ve used for inspiration & para phrased a lot - http://www.armortek.co.uk/Forum3b/viewtopic.php?f=23&t=3931&sid=207ee067ef2b3b027112b7d392b83dbb&start=735-
Following on from my Scorpion build, I re used the hatchpadding idea, using the computer wrap foam, made a solid circle & horseshoe,stuck the solid circle to a piece of lithograph plate, having drilled 6 holes,the horseshoe to cardboard
Then drilled 6 holes into the hatch, fitted simulated hexhead bolts
Glued the solid circle & horseshoe together overnite,with a bottle of bolts sitting on top, then made a strap handle from PLA paper& assembled the parts
Cut out & cleaned up the fender stowage boxparts –
Mal
11-21-2016, 07:48 PM
#185
Join Date: Nov 2010
Location: HamiltonWaikato, NEW ZEALAND
Posts: 937
Likes: 0
Received 78 Likes
on
55 Posts
Cut out the upper rear towing eyes – attached
  and the lower ones

Cut out the parts for the tow bar mostly assembled
Then the phone box parts – assembly

 having added wire handles
Some parts arrived from Chris – Turret Ventilator dome, 3 Xperiscopes (2 X Driver, 1 X Loader) – dry fit to turret

Also cut out parts for the tow rope hook
Mal
Cut out the parts for the tow bar
Then the phone box parts –
Some parts arrived from Chris – Turret Ventilator dome, 3 Xperiscopes (2 X Driver, 1 X Loader) – dry fit to turret
Also cut out parts for the tow rope hook
Mal
11-21-2016, 07:59 PM
#186
Join Date: Nov 2010
Location: HamiltonWaikato, NEW ZEALAND
Posts: 937
Likes: 0
Received 78 Likes
on
55 Posts
Decided I didn’t really like the fake vents/cooling slots onthe rear deck, so made a start on opening them – finished the far endones first
 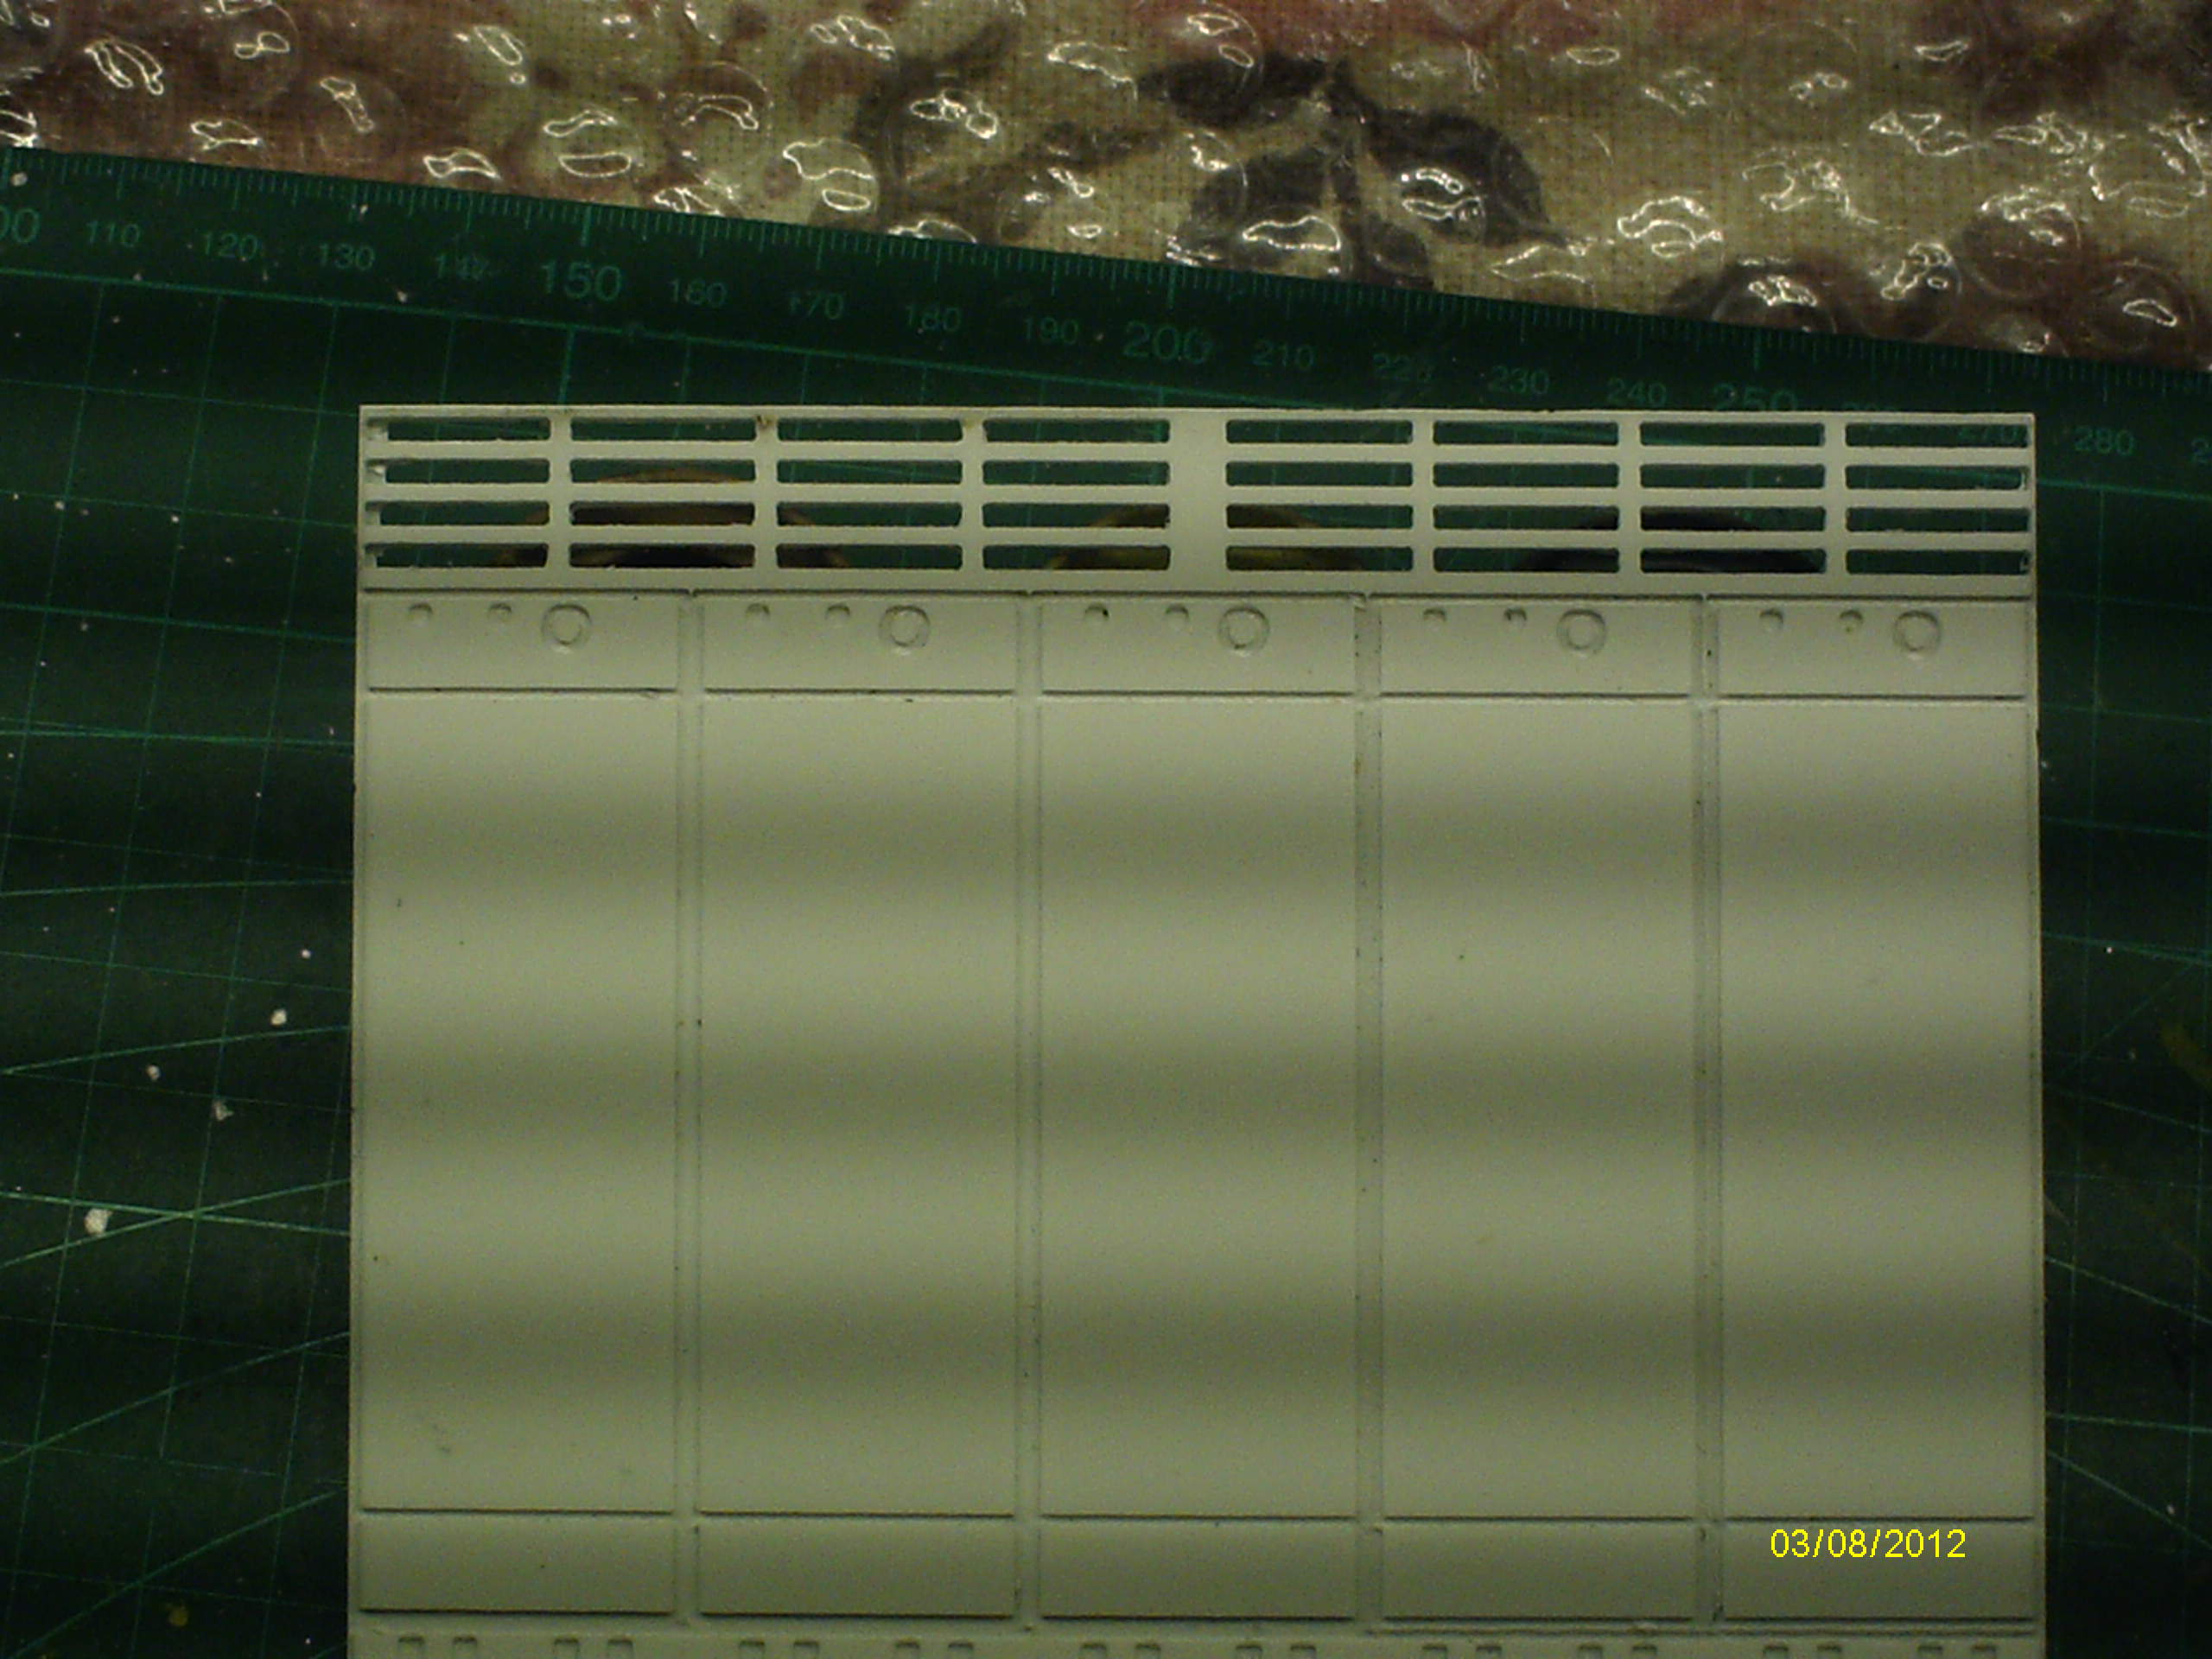 then the others
Glued the turret vent in place
On the real thing, being a Brit tank, it’s a really complicatedpiece of engineering – but I don’t have to go there, quite.Unfortunately the support/brace bars below the deck get in the way a tad
Compensated for those by making it in 2 parts, 1 long, 1short Fitted the the short endcross piece
  top side
Then the long end cross piece lower view
  to create a gap effect – which from top side looks like this
  due tothe underlying support bars it couldn’t be full width either. When fitted
  the 1mm gap below the slots looks lots more realistic than before.
These extra parts were made from the 1mm ‘sprue’ sheets.
Mal
Glued the turret vent in place
On the real thing, being a Brit tank, it’s a really complicatedpiece of engineering –
Compensated for those by making it in 2 parts, 1 long, 1short
Then the long end cross piece
These extra parts were made from the 1mm ‘sprue’ sheets.
Mal
11-21-2016, 08:12 PM
#187
Join Date: Nov 2010
Location: HamiltonWaikato, NEW ZEALAND
Posts: 937
Likes: 0
Received 78 Likes
on
55 Posts
Started on the deck hinges & applied some paint 
 and to the TC’s hatch & vent dome

Applied paint to the rear slots realised that Ineeded to paint the rear plate before gluing the tow rope bracket & alsodid the area beneath the rear slots
  and did the internal area at thefront of the deck
Also added a backing plate of PLA paper to the phone box& stand-off plates
Mal
Applied paint to the rear slots
Also added a backing plate of PLA paper to the phone box& stand-off plates
Mal
11-21-2016, 08:16 PM
#188
Join Date: Nov 2010
Location: HamiltonWaikato, NEW ZEALAND
Posts: 937
Likes: 0
Received 78 Likes
on
55 Posts
Attached the phone box, having painted the rear first  standoff is apparent in this view
Realised I needed to paint the lower rear plate too, beforeadding the tow hitch –

The Tow hitch is one of those areas where lots of filing isrequired to get the leaf springs to fit in the slots.
The tow hook is too angular, so added some bog
Also added bog to the gaps of the stowage bins
Mal
Realised I needed to paint the lower rear plate too, beforeadding the tow hitch –
The Tow hitch is one of those areas where lots of filing isrequired to get the leaf springs to fit in the slots.
The tow hook is too angular, so added some bog
Also added bog to the gaps of the stowage bins
Mal
11-29-2016, 08:16 PM
#190
Join Date: Nov 2010
Location: HamiltonWaikato, NEW ZEALAND
Posts: 937
Likes: 0
Received 78 Likes
on
55 Posts
Added wire handles to the tranny covers  and more hinge bits
Worked on the tow bar hitch, added PLA paper straps to theends of the spring leaves –
 then added detail to the lockgate
 mounted to hull –
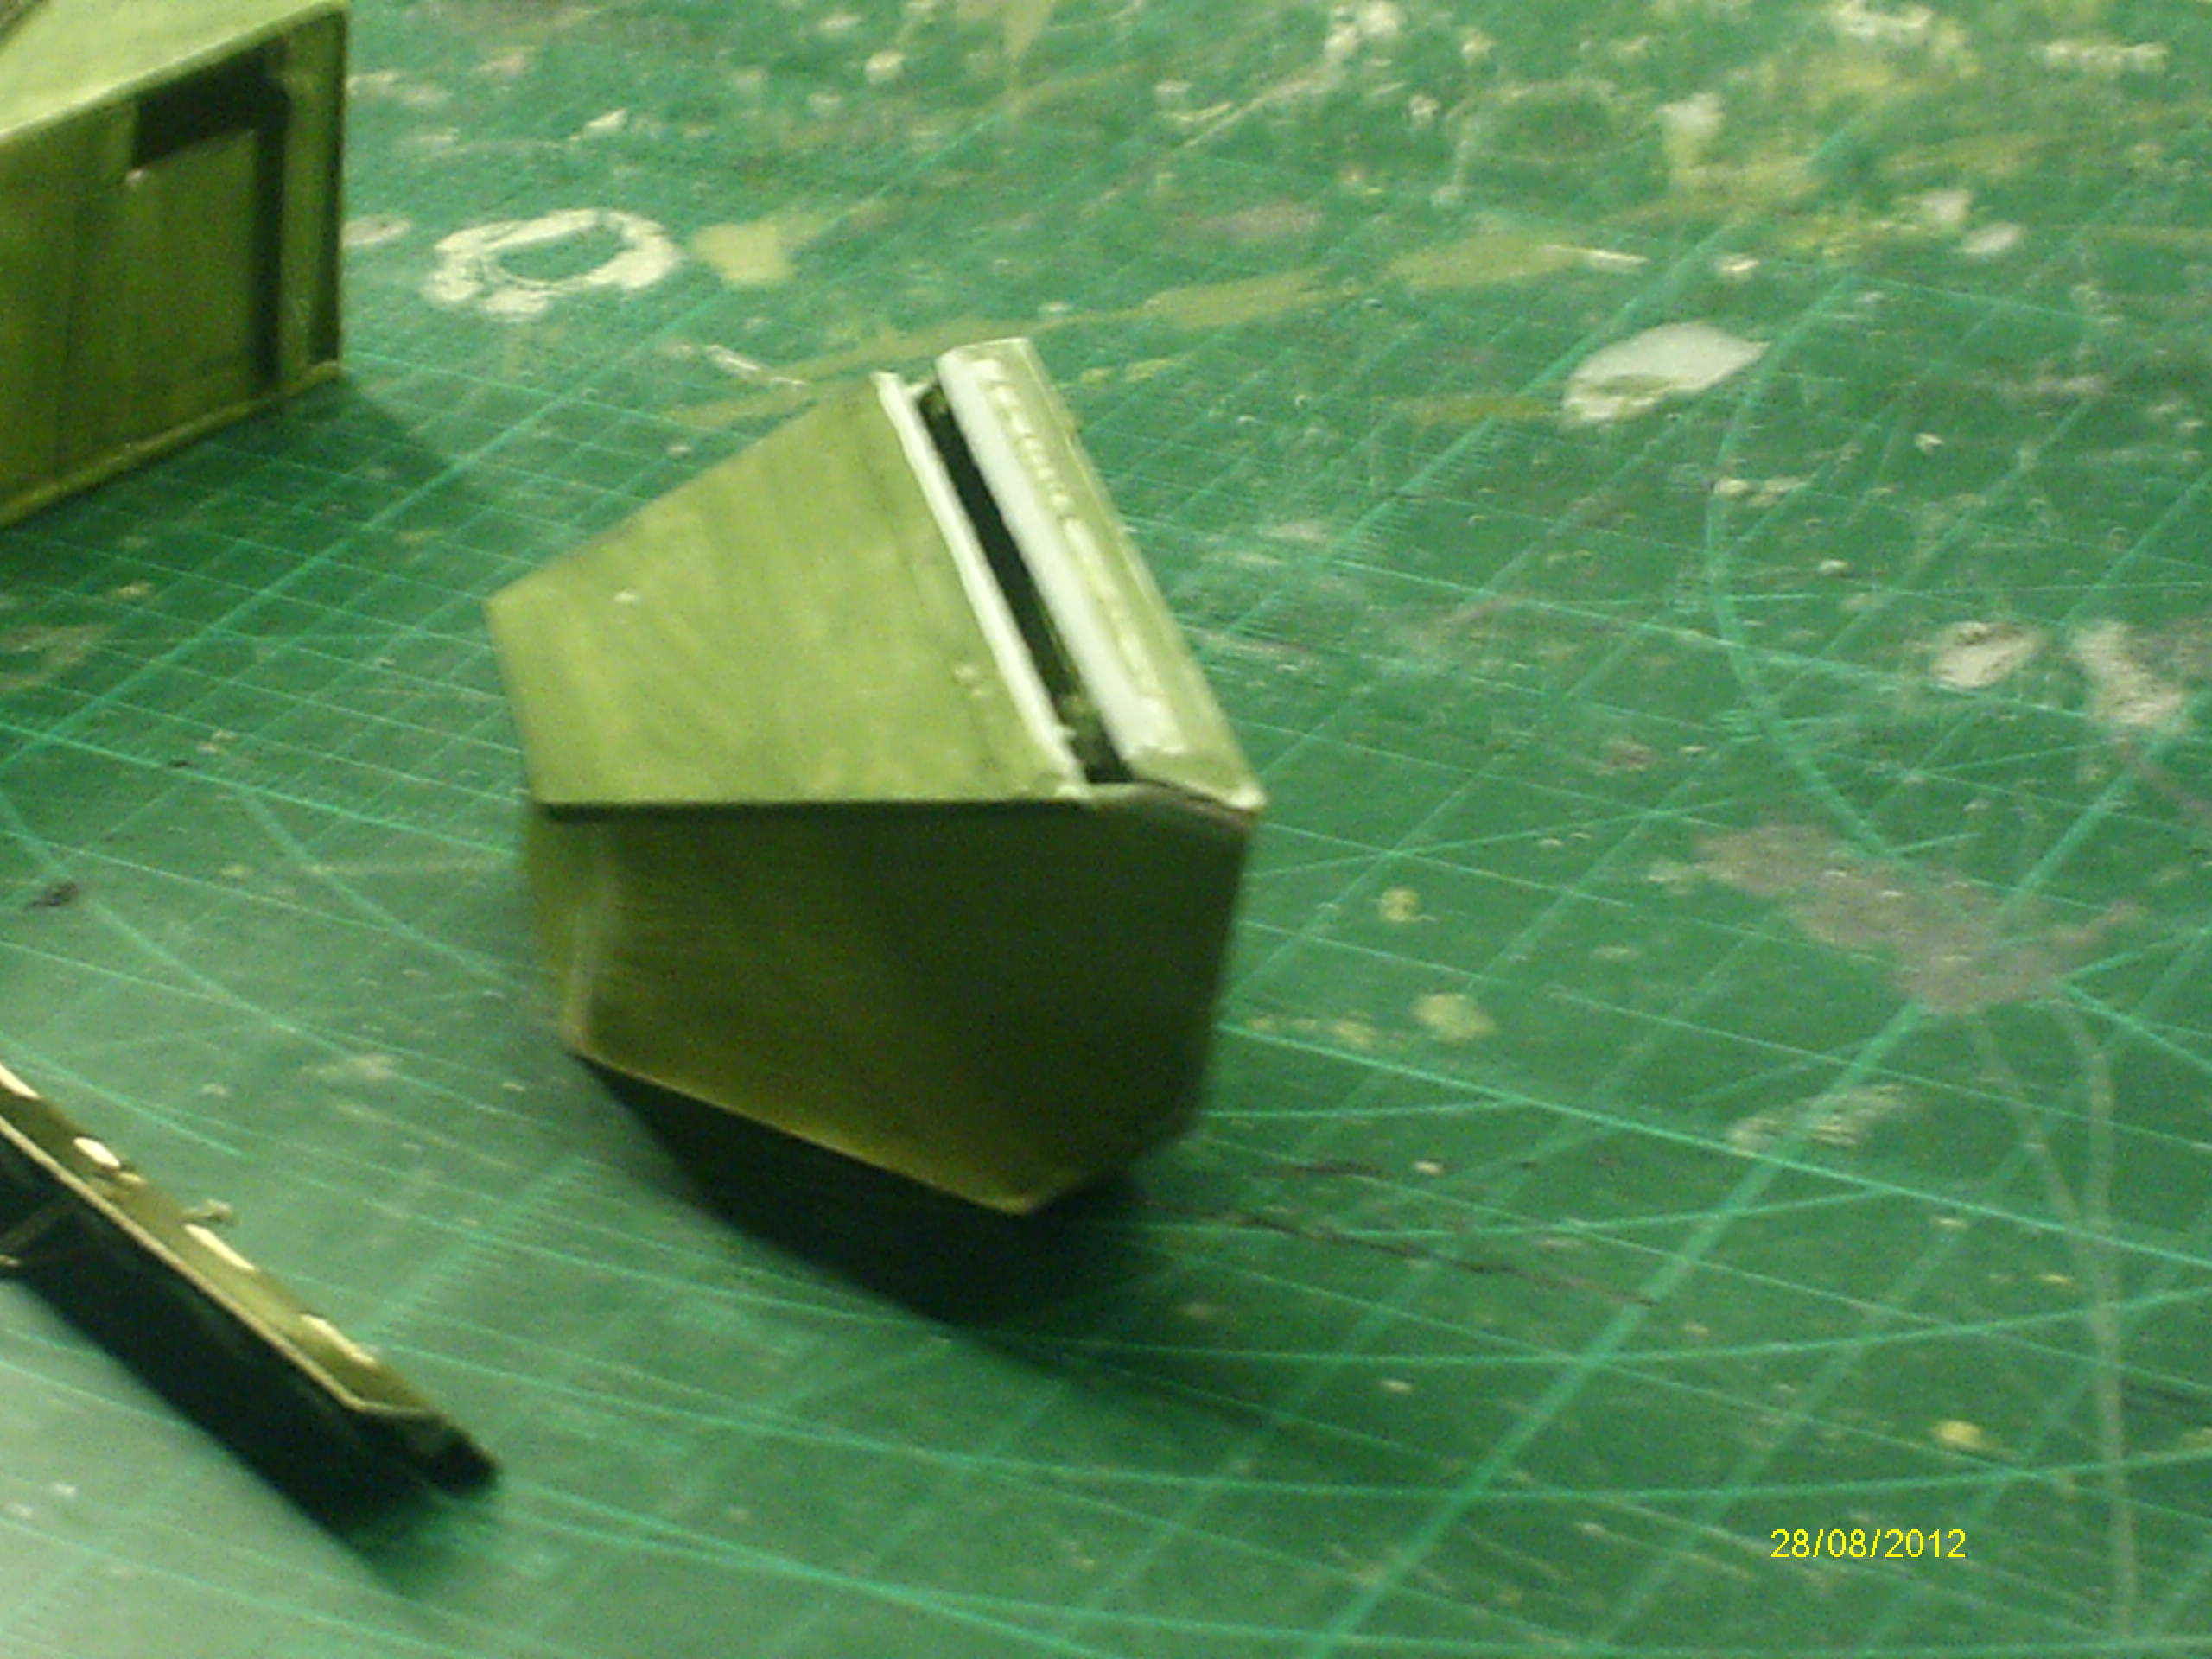
Worked on the brass air deflector, placed it in the vice& ran the blow torch over to anneal it, then bent it over the pipe – then dry fitted to the hull
  Asthere are no pictures of how it’s mounted in the assembly manual, referred tomy 1/25[SUP]th[/SUP] Tamiya
  was quite obvious that Chris’s deflectoris too short, so made another larger one from the brass sprue – 105mm in length– did the same – annealed & bent over pipe, also used the string trick tobend it to shape
  3 turns around the pipe & pull the ends tight –old & new –
  – dry fit -

 actual fit –
  – only drilled three holes on the new one, justpunched the rest.
Mal
Worked on the tow bar hitch, added PLA paper straps to theends of the spring leaves –
Worked on the brass air deflector, placed it in the vice& ran the blow torch over to anneal it, then bent it over the pipe –
Mal
11-29-2016, 08:21 PM
#191
Join Date: Nov 2010
Location: HamiltonWaikato, NEW ZEALAND
Posts: 937
Likes: 0
Received 78 Likes
on
55 Posts
I’m beginning to think that the deflectors changed betweenMarks, the early ones having the long version, later ones with the short,before it was phased out in the extended hull versions ( Mk VII), but haven’tbeen able to find written confirmation of this, but these – 
 – tend to support the theory?
Also made handles for the engine covers, just attached theouter ones, need to correct heights of the others –
I was looking at Stephen Whites build, at these –
 – which fit here - internally -
  - externally – P
 – which are the baffles for the cooling system – anotherCent complication.
The see thru slots at the rear of the hull shouldn’t bequite so see thru-able, so did this, with litho plate – 237


 separators are rounds cut from Johnson cotton buds – the plastic shafts arehollow, mounted on wire. This is very much experimental, not sure if I’llproceed with it or not.
Mal
Also made handles for the engine covers, just attached theouter ones, need to correct heights of the others –
I was looking at Stephen Whites build, at these –
The see thru slots at the rear of the hull shouldn’t bequite so see thru-able, so did this, with litho plate – 237
Mal
11-29-2016, 08:24 PM
#192
Join Date: Nov 2010
Location: HamiltonWaikato, NEW ZEALAND
Posts: 937
Likes: 0
Received 78 Likes
on
55 Posts
Received a small parcel – Commonwealth Tank Commander figure- even includes a couple of maps, which need folding – 

More done on the engine decks, added hinge bits &detail – 238

 pplied somepaint -
  also did the 3D printed stuff (painting the smoke dischargersprobably requires either a spray or dunking, getting between the tubes with abrush – tricky) –
  - & the gunner sight –
  -
-
Mal
More done on the engine decks, added hinge bits &detail – 238
Mal
12-03-2016, 12:06 AM
#194
Update to my Centurion - many details are still missing, but I have already "deployed" her twice on outdoor meetings!


Conclusion after the runs:
1. The suspension rods (decorative) on boogies are too fragile. A dried leaf caught inside track will break it. Removed all and may replace with metal substitute.
2. Lower front plate is prone to scratches. Will reinforce with thin steel plate. Bottom aluminum plate took a beating but is not damaged beyond paint.
3. Suspension effect is comparable to stock Tamiya but not as good as top-level upgrades. Acceptable considering the prototype Horstmann system isn't that great either.
4. With DKLM dual-propulsion gearbox, the wheels and tracks are sturdy enough to climb 30+ degrees slopes and travel along hull-tall lawn.
My latest project is to make the storage box out of thin steel and plastic. Scaled-up the AFV Club one.


Recent upgrades (some completed):
1. Metal turret gear ring for a more precise traverse.
2. Replacement of front suspension spring with a softer type.
3. Adding handrails with weld-patch, following dimensions measured at Bovington.
4. Magnets to hold the engine-deck. (I have move the hull-roof supporting brace to the edge and reinforced it, so can't be seen through engine deck; I hollowed them out too).
5. Install 105mm L7 gun ordered from MK Model.
6. Upgrade Clark TK24 into TK60 for better sound.
Conclusion after the runs:
1. The suspension rods (decorative) on boogies are too fragile. A dried leaf caught inside track will break it. Removed all and may replace with metal substitute.
2. Lower front plate is prone to scratches. Will reinforce with thin steel plate. Bottom aluminum plate took a beating but is not damaged beyond paint.
3. Suspension effect is comparable to stock Tamiya but not as good as top-level upgrades. Acceptable considering the prototype Horstmann system isn't that great either.
4. With DKLM dual-propulsion gearbox, the wheels and tracks are sturdy enough to climb 30+ degrees slopes and travel along hull-tall lawn.
My latest project is to make the storage box out of thin steel and plastic. Scaled-up the AFV Club one.
Recent upgrades (some completed):
1. Metal turret gear ring for a more precise traverse.
2. Replacement of front suspension spring with a softer type.
3. Adding handrails with weld-patch, following dimensions measured at Bovington.
4. Magnets to hold the engine-deck. (I have move the hull-roof supporting brace to the edge and reinforced it, so can't be seen through engine deck; I hollowed them out too).
5. Install 105mm L7 gun ordered from MK Model.
6. Upgrade Clark TK24 into TK60 for better sound.
12-04-2016, 06:31 PM
#195
Join Date: Nov 2010
Location: HamiltonWaikato, NEW ZEALAND
Posts: 937
Likes: 0
Received 78 Likes
on
55 Posts
Hi Longsheep
Interesting. Not surprised by the lower glacis taking a beating. Which handrails do you mean? I'm after the dimensions of the footman loops on the turret & stowage boxes.
Not a lot of progress to report – having rec’d the pianohinge, I cut it & dry fitted it


 as can be seen,the hinges are way out of scale – they measure 2mm in height – 32mm (1 � in) in1/1 scale. So either I figure out a slimmer version, a different system orforget it.
Started on adding detail to the deflector, made an edgereinforcement with brass wire intending to solder it, holding the bitsin place using rare earth magnets
  which is when I learnt aninteresting fact about magnets – they can be demagnetized with heat. So when Iran the blow torch over them, they suddenly stopped being magnets, and thedeflector rolled a bit –

Didn’t get more done – had a family Xmas partyto attend.
Mal
Interesting. Not surprised by the lower glacis taking a beating. Which handrails do you mean? I'm after the dimensions of the footman loops on the turret & stowage boxes.
Not a lot of progress to report – having rec’d the pianohinge, I cut it & dry fitted it
Started on adding detail to the deflector, made an edgereinforcement with brass wire
Didn’t get more done – had a family Xmas partyto attend.
Mal
12-08-2016, 04:03 PM
#196
All I can say is great work guys.
12-13-2016, 10:36 AM
#197
Hi Longsheep
Interesting. Not surprised by the lower glacis taking a beating. Which handrails do you mean? I'm after the dimensions of the footman loops on the turret & stowage boxes.
Not a lot of progress to report – having rec’d the pianohinge, I cut it & dry fitted it as can be seen,the hinges are way out of scale – they measure 2mm in height – 32mm (1 � in) in1/1 scale. So either I figure out a slimmer version, a different system orforget it.
Started on adding detail to the deflector, made an edgereinforcement with brass wire intending to solder it, holding the bitsin place using rare earth magnets which is when I learnt aninteresting fact about magnets – they can be demagnetized with heat. So when Iran the blow torch over them, they suddenly stopped being magnets, and thedeflector rolled a bit –
Didn’t get more done – had a family Xmas partyto attend.
Mal
Interesting. Not surprised by the lower glacis taking a beating. Which handrails do you mean? I'm after the dimensions of the footman loops on the turret & stowage boxes.
Not a lot of progress to report – having rec’d the pianohinge, I cut it & dry fitted it
Started on adding detail to the deflector, made an edgereinforcement with brass wire
Didn’t get more done – had a family Xmas partyto attend.
Mal
For RC tank, I prefer using nickel silver instead of brass. It is harder in the same thickness and equally solder-able. The main advantage is that it is silver like steel so it gets natural effect when paint comes off!
For a 1/16 tank, I would recommend using airbrush or spray cans. They will cover more evenly and the paint is "hotter" so also grips on better. I usually do a primer, then surfacer, followed by a base coat (Xtracrylic bronze green) and finally weathering and satin varnish. A simple highlighting using the ready-use Tamiya panel line accent color brings out the texture and weight of the tank.
For the bigger 105mm, I have completely scratch built a recoil system. Still working on elevation to make her do the +25/-10 gun elevation. Did plenty of milling and sanding to allow the mantlet pointing so high!
I slacked on the storage boxes so no open box lol.
The current Elefant track is about 2mm too wide so side skirt will be close to it. I have yet to do that part.
12-13-2016, 06:15 PM
#198
Join Date: Nov 2010
Location: HamiltonWaikato, NEW ZEALAND
Posts: 937
Likes: 0
Received 78 Likes
on
55 Posts
Hi Longsheep
Handrails – do you mean these – - they’re the footman loops Imentioned.
Intending to spray paint via rattlecans, though wanted to dothe hard to reach areas by brush.
Had noticed that about the tracks, had also given thought tomodifying them closer to cent tracks, but that would require cutting a crescenteach end of each link & disassembling the whole thing for access, soprobably won’t happen unless it rains all summer
Not a lot of progress to report – started working on theHorstmann bogies, cutting out the parts, cleaning them up, assembly etc.
First the inner parts –

 then the outerbits –
Took quite a while, on one side of the sprue sheets the CNCcuts are not quite all the way through, so the saw toothed scalpel got a lot ofuse – – the parts require a lot of clean-up –
  - assembled –
Figured out how to do the turret stowage box lids, but ranout of time to do them.
Mal
Handrails – do you mean these –
Intending to spray paint via rattlecans, though wanted to dothe hard to reach areas by brush.
Had noticed that about the tracks, had also given thought tomodifying them closer to cent tracks, but that would require cutting a crescenteach end of each link & disassembling the whole thing for access, soprobably won’t happen unless it rains all summer
Not a lot of progress to report – started working on theHorstmann bogies, cutting out the parts, cleaning them up, assembly etc.
First the inner parts –
Took quite a while, on one side of the sprue sheets the CNCcuts are not quite all the way through, so the saw toothed scalpel got a lot ofuse –
Figured out how to do the turret stowage box lids, but ranout of time to do them.
Mal
12-14-2016, 04:41 PM
#199
Join Date: Nov 2010
Location: HamiltonWaikato, NEW ZEALAND
Posts: 937
Likes: 0
Received 78 Likes
on
55 Posts
Here’s what I’m doing with the turret stowage box lids –basically just turned them upside down, so they don’t stand so high. Chamferedthe edges of the box, under the hinge, so that it would sit better, only pinnedin place at the mo, will glue as well. 
Mal
Mal
01-18-2017, 01:20 PM
#200
Join Date: Nov 2010
Location: HamiltonWaikato, NEW ZEALAND
Posts: 937
Likes: 0
Received 78 Likes
on
55 Posts
Cent Work – cut out the parts for the shock absorber leverhousings –  - glued together –
  - detail bits –
  - (lots of cleanup required)
Added oil filler point detail –


 should add bolt detail too, but need to get those first. There are twovariations, early ones have the oil filler point high on the ends, later oneslower & mid mounted , with a blanking plate covering the earlier position –
 – late left, early right -
Attached the RHS long bin to the hooks I made, reasonablysecure without gluing –
 added the hinge to the long bin –
 – had to shape it a bit, not yet glued
Also got an Aber 30 Cal, it’s not for my Cent (for my M26A1)as that would make it a Mk5, rather than a Mk3 but it fits the coax position –

Mal
Added oil filler point detail –
Attached the RHS long bin to the hooks I made, reasonablysecure without gluing –
Also got an Aber 30 Cal, it’s not for my Cent (for my M26A1)as that would make it a Mk5, rather than a Mk3 but it fits the coax position –
Mal

