


Mods.
 01-28-2016, 06:04 PM
#51


The conversion kit on the 38(t) uses a 5 gr servo linked by monofiliment working against a spring. Very simple, yet effective.
 01-29-2016, 06:34 AM
#52
Great! What brand is that so I know what to look for?
So just one unit is being used on ONE figure?
Jeff
01-29-2016, 08:15 AM
#53
Those are Spektrum, but you can buy them at Hobby King for a lot cheaper. Spektrum has a great warranty on them, but with the figure, it's usually a one way trip...I went with Spektrum because I had a bunch around.
I also RCed a 1/1200 Yamato and a 1/700 Bismarck, using them to move turrets, etc. Great little servos when size is a concern and you don't need a lot of torque.
Yes, there's just one affixed to the axle that the head rotates on, inside the torso. I sculpted the figure, building a ribcage, but you should be able to squeeze it in a hollow styrene figure like Trump or Tamiya.
02-02-2016, 09:53 AM
#54
Can one get these servos as separate parts? If so, from who?
02-02-2016, 10:02 AM
#55
Sure Rudy.
Horizon sells them as spare parts, but I think they get like $15 or so for them. Hobby King sells a bunch of them, I'd most likely go that route.
Before I send people down a rabbit hole, keep in mind these are not strong servos meant to move any type of weight or resistance. They are designed to move tiny foam control surfaces on very small planes.
02-02-2016, 10:20 AM
#56
I was looking at moving the ball mounted MG's in the front of my Panzers. Would that need more torque then these could put out?
02-02-2016, 02:44 PM
#57
I would just get a normal micro servo like a 5 gr. Those HXT500s are amazing and under $3 from HK or a dollar or two more off eBay in the States. A lot of torque.
The linear ones are really prone to getting stuck too if they aren't enclosed. One of my favorite AC to fly was the Horizon Corsair (about a 1/32 in size) and the ailerons used two of those servos in wings, exposed from the bottom. I was buzzing level about a foot off the dirt once and when I went to climb and turn the thing just twisted and slammed into the ground. It was a speck of sand in the gear, froze one aileron up and it rolled. I spent many hours at the field fishing pieces of grit out of those servos over the years since baseball infields were the best place for my sons to learn landings and takeoffs.
I just hook the LED wire for the MGs through the servo horn, it gives it a bit of an arc in movement. I usually set it up to the gear channel and have a turnigy chip set for slow forward and really sllloooow return, so the gun rakes to one side, then after the firing stops it crawls back...
02-03-2016, 09:15 AM
#58
Thanks Jeff, so when I build my 1/200 Yamato these would work for the elevation of the secondary and main guns right? When you said 1/1200 Yamato it reminded me I had the 1/200 scale from Nichimo. That will be a fun build!!! I will check out the HXT500's for the Ball mount MG's.
02-03-2016, 10:26 AM
#59
Yeh, for elevation in those turrets it would be sweet. I have a 1/350 Tamiya Yamato in the lineup for RC. I may try elevation, haven't gotten that far yet.
The 1/1200 is the 30 or 40 year old Revell series, it's about 5 inches long, a waterline. Too small for a rudder, so I steer it with twin heli motors, counter rotating props.
The 1/1200 is the 30 or 40 year old Revell series, it's about 5 inches long, a waterline. Too small for a rudder, so I steer it with twin heli motors, counter rotating props.
02-05-2016, 10:35 AM
#60
Sweet, I am thinking about using motors on each shaft as the metal gear box that drives the four props of this beast is really noisy!!! 

Takes away from the scale sound so to speak.
Takes away from the scale sound so to speak.
02-05-2016, 01:23 PM
#61
Yeah, same here with our destroyer. The hull resonates sound like crazy, you can hear the gearbox from across the lake, it rivals the Visation belching out the depth charge and general quarters sound bites.
I'm going with 3 inrunners on my Vospers MTB, but if you go brushed on your Yamato, you can run them in parallel off on one esc.
I'm going with 3 inrunners on my Vospers MTB, but if you go brushed on your Yamato, you can run them in parallel off on one esc.
02-05-2016, 01:41 PM
#62
Is the Destroyer a Blue Devil? I may use geared motors as well. I have a 1/350 Yamato I rc'ed many, many years ago with an old cox 2ch radio. The gearbox made so much noise even with nylon gears. I think it has something to do with the solid plastic mounting directly to the hull bottom. Like you said the resonance is incredibly loud.
02-07-2016, 09:48 AM
#63
Senior Member
Join Date: May 2009
Location: Evans, GA
Posts: 1,506
Likes: 0
Received 0 Likes
on
0 Posts
My Mods for my PZ III Side Skirts. Pic 1 and 2 shows the side support brackets mounted to the underside of the fenders. Pics 3 and 4 ( double upload, sorry ) shows the end of the brackets ( upside down ) prior to trimming. Pic 4 shows the trimmed brackets and upper rail. Pic 5 shows the completed skirts ( needing painting of course ). Pic 6 my hoped for final outcome.
I would appreciate any comments and hope you enjoy.
Jim
02-07-2016, 11:47 AM
#64
Very nice.
One thing I might add, you may want to make them out of brass sheet instead and whatever you do, make the removable since they will get bumped.
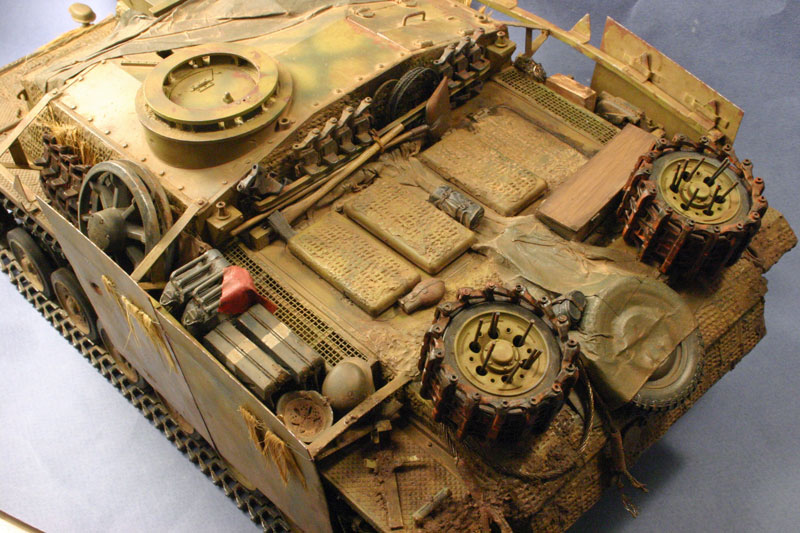
I've done the brass on the StuG and screened Thoma on the PzIV and they get knocked around more than you'd think:
One thing I might add, you may want to make them out of brass sheet instead and whatever you do, make the removable since they will get bumped.
I've done the brass on the StuG and screened Thoma on the PzIV and they get knocked around more than you'd think:
02-07-2016, 12:49 PM
#65
Senior Member
Join Date: May 2009
Location: Evans, GA
Posts: 1,506
Likes: 0
Received 0 Likes
on
0 Posts
Ausf,
Thanks. I have already made them in brass, but figuring how to make the cutouts for the fender supports. I suppose I could drill a hole and file it out, but that seems like it would take for ever. Anyway, used the plastic sheet from the kit so I could place the fender supports. All the sheets are removable.
Thanks again.
02-07-2016, 01:40 PM
#66
Brass is pretty soft, drilling and filing is the way to go, shouldn't take long. I just filed down the cut edges 1/8" round rod for some drive shafts in less than a minute.
02-12-2016, 08:34 AM
#67
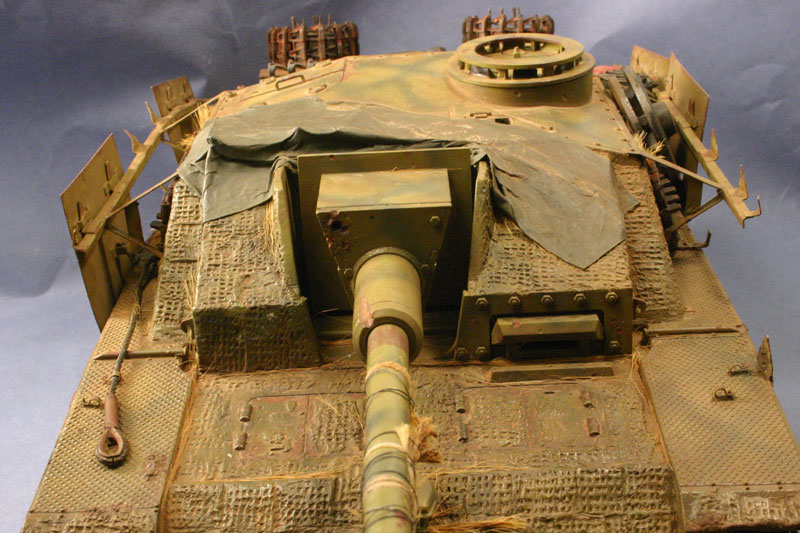
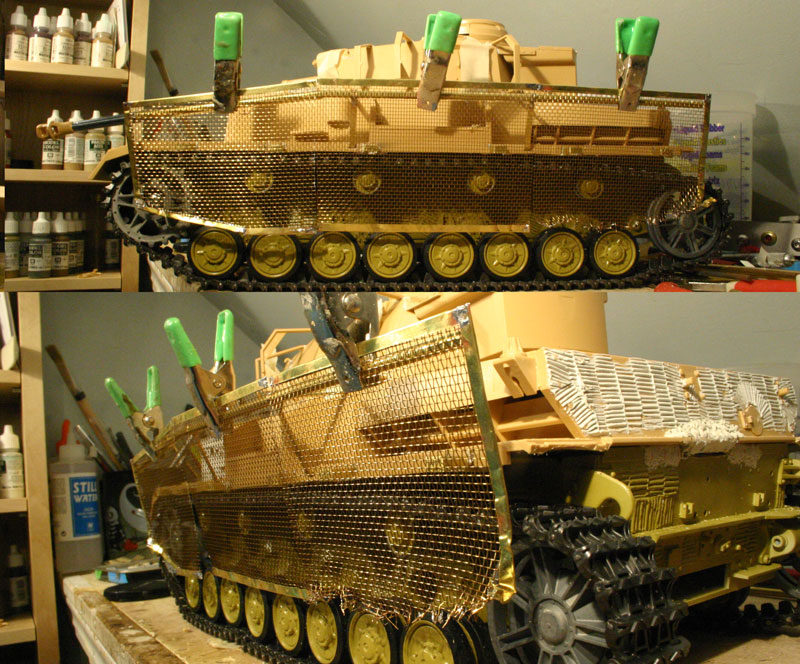
Nice work on the schurzen Jim. Brass is easy to file. I am still working on a set of Schurzen for my Stug III G. Here are the part I have completed so far.
02-12-2016, 11:18 AM
#68
Senior Member
Join Date: May 2009
Location: Evans, GA
Posts: 1,506
Likes: 0
Received 0 Likes
on
0 Posts
Maus,
Looks great. the kit had the earlier style mounts that I copied in brass, with studs on the top rail and the hooked mounts from the fender. I like the triangle later style mounts better. They would be easier to make and less of a hassle. I plan on using that style on my PZ IV. Thanks again for sharing.
Jim
03-17-2016, 05:16 AM
#69
I did a bit more work on the Abrams.
I made proper tow cable mounts...
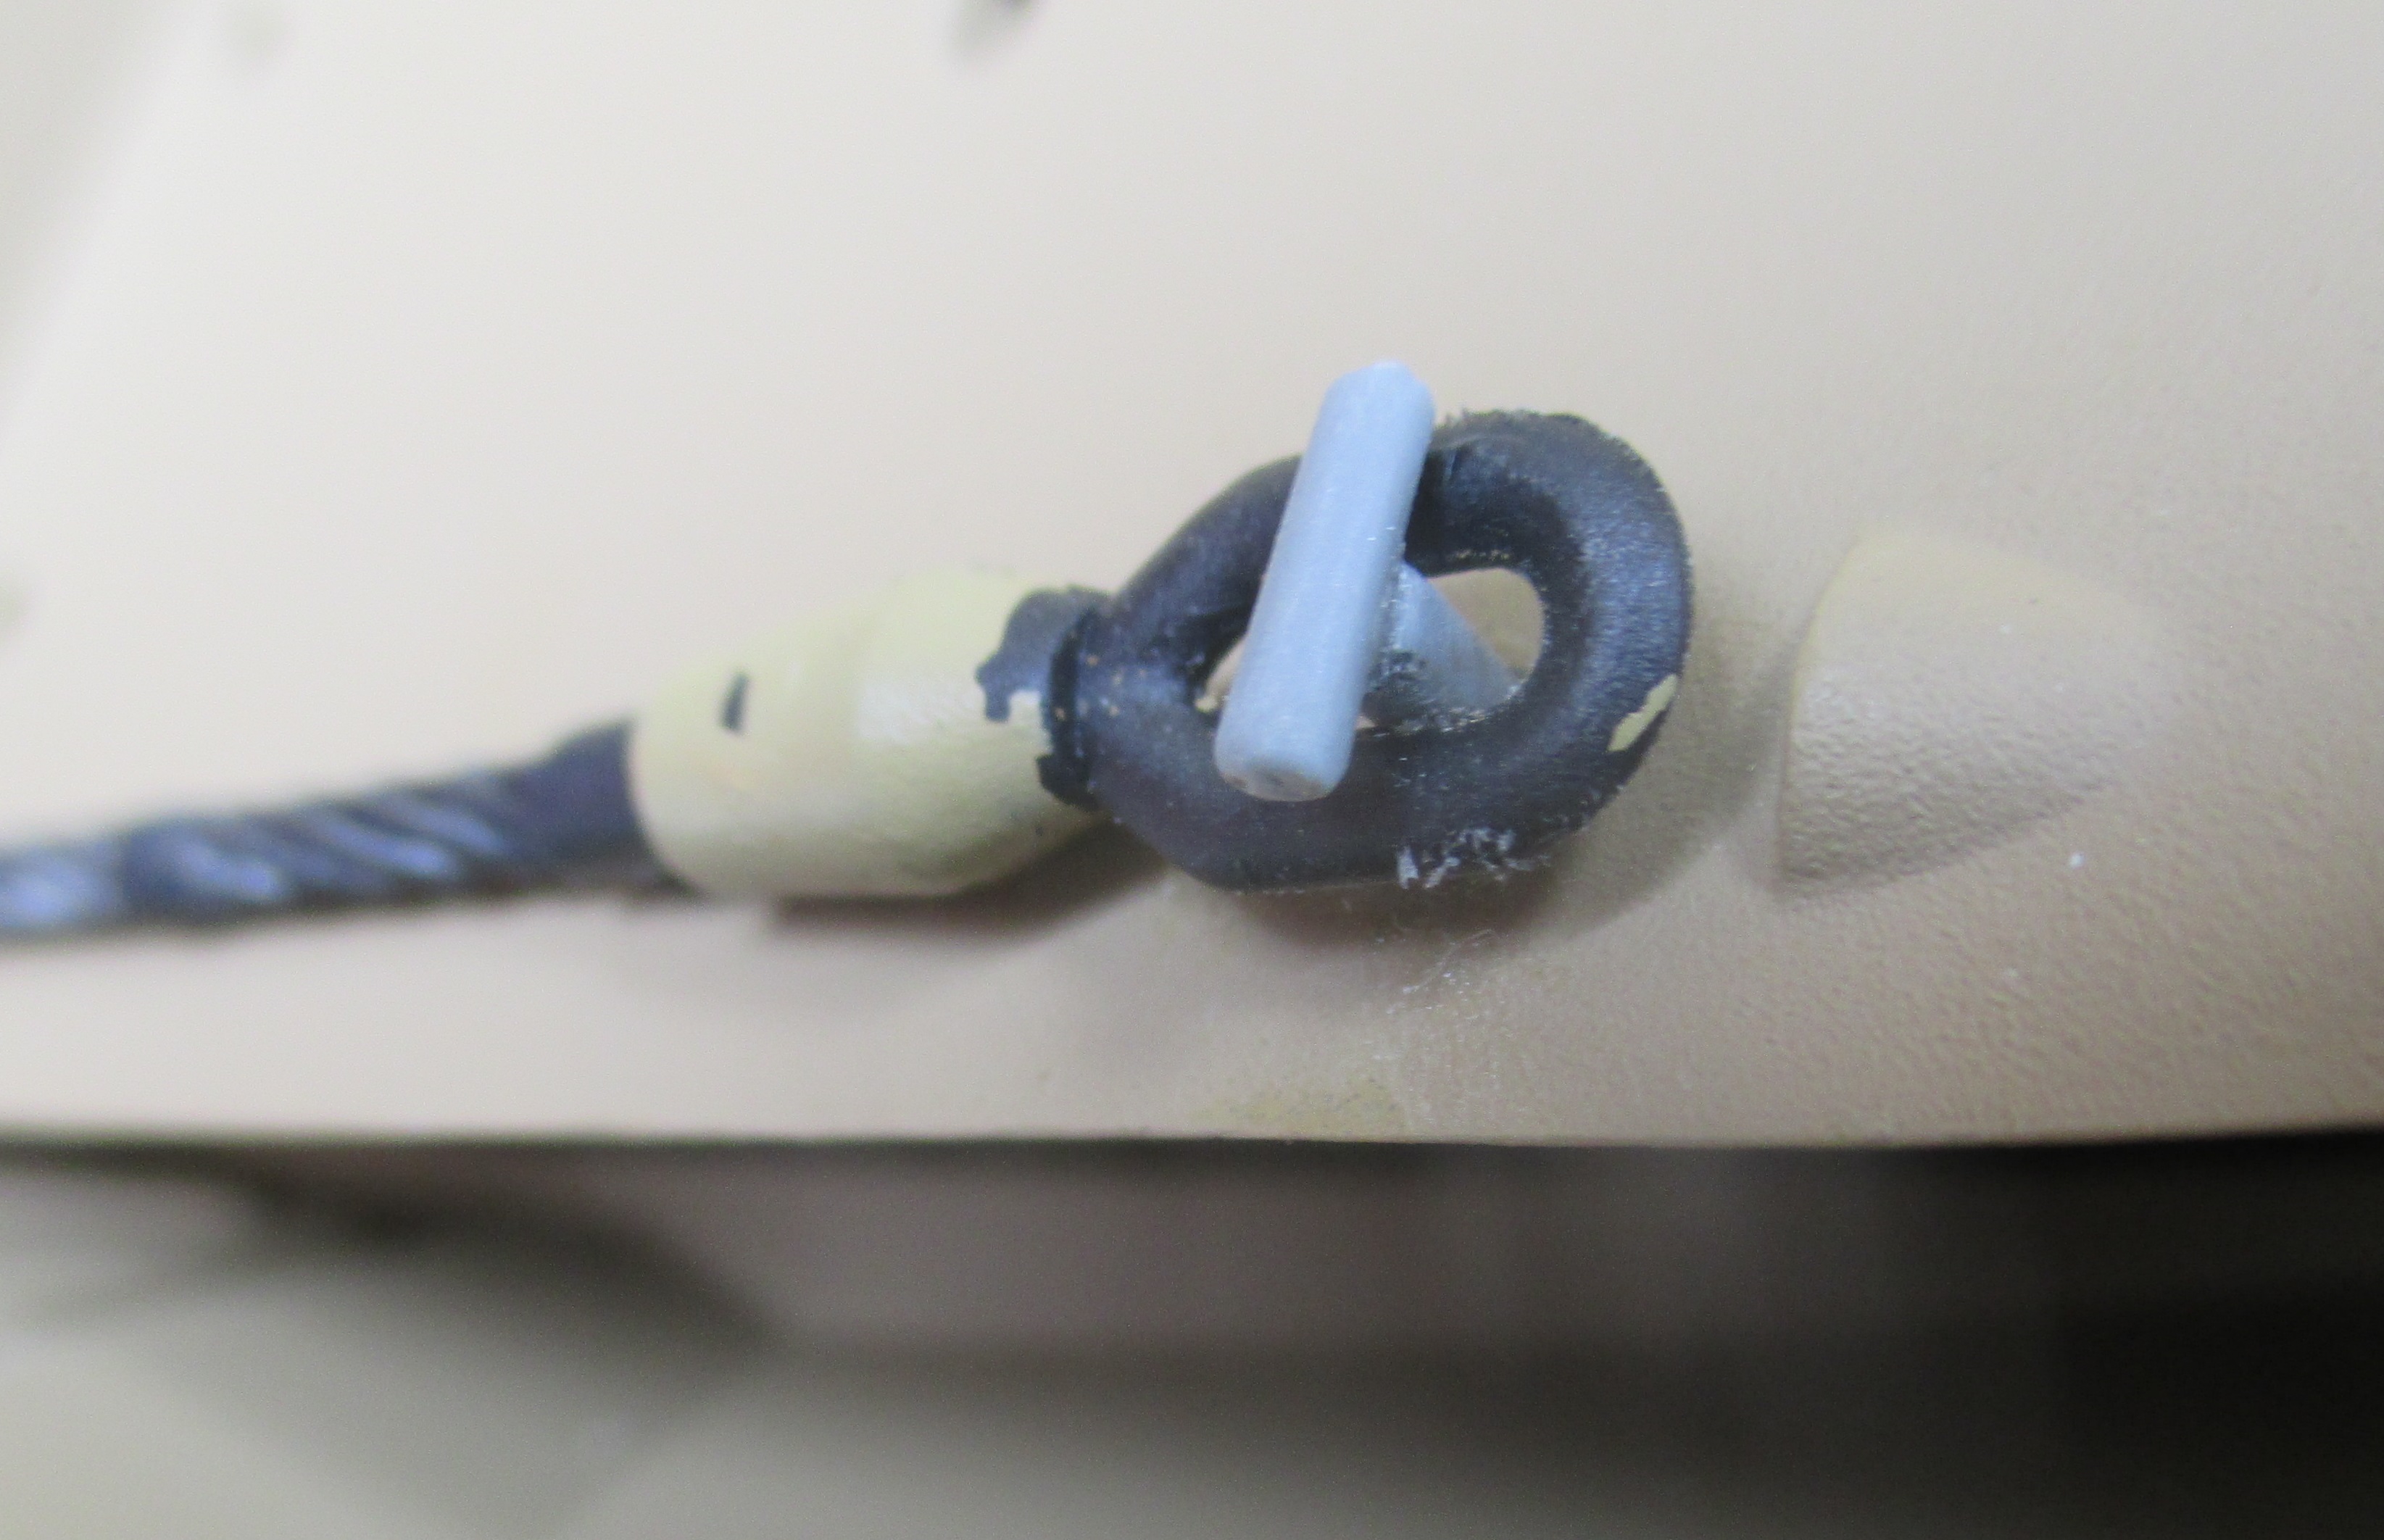
and I set threaded studs in the turret to hold the .50 cal mount. It can now be removed anytime I want. I also added a plug to the machine gun mount, it's actually the IR LED holder, so I can change out the IR LED during a battle in seconds without tools if needed.

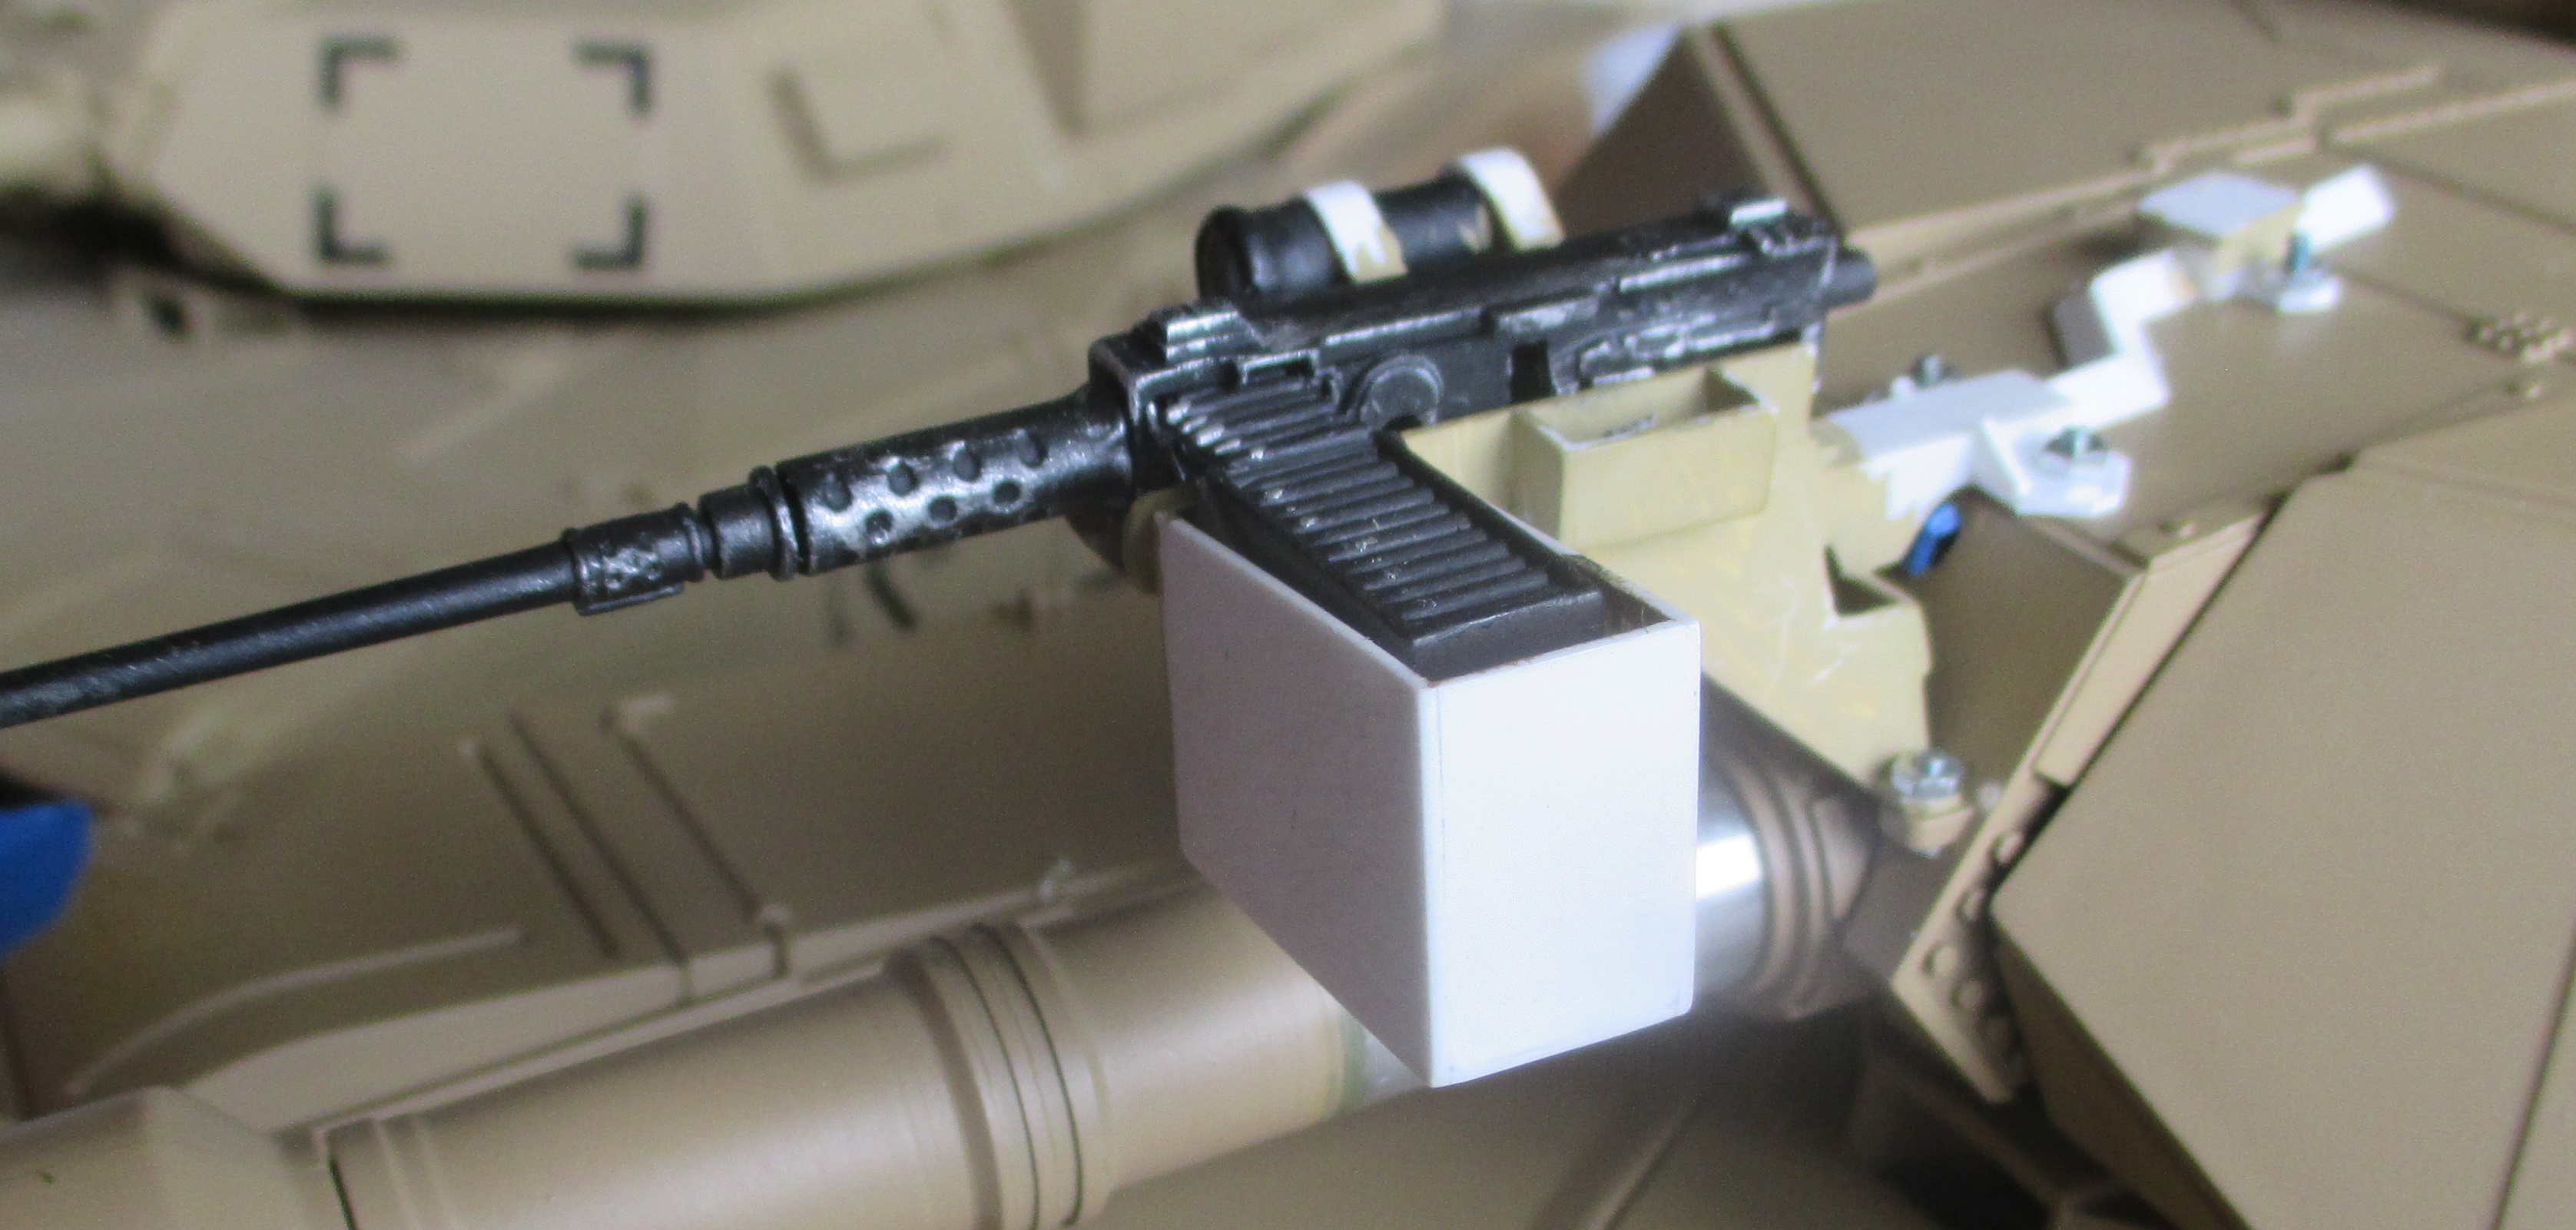
It's almost ready for paint.
I made proper tow cable mounts...
and I set threaded studs in the turret to hold the .50 cal mount. It can now be removed anytime I want. I also added a plug to the machine gun mount, it's actually the IR LED holder, so I can change out the IR LED during a battle in seconds without tools if needed.
It's almost ready for paint.
03-17-2016, 05:34 AM
#70
Nice work Pah co chu puk!!! It's the small details that make the models look good. Even with an R/C model!!!
