


Jp 4

 08-13-2016, 05:26 PM
#54

Thread Starter
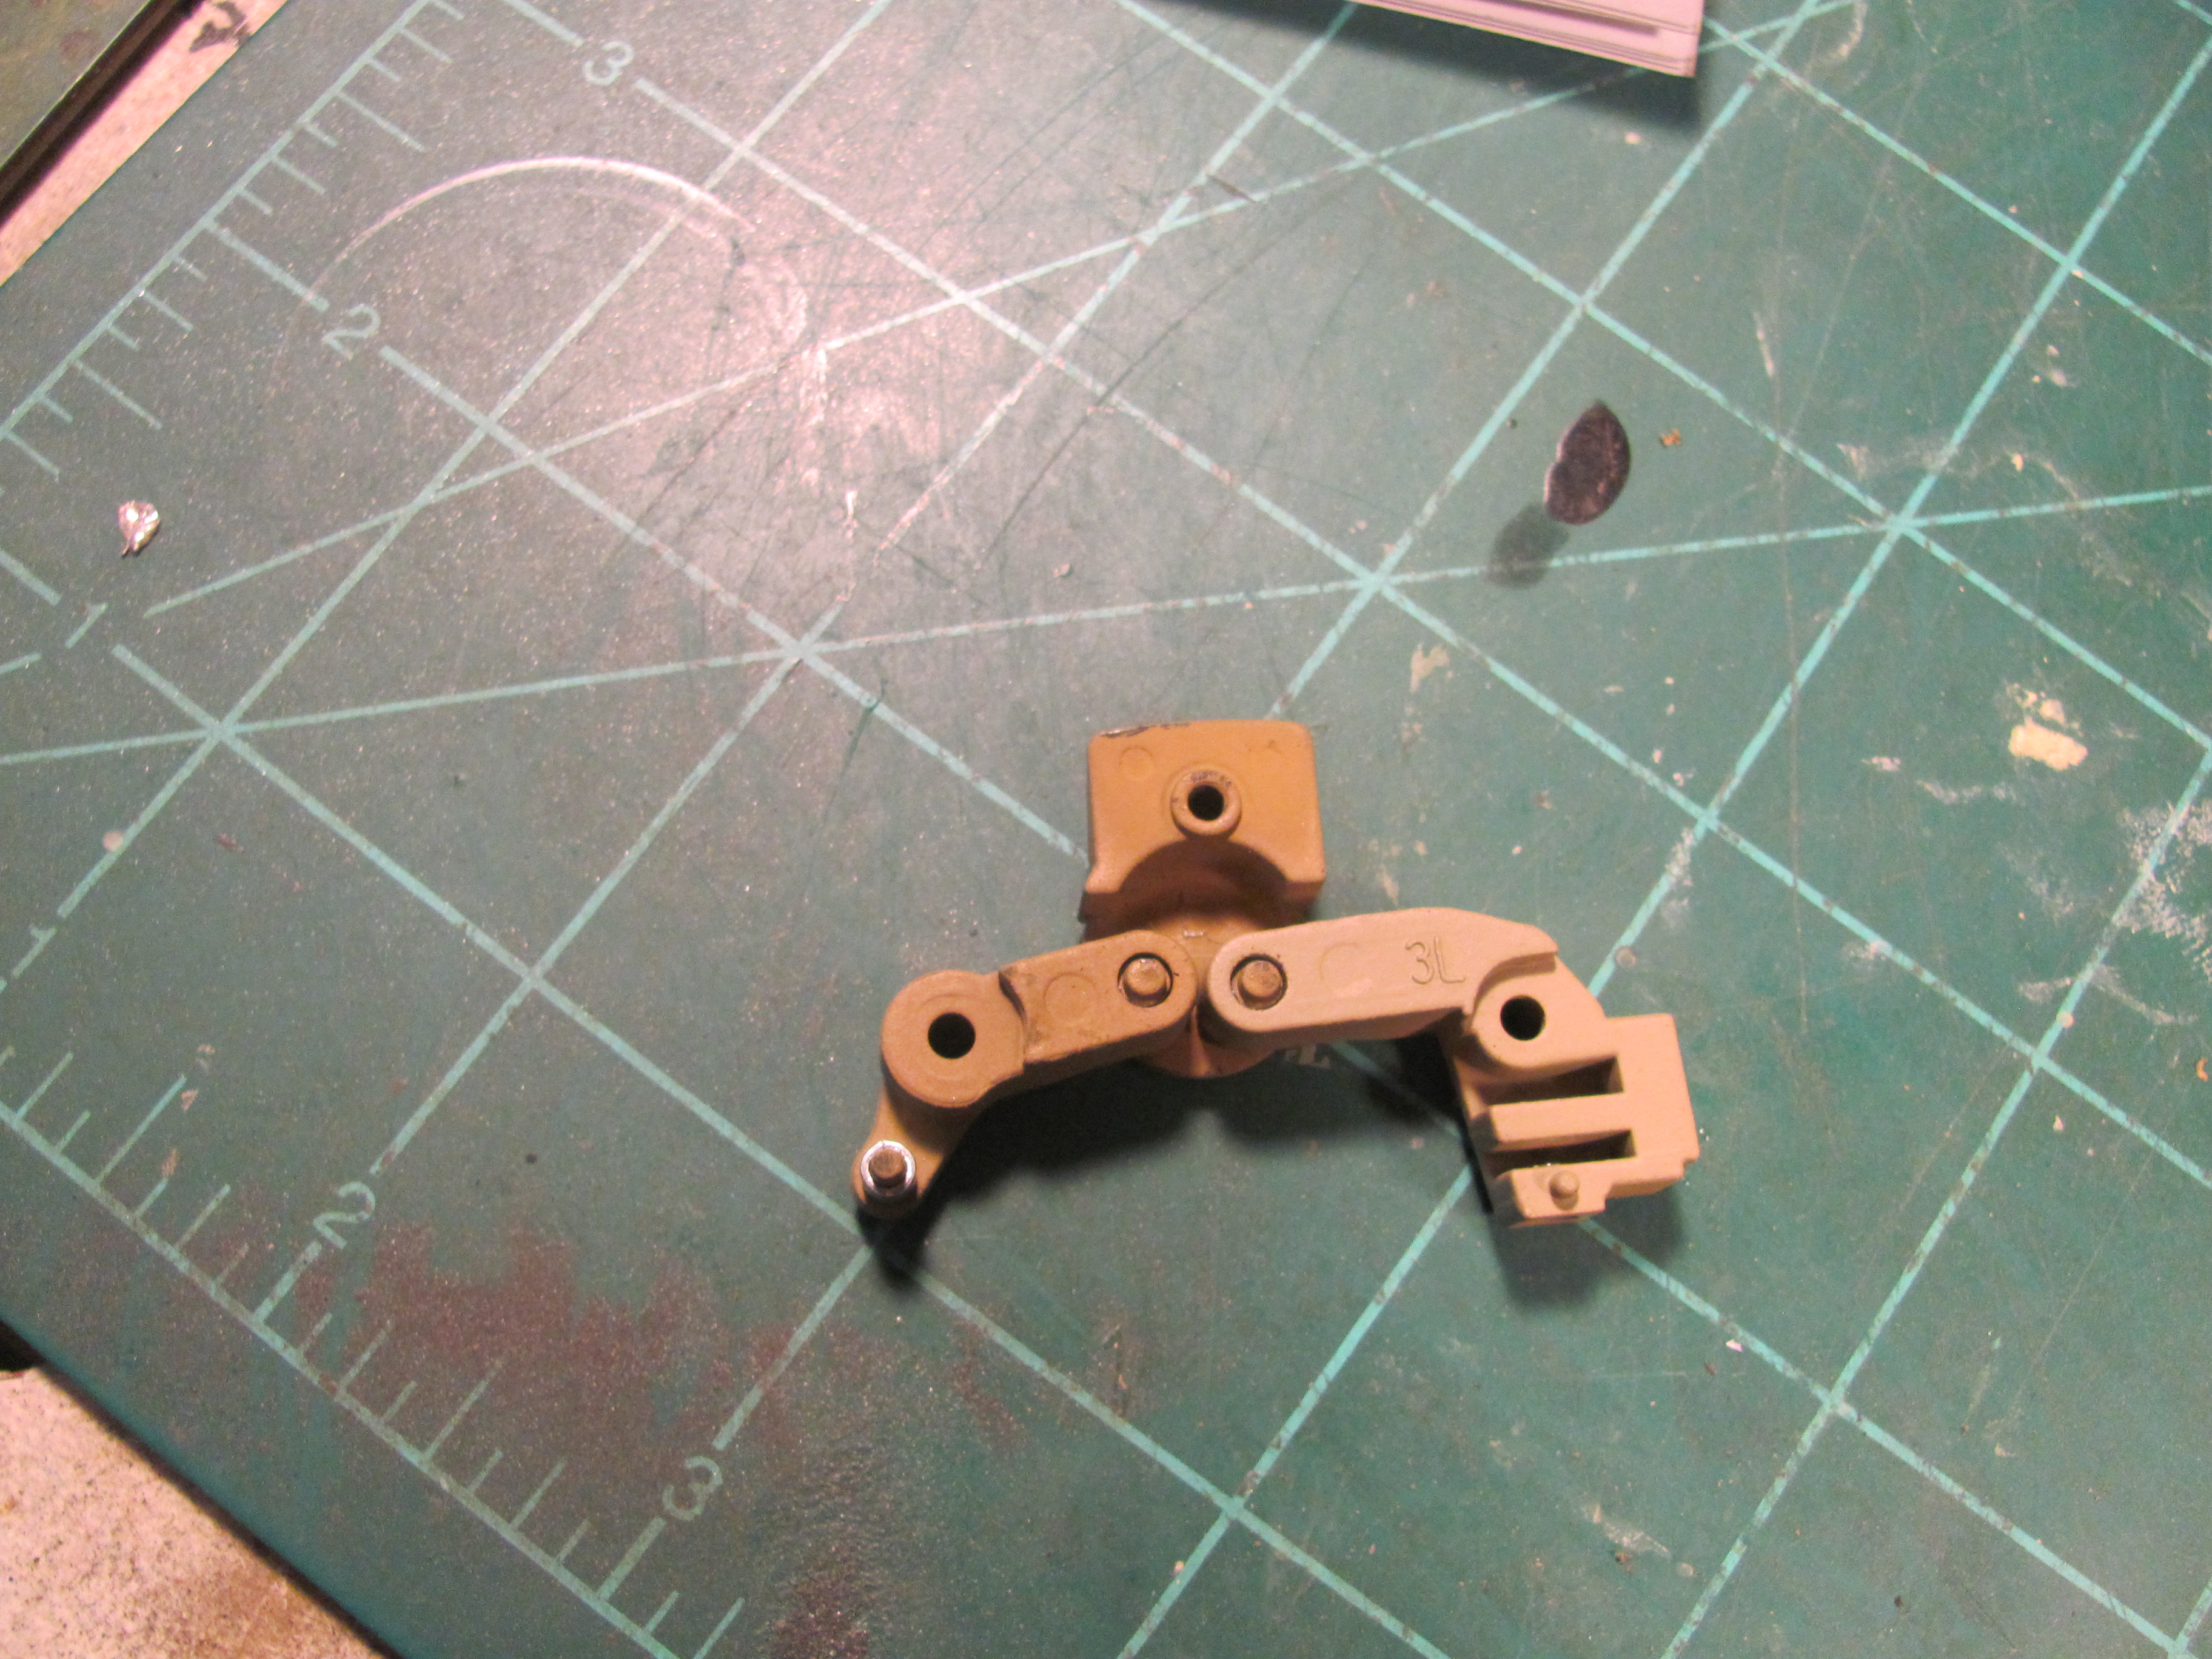
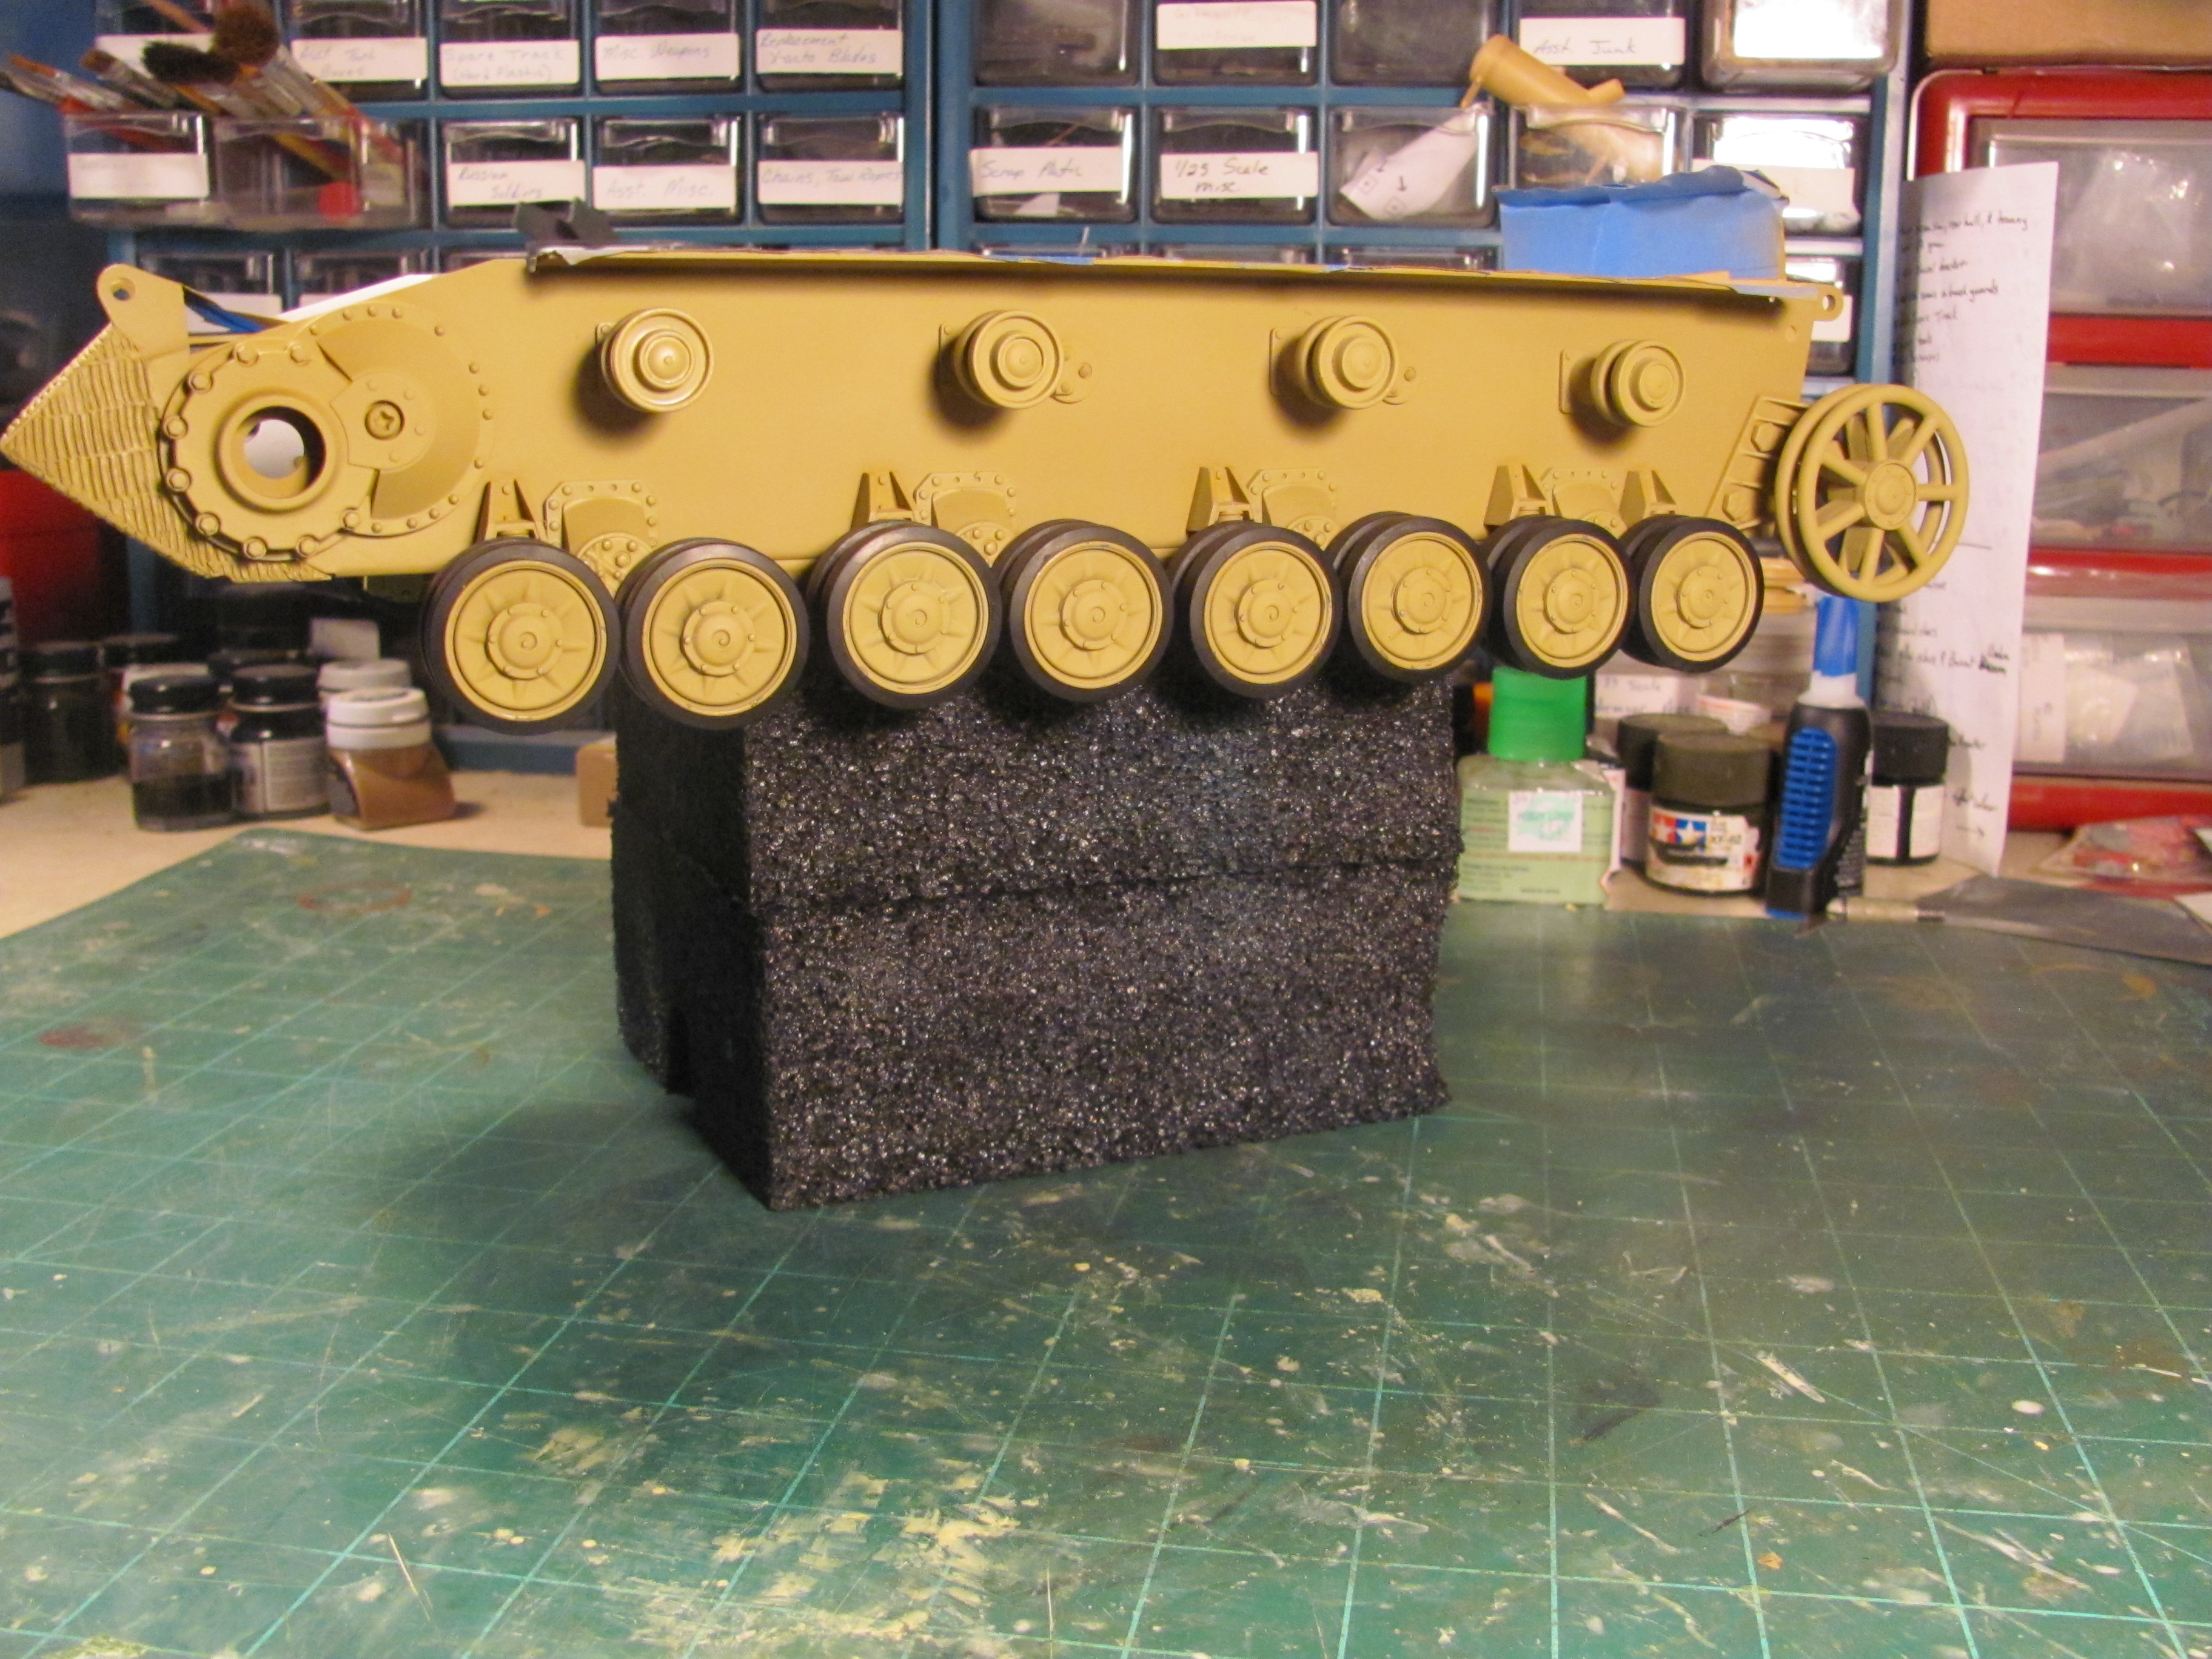
Finally the humidity was less than 50% so i took the chance and painted the lower hull and suspension.
the smaller brass hex head bolts i bought from Scale hardware.
the smaller brass hex head bolts i bought from Scale hardware.
08-13-2016, 06:47 PM
#55
Looks good. Are you using the Mitsol metal tracks?
08-14-2016, 09:57 AM
#57
80 or 72 size? I used 80's on my 1/16 Tiger II.
08-14-2016, 06:25 PM
#59
Thread Starter
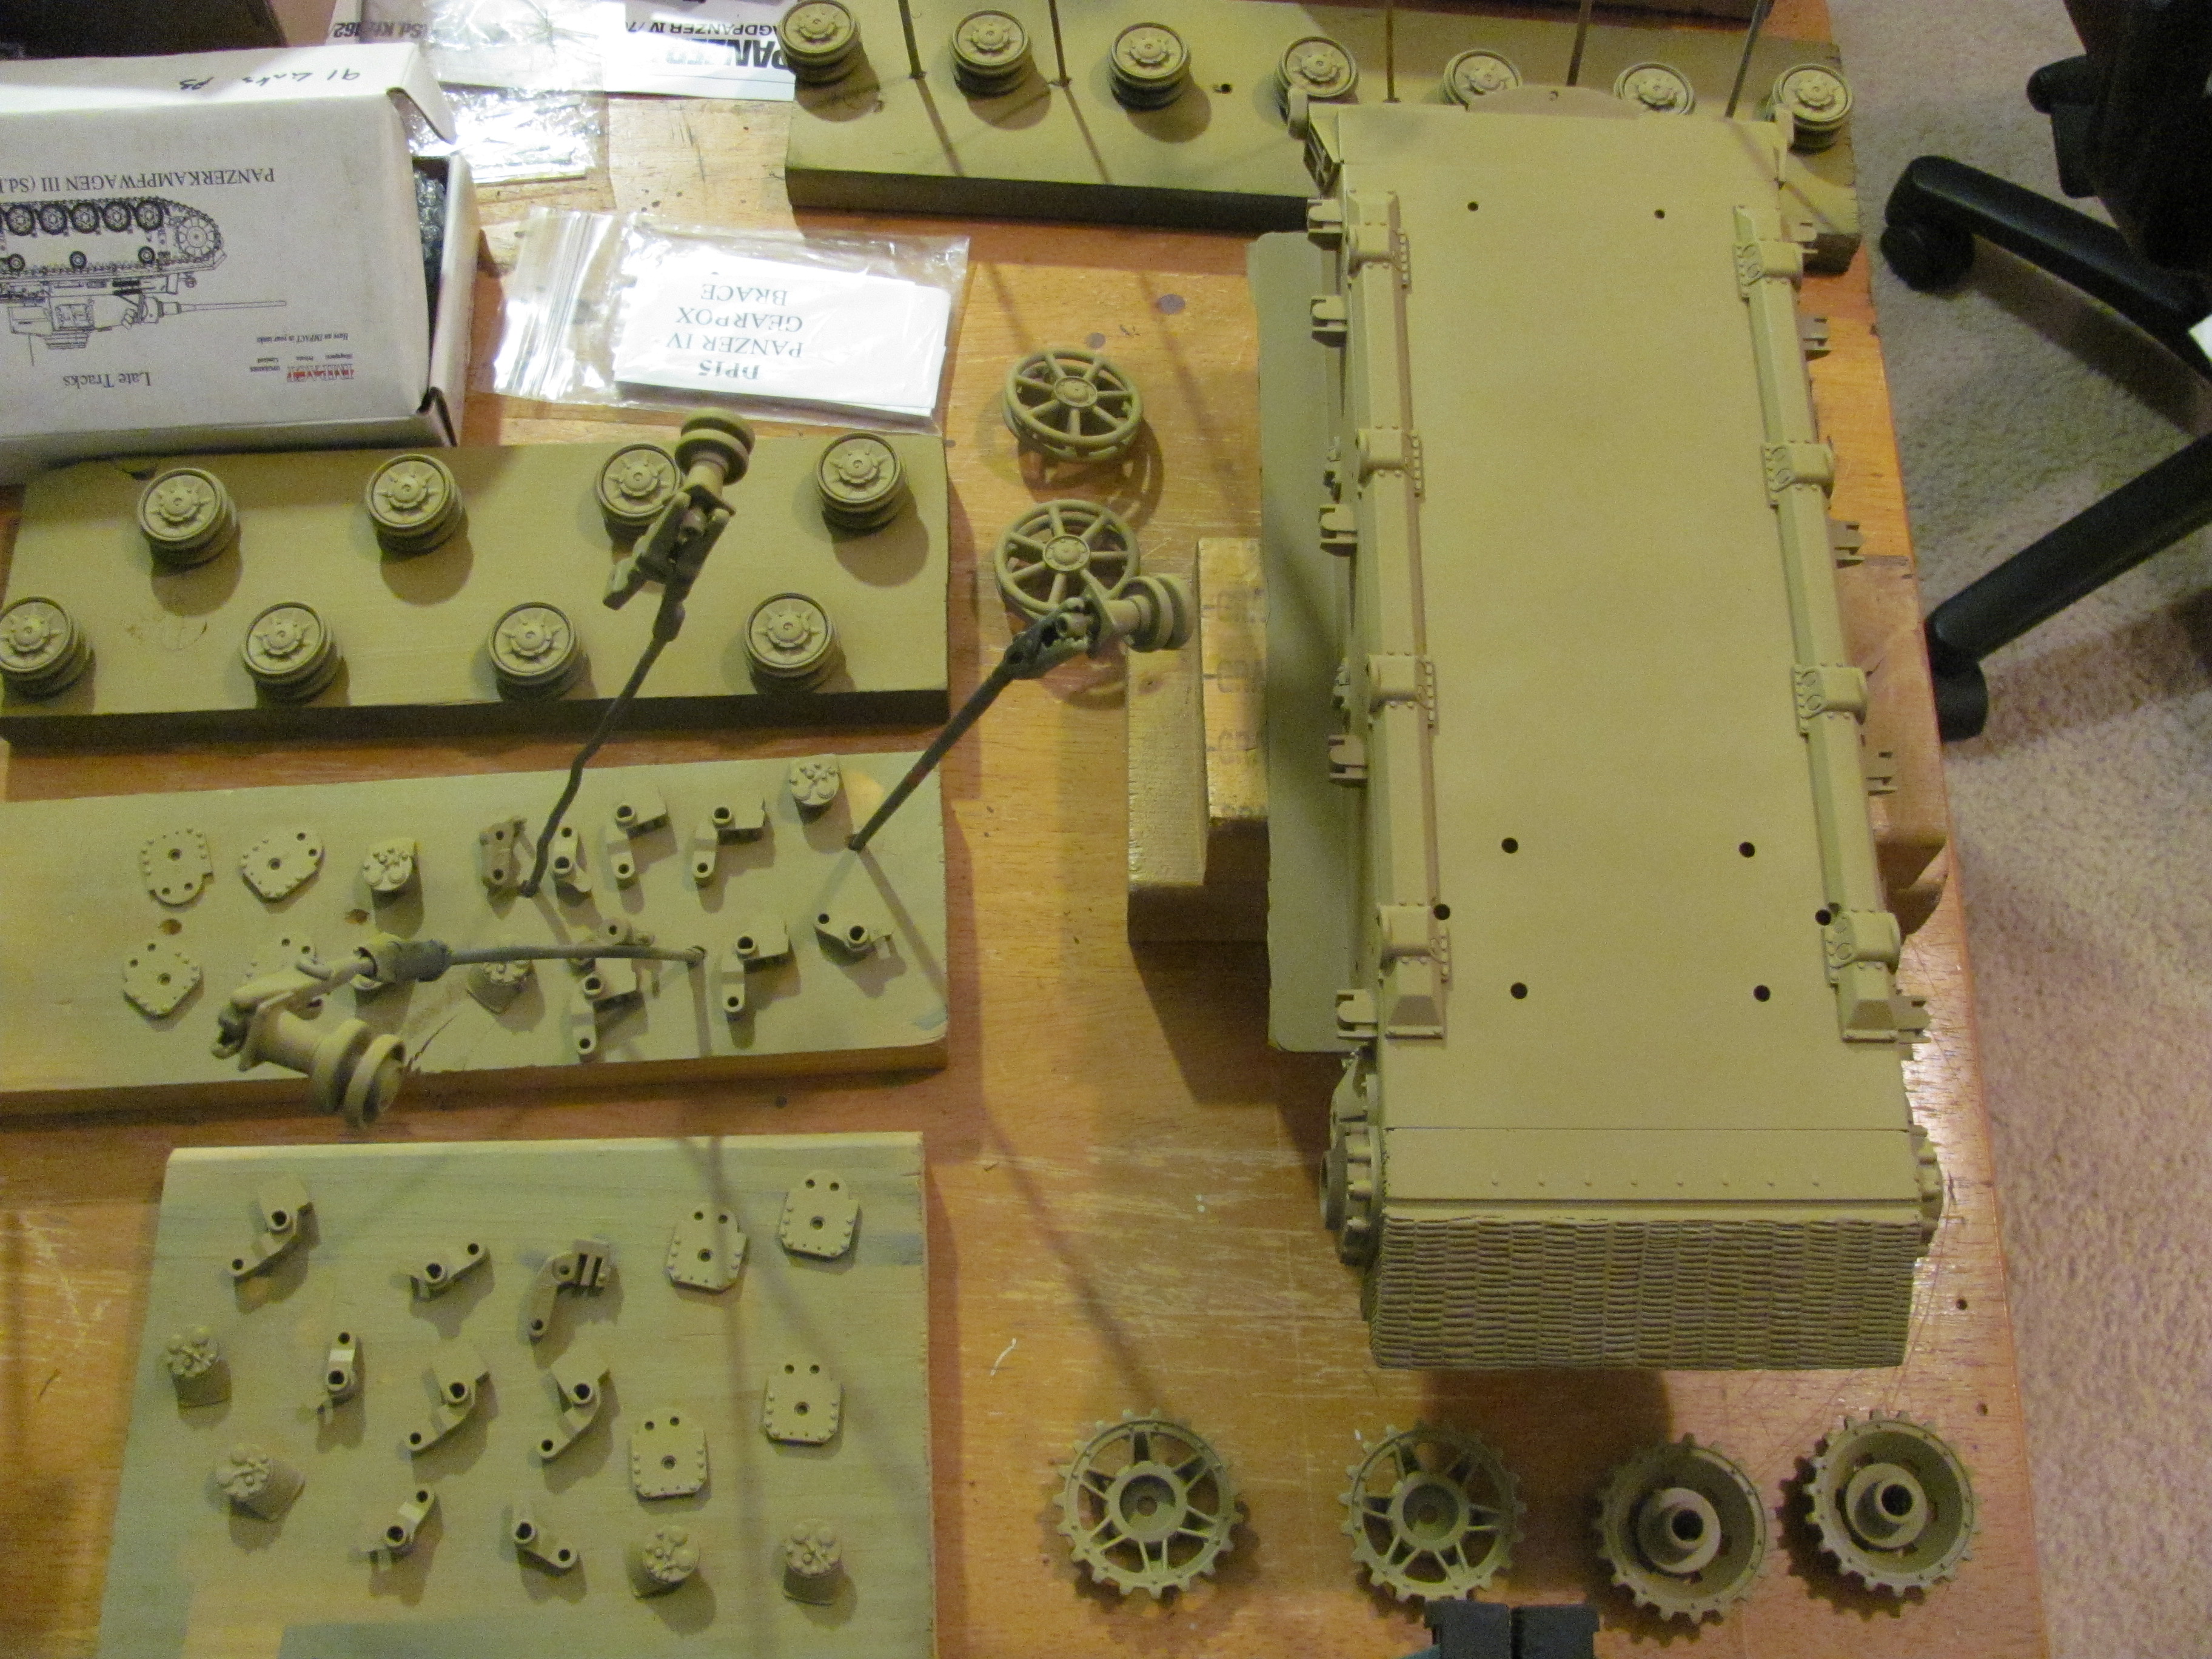
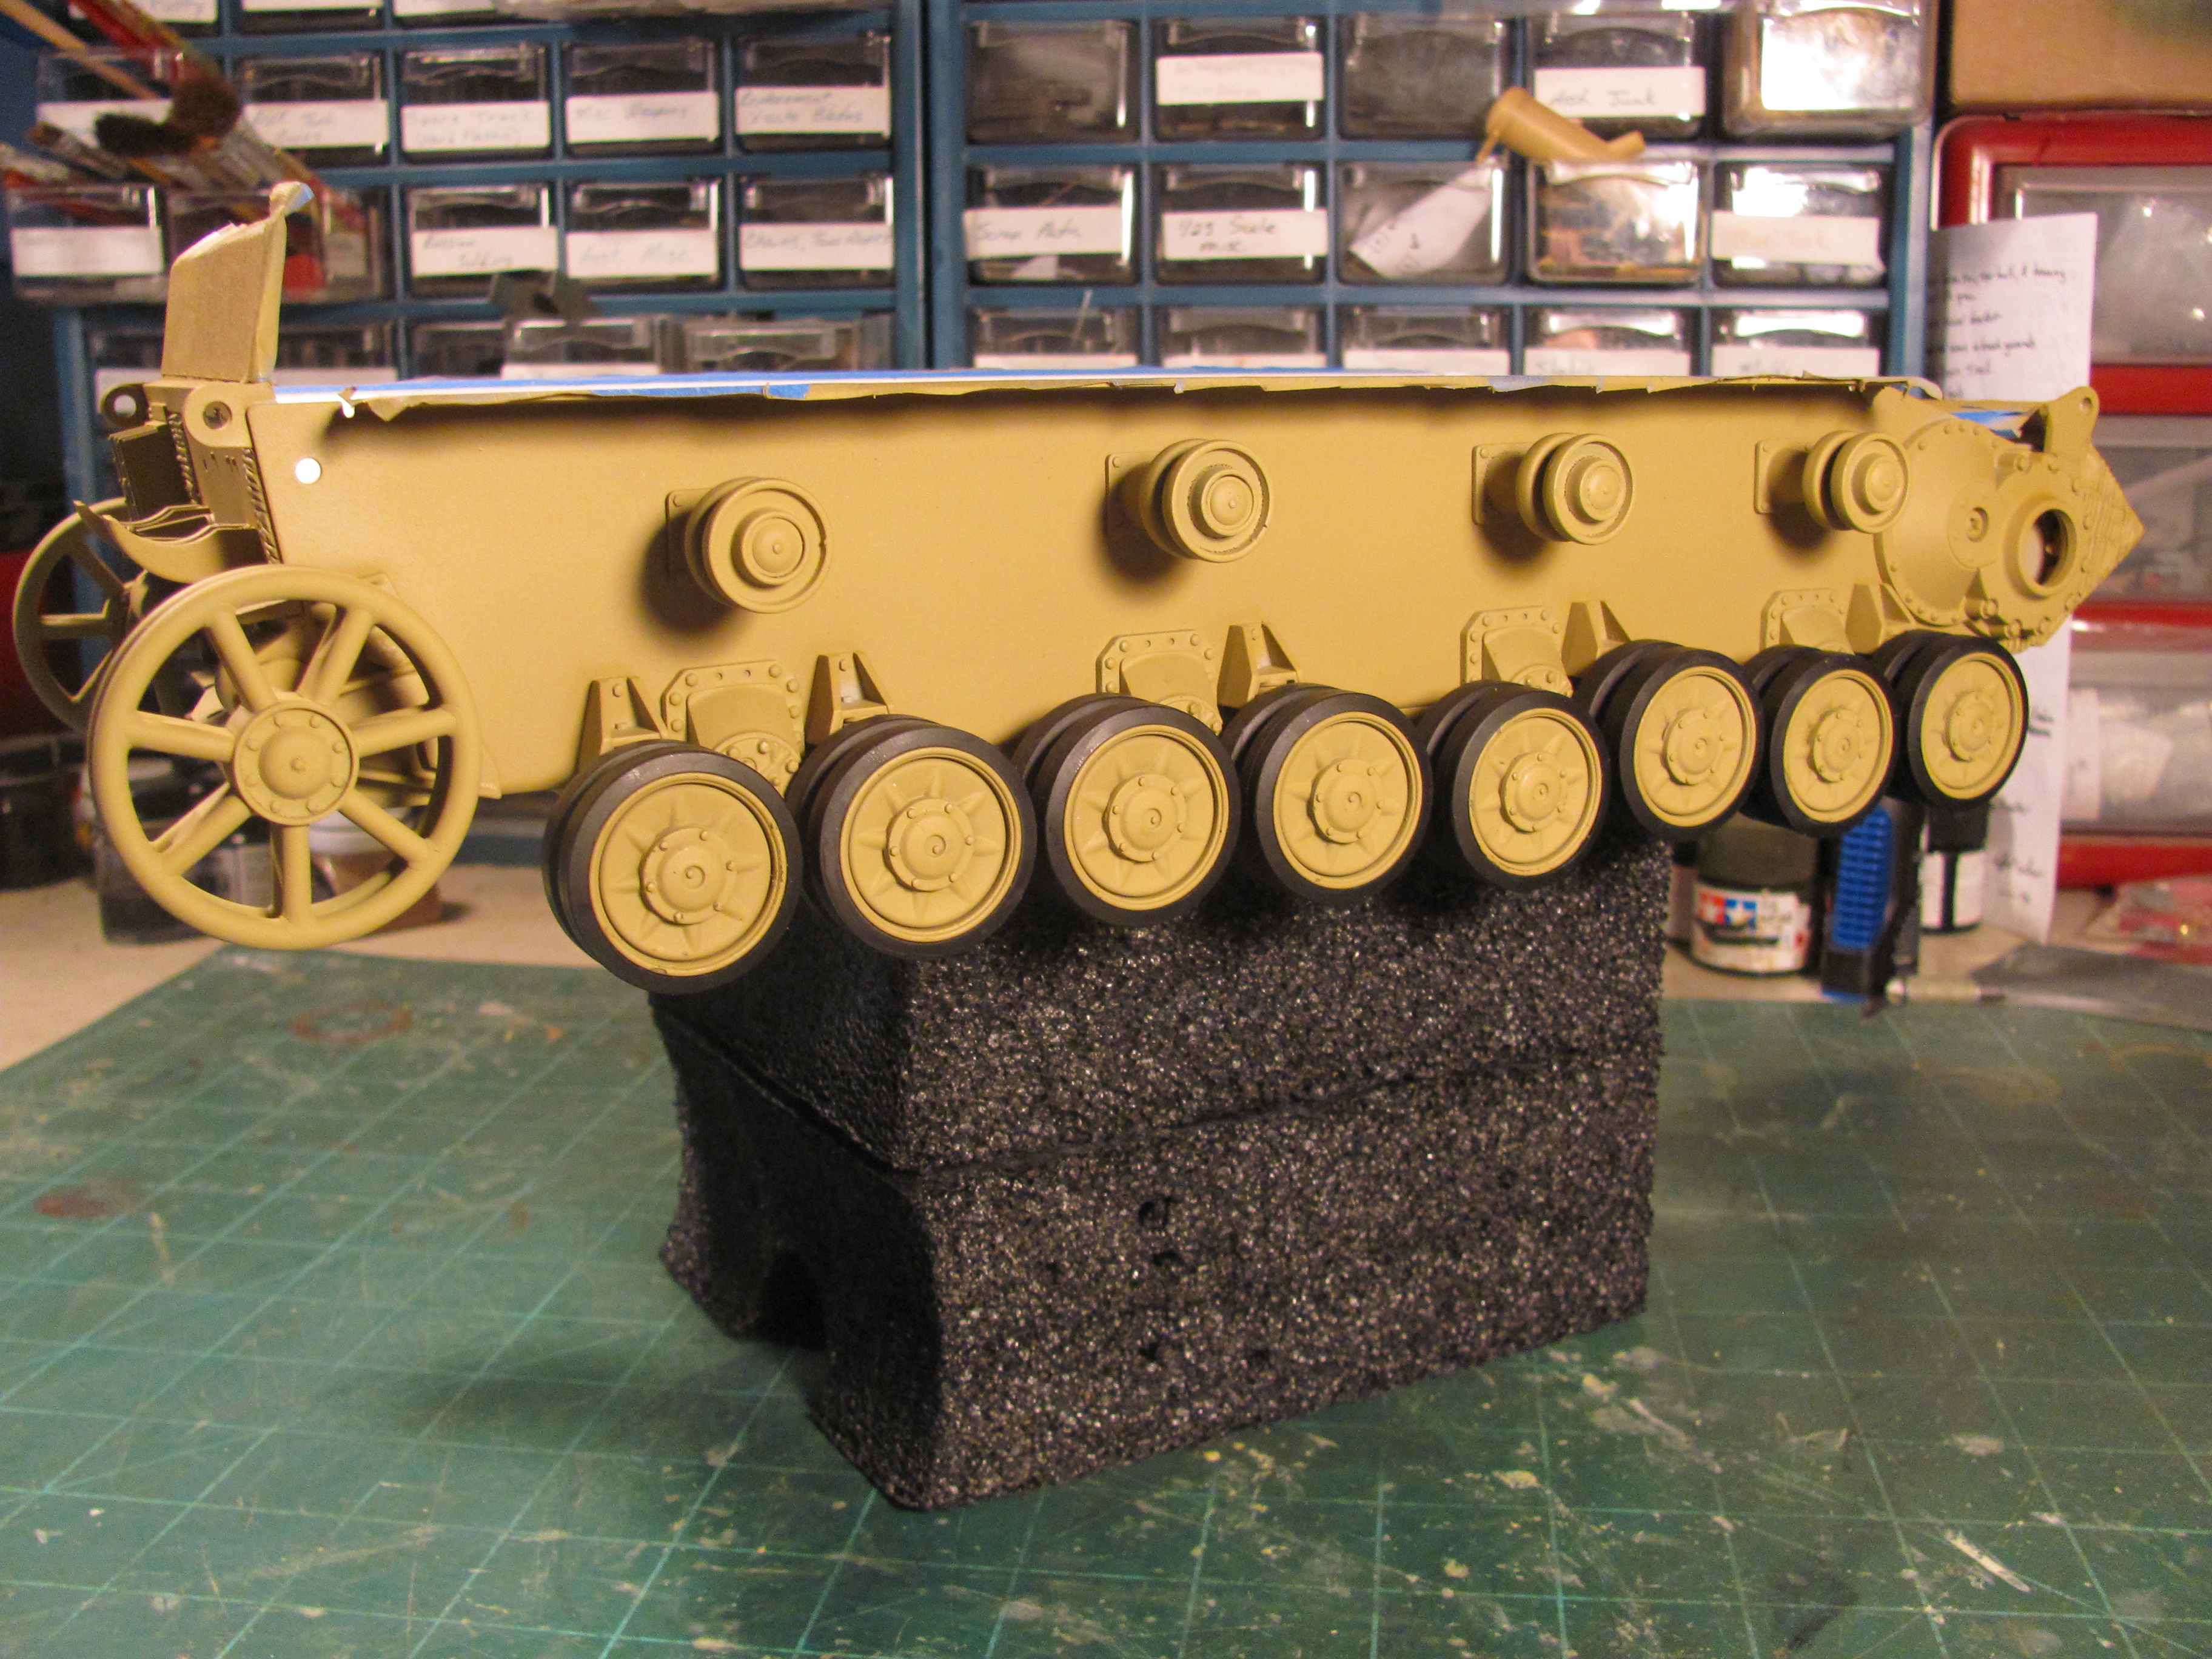
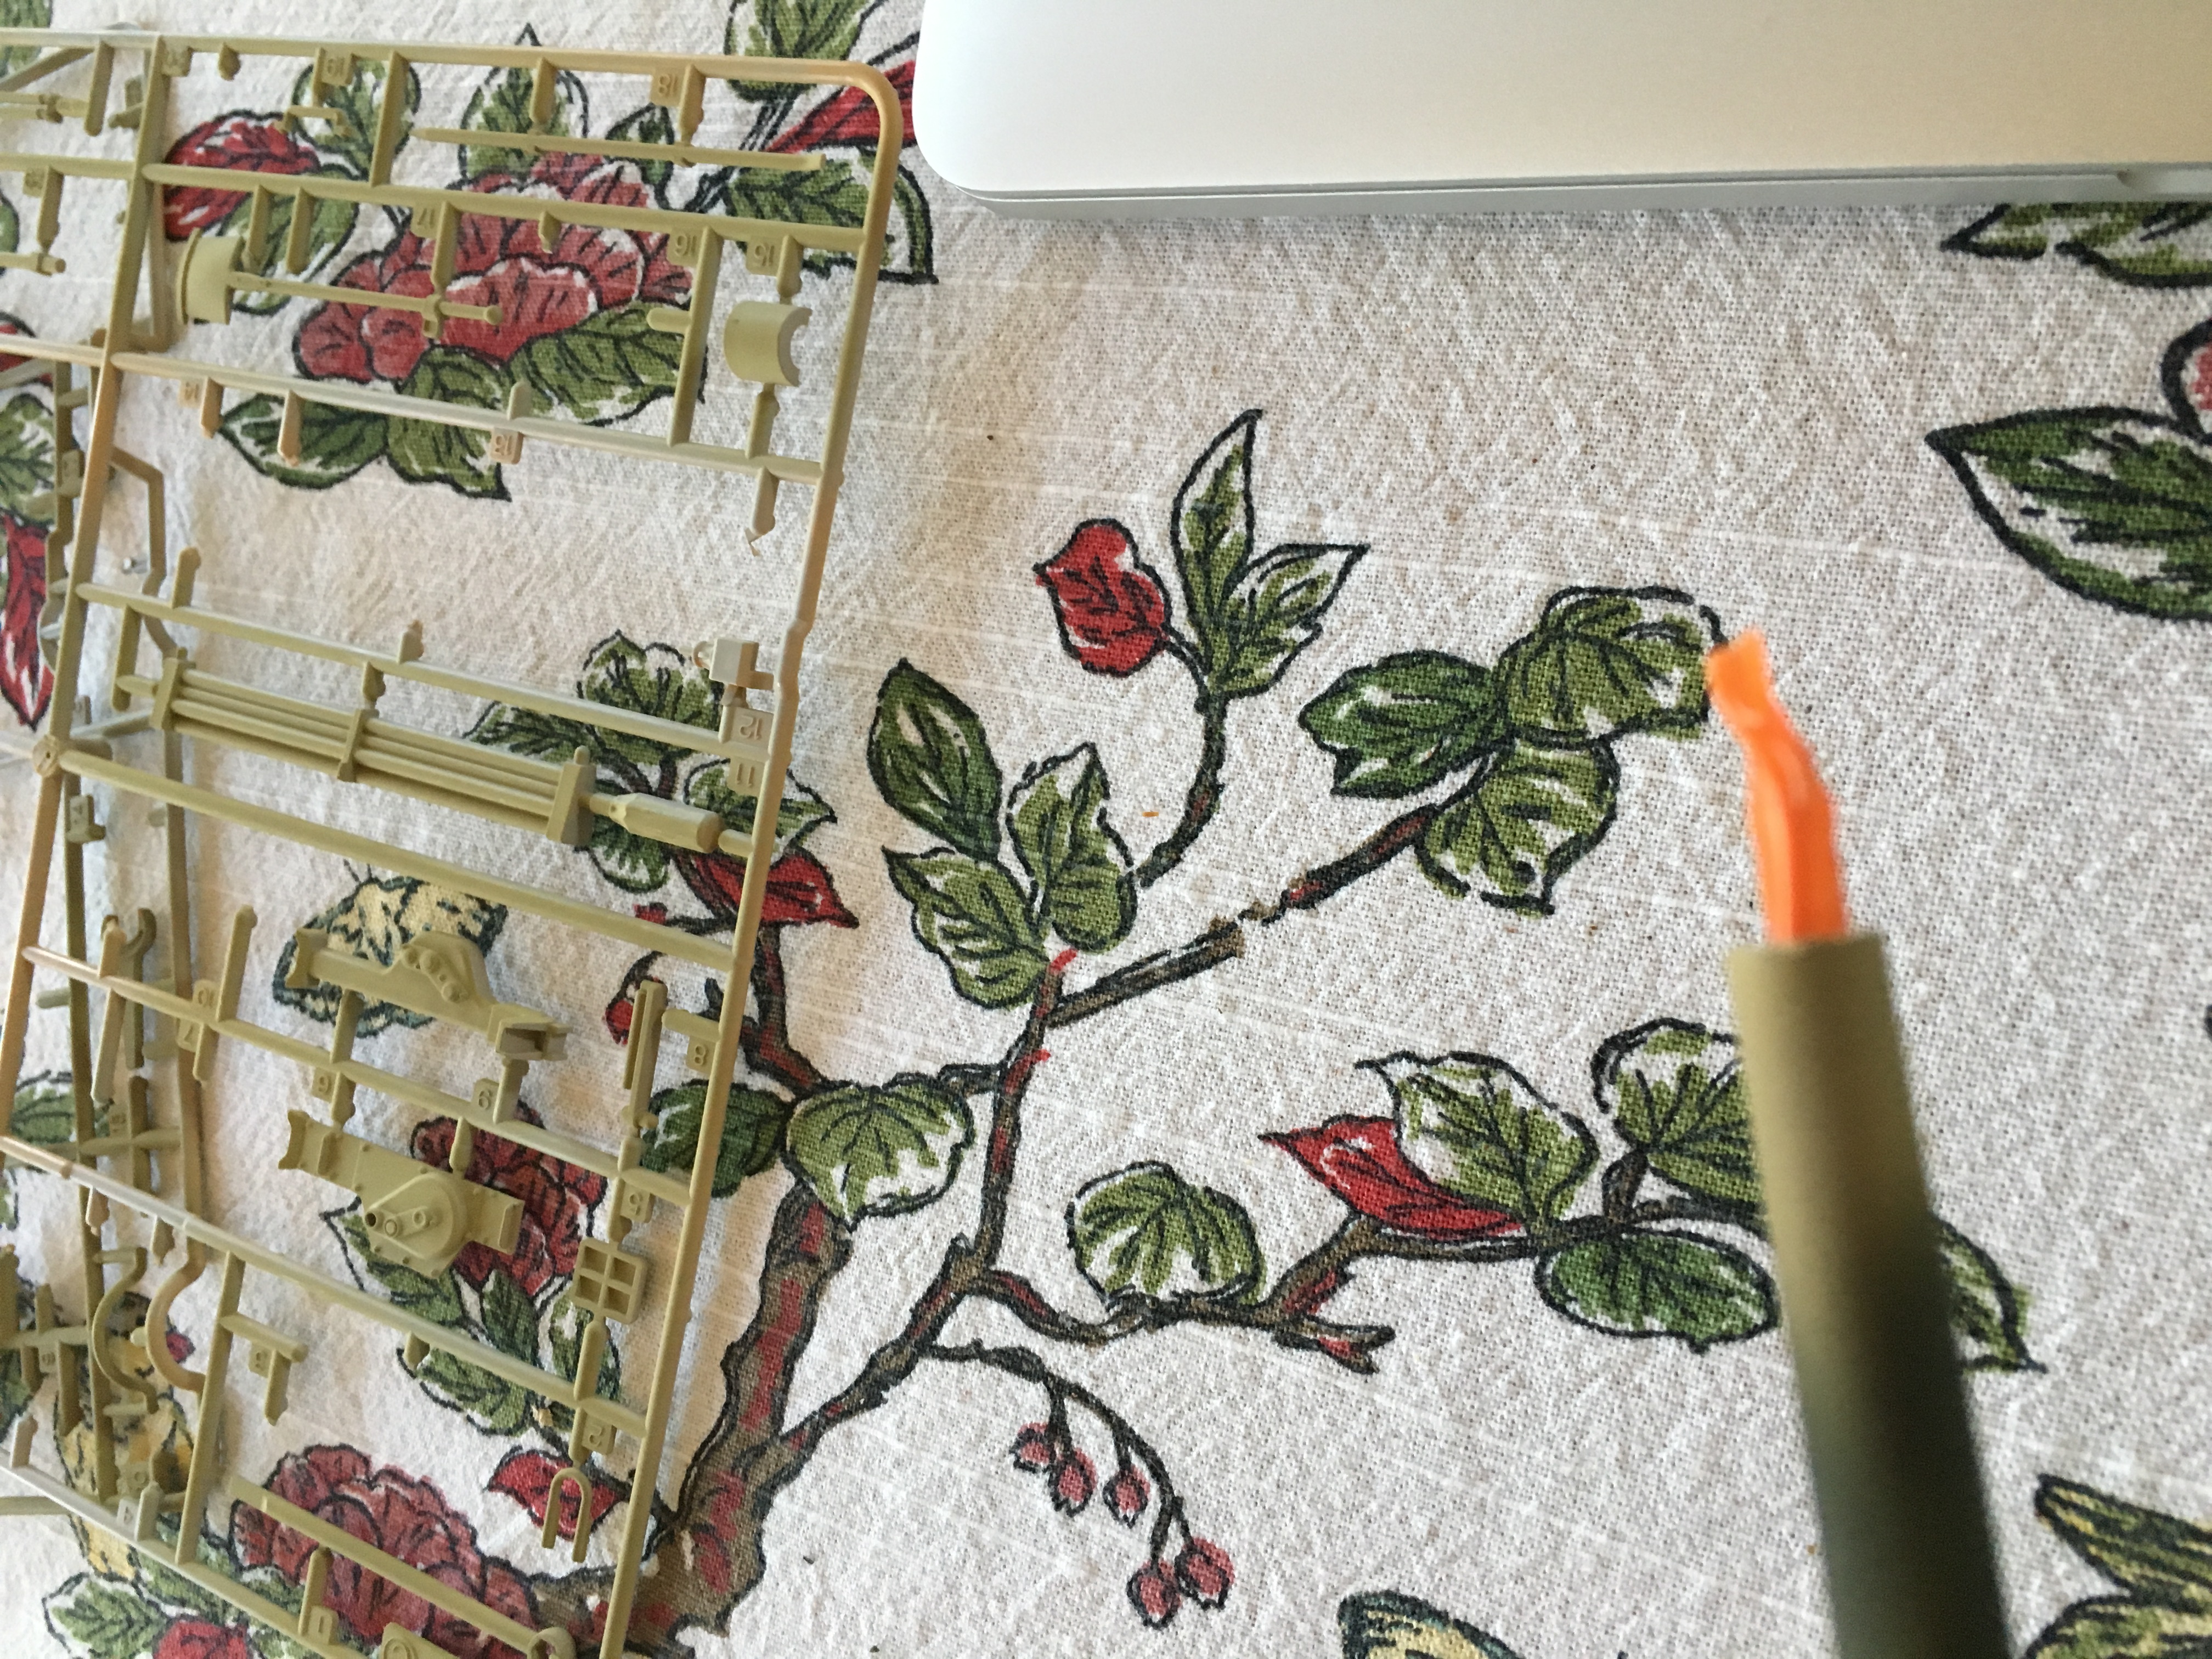
Completed the suspension today, here are some pics to help with assembly if you never have done the Panzer IV before.
Not sure if the single leaf spring is going to work since on my Panzer IV i had to replace the stock leaf spring with the Schumo replacements which were longer. we shall see, the instructions say to leave a 2mm gap (which you can see in the second pic) maybe this will help? we shall see.
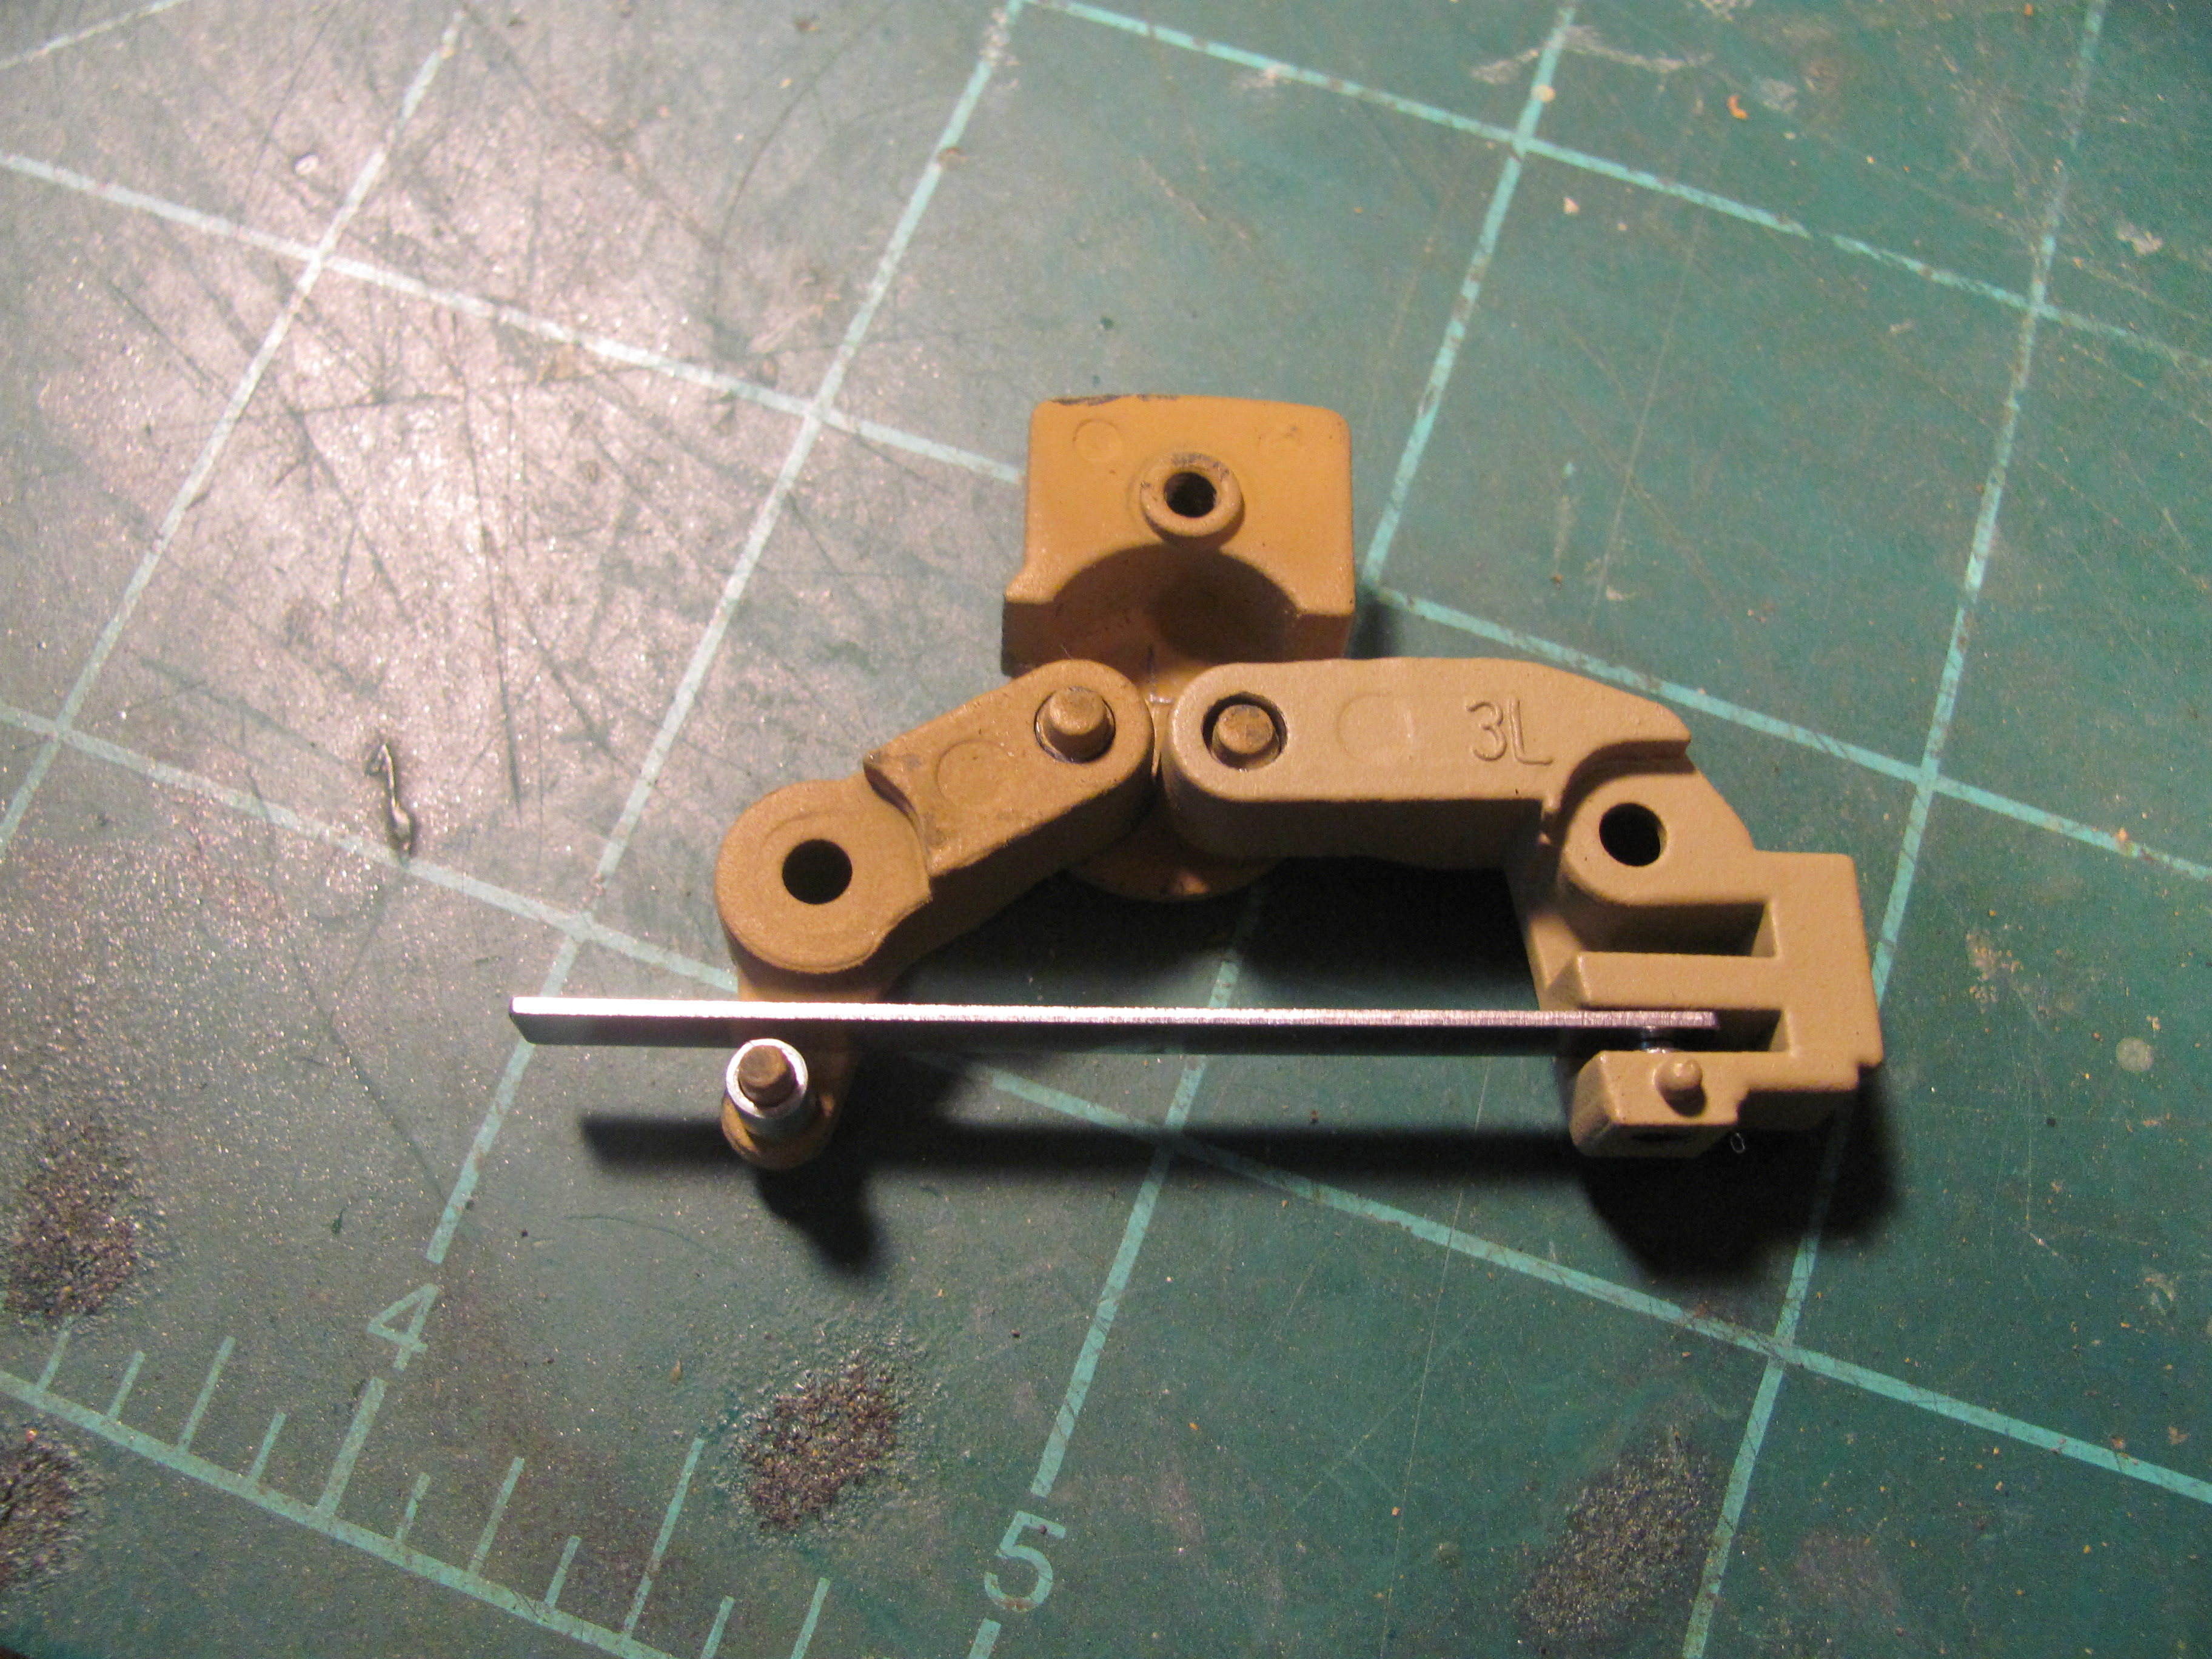
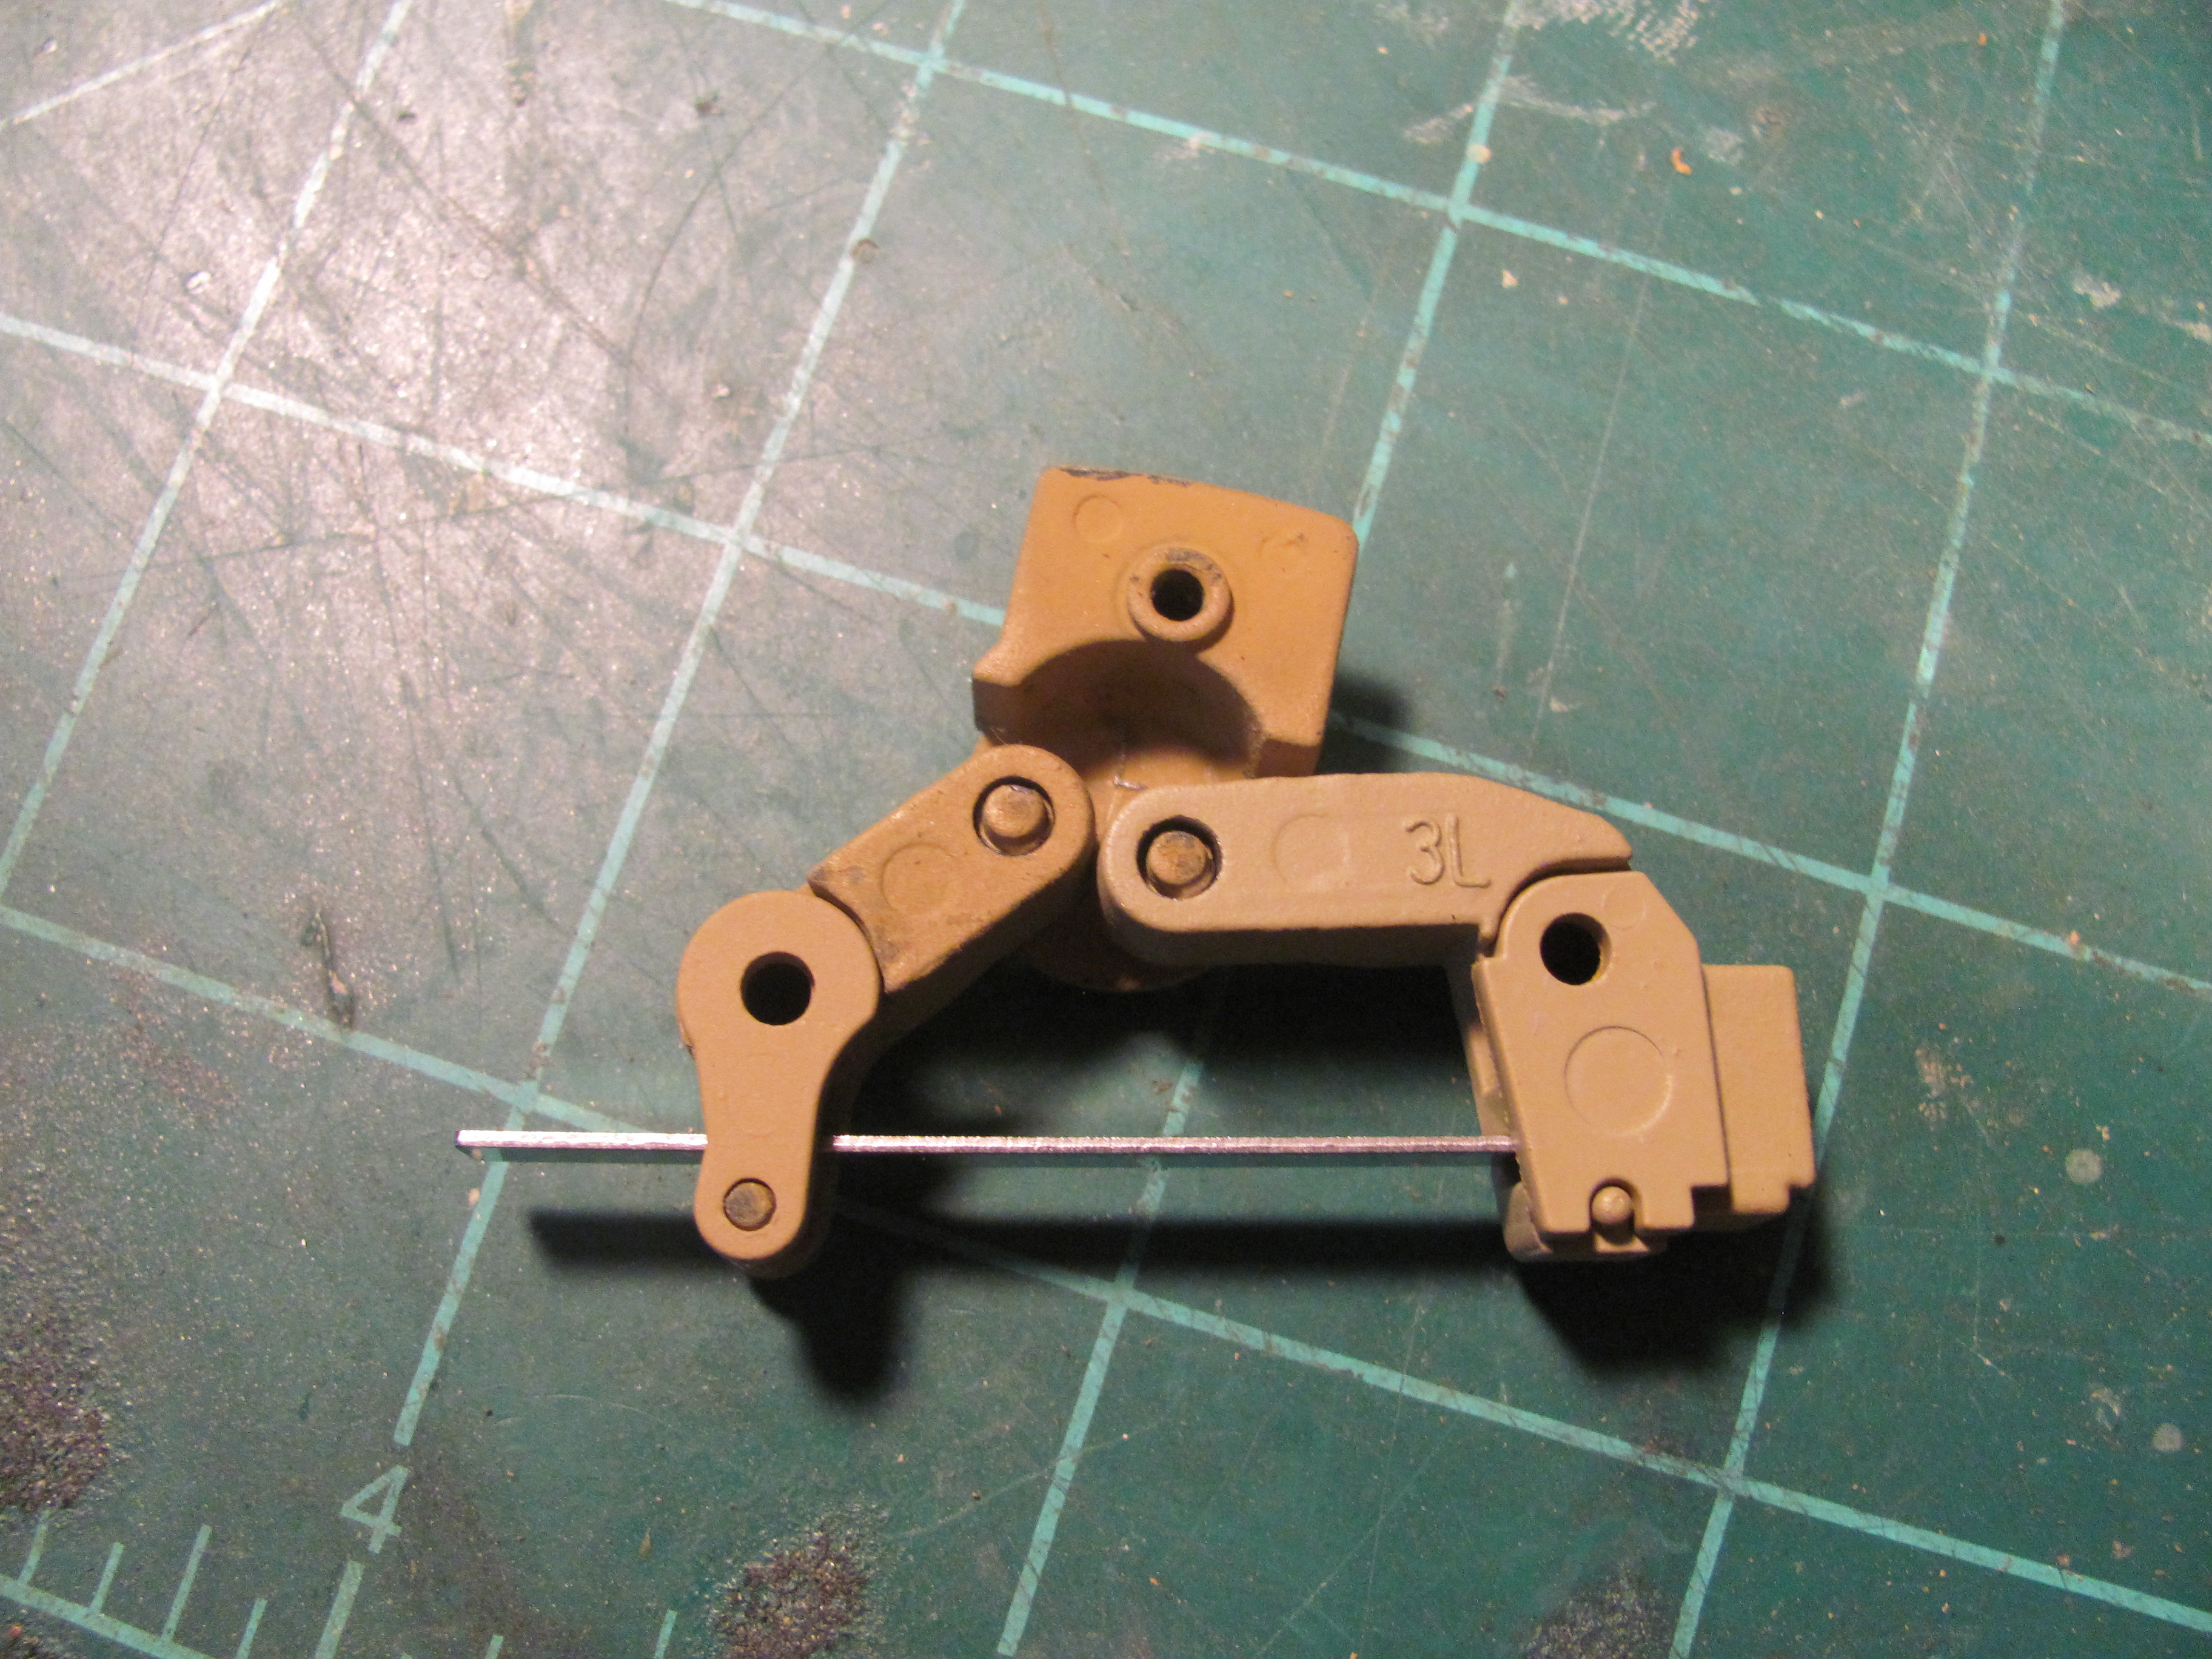
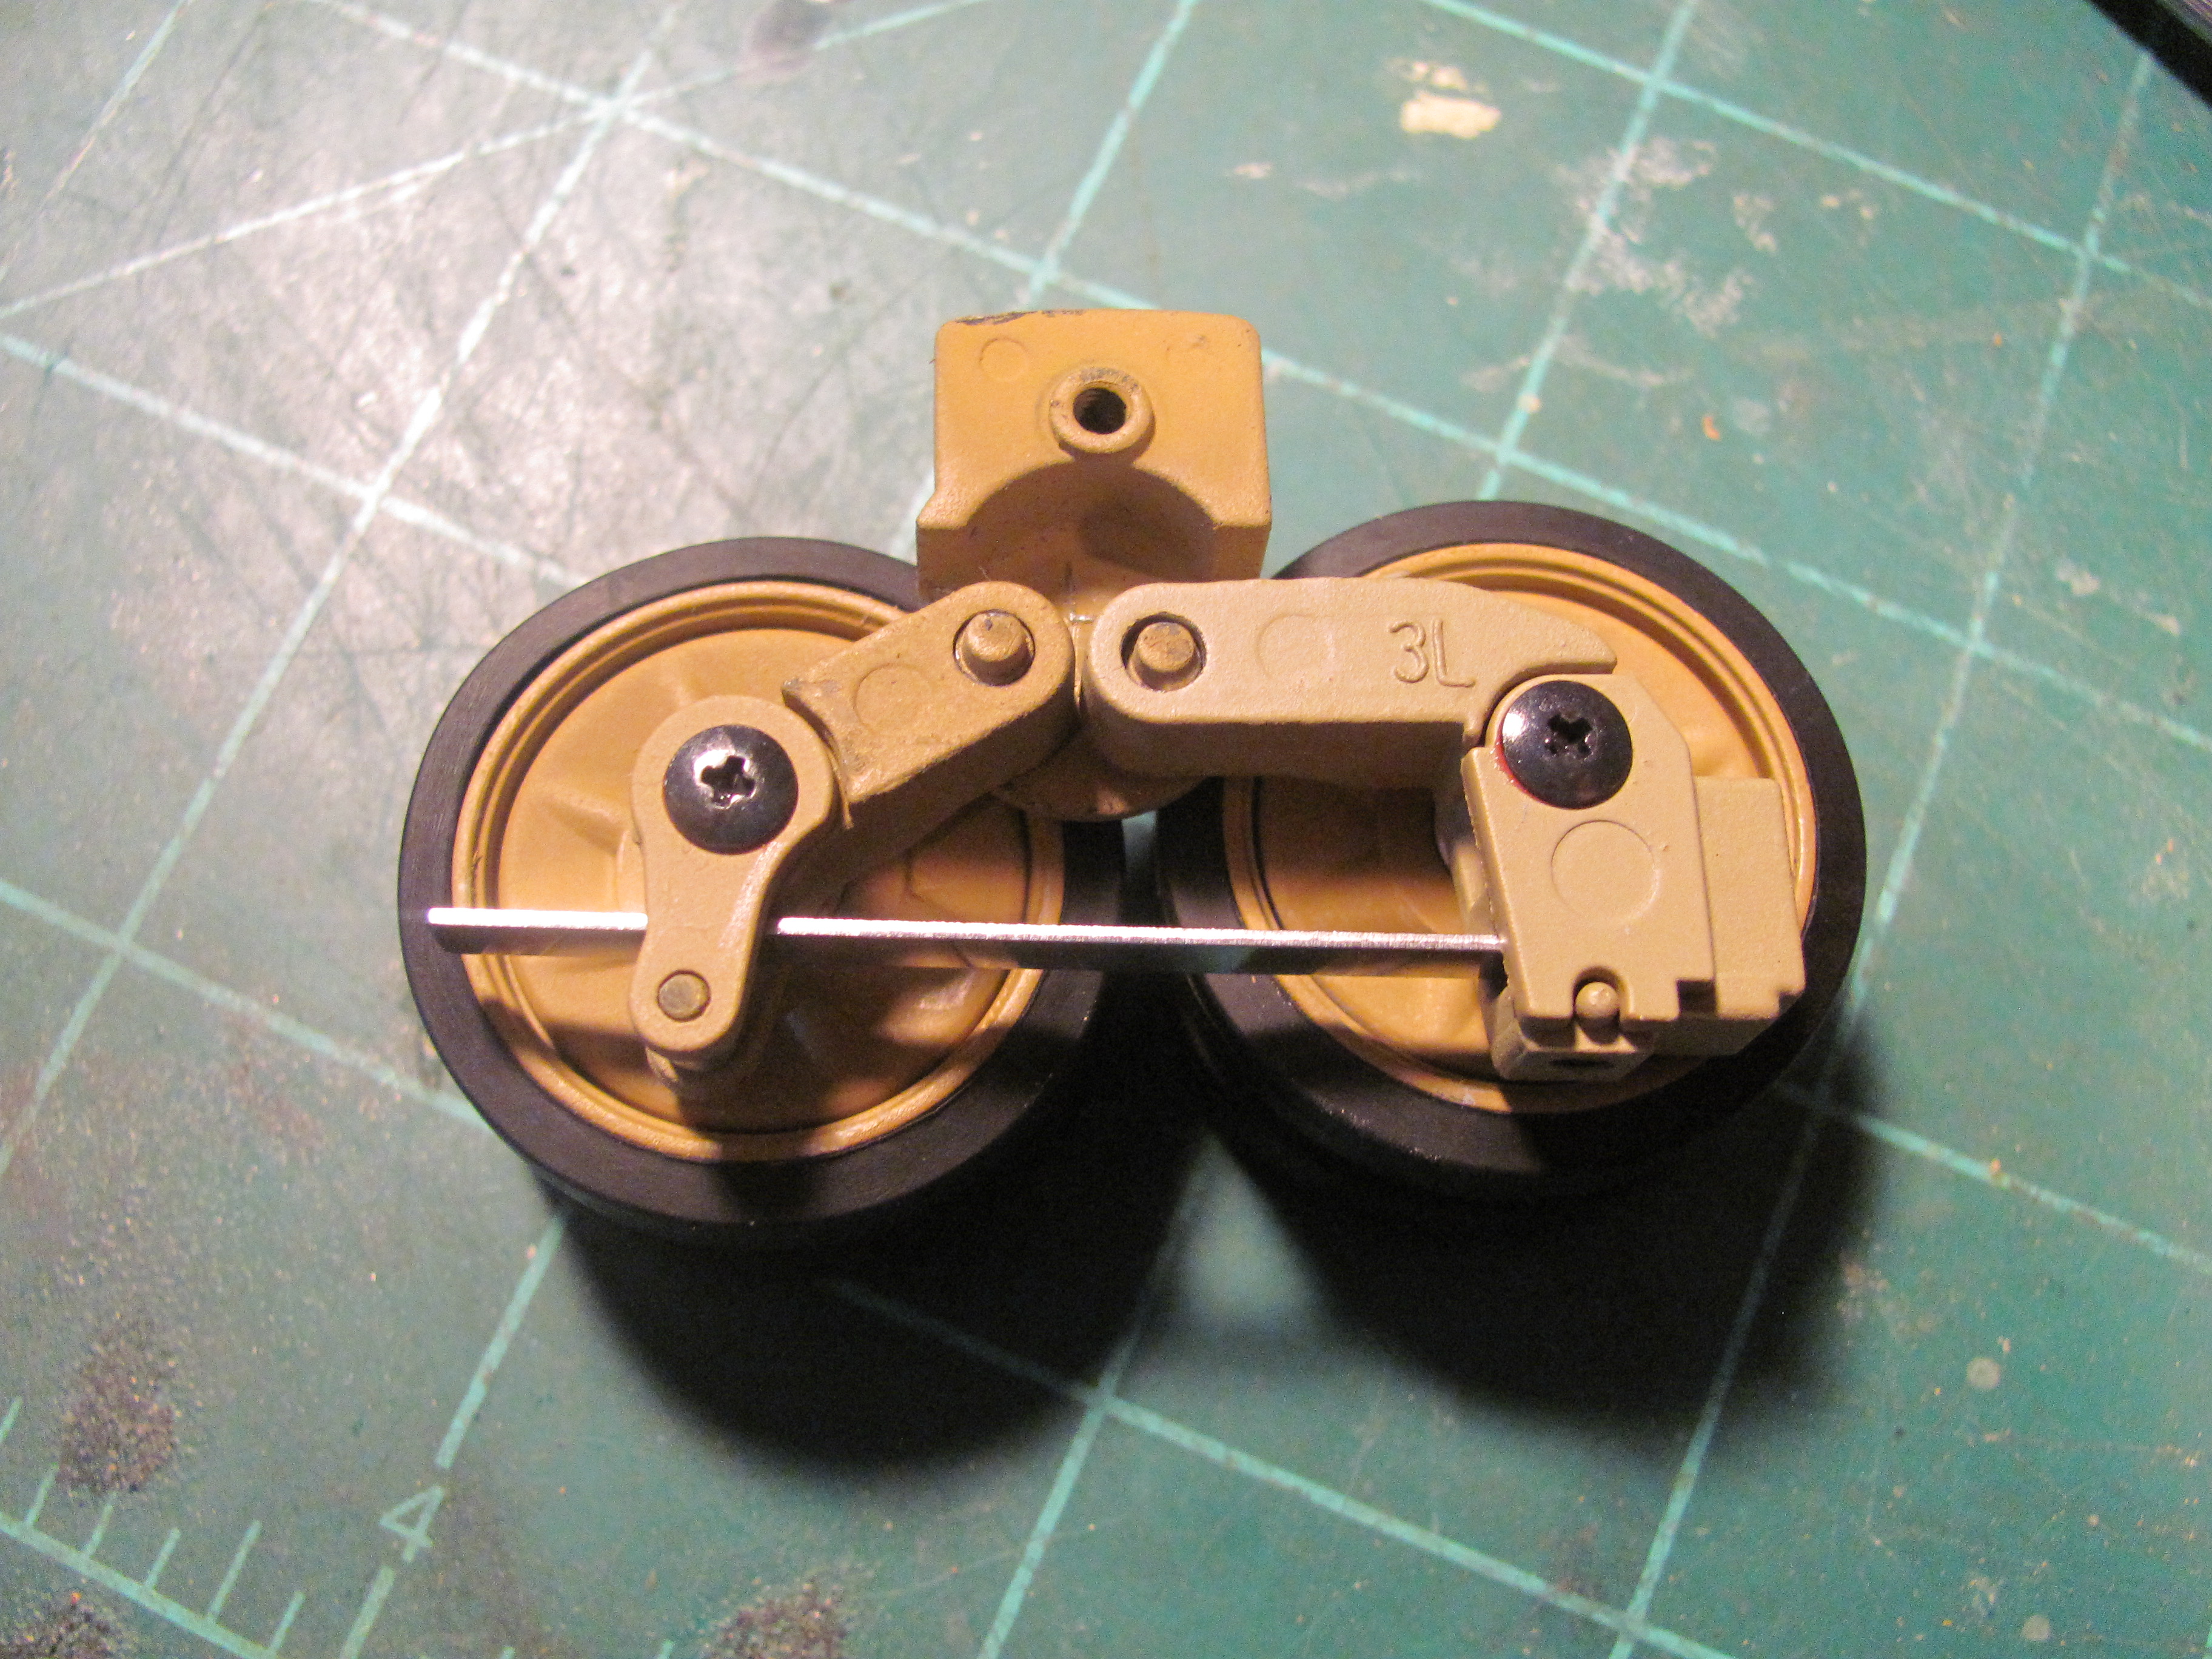
Not sure if the single leaf spring is going to work since on my Panzer IV i had to replace the stock leaf spring with the Schumo replacements which were longer. we shall see, the instructions say to leave a 2mm gap (which you can see in the second pic) maybe this will help? we shall see.
08-14-2016, 06:34 PM
#60
Thread Starter
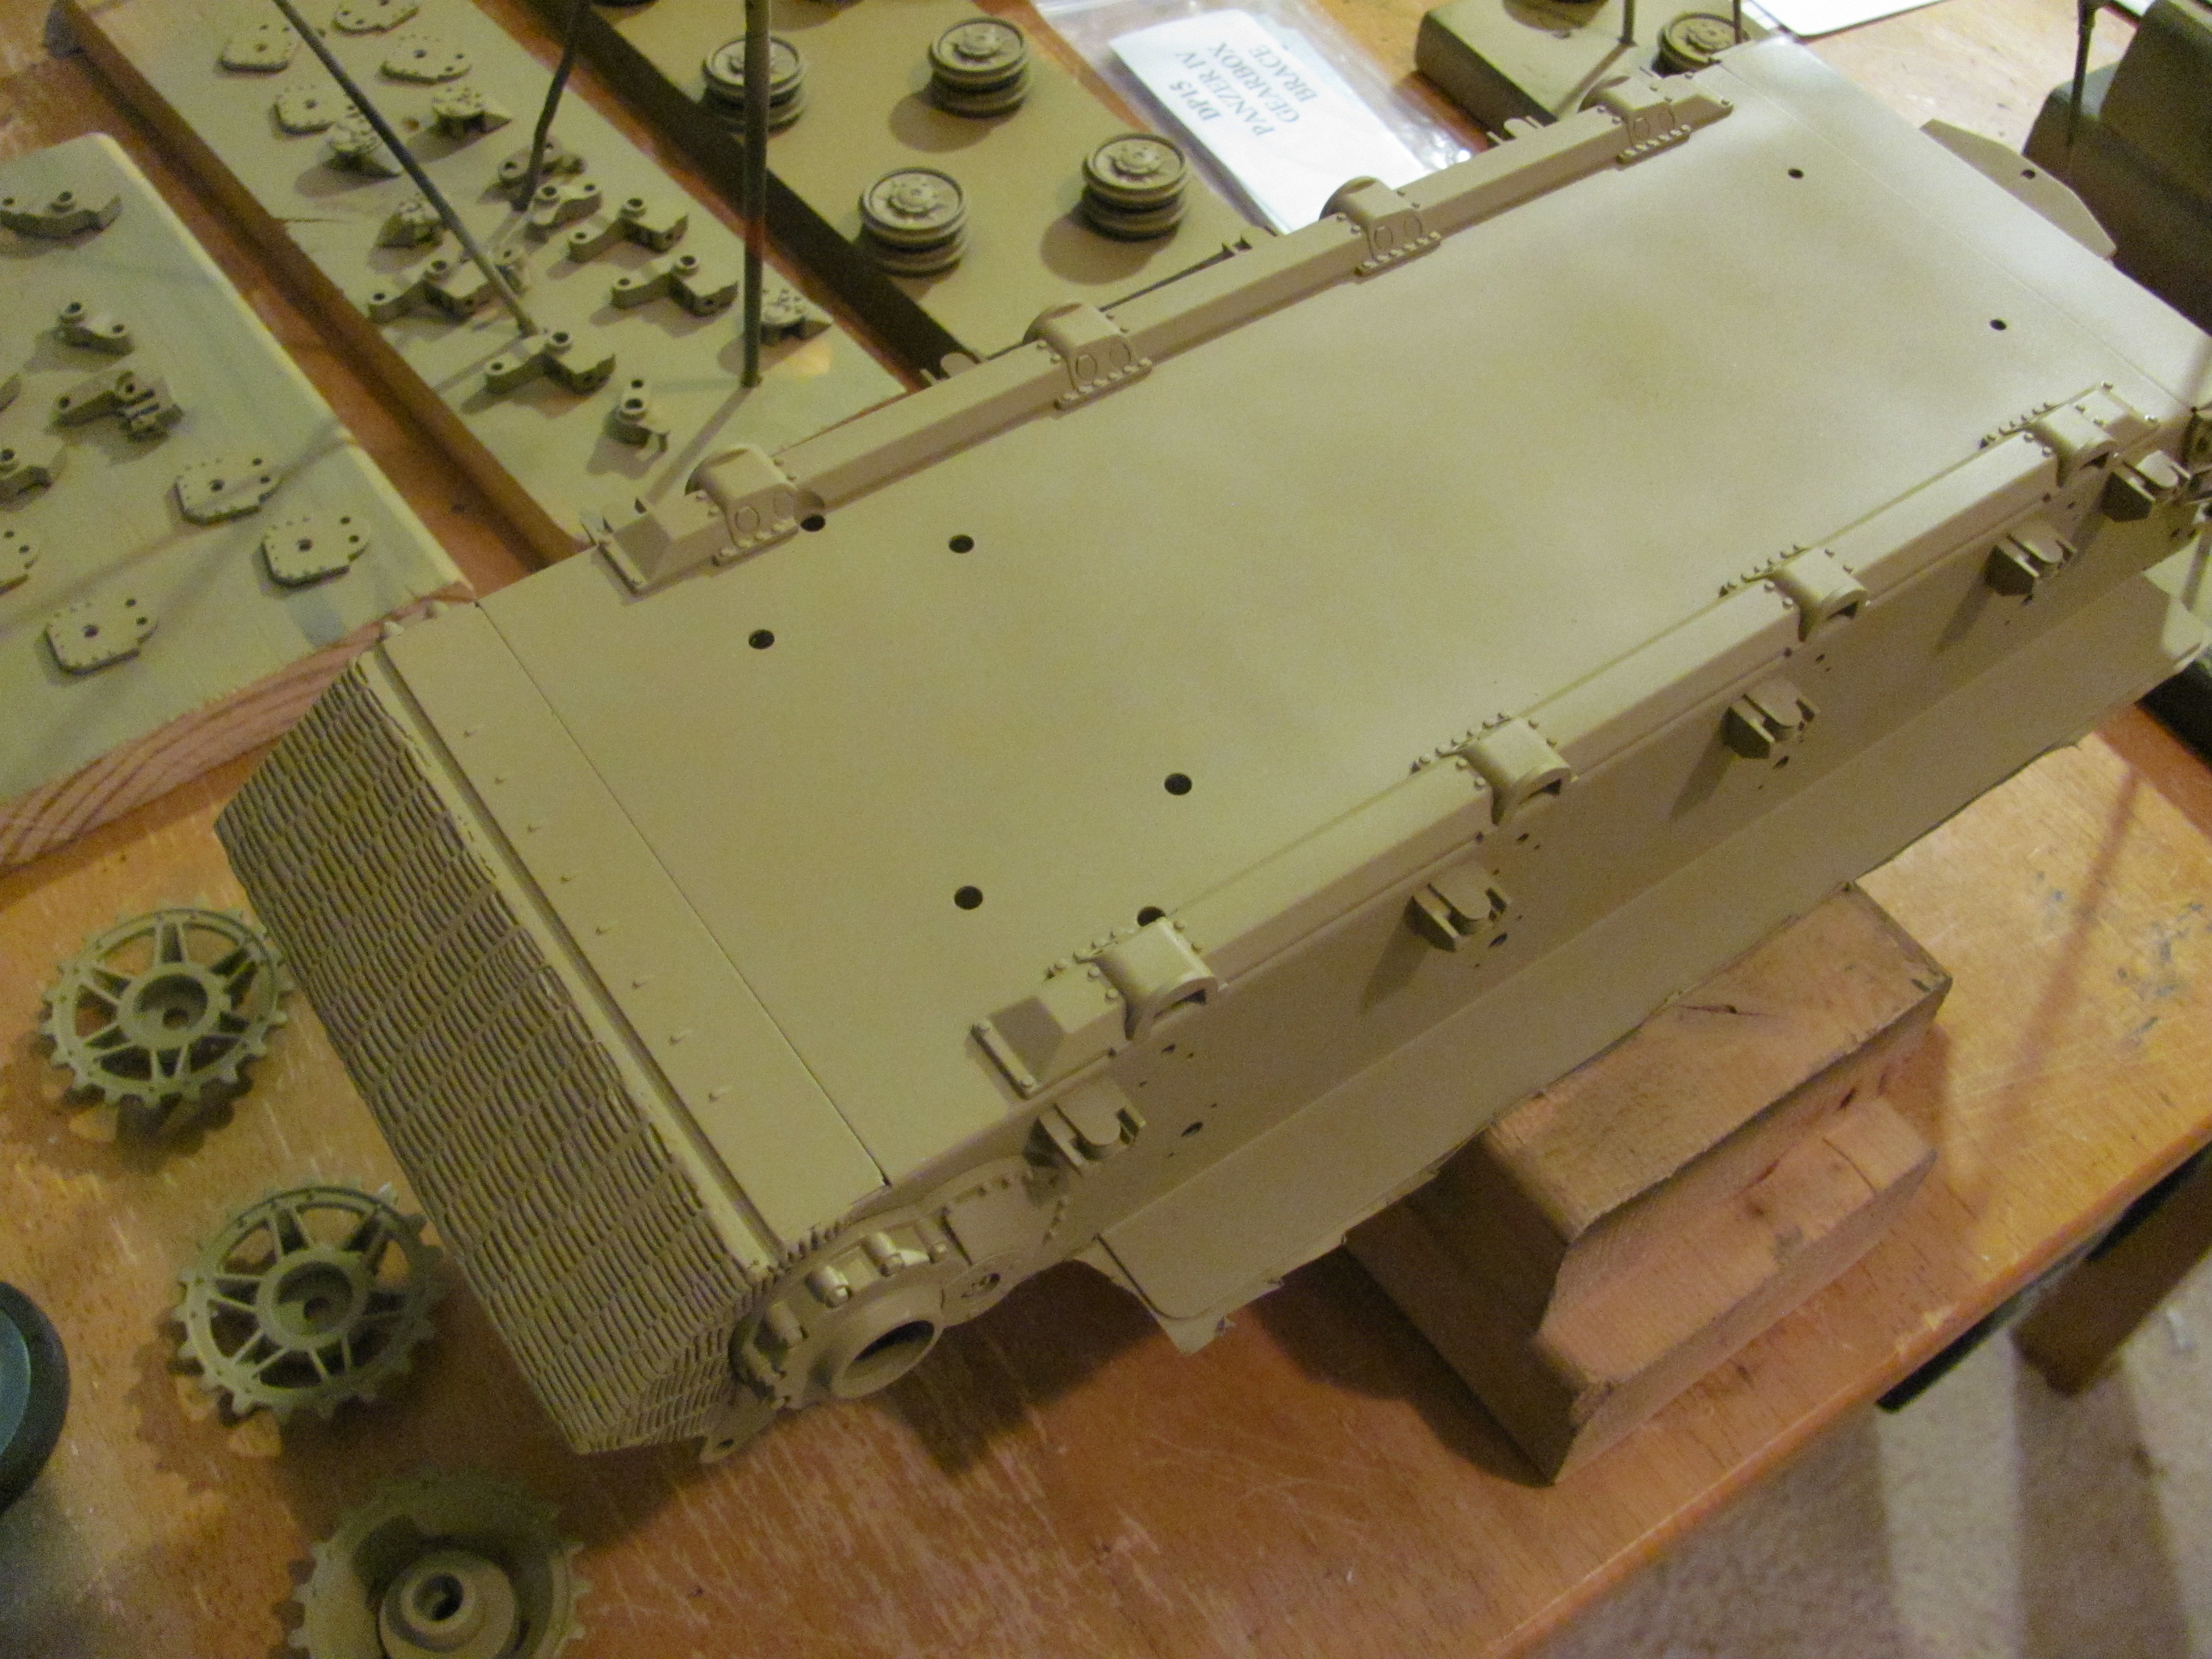
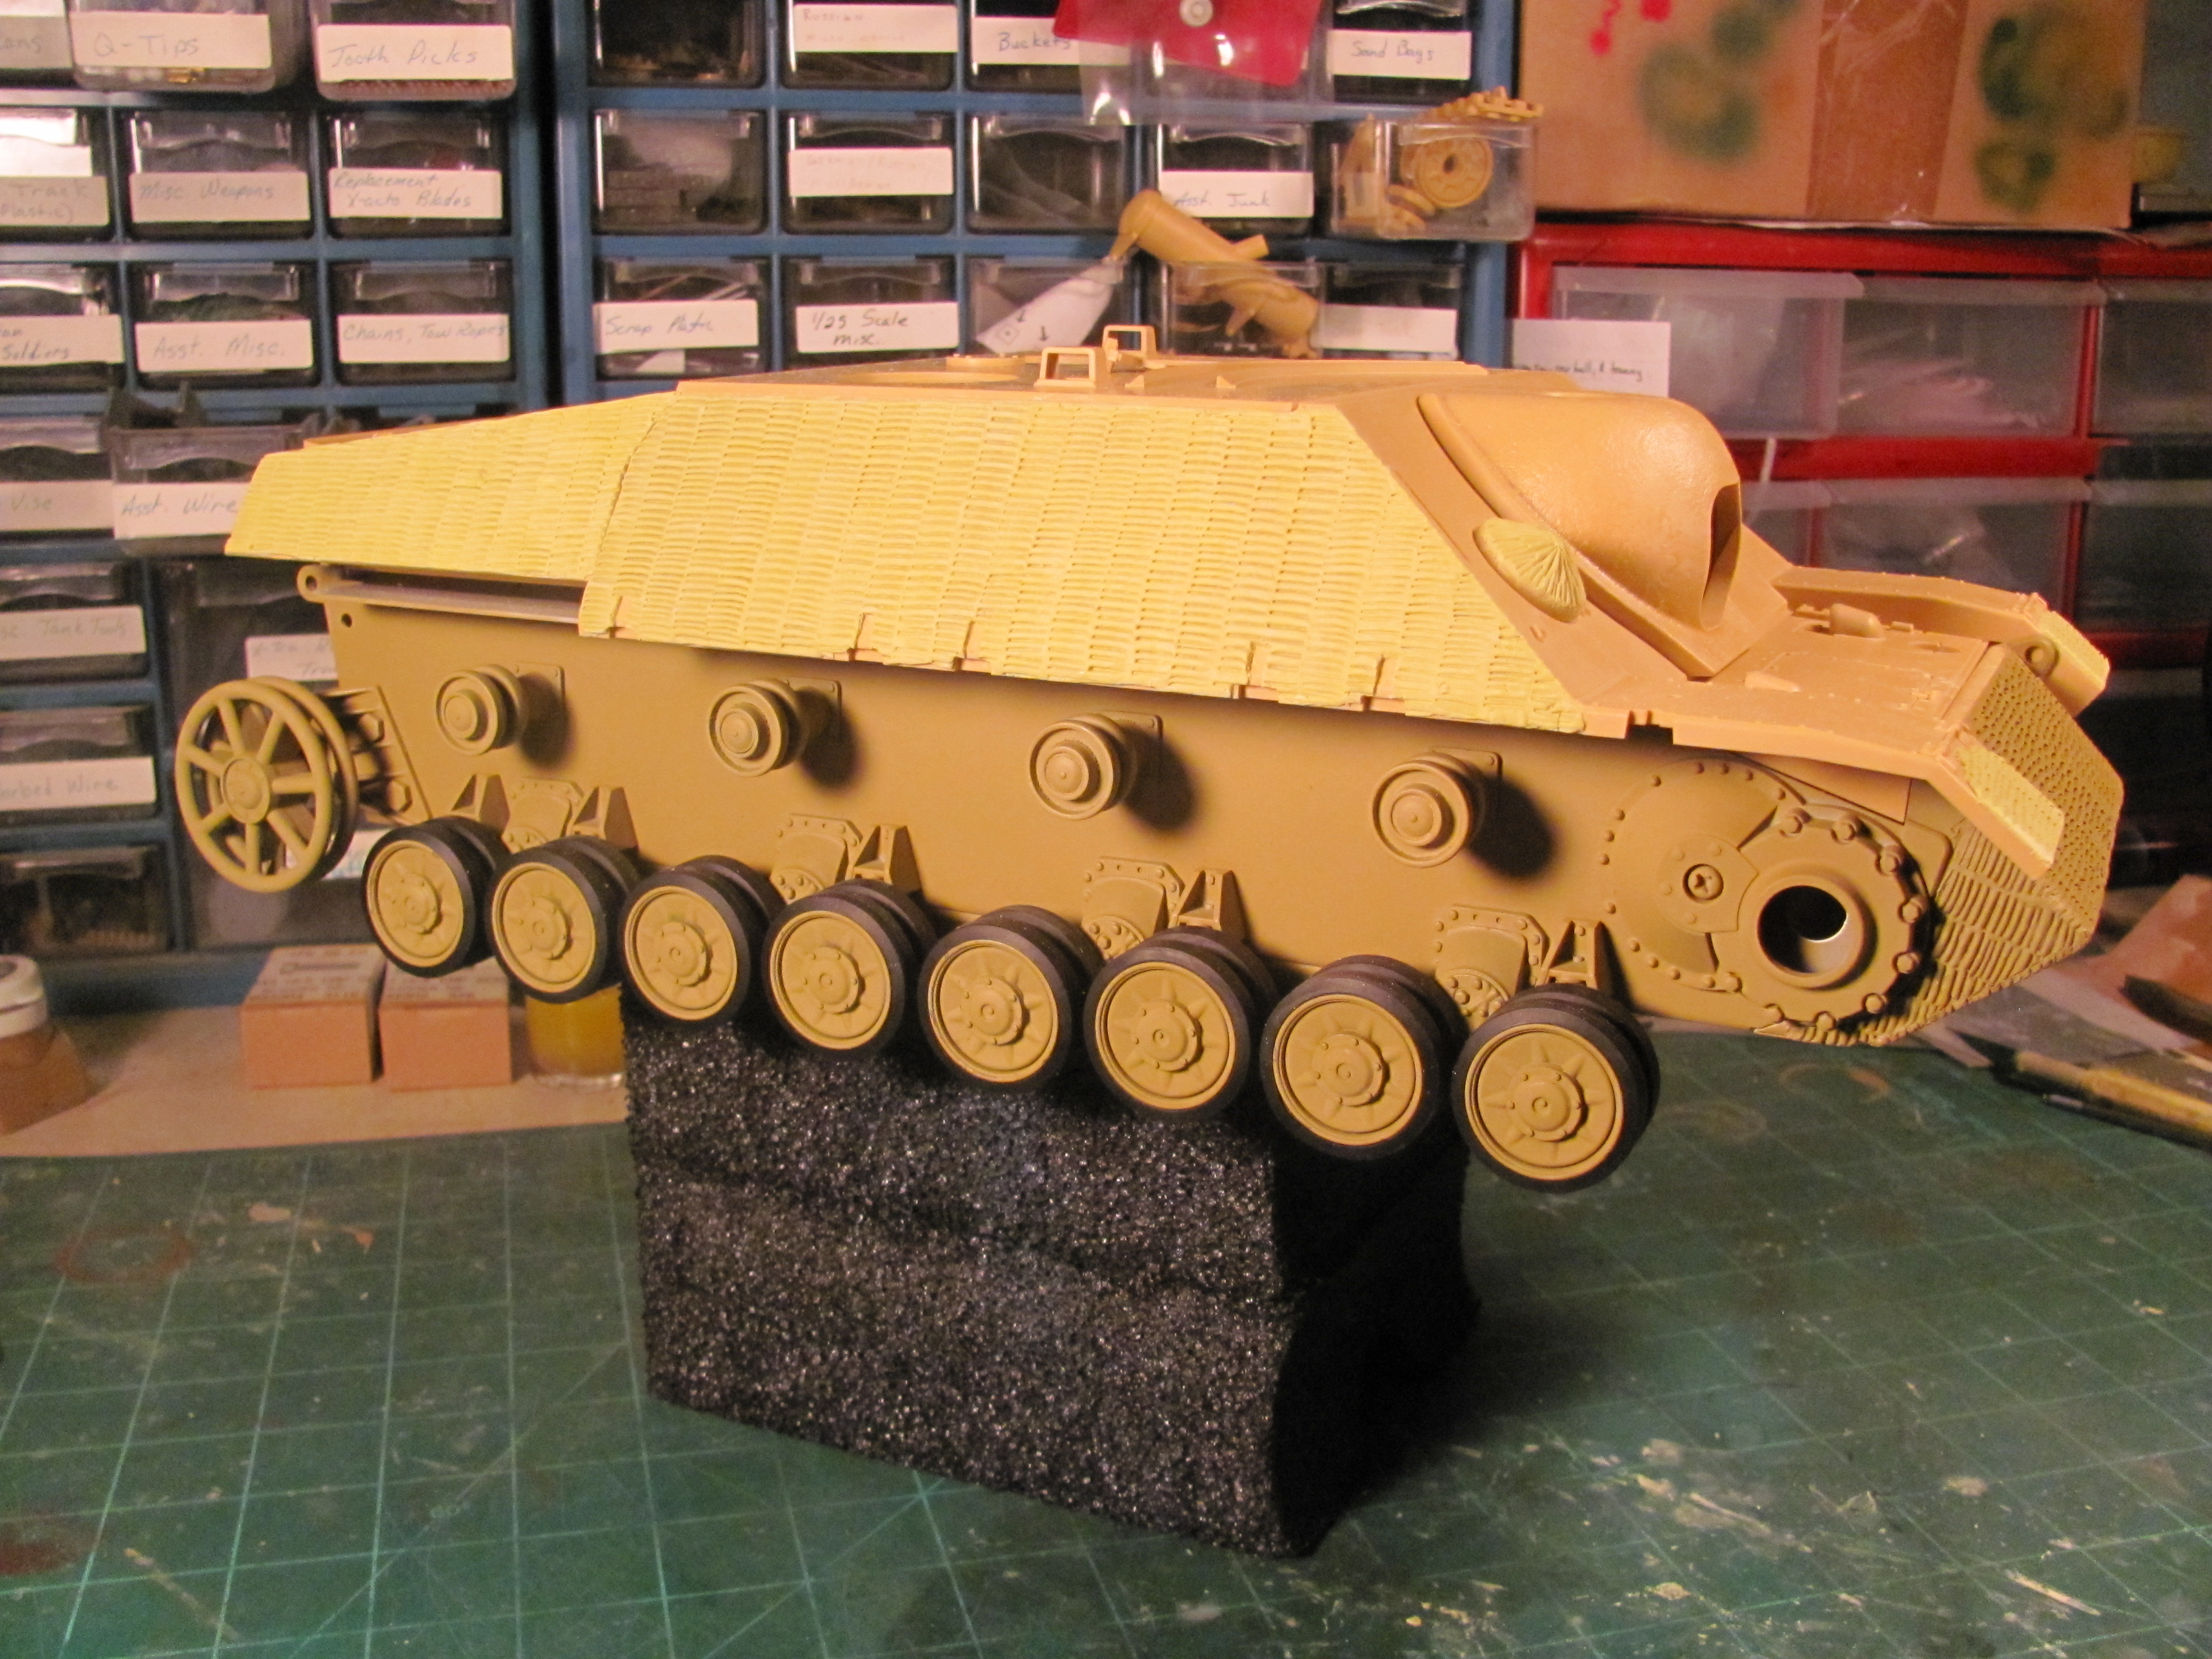
The suspension is now on the tank! progress is being made, slow but steady.
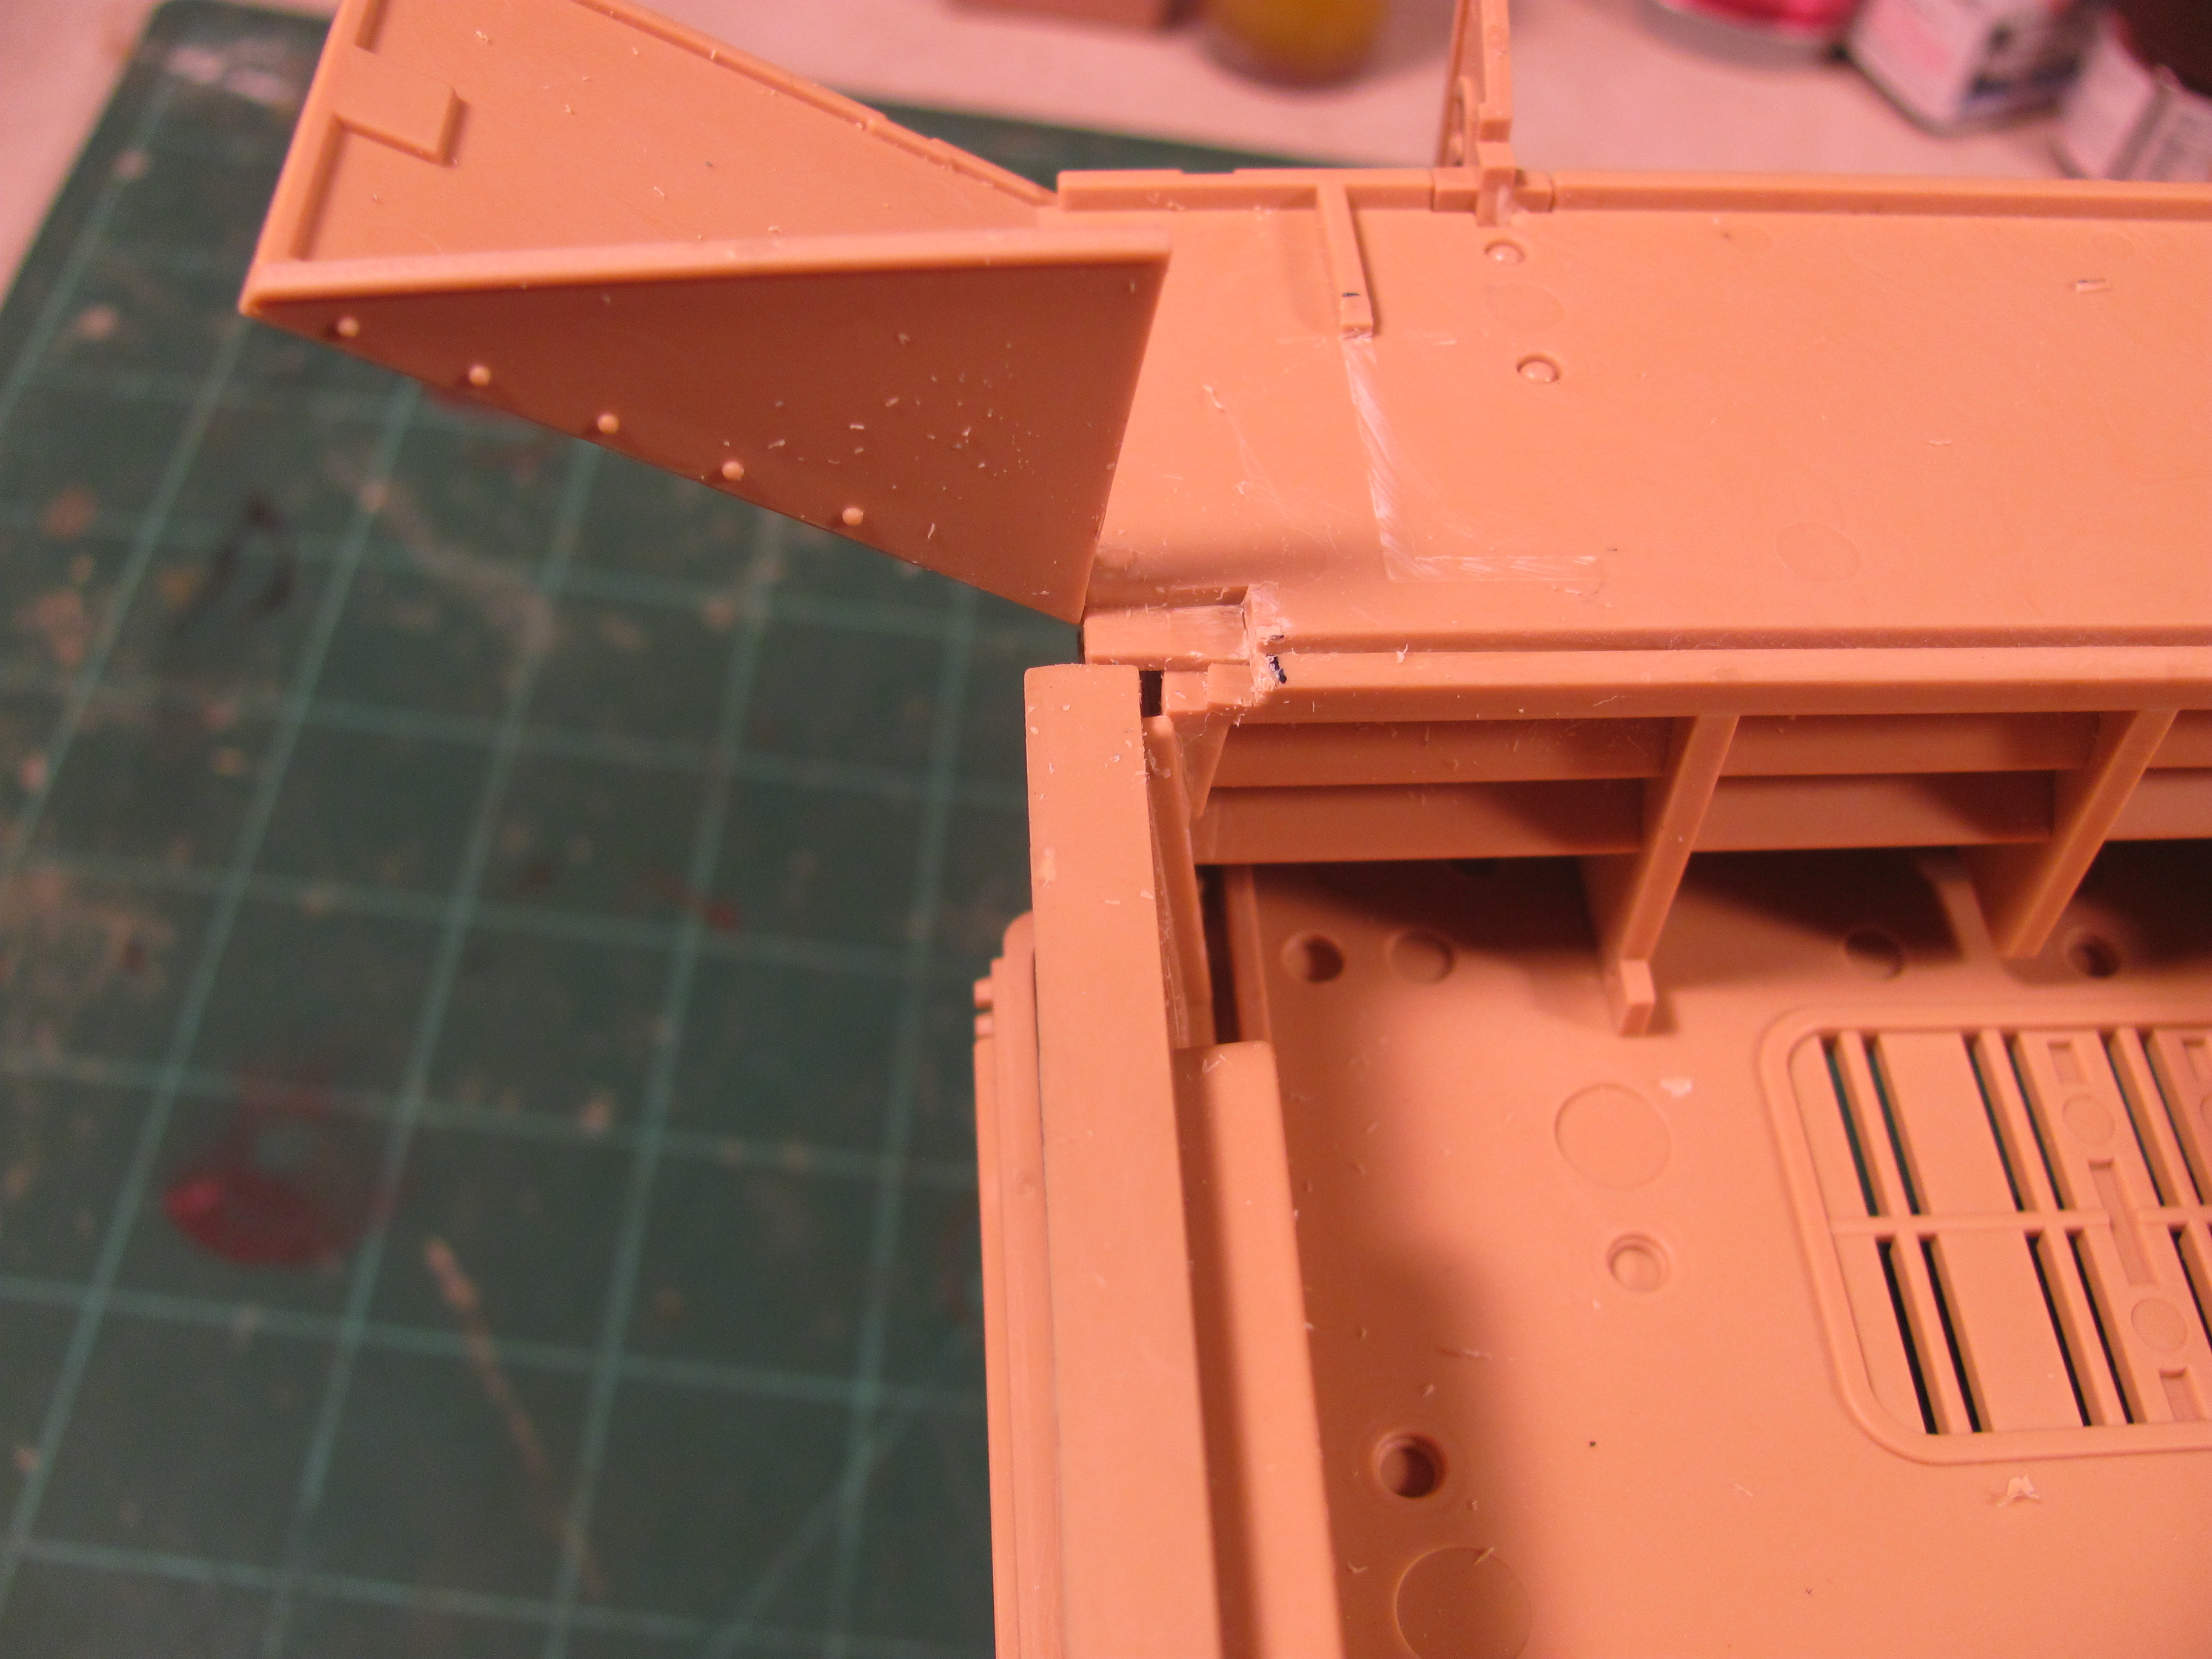
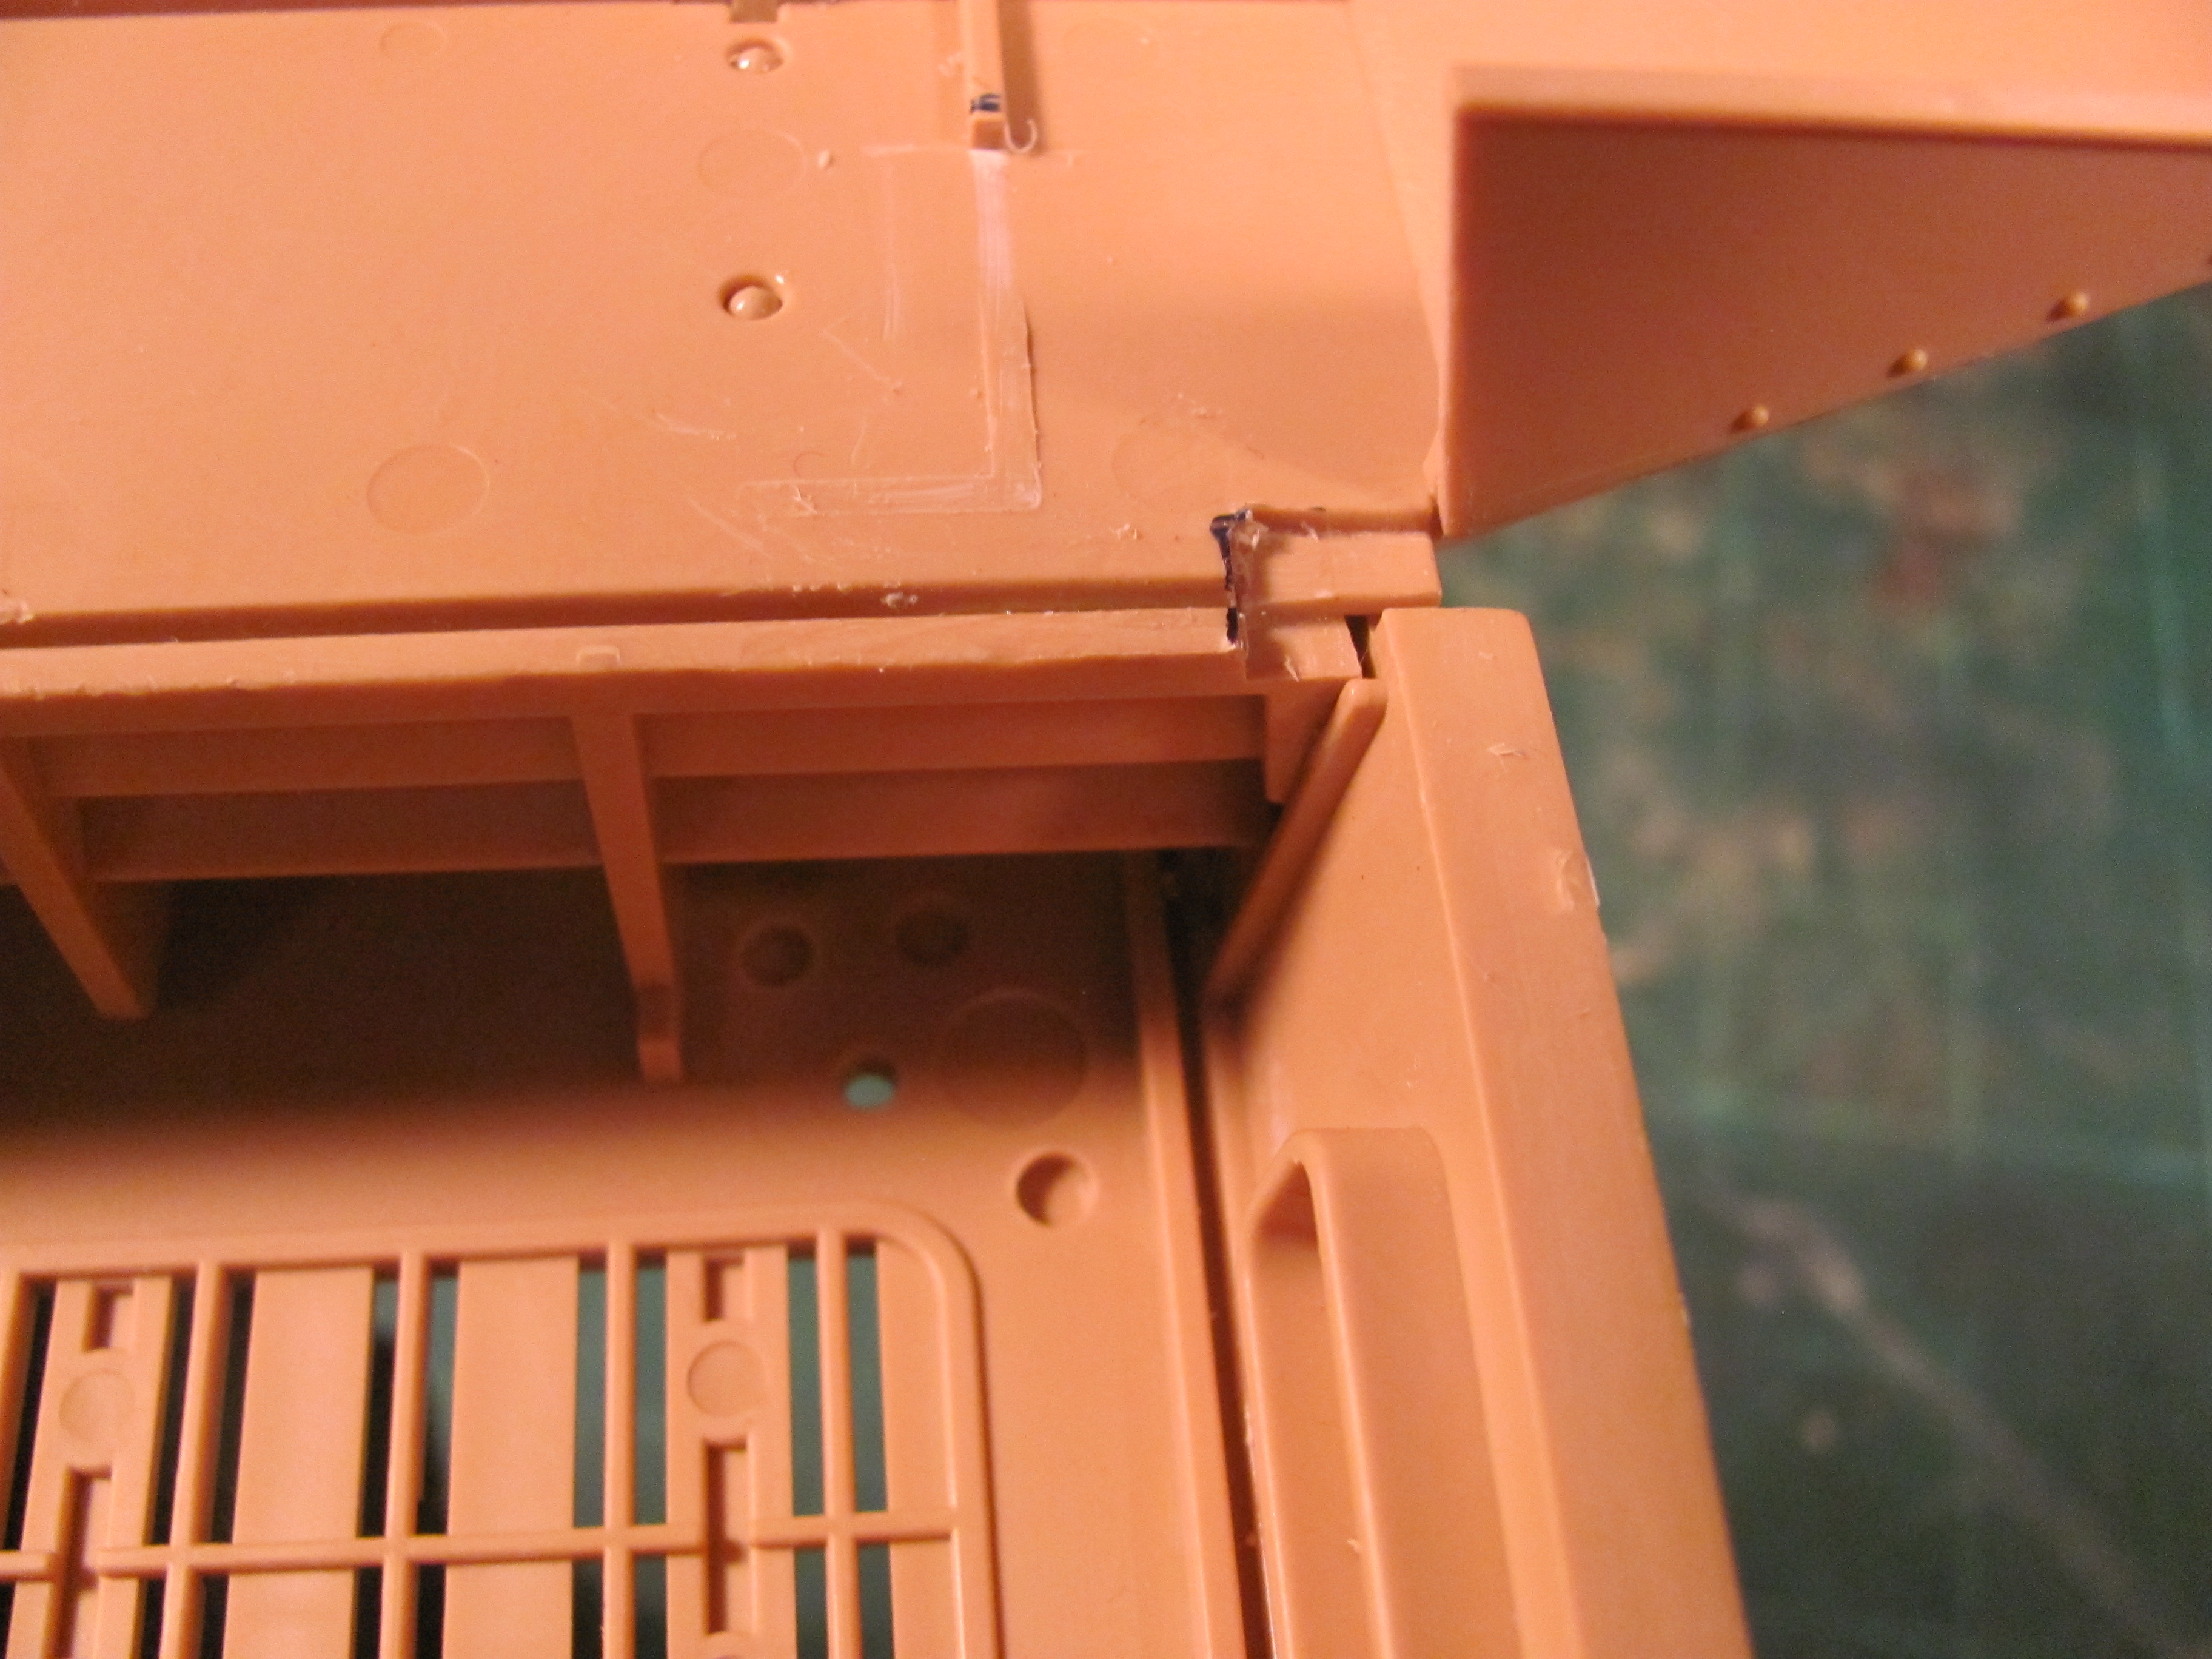
I did have a fit problem with the upper hull on the lower hull after i glued on the rear fenders, i will post pics of this tomorrow of what i had to do to fix it. It was fixable and now sits perfectly on the lower hull.
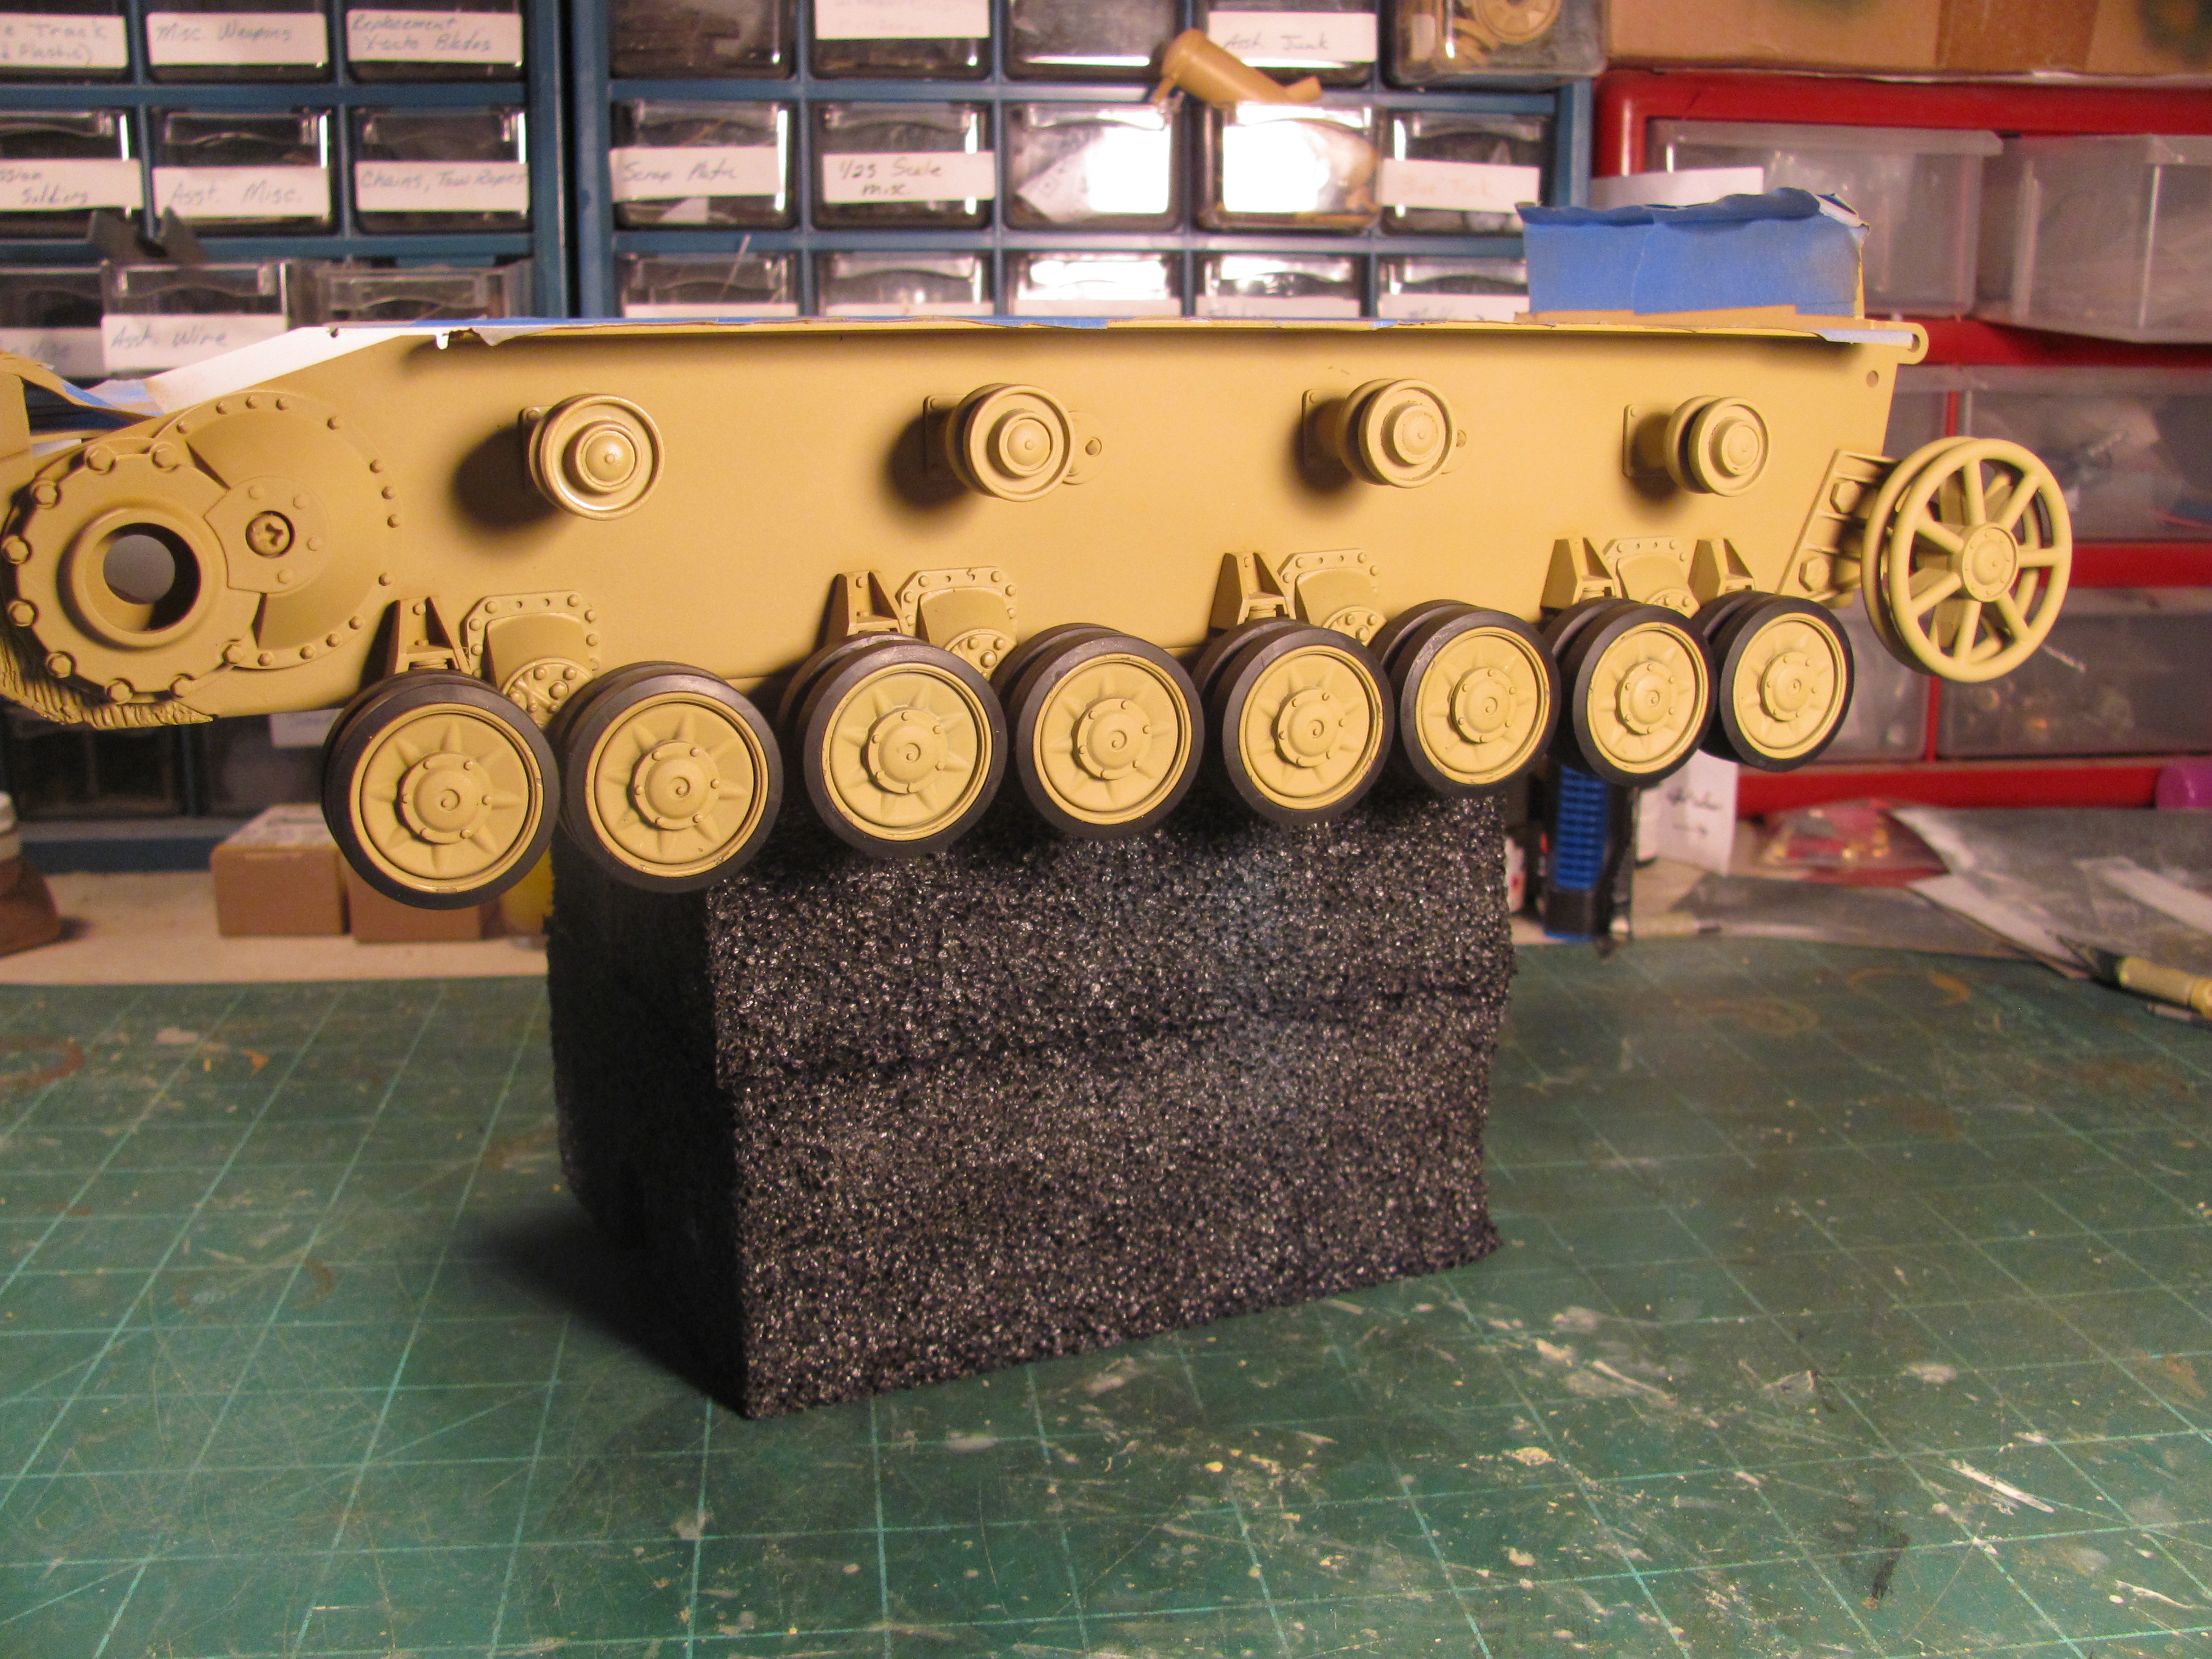
I did have a fit problem with the upper hull on the lower hull after i glued on the rear fenders, i will post pics of this tomorrow of what i had to do to fix it. It was fixable and now sits perfectly on the lower hull.
08-14-2016, 06:55 PM
#61
With the short L48 gun this mat turn out to be a good Danville battle tank. Low and should turn well.
08-15-2016, 03:07 AM
#62
Wow... just buzzing through this one very quickly! It'll have paint on it soon I bet. 
Jeff
Jeff
08-15-2016, 04:45 AM
#63

Completed the suspension today, here are some pics to help with assembly if you never have done the Panzer IV before.
Not sure if the single leaf spring is going to work since on my Panzer IV i had to replace the stock leaf spring with the Schumo replacements which were longer. we shall see, the instructions say to leave a 2mm gap (which you can see in the second pic) maybe this will help? we shall see.
Not sure if the single leaf spring is going to work since on my Panzer IV i had to replace the stock leaf spring with the Schumo replacements which were longer. we shall see, the instructions say to leave a 2mm gap (which you can see in the second pic) maybe this will help? we shall see.
Thoroughly enjoying your work.
08-15-2016, 06:44 PM
#64
Thread Starter
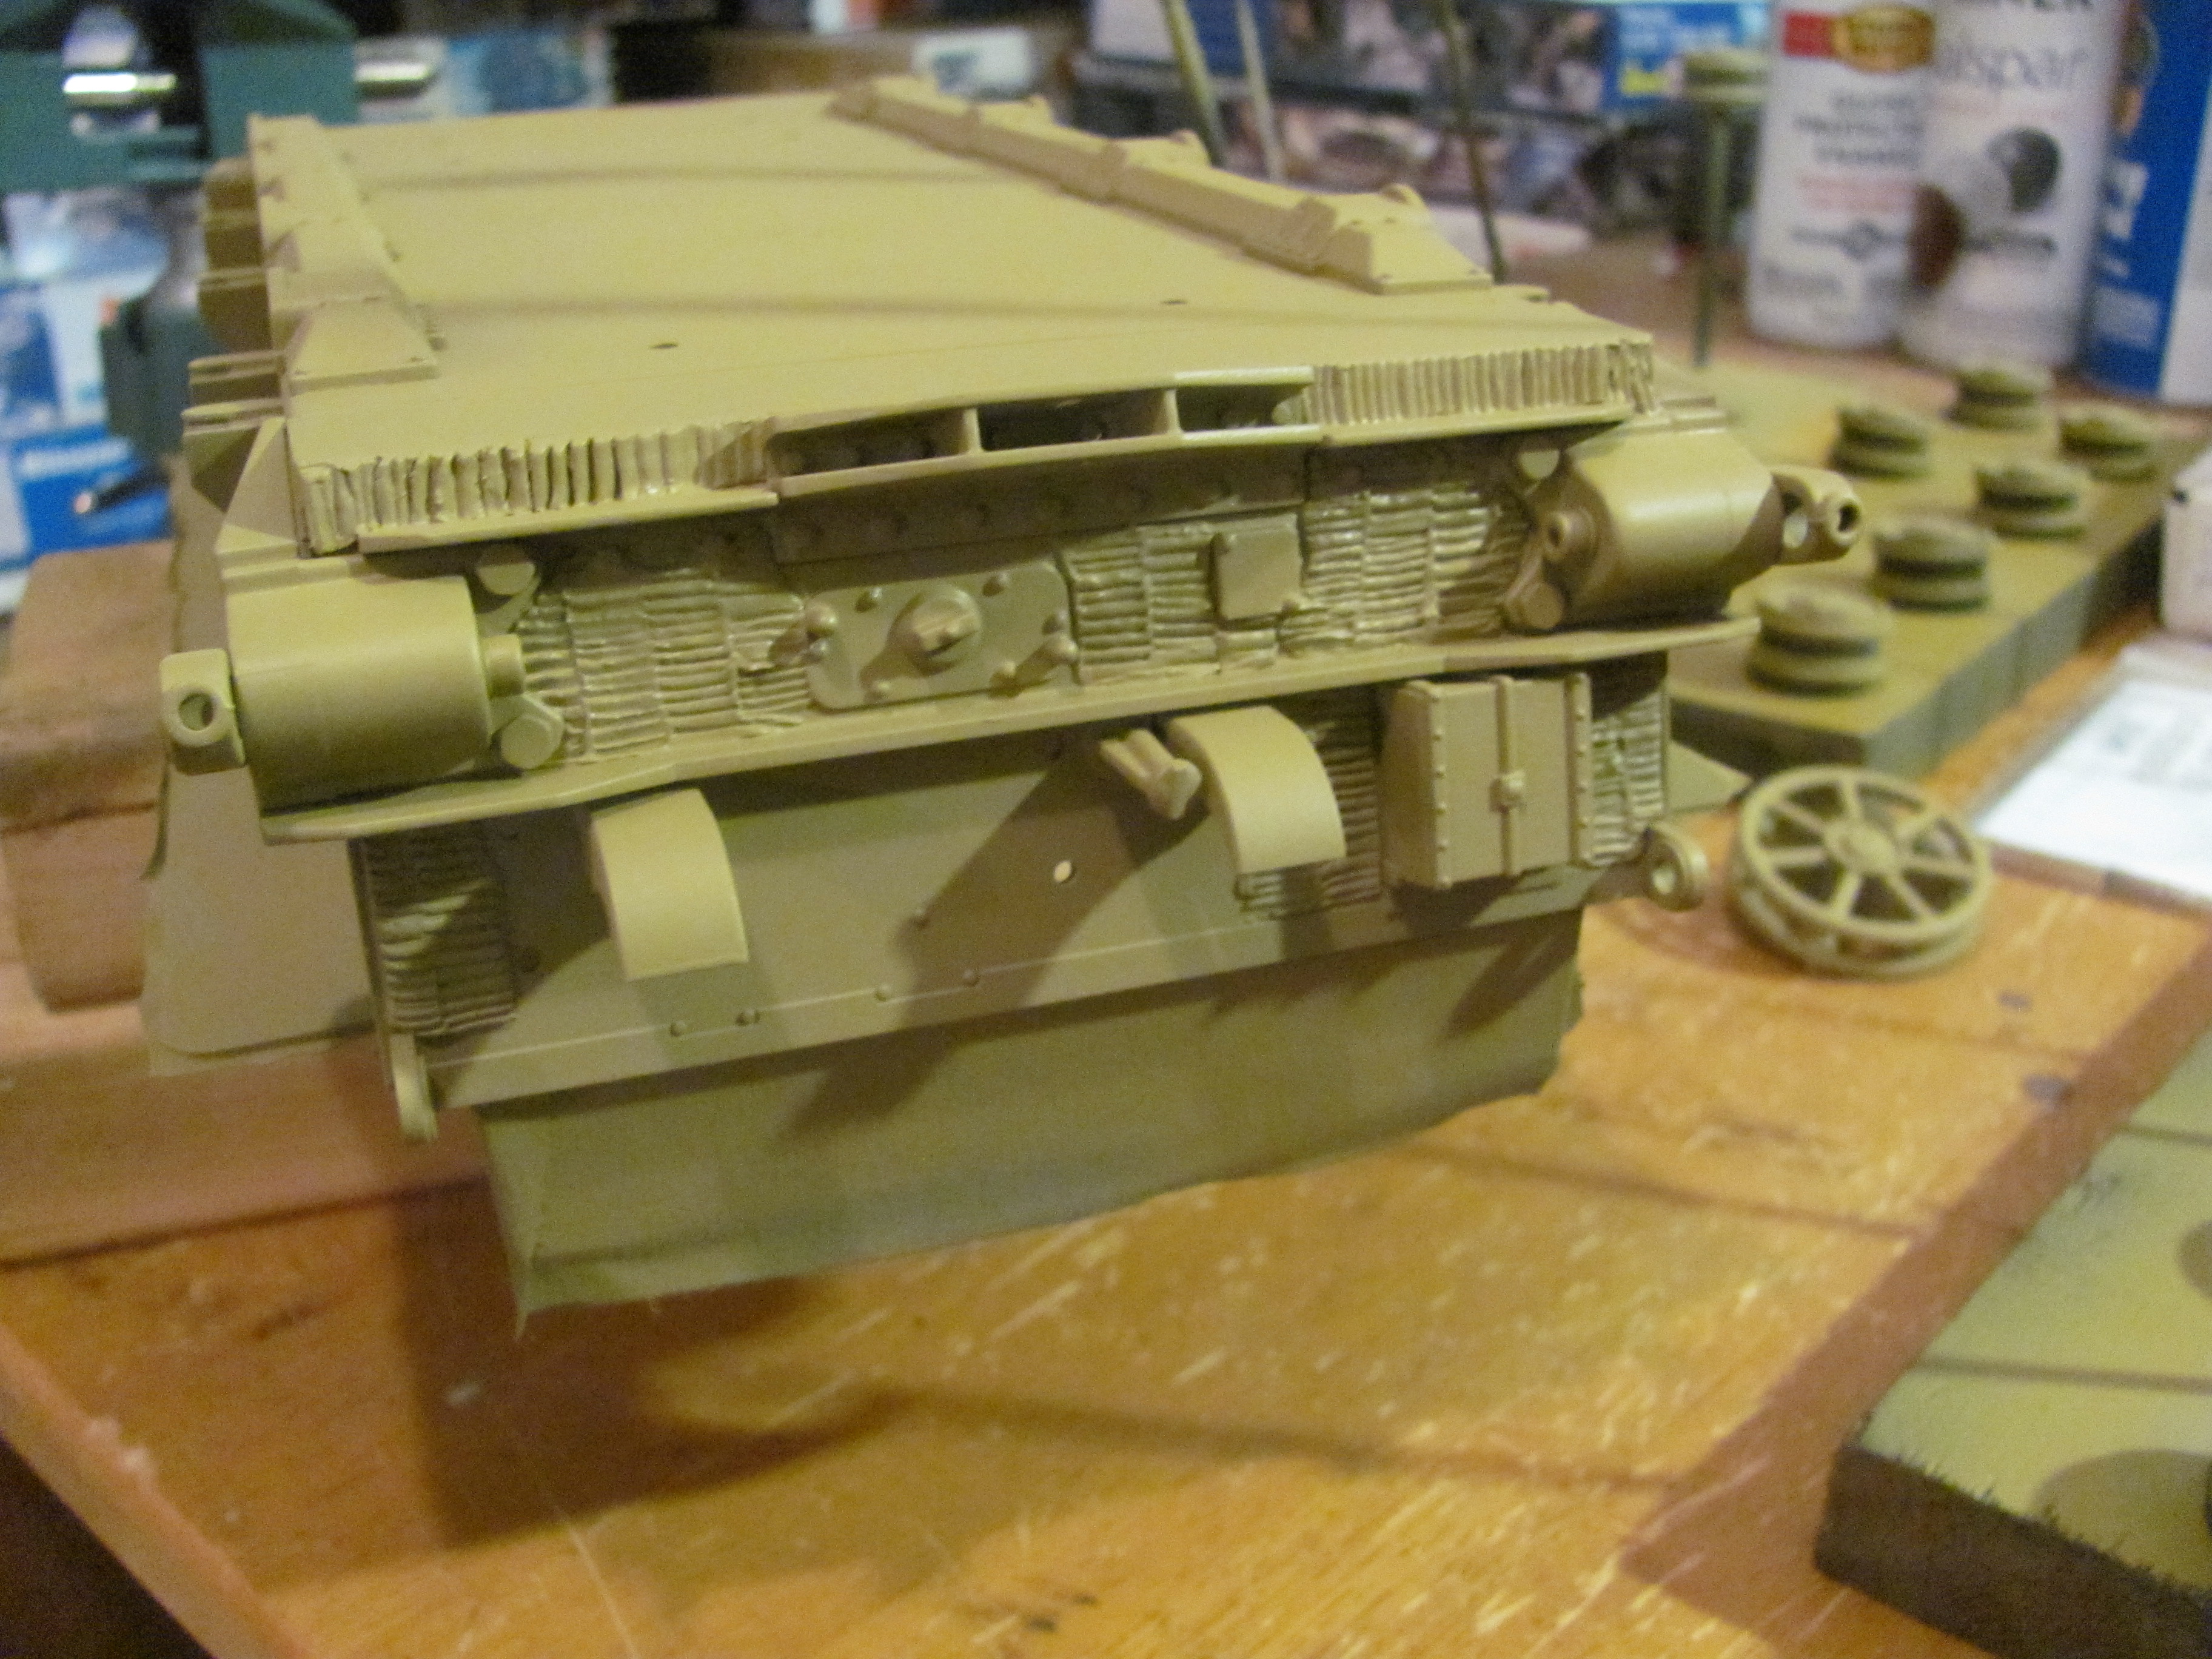
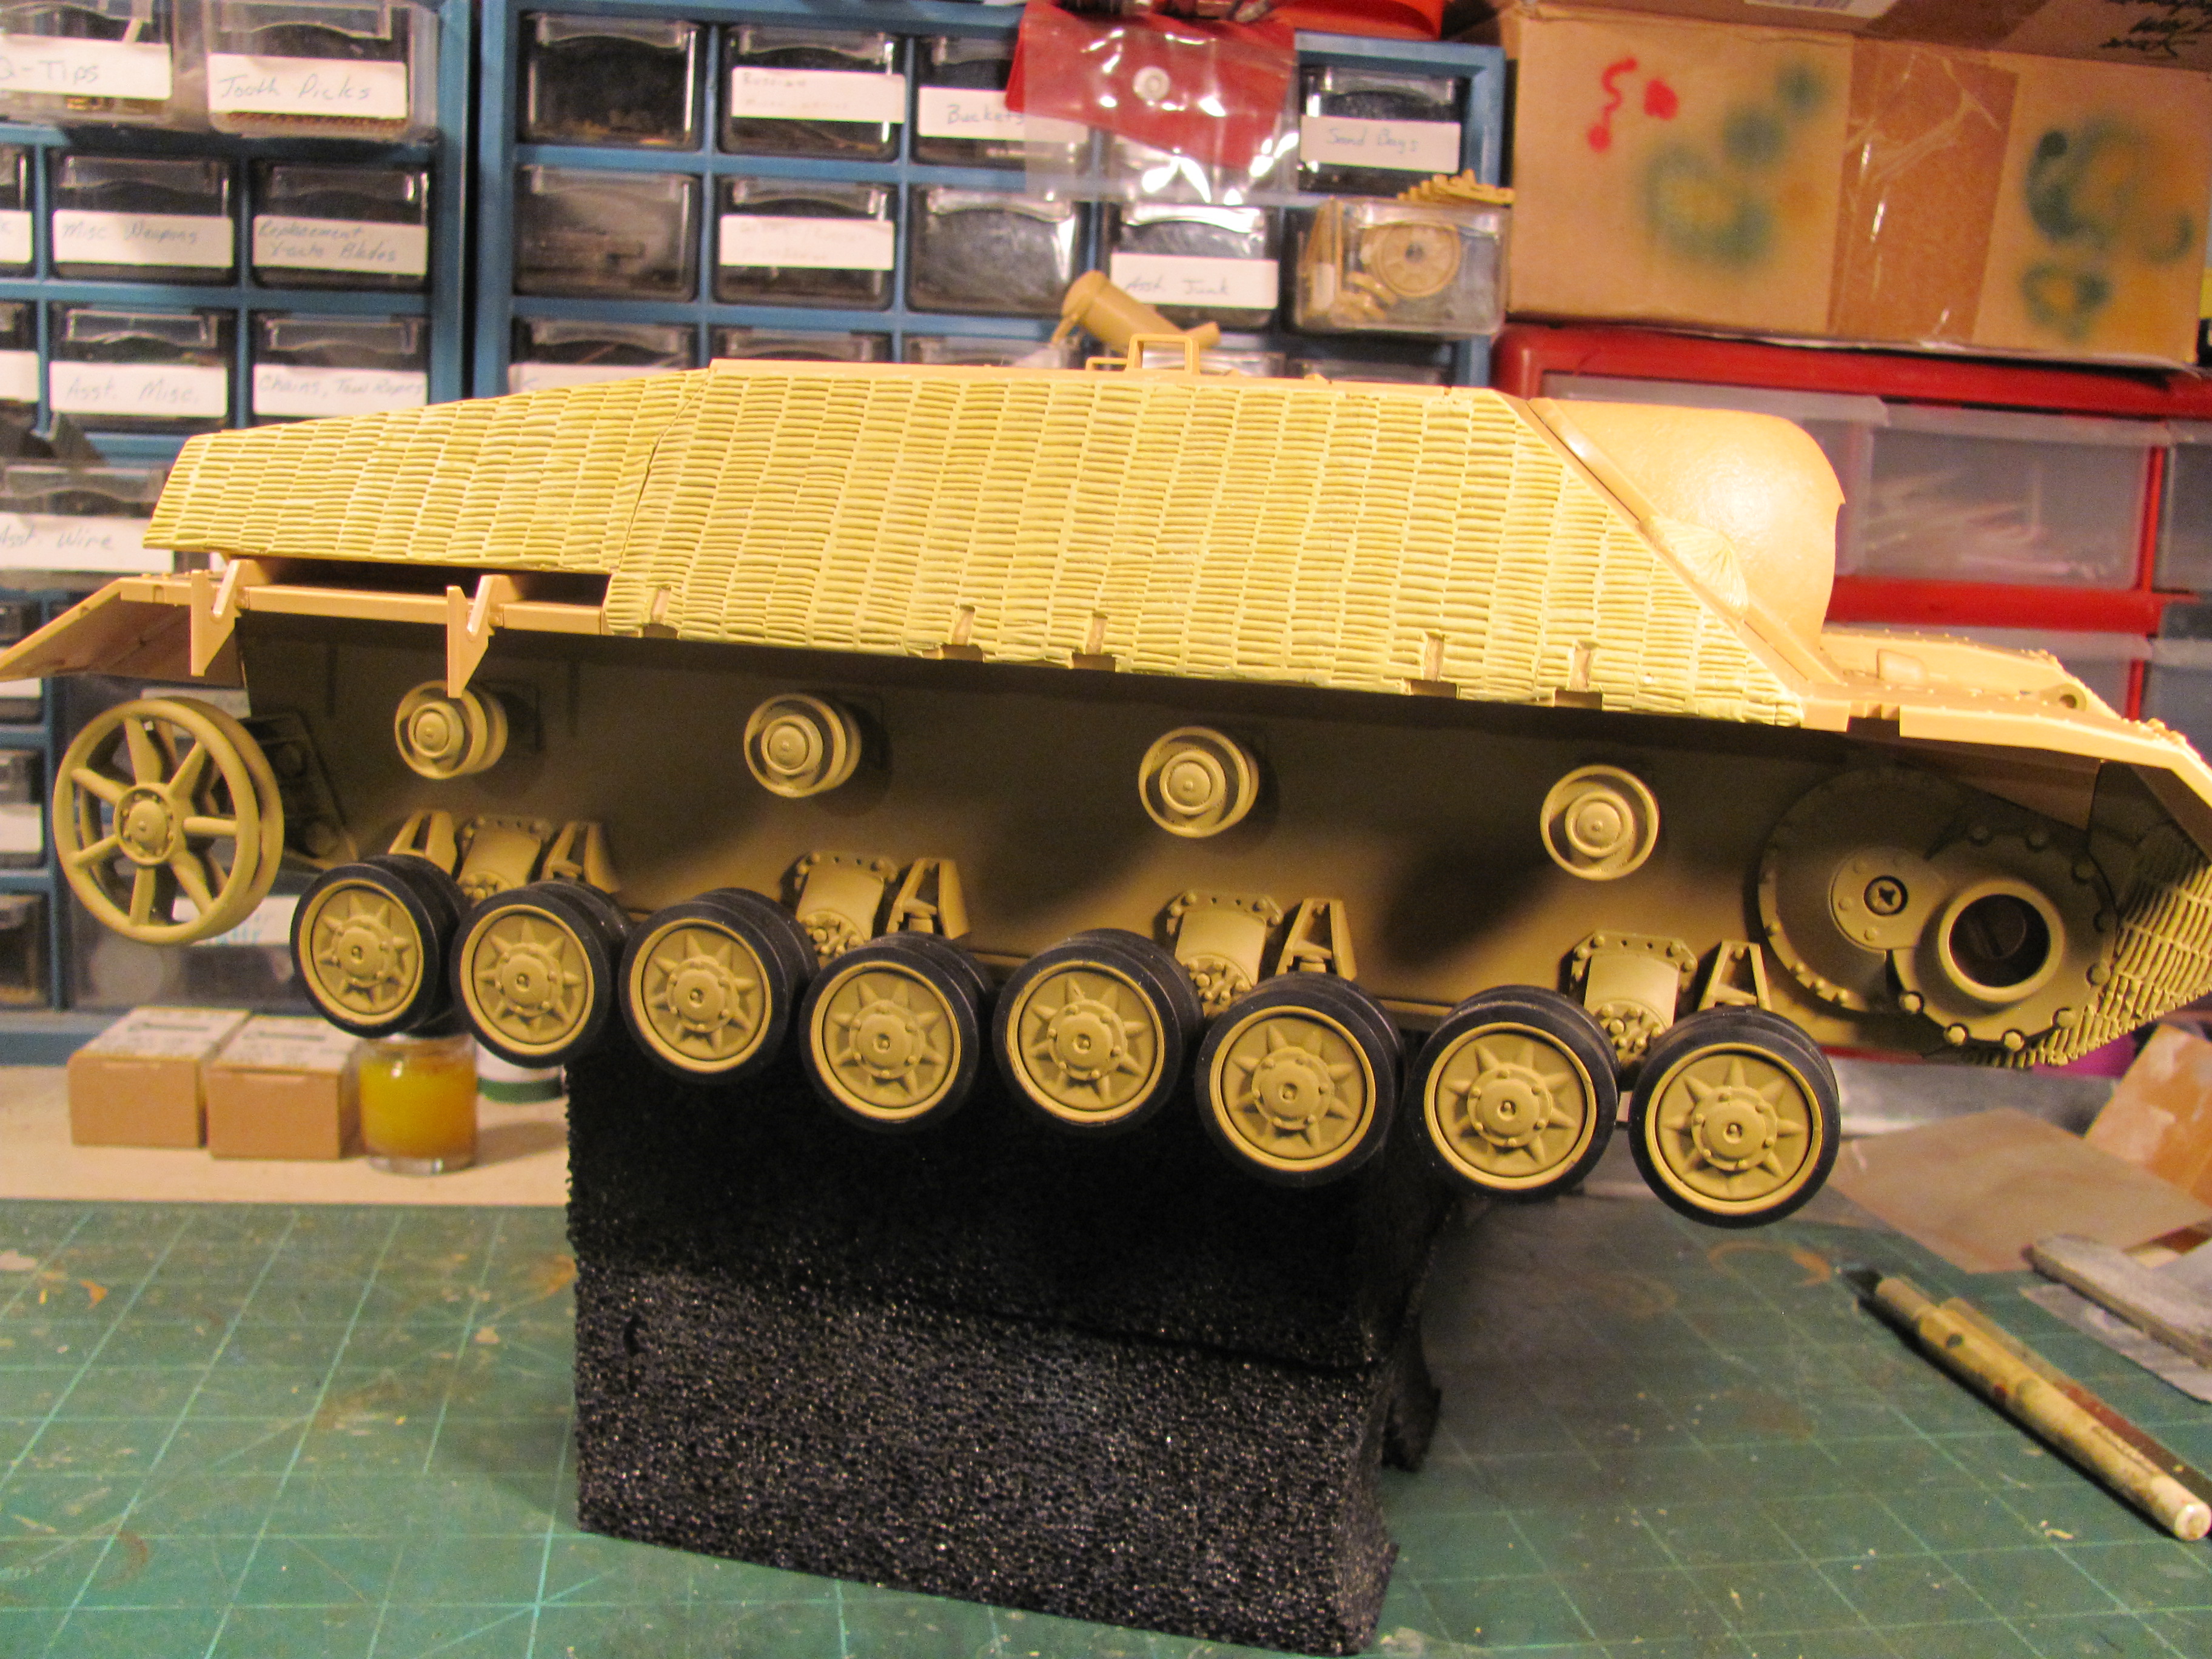
here is the corner of the inside part of the fenders that i had to trim as well as the molded line that i had to shave off to get the upper hull to fit properly, i don't think i glued the inner fender in the wrong place, but luckily it was easy to fix.
Last edited by manchu9inf; 09-12-2016 at 05:05 AM.
08-16-2016, 06:41 AM
#65

Join Date: Oct 2014
Location: Roseville, CA
Posts: 888
Likes: 0
Received 0 Likes
on
0 Posts
So was it that the upper hull would not slide into the two oval shaped holes and would not go forward enough to get the two screws in up front?As you can see, I had to open mine just a little.
Last edited by Tanker 10; 08-16-2016 at 06:47 AM.
 08-17-2016, 05:17 AM
#69
Thread Starter
Most definitely it will get its trial by fire at Danville. i have never fought a TD before so i am anxious to see how it will perform and how well i will do with it. Maybe it will be a great sniper with the low silhouette?
08-17-2016, 07:44 PM
#72
Thread Starter
the sleeve is the for the shorter L48 barrel. hopefully this weekend or early next week it will get mounted and i will be able to see how much shorter it will be compared to the longer L70.
08-18-2016, 07:54 AM
#73
Join Date: Oct 2014
Location: Roseville, CA
Posts: 888
Likes: 0
Received 0 Likes
on
0 Posts
Manchu9inf, I hope you don't mind me jumping in here. As you know, I'm building one too. I've come to a portion of the build that I have a question for the Danville battlers and I would like to get their thoughts.
Here are two photo's, the first one shows the end of the barrel and the flash unit protruding per instructions. Now, they have given me a clear piece to go on the end of the barrel and they say not to use any surface primer on. I assume that means paint too. What is their thought process here, do they want it left clear so tank battlers can see the flash from 360 degrees? If I leave it off, the barrel will be short. Any thoughts?
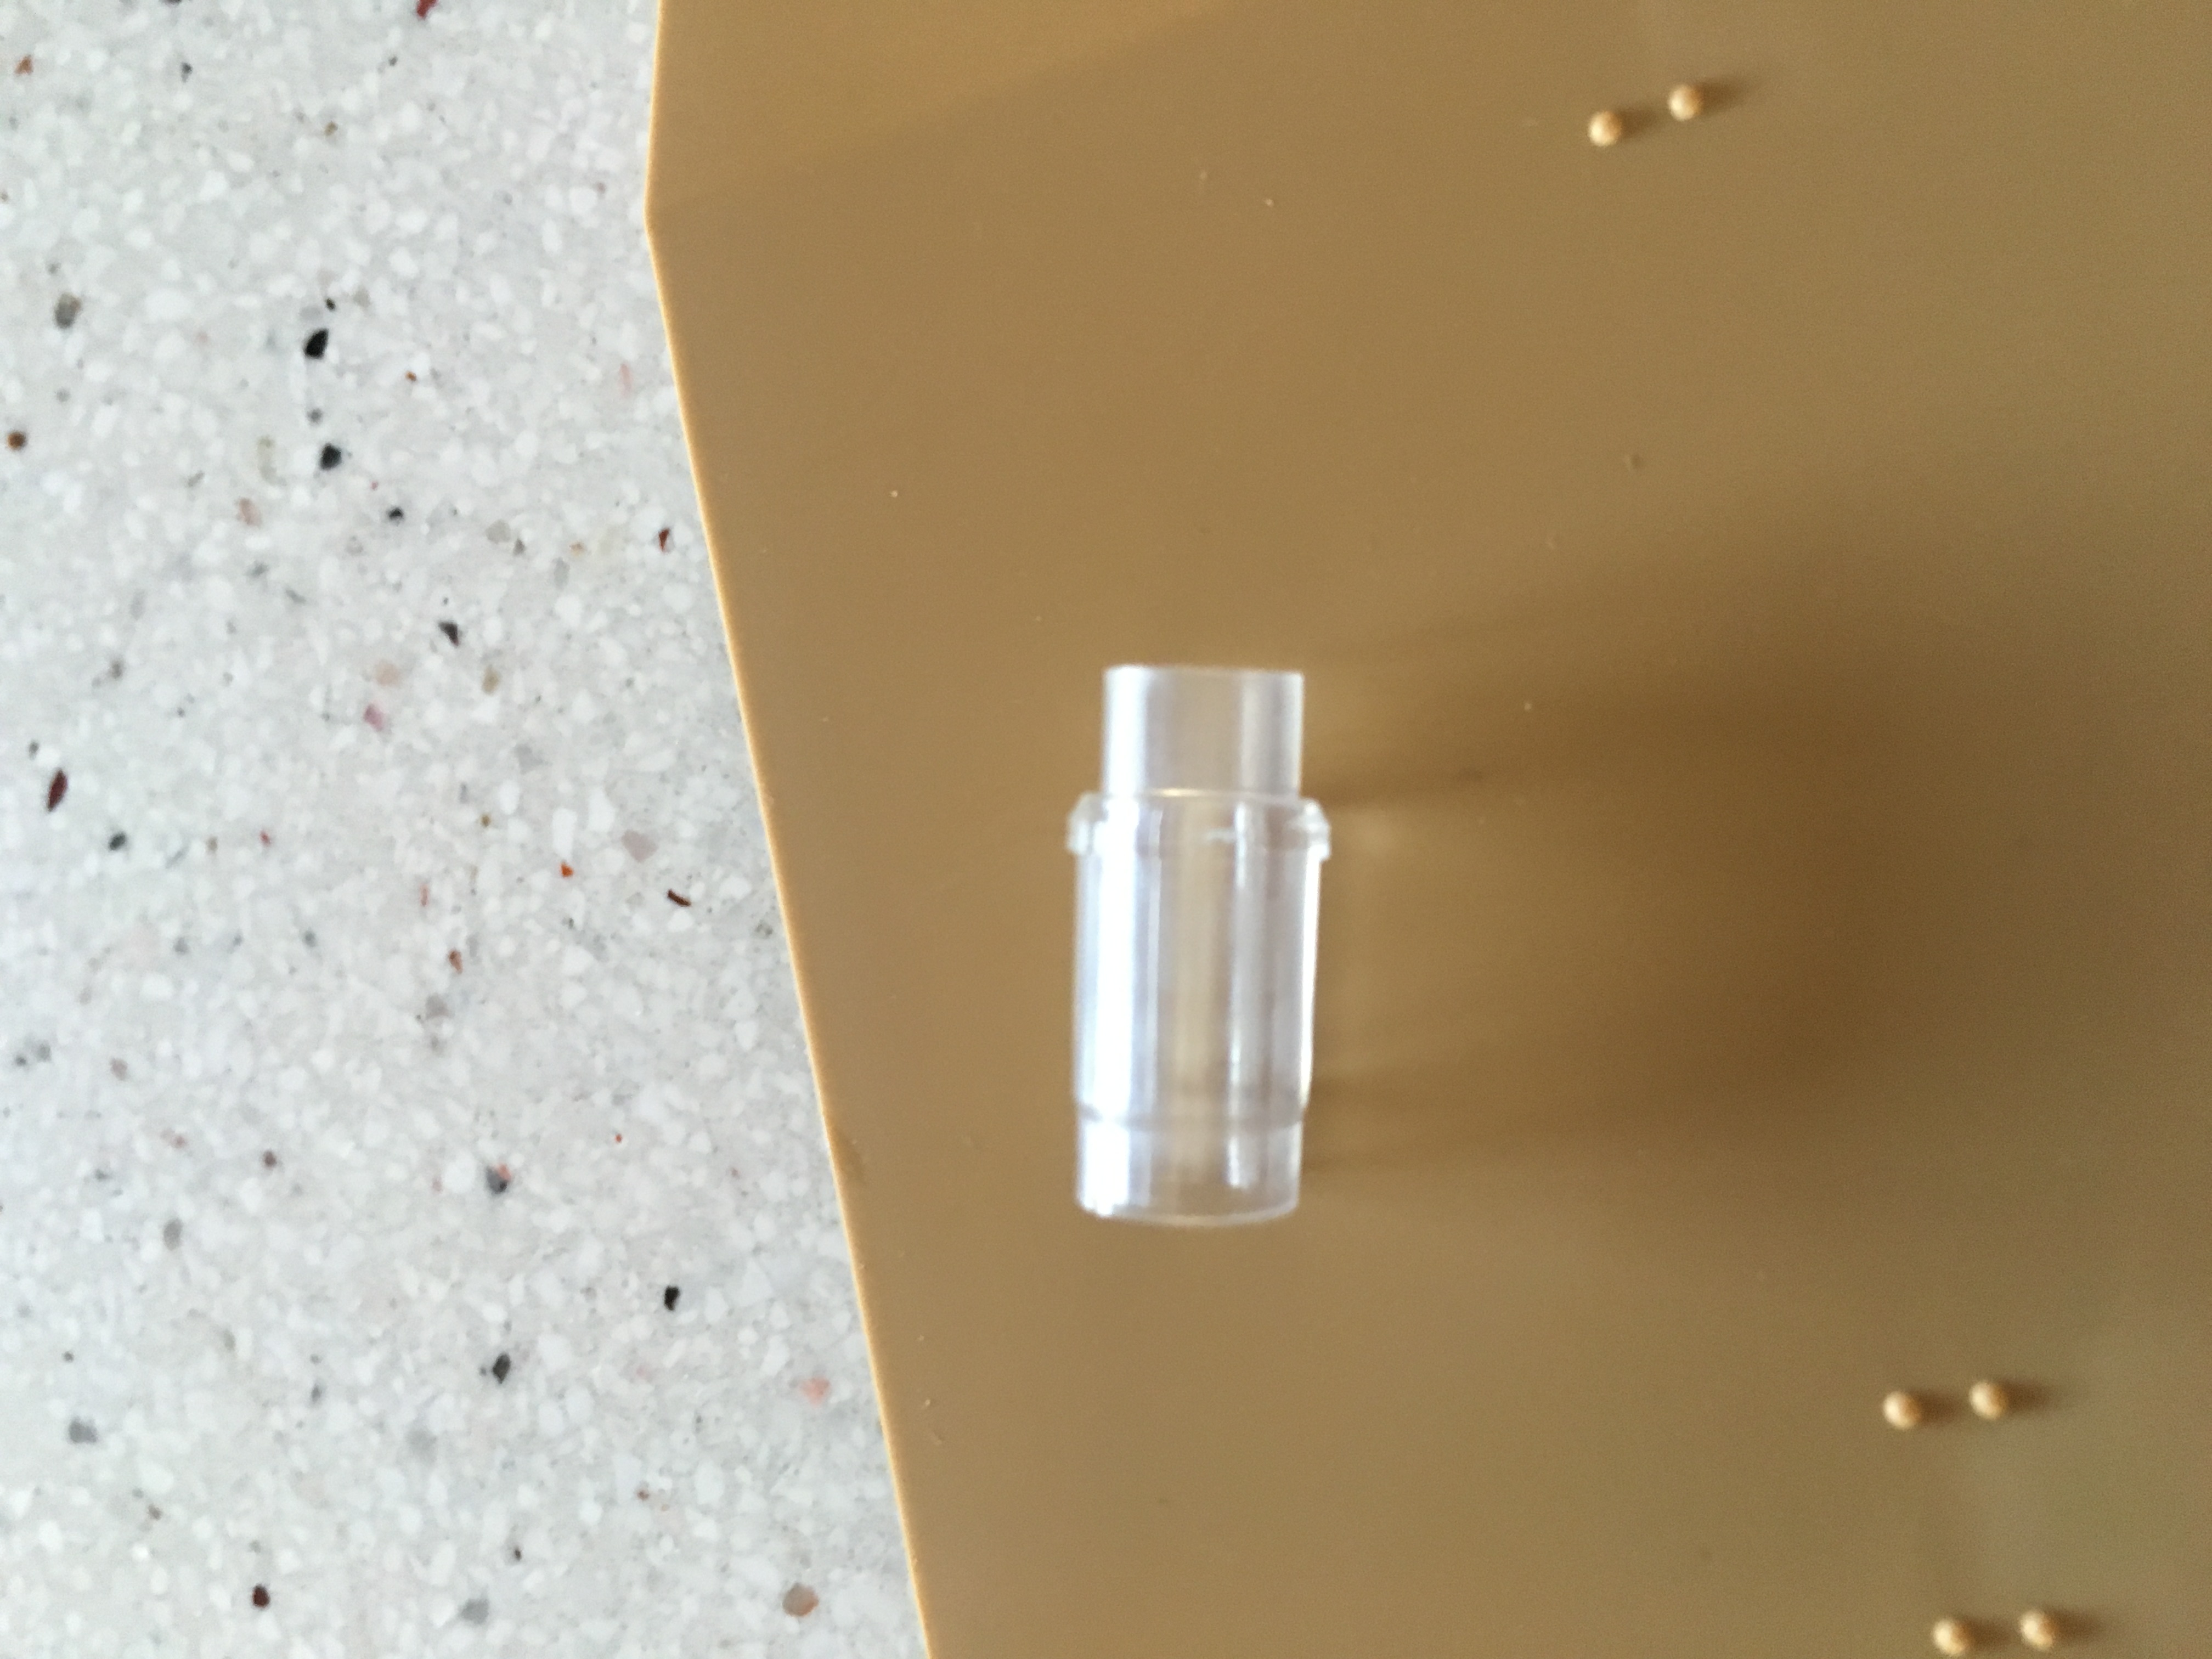
Here are two photo's, the first one shows the end of the barrel and the flash unit protruding per instructions. Now, they have given me a clear piece to go on the end of the barrel and they say not to use any surface primer on. I assume that means paint too. What is their thought process here, do they want it left clear so tank battlers can see the flash from 360 degrees? If I leave it off, the barrel will be short. Any thoughts?
08-18-2016, 11:03 AM
#74
Manchu9inf, I hope you don't mind me jumping in here. As you know, I'm building one too. I've come to a portion of the build that I have a question for the Danville battlers and I would like to get their thoughts.
Here are two photo's, the first one shows the end of the barrel and the flash unit protruding per instructions. Now, they have given me a clear piece to go on the end of the barrel and they say not to use any surface primer on. I assume that means paint too. What is their thought process here, do they want it left clear so tank battlers can see the flash from 360 degrees? If I leave it off, the barrel will be short. Any thoughts?
Here are two photo's, the first one shows the end of the barrel and the flash unit protruding per instructions. Now, they have given me a clear piece to go on the end of the barrel and they say not to use any surface primer on. I assume that means paint too. What is their thought process here, do they want it left clear so tank battlers can see the flash from 360 degrees? If I leave it off, the barrel will be short. Any thoughts?