My Taigen Panther F
 09-22-2016, 01:24 PM
#76

Thread Starter

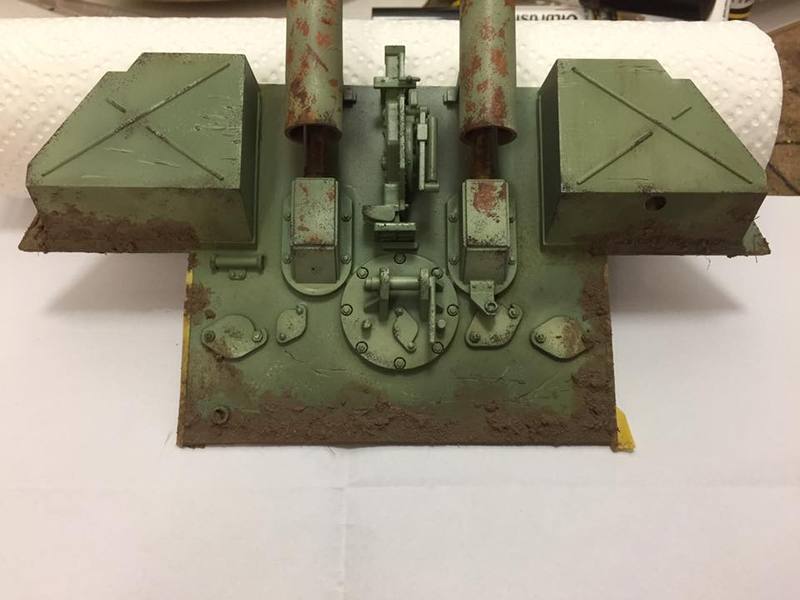
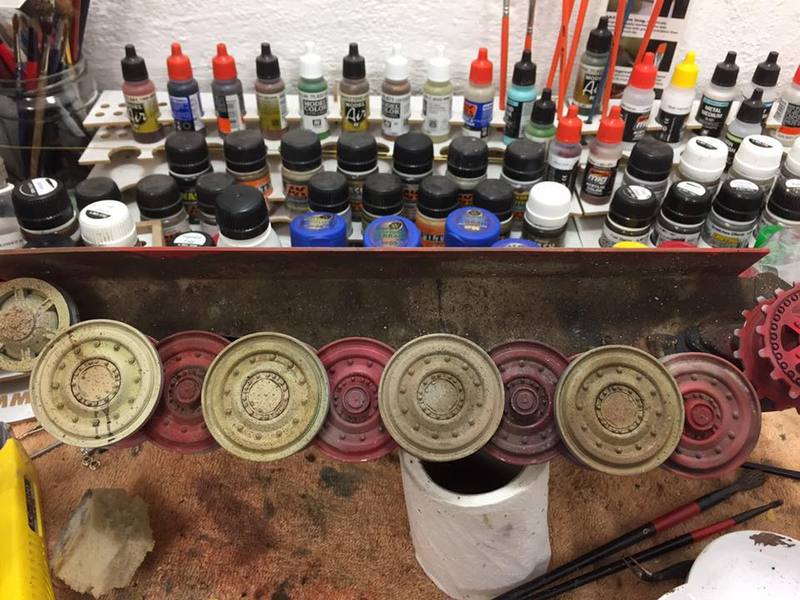
felt it was time to get some mud color on this puppy .
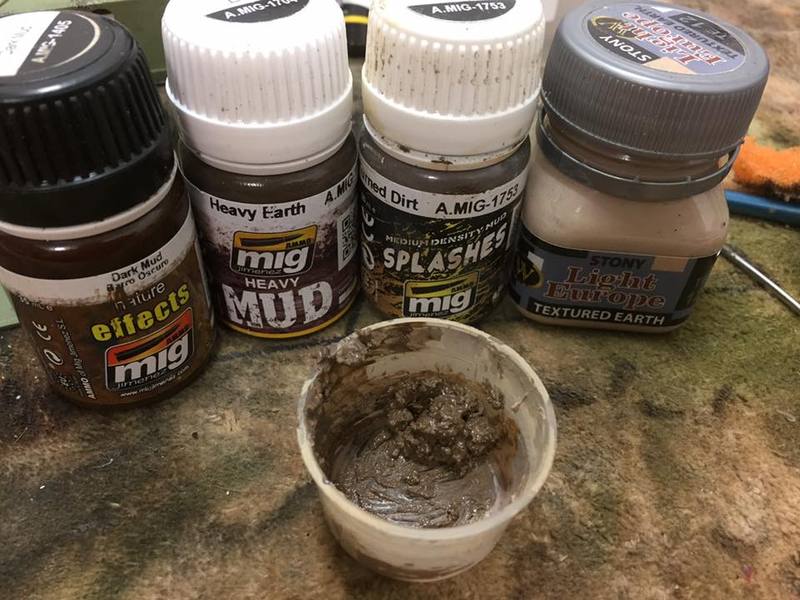
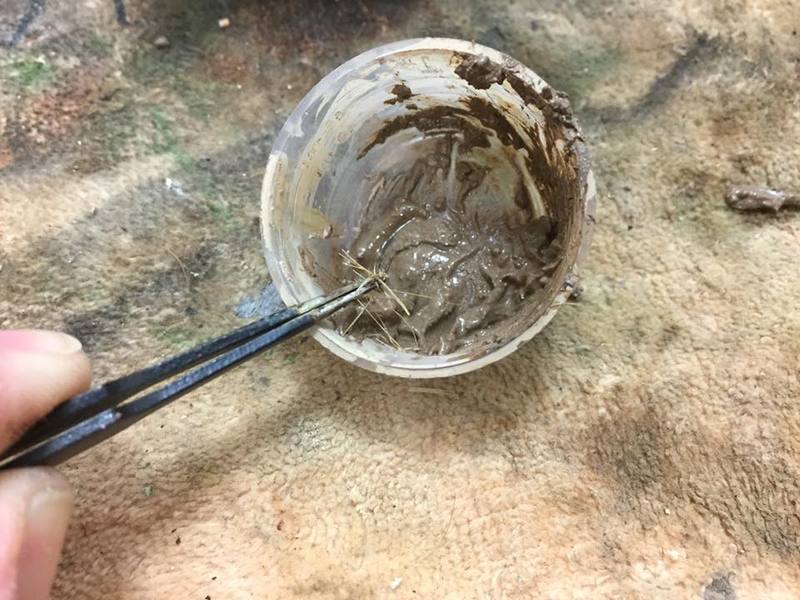
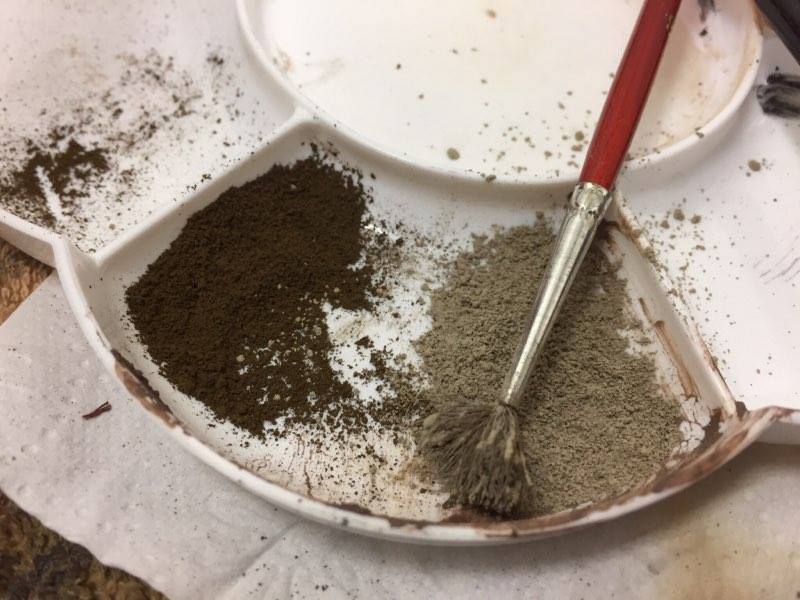
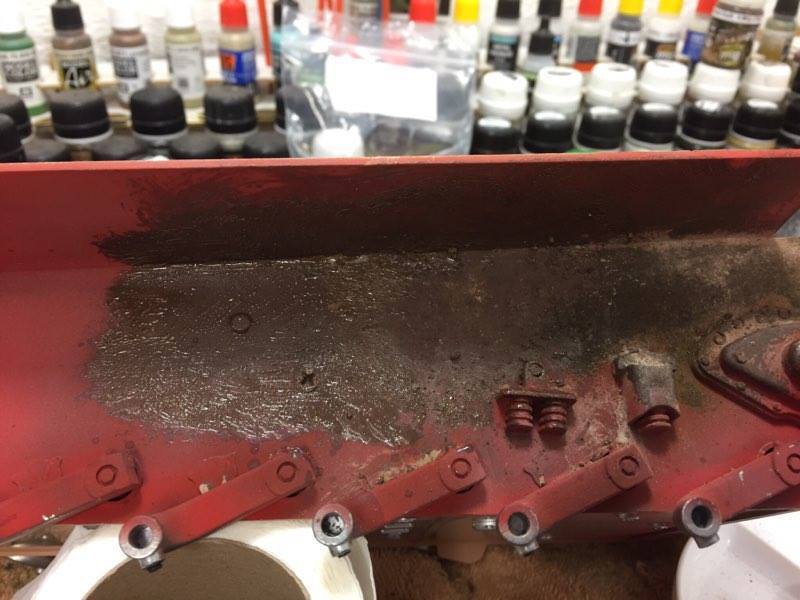
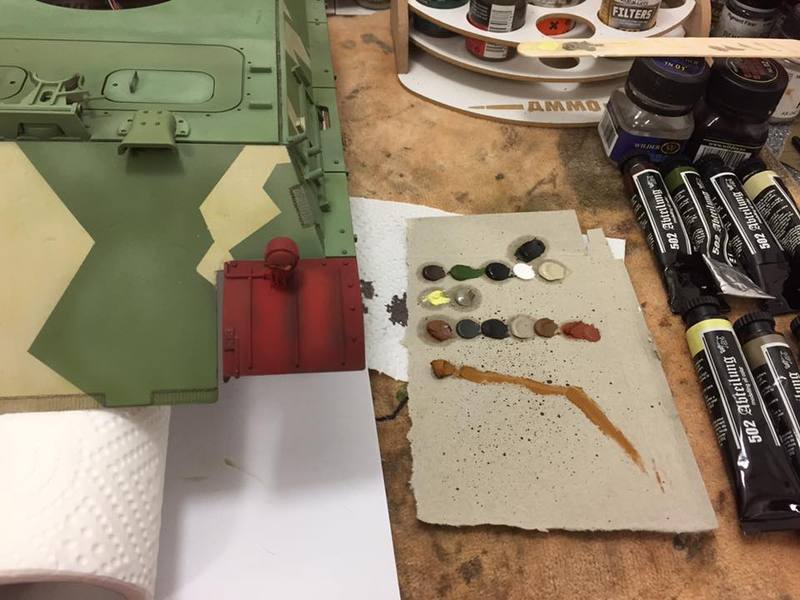
Made up a 'slush' oil bath for the pigments to settle into. Slabbing it onto the hull, follow by dabbing in several pigments colors into the wet mix.
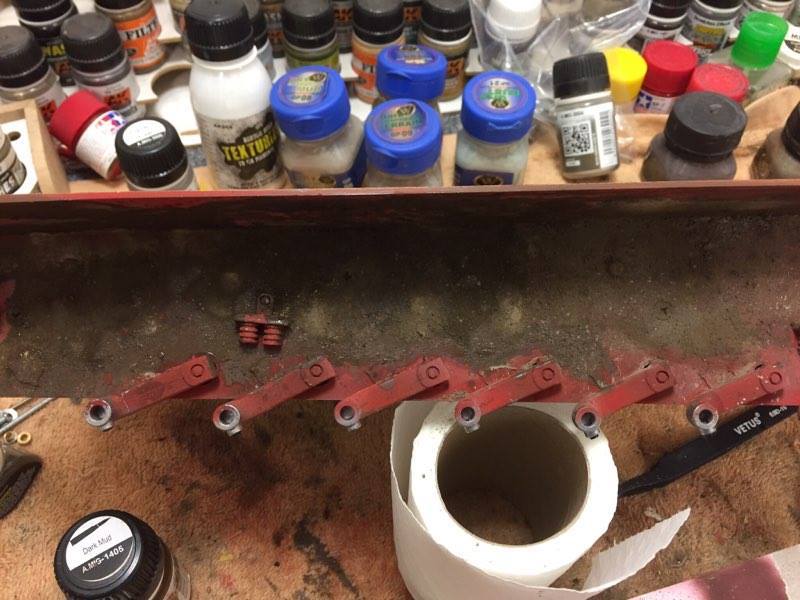
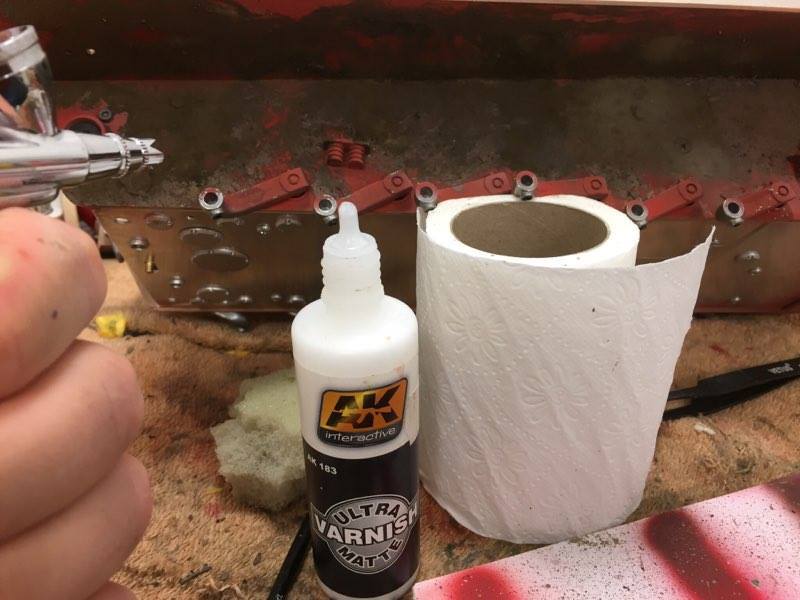
Once 'so so' happy with the color, I sealed it with AK's ultra varnish.
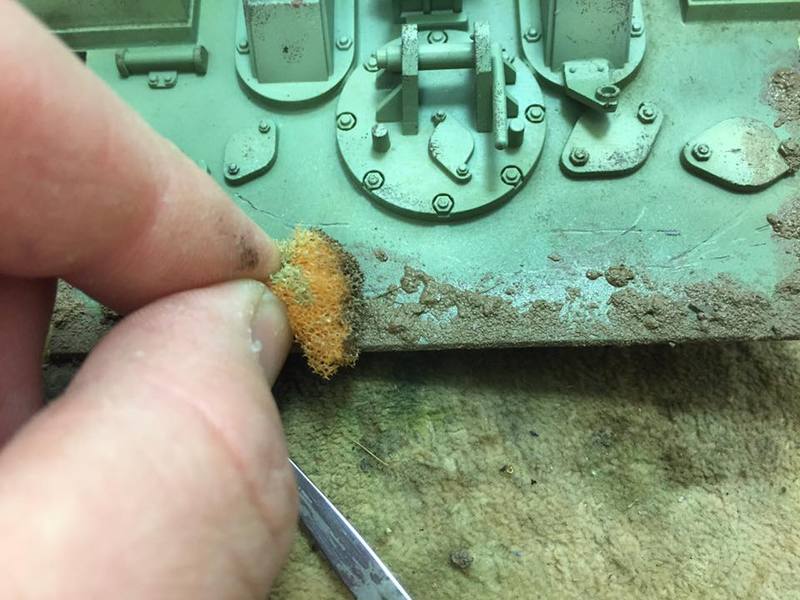
after letting it dry I went back and fort with a short stiff brush and a few producst from Wilder and Ammo to make some splatter effects

Made up a 'slush' oil bath for the pigments to settle into. Slabbing it onto the hull, follow by dabbing in several pigments colors into the wet mix.
Once 'so so' happy with the color, I sealed it with AK's ultra varnish.
after letting it dry I went back and fort with a short stiff brush and a few producst from Wilder and Ammo to make some splatter effects


 09-23-2016, 10:47 AM
#78
Thread Starter
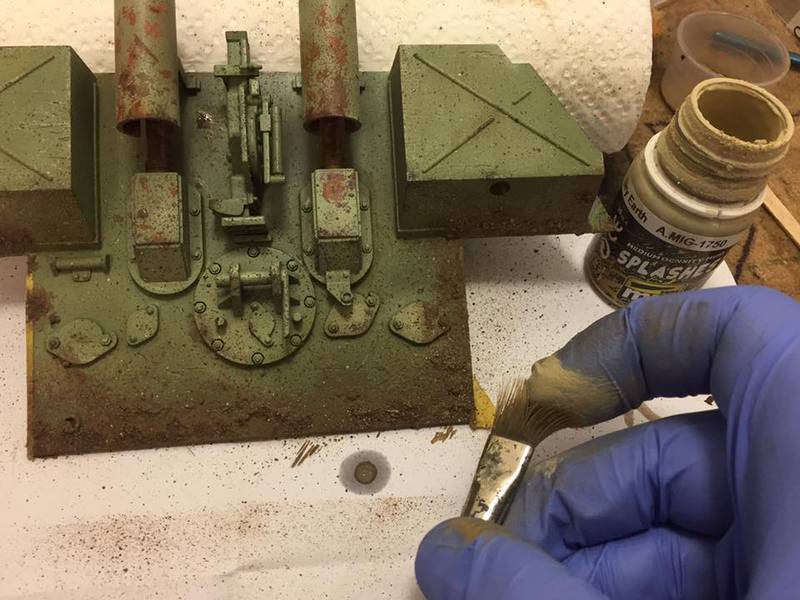
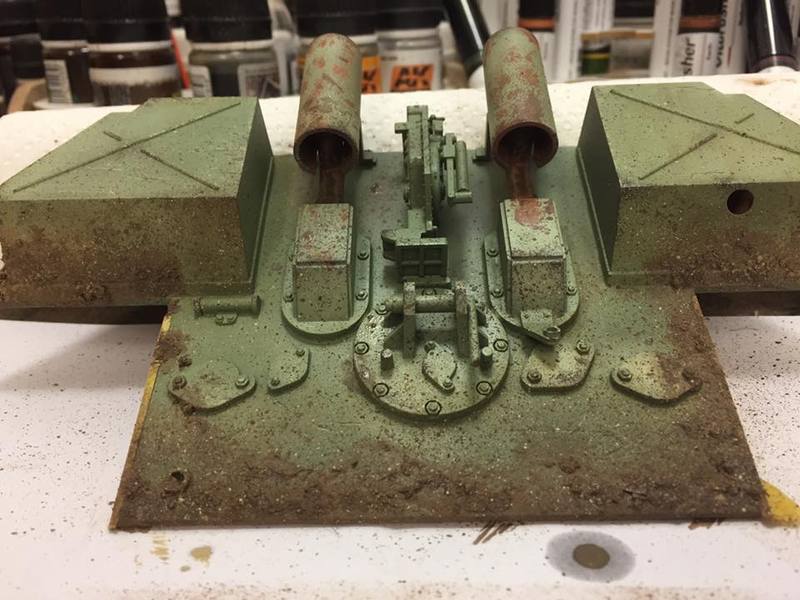
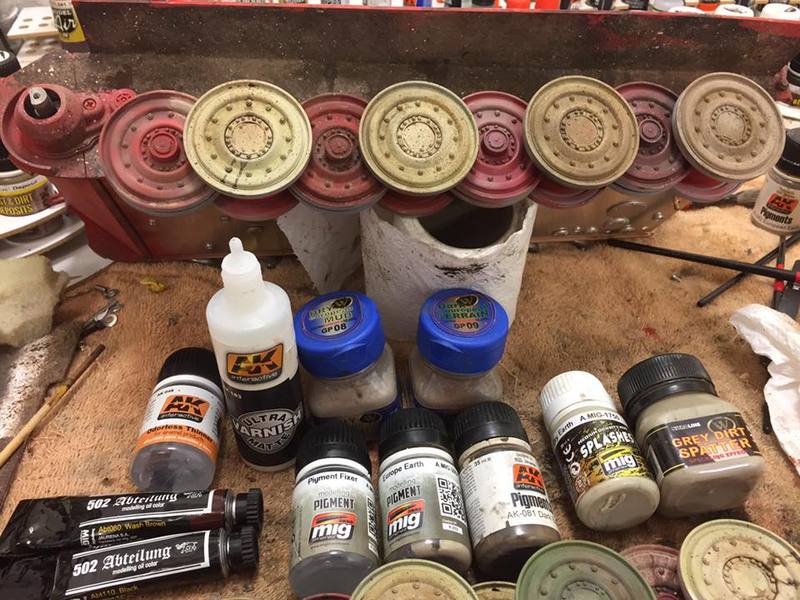
a few more of the process
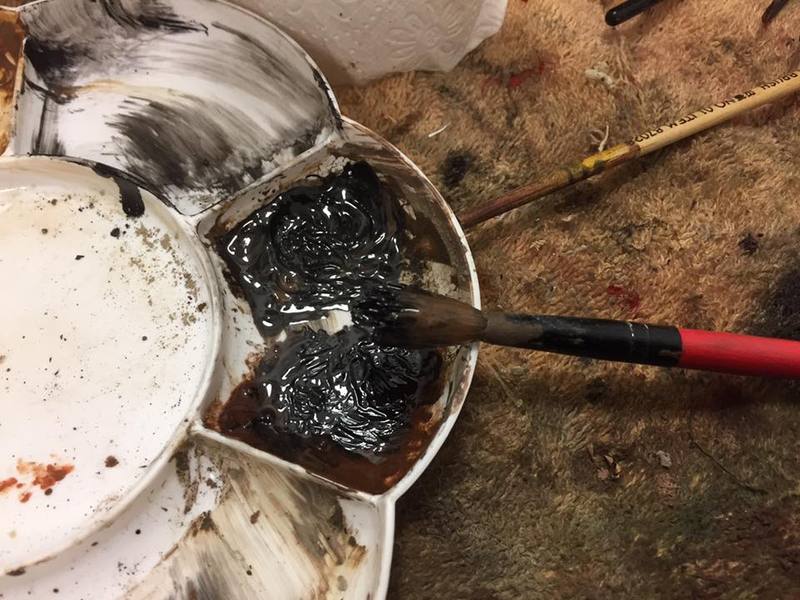
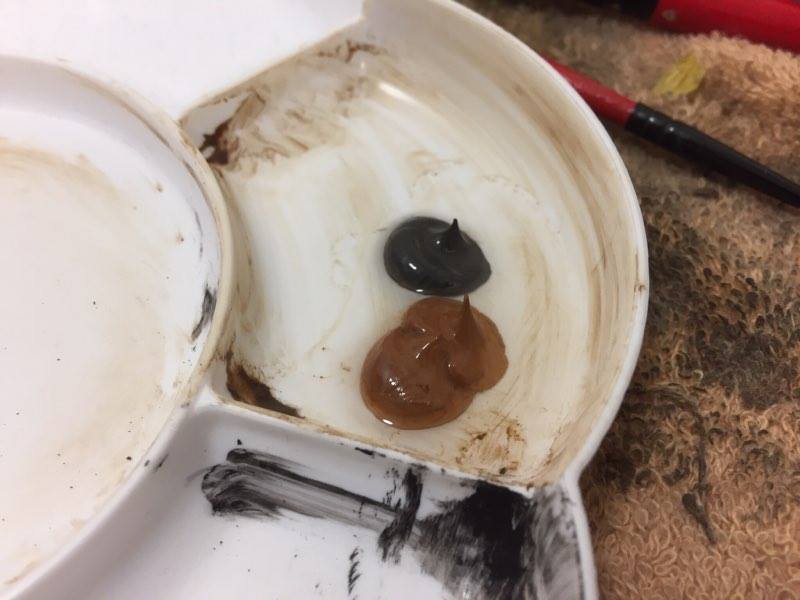
Oil and thinner mixed to slush
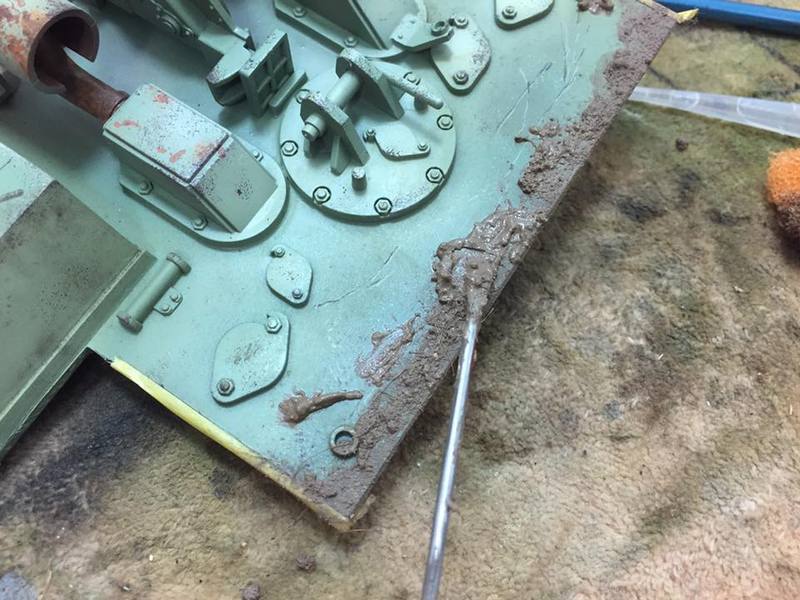
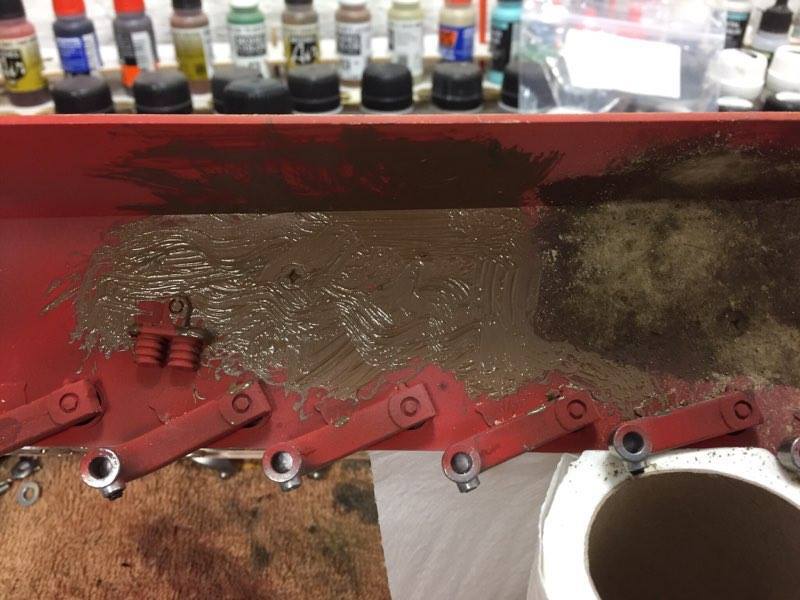
lay down a slushy layer
follow with your fav. pigment colors
give it a doze of varnish
Oil and thinner mixed to slush
lay down a slushy layer
follow with your fav. pigment colors
give it a doze of varnish
10-03-2016, 10:52 PM
#79
Thread Starter
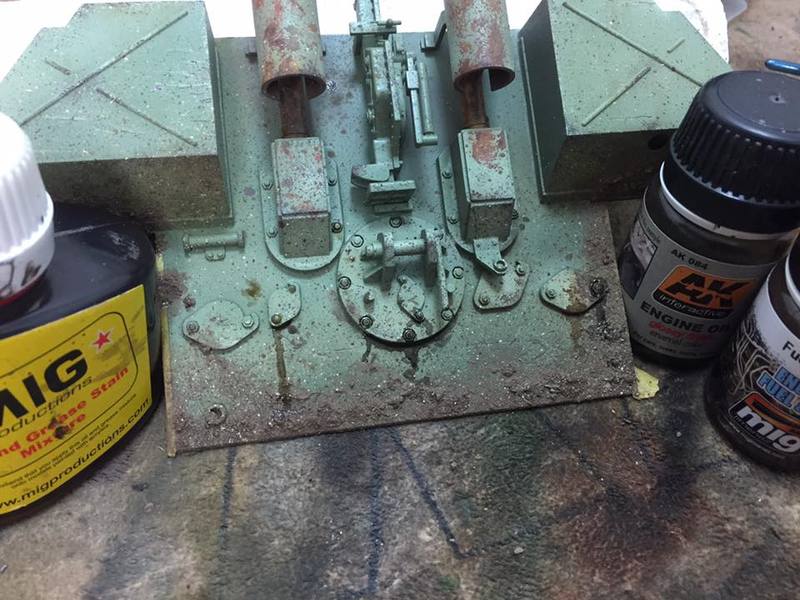
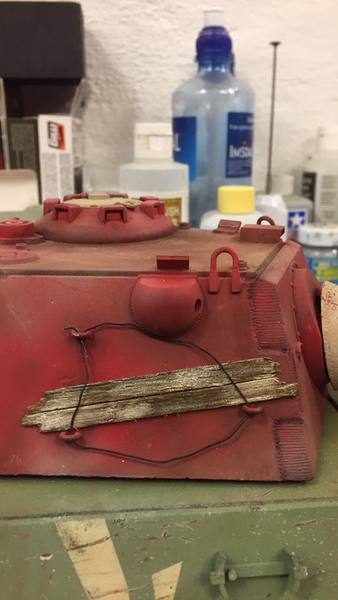
More stuff going on With the F .
Wilders deep shadow Wash
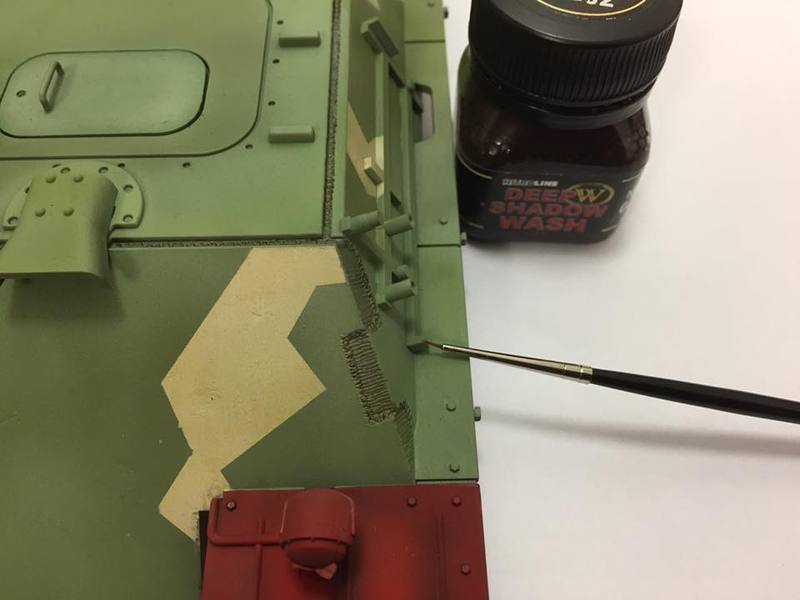
and then it was time to play With some Oils

Also made a start on some pencil chipping .. Going to take a while .
Wilders deep shadow Wash
and then it was time to play With some Oils
Also made a start on some pencil chipping .. Going to take a while .
10-03-2016, 10:55 PM
#80
Thread Starter
More stuff going on With the F .
Wilders deep shadow Wash
and then it was time to play With some Oils
Also made a start on some pencil chipping .. Going to take a while .
Wilders deep shadow Wash
and then it was time to play With some Oils
Also made a start on some pencil chipping .. Going to take a while .
10-05-2016, 09:18 AM
#82
Nice work Sollie!!!
05-15-2017, 07:25 AM
#83
Thread Starter
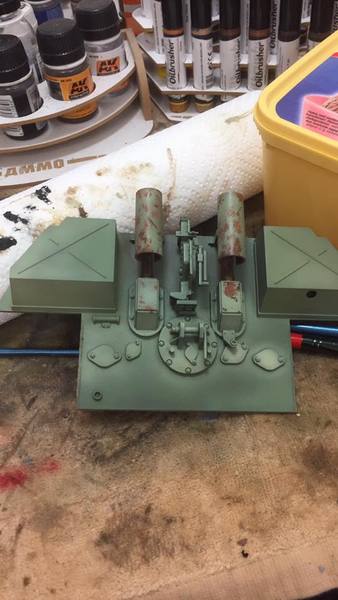
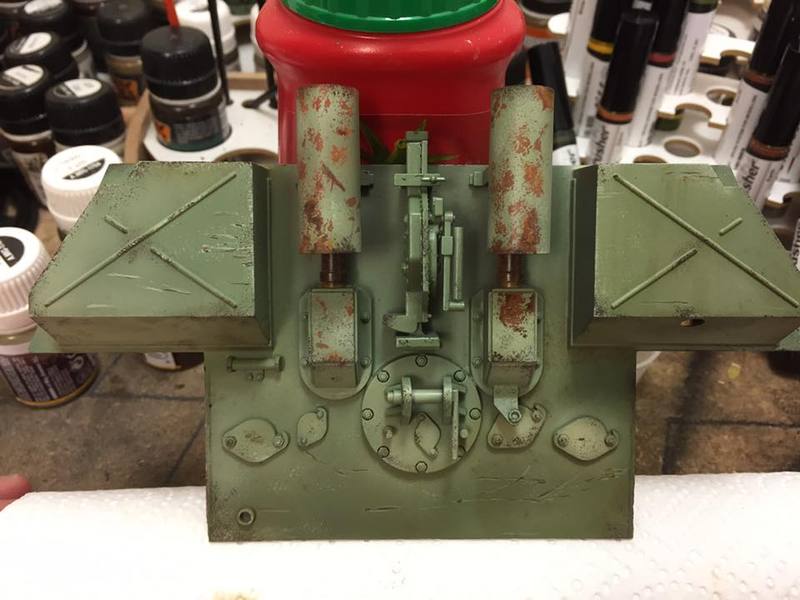
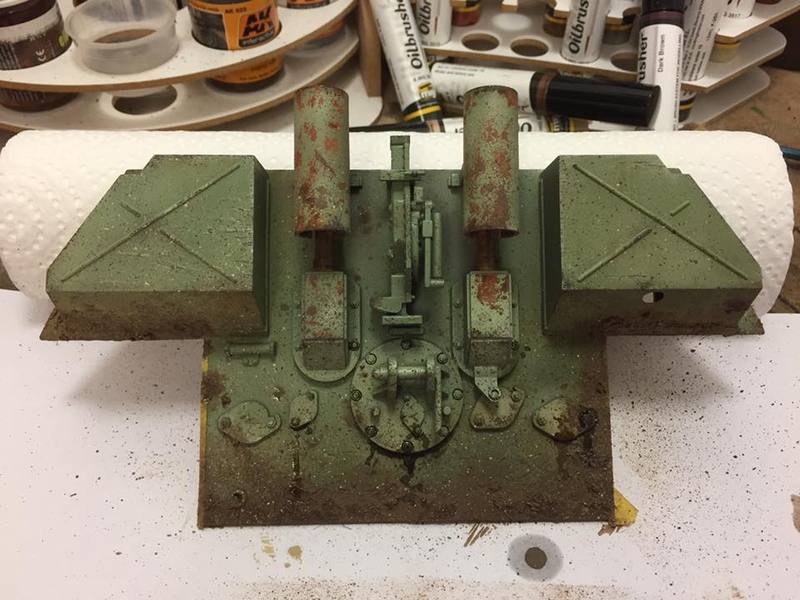
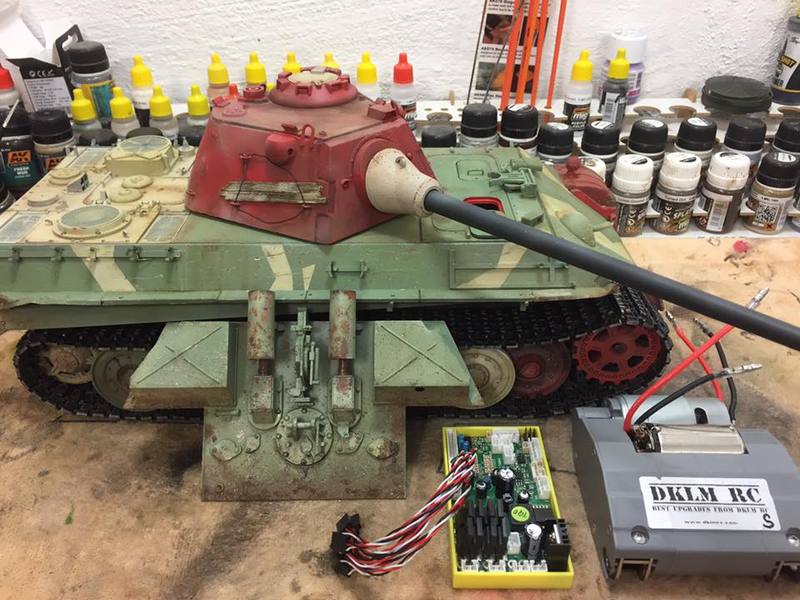
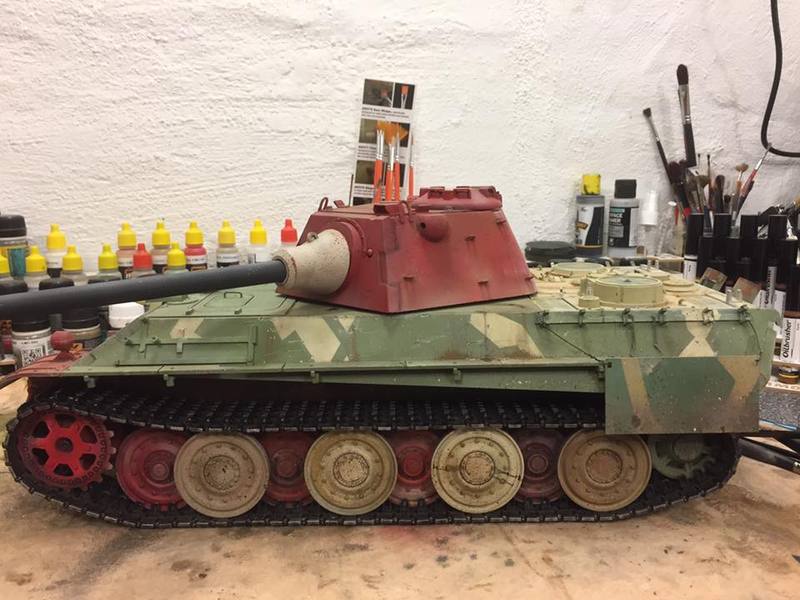
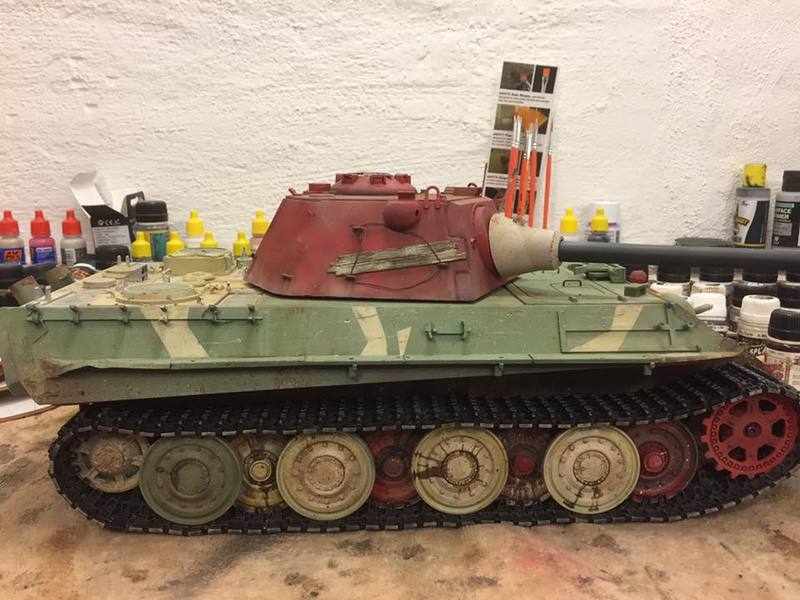
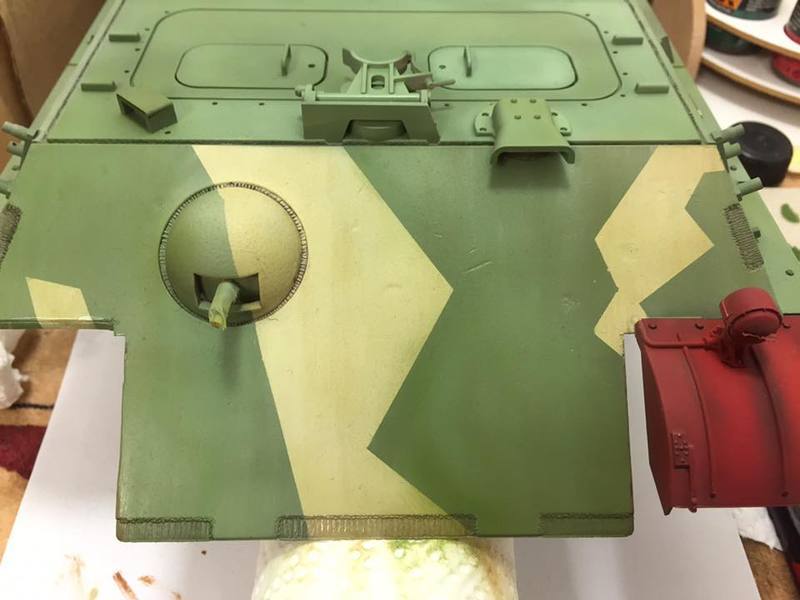
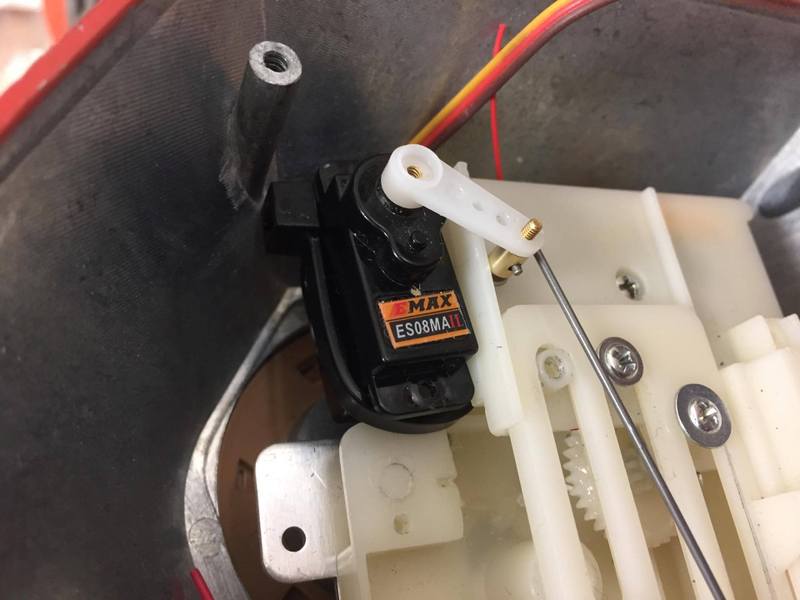
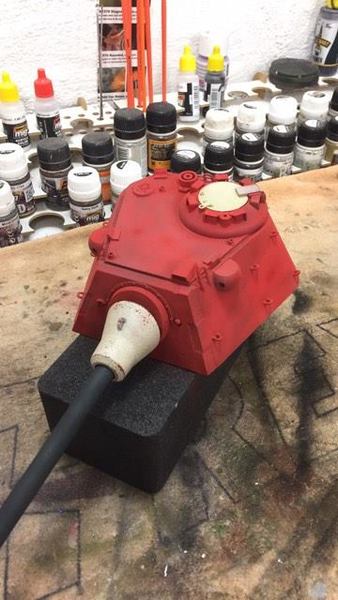
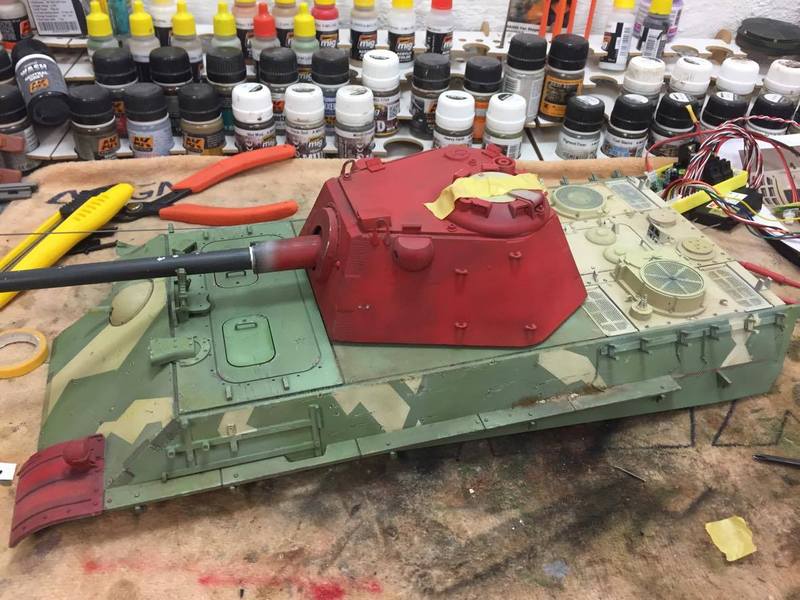
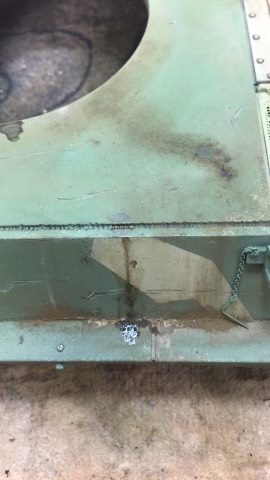
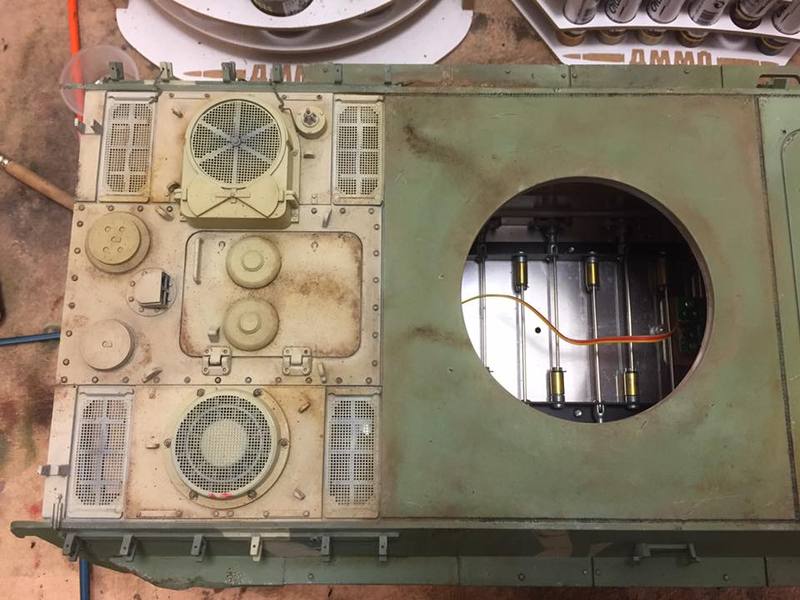
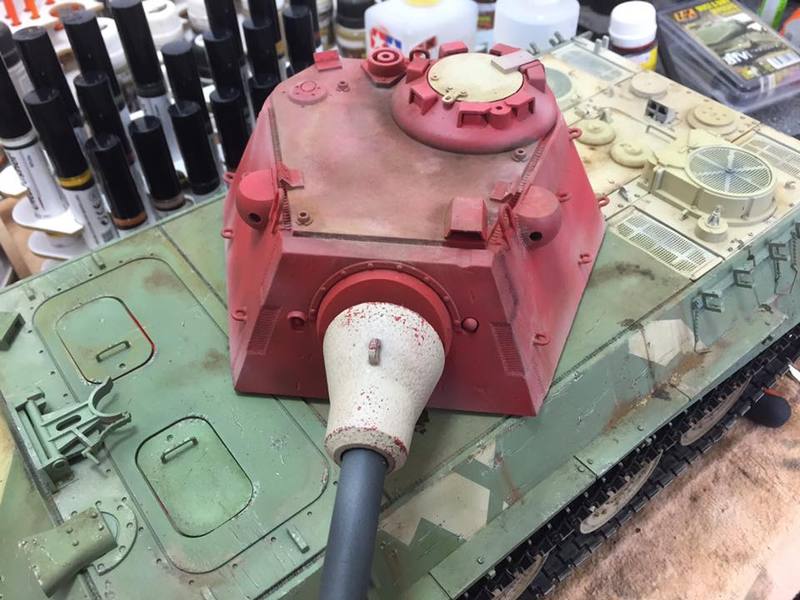
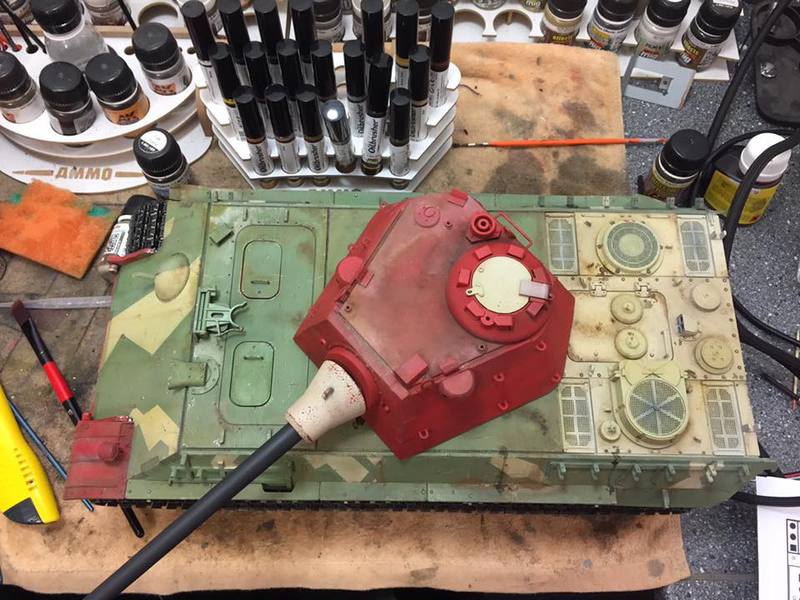
Wow, so look what I brought out from the corner of dust..Sat the the 1/14 truck I'm building ( the 620r ) to sort out some stuff on the F. Not that much left to do on it, just needed to sort out the turret and servo recoil. and re paint some parts of it, and get on to the weathering stage .So. I used the stock recoil setup, just swopped out the motor , and ziptied in a servo , and used a piano wire to make the recoil happening
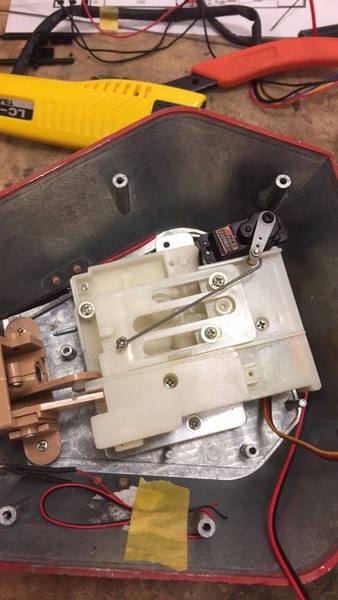
looks shait, but works
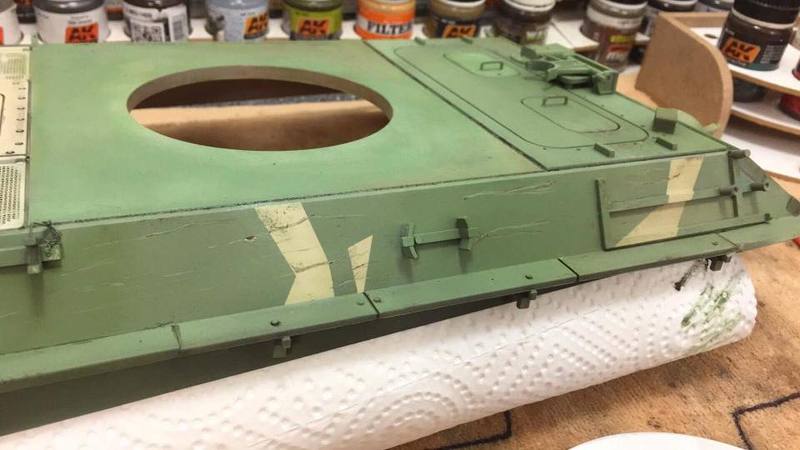
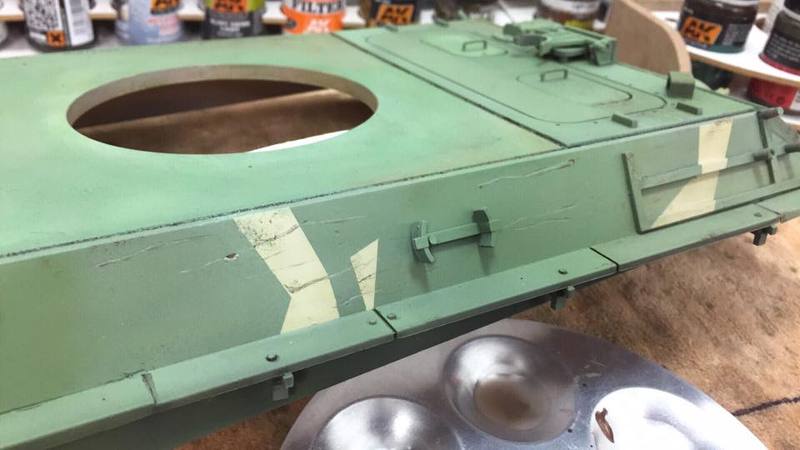
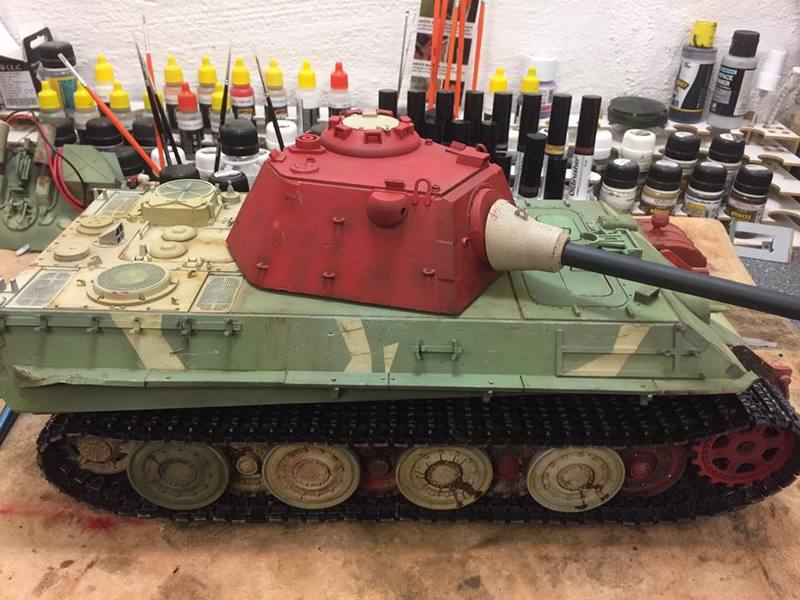
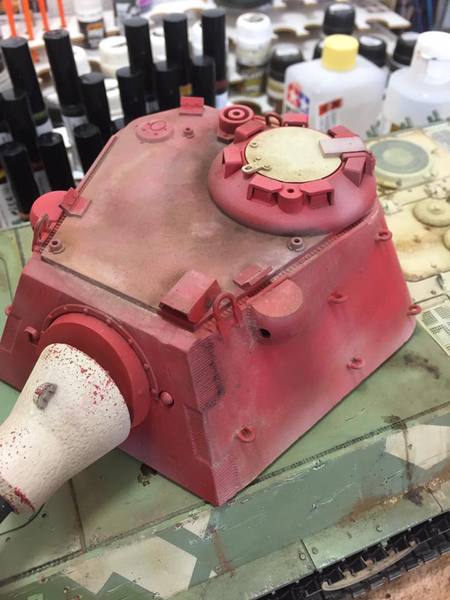
had to touch up the turret also. been scrathed and Paint flaked of during the rest period . Quess I should have used a automobile primer , ore a better Wash before first coat back when I did it
the first time around
looks shait, but works
had to touch up the turret also. been scrathed and Paint flaked of during the rest period . Quess I should have used a automobile primer , ore a better Wash before first coat back when I did it
the first time around
05-15-2017, 07:56 AM
#84
Senior Member
Join Date: Dec 2012
Location: littlestown, PA
Posts: 758
Likes: 0
Received 0 Likes
on
0 Posts
Trim the back corner of the stock box so the servo doesn't slip. This will allow it to sit flat.
Honestly, your post makes it sound as though this was something you thought up.
Honestly, your post makes it sound as though this was something you thought up.
05-15-2017, 08:34 AM
#85

Looking good! I do something similar to my IR units as well. I actually place my servo on the back of the unit but there definitely isn't much room on this one! It is nice to see some Emax servos in there too, they have been stepping up their game lately and are starting to produce some really nice stuff.
05-15-2017, 11:00 AM
#86
Thread Starter
But how on earth does my post even imply that I have thought this up. Yes I could have said it was due to several photos of panther G/F builds I have seen , here and on facebook , that I got this up and running But since it's a tread I started , no matter how good ore ****ty it looks , I just 'told' hoe I did it .
But So to put any confusion aside . ' I HEREBY DECLAREBY that this setup is not from my own mind , haha
05-16-2017, 10:24 PM
#87

Hi Sollie,
Outstanding pro paint work as usual! And looking beautiful in a WWII Panzer kinda way!
Doing a similar Taigen Torro Jagdtiger recoil-unit servo mod to the Taigen recoil-elevation unit (and using a Tamiya KT DMD/MFU) and using a servo Y splitter cable to join the recoil unit servo & DMD Unit and then running both combined to the receiver.
Question: Please post photos of what you did wiring wise for the elevation motor, if you kept it?
Think I already know what to do (change the plug on the new positive & negative wire leads from the elevation motor to adapt to the Tamiya MFU elevation plug), but that clearly means I should ask first.
Not sure who invented this solution, but servo recoil has been around for ages, but it is a first to publish or perish online world, so Sollie should get the credit for the Taigen Panther F recoil servo solution invention.

John
Outstanding pro paint work as usual! And looking beautiful in a WWII Panzer kinda way!
Doing a similar Taigen Torro Jagdtiger recoil-unit servo mod to the Taigen recoil-elevation unit (and using a Tamiya KT DMD/MFU) and using a servo Y splitter cable to join the recoil unit servo & DMD Unit and then running both combined to the receiver.
Question: Please post photos of what you did wiring wise for the elevation motor, if you kept it?
Think I already know what to do (change the plug on the new positive & negative wire leads from the elevation motor to adapt to the Tamiya MFU elevation plug), but that clearly means I should ask first.
Not sure who invented this solution, but servo recoil has been around for ages, but it is a first to publish or perish online world, so Sollie should get the credit for the Taigen Panther F recoil servo solution invention.
John
Last edited by Pcomm1.v2; 05-16-2017 at 10:27 PM.
05-17-2017, 01:08 PM
#88
Thread Starter
Hi Sollie,
Outstanding pro paint work as usual! And looking beautiful in a WWII Panzer kinda way!
Doing a similar Taigen Torro Jagdtiger recoil-unit servo mod to the Taigen recoil-elevation unit (and using a Tamiya KT DMD/MFU) and using a servo Y splitter cable to join the recoil unit servo & DMD Unit and then running both combined to the receiver.
Question: Please post photos of what you did wiring wise for the elevation motor, if you kept it?
Think I already know what to do (change the plug on the new positive & negative wire leads from the elevation motor to adapt to the Tamiya MFU elevation plug), but that clearly means I should ask first.
Not sure who invented this solution, but servo recoil has been around for ages, but it is a first to publish or perish online world, so Sollie should get the credit for the Taigen Panther F recoil servo solution invention.
John
Rustytrax showed me some photos of servo setup like the one I 'ducktaped' together ( he's in a much smoother work ) so props to Him in this case :-)
thanks all for having a look
 05-18-2017, 03:08 PM
#90
Looks good so far Sollie!! Nice weathering.
 05-28-2017, 01:42 AM
#94
Thread Starter
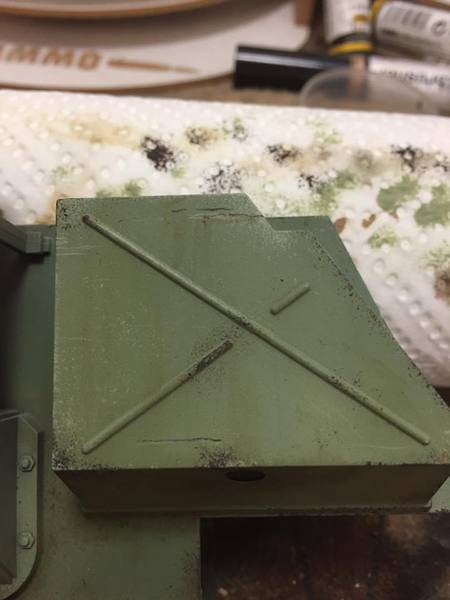
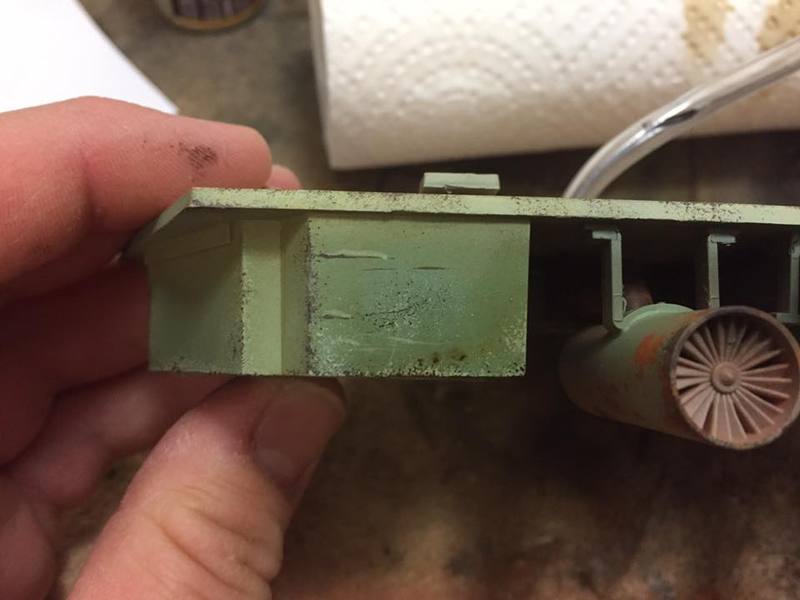
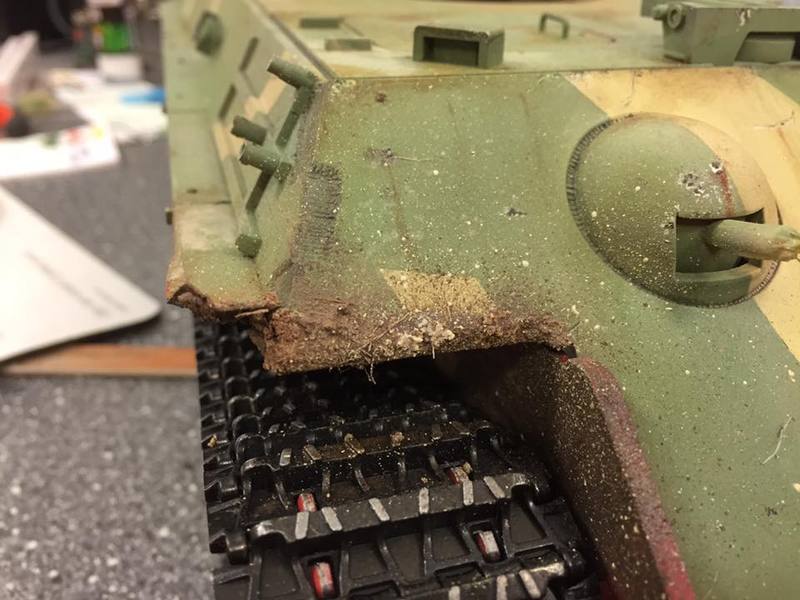
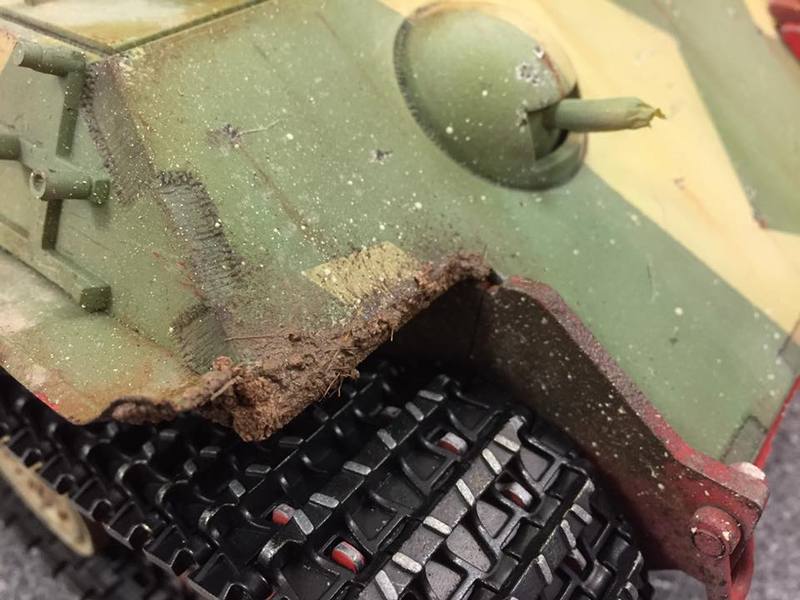
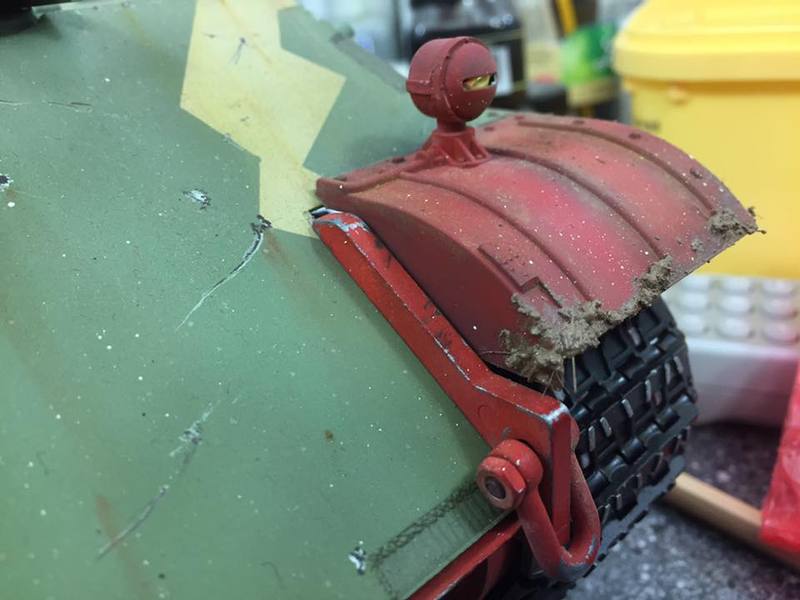
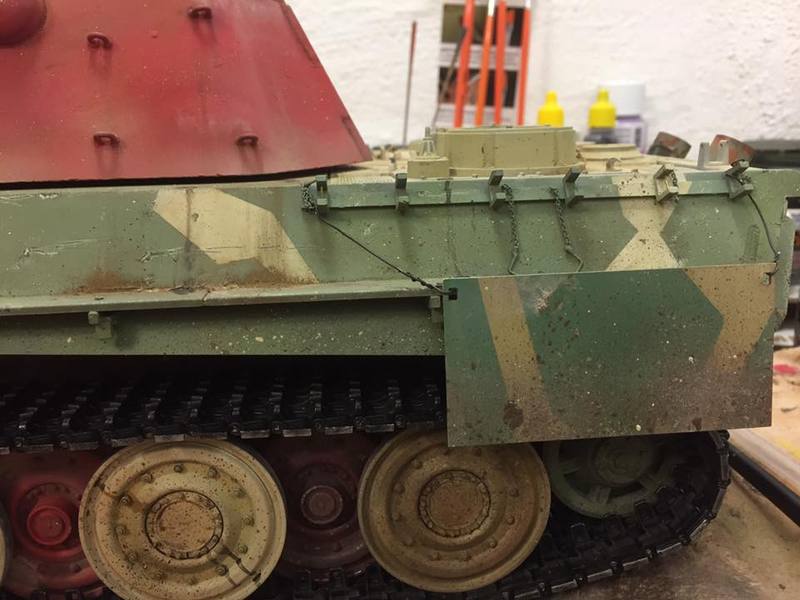
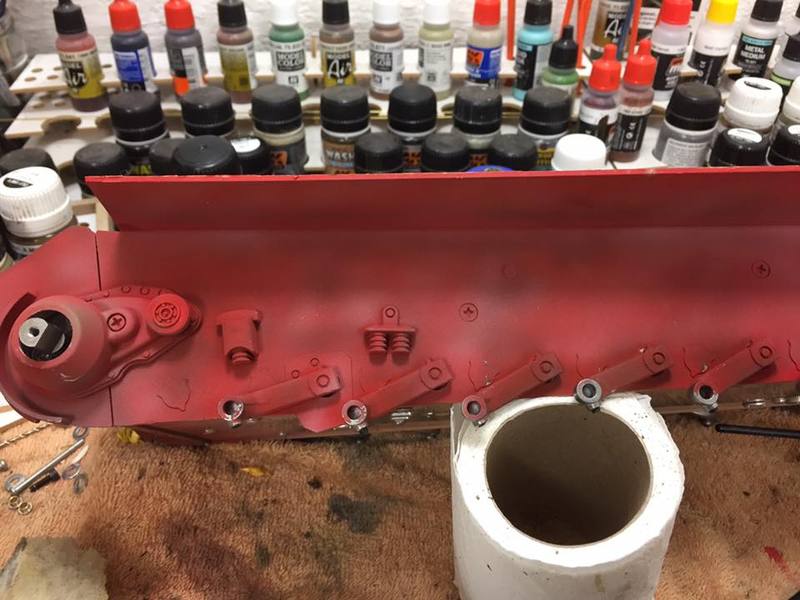
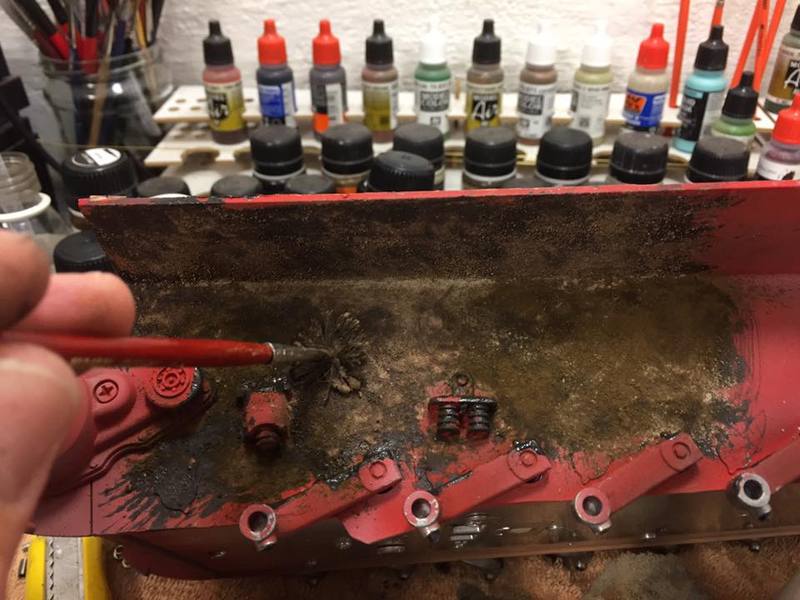
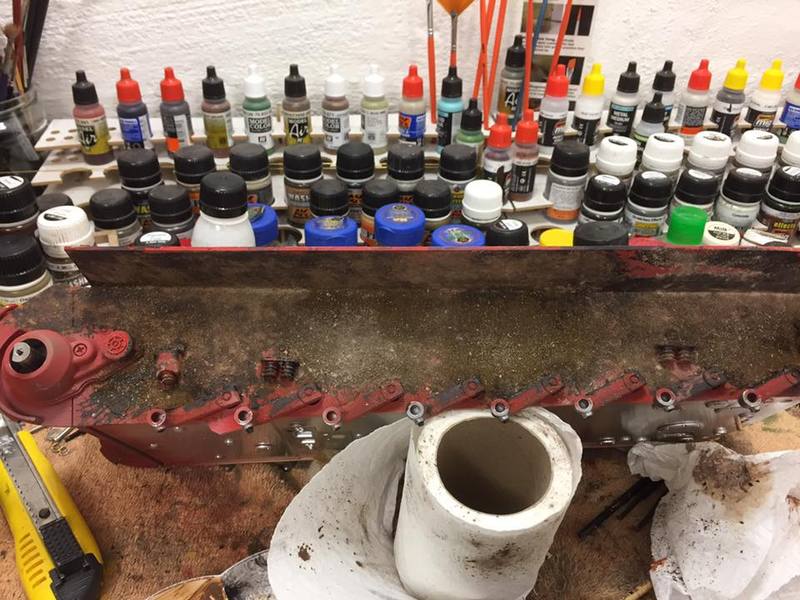
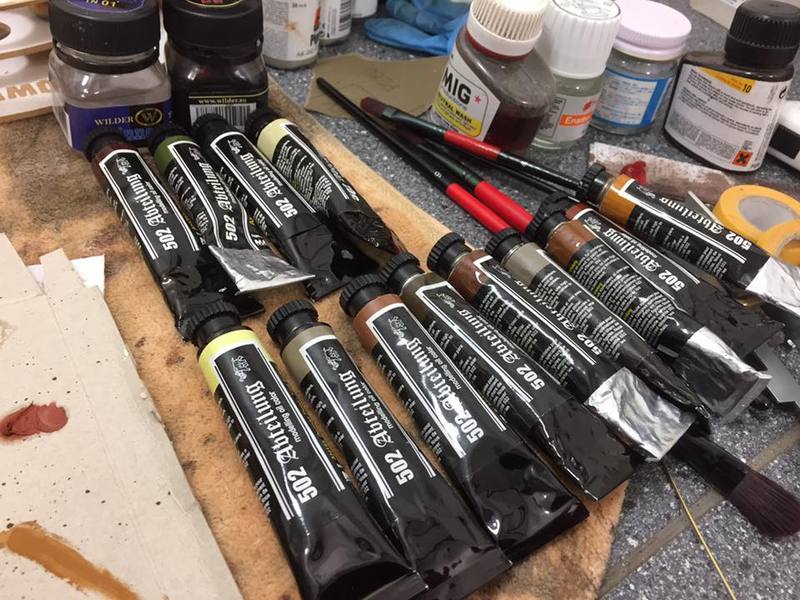
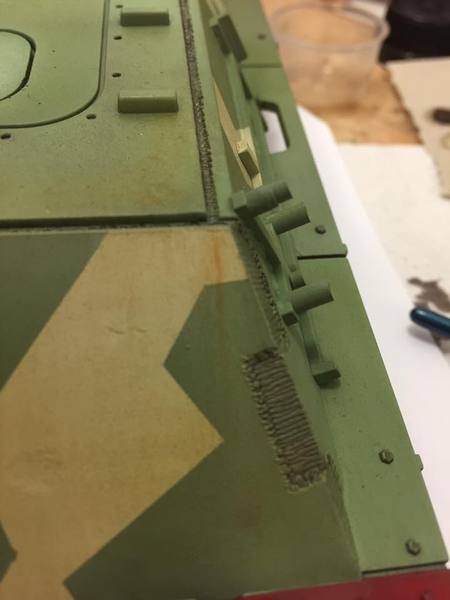
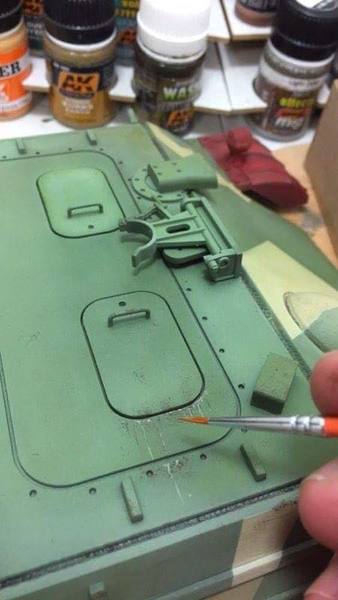
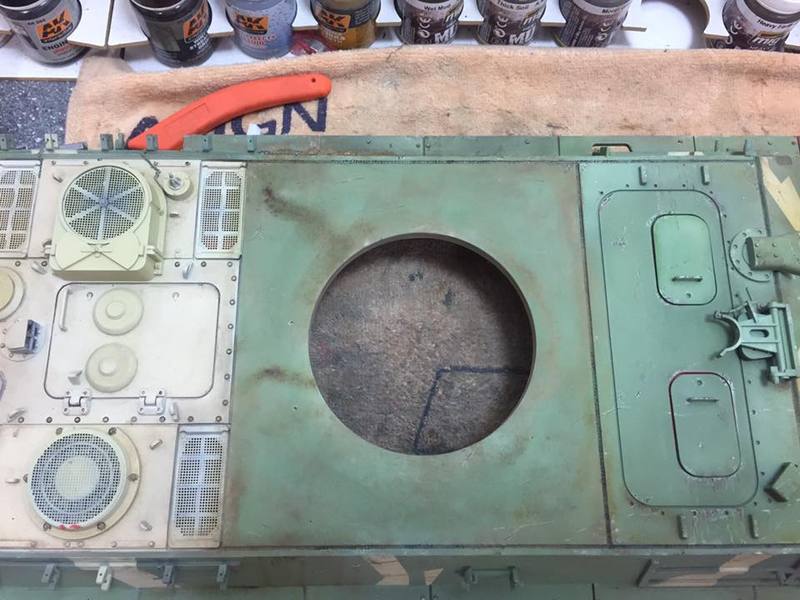
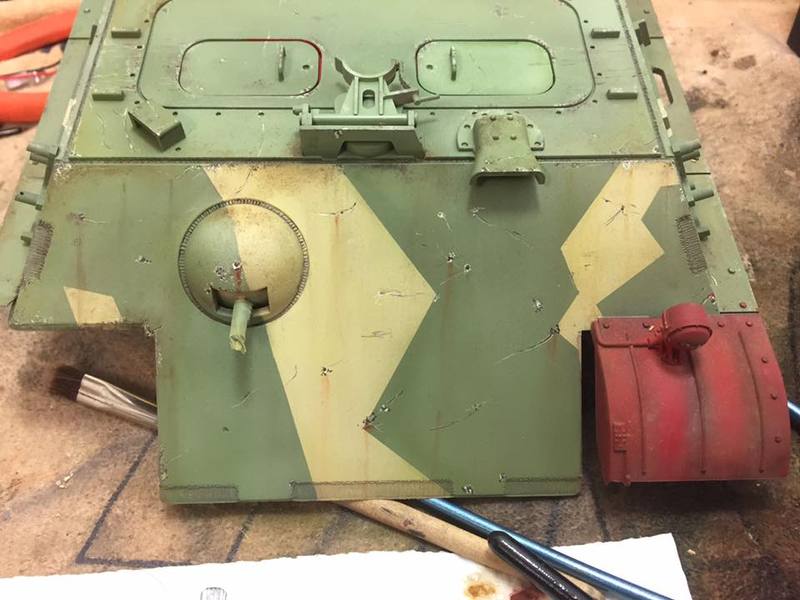
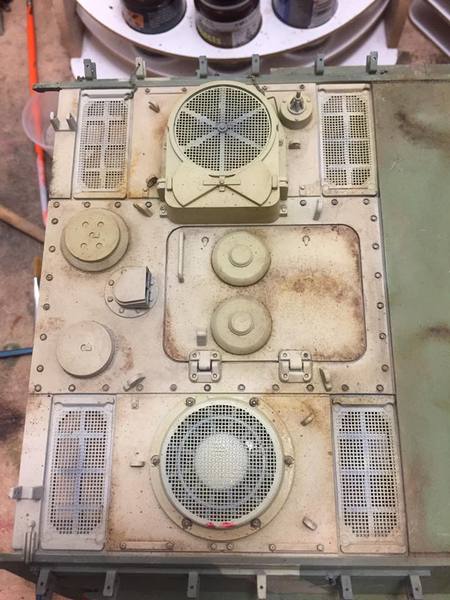
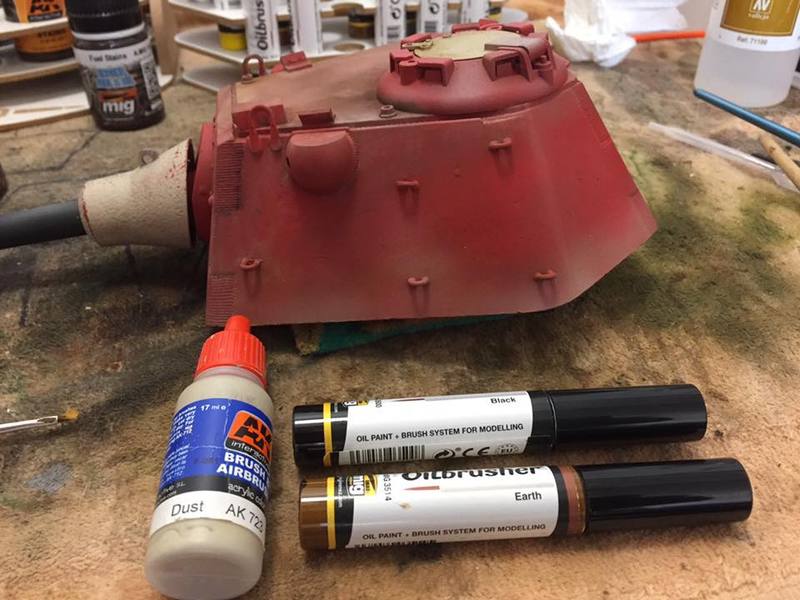
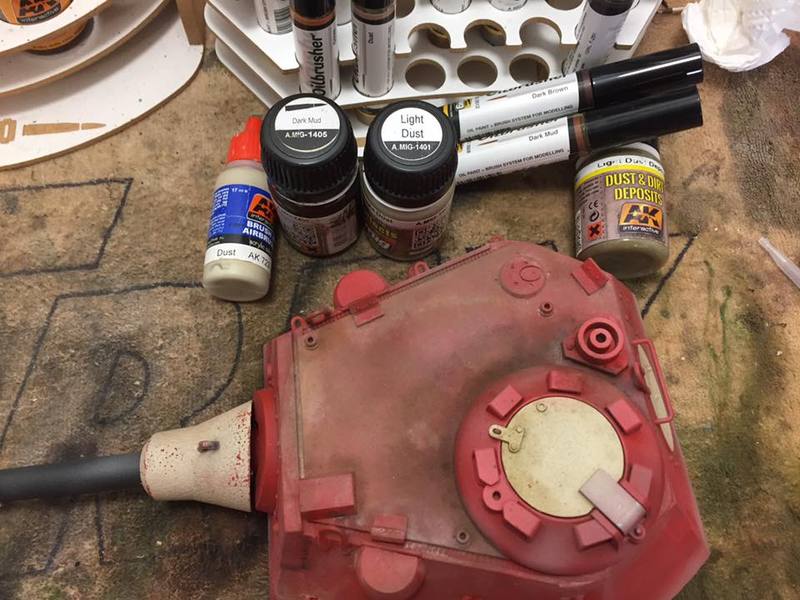
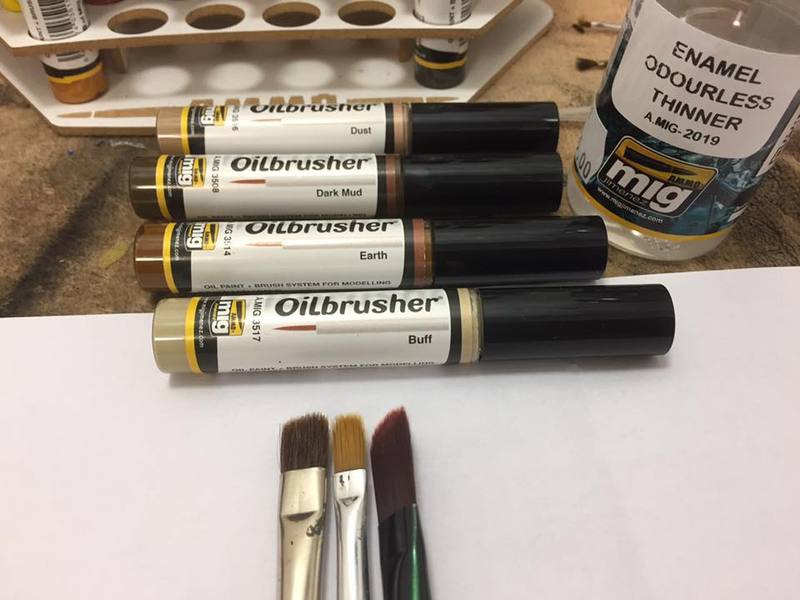
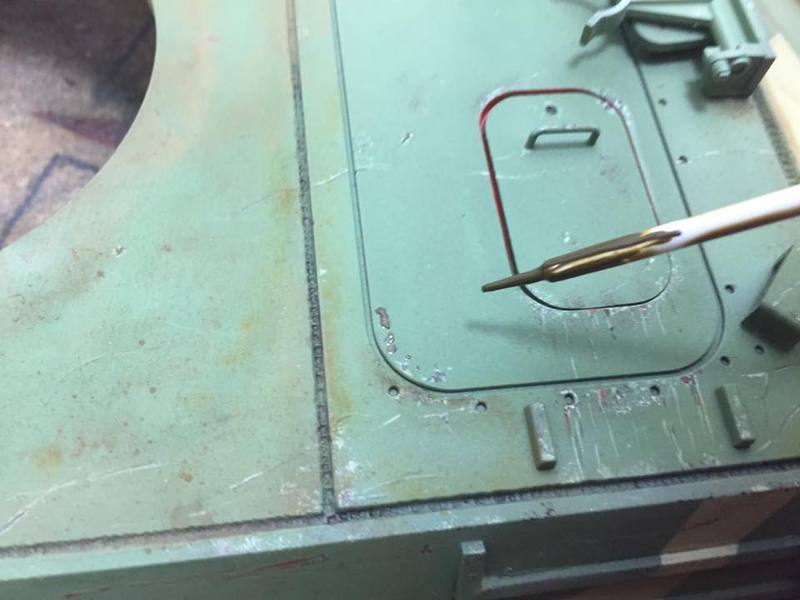
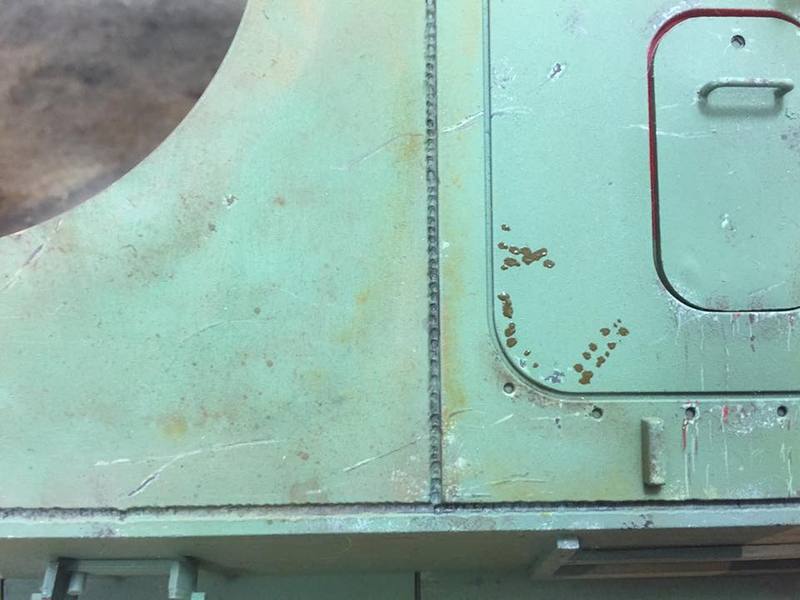
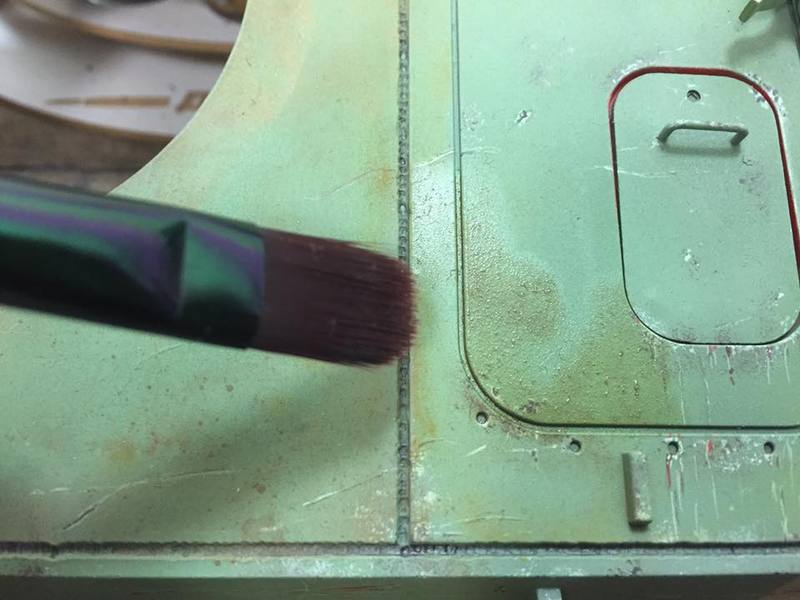
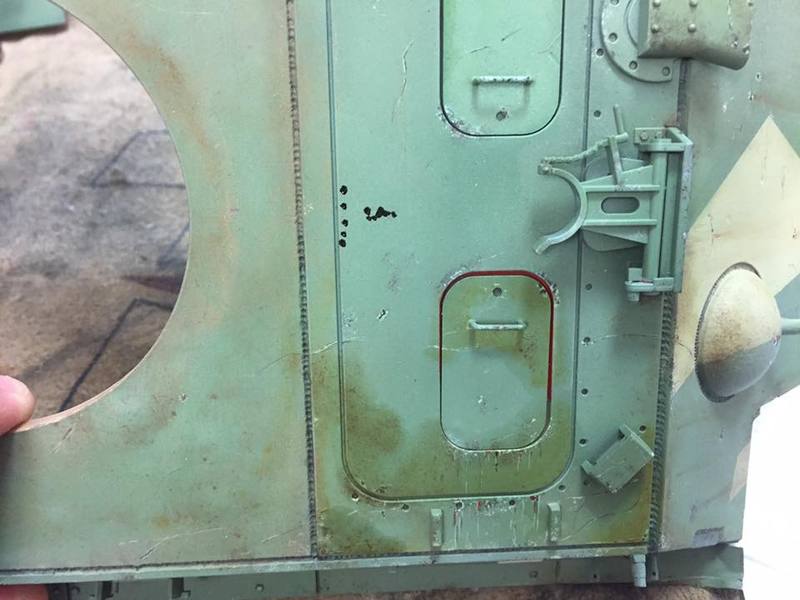
Using oils( my way of doing it). These ammo oils are ready to use out of bottle. Place desired color in spot you want to weather. Use brush to wet area with odorless thinner.
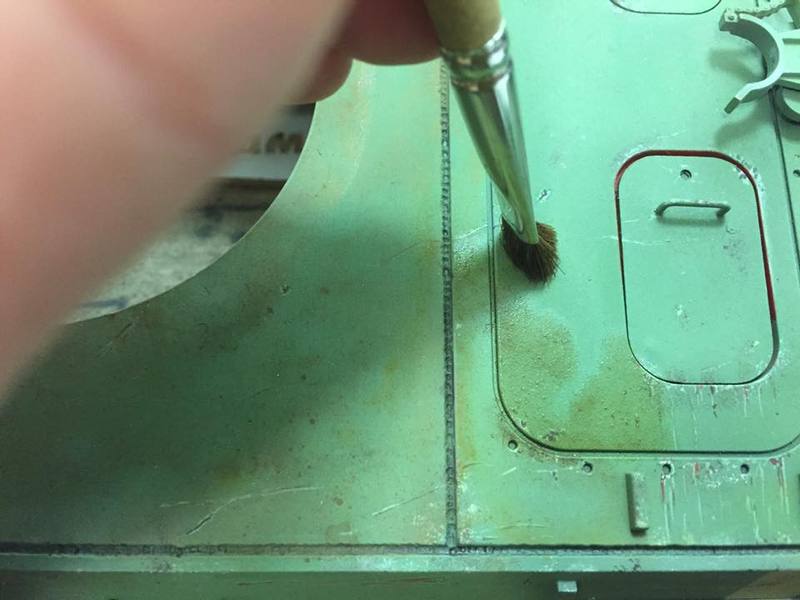
Continue with bigger brush dry ore just a hint of thinner on, and 'stomp' the oils, spreading it out.
When dry it will leave a transparent 'dirt/dust/mud look. Repeat prosess to build up layers, using different tones (earth/mud/dark brown/dust/buff etc)
[url=https://imageshack.com/i/pn4hZJaej]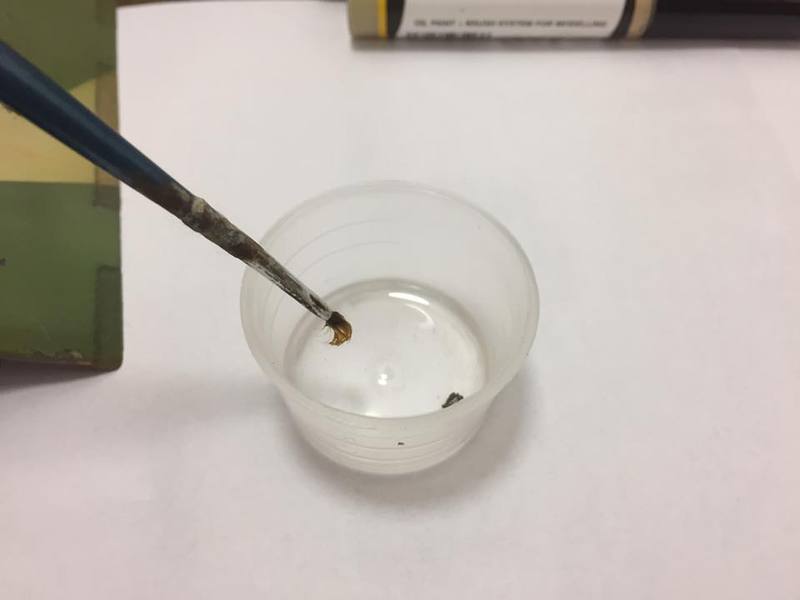 [/url0]
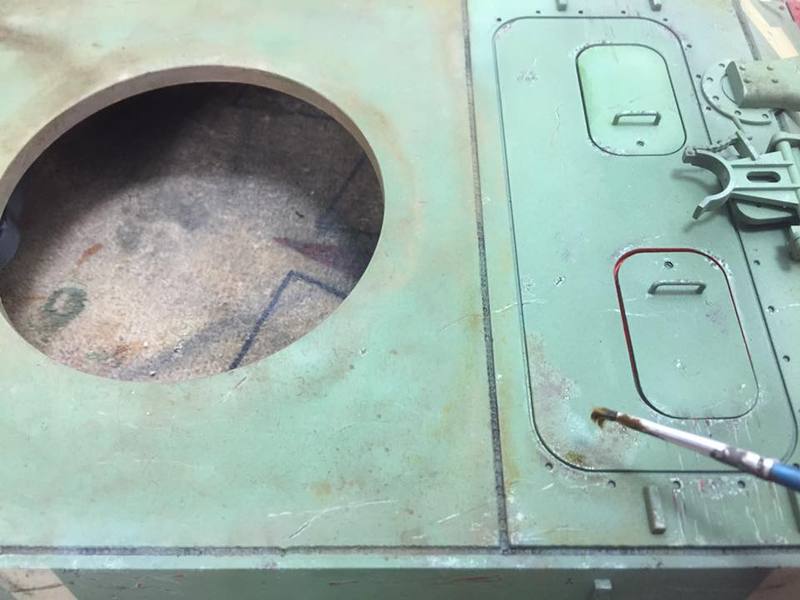
Continue with bigger brush dry ore just a hint of thinner on, and 'stomp' the oils, spreading it out.
When dry it will leave a transparent 'dirt/dust/mud look. Repeat prosess to build up layers, using different tones (earth/mud/dark brown/dust/buff etc)
[url=https://imageshack.com/i/pn4hZJaej]
[/url0]
06-04-2017, 02:31 PM
#95
Thread Starter
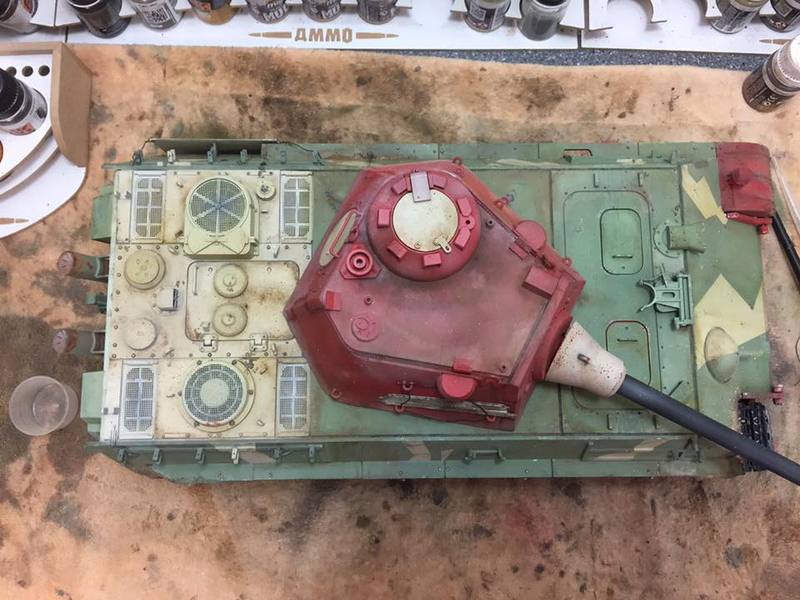
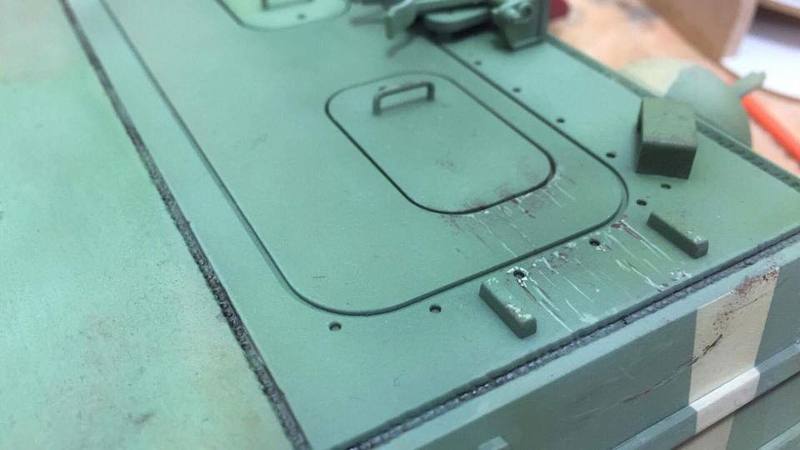
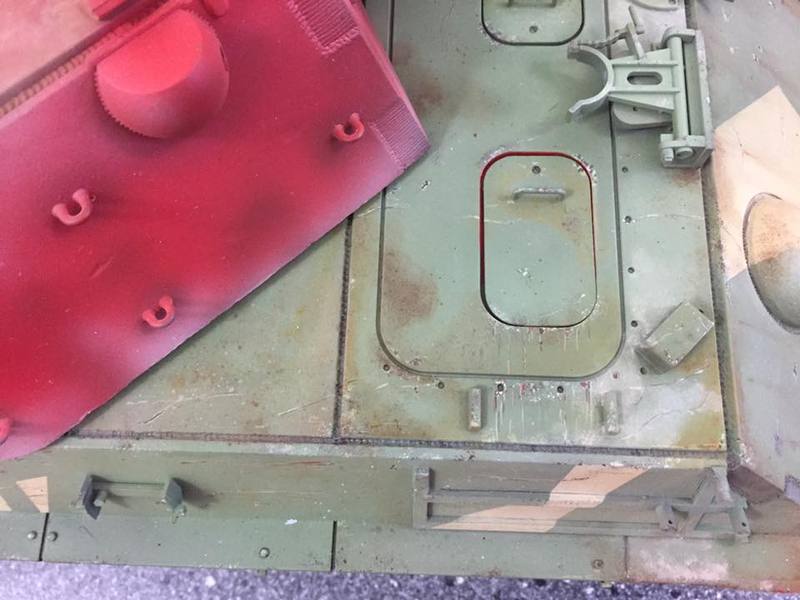
So a little update on the F.had a few hours in the cave today , and got a few things done. I'll let the photos do the talking . Ask away if anything