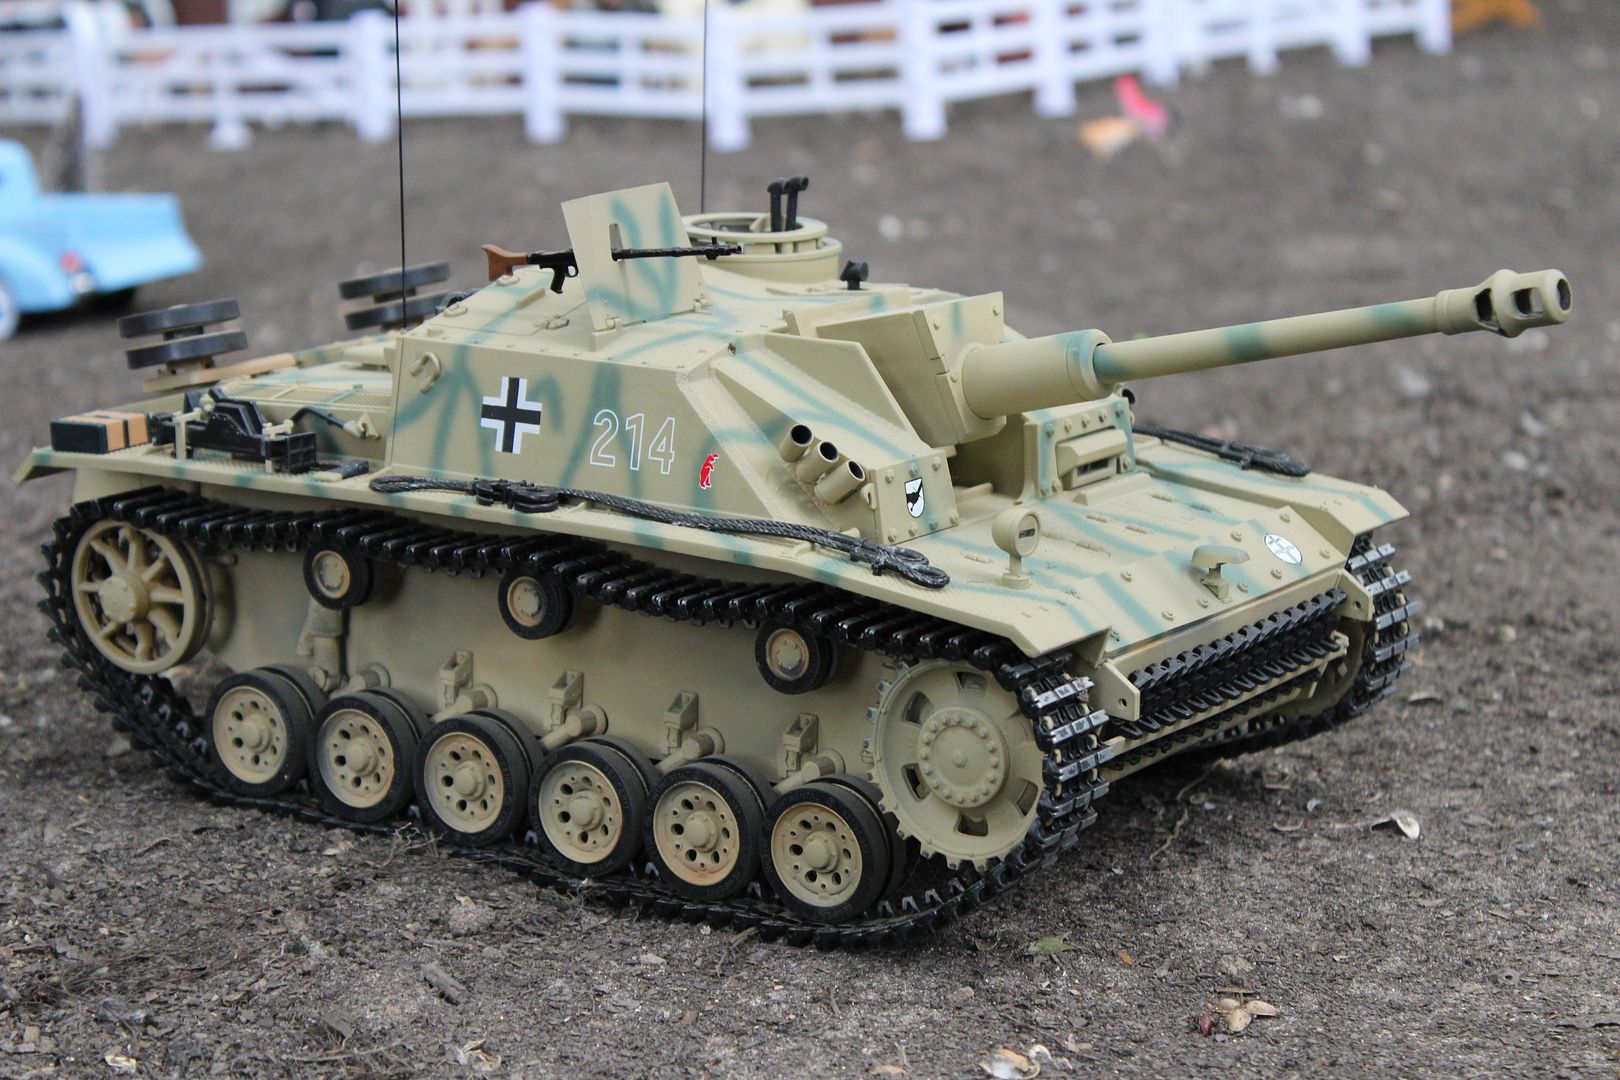
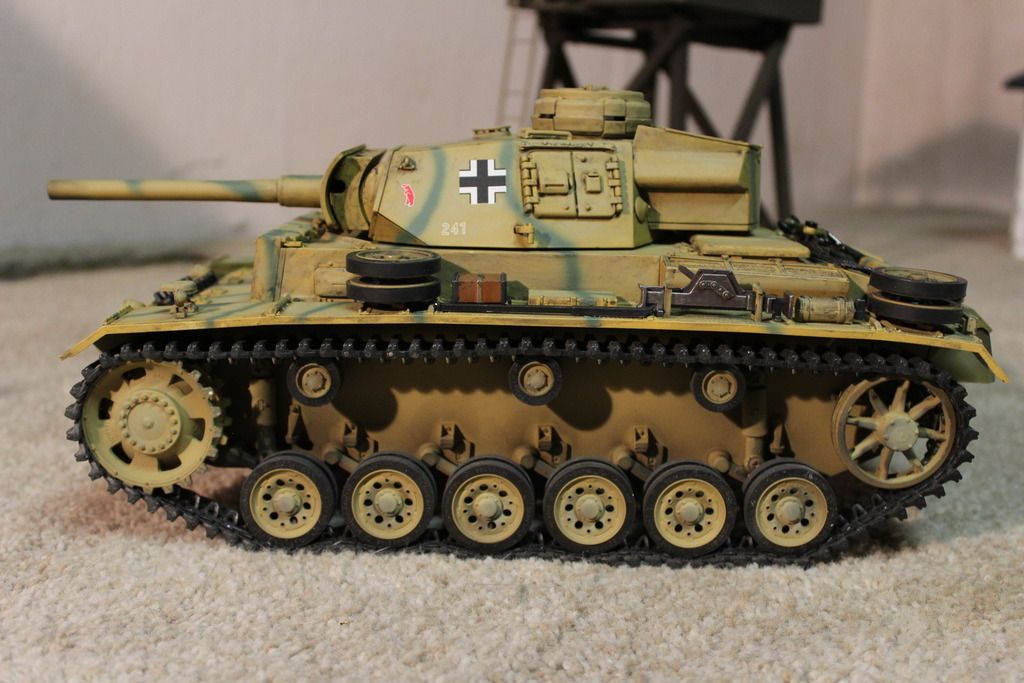
Taigen stug III metal chassis
#1
Senior Member
Thread Starter
Join Date: Feb 2010
Location: benton, AR
Posts: 316
Likes: 0
Received 0 Likes
on
0 Posts
I just got my taigen stug III metal chassis in from Germany. Is there directions or a video on how to install the parts to mount the upper hull onto the chassis? I know they mount on the upper hull, just don't know how they go. its the parts inside the red circle in the pic mount in the red circle in the other pic. thanks for any help.


Last edited by sgtparker01; 03-08-2017 at 07:04 PM.
#2

The biggest piece (folded into multiple angles) screws into the center post on the front of the upper hull. It slips under the bracket on the front of the lower hull. The other two assemblies screw onto the rear posts that you circled. Two bent pieces come together to form a bracket. The flat piece with flanges slides between them. The flat piece has a flange (hook-shaped) that goes at the back or towards the centerline of the tank and pointing down (when the upper hull is right-side-up). The spring hooks to that flange. One of the bent brackets has a similar flange and goes towards the centerline of the upper hull. That's for the other end of the spring.
I have this hull on PzIII. It's a good latching system in that it is secure. But, I find it rather inconvenient when I have to open it to change the batteries. I'm going to replace the latches with magnets glued into the corners similar to what I did on my PzIV.
I have this hull on PzIII. It's a good latching system in that it is secure. But, I find it rather inconvenient when I have to open it to change the batteries. I'm going to replace the latches with magnets glued into the corners similar to what I did on my PzIV.
#3
Senior Member
Thread Starter
Join Date: Feb 2010
Location: benton, AR
Posts: 316
Likes: 0
Received 0 Likes
on
0 Posts
thanks for the info, I'm really not understanding why they don't put directions with the chassis or have any kind of video on youtube explaining how to install this chassis to the upper hull. after having problems with 3 out of 3 items I have purchased that are taigen products, I'm reconsidering who to deal with in the future.
#5
Senior Member
Thread Starter
Join Date: Feb 2010
Location: benton, AR
Posts: 316
Likes: 0
Received 0 Likes
on
0 Posts
The biggest piece (folded into multiple angles) screws into the center post on the front of the upper hull. It slips under the bracket on the front of the lower hull. The other two assemblies screw onto the rear posts that you circled. Two bent pieces come together to form a bracket. The flat piece with flanges slides between them. The flat piece has a flange (hook-shaped) that goes at the back or towards the centerline of the tank and pointing down (when the upper hull is right-side-up). The spring hooks to that flange. One of the bent brackets has a similar flange and goes towards the centerline of the upper hull. That's for the other end of the spring.
I have this hull on PzIII. It's a good latching system in that it is secure. But, I find it rather inconvenient when I have to open it to change the batteries. I'm going to replace the latches with magnets glued into the corners similar to what I did on my PzIV.
I have this hull on PzIII. It's a good latching system in that it is secure. But, I find it rather inconvenient when I have to open it to change the batteries. I'm going to replace the latches with magnets glued into the corners similar to what I did on my PzIV.
Can you take a pic of one that you have mounted, that would really help to understand how this gets put together, thanks
#6
If you purchase from us in the US you get instructions  Not sure why EU is not but we try to provide as much as possible for electronics. I have even myself been working on updates for some stuff. I know we are currently out of stock, we were supposed to get a big shipment of parts this time but it ended up being more tanks than parts. The next shipment is coming pretty soon and will have both tanks and a big parts order.
 Not sure why EU is not but we try to provide as much as possible for electronics. I have even myself been working on updates for some stuff. I know we are currently out of stock, we were supposed to get a big shipment of parts this time but it ended up being more tanks than parts. The next shipment is coming pretty soon and will have both tanks and a big parts order.
#7
Senior Member
Thread Starter
Join Date: Feb 2010
Location: benton, AR
Posts: 316
Likes: 0
Received 0 Likes
on
0 Posts
the reason I had to get it somewhere else because of you guys being out of stock and and not knowing when you would have them again. I much rather have spent my money in the states. Thats why I was asking for help on this since it did not come with directions.
#9


Sgt. P, I've got both the Stug and the PzIII with the metal lowers, what exactly do you need to see?


#10
Senior Member
Thread Starter
Join Date: Feb 2010
Location: benton, AR
Posts: 316
Likes: 0
Received 0 Likes
on
0 Posts
I believe that both are the same but Ive got the stug III metal lower chassis. thanks for any help, just trying to find stuff to do until the paint dries on my tamiya leo so I can go to the next step. just needing a pic of the mounting hardware that is located in the rear of the upper hull. needing to see how the brackets mount and the location of the springs.
Last edited by sgtparker01; 03-15-2017 at 01:36 PM.


