


M60a3 DKLM kit build
 11-15-2018, 08:29 AM
#51

Thread Starter

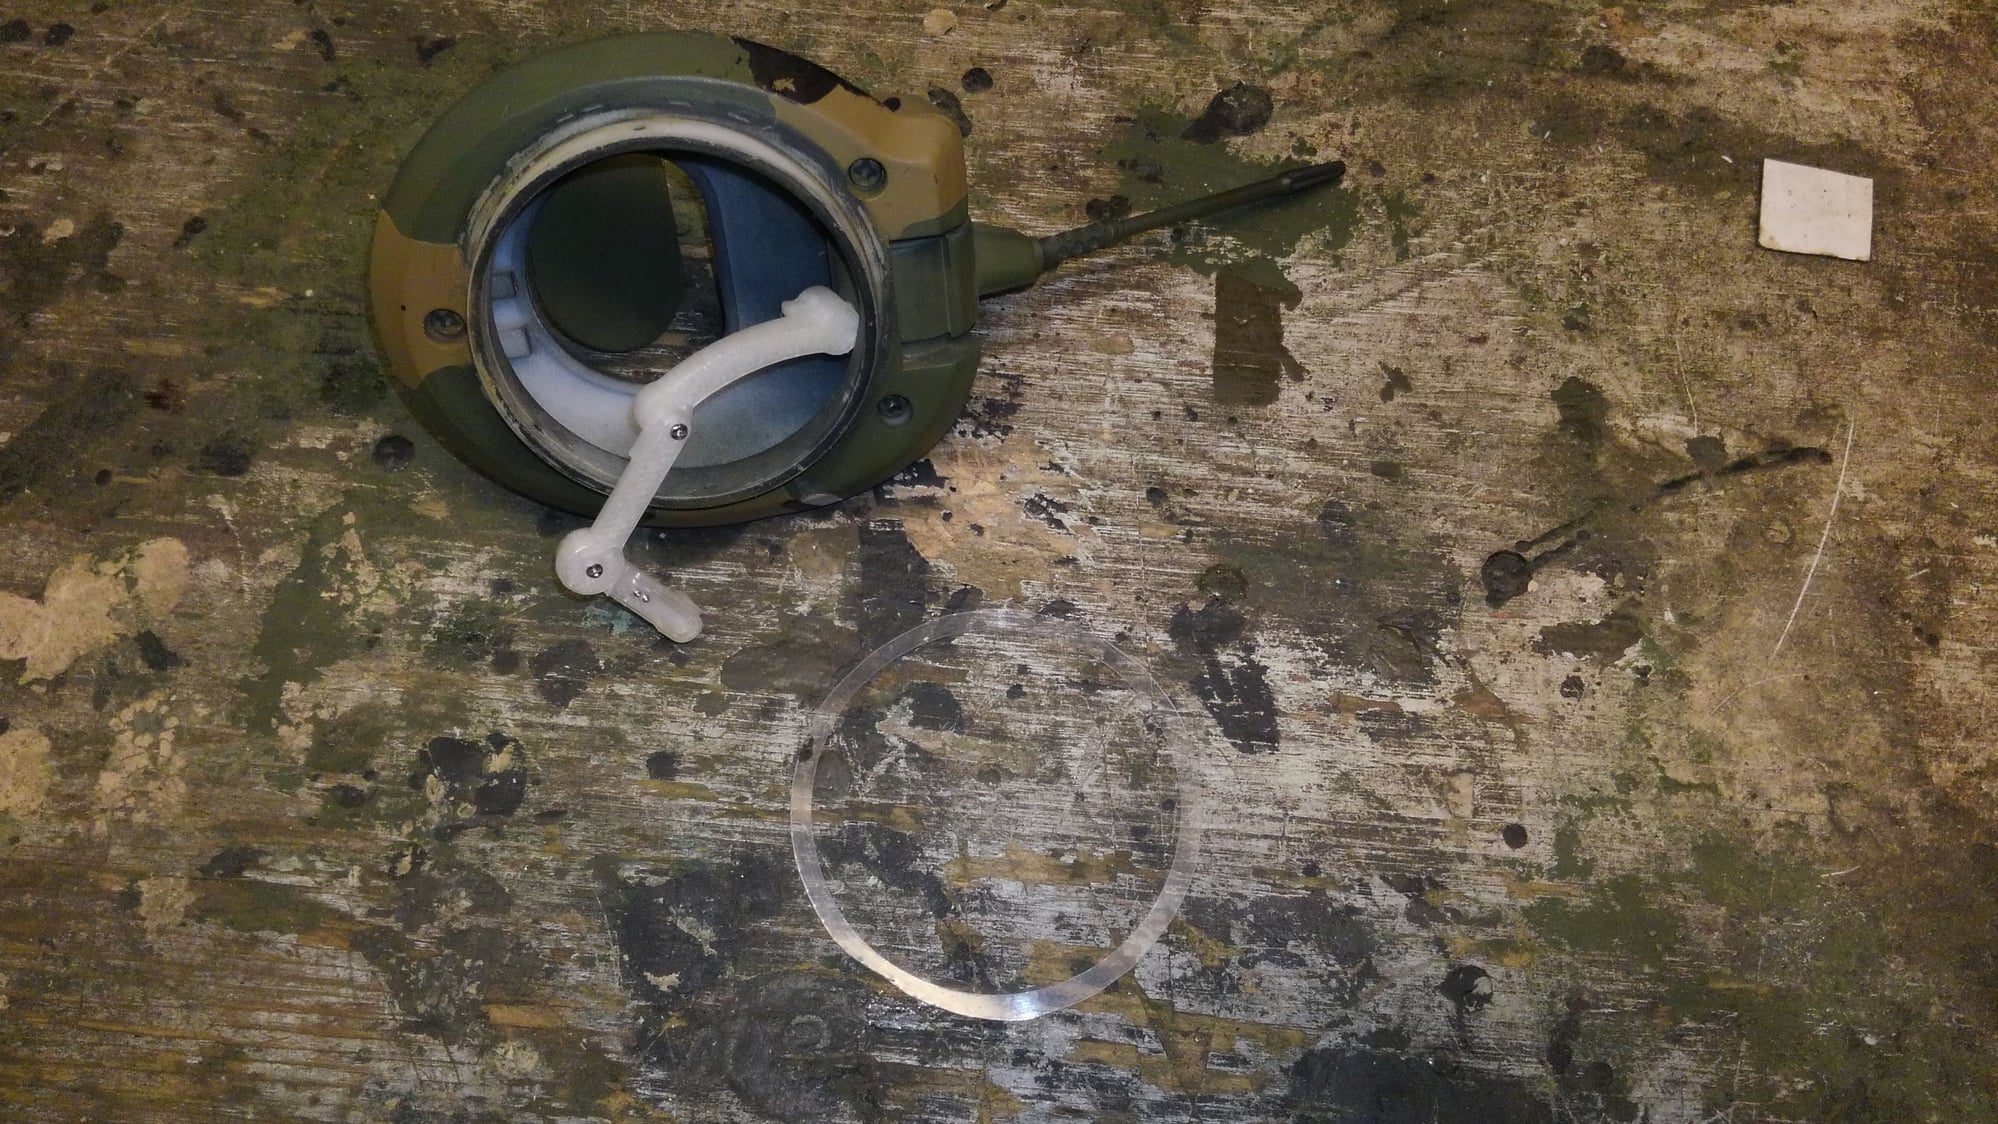
I made a slip ring of acetate for the coupola so that the paint does not rub against each other and gual up. I have had to do this on a few tanks. Works good.
Everything is now operational. The coupola spins and the gun moves up and down. the tank has the IR installed and is ready. All that is left is put a flash LED in the barrel which I bought yesterday, and to put the two canvass covers on the guns. I am dreading that. I don't like the shape of the main gun lift rings. They aren't correct too flat and lumpy they should be pronounced and sharp looking even though they are covered by a pocket sewn into the mantlet cover so I am going to replace them probably. And make a pocket for them on the cover. That's about it.
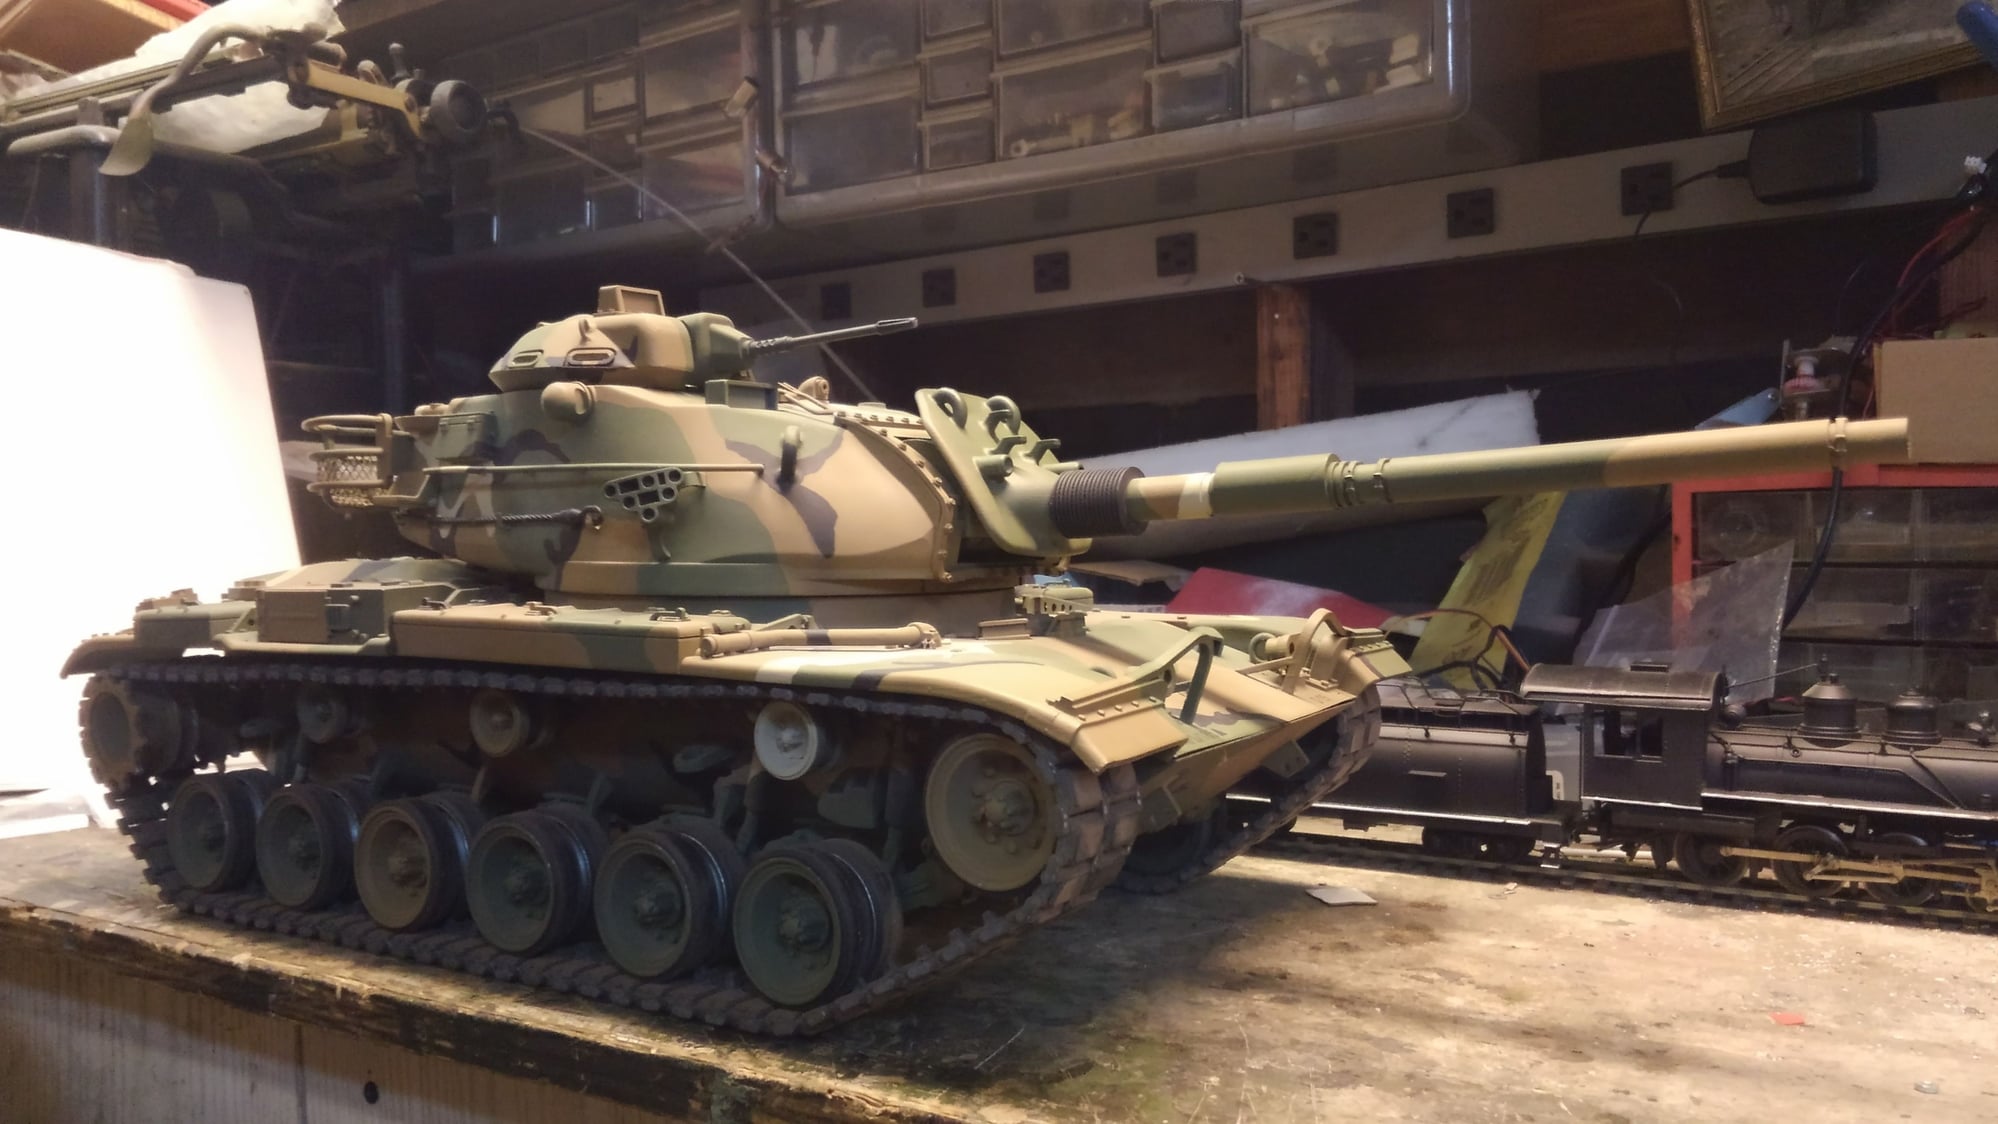
Everything is now operational. The coupola spins and the gun moves up and down. the tank has the IR installed and is ready. All that is left is put a flash LED in the barrel which I bought yesterday, and to put the two canvass covers on the guns. I am dreading that. I don't like the shape of the main gun lift rings. They aren't correct too flat and lumpy they should be pronounced and sharp looking even though they are covered by a pocket sewn into the mantlet cover so I am going to replace them probably. And make a pocket for them on the cover. That's about it.

The following users liked this post:
Conan_the_Hungarian (05-04-2023)
11-15-2018, 09:14 AM
#52
I've been watching this thread from the start, and you've done a really great job with this kit, Rich. I can't wait to see video of this puppy in action. I'm sure the first time you take it to a battle you'll have the most popular tank on the field.

The following users liked this post:
Conan_the_Hungarian (05-04-2023)
11-15-2018, 09:22 AM
#53
I made a slip ring of acetate for the coupola so that the paint does not rub against each other and gual up. I have had to do this on a few tanks. Works good.
Everything is now operational. The coupola spins and the gun moves up and down. the tank has the IR installed and is ready. All that is left is put a flash LED in the barrel which I bought yesterday, and to put the two canvass covers on the guns. I am dreading that. I don't like the shape of the main gun lift rings. They aren't correct too flat and lumpy they should be pronounced and sharp looking even though they are covered by a pocket sewn into the mantlet cover so I am going to replace them probably. And make a pocket for them on the cover. That's about it.
Everything is now operational. The coupola spins and the gun moves up and down. the tank has the IR installed and is ready. All that is left is put a flash LED in the barrel which I bought yesterday, and to put the two canvass covers on the guns. I am dreading that. I don't like the shape of the main gun lift rings. They aren't correct too flat and lumpy they should be pronounced and sharp looking even though they are covered by a pocket sewn into the mantlet cover so I am going to replace them probably. And make a pocket for them on the cover. That's about it.

 11-15-2018, 05:11 PM
#56
Looks really nice!!!
11-15-2018, 05:42 PM
#57
Love the camo job! Very nice. I made a slip ring for my Panther turret like that from a yogurt lid, its worked great for years. That is a beautiful tank.
Nice 0-8-0 with an oil tender too.
Nice 0-8-0 with an oil tender too.
11-15-2018, 09:10 PM
#58
Thread Starter
Thanks guys, the paint job took 50 hours to do. Totally insane work. I didn't even work on the tank for a week after I finished it I didn't want to deal with it I needed a break.
11-16-2018, 02:22 PM
#60

Fantastic! Very nice job!
11-17-2018, 11:44 AM
#63
Thread Starter
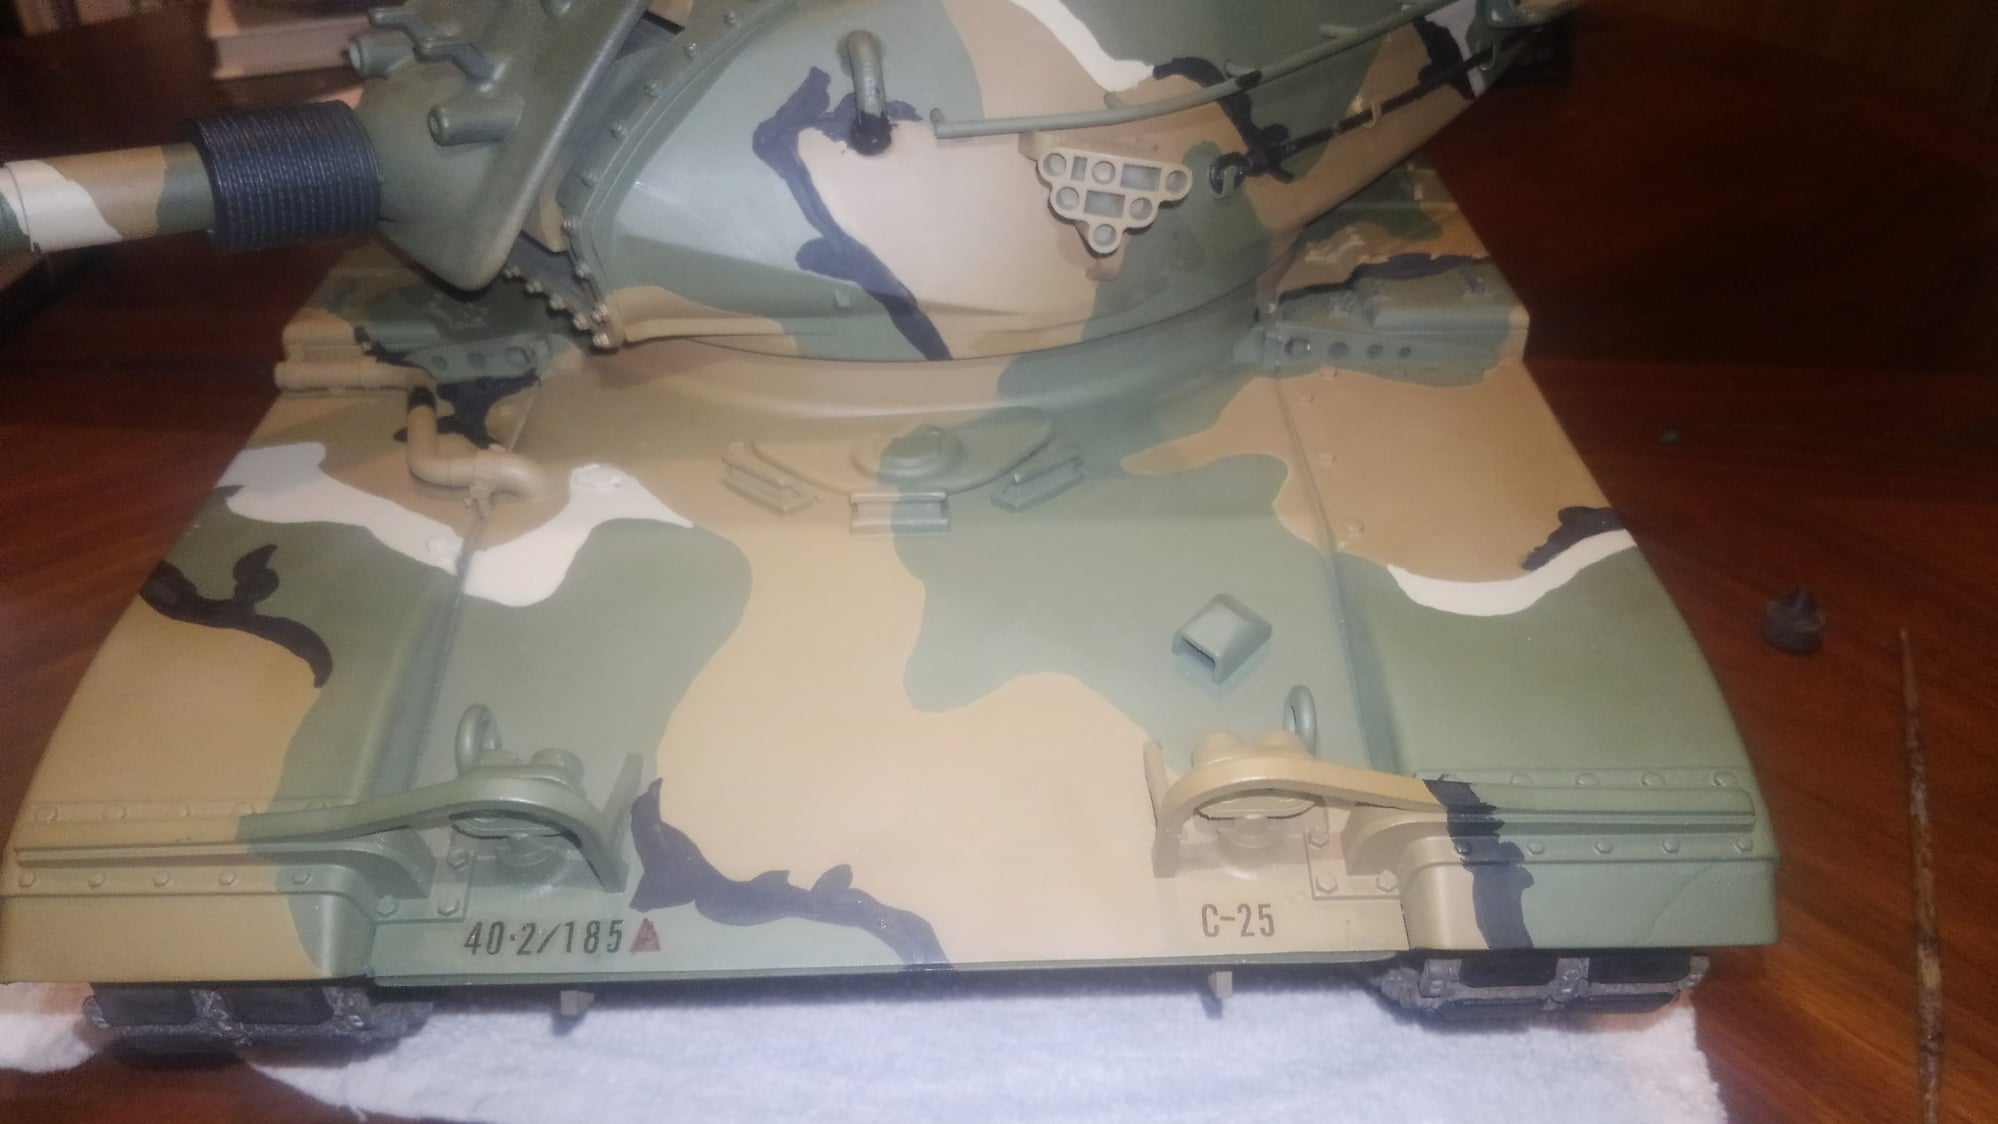
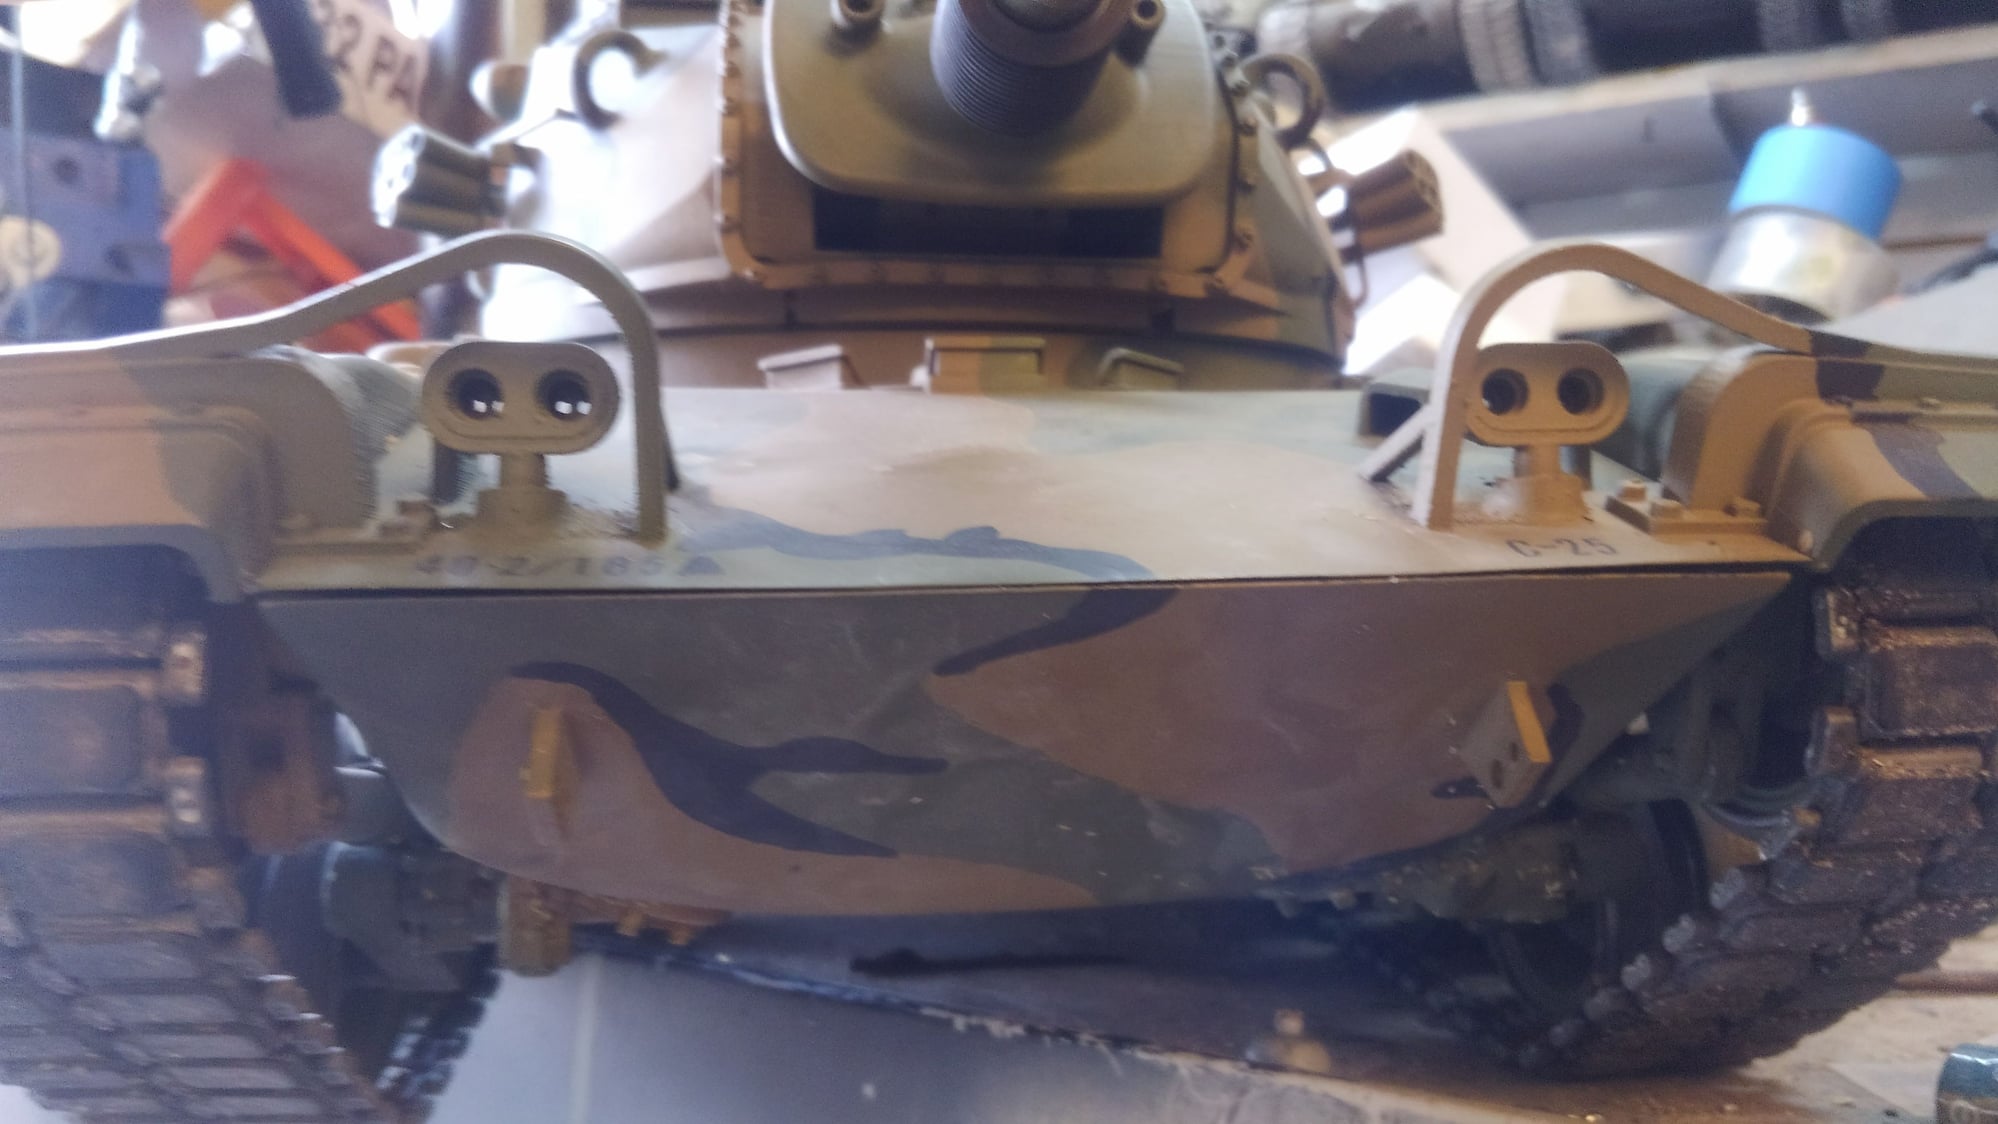
So, I sent some photos to my old Sergeant Major that was in the Armor unit in his early days in the 80s and he told me great work, but all our a3s in the guard were just green lol. At least in the 2nd/ 185th tanks that they kept at Roberts. At Irwin they just drew tanks from the pool to use so they chalked markings on and got green, merdec verdant, merdec desert and even just sand color. They never got around to camouflaging their own tanks at Roberts. Oh well. At least when he was in that unit. We never worked around the tanks even though the 185th was our parent BN.
Testors dull coat in the rattle can don't come out ultra flat any more, not for a few years. I airbrush on dull coat from testors in the pink tall square jar. That is how get an ultra flat lusterless look. It looks very much like faded merdec now. I love this paint job. It is so awesome looking. Cant wait to get it on the field tomorrow and get some photos of it.
Testors dull coat in the rattle can don't come out ultra flat any more, not for a few years. I airbrush on dull coat from testors in the pink tall square jar. That is how get an ultra flat lusterless look. It looks very much like faded merdec now. I love this paint job. It is so awesome looking. Cant wait to get it on the field tomorrow and get some photos of it.
11-17-2018, 05:41 PM
#64
Testors dull coat in the rattle can don't come out ultra flat any more, not for a few years. I airbrush on dull coat from testors in the pink tall square jar. That is how get an ultra flat lusterless look. It looks very much like faded merdec now. I love this paint job. It is so awesome looking. Cant wait to get it on the field tomorrow and get some photos of it.
11-18-2018, 07:08 PM
#65
Thread Starter
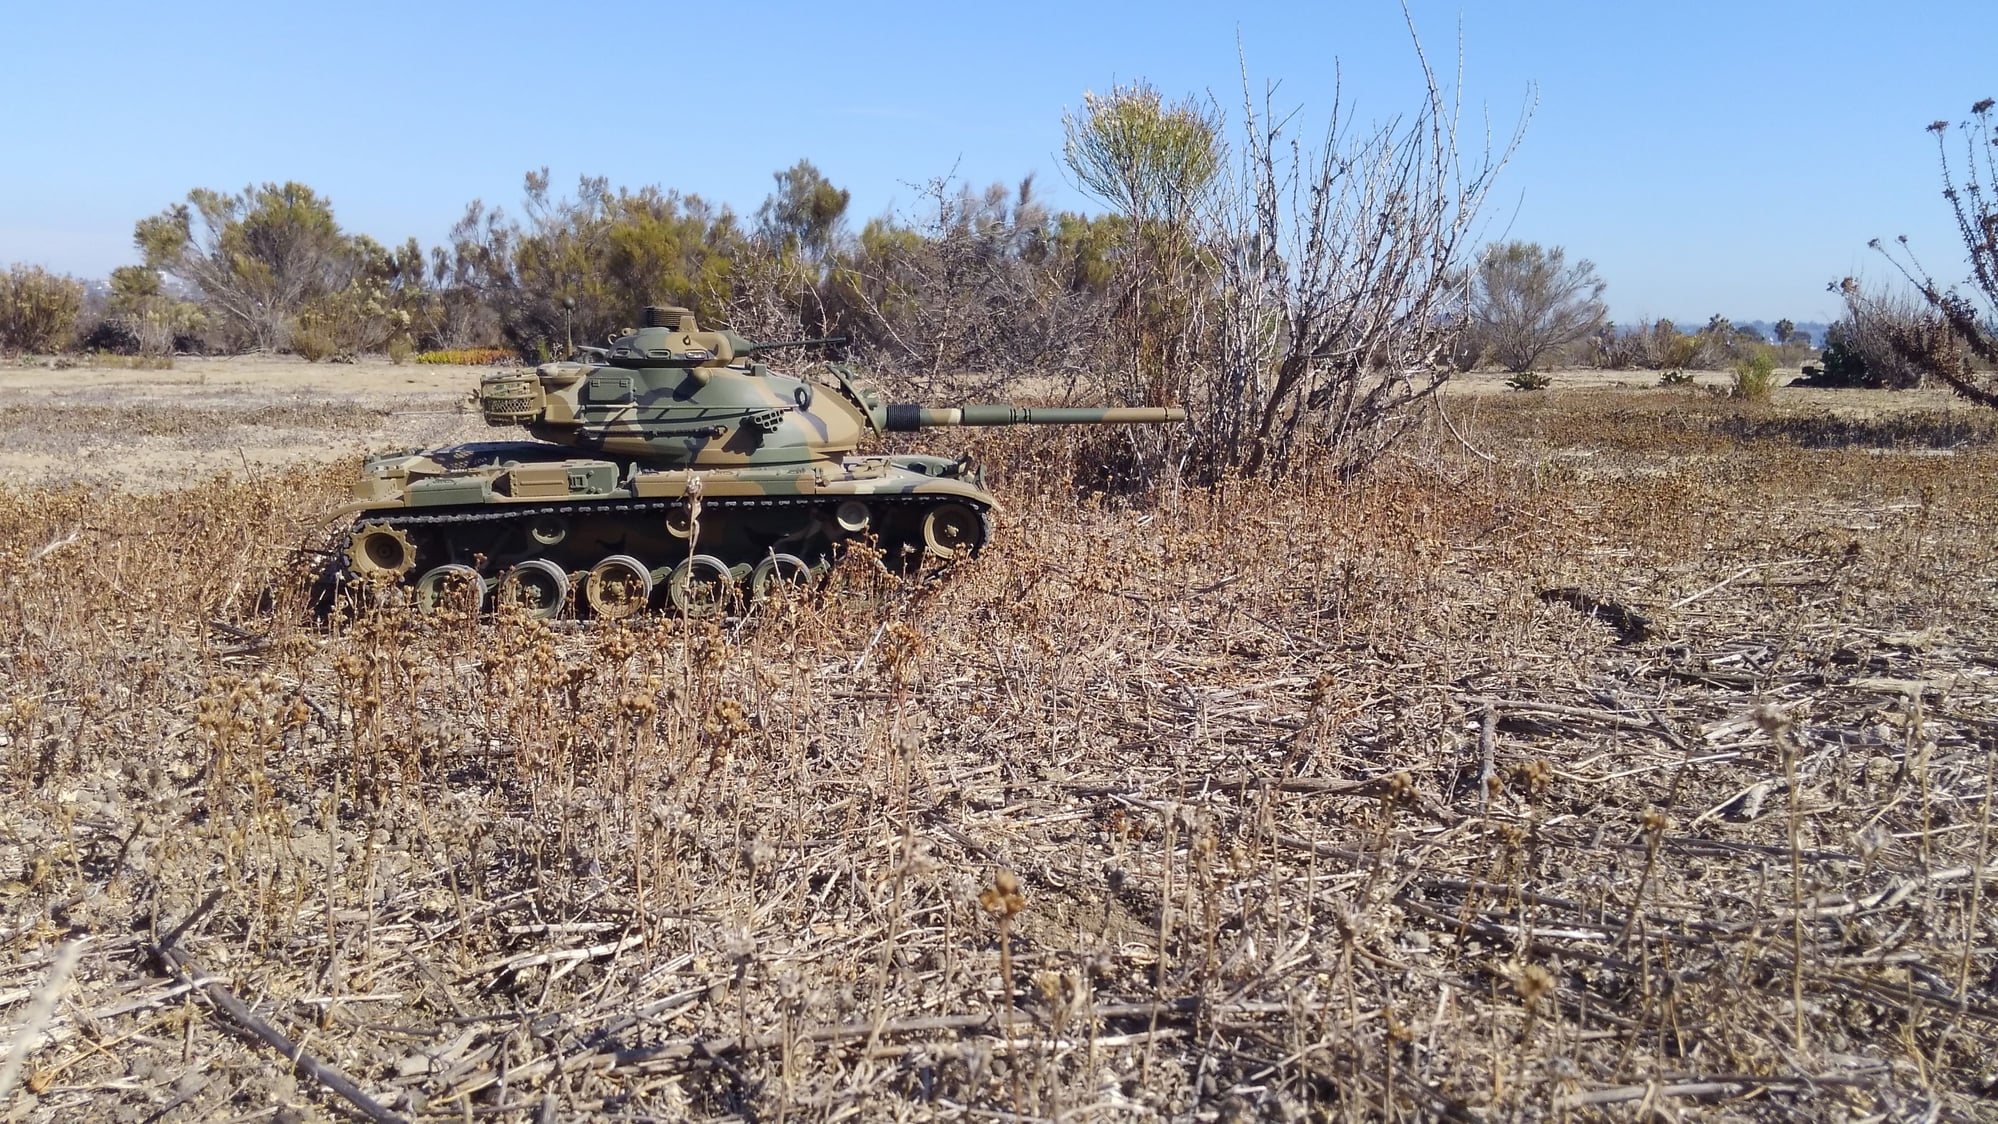
We had a fun run today and only two of us showed up. We have breakfast first at Dennys then migrate to the battlefield after. We don't take any props or popups or tables, just a tank or two from the car trunk.
The M60a3 preformed quite well for the first time out. I drove it kinda hard and threw the tracks twice. Not sure why, might have been a pebble or not. Once the track came off left side to the inside and it rubbed the rear engine access hinge up kinda bad. That's the only damage. The stupid Emax servo on the recoil unit died. Damn that's the second one of that type that cooked. Those things are pieces of crap. Seriously. It was acting wiggy from the moment I powered it up when I installed it. Ive tried to swap them out of a good brand like a hitec but nothing fits direct size and servo head for the dklm recoil system, so oh well. Need to find the one spare Emax I have around here. That's my only issue right now.
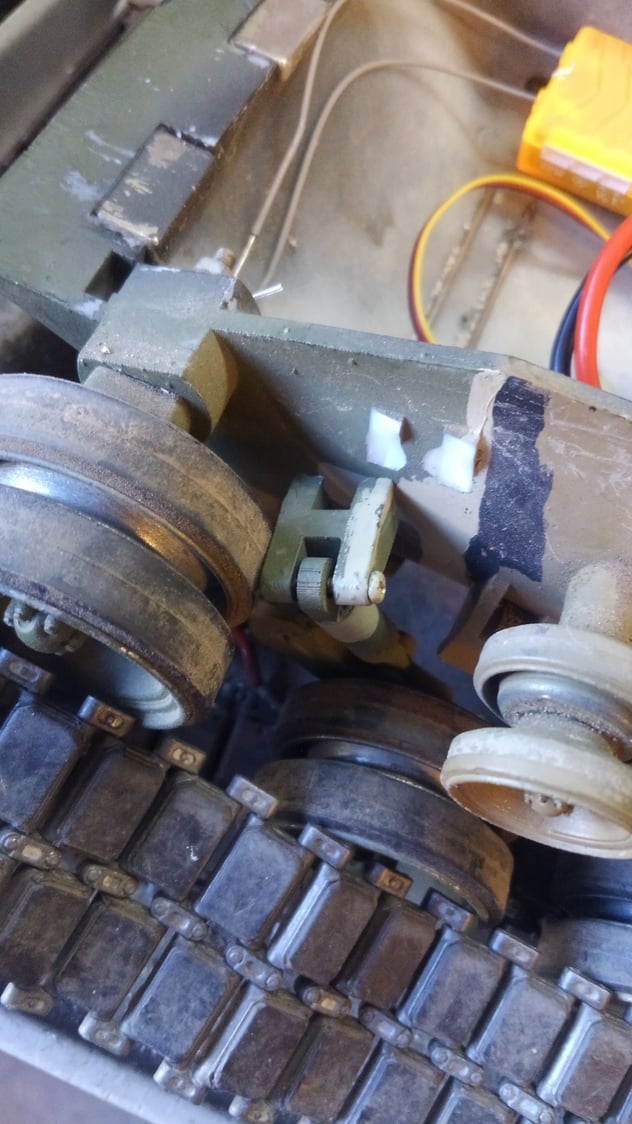
I noticed the two torsion arms on the right were off when I got home. The rear and worked out of its lock down and come out of the arm groove so the arm was sagging. The next one forward was a bit loose so that side sat kinda mushy low. Just had to tighten them up. But I will watch them closely next time.
Other than that had a lot of fun and never pulled the hotrod abrams out of my jeep. We screwed around for about 2 and a half hours before we called it quits and packed up.
I drove through lots of washes and over lots of sticks and rocks. Only got highcentered once on a rock that was bigger than I thought.
All in all Im still happy I spent 2k building this tank. That's a lot to be said for sure.
More photos are here on flicker.
The M60a3 preformed quite well for the first time out. I drove it kinda hard and threw the tracks twice. Not sure why, might have been a pebble or not. Once the track came off left side to the inside and it rubbed the rear engine access hinge up kinda bad. That's the only damage. The stupid Emax servo on the recoil unit died. Damn that's the second one of that type that cooked. Those things are pieces of crap. Seriously. It was acting wiggy from the moment I powered it up when I installed it. Ive tried to swap them out of a good brand like a hitec but nothing fits direct size and servo head for the dklm recoil system, so oh well. Need to find the one spare Emax I have around here. That's my only issue right now.
I noticed the two torsion arms on the right were off when I got home. The rear and worked out of its lock down and come out of the arm groove so the arm was sagging. The next one forward was a bit loose so that side sat kinda mushy low. Just had to tighten them up. But I will watch them closely next time.
Other than that had a lot of fun and never pulled the hotrod abrams out of my jeep. We screwed around for about 2 and a half hours before we called it quits and packed up.
I drove through lots of washes and over lots of sticks and rocks. Only got highcentered once on a rock that was bigger than I thought.
All in all Im still happy I spent 2k building this tank. That's a lot to be said for sure.
More photos are here on flicker.
Last edited by RichJohnson; 11-18-2018 at 07:12 PM.
11-19-2018, 07:23 AM
#67
Thread Starter
Nope. The barrel goes up and down and the turret turns, the only thing different is the coupola works. I took two videos before and they didn't come out well so I deleted them. Im not very good at videos.
I just realized the photo above looks like the tank is out in the grass in front of Sherwood Forest at Camp Bob.
I just realized the photo above looks like the tank is out in the grass in front of Sherwood Forest at Camp Bob.
11-22-2018, 12:08 PM
#69
Thread Starter
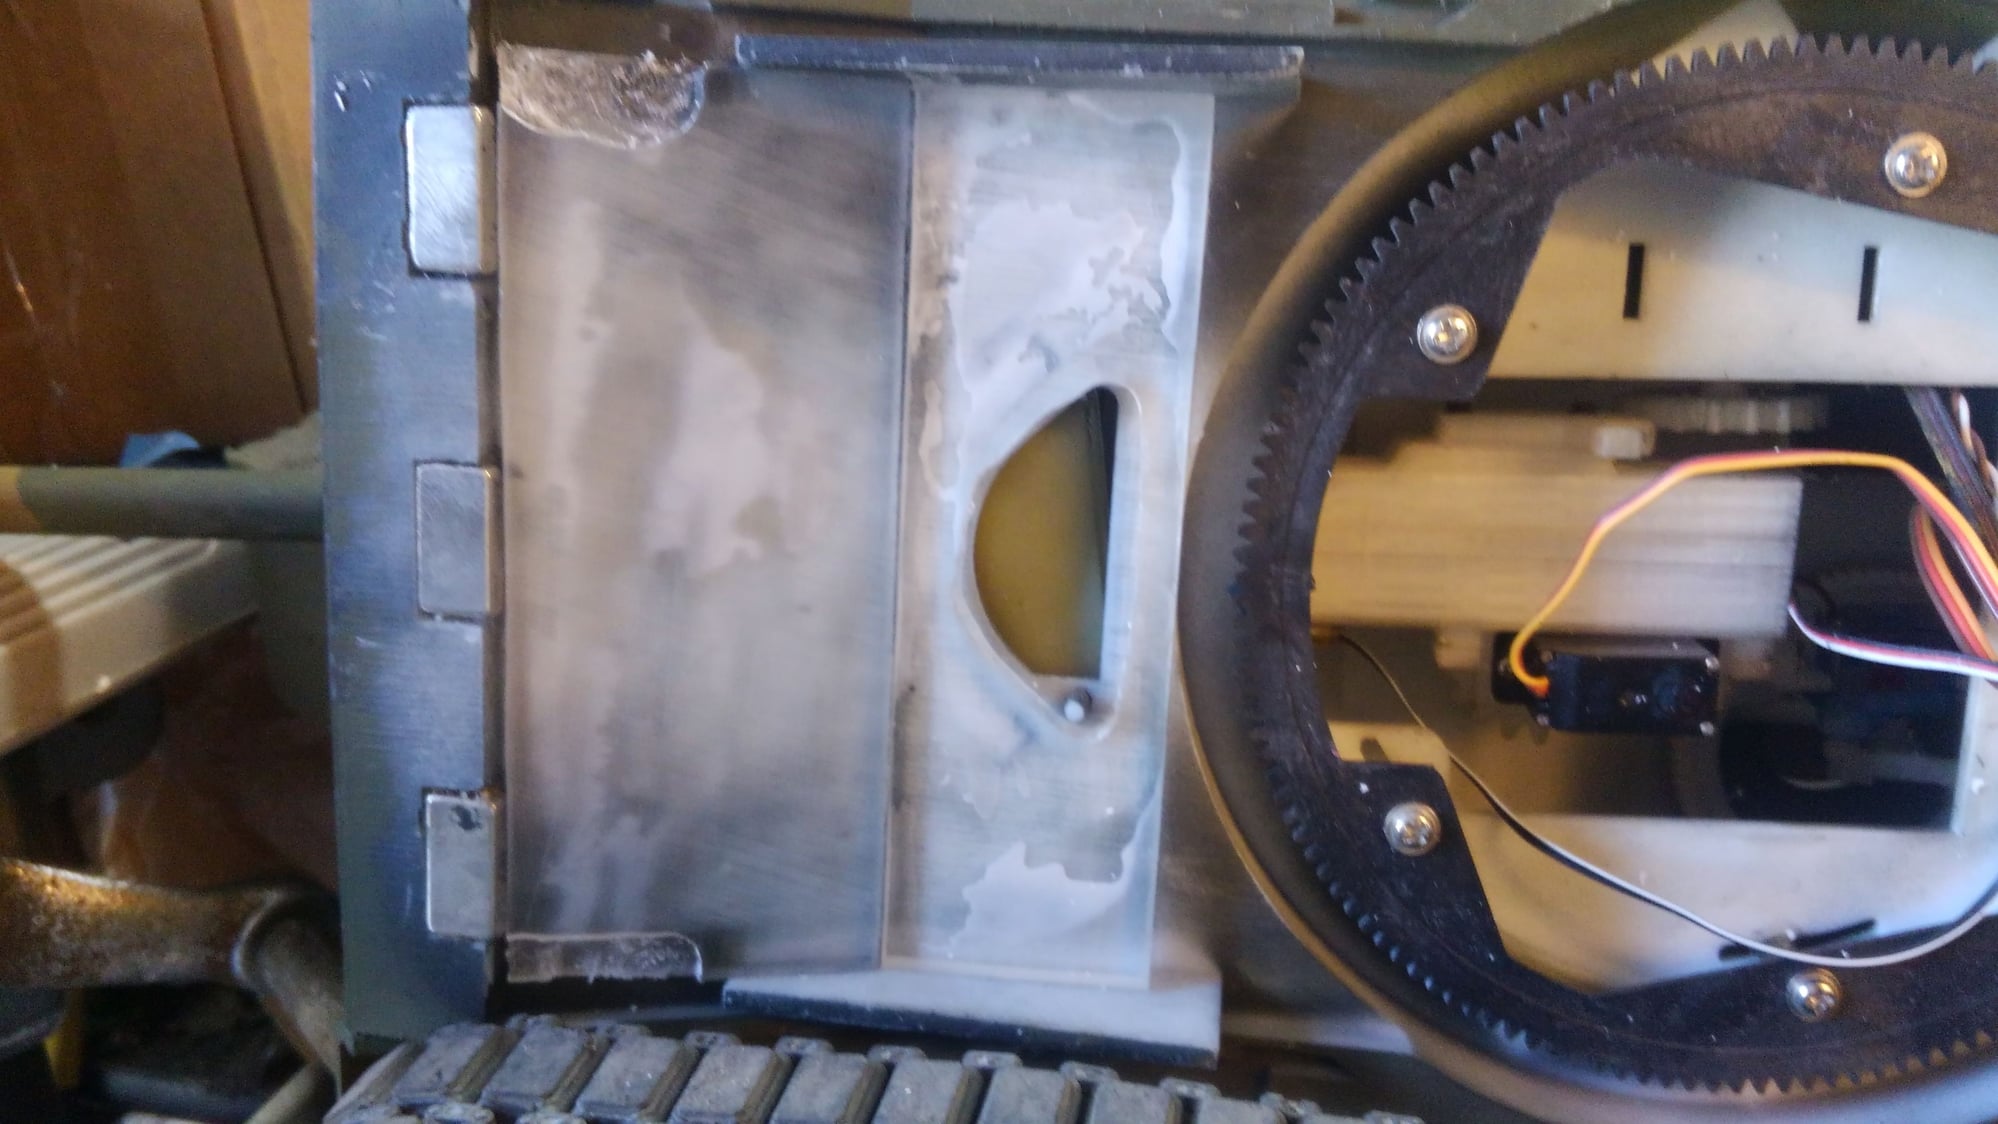
Today while replacing the recoil servo I noticed the front nose was no longer tight. If you look under the headlights on both sides there is gap between the hulls. I suspect that after two hours in the sun the upper hull softened and warped a little. Im not happy and suspect the solution will be to install a pelxiglass sheet under the front upper hull slope to strengthen it like I do with the glacis of shermans that have urethane hulls. Kind of a bummer I was hoping this material would be resistant to sun heat and warping but I guess not.
 11-22-2018, 01:30 PM
#71
In fairness, I think I have fixed most of the warping issues with the later designs by adding ribbing on the inside surfaces - perhaps DKLM should consider this for future releases?
11-27-2018, 07:46 AM
#72
Thread Starter
I sanded down the underside of the glacis and super glued plexi to it and under the flat top where the driver hatch is. This helped with the warping sag that lifted the front corners up a little. I knew I should have done this to start with but I passed on it. I do it to all my urethane Sherman hulls for support in the warm sun urethane can get soft and so does this 3d stuff I guess. It worked ok. The warp is reduced but still there. Im just going to have to get over it and live with it.
While driving in my yard the other day I went over a small concrete curb that seperates my grass from the dirt planter. Its just a couple inches high, nothing the tank cant handle but guess I hit it too hard and heard a snap. The left front shock absorber tower snapped off. The wheel arm can travel past the point that the shock is fully collapsed long before it hits the bump stop and the shock forced the tower up and snapped it off. I glued it and then drilled two pins into it. Im going to do the other side too and then put bondo around them inside for even more support. More to come soon.

While driving in my yard the other day I went over a small concrete curb that seperates my grass from the dirt planter. Its just a couple inches high, nothing the tank cant handle but guess I hit it too hard and heard a snap. The left front shock absorber tower snapped off. The wheel arm can travel past the point that the shock is fully collapsed long before it hits the bump stop and the shock forced the tower up and snapped it off. I glued it and then drilled two pins into it. Im going to do the other side too and then put bondo around them inside for even more support. More to come soon.
11-29-2018, 07:41 AM
#75
Thread Starter
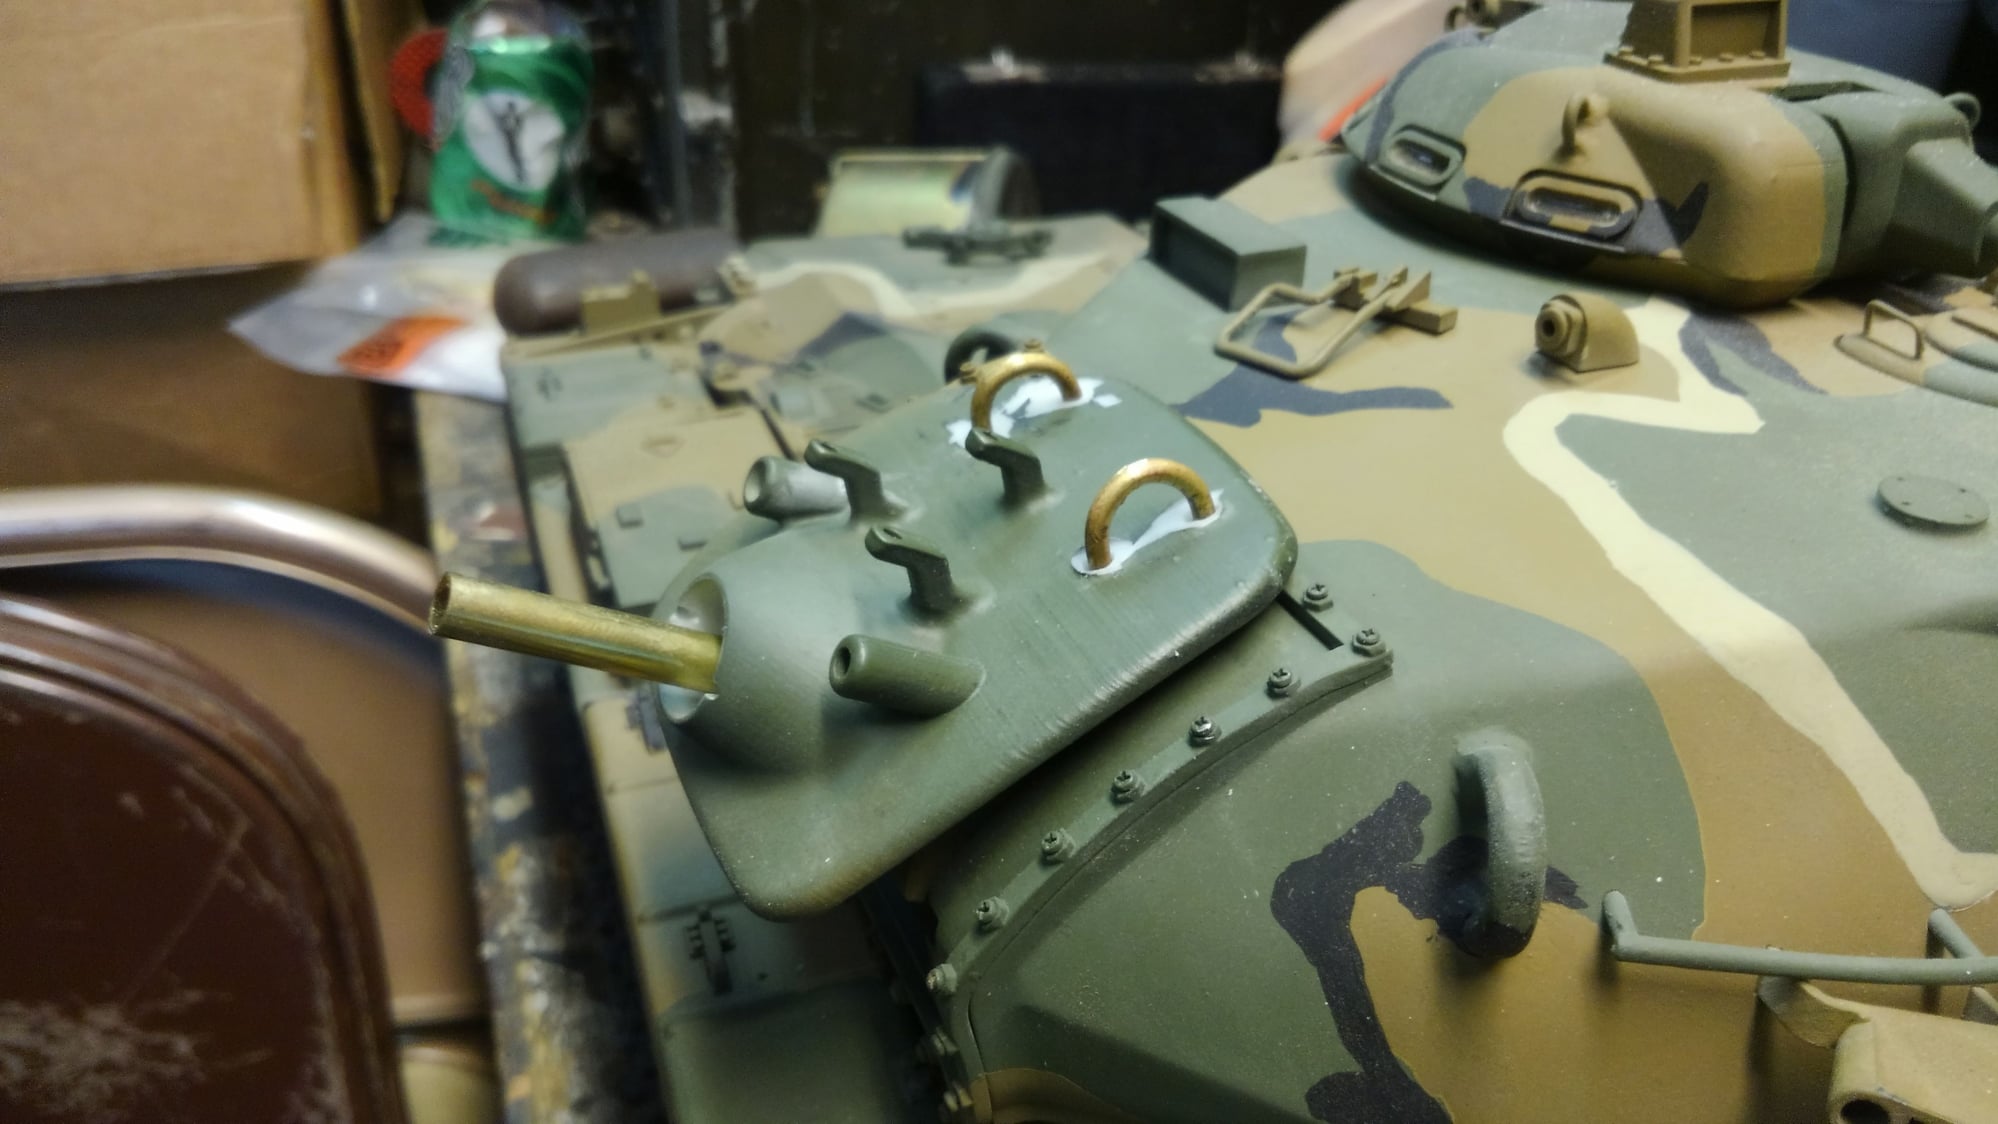
Well just as I threatened to do I cut off the printed in lift rings and made new ones that are closer to the the realistic looking ones, not quite but close enough to give the correct shape when covered by the mantlet cover. The real ones are actually circles welded on.
Then I began a several night process of fitting the mantlet cover. What a job. This was the part I dreaded the most as I know that a flat sheet is not the same as the 3 dimensional box shape with bellows sides that the real mantlet cover has. Lots of work fitting and shaping and trying different folds and angles to get it to look different. Its quite difficult.

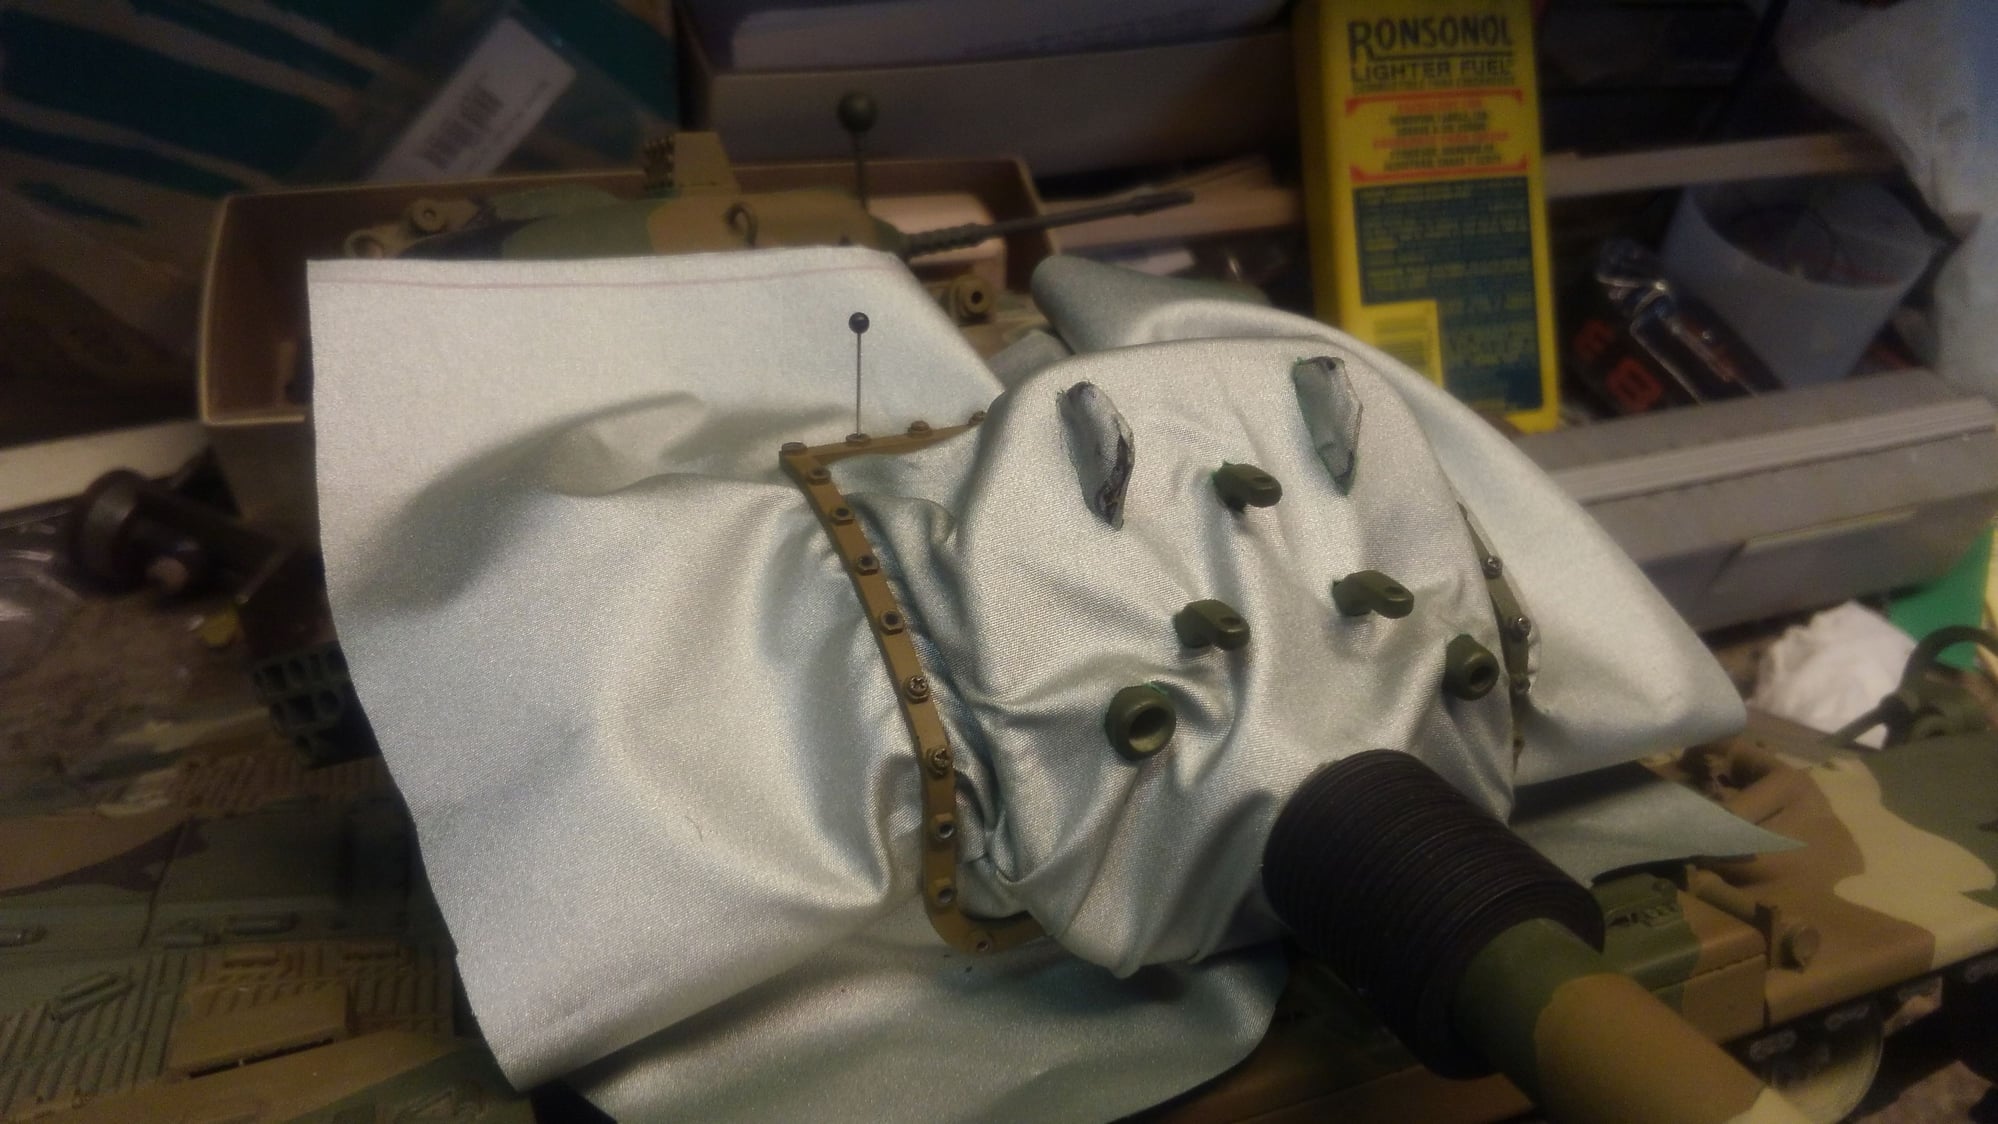
Then I began a several night process of fitting the mantlet cover. What a job. This was the part I dreaded the most as I know that a flat sheet is not the same as the 3 dimensional box shape with bellows sides that the real mantlet cover has. Lots of work fitting and shaping and trying different folds and angles to get it to look different. Its quite difficult.