


Tamiya Jagdpanther
 02-04-2021, 05:13 AM
#51
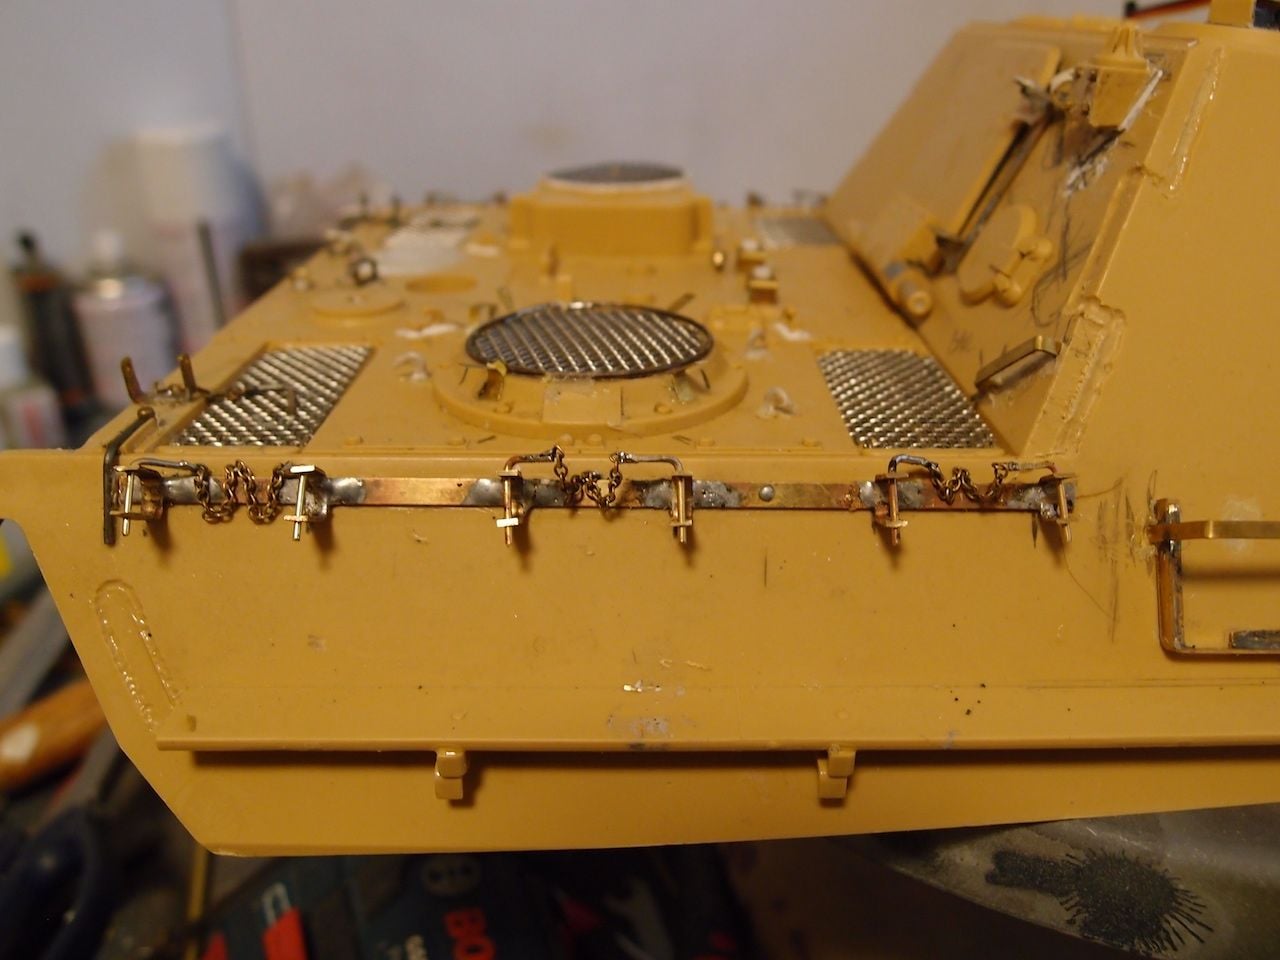
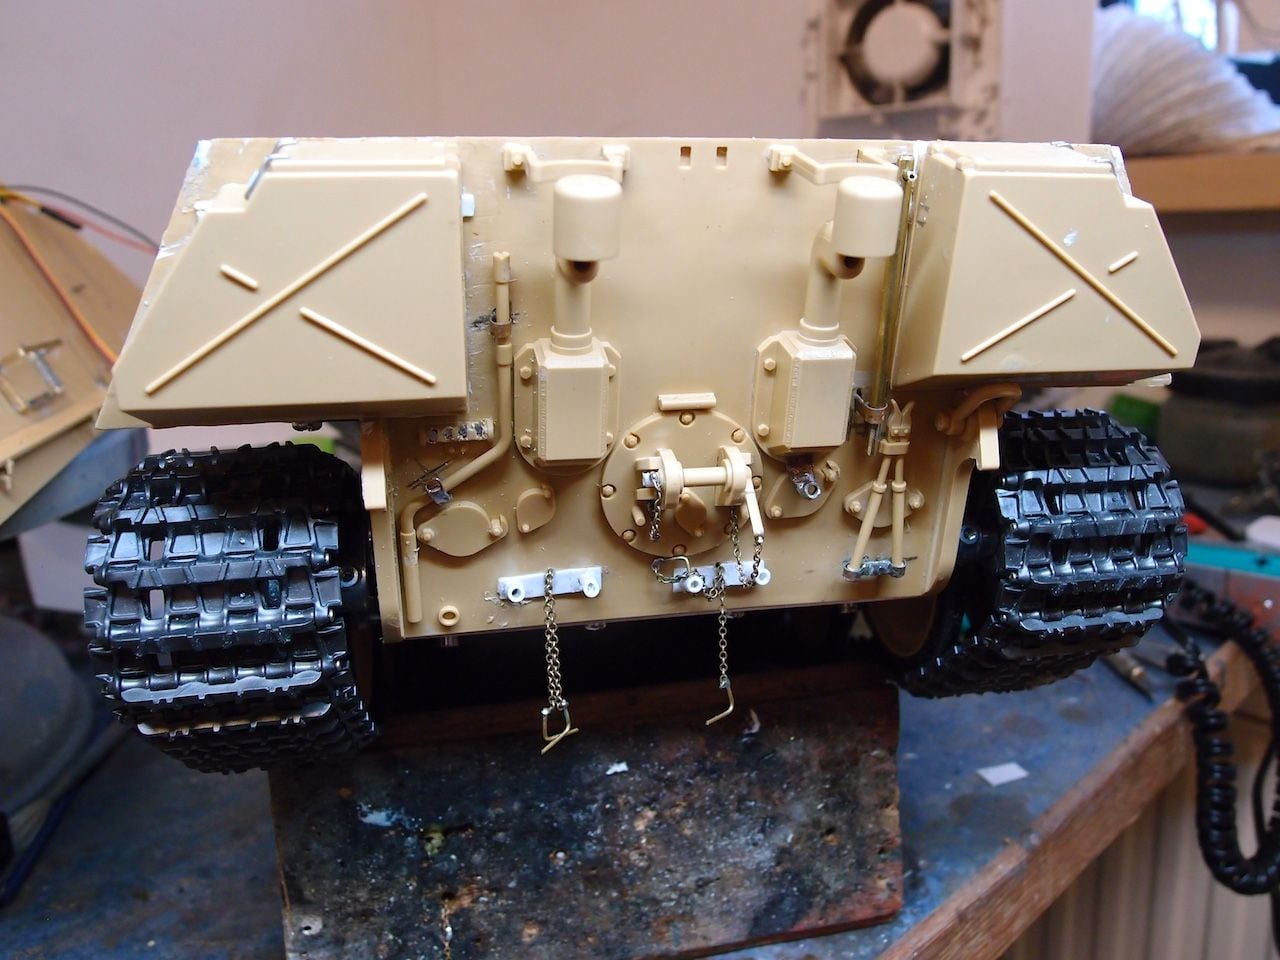
Time to tidy up before painting, most of the brass work and the track hanger pins with chain are done . The 3d woven screens are a big improvement, if i decide to do any tank renovations/ change of camo will redo the mesh screens. Not far off the painting stage, just a couple of tool brackets on the rear to do .
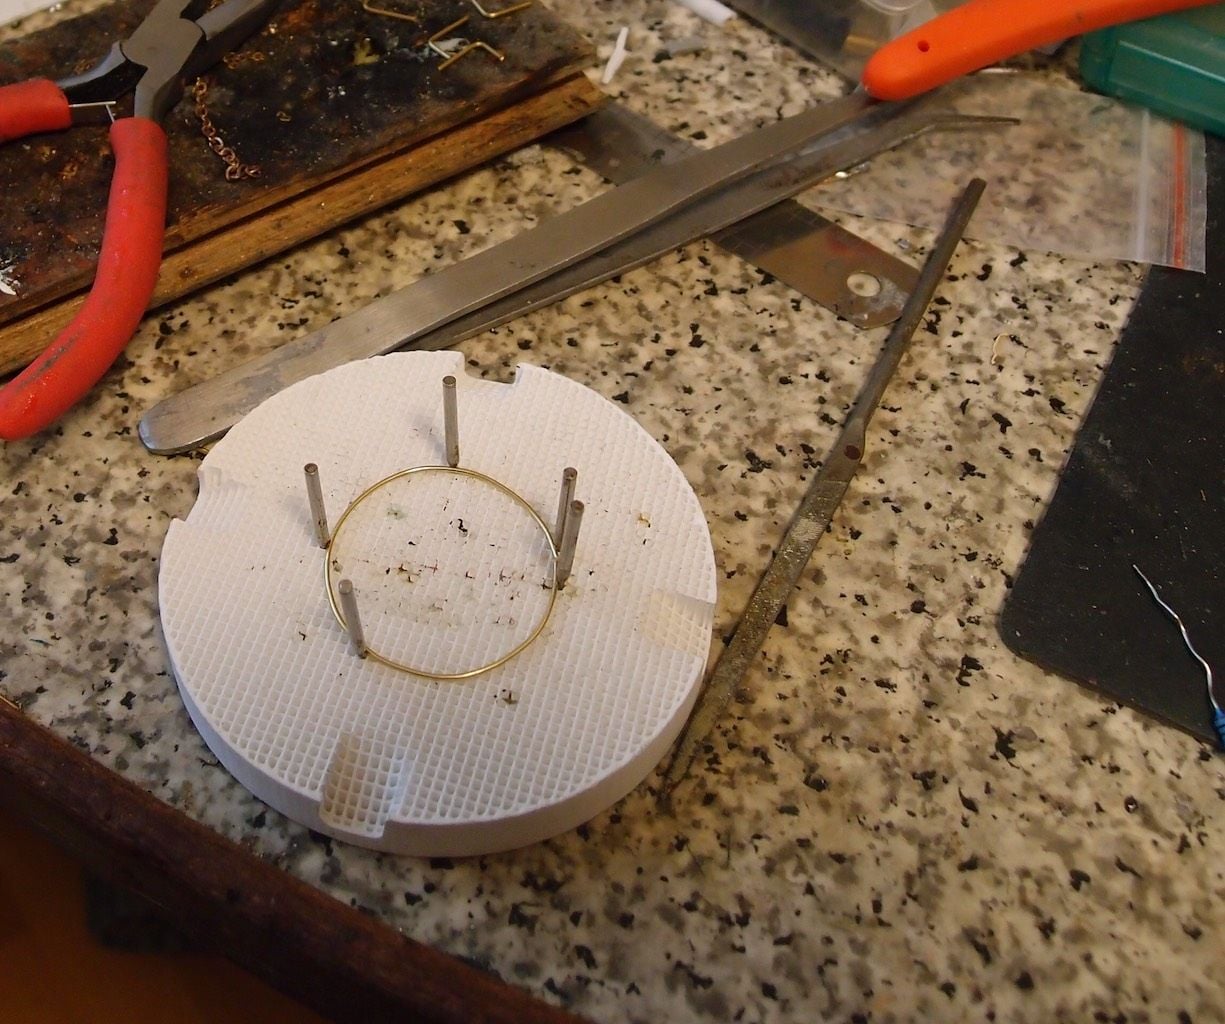
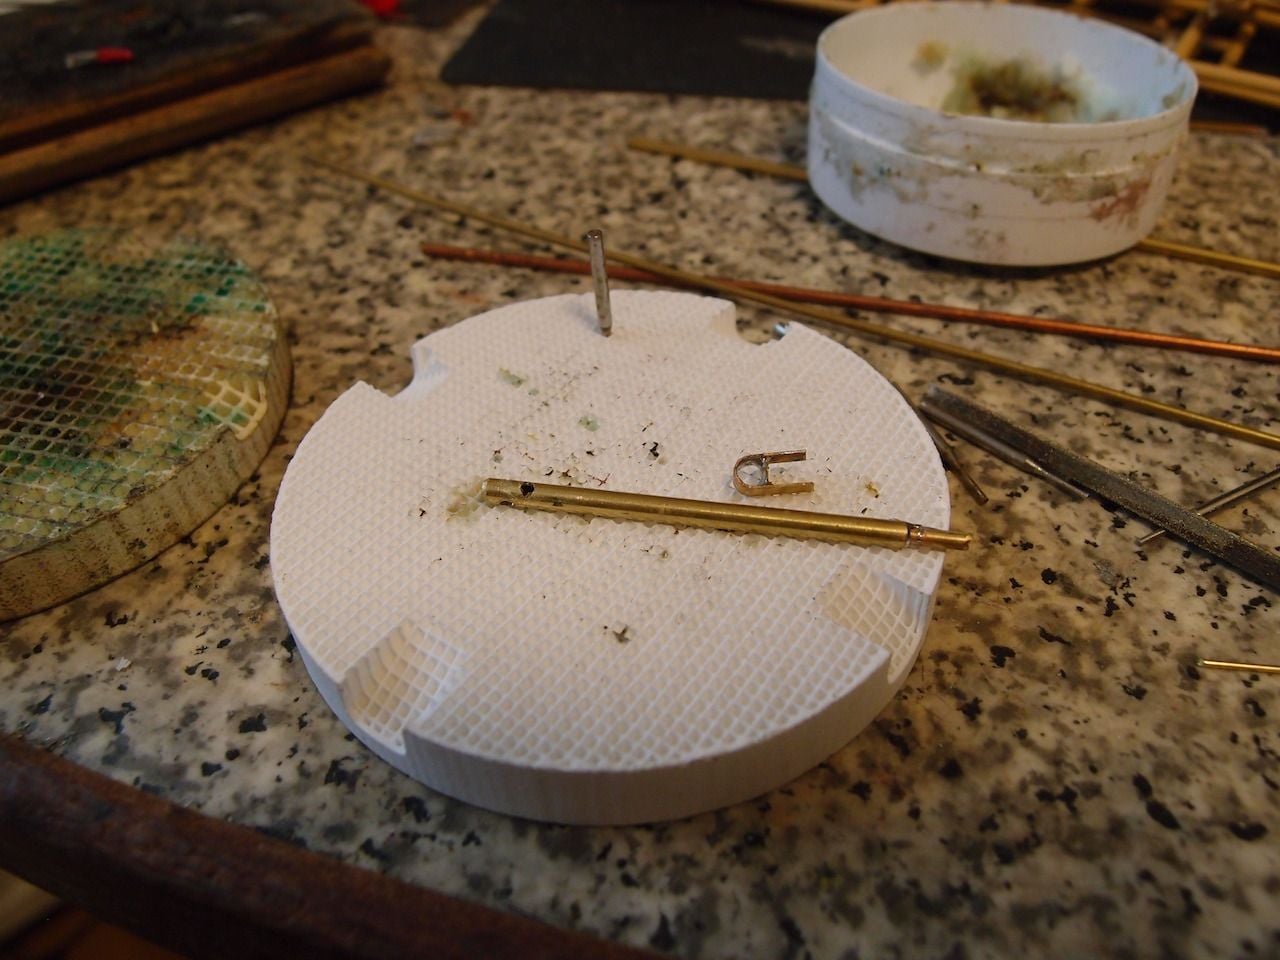
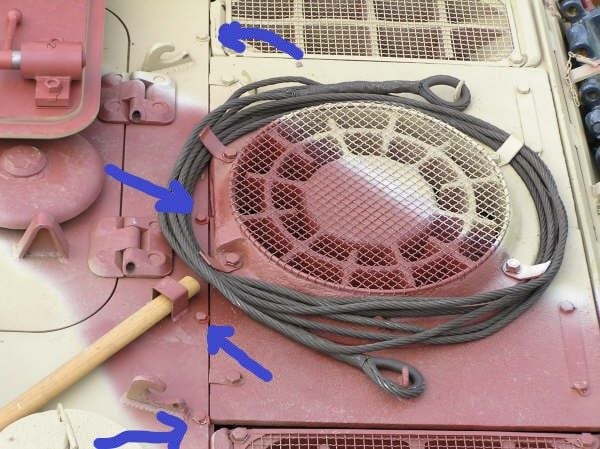
Brass ring for the fan cover.
Trimmed the mesh for a better fit inside the ring. One screen to fix , cut too much away from the corners on the 1st rectangular screen . Bolts are ordered to complete the screens.
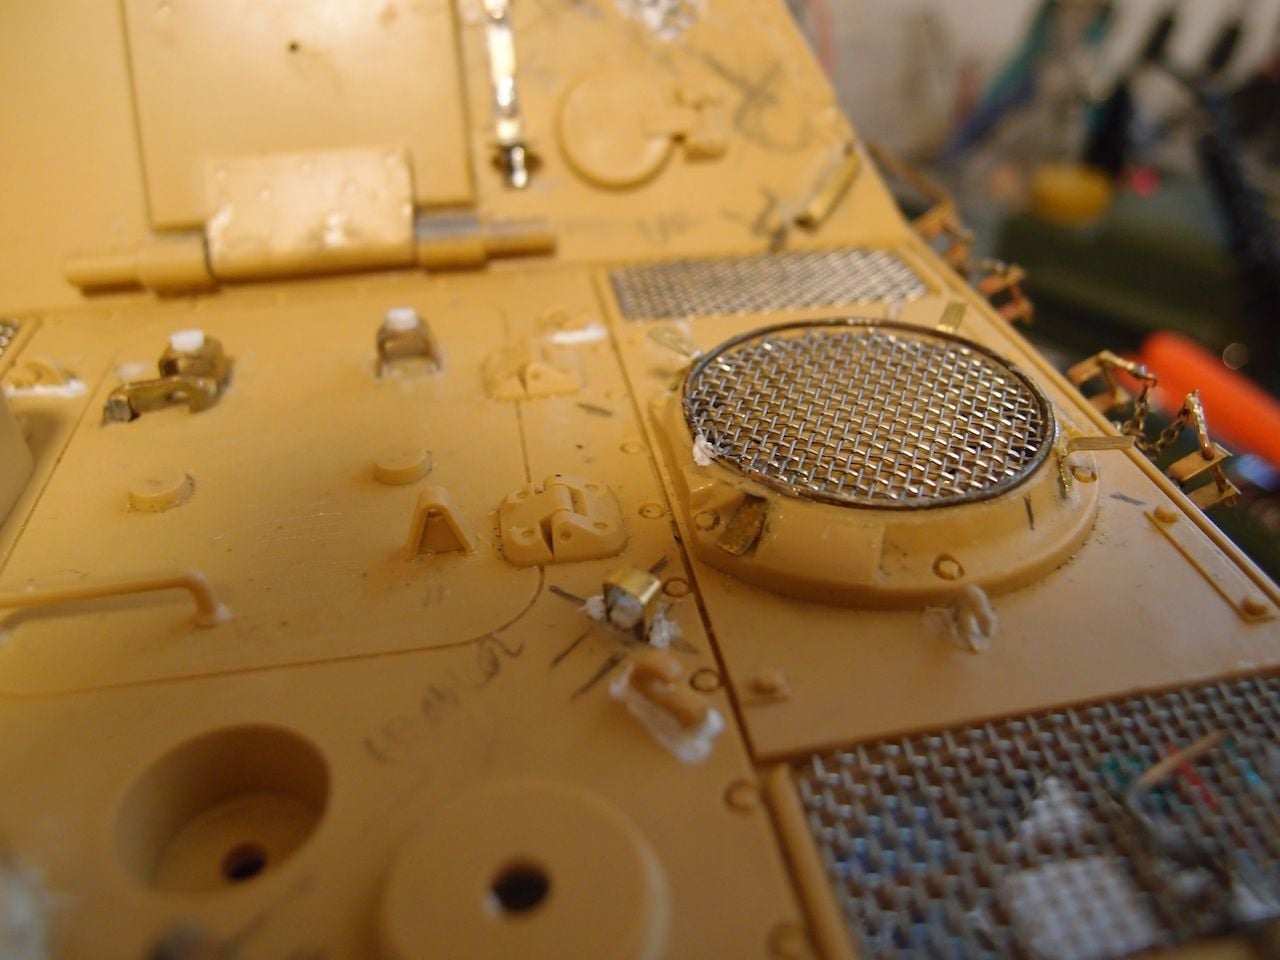
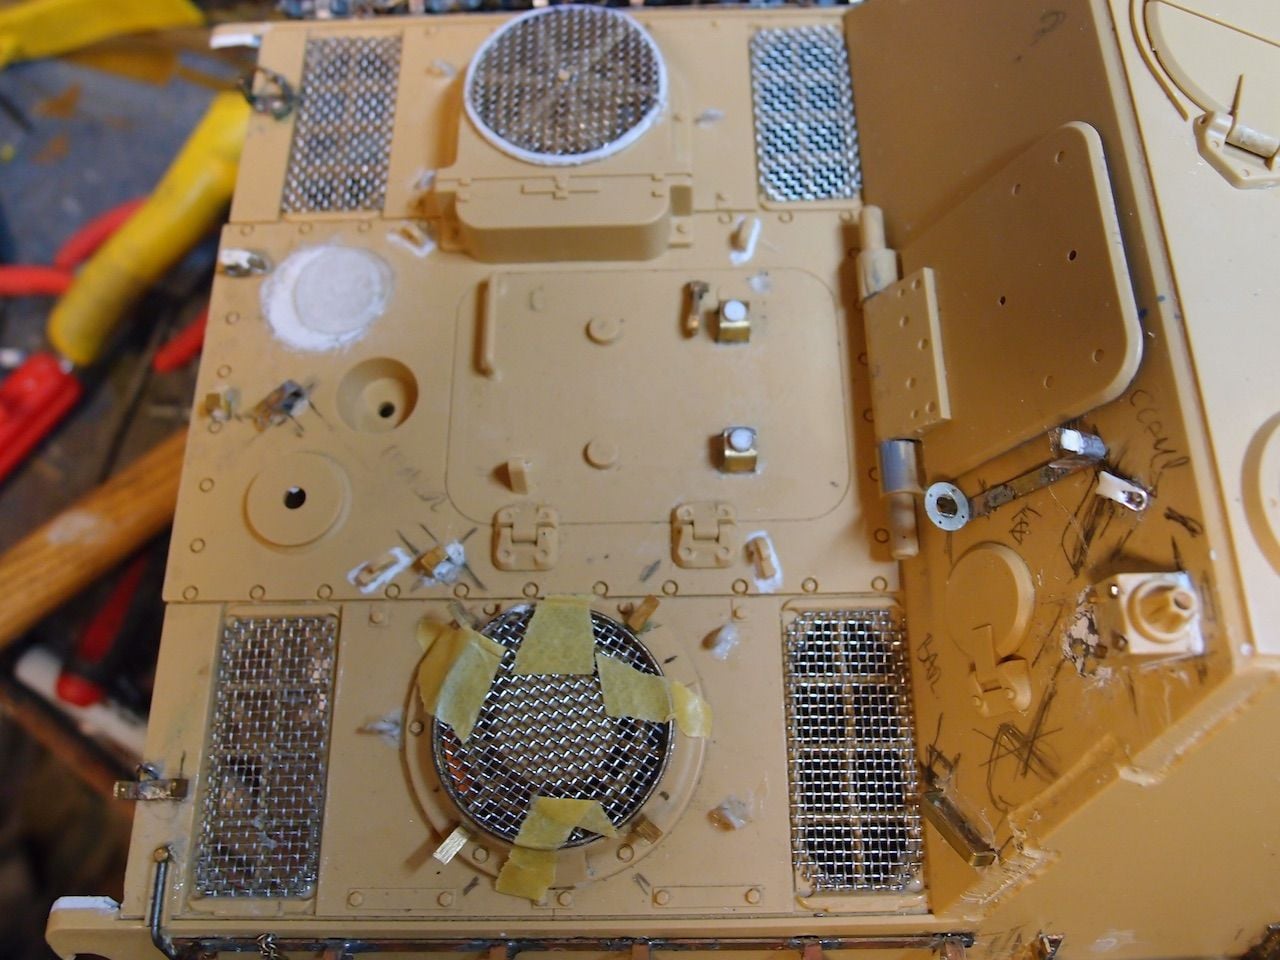
The metal surround just looks the part.

Tracks fitted and chained pins to secure. Styrene round screen , the real on has a lip to hold the screen.
Brass is easier to replicate scale, plastic or 3D is far too thick and easy to break.
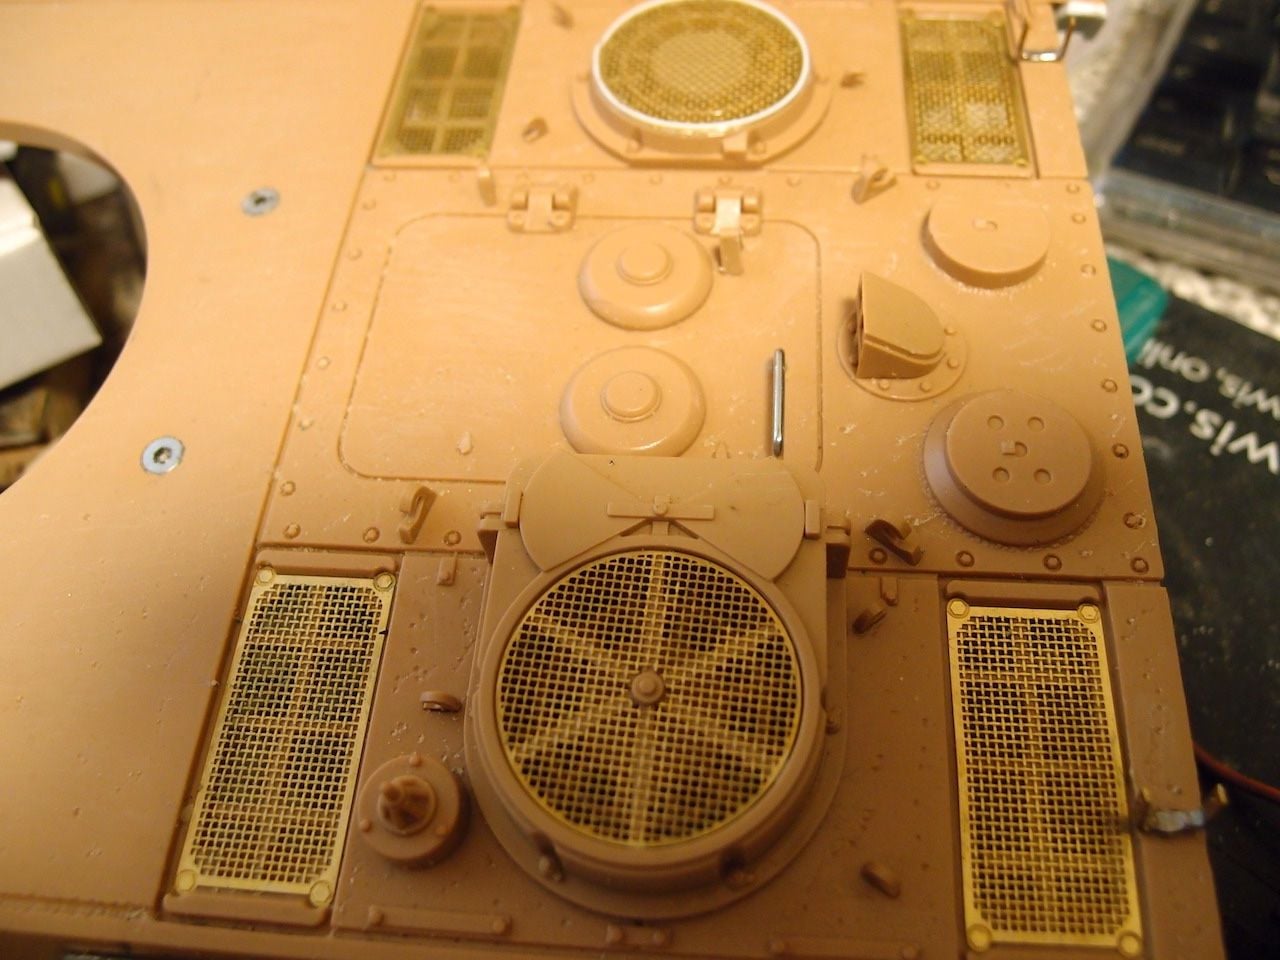
The Taigen PE screens are not very good , most images of the screens show that they have larger spaces in the mesh.
Brass ring for the fan cover.
Trimmed the mesh for a better fit inside the ring. One screen to fix , cut too much away from the corners on the 1st rectangular screen . Bolts are ordered to complete the screens.
The metal surround just looks the part.
Tracks fitted and chained pins to secure. Styrene round screen , the real on has a lip to hold the screen.
Brass is easier to replicate scale, plastic or 3D is far too thick and easy to break.
The Taigen PE screens are not very good , most images of the screens show that they have larger spaces in the mesh.
 02-05-2021, 08:09 AM
#52
Made the brackets for the other tools on the rear. Don't know if i will bother about a working bracket for the jack, if i have the correct brass strip i may try . Going for the late camo ambush style with the dots or try the splinter version.
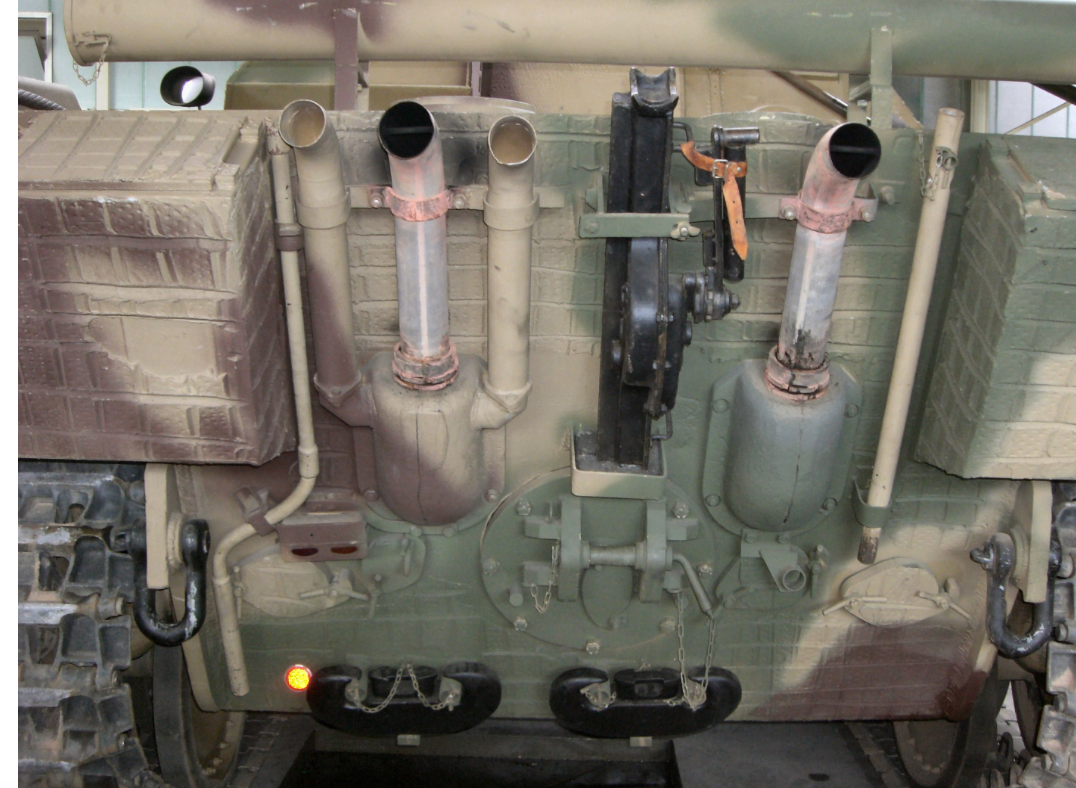
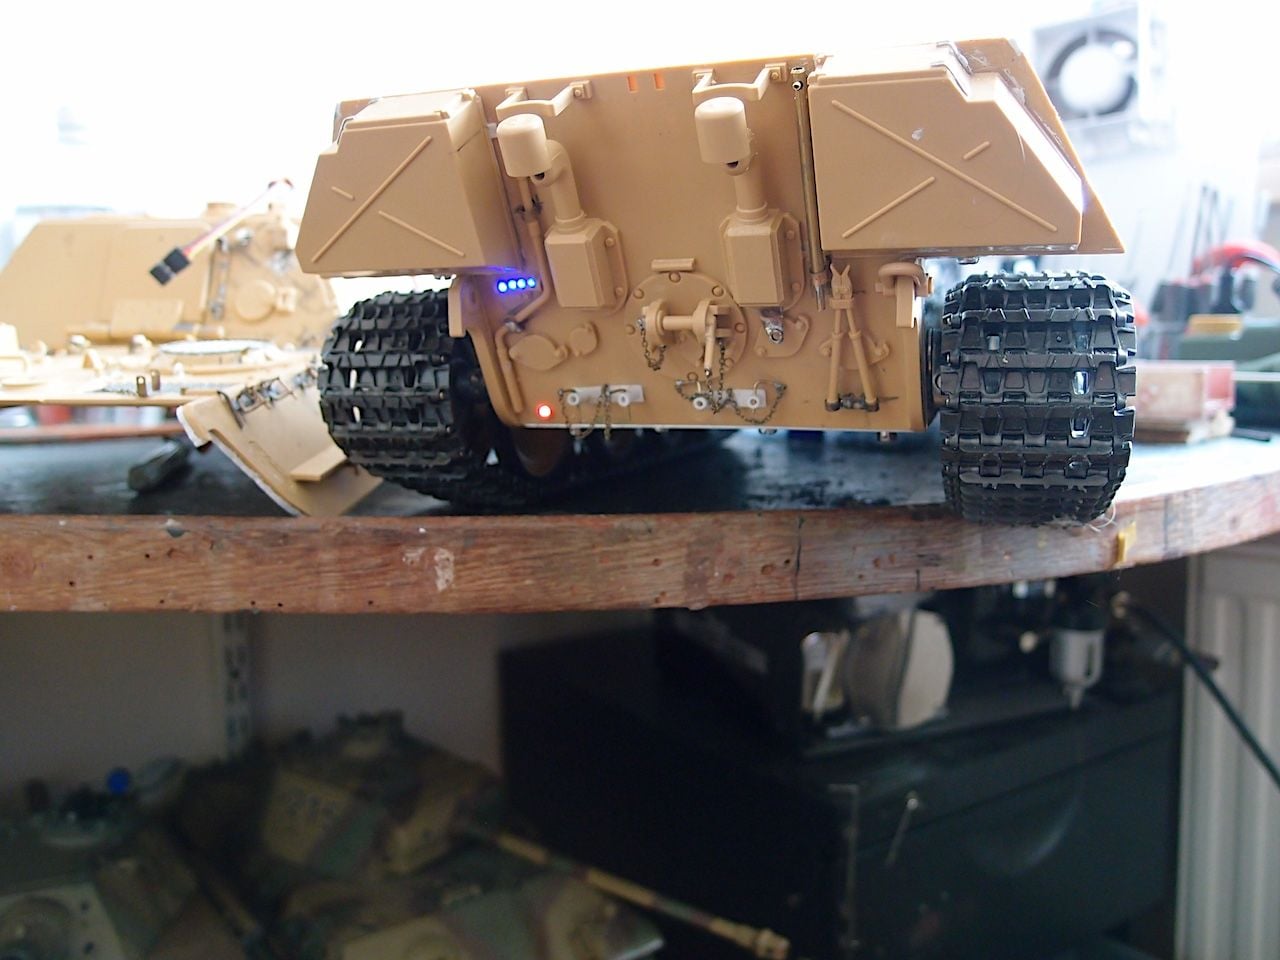
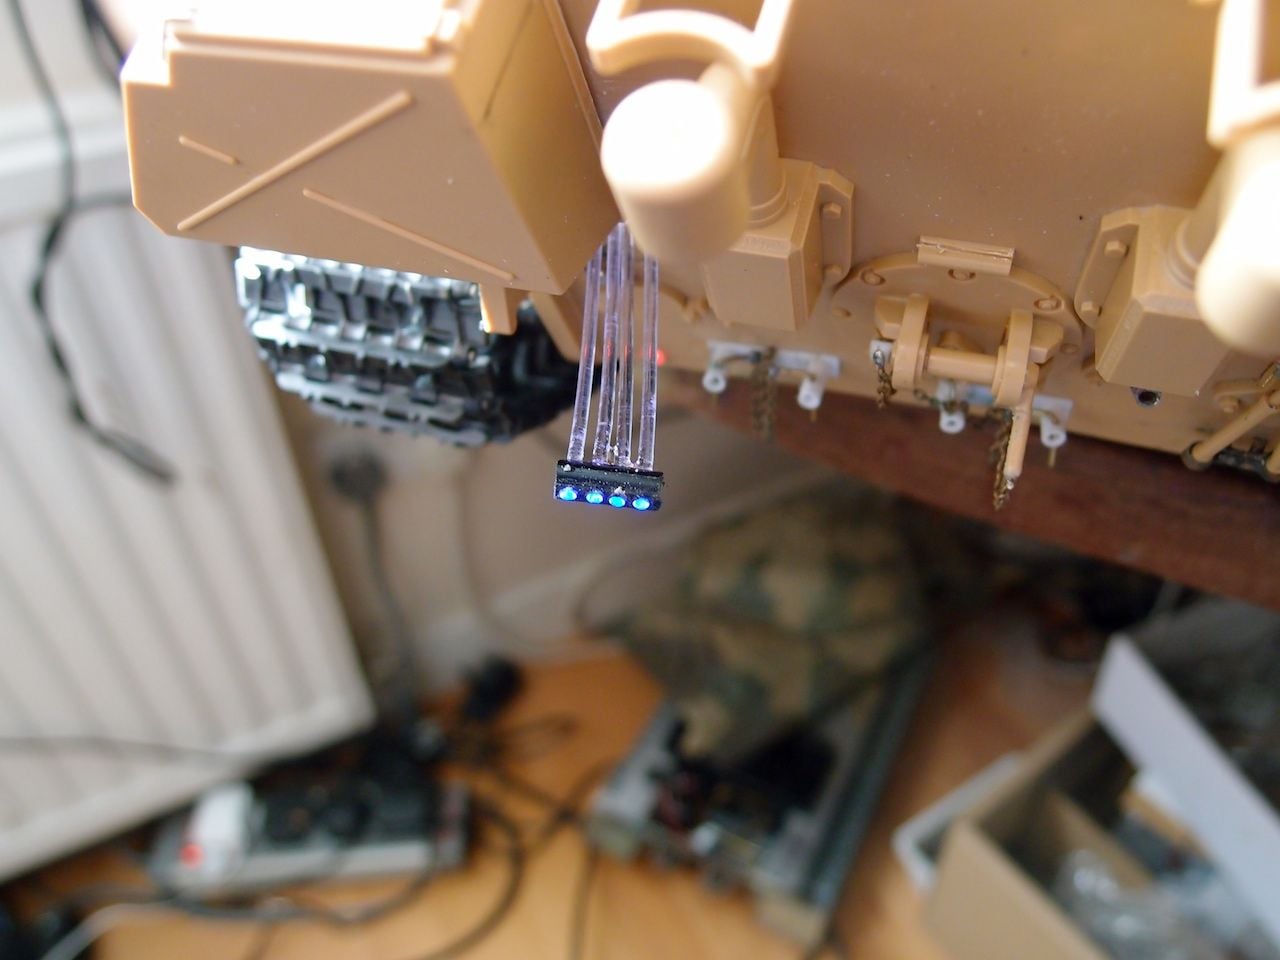
Starter handle will be in a slighty different position due to the convoy light being further over. I like the reflector, will use a red led .
The bar? and lower bracket.
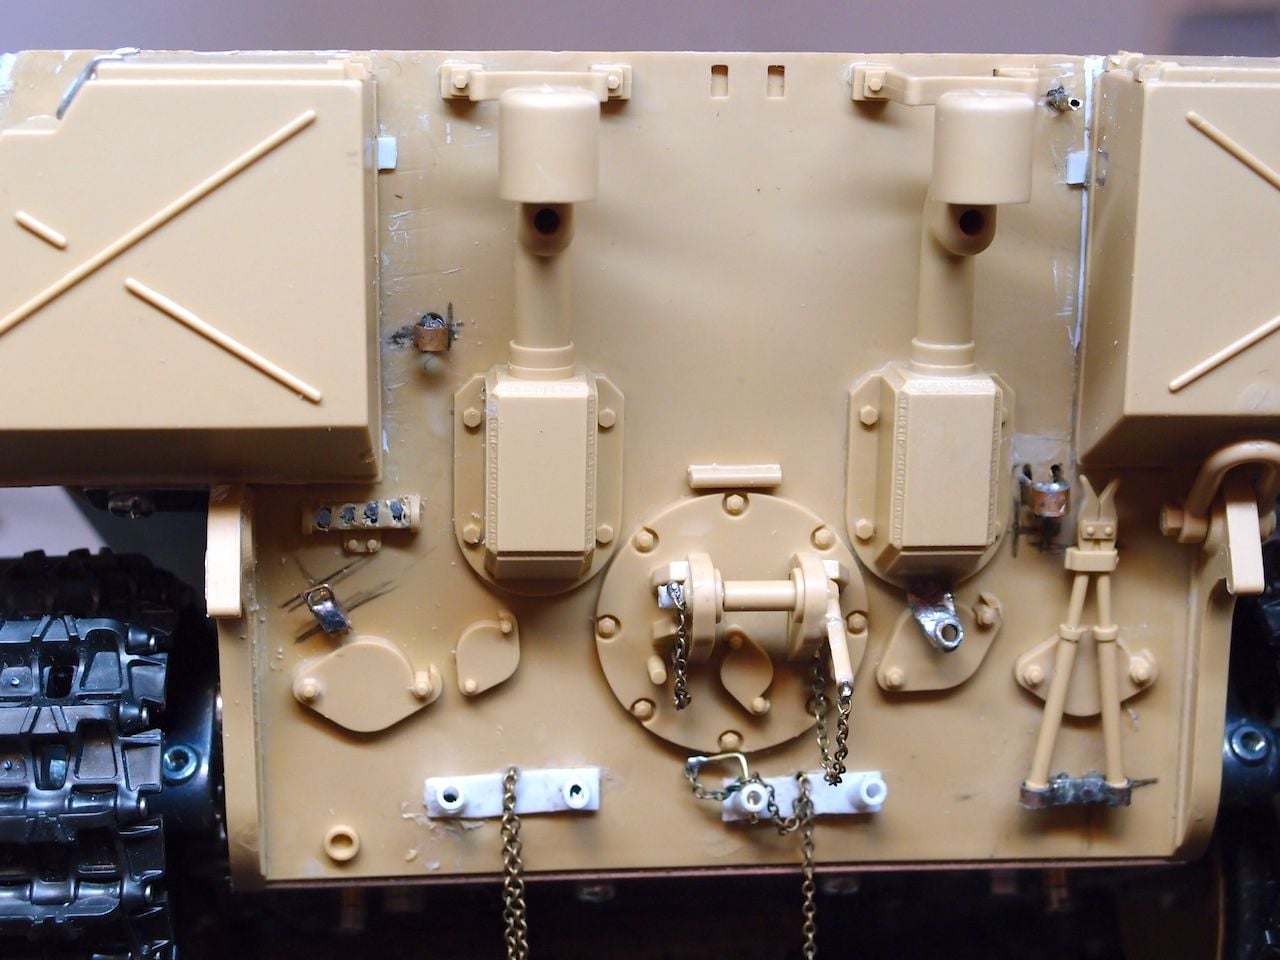
Ready for the tools. The tow pin handle is quite thick and i bust it working on the tools , will make up another out of brass as the plastic is not round.
Tools fitted , can be removed for running outside.
Starter handle will be in a slighty different position due to the convoy light being further over. I like the reflector, will use a red led .
The bar? and lower bracket.
Ready for the tools. The tow pin handle is quite thick and i bust it working on the tools , will make up another out of brass as the plastic is not round.
Tools fitted , can be removed for running outside.
Last edited by ronnie42; 02-05-2021 at 08:16 AM.
02-05-2021, 08:15 AM
#53
Looks great so far!!!

 02-10-2021, 05:28 PM
#57
Nice lighting!!!
02-11-2021, 05:38 AM
#59
Hi Thanks for the comments, will be a while before painting its cold with snow. Decided to remove the moulded in convoy light and do a better one as the drill holes were a little out. A piece of sprue from a Tamiya rc kit as its easier to drill, does not try to melt like normal plastic.
Managed to line up the holes this time , push back and glue job done.
Managed to line up the holes this time , push back and glue job done.
02-16-2021, 08:27 AM
#60
Updated convoy light looks good!!!
11-18-2021, 03:20 AM
#63
Going to restart this build, RCtank de have the new Elmod boards in. Almost bought a Carson 14 ch rx to deal with the extra servos. The new board has an S-BUS add-on .
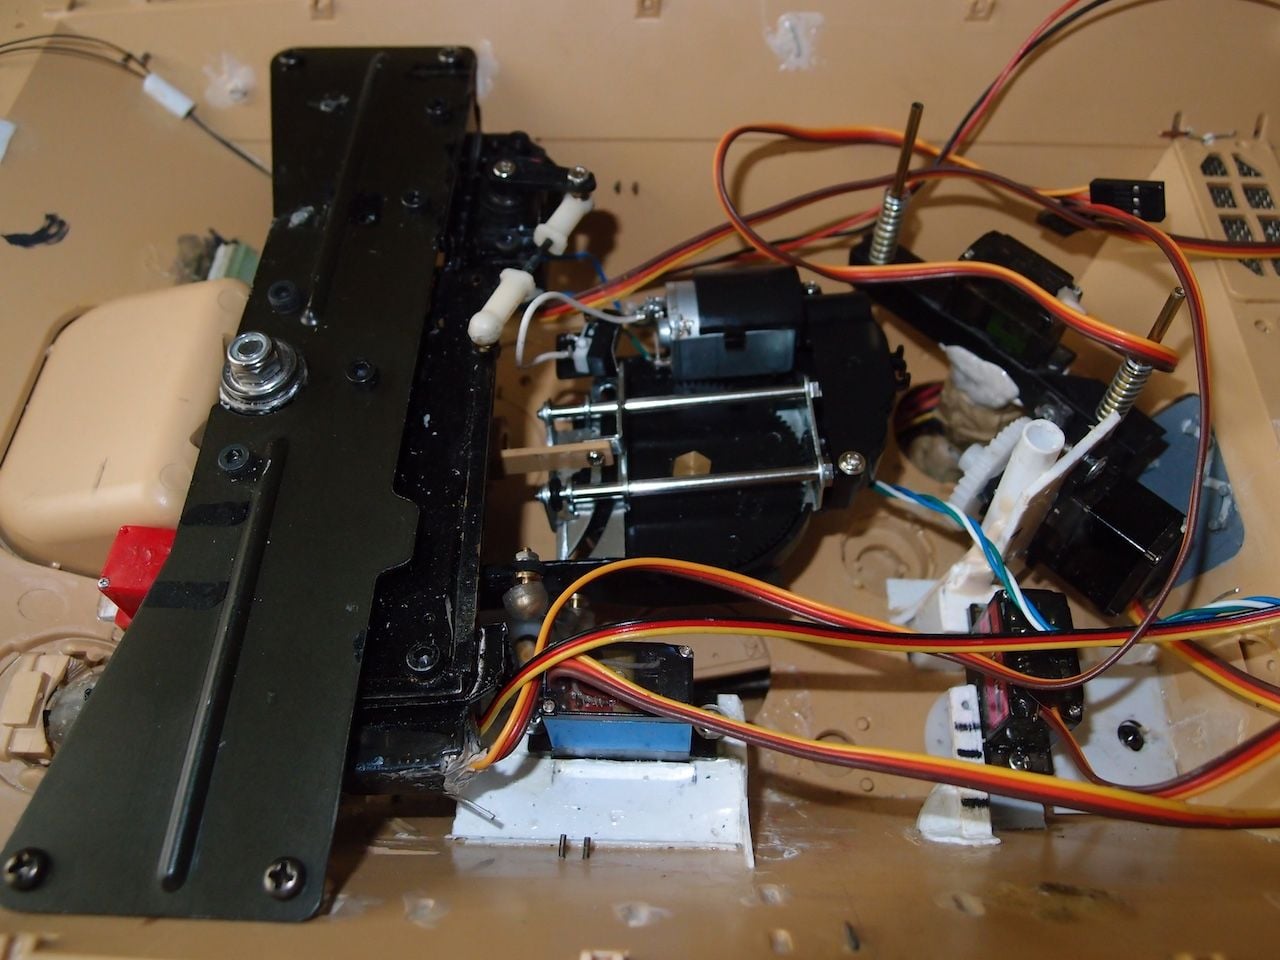
The Tamiya recoil was a playing up, if you use a 3c lipo the motor overruns . With a 2c its OK, almost swapped it out for a servo , only found that out by accident when the board said low battery and changed settings for a 2c battery.
The Tamiya recoil was a playing up, if you use a 3c lipo the motor overruns . With a 2c its OK, almost swapped it out for a servo , only found that out by accident when the board said low battery and changed settings for a 2c battery.
11-20-2021, 05:41 AM
#64
 11-26-2021, 11:13 AM
#66
 11-28-2021, 04:47 AM
#67
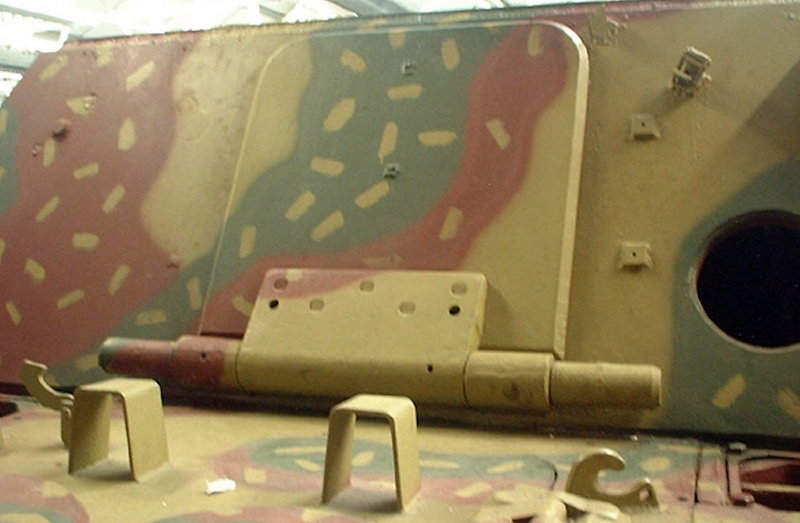
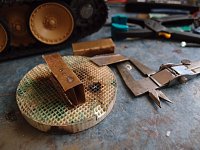
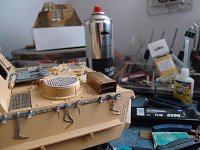
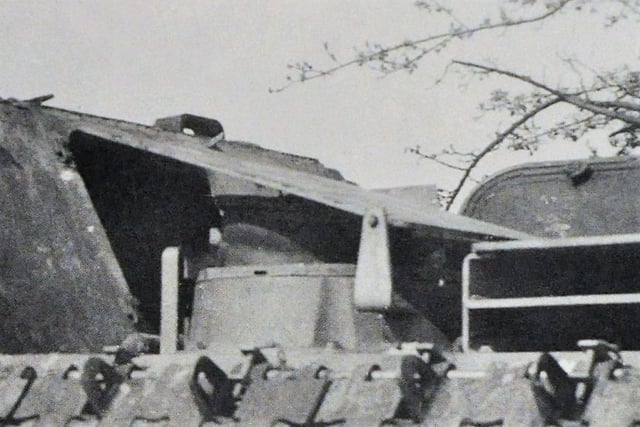
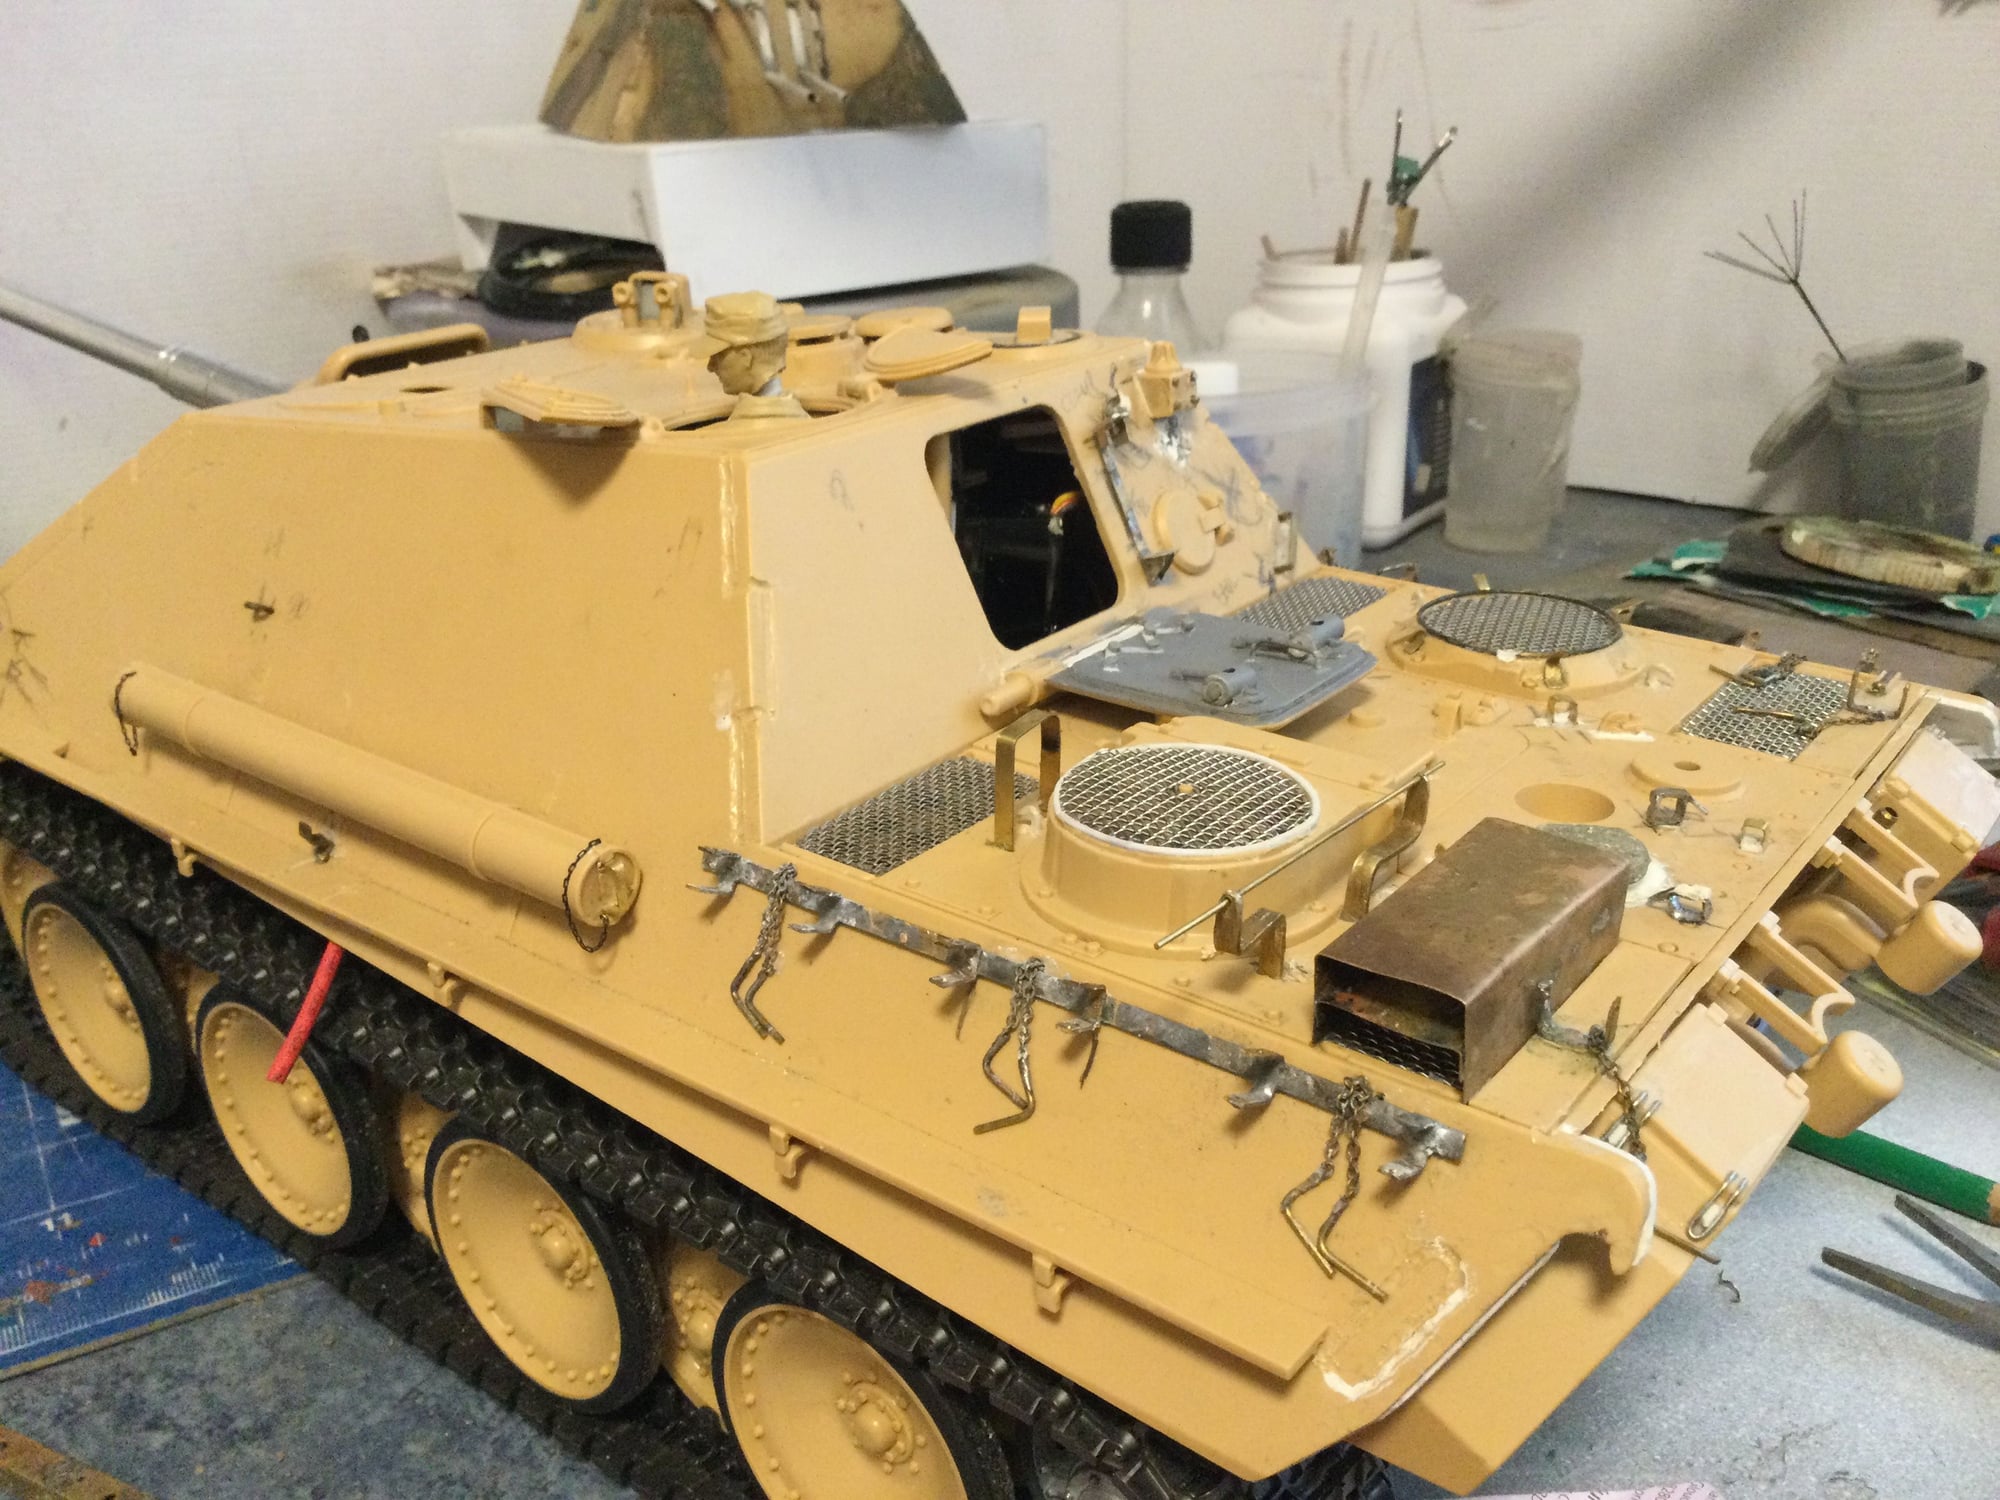
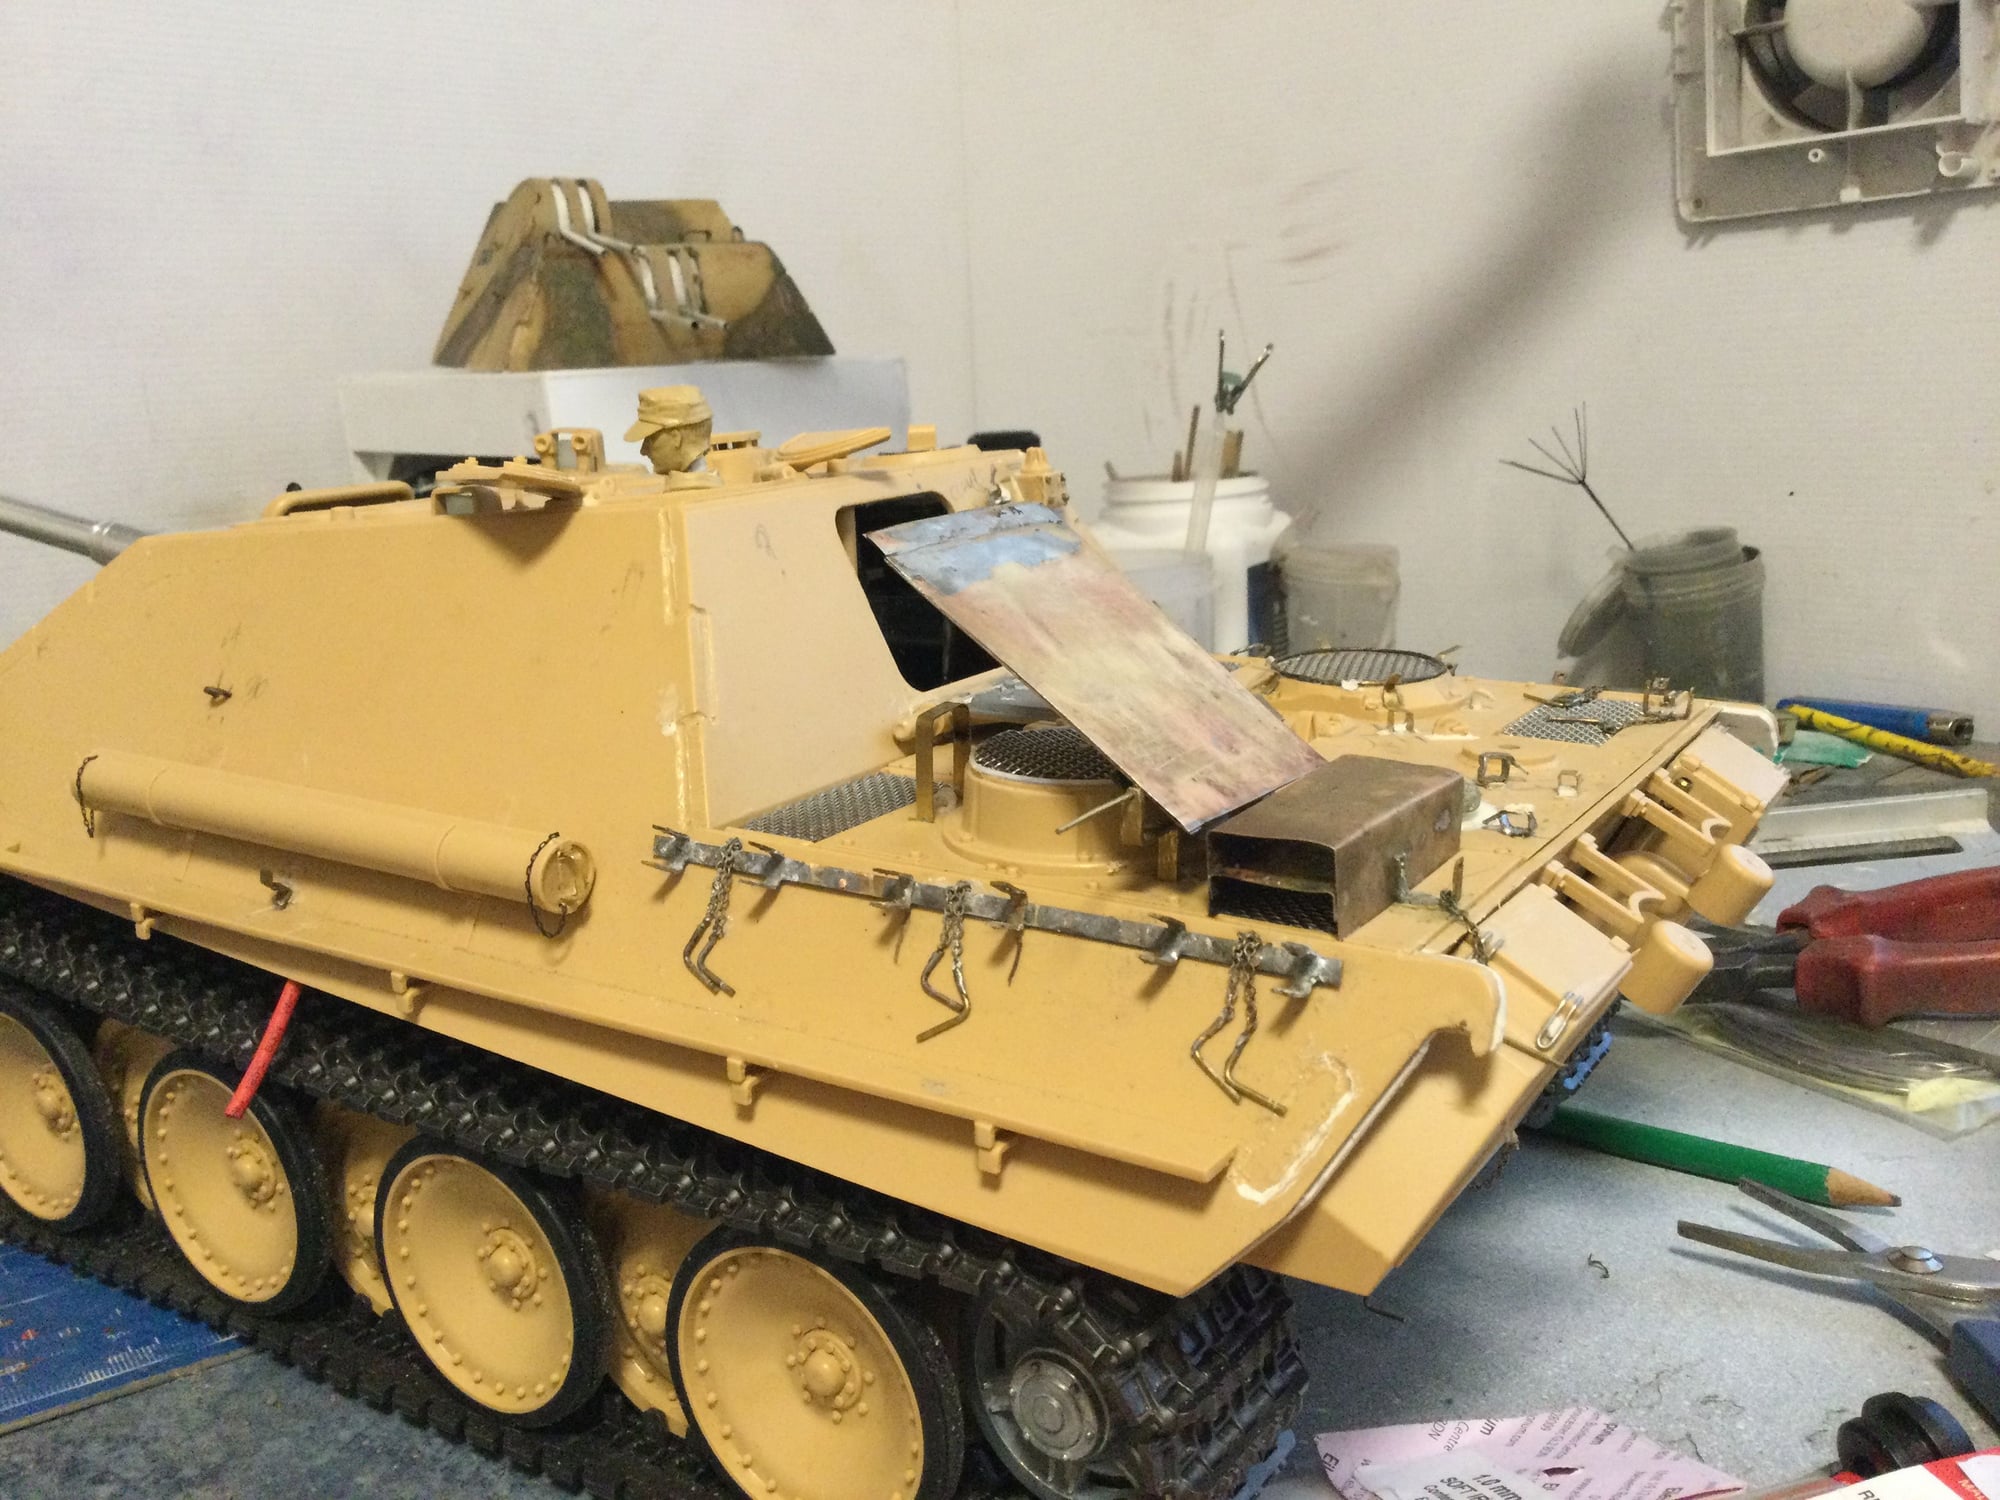
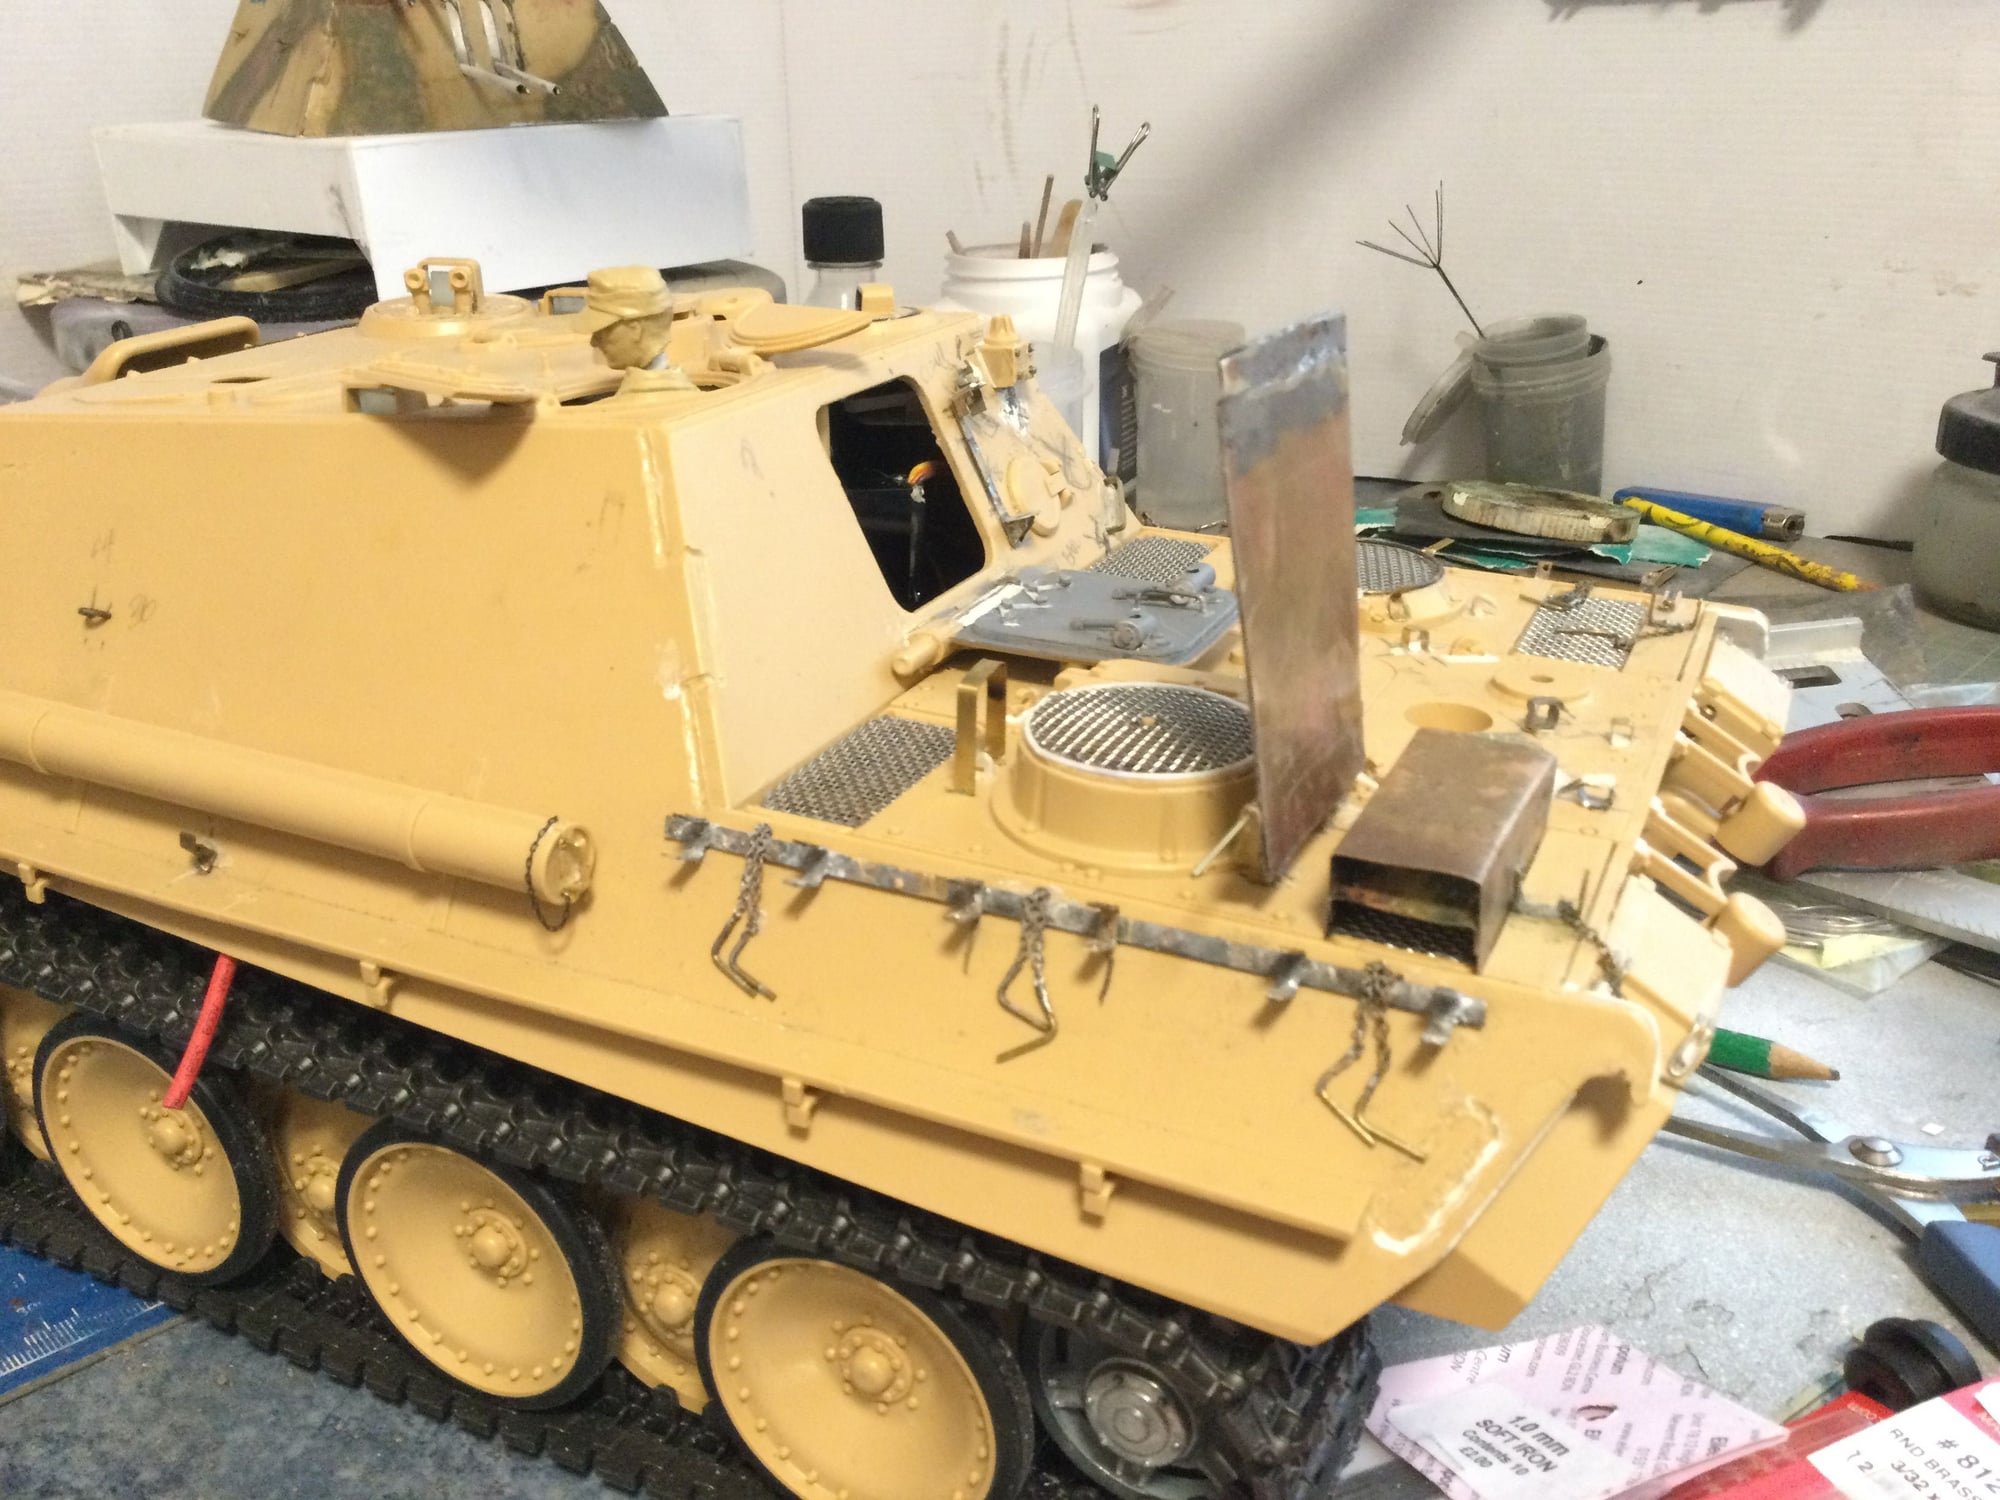
Hi imgarEugeniRUS thanks for the info, a G2 build is starting to throw up lots of little alterations better start having a closer look at the 1/35 build reports . Found a good pic of the armoured grill covers, using brass sheet for the covers. 1st one as a test.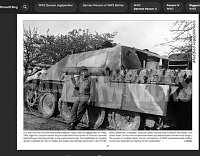
 11-29-2021, 03:05 AM
#70
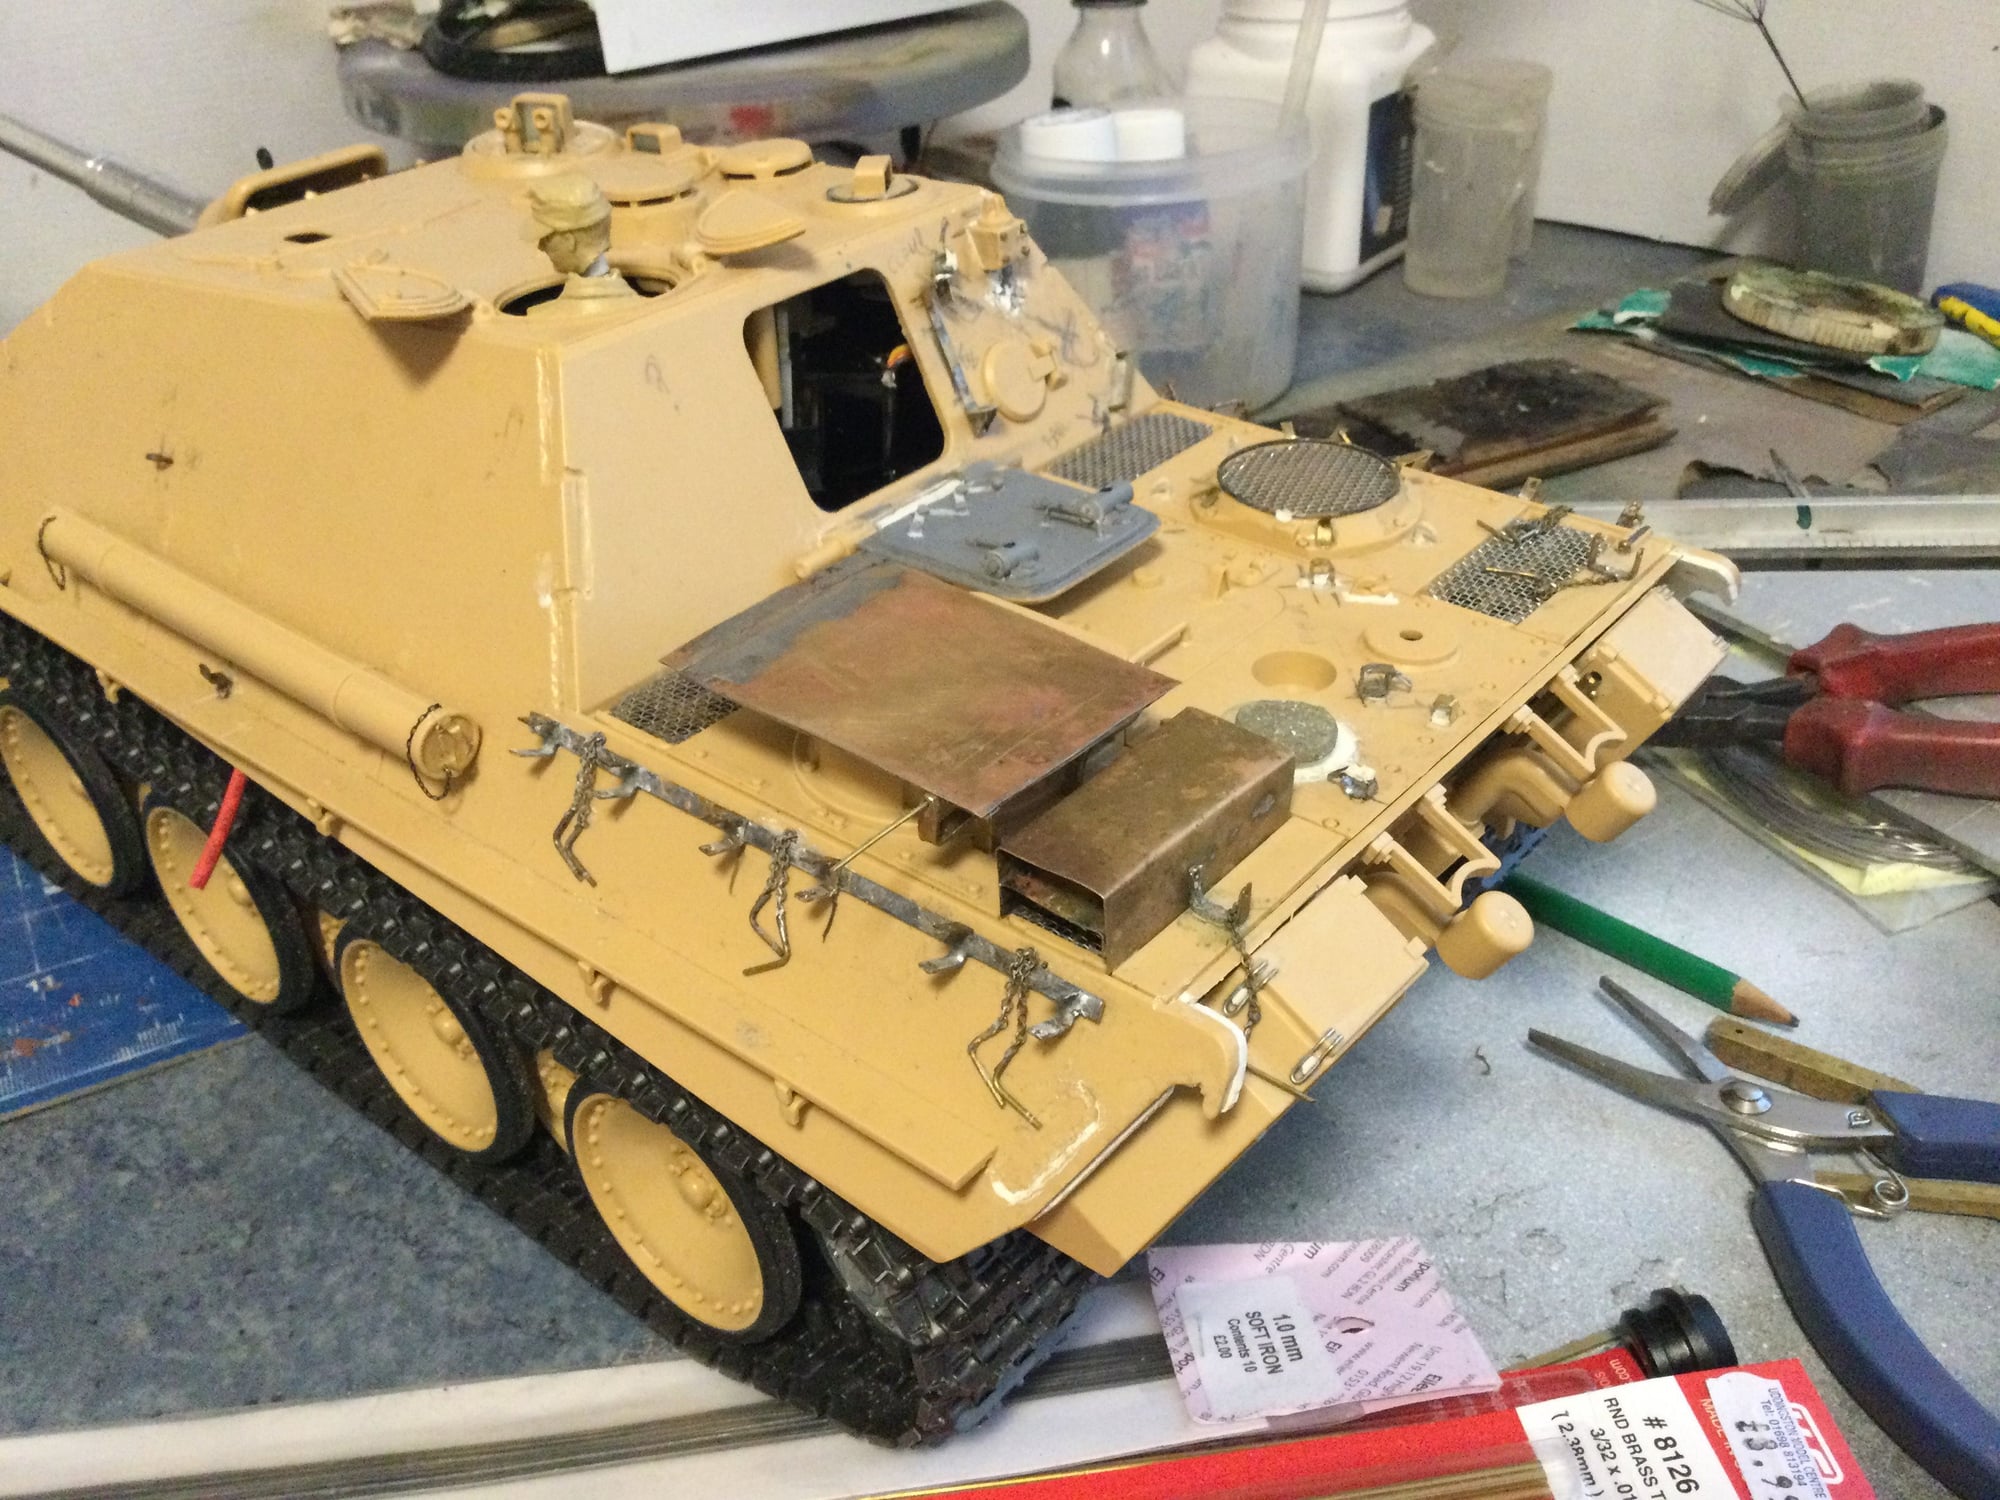
Made the brackets for the heater fan, might have to make it again. The armoured plate does not swing over 180 degrees. I can trim the rear and shorten the overlap from the pivotor redo the pivot leg a little taller.
Last edited by ronnie42; 11-29-2021 at 03:08 AM.
11-29-2021, 08:04 AM
#72

This is really, really looking good, but I feel I need to inject a slight note of caution here. Be very careful about using Museum tanks as references. They get it wrong all the time. One of my projects in Waiting is a King Tiger that I am building as the incorrectly painted tank that they had at the bovington Museum. When they first got the pre-production King Tiger they painted it in a three color camo scheme and displayed it. When they found out that that paint scheme was wrong and it should be just plain dunkelgelb they immediately changed it, but the point is that they had it out on the floor for display for quite some time with the improper paint job. Anyone that was looking for references and used that museum tank would have gotten incorrect information. Like I said, just a note of caution, always look at Museum tanks with a grain of salt. I know actual photos from the war can be hard to find, but I think it's well worth the effort if you're concerned about accuracy.
Hope that helps.
Hope that helps.
11-29-2021, 08:52 AM
#73
This is really, really looking good, but I feel I need to inject a slight note of caution here. Be very careful about using Museum tanks as references. They get it wrong all the time. One of my projects in Waiting is a King Tiger that I am building as the incorrectly painted tank that they had at the bovington Museum. When they first got the pre-production King Tiger they painted it in a three color camo scheme and displayed it. When they found out that that paint scheme was wrong and it should be just plain dunkelgelb they immediately changed it, but the point is that they had it out on the floor for display for quite some time with the improper paint job. Anyone that was looking for references and used that museum tank would have gotten incorrect information. Like I said, just a note of caution, always look at Museum tanks with a grain of salt. I know actual photos from the war can be hard to find, but I think it's well worth the effort if you're concerned about accuracy.
Hope that helps.
Hope that helps.
Last edited by ronnie42; 11-29-2021 at 09:16 AM.
11-29-2021, 09:11 AM
#74
Hi Crius Have a look at a few posts back for the one with the armoured plates over the grills. Don't think any museum has a late Jagdpanther with the anti aircraft armoured plates. As for the camo colours are the museums not researching the colours now for realistic RAL colours? Think i read somewhere that the RAL ID numbers for the colours changed after the war? Will use the new Tamiya colours for german camo, as long as they look ok i am not bothered as they used anything that would mix the drums of solid pigments into a paint.
11-29-2021, 09:14 AM
#75
I'm not sure why the museum originally painted the tank with the wrong scheme. But that's not the only time I've seen a museum get it wrong. The photos you have above are just great reference material, my point was to be careful of the tanks you find in museums. It's always best to go by actual photos, and it sounds like that's exactly what you're doing. I really do like this build and I can't wait to see it all finished.