


ZIROLI 96" F6F HELLCAT BUILD


 08-31-2014, 01:54 PM
#303
PM:
With the 110" P-47 down, I took the hellcat to Indiana warbird campaign.
The first flight went great. On the second flight, the engine only idled and would not increase in RPM's. After charging the battery and checking the throttle/choke servos, I'm figuring it's the ignition. I ordered a new one from agape racing:
http://www.agaperacingandhobby.com/v...php?groupid=23
85 bucks, with shipping, not bad; conversion kit so I'll also get a new sensor. Fortunately, the problem occurred on the ground.
Rough 4 days at IWBC: took 5 planes and had problems with 4 of them.
On landing the C-45 twin beechcraft, one ball link on the left flap came off. Had to give full right aileron and lucky I got her down (actually one of my best landings of the event: go figure!)
09-08-2014, 07:09 PM
#304
PM:
The new ignition came in.
It has all the parts to make a conversion.
Mine was already electronic so the number of parts to remove were fewer.
A wheel puller was needed to remove the old hub (with magnet).
The two bolts to hold the hub extension on was put into the new hub so a screw driver could be used to keep the hub from rotating while the center bolt could be tightened after aligning the key slot.
The red sensor is on a V shape black nylon and screws into existing holes for the old magneto. It aligned up perfectly about 1/64" above the hub's surface.
The prop was used to keep the hub from turning while the two bolts were tightened that secures it to the hub with the magnet.
The old ignition module was in the fuse but this one needs to be on the engine box so the spark plug wires reach the spark plugs.
I also put in new plugs plus re-built the carb. There were two fine white gaskets, which I thought were the same and they put two in by mistake. Wrong: one had a small hole in it and allowed the fuel to exit a hole in one side plate of the carb. The tubing going from the engine block to the carb was pretty loose so some new tubing was also added.
I replaced everything that may have been a problem: easier than a dead stick and possible plane damage!
The engine is running again and getting about 6400 RPM's but she hesitates a little on idle to fast rpm's.
Was getting late so I'll work on that, tomorrow.
Old ignition parts in the 2nd last picture.
The JB weld holding the scale exhaust (ie copper pipe) together is working well with no signs of cracks or fatique.
I've got a magneto GT-80 in my SBD and the electronic in the hellcat and have noticed no difference in rpm's or performance between the two: thus, I'm partial to magneto: one less battery to worry about!
Last edited by samparfitt; 09-08-2014 at 07:28 PM.
10-31-2014, 01:20 PM
#305
New ignition:
With the end of the season, the new ignition has been working great. Plane and gear have also been working with no problems.
While at 12 O'clock high, Mike had a hellcat with a DLE-111 in it:needless to say, it was much faster than mine with the GT-80!
06-19-2015, 12:29 PM
#306
First flights of the season:
Took her to warbirds over Georgia and got several flights on her.
Initially, the GT-80 would only idle and die when throttle was advanced. Took the cowl off and all looked good and tried again and she purred like a kitten: guessing maybe some old gas left over in the lines from last year. A little more engine would be nice. She flies at a good speed with the 24X12 prop but slows down quickly on loops (and forget about cuban eights!).
Gear have worked with no problems (been putting in 110 lbs to make sure those rotating gear lock in the down position).
Take offs and landings have been smooth.
Just found out my light blue is incorrect. Evo said it should have grey in it. After checking pictures, I find he is correct. I used a contemporary paint scheme: I assumed they would use the correct colors (obviously, not!).
Some easy sand needed for the LE of the horizontal stab due to hanger rash.
Last edited by samparfitt; 06-19-2015 at 12:32 PM.
08-26-2015, 01:32 PM
#307
PM.
Been flying her all season.
The last outing at Fond du Lac, the canopy broke.
Forcing the canopy to close, I broke one ball link attachment to the canopy.
Cut some thin brass, drilled/tapped some holes in the brass and transferred the holes to the canopy.

Slid the brass under the canopy and secured it with some #0 screws.

I knew the push rods to the canopy failed so needed to put her on her back and remove the wing.
In the open position, the push rods looked OK,

BUT, in the closed, the outer red tubes broke.
One needing replacing while the other got another piece of tubing over it and box taped the two broken parts together.

All's good again in the 'canopy' world. Can't complain, I think this is the firs major fix in 5 seasons.

Been flying her all season.
The last outing at Fond du Lac, the canopy broke.
Forcing the canopy to close, I broke one ball link attachment to the canopy.
Cut some thin brass, drilled/tapped some holes in the brass and transferred the holes to the canopy.
Slid the brass under the canopy and secured it with some #0 screws.
I knew the push rods to the canopy failed so needed to put her on her back and remove the wing.
In the open position, the push rods looked OK,
BUT, in the closed, the outer red tubes broke.
One needing replacing while the other got another piece of tubing over it and box taped the two broken parts together.
All's good again in the 'canopy' world. Can't complain, I think this is the firs major fix in 5 seasons.
Last edited by samparfitt; 08-26-2015 at 01:35 PM.
05-13-2016, 03:19 PM
#308
Spring PM.
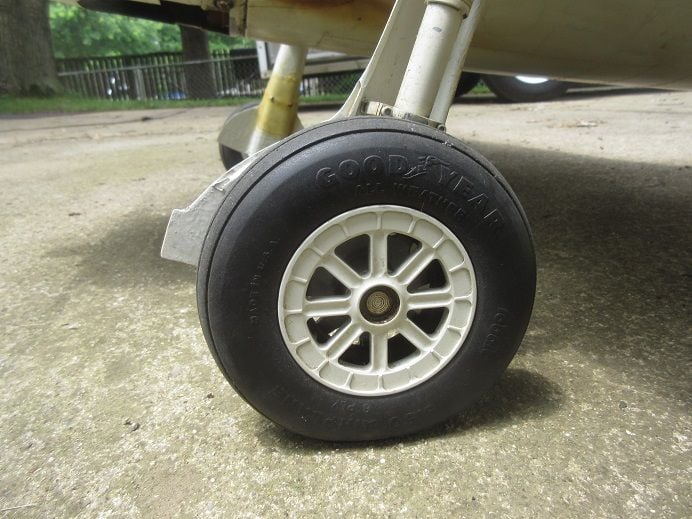
When the wheel falls off, you're glad you're doing a PM!

After several years, the JB weld on the functioning scale muffler had some loose exhaust pipes; more JB weld to fix that.

The functioning canopy fix I did last summer needed the opposite side fixed.

The gear doors are thick ABS plastic but some FG cloth was added to strengthen them.

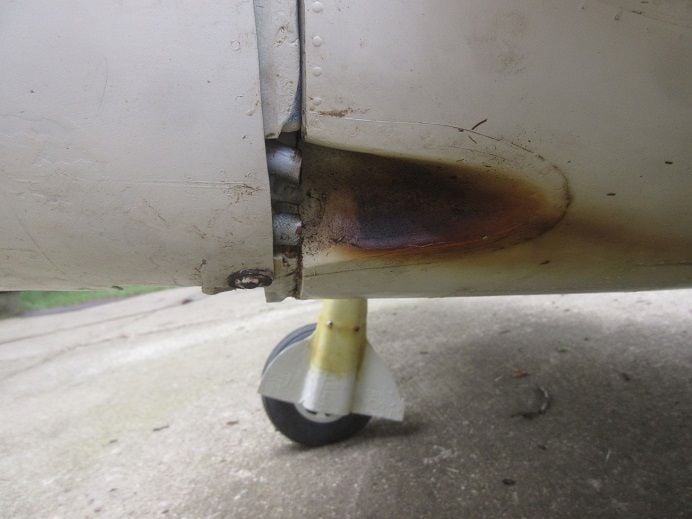
A functioning scale exhaust results in scale weathering!

Thought I'd try a 22X12 3 blade but only 6000 rpm's on the GT-80 so I went back to the 24X12 with a comfortable 6800 rpm's. And added my AMA and FAA number to the inside of the hatch.


Getting there!
5 mostly PM'ed and 5 more to go. Next will be the P-47.


When the wheel falls off, you're glad you're doing a PM!
After several years, the JB weld on the functioning scale muffler had some loose exhaust pipes; more JB weld to fix that.
The functioning canopy fix I did last summer needed the opposite side fixed.
The gear doors are thick ABS plastic but some FG cloth was added to strengthen them.
A functioning scale exhaust results in scale weathering!
Thought I'd try a 22X12 3 blade but only 6000 rpm's on the GT-80 so I went back to the 24X12 with a comfortable 6800 rpm's. And added my AMA and FAA number to the inside of the hatch.
Getting there!
5 mostly PM'ed and 5 more to go. Next will be the P-47.
Last edited by samparfitt; 05-13-2016 at 03:22 PM.
05-16-2016, 06:21 AM
#311
No problem. Perhaps next time. Thanks!
Can you suggest the amount of throw on the ailerons and elevator? I have one of these that is finally in primer and hope to fly it before fall.
Can you suggest the amount of throw on the ailerons and elevator? I have one of these that is finally in primer and hope to fly it before fall.
Last edited by OldScaleGuy; 05-16-2016 at 06:23 AM. Reason: added question
10-04-2016, 04:15 PM
#314

Join Date: Nov 2014
Posts: 46
Likes: 0
Received 0 Likes
on
0 Posts
I have read through your build over and over both before and during my build and have enjoyed the insight. I am starting on mine and had a question about assembly of FWS-1 the inner wing saddle and its attachment to the crutch. Mine doesn't line up at all but it matches the patterns on my plan and of course my crutch is build directly over the plans and it seems to be too long and the slots for the braces don't line up at all so I'm dumbfounded here is a link. Any help is appreciated! http://www.rcuniverse.com/forum/rc-w...cat-build.html
06-20-2017, 07:39 AM
#315
danisgo,
Just saw your post. Hope you resolved it: double check your plans and overlay the FWS-1 on the parts page to make sure it was cut correctly.
================
Air leak:
When the air valve is leaking, it's never the air valve didn't hold up in this case!
Weird, I've had 3 robart 167vr valves leak on two planes this spring (each plane several seasons old).
Both air valves in the hellcat: one for gear and other for canopy. Spent a good hour finding the leak, figuring it wasn't the air valve. Replaced both of them and all if fine again.
Had a gear up at Mac Hodges field a few weeks ago. Left gear up(obviously), flaps up and cut the engine via choke servo operation for a perfect belly landing with no damage to plane or prop (probably couldn't have landed better with the gear down!).
06-13-2022, 10:20 AM
#316
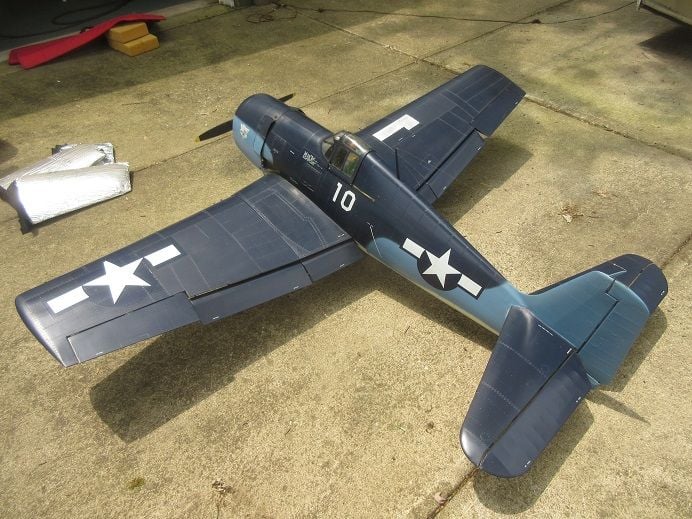
F6F Hellcat by Ziroli that I built in 2011.
Got it out and PM'ed it.
Engine test video:
After the plane has been 'sitting' for a season or two, it's nice when the engine starts 'right up' after several 'turns' on 'choke' and 'off choke' and she starts 'right up'. 6,500 RPM's: exactly where I like 'it'.
Zenoah GT-80 with electronic ignition and Robart retracts. 3 piece wing.
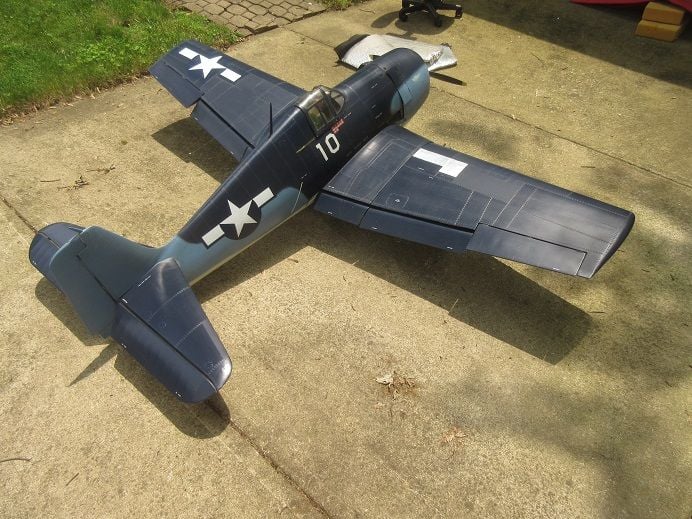
Removable antenna masts.
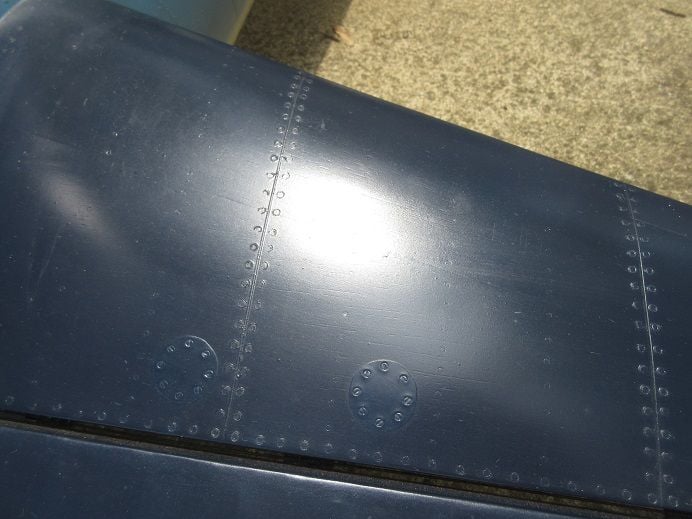
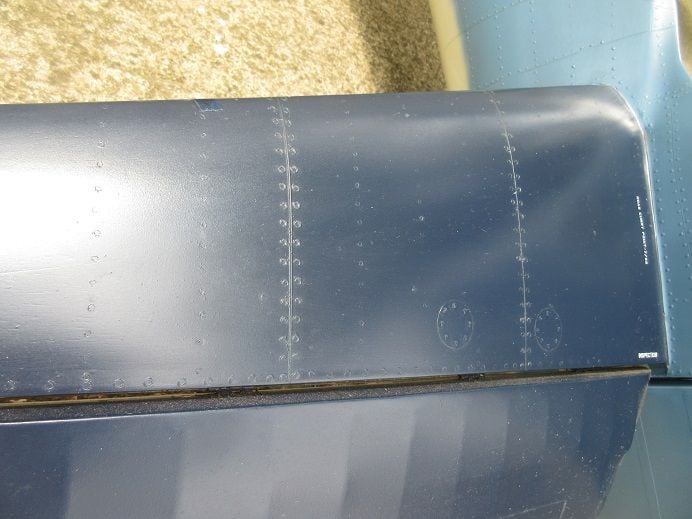
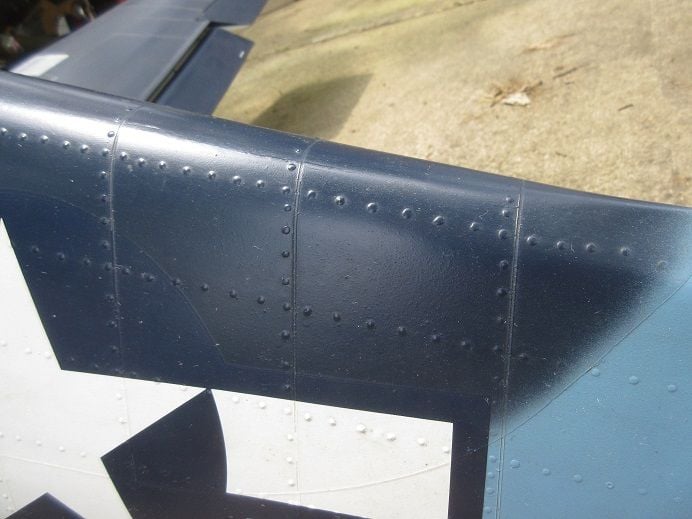
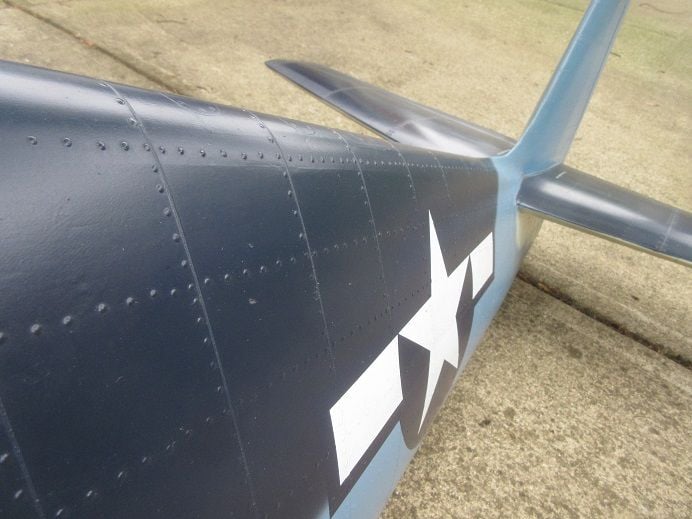
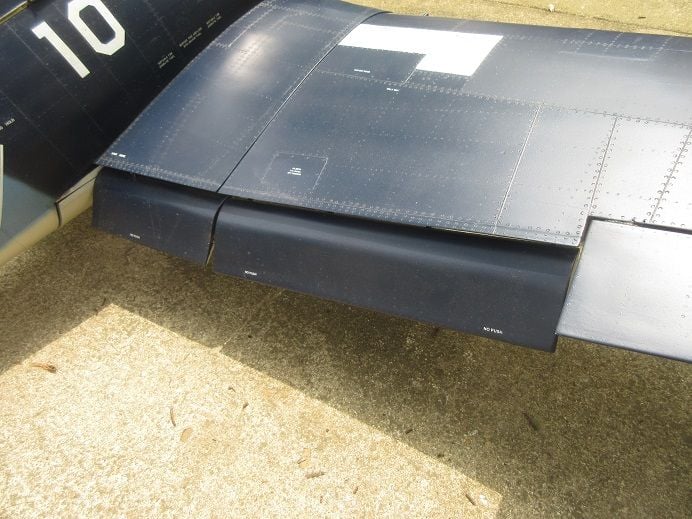
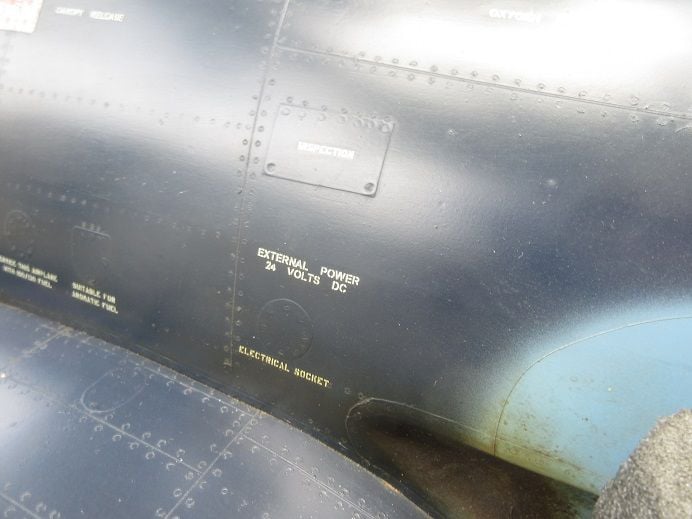
Lots of rivets, nomenclature and panel lines.
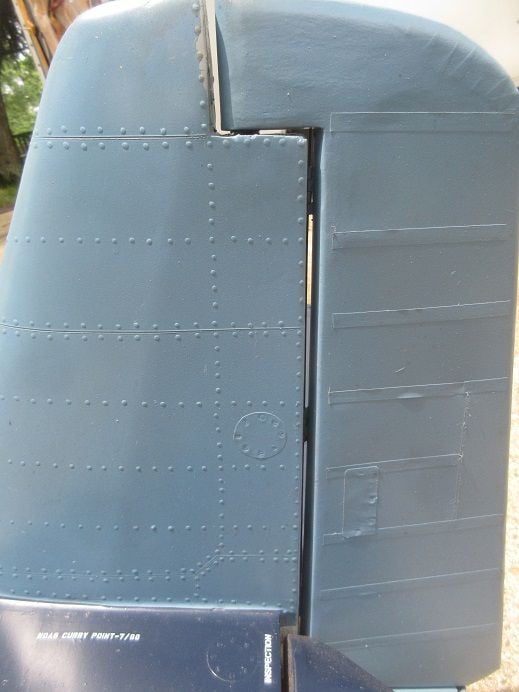

Two access panels: front for fuel and ignition, back for receiver and air.
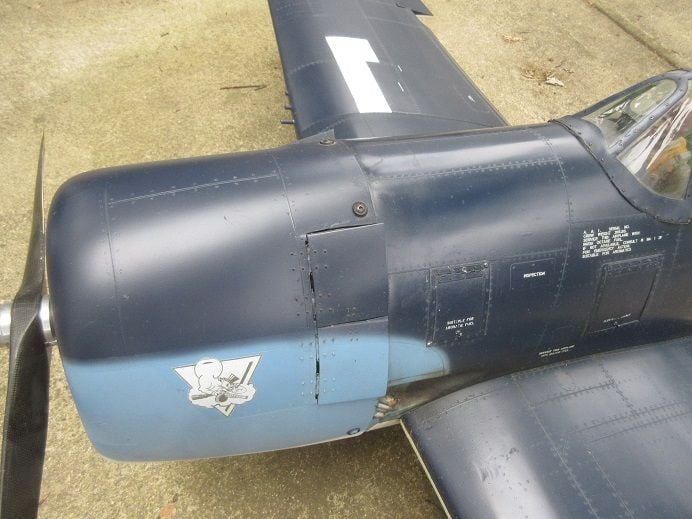
This plane was unusual in that it had 'flush' and 'raised' rivets. 'Flush' to the canopy and then 'raised' to the tail.

Functioning exhaust for that 'real' weathering!
Above the wing.

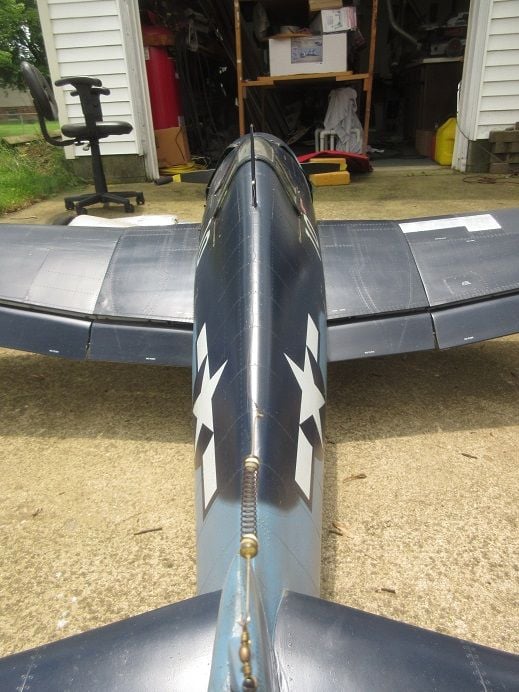
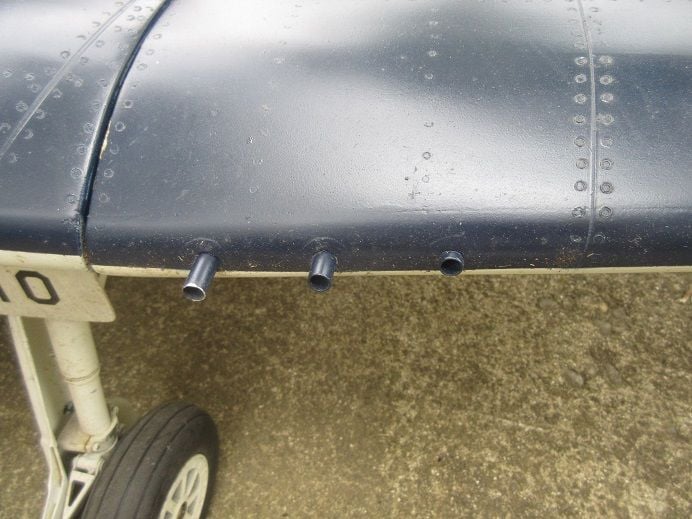
Below the wing.
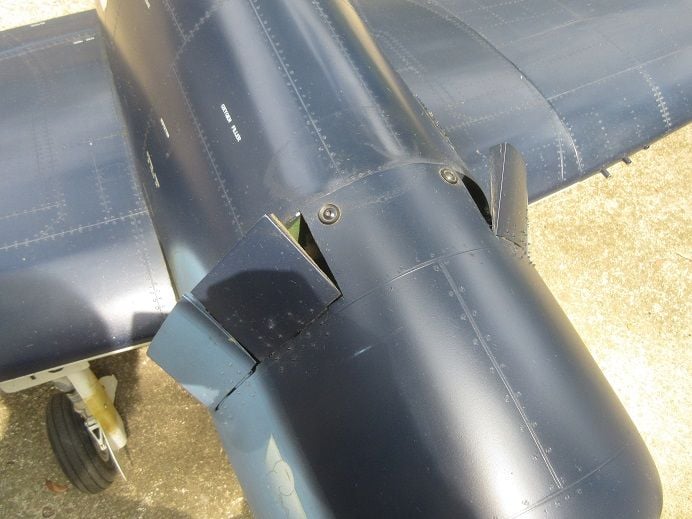
Functioning cowl flaps.
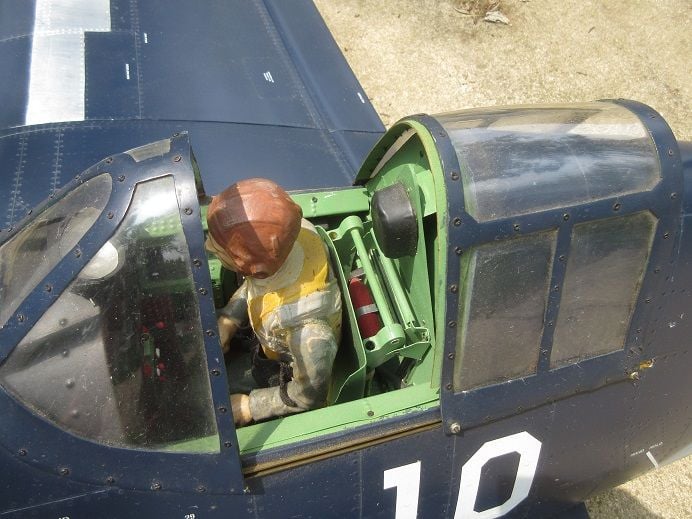
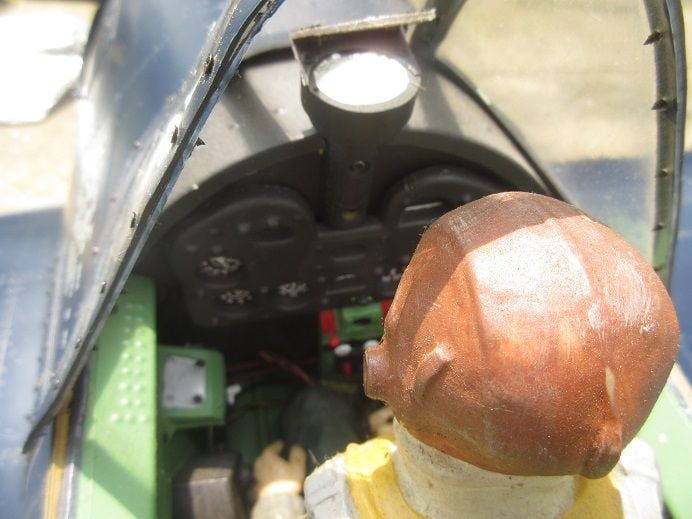
Complete cockpit plus functioning canopy.
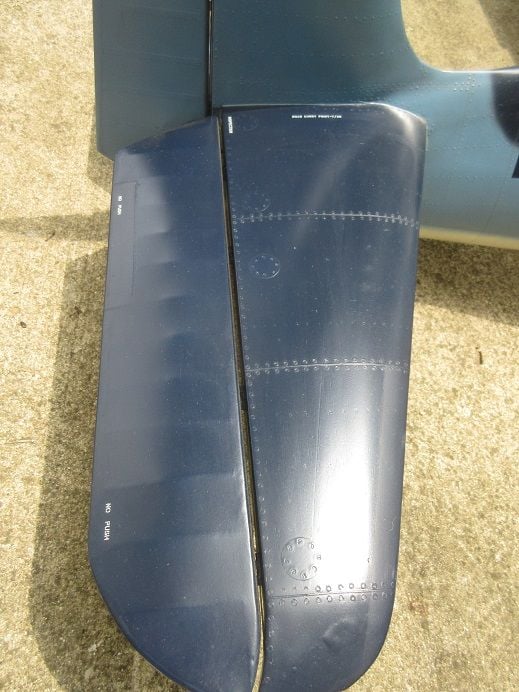
Full flaps.
Gear up. The front door is 'free moving' so the wing 'closes' it and the gear pushes it down.

Right side of fuse.
Got it out and PM'ed it.
Engine test video:
After the plane has been 'sitting' for a season or two, it's nice when the engine starts 'right up' after several 'turns' on 'choke' and 'off choke' and she starts 'right up'. 6,500 RPM's: exactly where I like 'it'.
Zenoah GT-80 with electronic ignition and Robart retracts. 3 piece wing.
Removable antenna masts.
Lots of rivets, nomenclature and panel lines.
Two access panels: front for fuel and ignition, back for receiver and air.
This plane was unusual in that it had 'flush' and 'raised' rivets. 'Flush' to the canopy and then 'raised' to the tail.
Functioning exhaust for that 'real' weathering!
Above the wing.
Below the wing.
Functioning cowl flaps.
Complete cockpit plus functioning canopy.
Full flaps.
Gear up. The front door is 'free moving' so the wing 'closes' it and the gear pushes it down.
Right side of fuse.
Last edited by samparfitt; 06-13-2022 at 10:28 AM.

