


CARF-Models P-47 Thunderbolt

 08-05-2018, 08:23 AM
#927

Hi Mark,
Here you go - all very simple really. I chose stainless steal inserts because when it first happened, I tighten the M4 bolts but this only caused the lower bolt to strip in the air hence my second occurrence. I guess regular inserts would work but having seen the T nut strip I thought it worth getting some extra protection. Should also have mention that in addition to thread locker I also use spring washers and 'cowl bolts' are now on my preflight checklist!
Let me know if you need more.
Bob
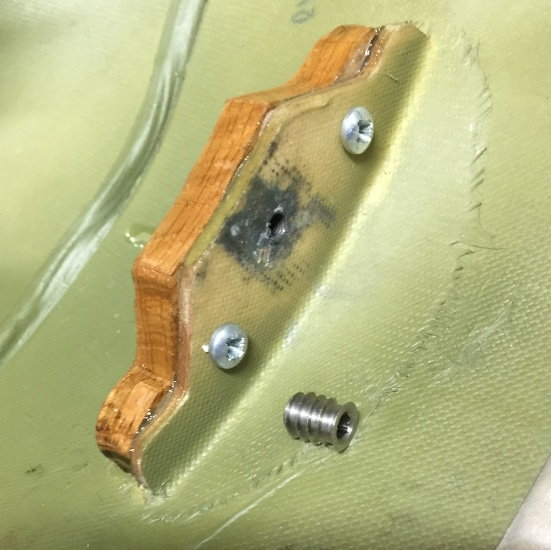


 10-26-2018, 10:59 PM
#939
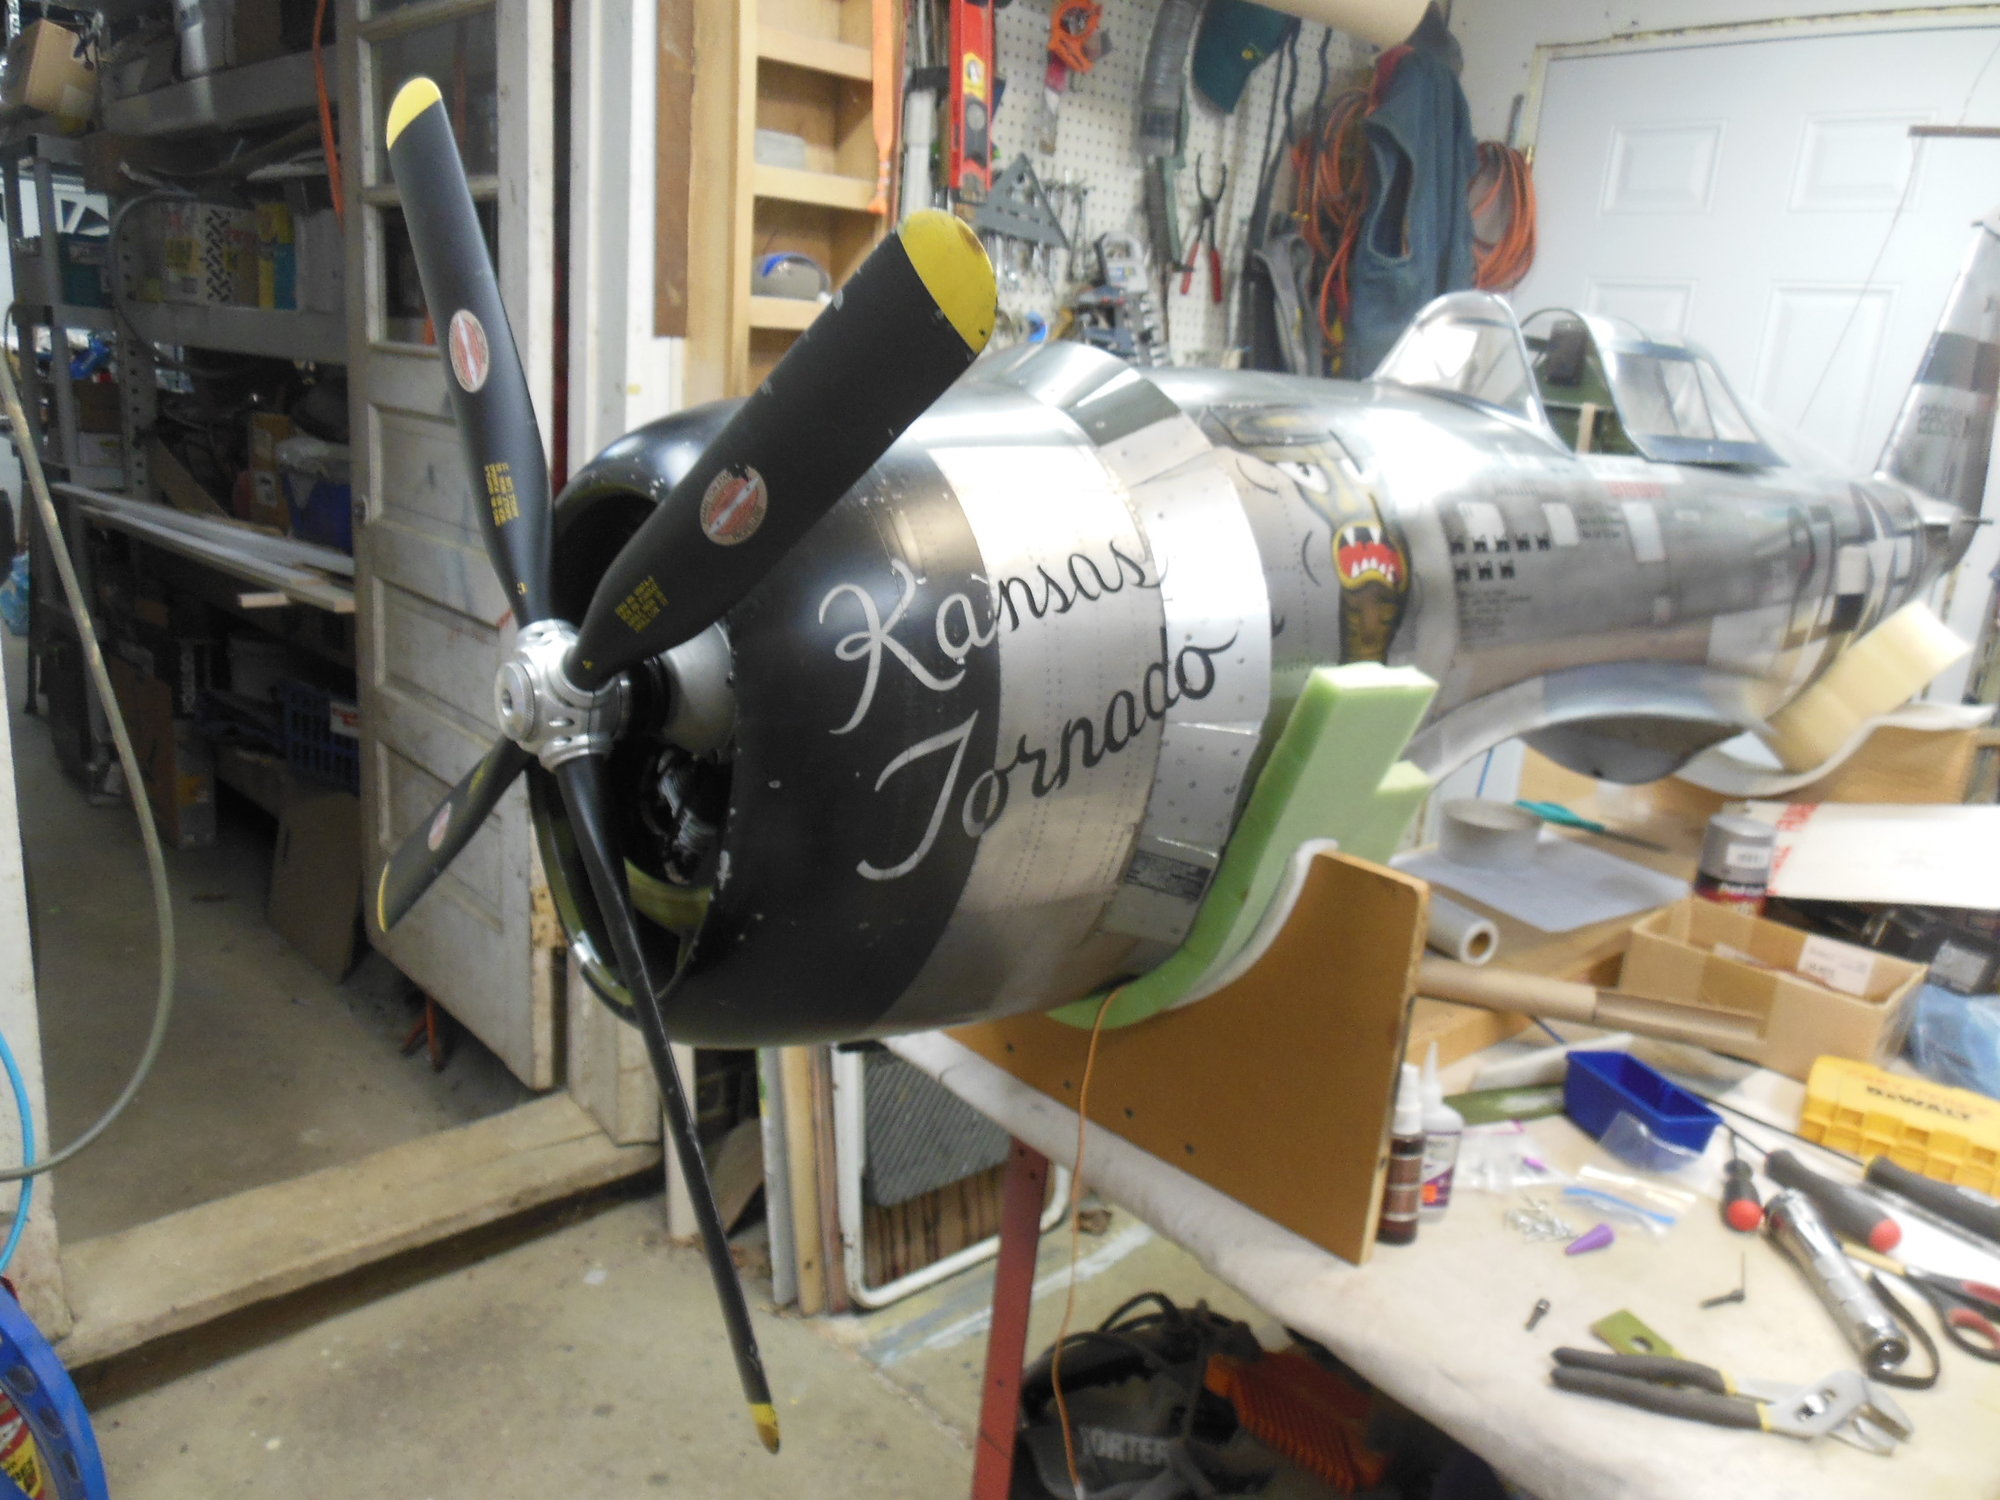
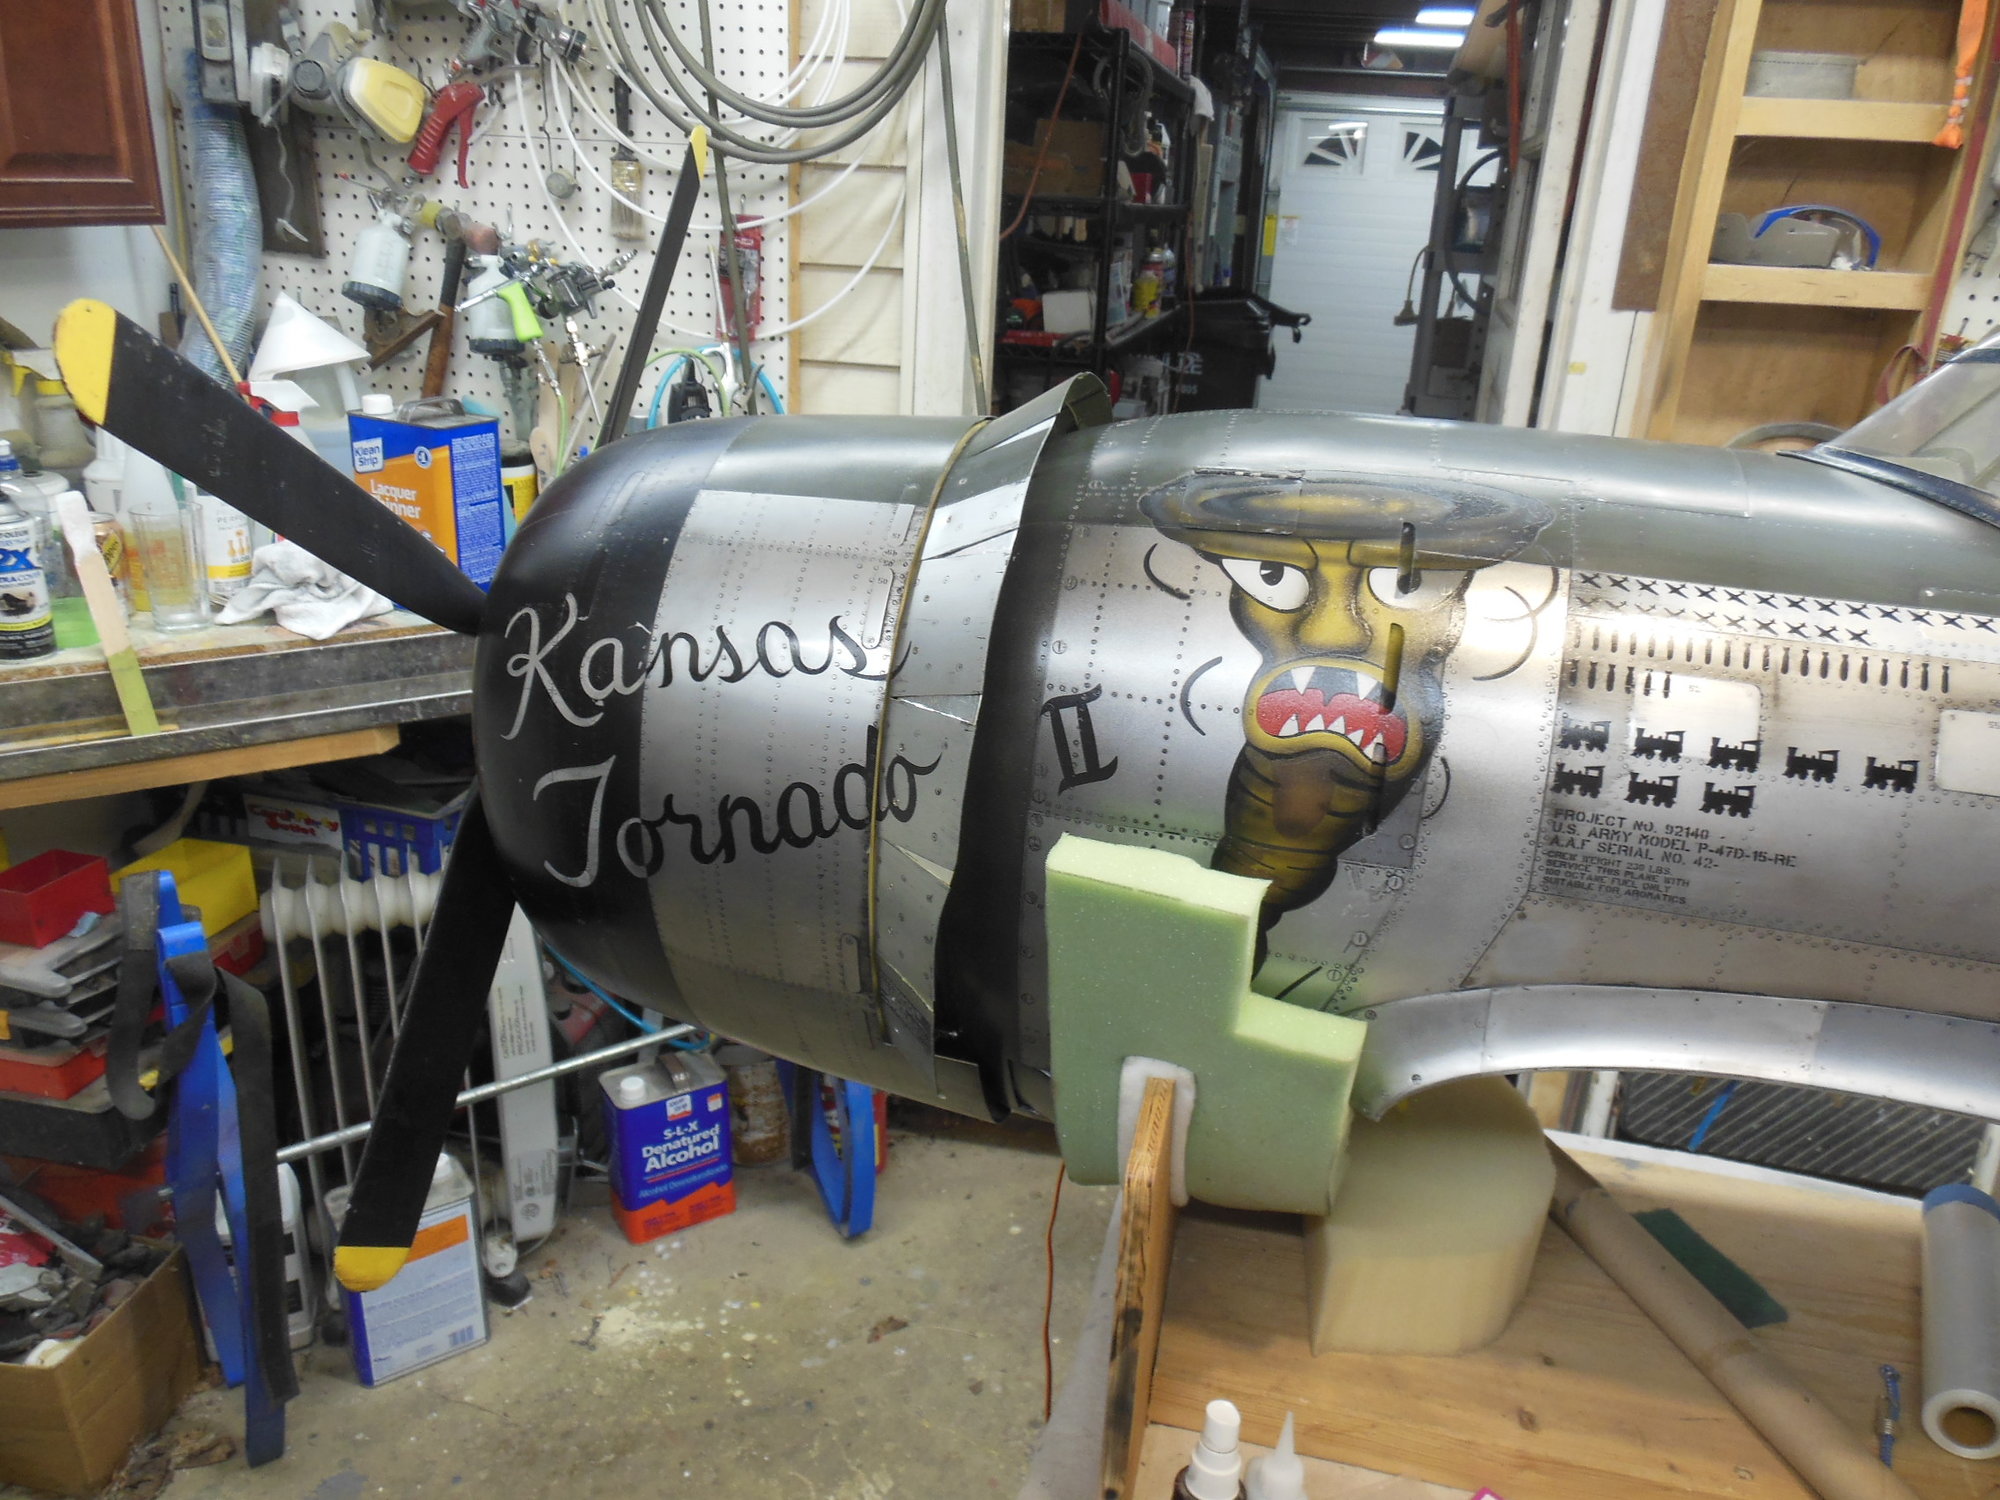
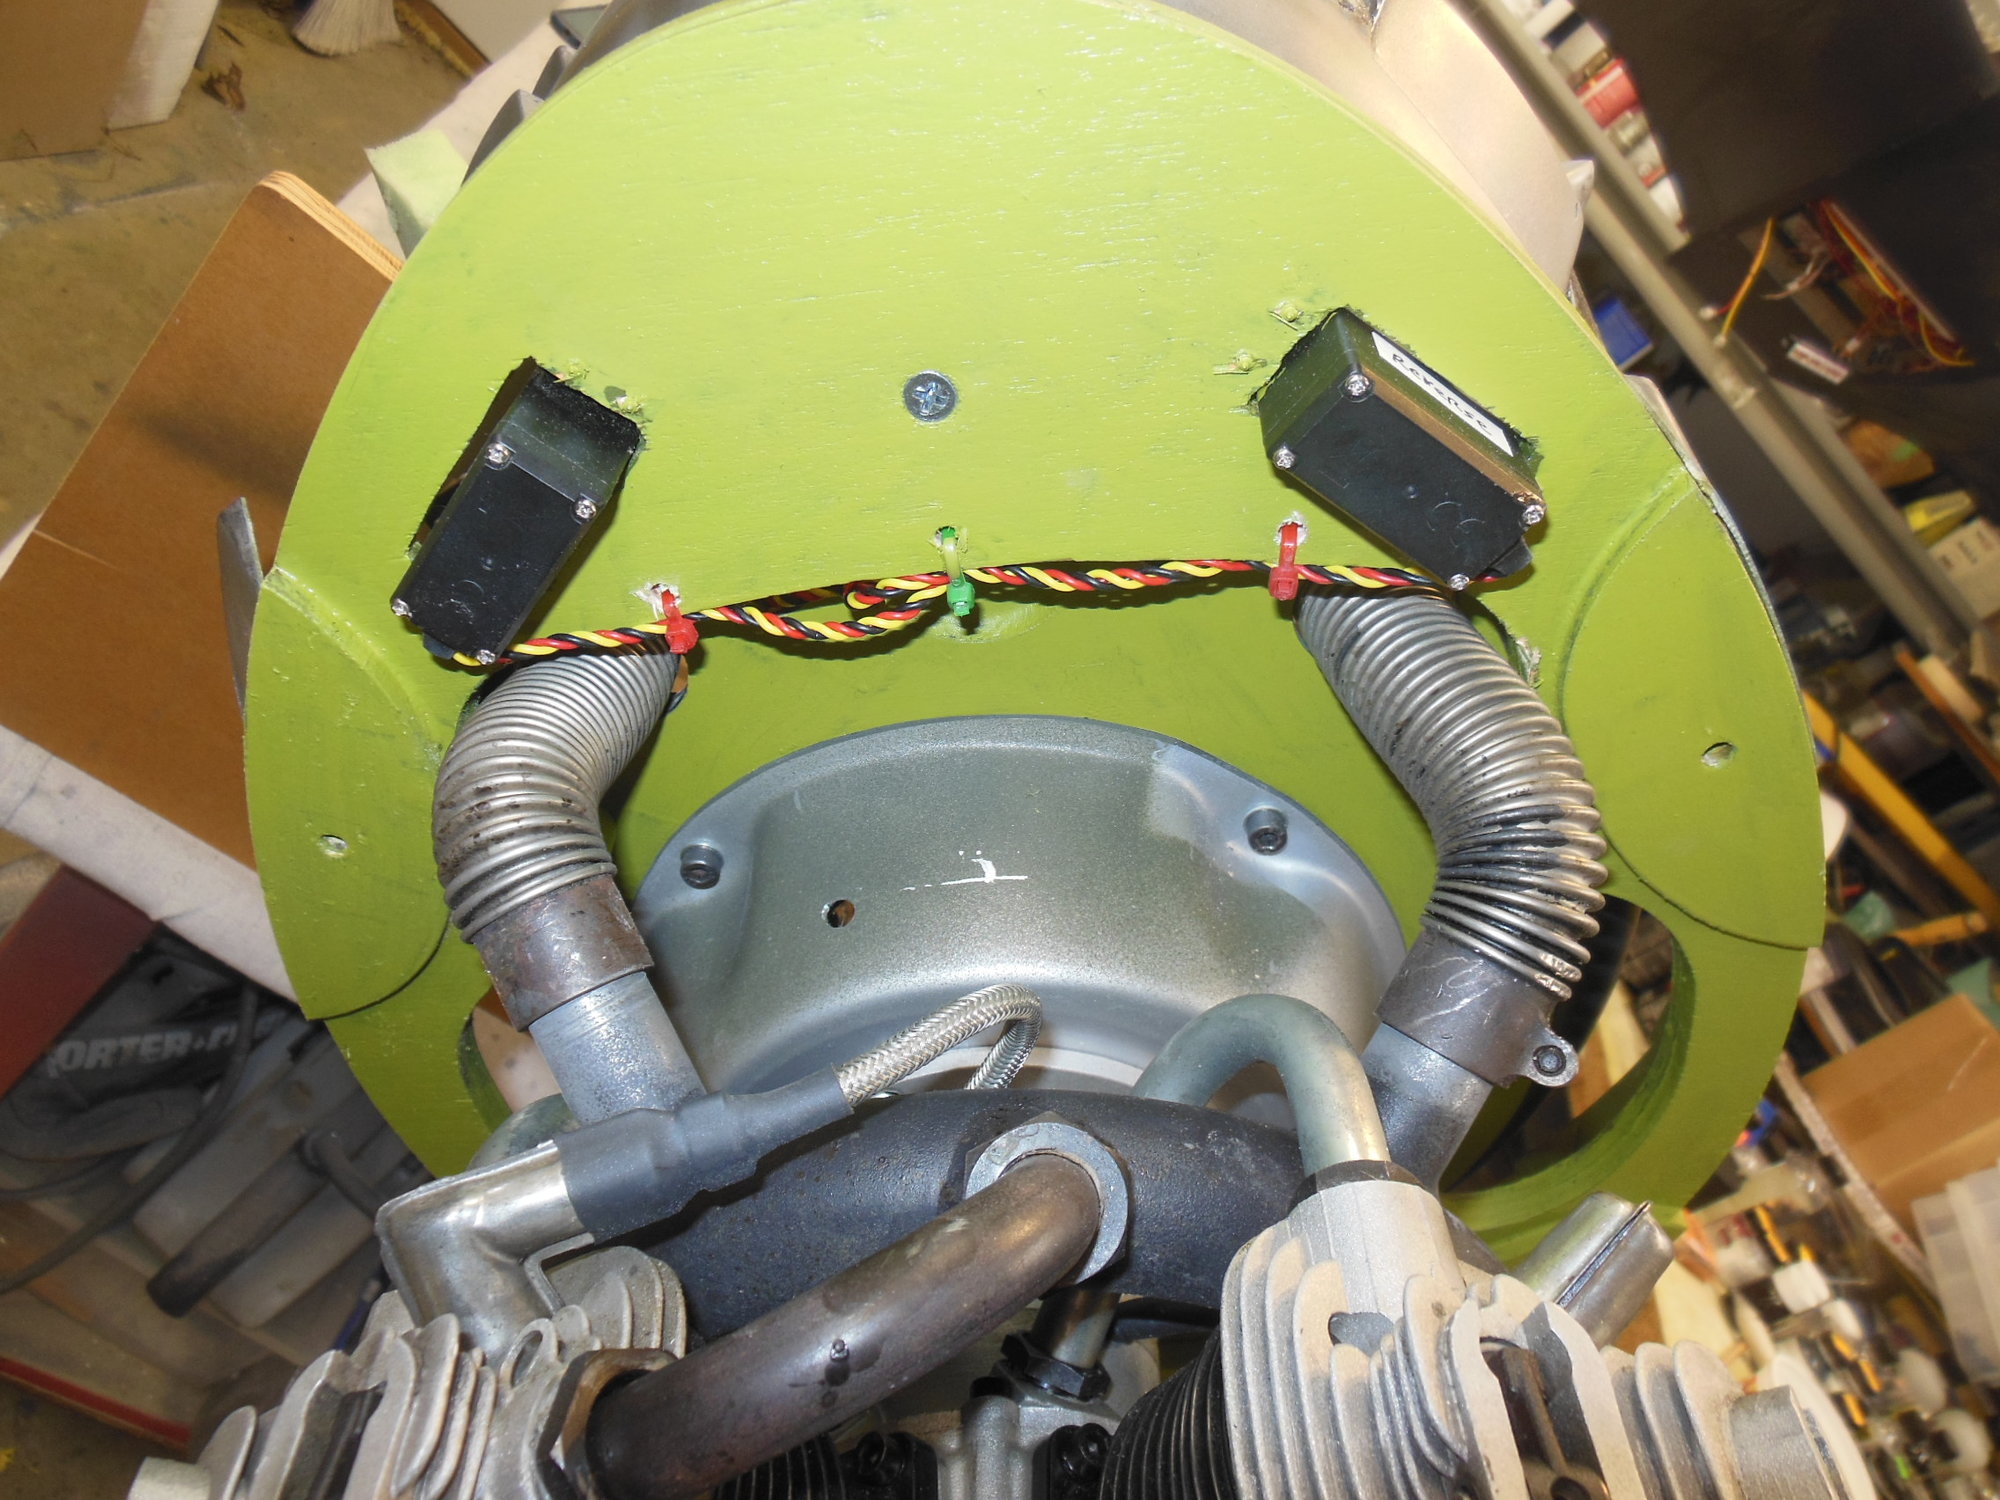
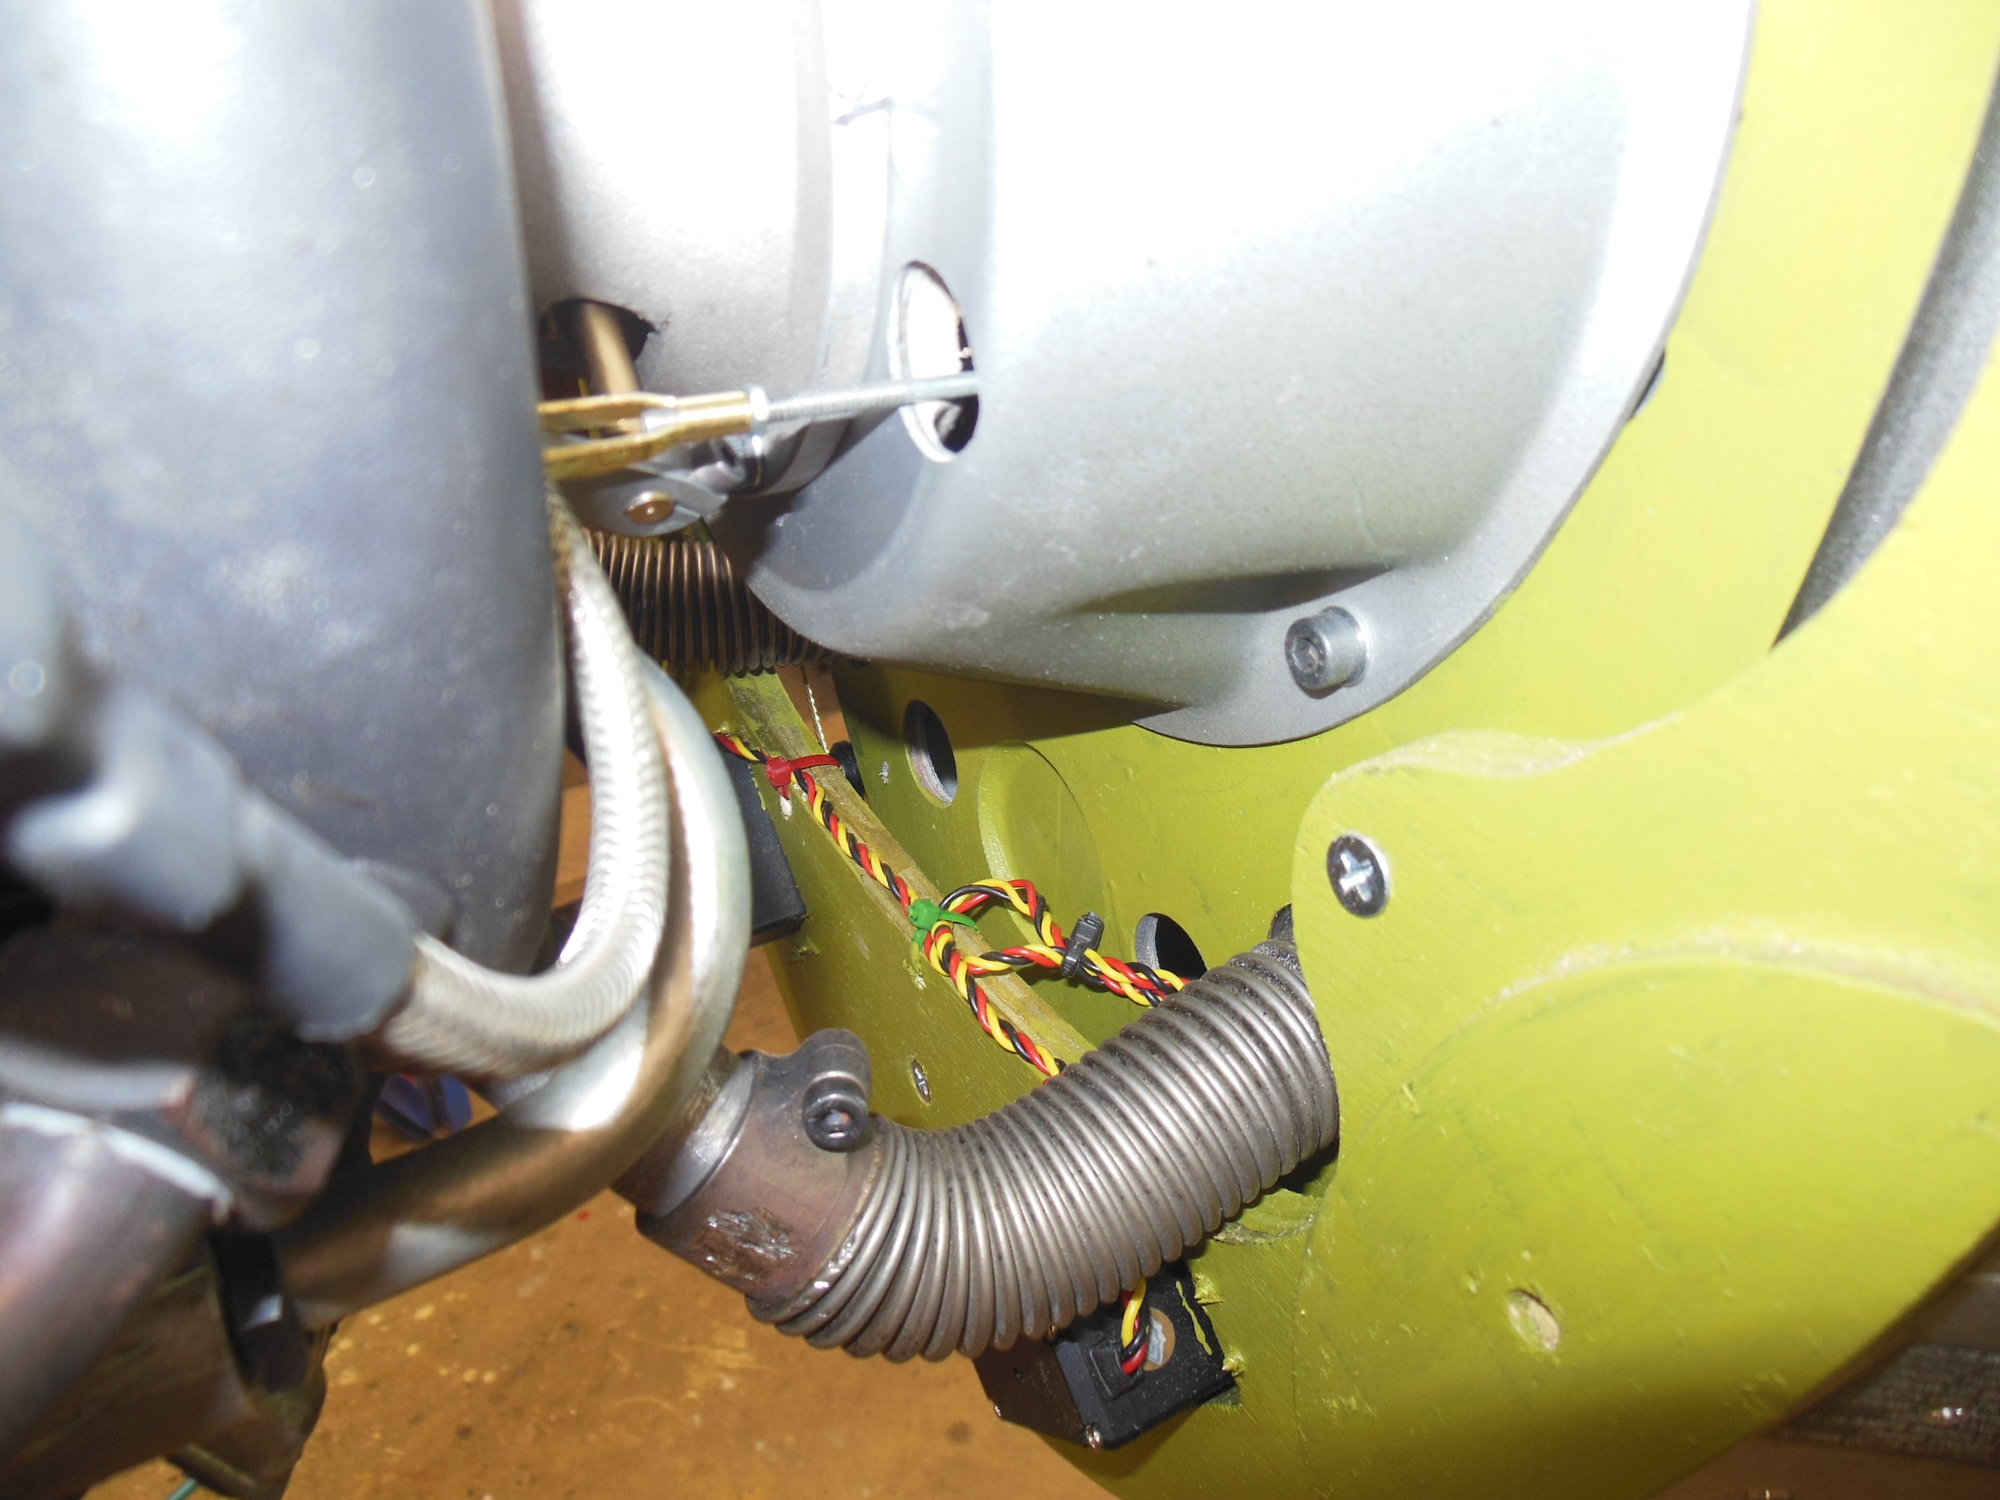
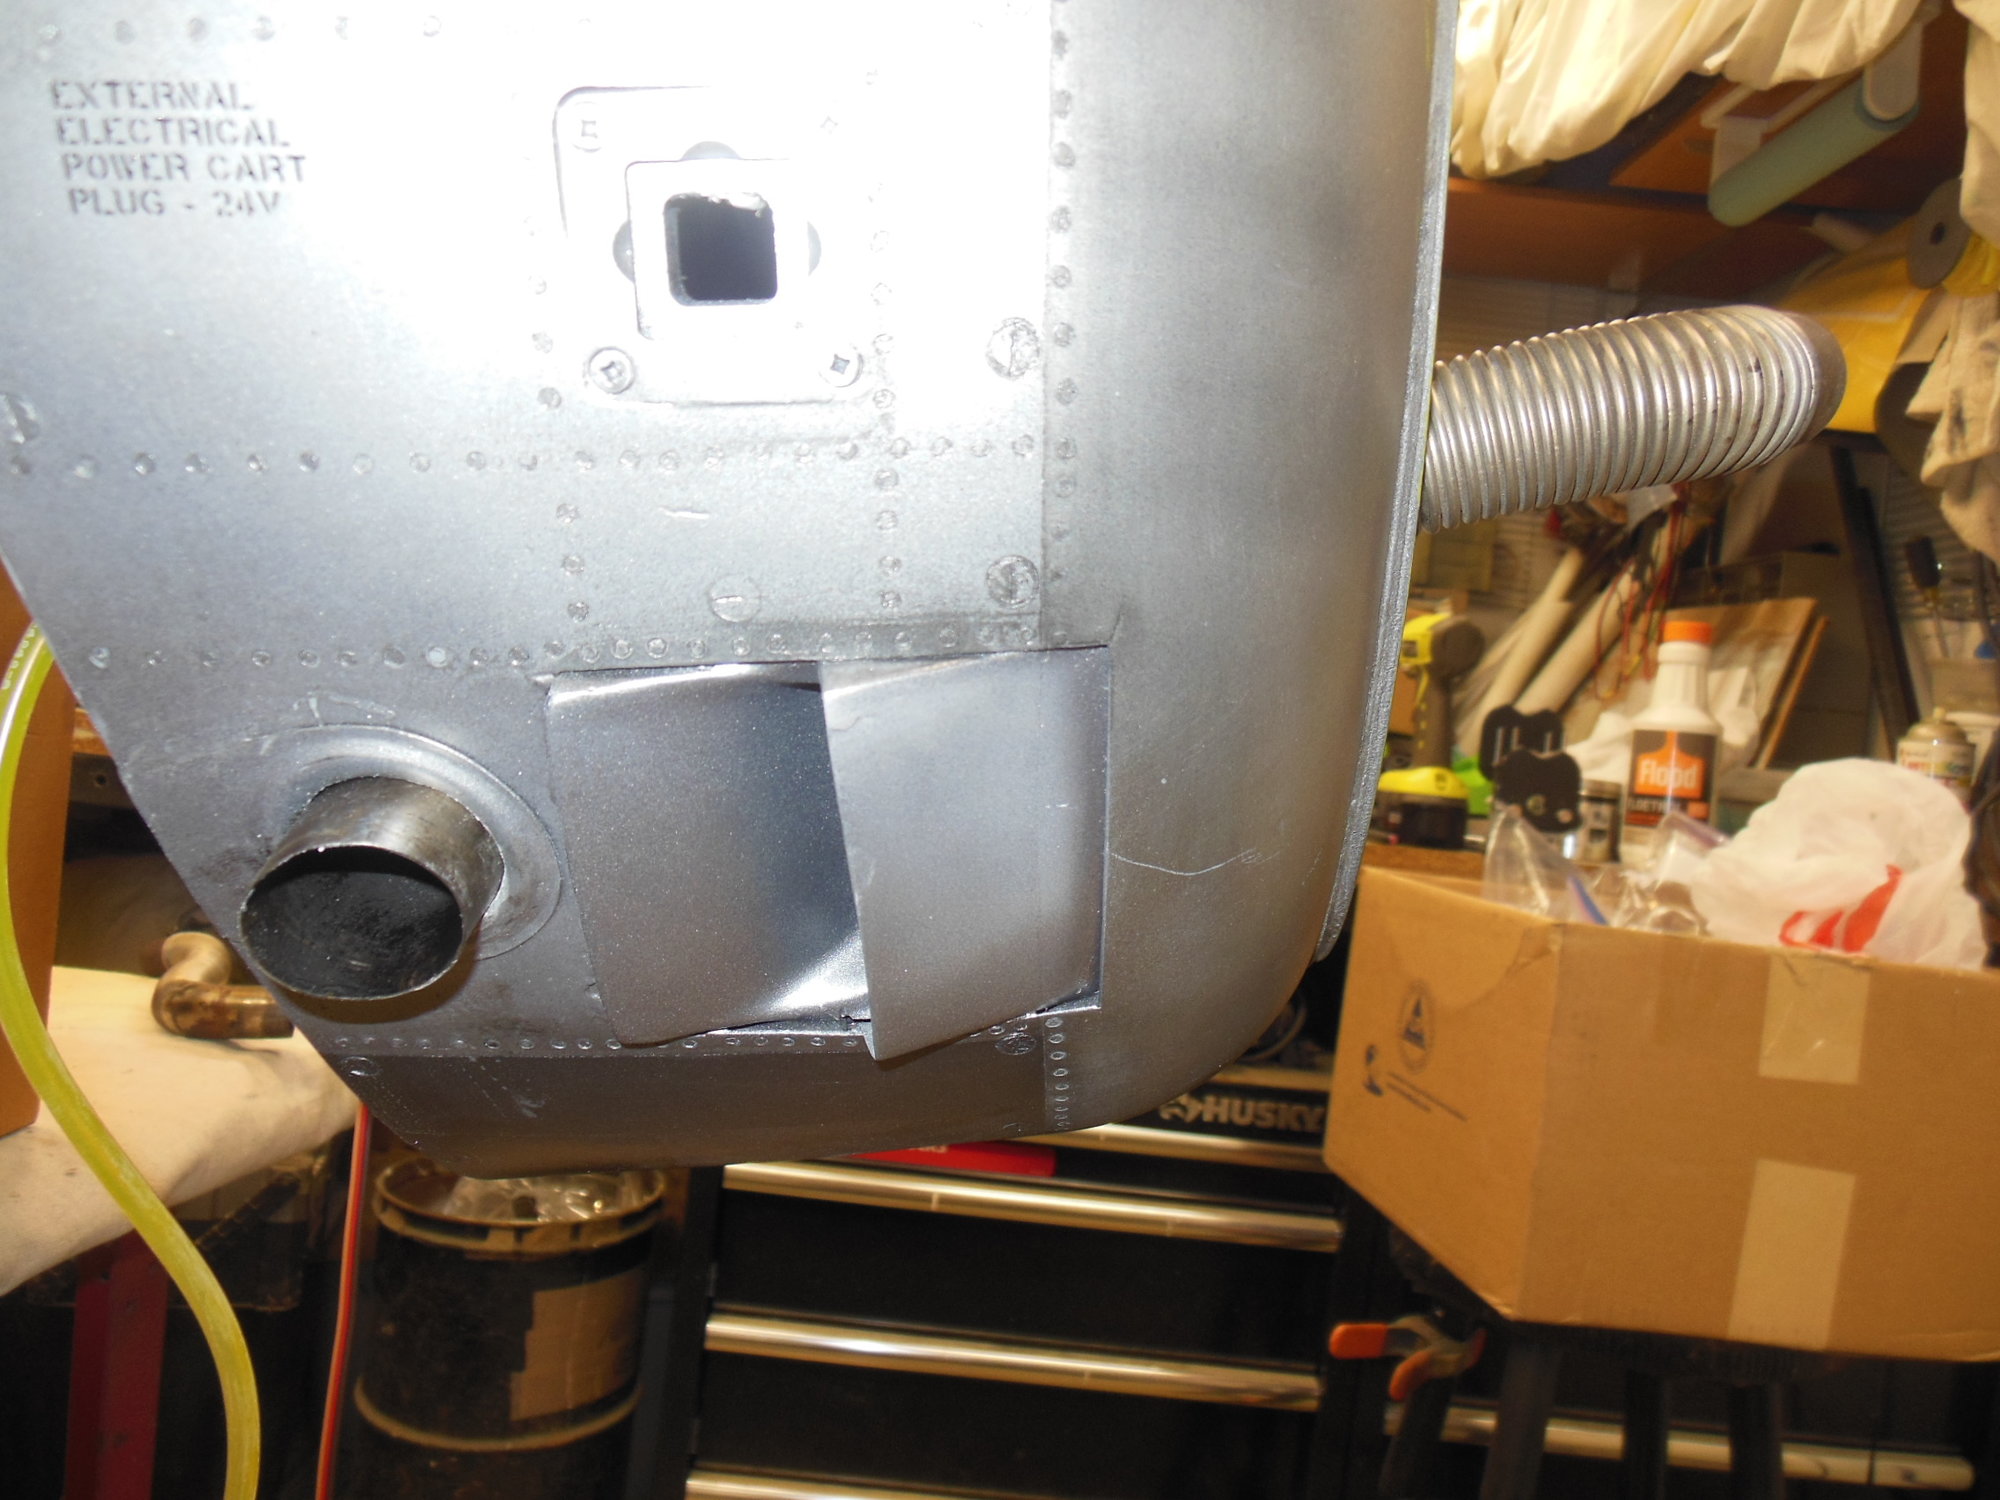
Looks good Gary. Can you show any detail on the exhaust exit from the inside. I am interested in how the flex pipes are connected to the exhaust outlets in the fuse.
thanks!
thanks!
10-27-2018, 08:13 AM
#940
Gary
10-27-2018, 08:26 AM
#941
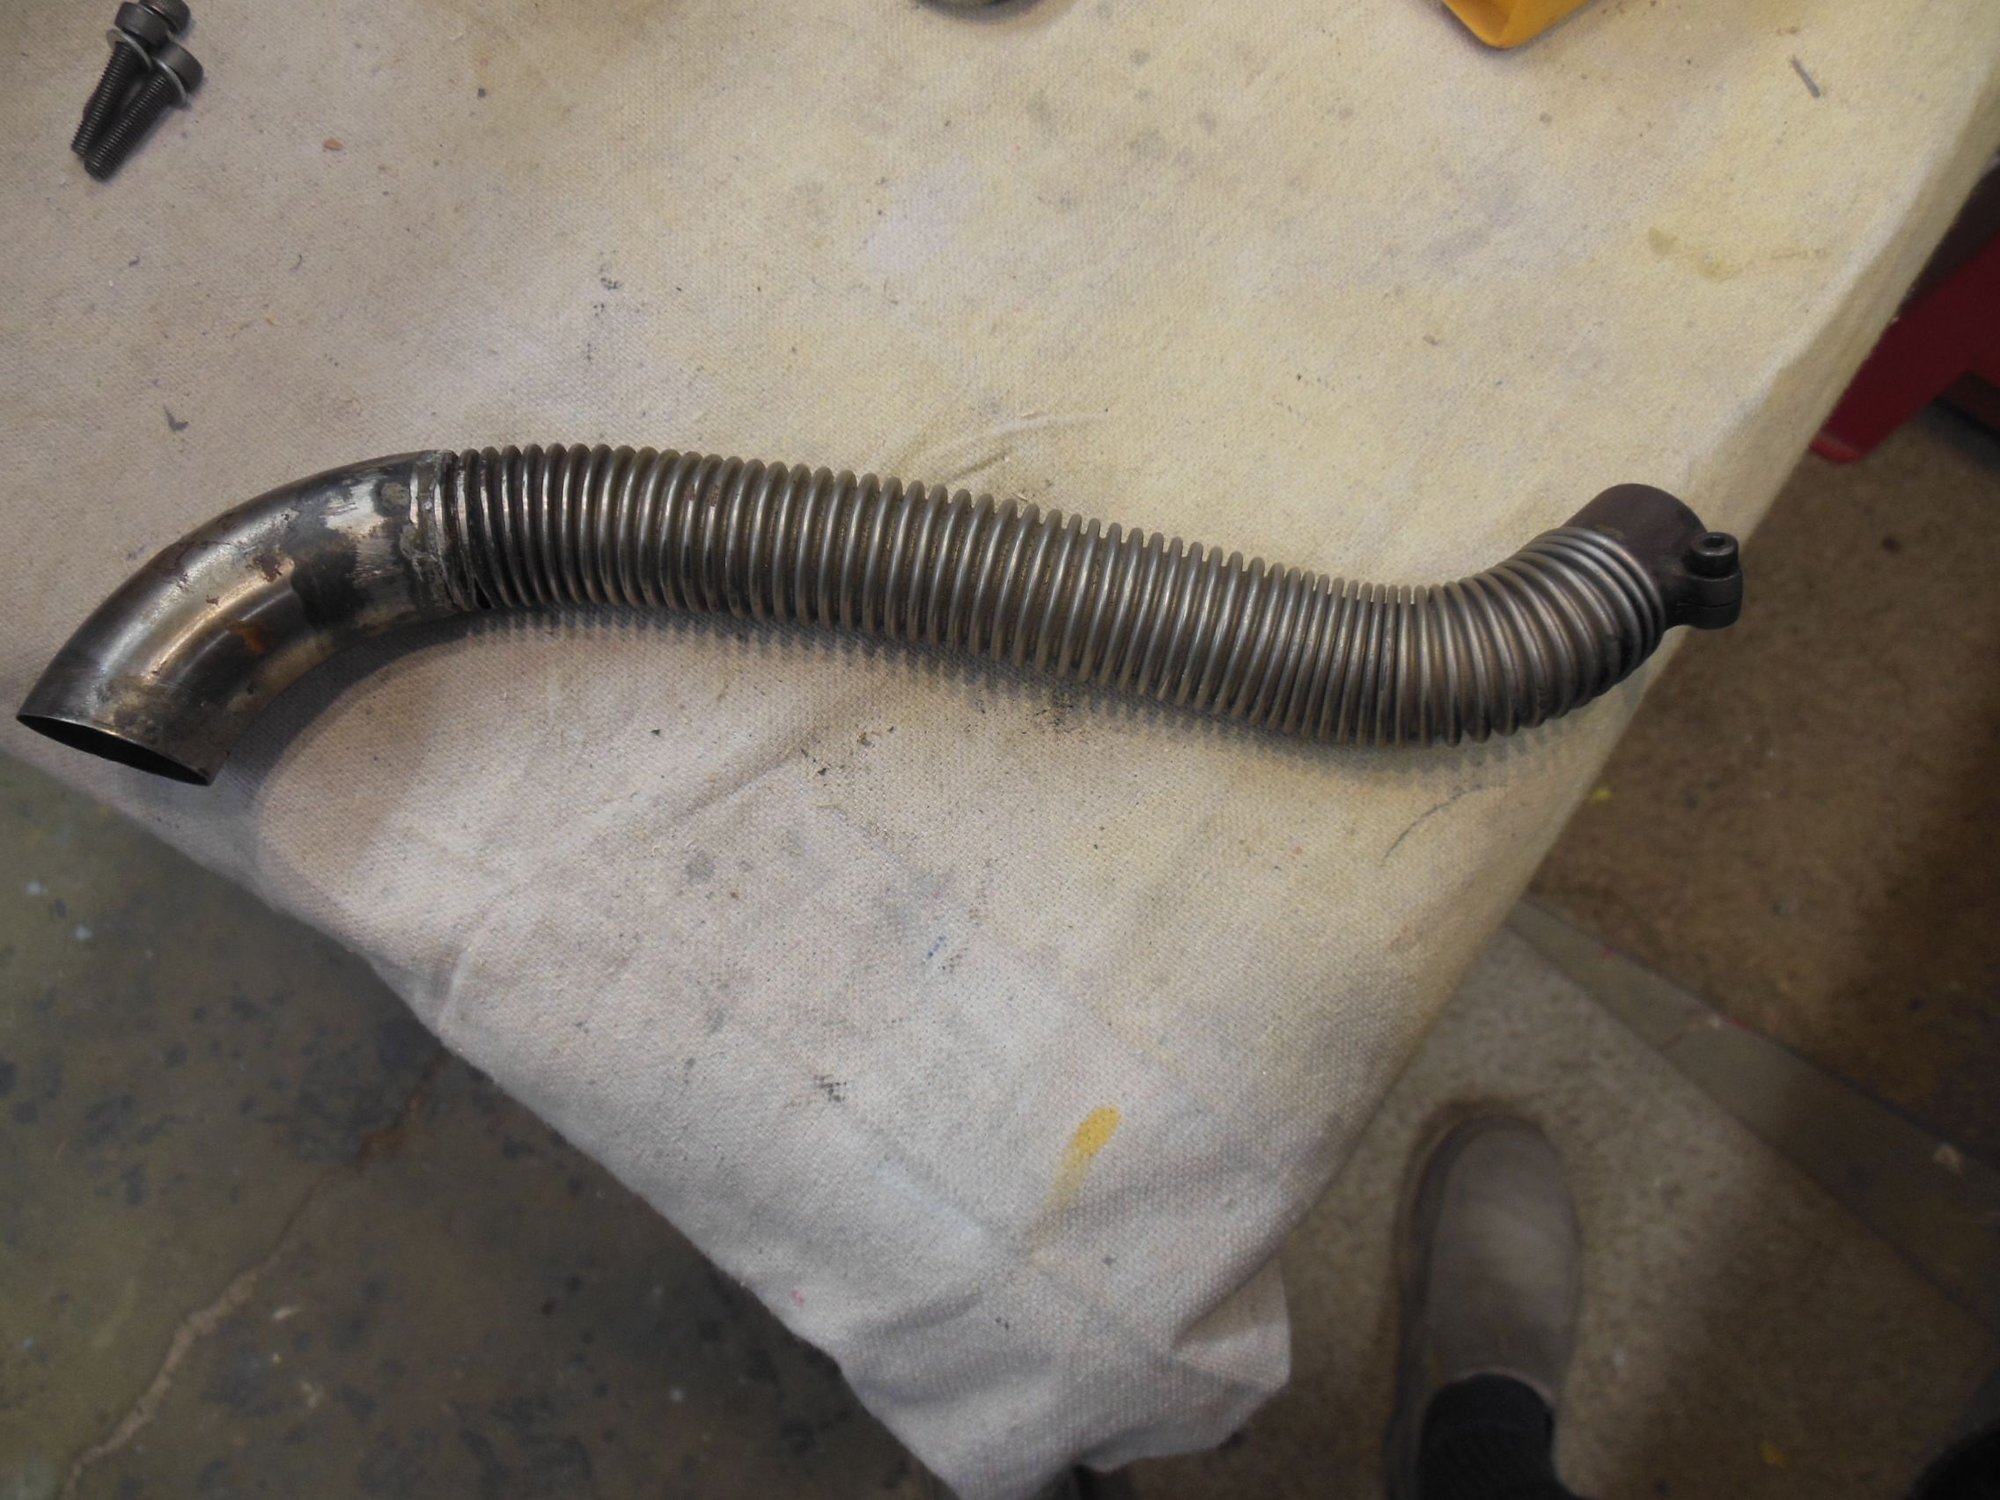
Thanks Craig. I'll look for a picture showing the interior. In the meantime, what you see is one pipe which connects to the engine collector ring, goes through the fuse and out where you see it. It has a built in clamp on the one end, and a stinger pipe, cut on an angle, on the other. Not sure where Graham got them.
Gary
Gary
 10-27-2018, 03:52 PM
#945

My Feedback: (360)
The exhaust bends are from KS-See attached link. I can't remember which size. They are then Tig welded to the moki extensions. Hope this helps-
Mike
KS Custom Header Parts
Mike
KS Custom Header Parts
Thanks Craig. I'll look for a picture showing the interior. In the meantime, what you see is one pipe which connects to the engine collector ring, goes through the fuse and out where you see it. It has a built in clamp on the one end, and a stinger pipe, cut on an angle, on the other. Not sure where Graham got them.
Gary
Gary
10-27-2018, 06:31 PM
#946
The exhaust bends are from KS-See attached link. I can't remember which size. They are then Tig welded to the moki extensions. Hope this helps-
Mike
KS Custom Header Parts
Mike
KS Custom Header Parts
 11-09-2018, 06:01 AM
#948
Hi Mike and Gary,
thanks for for the info guys.....exactly what I was after.
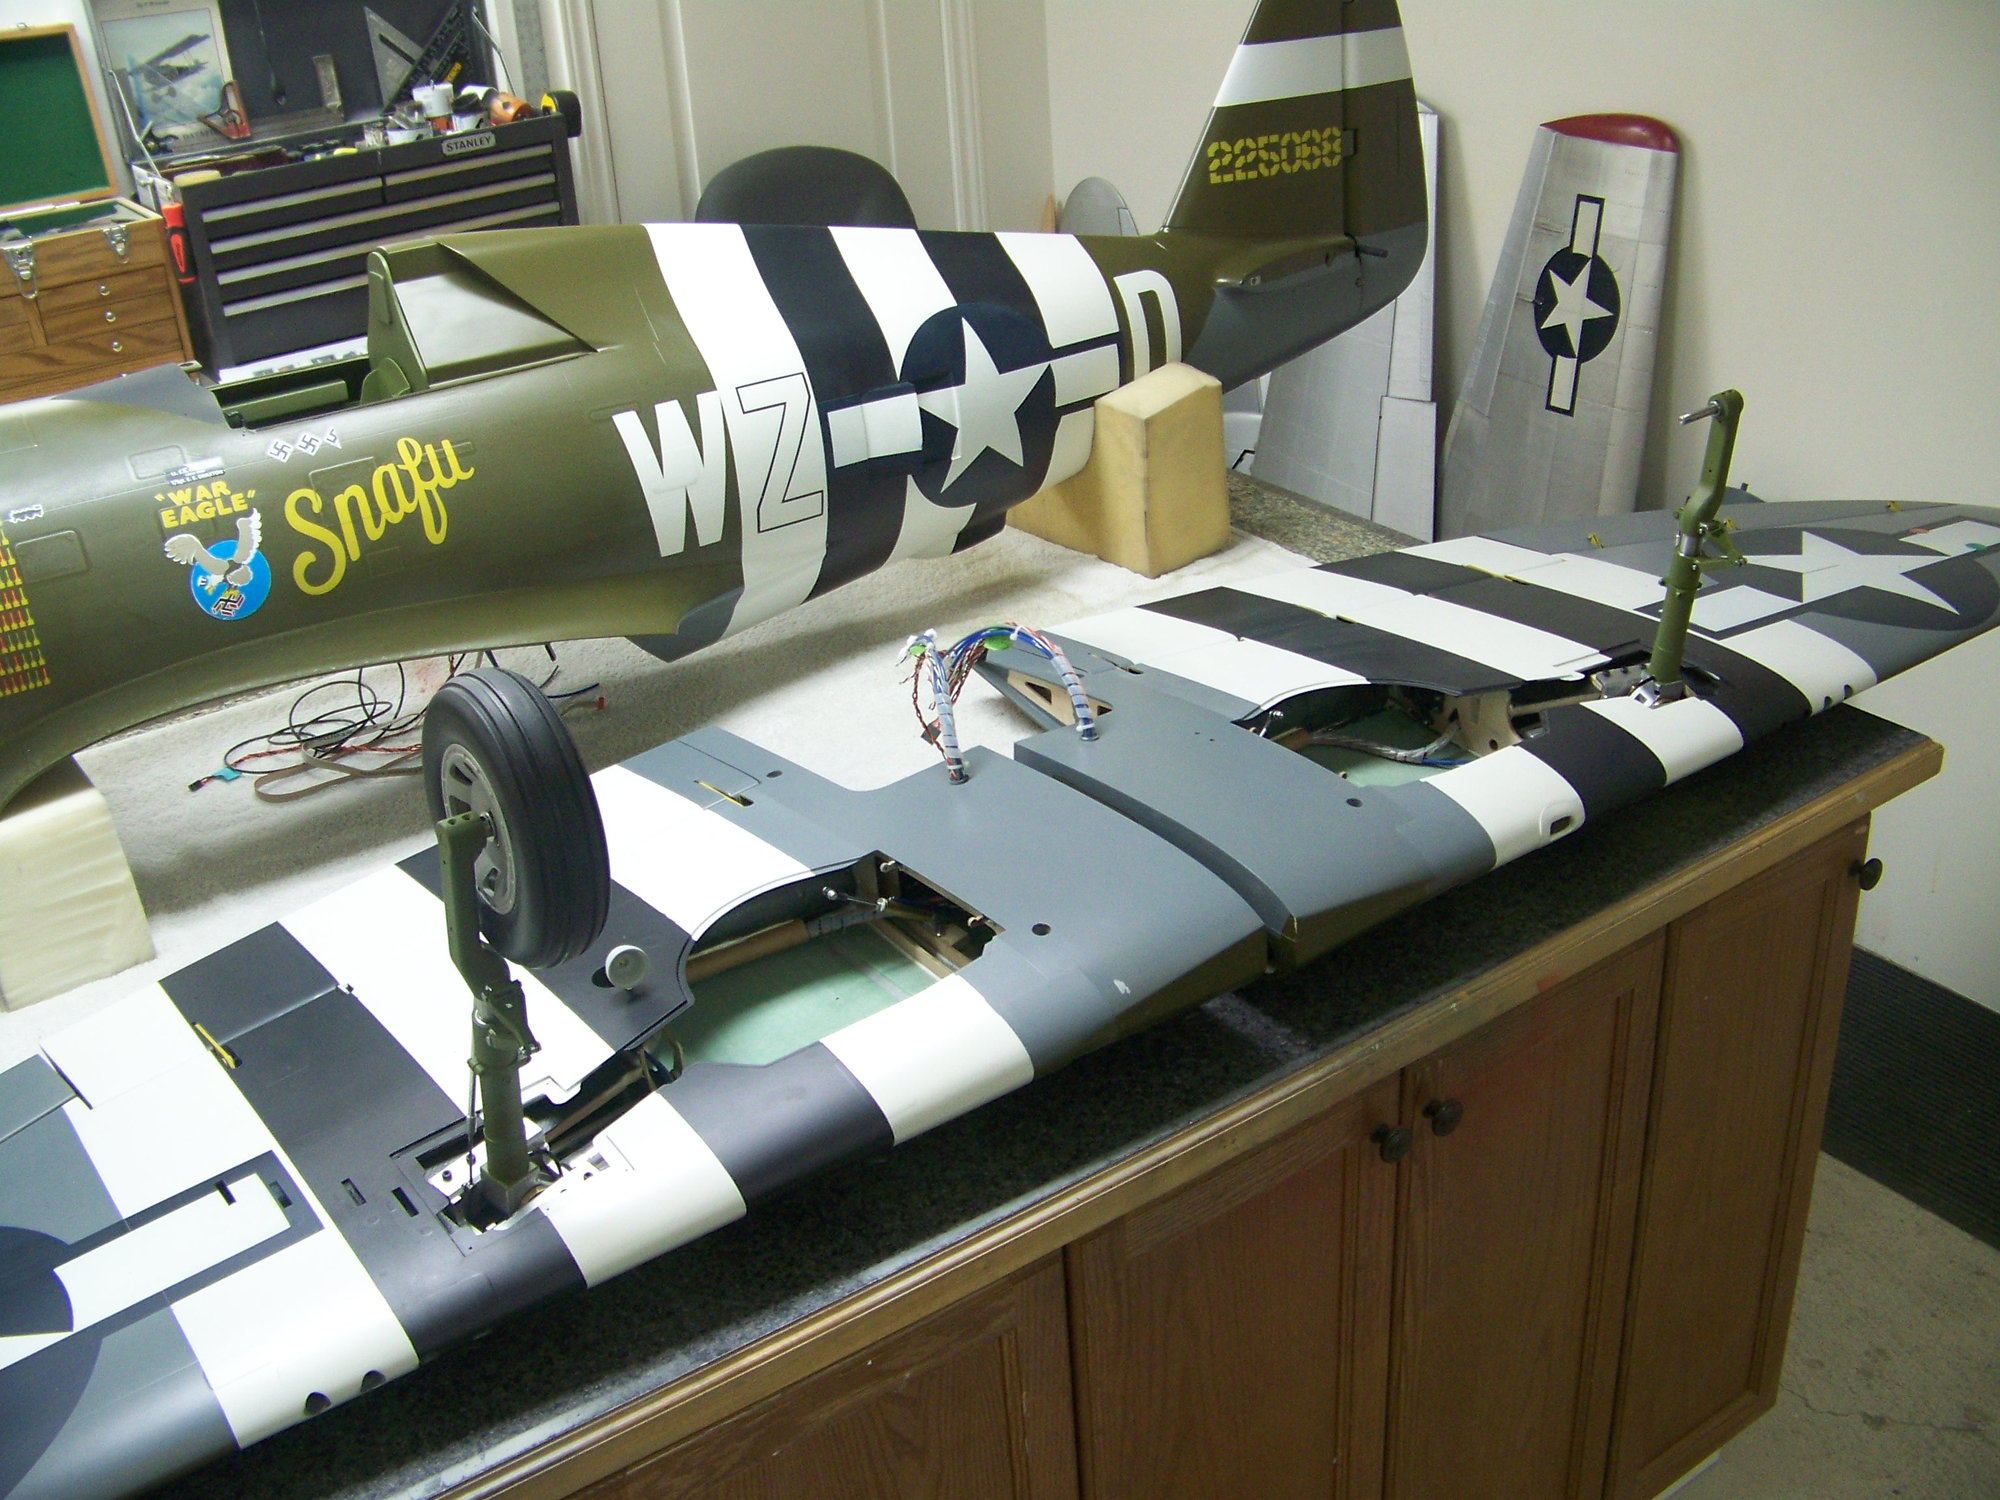
Gary, do you still sell the gear bay liners or know where I might be able to get them from?
Peter, your p47 looks great. Nice weathering. What are you using?
thanks for for the info guys.....exactly what I was after.
Gary, do you still sell the gear bay liners or know where I might be able to get them from?
Peter, your p47 looks great. Nice weathering. What are you using?