


CARF-Models P-47 Thunderbolt

 03-11-2019, 10:33 PM
#977


Join Date: Dec 2011
Location: burlingtonontario, CANADA
Posts: 403
Likes: 0
Received 0 Likes
on
0 Posts
03-11-2019, 10:35 PM
#978
Join Date: Dec 2011
Location: burlingtonontario, CANADA
Posts: 403
Likes: 0
Received 0 Likes
on
0 Posts
03-24-2019, 05:42 AM
#981
Hey Mike, it seems to me that the holes in the hinge plates are too big. Will try my fix to sort that and see how much difference it makes. Annoying that we have to do this. My stabs were badly misaligned too.... I sorted that out easily enough but you would think it would be easy enough to hug that up correctly.
03-26-2019, 06:48 PM
#982
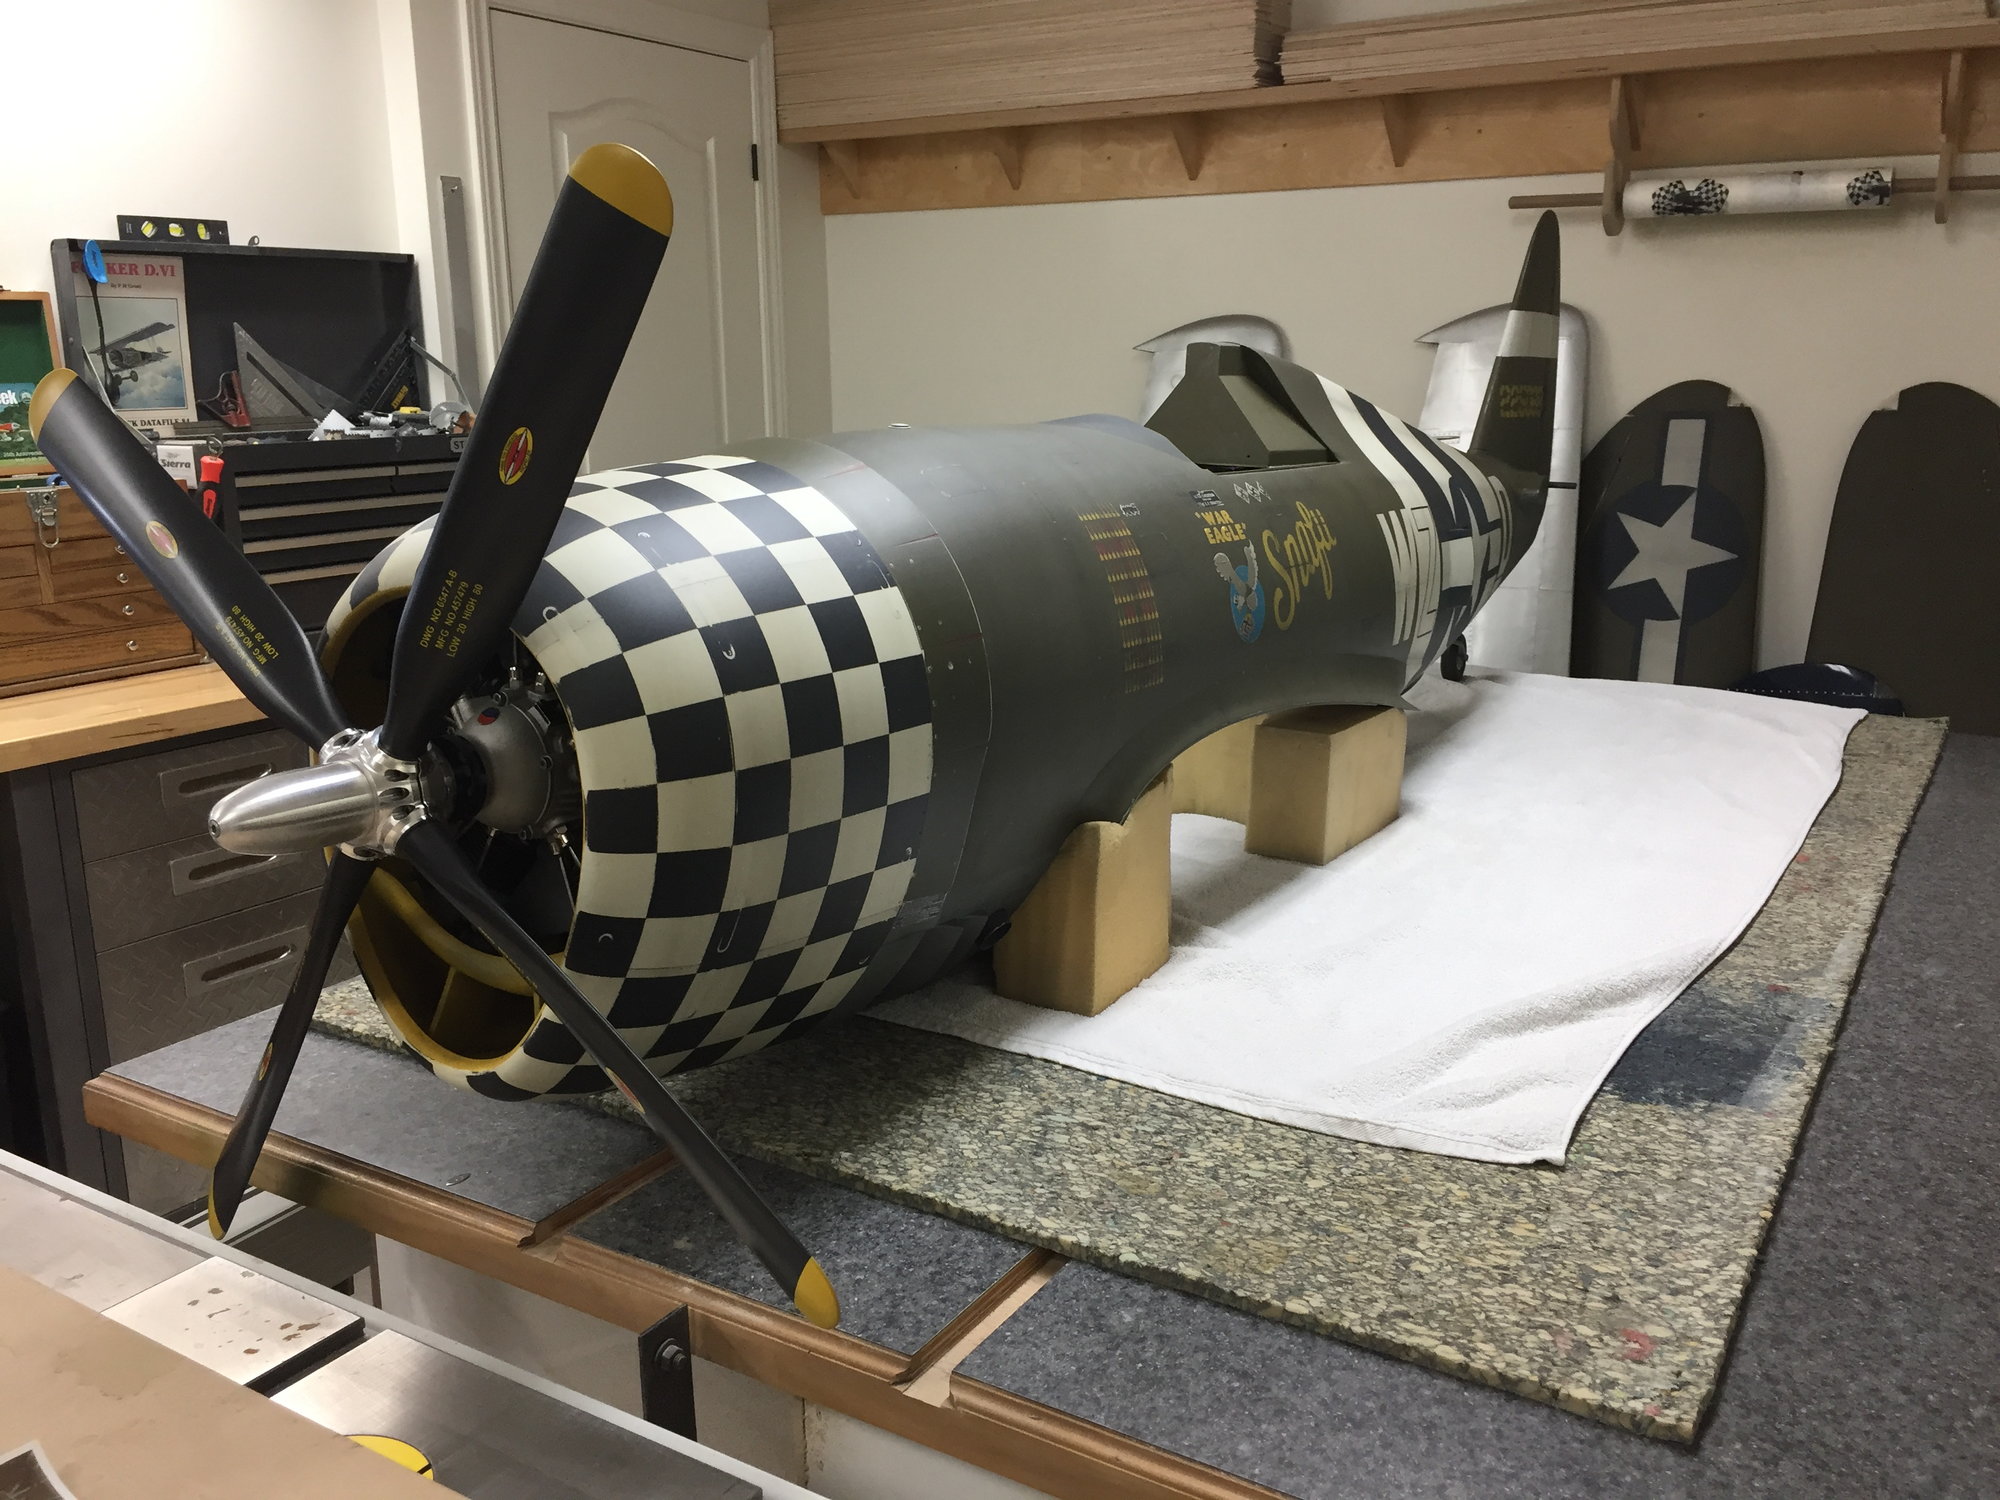
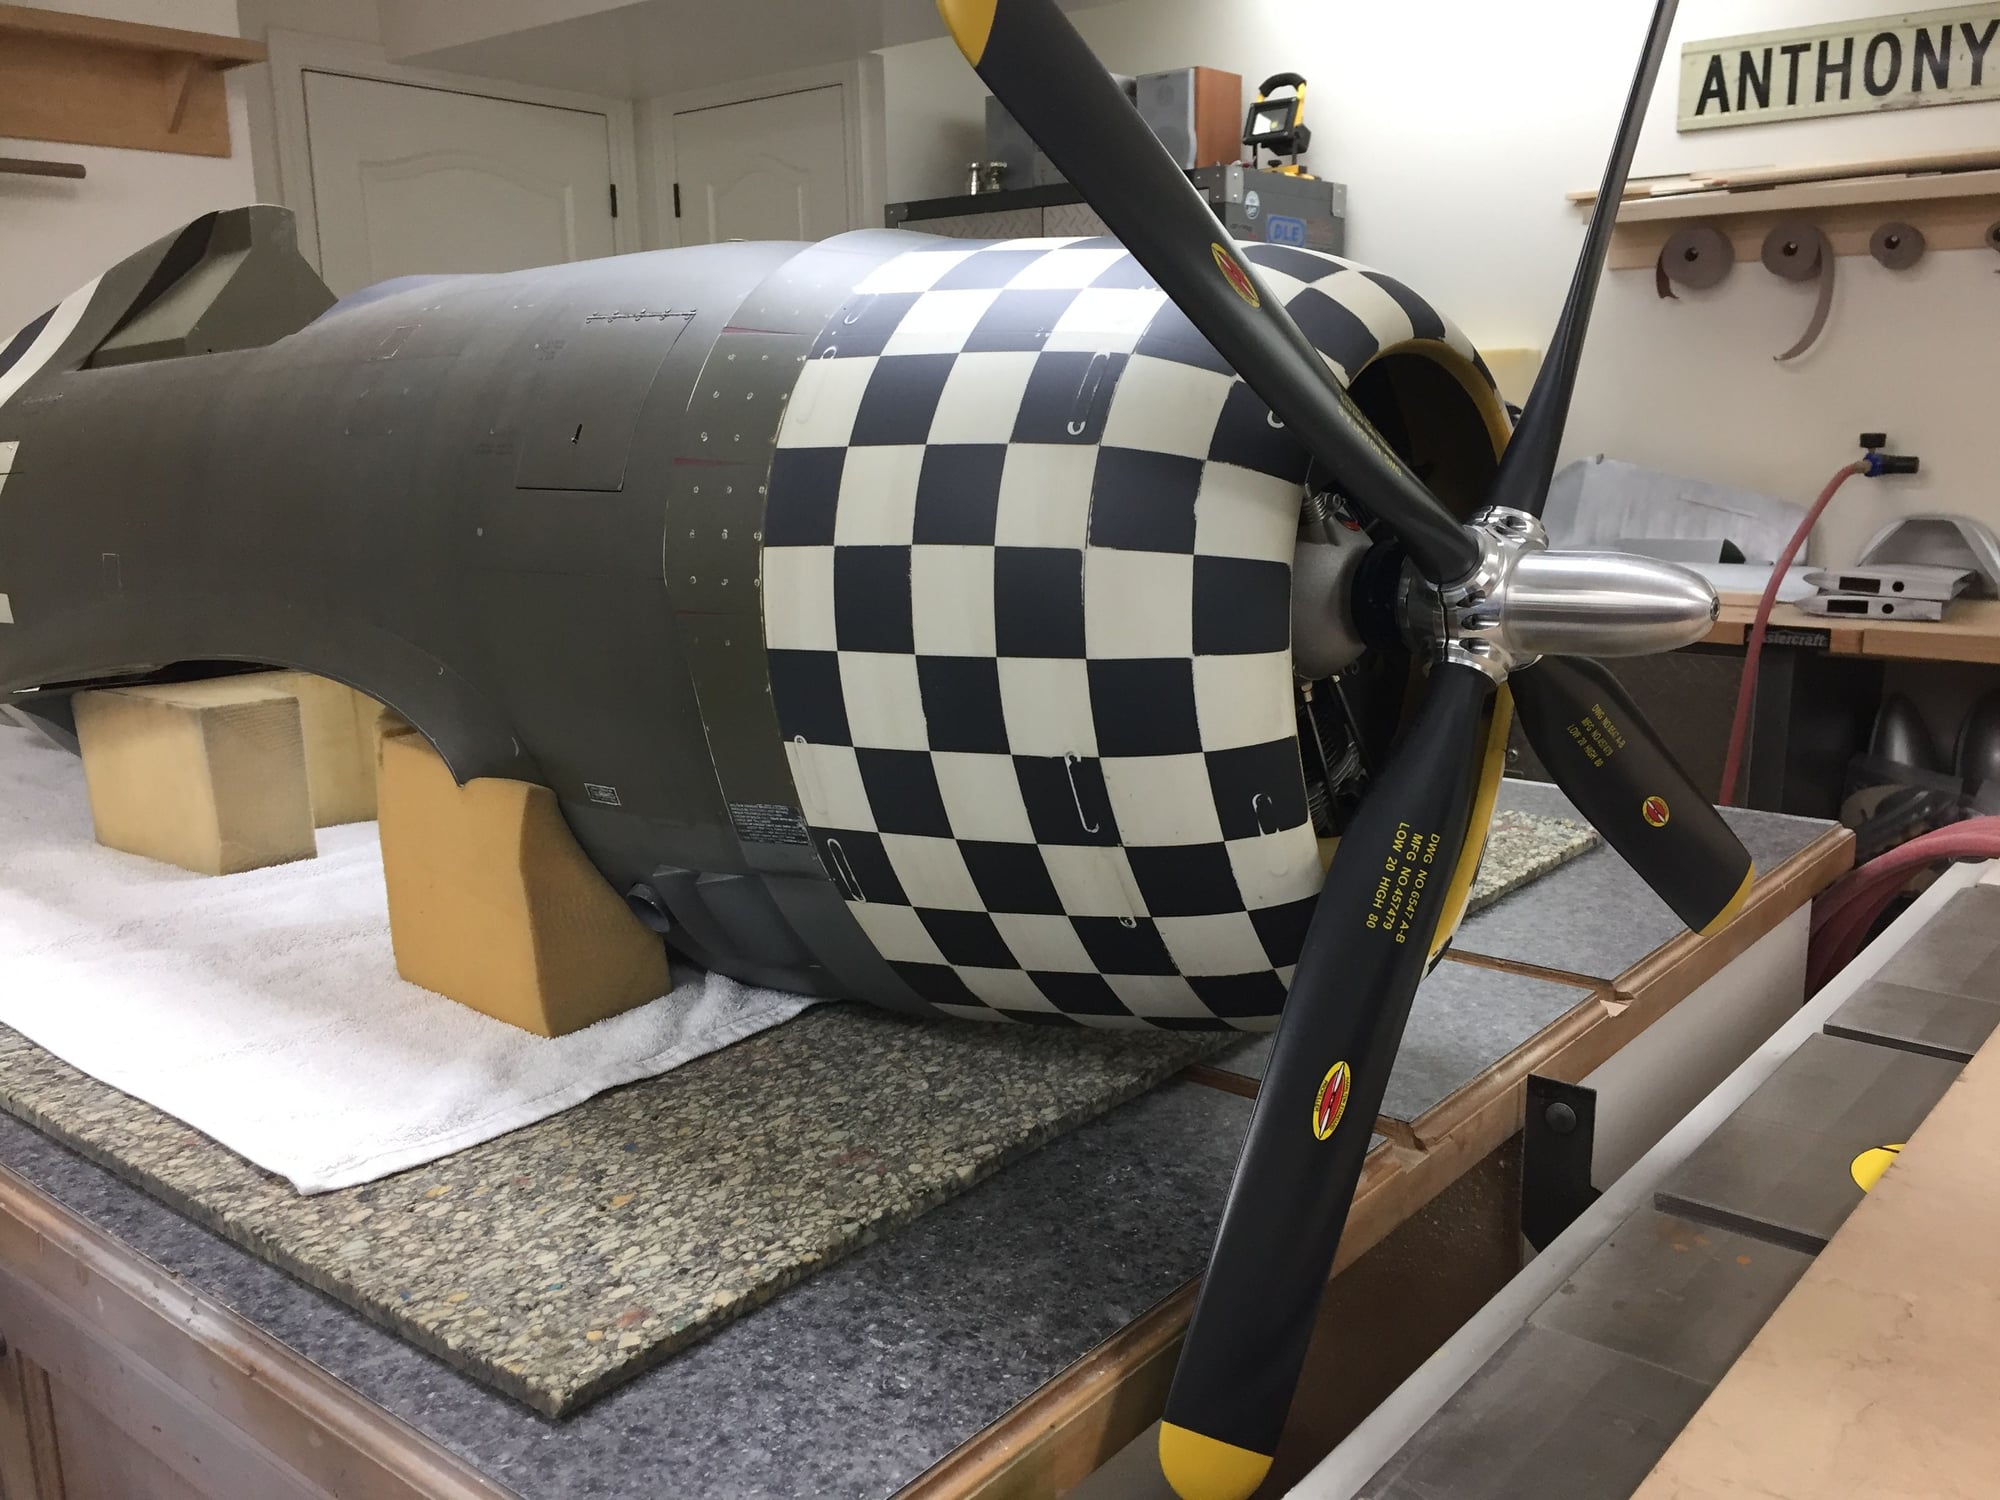
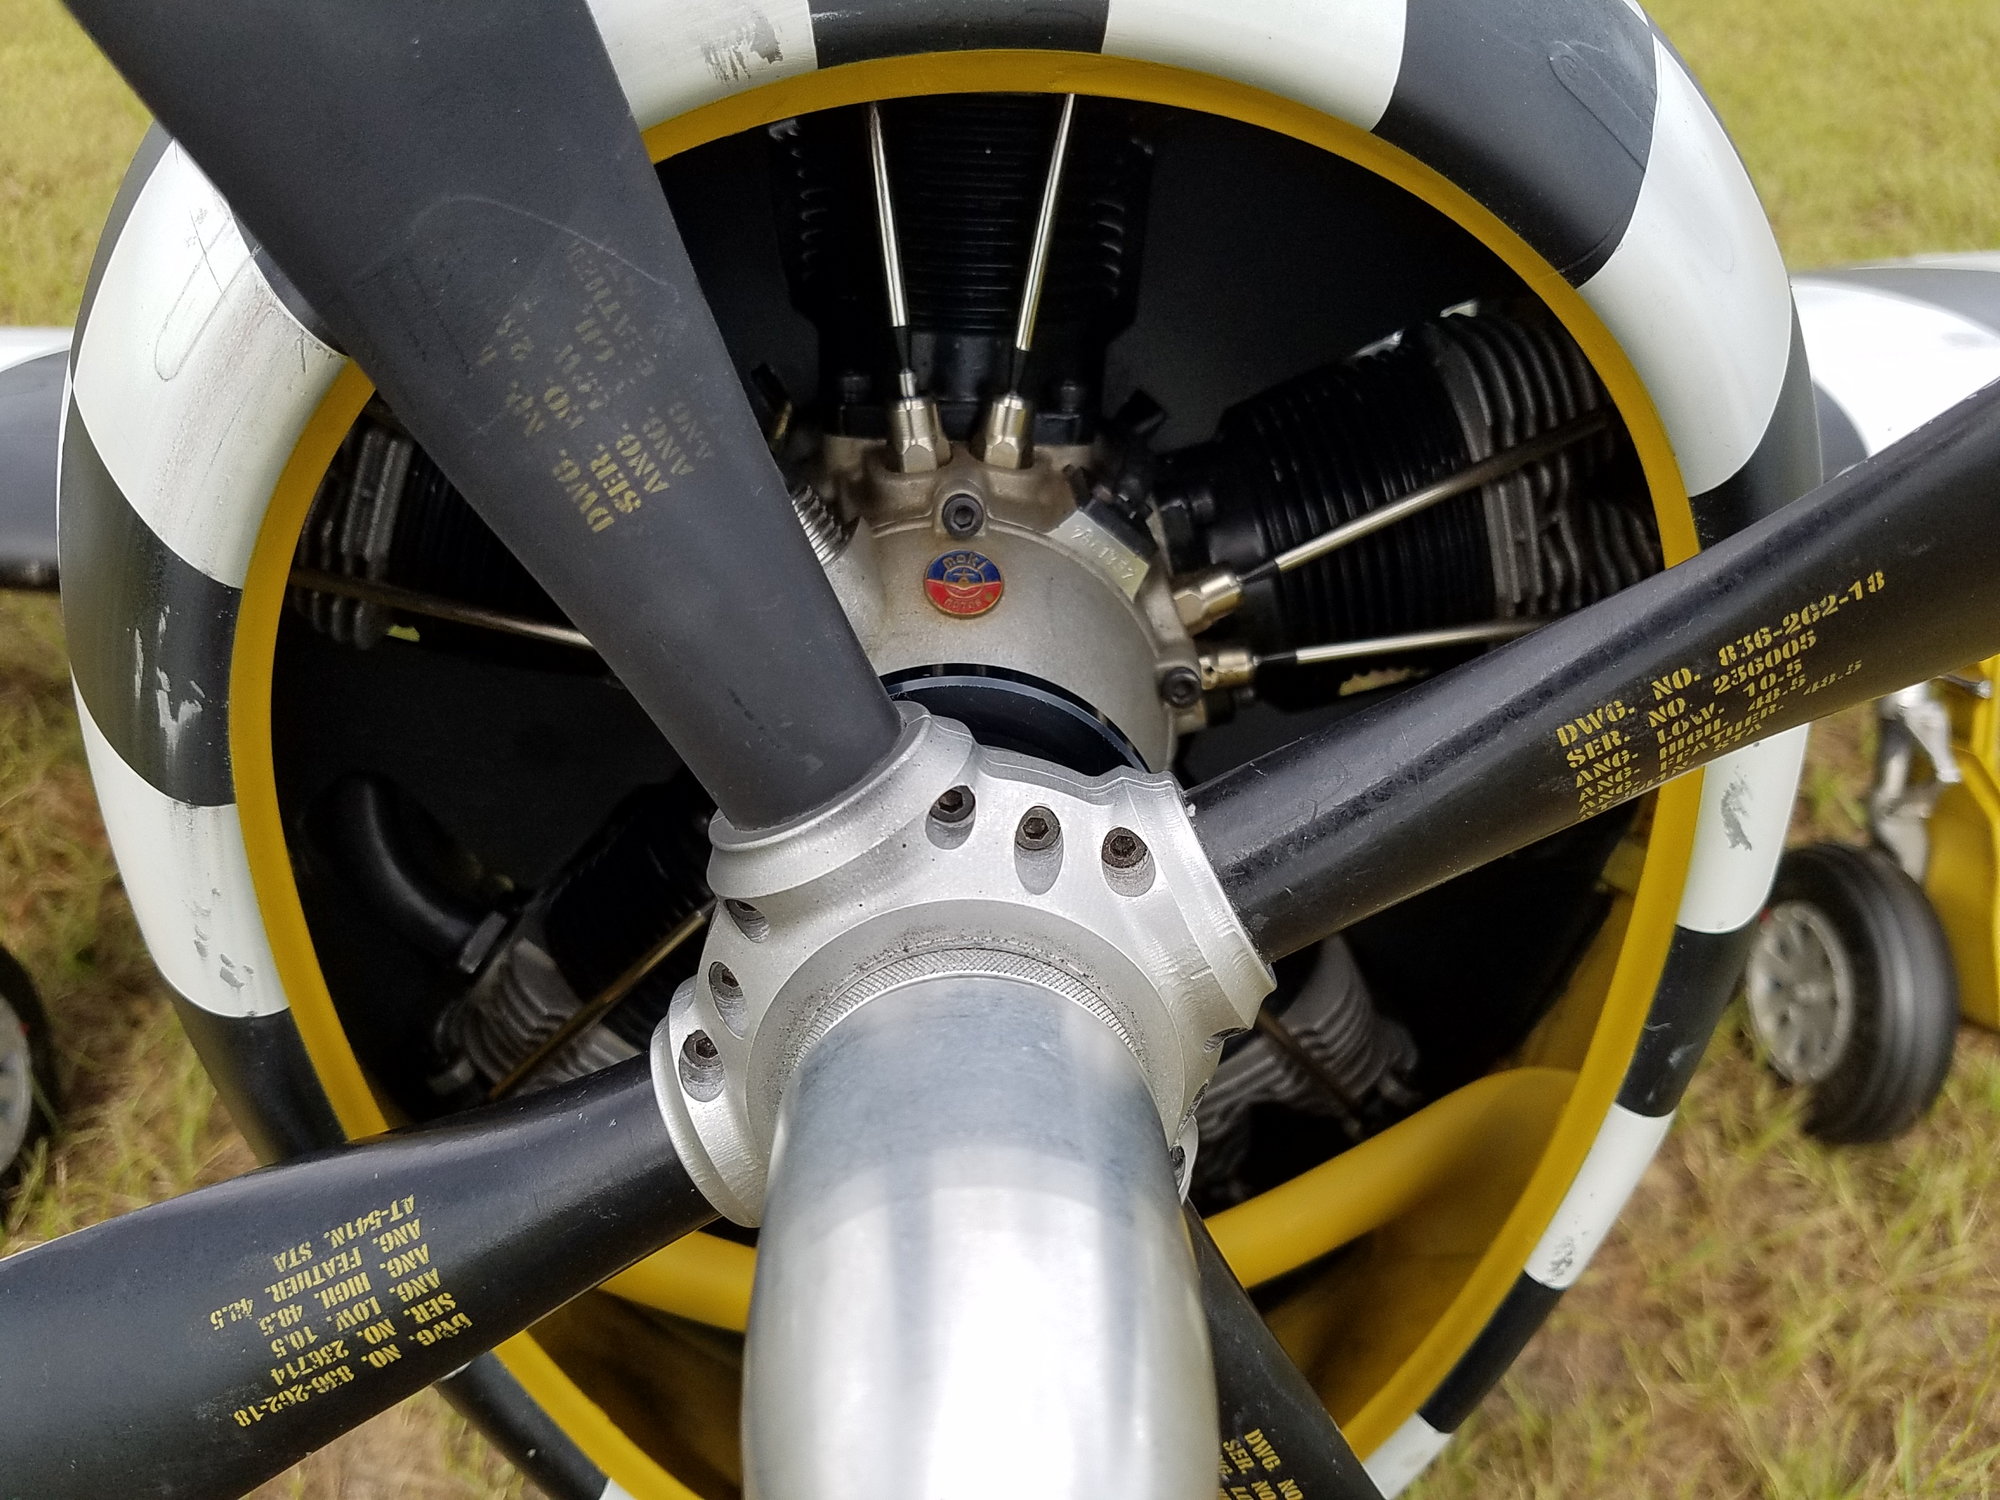
Which Prop is this? The hub and blades are practically perfect!!!!
.
Craig - The wash is considered a "Magic Secret Potion" by some painters.
I have tried umpteen different cocktails but for me Tamiya acrylics with 50 % water and 10% dish soap ( soap breaks the surface tension) works very well.
The dirtier I want the plane to be, the more flat the clear coat is under the wash (the wash grabs more to a flatter surface).
03-27-2019, 04:03 AM
#983
Join Date: Dec 2011
Location: burlingtonontario, CANADA
Posts: 403
Likes: 0
Received 0 Likes
on
0 Posts
03-27-2019, 04:17 AM
#984
Props to you on a fantastic Jug! Good luck with it!
07-11-2019, 09:50 AM
#985

My Feedback: (360)
Does anyone have a set of spare Solo (wooden) P-47 blades they would part with ? I broke one on Sunday and need to get back in the air.
(I already have some CF blades) My email is [email protected]
text or call 843-833-0059 anytime. Willing to pay more than the current price if you have a set.
Thanks-Mike O.
(I already have some CF blades) My email is [email protected]
text or call 843-833-0059 anytime. Willing to pay more than the current price if you have a set.
Thanks-Mike O.
Last edited by IFLYBVM2; 07-11-2019 at 09:52 AM. Reason: addition
09-17-2019, 08:01 AM
#986
My Feedback: (360)
Was wondering if one of you guys would do me a favor-
The next tome you are out at the field with the P47/Moki 250 combo, take your temp gun and take a reading at the exhaust exit ?
Working on an exhaust idea, but need to know approx. what kind of temps to expect at the end of the extension.
Thanks -
Mike O
The next tome you are out at the field with the P47/Moki 250 combo, take your temp gun and take a reading at the exhaust exit ?
Working on an exhaust idea, but need to know approx. what kind of temps to expect at the end of the extension.
Thanks -
Mike O
11-08-2019, 03:56 AM
#987
My Feedback: (360)
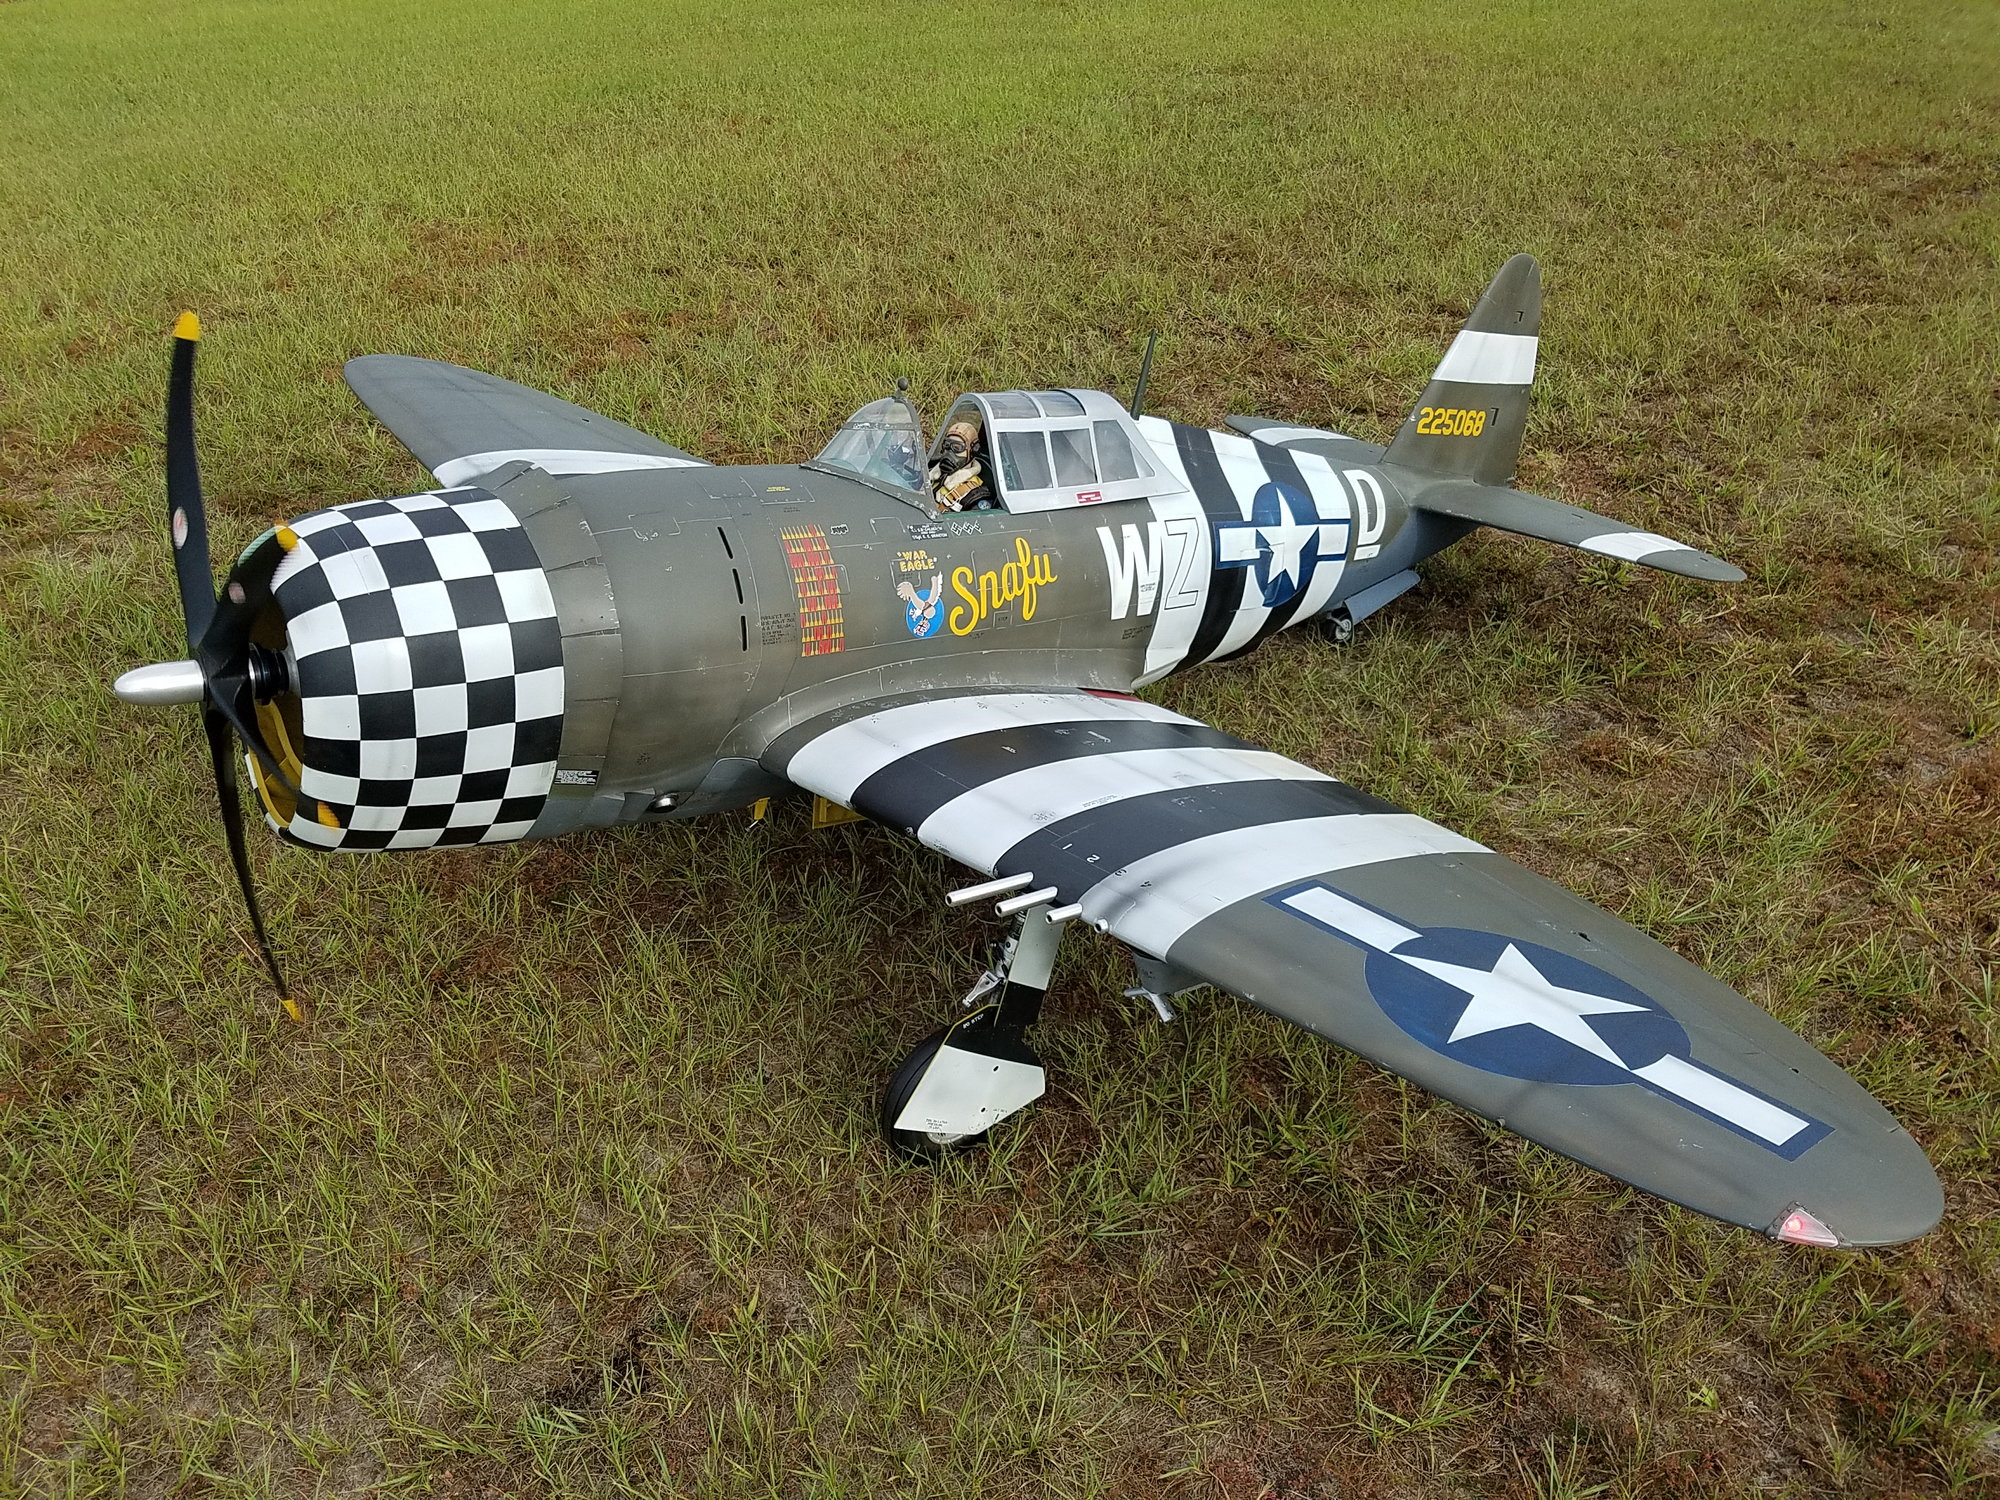
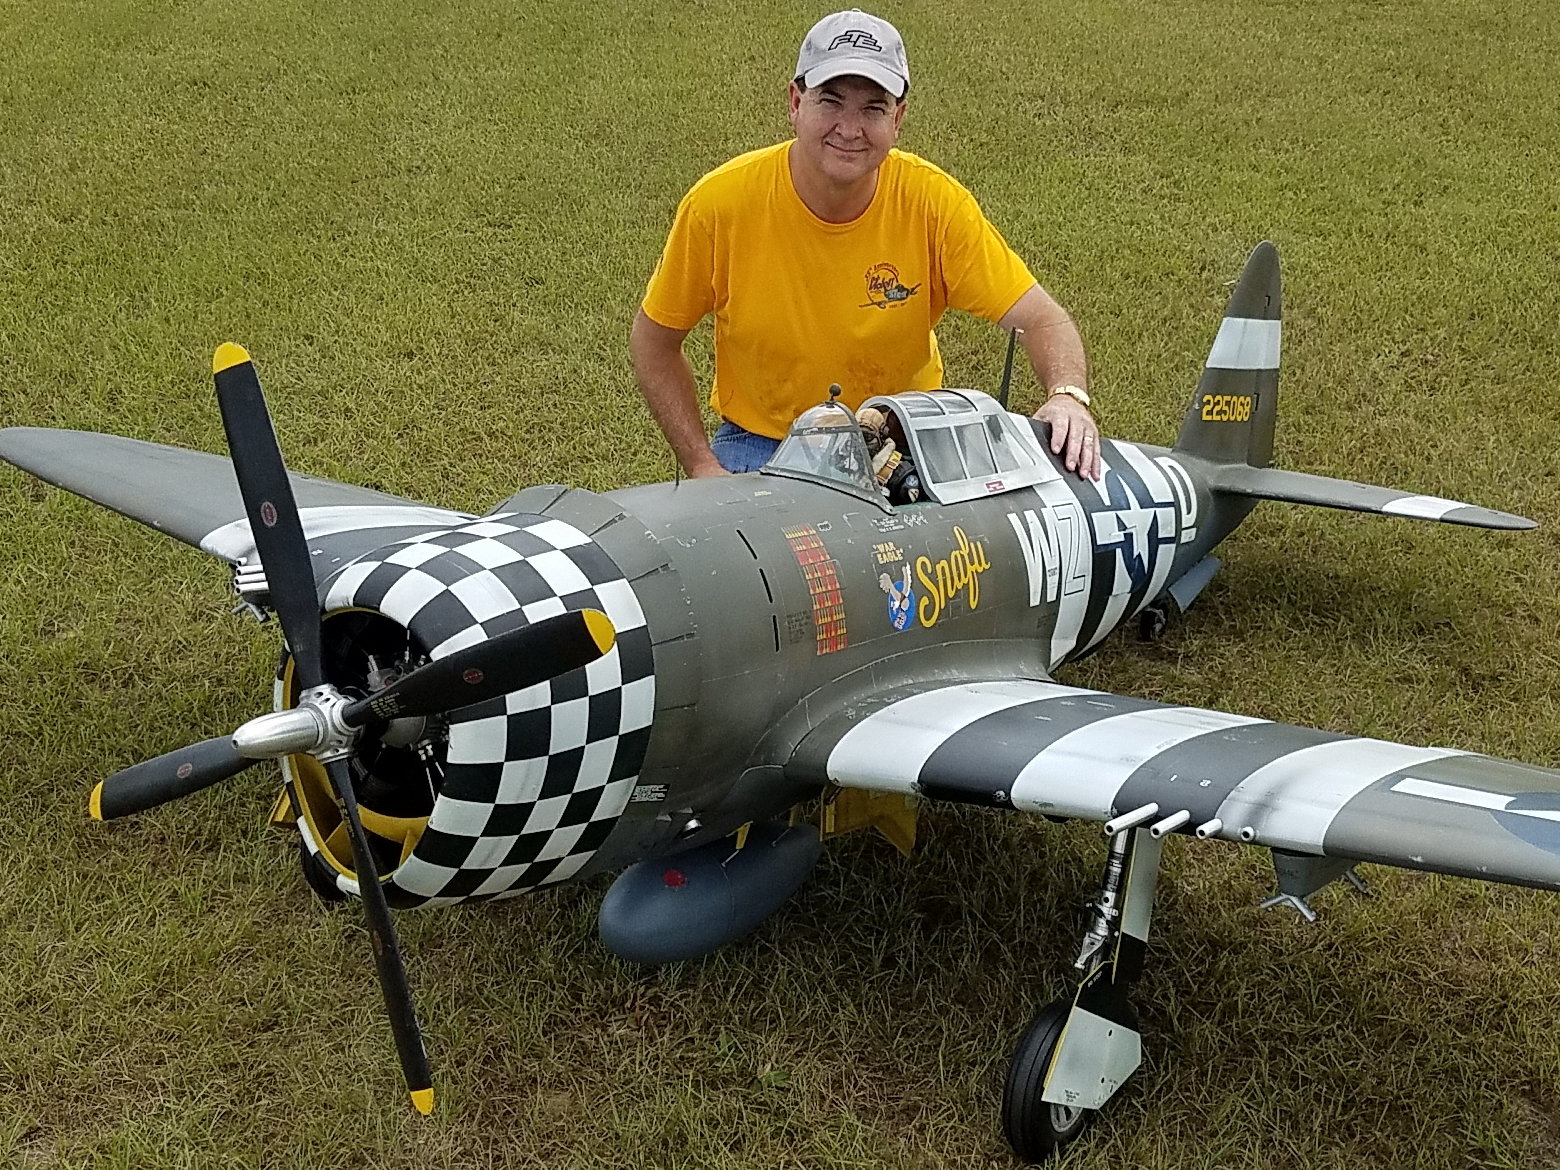
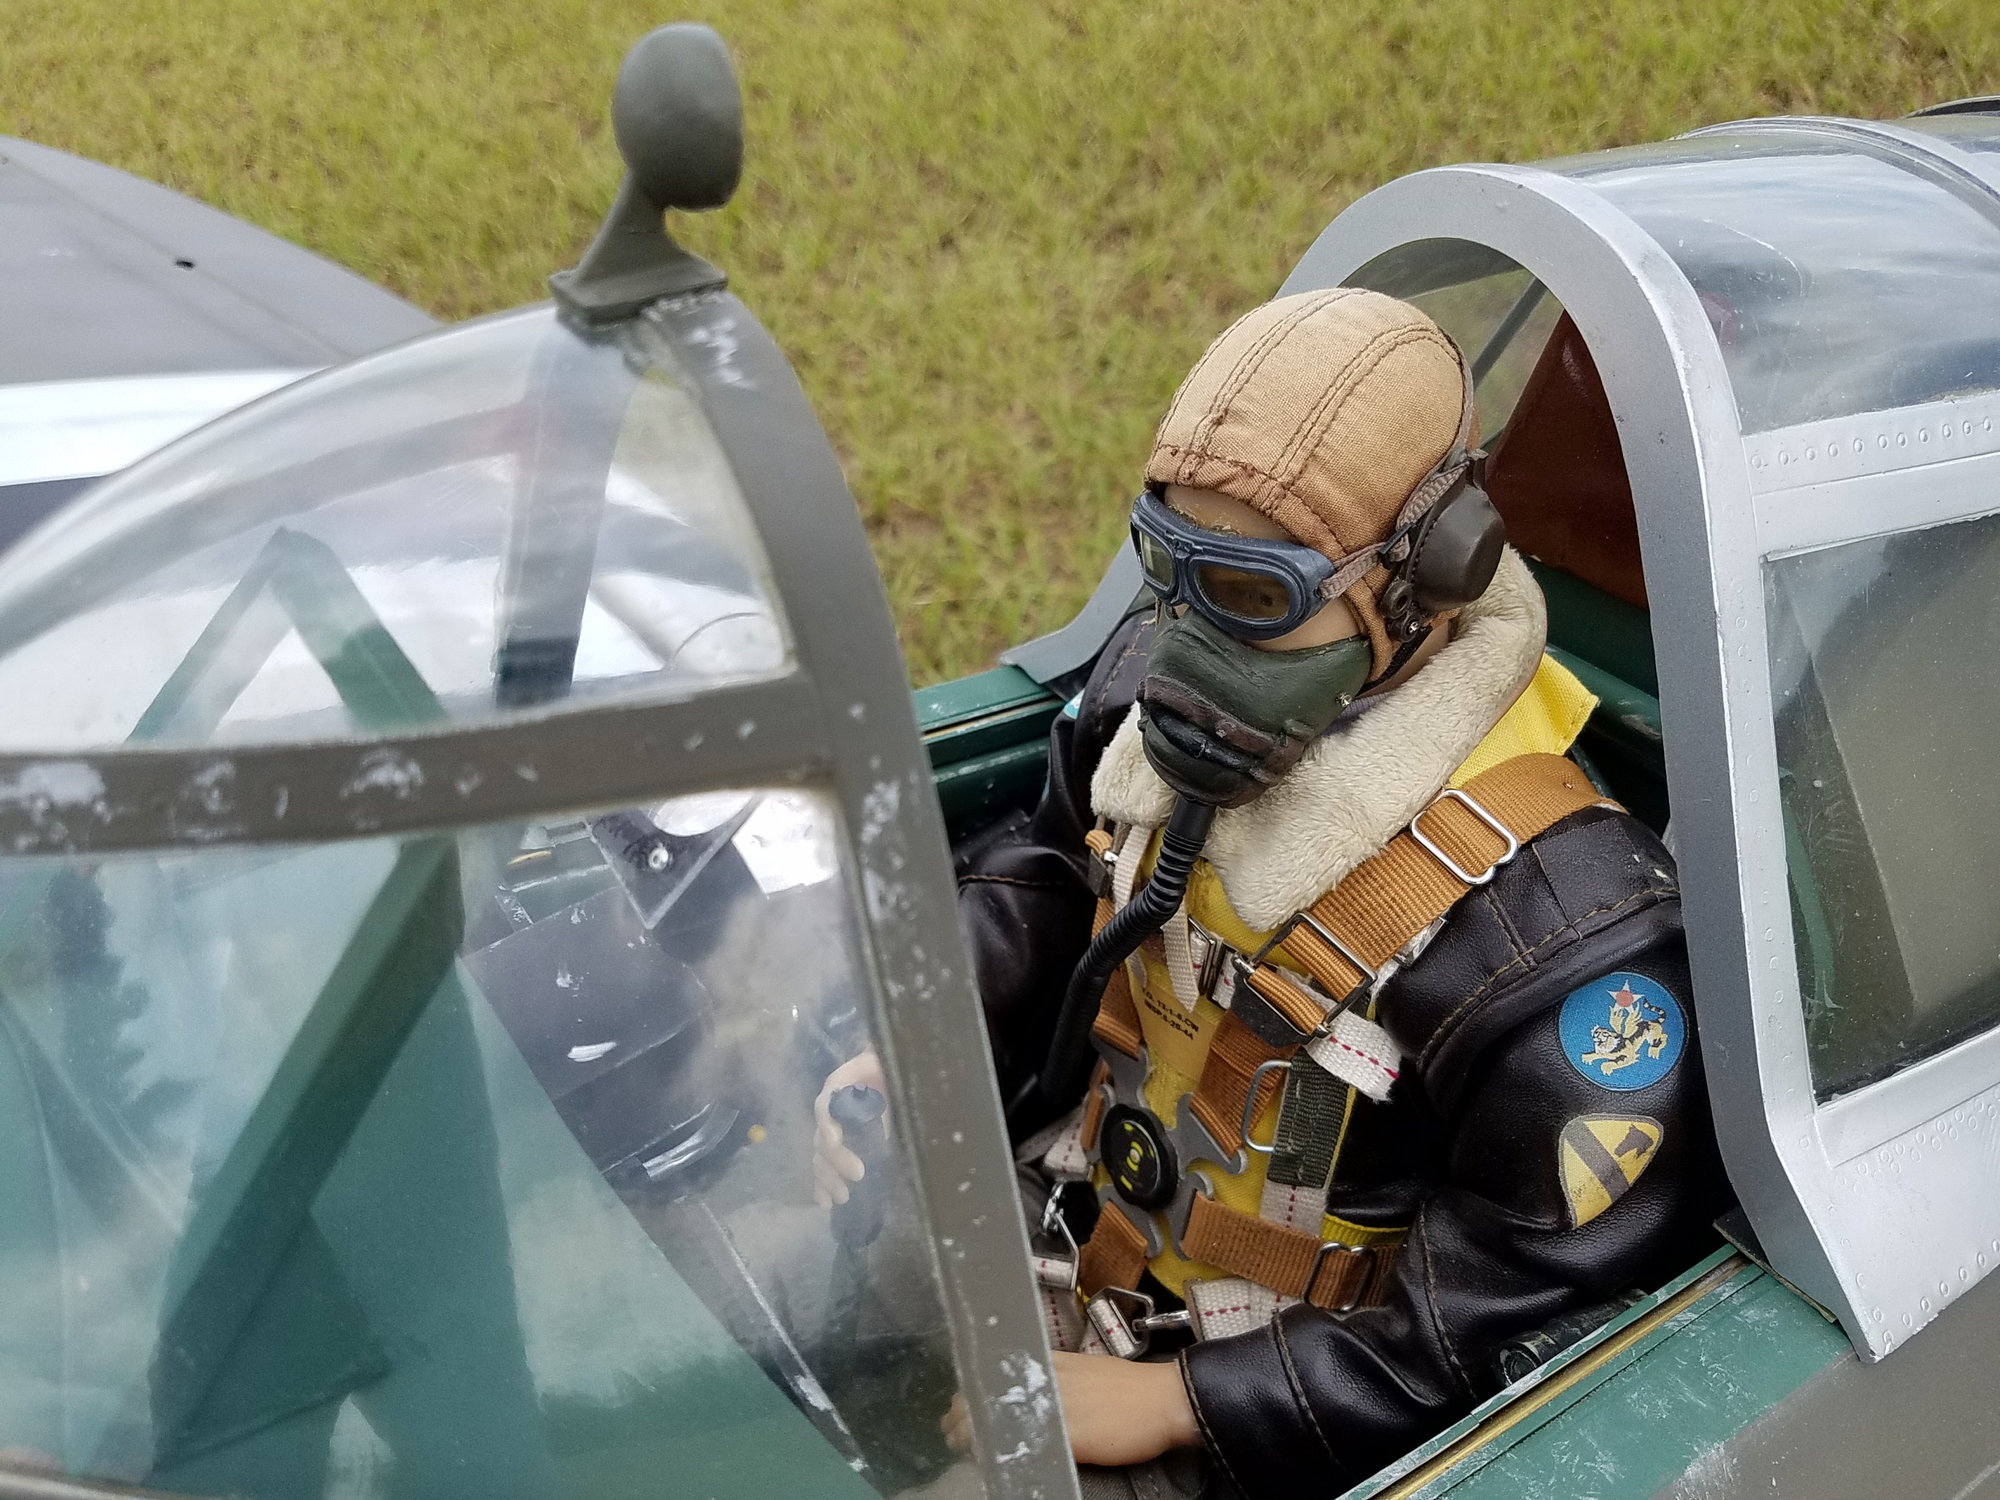
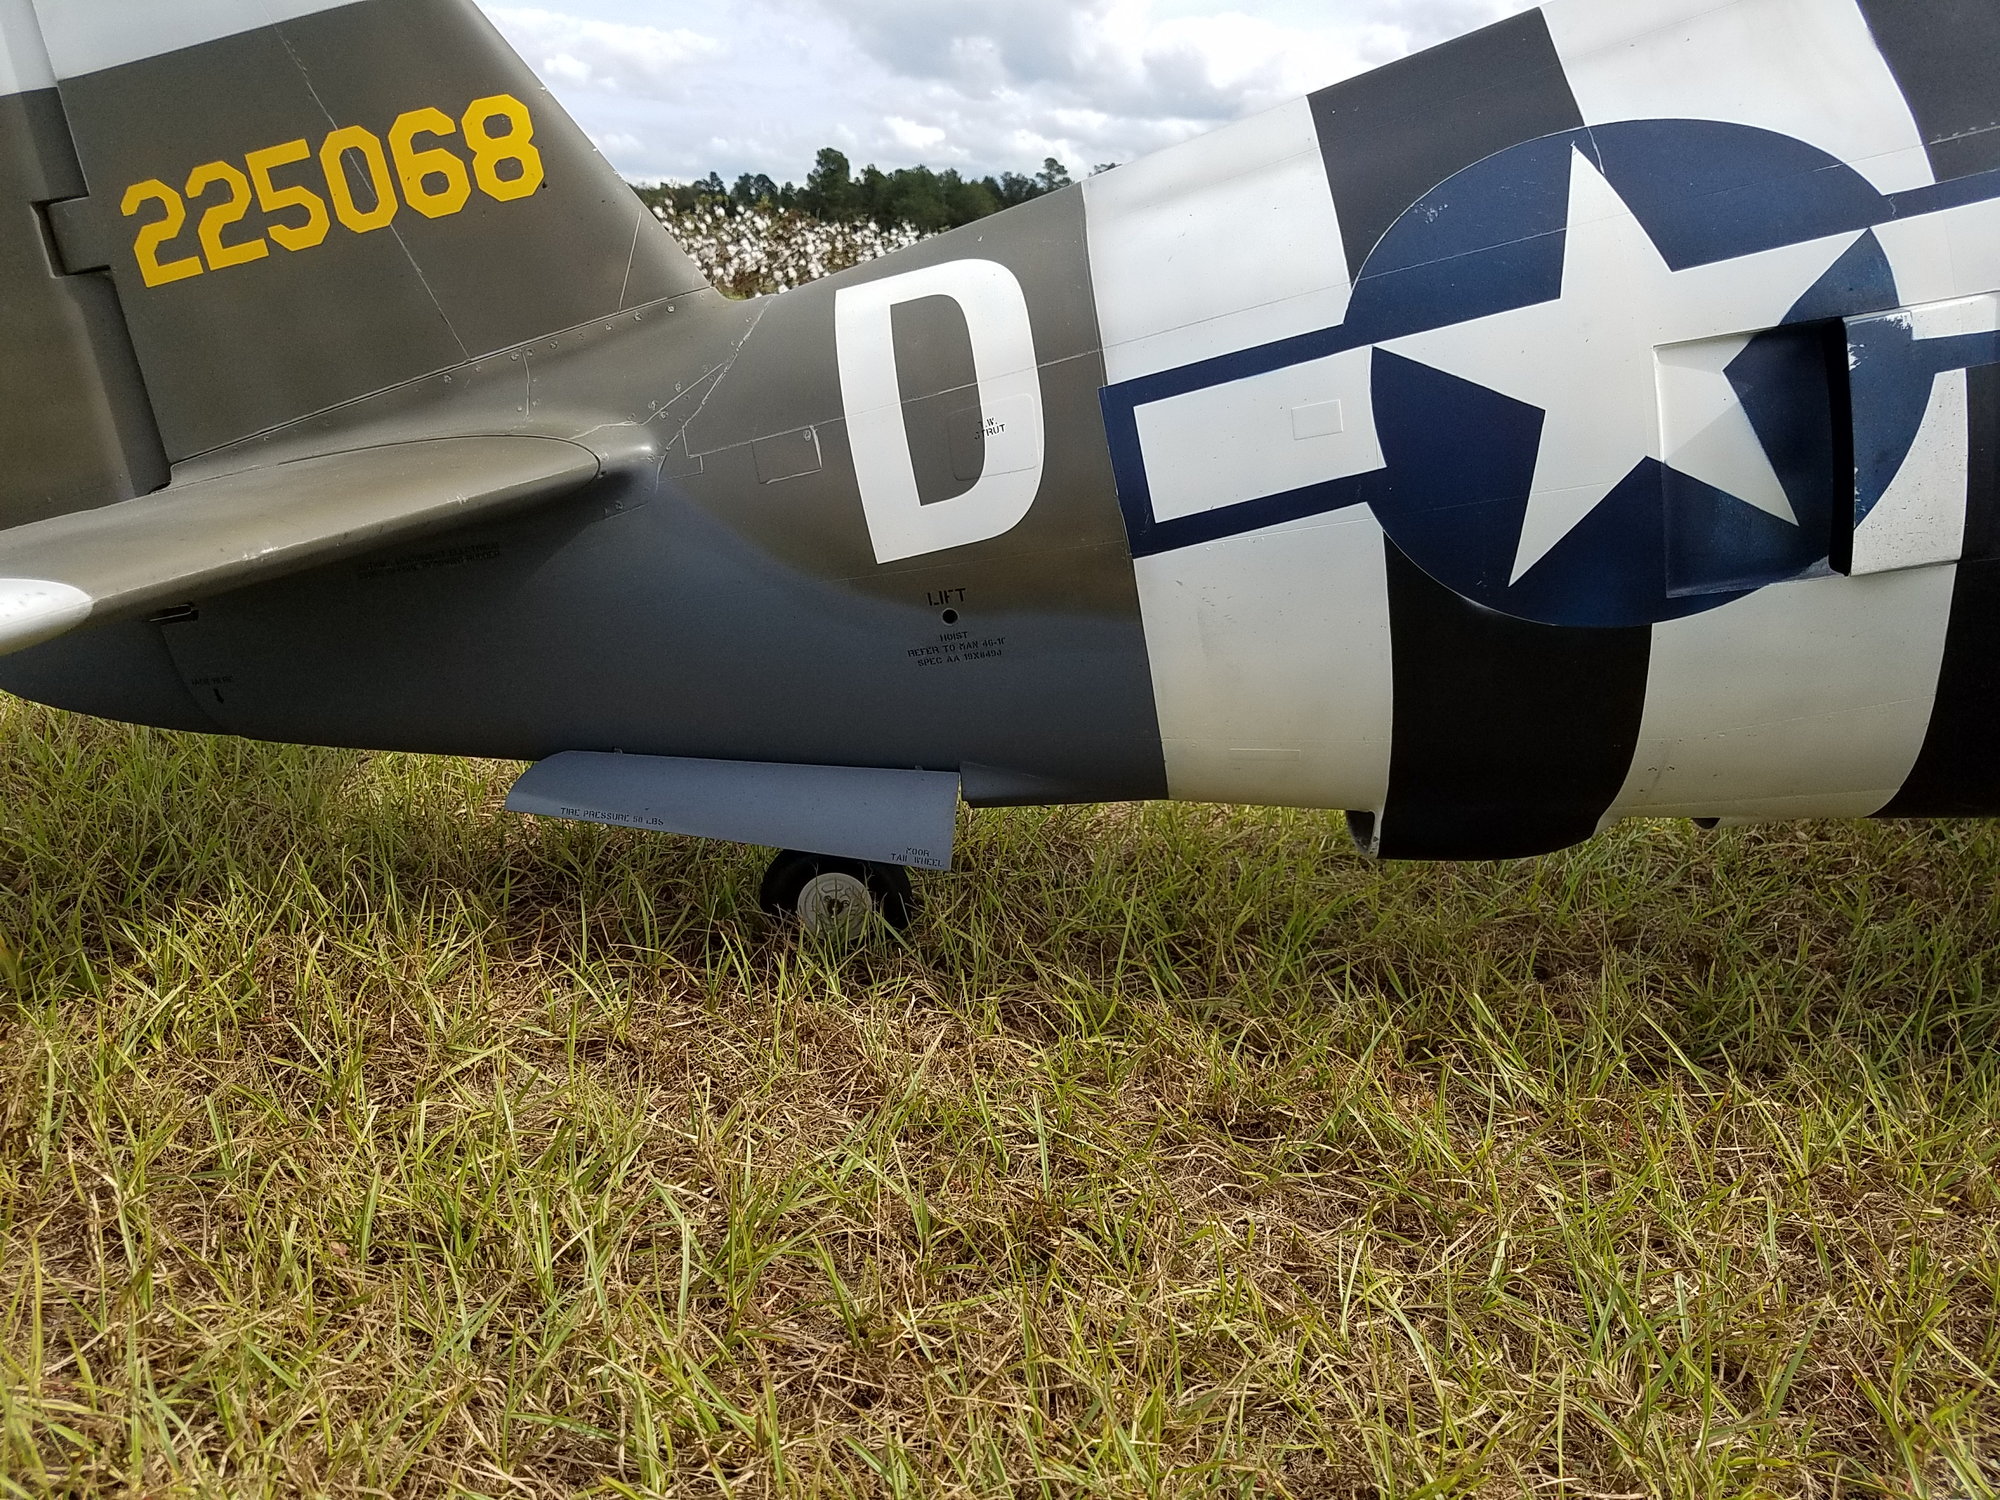
This has been my project for the last couple of years. Happy to report that I completed the maiden yesterday, and all went well. CARF P-47 with Moki 250, Model Masters paints, and my trusty JR 12X for guidance. Need to thank all my scale modeling buddies for help and advice along the way, but especially Julian Mashburn , the Moki Doctor, for tirelessly answering my endless questions, Greg Wright for lots of advice as well, Wilson Li for what I consider to be the state of the art in scale pilot figures, and Nigel Wagstaff of Flightline Graphics for the most complete and detailed set of markings I have seen yet for the '47. Greg Thomas, (Growler) has also been a huge help to me along the way. 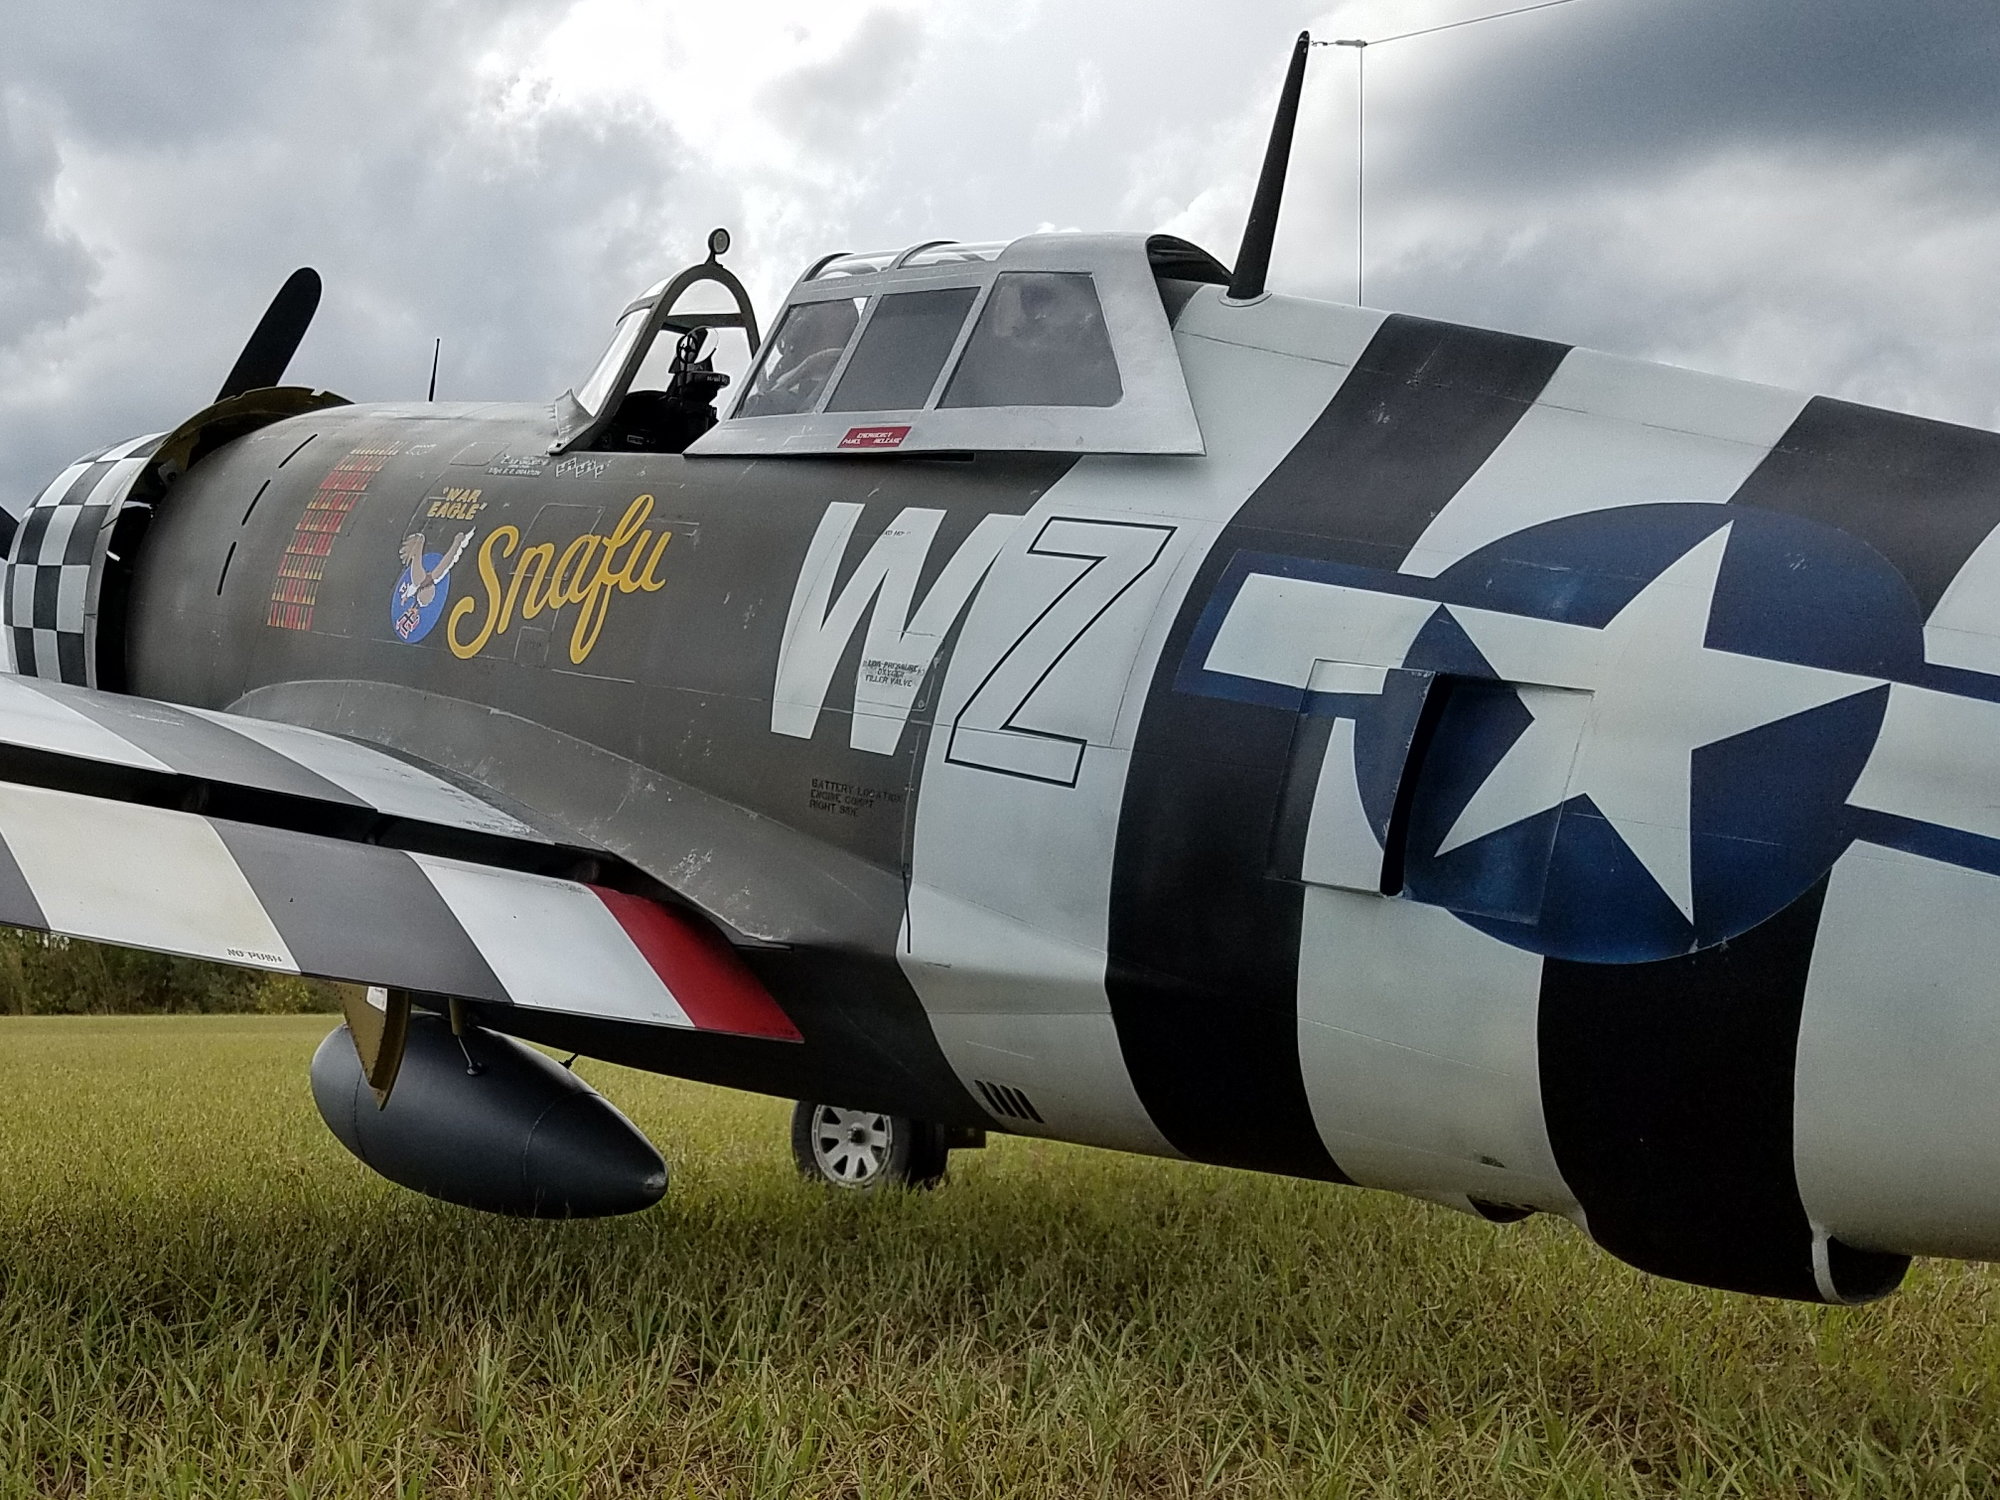


The following users liked this post:
frankyjg2012 (05-19-2020)
 11-08-2019, 04:52 AM
#989
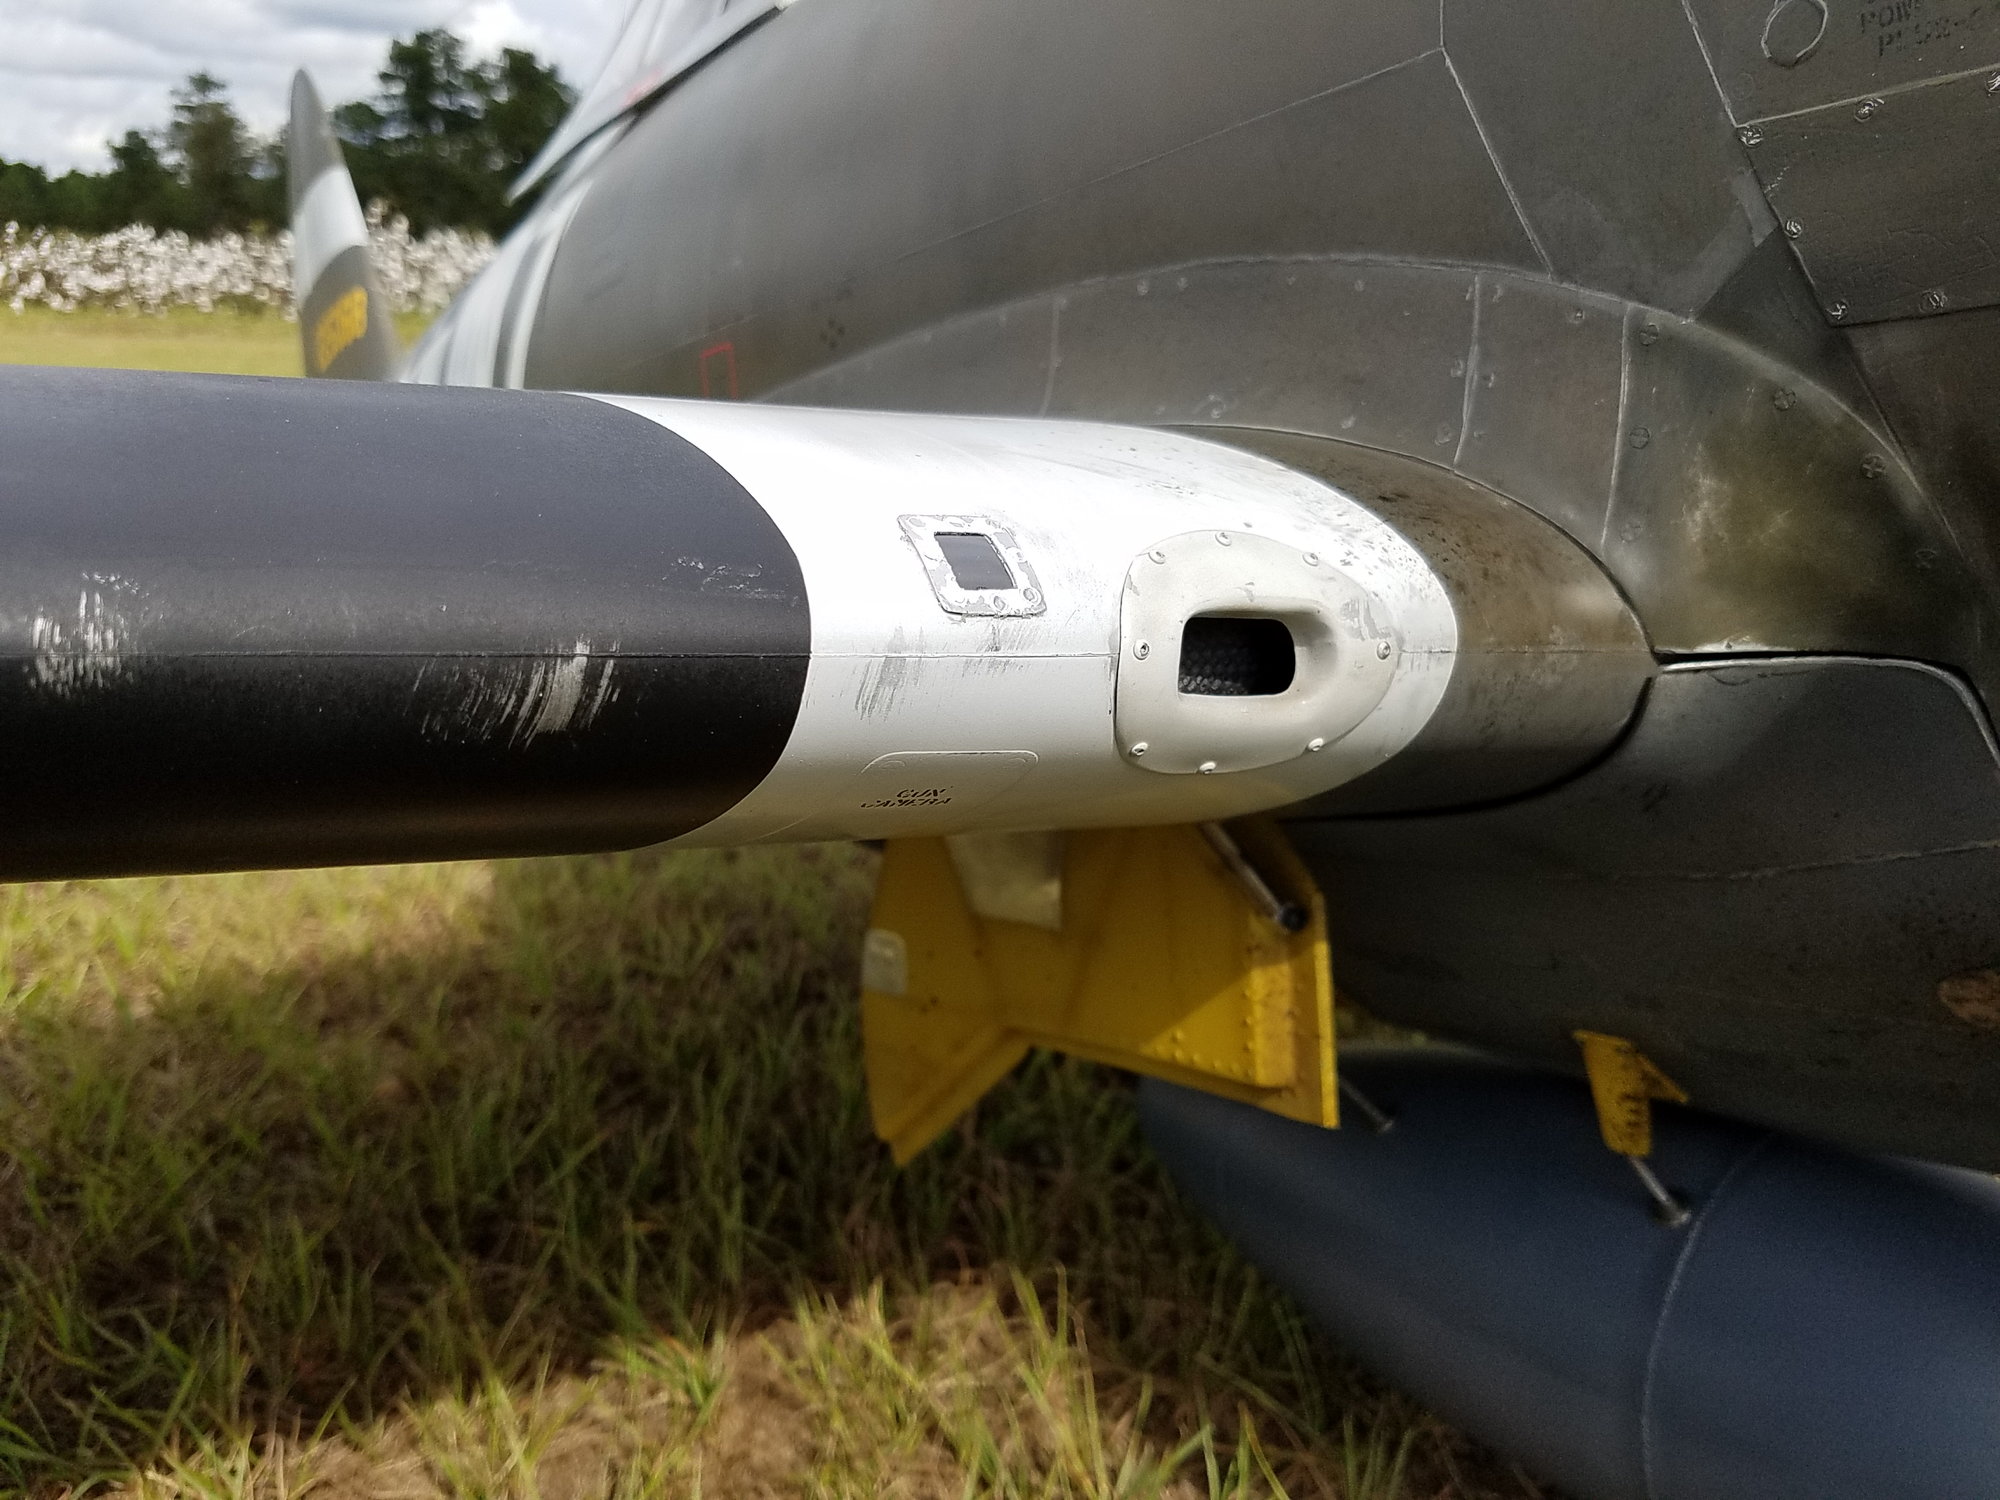
Absolutely superb looking model Mike! Great job. I just need to get mine finished. It is in the same scheme.... love it. Could you please describe how you fixed your exhaust outlets and how you did the detailing plate around the exterior of the tips? They look fantastic.
11-08-2019, 05:07 AM
#990
My Feedback: (360)
Absolutely superb looking model Mike! Great job. I just need to get mine finished. It is in the same scheme.... love it. Could you please describe how you fixed your exhaust outlets and how you did the detailing plate around the exterior of the tips? They look fantastic.
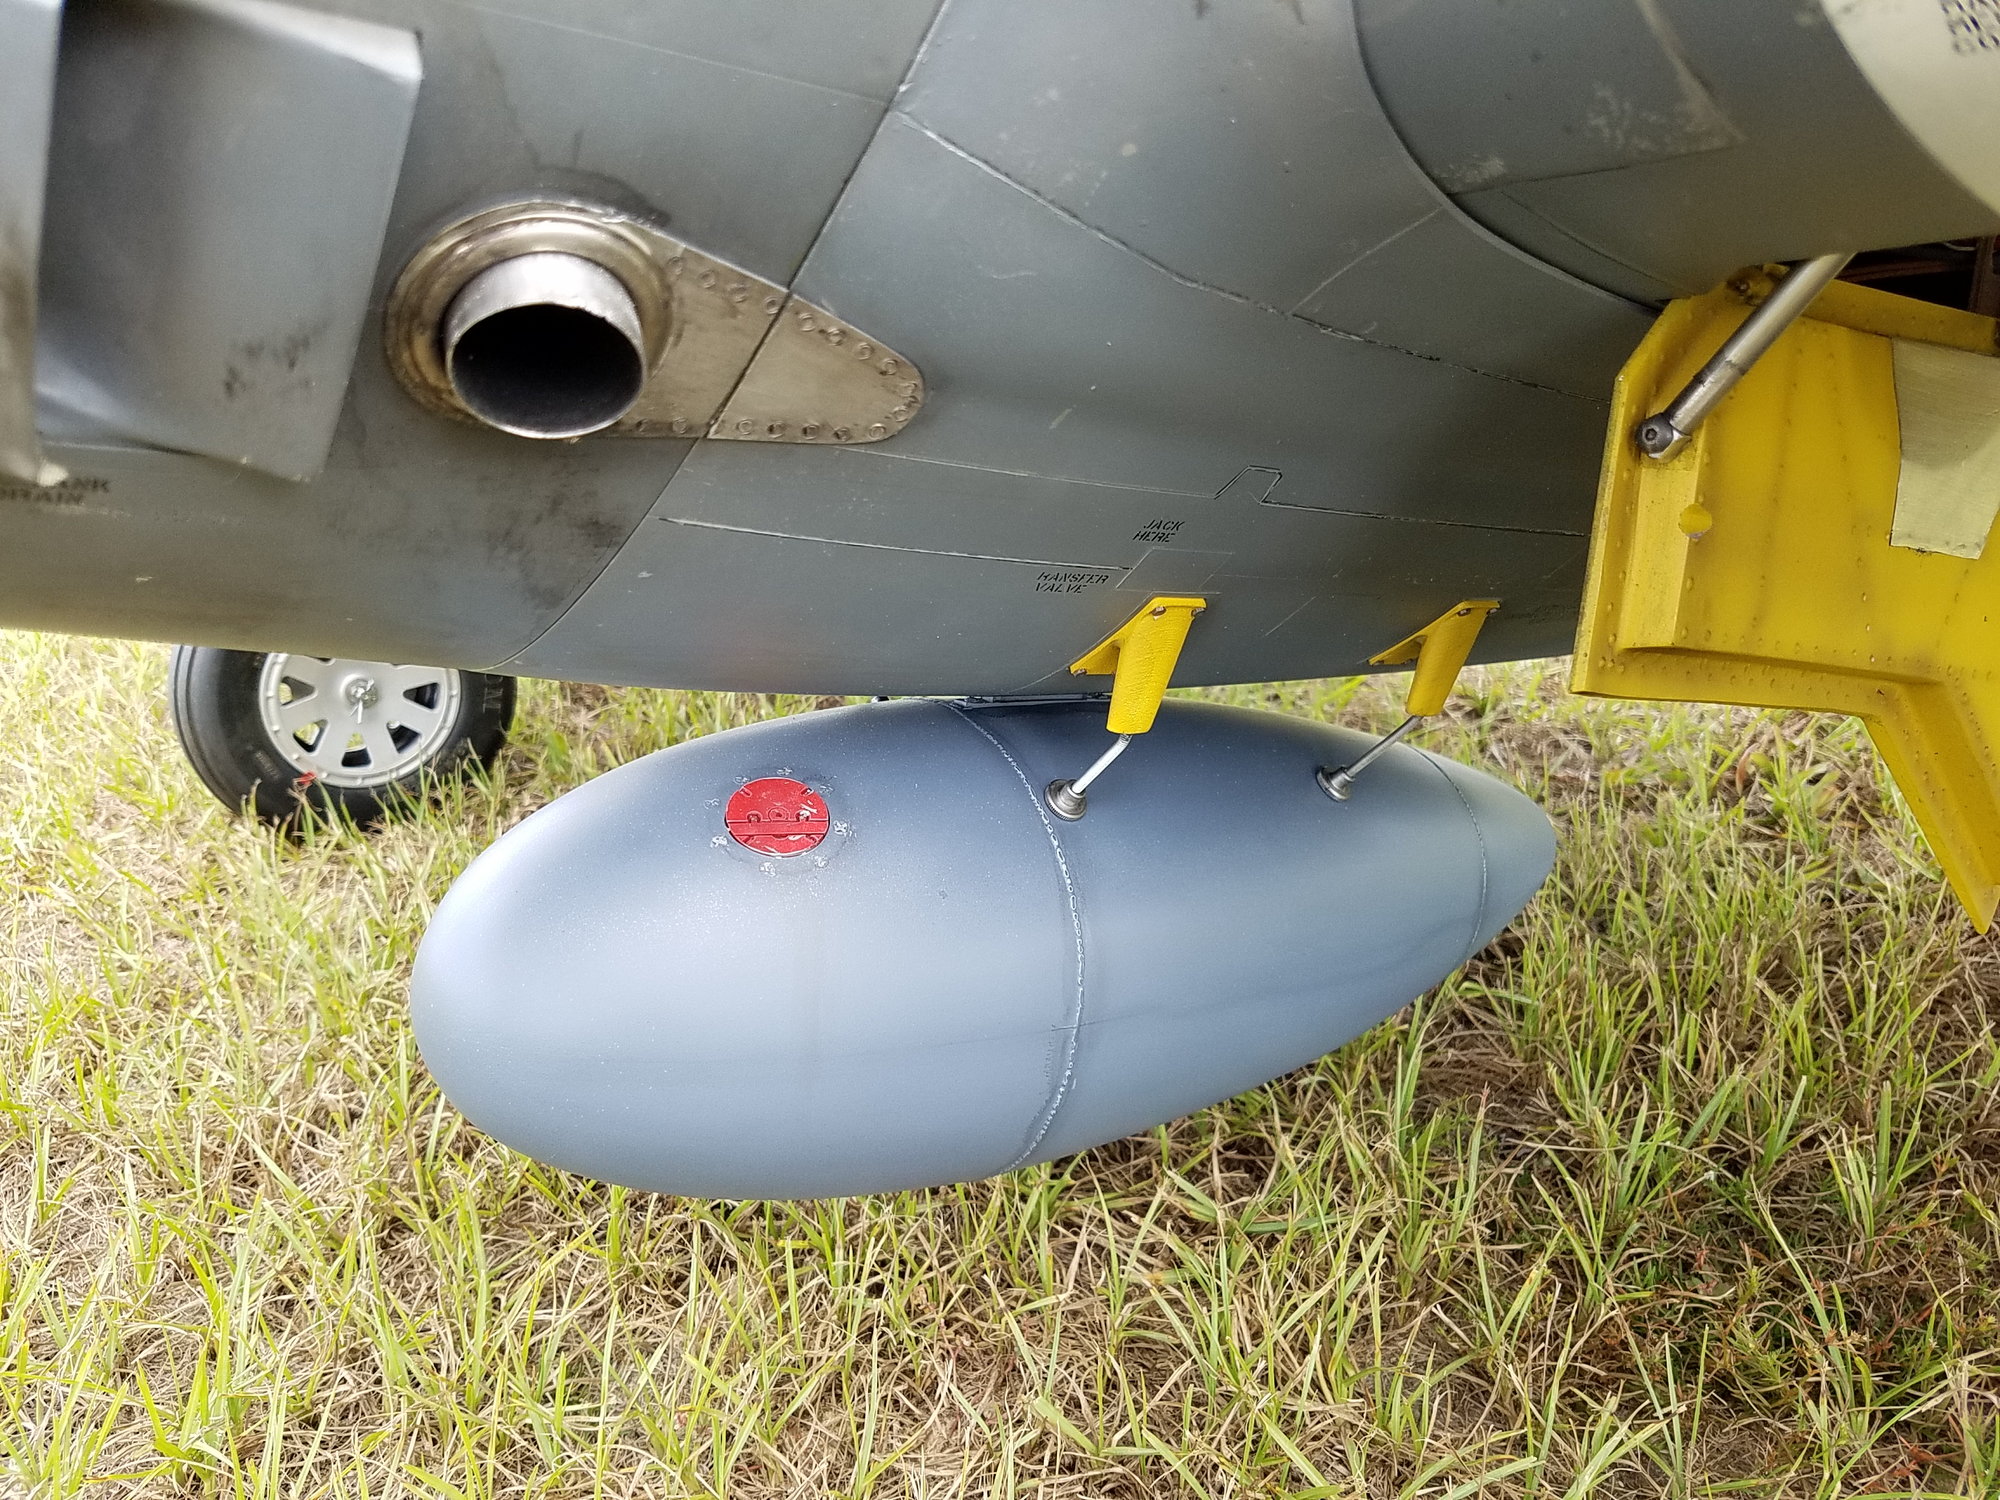
For the exhaust, I used the Moki extensions from Vogelsang, coupled to some K and S exhaust bends from Aircraft International. I had them welded at a local shop, but there is a product out there now called Fiberfix Heat Wrap that I think I will use next time to save the expense of the welding job.
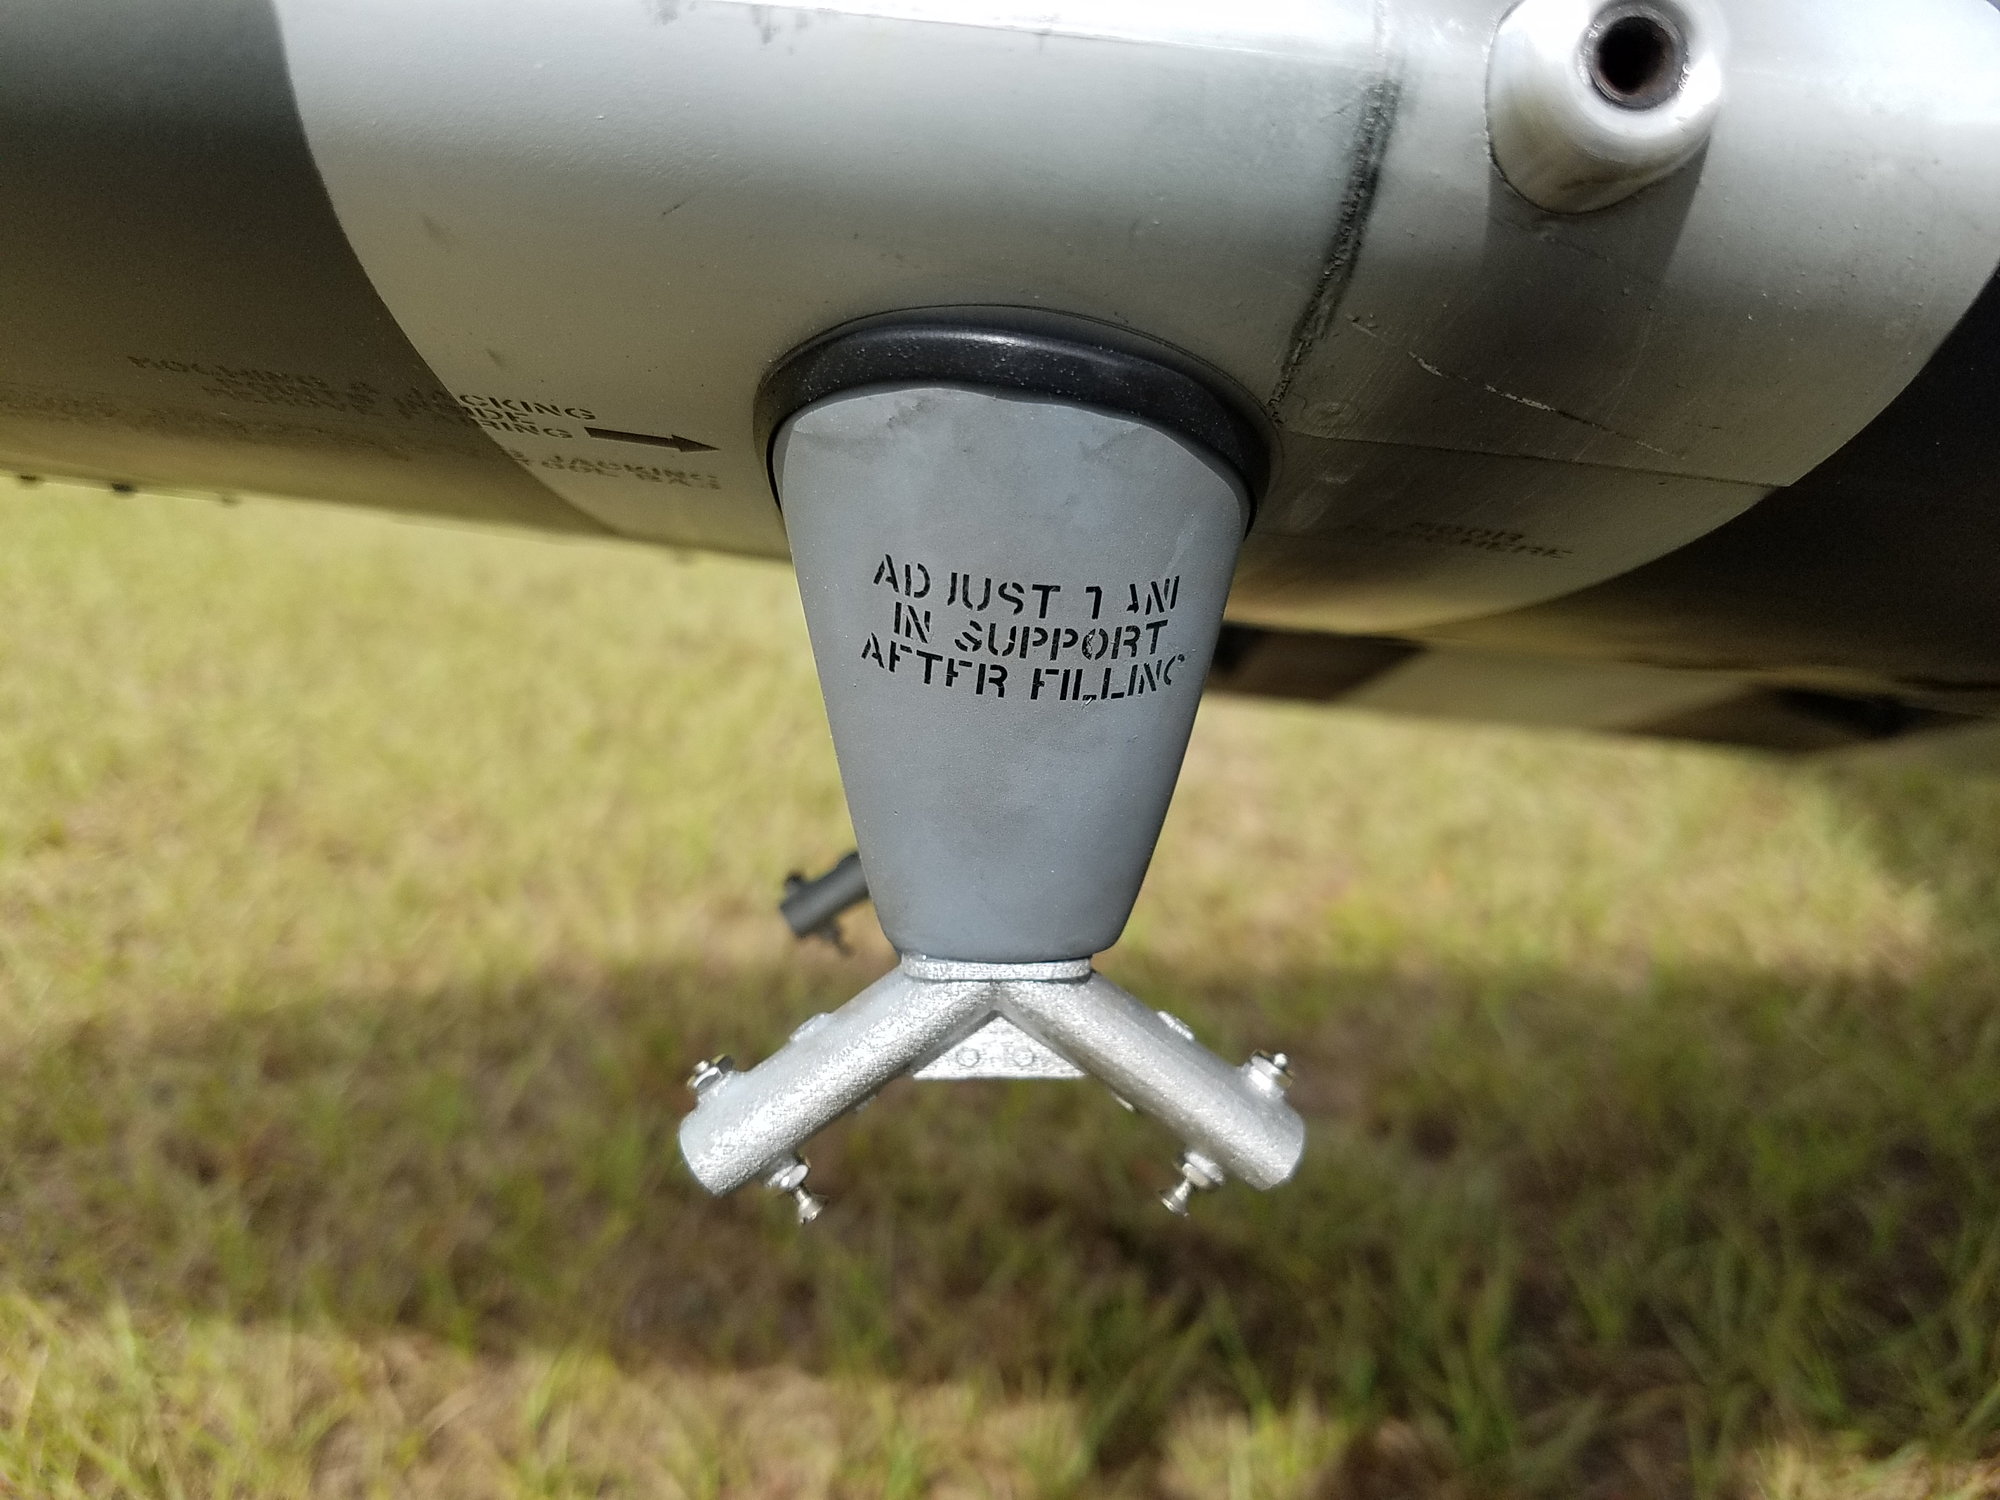
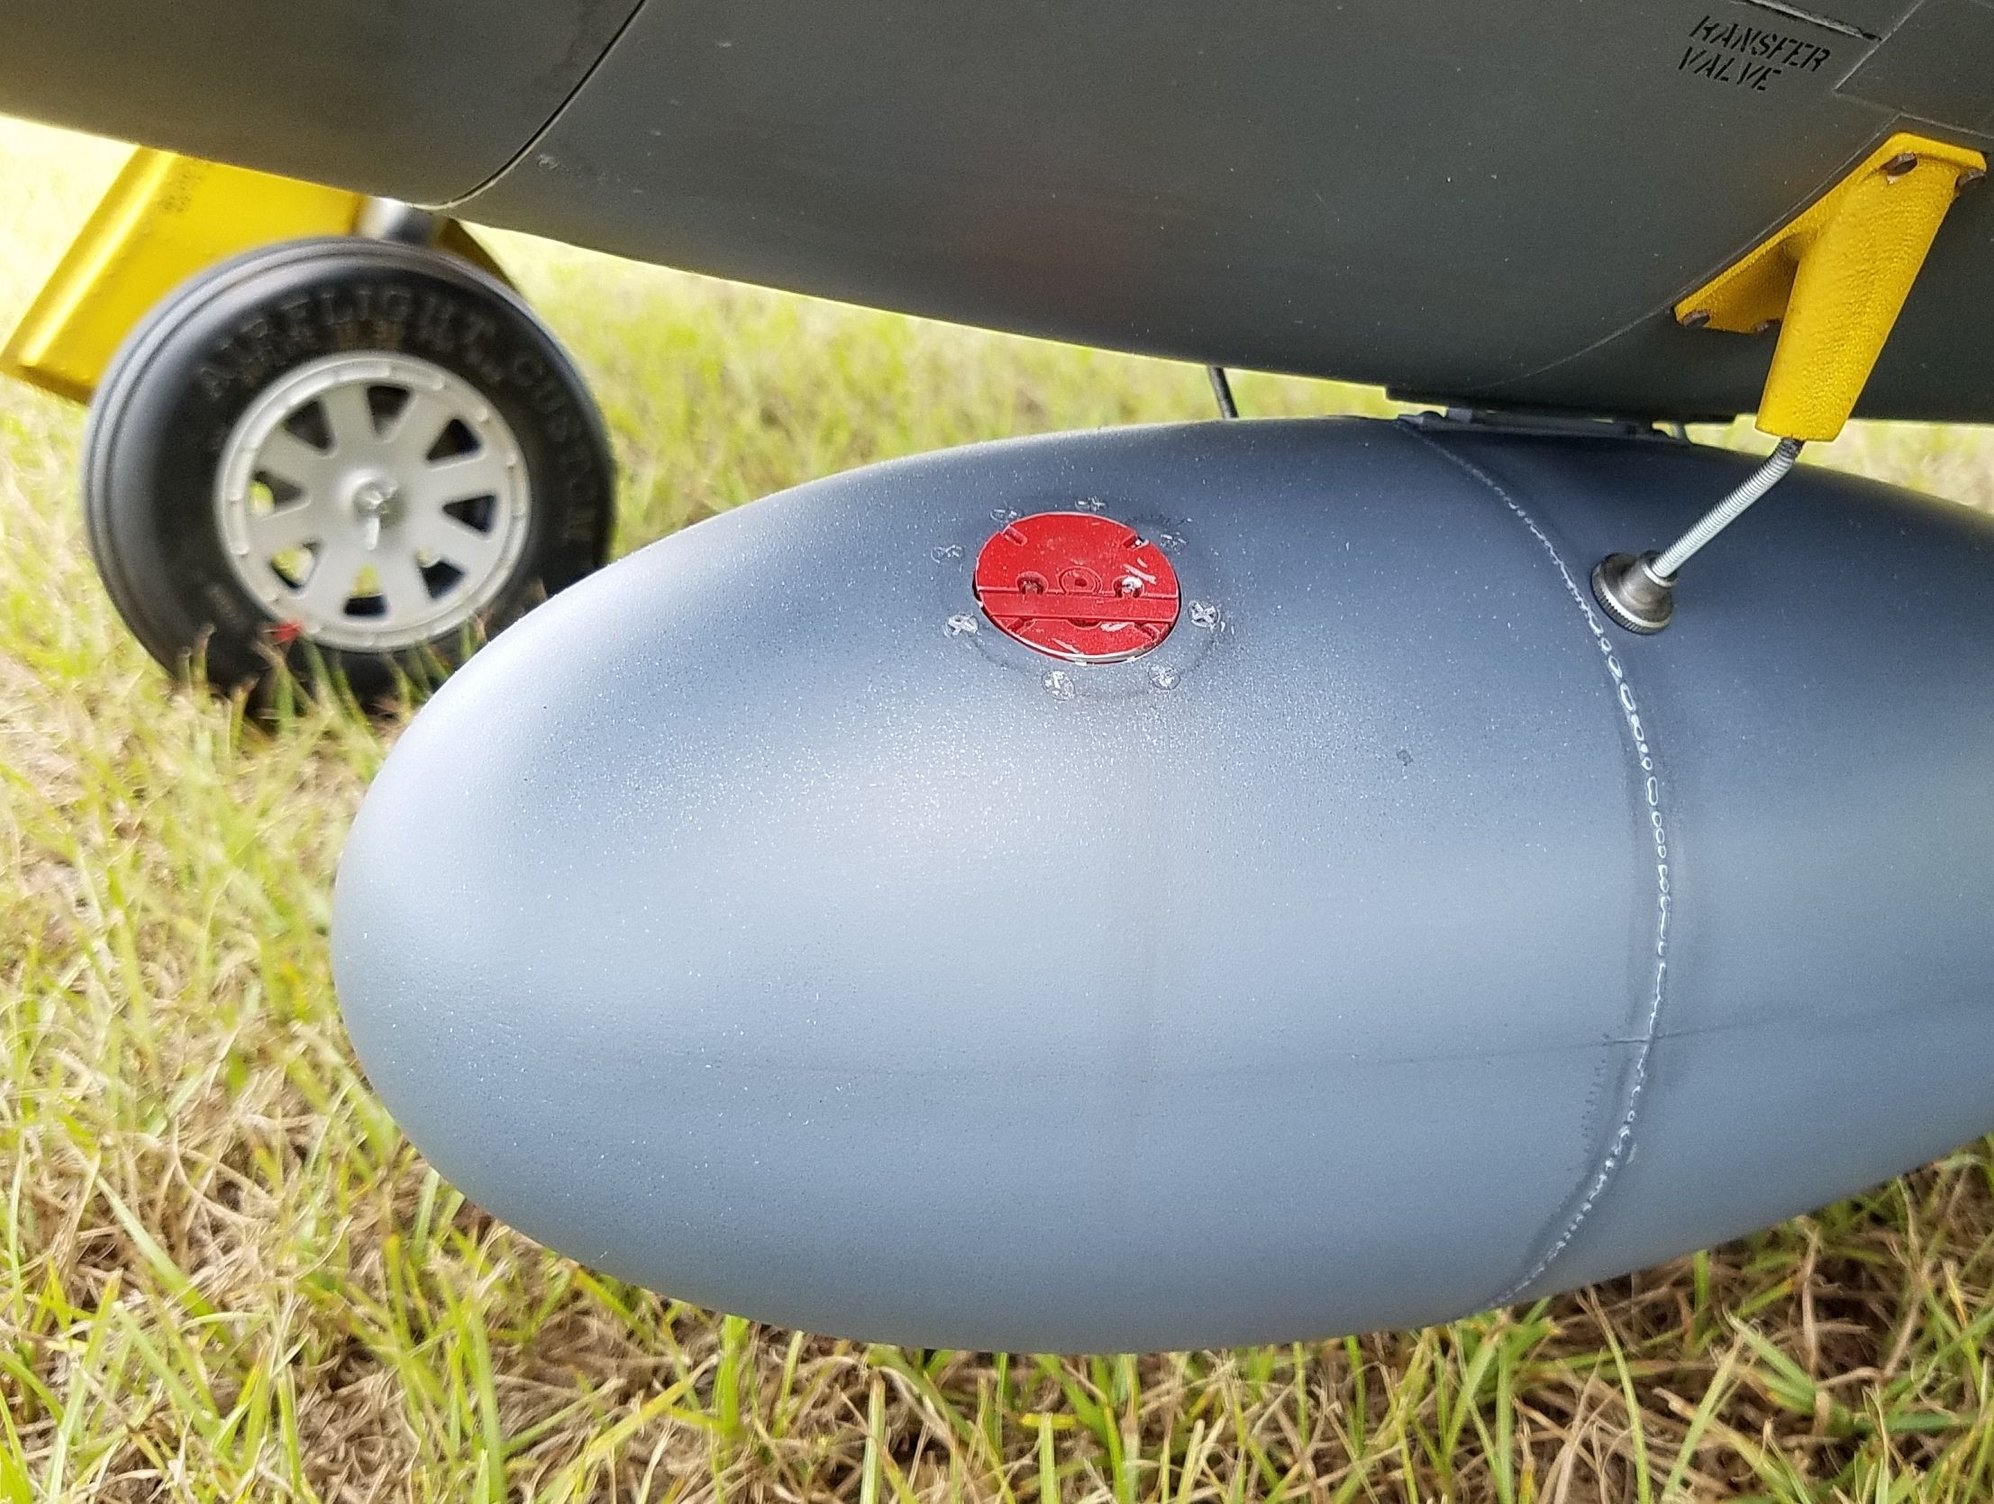
On the outside, I took a large grommet that I found on Ebay (had to buy a small bag of them) , and opened it up slightly with the Dremel. Glued it down with Zap Goo. The trim underneath is Flight Metal on top of some thin G10 Poly Ply, with some rivets made with brass tube. Some Model Masters Scale Detail Wash (Black) to dirty it up a bit and presto....
The exhaust bend itself is not attached itself where it exits the fuse, but rather'floats' through the hole. I thought heat might be an issue, but so far no worries in that regard.
My first attempt at all this BTW, so there might be a better way to accomplish the above, but so far so good.
-Mike
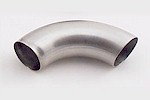
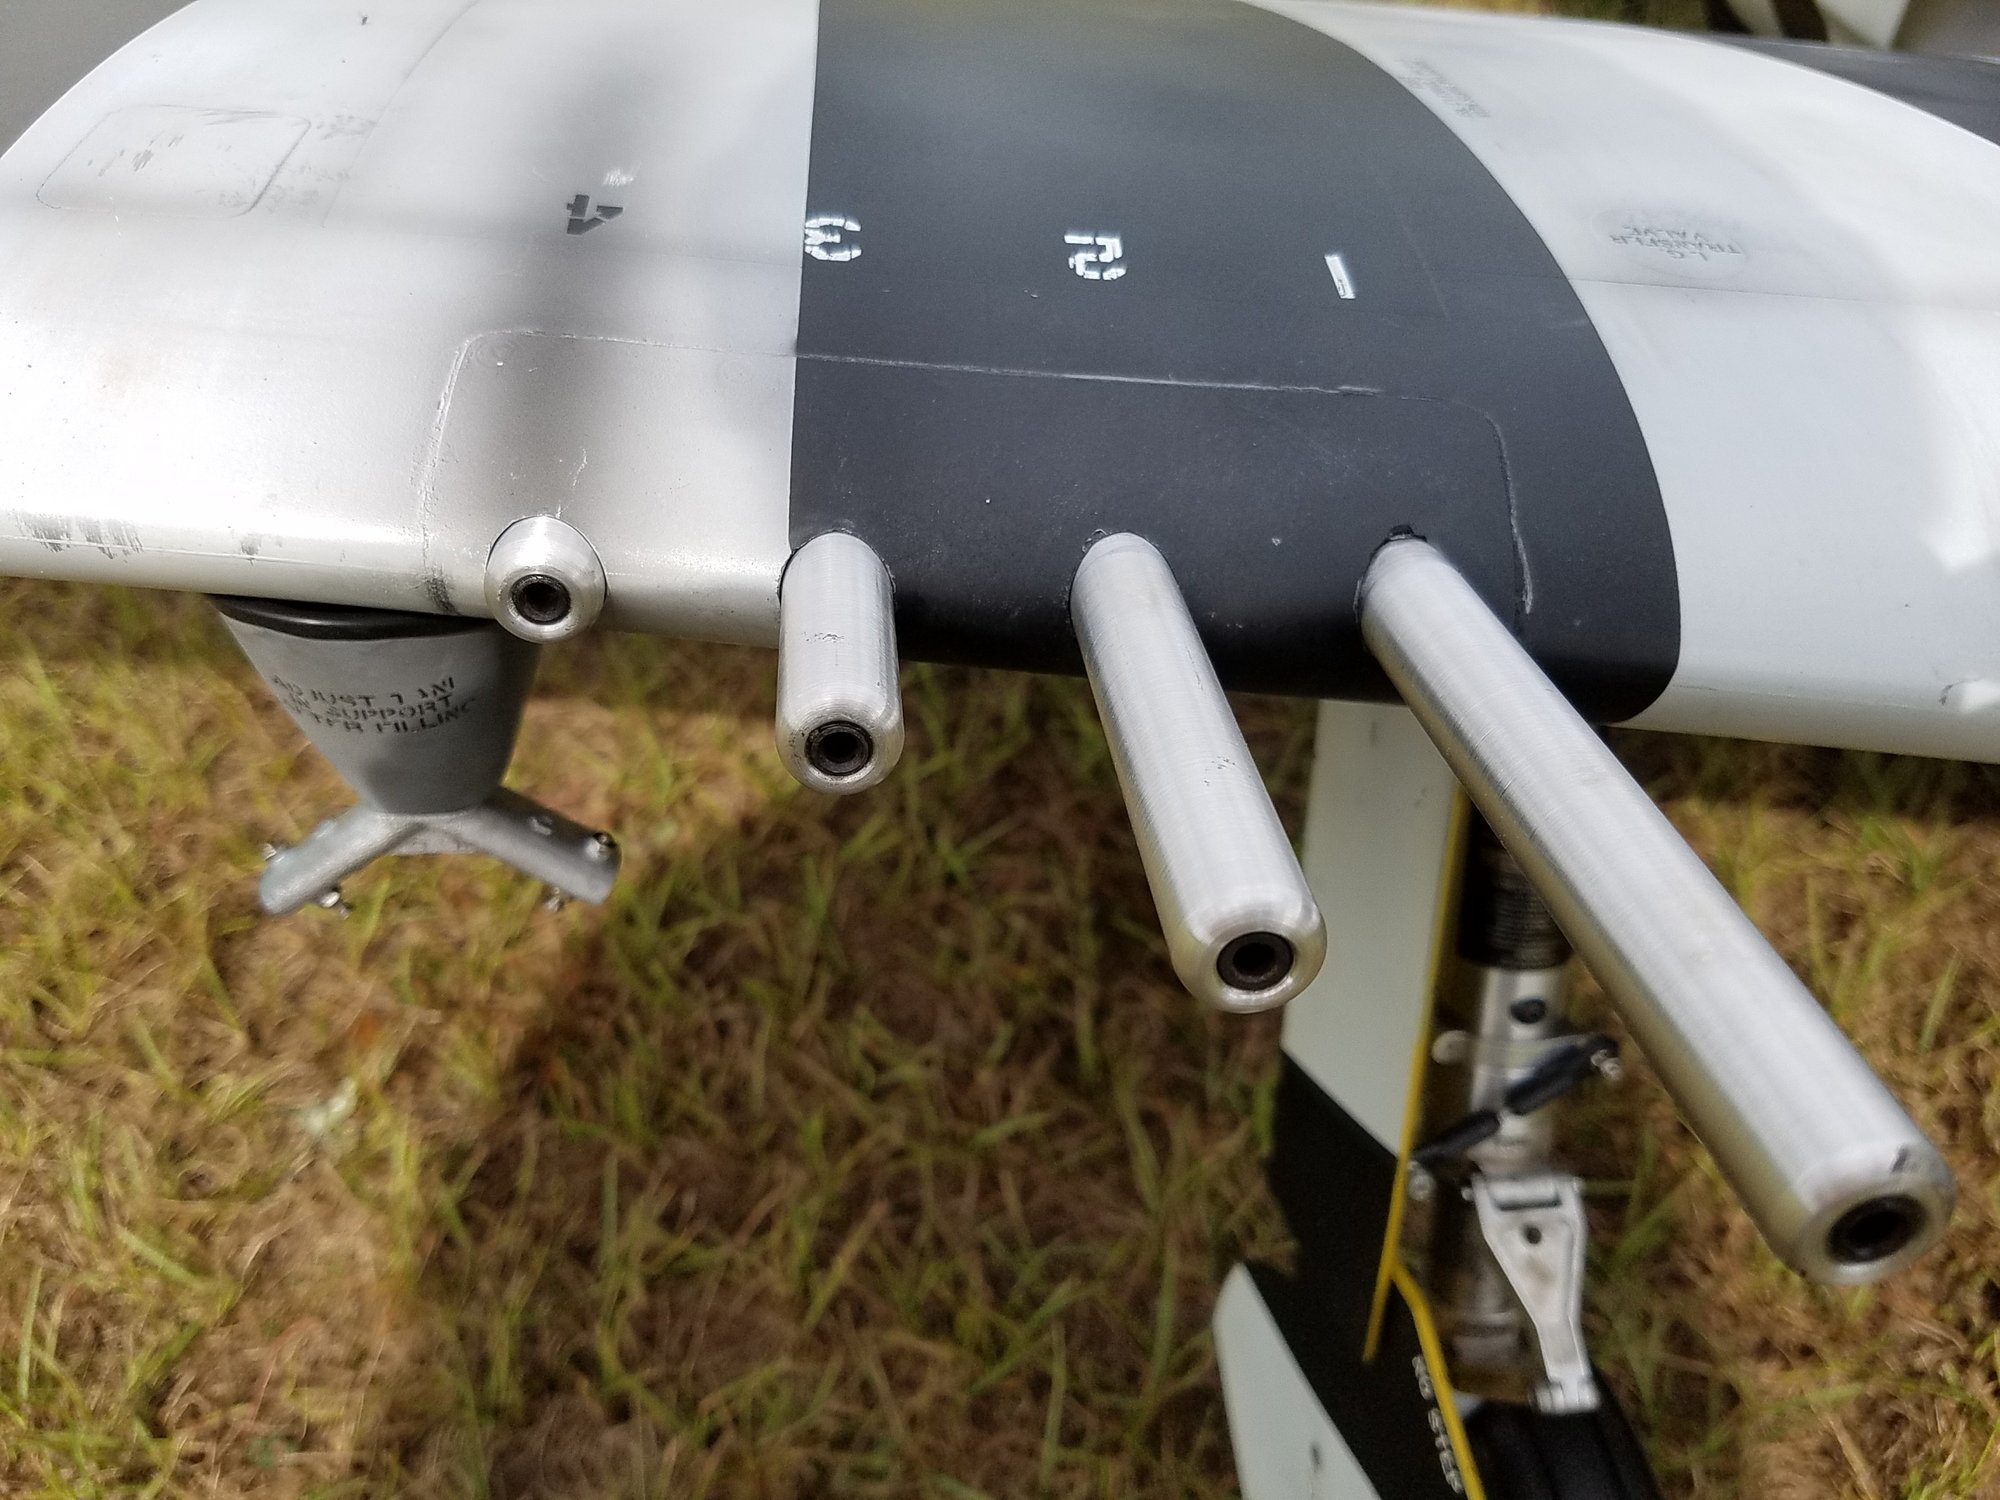
This is what the bends look like
Last edited by IFLYBVM2; 11-08-2019 at 05:11 AM. Reason: addition
The following users liked this post:
frankyjg2012 (05-19-2020)
11-08-2019, 09:50 PM
#991
Hi Mike, great info thanks! I have that exhaust flex tube and I and s tip but had no luck soldering it. Might have to get it welded like you did. Can you post a link to the grommets you bought?
11-09-2019, 04:19 AM
#992
My Feedback: (360)
https://www.ebay.com/itm/Grommet-Eye...r=490305944233
11-09-2019, 04:24 AM
#993
My Feedback: (360)
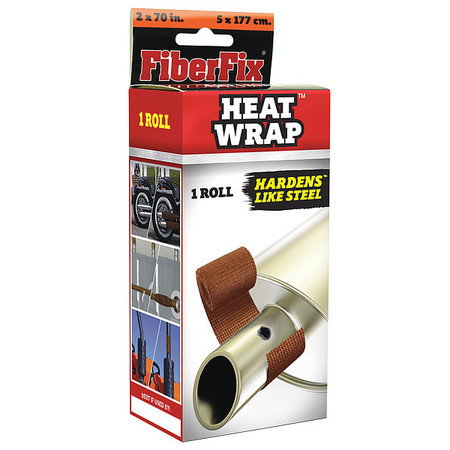
I think this product would be fine for joining the flex to the bends. It hardens like steel and is designed to take temps well beyond what the Moki exhaust will see.
If you do go with the welding, tell your guy to be careful, as the flex is very thin and easy to blow a hole through when welding, as my guy told me.
The following users liked this post:
frankyjg2012 (05-19-2020)
02-08-2020, 03:27 PM
#994
Hi Mike, I ended up silver soldering my tips on to the flex pipes. Managed to get a solder that worked well from my local DA dealer. I also eliminated all of the slop in my right wing flap. Very happy I got that done. Hopefully it will hold up ok.
Thanks for your tips. Your 47 looks great.
Thanks for your tips. Your 47 looks great.
02-09-2020, 03:31 AM
#996
Hey Mike,
I disassembled all of the flap hinge plates and lightly oiled the hinge pin, wiped off excess oil with a cotton bud, re-inserted hinge pins into hole in hinge plate. Then wicked in balsa USA thick zap, hit it with kicker and after it set, removed the hinge pin. Cut or filed off excess zap and reassembled. Slop gone! The hinge pin holes were all 0.1-0.3 too big and collectively this created about 1cm of slop at the trailing edge of my starboard flap.
This technique was rubbished by some of the �experts� on here but I have used it successfully in several jets and prop planes over the last 30 years. Costs nothing, easy to do and replace and if you have ever tried to scrape a blob of zap off your work bench you can understand that it is durable. One of the old timers at my club told me about this little tip many years ago.
02-22-2020, 06:24 AM
#997
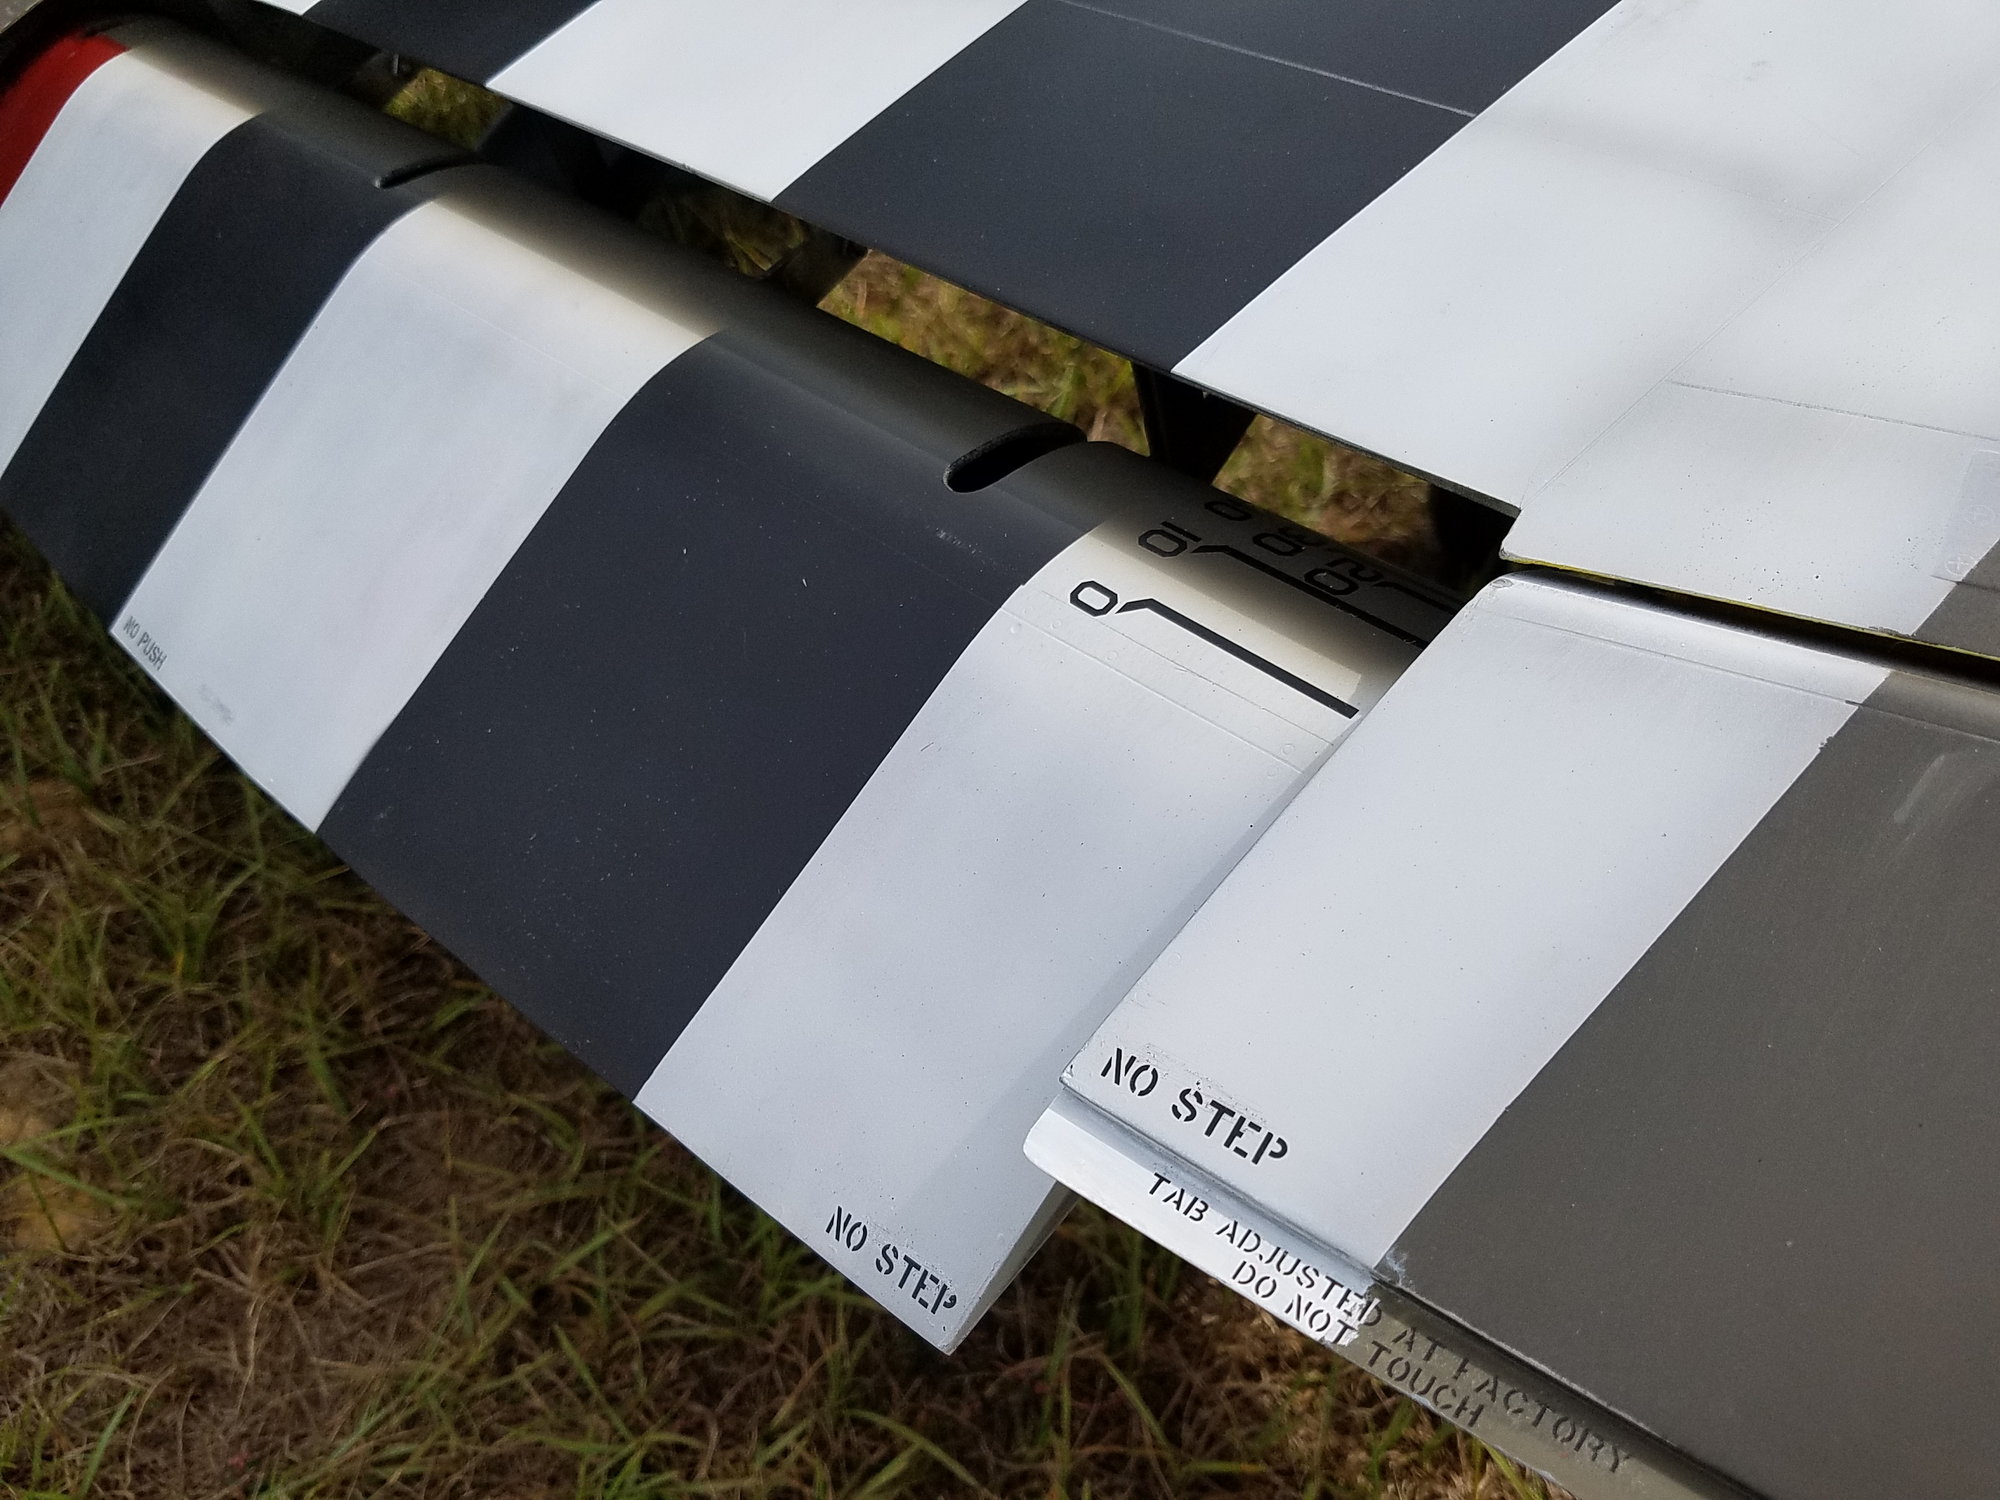
Hey guys, has anyone had an issue with their flap alignment when fully retracted? I have an issue with mine where one flap is hanging down and the other is tipped up at the trailing edge when fully retracted. This issue is unrelated to the slop that I had but more to the geometry of the hinges on each flap.
Anyone else have this issue?
Anyone else have this issue?
02-22-2020, 07:03 AM
#998
My Feedback: (360)
Yes, on one of my '47s the same problem exists. Has to be something that CARF did that was slightly off when the holes were drilled, etc.
My other 47 is fine.
What I did is just sort of split the difference and do the best you can with alignment by using the subtrims and travel on the radio.
For what it's worth, my older model is the one with the issue, so maybe it was corrected on later runs.
-Mike O.
My other 47 is fine.
What I did is just sort of split the difference and do the best you can with alignment by using the subtrims and travel on the radio.
For what it's worth, my older model is the one with the issue, so maybe it was corrected on later runs.
-Mike O.
02-23-2020, 05:20 AM
#999
Hey Mike, thanks for your reply. My kit is probably 5 years old now so you might well be right there. I got it sorted. I remade the main hinge plates that attach to the flap and shifted the rear holes for the brass pivot tubes back around 1.5-2mm. I also adjusted the link lengths to the control horns on the flaps. Got them even so am happy now but I agree. I reckon the geometry was out for sure. I also found that my elevators were not symmetrical. I think my kit was put together at 4pm on a Friday. I sorted the elevators out too but it is really annoying to have to fix stuff like that when you are paying so much for a kit. I can�t imagine that it costs any more to do things properly in the first place.