


CARF F4U-1 Corsair build thread
 02-19-2017, 06:37 AM
#3476


Hey All,
Was discussing with Gary offline a little bit ago and he thought be a good idea to post here to see if any others have found this. When doing the outer flap servo, I found the servo mounting doesnt match the pictures in manual or text at all. Mine is deeply recessed which as you will see in one pic causes the arm to hit against wood rib. The only thing we thought of doing is putting in some spacer behind servo mounting tabs to get it out further. Anyone else seen this? I received this kit straight from factory about 1.5 months ago.
As Gary pointed out, CARF is known for their uniformity which makes this a bit puzzling.
Z

 02-22-2017, 09:51 PM
#3478
Had some questions about the pitot tube. Here is what we do.
Brian makes these out of aluminum tube and solid aluminum for the fin. The OD is 1/4". The hole in the front is 5/64".
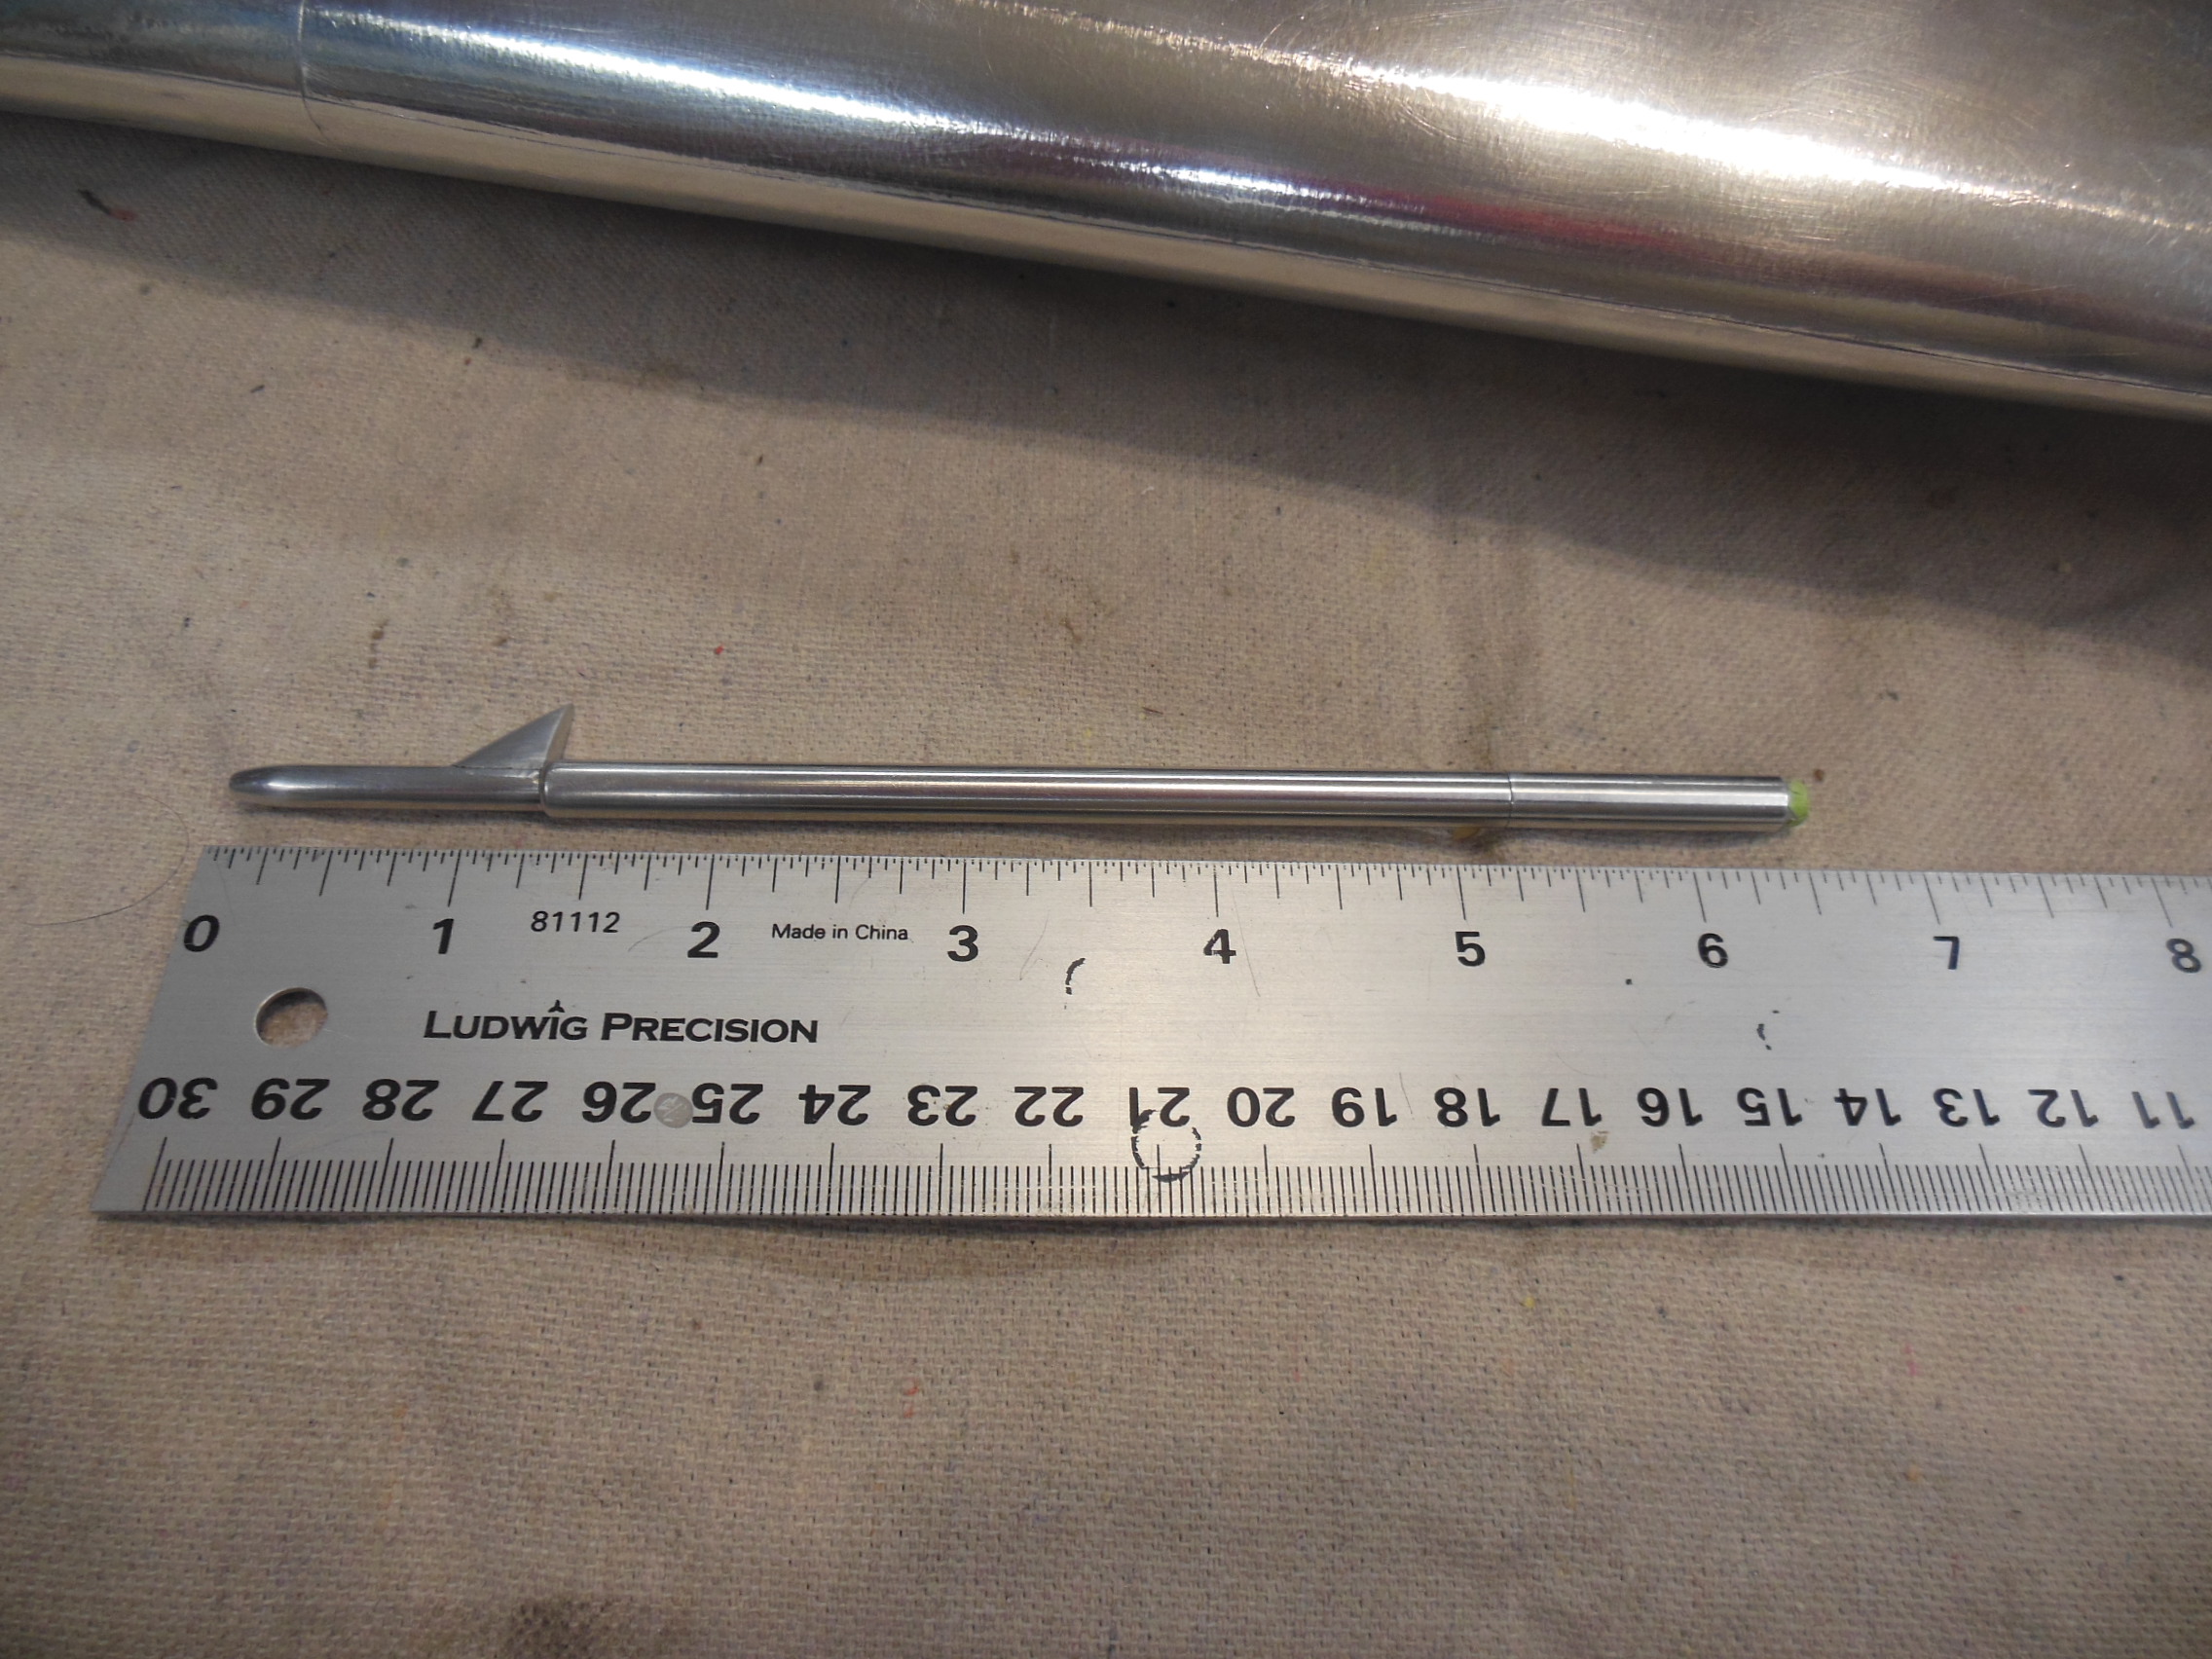

Route gets glued in. Outside screws in. Removable so the wing fits in the bag.
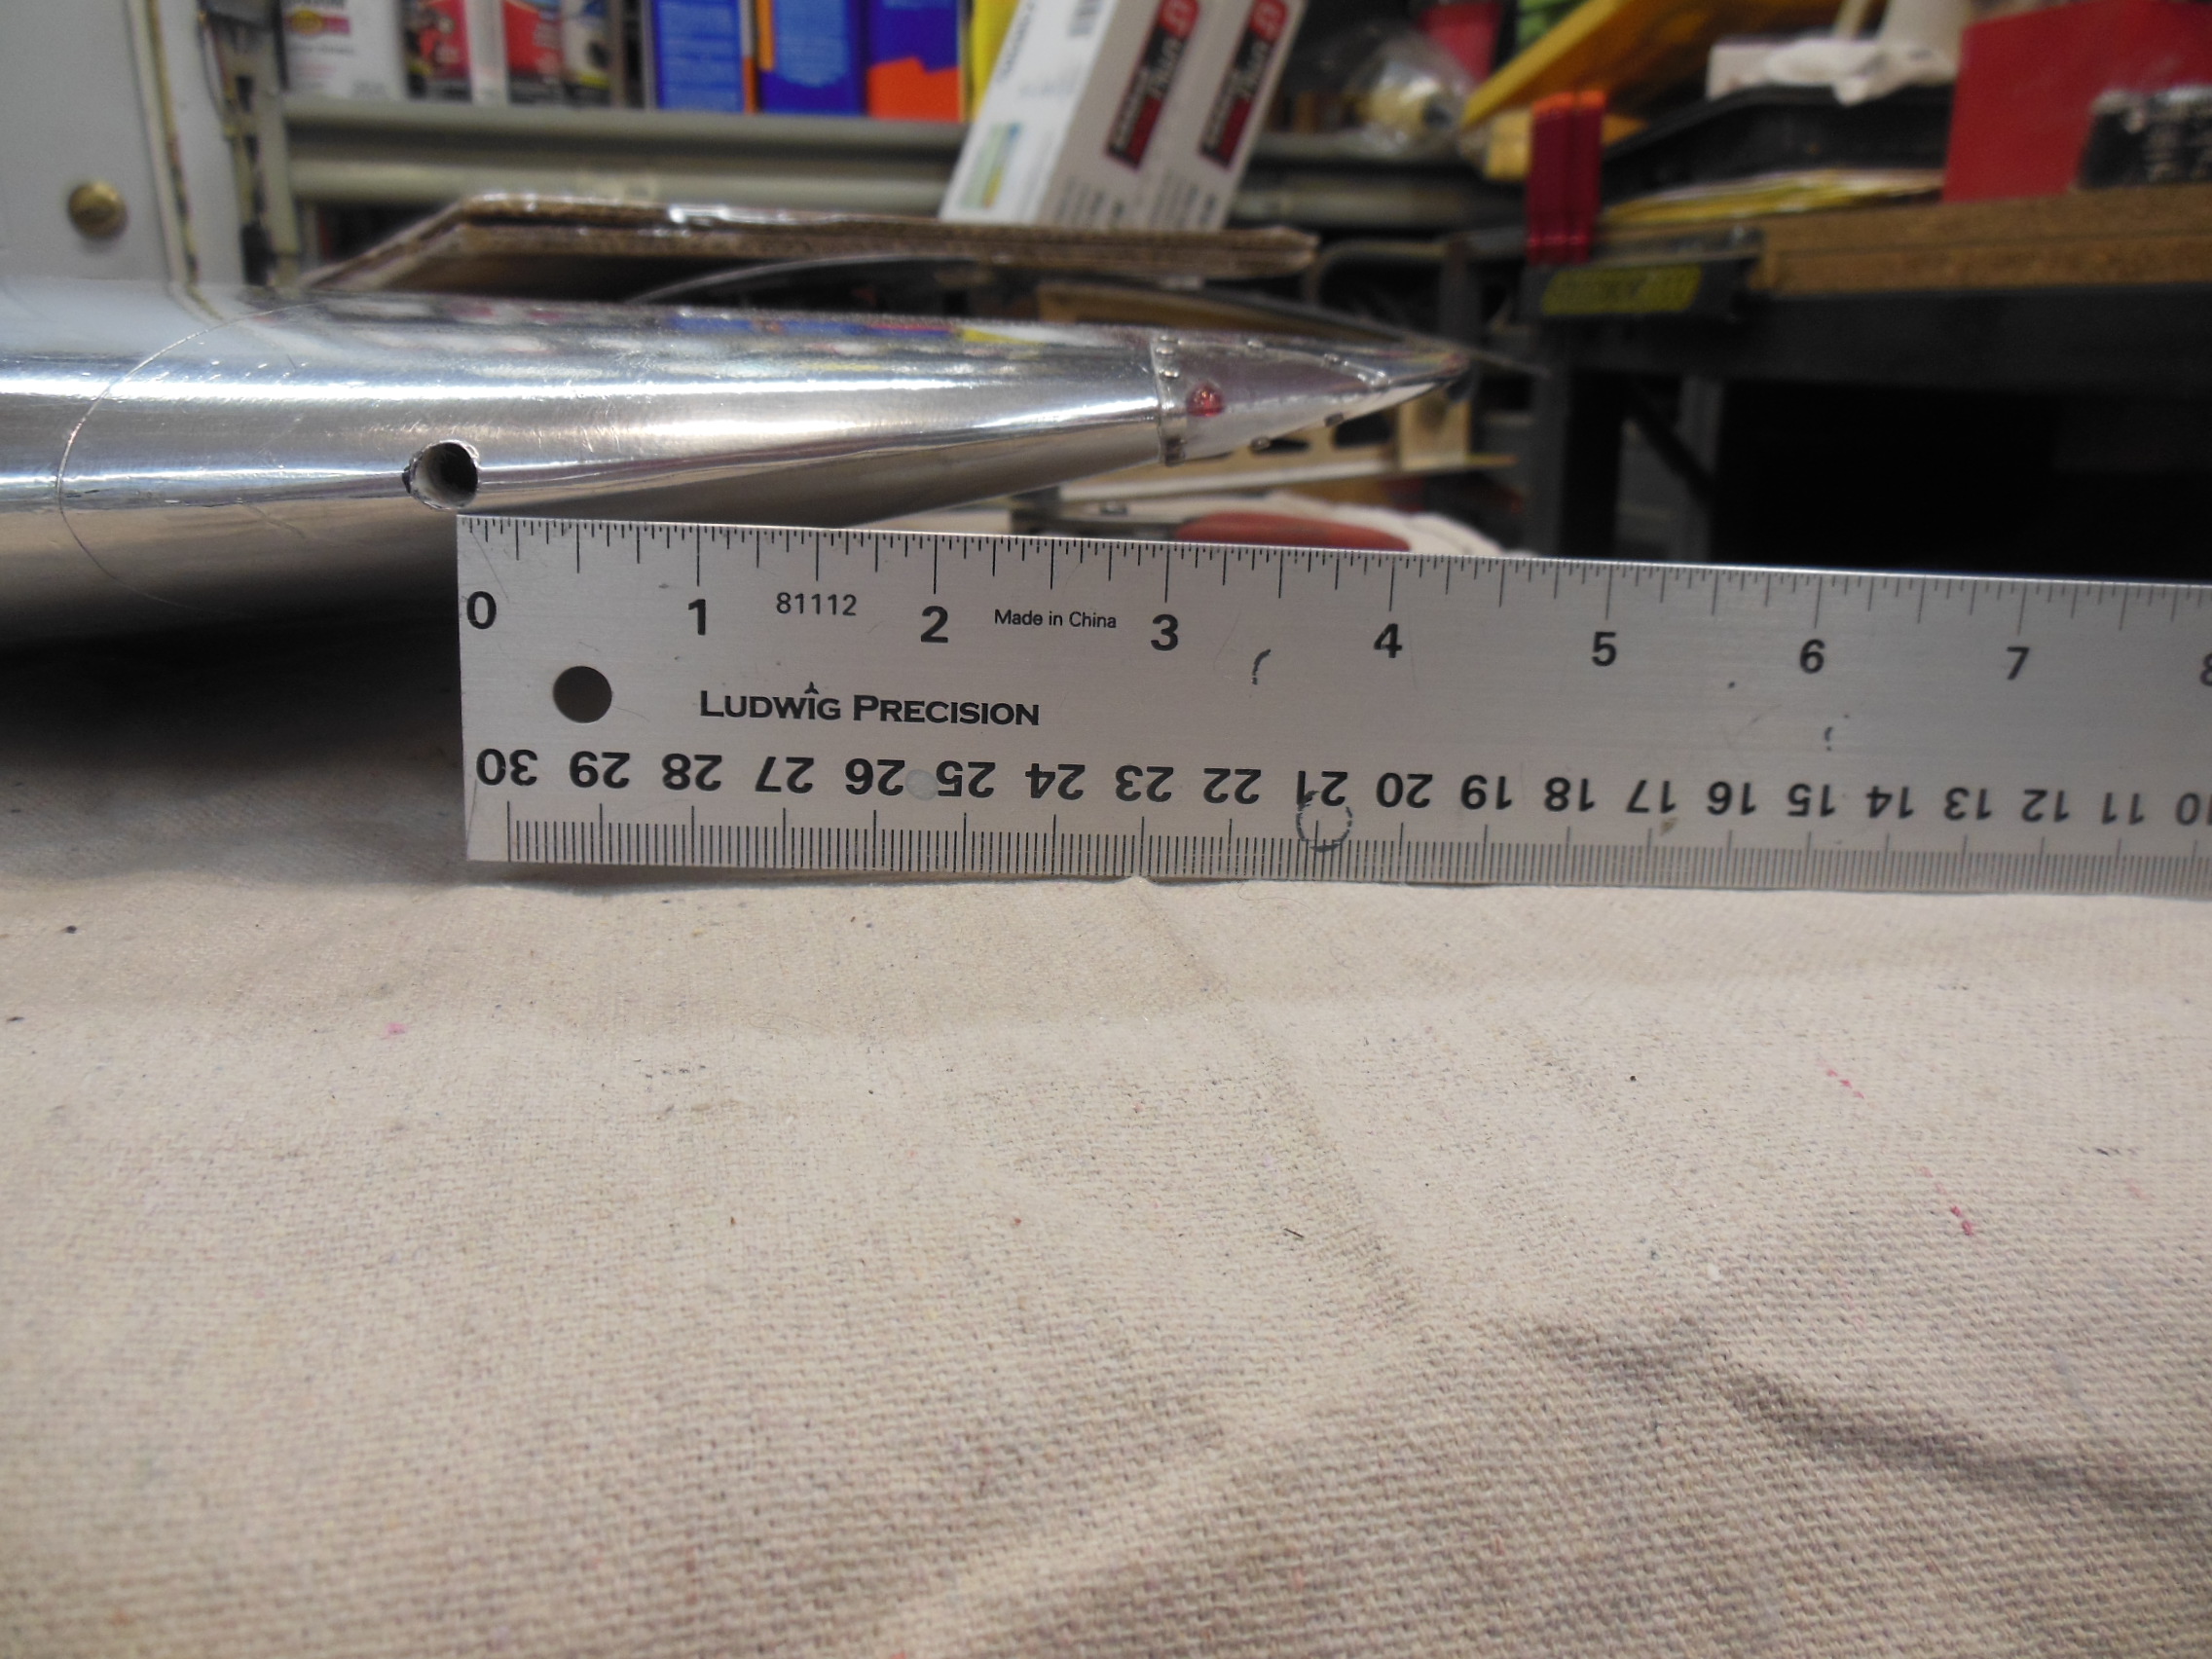
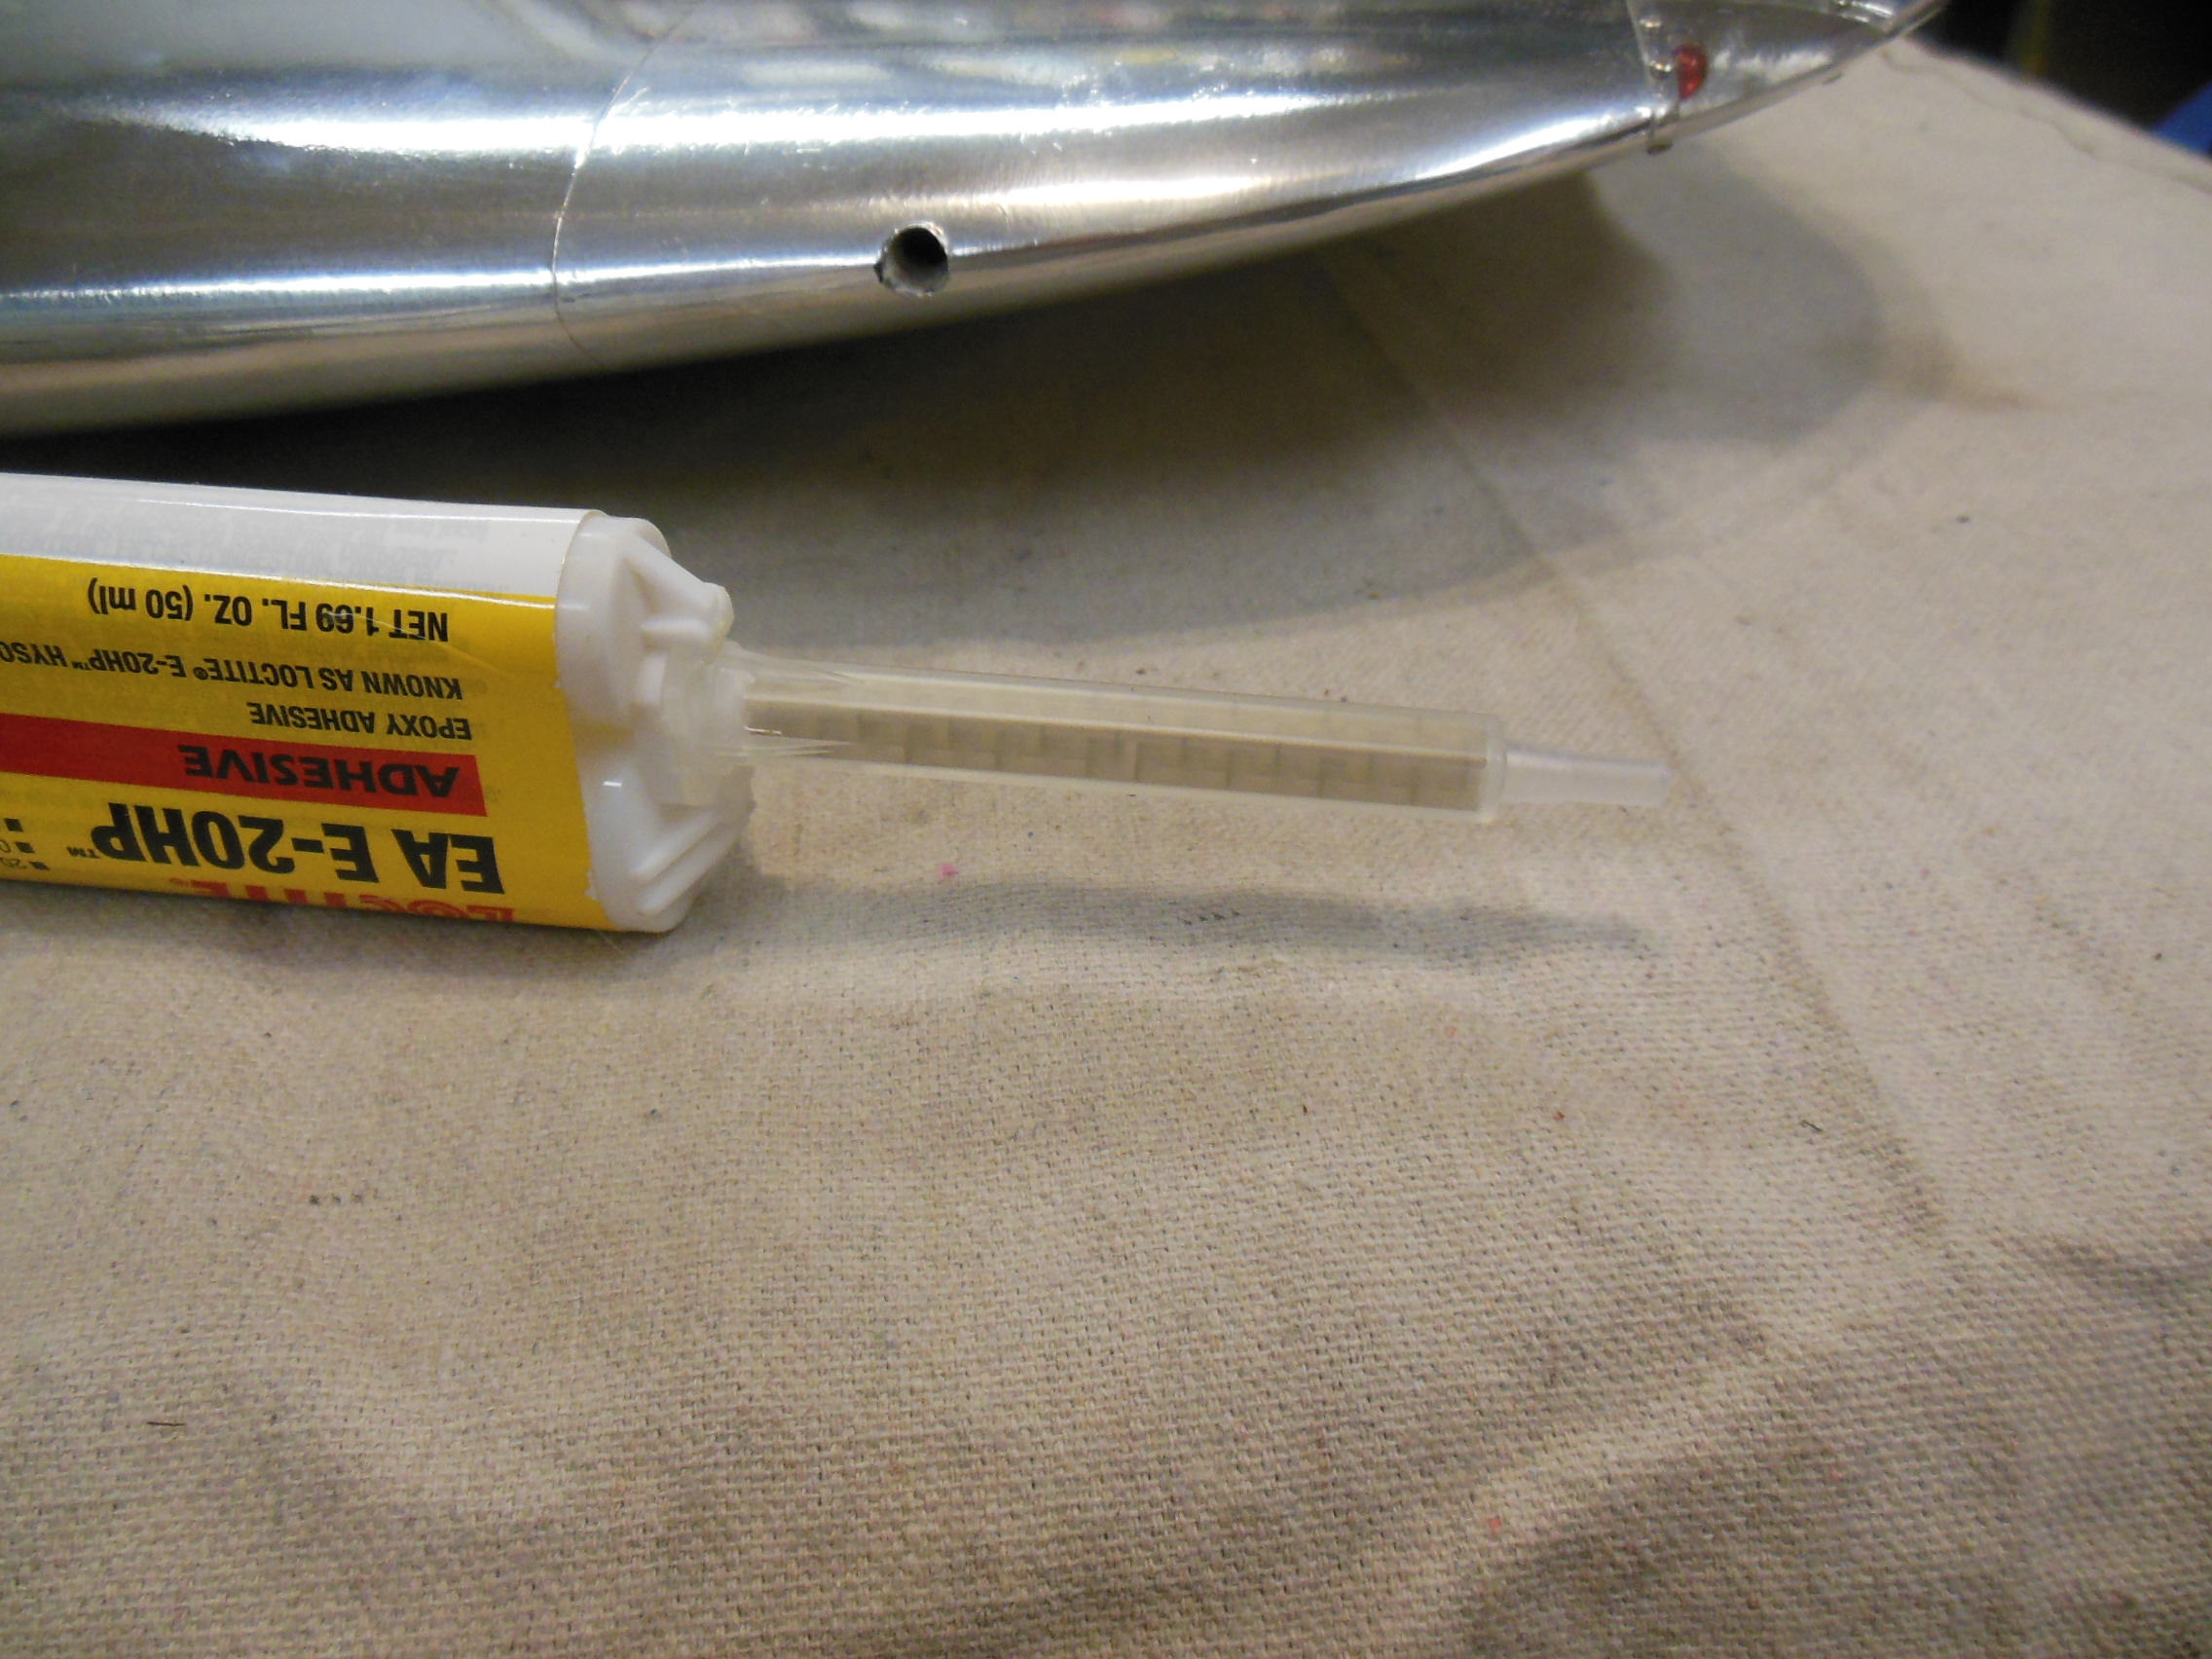
You can do this before the tip light is glued in. Unfortunately, that is already done, so I squirted some Hysol in the hole, installed the tube and tack glued it with CA.
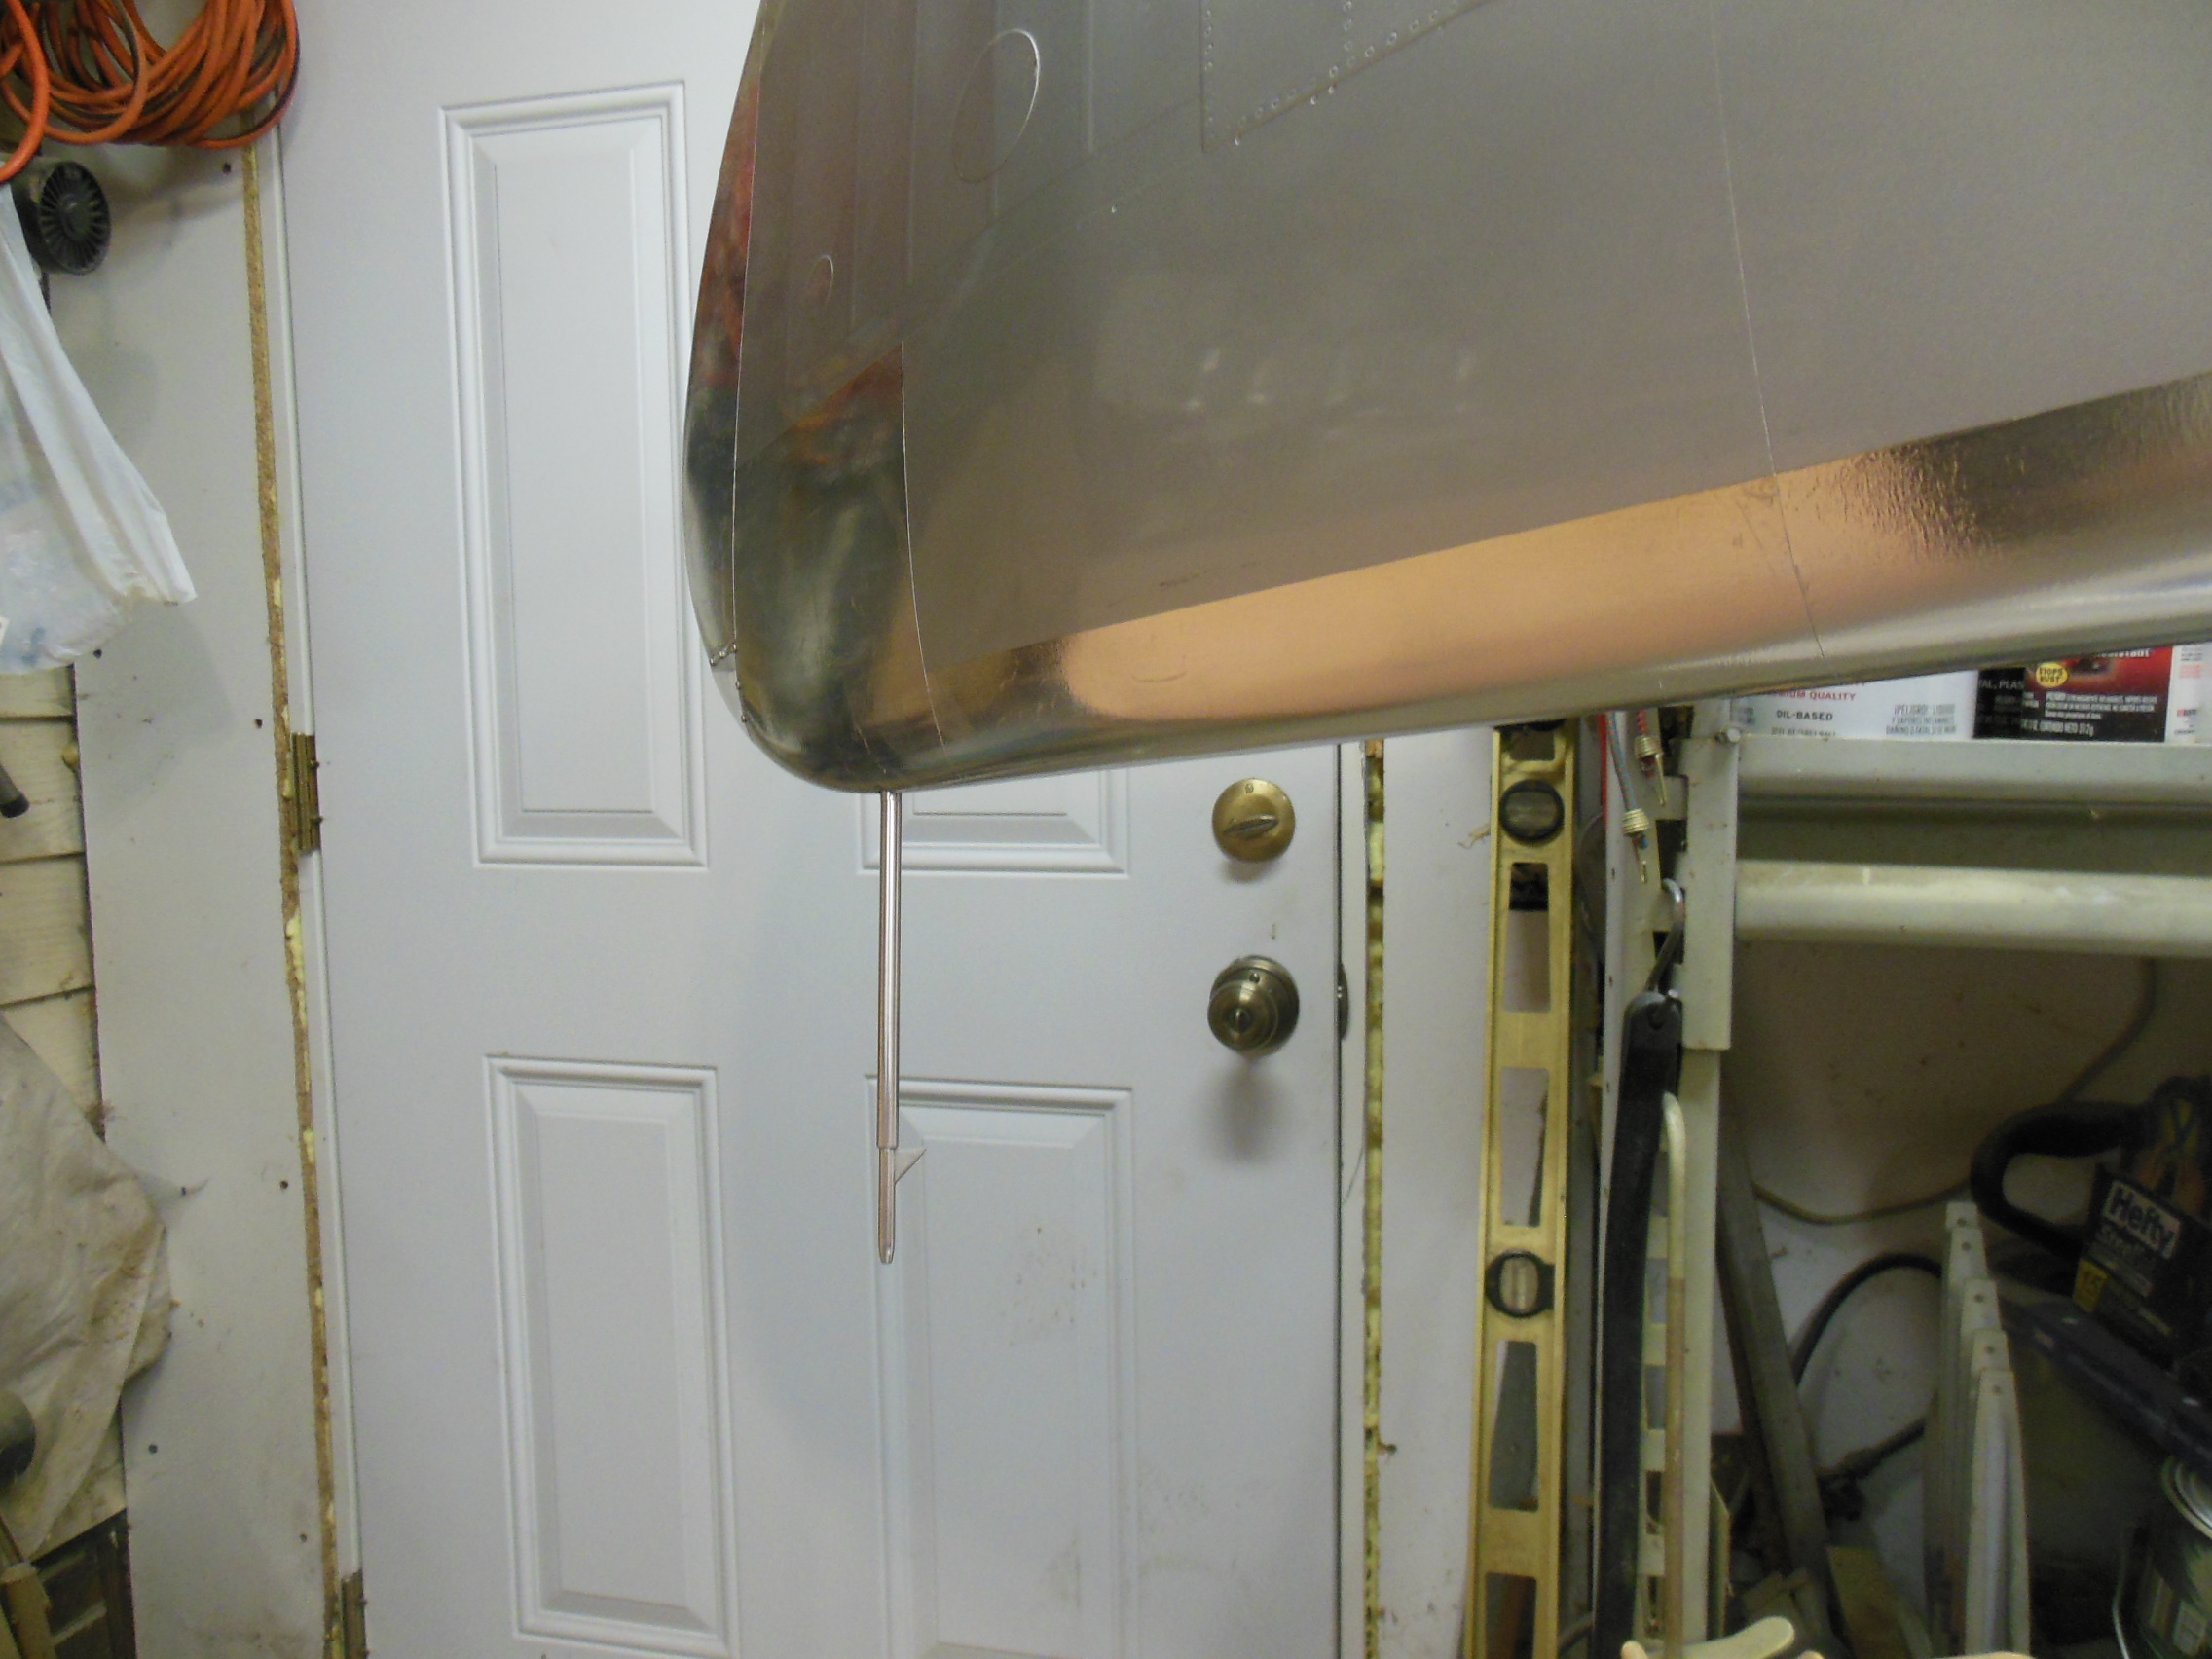
Then hung it leading edge down so the glue flowed around the tube.

Brian makes these out of aluminum tube and solid aluminum for the fin. The OD is 1/4". The hole in the front is 5/64".
Route gets glued in. Outside screws in. Removable so the wing fits in the bag.
You can do this before the tip light is glued in. Unfortunately, that is already done, so I squirted some Hysol in the hole, installed the tube and tack glued it with CA.
Then hung it leading edge down so the glue flowed around the tube.
02-22-2017, 09:52 PM
#3479
Got some more work done on the graphics as well. I leveled the horizontal stab then leveled the insignia as well.

Went to apply the 19 and found that I had located the foot door too high. It should be under the 9 with enough room for the label. Fixed. This foot door is only on the right side.
Here again, Marines Dream is well cared for so no heavy weathering is appropriate. Although none of these restored aircraft that are flown as this plane is are show room condition.
Last edited by ram3500-RCU; 02-22-2017 at 10:01 PM.
 03-14-2017, 09:03 PM
#3490
Wonderful news Greg! Love the finish and weathering. The 'tape' over the gun ports to protect the presumed serviced guns is totally scale and cool. The Moki does a good job on the bottom, but the top is all you. :
Last edited by ram3500-RCU; 03-14-2017 at 09:14 PM.
03-15-2017, 01:03 PM
#3493
You would ask that ") . Its a lesson on how NOT to transport a CARF Corsair. Hydraulic wing fold system failed, wings locked down at full 110". Had to take model apart to transport it home (15 minutes away). Strapped fuselage to aircraft stand with pressure centered on forward part and rear part of wing saddle (15 pound engine hanging out there unsupported). Single axle trailer (Wells Cargo, so good but not great suspension), bouncy bouncy down the road. Go home, opened trailer door and no kidding threw up (well, almost). Fuselage snapped in half right at cockpit, wing saddle crushed at stand contact points. Owner (Phil) deeded airframe, retracts and new wing center section (to replace already oil soaked one from 4 hydro leaks) to me. We spot welded the fuse together with CA and carefully bolted the wing center section in place to ensure the alignment was correct, which it was. I then started the long process (interrupted by a couple other projects) of rebuilding the fuselage, matching the original outer wing panels to the new wing center section (very tough with wing panels and center section not built together) and integrating Gary's cool scale parts. Repainting slowly turned into a complete repaint except those huge star and bar insignia, which I carefully masked. Went from Big Hog #1 to Jim Streig #3 to be different. I studied the color pictures in Jeffrey Ethel's Pacific War Eagles and committed to making it look as close as possible to one of the Corsairs operating in the Pacific Island environment. Pretty dirty huh? Well, believe it or not, that's NOT enough, they looked worse than my interpretation, but I invoke Dave Platt's rule..."you never finish a scale model, you just quit working on it."
. Its a lesson on how NOT to transport a CARF Corsair. Hydraulic wing fold system failed, wings locked down at full 110". Had to take model apart to transport it home (15 minutes away). Strapped fuselage to aircraft stand with pressure centered on forward part and rear part of wing saddle (15 pound engine hanging out there unsupported). Single axle trailer (Wells Cargo, so good but not great suspension), bouncy bouncy down the road. Go home, opened trailer door and no kidding threw up (well, almost). Fuselage snapped in half right at cockpit, wing saddle crushed at stand contact points. Owner (Phil) deeded airframe, retracts and new wing center section (to replace already oil soaked one from 4 hydro leaks) to me. We spot welded the fuse together with CA and carefully bolted the wing center section in place to ensure the alignment was correct, which it was. I then started the long process (interrupted by a couple other projects) of rebuilding the fuselage, matching the original outer wing panels to the new wing center section (very tough with wing panels and center section not built together) and integrating Gary's cool scale parts. Repainting slowly turned into a complete repaint except those huge star and bar insignia, which I carefully masked. Went from Big Hog #1 to Jim Streig #3 to be different. I studied the color pictures in Jeffrey Ethel's Pacific War Eagles and committed to making it look as close as possible to one of the Corsairs operating in the Pacific Island environment. Pretty dirty huh? Well, believe it or not, that's NOT enough, they looked worse than my interpretation, but I invoke Dave Platt's rule..."you never finish a scale model, you just quit working on it."
Apologies to Gary for Bogarting his thread space .
.


. Its a lesson on how NOT to transport a CARF Corsair. Hydraulic wing fold system failed, wings locked down at full 110". Had to take model apart to transport it home (15 minutes away). Strapped fuselage to aircraft stand with pressure centered on forward part and rear part of wing saddle (15 pound engine hanging out there unsupported). Single axle trailer (Wells Cargo, so good but not great suspension), bouncy bouncy down the road. Go home, opened trailer door and no kidding threw up (well, almost). Fuselage snapped in half right at cockpit, wing saddle crushed at stand contact points. Owner (Phil) deeded airframe, retracts and new wing center section (to replace already oil soaked one from 4 hydro leaks) to me. We spot welded the fuse together with CA and carefully bolted the wing center section in place to ensure the alignment was correct, which it was. I then started the long process (interrupted by a couple other projects) of rebuilding the fuselage, matching the original outer wing panels to the new wing center section (very tough with wing panels and center section not built together) and integrating Gary's cool scale parts. Repainting slowly turned into a complete repaint except those huge star and bar insignia, which I carefully masked. Went from Big Hog #1 to Jim Streig #3 to be different. I studied the color pictures in Jeffrey Ethel's Pacific War Eagles and committed to making it look as close as possible to one of the Corsairs operating in the Pacific Island environment. Pretty dirty huh? Well, believe it or not, that's NOT enough, they looked worse than my interpretation, but I invoke Dave Platt's rule..."you never finish a scale model, you just quit working on it." Apologies to Gary for Bogarting his thread space
.
03-15-2017, 02:54 PM
#3495
An update on our latest Idea. The development of a bolt on baffle system for the Moki, to be independent of the cowl. It will be simply a matter of removing the bolts in the front housing, installing the baffle, and reinstalling the bolts. The first units will fit the 215 and 250. The CAD is done and they are going through the fabrication bidding process. We are getting closer. Once a prototype comes out of manufacture, we will test it on our own 250, and 215. If all is well, full speed ahead. At this point, this is all being done by our fabricating partner. This frees us to concentrate on out other ongoing projects and parts. Should only be a short time to that first test piece.
03-15-2017, 06:59 PM
#3496
I divert from Corsairs for just a moment.
Most of my friends here on RCU know of my little grandson's plight dealing with a very rare bone disease. He is one of less than 30 kids in the world with this particular kind. We take him to Canada for special treatment at least 4 times a year, and this interrupts my work on planes at times. The family is doing all we can for him and the Shriner organization both in the states and in Canada is a wonderful help. If you have a chance to donate to them trust that it is a very good cause.
As to Jackson, or Jax as he is called by the family and friends, it has been determined that he will benefit greatly from a service dog trained to protect and help him when he is away from home, such as at school. This is a very expensive need.
A very close friend of the family has started a fund raiser to help with this and other expenses. I'm posting a link here in my thread for your consideration. Please take a look at the site and read about Jax. He is a great kid full of life and all the interests of any other 6 year old and then some, including an obsession with airplanes, much to the enjoyment of his grandpa.
Feel free to share it with as many as you can. And thank you in advance for whatever you can do to help.
https://www.youcaring.com/jacksonprince-770586

Notice in this picture his arm is broken, but still he has that wonderfully happy smile.

Most of my friends here on RCU know of my little grandson's plight dealing with a very rare bone disease. He is one of less than 30 kids in the world with this particular kind. We take him to Canada for special treatment at least 4 times a year, and this interrupts my work on planes at times. The family is doing all we can for him and the Shriner organization both in the states and in Canada is a wonderful help. If you have a chance to donate to them trust that it is a very good cause.
As to Jackson, or Jax as he is called by the family and friends, it has been determined that he will benefit greatly from a service dog trained to protect and help him when he is away from home, such as at school. This is a very expensive need.
A very close friend of the family has started a fund raiser to help with this and other expenses. I'm posting a link here in my thread for your consideration. Please take a look at the site and read about Jax. He is a great kid full of life and all the interests of any other 6 year old and then some, including an obsession with airplanes, much to the enjoyment of his grandpa.
Feel free to share it with as many as you can. And thank you in advance for whatever you can do to help.
https://www.youcaring.com/jacksonprince-770586
Notice in this picture his arm is broken, but still he has that wonderfully happy smile.
Last edited by ram3500-RCU; 03-15-2017 at 07:08 PM.
 03-18-2017, 05:09 AM
#3500

Hello Corsair Pilots,
I have a question regarding the wing folding meachanism. I noticed that it takes longer and longer each time for the wings go up and down. In the beginning it took less than 20 seconds for the wings to fold and unfold. Now its takes more than a minute and sometimes i even need to manually speed up the process by pushing the wing down or up. I increased the pressure already on the system, but with no effect. The pump feels the same as before, judging by the noise it makes when the pump runs).
Maybe some has noticed that also and knows how to fix Thanks....
This is my corsair

I have a question regarding the wing folding meachanism. I noticed that it takes longer and longer each time for the wings go up and down. In the beginning it took less than 20 seconds for the wings to fold and unfold. Now its takes more than a minute and sometimes i even need to manually speed up the process by pushing the wing down or up. I increased the pressure already on the system, but with no effect. The pump feels the same as before, judging by the noise it makes when the pump runs).
Maybe some has noticed that also and knows how to fix
Thanks....This is my corsair
I am French and i would like to paint my Corsair like your " french shame ".
Can you tell me color reference you used ...stickers
Thanks
Tanguy

