


EasyTiger's giant scale corsair
 03-29-2014, 04:36 AM
#51
Member
Join Date: Dec 2006
Location: Jimboomba, AUSTRALIA
Posts: 79
Likes: 0
Received 0 Likes
on
0 Posts
First modification was to the rudder, I used a push pull setup with some enforcement to the torque tube (filled with epoxy and secured with screw to rudder). Also the end cone I have screwed on not glued for later access if needed.


 03-29-2014, 04:51 AM
#52
Member
Join Date: Dec 2006
Location: Jimboomba, AUSTRALIA
Posts: 79
Likes: 0
Received 0 Likes
on
0 Posts
For all the rudder horns I used some fibre glass horns which were glued into the control surfaces which had already hard points inserted. Covered up with matching paint now looks good and is also strong.


04-03-2014, 04:14 AM
#54
Member
Join Date: Dec 2006
Location: Jimboomba, AUSTRALIA
Posts: 79
Likes: 0
Received 0 Likes
on
0 Posts
Some more pictures about the middle wing section modification. I closed the servo bay for the flap servo which was half exposed to big and ugly. I used some leftover kitchen veneer to close up. Then I cut a servo hatch into the wing bottom next to the wheel well. Glued a servo mount into the wing due to space problems. Also the landing gear mounting needed some more support as the timber support was very weak and already broken on one side. I glued a 3mm ply in place but before filled the voids for the landing gear mounting block with epoxy glue.


 04-04-2014, 05:51 PM
#56
Member
Join Date: Dec 2006
Location: Jimboomba, AUSTRALIA
Posts: 79
Likes: 0
Received 0 Likes
on
0 Posts
Hi Swordsn,
I'll use the Moki 180 with just 5mm clearance around the cowl it's a perfect fit and the extra weight is good for balancing. A mate building the same plane, he used a DLE110 had to put additional weight on to balance and needed to cut the cowl and added some blisters to fit the engine.
04-05-2014, 04:45 AM
#57
Member
Join Date: Dec 2006
Location: Jimboomba, AUSTRALIA
Posts: 79
Likes: 0
Received 0 Likes
on
0 Posts
With the airplane I ordered also the landing gear from same company, unfortunately the landing gear was not fully developed I would call it. A nice attempt but failed at the end in the details. As example:
the legs were too long, wheel would not fit into the wheel well.
One gear was not straight, whole was drilled in an angle!

Also one gear would not lock and the springs already collapsed after 5kg pressure, the plane will weigh in about 20kg. Otherwise a nice set, somebody with the machinery could fix them up, but not me. Returned them to the supplier and got a refund. Ordered the Robart electric gear set, took 2 month to get and tail wheel broke after 20 cycles first day, not impressed as emails to Robart were not answered yet!
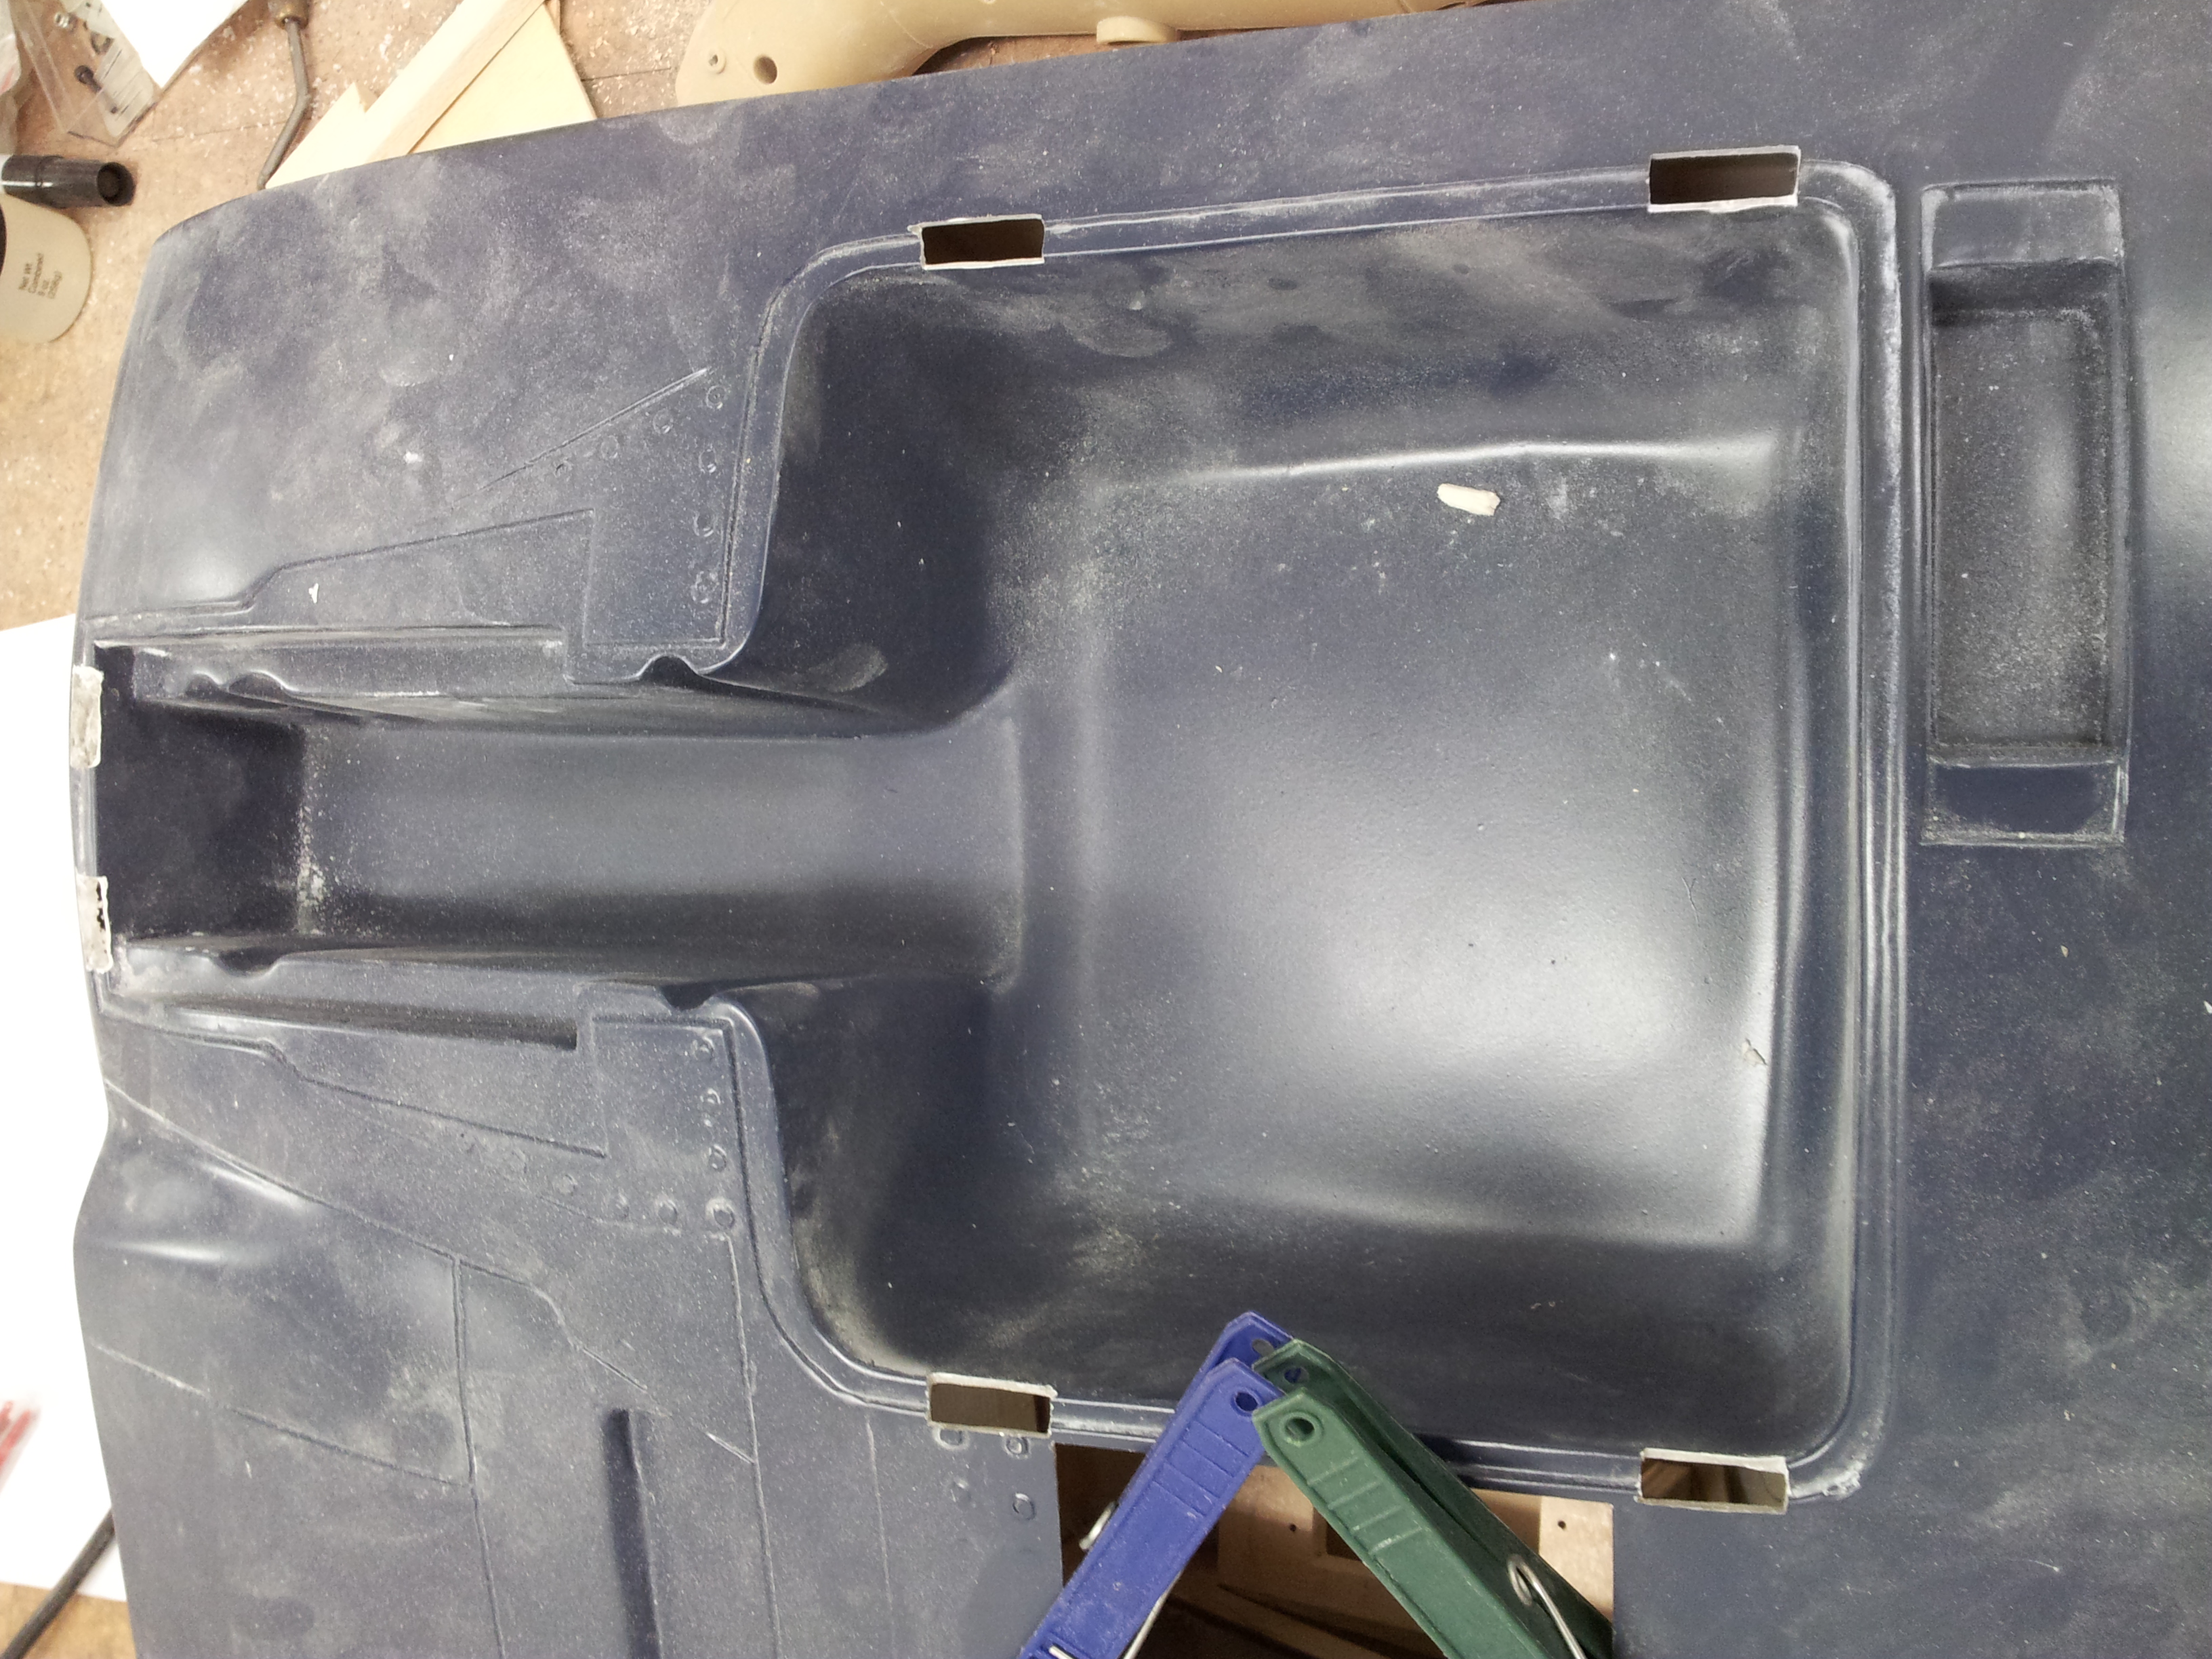
The coolers in the wing were moulded to small or cut out was to big either way it had to be filled in and painted which wouldn't be necessary if the scoops were bigger. It needed a lot of material removed to fit, also the heat gun was a good help to form the scoop into the right shape. After painting it turned out reasonable good.


the legs were too long, wheel would not fit into the wheel well.
One gear was not straight, whole was drilled in an angle!
Also one gear would not lock and the springs already collapsed after 5kg pressure, the plane will weigh in about 20kg. Otherwise a nice set, somebody with the machinery could fix them up, but not me. Returned them to the supplier and got a refund. Ordered the Robart electric gear set, took 2 month to get and tail wheel broke after 20 cycles first day, not impressed as emails to Robart were not answered yet!
The coolers in the wing were moulded to small or cut out was to big either way it had to be filled in and painted which wouldn't be necessary if the scoops were bigger. It needed a lot of material removed to fit, also the heat gun was a good help to form the scoop into the right shape. After painting it turned out reasonable good.
04-14-2014, 07:37 AM
#59

My Feedback: (71)
Please let us know what reliable retract gears you ended up with.
Others should chime in if you're using some other twin engines that fit better in the cowl other than typical 100cc. How much nose weight did your buddy put in the nose to balance?
May be Zenoah GT 80?
What is the cowl diameter?
Others should chime in if you're using some other twin engines that fit better in the cowl other than typical 100cc. How much nose weight did your buddy put in the nose to balance?
May be Zenoah GT 80?
What is the cowl diameter?
04-15-2014, 04:48 AM
#60
Member
Join Date: Dec 2006
Location: Jimboomba, AUSTRALIA
Posts: 79
Likes: 0
Received 0 Likes
on
0 Posts
Yes about the retracts, I ended up with Robart the electric version for main and tail. They were an exact fit, the only thing was dealing with Robart was not a very nice experience as I paid around $800.- and have not heard about anything for over two month, no replay on mails etc. only as I called I was notified that there was a delay in electronic part. I thought a email to let customers know what happens after you spend a few hundred dollars would be nicer. That's unfortunately not all as I received the gears I test run everything and cycled a few times to check. As it happens the tail wheel felt apart because the actuator was not stopping in time. I thought this would be under warranty, guess what, send an email three week ago got not replay, gave a call still no replay. I go and just try to get the parts and pay for it, this is not so easy as there is no possibility to order online spare parts, therefore need to send again emails with requests which will be answered if I'm lucky in a few month time.

I would say Robart gears look good fit and maybe work well, but if there is something else I would definitely choose now a different manufacturer!

About the extra weight for the nose to balance it was only a guess of about 2.5kg as my mate didn't had a chance to proceed further yet, had to step out of the hobby and into a hospital for a few weeks!

Cowl diameter is 272mm
I would say Robart gears look good fit and maybe work well, but if there is something else I would definitely choose now a different manufacturer!
About the extra weight for the nose to balance it was only a guess of about 2.5kg as my mate didn't had a chance to proceed further yet, had to step out of the hobby and into a hospital for a few weeks!
Cowl diameter is 272mm
04-15-2014, 05:22 AM
#61
Member
Join Date: Dec 2006
Location: Jimboomba, AUSTRALIA
Posts: 79
Likes: 0
Received 0 Likes
on
0 Posts
One of the next modifications were the inner flaps. I didn't use the spring for connecting the two flaps and choose the more scale way with the plate in a slot. I slotted the bigger flap and glued the plate into the smaller one. To glue the plat into the flap I drilled two holes on the inside and inserted the plate and pressed some epoxy glue with a syringe through the hole. This gave a very solid bond and was strong enough for it's purpose. After touching up the parts all looked good again.


Next I painted the middle section as it was original blue to the light grey and installed the flaps to the wing. Unfortunately the fibre glass inner flaps are longer by 5mm than the outer flaps! So the trailing edge is not in line, except I cut the flaps short. There was no way to get them matched without having somewhere a gap.


Attaching the outer wing panels were the next task did one first by cleaning the fibre glass middle from the paint and then applying enough glue to the wing and the spar connection and location pins.
Doing the second panel was a bit of a task doing it by my own due to its size!
Next I painted the middle section as it was original blue to the light grey and installed the flaps to the wing. Unfortunately the fibre glass inner flaps are longer by 5mm than the outer flaps! So the trailing edge is not in line, except I cut the flaps short. There was no way to get them matched without having somewhere a gap.
Attaching the outer wing panels were the next task did one first by cleaning the fibre glass middle from the paint and then applying enough glue to the wing and the spar connection and location pins.
Doing the second panel was a bit of a task doing it by my own due to its size!
04-15-2014, 06:01 AM
#62
My Feedback: (48)
Did you get an instruction manual with yours as I did not. You have a nice build started and I hope to start mine soon. Interested as to where your CG and throws will be. I have an older GT80 converted to ignition planned for mine If Iit fits.I to am concerned about strength of retract mounts and considered cutting out glass to rebuild area but will probally follow your lead. Keep up the good work as your build is a big plus.
I did buy a Ziroli canopy for testining and it appears to be a decent fit with a bit of massaging at the top rear where it fits behind pilots head rest but filler etc will be needed anyway if used.
I did buy a Ziroli canopy for testining and it appears to be a decent fit with a bit of massaging at the top rear where it fits behind pilots head rest but filler etc will be needed anyway if used.
Last edited by dmyers0403; 04-15-2014 at 06:33 AM.
04-15-2014, 09:24 PM
#63
My Feedback: (71)
What the heck? Your buddy had to add 5.5 lbs of lead to the nose of DLE111 that weighs about 6.3 lbs to balance this beast?
So even if using GT 80 that weighs almost 7 lbs, I will still be 5 lbs short to balance?
This thing is going to fly like a lead sled.
Please give us wing loading of this thing and flight report.
So even if using GT 80 that weighs almost 7 lbs, I will still be 5 lbs short to balance?
This thing is going to fly like a lead sled.
Please give us wing loading of this thing and flight report.
04-15-2014, 10:40 PM
#64
My Feedback: (60)
Join Date: Dec 2001
Location: Litchfield Park,
AZ
Posts: 7,677
Likes: 0
Received 25 Likes
on
23 Posts
Five pounds of nose weight in a Corsair this big is pretty standard. In fact I would say 5 pounds is on the light side. I had more than that in a Byron Corsair which is considerably smaller!
04-16-2014, 05:22 AM
#65
Member
Join Date: Dec 2006
Location: Jimboomba, AUSTRALIA
Posts: 79
Likes: 0
Received 0 Likes
on
0 Posts
Today I fixed the disaster from yesterday when I glued the second outer panel, I lined the wing tips in level with the middle section top side which mounts to the fuse. Big mistake, as it turns out my middle section as anything then symmetrical!!!! I checked quick the second middle section and not surprised it was the same. The wing mounted to the fuse was complete out of line with anything. This is really bad as it can't be fixed except to build your own middle section, which in my case was not my plan when I purchased this plane. Anyway one wing had to come off so I cut the one I just glued on, which took half a morning. Further measurements with the gear mount points, elevator, rudder and wing section there will be no chance to have all in line. The wing mount and the elevator is not in level on the fuse, get it in level the rudder is crook. Get the middle wing level with the elevator, the wing tips will be crook and the airplane will stand in an angle as well.
All because the middle gull section is different in angle, thickness and height. just a peace of sh@##$
With the one outer wing removed, I will glue this section together on the fuse on the airplane stand, to line up and find the best compromise between the elevator, wing and gear mount. Cross fingers and hop it flies some sort.
I received an Instruction manual will scan and post it later, not very useful anyway. Throws were a joke, 45deg on everything!
I'm also not sure if the GT80 has enough power to pull this brick around it will be heavy!
04-16-2014, 06:01 AM
#66
My Feedback: (48)
Would like to see manual, so thanks for posting, does not sound like it has much real info.
I agree with Chad that 5# is not a big deal on this size Corsair and the GT80 is probably wishful thinking and will most likely make a different choice. We had a Cactus aviation 96" Bearcat with a 120cc at 55# and it surprised us how well & light it flew, I believe the big Corsair wing will handle the weight just fine if unless it comes out crazy heavy.
Sounds like you made the wing one piece. Did you consider or investigate a three piece? Looks like the glue strength is needed at joiner and three piece may not be practical.
Sad about your retracts, hope it gets resolved. I built a 92" Zero for friend and we had retracts modified by Down & Lock which turned out much more expensive than planned and had to return for modifications a second time but all is well now and they work great. Electrics can be more troublesome than air but look great and once they work it is nice not to worry about air pumps leaks etc and the lipo battery last forever.
Last edited by dmyers0403; 04-16-2014 at 06:08 AM.
04-18-2014, 05:15 AM
#67
Member
Join Date: Dec 2006
Location: Jimboomba, AUSTRALIA
Posts: 79
Likes: 0
Received 0 Likes
on
0 Posts
These are some data form the Ziroli Corsair which is very much the same size. For the throws I would use these figures as they are more realistic. As I found the 45deg on the control surfaces are not possible as they are pocket hinged and they would be hanging out too much.


04-18-2014, 05:35 AM
#68
Member
Join Date: Dec 2006
Location: Jimboomba, AUSTRALIA
Posts: 79
Likes: 0
Received 0 Likes
on
0 Posts
When I looked at the wing, there was maybe some original idea to have a three piece wing but the wing joiner and incident pins are too sloppy to have them removable also there is no access for any wing screws etc. I would believe to glue them together is the best choice and as I found it ends up as a very strong wing.
Finally I got my wing again together and it looks a bit better as well, not perfect as I like it, but I believe it is now flyable.
As next I drilled the wing bolts and surprise the timber for the back screws in the fuse was not lining up with the wing. There is two possibilities, you can drill the hole in an angle and maybe miss the supporting timber in the wing or you have to replace the timber in the fuse, which I will be doing as the screws on the back are anyway too long I will glue an additional bigger piece onto the existing block.
04-18-2014, 10:44 AM
#69
My Feedback: (48)
Thanks for all the info and manual. You staying with the Birdcage canopy? Interested to see your approach to the gear doors. I see ( http://www.iflytailies.com/store/ins...cale-warbirds/ ) has a good looking 1/5 scale cockpit set that should fit this one.
Last edited by dmyers0403; 04-18-2014 at 10:52 AM.
04-19-2014, 05:38 AM
#70
My Feedback: (71)
Sucks to hear that the wing center section is out of alignment with tail and outer wing panels. That would be a nightmare to fix. Others have found the same problem? Hope this was an isolated incident.
Regarding weight, I agree that total weight at 45 lbs or so will be fine for 96" ws plane, but not if this beast comes out at 55 lbs. Higher wing loading and wing/tail misalignment may put this beast at risk for the feared "Corsair death spin" when it goes into high speed stall.
Regarding weight, I agree that total weight at 45 lbs or so will be fine for 96" ws plane, but not if this beast comes out at 55 lbs. Higher wing loading and wing/tail misalignment may put this beast at risk for the feared "Corsair death spin" when it goes into high speed stall.
04-19-2014, 07:45 PM
#71
Member
Join Date: Dec 2006
Location: Jimboomba, AUSTRALIA
Posts: 79
Likes: 0
Received 0 Likes
on
0 Posts
Thanks for all the info and manual. You staying with the Birdcage canopy? Interested to see your approach to the gear doors. I see ( http://www.iflytailies.com/store/ins...cale-warbirds/ ) has a good looking 1/5 scale cockpit set that should fit this one.
No worries, at the moment I will stay with the birdcage canopy as it is not a very common modelled version, but I'm interested how it will look on yours. Also it is an interesting link and nice cockpit but look also this one as they have a complete cockpit also very nice http://www.dbalsa.com/cockpits/f4u-ziroli.htm .
I have started with the gear doors but had to reinforce to keep the shape. I tried first the trick with the heat gun to get the shape but after a while it will return to the original shape. I still wait for the electric actuators from Hobby King to see how they are, some air actuators from robart which I got from a mate leaked and one broke already, so I hope the electric version will be more reliable.
04-19-2014, 08:00 PM
#72
Member
Join Date: Dec 2006
Location: Jimboomba, AUSTRALIA
Posts: 79
Likes: 0
Received 0 Likes
on
0 Posts
Sucks to hear that the wing center section is out of alignment with tail and outer wing panels. That would be a nightmare to fix. Others have found the same problem? Hope this was an isolated incident.
Regarding weight, I agree that total weight at 45 lbs or so will be fine for 96" ws plane, but not if this beast comes out at 55 lbs. Higher wing loading and wing/tail misalignment may put this beast at risk for the feared "Corsair death spin" when it goes into high speed stall.
Regarding weight, I agree that total weight at 45 lbs or so will be fine for 96" ws plane, but not if this beast comes out at 55 lbs. Higher wing loading and wing/tail misalignment may put this beast at risk for the feared "Corsair death spin" when it goes into high speed stall.
04-20-2014, 04:45 AM
#73
Member
Join Date: Dec 2006
Location: Jimboomba, AUSTRALIA
Posts: 79
Likes: 0
Received 0 Likes
on
0 Posts
A few more pictures of the wing assembly and the elevator mounting.

As my elevator tube had a lot of play in the fuse 5mm up and down on the elevator tip I decided to glue the tube into the fuse. Also the elevator mounting had to be modified as the incident pin had to much play I glued a play wood plate with the right size hole inside the fuse. Also I used a 3mm screw to hold the elevator form the inside the fuse this works fine for me as I not take the elevator always off, only when I need to service the servo.

 Wing alined
 Retract mounted
  Wing glued together again!
Back wing screw too long and block not in the right place!

As my elevator tube had a lot of play in the fuse 5mm up and down on the elevator tip I decided to glue the tube into the fuse. Also the elevator mounting had to be modified as the incident pin had to much play I glued a play wood plate with the right size hole inside the fuse. Also I used a 3mm screw to hold the elevator form the inside the fuse this works fine for me as I not take the elevator always off, only when I need to service the servo.
Back wing screw too long and block not in the right place!
04-22-2014, 05:02 AM
#74
Member
Join Date: Dec 2006
Location: Jimboomba, AUSTRALIA
Posts: 79
Likes: 0
Received 0 Likes
on
0 Posts
Thanks for all the info and manual. You staying with the Birdcage canopy? Interested to see your approach to the gear doors. I see ( http://www.iflytailies.com/store/ins...cale-warbirds/ ) has a good looking 1/5 scale cockpit set that should fit this one.
Hi Dmyers0403, here some pictures of the gear doors how I braised them with 5mm fibre glass strips to keep the shape. All up turned out not too bad, still waiting for the actuators.
05-03-2014, 04:48 AM
#75
Member
Join Date: Dec 2006
Location: Jimboomba, AUSTRALIA
Posts: 79
Likes: 0
Received 0 Likes
on
0 Posts
For the engine mount I laminated two 12mm ply wood sheets together and sanded a 2deg thrust angel on it, which only took 1 1/2 hours for sanding!


 Making the cowl mounting bracket's out of 3x20 aluminium stock and mounted them temporary on a sheet of wood to get the exact distance for the holes in the cowl.
 Mounting the Bracket's to the firewall and checking the line up of the cowl with the fuse
 Temporary engine installed and checked
 Using the aluminium bracket's for the cowl will solve the cooling exhaust on the cowl as it gives you plenty of a gap all a round.