


Top-Flite 1/5th F4U Corsair ARF Group Build and modification thread


 05-19-2019, 10:56 AM
#656
Looking good!
I just rebalanced mine and I’m getting ready to fly it again too.
Just FYI, DLE 61, Jtec Pitts style muffler for TF planes, stock cowl with dummy radial, required 2 pounds 3 ounces to balance at the wing spar, dry, gear up.
I’ll post pics for reference.
I finally changed the wheels to 4 inch gray wheel Dubro’s I happened to have in my box of stuff. Should be 4.5” but I went for light weight.
 05-23-2019, 09:32 PM
#660
Thanks,
I see you went with the servo set up. How is that working for you? Any issue with vibration or stripping servo gears?
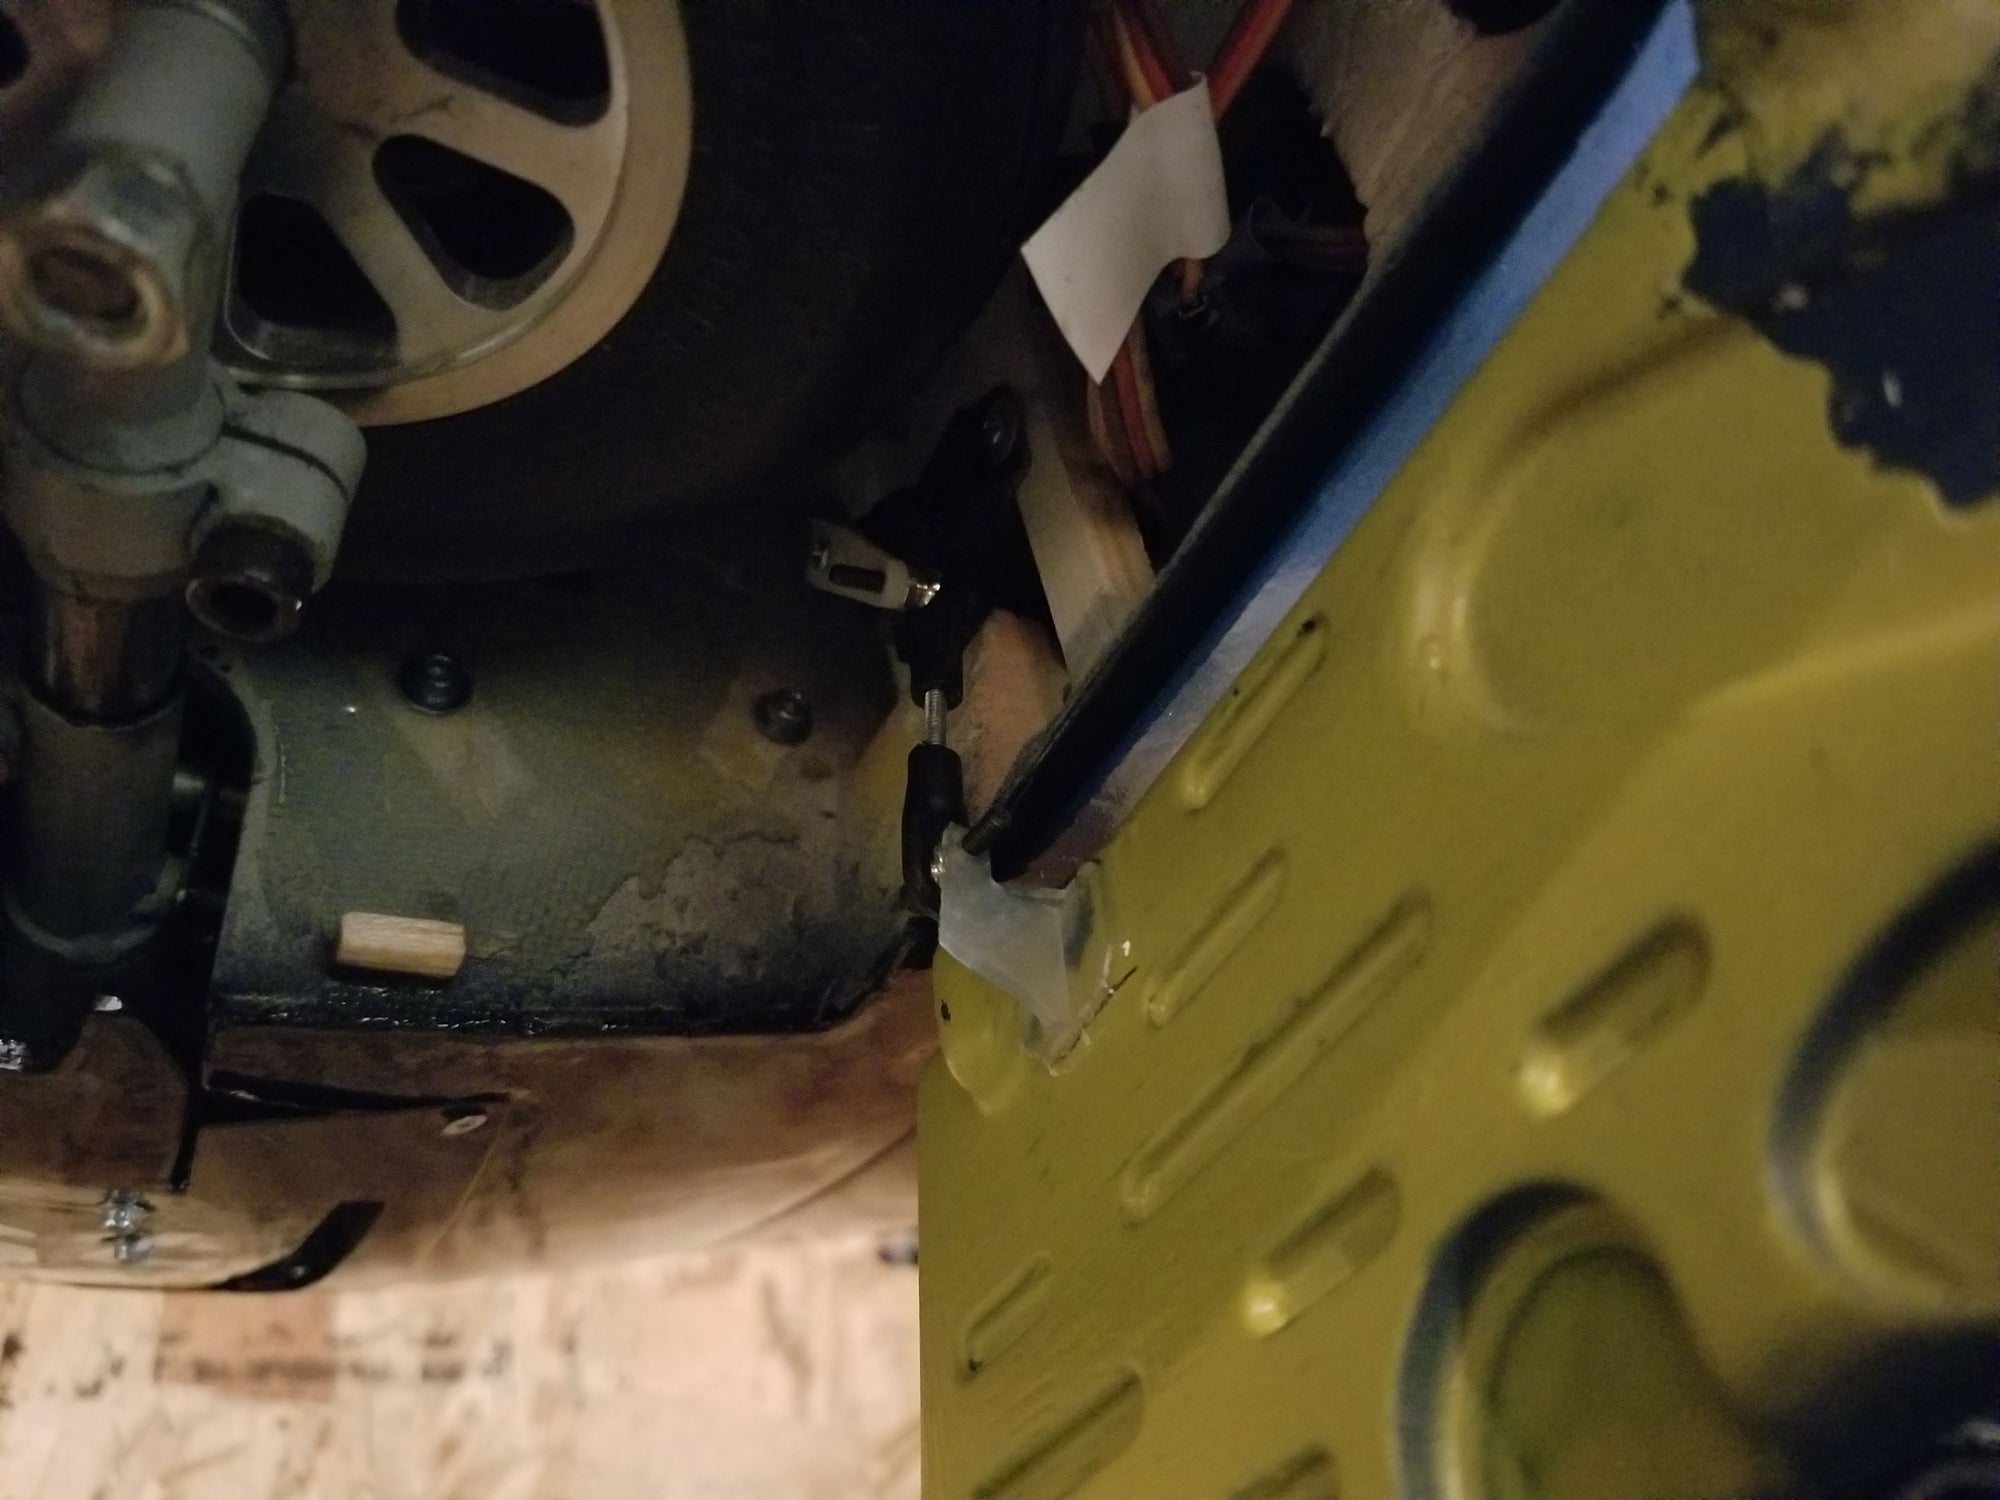
You have air retracts and servo doors right? Did you set up the sequence in your radio?
I did a dual micro servo controlled cowl flap mod and the vibration and heat messed with those servos. I upgraded the servos but I still had issues with vibration and heat wearing out and breaking the assembly. It looked great for a season then I scrapped it.
I see you went with the servo set up. How is that working for you? Any issue with vibration or stripping servo gears?
You have air retracts and servo doors right? Did you set up the sequence in your radio?
I did a dual micro servo controlled cowl flap mod and the vibration and heat messed with those servos. I upgraded the servos but I still had issues with vibration and heat wearing out and breaking the assembly. It looked great for a season then I scrapped it.
Last edited by Chris Nicastro; 05-23-2019 at 09:41 PM.
06-10-2019, 06:51 PM
#662


Join Date: Nov 2014
Location: Southern Minnesota USA
Posts: 225
Likes: 0
Received 2 Likes
on
2 Posts
have you guys heard the rumors about the TF giant corsair ARF being available in the near future? i see that tower is accepting pre-orders . i have also heard from a reliable source that a non covered version is going to be available as well ! =D
07-29-2019, 03:22 PM
#665
Join Date: Jul 2017
Location: Just East of Cleveland Ohio
Posts: 51
Likes: 0
Received 1 Like
on
1 Post
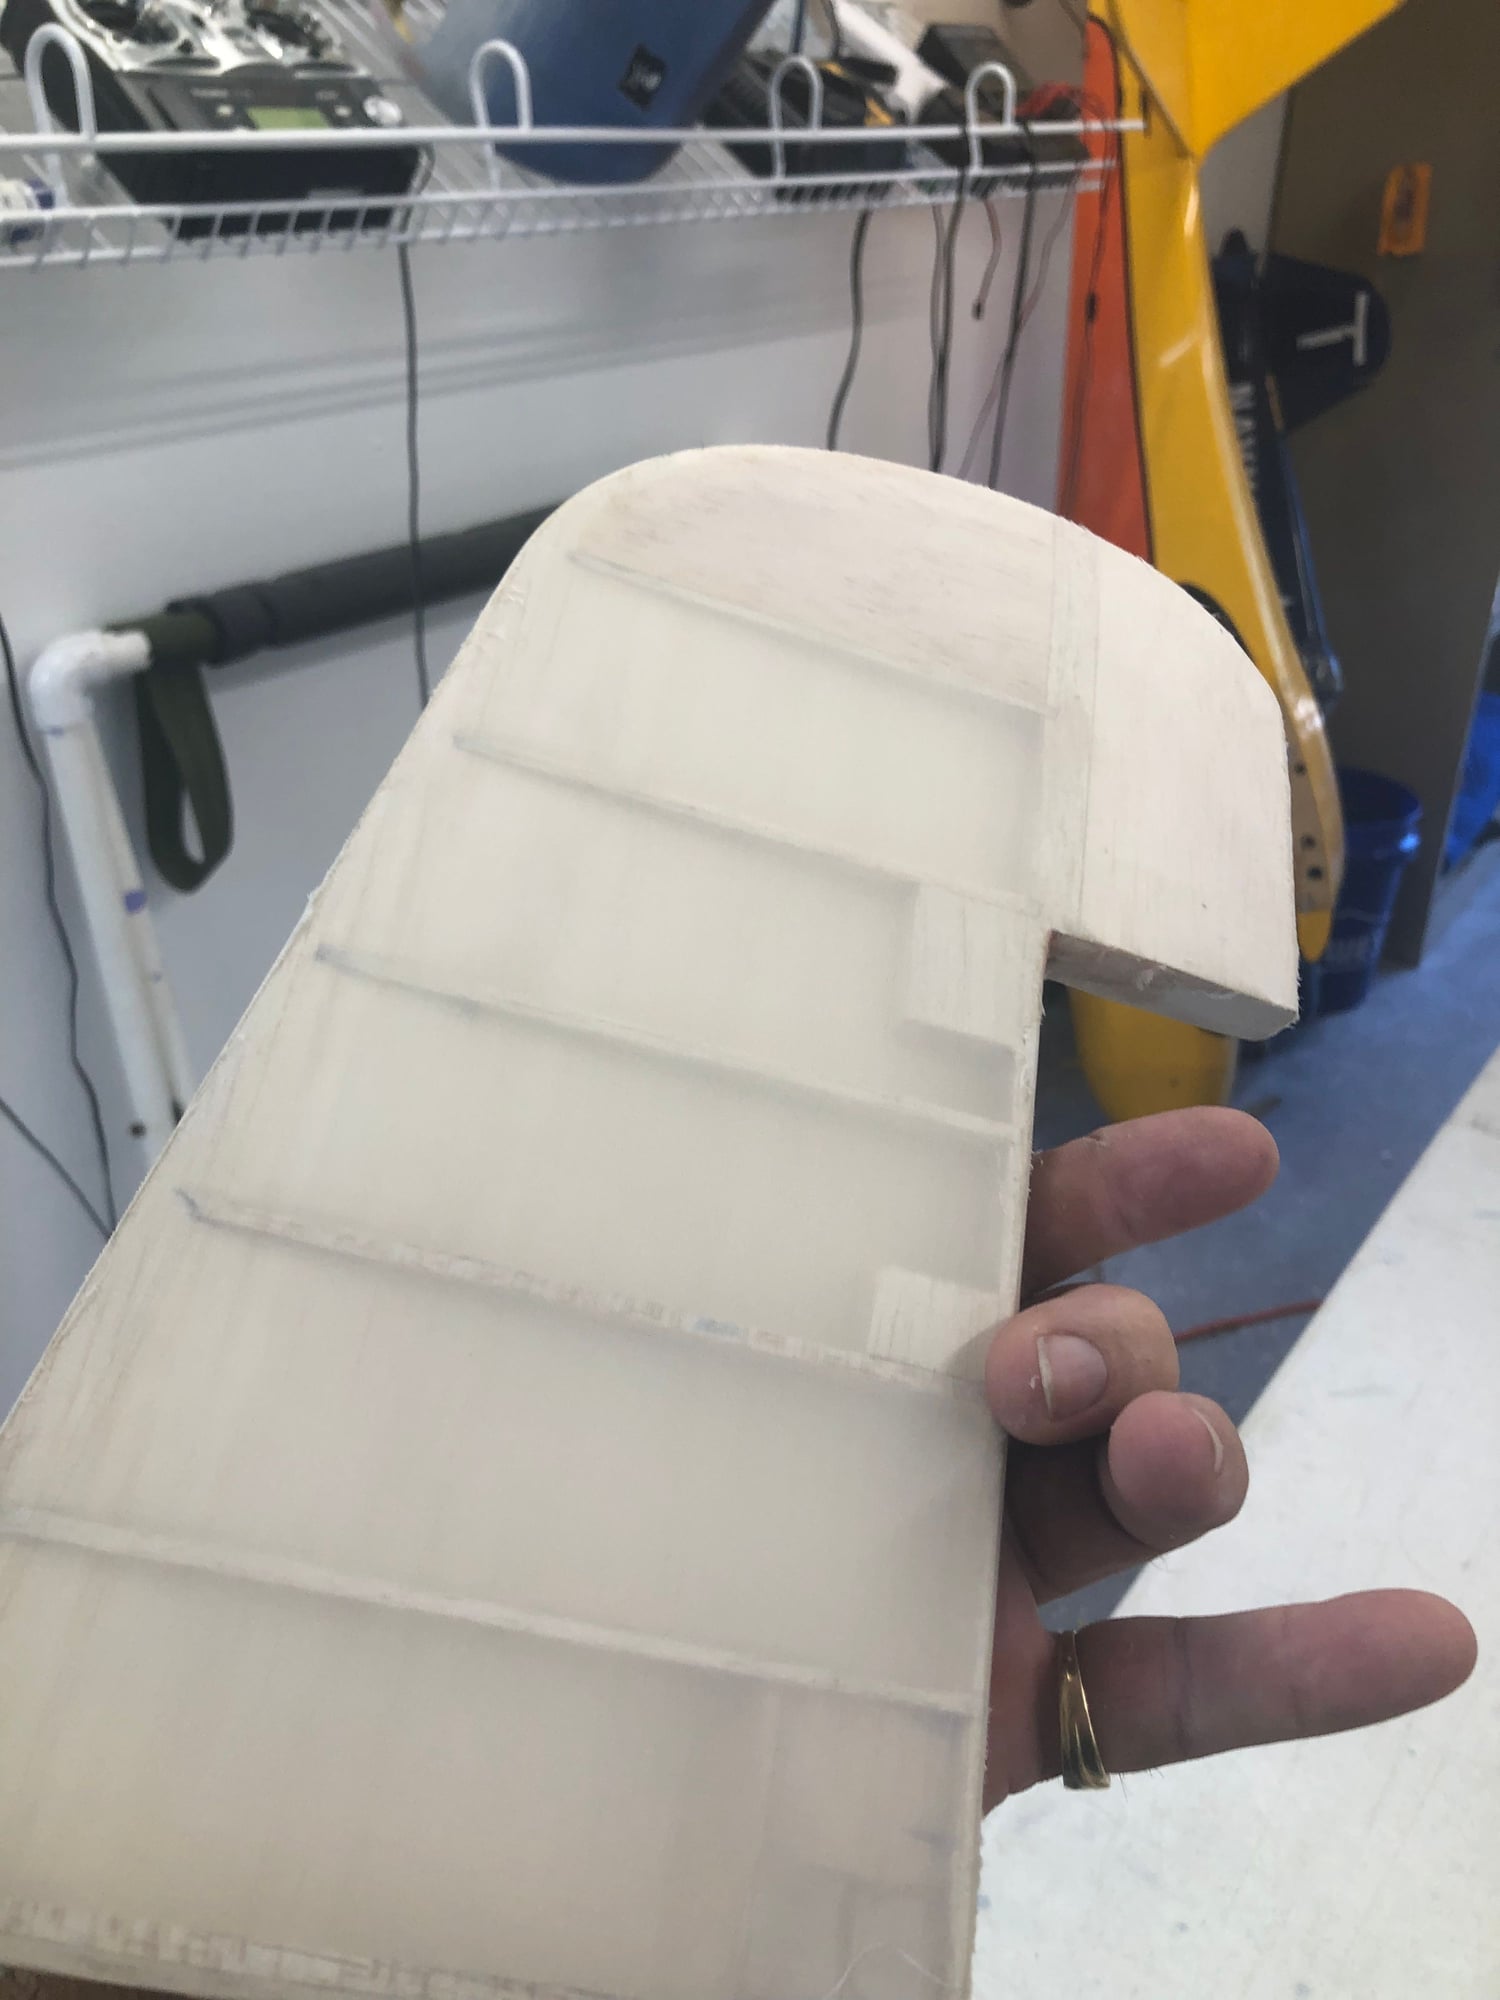
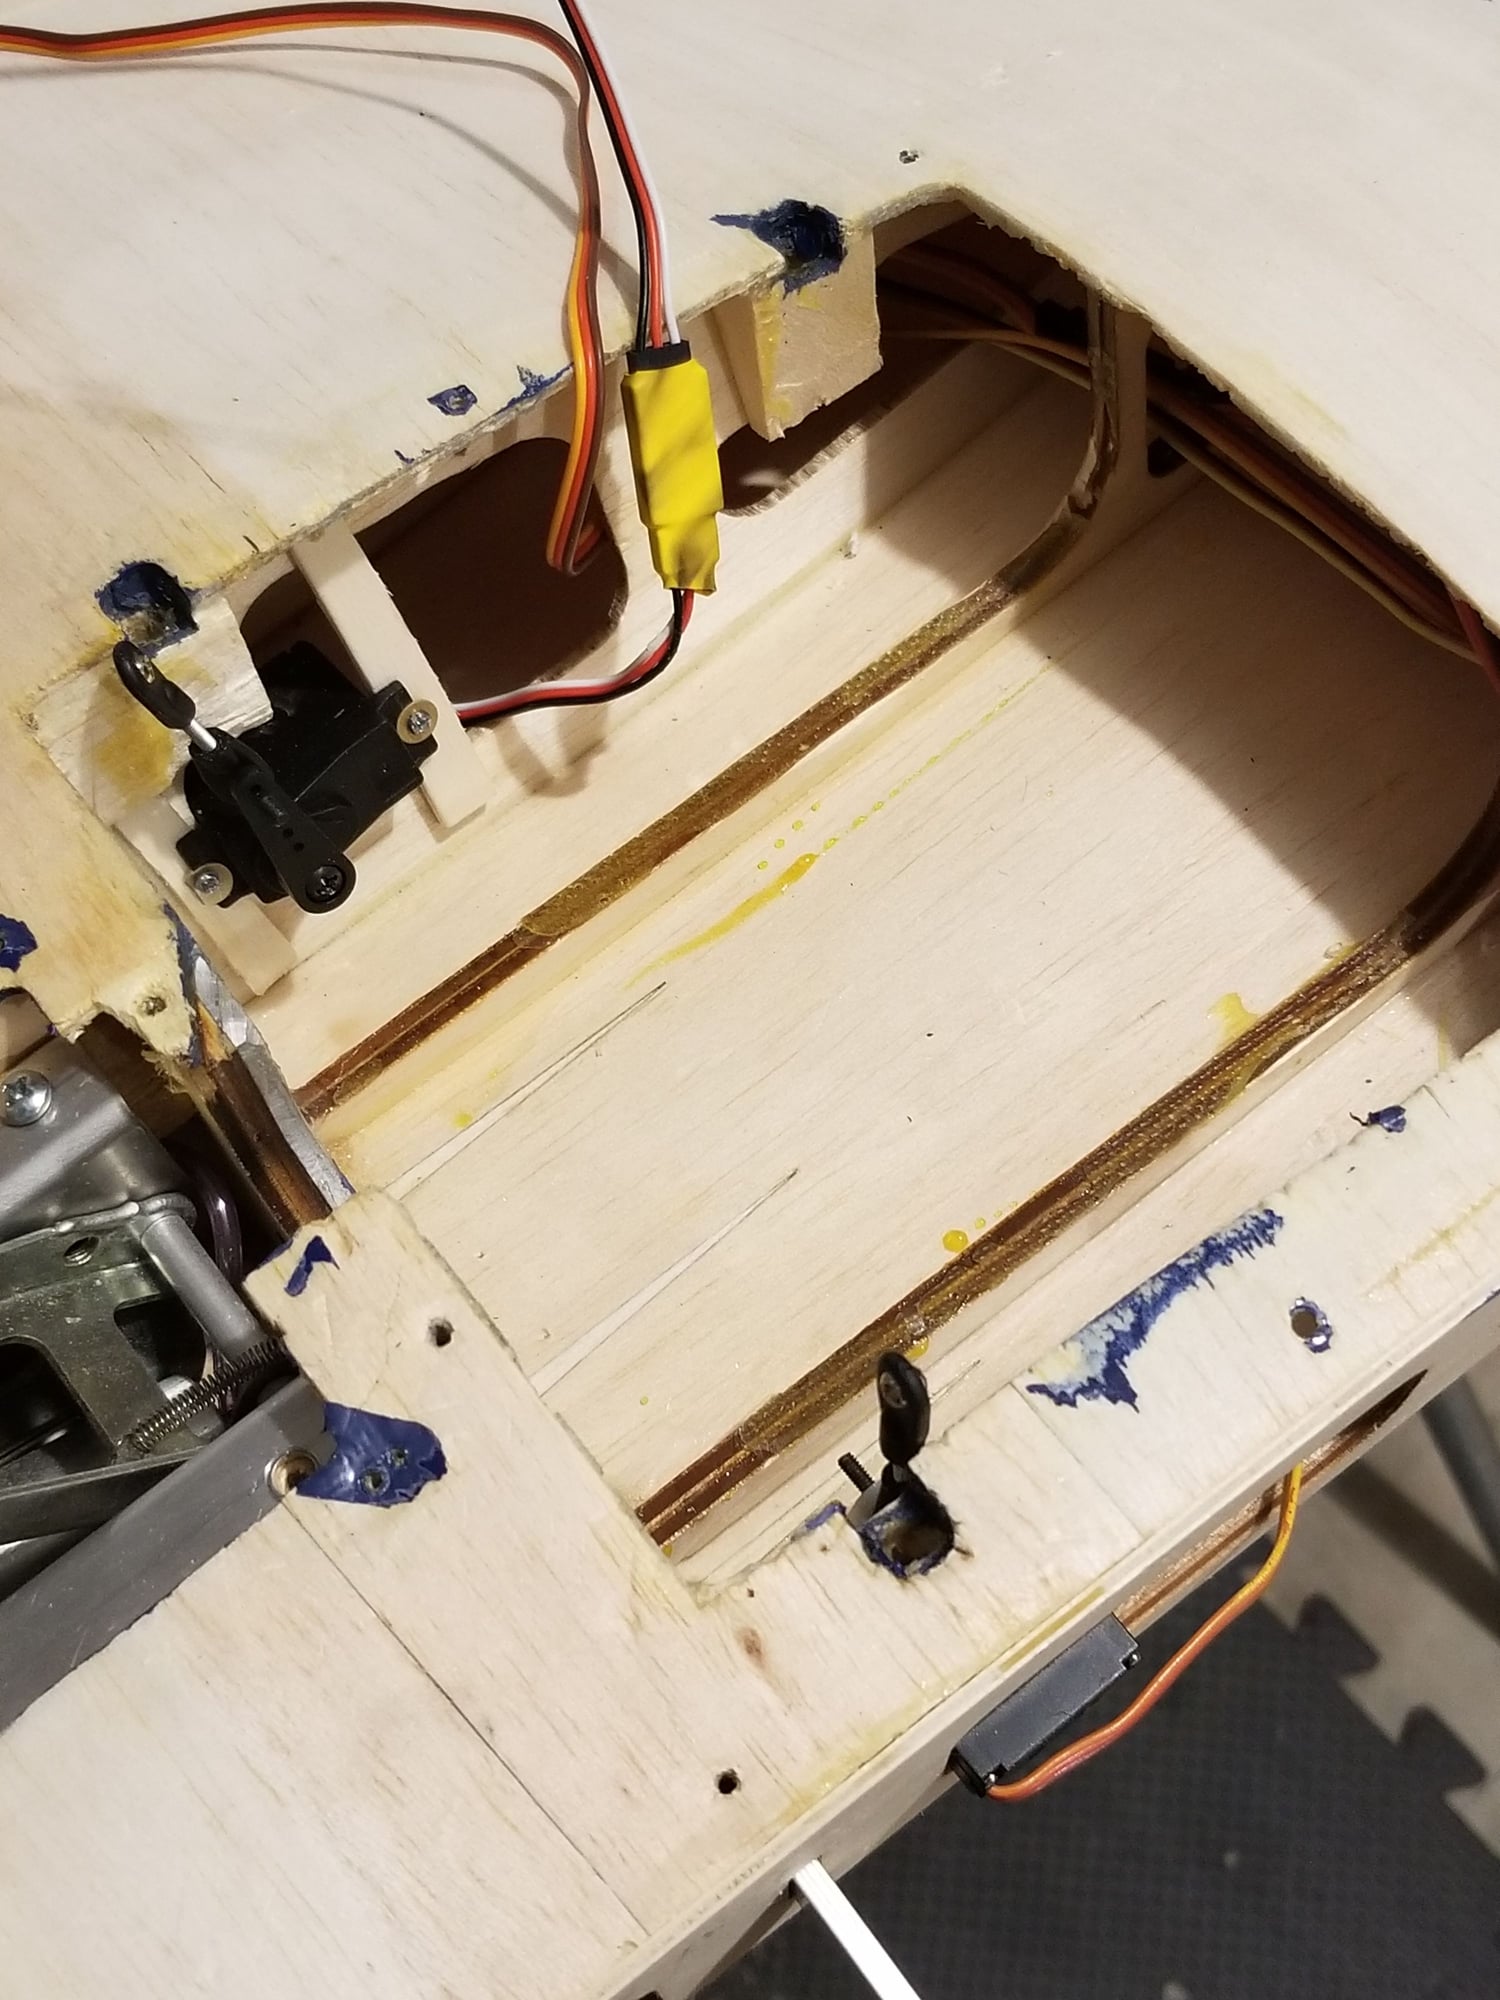
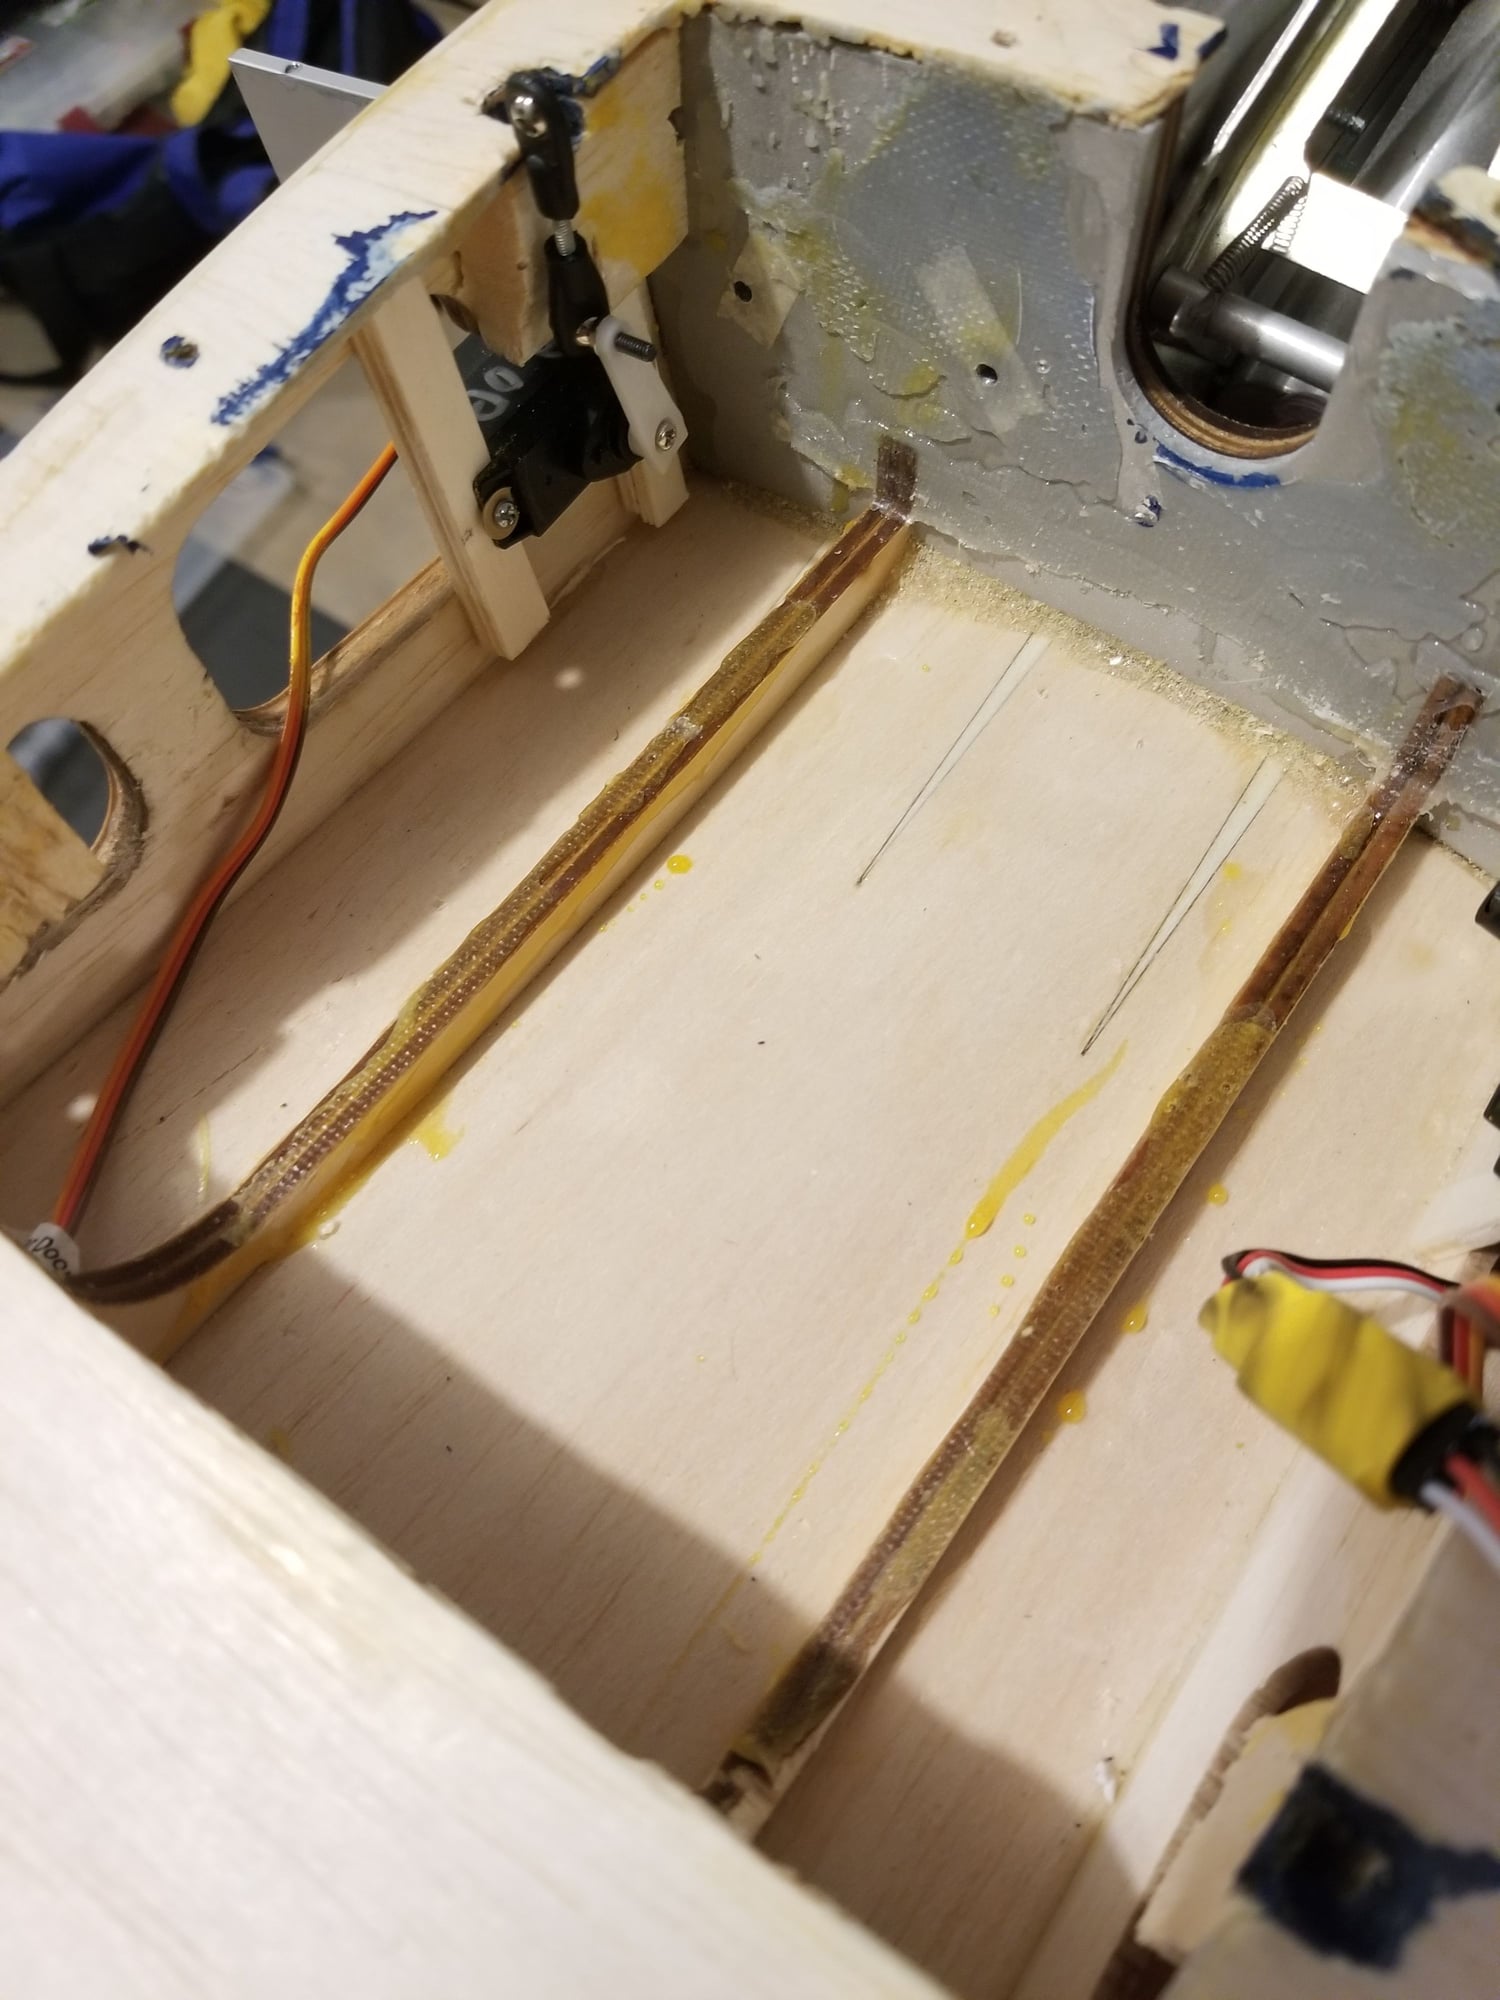
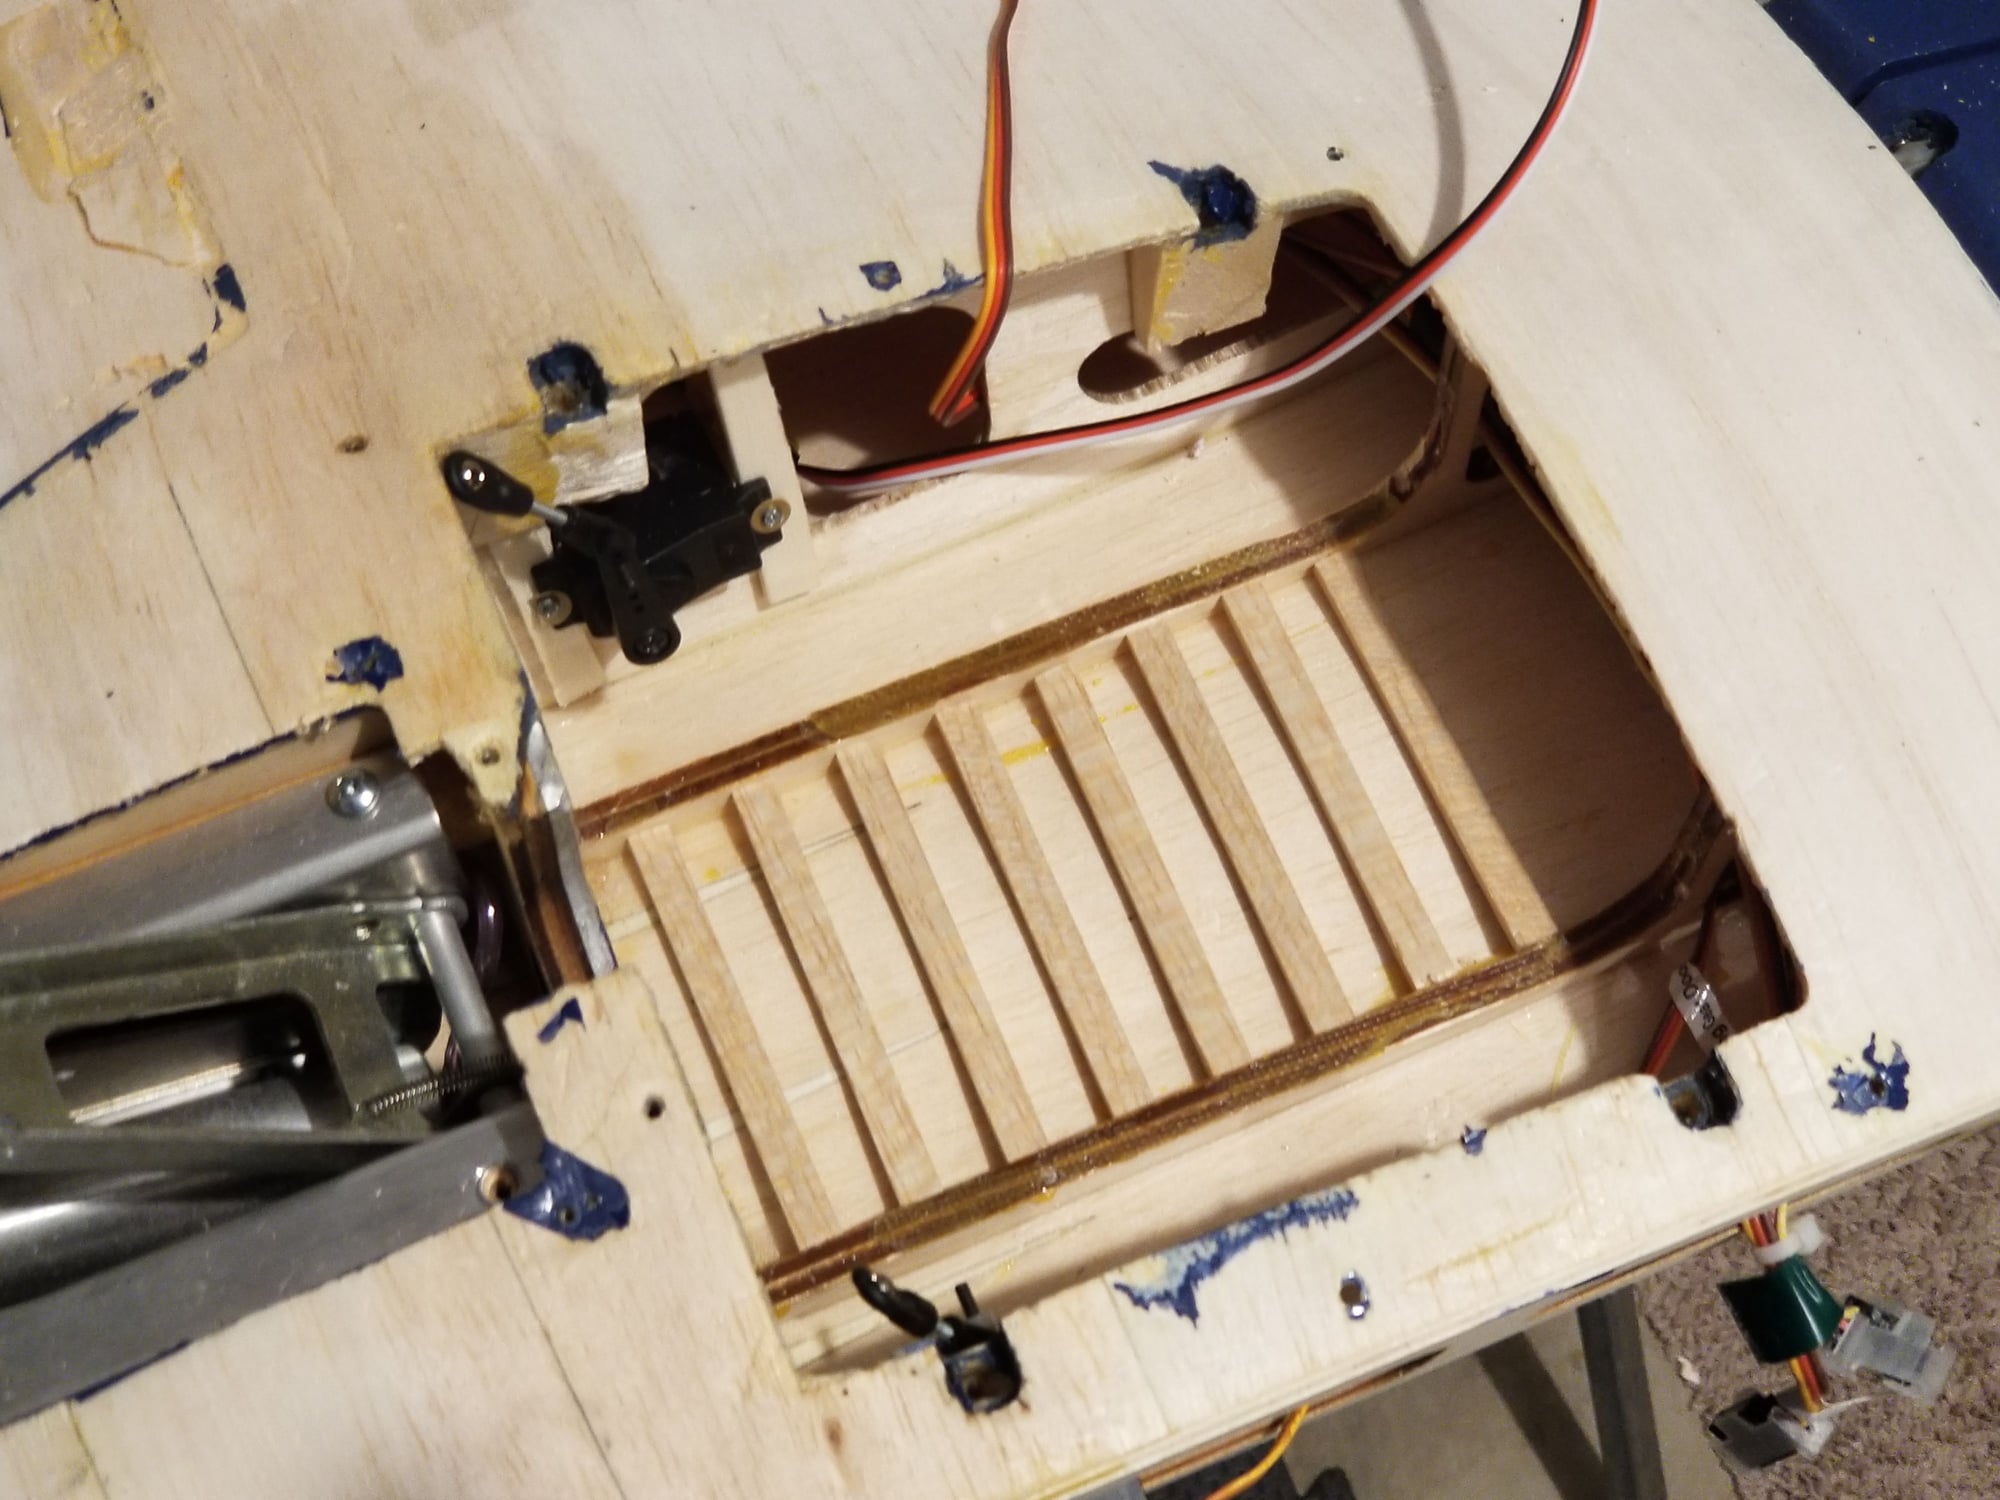
Glad to find this forum and hope it is still active. I was lucky enough to find a great condition F4U and have figured out most of the previous owner's build and setup. But need help in properly securing the outer wing panels to the center sections.
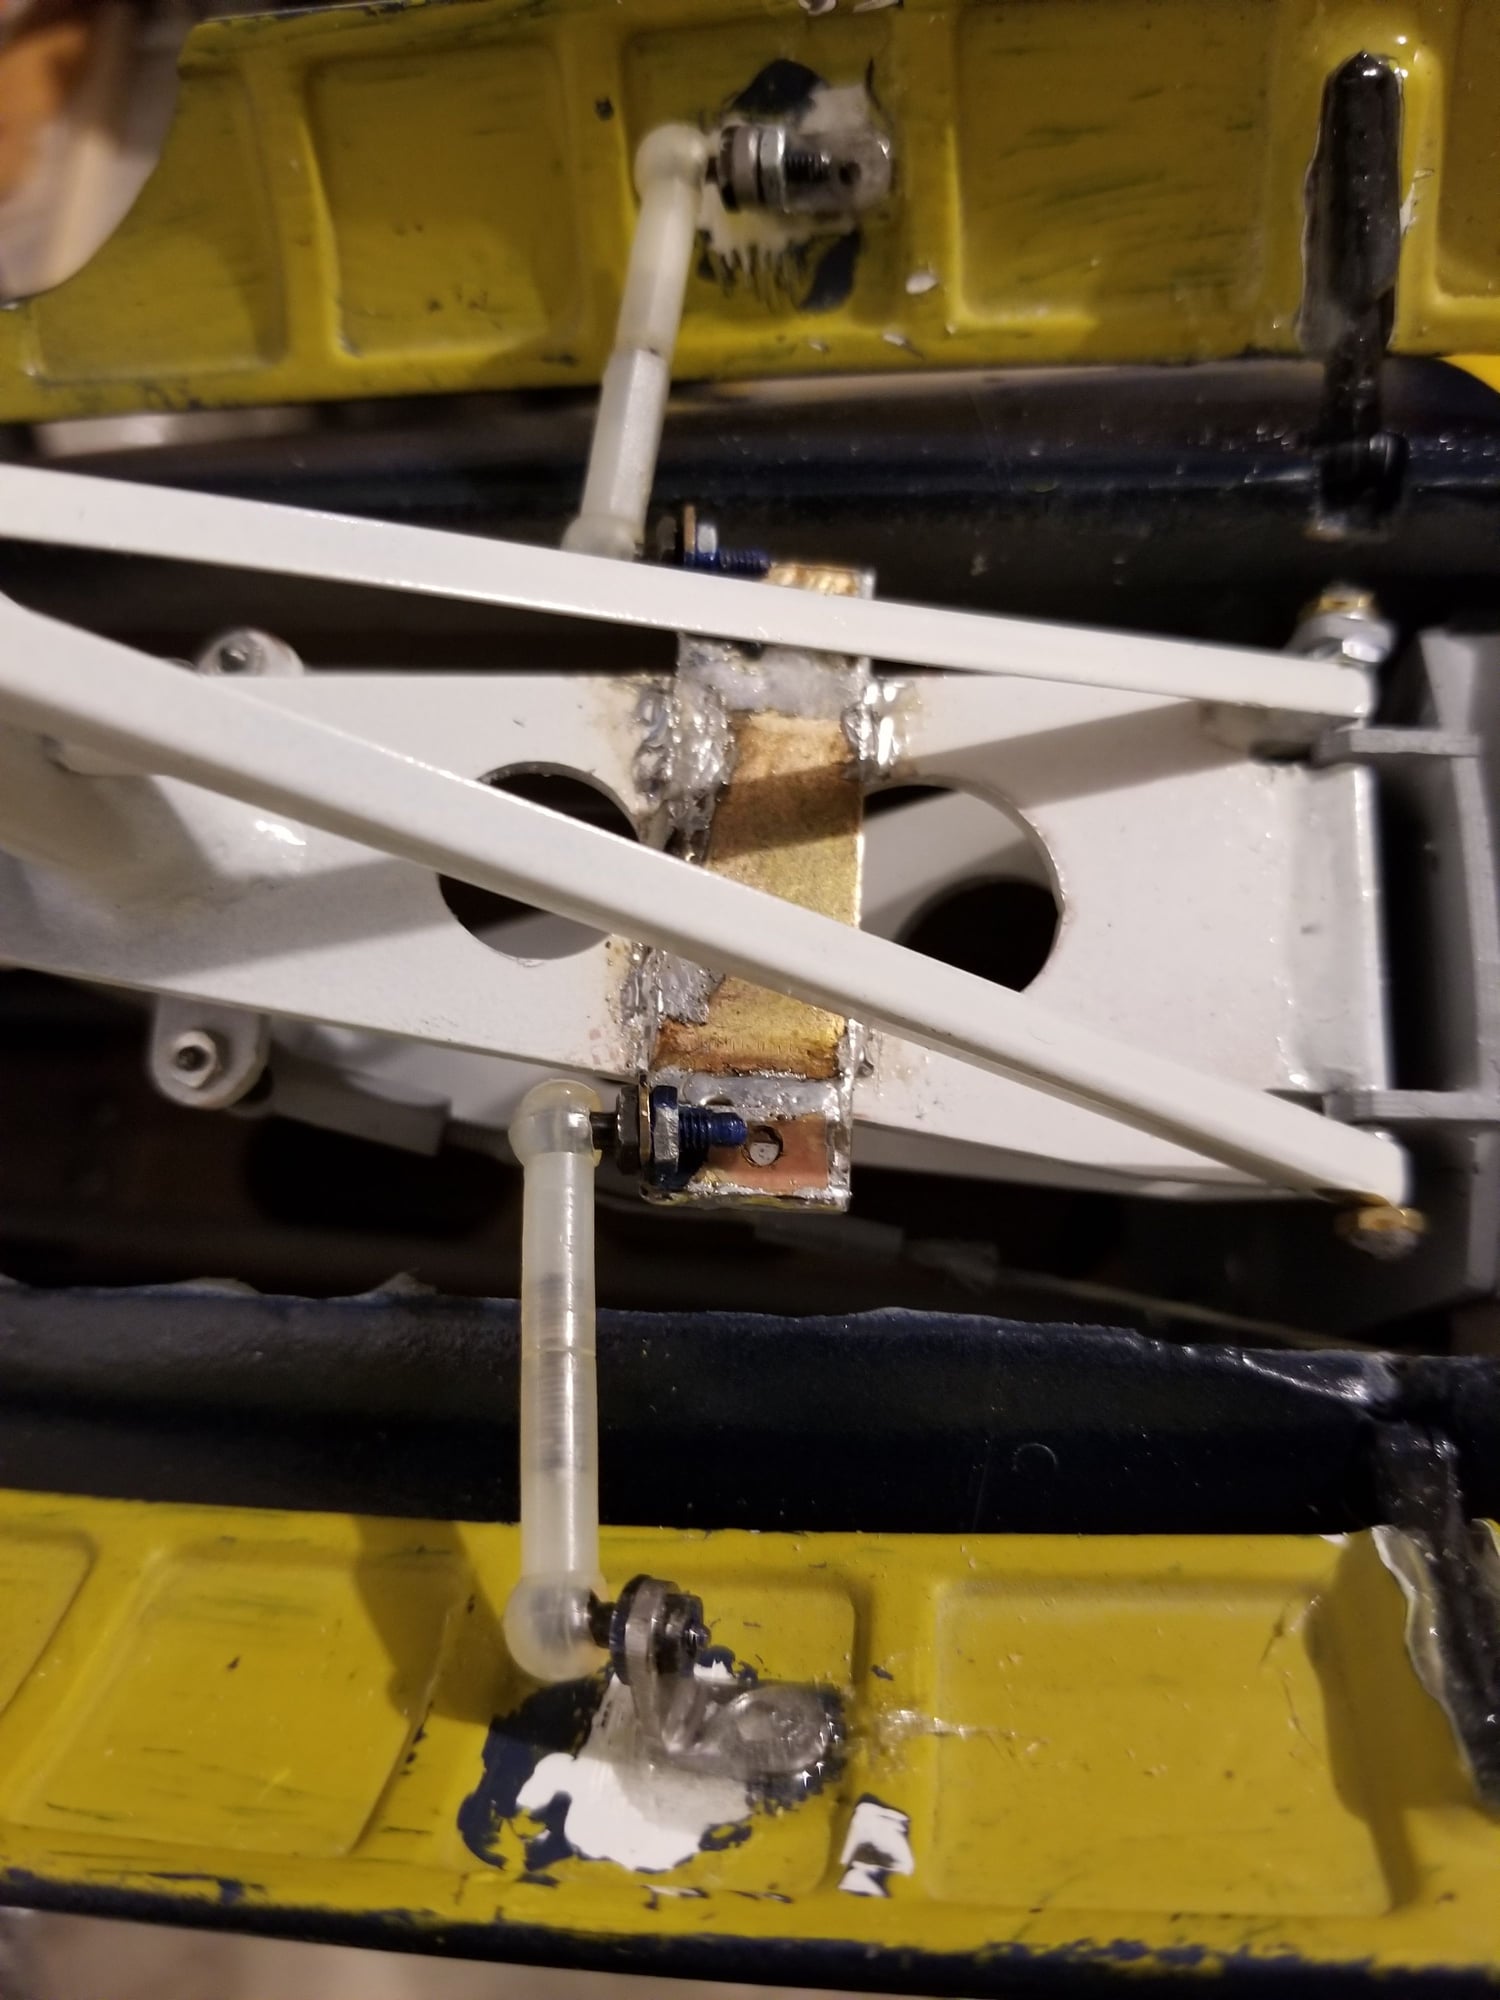
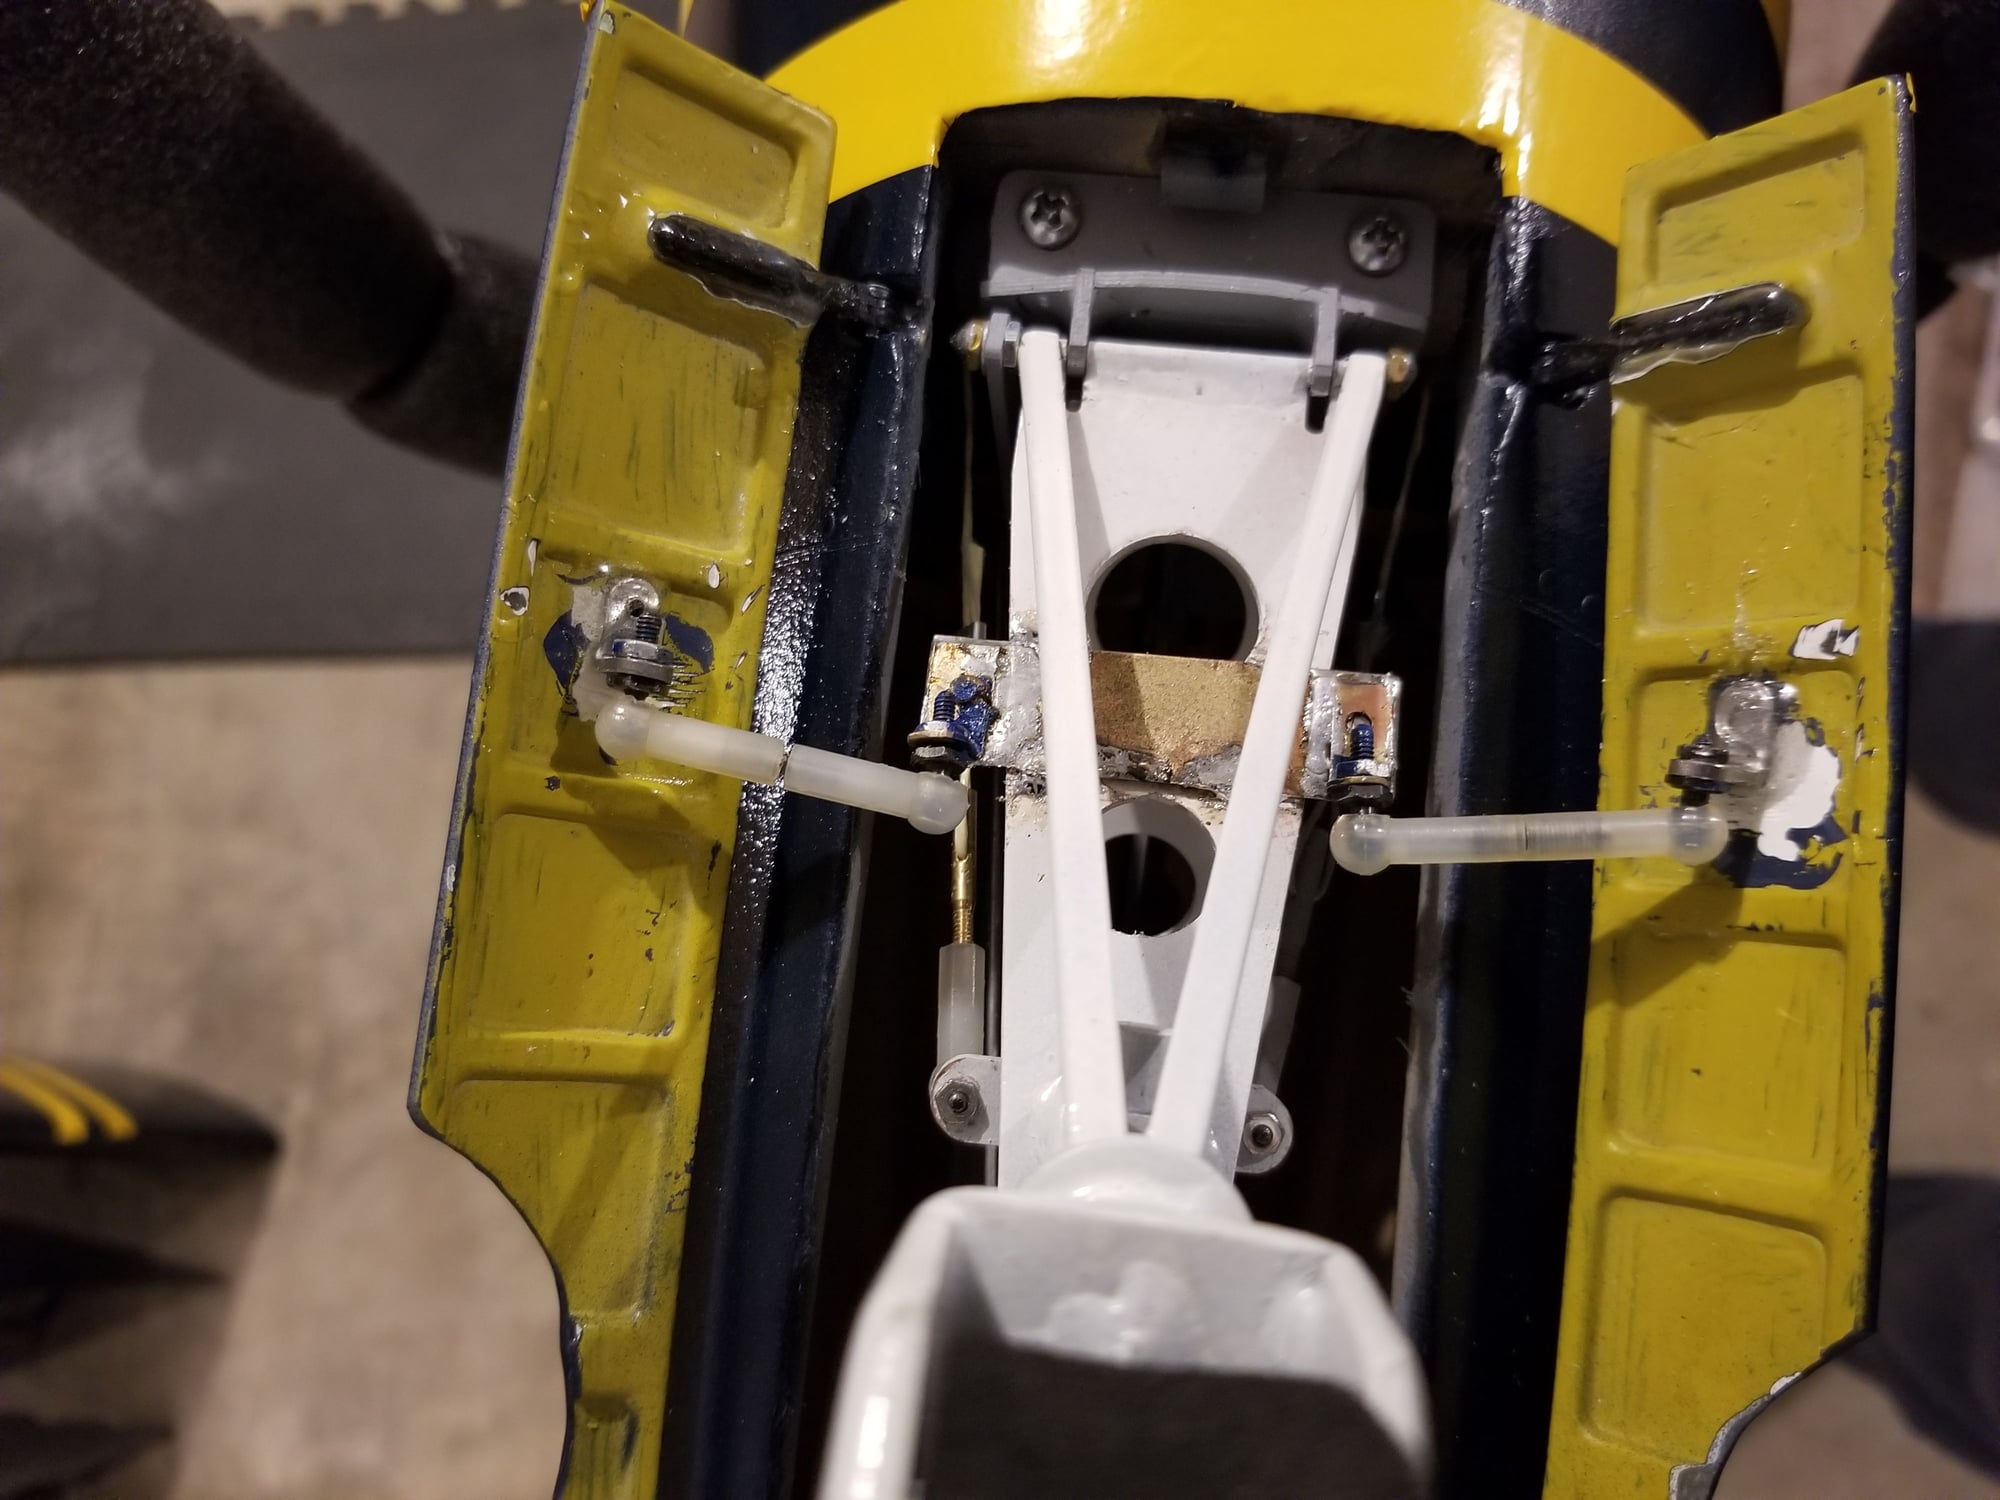
As you can see, the top of the outer panel has 2 bolt holes fore and aft. The bottom of the outer panel has 2 bolt holes side-by-side.
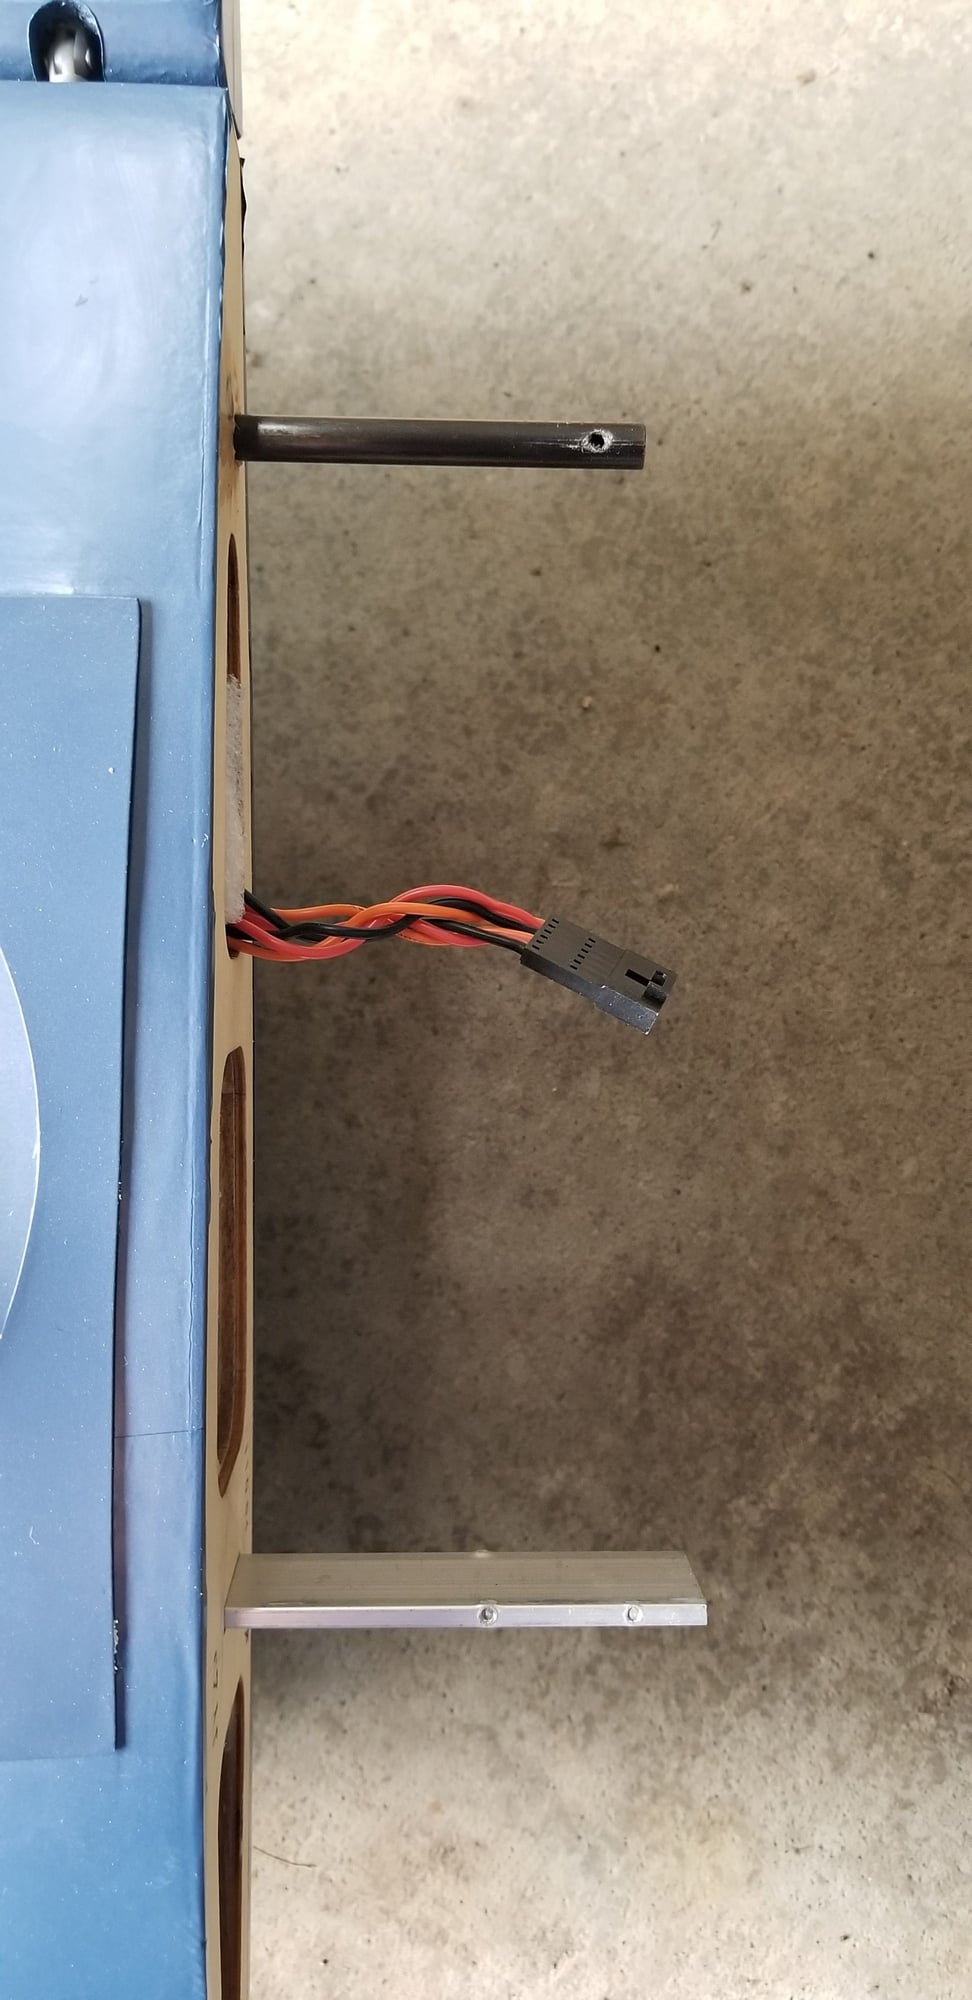
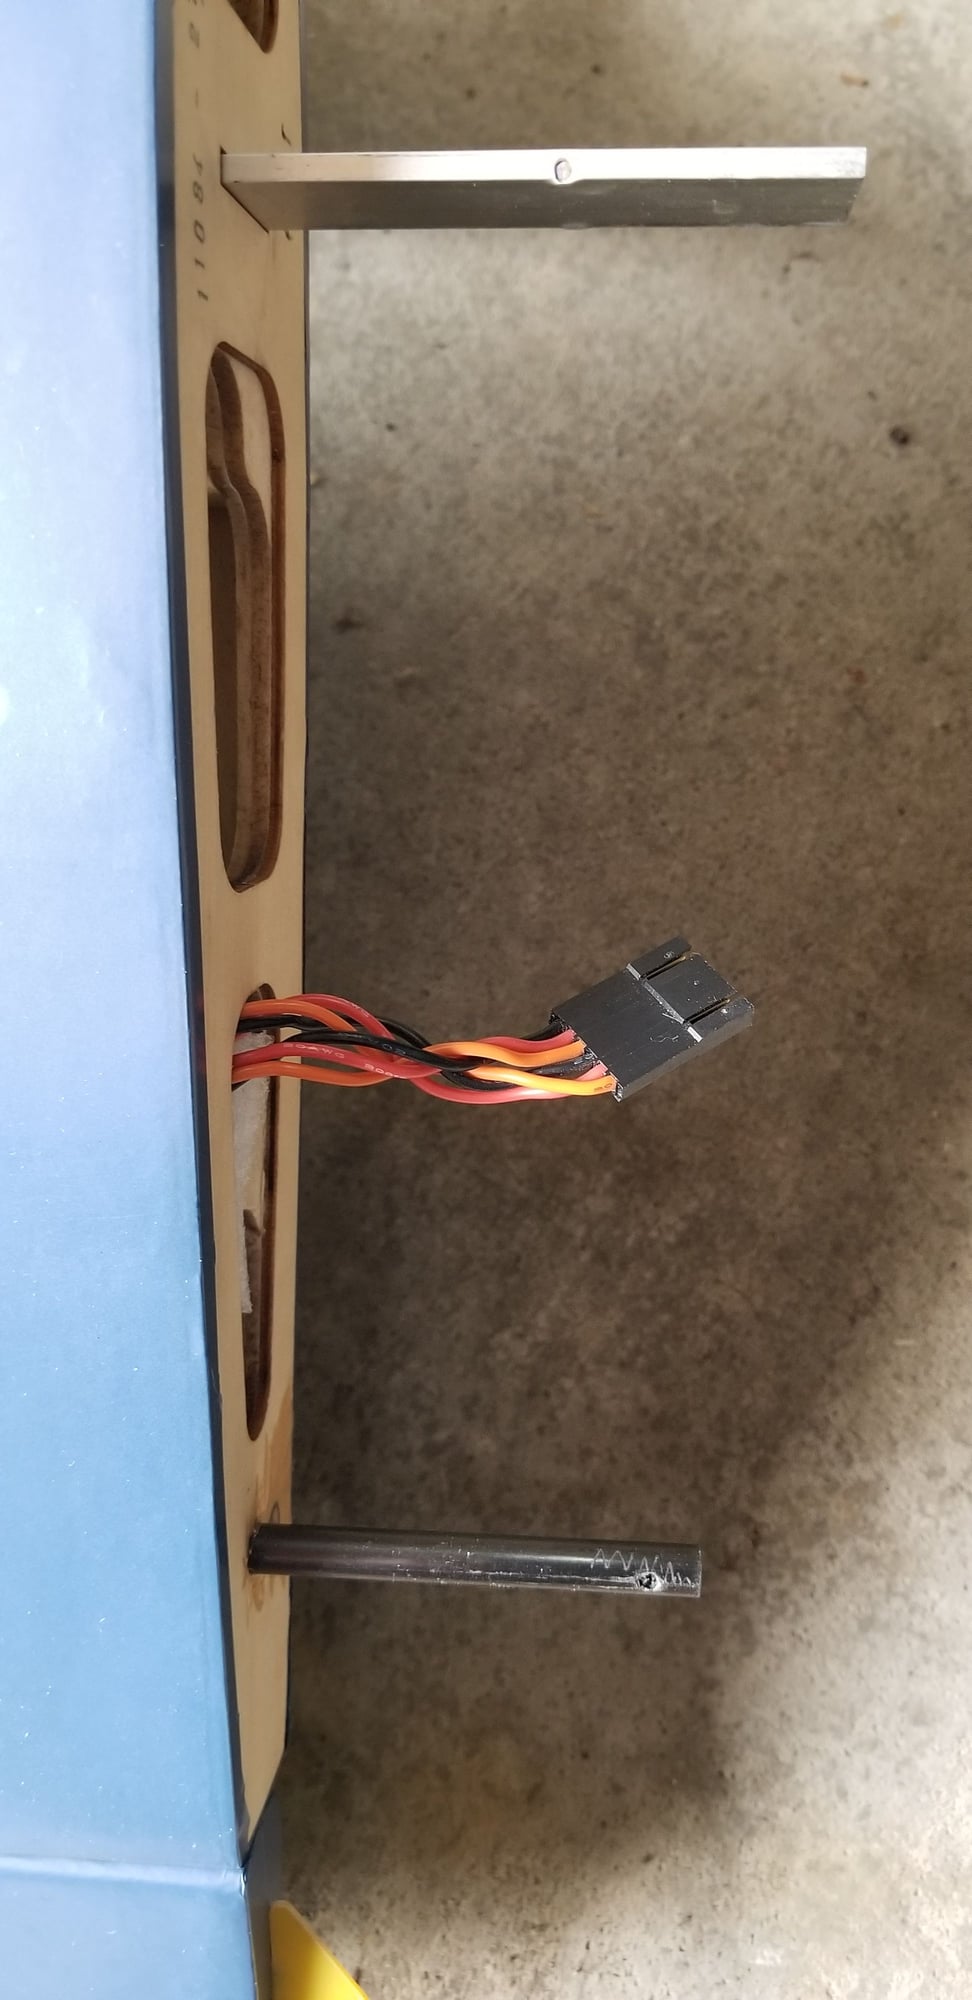
The top of the center section supports has a small hole thru the cf rod, and an indentation on the alum. spar.
The bottom of the center section supports has again, the hole in the cf rod, and 2 indentations on the alum spar.
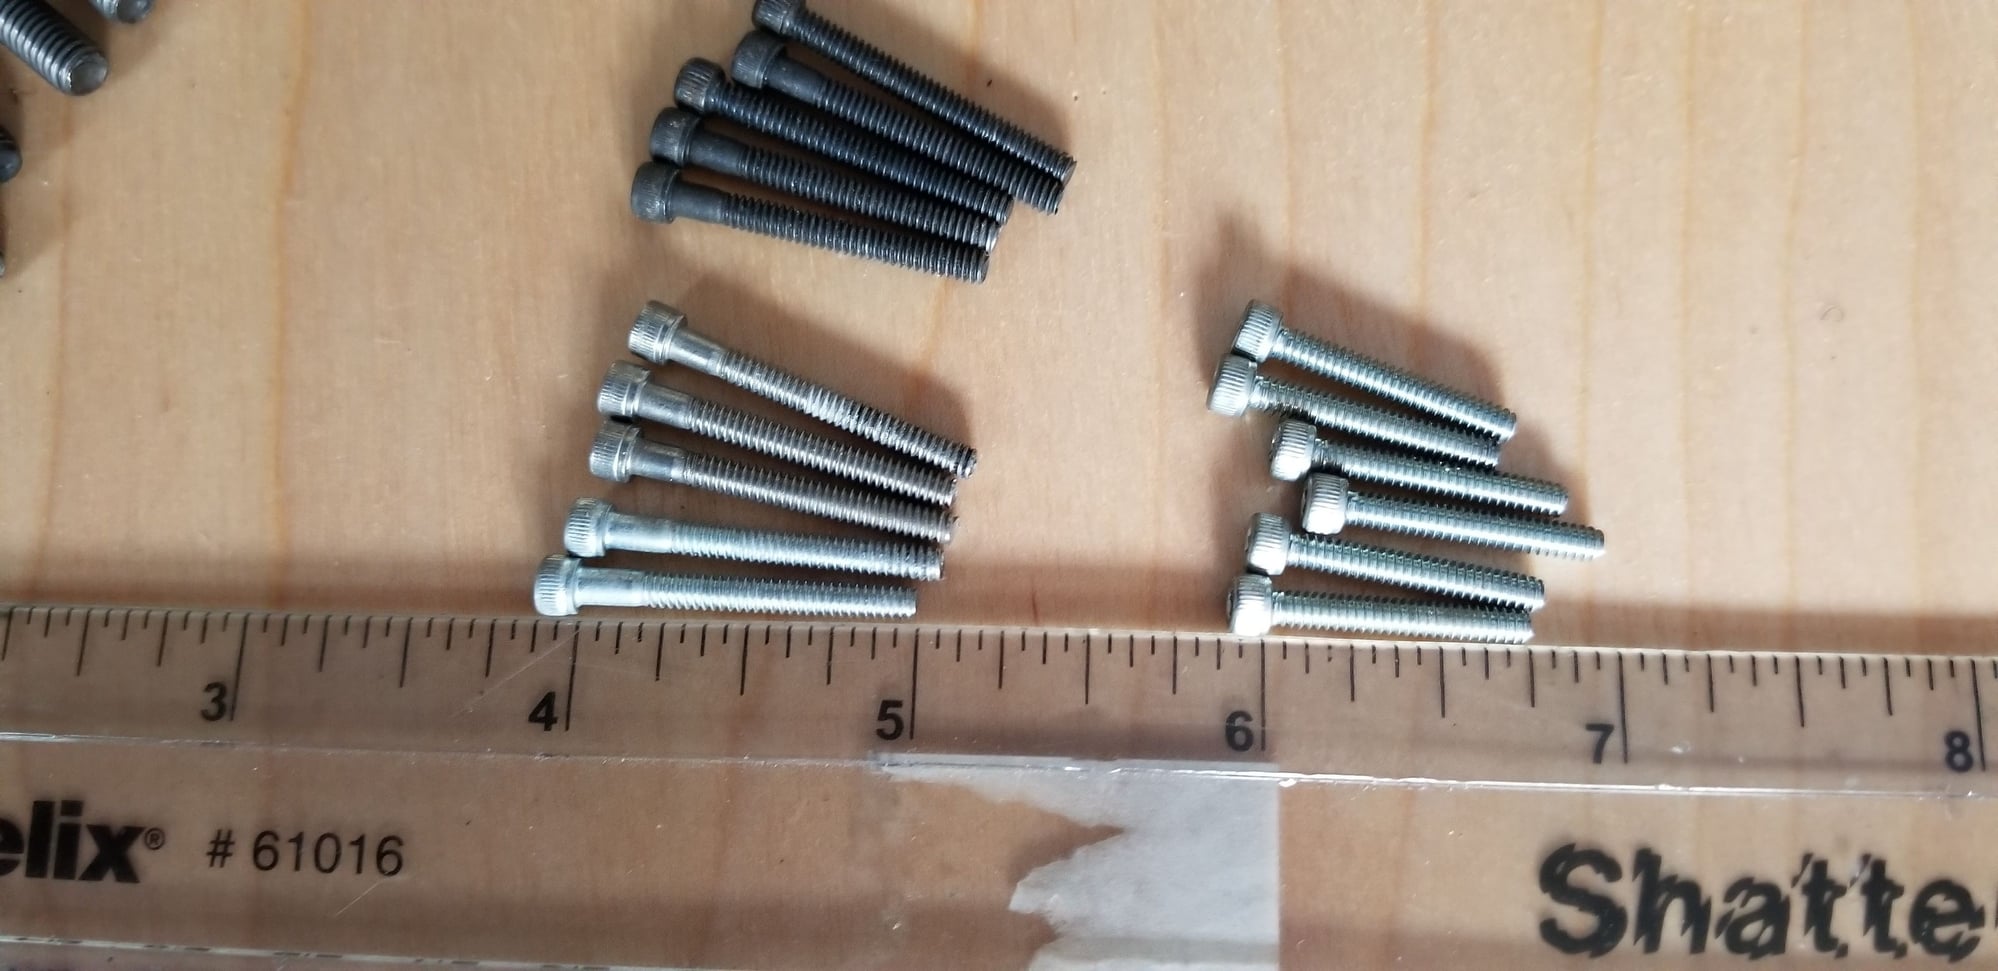
The bolts that came with it are 1 inch with a thin neck and 3/4 inch and seem to be same head size. The black bolts are also 1 inch.
None of these bolts screw very nicely into the cf, btw.
So am I to assume that you guys use for bolts to connect the outer wing panel? I don't want to force them in at the moment and get me in a jam.
Thx for the help! DSA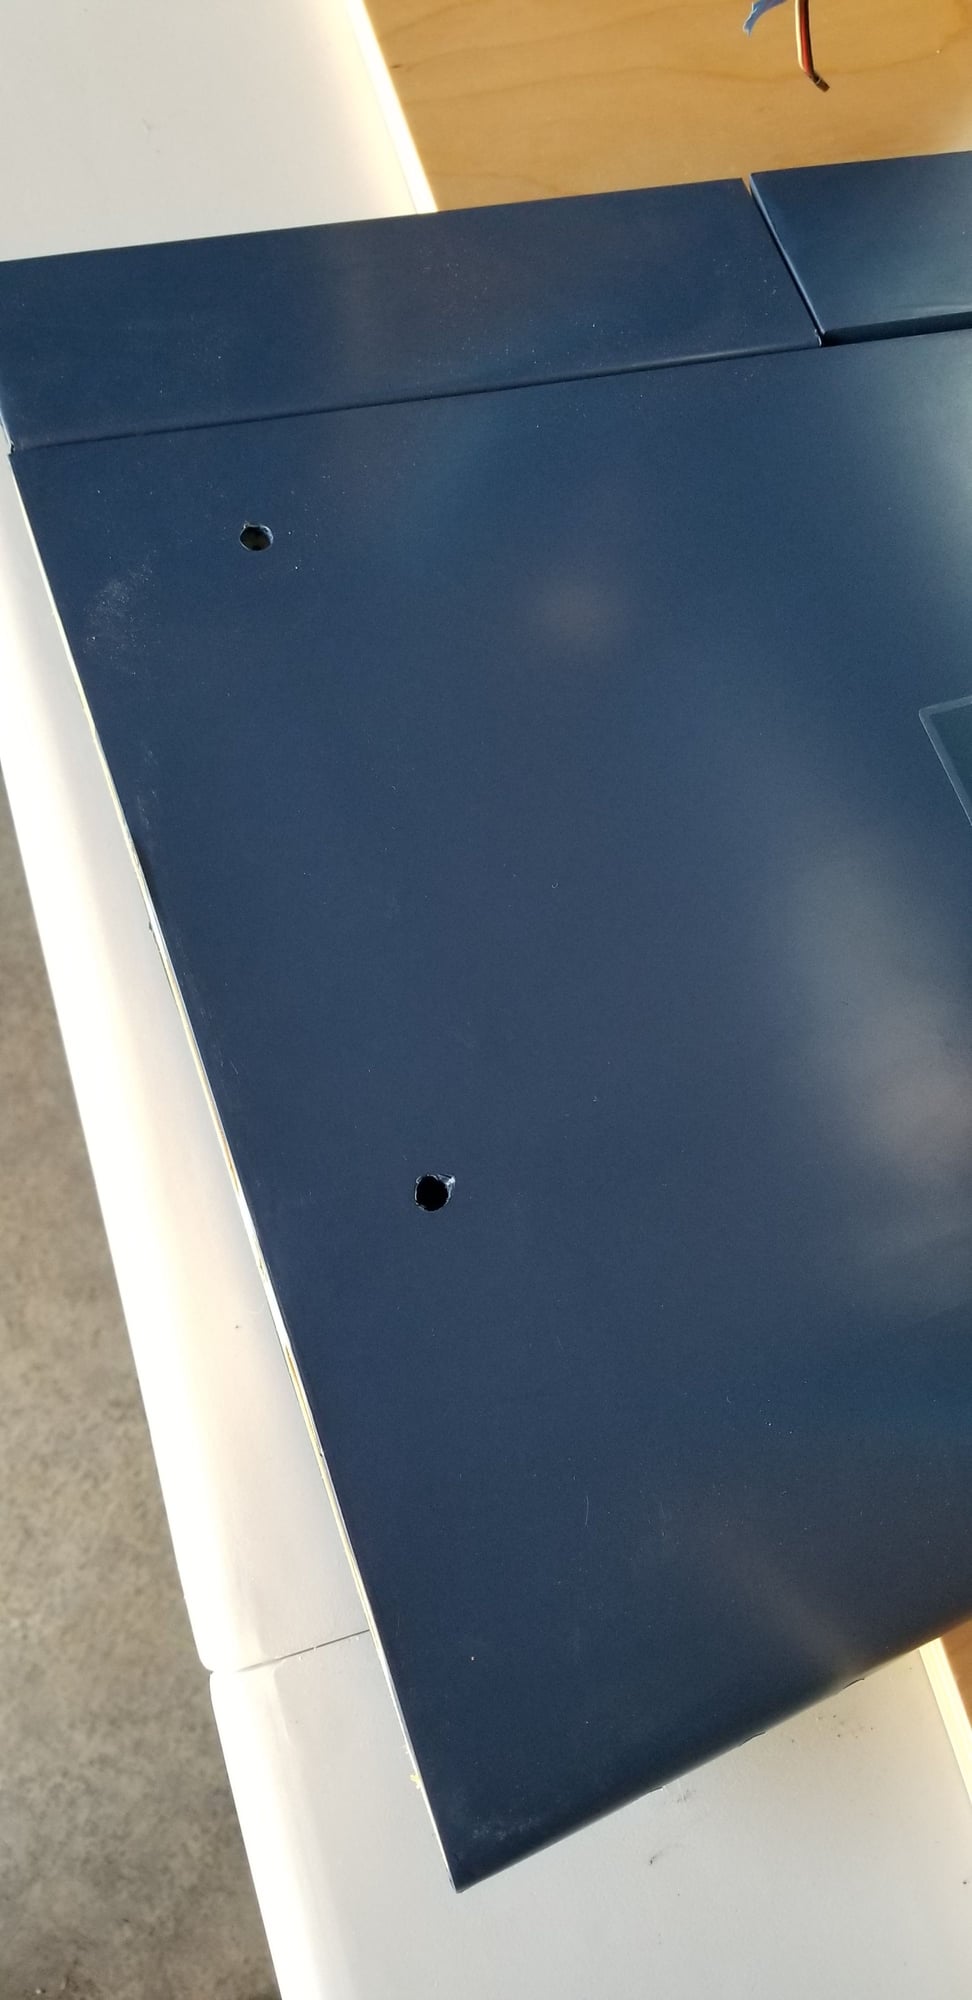
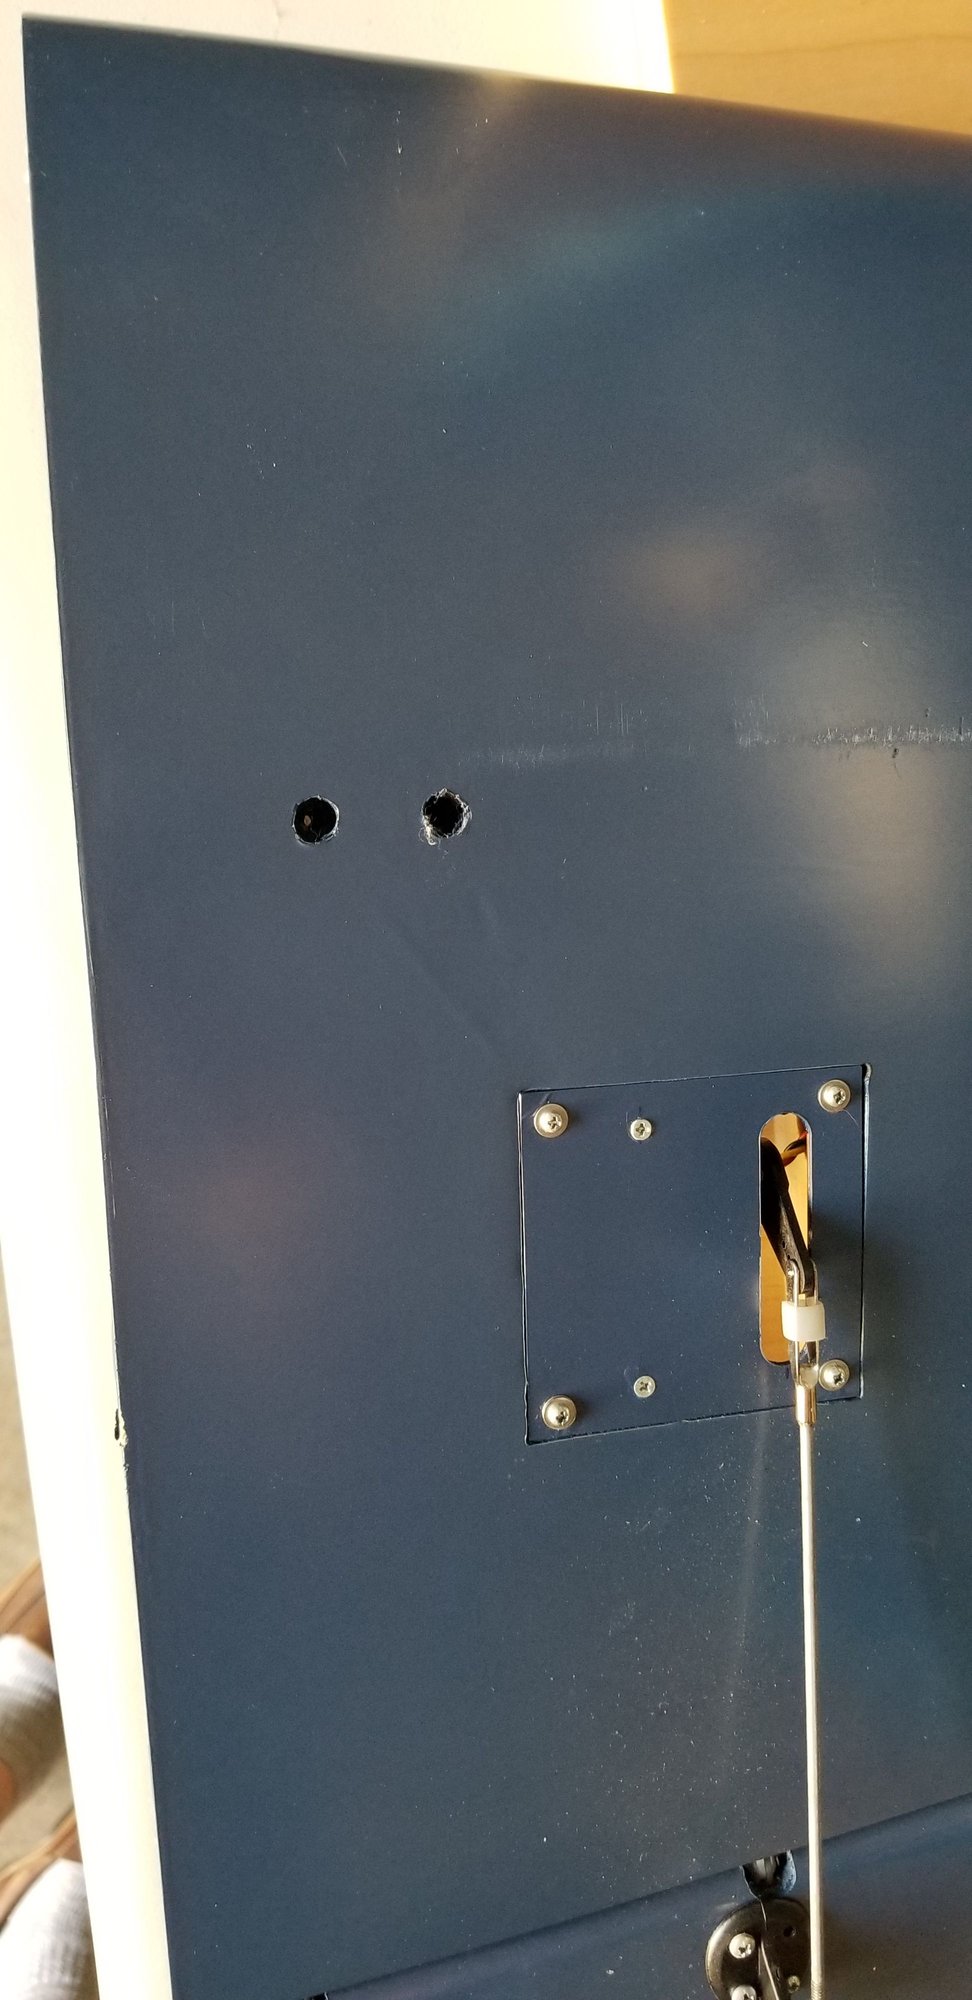
As you can see, the top of the outer panel has 2 bolt holes fore and aft. The bottom of the outer panel has 2 bolt holes side-by-side.
The top of the center section supports has a small hole thru the cf rod, and an indentation on the alum. spar.
The bottom of the center section supports has again, the hole in the cf rod, and 2 indentations on the alum spar.
The bolts that came with it are 1 inch with a thin neck and 3/4 inch and seem to be same head size. The black bolts are also 1 inch.
None of these bolts screw very nicely into the cf, btw.
So am I to assume that you guys use for bolts to connect the outer wing panel? I don't want to force them in at the moment and get me in a jam.
Thx for the help! DSA
07-31-2019, 01:07 PM
#666
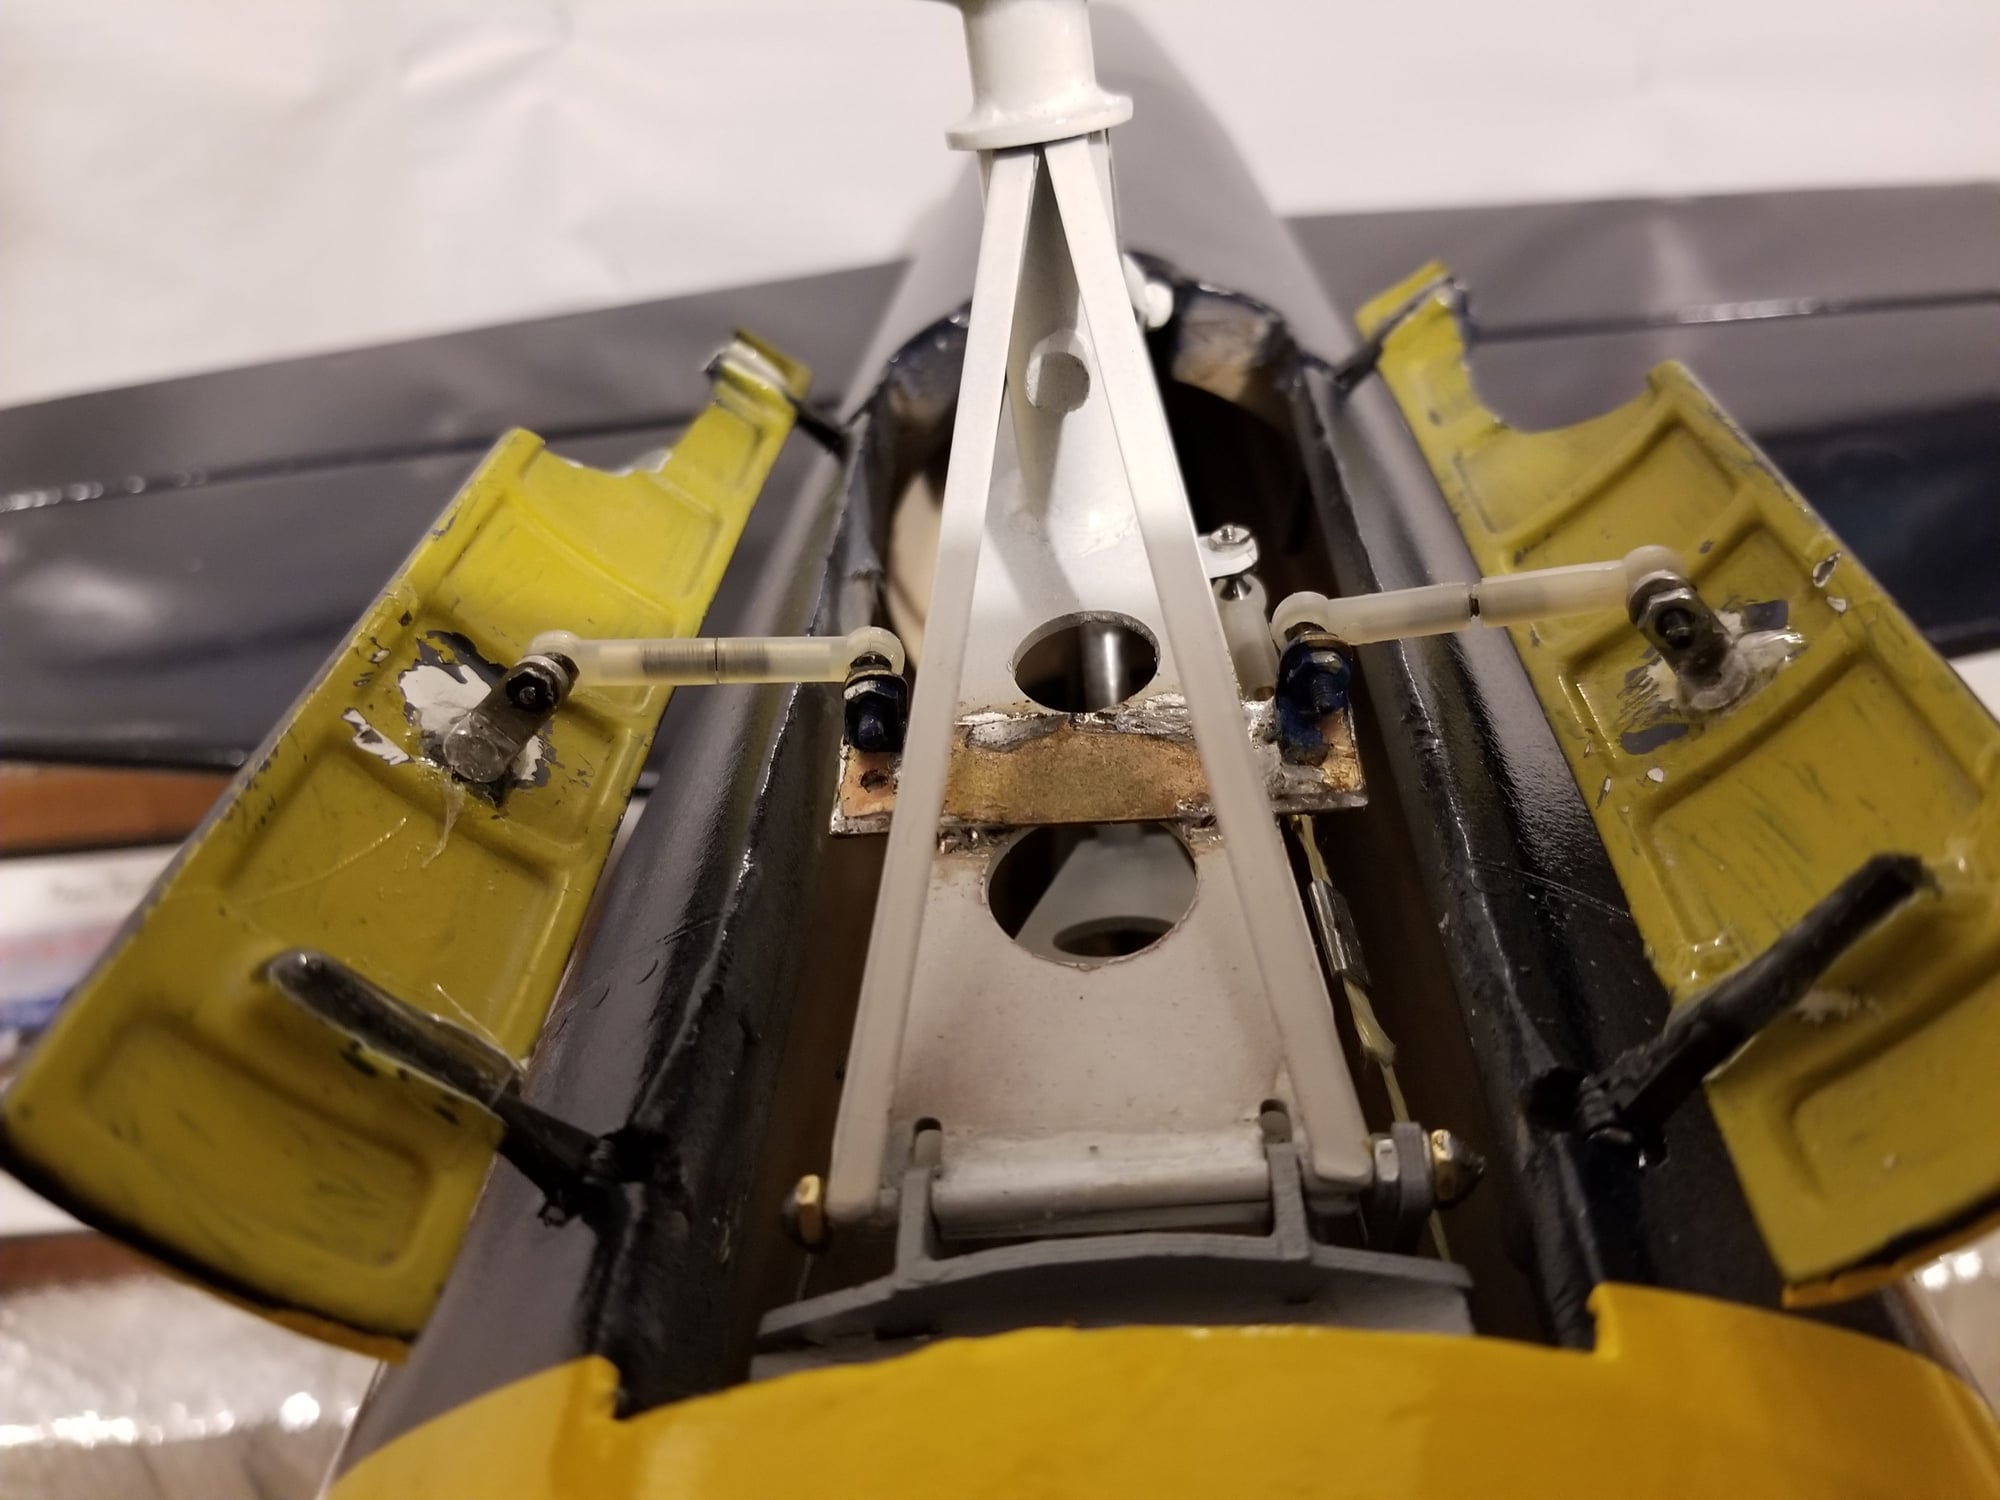
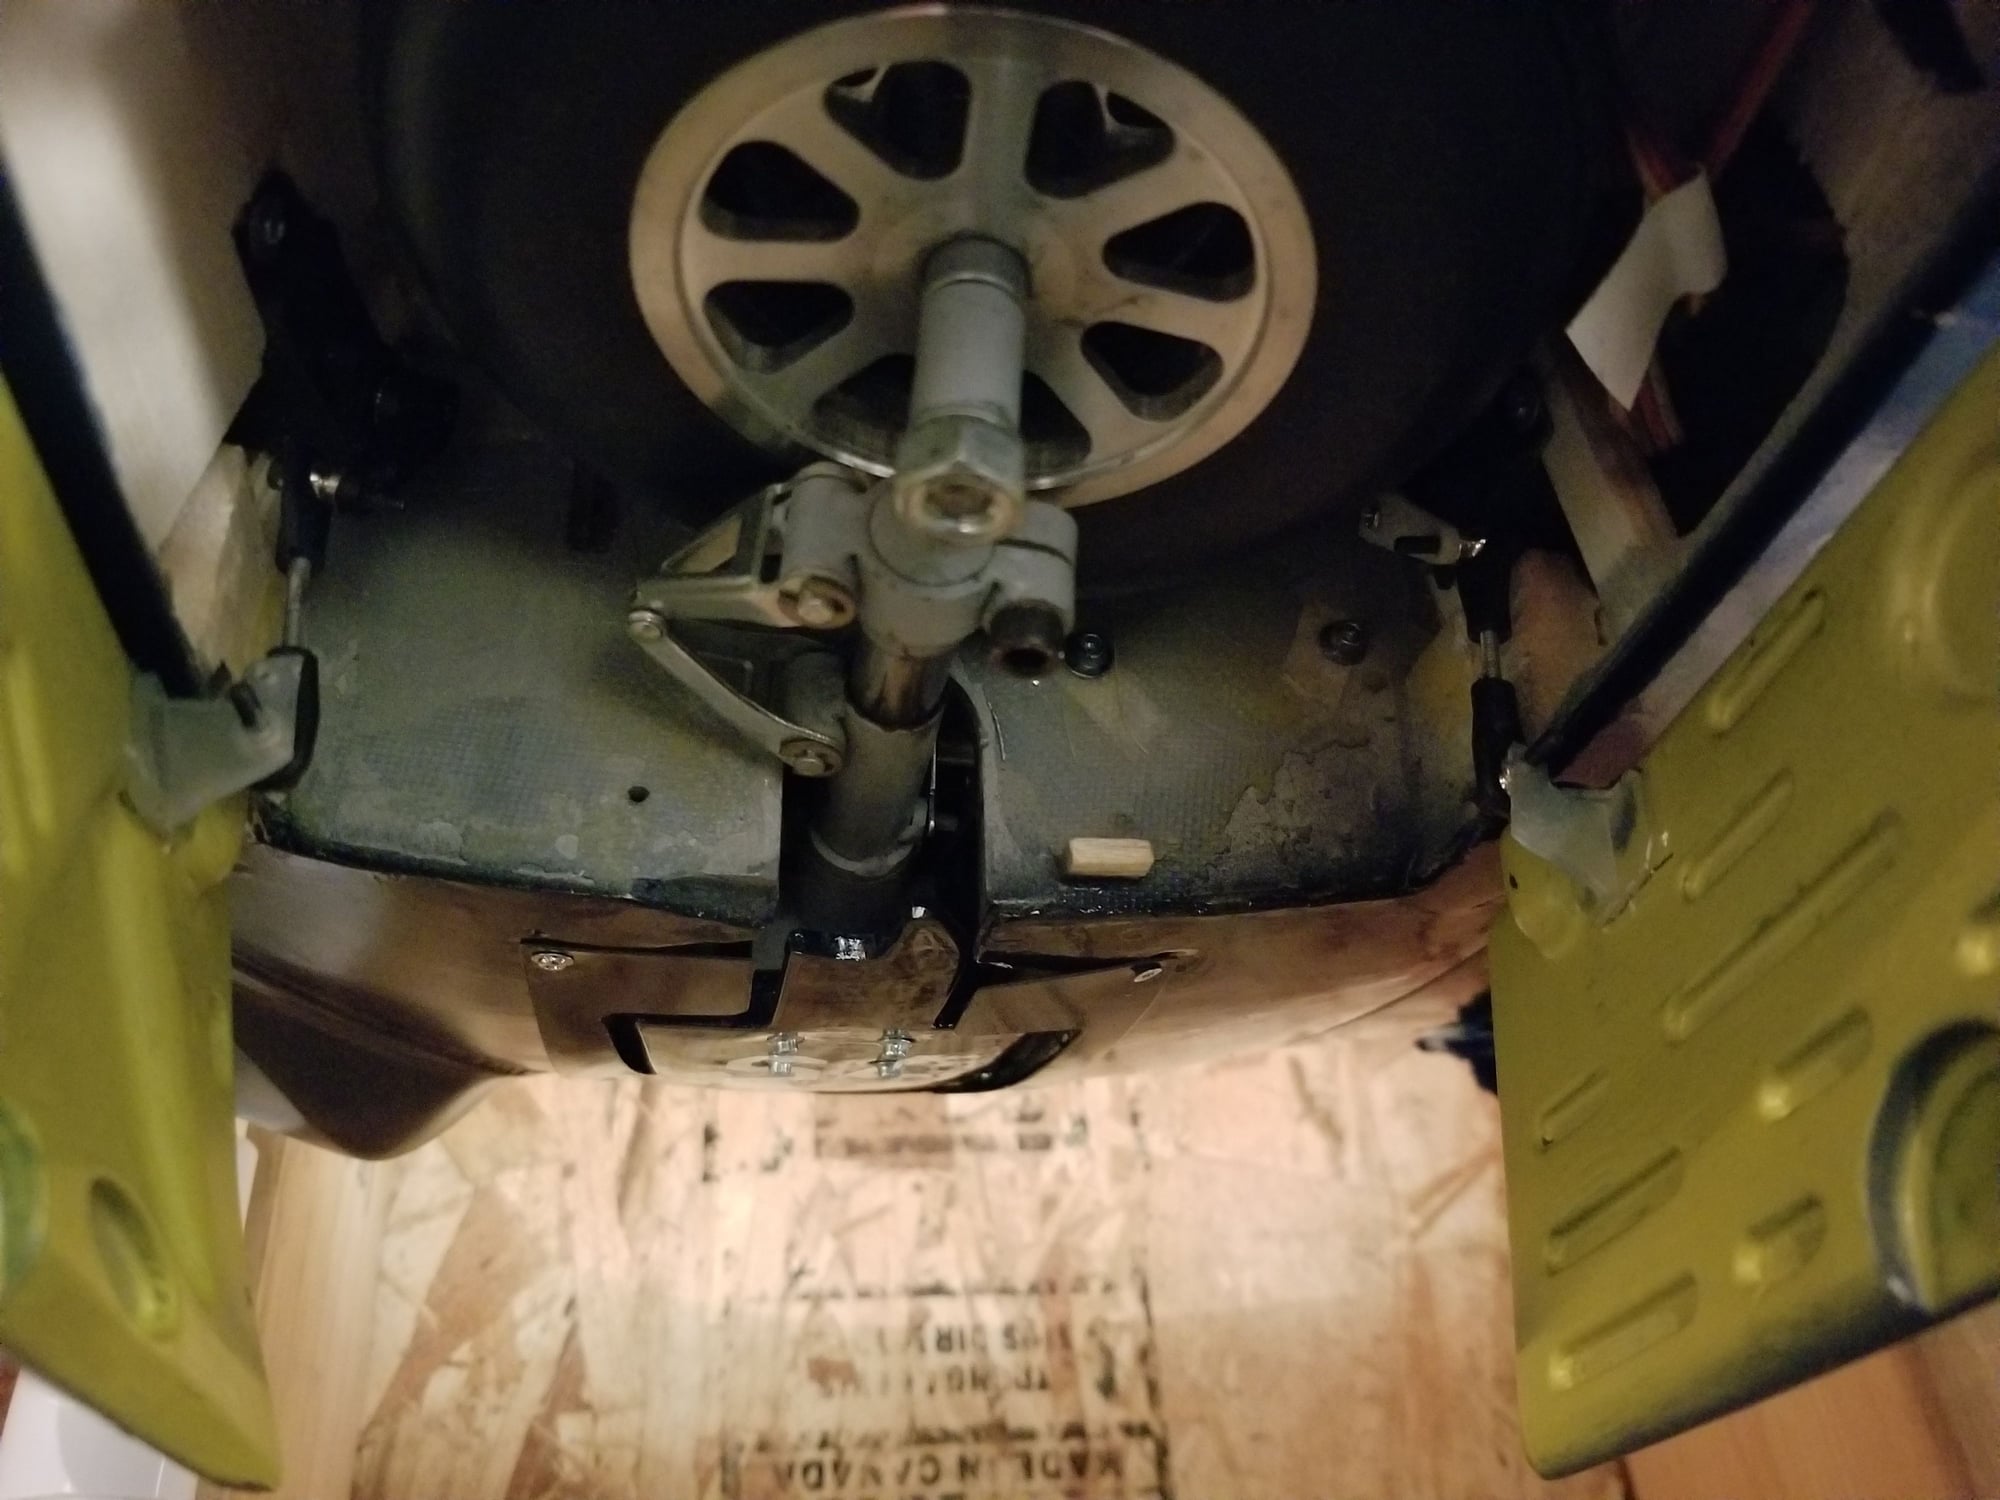
The outer wing bolts, 4 per wing, can be assembled at the field. The center wing section is bolted to the fuselage with two larger bolts and the plane can be easily transported gear up or down this way.
The round fuselage makes it hard to transport it without the center wing wing on unless you make a custom stand.
You will probably find out that you have to check the 3 outer wing bolts each flight. The 4th bolt, I call the Jesus bolt, never comes loose because it�s tightened into hard plastic and it�s pretty long. If you lose that bolt in flight and the others come loose then you get the picture. Make sure that one is installed every flight. I�ve landed with all of the bolts loose or barely tight before.
You can also file a flat where you can see the the tip of the bolts have already made an indentation. This helps make them safer from allowing the wing to slip off even if the bolt is not seated tight.
See the aluminum bulging where the bolt has deformed the spar? This makes it hard to slip the wings on/off. Go ahead and file that bulge off and make it smooth to match the spar.
Also, the threaded inserts in the wings that allow you to tighten the bolts will wear out or strip if your are heavy handed. They can be drilled out and replaced with brass self threading inserts and I have shown that on this thread.
Good luck, ask questions!
Last edited by Chris Nicastro; 07-31-2019 at 01:12 PM.
08-01-2019, 07:09 AM
#667
Join Date: Jul 2017
Location: Just East of Cleveland Ohio
Posts: 51
Likes: 0
Received 1 Like
on
1 Post
Thanks Chris! I am assuming what you call the Jesus Bolt is the 1" bolt placed on top of outer wing panel in the aft hole to secure into the CF rod? Then the 3/4" bolts go into the top and bottom holes which are more forward to secure against the metal spar?
Good idea to file down the small bump on the metal spar for cleaner fit.
Thx again, Doug
Good idea to file down the small bump on the metal spar for cleaner fit.
Thx again, Doug
08-08-2019, 01:17 PM
#668
Join Date: Jul 2017
Location: Just East of Cleveland Ohio
Posts: 51
Likes: 0
Received 1 Like
on
1 Post
Ok, everything fits together nicely.
Prop question.... Dle55 spinning a Biela 3-blade 20x10. Is this a good combo? I read earlier that a 2-blade 22-10 was good with the dle55, so I am thinking this 3 Blade would be ok.
thx again.
Prop question.... Dle55 spinning a Biela 3-blade 20x10. Is this a good combo? I read earlier that a 2-blade 22-10 was good with the dle55, so I am thinking this 3 Blade would be ok.
thx again.

 08-17-2019, 12:15 AM
#674
You can use this insert, same one I used. It has a nice coarse pitch and grips well in most materials.
I toughened up the wood in the wing and drilled it to the cylinder size of the insert, called minimum pitch diameter. Then use a short socket head M3 screw as a tool to drive the insert into the hole. It’s best to use a hex driver without a ball end. Add a drop of thin CA to bond the insert in place but don’t glue the screw used as a tool into the insert. OR, remove the screw first and then add a drop of thin CA. Either way you don’t want the insert to back out as you try to remove the screw.
Try one in a block of wood and see what’s going on. Pretty basic but good to understand.