Fokke RC Messerschmitt 109e 1/5th scale
#76

Join Date: Jan 2008
Location: Hermitage, TN
Posts: 425
Likes: 0
Received 0 Likes
on
0 Posts
With the wing center section being part of the fuselage as per the original with the gull shape, I'm wondering where the access to the radio is. Is it through the cockpit?
Brian
Brian
#77

Thread Starter
My Feedback: (1)
Join Date: Jul 2004
Location: Perth WA, AUSTRALIA
Posts: 2,200
Likes: 0
Received 0 Likes
on
0 Posts
With my ESM109 I put all of the servos and radio gear right behind the fire wall keeping the weight well forward and was able to put in a scale cockpit and pilot and still keep it light.
Cheers,
Brad
#78
Well I finally got sick of waiting for that instrument panel fokke (it did not arrive mate), and got into the shed to play with my retracts that I have sorted.
https://www.youtube.com/watch?v=wiflFT5QHpc
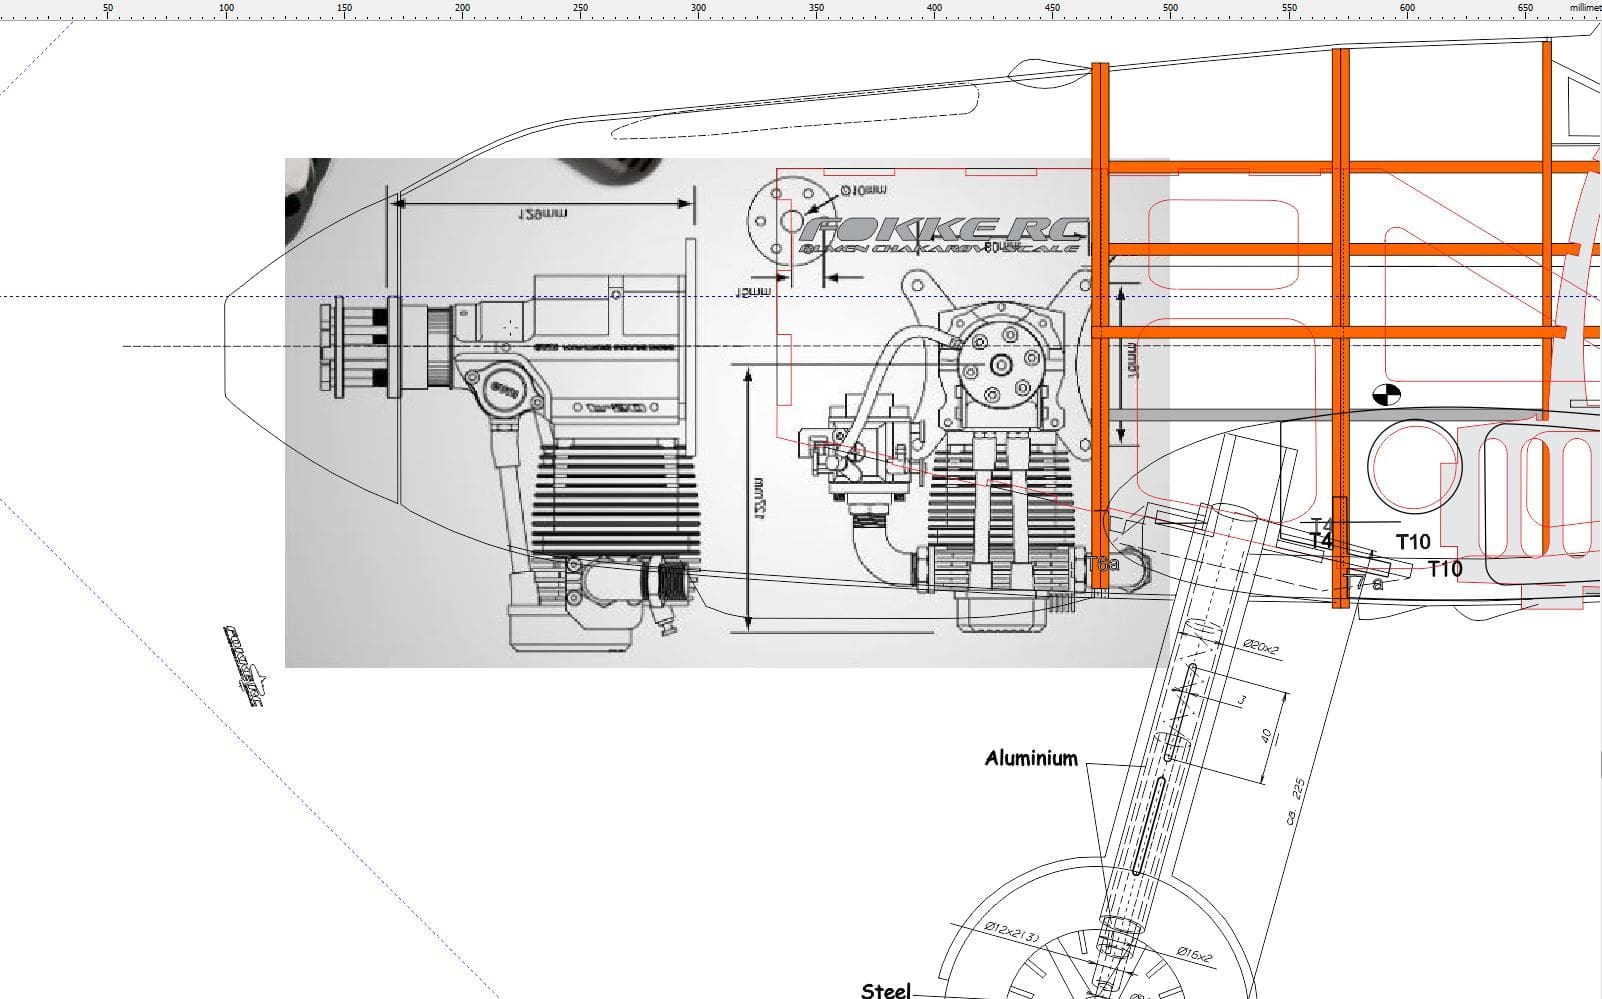
Now it was time to start with the fuselage internal structure that connects every thing together. In the pictures you will see I needed to trim a bit of material off to get things to fit just nice. With this kind of kit (Limited Editions) one must expect this and time must be taken to get things fitting right and nice and square. So with a bit of trimming and sanding and test fitting things are starting to come together. I'll continue dry fitting every thing I can before committing to glue.
Next is to drill for the retracts and start cutting out the fuselage openings.
Cheers,
Brad
Nice progress Brad ! Sorry about the instroment panel , this was the second wich I sent .
About the service hole , on my model I can service all stuff from the cockpit hole , on the model of my friend from Bulgaria Nikolay he made hole on the bottom, so as you want

#79

Thread Starter
My Feedback: (1)
Join Date: Jul 2004
Location: Perth WA, AUSTRALIA
Posts: 2,200
Likes: 0
Received 0 Likes
on
0 Posts
So continuing I am trying to go 5 steps forward before committing to glue, checking fit and angles etc to get things right.
One great feature of the way the model is built is the main spar that goes through the major parts of the front structure so one is compelled to follow how things fit together there and make adjustments as required. As long as the structure fits in the glass fuselage and ends up with the basic angles in the right places gaps can always be filled and re-enforced with glass ribbon etc.
I can see now I will need some innovative thinking to get my retracts to fit in the scale location. Picture of that soon.
Cheers,
Brad
#80

Thread Starter
My Feedback: (1)
Join Date: Jul 2004
Location: Perth WA, AUSTRALIA
Posts: 2,200
Likes: 0
Received 0 Likes
on
0 Posts
So, time to start gluing things into place so I have done the mandatory 'glue test' with the pictured silastic type adhesive.
I first cut out the cockpit deck (to no real measurements) to gain access to the centre of the fuselage and used this as a test piece as seen.
I cleaned the surface with acetone and set the ply in place with a small fillet up the sides.
My mate Wayne built his ducted fan jet like this, sticking everything to the inside of the fuselage with silastic and it was very strong. Surface area is all important.
All the wood to wood joins will be thickened resin glued.
So I'll report back with the results.
Cheers,
Brad


