


125% (1/4 scale) Anderson TA-152H


 11-05-2015, 05:53 AM
#582

did you make it to Top Gun a couple years ago when Mike Selby had his Prowler there? It was beautiful and large, not sure how large or what scale but it was awesome.
If you ever get to that one and the project becomes a proven subject I would be interested in one if you decide to sell any. One of my favorites.
Scott
If you ever get to that one and the project becomes a proven subject I would be interested in one if you decide to sell any. One of my favorites.
Scott
11-05-2015, 05:57 AM
#583
did you make it to Top Gun a couple years ago when Mike Selby had his Prowler there? It was beautiful and large, not sure how large or what scale but it was awesome.
If you ever get to that one and the project becomes a proven subject I would be interested in one if you decide to sell any. One of my favorites.
Scott
If you ever get to that one and the project becomes a proven subject I would be interested in one if you decide to sell any. One of my favorites.
Scott
i saw pictures of it, but have never seen it in person. The Prowler project will be a long term project like the F14 due to the gear. Only one manufacturer makes gear for an A6/EA6B that size and they want $4700/set. So unless some financiers come in to help with that project, it wont make much progress for a Few years as I wont start another project like that until landig gear is in hand.


 12-02-2015, 06:34 PM
#585
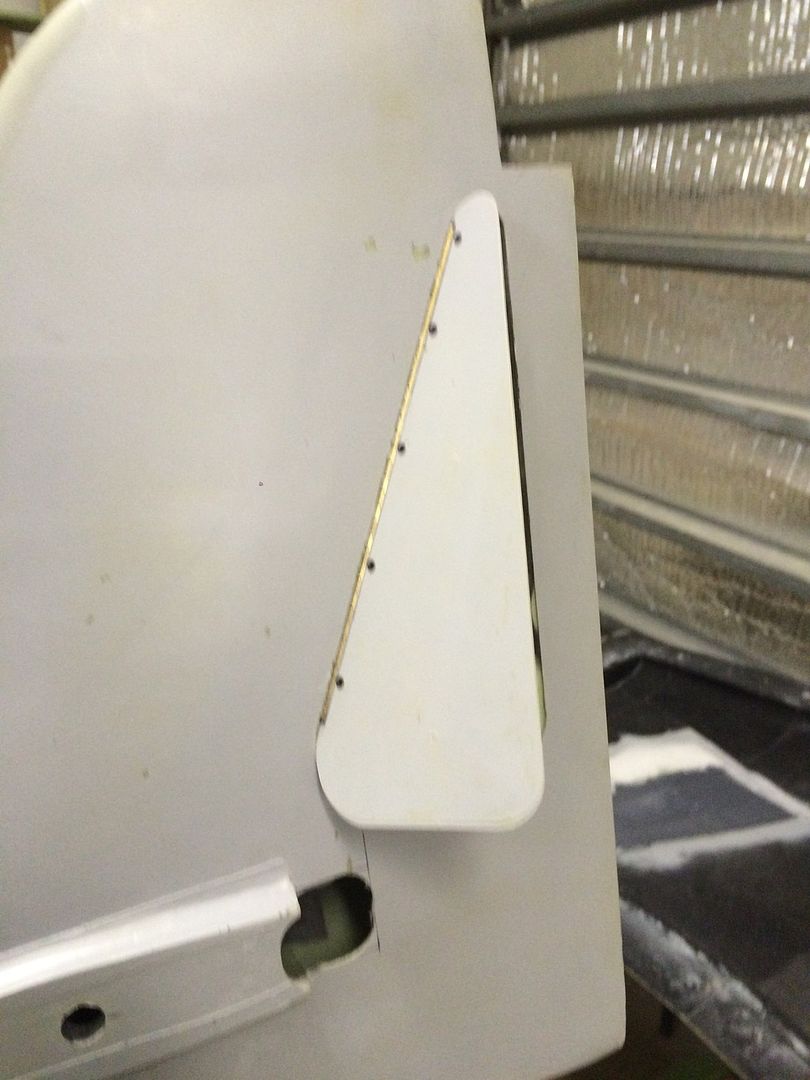
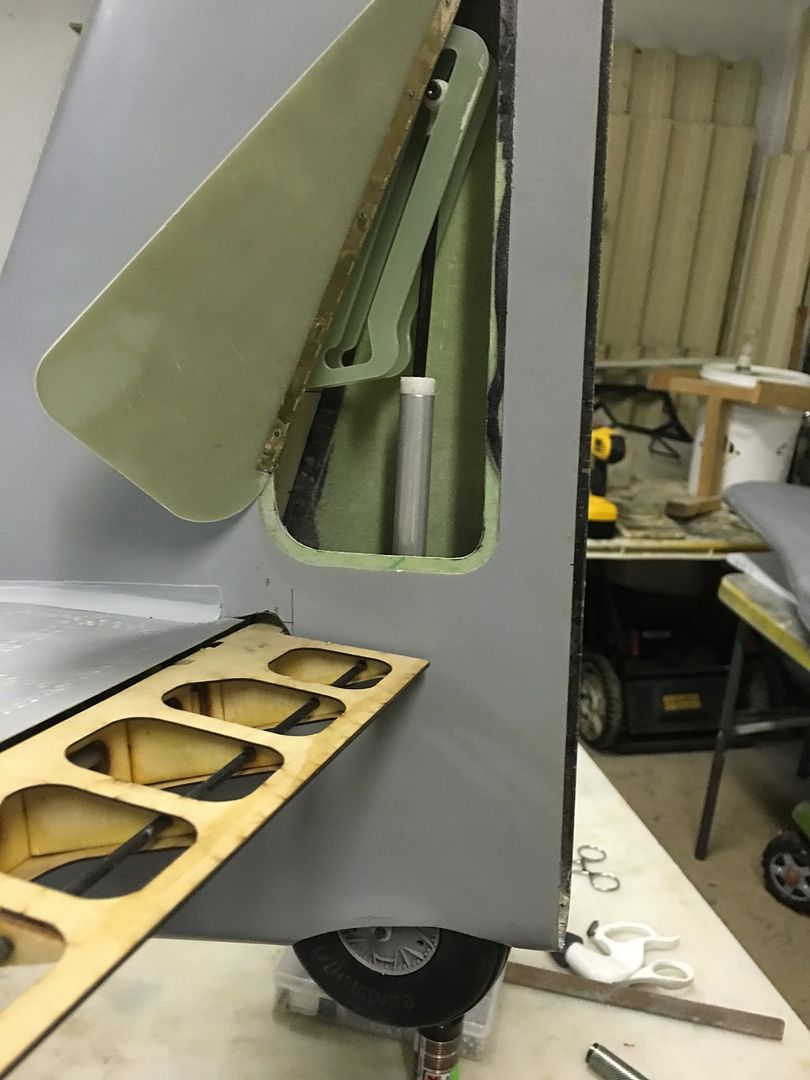
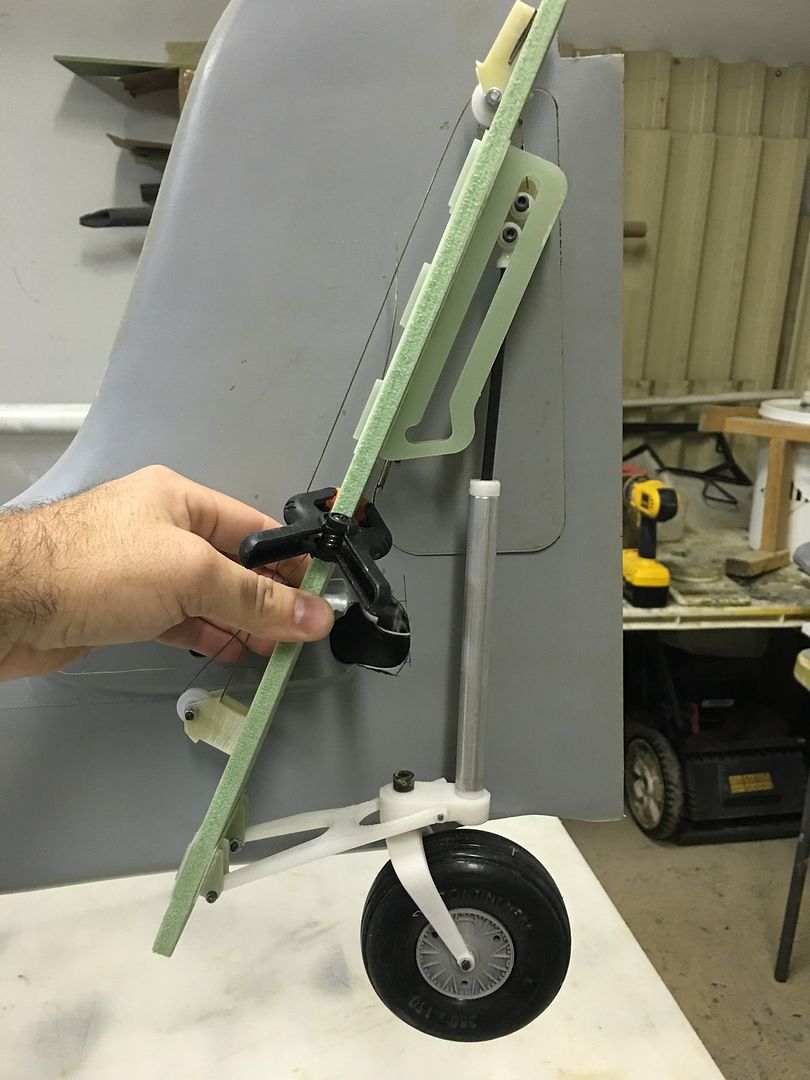
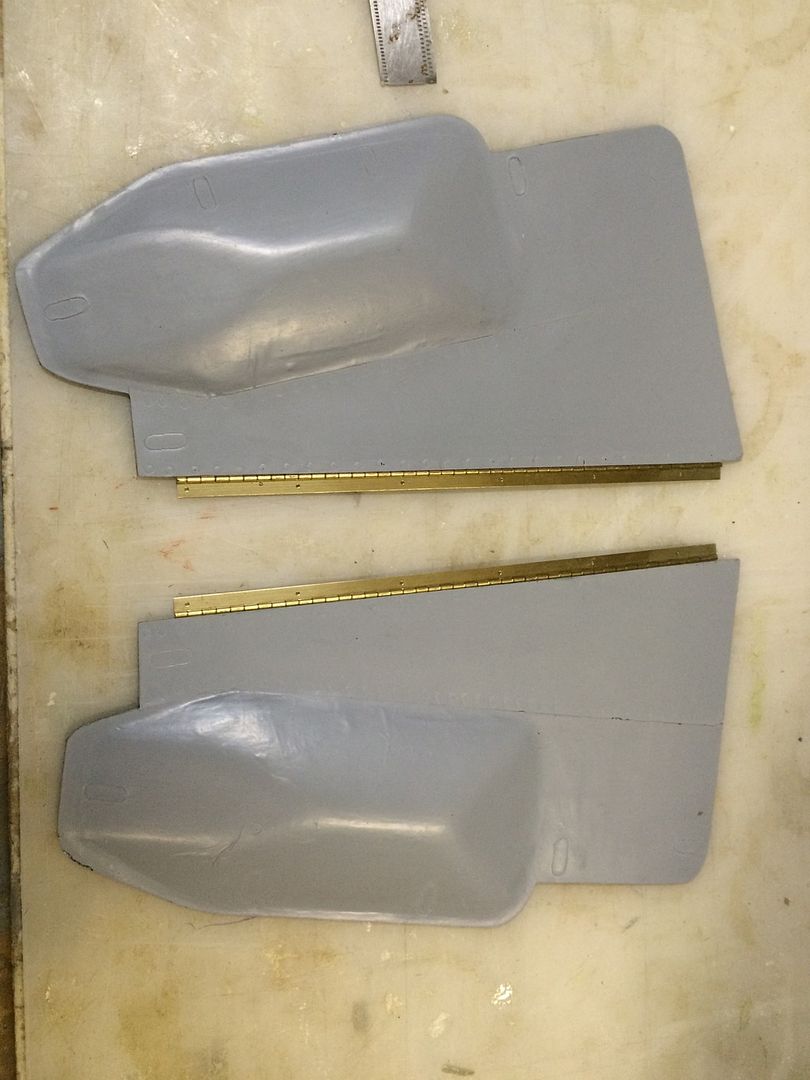
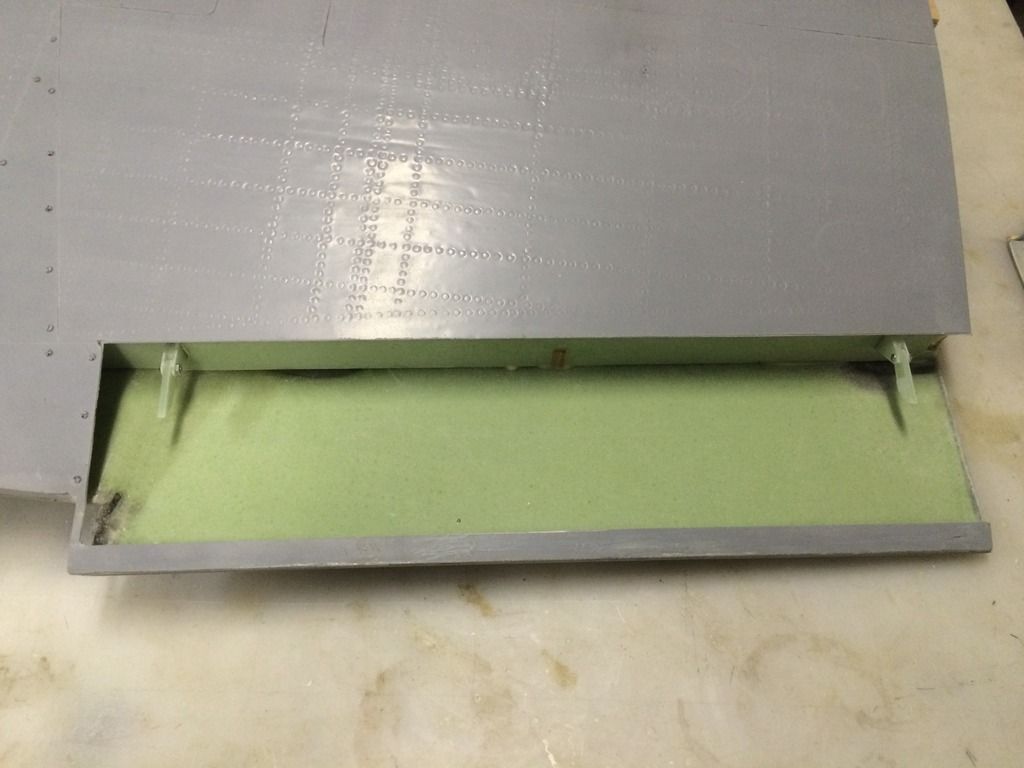
Tailwheel access panel hinged:
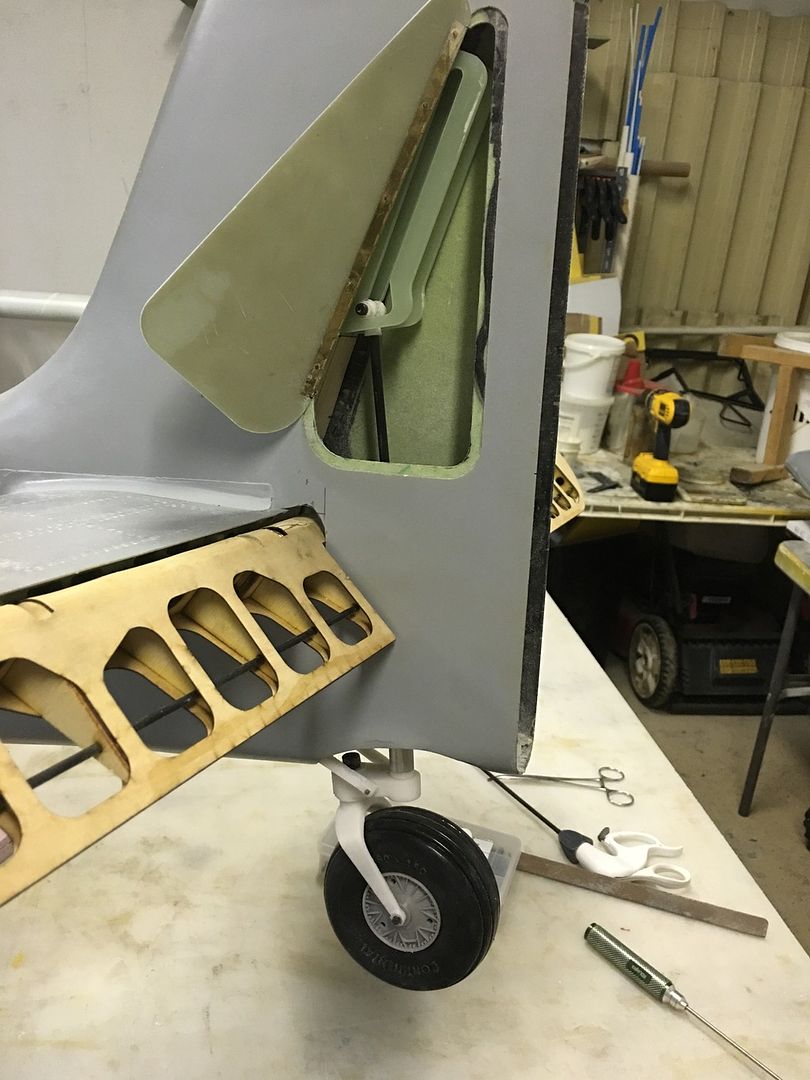
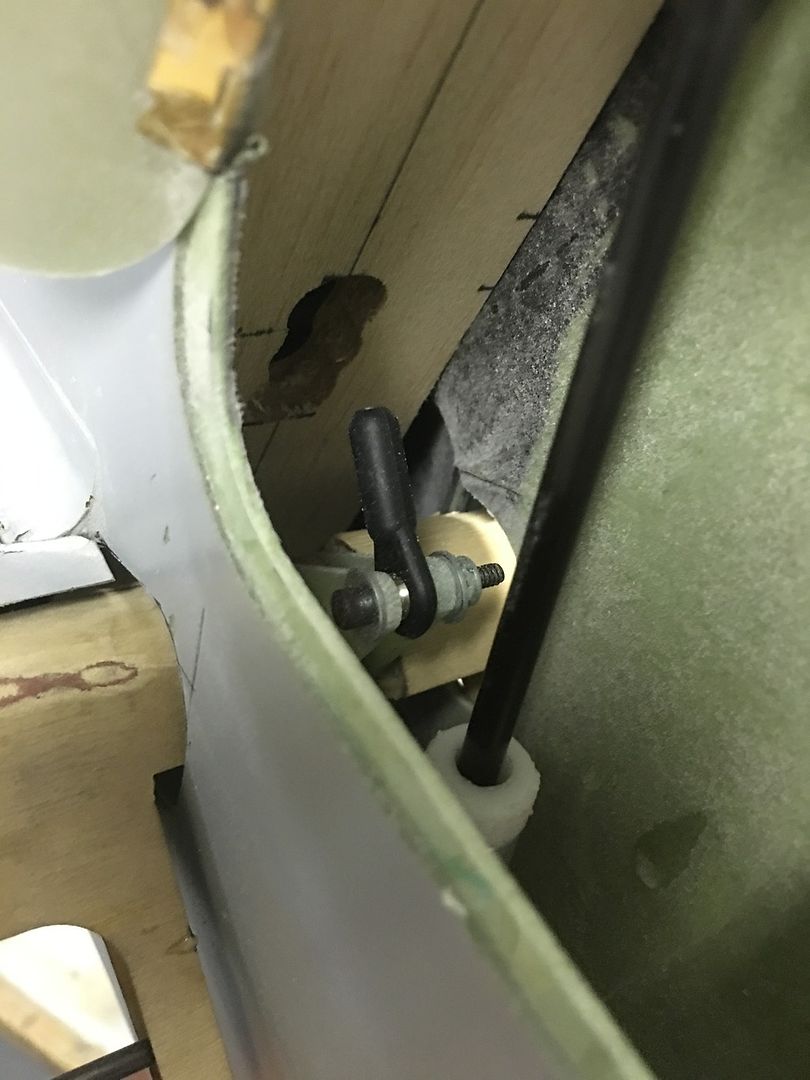
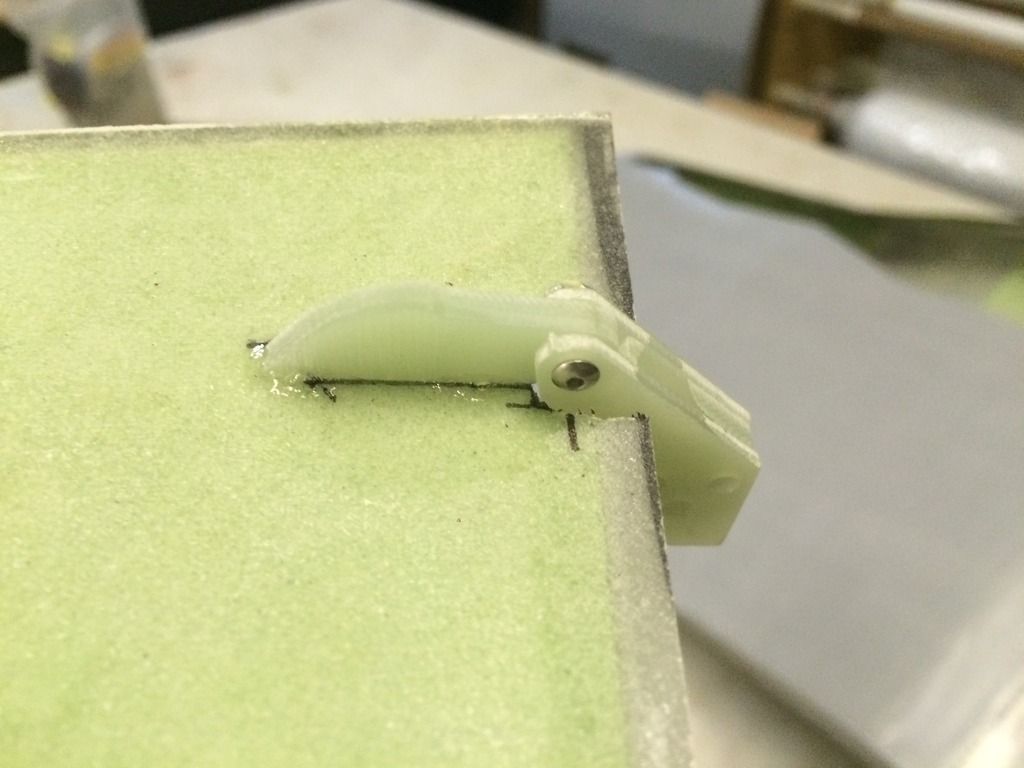
Tailwheel retract mechanism 3D printed mockup designed and test fit:
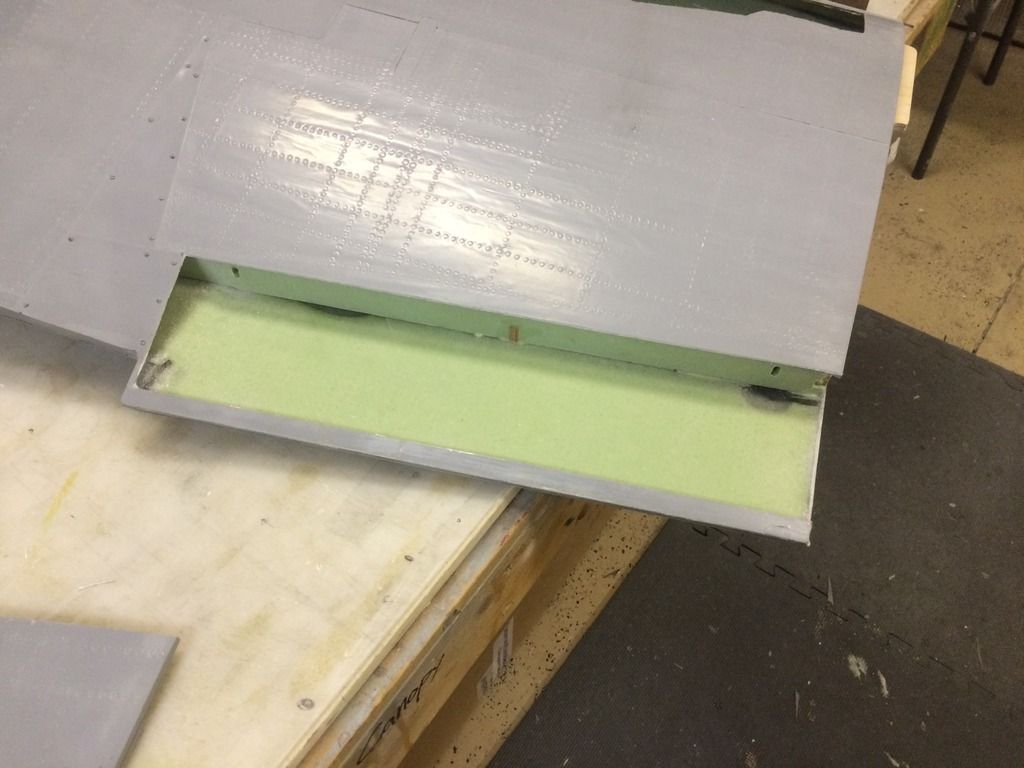
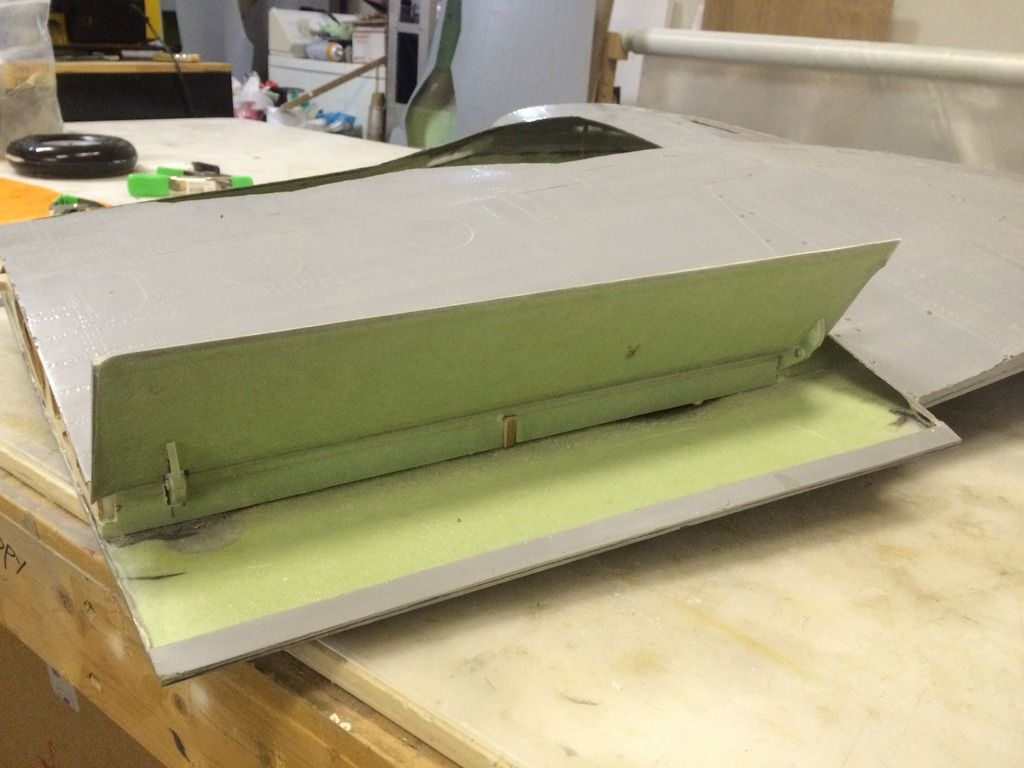
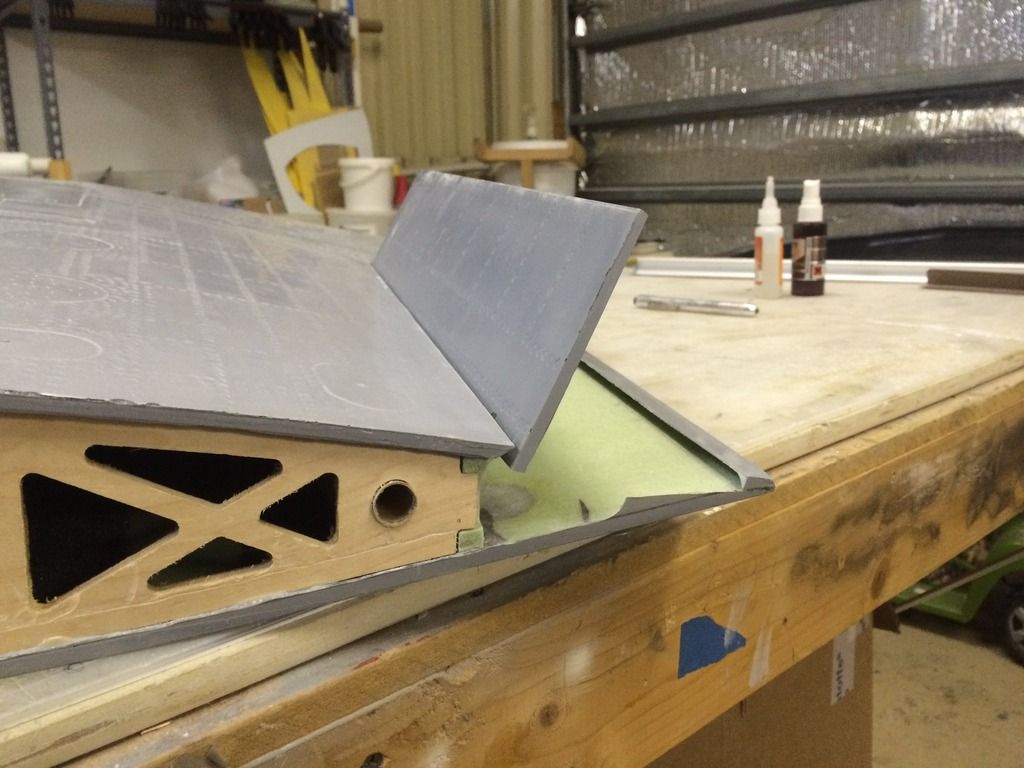
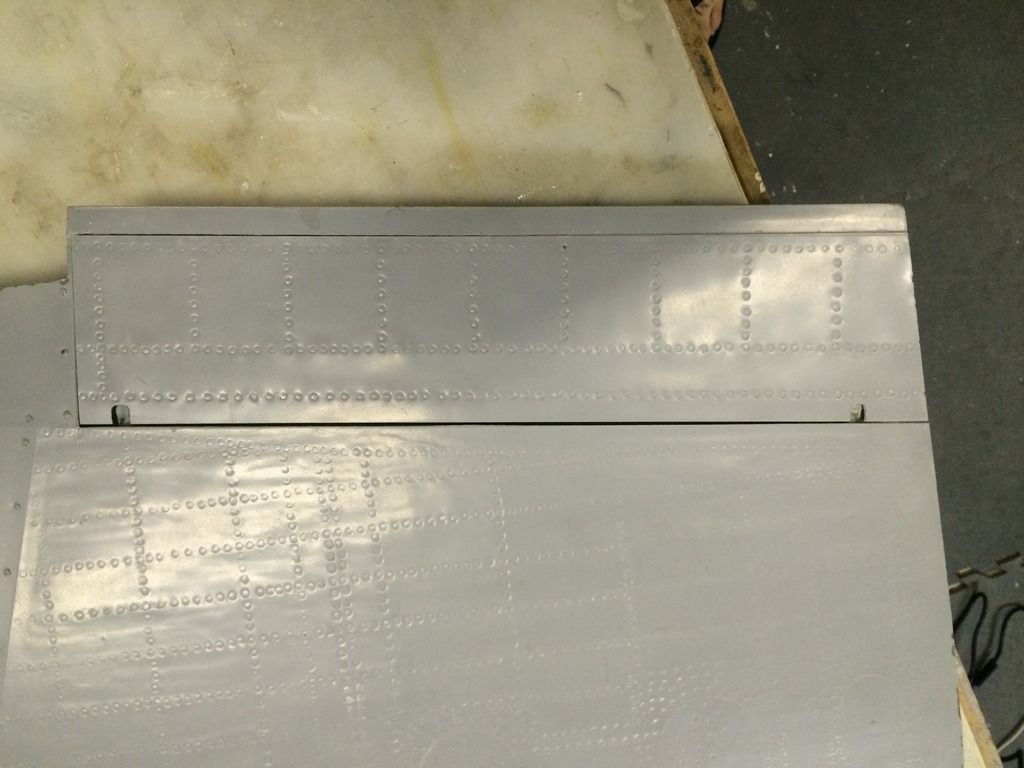
Wing cannon access panels hinged:
Windscreen clear glass cnc cut:
Flaps Hinged:
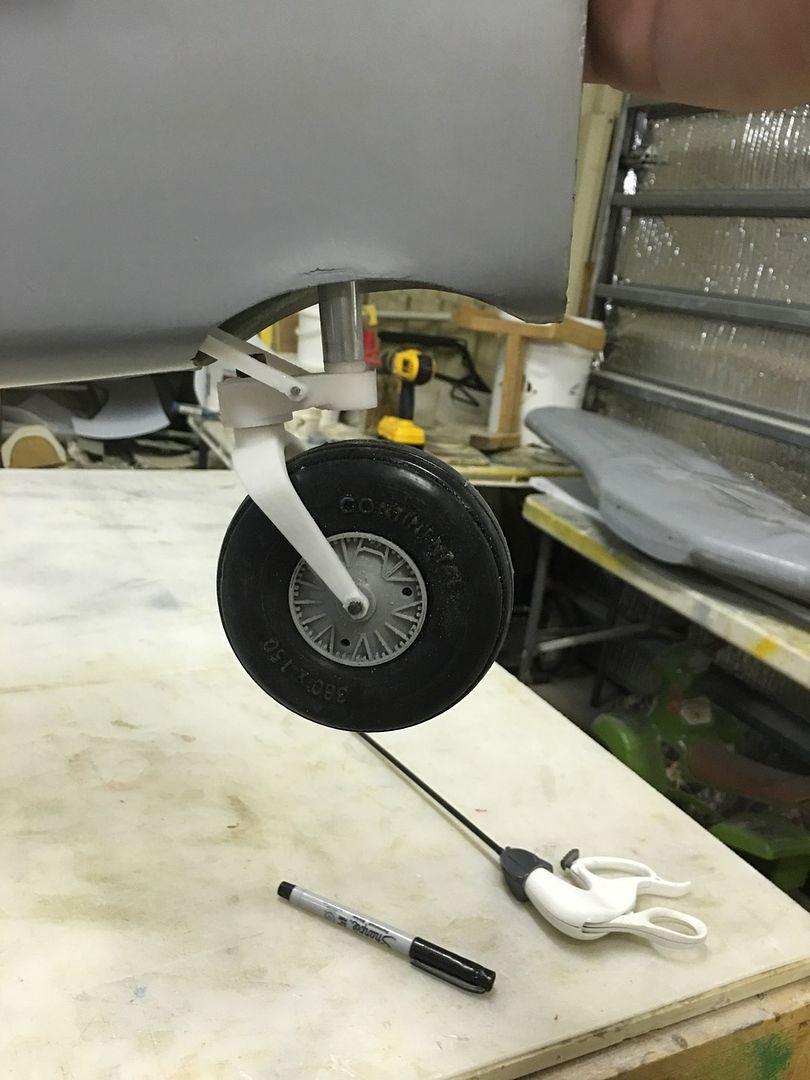
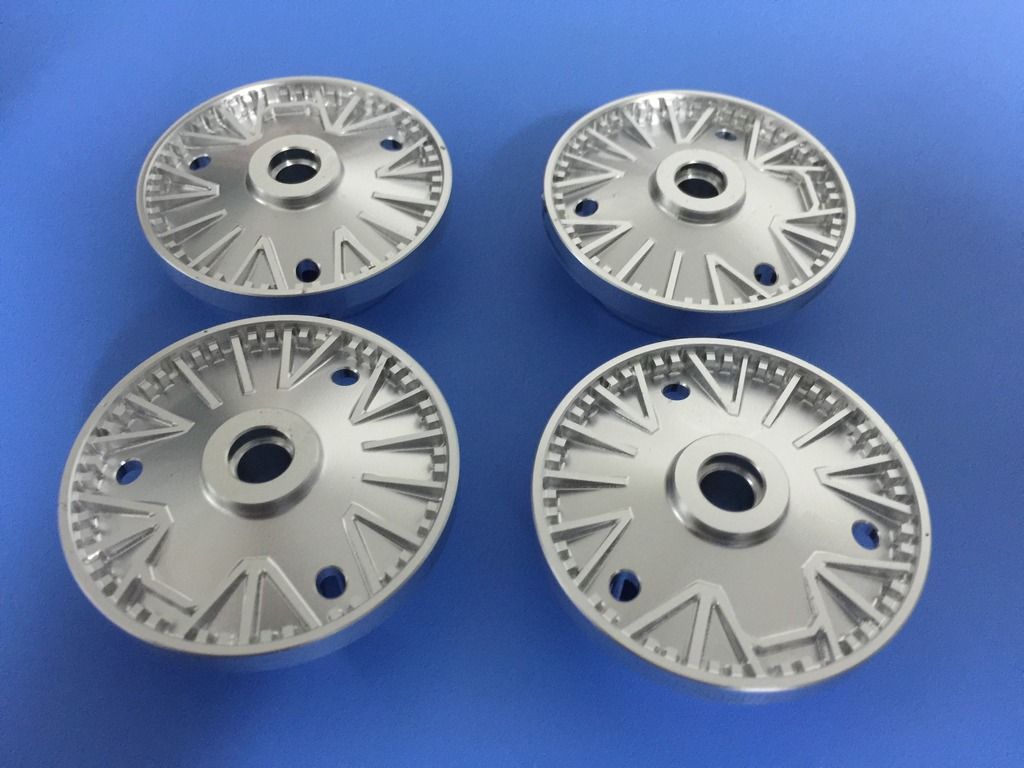
Machined aluminum tailwheel hubs:
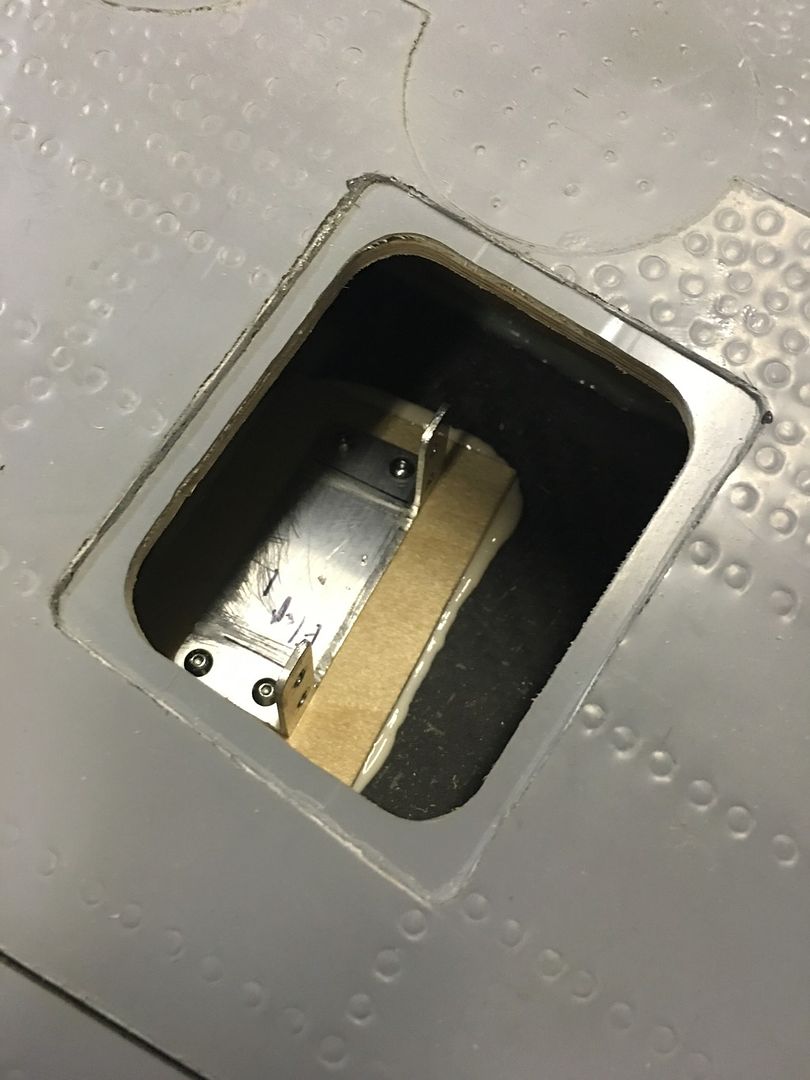
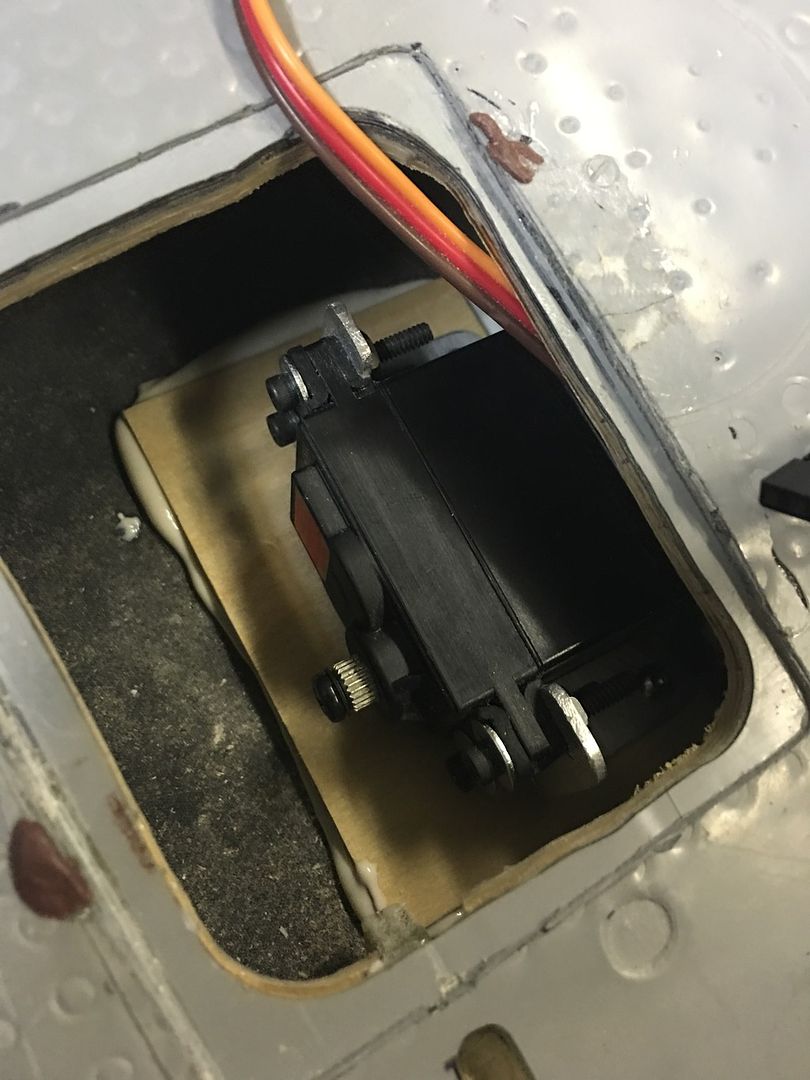
Wing servo mounts installed:

Tailwheel retract mechanism 3D printed mockup designed and test fit:


Wing cannon access panels hinged:

Windscreen clear glass cnc cut:

Flaps Hinged:


Machined aluminum tailwheel hubs:

Wing servo mounts installed:


 12-10-2015, 03:10 PM
#589
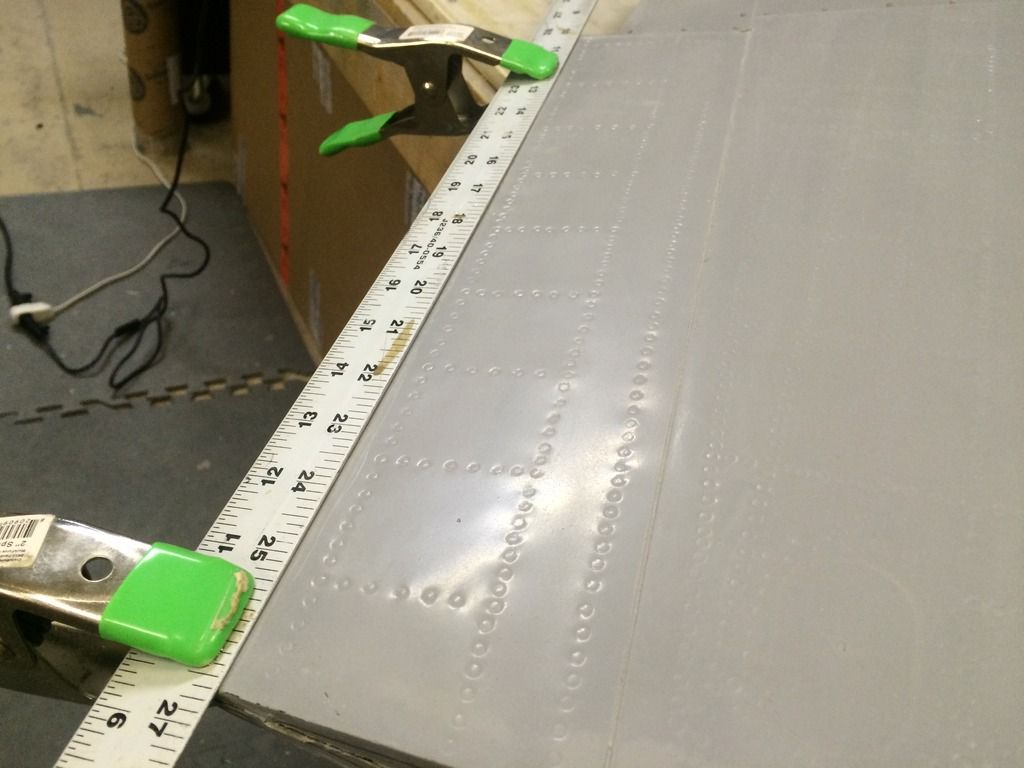
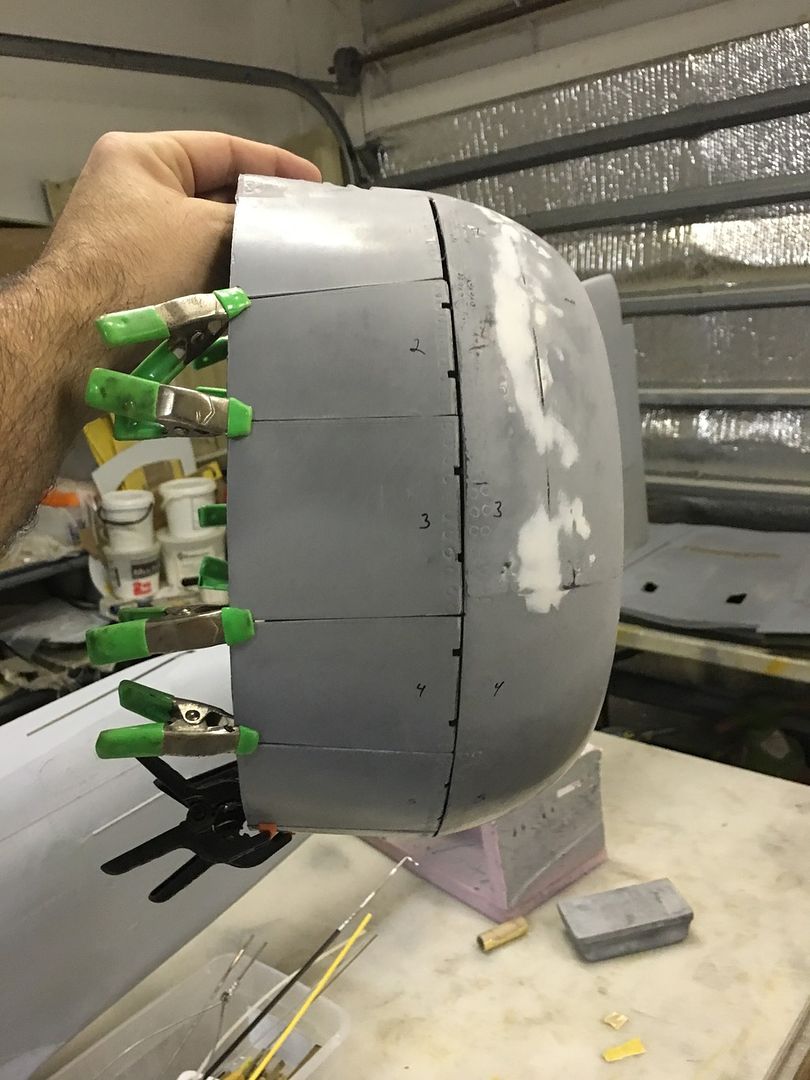
Ive been cleaning up the seams so when it comes time to paint, it will be ready.. Im still debating on if i want to flitemetal the parts thar will be weathered heavily, or just do silver paint over everything...
I also cut and installed the exhaust exit adjustments for the rear opening.. This is an airfoiled shaped area that i didnt mold into the part to make it easier to mold.. The G10 parts will get hysol'd and glassed into place to restore the strength lost from the hole.
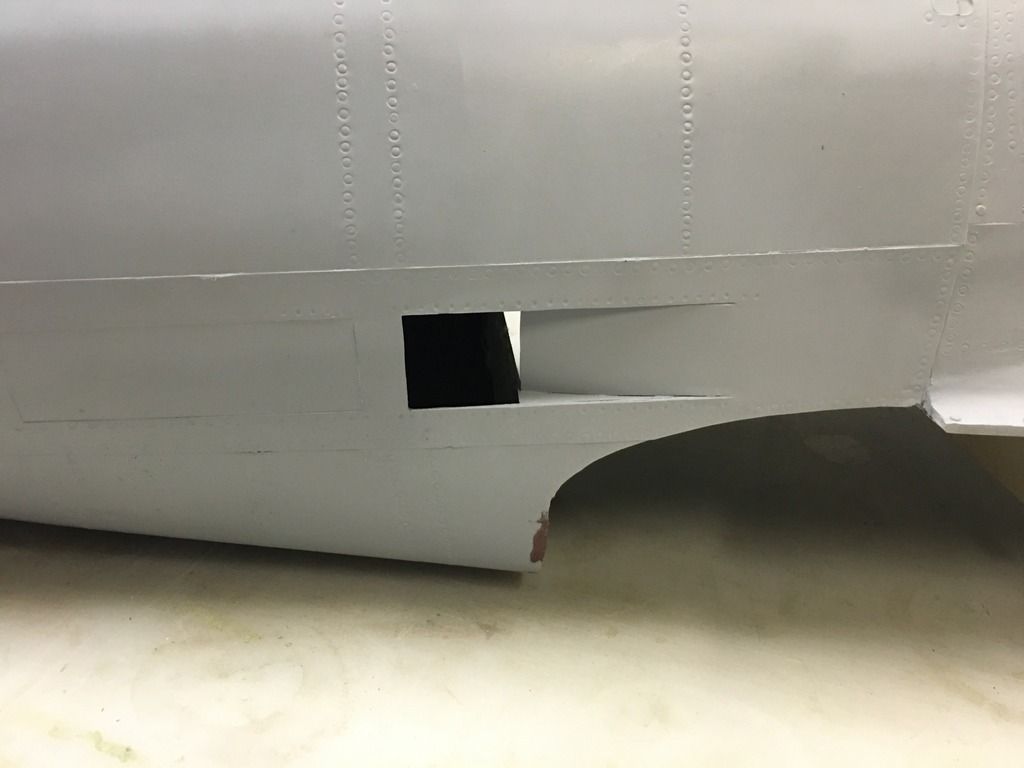
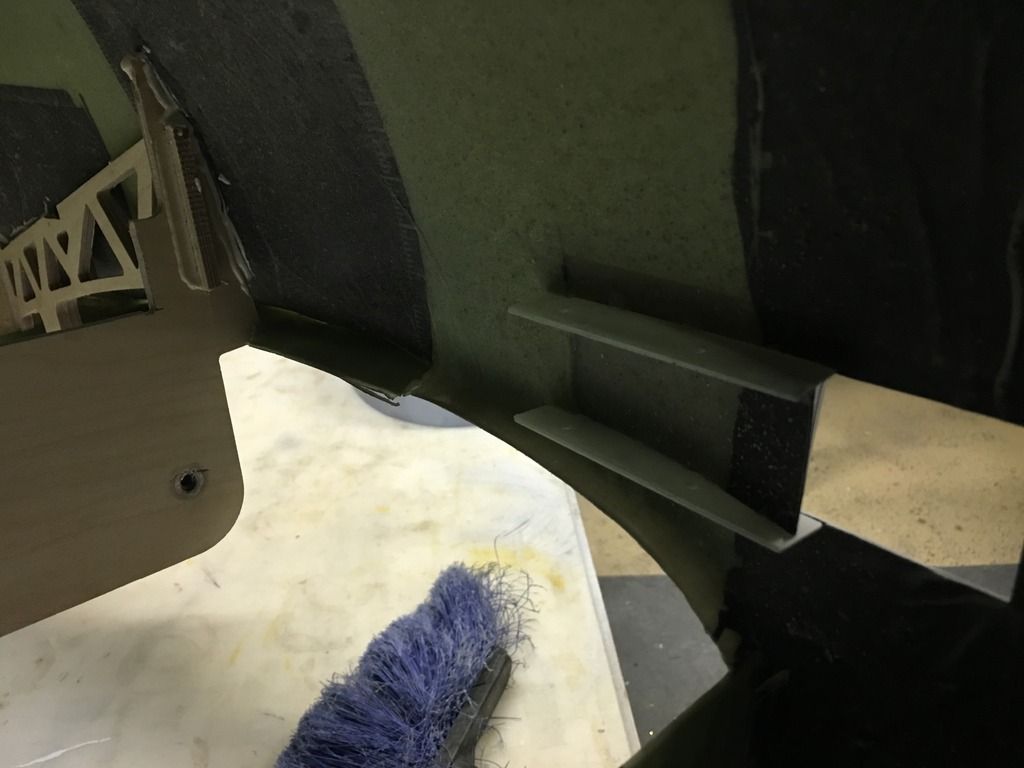

I also cut and installed the exhaust exit adjustments for the rear opening.. This is an airfoiled shaped area that i didnt mold into the part to make it easier to mold.. The G10 parts will get hysol'd and glassed into place to restore the strength lost from the hole.

 12-15-2015, 06:08 PM
#592
Since the Cnc router has been down for the past week, progress has been slow. Ive mostly been filling the last of the seams.
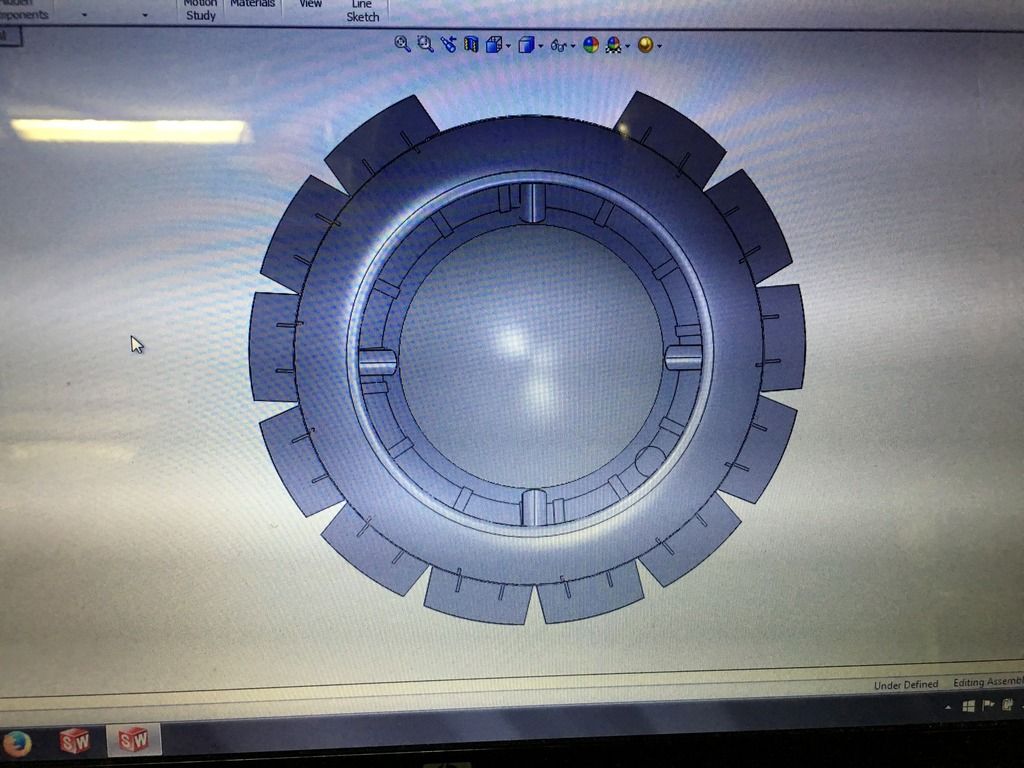
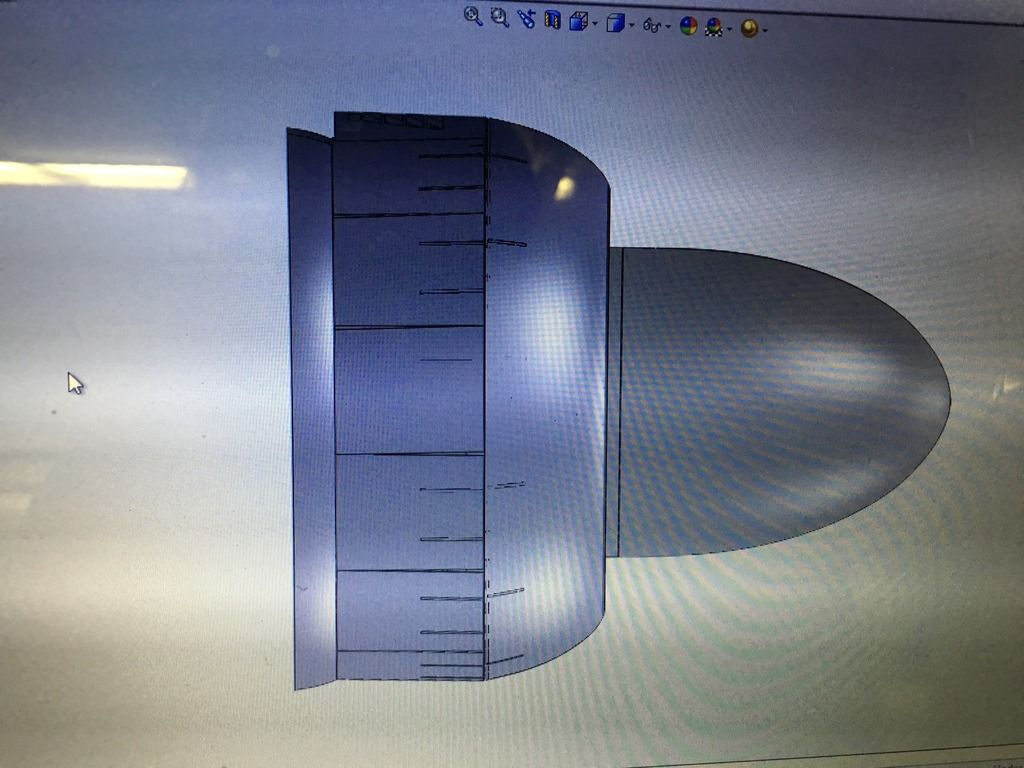
I also did some CAD work for some of the detail parts i have planned for the cowling. Since this was a liquid cooled engine, the cowling has some unique shrouds to direct air through the annular radiator. Without these, the model would look really odd. So, heres the Cad renderings of the assembled Cowling:
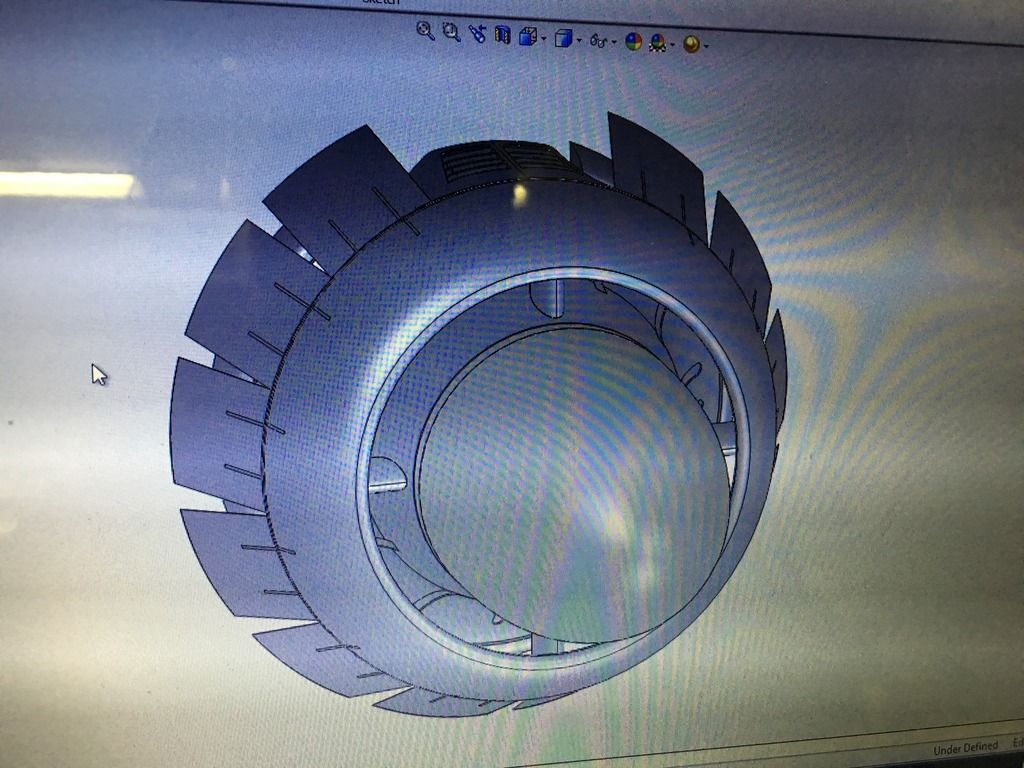
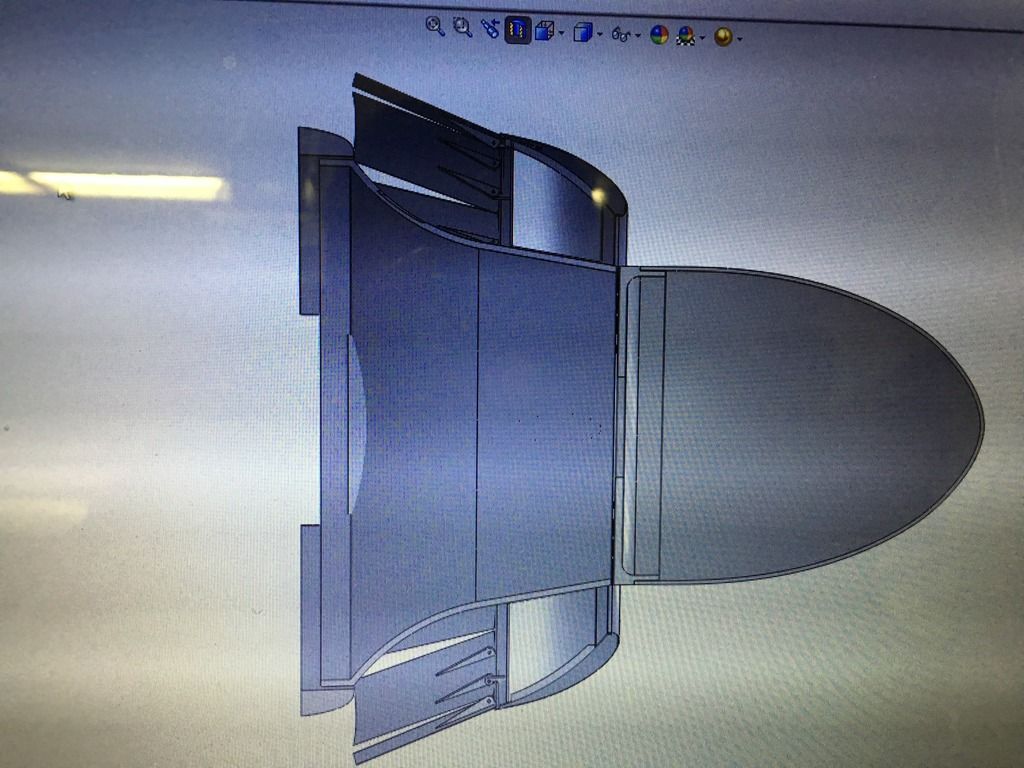
Cutaway view there will be 6 additional molded parts required for the shrouds. These will Not be standard items with the kit.
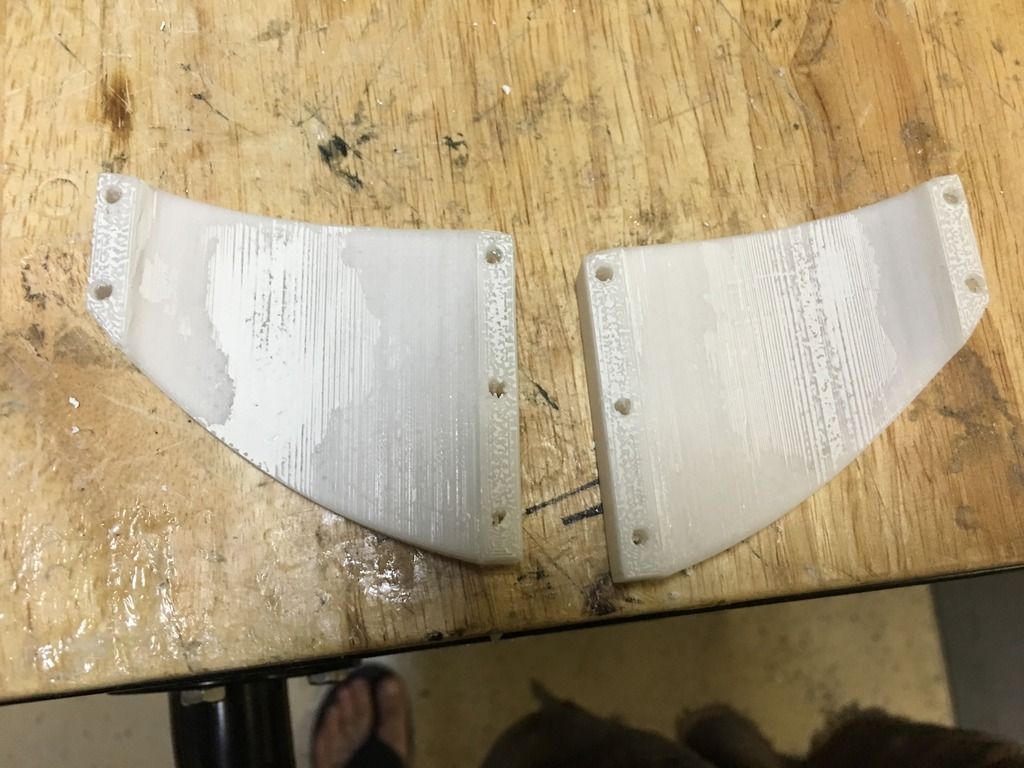
I also began printing plugs and molds for these parts
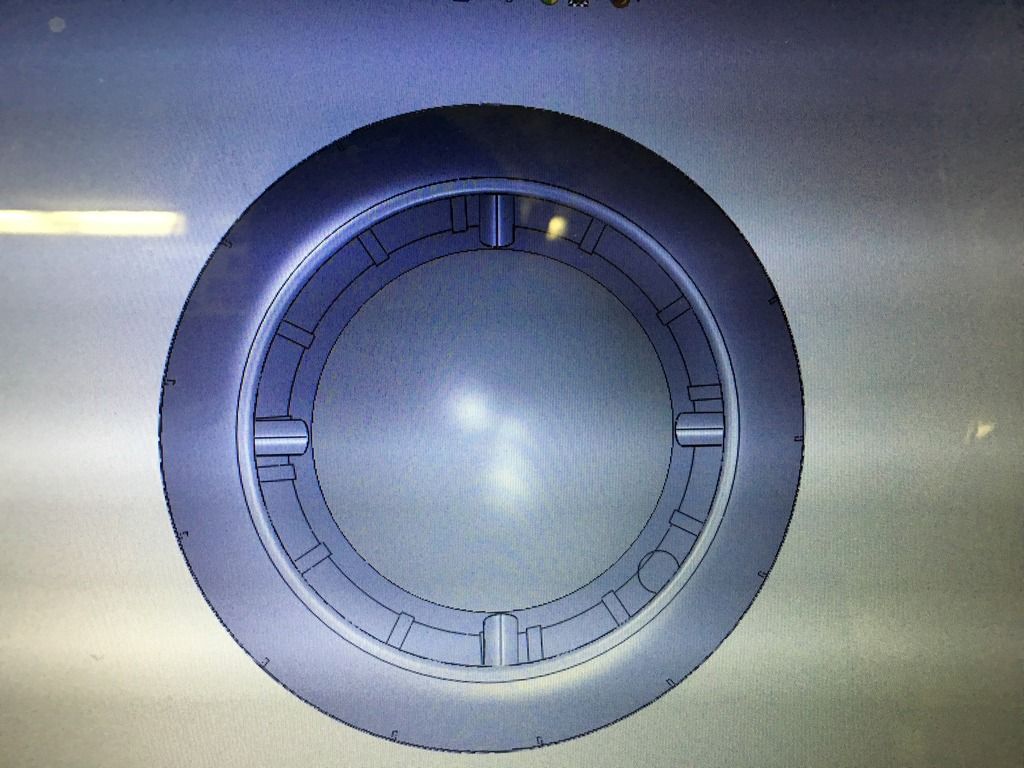
Here is 3/4 of the center shroud:
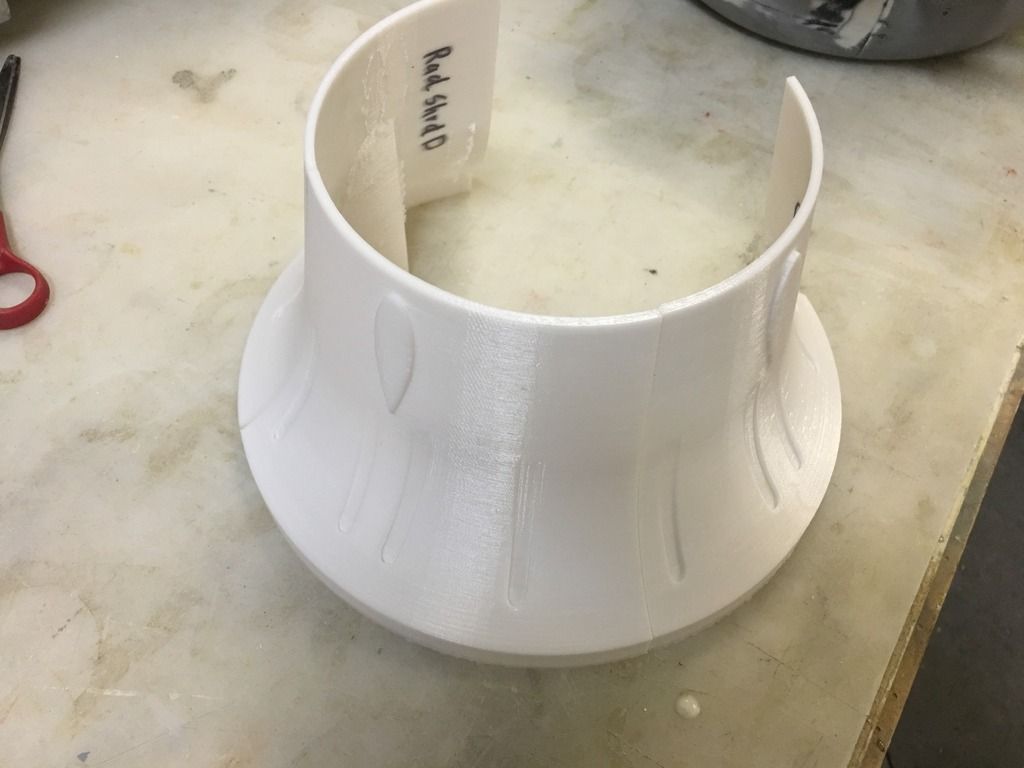
The center shroud mount fairing mold. The part was printed at a .05mm layer height and produced a pretty dang good surface. Some light filling and sanding with 320grit paper has the mold ready for its sealant and final sanding, this it will be ready for mold release and part production:
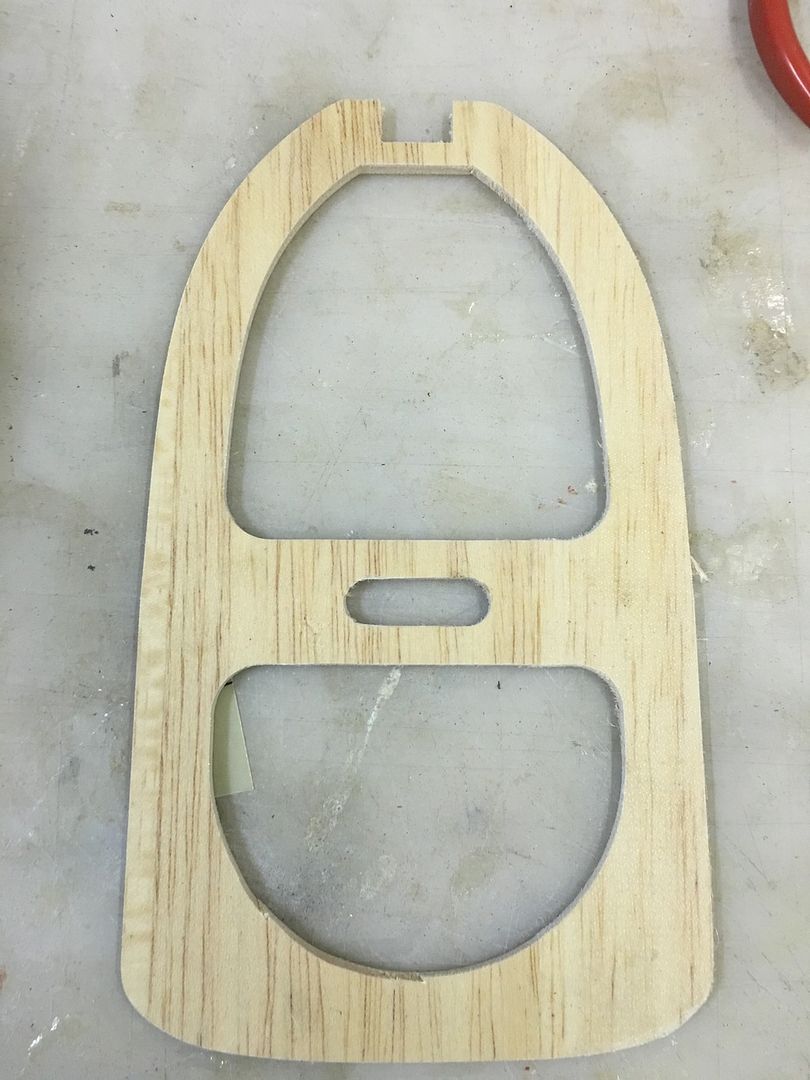
I also layed up some balsa/glass laminate 12" wide sheets for the cockpit floor and reae bulkhead:
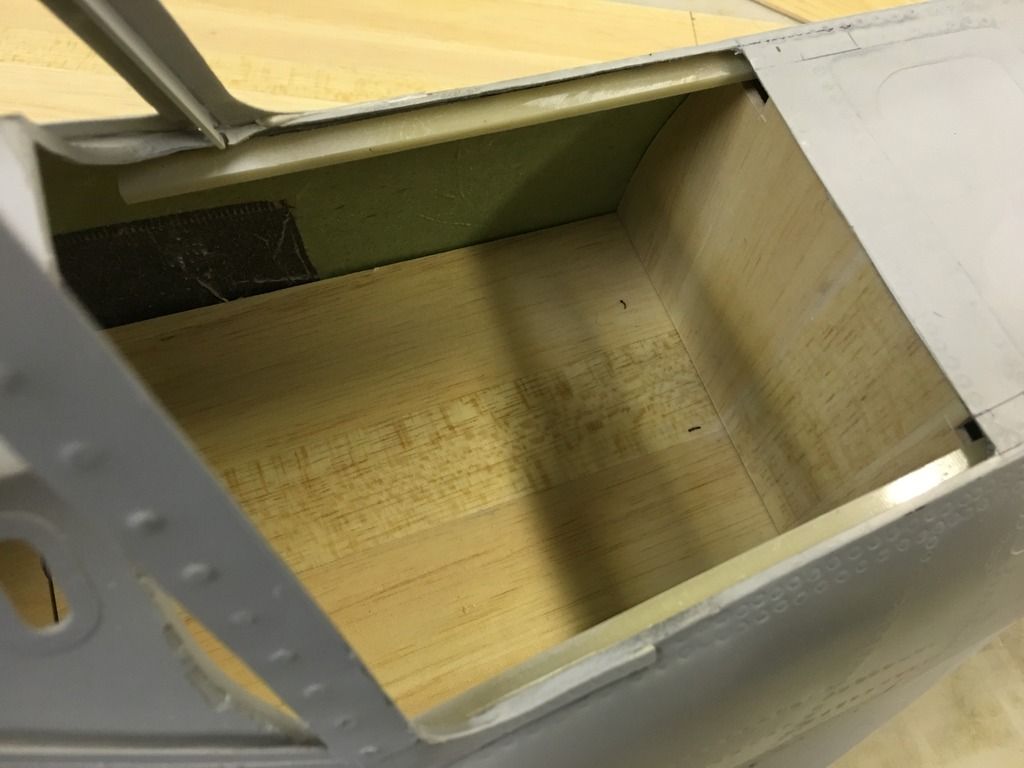
Today, i finally got the router back up and running. So i completed cutting the last parts necessary for the kit for the other 2 kits. Here is the balsa/glass laminate mid fuselage bulkhead.
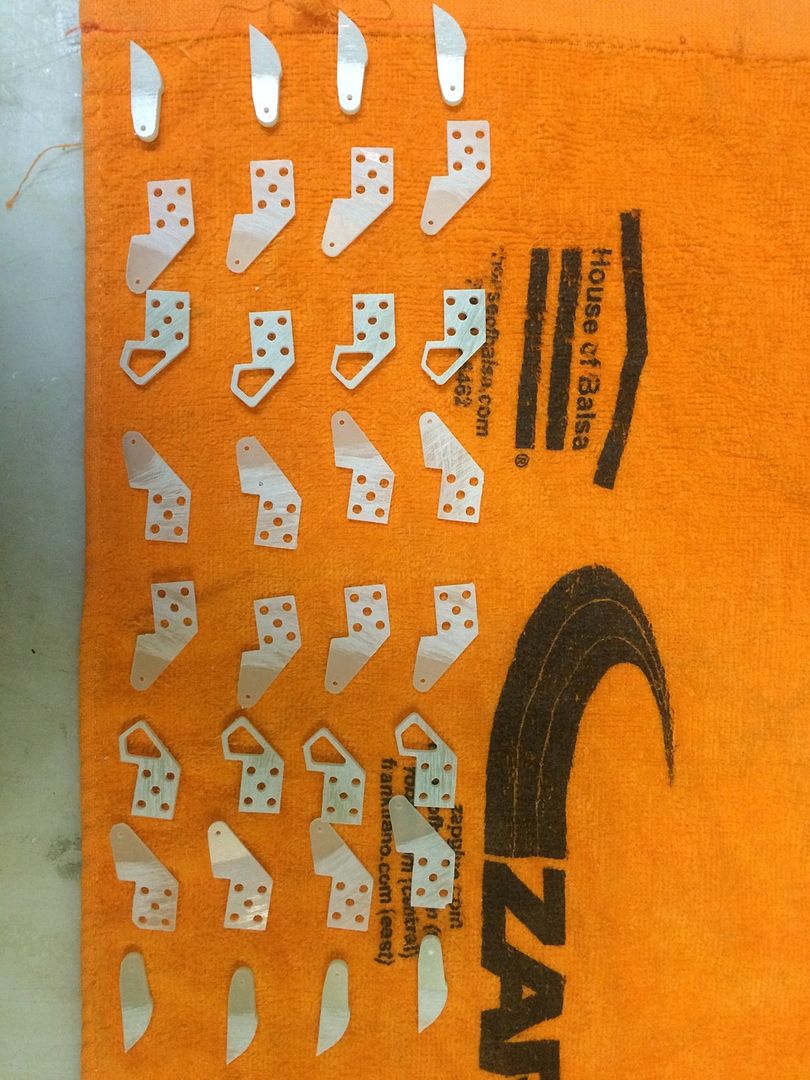
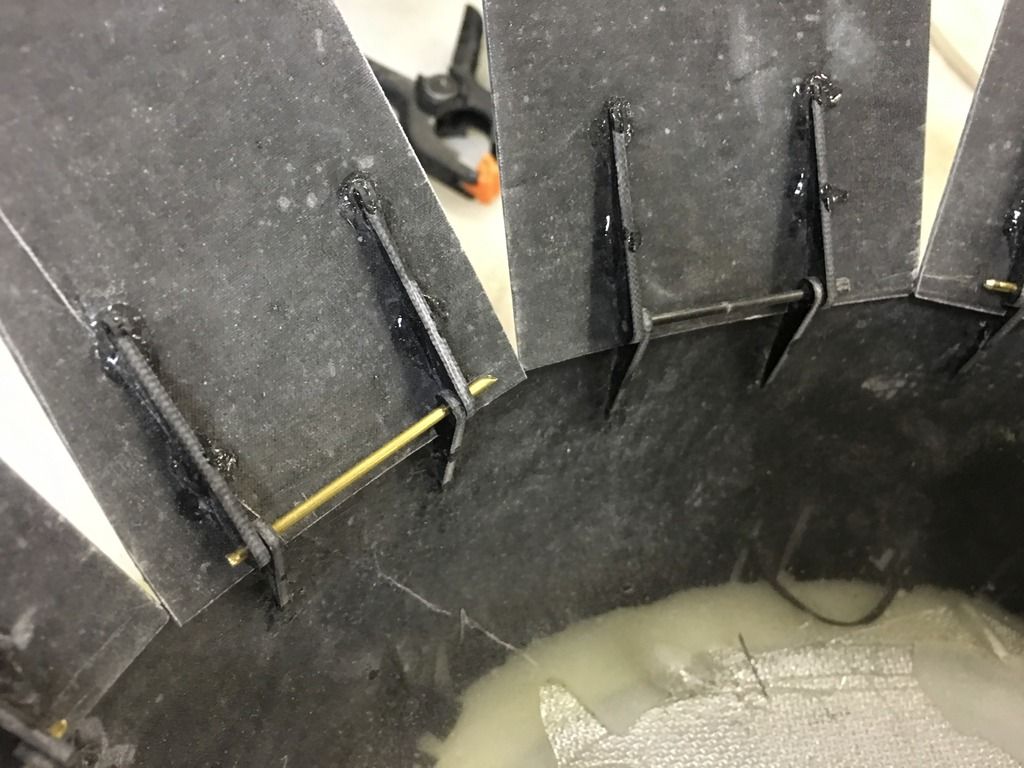
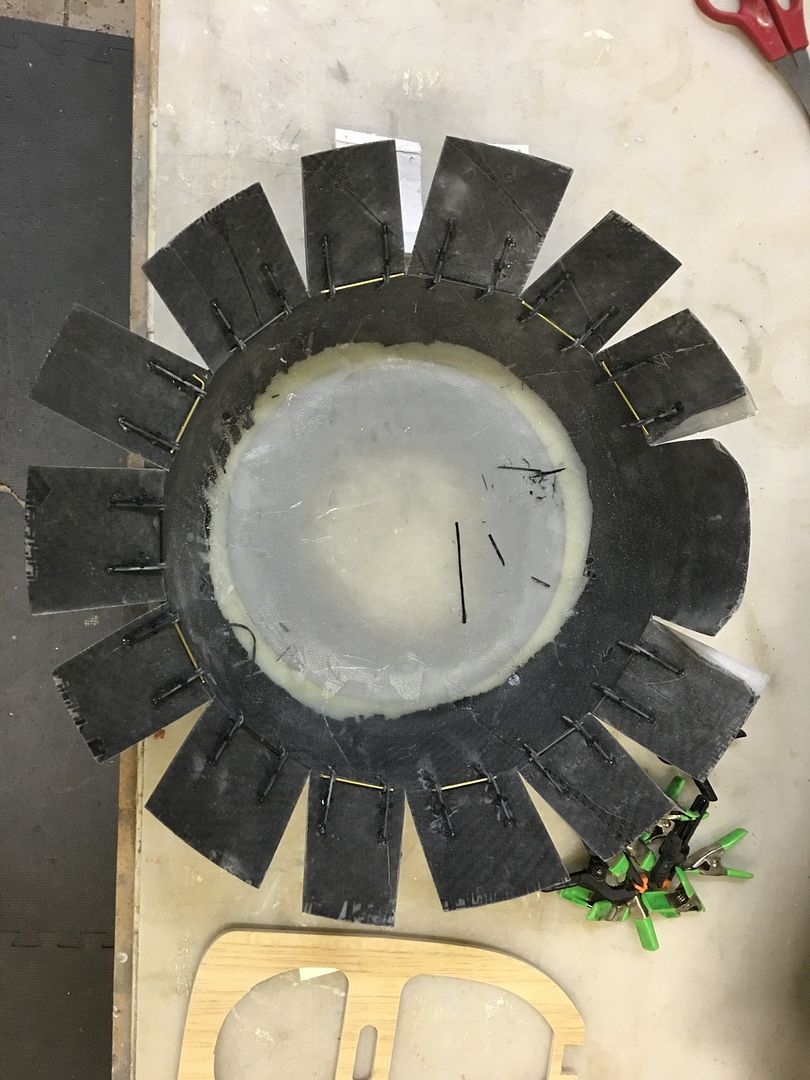
I them cut out the parts necessary for the cowl flap hinges from Black 1/16" G10. These again are not included with the standard kit and will be available as an option once i determine the system works as i expect.
I also did some CAD work for some of the detail parts i have planned for the cowling. Since this was a liquid cooled engine, the cowling has some unique shrouds to direct air through the annular radiator. Without these, the model would look really odd. So, heres the Cad renderings of the assembled Cowling:


Cutaway view there will be 6 additional molded parts required for the shrouds. These will Not be standard items with the kit.

I also began printing plugs and molds for these parts
Here is 3/4 of the center shroud:

The center shroud mount fairing mold. The part was printed at a .05mm layer height and produced a pretty dang good surface. Some light filling and sanding with 320grit paper has the mold ready for its sealant and final sanding, this it will be ready for mold release and part production:

I also layed up some balsa/glass laminate 12" wide sheets for the cockpit floor and reae bulkhead:

Today, i finally got the router back up and running. So i completed cutting the last parts necessary for the kit for the other 2 kits. Here is the balsa/glass laminate mid fuselage bulkhead.

I them cut out the parts necessary for the cowl flap hinges from Black 1/16" G10. These again are not included with the standard kit and will be available as an option once i determine the system works as i expect.


 06-03-2016, 03:30 PM
#597
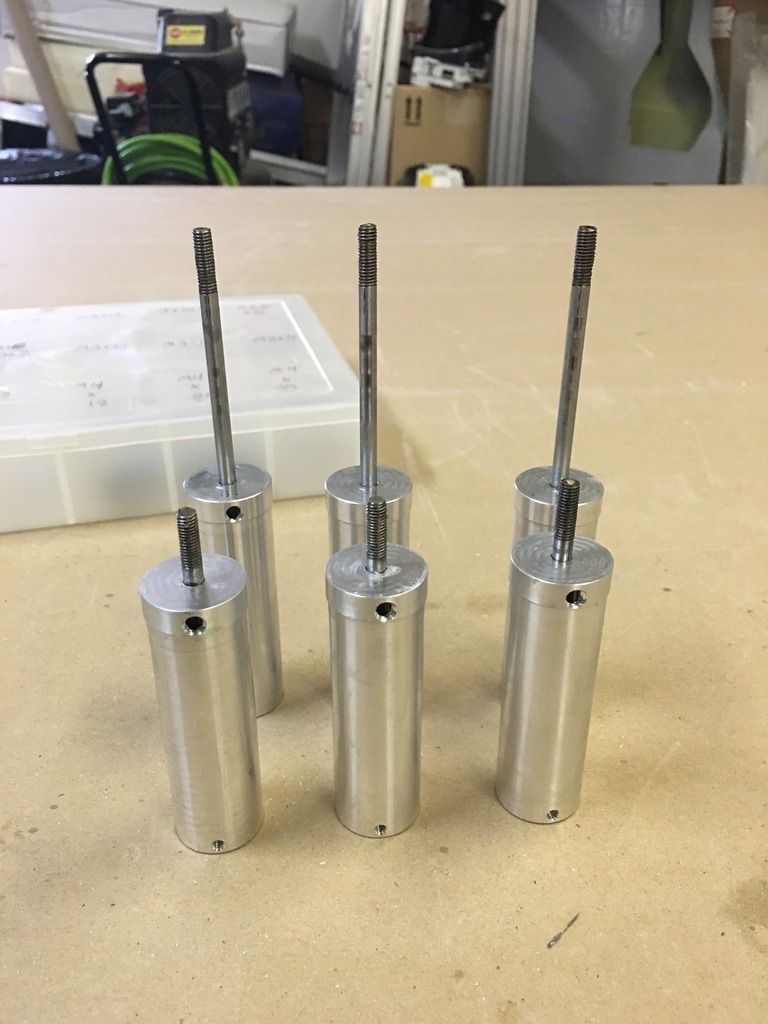
Some of the remaining raw stock arrived, so i cut the stainless tube to length and then turned the piston ends on the lathe. The piston ends were then press fit to the stainless piston rod:

Then the Brown truck arrived with A LOT of stuff. So i started laying out the production line for the landing gear:
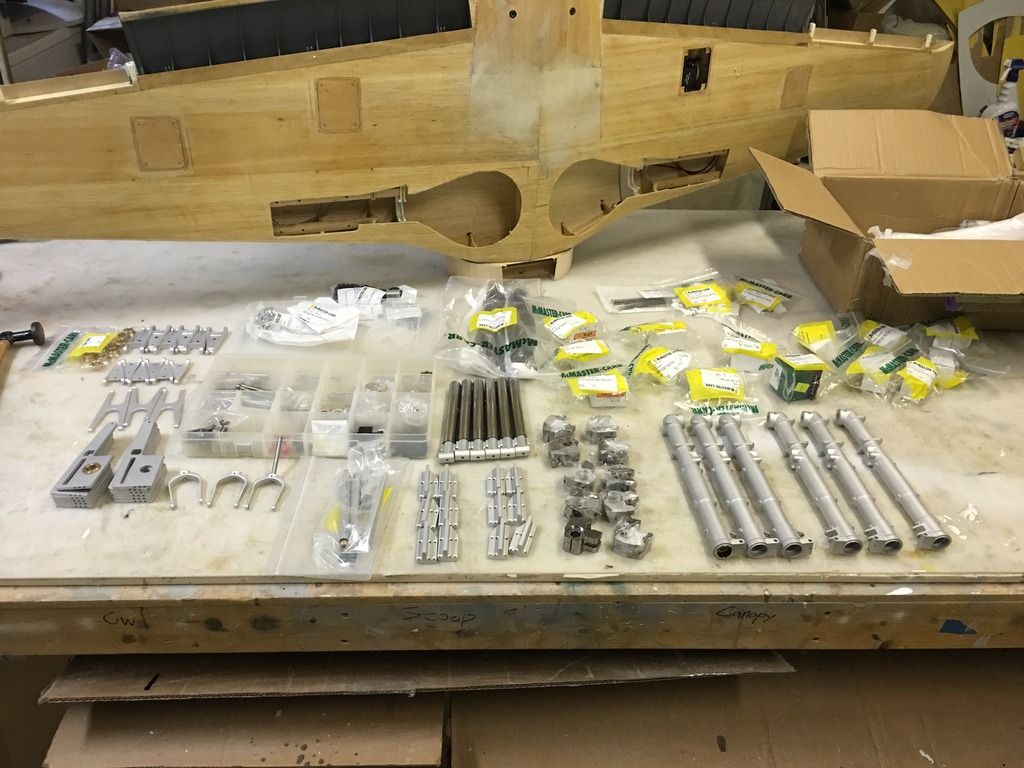

Then the Brown truck arrived with A LOT of stuff. So i started laying out the production line for the landing gear:
 06-26-2016, 05:21 PM
#598
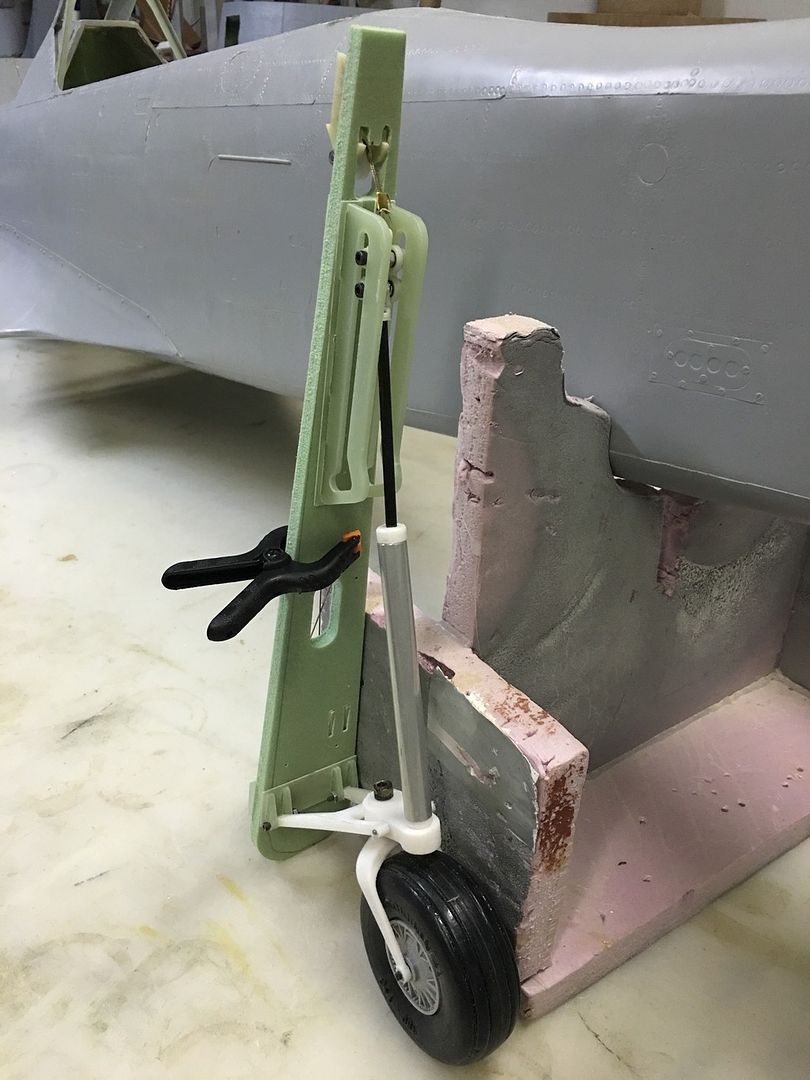
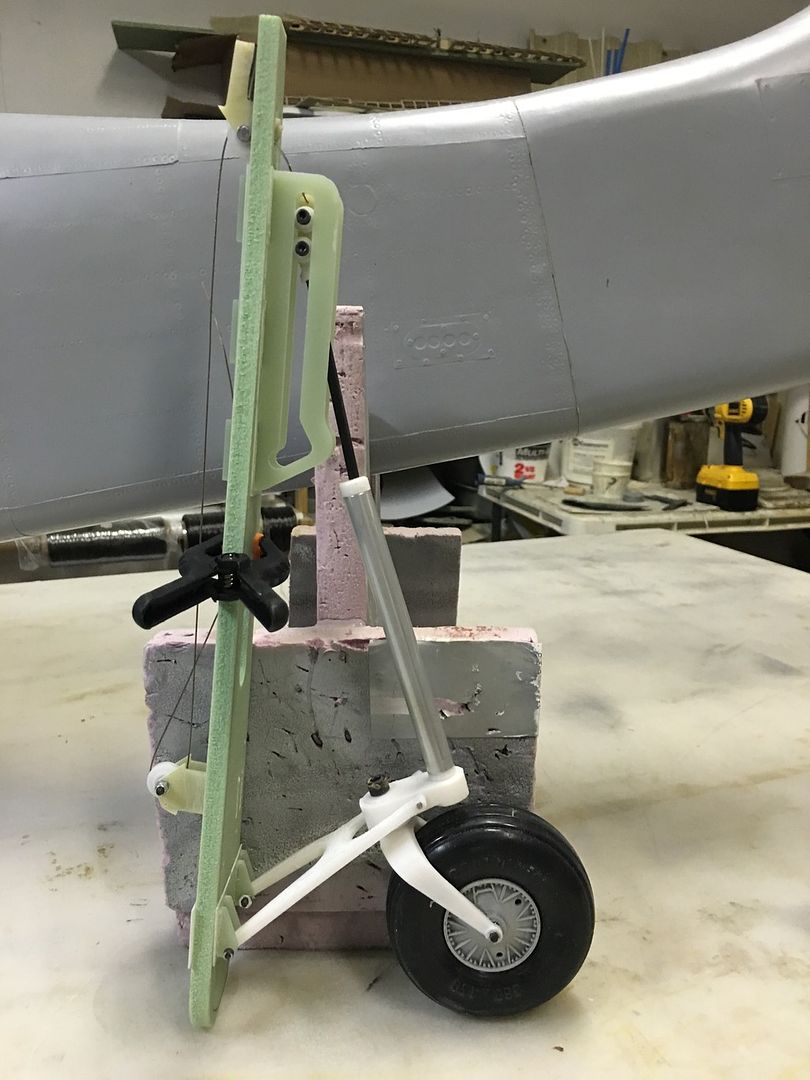
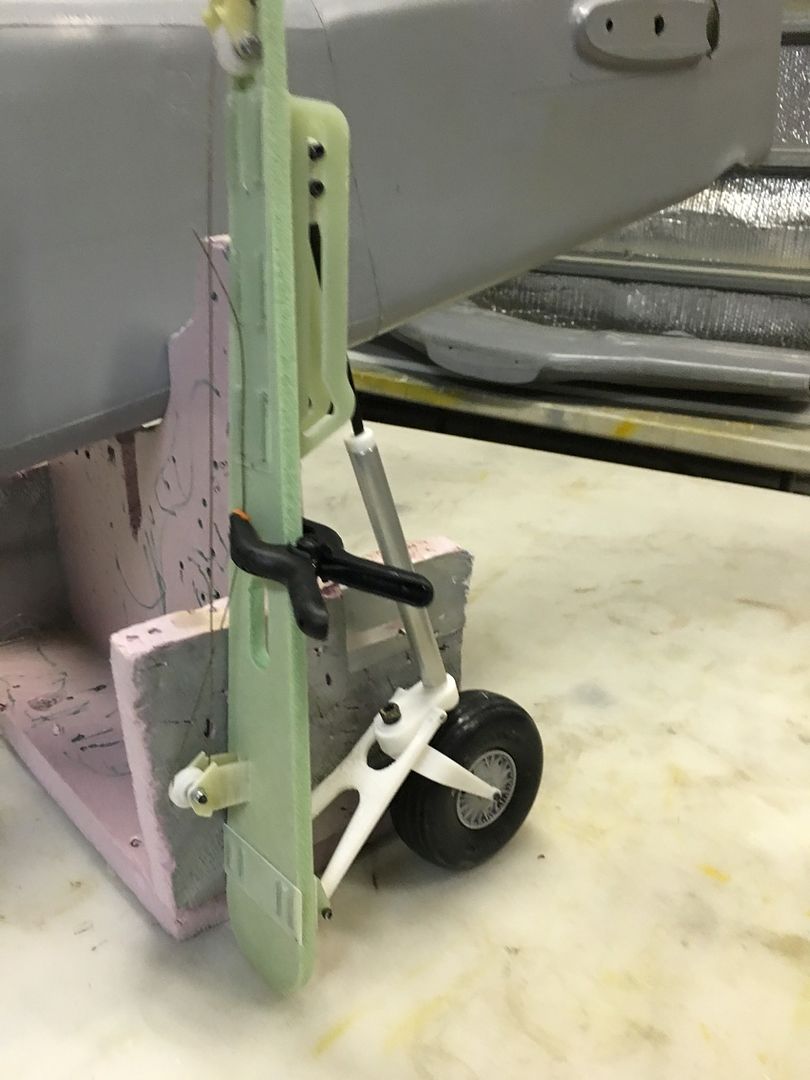
Ive been spending the past few days making parts on the Lathe for the TA152 gear. I have most of those parts made up for all 3 sets now and the prototype tail assembly assembled. Ive got a few refinements to make to the slider track and a few more assembly pins to make up and the tail gear assembly will be done. Then its a matter of making tires and getting these bad boys out to everyone 
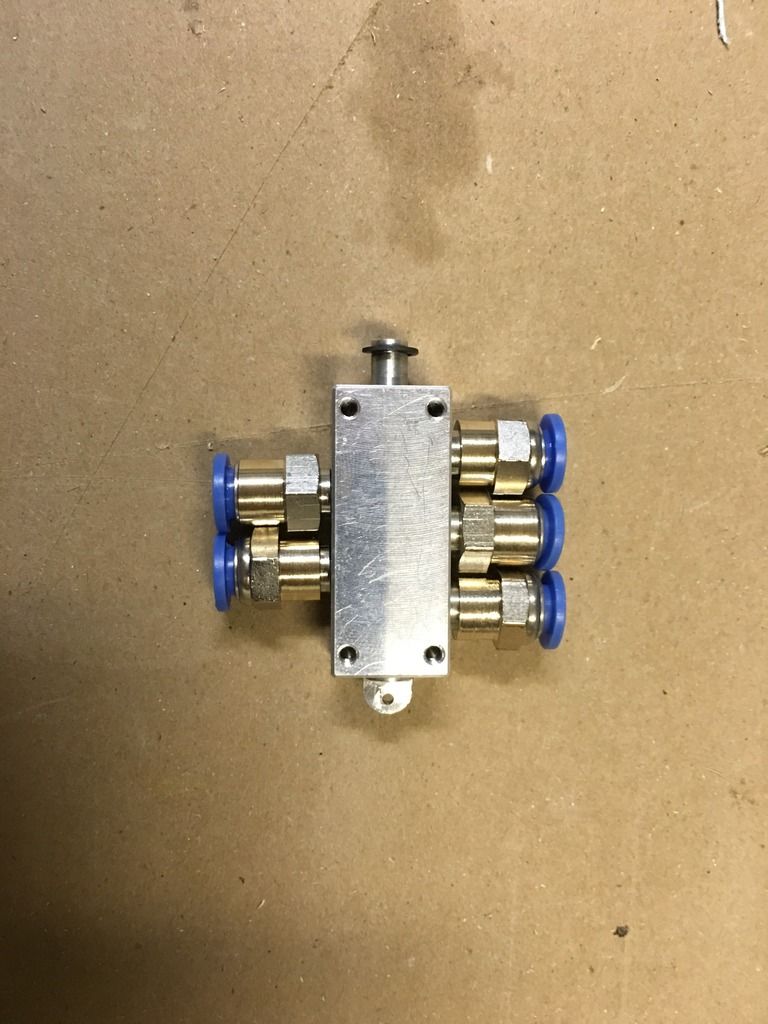
Hydraulic valve assembly: i had to machine down the 6mm push connect fittings for them to fit completely.
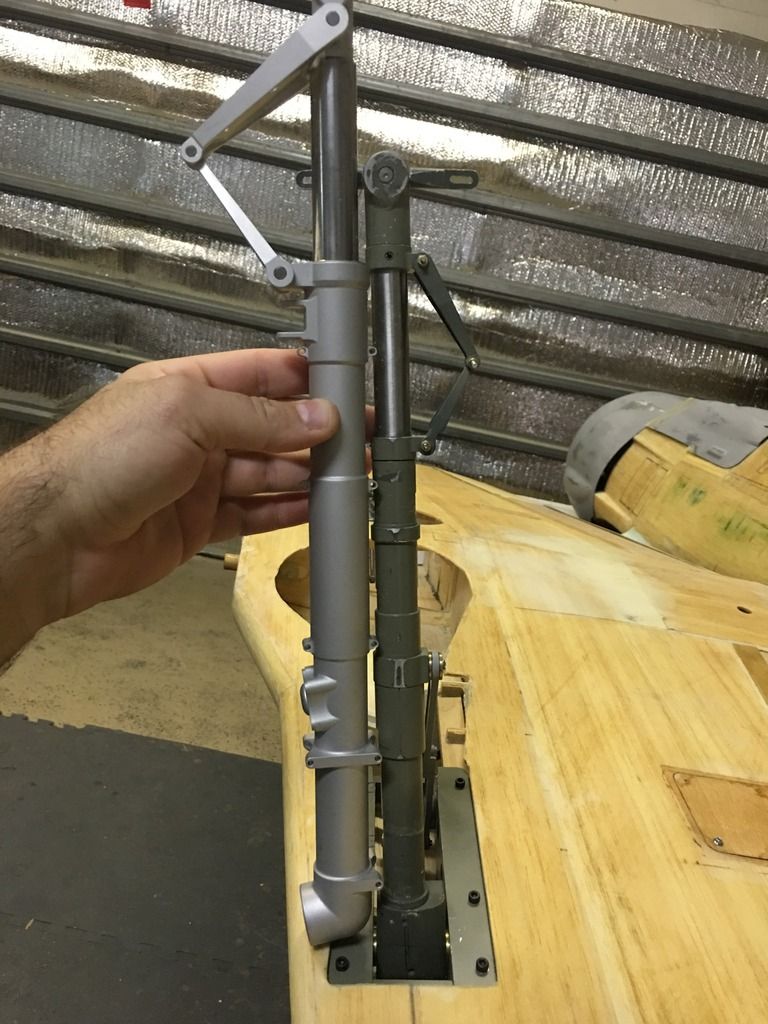
The hydraulic cylinders are assembled:
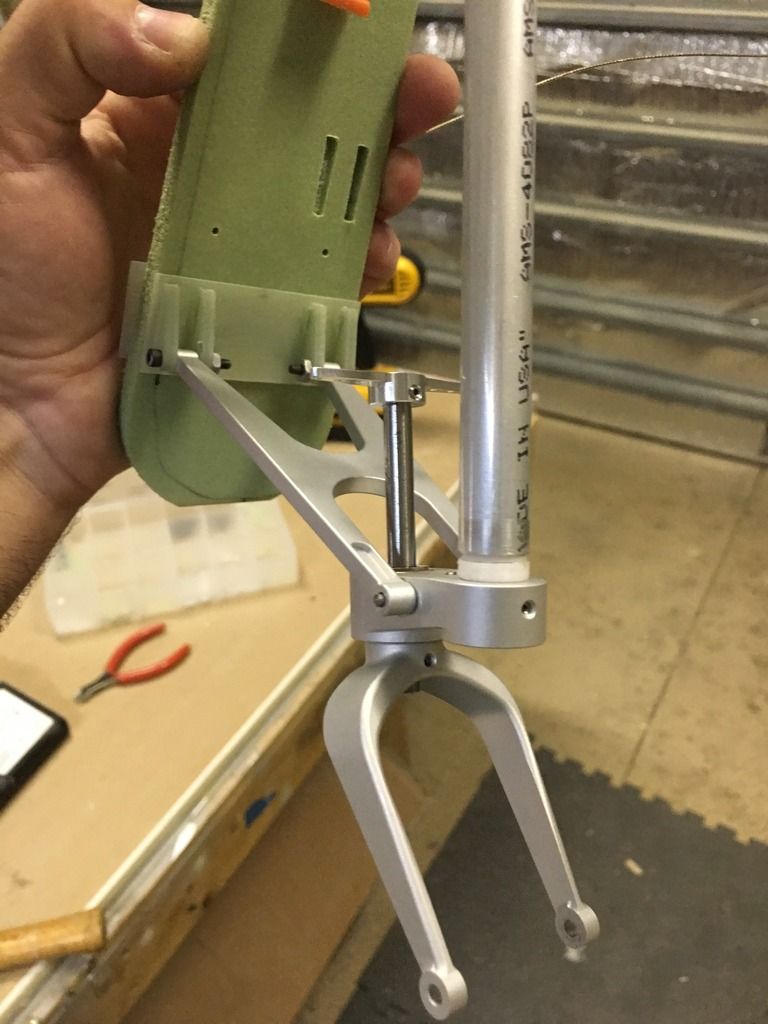
And the tailwheel assembly:
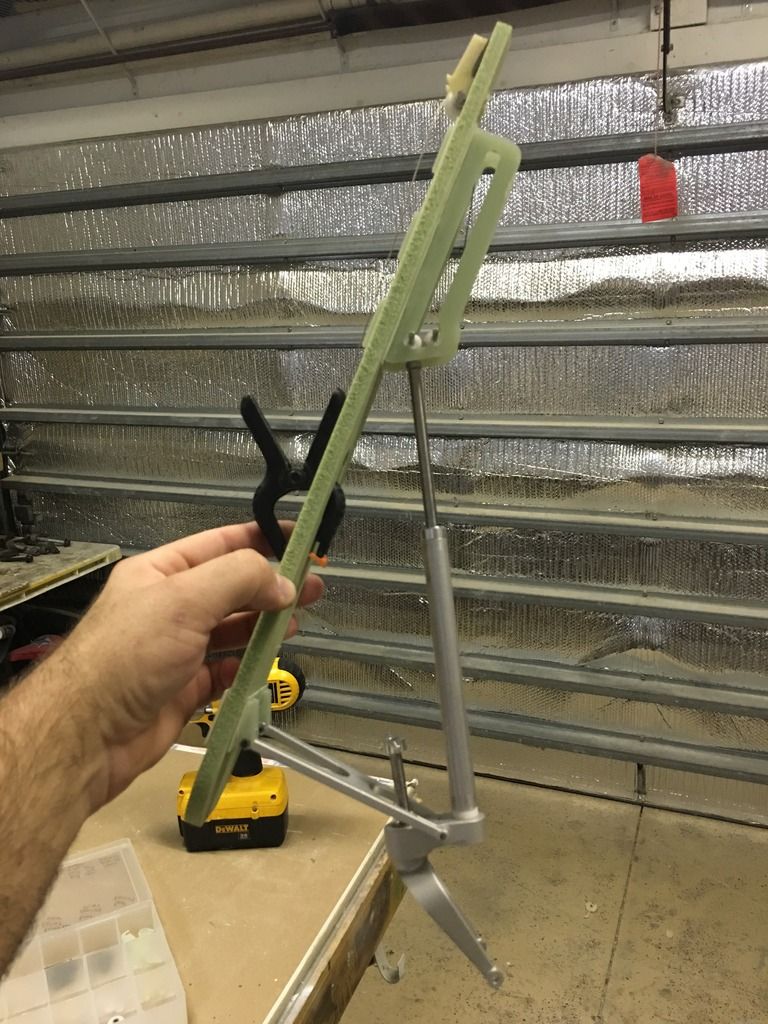
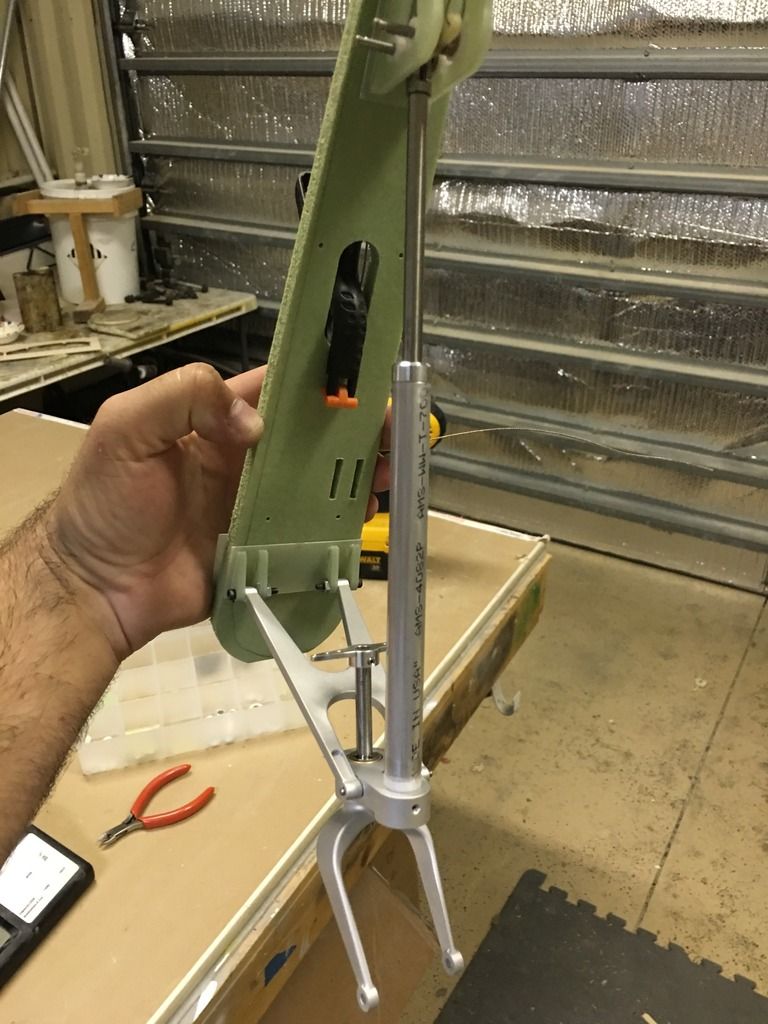
And my strut compared to a modified Sierra retract:
Hydraulic valve assembly: i had to machine down the 6mm push connect fittings for them to fit completely.

The hydraulic cylinders are assembled:

And the tailwheel assembly:


And my strut compared to a modified Sierra retract:
