125% (1/4 scale) Anderson TA-152H


 12-26-2014, 07:12 PM
#152
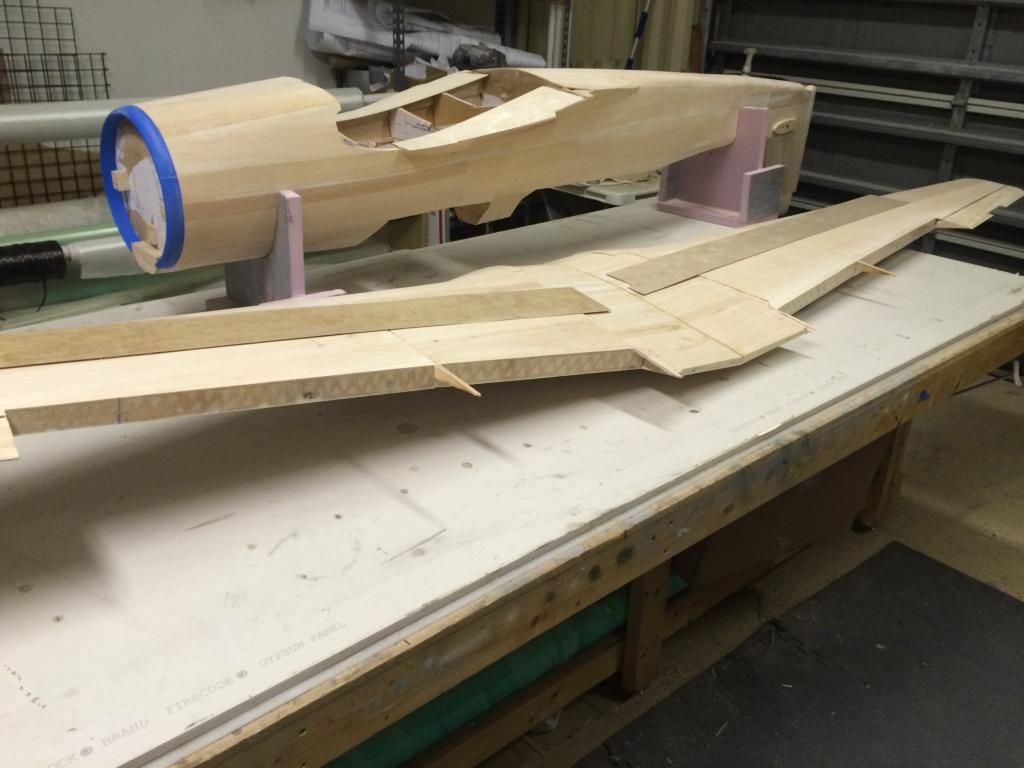
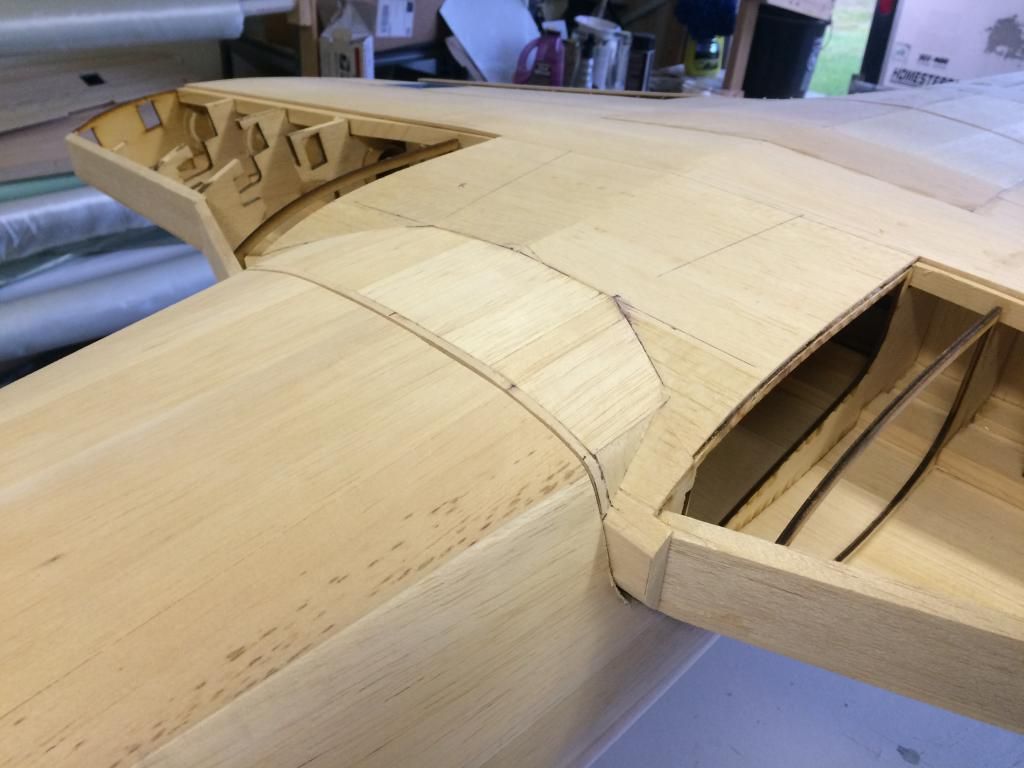
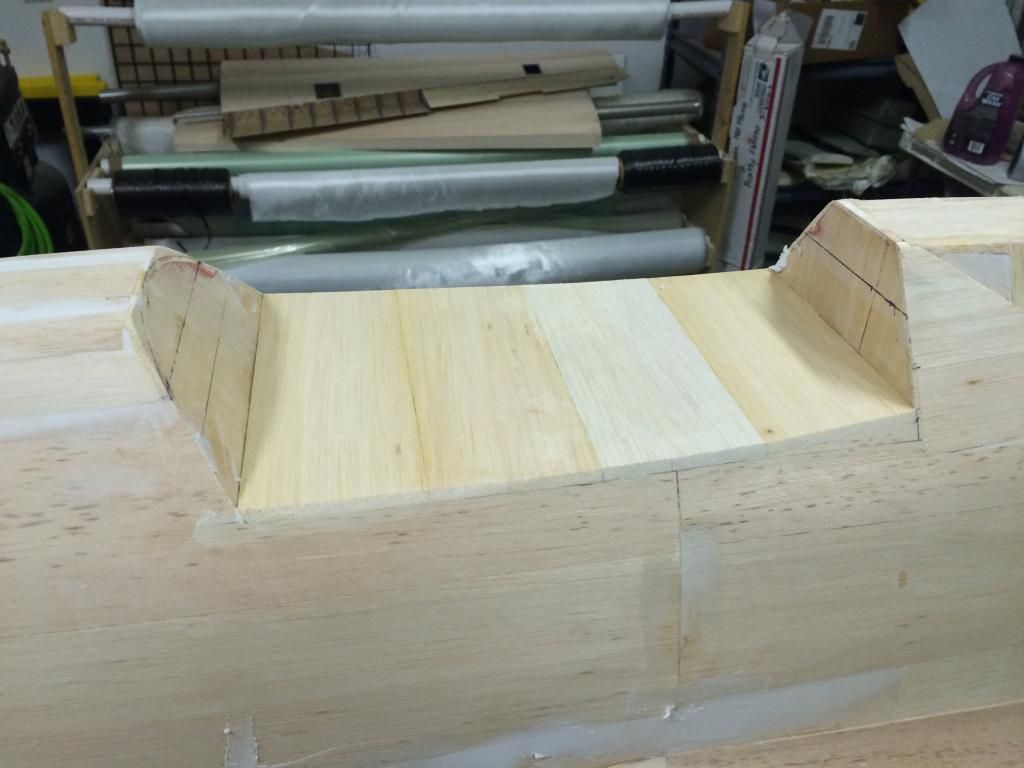
The bottom center section was finished along with the servo hatch frame. The rear wing spar was also capped with some G10.
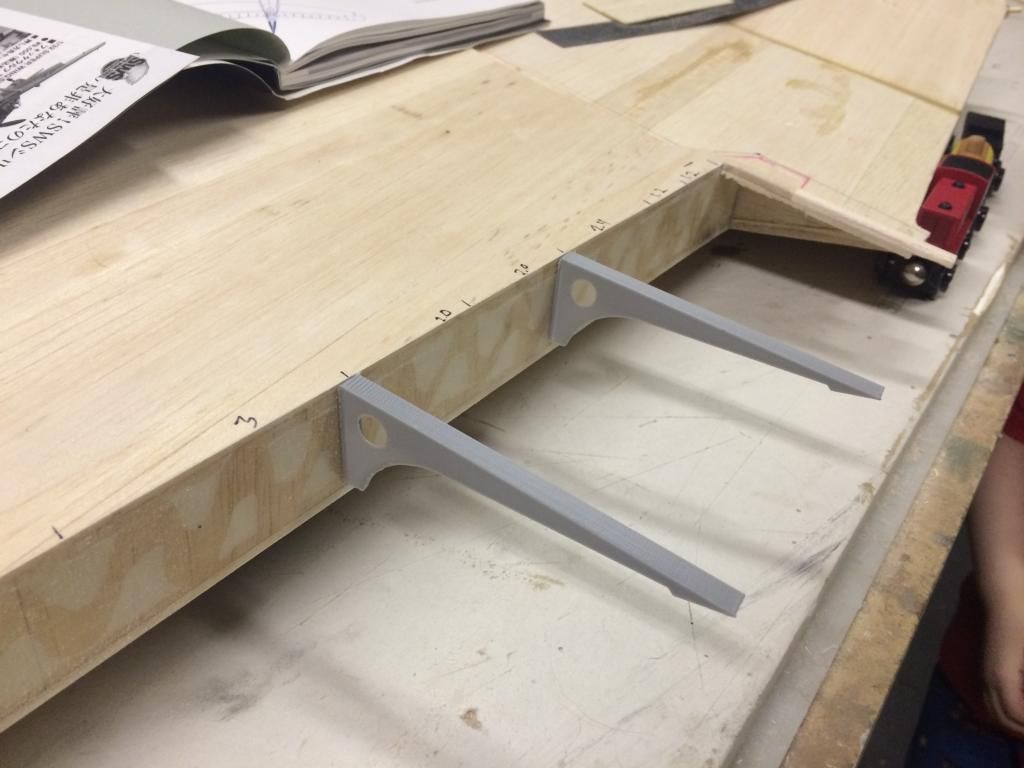
Then the 3D flap well ribs were started to be put on.
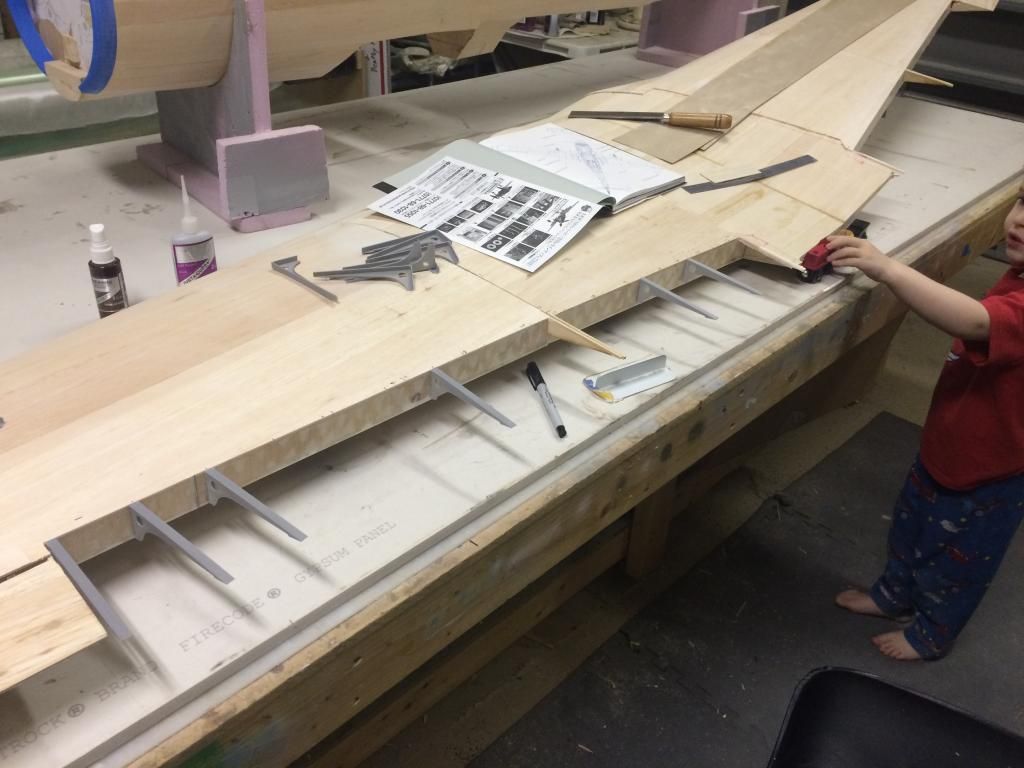
And then all of them were done.
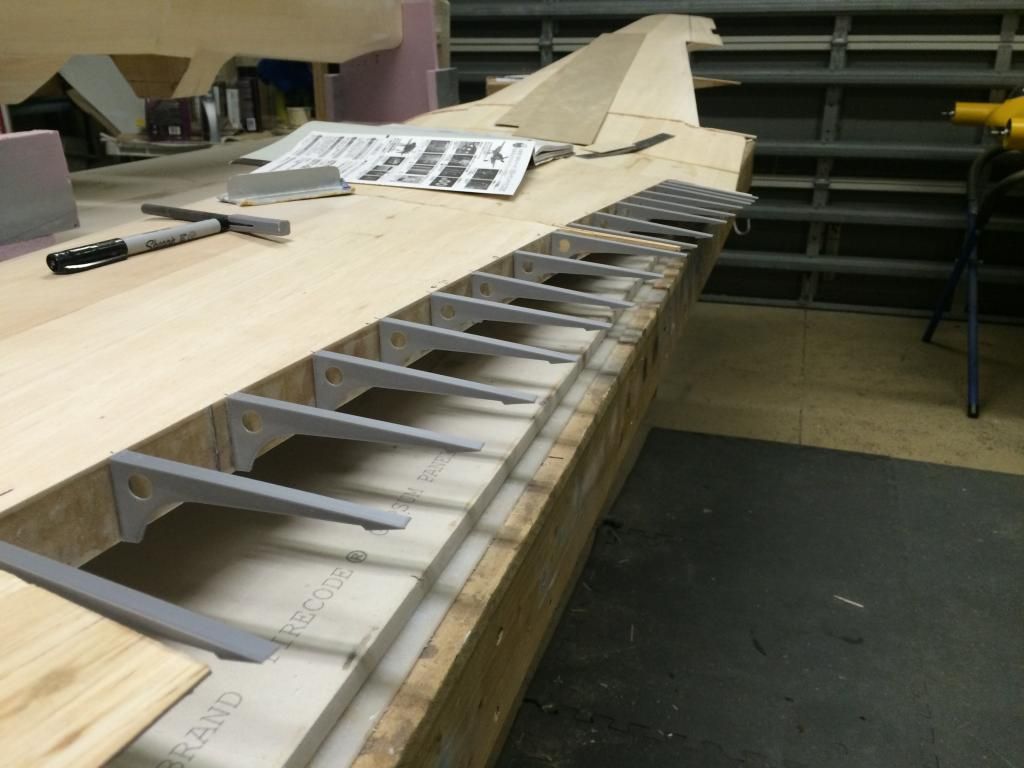
The upper wing skins were recessed and the ply skin over the flap glued on.
I would of done the other side as well, but i printed a whole bunch of left side well ribs and no right side ones. Oops.

Then the 3D flap well ribs were started to be put on.


And then all of them were done.

The upper wing skins were recessed and the ply skin over the flap glued on.

I would of done the other side as well, but i printed a whole bunch of left side well ribs and no right side ones. Oops.
12-27-2014, 03:28 PM
#153
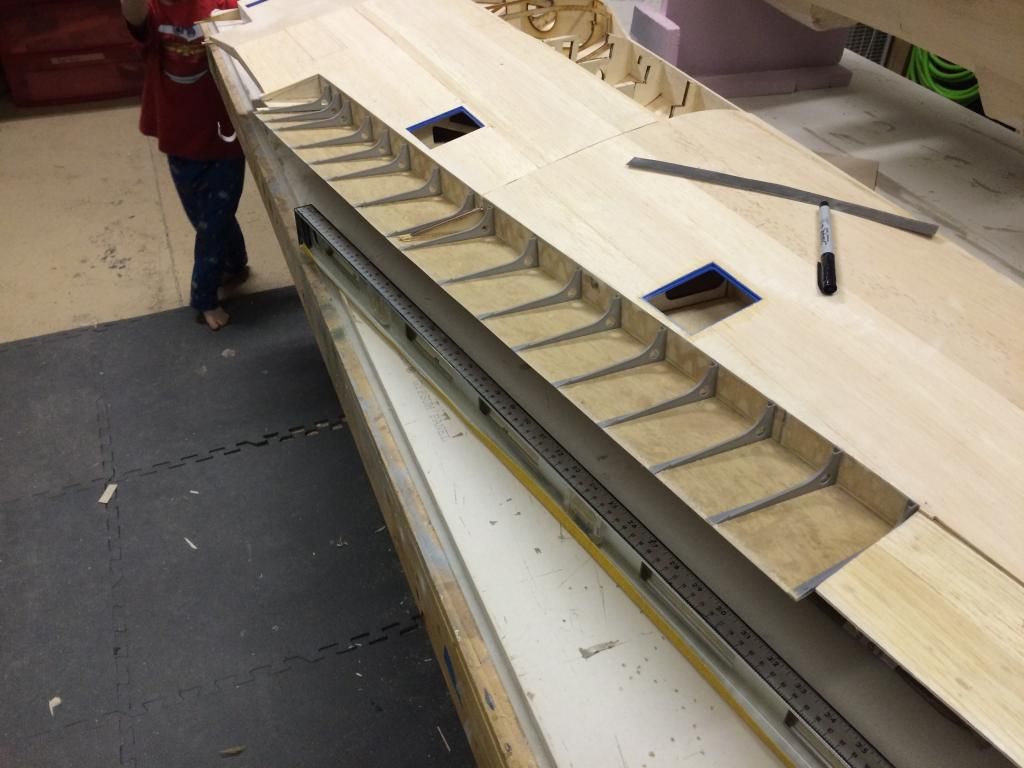
The upper flap well skins are done on both sides.
And here is a shot looking down the Wing Te showing the kink... Unfortunately, its about 20" to far inboard from where it actually is. So because of that, i will probably end up redrawing the wing in CAD and changing the construction method a bit and building a new wing at some point. I'll probably do that for the competition model though and make this one a weekend warrior.


And here is a shot looking down the Wing Te showing the kink... Unfortunately, its about 20" to far inboard from where it actually is. So because of that, i will probably end up redrawing the wing in CAD and changing the construction method a bit and building a new wing at some point. I'll probably do that for the competition model though and make this one a weekend warrior.
 12-28-2014, 03:14 PM
#154
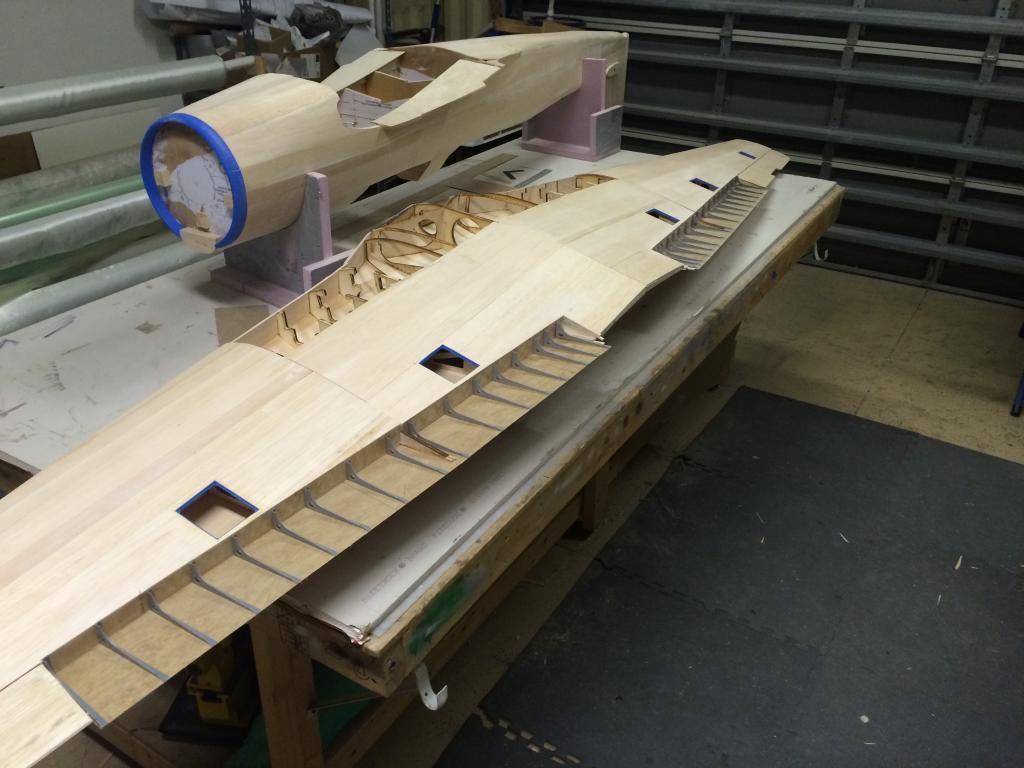
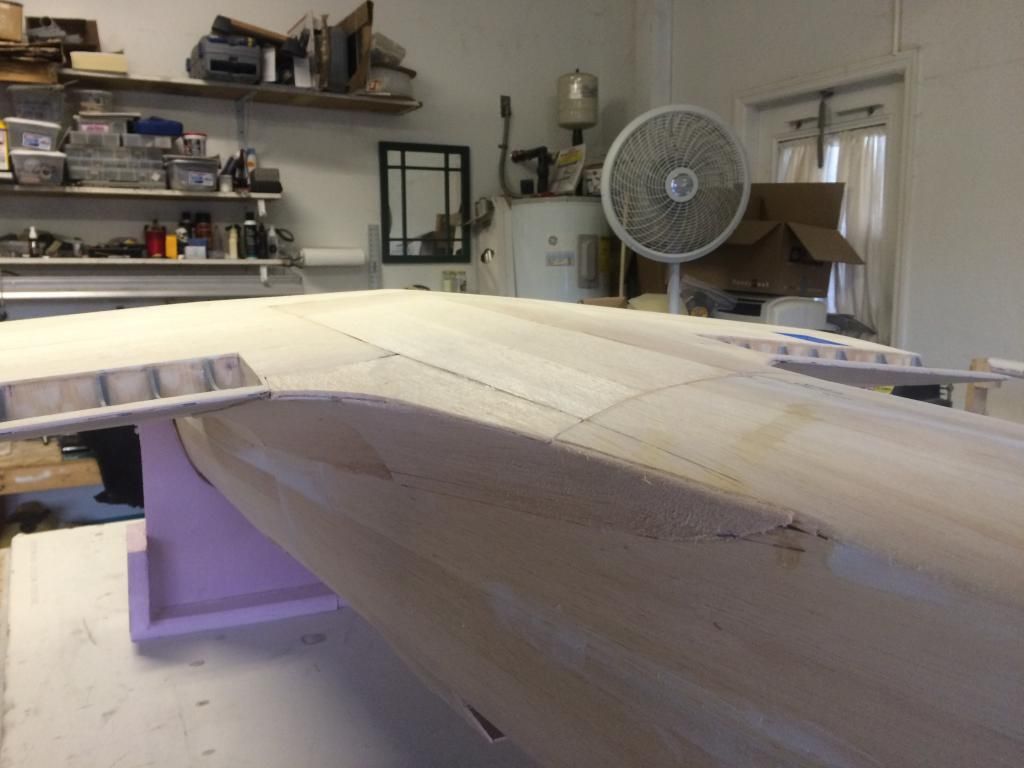
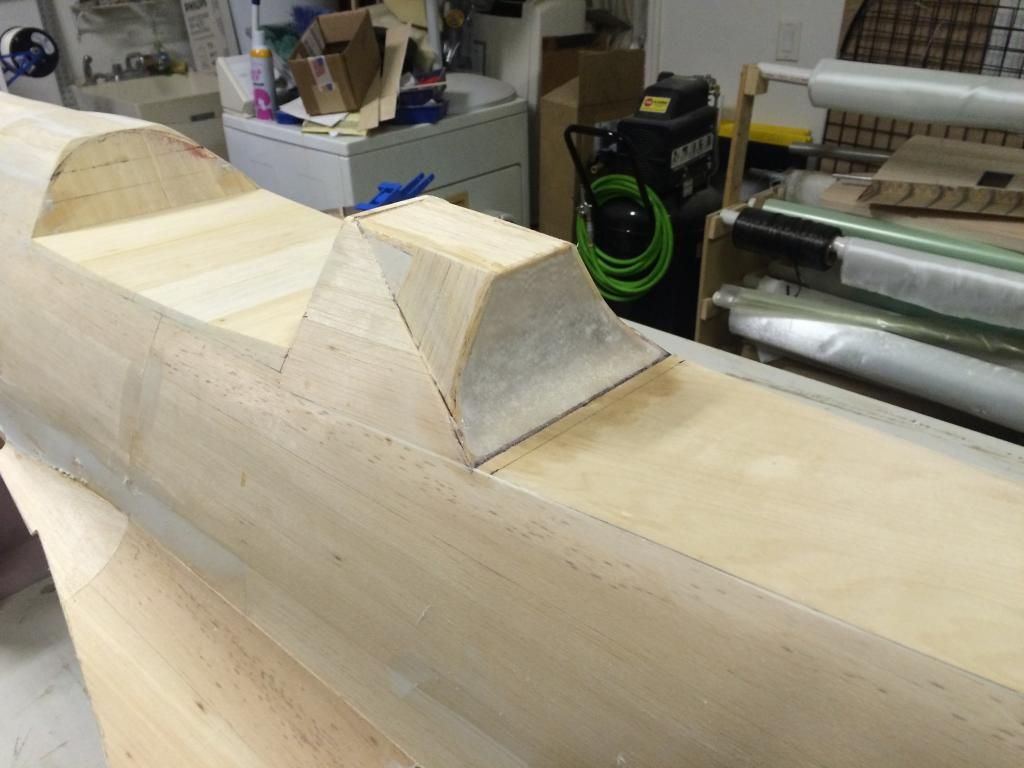
Todays project was getting the wing to aft fuselage fairing built on the wing. The fuse bulkhead at the wing TE was about 1/4" to low so i had to build up the area with an additional bulkhead. Then because that area blends into the wing fillets, the sheeting had to be removed to make that transition smoothly. It wasnt hard, but was time consuming taking up about 4 hours. Now that it is all done, the final outcome looks pretty good. Some filler and sanding to fill out a few lowspots and she'll be right!
Then i put it outside so i could blow about 1/2" of dust out of the shop.
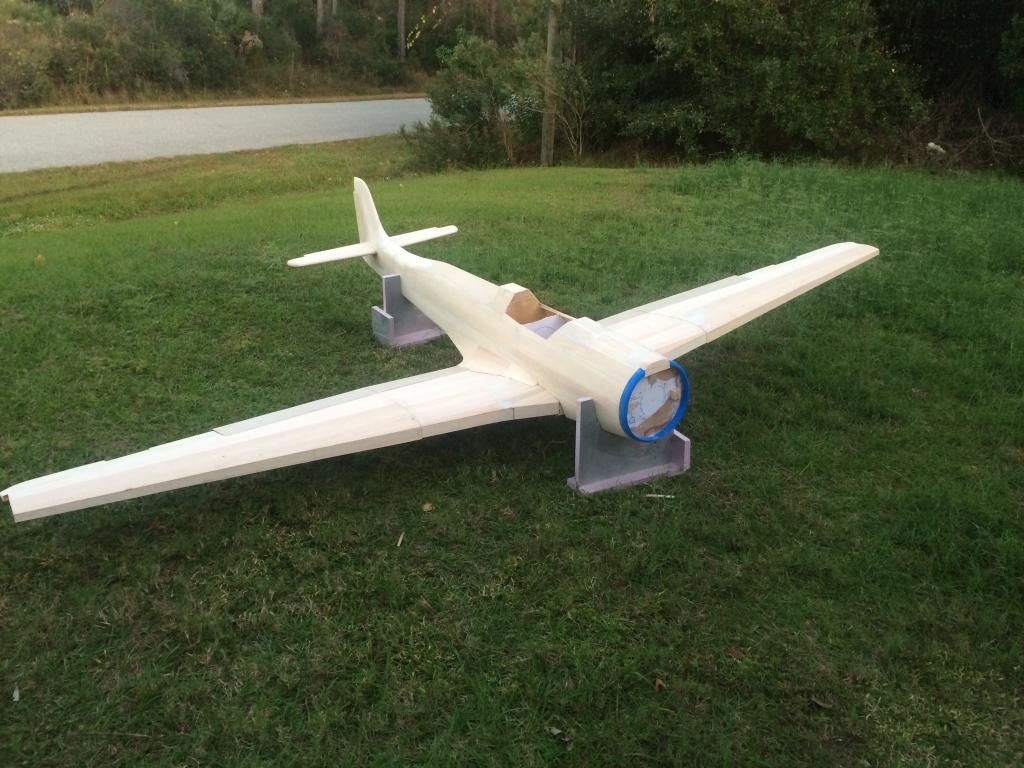
She is BIG!


Then i put it outside so i could blow about 1/2" of dust out of the shop.


She is BIG!

 12-29-2014, 04:26 PM
#157
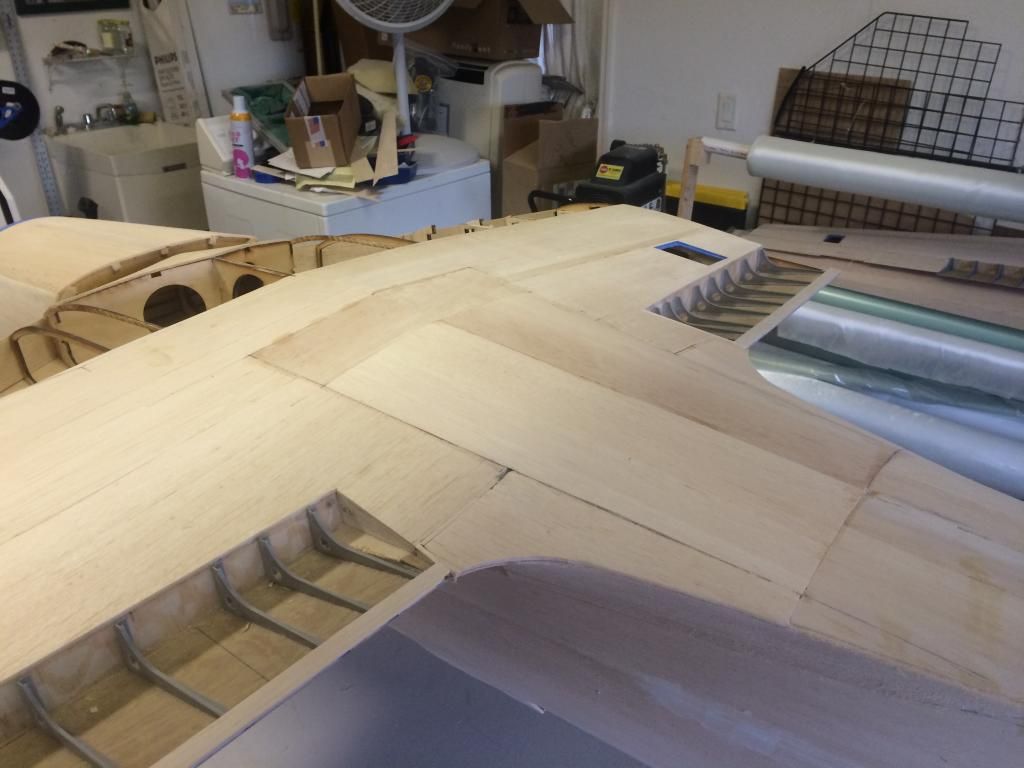
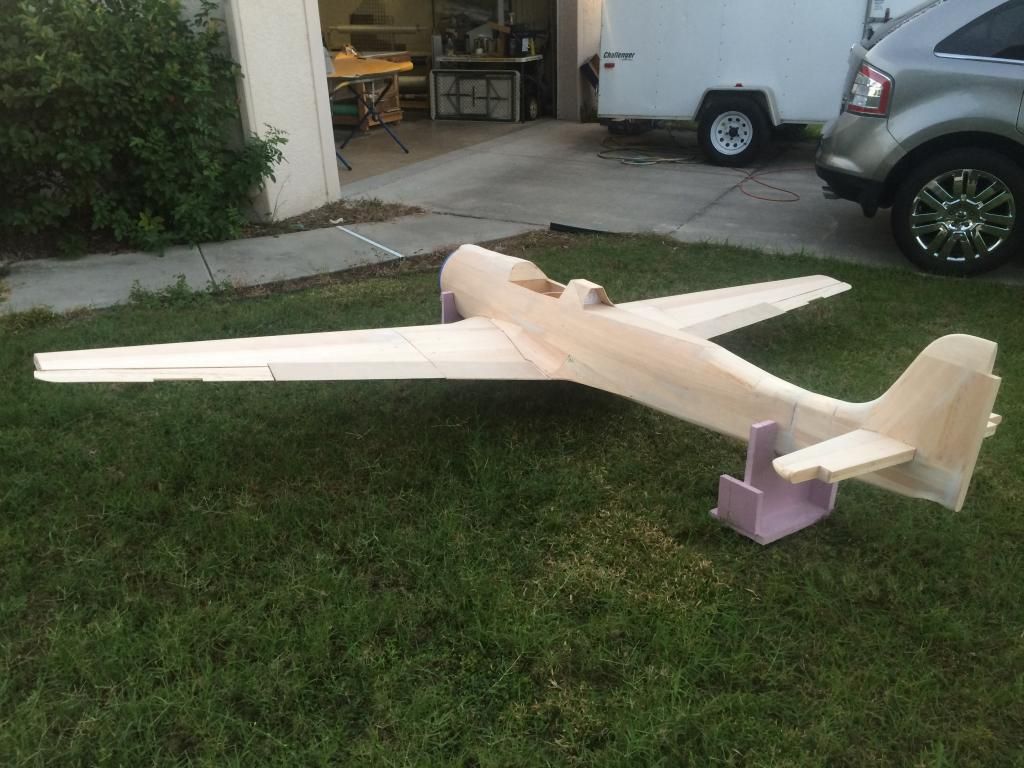
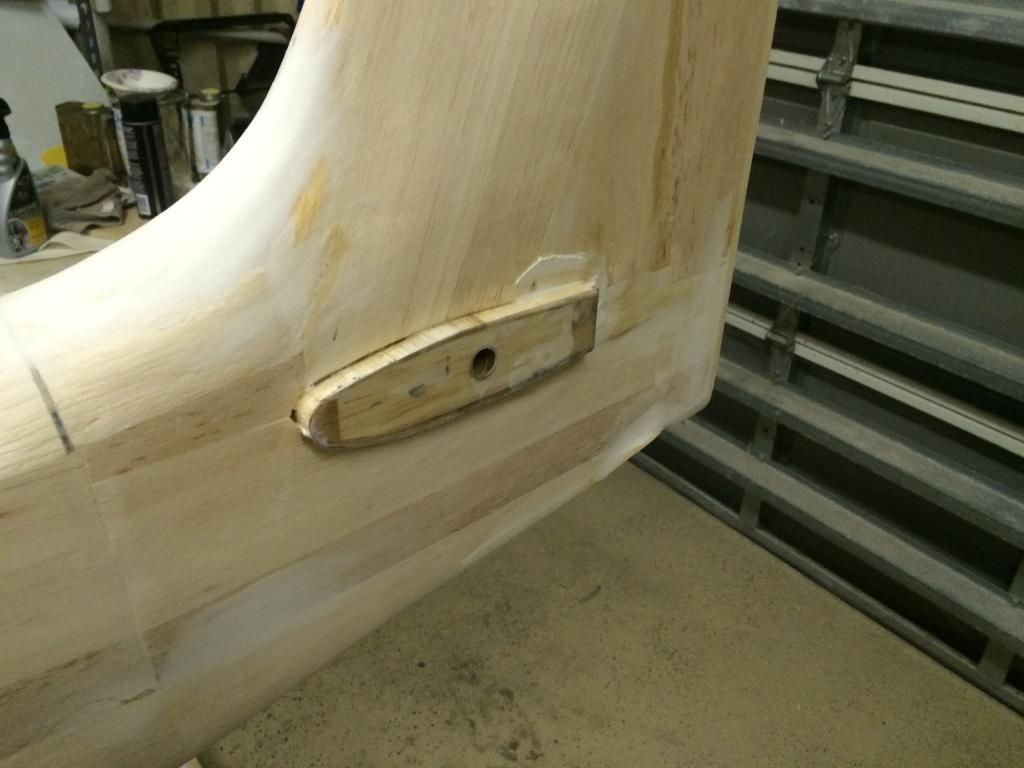
The LE wing to fuselage fairing was built.
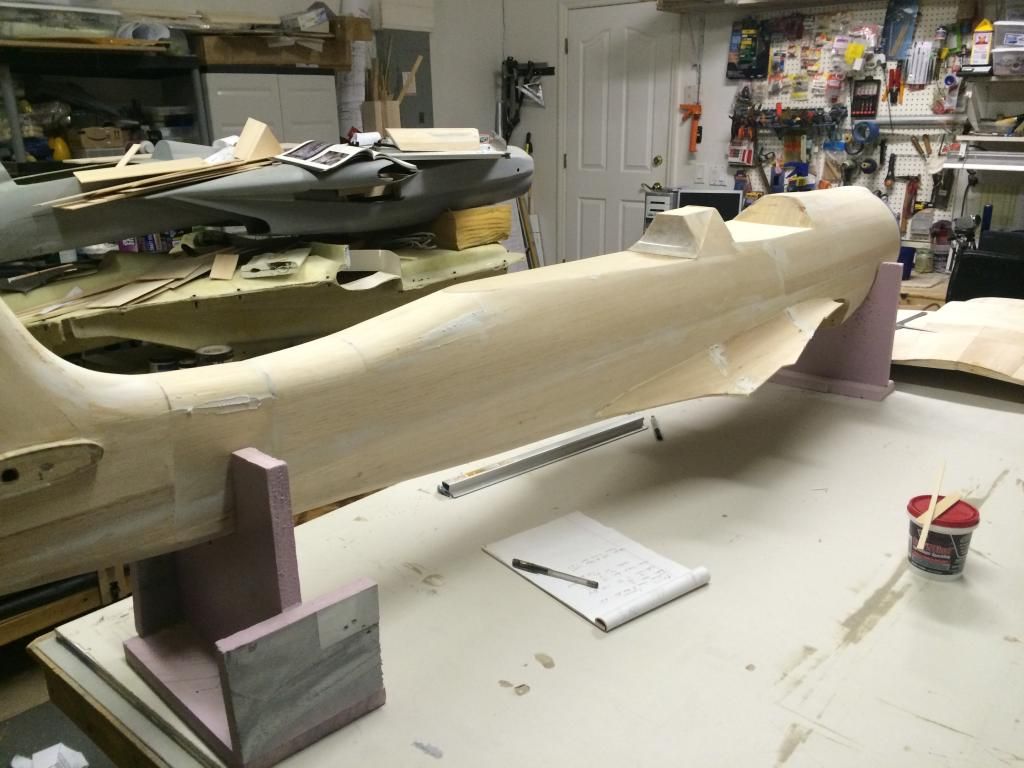
at this point, the vast majority of the building is done. The fuselage only needs to have the wing saddle to wing fit tightened up, the open areas covered and then some final filling and sanding and she will be ready for glass and detailing.
The wings need servo and landing gear mounts done, leading edge and wing tips shaped and they are ready for glass.
Im going to focus on getting the flight control parts drawn in Solidworks and all those files prepper for the laser cutter so when i get back home from texas they are are ready to be assembled and all this other stuff done
my plan is to have the complete airframe done by the end of Feb. And ready to mold the 2nd to 3rd week of Feb. And first parts going out by mid march.
12-30-2014, 05:32 PM
#158
I took some time today to fill in all the open areas around the fuse and G10 cap the stab roots.
I also applied filler where it was necessary.
At this point the fuselage is essentially ready for finish sanding and glassing. The only thing left to do is tighten up the fit of the Le portion of the wing saddle to the wing.
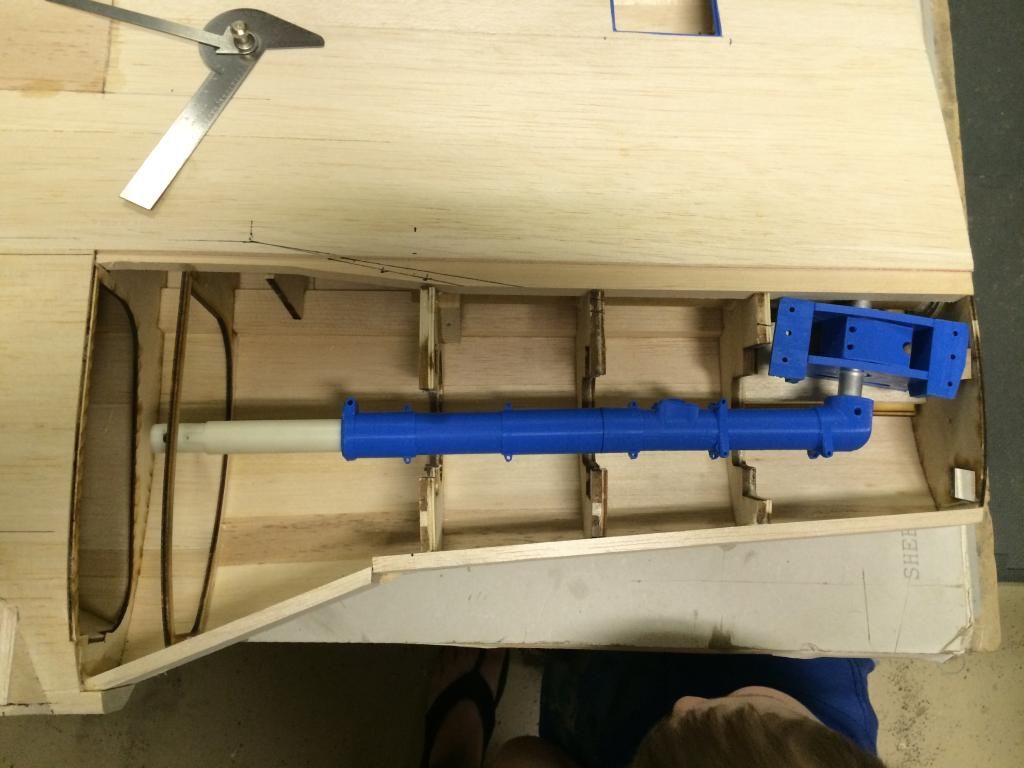
I also started figuring out the mounts for the main landing gear. Here is a shot of the 3D printed assembly on the wing panel. I need to print a rim and tire in order to get the mount figured out.


I also applied filler where it was necessary.

At this point the fuselage is essentially ready for finish sanding and glassing. The only thing left to do is tighten up the fit of the Le portion of the wing saddle to the wing.
I also started figuring out the mounts for the main landing gear. Here is a shot of the 3D printed assembly on the wing panel. I need to print a rim and tire in order to get the mount figured out.


 03-01-2015, 04:22 PM
#161
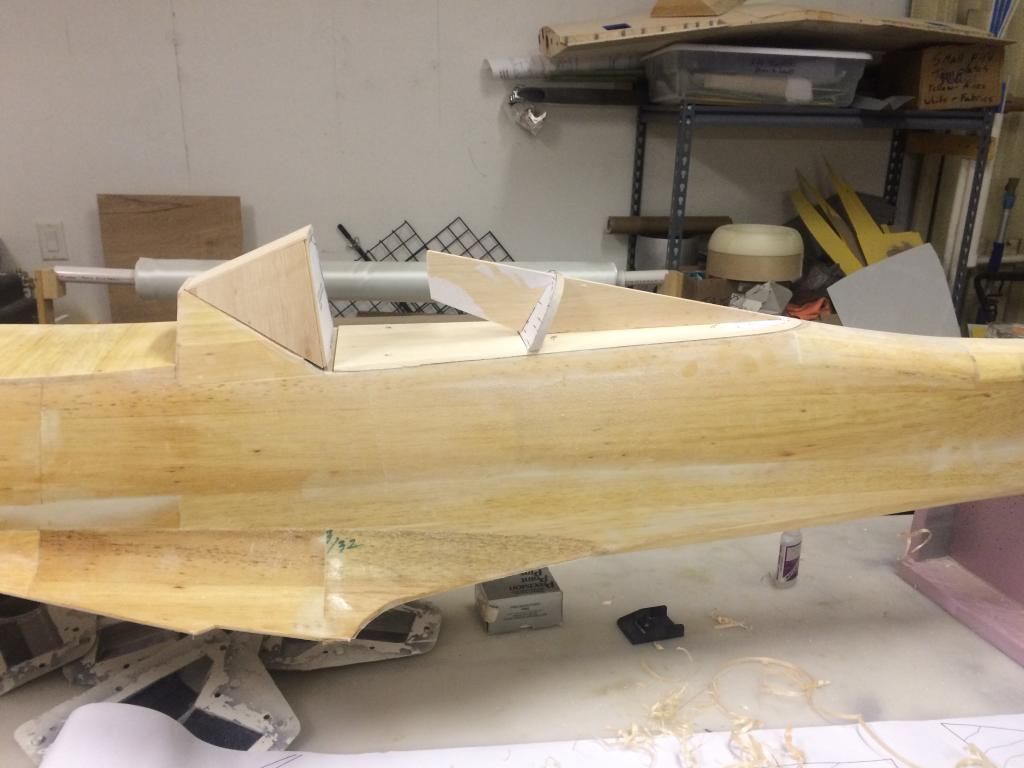
The parts for the canopy fairing were cut out and pinned in place on the fuse for shaping:
Then it was all removed and glued together. At this point i need to decide if i am going to so my own canopy plug and mold, or use a commercially available one.
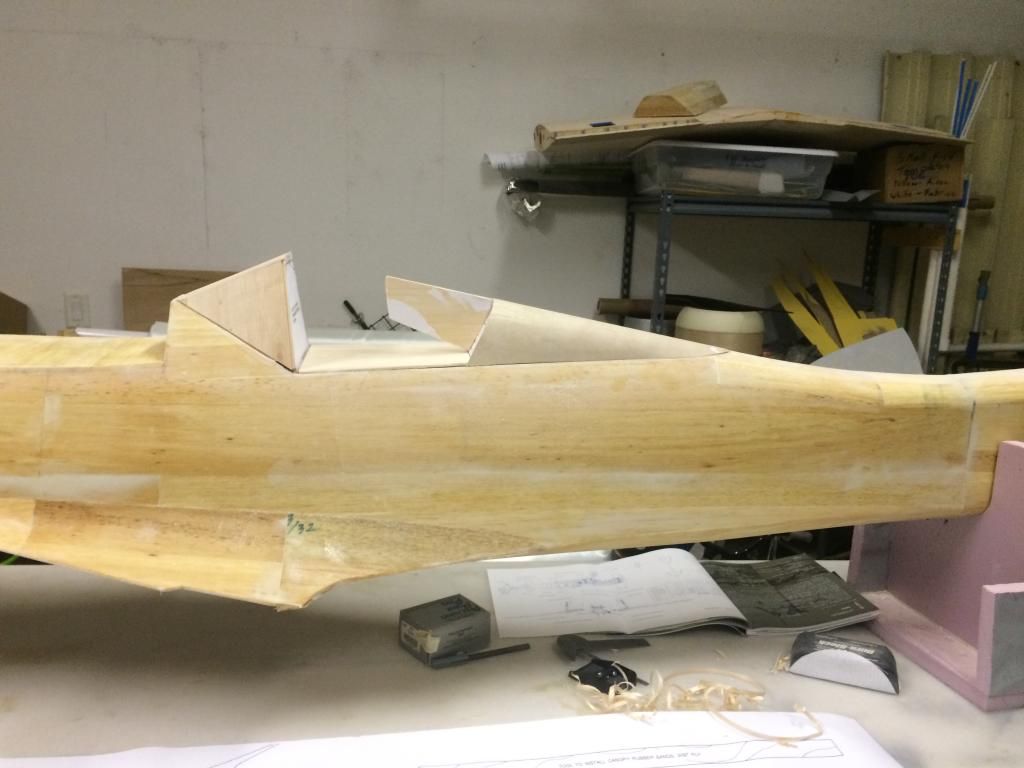

Then it was all removed and glued together. At this point i need to decide if i am going to so my own canopy plug and mold, or use a commercially available one.


 03-04-2015, 03:30 AM
#165
") cos I'm still too big an Anton fan to like 152's
cos I'm still too big an Anton fan to like 152's  03-07-2015, 07:55 PM
#170
First tire mold half was done when i work up this morning....
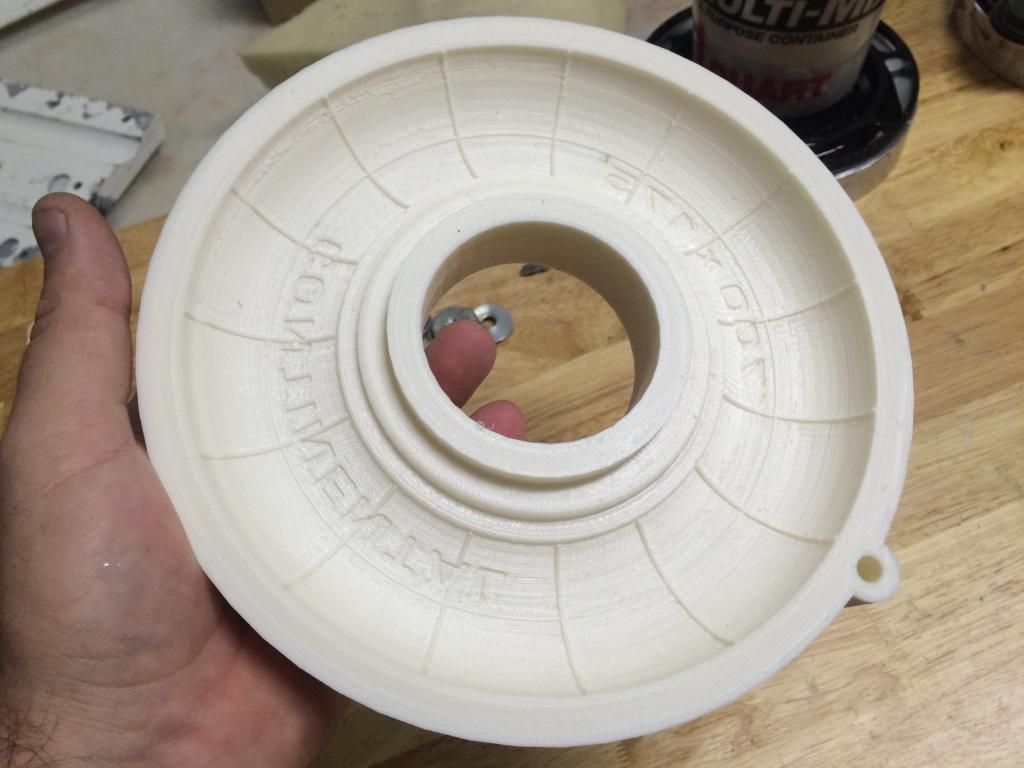
I started the second half at the same time... Unfortunately 10hrs into the 15hr print, my computer decided to shut down for no apparent reason, so that print got trashed.
While that was printing, i lofted up the canopy, so i decided to print that instead.
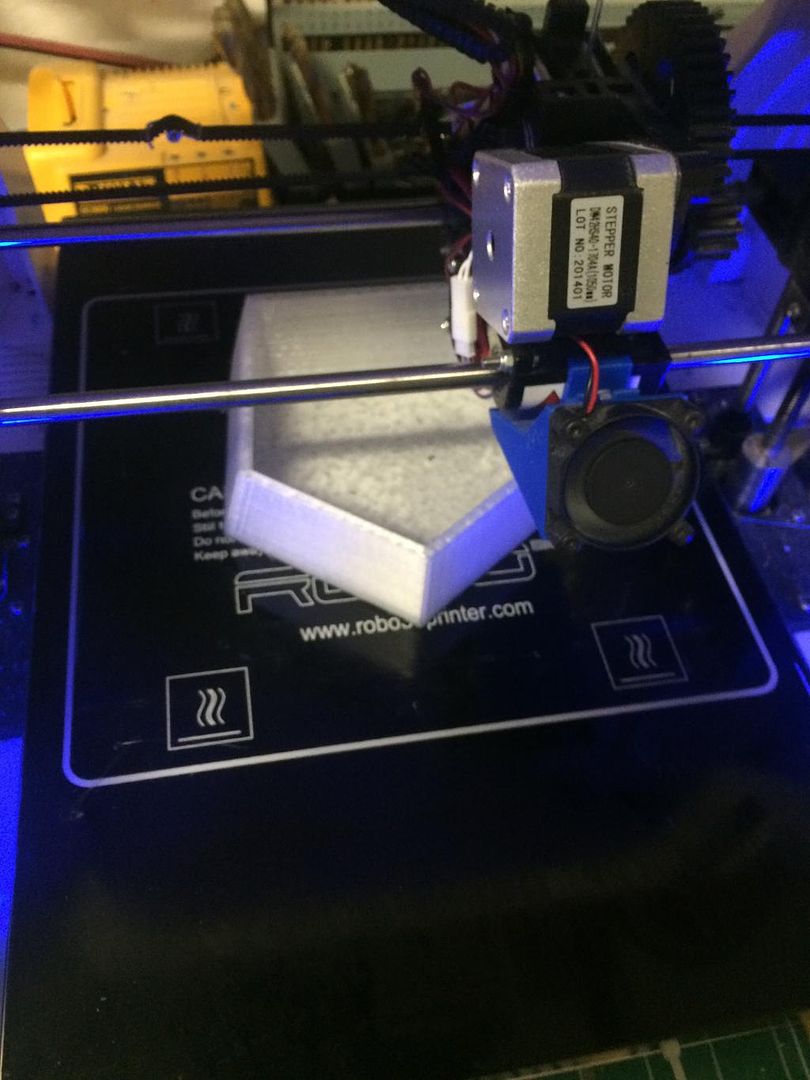

I started the second half at the same time... Unfortunately 10hrs into the 15hr print, my computer decided to shut down for no apparent reason, so that print got trashed.
While that was printing, i lofted up the canopy, so i decided to print that instead.
 03-08-2015, 11:07 AM
#171
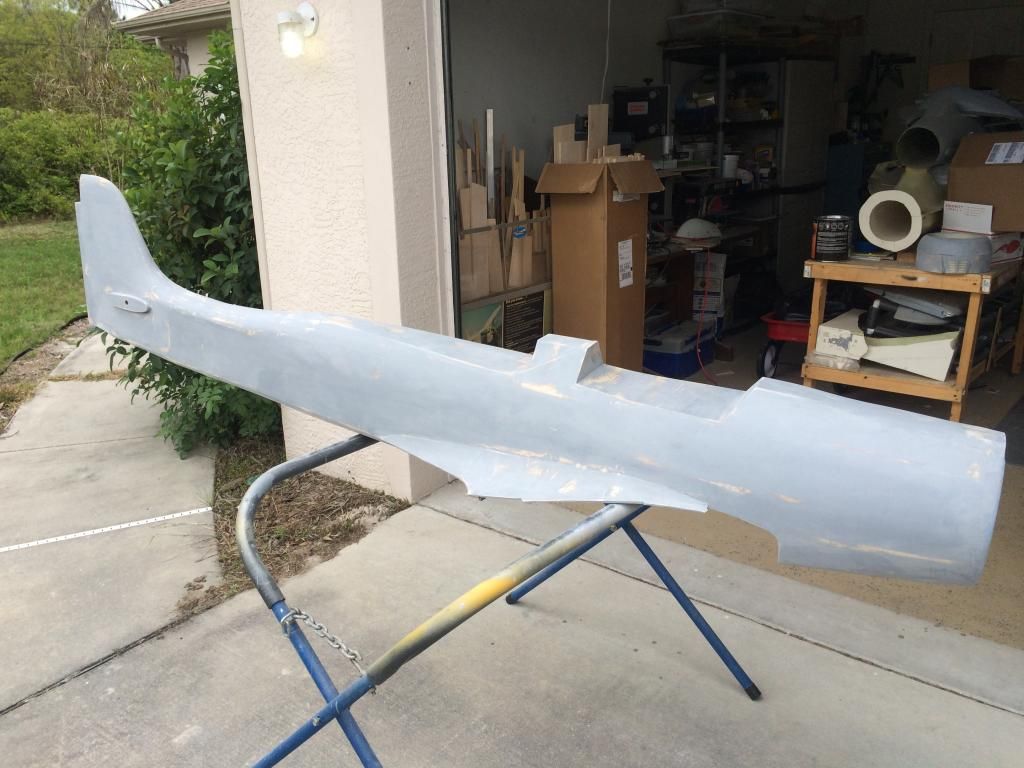
Yesterday got a second coat of primer on the fuse and one coat of primer on the cowl and gunhood plugs. 2 1/2 hours later today and everything is sanded down and ready for glazing compound (pinholes) and body filler (low spots and flat spots).