


125% (1/4 scale) Anderson TA-152H


 03-14-2015, 04:59 PM
#202
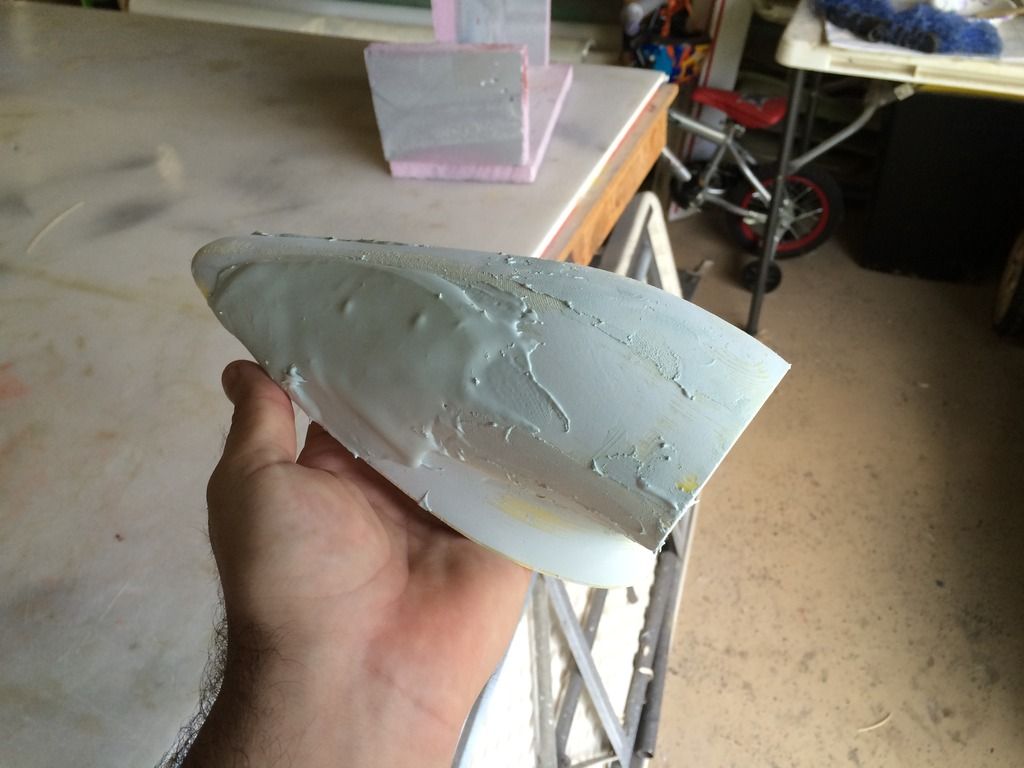
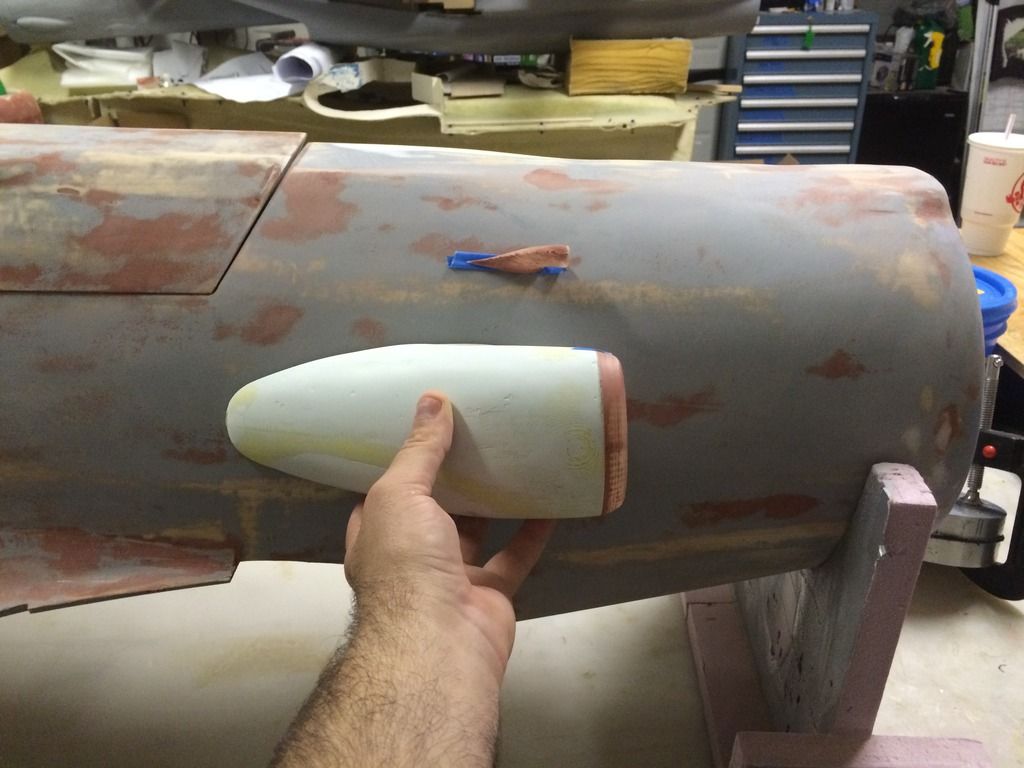
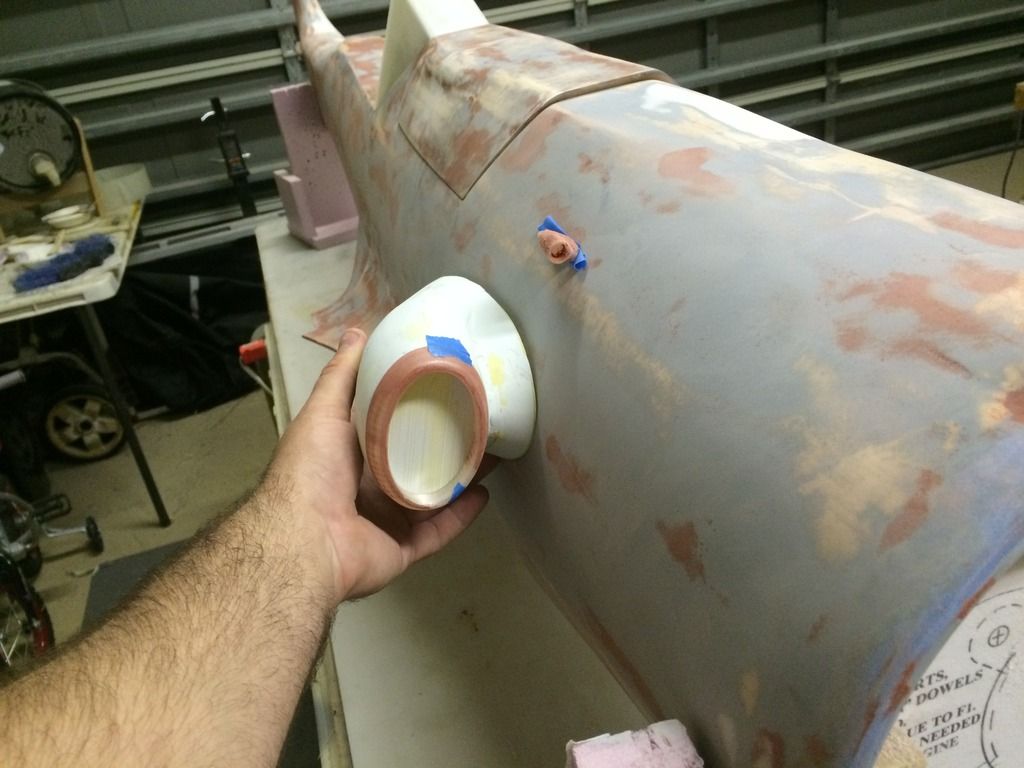
The supercharger scoop was printed this morning. Here it is after applying the second of three coats of body filler:
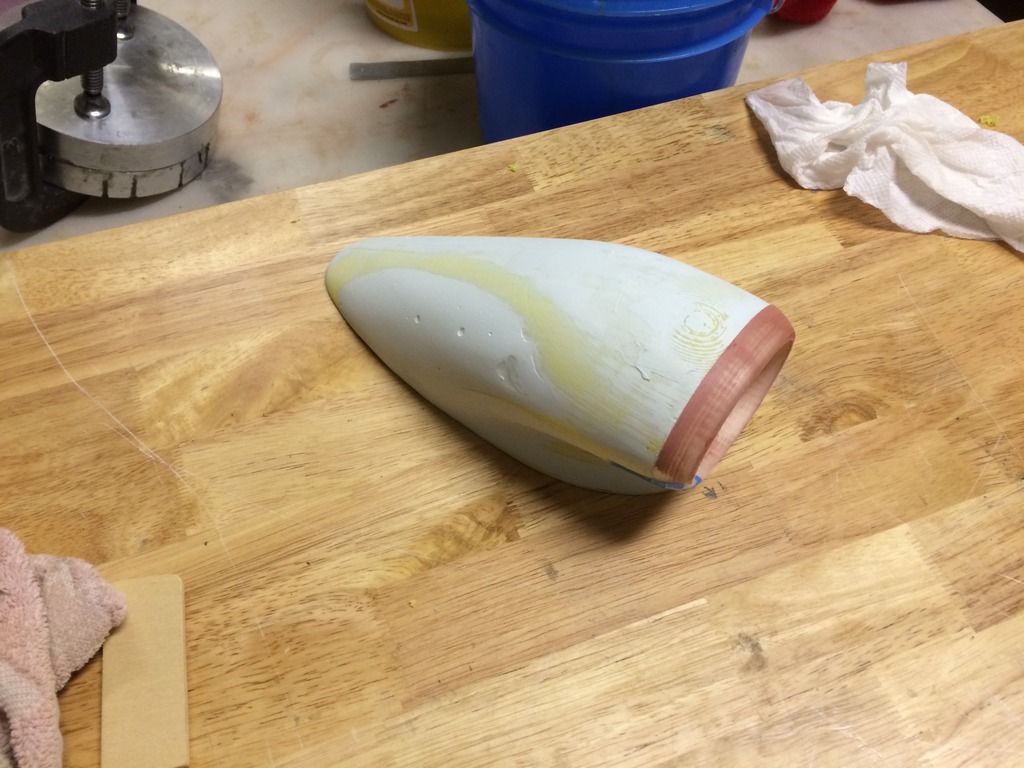
And again after the third coat was sanded. At this point it is Very close to done. I have a few flat spots on the curved top to fix and then fillet the bottom edge of the inlet ramp and it'll be ready for a coat of primer to finalize it all.
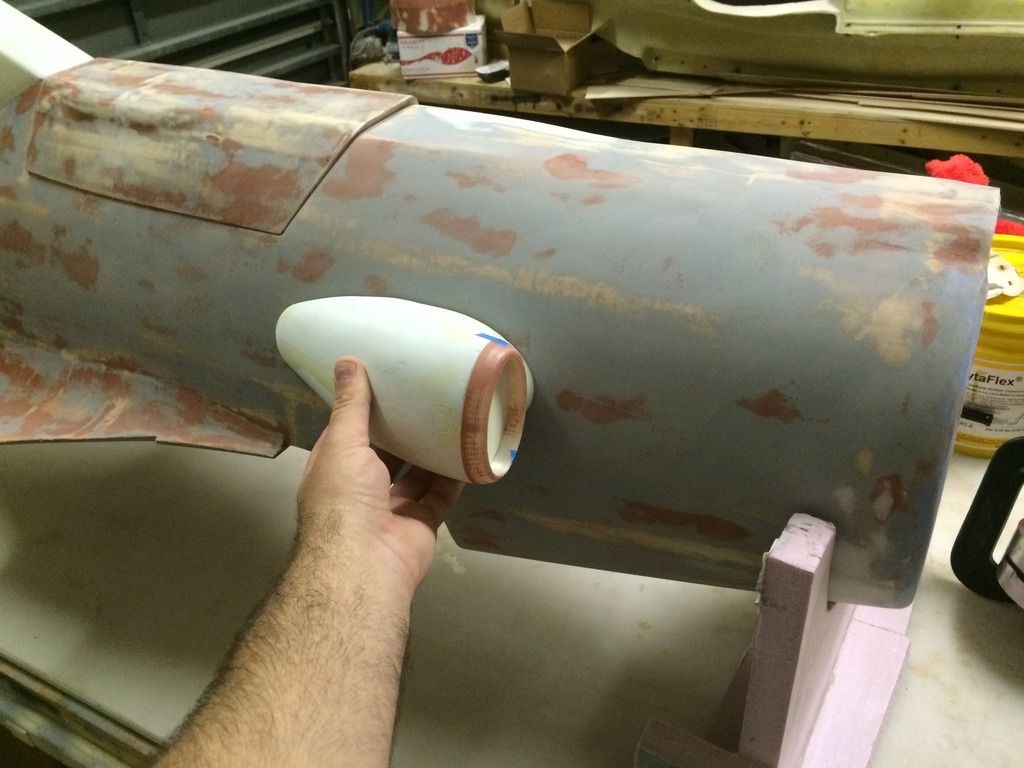
And the scoops mocked up on the fuse:

And again after the third coat was sanded. At this point it is Very close to done. I have a few flat spots on the curved top to fix and then fillet the bottom edge of the inlet ramp and it'll be ready for a coat of primer to finalize it all.


And the scoops mocked up on the fuse:


 03-15-2015, 03:39 PM
#204
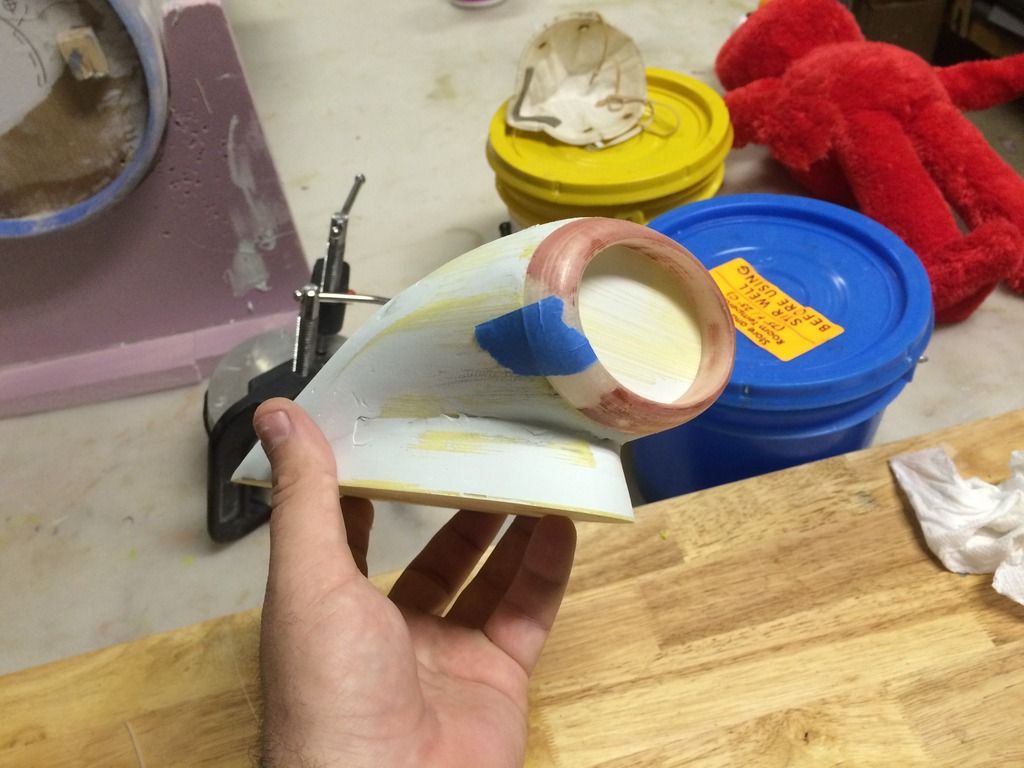
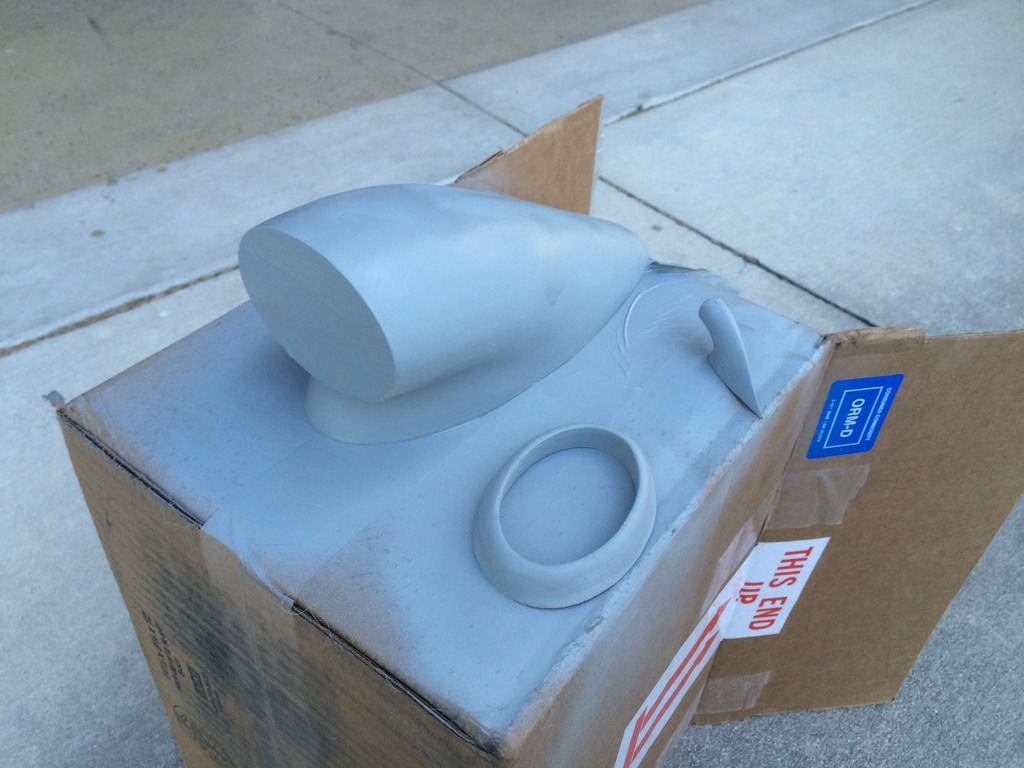
Two more rounds of body filler and sanding and the scoops got a coat of primer.
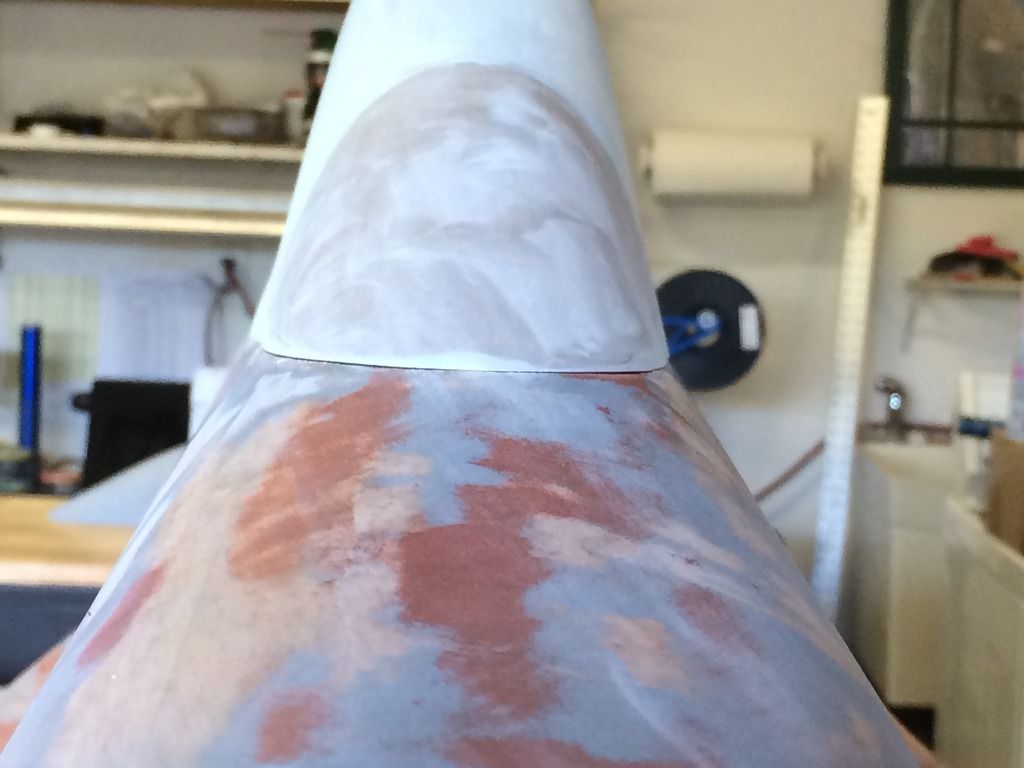
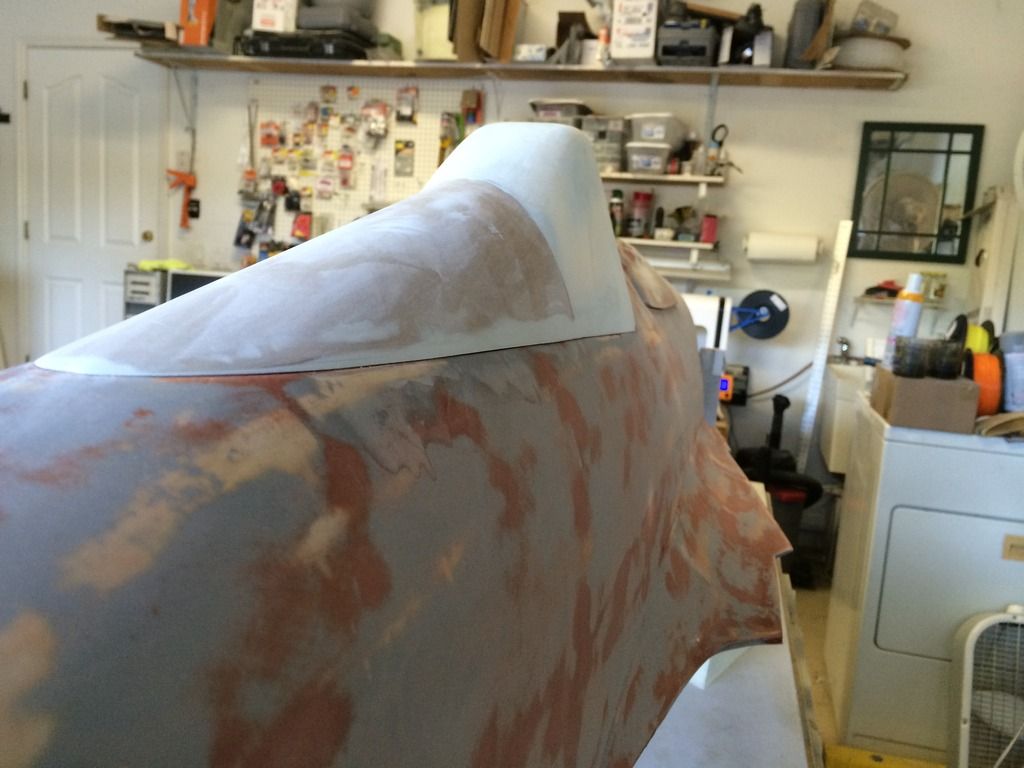
Then the cockpit deck was covered in clear packing tape and a layer of body filler applied around the edges and the canopy wiggled and compressed into the body filler. Any excess that was squeezed out was smeared down the edge to fill in any other gaps. I typically do the rear half then the front half separately so as to limit the amount of filler needed to mix up.
Here is what we get after pulling it off and sanding it flush.

Then the cockpit deck was covered in clear packing tape and a layer of body filler applied around the edges and the canopy wiggled and compressed into the body filler. Any excess that was squeezed out was smeared down the edge to fill in any other gaps. I typically do the rear half then the front half separately so as to limit the amount of filler needed to mix up.

Here is what we get after pulling it off and sanding it flush.

 03-15-2015, 03:39 PM
#205
Two more rounds of body filler and sanding and the scoops got a coat of primer.
Then the cockpit deck was covered in clear packing tape and a layer of body filler applied around the edges and the canopy wiggled and compressed into the body filler. Any excess that was squeezed out was smeared down the edge to fill in any other gaps. I typically do the rear half then the front half separately so as to limit the amount of filler needed to mix up.
Here is what we get after pulling it off and sanding it flush.
03-15-2015, 03:49 PM
#207
Yes Invert, that would be great. If it is not a big deal to do one of each, the little one and the big one in 1/5th scale, that would be helpful. Keep me posted. You can shoot me a pm with any other details.
I like what you did with the canopy and the filler. This is a tricky spot to get perfect. I actually did the same thing at my wing separation joints.
I like what you did with the canopy and the filler. This is a tricky spot to get perfect. I actually did the same thing at my wing separation joints.
03-15-2015, 03:58 PM
#208
The big one needs a lot of body filler to get accurate and not something i would suggest. If Jose will sell you one of his, id do that. My big one probably weights 2 pounds after all the filler.
Ill get a small one on the printer for you this week.
Ill get a small one on the printer for you this week.
03-17-2015, 05:04 PM
#212
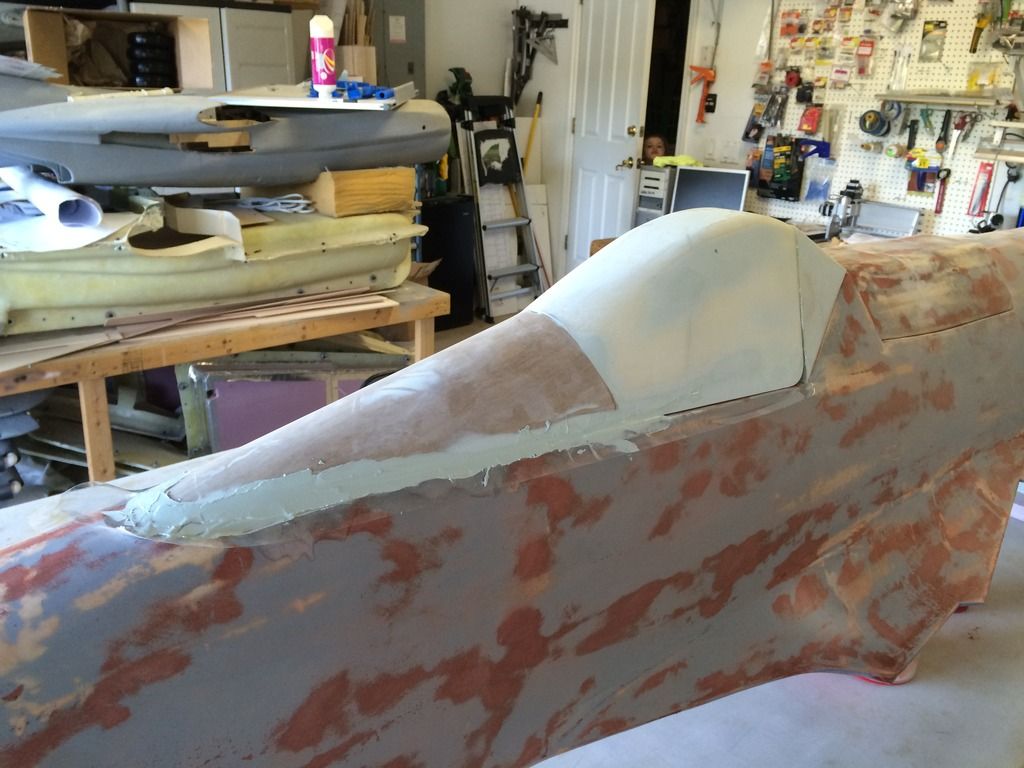
After one last bit of small sanding, everything had a final coat of primer put on it to bring it all the same color.
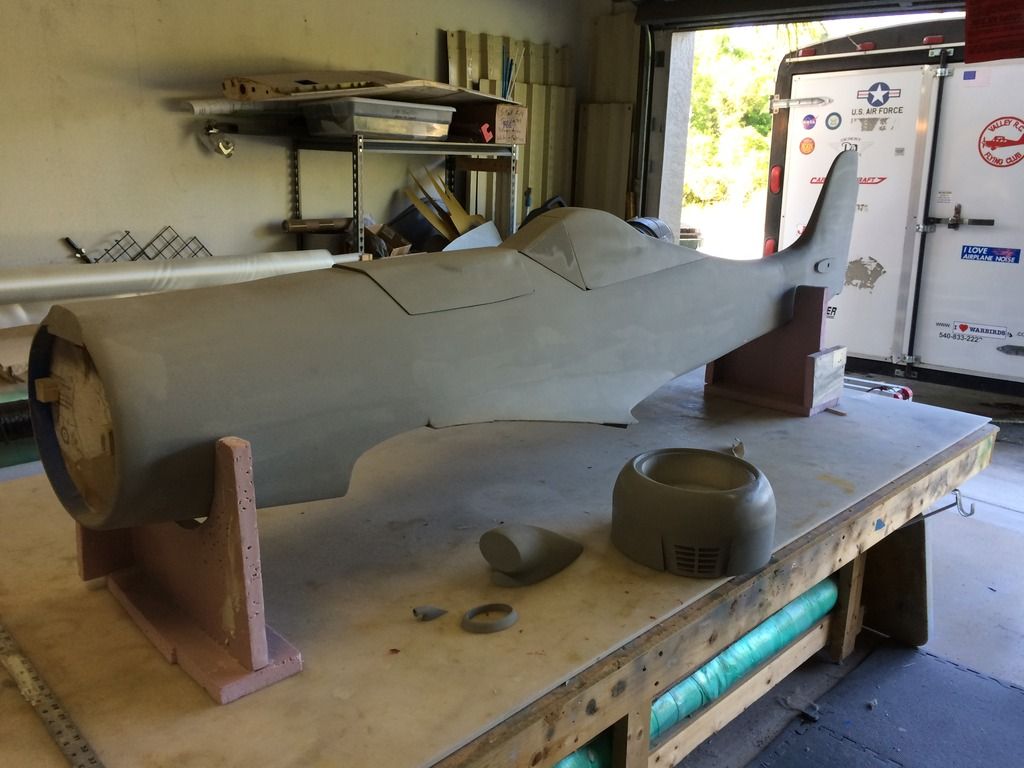
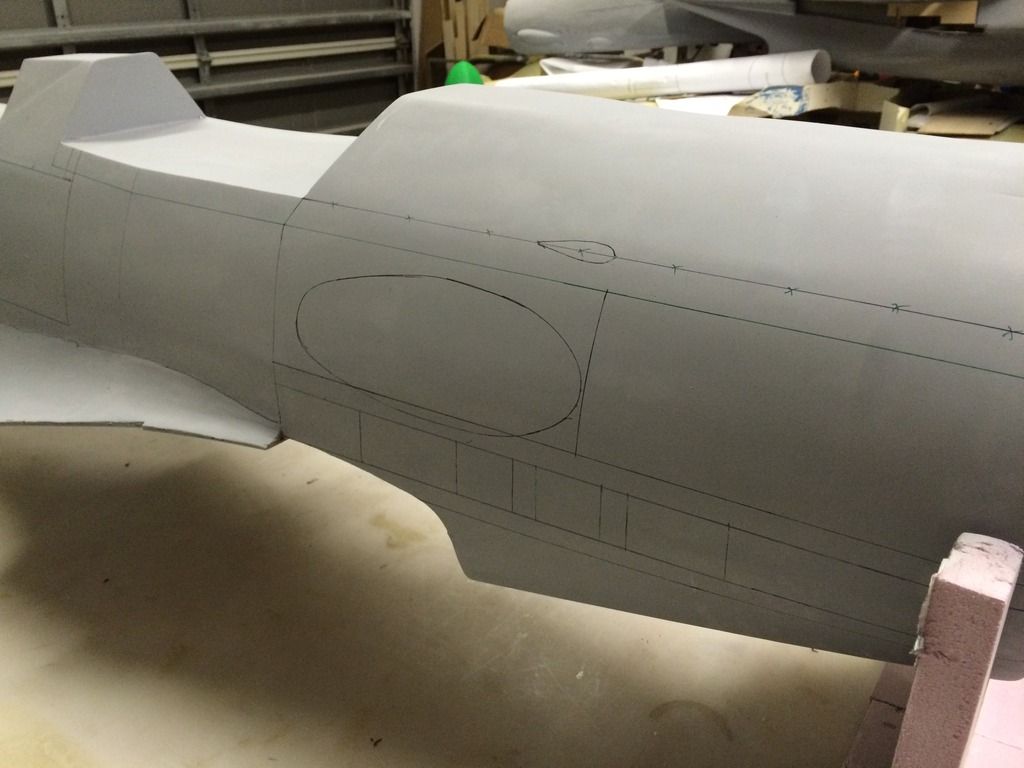
I then decided to start putting the panel lines on the fuse. It was then i realized my suspicions about the gunhood being to short were confirmed. The gun hood as drawn on the plans is about .8" to short. Which means my plug is as well. Since i have gotten so far along, ill continue on and devise a fix later (ive already devised it, i just cant do it till later).
Here is the gunhood area with the proper outline drawn in place:
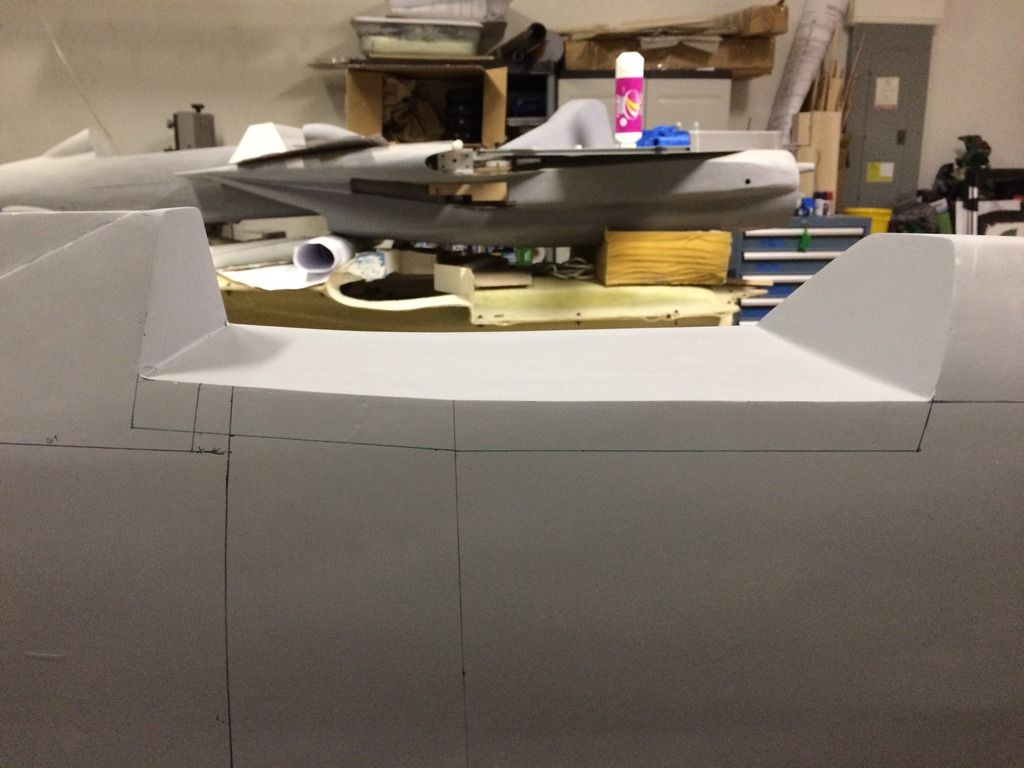
I then continued on to finish the panel lines. All of them are done minus the bottom of the fuse, tail section (which are very few since its originally wood) and access panels.
Now that i have the position of the big scoop, i can either build up the scoop plug to match the curve of the fuse, or i can build up the fuse to make a platform for the scoop to attach to.

I then decided to start putting the panel lines on the fuse. It was then i realized my suspicions about the gunhood being to short were confirmed. The gun hood as drawn on the plans is about .8" to short. Which means my plug is as well. Since i have gotten so far along, ill continue on and devise a fix later (ive already devised it, i just cant do it till later).
Here is the gunhood area with the proper outline drawn in place:

I then continued on to finish the panel lines. All of them are done minus the bottom of the fuse, tail section (which are very few since its originally wood) and access panels.

Now that i have the position of the big scoop, i can either build up the scoop plug to match the curve of the fuse, or i can build up the fuse to make a platform for the scoop to attach to.


 03-18-2015, 03:55 PM
#218
Very nice!
im still debating on what i am going to do the first one in (im going to do two
 ).
). Green 4 in the post war FE-112 state is kind of calling my name. It has very little official documentation, but will lend itself to some very heavy weathering and a little bit of artistic license. The second one will be a competition model.
03-18-2015, 03:59 PM
#220
I really like the colors of the prototypes. There are a few of them to choose from. The minute I saw the GH+KT version, I knew I had to do it. The out of the ordinary wing tips, and colors sold me. Mine is definately for competition. It has plans for the AMA Nats this year, if I can get it done!
03-18-2015, 04:11 PM
#221
I think they are around 24" x 36". There were smaller ones, but I went for the biggun'! The only thing was she had to make sure they were not secure. Like for privacy or something. I just googled local print shops, then shot emails to the ones that offered "offset" printing. I got an email back, told them what I was doing. Pretty easy. AndI got some eye candy out of the deal! lol
03-18-2015, 04:17 PM
#222
I think they are around 24" x 36". There were smaller ones, but I went for the biggun'! The only thing was she had to make sure they were not secure. Like for privacy or something. I just googled local print shops, then shot emails to the ones that offered "offset" printing. I got an email back, told them what I was doing. Pretty easy. AndI got some eye candy out of the deal! lol
Haha. Ill see if i can find a local place, i lost my source a few years back bc the owner retired and the people who bought the business upgraded everything to digital...
03-18-2015, 05:45 PM
#223
I think they are around 24" x 36". There were smaller ones, but I went for the biggun'! The only thing was she had to make sure they were not secure. Like for privacy or something. I just googled local print shops, then shot emails to the ones that offered "offset" printing. I got an email back, told them what I was doing. Pretty easy. AndI got some eye candy out of the deal! lol