


125% (1/4 scale) Anderson TA-152H


 06-17-2015, 07:12 PM
#454
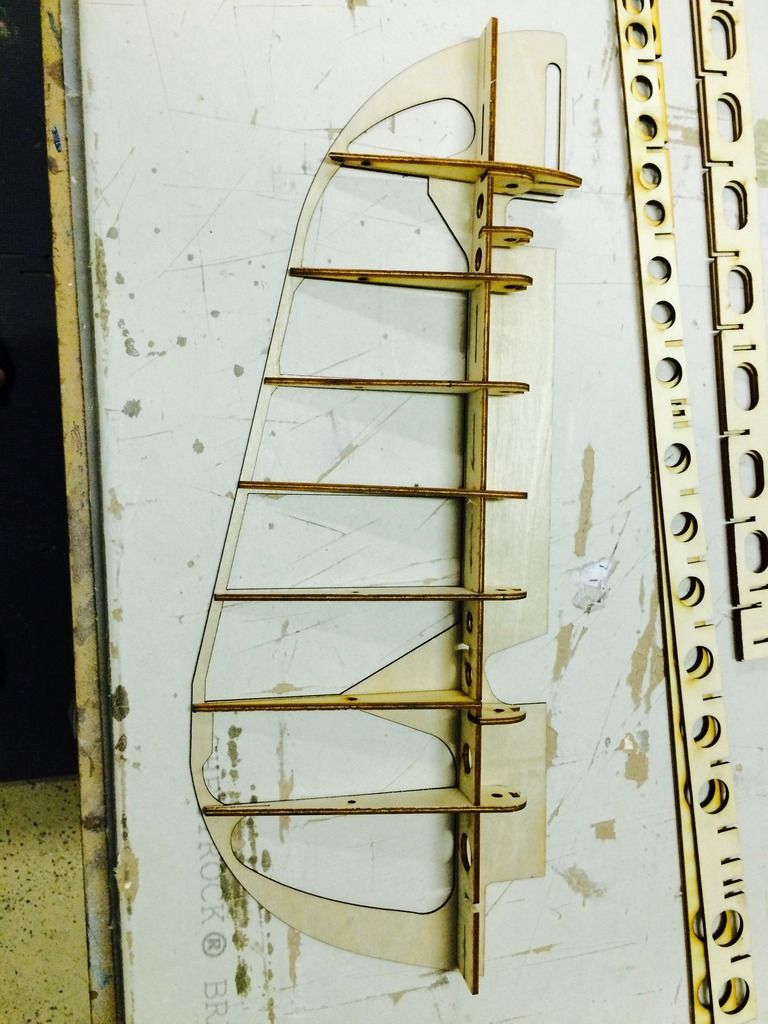
After dinner i snuck away for about 20 minutes and dry assembled the rudder parts. All of the parts are cut from 1/8" ply and all slots are sized for 3/32" ply. I did these assemblies on the assumption of getting 3/32 ply, but apparently thats not available in lite ply, so 1/8 was substituted. At first i had plans to resize all the slots to 1/8, but being able to sand the slots and get a nice snug fit is beneficial i think. Plus it only took about 10 minuts to size all of the rudder slots.
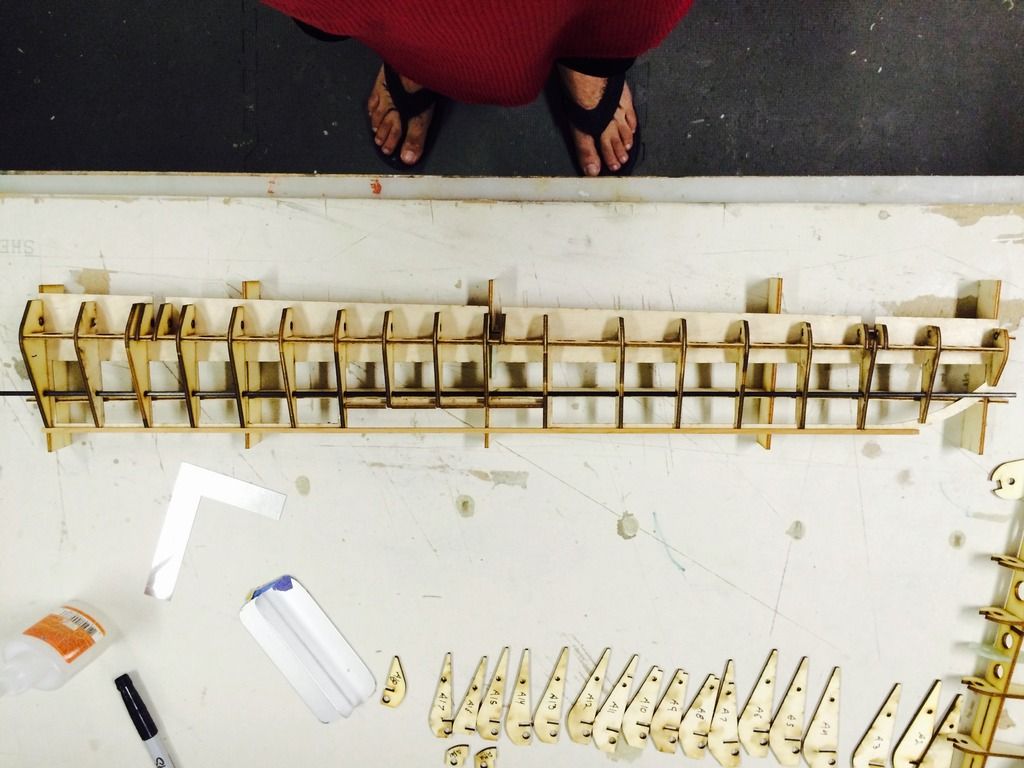
Dry fit rudder structure on the skin:
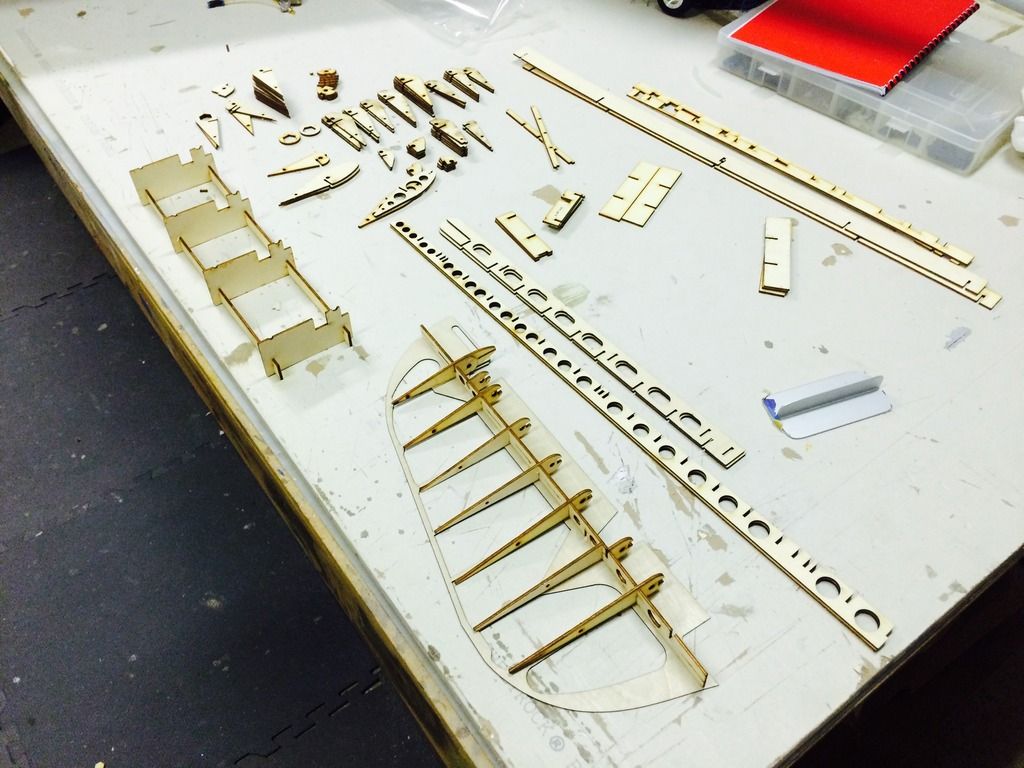
Rudder assembly jig dry fit:
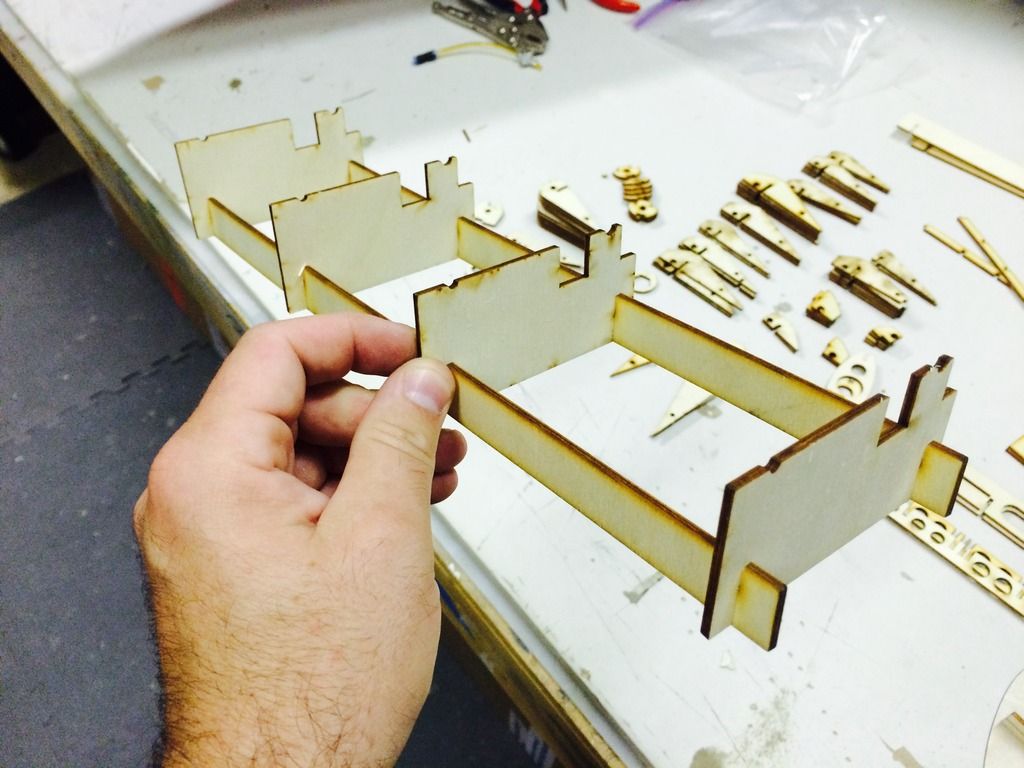
All the parts laid out. There are 24 parts in just the rudder assembly (including the jig parts), i started to count all of the parts, but there are well over 100 im sure.
Dry fit rudder structure on the skin:

Rudder assembly jig dry fit:

All the parts laid out. There are 24 parts in just the rudder assembly (including the jig parts), i started to count all of the parts, but there are well over 100 im sure.
 06-17-2015, 10:05 PM
#455


 06-18-2015, 08:31 PM
#458
Dinner is over and the kids are in bed, so i snuck back out to the shop for 20 minutes.
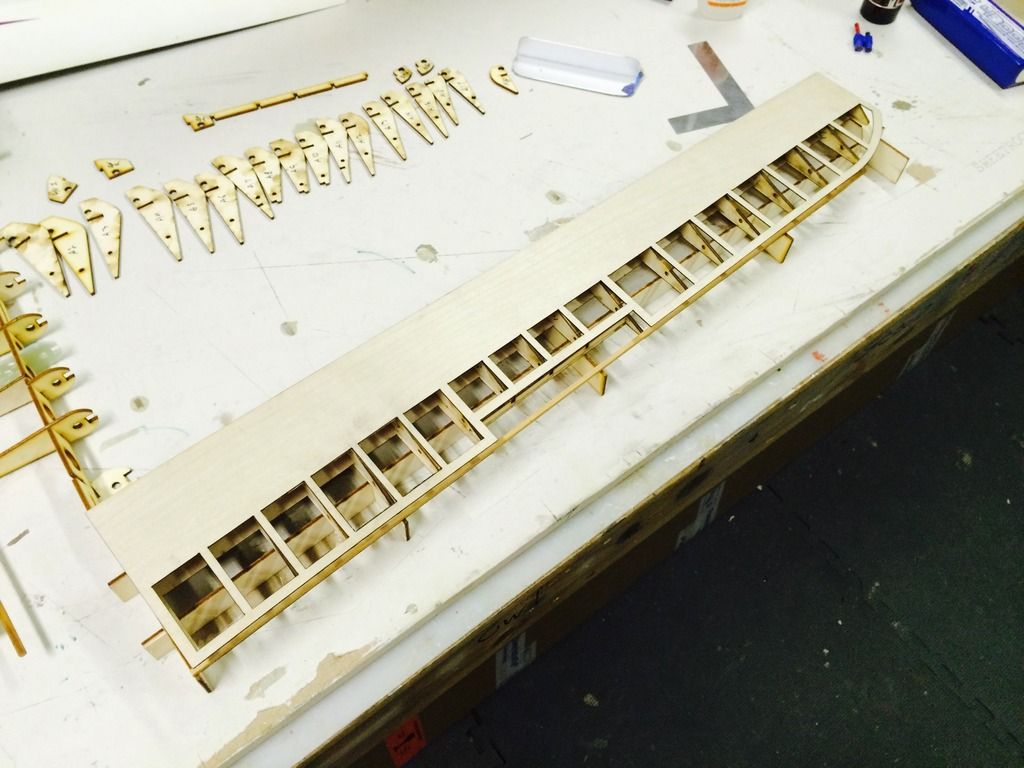
Here is the first aileron on its way to being glued together.
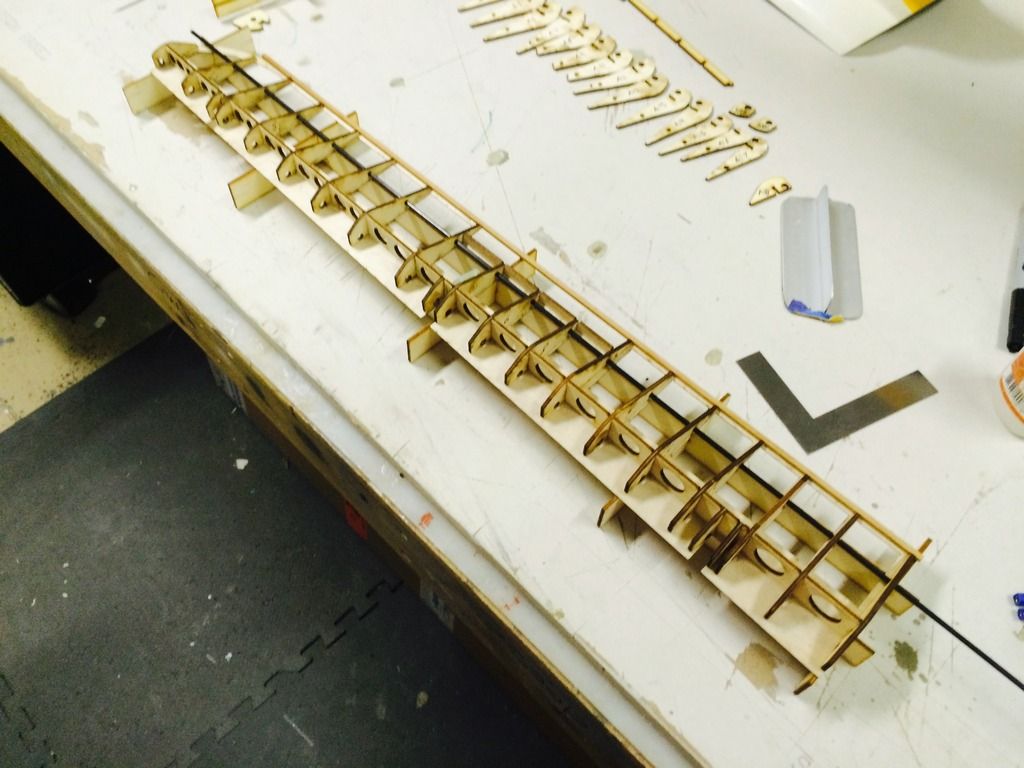
You can see the 1/8" carbon tube installed. I dont have the plastic hinge bearing tubes yet, so the upper skin cant go on, i also expect to have to adjust the rib heights towards the tip as they are a bit to tall. You'll also notice the square balsa TE that runs the full span. These parts (3 per aileron) were going to be laser cut, but i mistakenly forgot to put them in the cut files, which has been corrected.
Here is what it will look like with the top skin on:
And here you can see the notch in the construction jig that allows the aileron horn to be installed during construction:

Here is the first aileron on its way to being glued together.


You can see the 1/8" carbon tube installed. I dont have the plastic hinge bearing tubes yet, so the upper skin cant go on, i also expect to have to adjust the rib heights towards the tip as they are a bit to tall. You'll also notice the square balsa TE that runs the full span. These parts (3 per aileron) were going to be laser cut, but i mistakenly forgot to put them in the cut files, which has been corrected.
Here is what it will look like with the top skin on:

And here you can see the notch in the construction jig that allows the aileron horn to be installed during construction:
 06-19-2015, 02:44 AM
#459


Join Date: Jul 2012
Location: Missouri
Posts: 1,127
Likes: 0
Received 0 Likes
on
0 Posts
Impressive Thomas.
Must be fulfilling to cad draw, turn in to cut files, send off for cutting, get back and presto wamo precision assembly.
I will be watching the Rhino tutorial closely. Would love to do this stuff.
Kevin
Must be fulfilling to cad draw, turn in to cut files, send off for cutting, get back and presto wamo precision assembly.
I will be watching the Rhino tutorial closely. Would love to do this stuff.
Kevin


 06-20-2015, 09:18 AM
#462
Bottom surface of the outer panels are glassed and he upper surface of the center section is as well. The AC is off in the shop, so fhis evening i should be able to trime and glass the top of the outer panels and then the end ribs of the wing center section.


 06-21-2015, 06:07 PM
#465
With a coat of rolled on primer, 90% of the surface imperfections are filled and 100% of the pinholes get filled.


 06-24-2015, 03:00 PM
#473
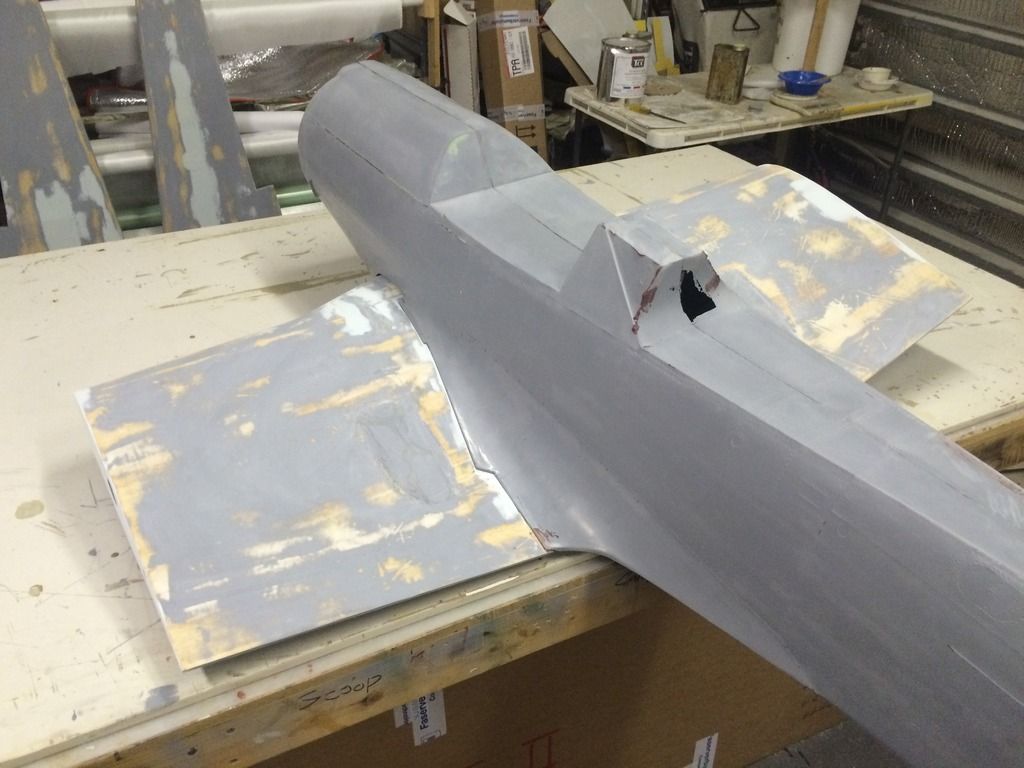
Alright!! All the body work and sanding is done on the wings!
Heres the last little bit getting the wing to fuselage fit nice and tight:
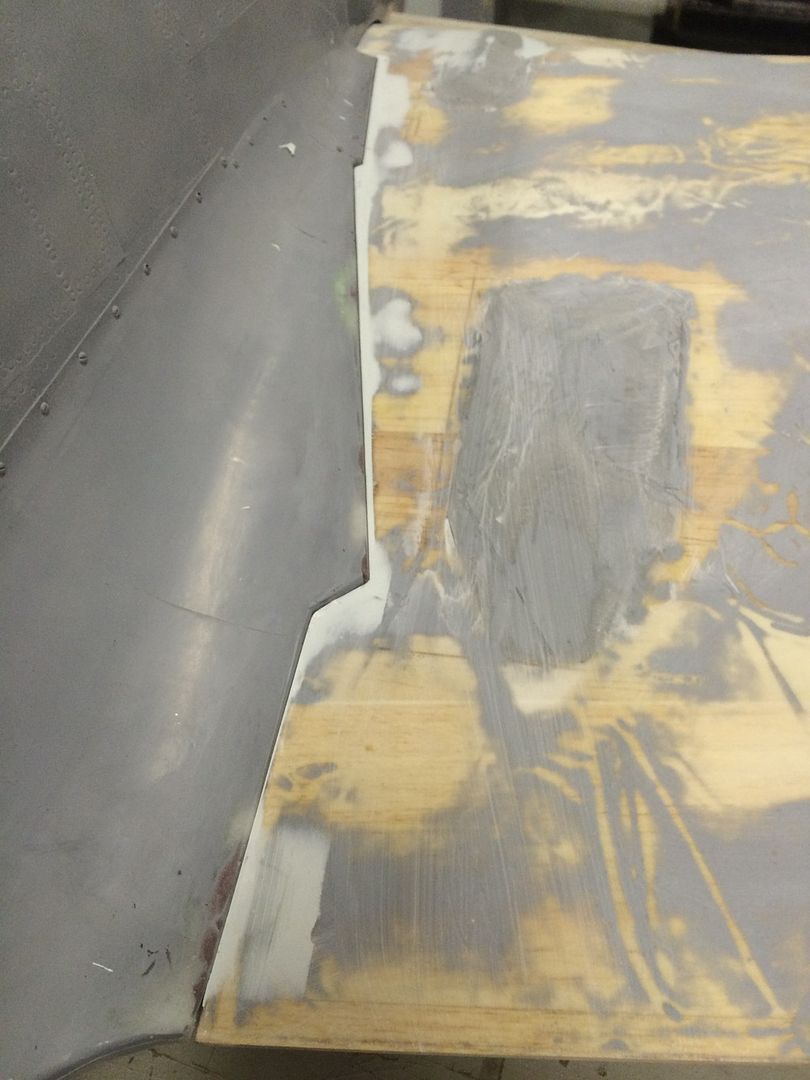
I then did the panel line layout on the top of the entire wing. I'll do the bottom tonight when the kids go to bed:
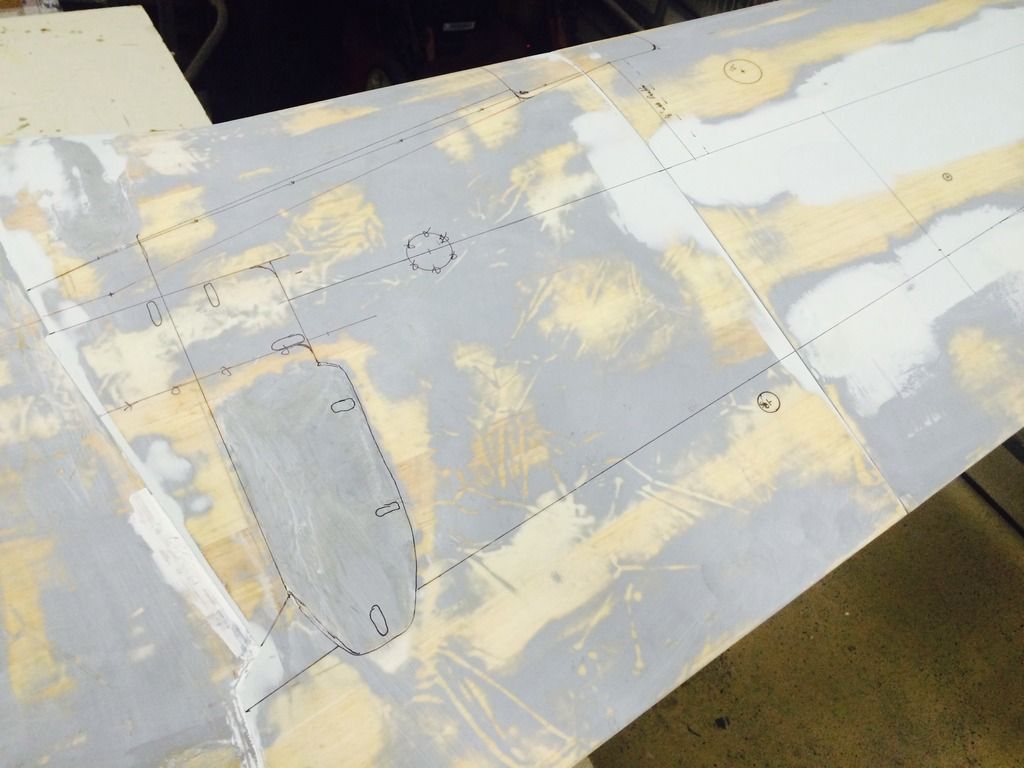
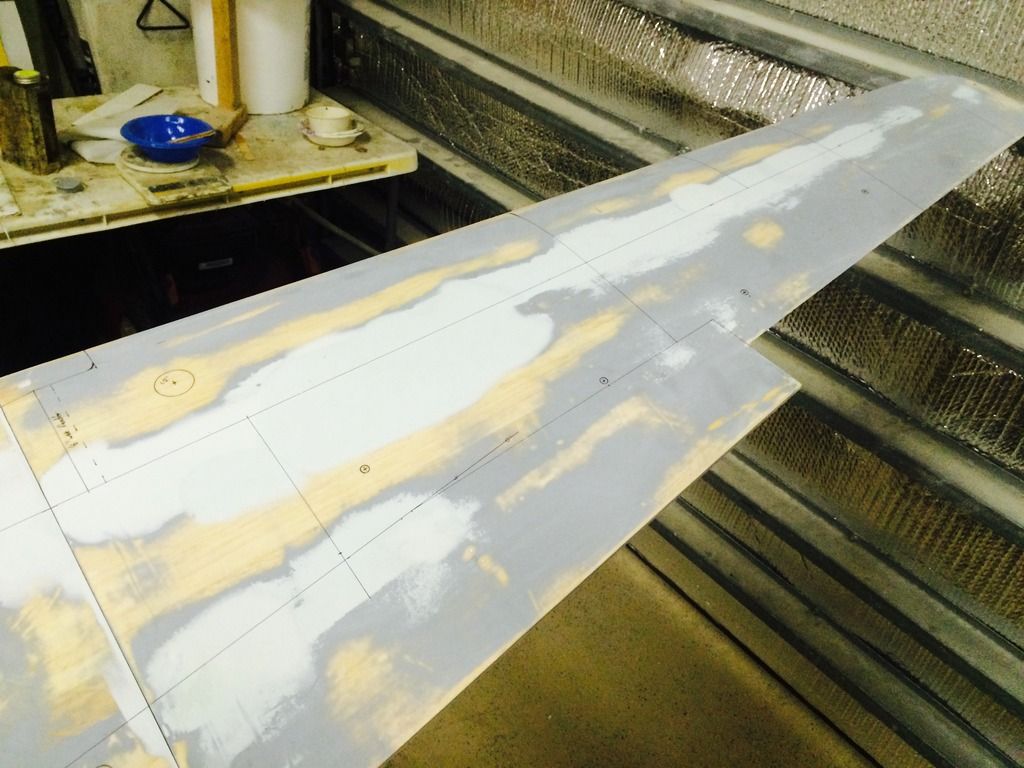
These are nice big panels, so cutting them out wont take much time at all. But there are A LOT of rivets on this wing, which will take awhile.
Heres the last little bit getting the wing to fuselage fit nice and tight:


I then did the panel line layout on the top of the entire wing. I'll do the bottom tonight when the kids go to bed:


These are nice big panels, so cutting them out wont take much time at all. But there are A LOT of rivets on this wing, which will take awhile.