Top RC Zero from Gator R/C
 07-22-2019, 09:57 PM
#626

I have the Robart in mine and don’t think they’re that great. There is a lot of side and forward movement against the trunion. I would try and fit Electron if I did it again.
 07-27-2019, 09:12 AM
#627
Join Date: Jan 2007
Location: Tvedestrand, NORWAY
Posts: 56
Likes: 0
Received 0 Likes
on
0 Posts
Hello HiCurrent,
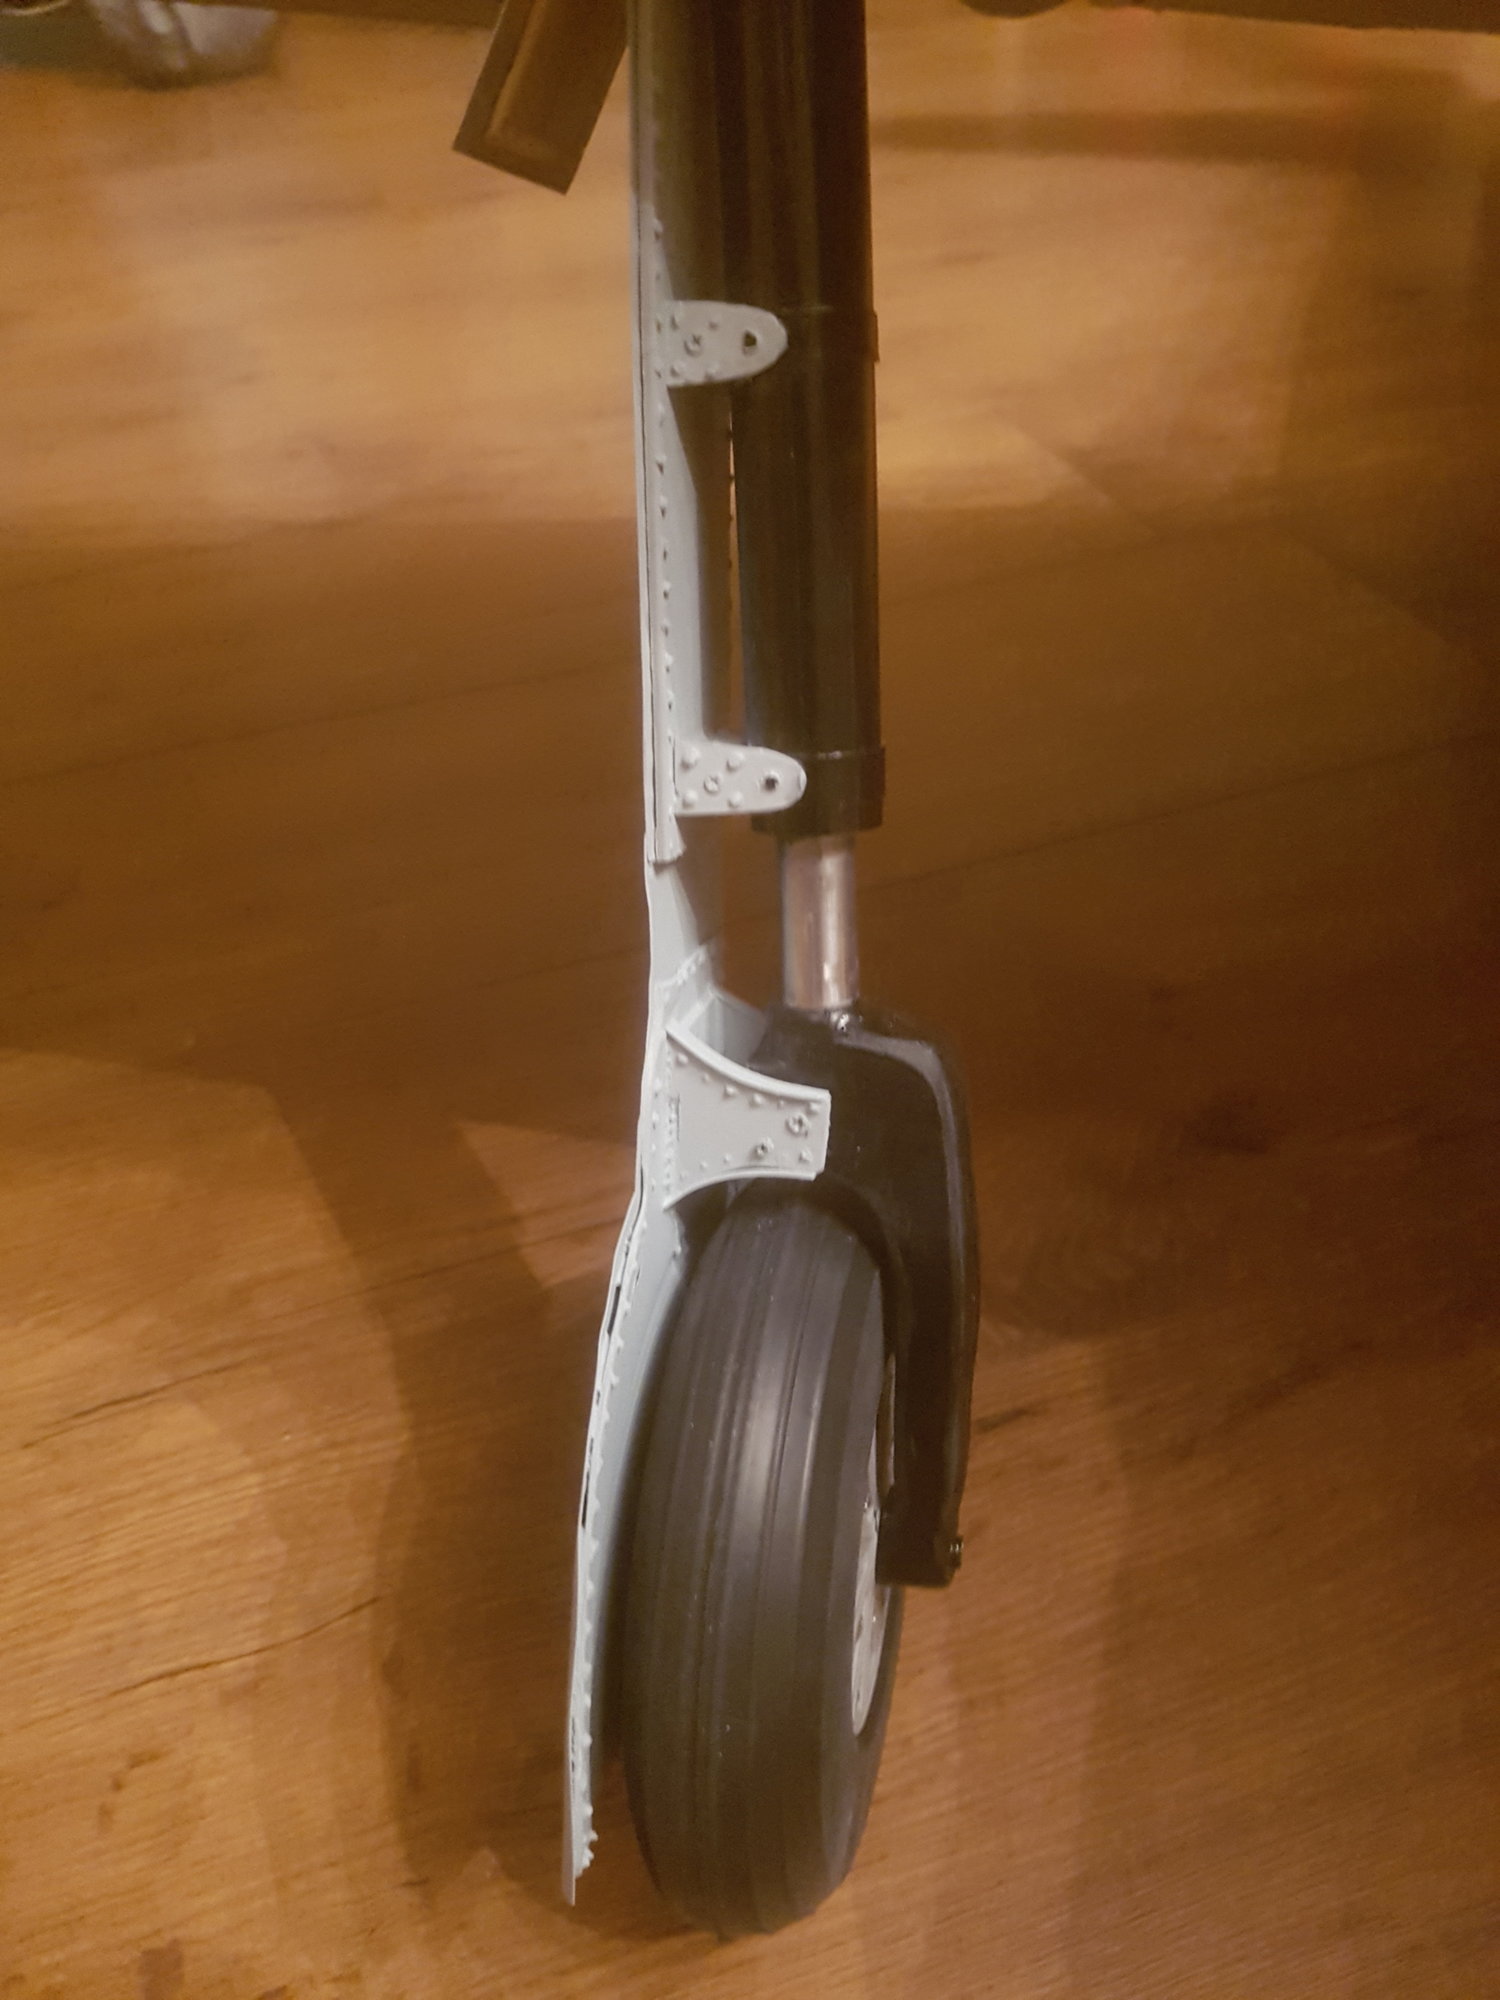
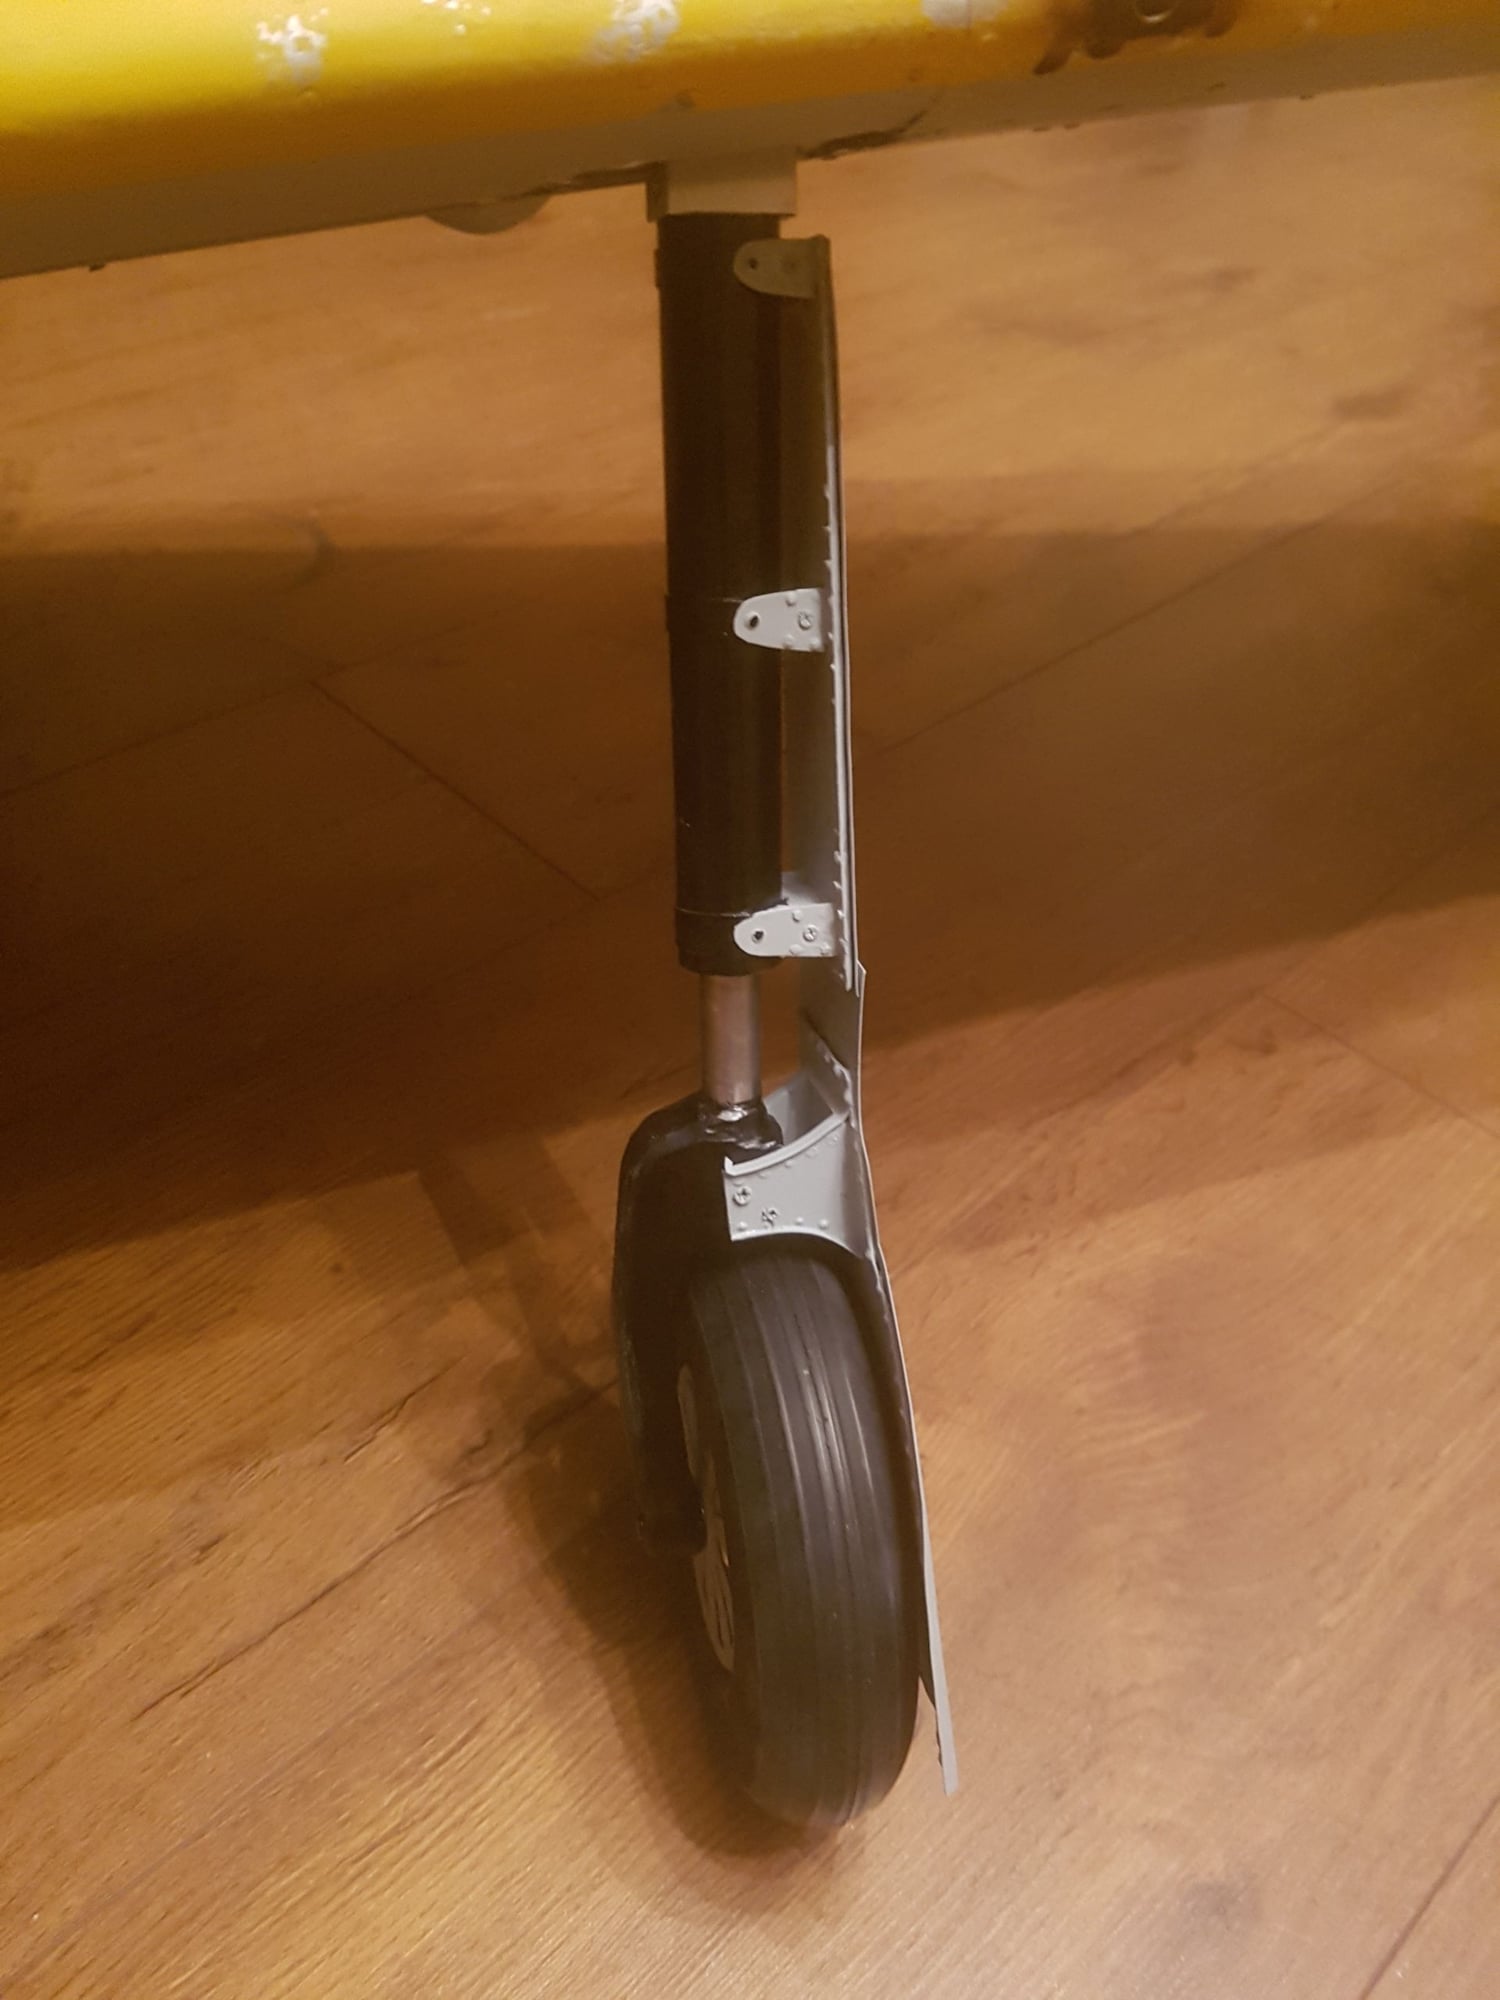
I use the Sierra Gears with air system. Works great. Sierra makes them for the TopRc model Zero. Just a minor modification needed. Just call Sierra and ask for them.
Please see my posts here under "Totto"
For info: My friend "Flypilot" took the picture you are referring to. Also the video
I use the Sierra Gears with air system. Works great. Sierra makes them for the TopRc model Zero. Just a minor modification needed. Just call Sierra and ask for them.
Please see my posts here under "Totto"
For info: My friend "Flypilot" took the picture you are referring to. Also the video
07-28-2019, 10:18 AM
#628
I loved my TopRc Zero, however I experienced 2 major structural failures with my Zero. First problem was a leading edge flutter at the root of the wing, right in front of the wheel wells I recovered from this and made a modification to minimize the problem. The second failure was unrecoverable.
BUYER BEWARE. Make sure you reinforce the tube mounts
We have 3 Zeros on the way. Can you elaborate on both structural failures, including pictures and where do you suggest to reinforce?
Has anyone else experienced these failures?
Thanks, Dror.
07-28-2019, 12:48 PM
#629

Reinforcing the wing tubes is a good idea. If you check the fuse, in front of the tail section you will see that it is paper thin. I reinforced mine with carbon fiber after have one crack on me. It is a messy job so I tape off the fuse with plastic drop cloth so I can turn the fuse in multi directions to get back there and not worry about getting epoxy on the fuse. You will probably have to add just a bit of nose weight, no big deal as this plane can carry a lot of weight.
08-25-2019, 08:14 PM
#630
Any suggestion for power distribution? in smaller gas models i use 2 RXs - each with its own battery and switch, dividing the servos between the two RXs (i.e. one aileron, one elevator side, rudder and kill switch in one Rx, another aileron, other elevator side, throttle in 2nd Rx). i guess in the Zero with flaps and retracts i'll need a better solution, thinking about PowerBox Mercury SRS.
WDYT?
WDYT?


 09-03-2019, 11:45 PM
#633
Join Date: Jan 2007
Location: Tvedestrand, NORWAY
Posts: 56
Likes: 0
Received 0 Likes
on
0 Posts
Hello,
Regarding Zero tubes
I have also reinforced the aft tubes since those was paper thin. The front tubes seems much better on mine, but i will keep an eye on those also.
For sure.... do it !
12-31-2019, 08:39 PM
#634
My Zero showed very well at the 2019 Scale Masters in California last fall. My pilot, Adam Clement, took 1st place in Pro Am Pro division.
Here is a nice video of the Zero in action created by the RC Geek. Check it out.
Here is a nice video of the Zero in action created by the RC Geek. Check it out.
01-02-2020, 02:00 PM
#636
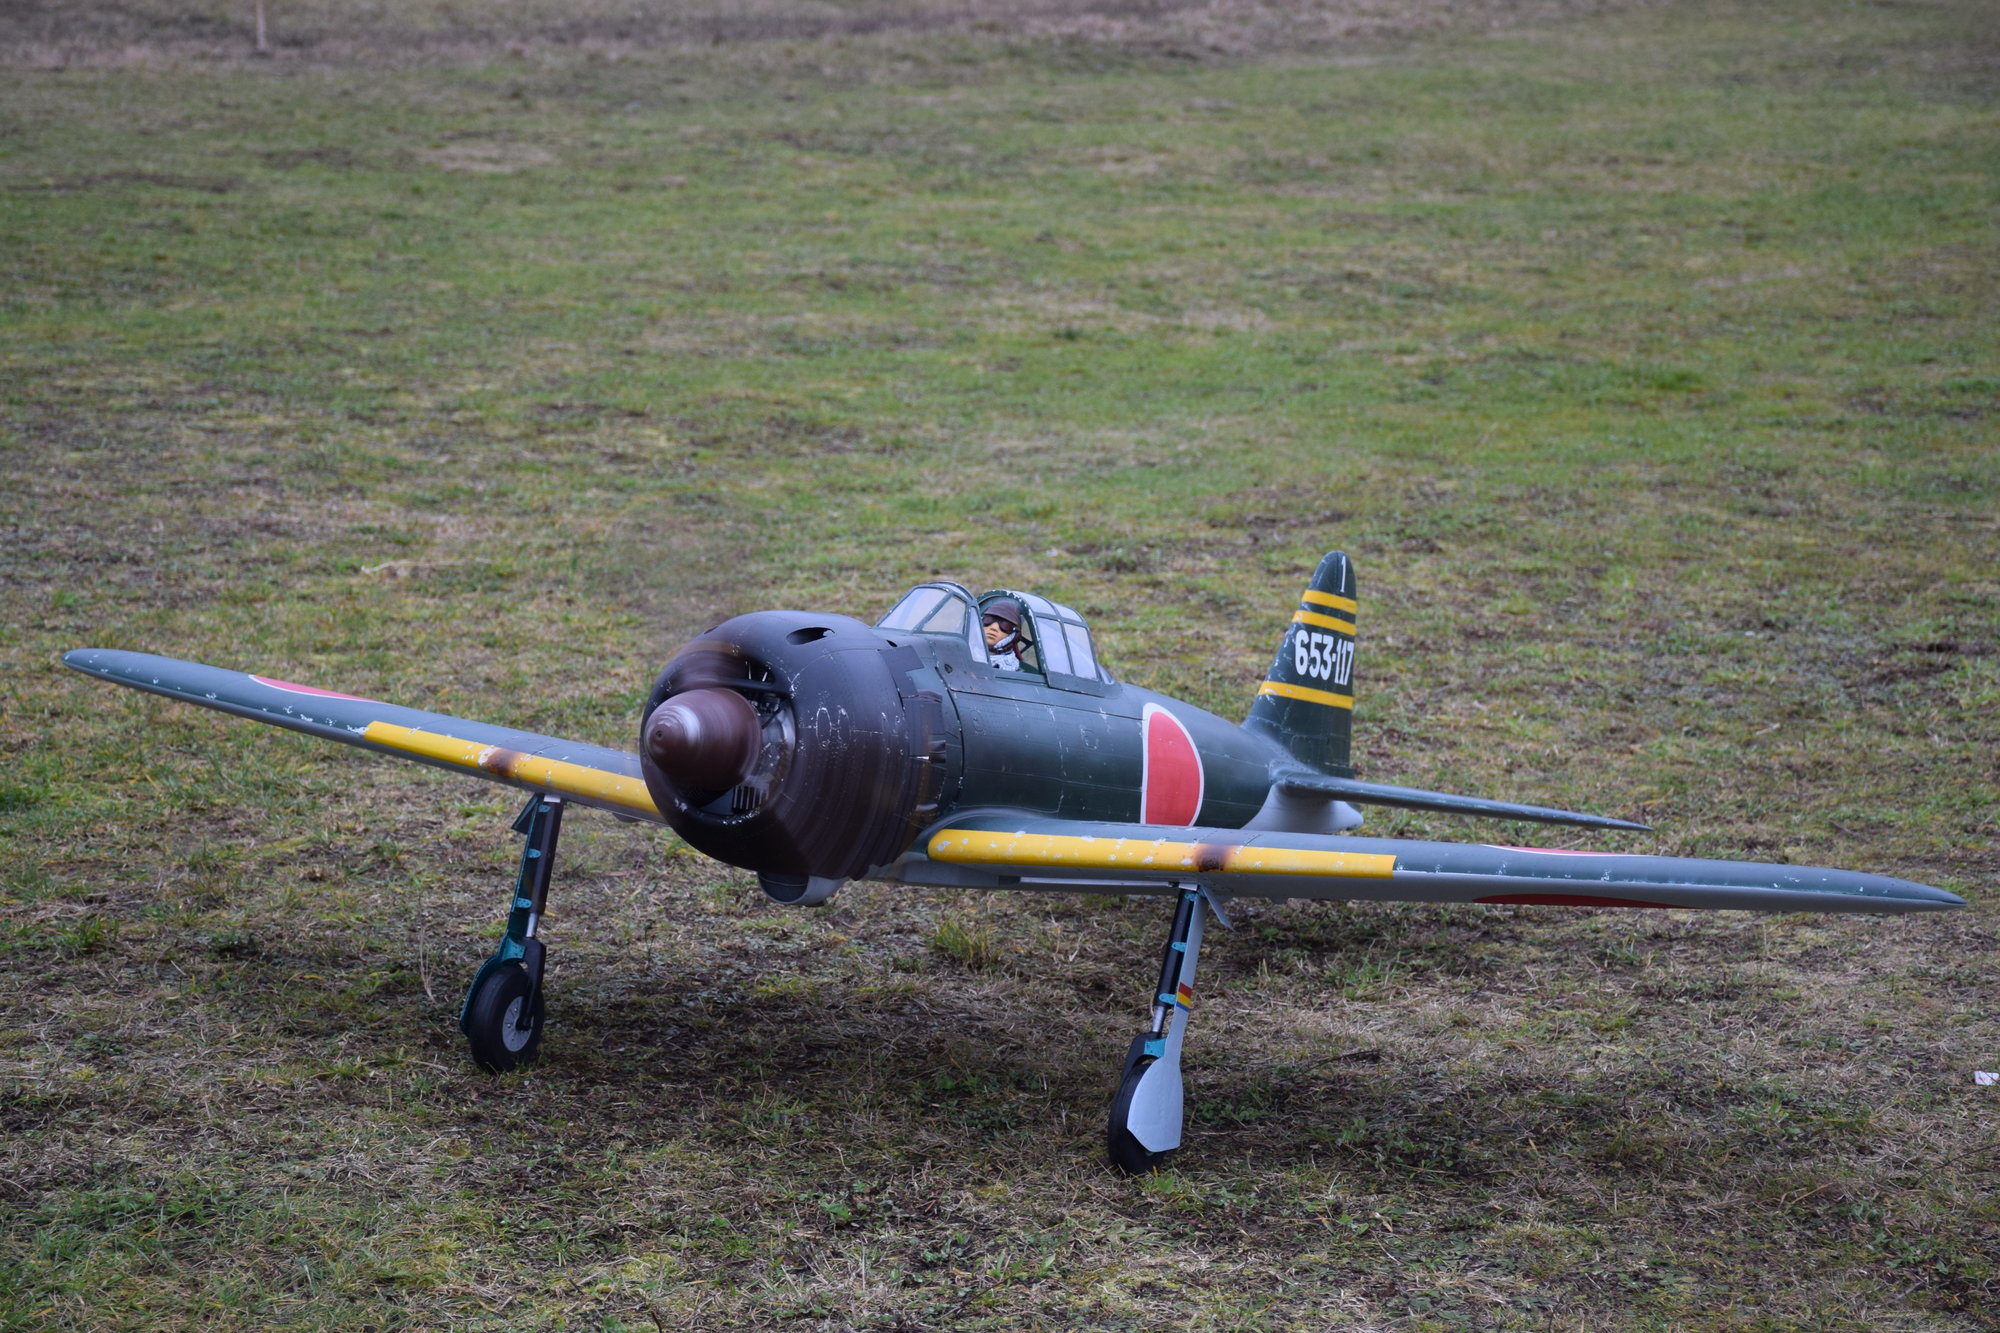
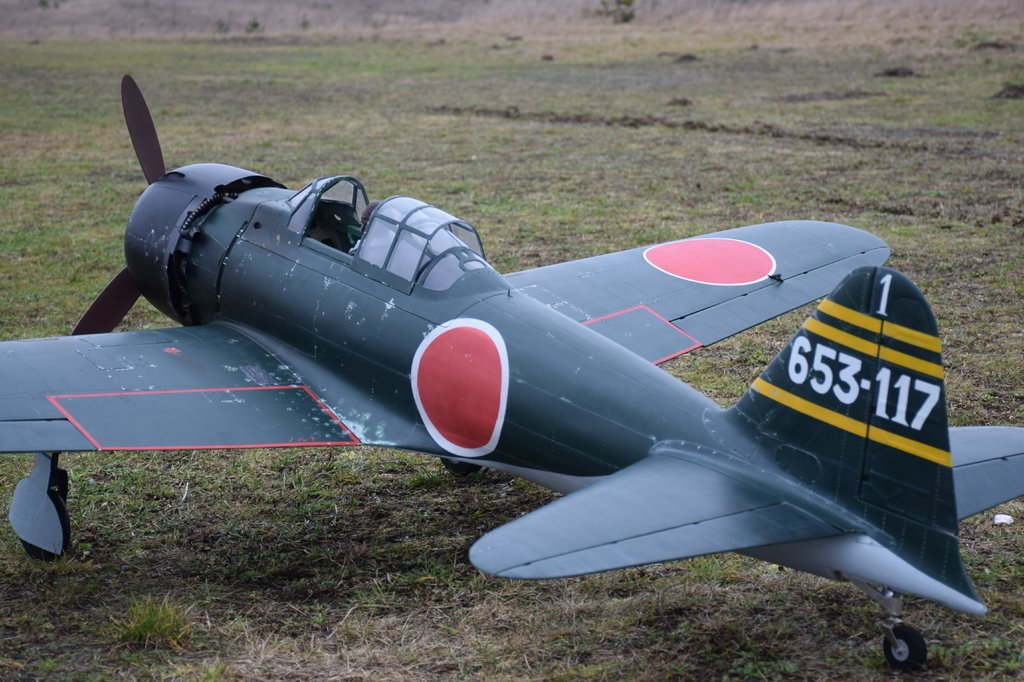
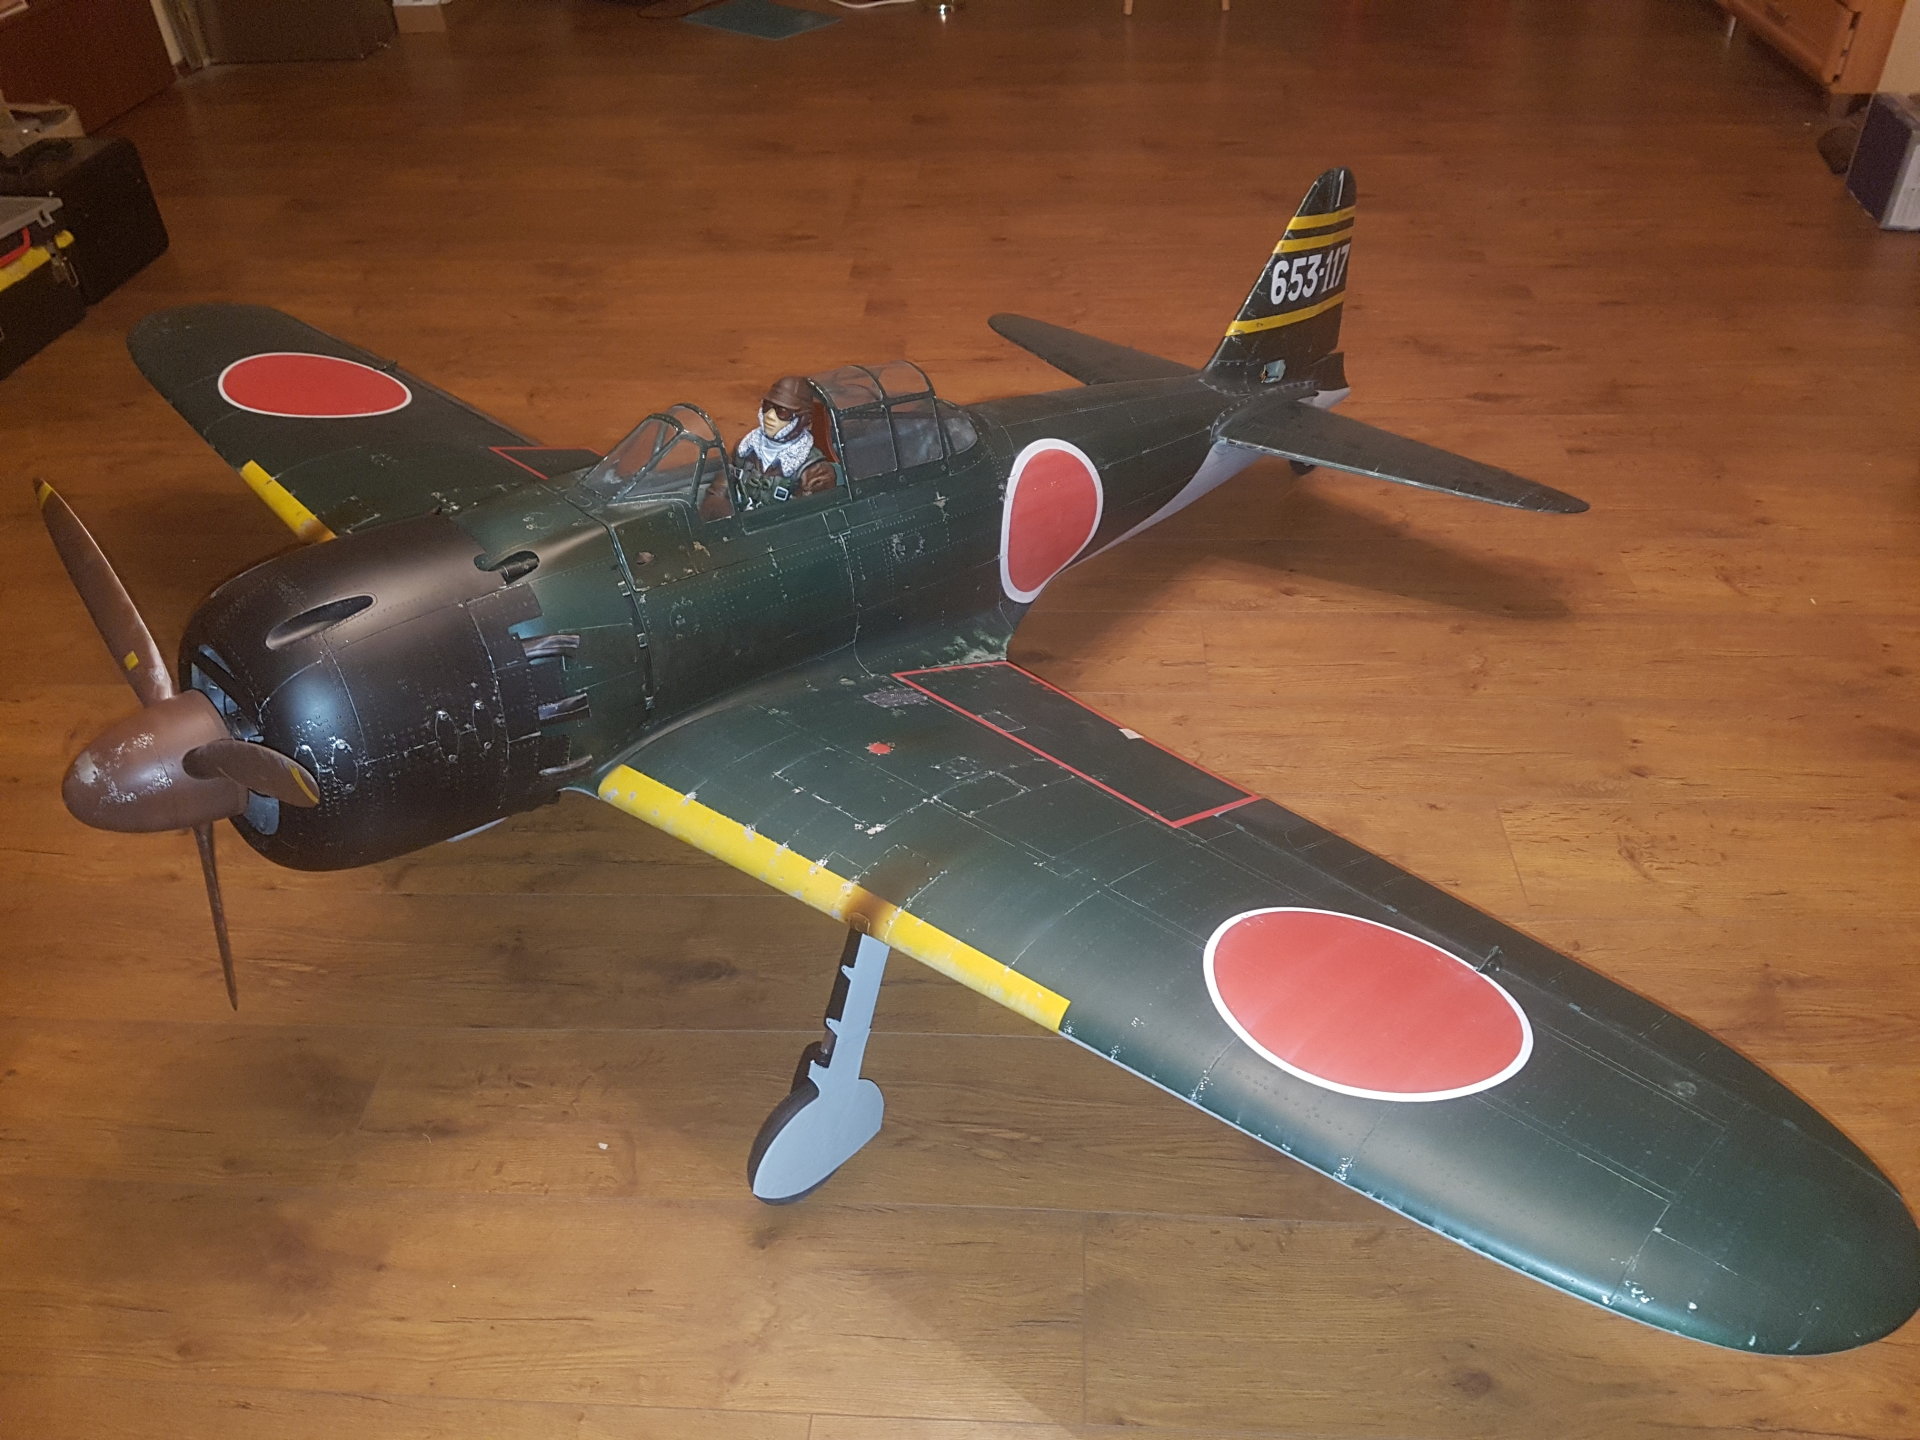
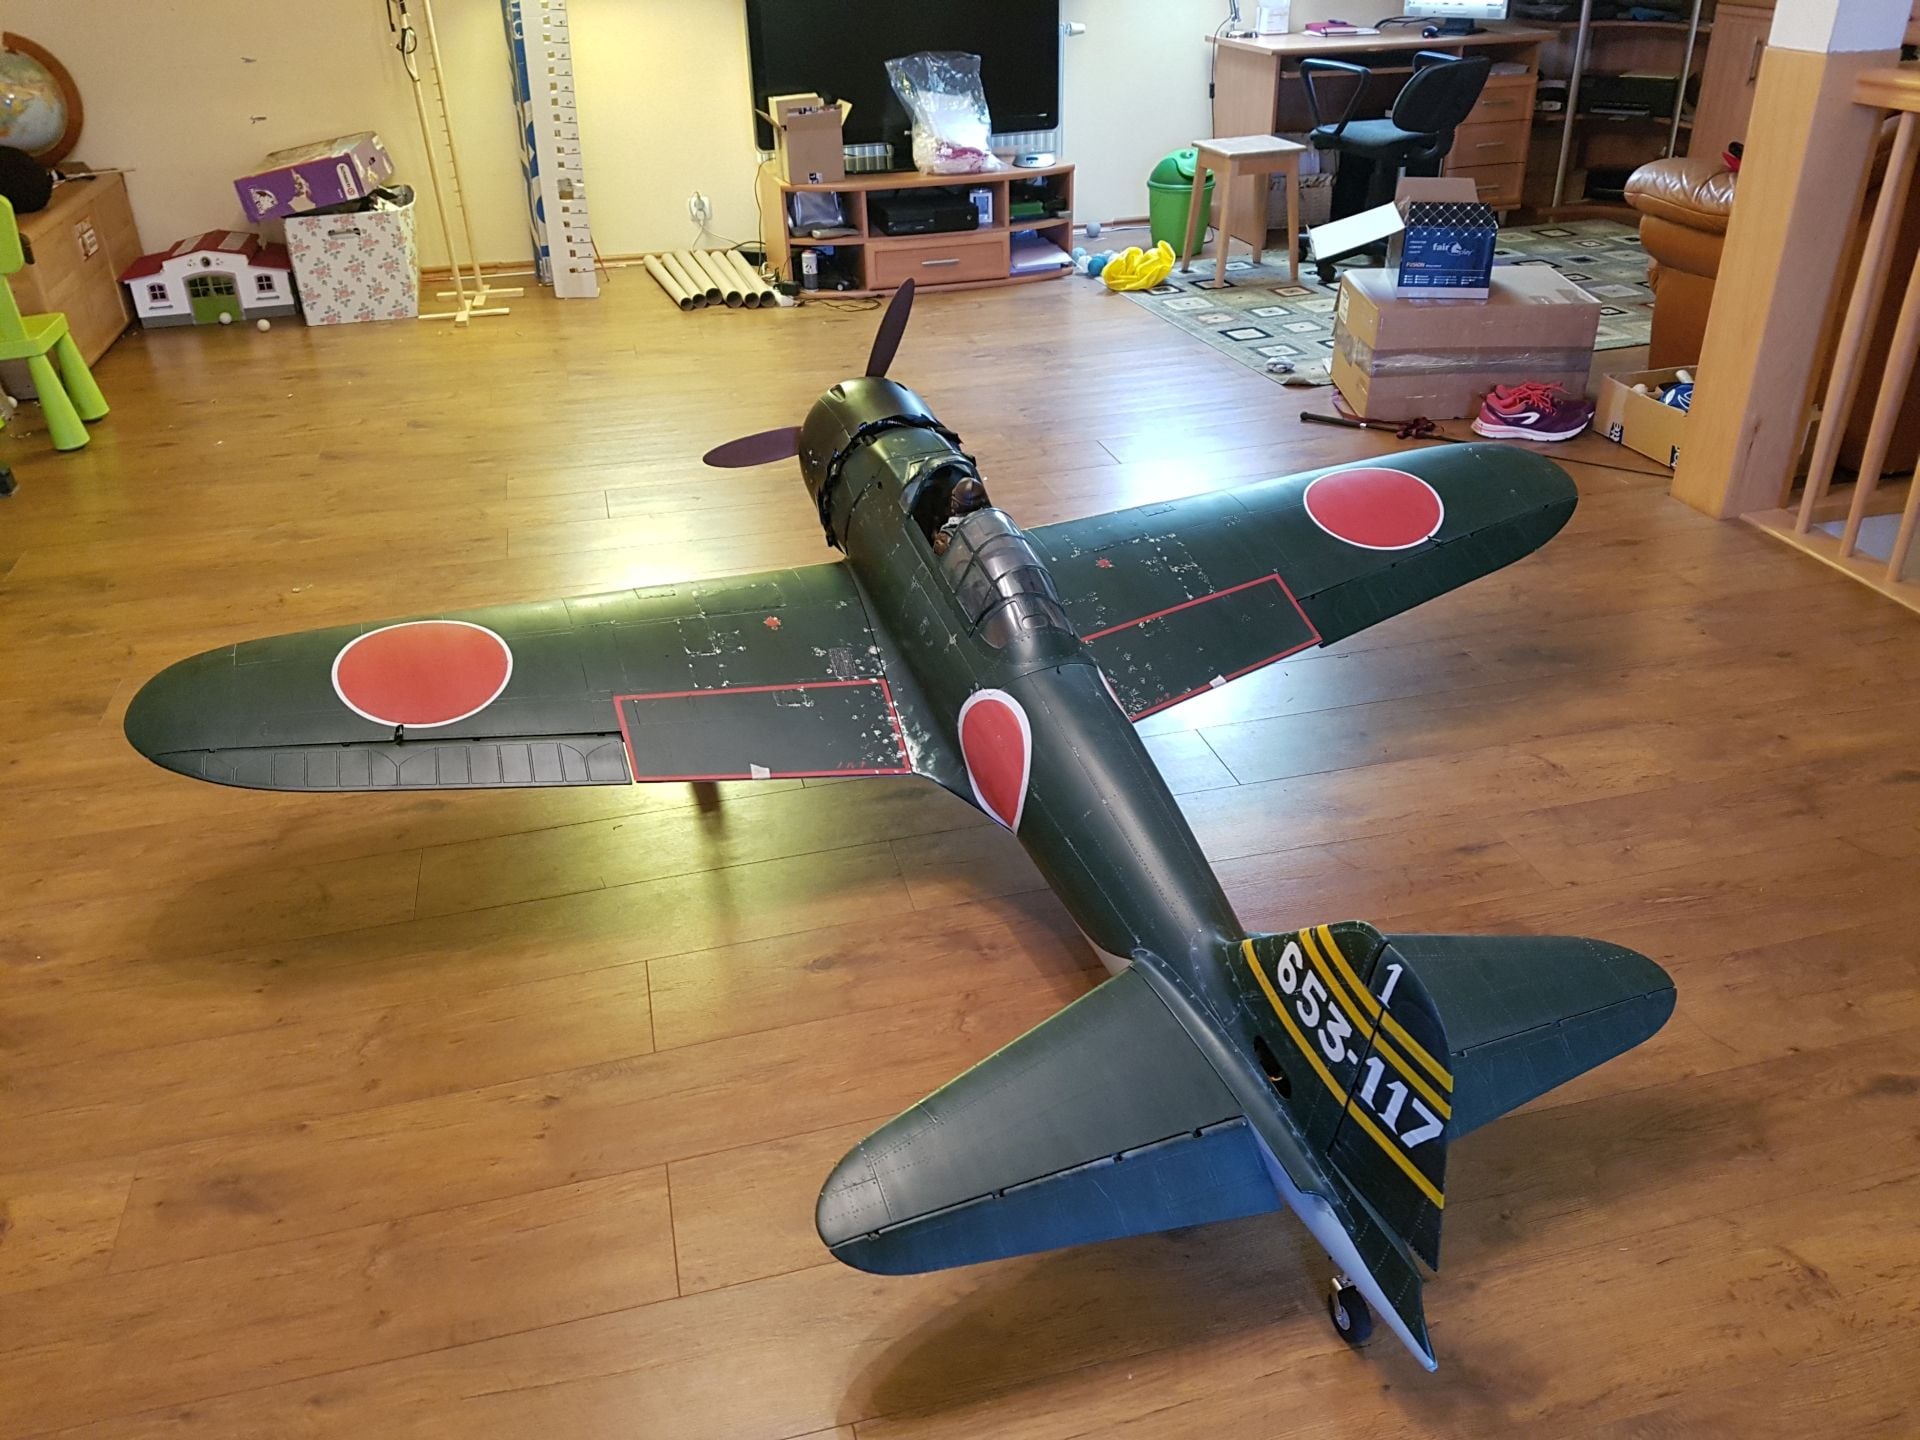
Hi guys. I'm still assembling my model but I did few modifications:
1. Elevator pushrods are hidden in the fuselage.
2. Flaps pushrods are hidden in the wings
3. Aileron pushrods are shifted to upper side of the wings like on the original Zero.
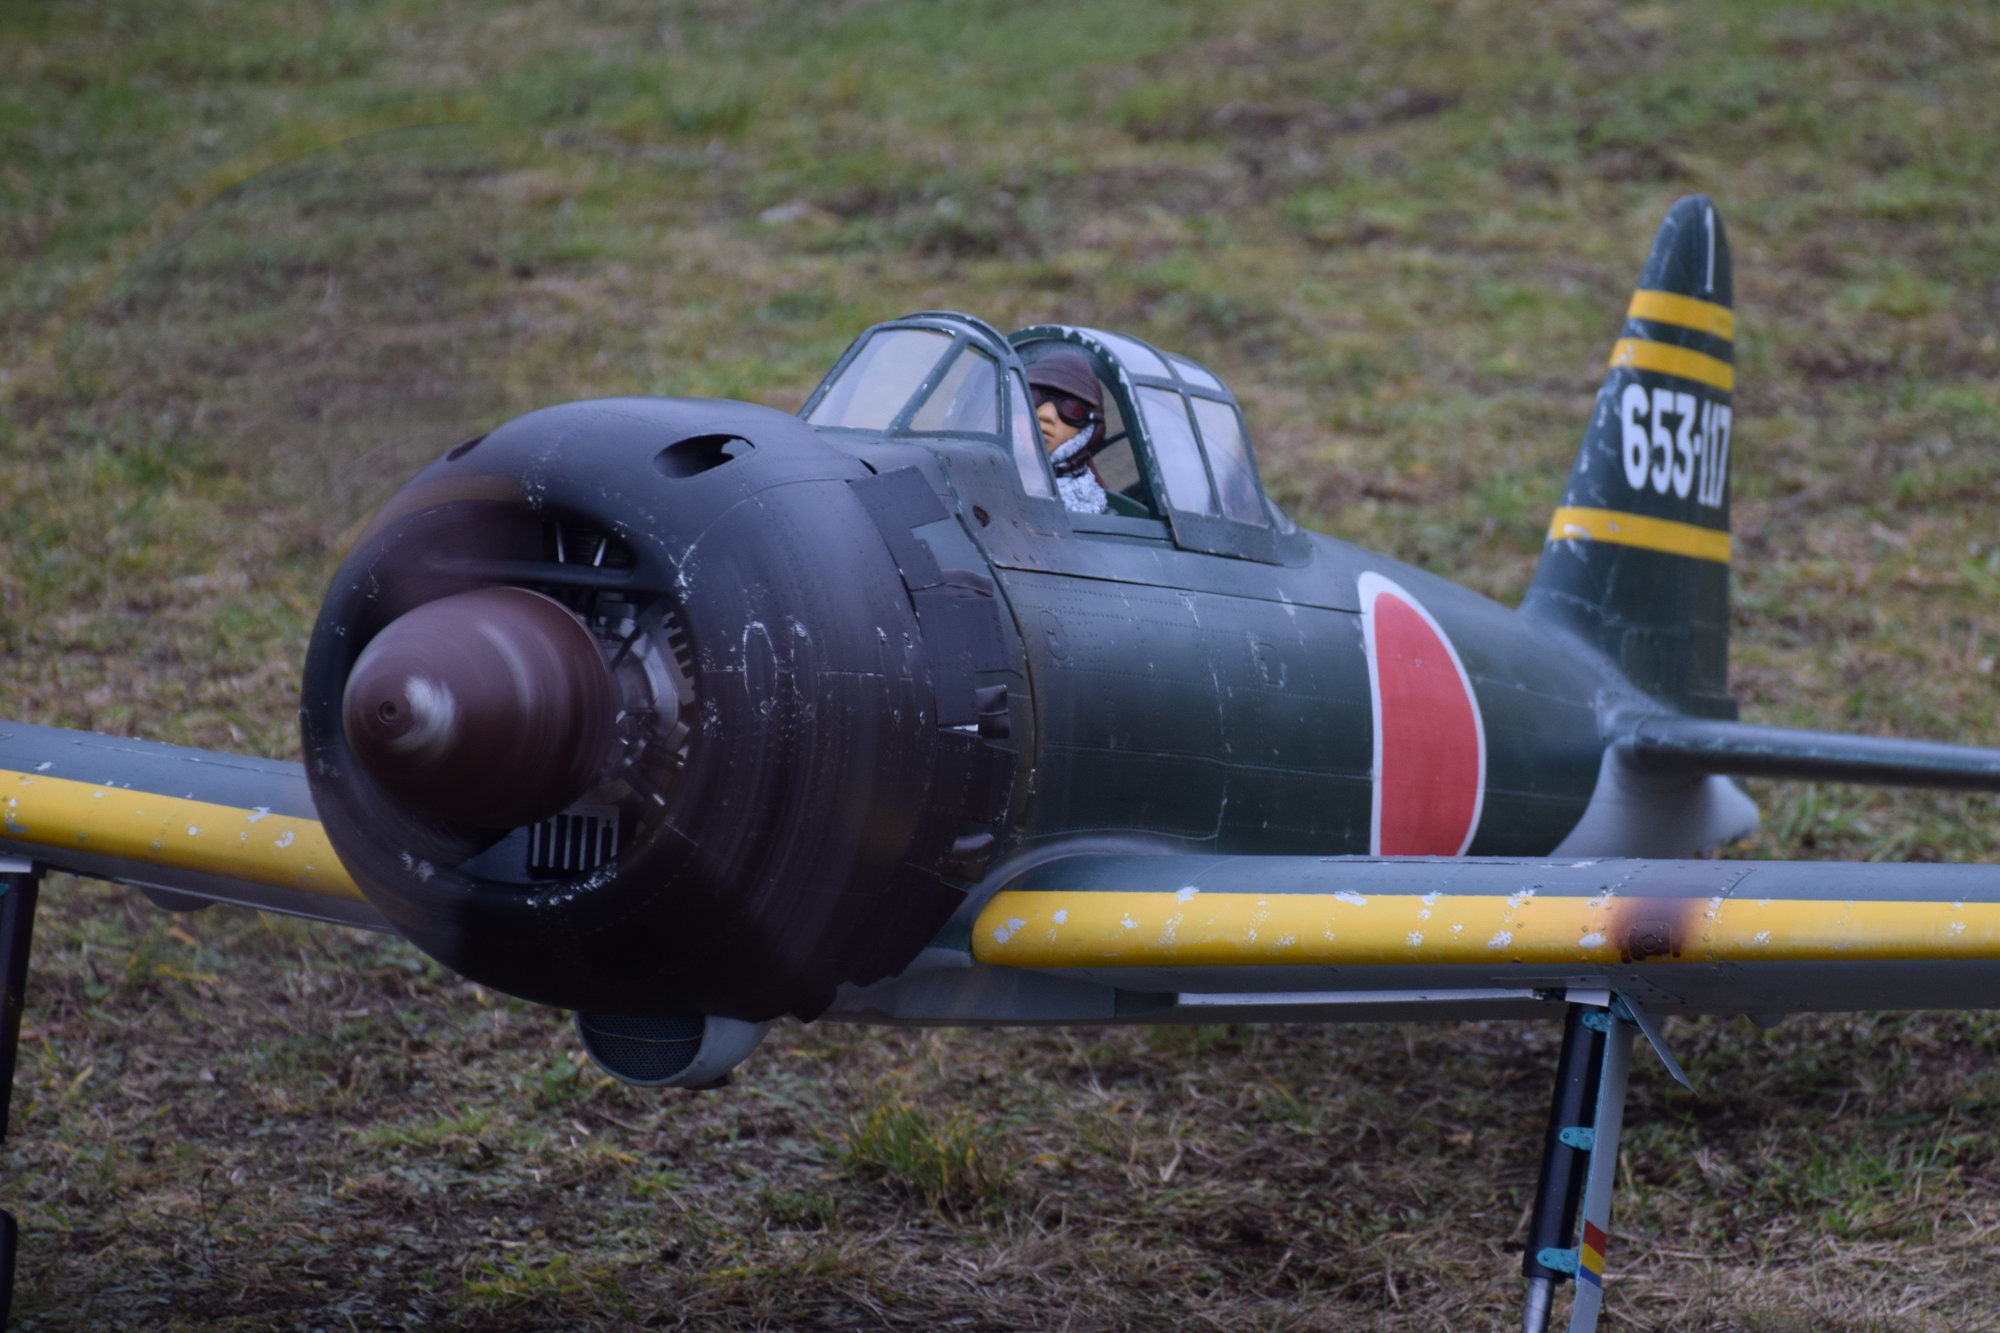
4. Exhaust heat protection sheets are sanded off and replaced with aluminium sheets in proper positions.
5. Stock exhausts are replaced with plastic tubes to have more realistic look.
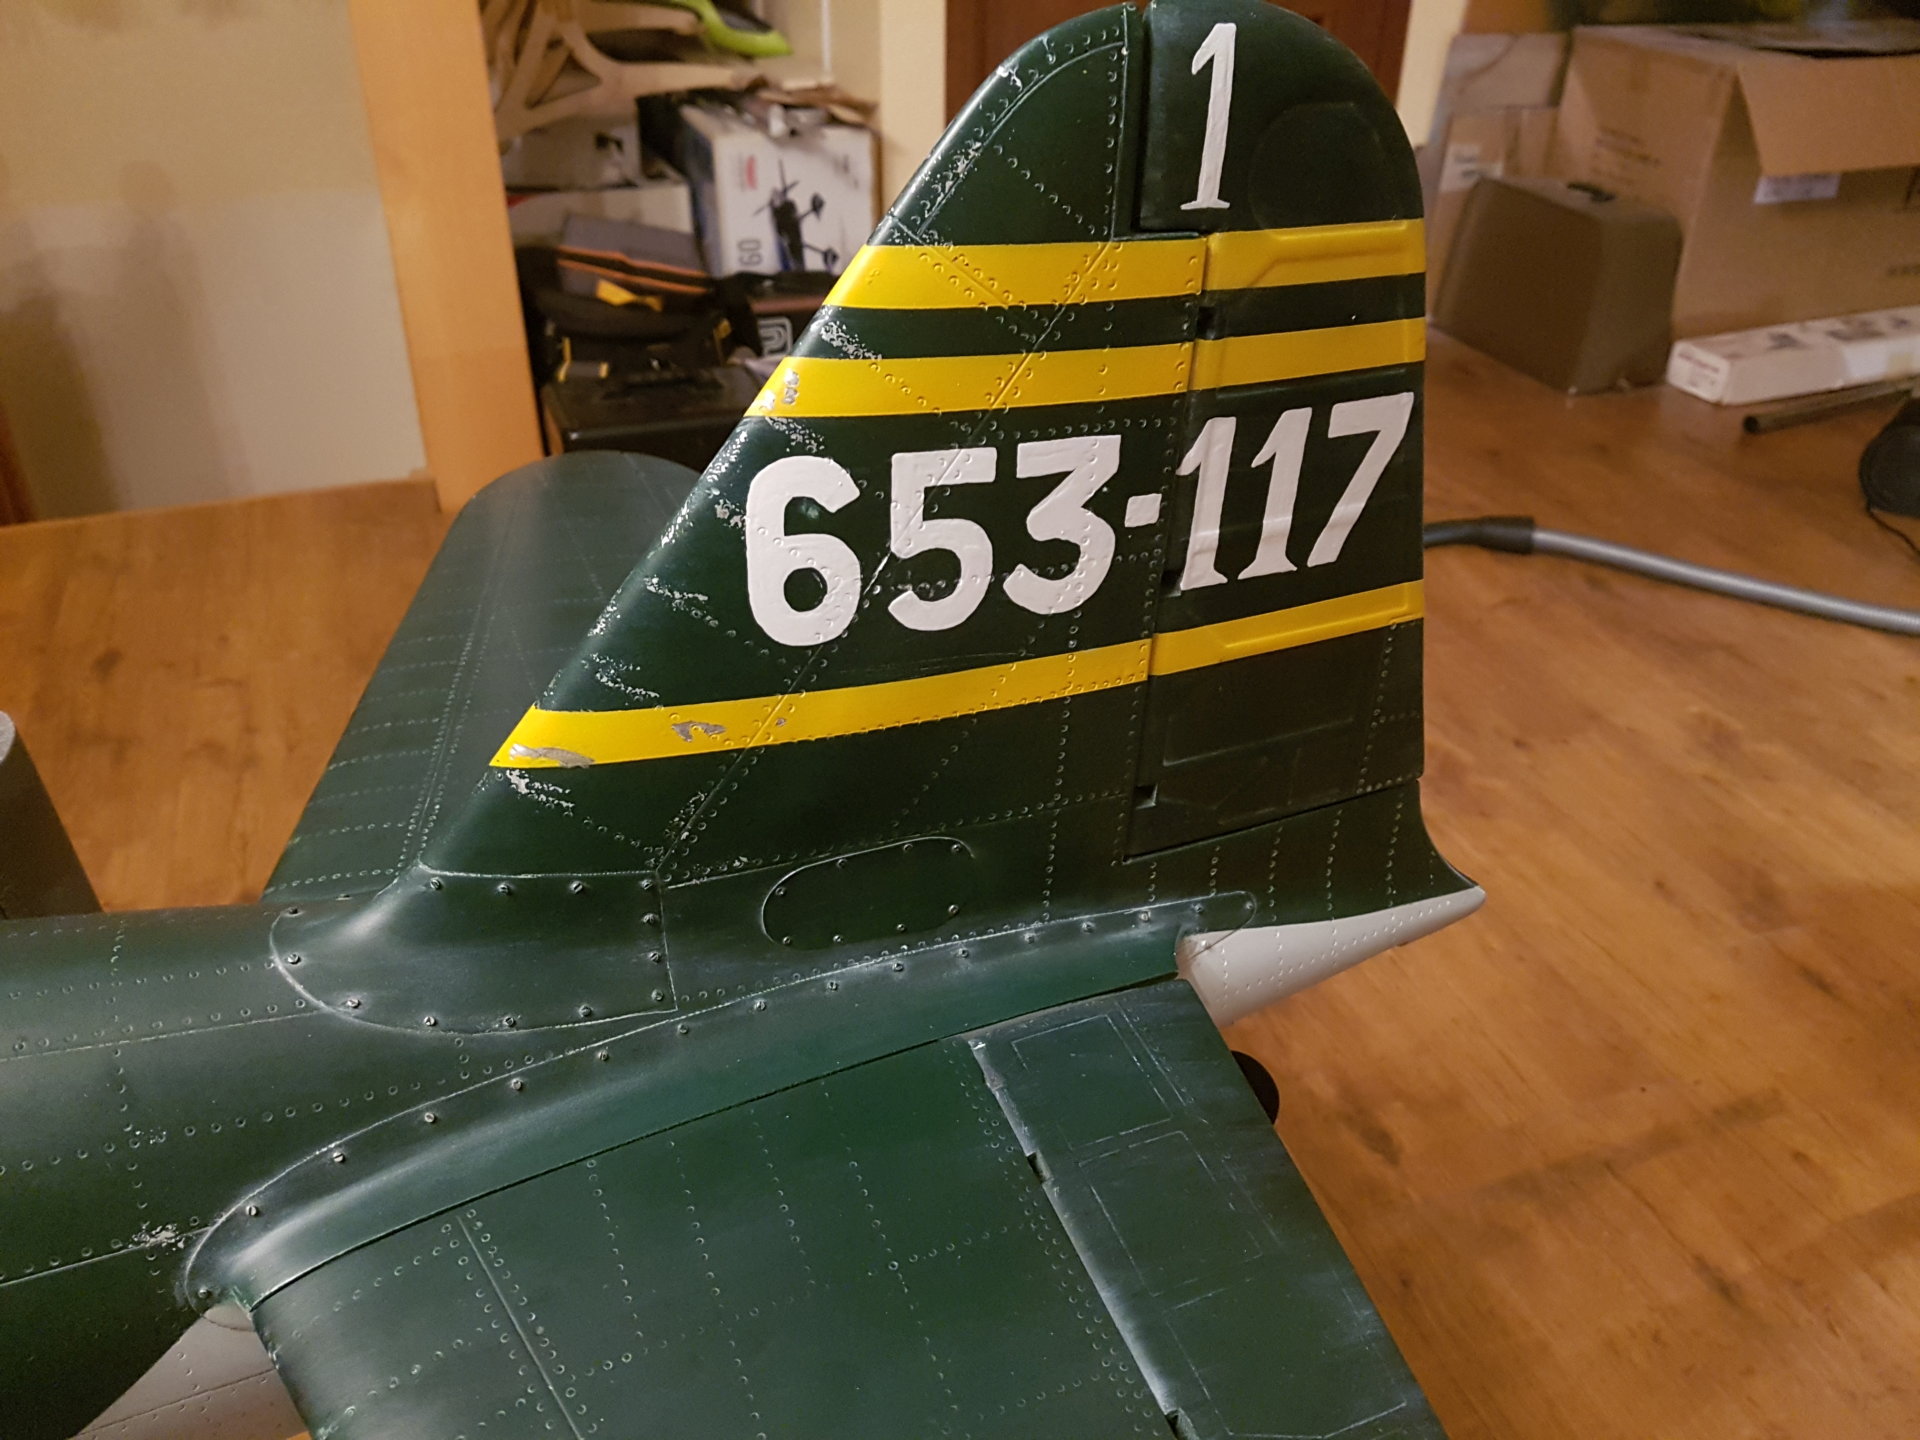
6. Added few thousand of rivets and hundreds of screw heads.
7. Whole plane was slightly sanded and painted with silver , then finish coat. I used masking fluid to achieve paint chipping effect.
Unfortunately I can't share any pictures... forum rules says I need to have 10 posts to be able to attach pictures. So I will keep posting....
1. Elevator pushrods are hidden in the fuselage.
2. Flaps pushrods are hidden in the wings
3. Aileron pushrods are shifted to upper side of the wings like on the original Zero.
4. Exhaust heat protection sheets are sanded off and replaced with aluminium sheets in proper positions.
5. Stock exhausts are replaced with plastic tubes to have more realistic look.
6. Added few thousand of rivets and hundreds of screw heads.
7. Whole plane was slightly sanded and painted with silver , then finish coat. I used masking fluid to achieve paint chipping effect.
Unfortunately I can't share any pictures... forum rules says I need to have 10 posts to be able to attach pictures. So I will keep posting....
The following users liked this post:
MikeJM (02-14-2020)
The following users liked this post:
marvair (05-04-2020)
01-04-2020, 09:15 PM
#640
Looks great. waiting to see the pictures. When you attach pictures, i'd appreciate a close look at the elevator, aileron and flaps links.
Also, how did you place the radio and ignition switches? i'm looking for a way to keep them internal, but without the need to remove the cockpit every time to turn then on and off.
I will start assembling mine in a week or two.
Also, how did you place the radio and ignition switches? i'm looking for a way to keep them internal, but without the need to remove the cockpit every time to turn then on and off.
I will start assembling mine in a week or two.
01-05-2020, 02:16 AM
#641
Hi,
I didn't finish assembling my model yet. Remaining is: cockpit (will be made from scratch), flaps servo mounting, undercarriage hatch with door actuators. All electronics and fuel system to be installed in the fuselage.
I'm planning to bring all electronics as much forward as possible. Despite that I will need more then 1kg of ballast in the cowl to achieve correct CG. For sure there will be no any switches outside of the plane, removing cockpit is not big deal in this model.
01-05-2020, 07:18 AM
#642
Finally I can attach some pictures:
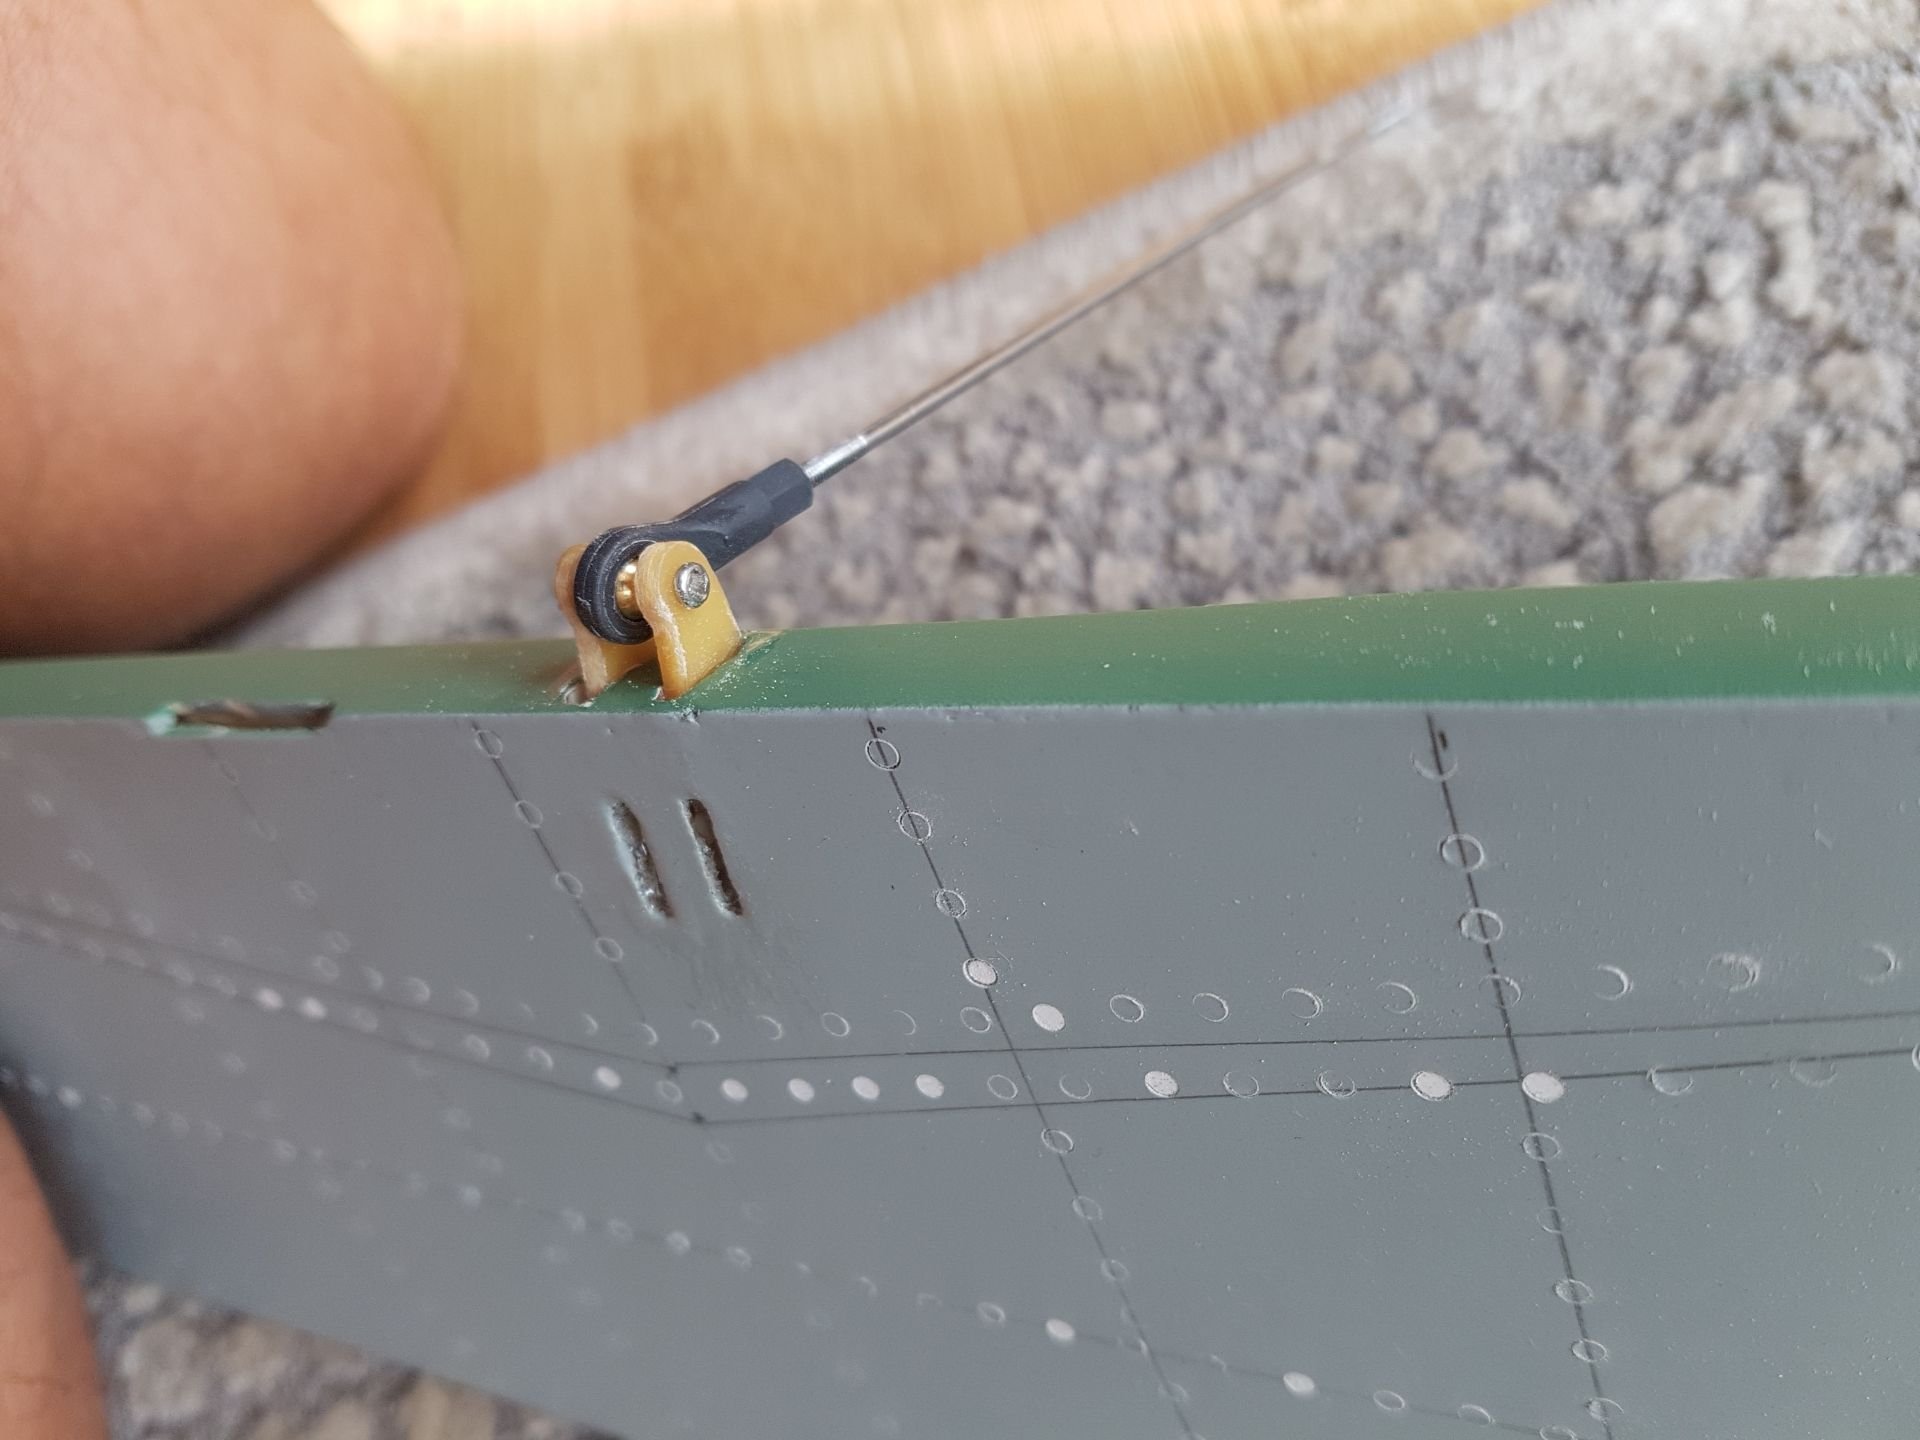
1. Ailerons:
I cut another hatch in the wing to install servos, pushrods and control horns to have scale look
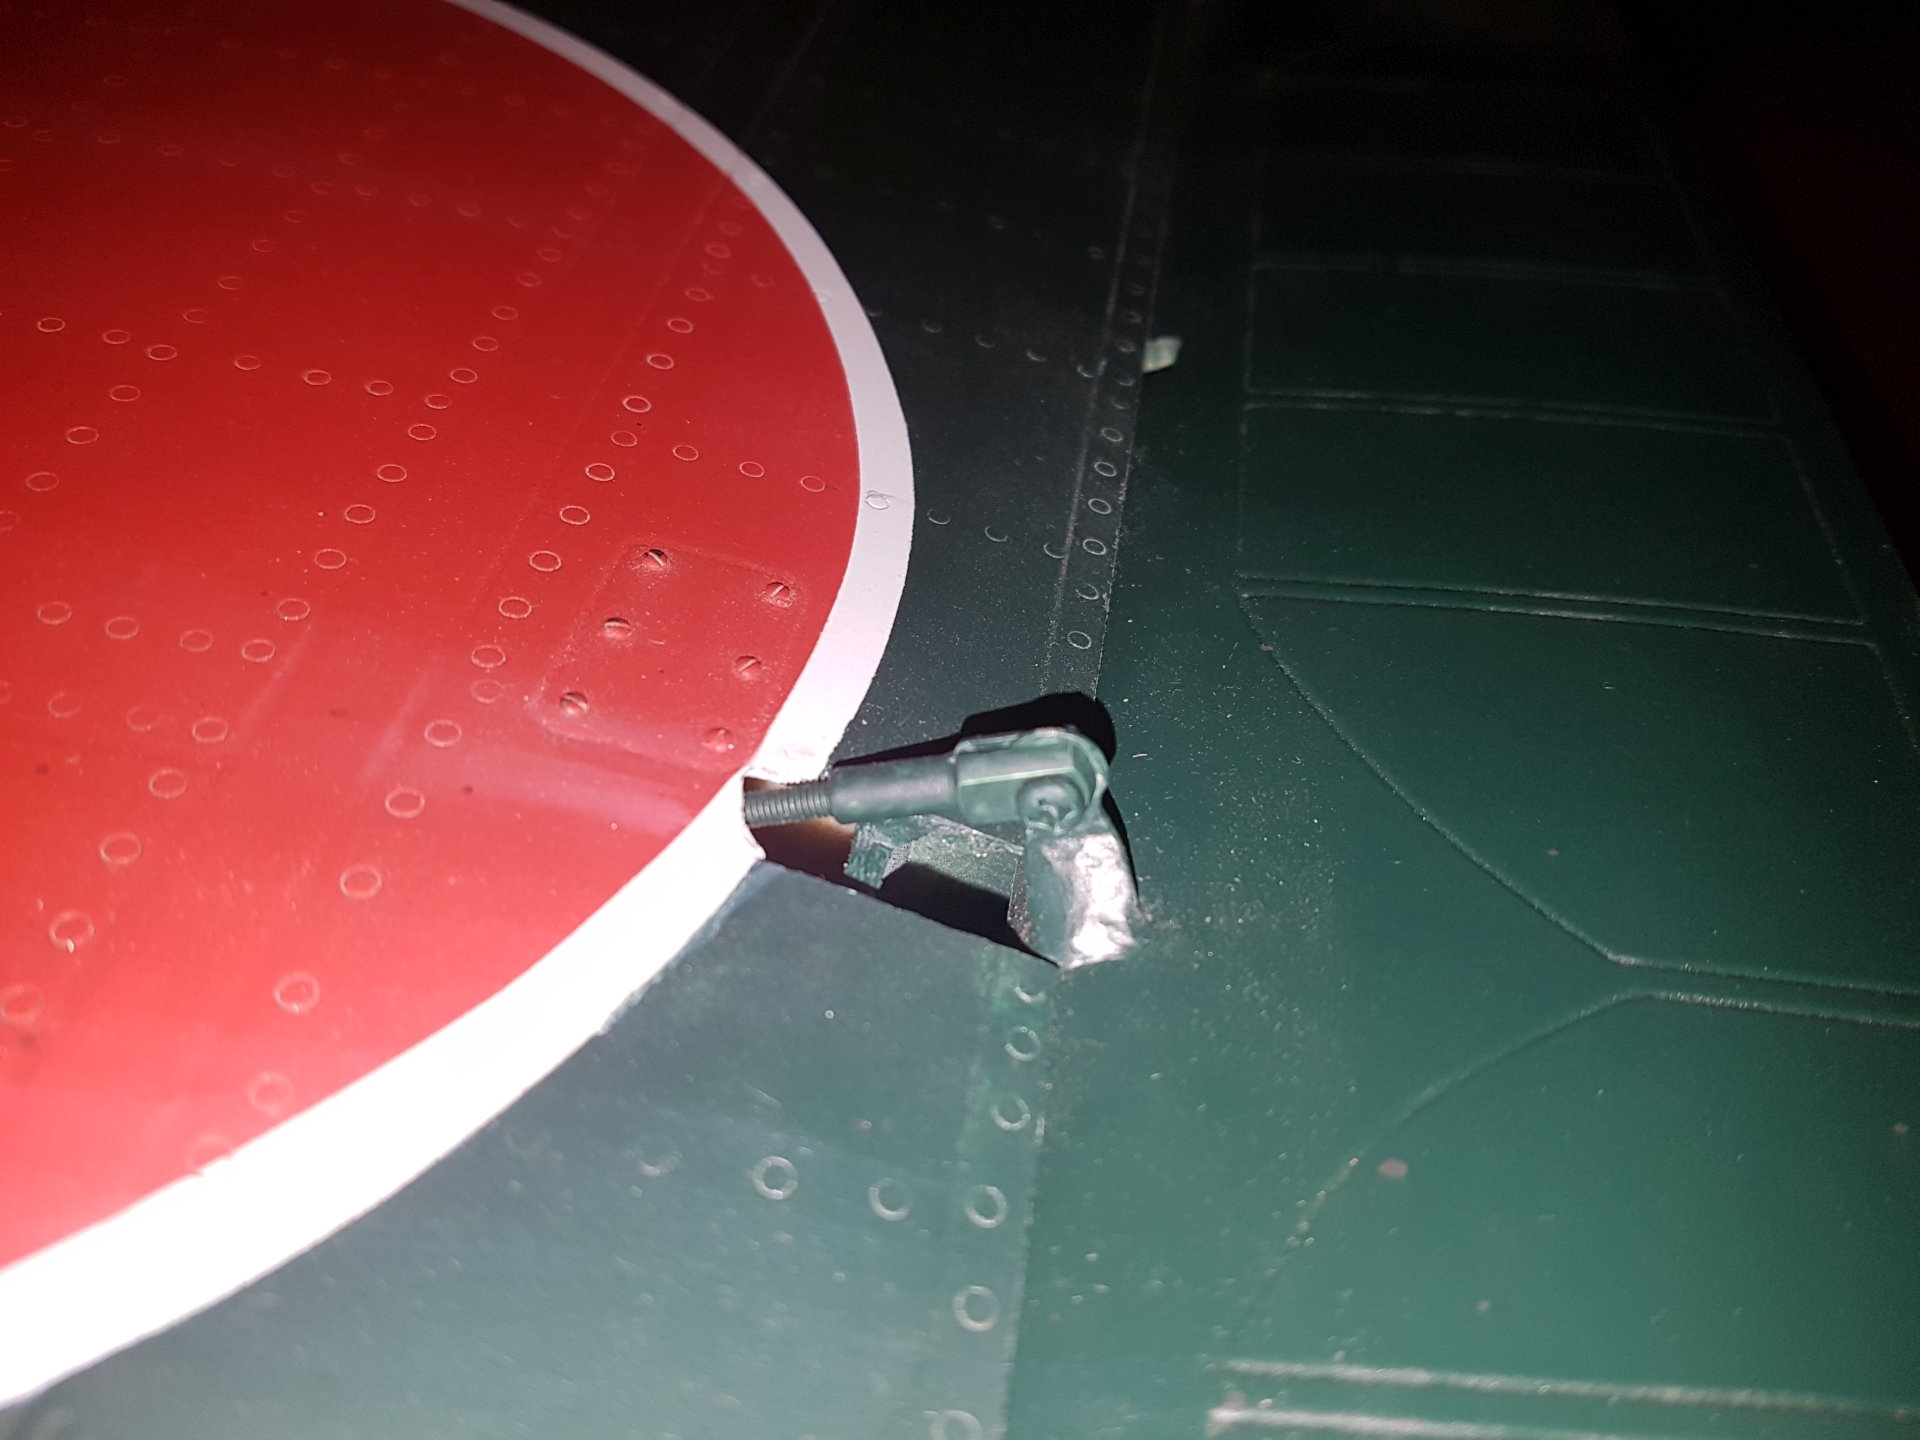


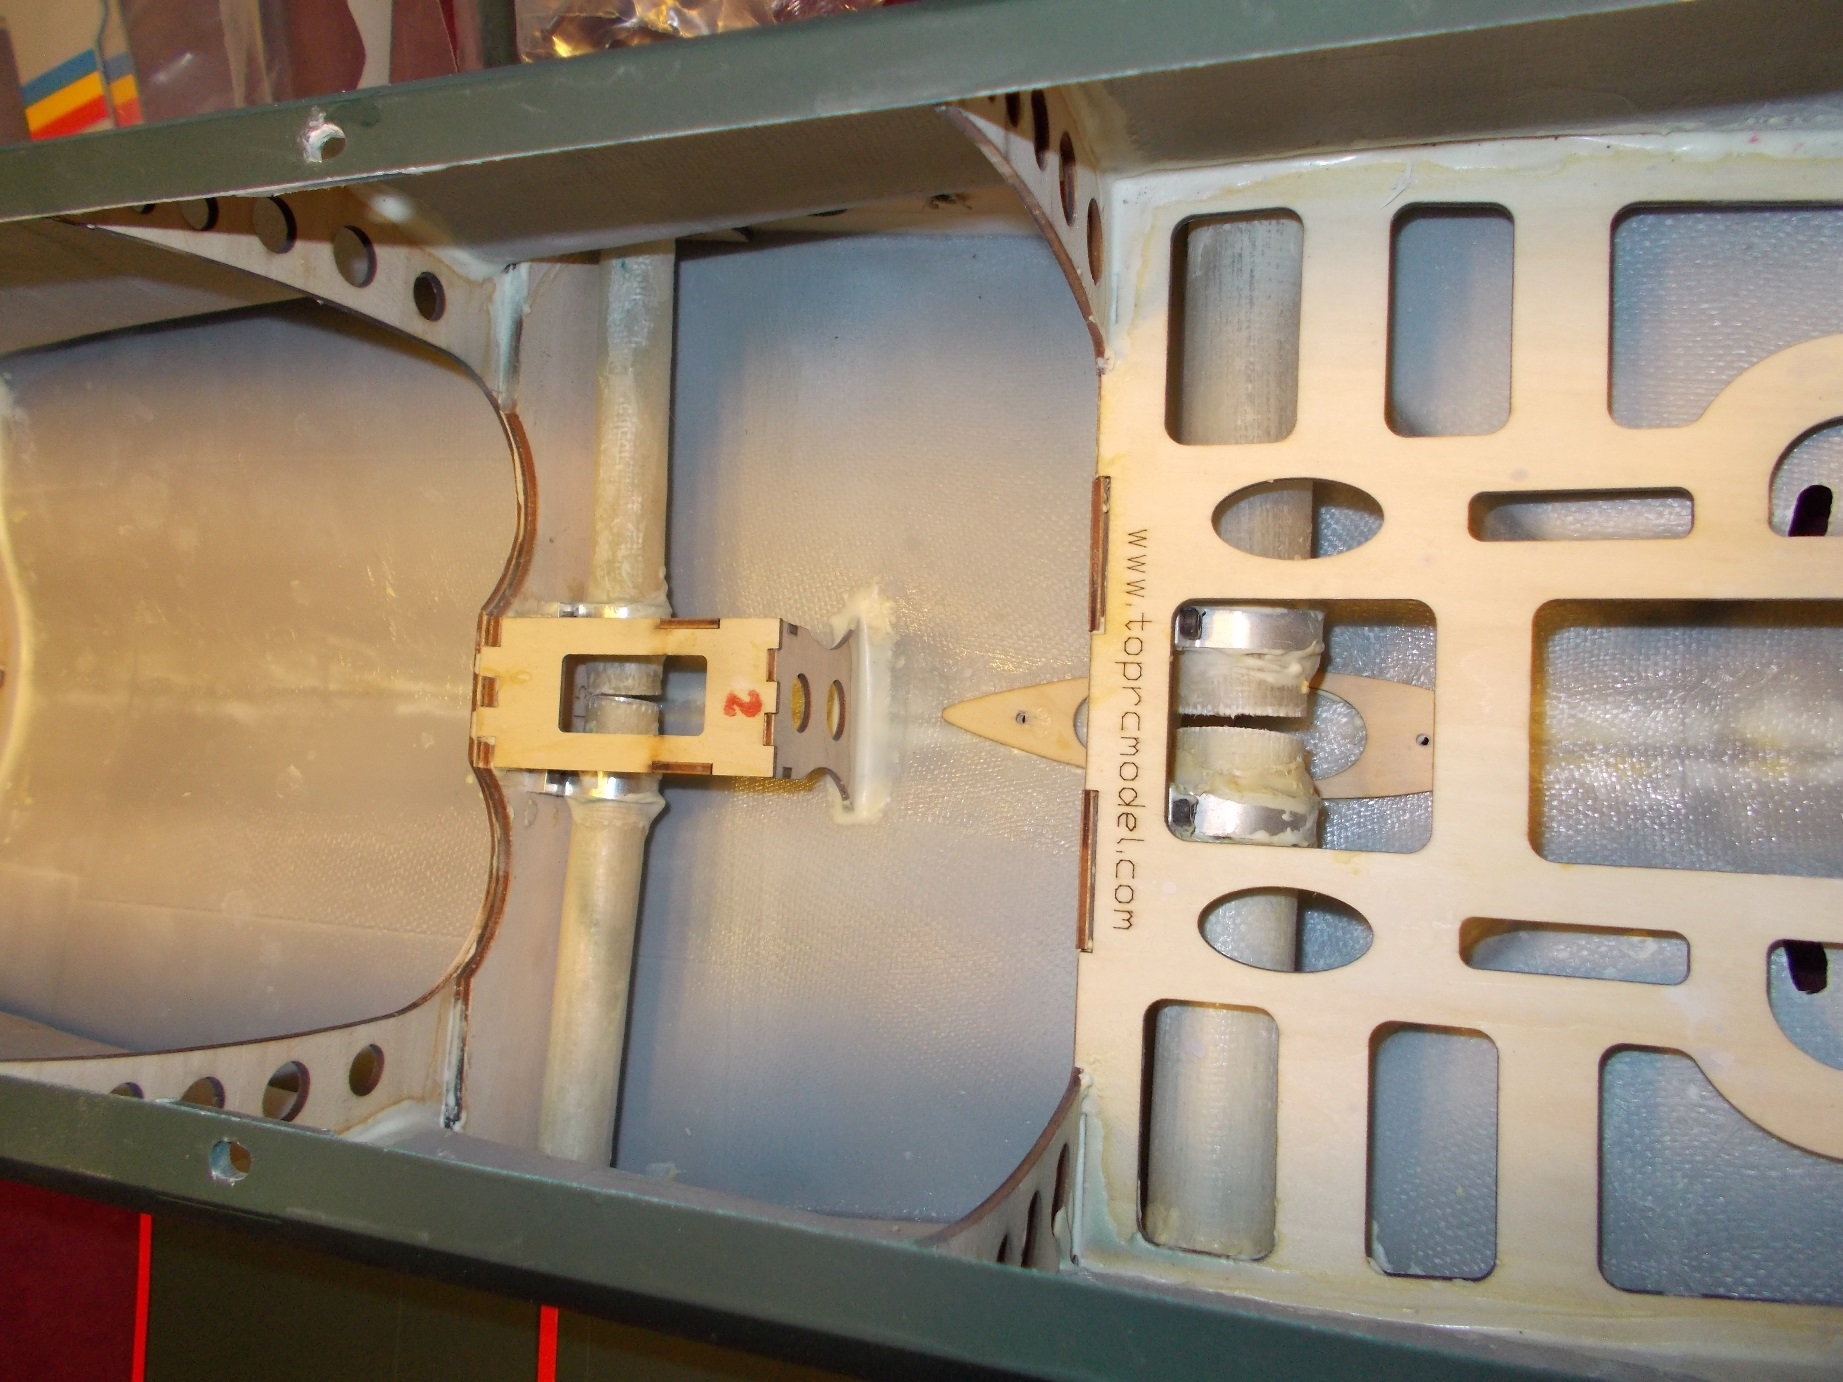
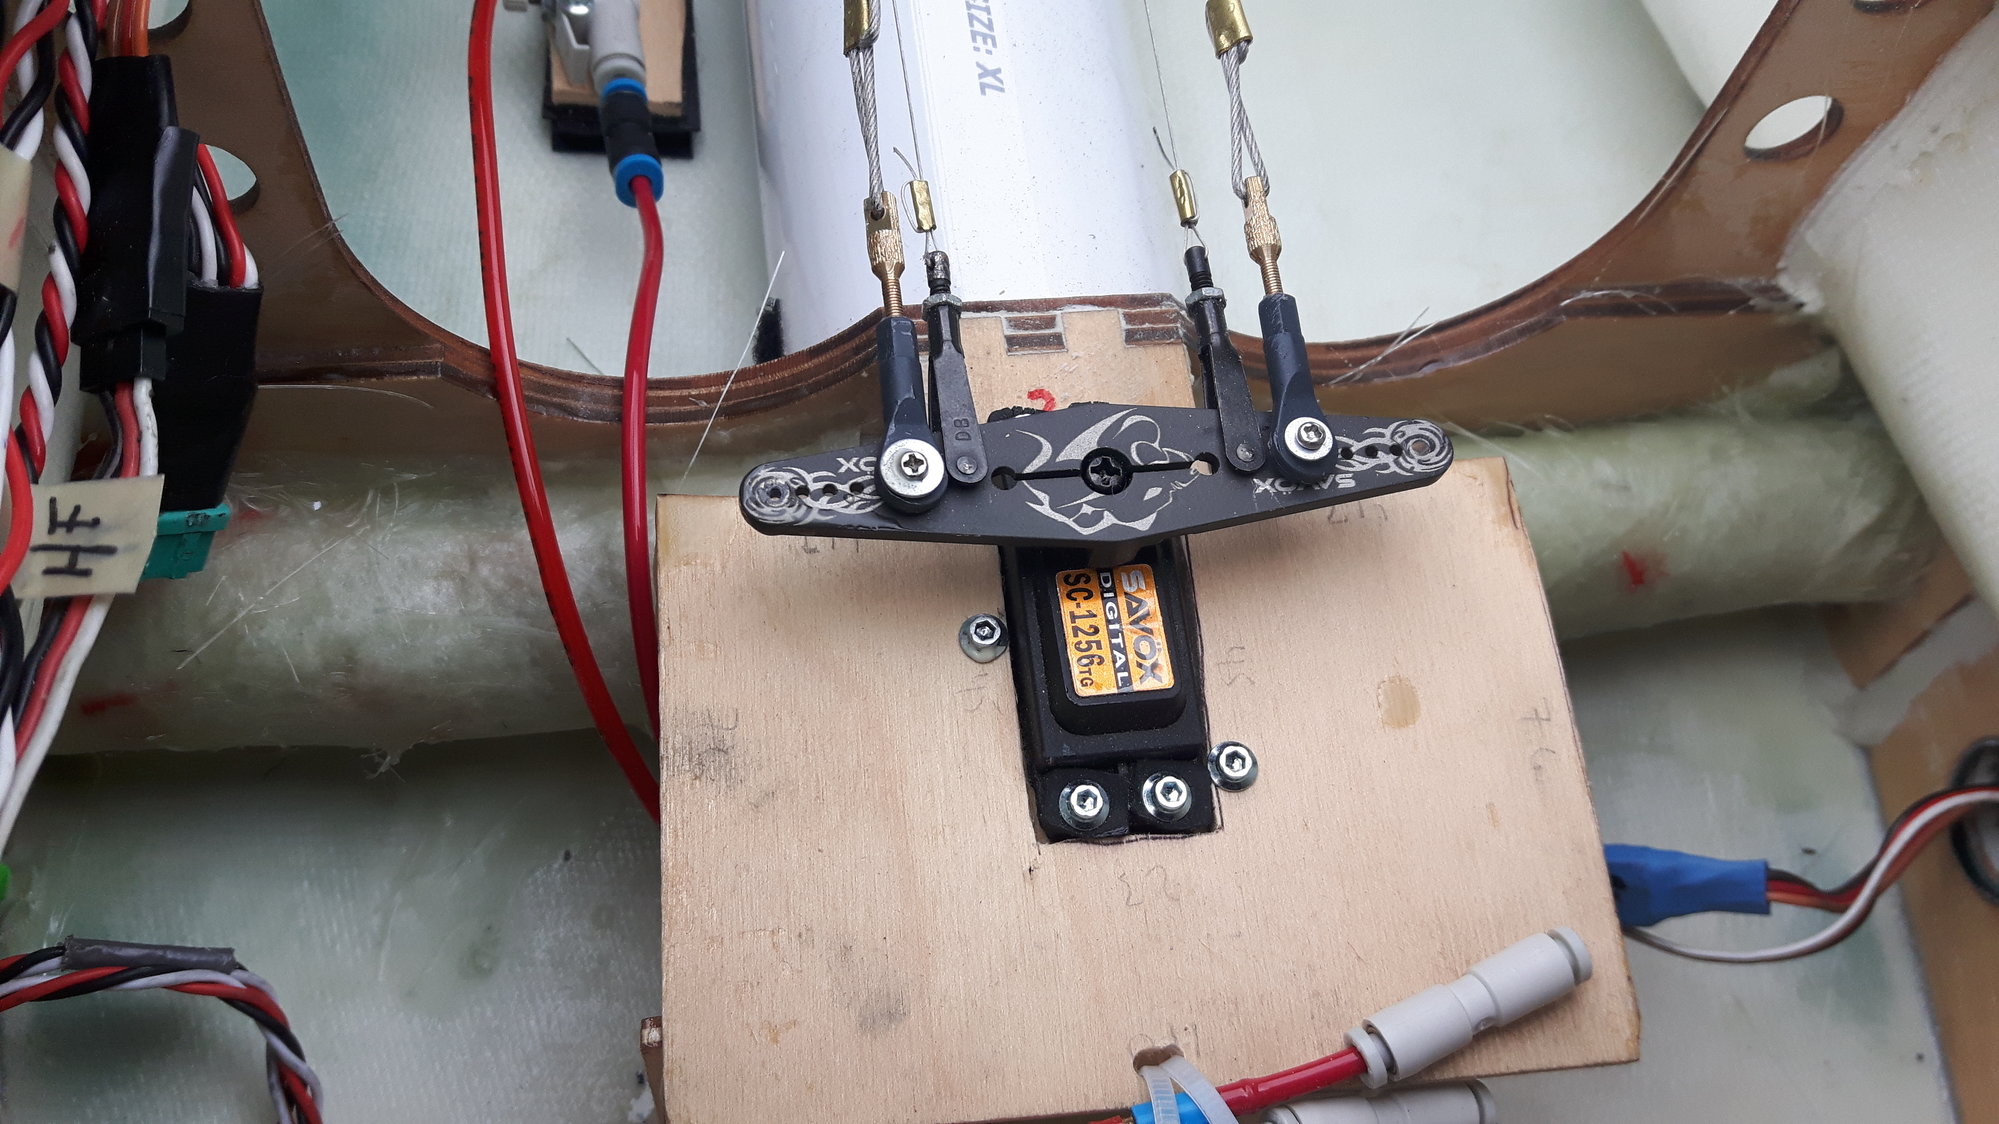
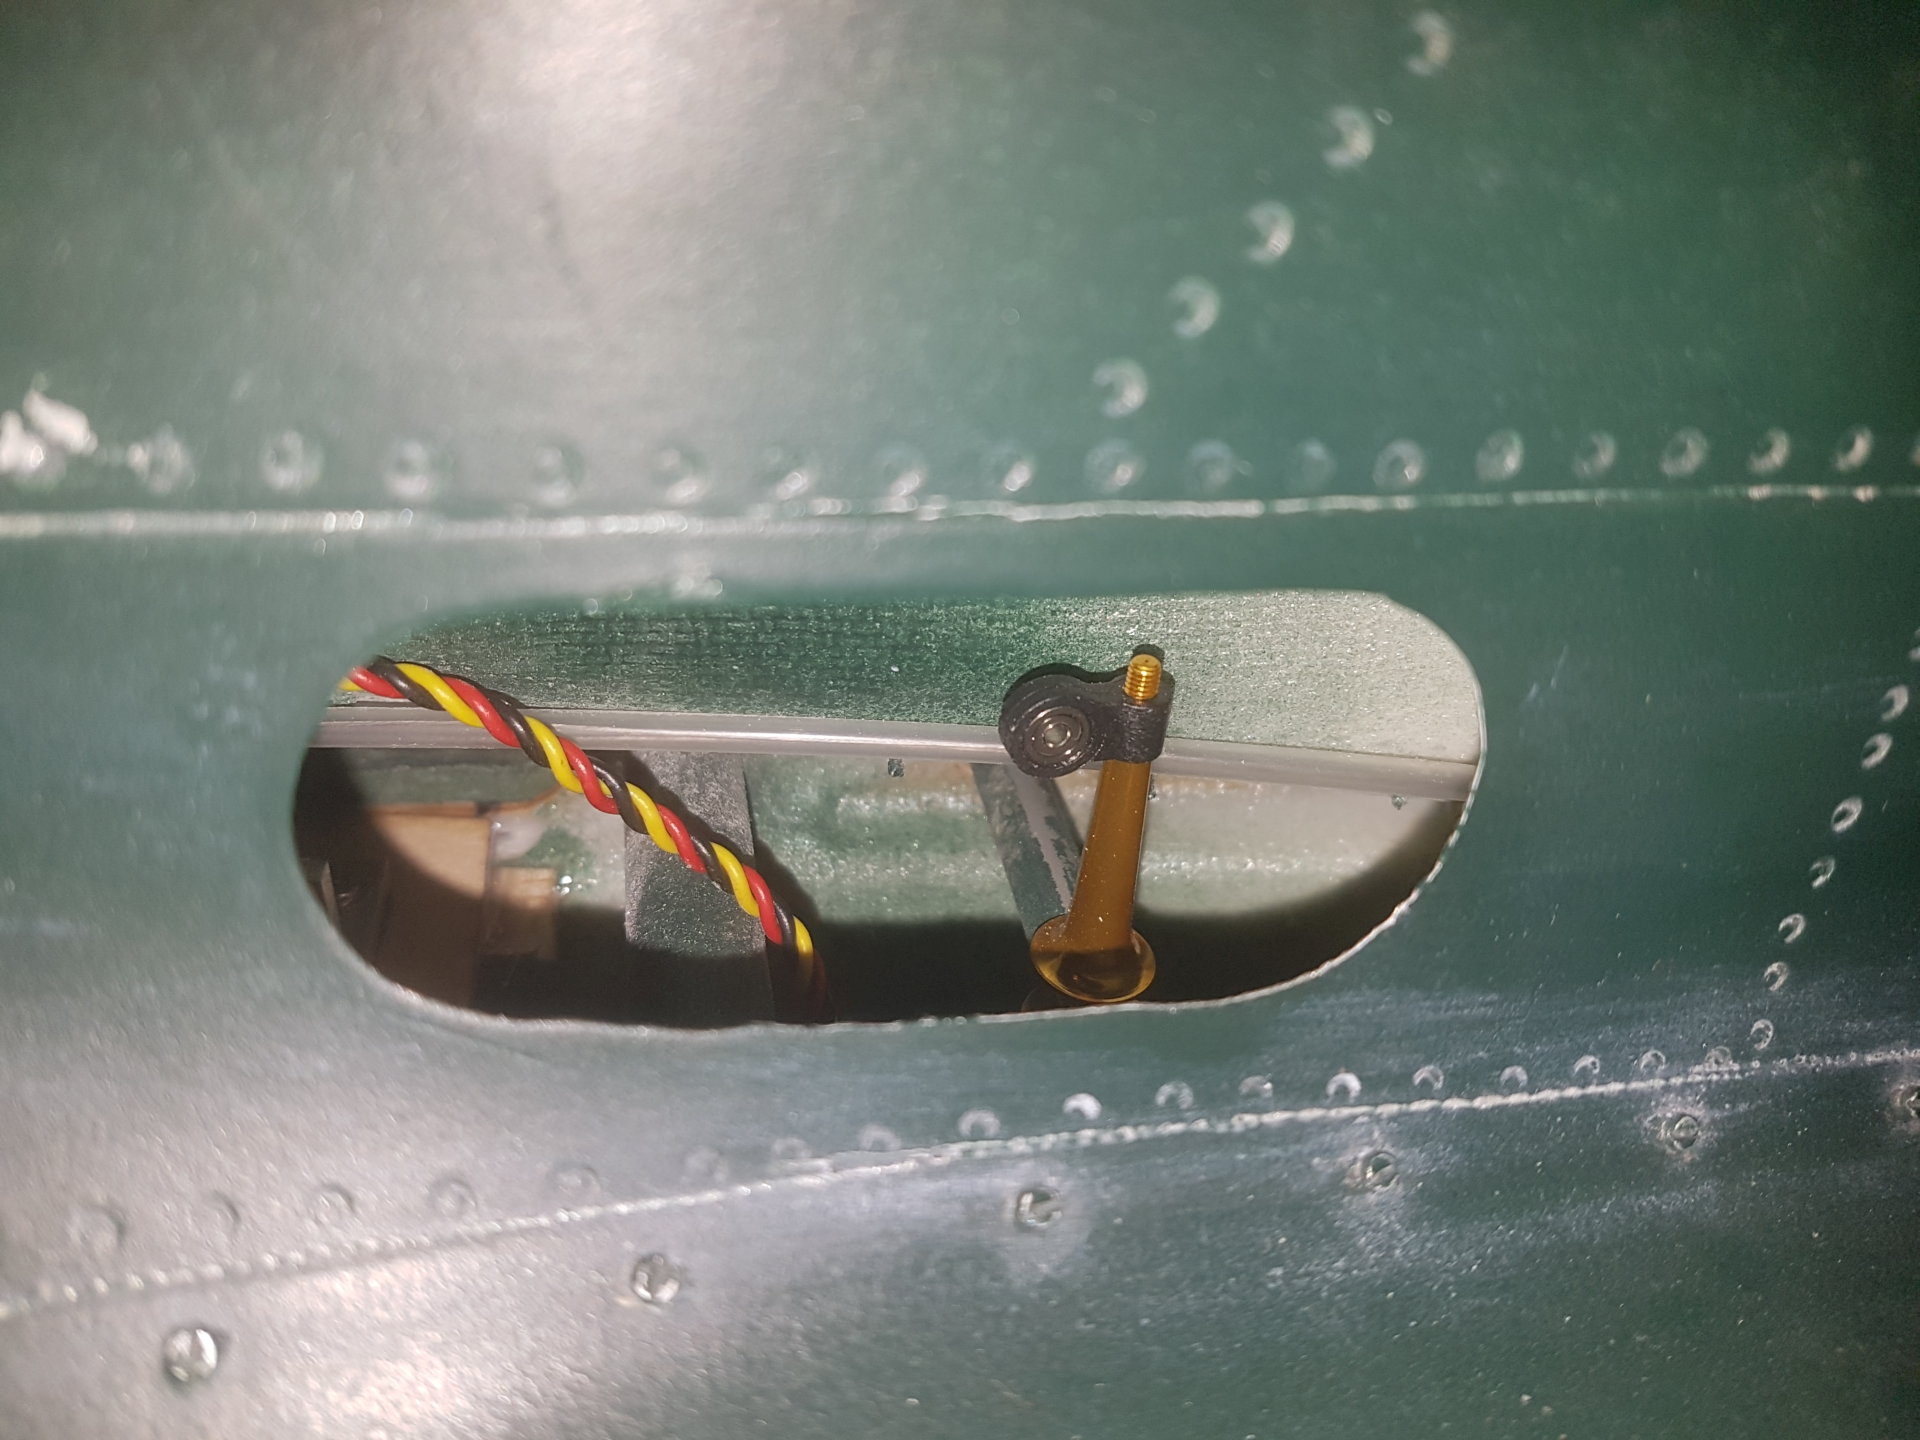
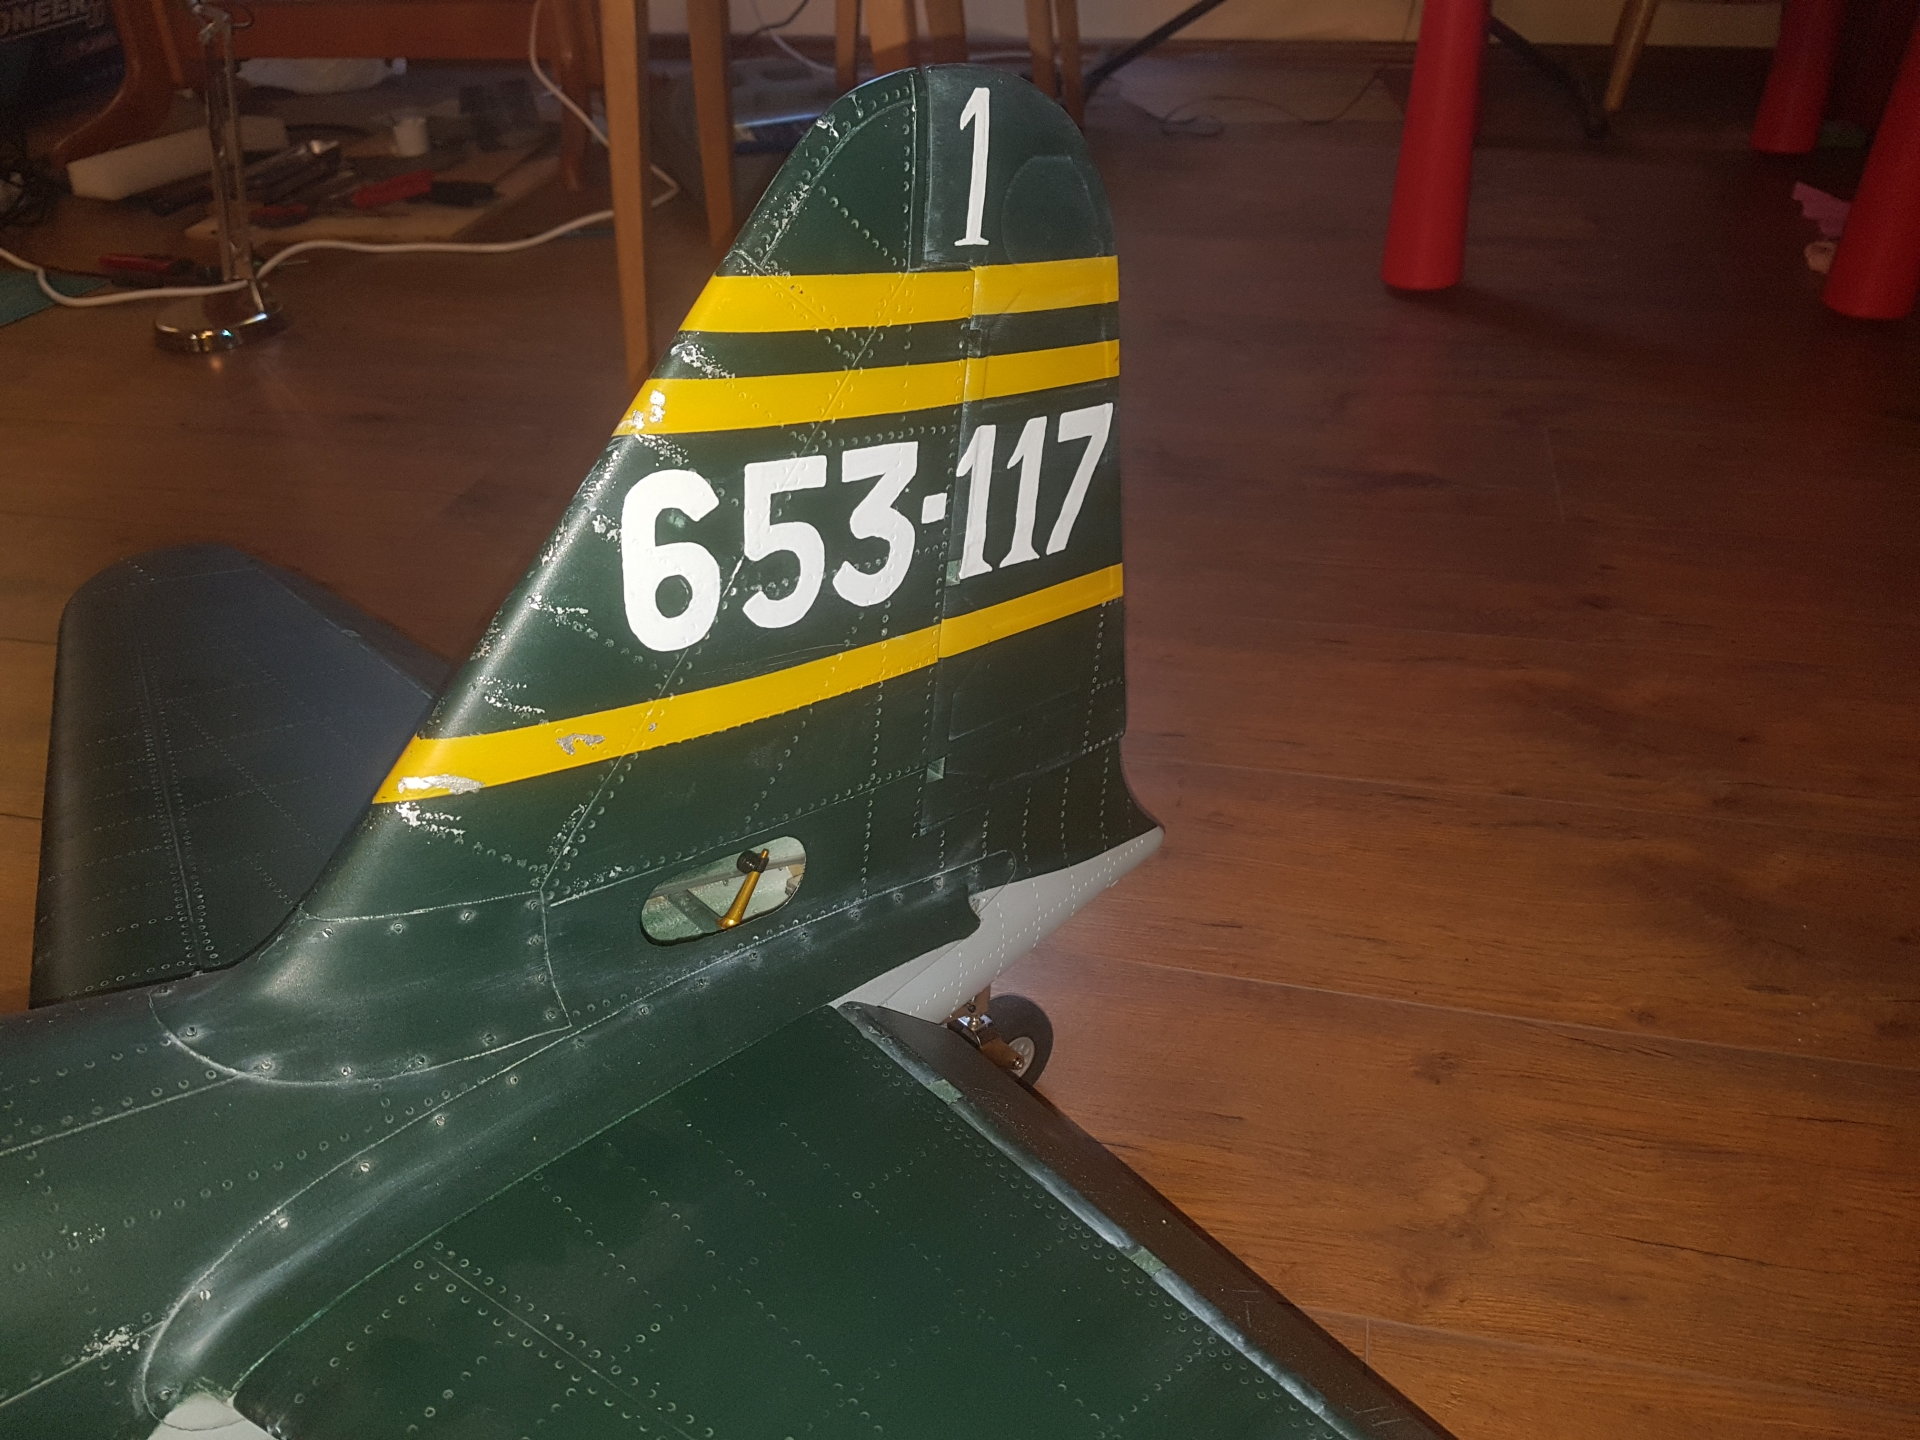
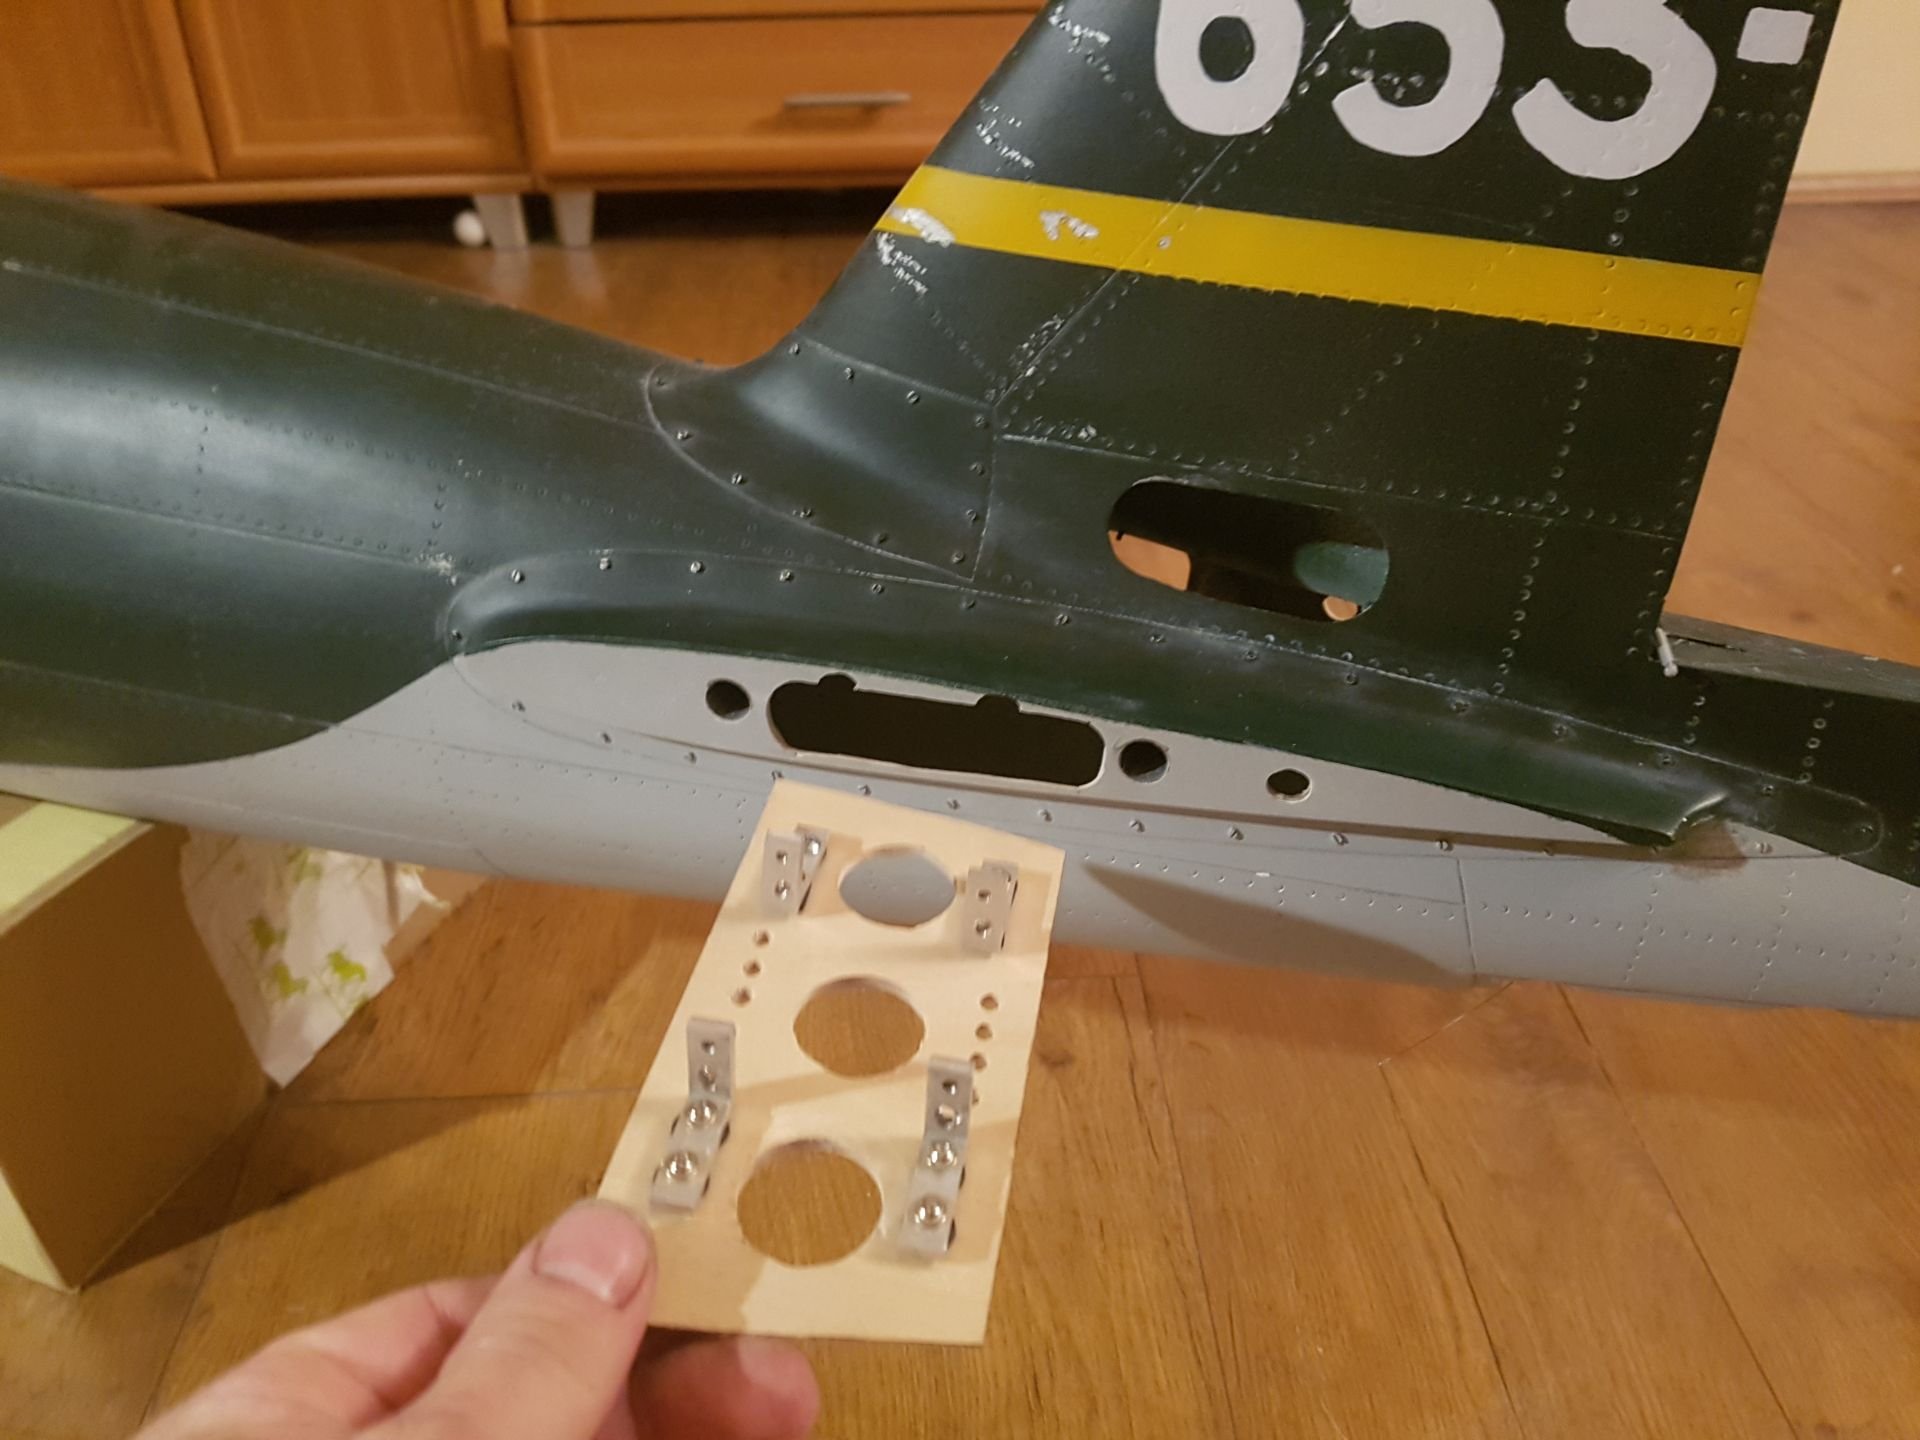
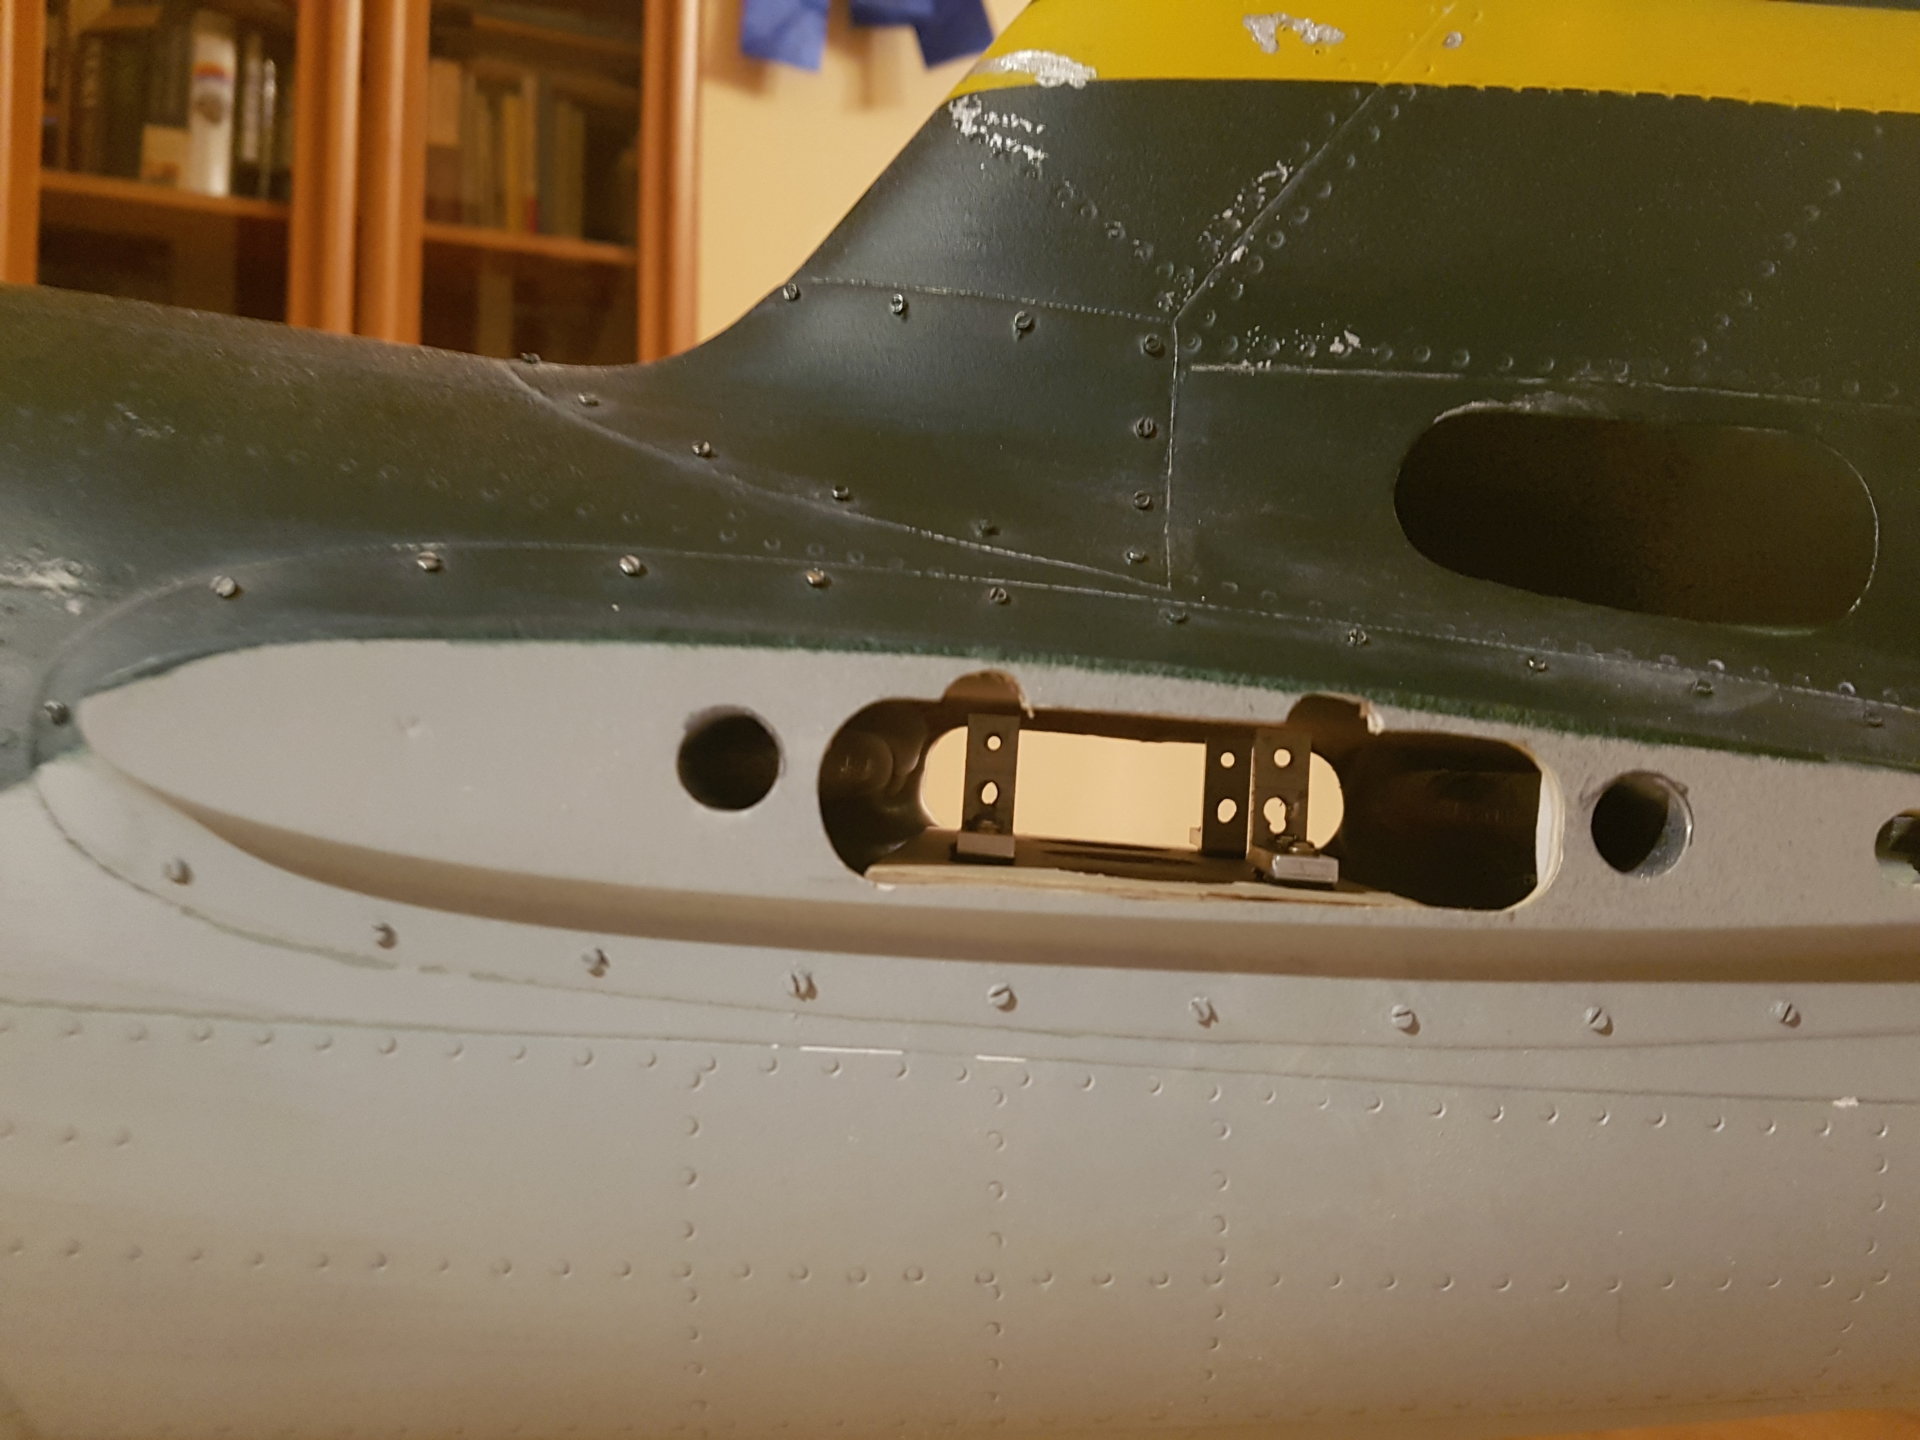
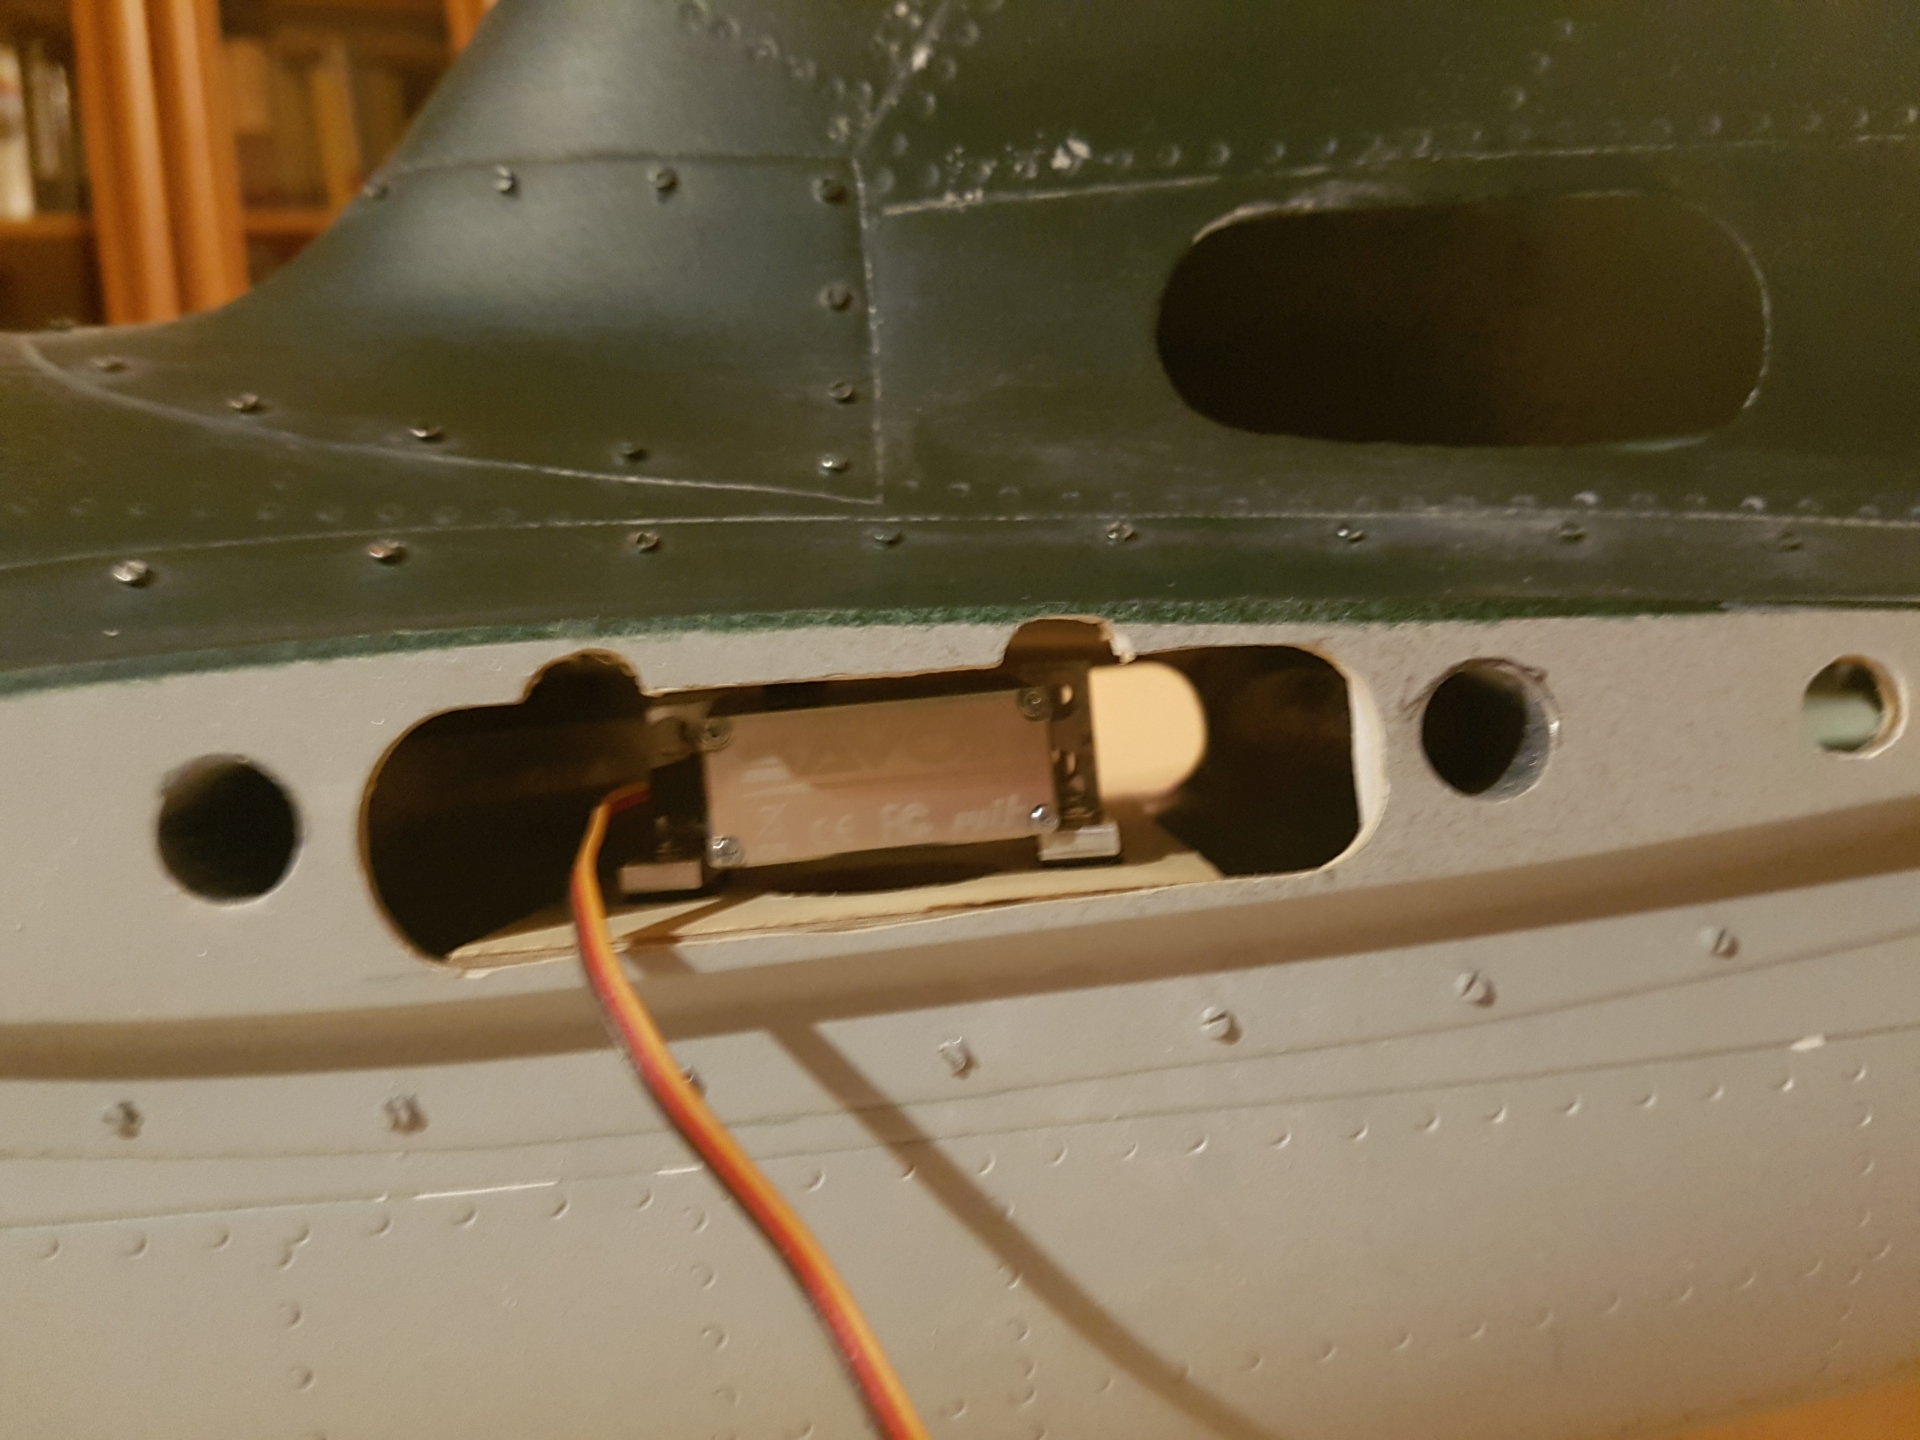
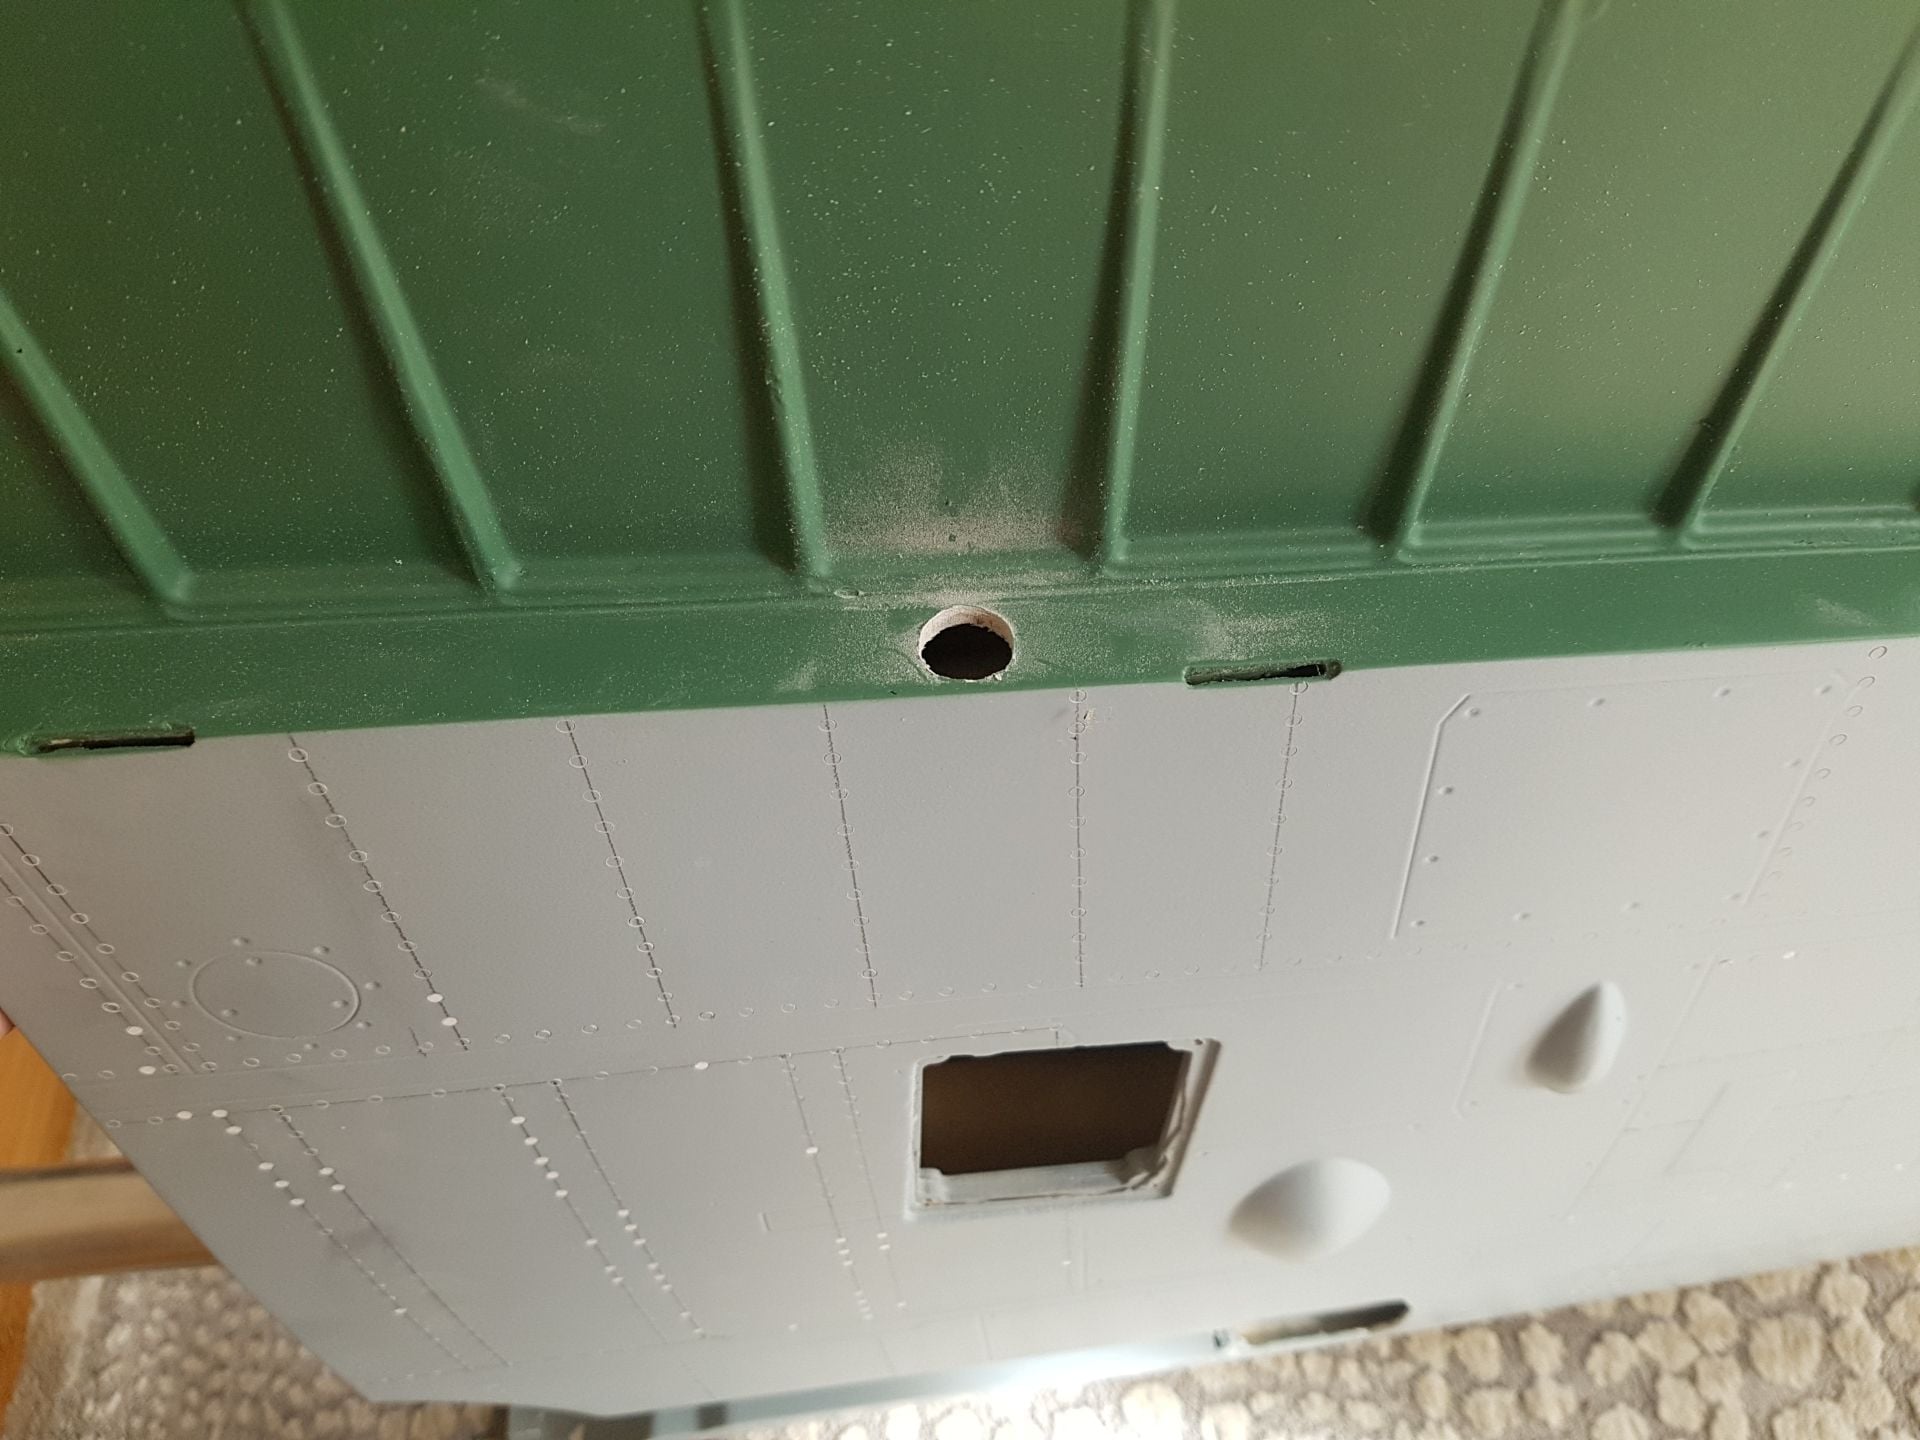
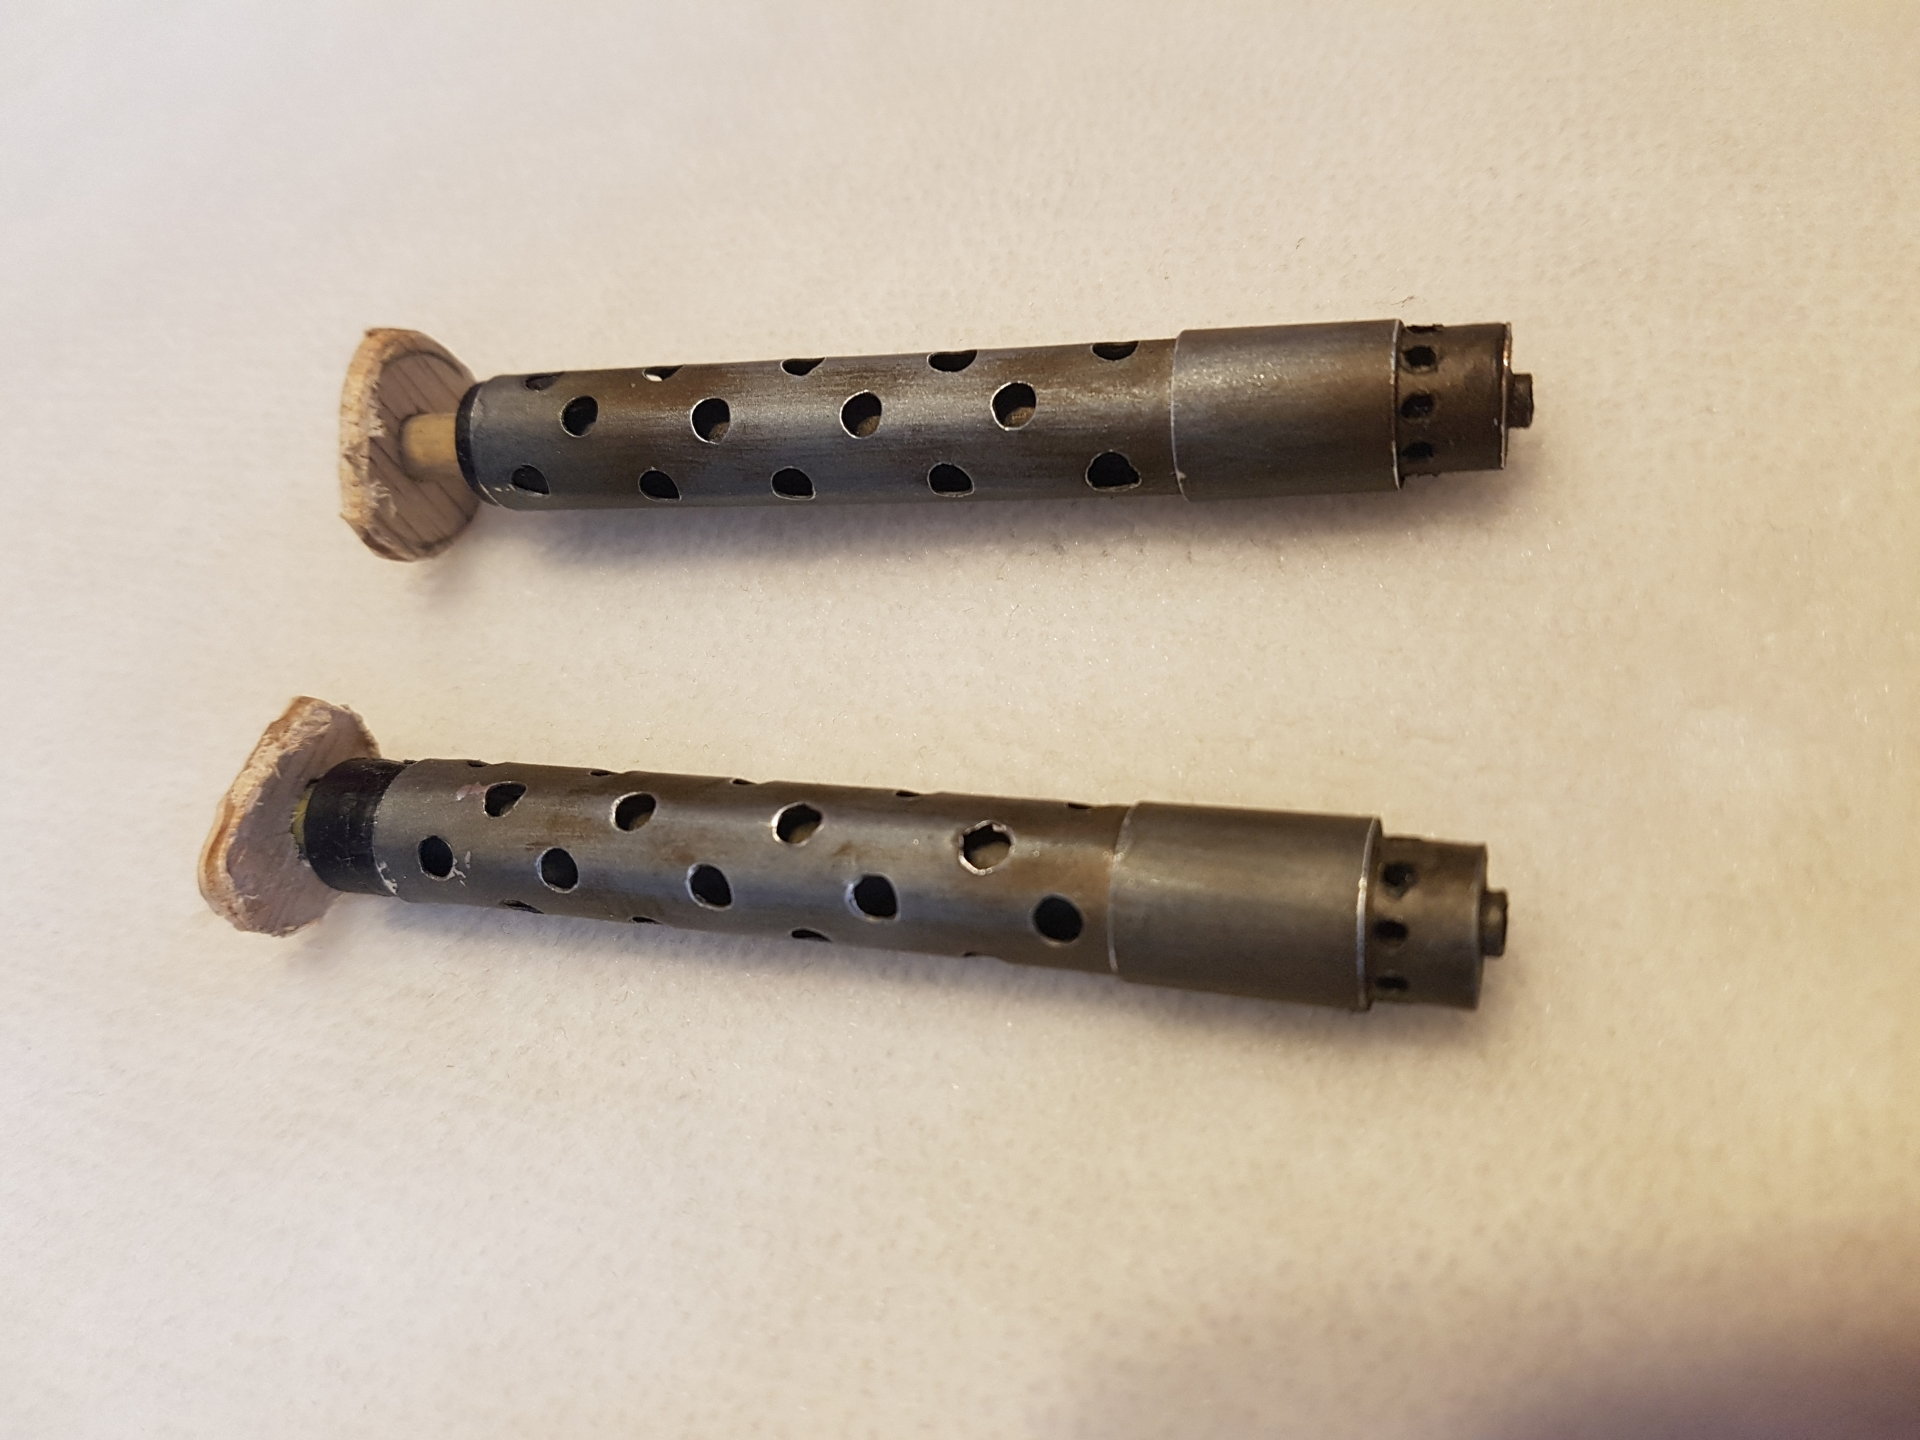
2. Elevator linkage
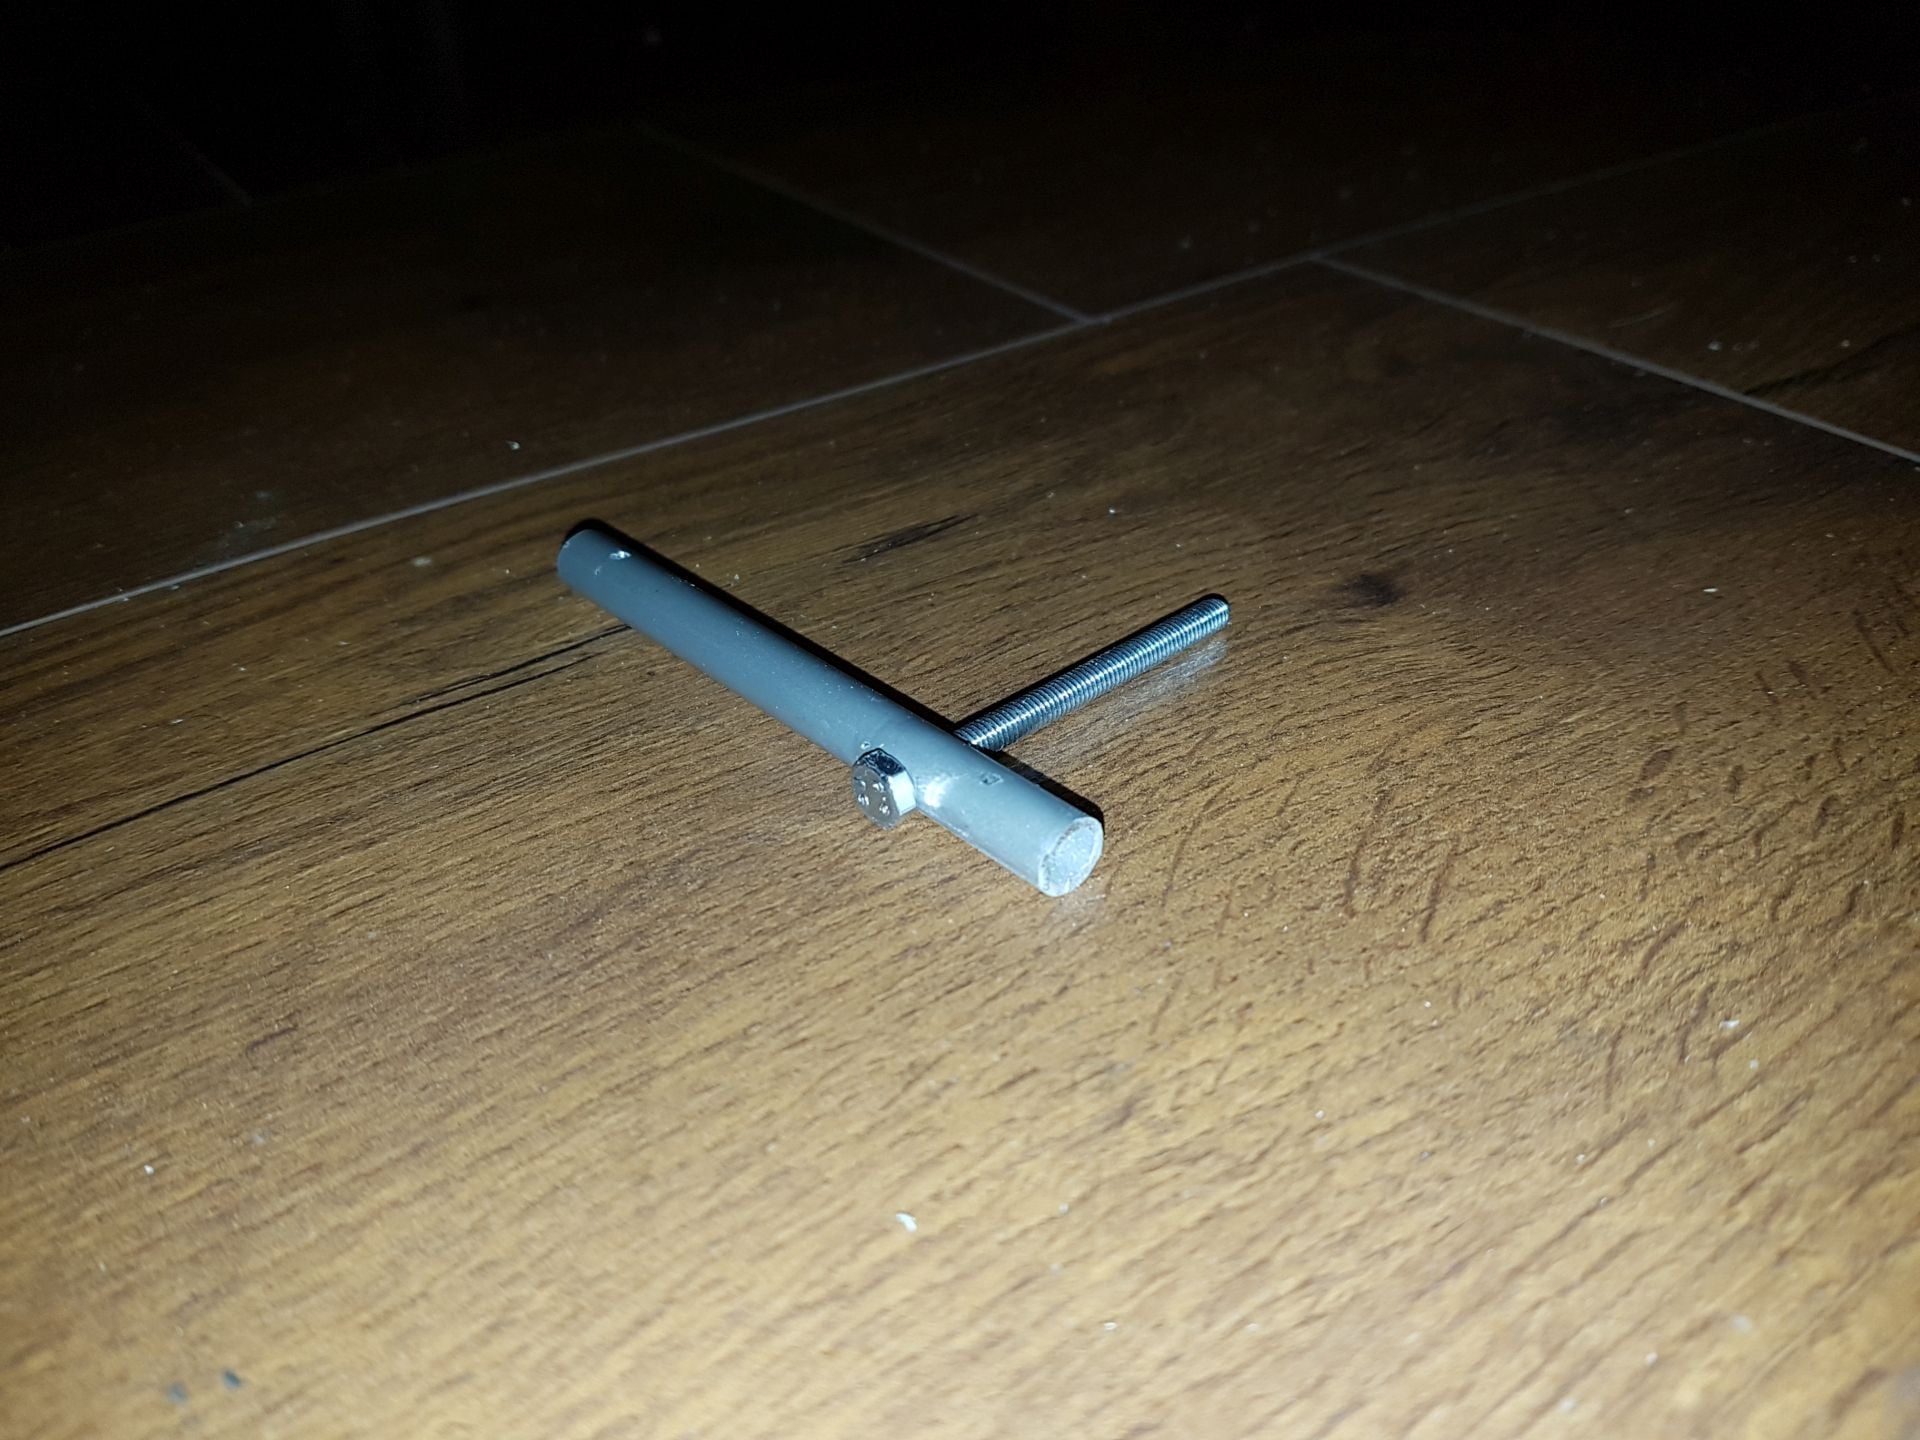
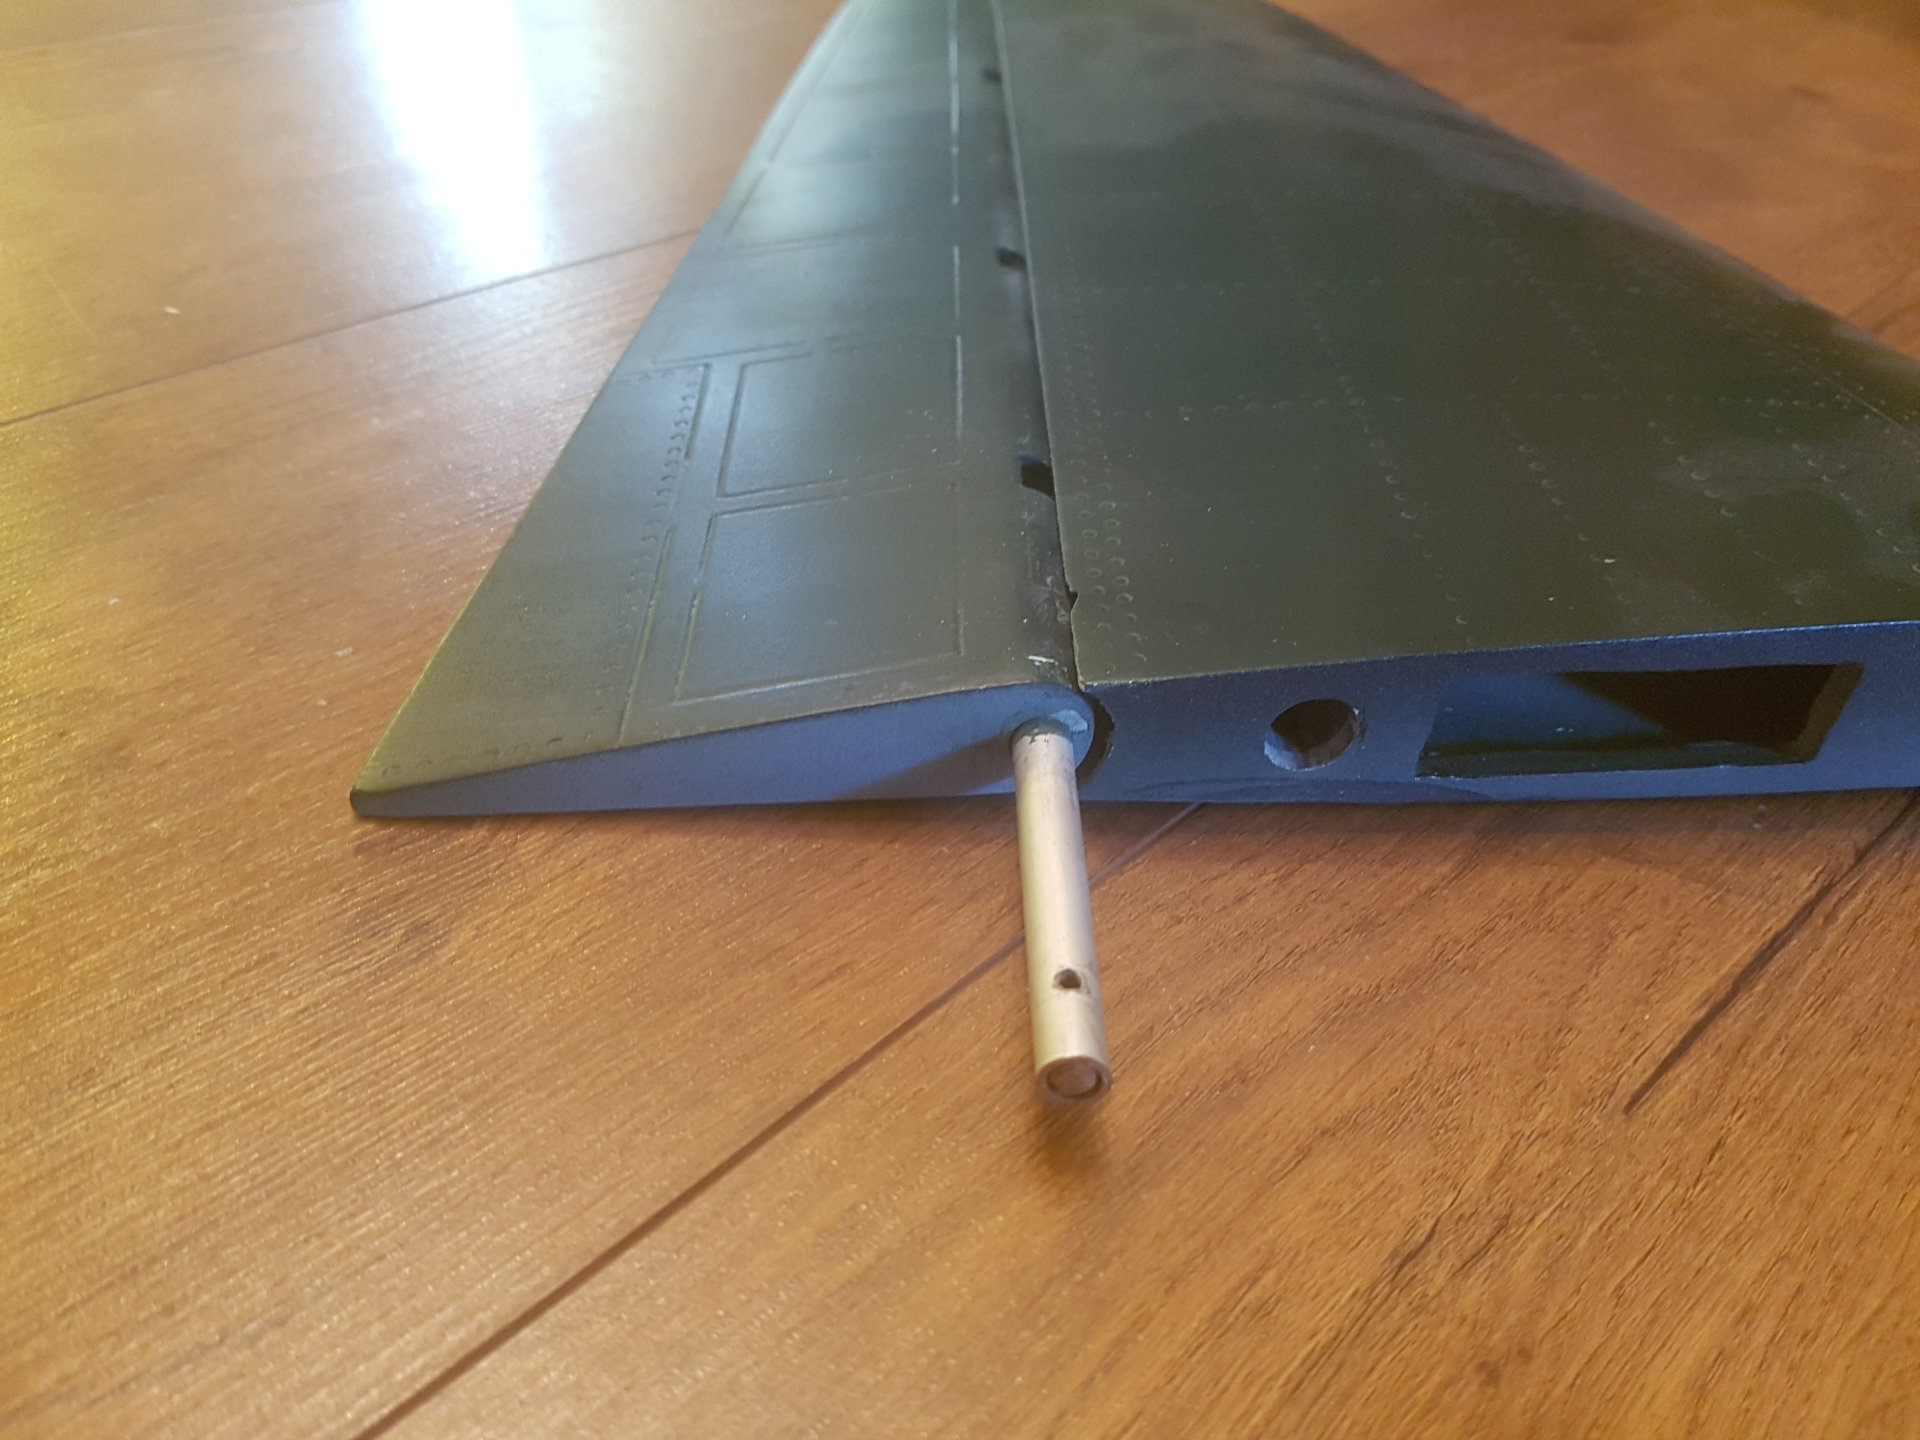
I cut hatch in the tail like the original Zero had to have an access for linkage connetion. It is slightly overscaled but then I can put my fingers inside to screw upper part of control horn and connect it to pushrods.For elevators I used 8mm alu tube with inserted wooden core. On the elevator side lever is M4 screw . The other side is heavy duty control horn M3. Once horizontal stabilizers are in place I can instal control horn with srewdriver through the tail wheel hatch. Servos for elevator are Savox SV-1260MG. I'm still missing one piece because was out of stock in shop so pictures doesn't shows how everything is connected.
1. Ailerons:
I cut another hatch in the wing to install servos, pushrods and control horns to have scale look
2. Elevator linkage
I cut hatch in the tail like the original Zero had to have an access for linkage connetion. It is slightly overscaled but then I can put my fingers inside to screw upper part of control horn and connect it to pushrods.For elevators I used 8mm alu tube with inserted wooden core. On the elevator side lever is M4 screw . The other side is heavy duty control horn M3. Once horizontal stabilizers are in place I can instal control horn with srewdriver through the tail wheel hatch. Servos for elevator are Savox SV-1260MG. I'm still missing one piece because was out of stock in shop so pictures doesn't shows how everything is connected.
01-05-2020, 07:45 AM
#643
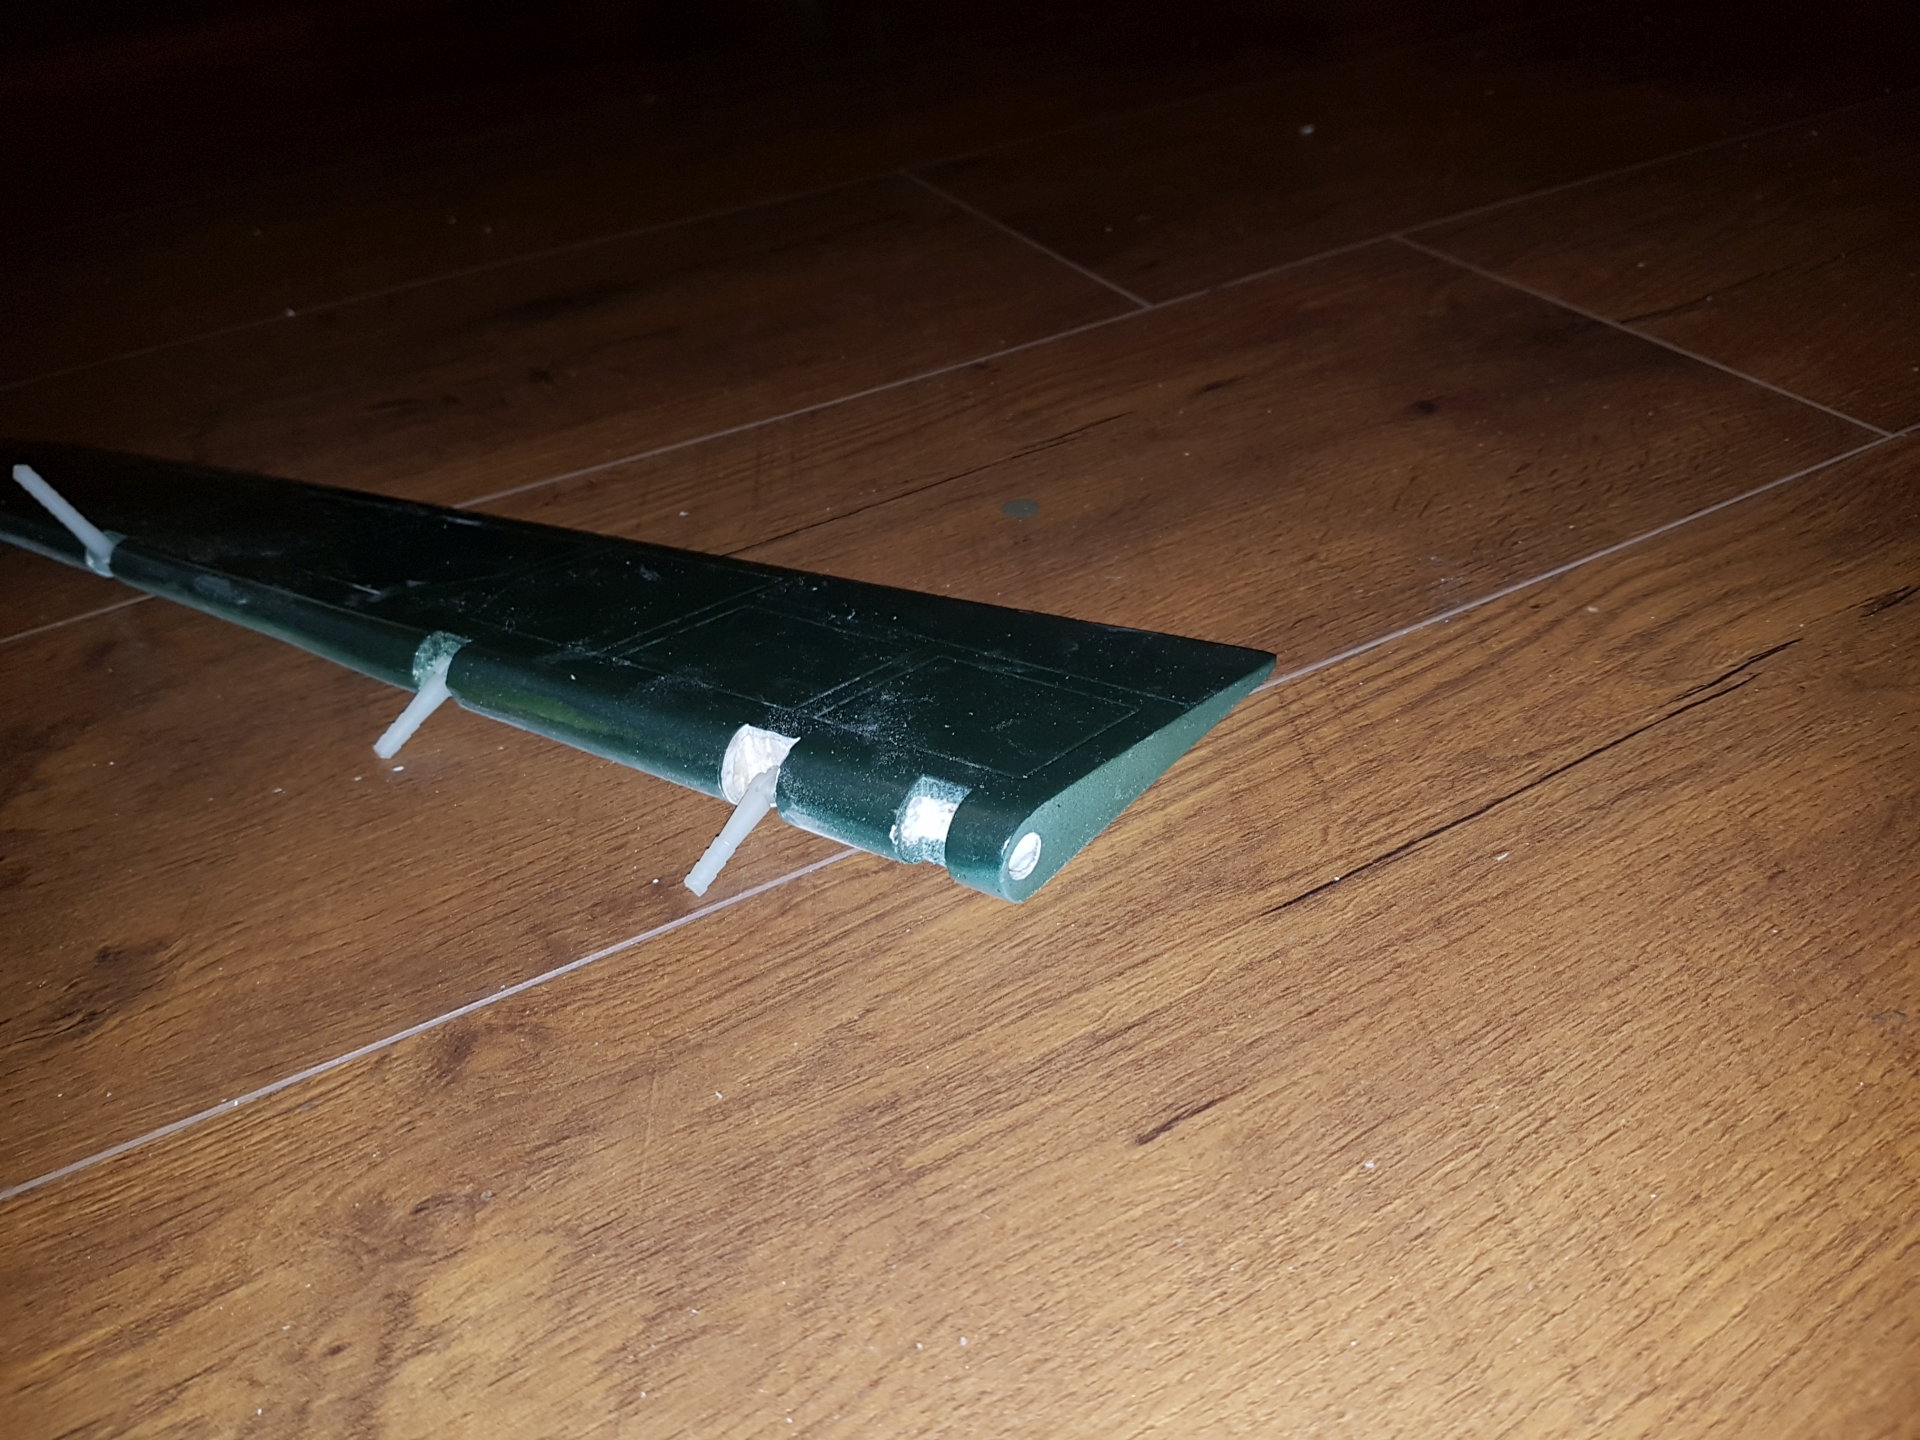
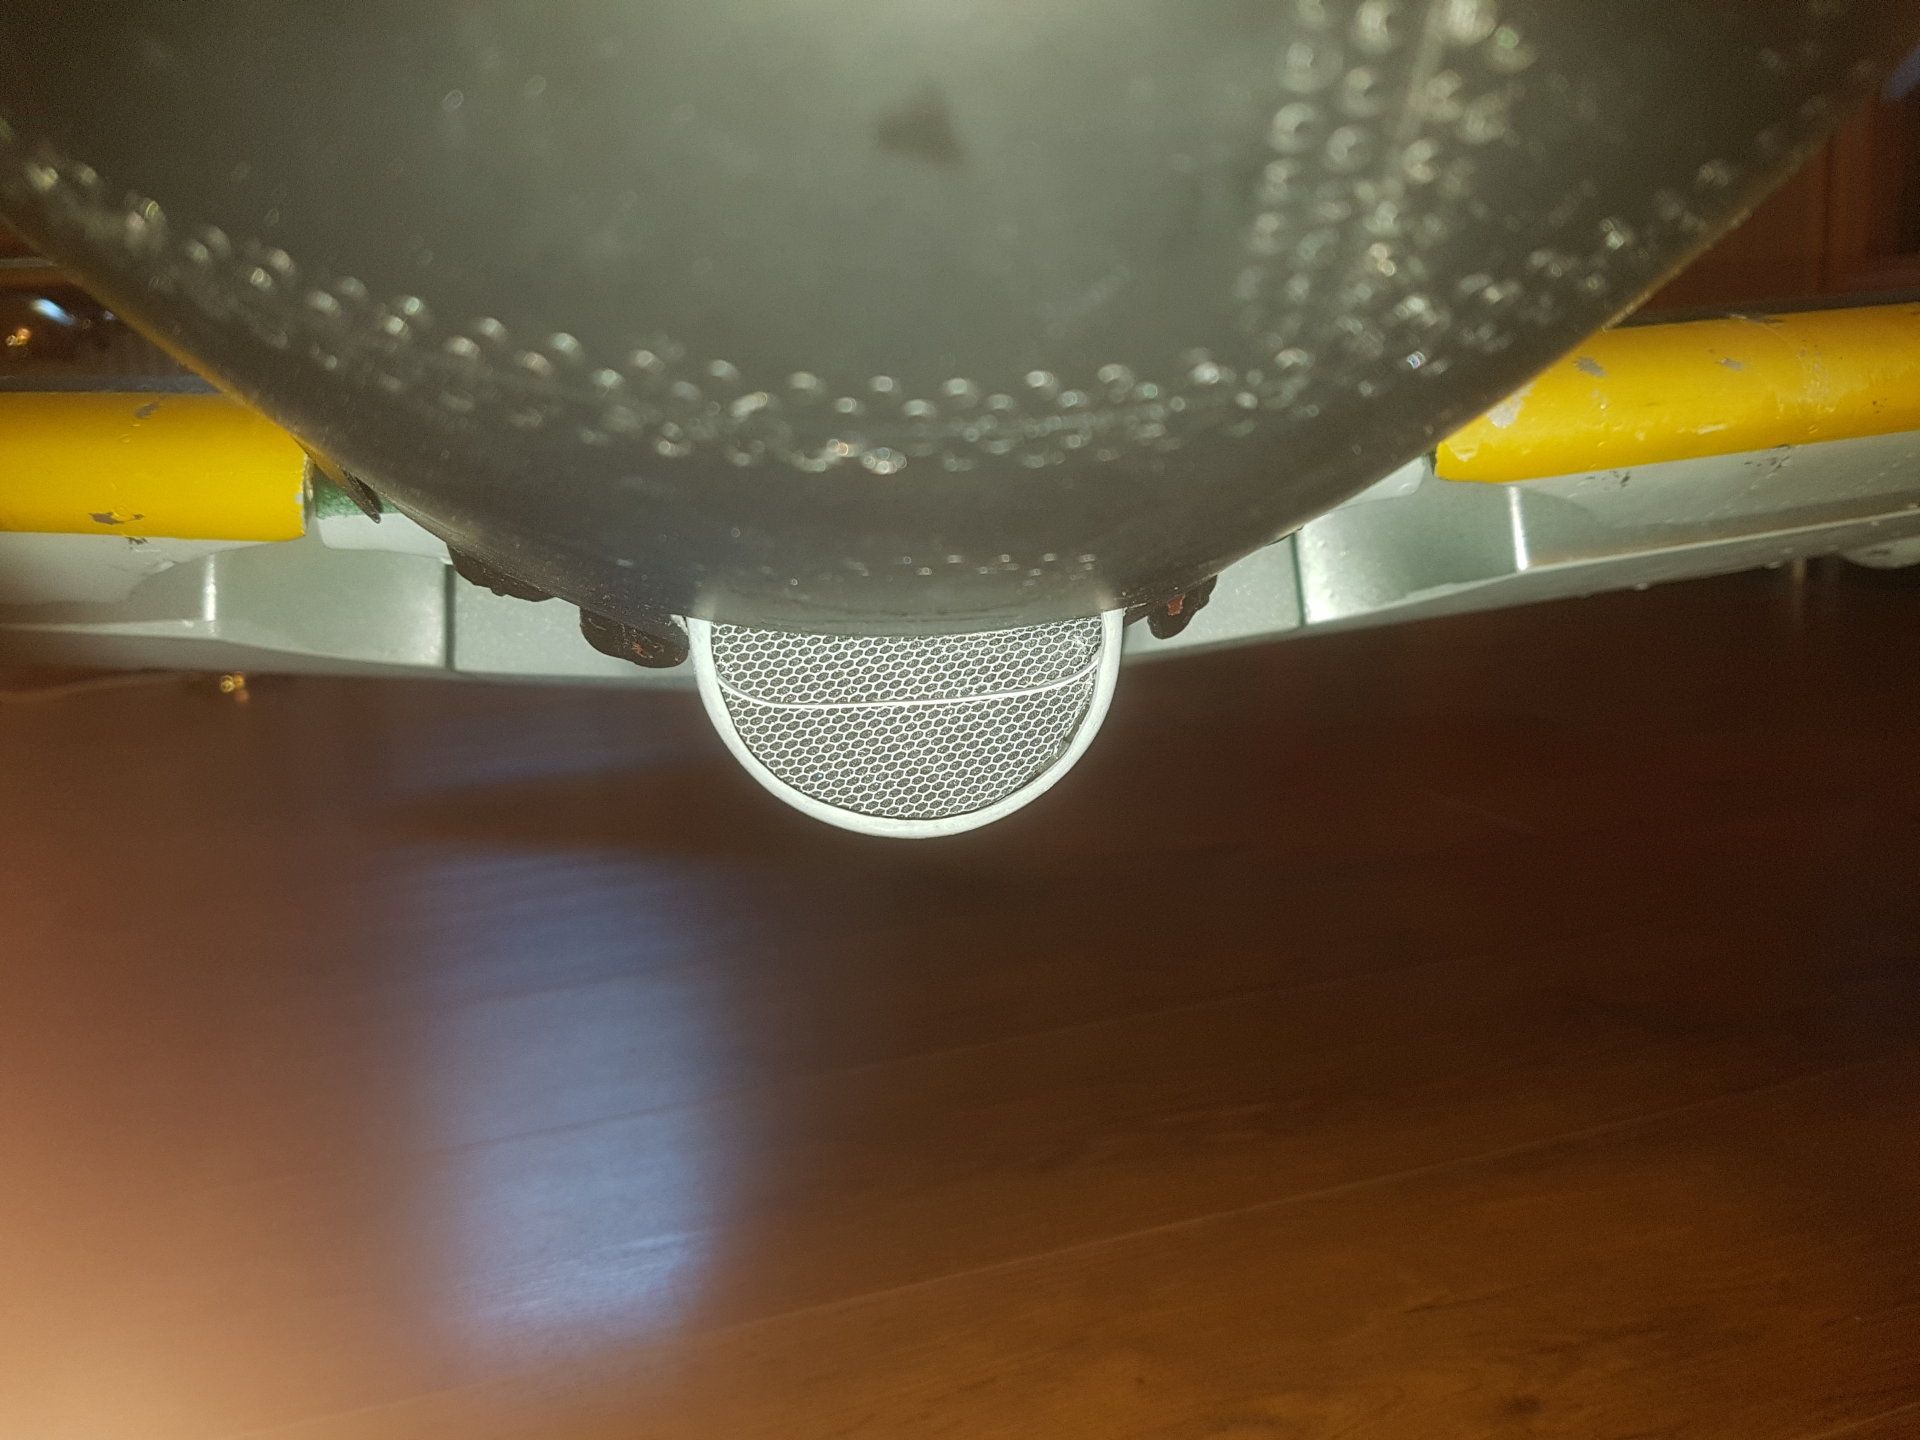
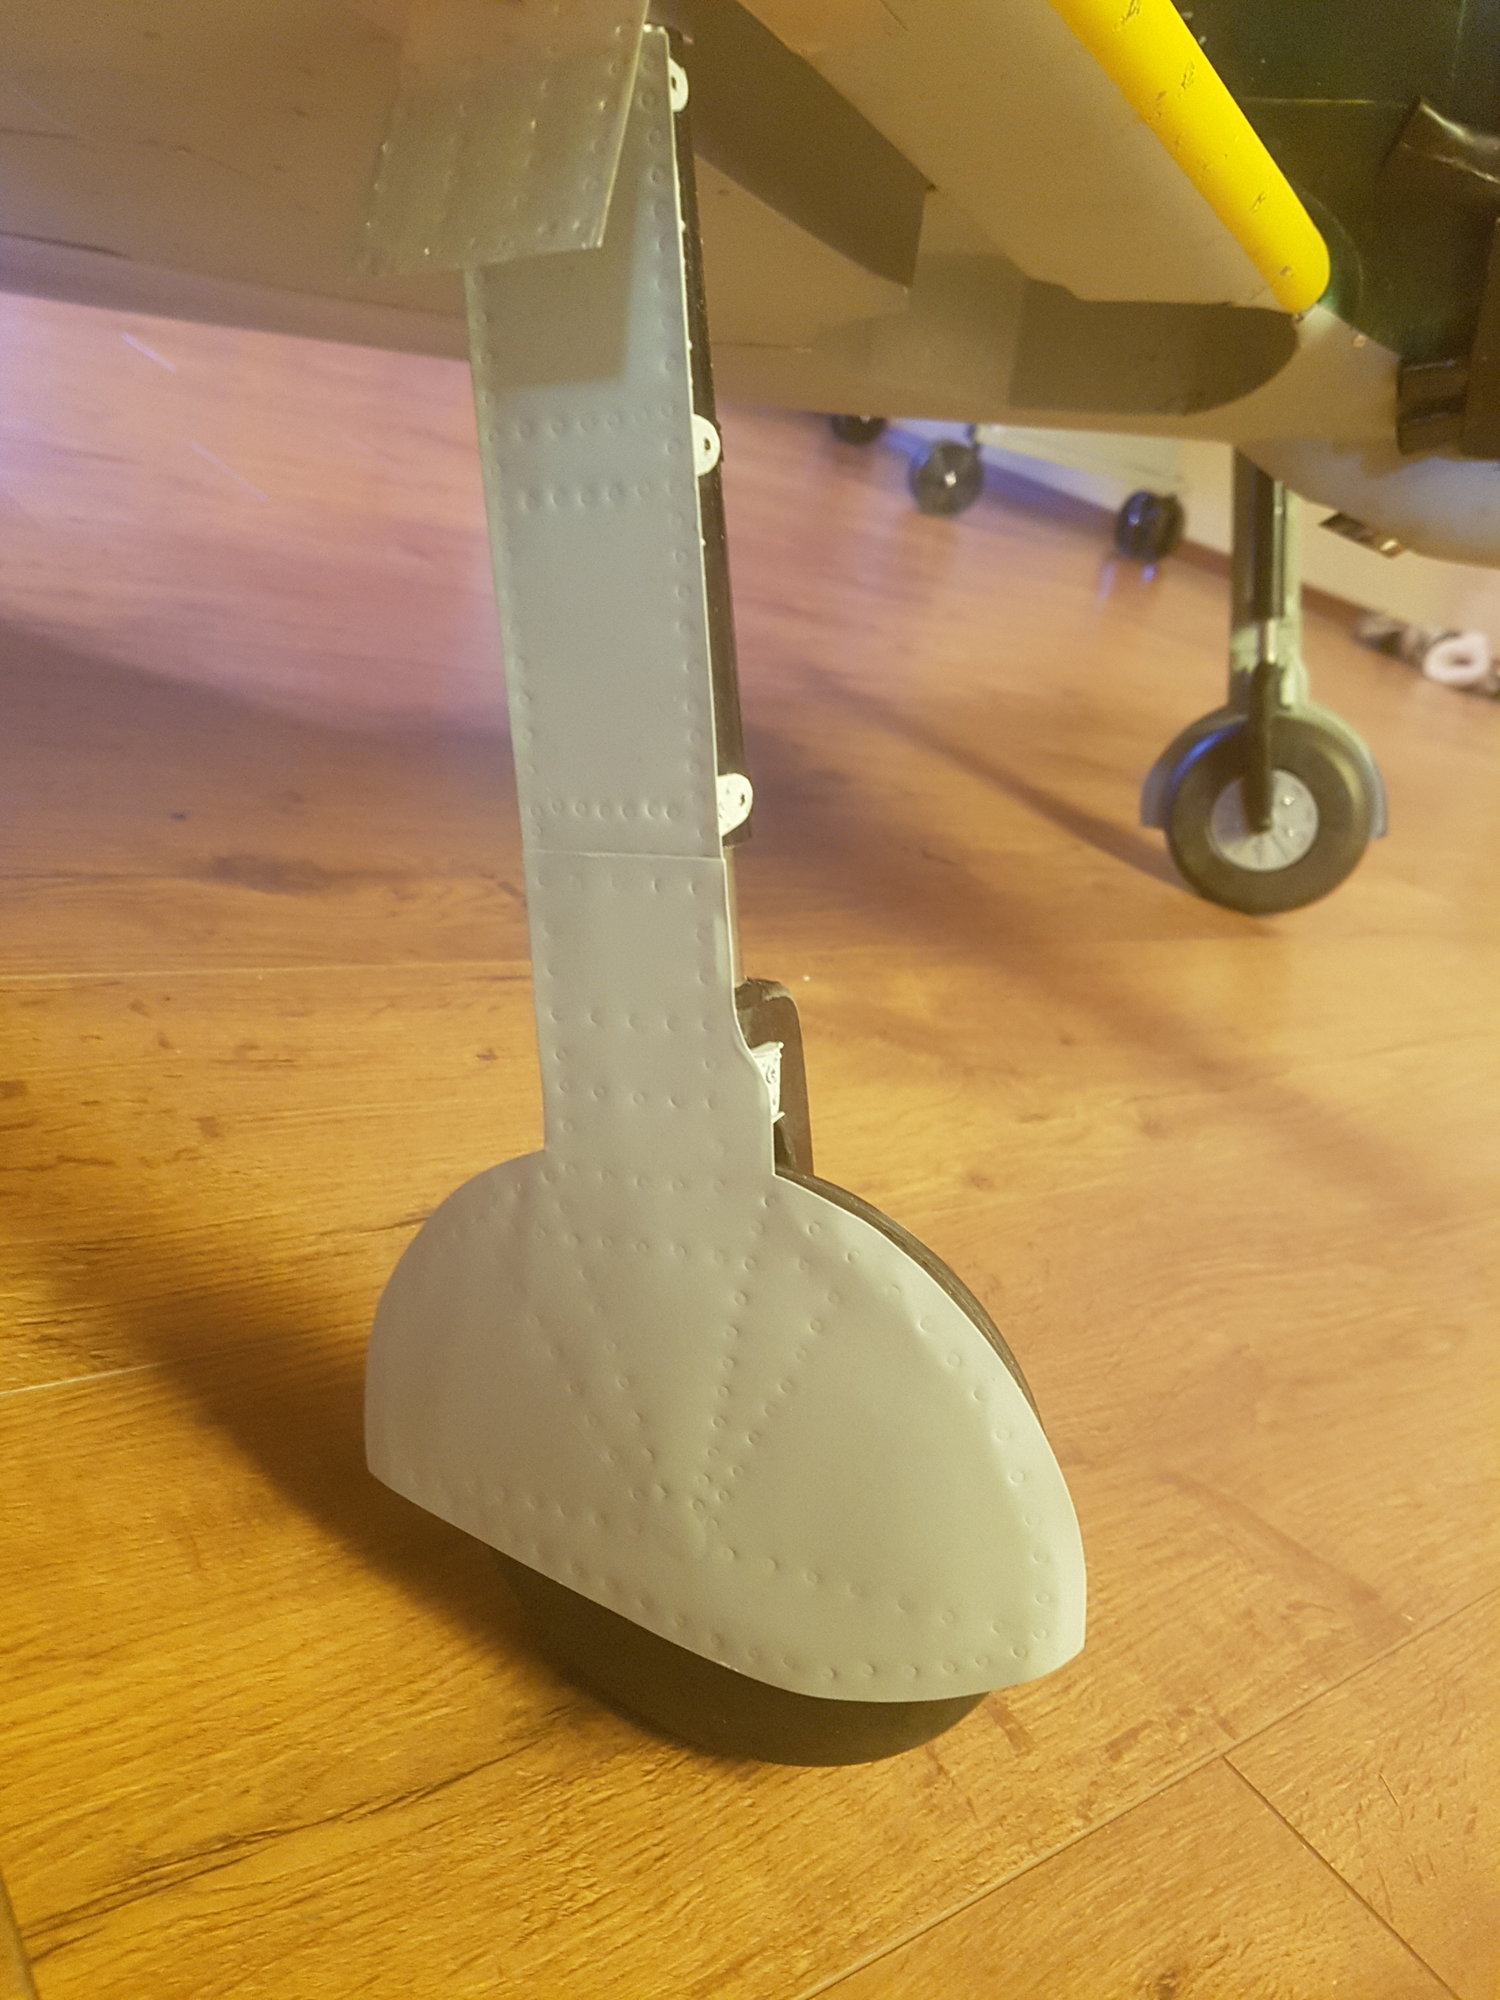
3, Flaps. I think pictures are self explaining:

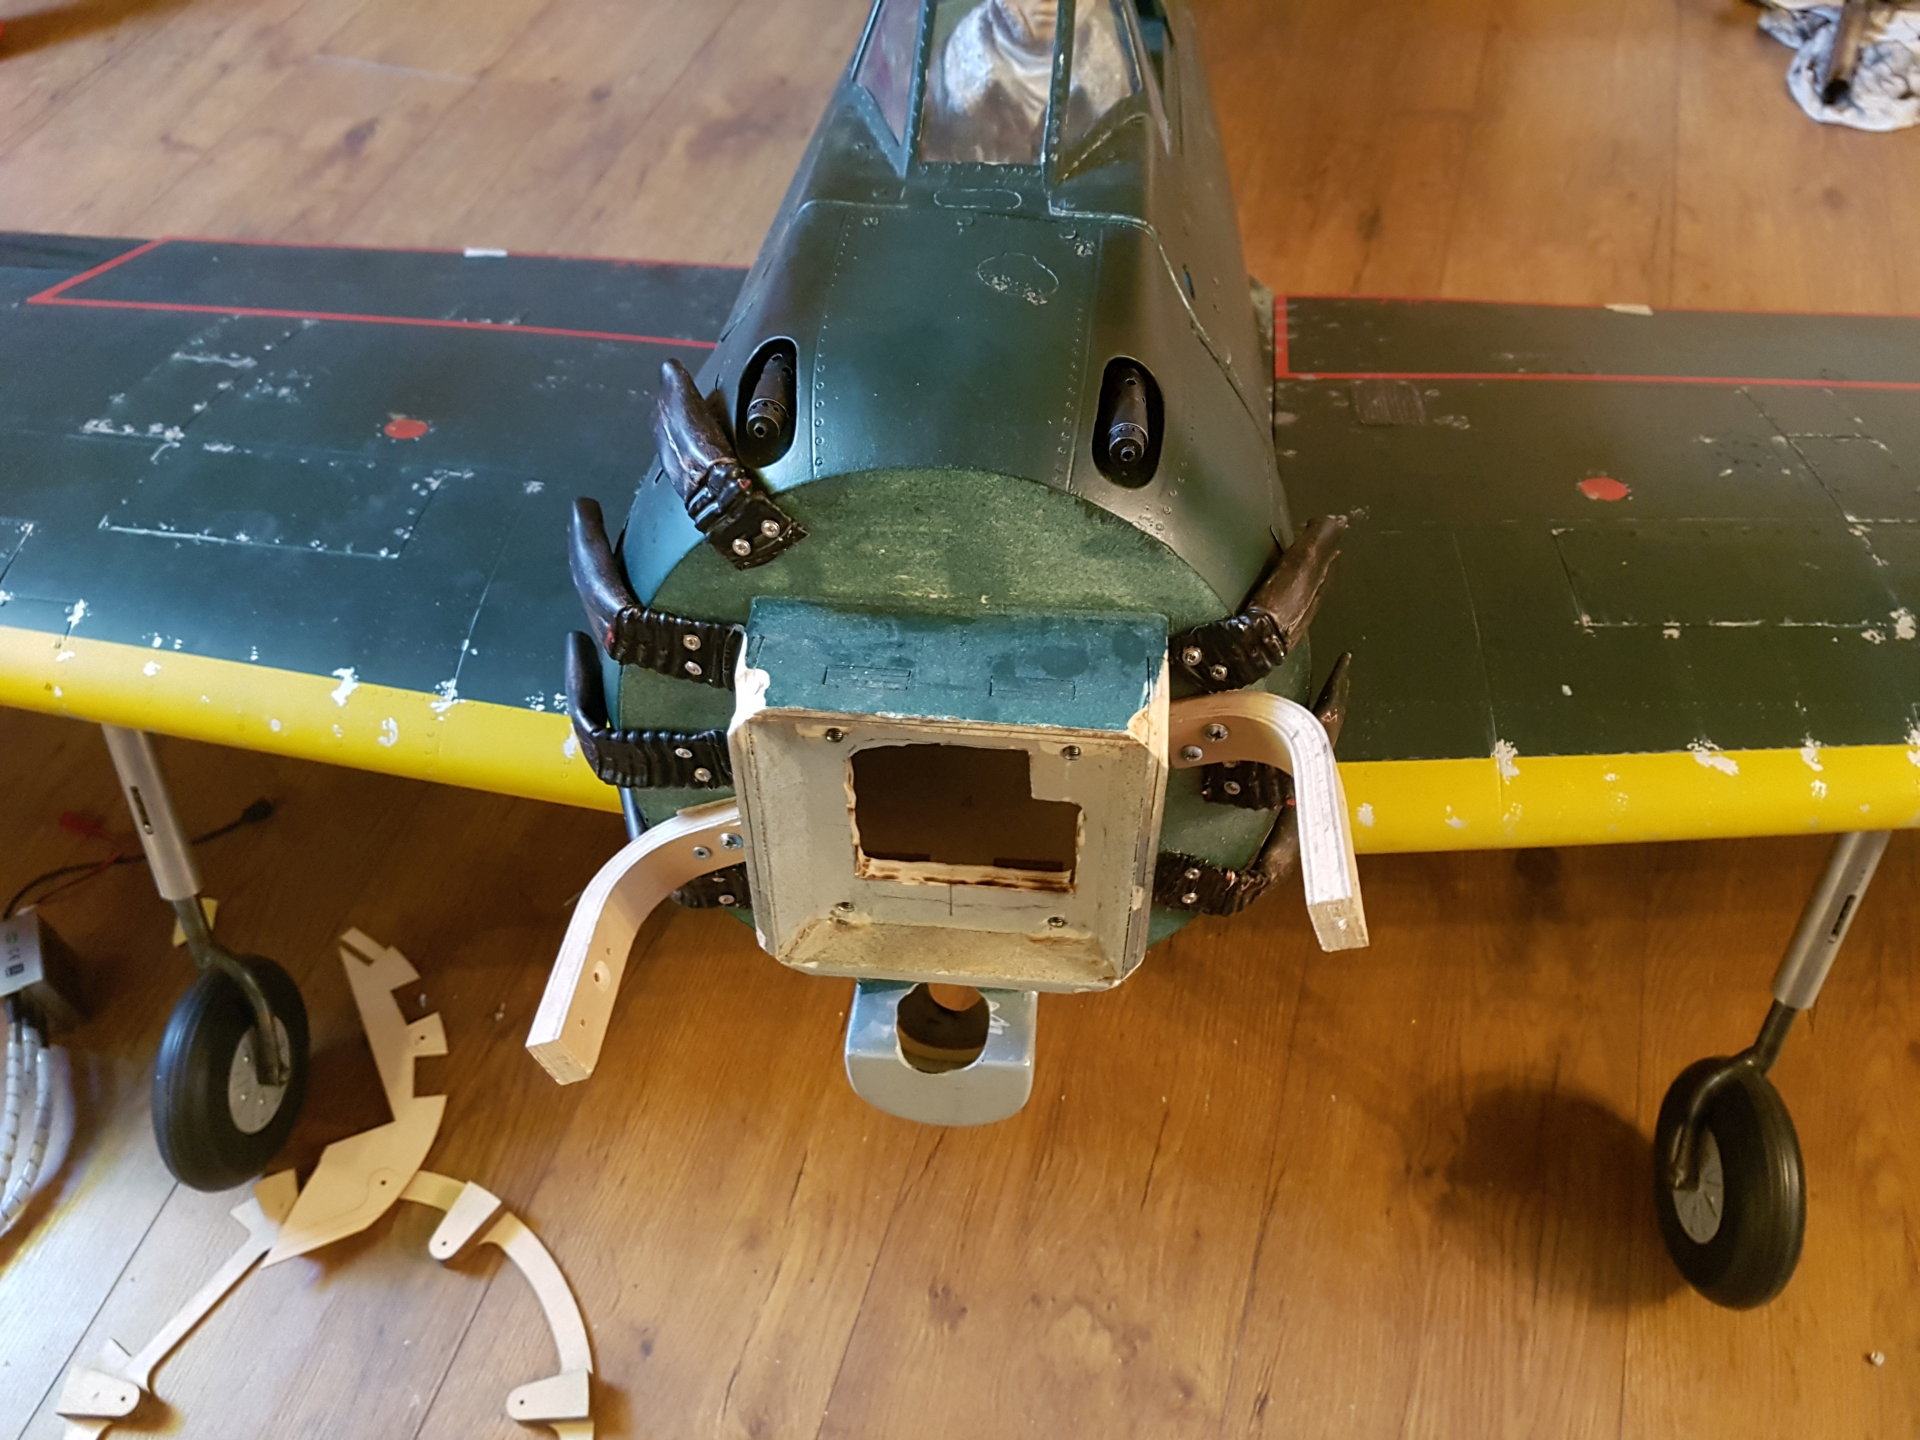
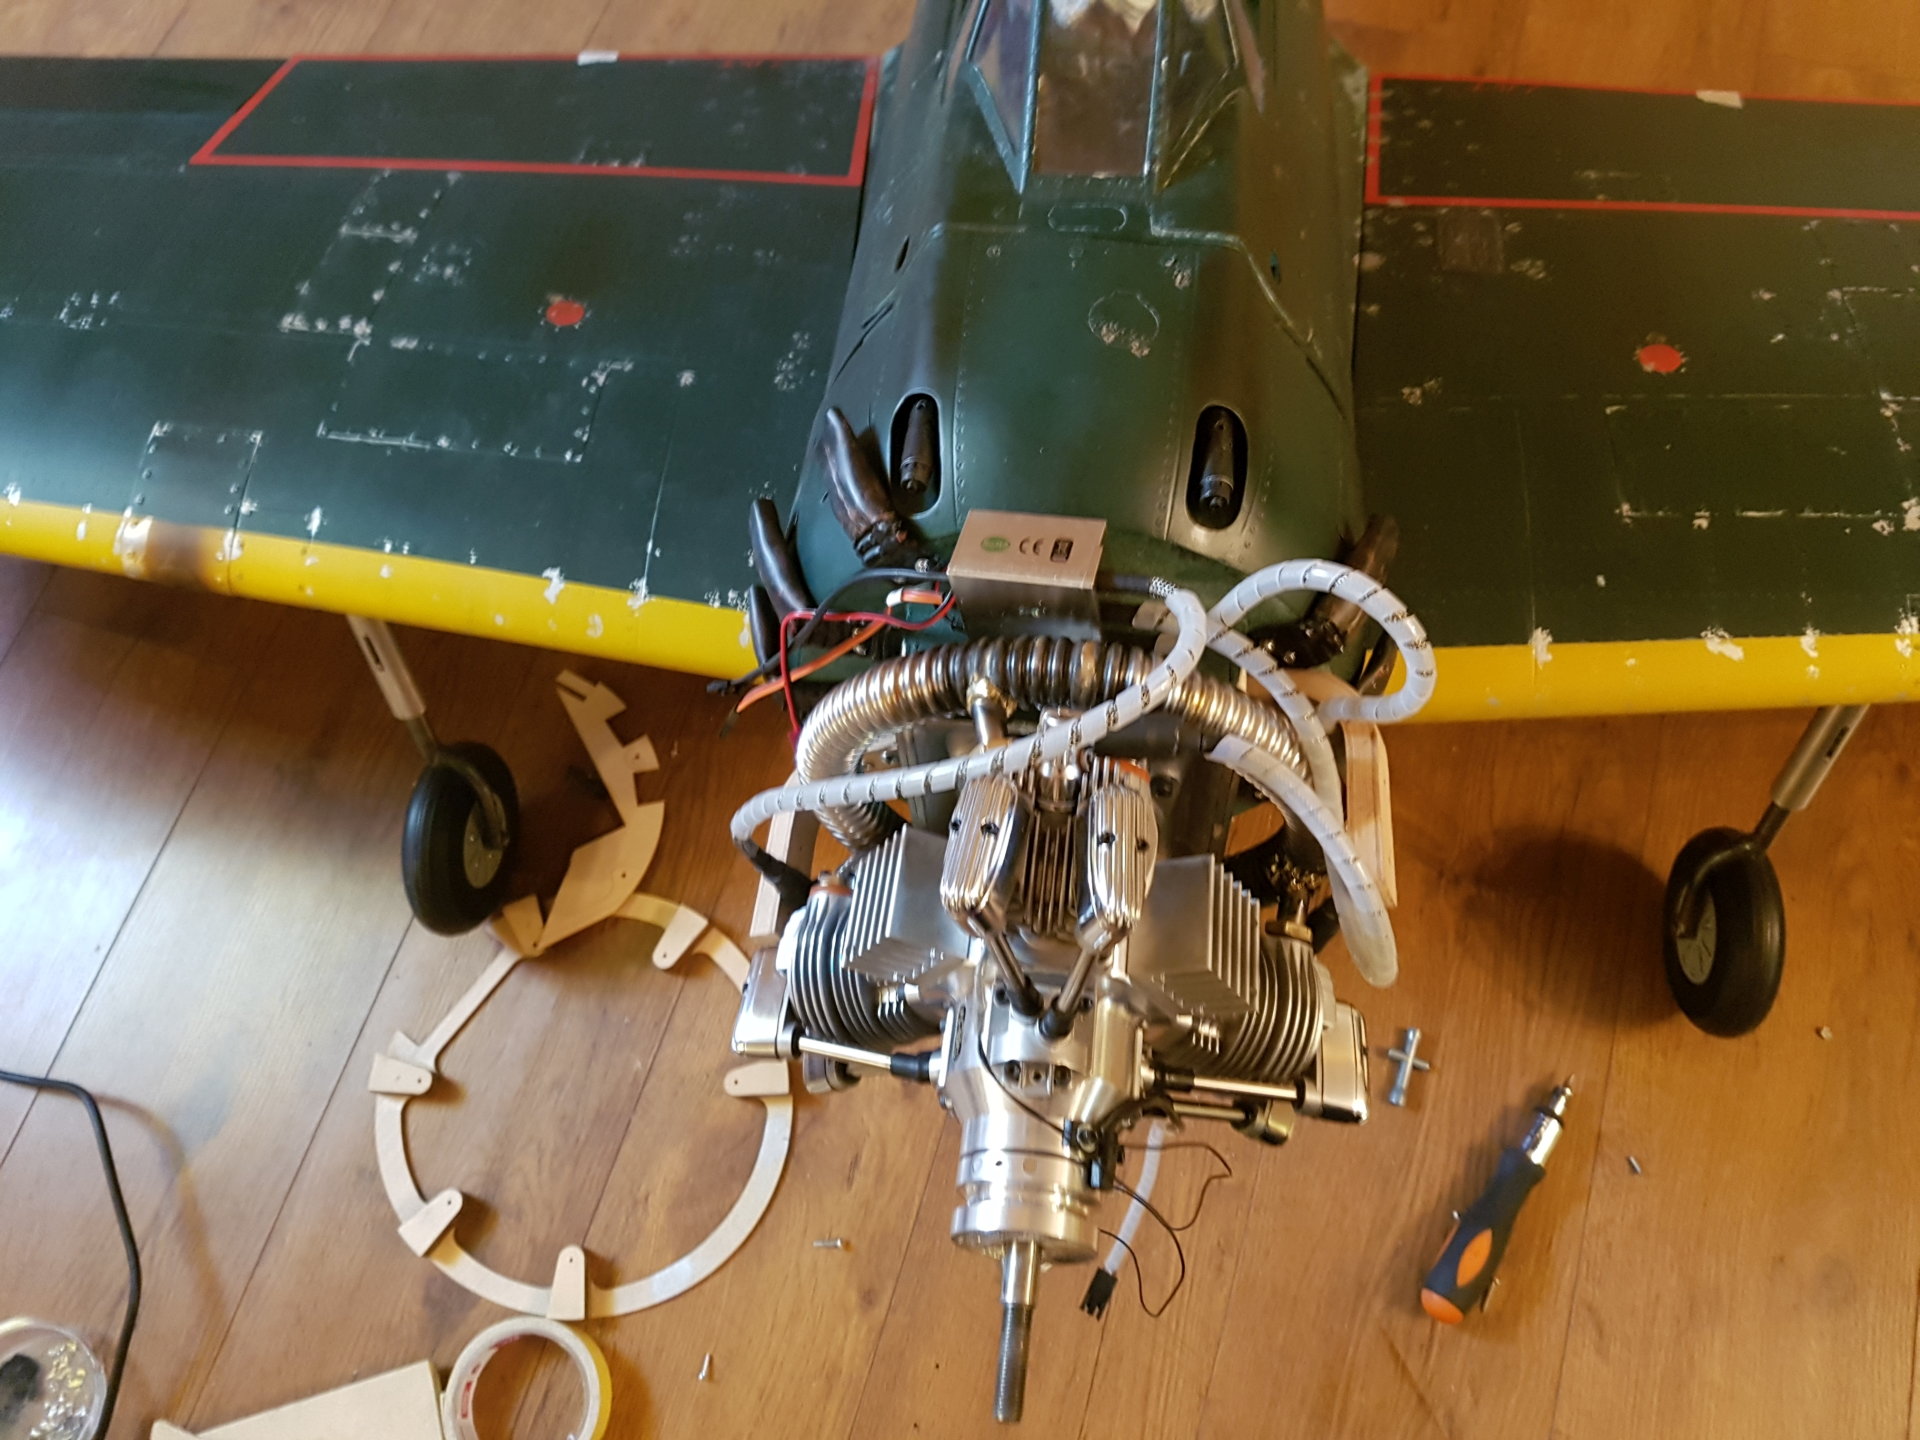
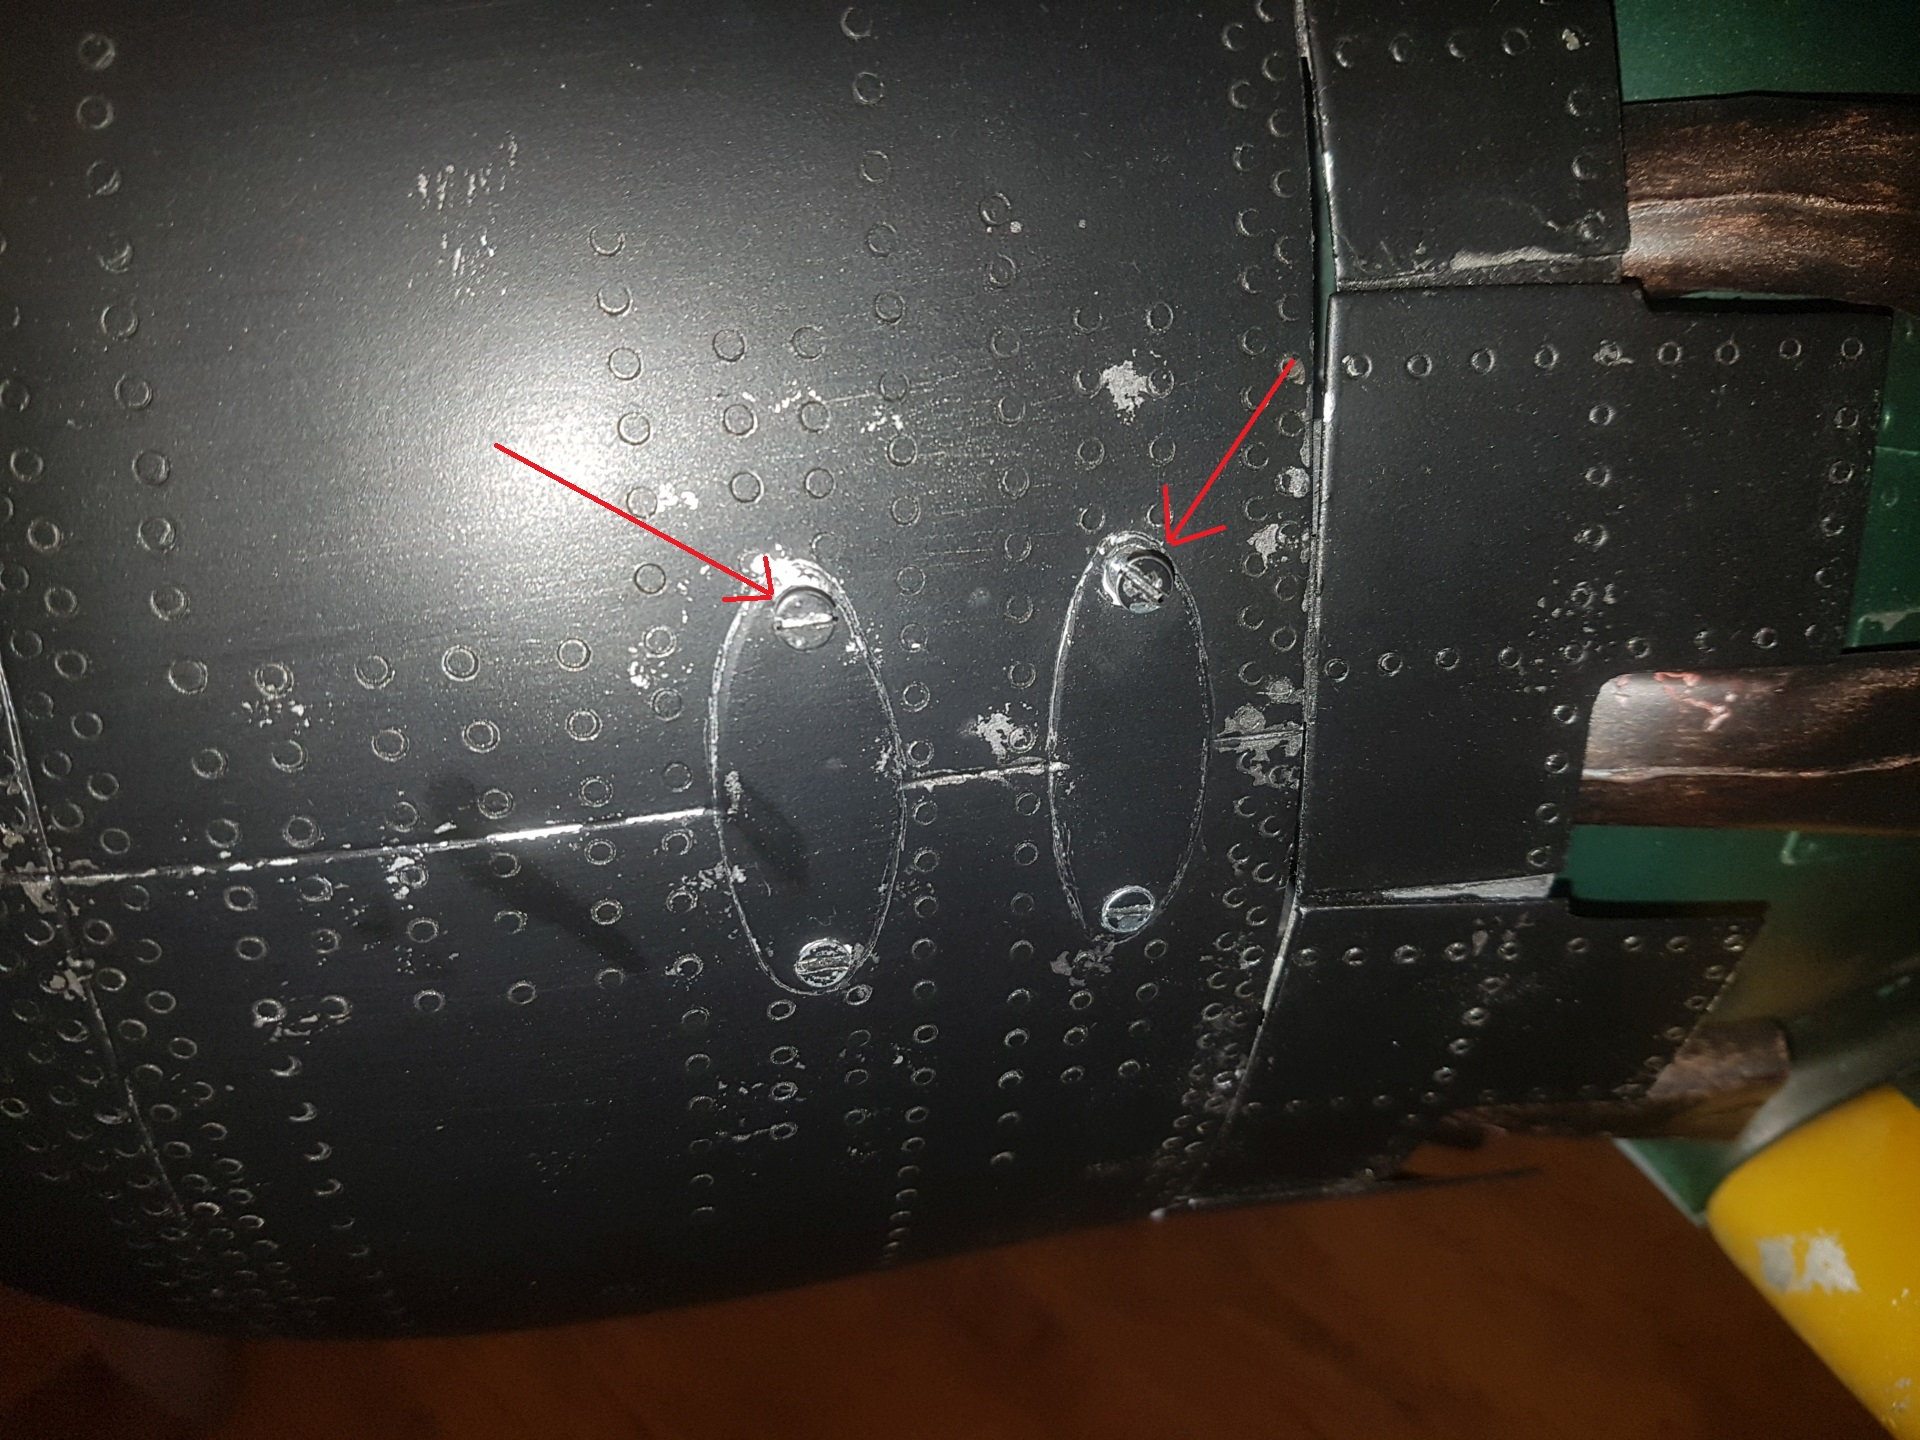
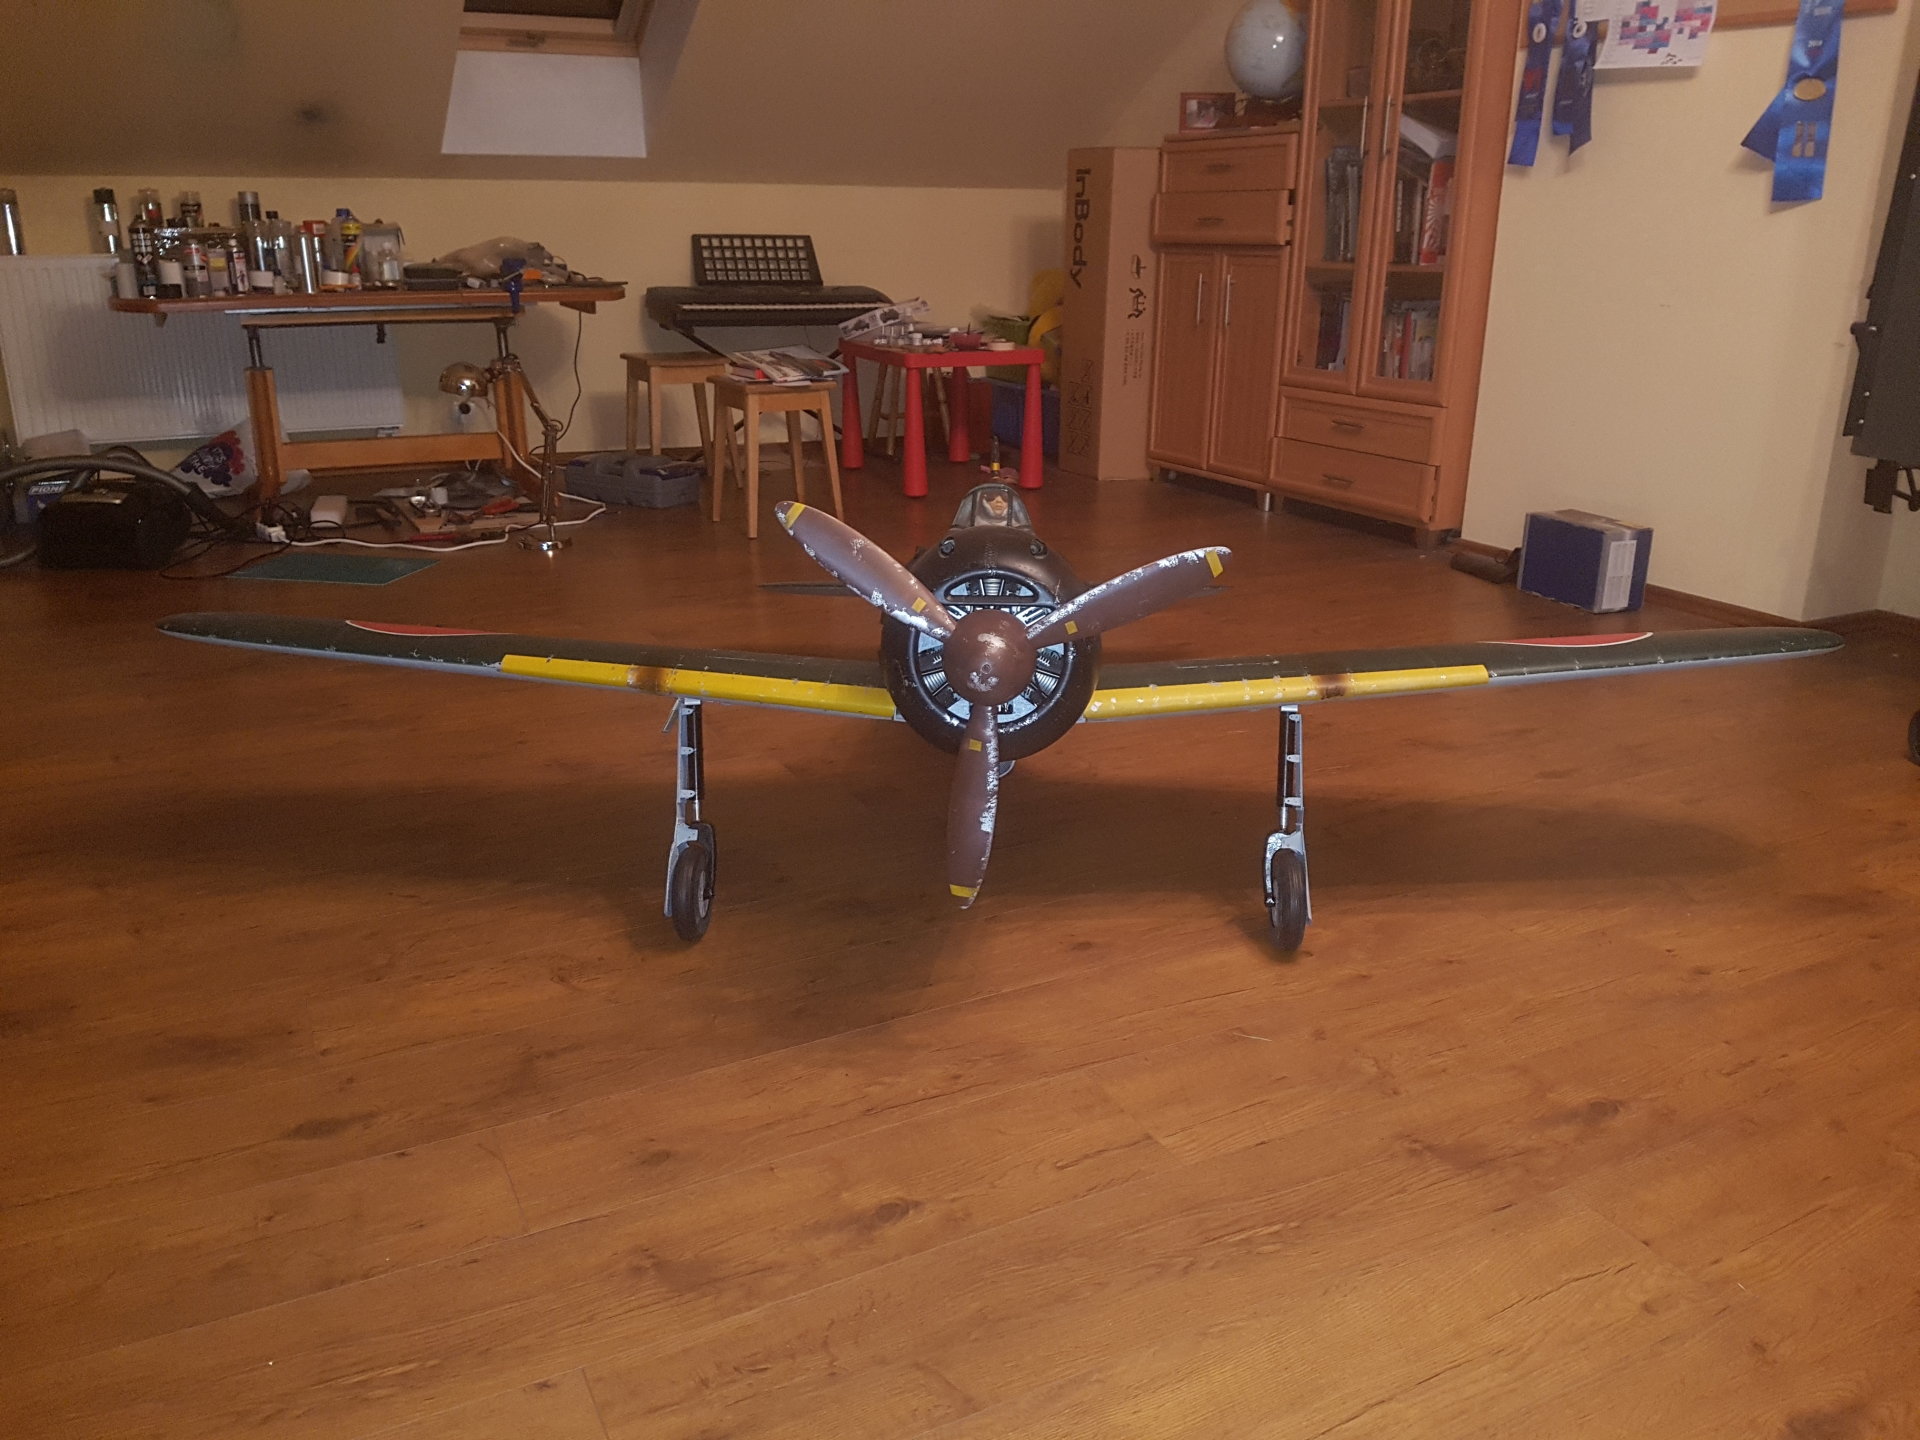
4. Cowling.
I used 2 plywood brackets to fix cowl to the fuselage. 2 screws for each bracket, alligned to positions in the cowl as original Zero had. In such a way no extra screws are visible to spoil scale look.
4. Cowling.
I used 2 plywood brackets to fix cowl to the fuselage. 2 screws for each bracket, alligned to positions in the cowl as original Zero had. In such a way no extra screws are visible to spoil scale look.

 01-05-2020, 07:47 PM
#646
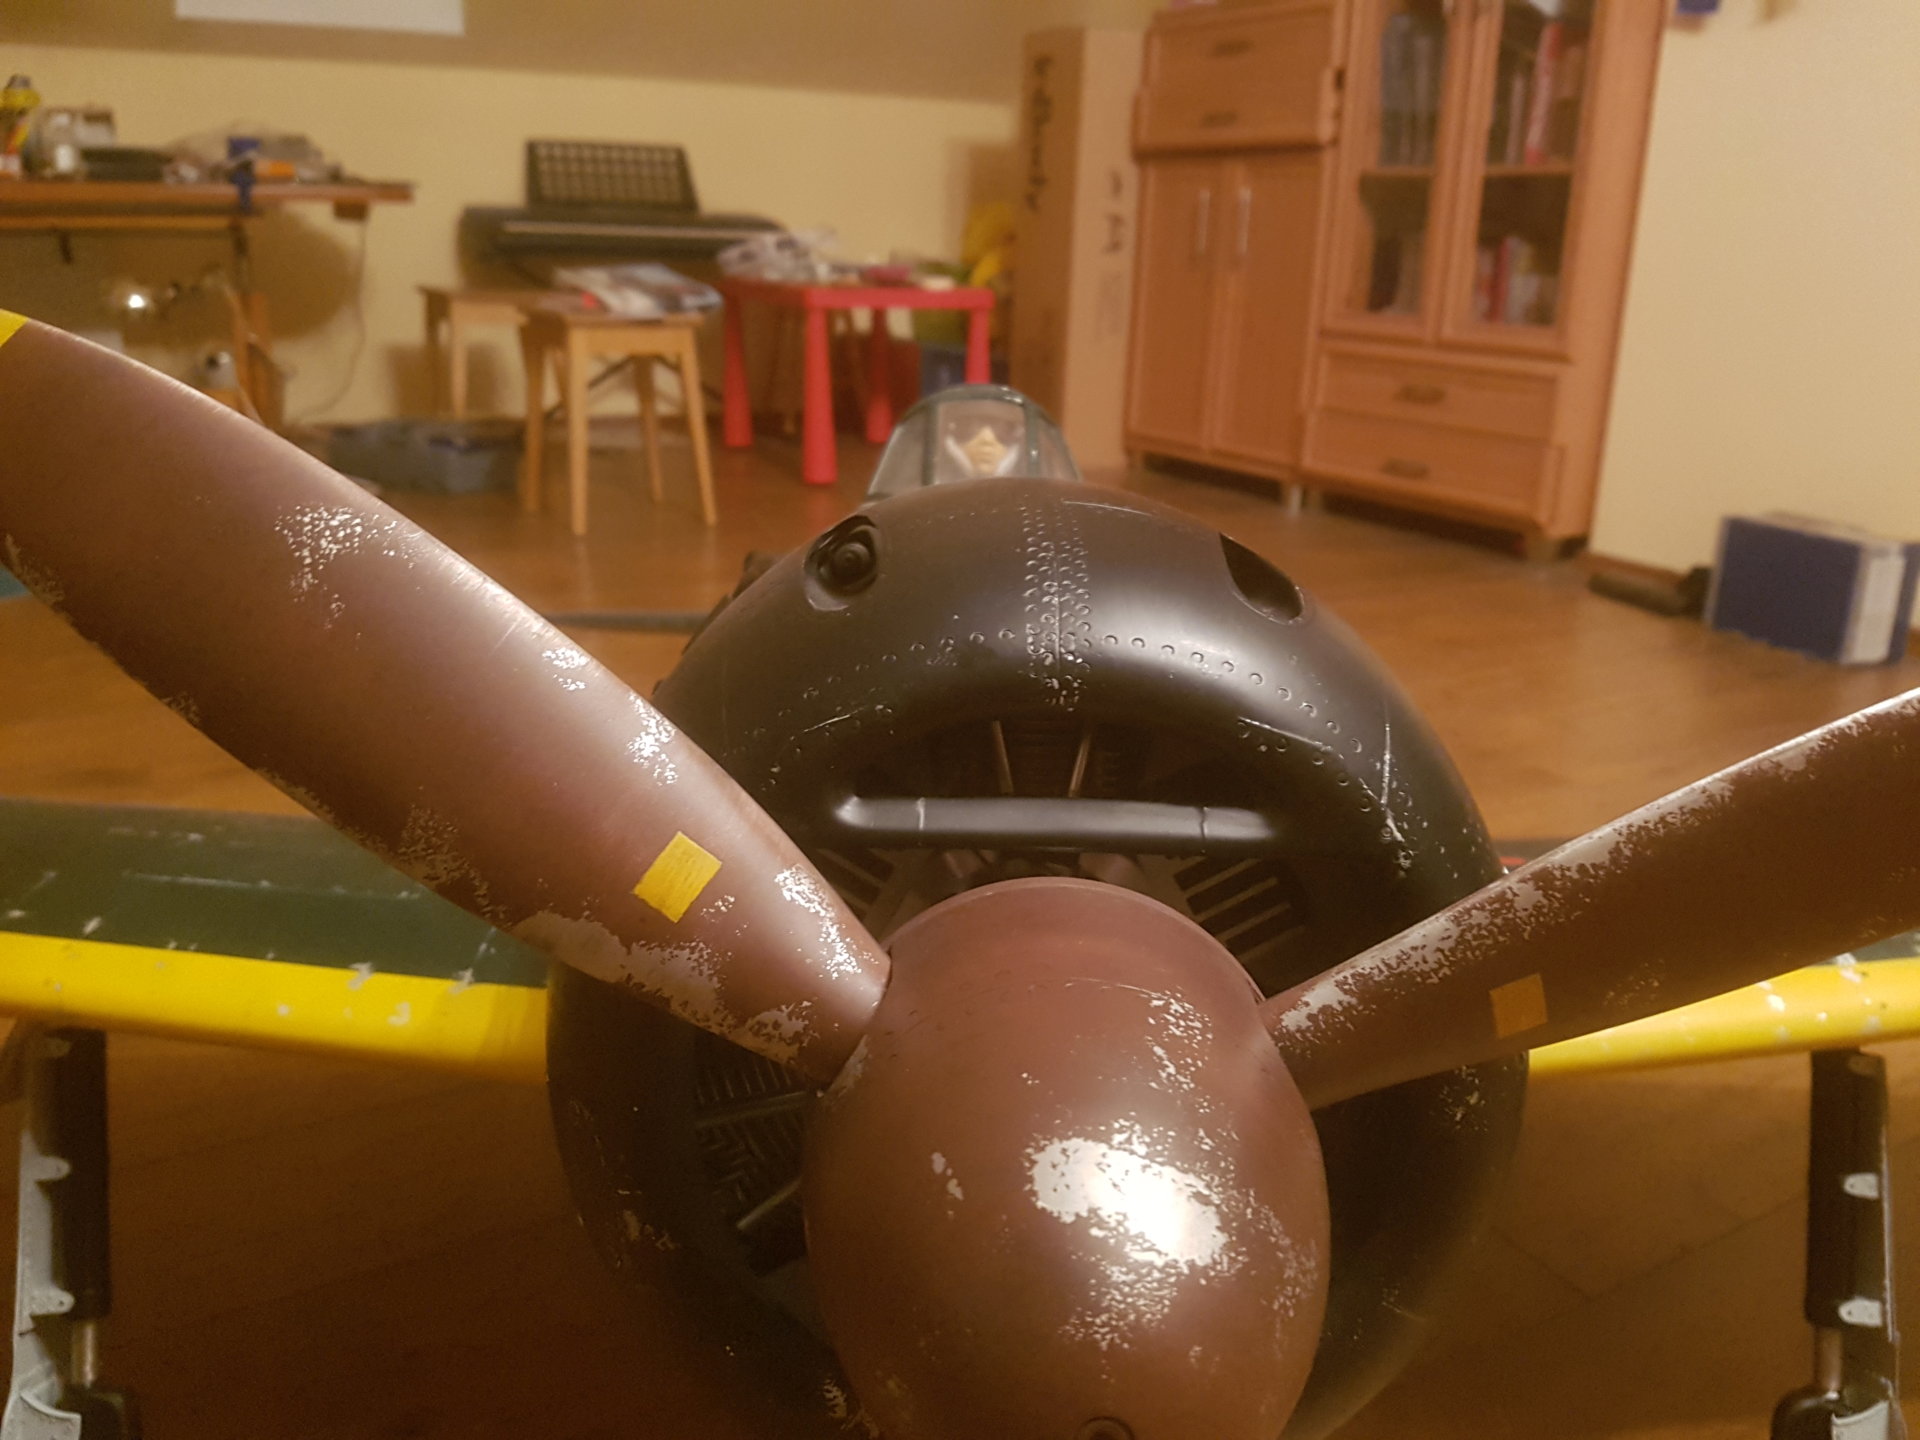
Fantastic job on the Zero!!!!. I'm wondering what spinner you used? it looks more scale that the one from TopRC. I would submit that the prop looks like a 22X12 Broad blade folk wulf prop. The 22X12 WW II Beila (sp) is a good choice but I think the FW type with the broad blade over loads the engine. I flew the FW type for 2 years on my Zero and it gave good performance and a great sound but my engine eventually did blow up on take off. Very dramatic loud BANG. Sent it to Ray for repair and he surmised it was most likely the prop. Just passing that experience along. I have no expertise in the matter, just an observation. I can't say enough about how good the TopRC Zero flies..
01-06-2020, 03:35 AM
#647
What a pity that your Saito blew up.... I'm worrying now because while choosing prop for my Zero I followed Your input in this thread.
I don't know if this will help, but I use a Beila 22X12 3 blade Folk wulf prop on my Zero with the 90...Combined with the Keleo Exhaust Ring people are going to asking you "What have you got in that thing? It really sounds great"
 .
.I'll try to be carefull with power management just not to overload my Saito. In fact I think that FG90 is bit overpower for this Zero. On full throttle it flies like a bullet , way to fast for me.... If there wouldn't be quality issues, FG60 that would be my choice. With this engine Zero would fly more to the scale.
Last edited by darod07; 01-06-2020 at 03:42 AM.